Learn how to fix common sublimation issues! Plus: free sublimated garden stake designs!
Sublimation is one of my favorite ways to craft beautiful, long-lasting designs. But let’s be honest: it’s not always smooth sailing! Have you ever wound up with strange lines, backwards designs, or blurry ghosting? Or thought, “Why does my sublimation look faded?” Don’t worry, these are all common sublimation issues and concerns that nearly every crafter runs into, especially in the beginning. The good news is that each of these problems has a simple solution! Today, I’ll show you how to avoid the most common causes of sublimation mistakes to get the best results possible — PLUS we’ll put your new skills into action by making one of the most helpful sublimation projects I’ve ever done: sublimated garden plant stakes!
Watch the full step-by-step tutorial on how to fix common sublimation issues:

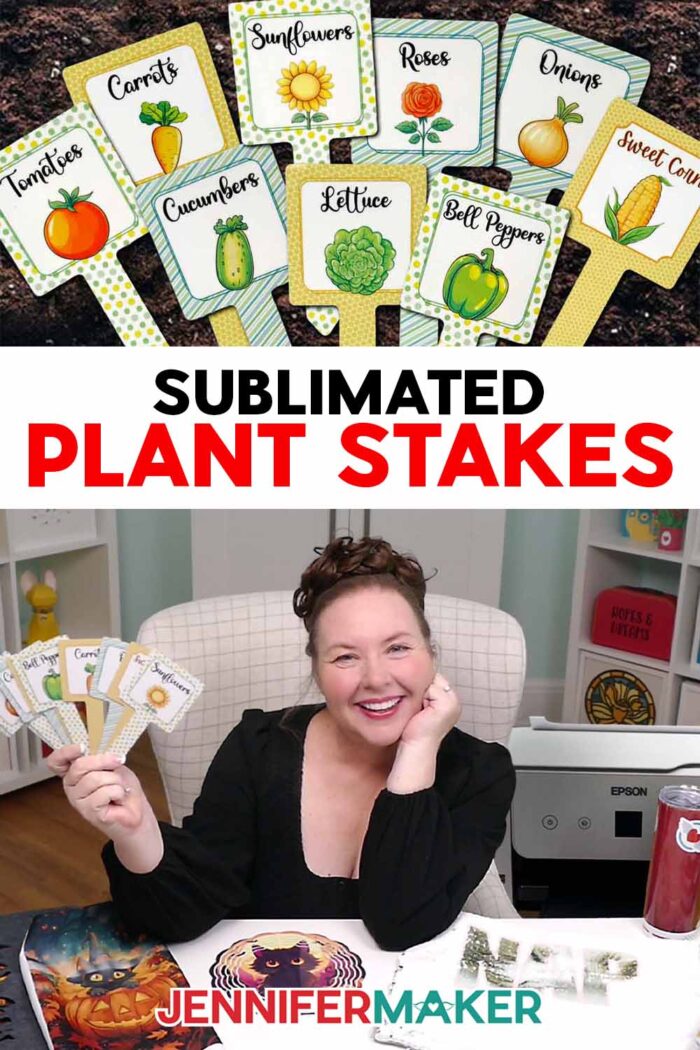
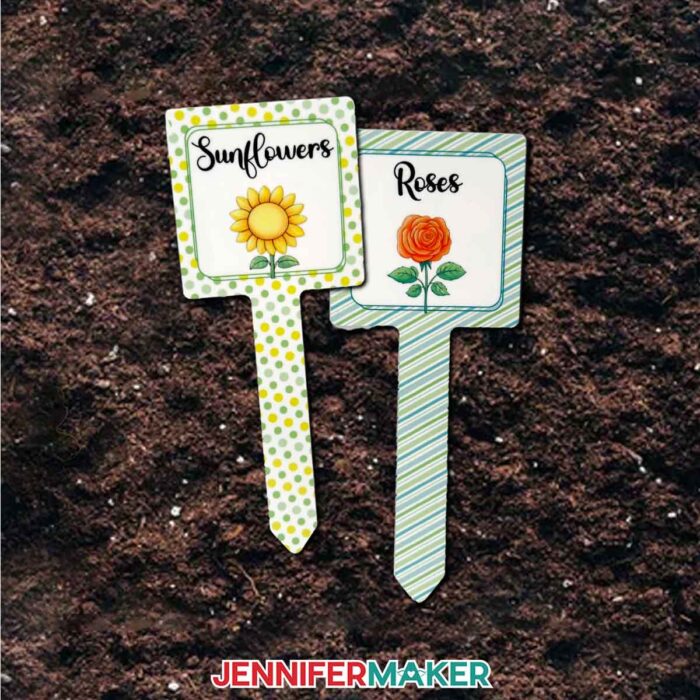
Lately here at Maker Farm, I’ve spent a lot of time digging in the dirt and tending to the new gardens I planted this year. Just this week, I planted one for bees, one for hummingbirds, one for butterflies, and a wildflower garden that’ll soon be buzzing with life. As beautiful as these spaces are, it’s easy to forget what I planted where, especially while everything is still growing. That’s where my sublimated plant stakes come in. They’re crisp, colorful, and totally personalized aluminum sublimation blanks, pressed with high-resolution images and vibrant colors –- all using the super-cool dye sublimation process.
As we make them, I’ll arm you with tools and tricks to combat those pesky sublimation problems that can get in the way of a perfect result!
Let’s talk about some of those dreaded sublimation issues. One common problem I see all the time is when white, horizontal lines (or splotchy sections) show up on a printed sublimation transfer. Those lines can transfer to your blank, and make your project look not so great.
The most likely culprit? Using low print quality settings. The first thing I recommend is always checking your printer settings before you print and choosing the higher-quality setting. You’ll get sharper details and more vibrant results, without weird lines through your image!
Another common issue? Color issues. Maybe your colors look off, or your printed images come out with ink spots. These are usually caused by things like low ink or printer maintenance issues, so be sure your printer’s sublimation ink is full. And don’t skip out on regular maintenance for your printer. Printing a test sheet once a week can help avoid clogs that can ruin your image quality. For high-quality prints, be sure to use fresh, unexpired sublimation ink. And a faded sublimation print might not be an issue! The ink looks more dull before it’s pressed, so unless there is a clear issue, try pressing the design to see if it looks better when complete!

Incorrect heat settings can prevent a good press, too. Always double-check your heat press settings to make sure you’re using the correct time and temperature. Too low of heat, and your image may look light. Too high of heat, and your blank may scorch! My Sublimation Cookbook is a great resource for this, with tried-and-true settings for tons of different materials!
And let’s not forget about ghosting. More annoying than spooky, those blurry, double images that sneak in after pressing come from movement during the sublimation process, or from moisture or air pockets between your print and your blank. The best way to prevent ghosting is by preheating your sublimation blanks, taping your design down securely with heat-resistant tape, and pressing evenly without sliding. Uneven heating is a common cause of ghosting and inconsistent transfers, so using a stable surface and lifting your press straight up makes a big difference.
Want to learn even more tips, like how to avoid backwards transfers or how to print your transfer the right size for your blank? Be sure to watch the tutorial video!
Once you’ve got your settings just right and your prints looking perfect, I’ll teach you how to size and print your sublimation design using Google Docs. Then I’ll show you how to clean your blanks, apply the printed image, and press it using your Cricut EasyPress or another flat heat source. We’ll talk about how to get the best results by trimming your print properly, lining it up with your stake, and applying even pressure during the press. You’ll be amazed at how easy it is to go from a blank metal tag to a gorgeous garden label with true colors and crystal-clear detail.
To follow along, be sure to watch the video tutorial where I walk through each of these steps with real examples and lots of encouragement. Or, if you prefer reading and photos, just scroll down to the written steps where you’ll find the details and images to help you craft your own adorable garden stakes.
Remember, the sublimation process doesn’t have to be confusing or frustrating. Now that you know the common pitfalls to watch out for, you’re ready to try sublimation crafting! With the right printer settings, tools, and techniques, you can create beautiful things — and have fun doing it!

And if you want to go beyond my ready-made plant designs like tomatoes, onions, and roses, you can create your own custom labels with the full customization toolkit waiting for you in my ADVANCE with JenniferMaker program. I’ll show you how to make labels for anything you grow — helping you design with confidence, knowing you’re using the right techniques and settings for better results every time.
So, want to learn how to avoid common sublimation issues like “Why Does My Sublimation Look Faded?” Let me show you how easy it is! This post contains some affiliate links for your convenience (which means if you make a purchase after clicking a link I will earn a small commission but it won’t cost you a penny more)! Read my full disclosure policy.
Materials to Make Sublimated Plant Stakes
View my Amazon shopping list with the exact items I used.
- One (1) Square Sublimation Plant Stake
- One (1) Sheet of 8.5” x 11” A-Sub Sublimation Paper 125g
- White Uncoated Butcher Paper
- 12″ x 12″ White Cardstock
- Sublimation Printer – I used a converted Epson EcoTank ET-2800 Inkjet Printer
- Sublimation Ink
- Scissors -OR-
- Paper Trimmer
- Heat Press – I used the 12” x 10” Cricut EasyPress 2
- Cricut EasyPress Mat
- Fan (for ventilation)
- Heat-Resistant Gloves (always be careful when using high heat settings!)
- Heat-Resistant Tape
- Measuring Tape
- Lint Roller
- Design #745 (My free PNG design files are available in my free library – get the password by filling out the form at the bottom of this page)
How to Make Sublimated Plant Stakes
Sublimated Plant Stakes
Learn how to make beautiful sublimated plant stakes to organize your garden!
Materials
- One (1) Square Sublimation Plant Stake
- One (1) Sheet of 8.5” x 11” A-Sub Sublimation Paper 125g
- White Uncoated Butcher Paper
- 12" x 12" White Cardstock
- Design #745 (My free PNG design files are available in my free resource library - get the password by filling out the form at the bottom of this page)
Tools
- Sublimation Printer - I used a converted Epson EcoTank ET-2800 Inkjet Printer
- Sublimation Ink
- Scissors -OR-
- Paper Trimmer
- Heat Press - I used the 12” x 10” Cricut EasyPress 2
- Cricut EasyPress Mat
- Fan (for ventilation)
- Heat-Resistant Gloves
- Heat-Resistant Tape
- Measuring Tape
- Lint Roller
Instructions
STEP 1: GET MY FREE SUBLIMATED PLANT STAKES DESIGNS
First, download my Sublimated Plant Stakes designs from my free library – look for Design #745. Alternatively, you can use the Save This Project form near the top of this post and the design link will be emailed to you.
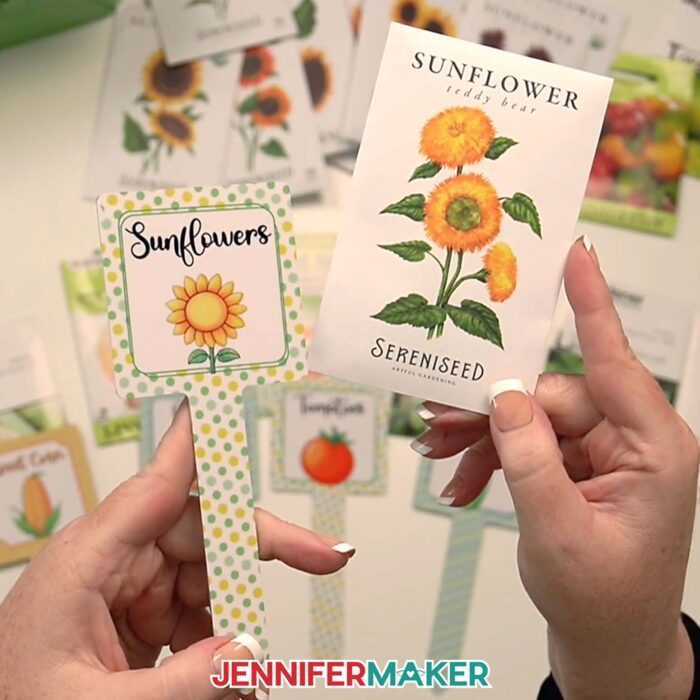
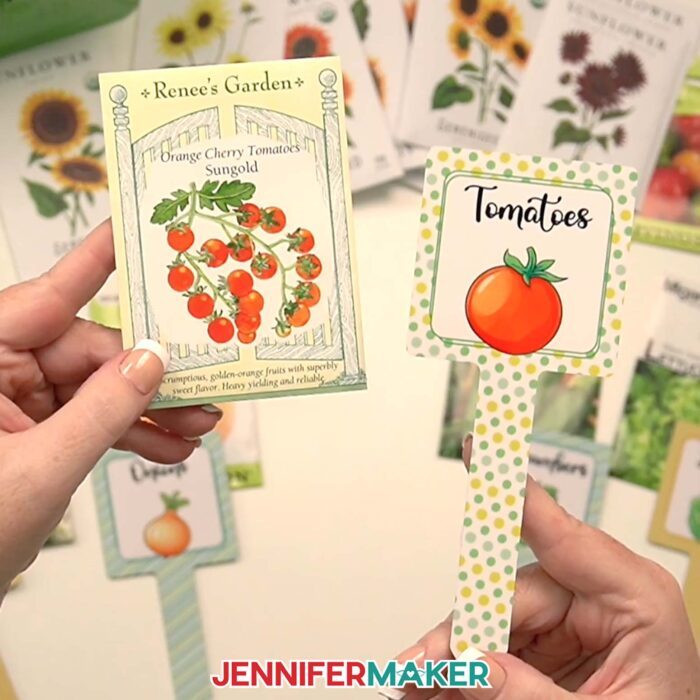
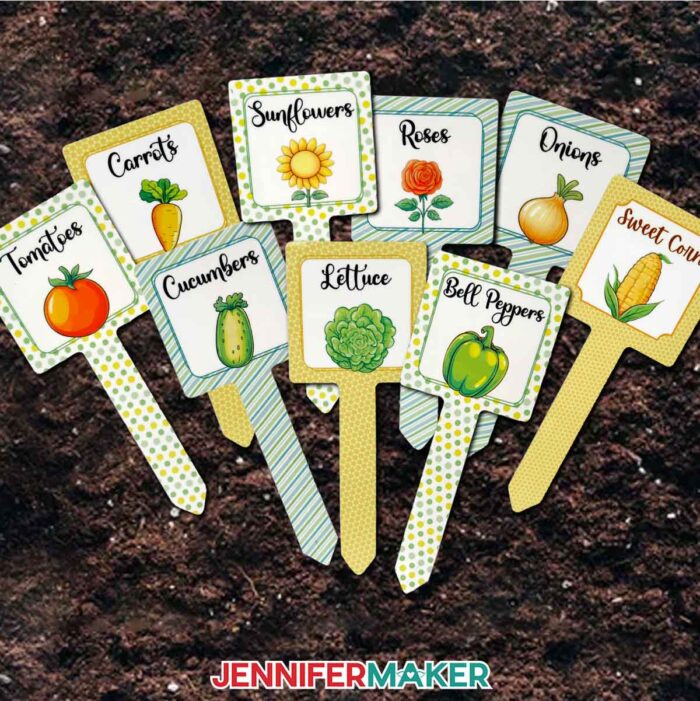
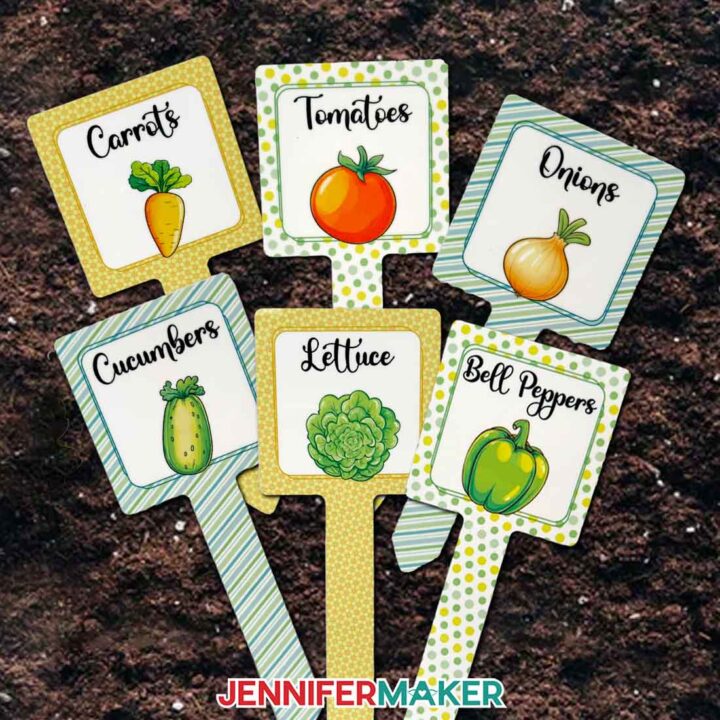
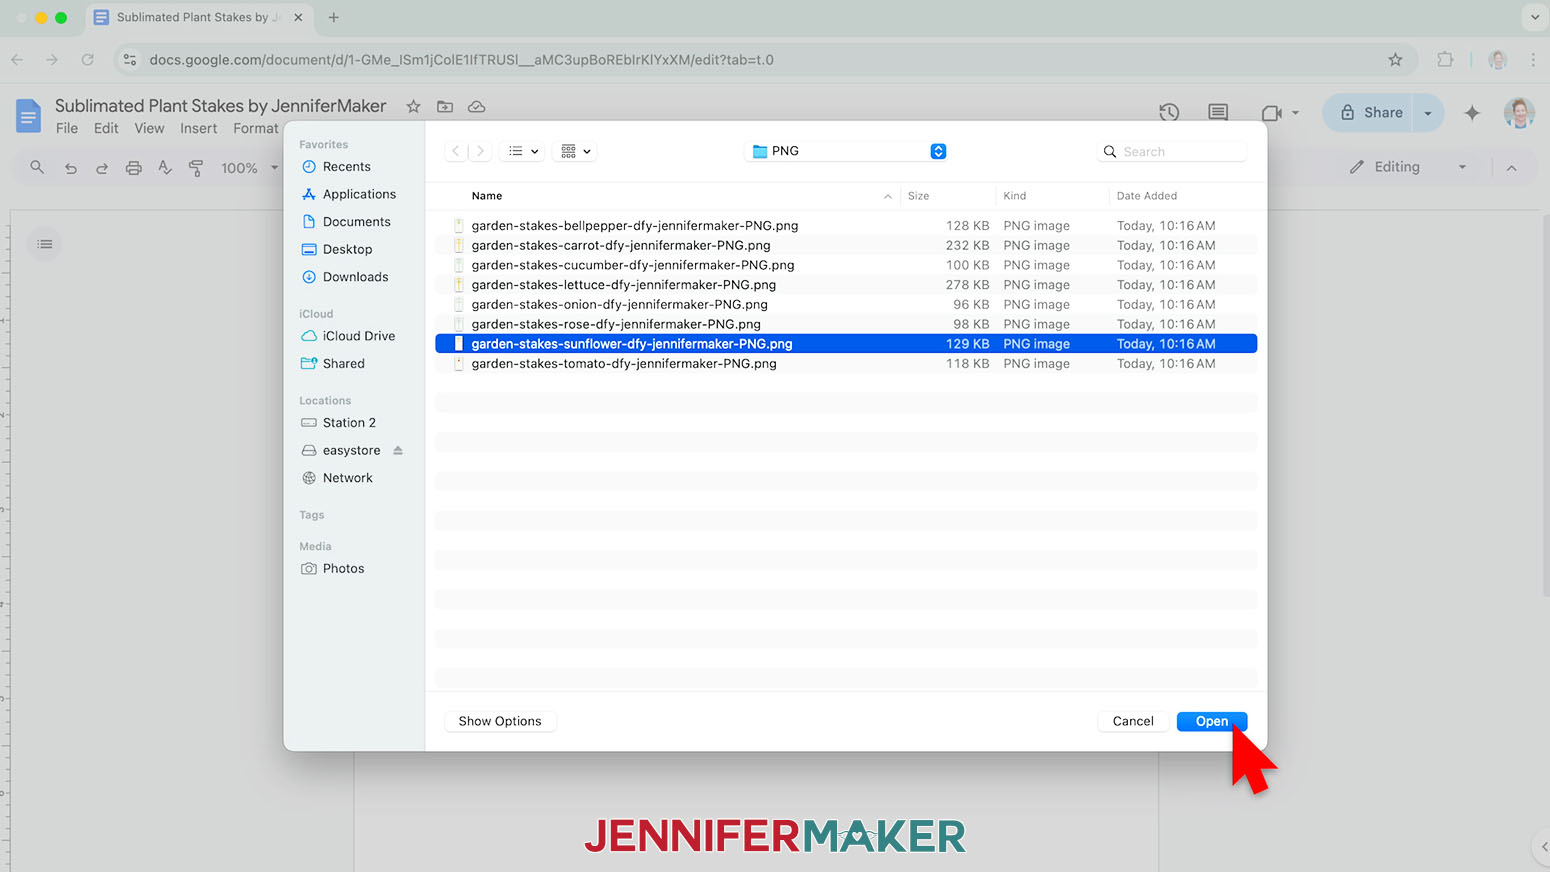
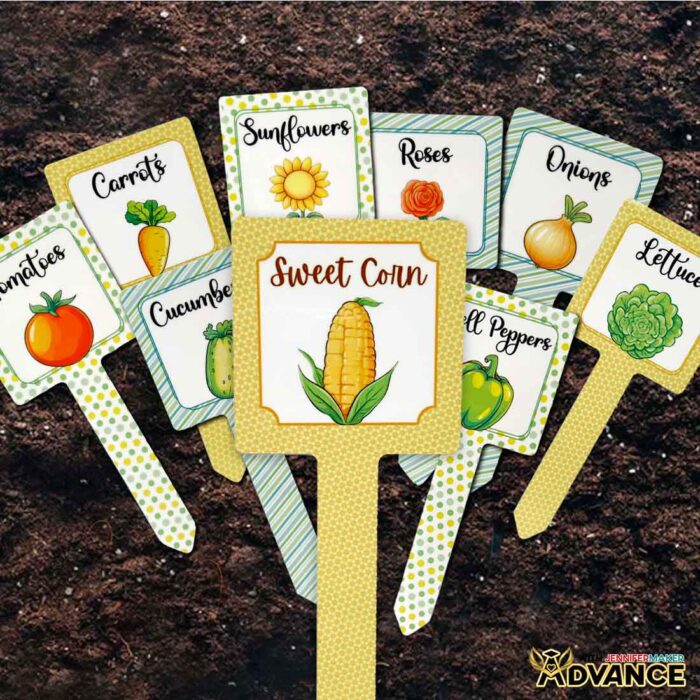
In the PNG folder, you’ll find eight garden-themed designs ready to print for sublimation: bell peppers, carrots, cucumbers, lettuce, onions, roses, sunflowers, and tomatoes. I made the plant elements with the help of AI art generation and adjusted them with image editing software.
TIP: If you’re not sure how to download Zip files and upload designs, go to jennifermaker.com/svgs. The steps are similar for PNGs and Google Docs.
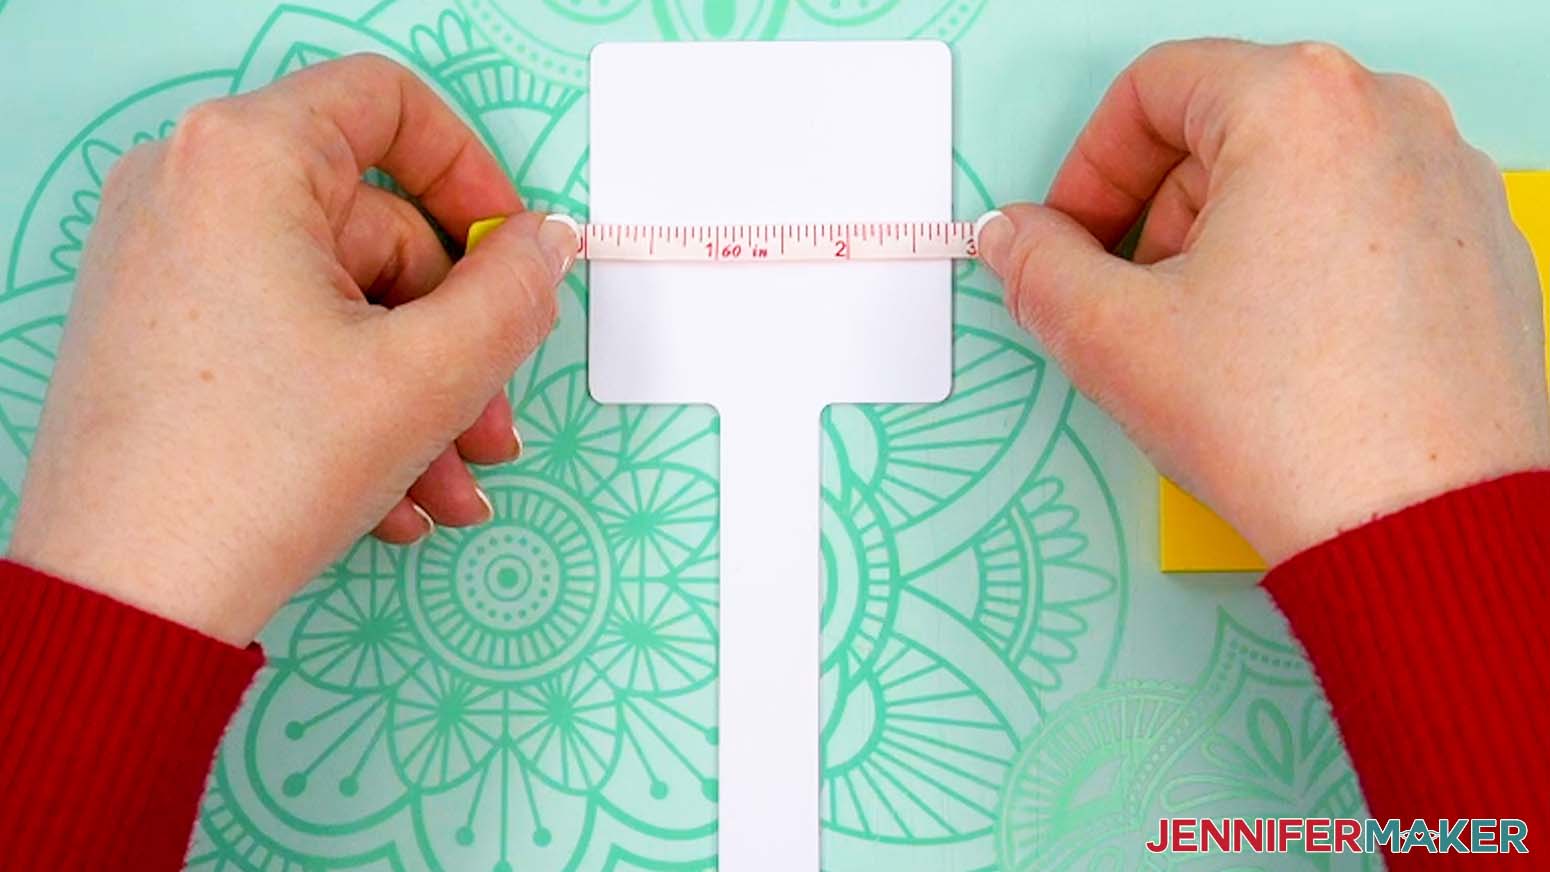
STEP 2: MEASURE YOUR SUBLIMATION PLANT STAKE BLANK
- Lay your plant stake blank flat on your work surface with the pointed end toward you.
- With a ruler, measure the width of the square head from the left edge to right edge.
NOTE: My stake measures 2.75” at the widest part. Your sizing might be different even if you use the blank I recommend, so always be sure to measure.
TIP: Most sublimation designs should completely cover the blank to fill all the white space. - Record your measurement, and set aside your notes for now.
STEP 3: PRINT YOUR SUBLIMATION DESIGN IN GOOGLE DOCS
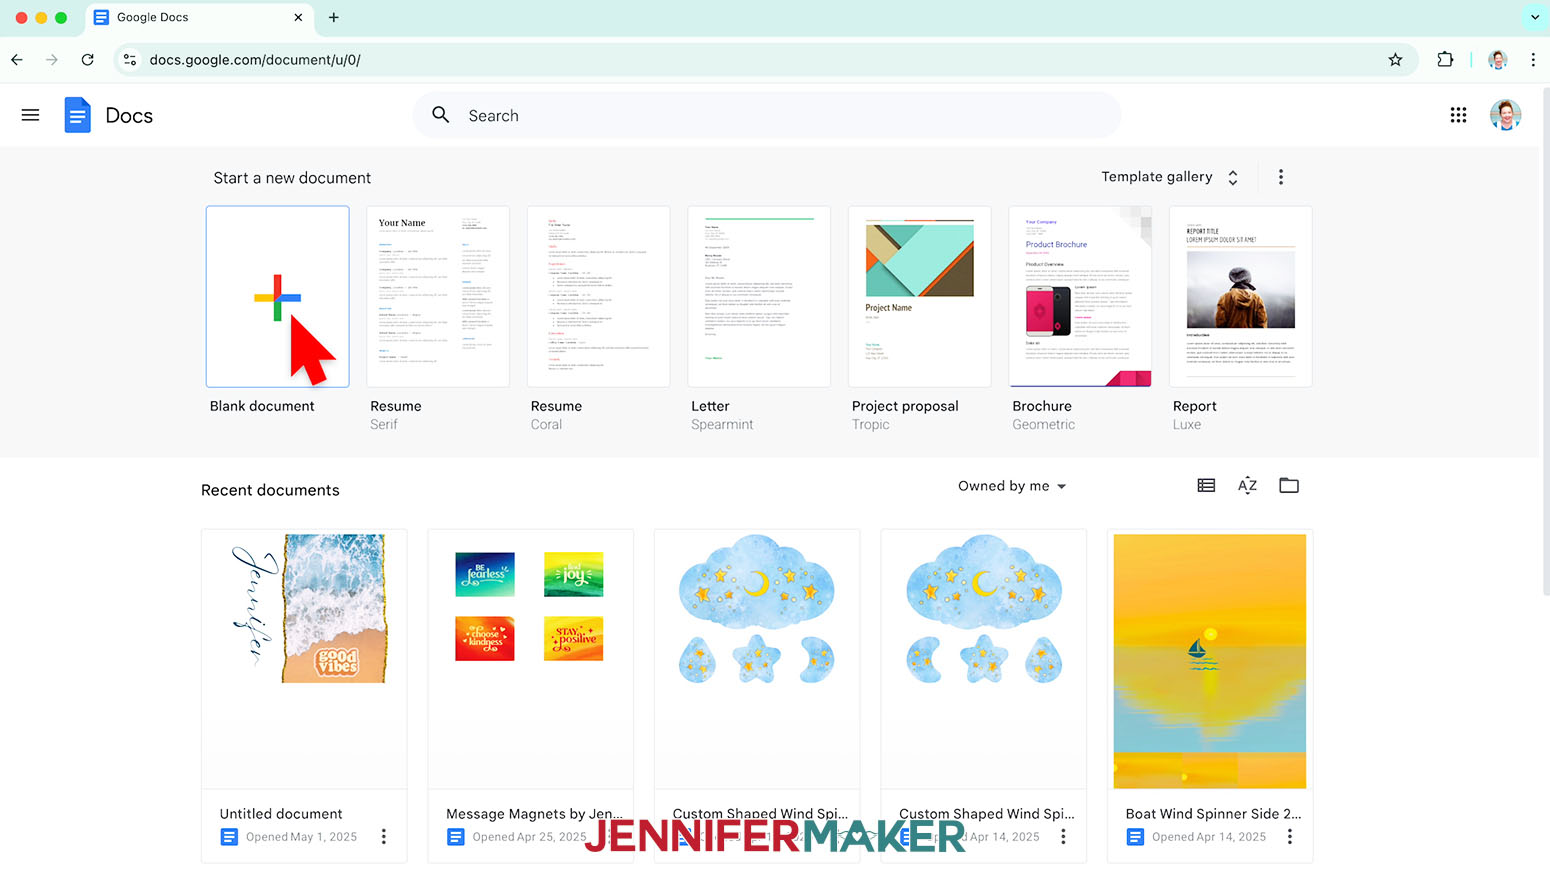
- Open Google Docs in the Google Chrome web browser on your computer.
NOTE: You will need a free Google account to use the free Google Docs software.
TIP: You can also download and open the Google Docs app, but you won’t be able to install or access any printer profiles from a mobile device, and you’ll also have limited access to features, so I do not recommend it on a mobile device. - Click “Blank document” at the top left to open a new document.
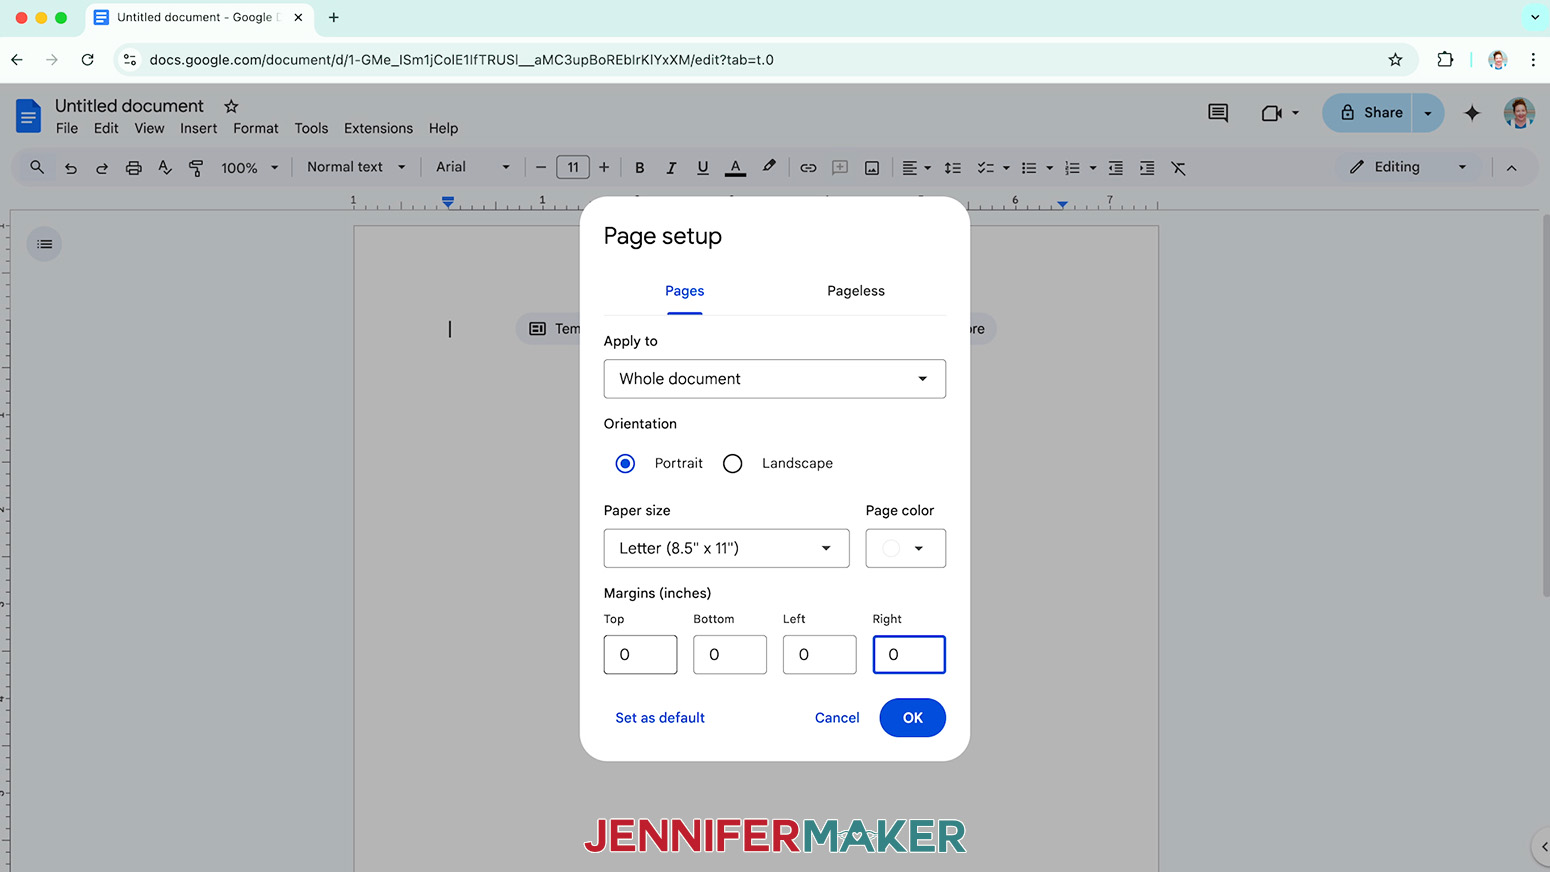
- Go to the File menu and select “Page setup.”
- Make sure the box next to “Portrait” is checked.
- Change your margins to “0” to use more of the page.
- Make sure your Paper Size matches your sublimation paper.
NOTE: I’ll set mine to 8.5” x 11” or letter-size. - Click “OK” to apply the settings.
- Click the area that says “Untitled document” at the top and type a name for the file.
- Go to the Insert menu, select “Image,” and select “Upload from Computer.”
- Select the PNG file with your chosen plant stake design.
TIP: You’ll most likely find it in your Downloads folder. - Click “Open” to add the image to your document.
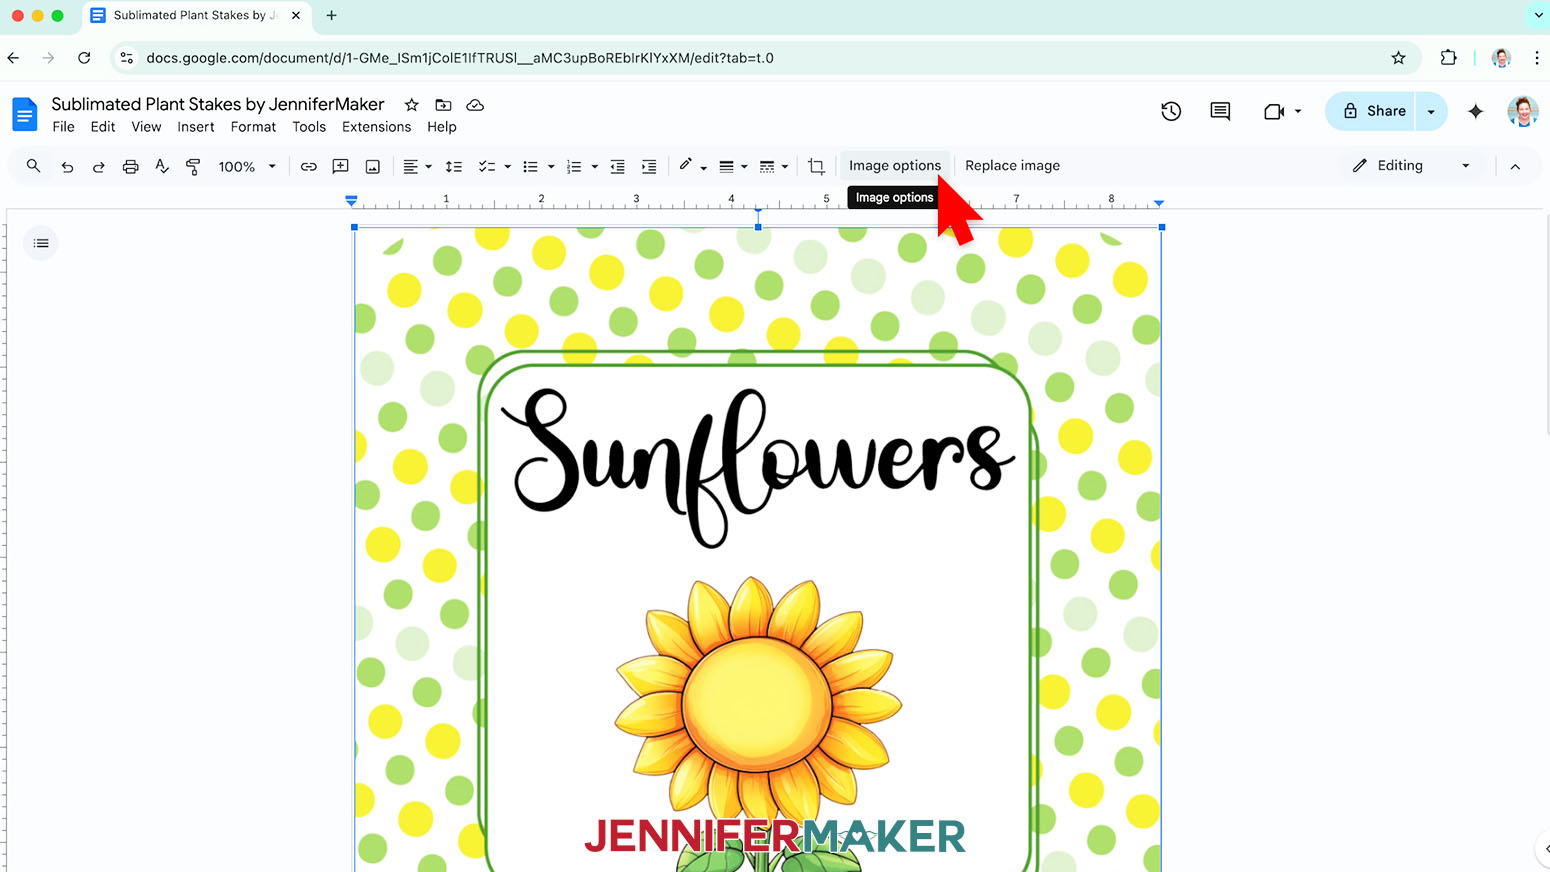
- Click “Image Options” at the top of the canvas.
NOTE: You can also open the menu by going to “Format,” “Image,” and “Image Options.” - Select “Size & Rotation.”
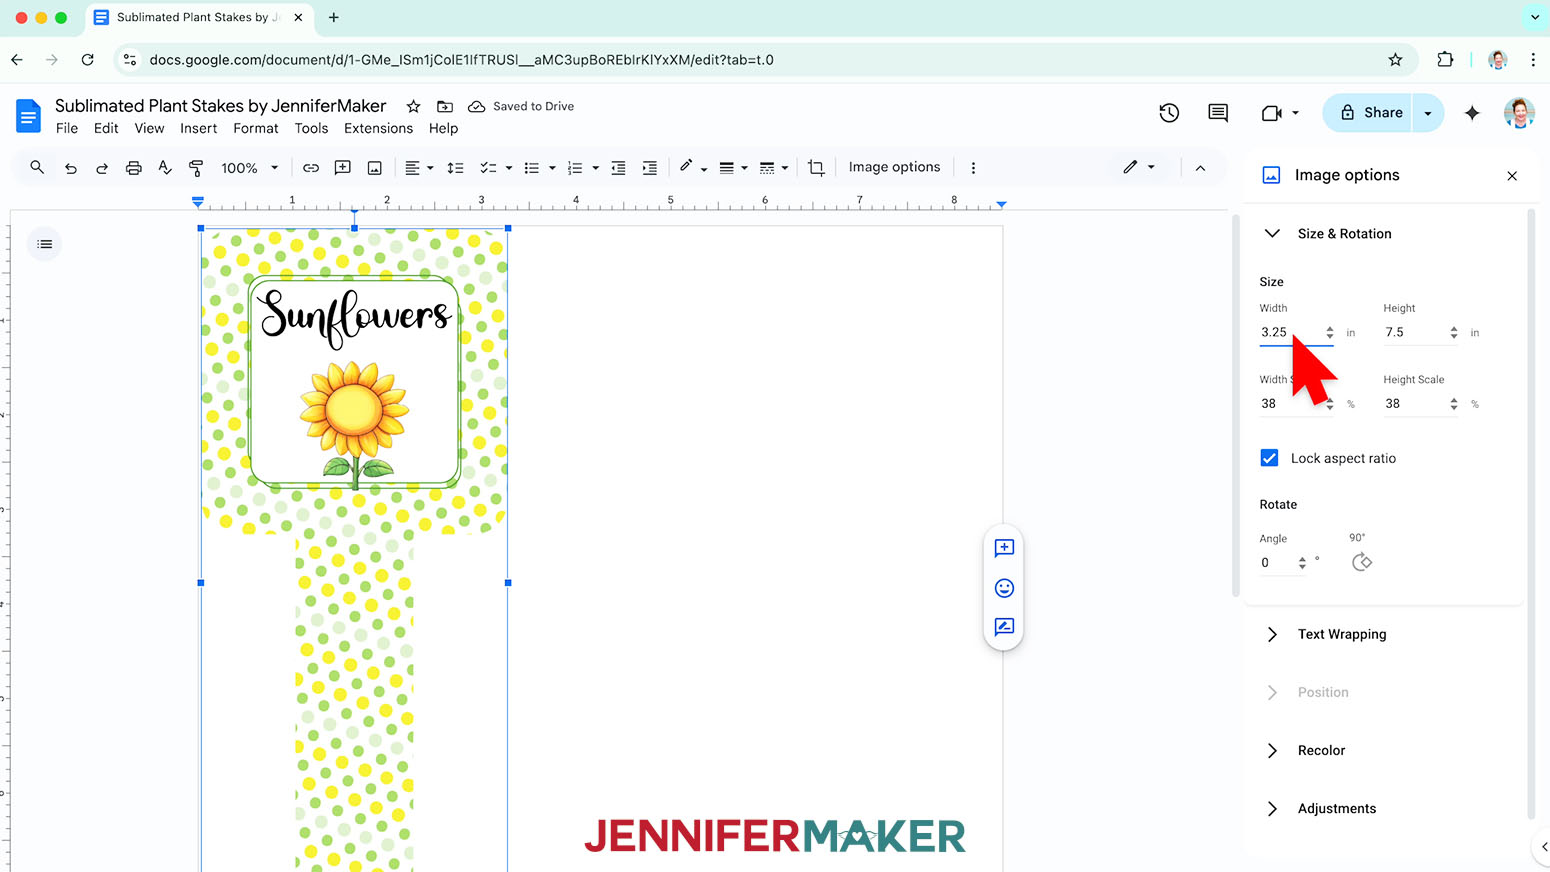
- Keep the “Lock aspect ratio” box checked to maintain the design’s proportions.
- Change the “Width” field so it’s about half an inch larger than the width measurement you recorded to ensure your blank will be fully covered.
NOTE: My plant stakes measured 2.75” wide, so I’ll set the width to 3.25”. - The “Height” field will automatically adjust proportionately.
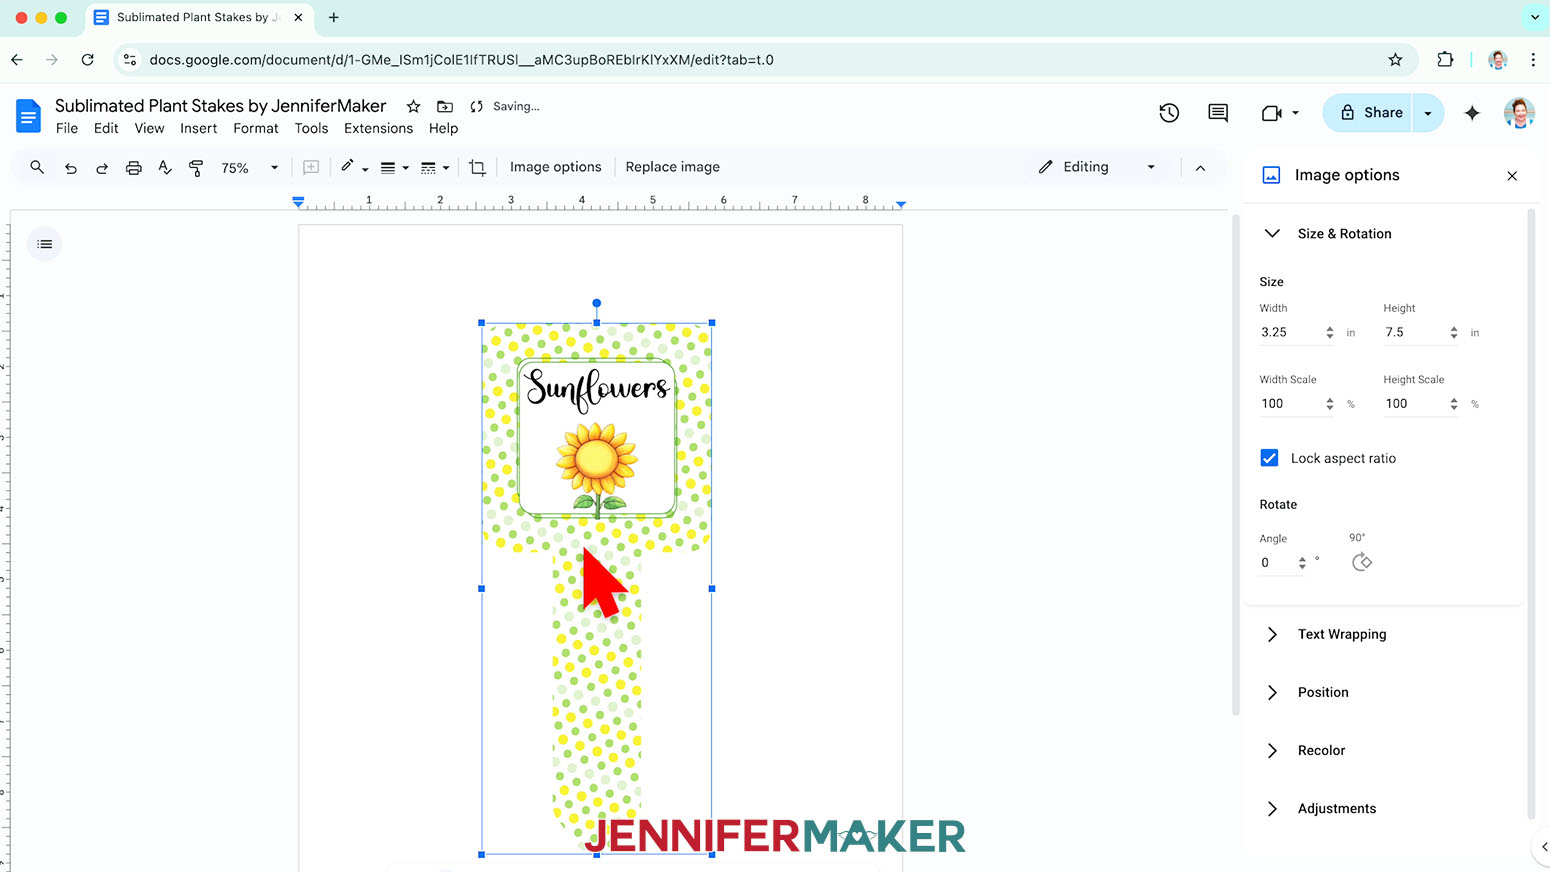
- Click the image and select the “Wrap text” icon from the menu that appears below it.
NOTE: This setting lets you move the design anywhere on the page. - Click and drag the image to the center of the page to ensure it won’t get cut off at the edges.
- If you’d like to make a copy of the design, right-click the image and click “Copy,” then right-click inside the document and select “Paste.”
- Or, repeat Steps 9-18 to add an additional design.
- Make sure your designs aren’t overlapping or too close to the edge.
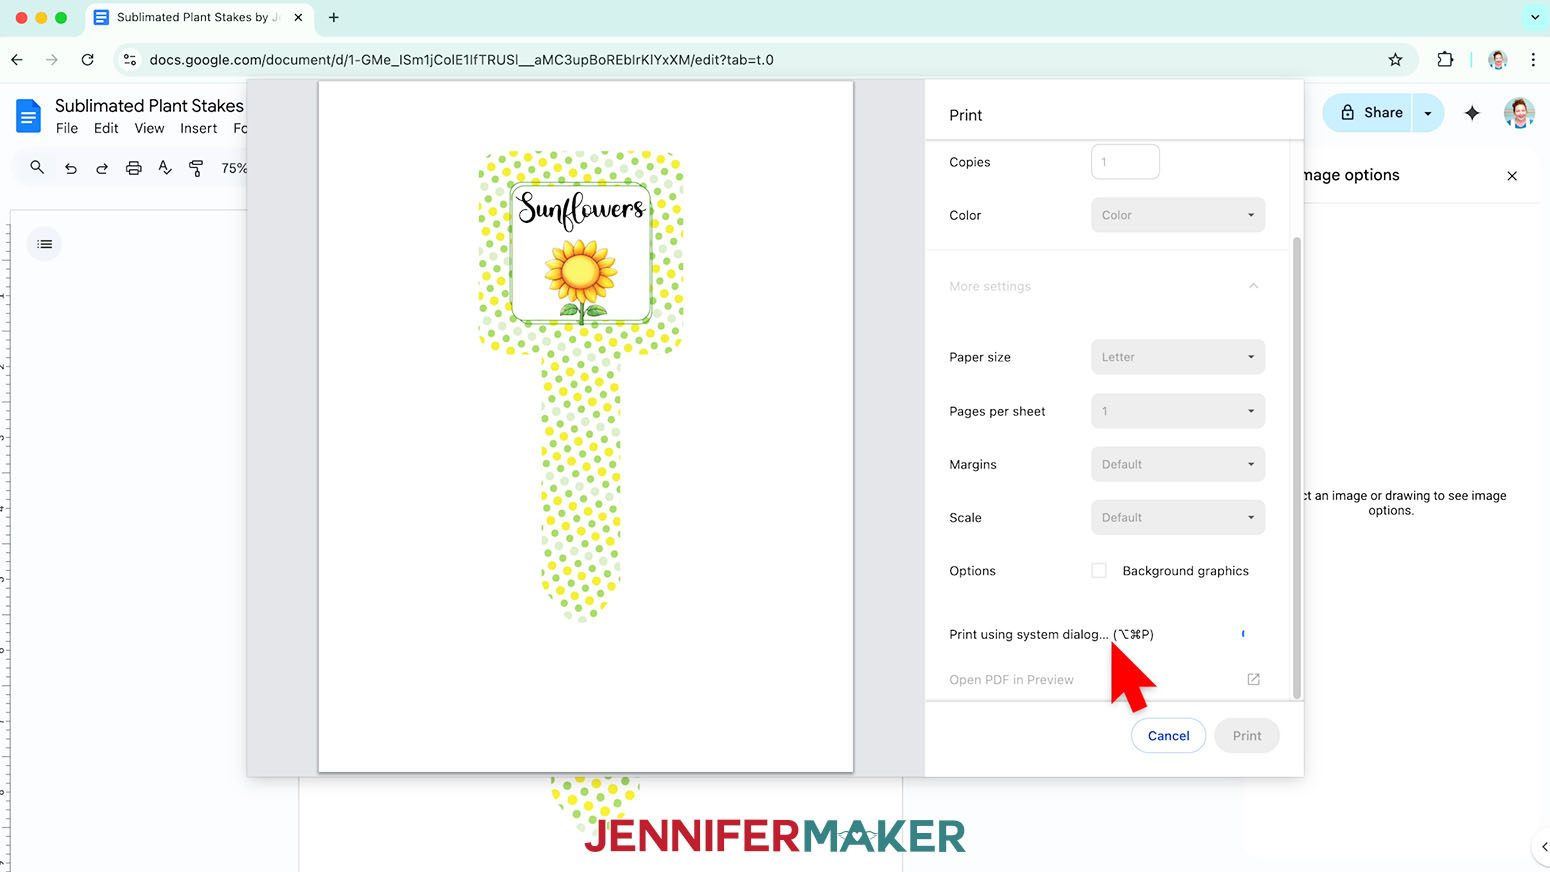
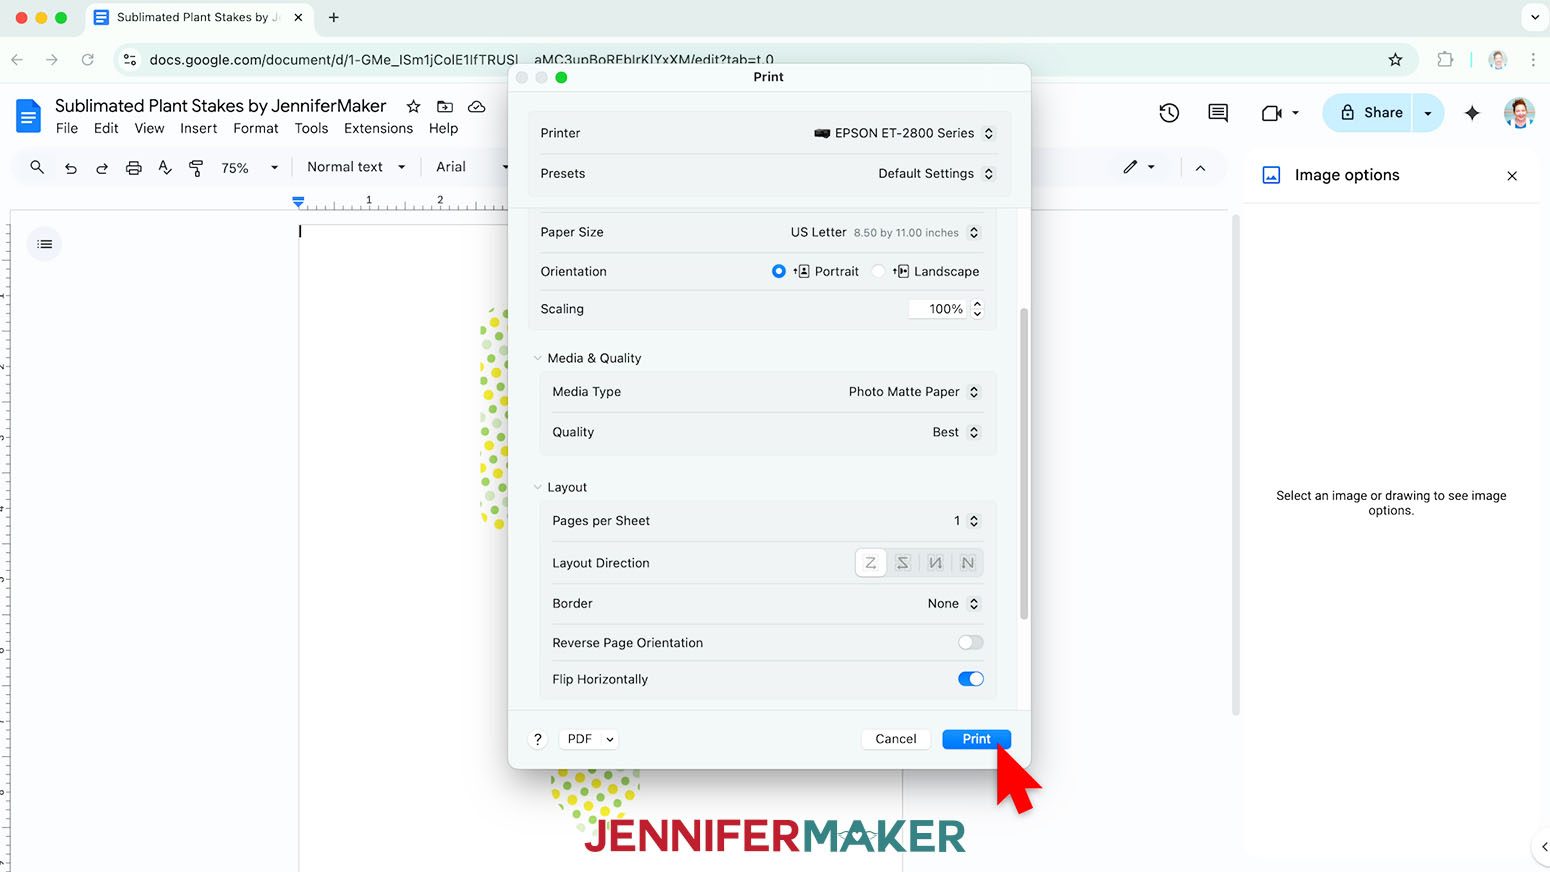
- Go to the File menu and choose “Print.”
- Select your sublimation printer under “Destination.”
- Click the arrow beside “More Settings” to select “Print Using System Dialog.”
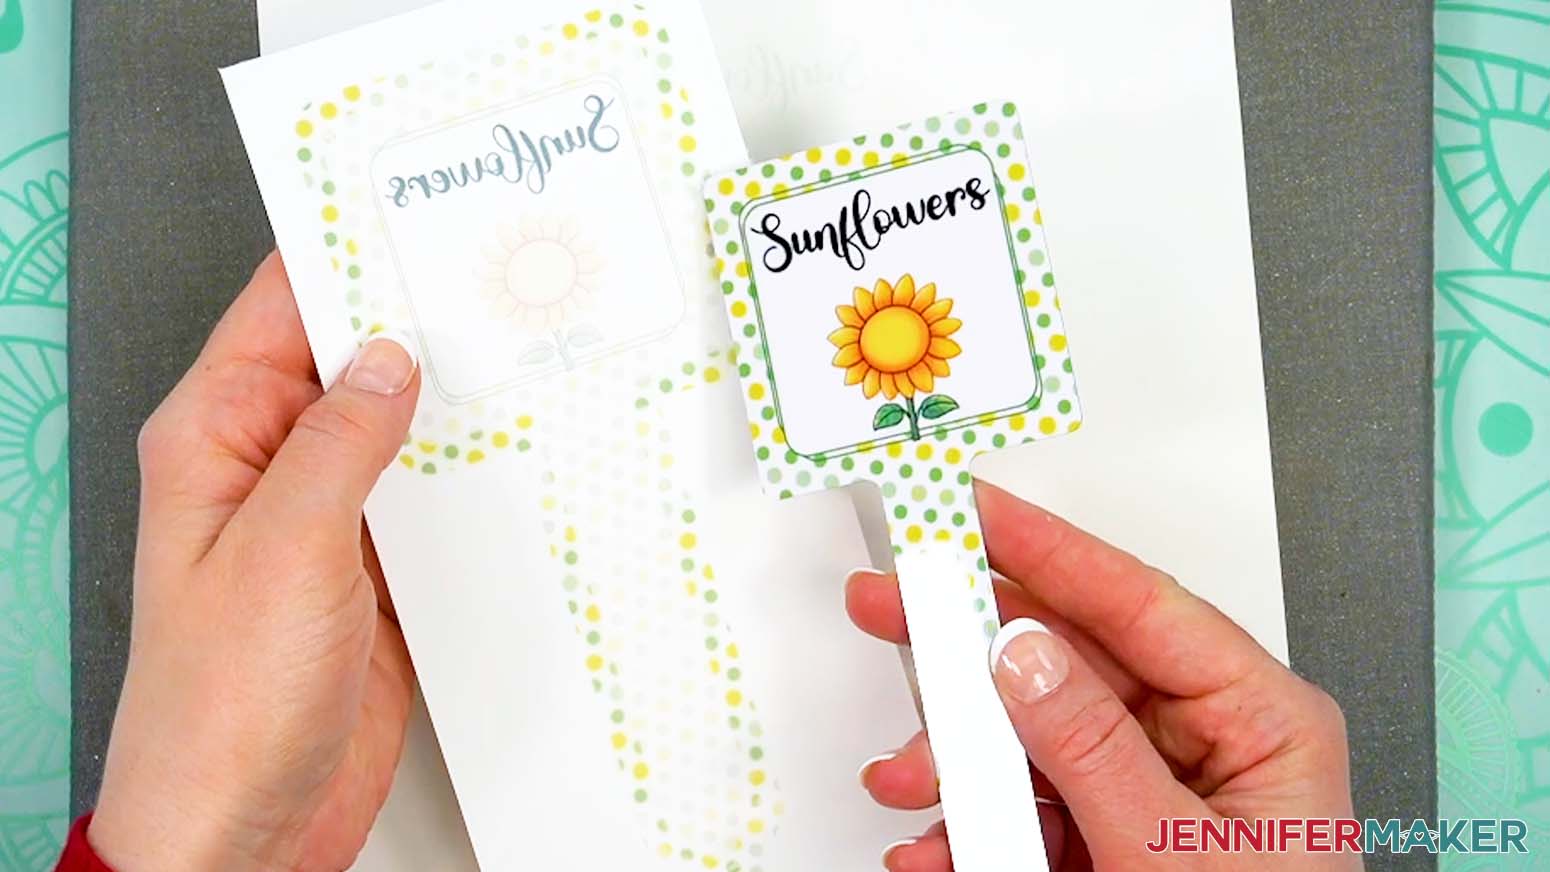
- Your print menu may look different - just make sure that you “flip horizontally” to mirror the images and select the highest quality matte paper setting. Double check the sublimation printer and paper size settings to make sure they still match.
- Load a sheet of sublimation paper correctly into your sublimation printer.
NOTE: Check the packaging for information on how to load the paper. - Click “Print.”
- Allow the print to dry before handling it, as the ink can smear.
NOTE: The printed design will appear lighter before pressing. - Your images are ready to press!


STEP 4: SUBLIMATE YOUR PLANT STAKES
IMPORTANT: As with all sublimation projects, open a window and turn on a fan to improve your ventilation before beginning.
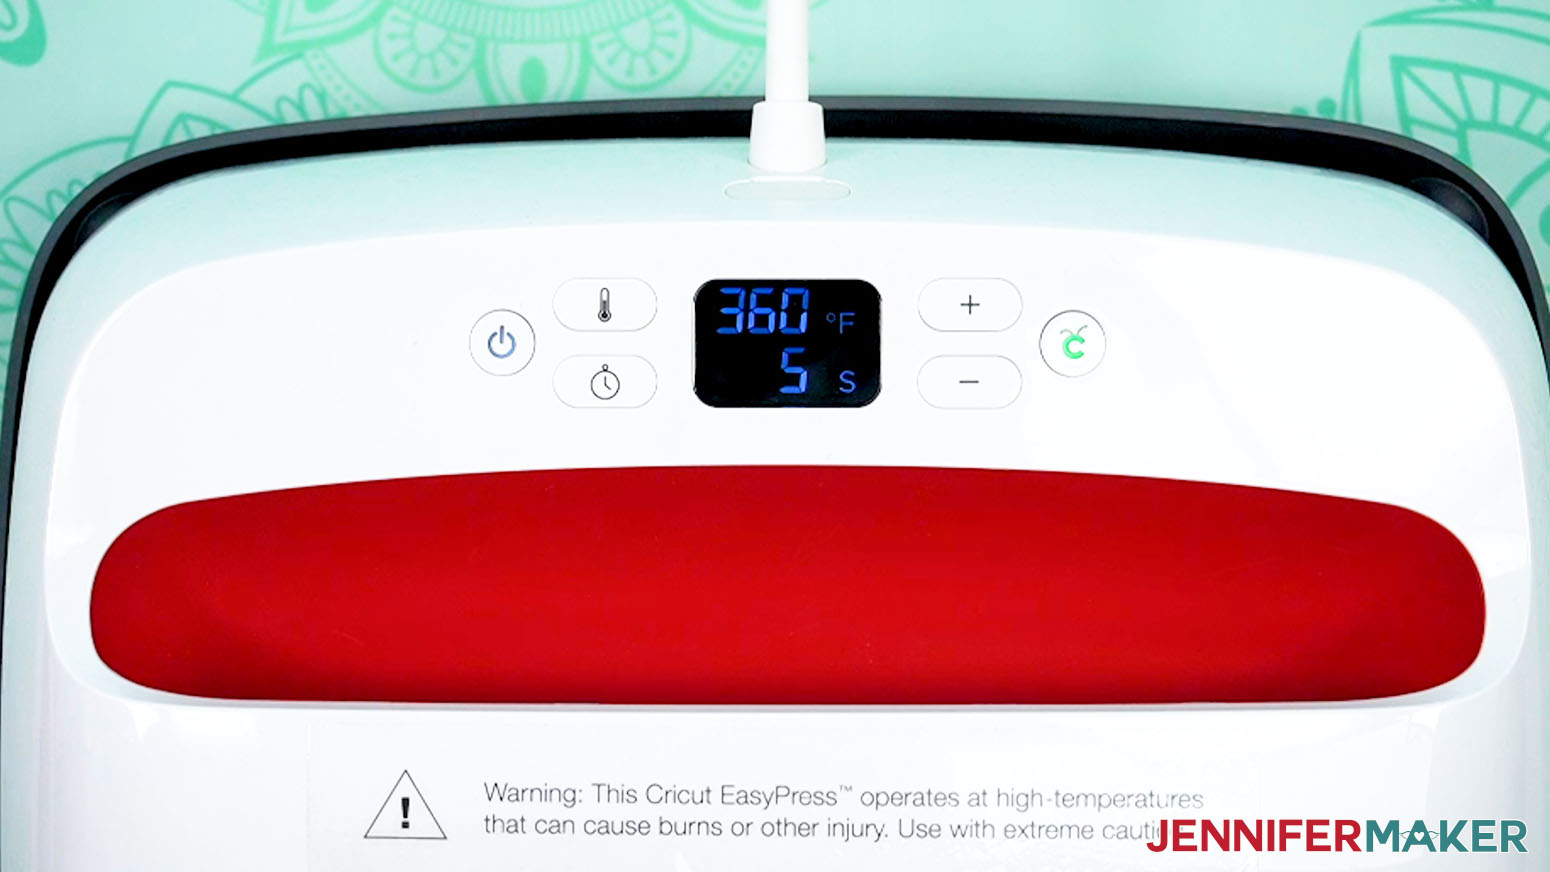
- Set the temperature of your EasyPress to 360℉ (183℃), and set the timer for 5 seconds.
TIP: I followed the time and temperature settings for aluminum photo panels in my Sublimation Cookbook. Inside, you can find the settings for tons of other sublimation projects, too! - Place your pressing mat on your work surface with a piece of protective white cardstock on top to protect it from any ink that may escape during the sublimation process.
TIP: Your cardstock should be clean and free of any ink or other marks that could transfer to your blank during sublimation. - Use alcohol and a lint-free cloth to clean any fingerprints or skin oils from the white sublimation side of the blank.
NOTE: Be careful not to touch the surface after cleaning!
TIP: If your plant stake came with a protective film, be sure to remove it before cleaning. You can use tweezers or a weeding tool to carefully lift the film if it’s really stuck. - Place the plant stake sublimation-side up on your pressing mat, then cover it with a sheet of white, uncoated butcher paper.
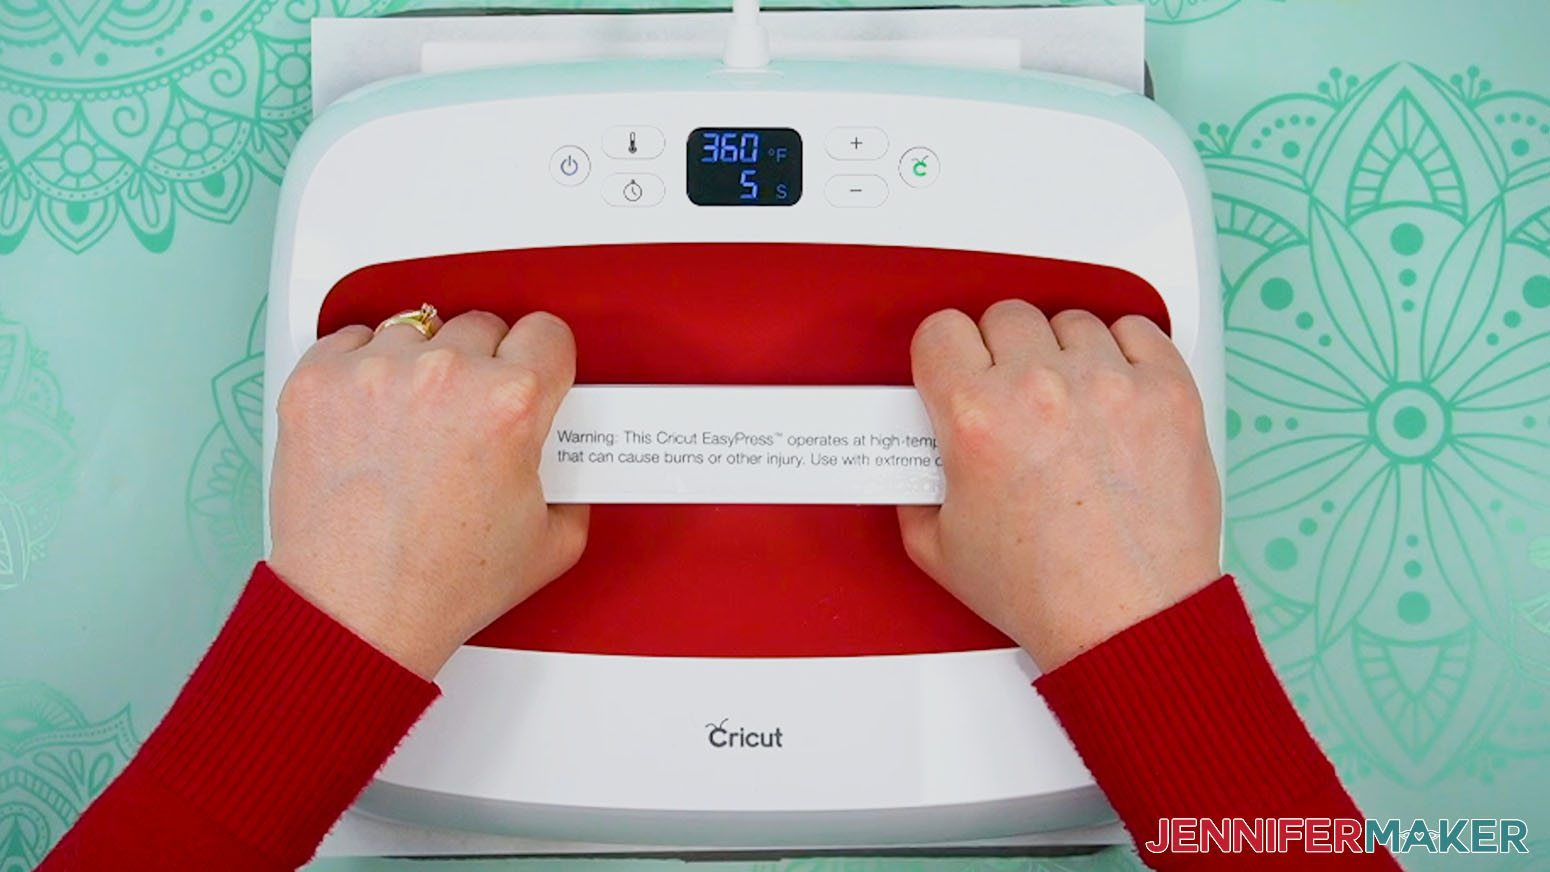
- Cover the entire area of your stake with the EasyPress and preheat the blank with medium pressure for 5 seconds to remove moisture.
- Lift the EasyPress and place it back on the base.
- Wearing heat-resistant gloves, carefully lift away the butcher paper and set aside the preheated blank to cool completely.
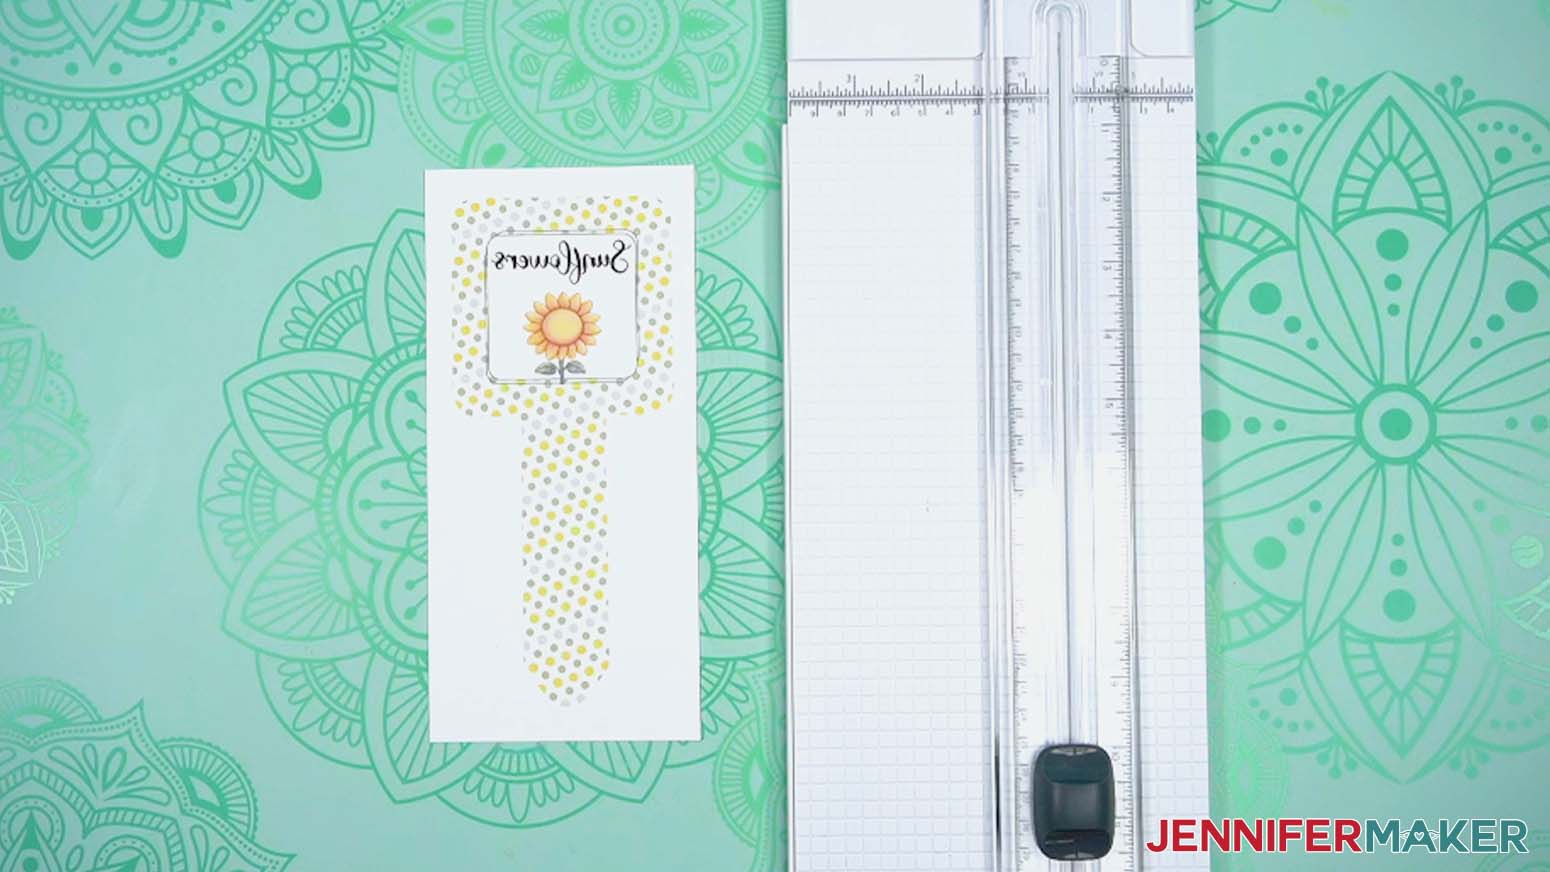
- Use scissors or a paper trimmer to cut your printed design down to a smaller rectangle. Make sure there is at least ½” of white around the ink’s edges.
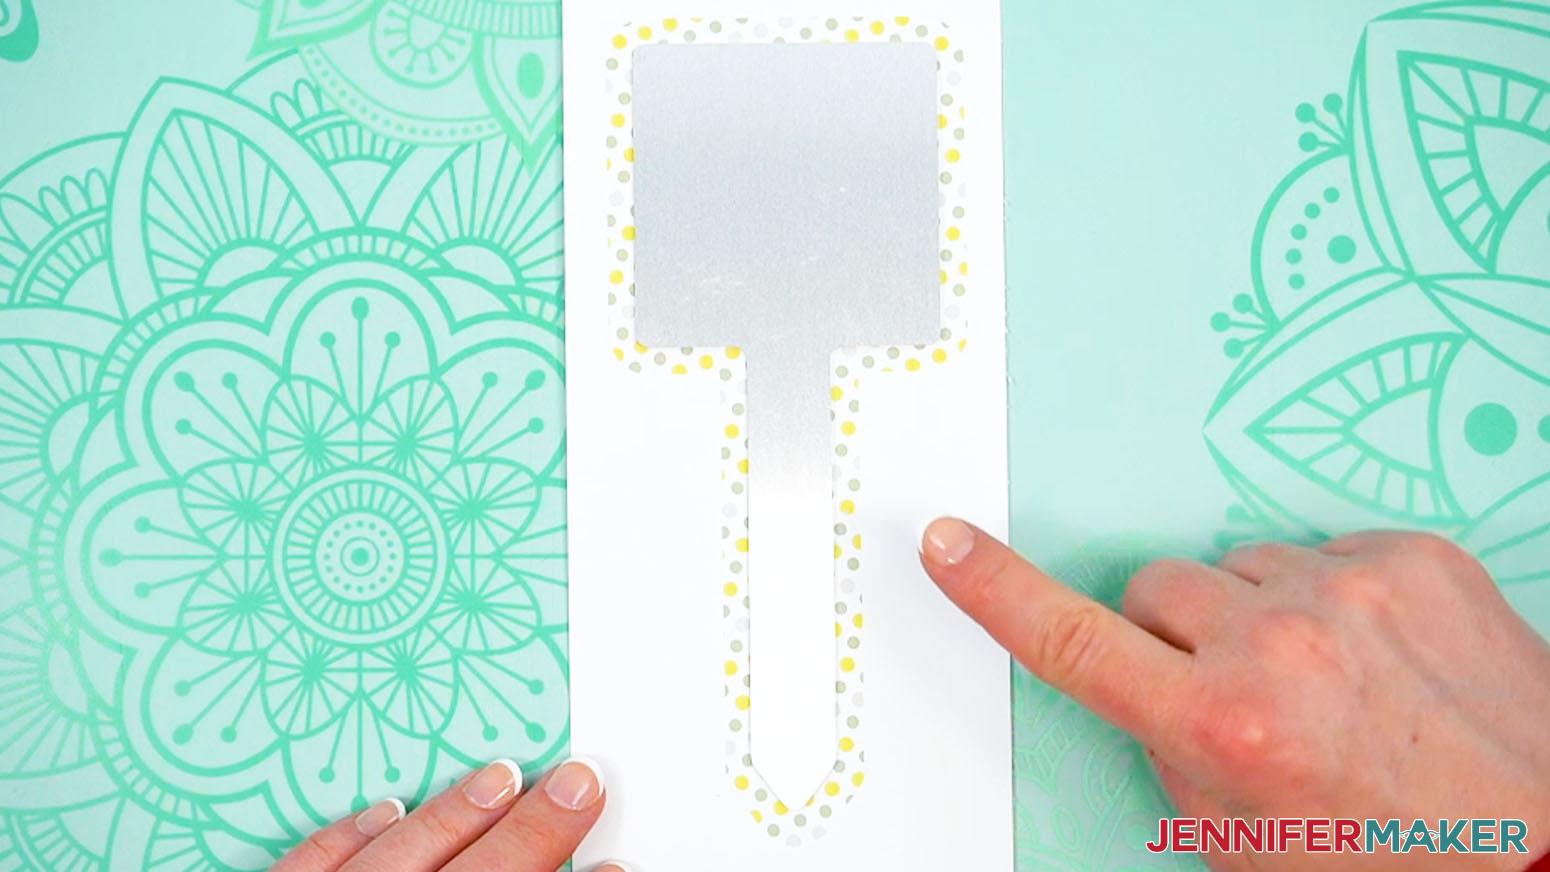
- Place the stake’s printed design face up on your work surface.
- Center the blank sublimation-side down on the print so an even amount of ink shows around the blank.
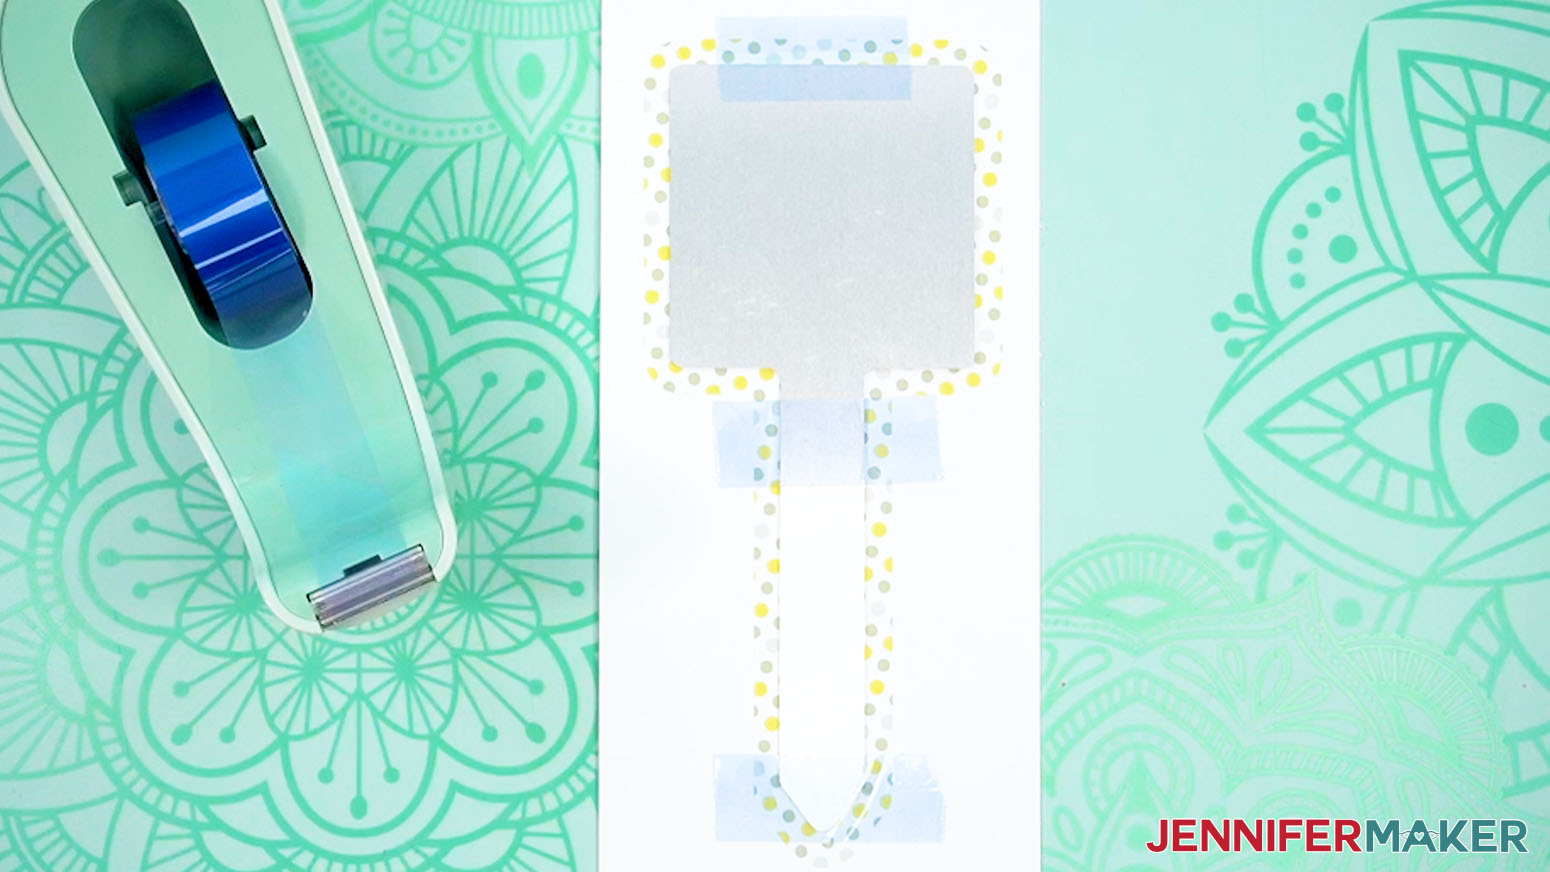
TIP: If the handle area of the print is a bit longer than your blank’s handle, focus on centering the square head of the stake. - Use heat-resistant tape to secure the blank at the pointed bottom, the straight top, and across the middle where the head and the handle meet. Make sure the print is tight against the sublimation surface.
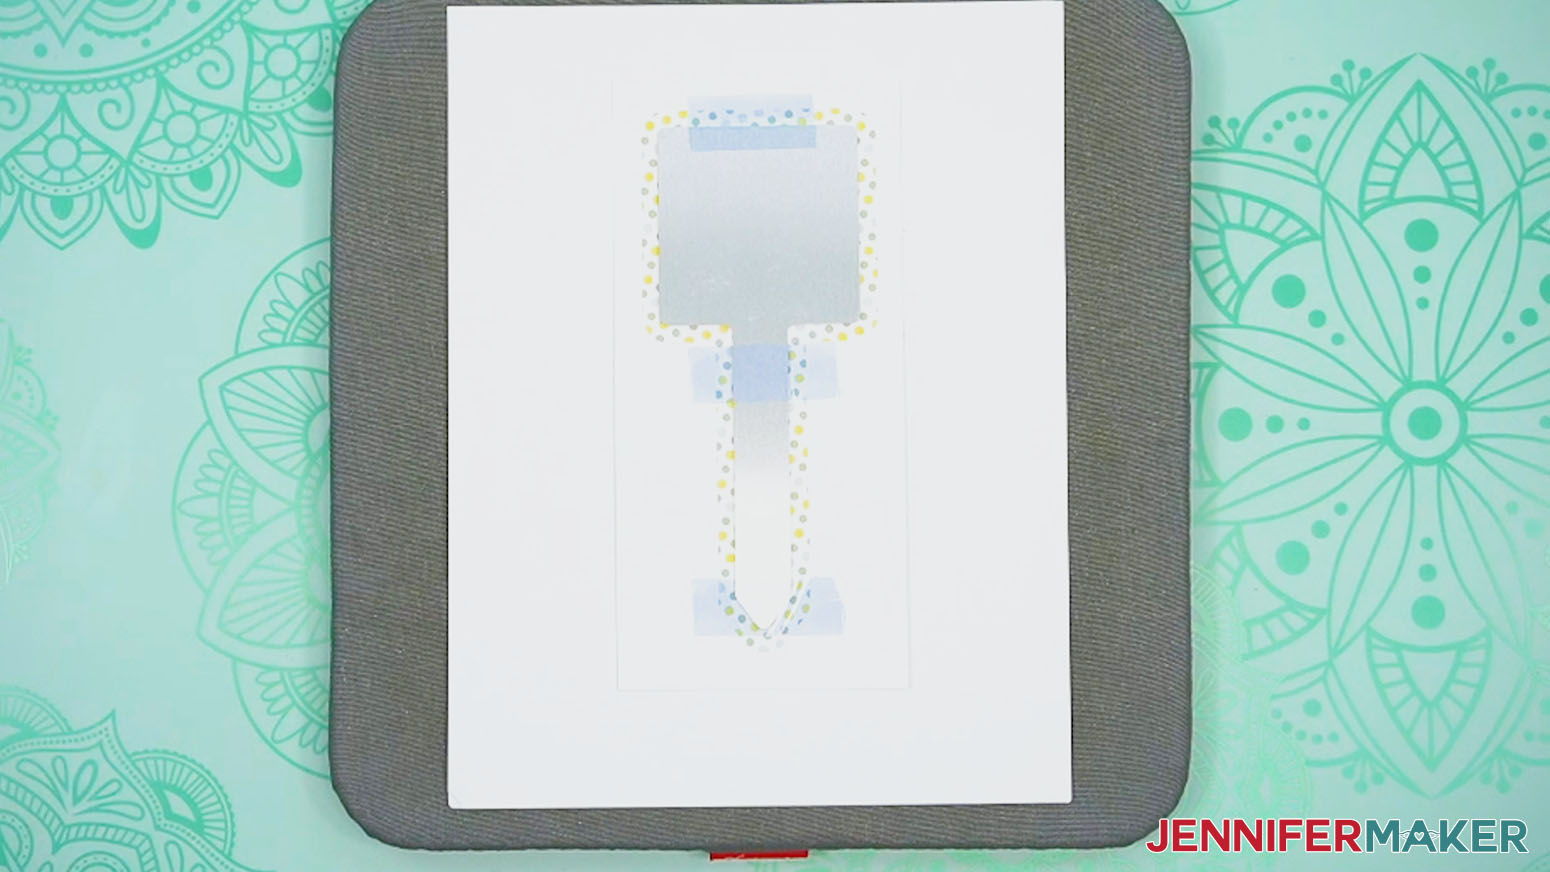
- Place the secured blank onto the cardstock so the print is face up and the blank is transfer side down (metal side up).
- Place a fresh piece of white uncoated butcher paper on your project to completely cover it.
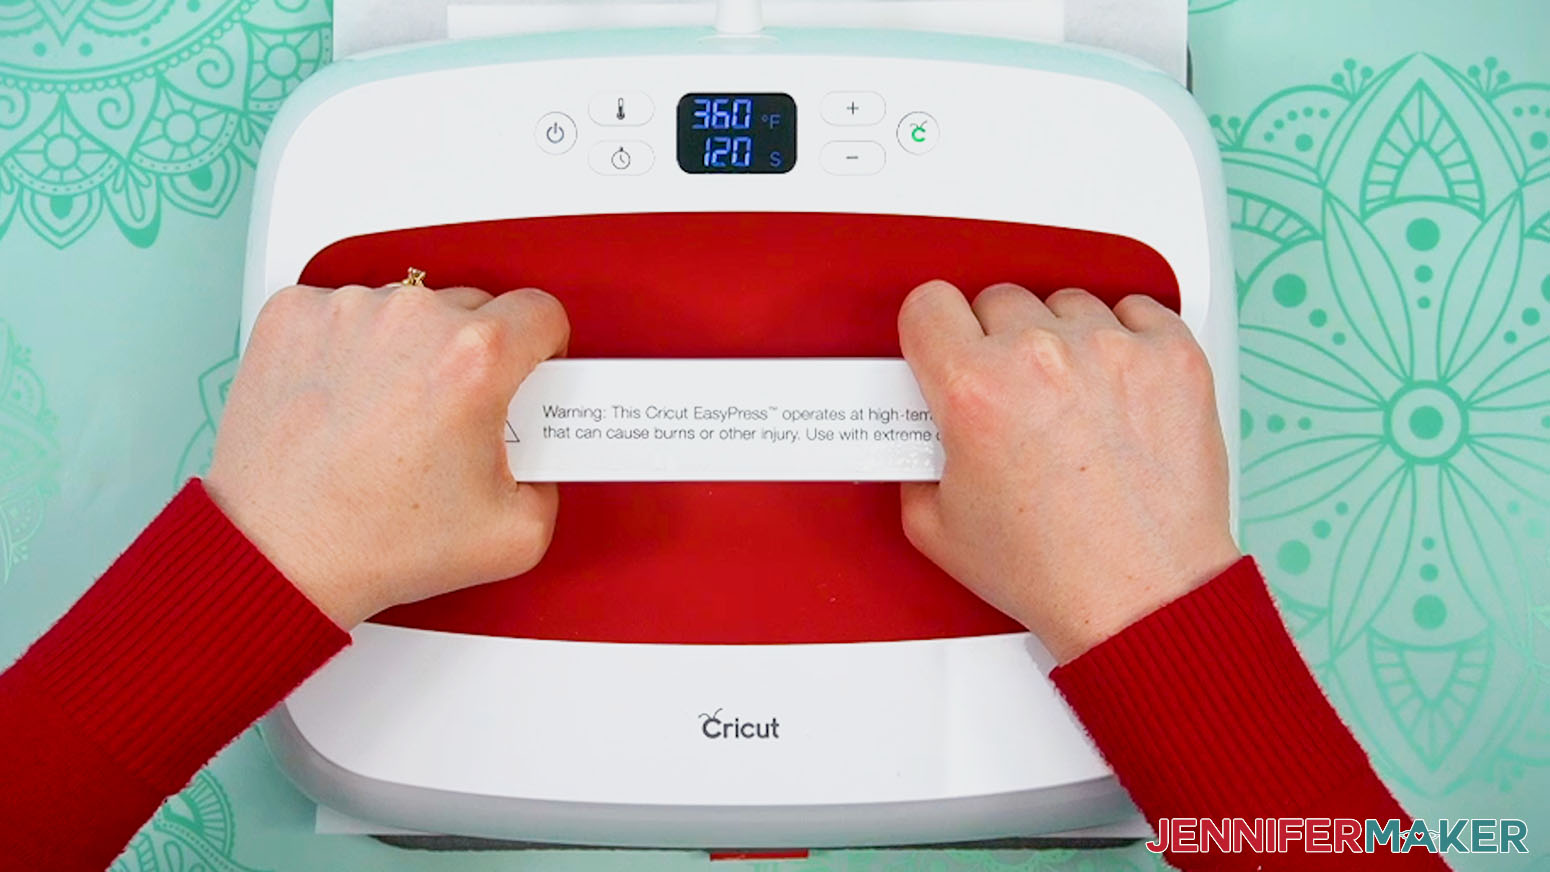
- Make sure the temperature of your EasyPress is at 360℉ (183℃), and the timer is set for 120 seconds.
- Cover the entire area of your plant stake with the EasyPress and hold it in place with light pressure for 120 seconds.
TIP: Keep pressure even on both sides of the press for best results. - When the time is up, lift the EasyPress straight up to avoid ghosting.
NOTE: Always remember to place your press back on the base after using. - Let the project cool completely, then remove the butcher paper, the tape, and the design.
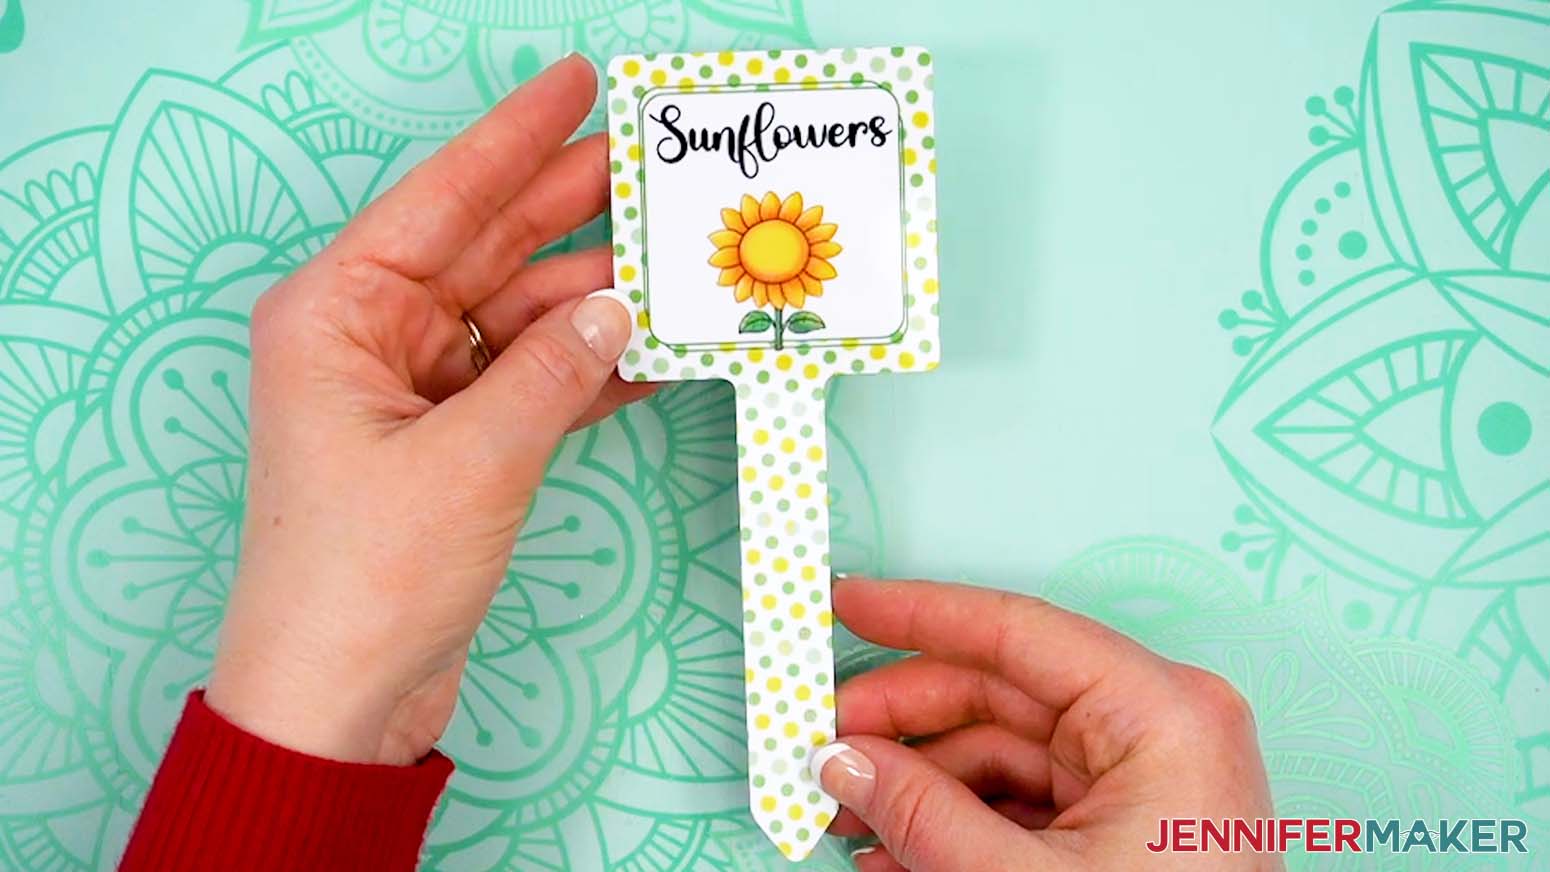
- Your sublimated plant stake is ready!
STEP 5: SHOW IT OFF
You now have a labeled plant stake you can use to organize your garden or greenhouse!
Notes
Print Sizes:
3.25” W x 7.5” H
Blank Sizes:
2.75” W x 6.9” H
Fonts Used:
Christmas Jellyshake
Free Alternative: Blantick Script
Care: To wash, use warm water, mild soap, and a microfiber cleaning cloth.
Answers to “Why Does My Sublimation Look Faded?” and Other Common Questions
Q: I want to design my own custom sublimated garden stakes. How do I do that?
A: You can learn how to design your own custom sublimation garden stake designs with Canva in my ADVANCE program. Learn more about ADVANCE here!
Q: What do I need to begin sublimation?
A: To get started with sublimation, you need some basics like a printer with sublimation ink, sublimation transfer paper, a heat press, polyester fabric blanks like T-shirts or polymer-based blanks like special mugs or garden stakes made for sublimation, and a few other tools and materials you can find in my list above. If you’re not sure where to begin, this beginner-friendly sublimation tutorial walks you through everything step-by-step!
Q: Can you tell me how to fix faded sublimation?
A: Faded sublimation can be caused by a variety of things, like not using the correct temperature, pressing for an insufficient time, not printing on the correct side of the sublimation paper, or using the wrong type of blank. In my sublimation troubleshooting tutorial, I show you how use the right settings and techniques to ensure sublimation success. And if you’re worried about a faded sublimation print, it’s ok! The ink is duller before it’s pressed, so it will look more vibrant when you’re done!
Q: How do I make my sublimation brighter?
A: Bright sublimation results come from using the right materials and settings — like using sublimation transfer paper, high quality ink, and a compatible blank pressed at the proper time and temperature. My tutorial includes examples and tips to help your colors really pop.
Q: Is it cheaper to do vinyl or sublimation?
A: There are so many factors involved, but overall I would say that vinyl is a little cheaper, though the results aren’t as long-lasting. You don’t need a Cricut or cutting machine with sublimation, but you do need a sublimation printer with sublimation ink to print your own designs (unless you have them printed by a service like Jiffy). Sublimation blanks can be a little expensive, and mistakes are more difficult to fix than those made with vinyl. However, by knowing how to prevent common sublimation issues, you won’t let your money go to waste!
Q: Can you use Canva for sublimation?
A: You can, and I actually used Canva to design my plant stakes in this tutorial! Canva is one of my favorite tools to design PNG images for use in sublimation crafts! Check out my Canva Coach Playbook to learn all about how to use Canva to create designs, edit photos, and more. And if you want to know exactly how to use Canva to design your own garden stakes, check out my ADVANCE with JenniferMaker program!
Q: Can you sublimate over sublimation mistakes?
A: Sometimes you can rescue a sublimation mistake by using a heat gun to lighten the image or pressing over it with a darker design or pattern, though results may vary depending on the blank and colors. I show what works and what to avoid when sublimating over sublimation mistakes in my How To Remove Sublimation Ink from a Tumbler: Two Ways tutorial.
Q: What is the best print setting for sublimation?
A: The ideal sublimation print setting is usually high-quality or photo mode with mirroring turned on. For detailed guidance, including how to adjust print settings for common printers, check out the walkthrough in the tutorial.
Q: What is the best sublimation ink?
A: I recommend using trusted sublimation ink brands that are compatible with your printer. I use Hiipoo sublimation ink, which works great in my converted Epson EcoTank. In the conversion tutorial, I share the exact ink I use, how to fill the printer correctly, and show how it performs on real projects.
Q: What is the best image type for sublimation printing?
A: High-resolution PNGs with transparent backgrounds or flattened JPEGs tend to work best for sublimation. If you’re not sure how to prep your image, I show how to size and format it perfectly using free tools in the tutorial.
Q: Can you do sublimation with Cricut?
A: While a Cricut cutting machine can be useful in some sublimation projects, it does not sublimate or print sublimation ink. However, you can use a Cricut and Infusible Ink pens to draw designs onto paper which can be sublimated, or use a Cricut machine and Cricut Design Space to cut SVG designs out of Infusible Ink transfer sheets.
Q: What is the best sublimation printer for beginners?
A: Learn all about the top sublimation printers on the market with my post: Choosing the Best Sublimation Printer 2025.
Q: Can I make and sell my sublimated garden stakes?
A: If you want to use my designs and projects for commercial use, please familiarize yourself with my important licensing information before selling your crafts.
Get the free PNG images to sublimate your own garden stakes!
(If you do not see the signup form above, click here.)
I love seeing your sublimated projects, and how you use them! Once you’ve made your own sublimated garden stakes, inspire others and share some photos of your creations in our Facebook group or tag me on social media with #jennifermaker.
Love,

Want to remember this? Save this Sublimation Plant Stakes Tutorial to your favorite Pinterest Board!