
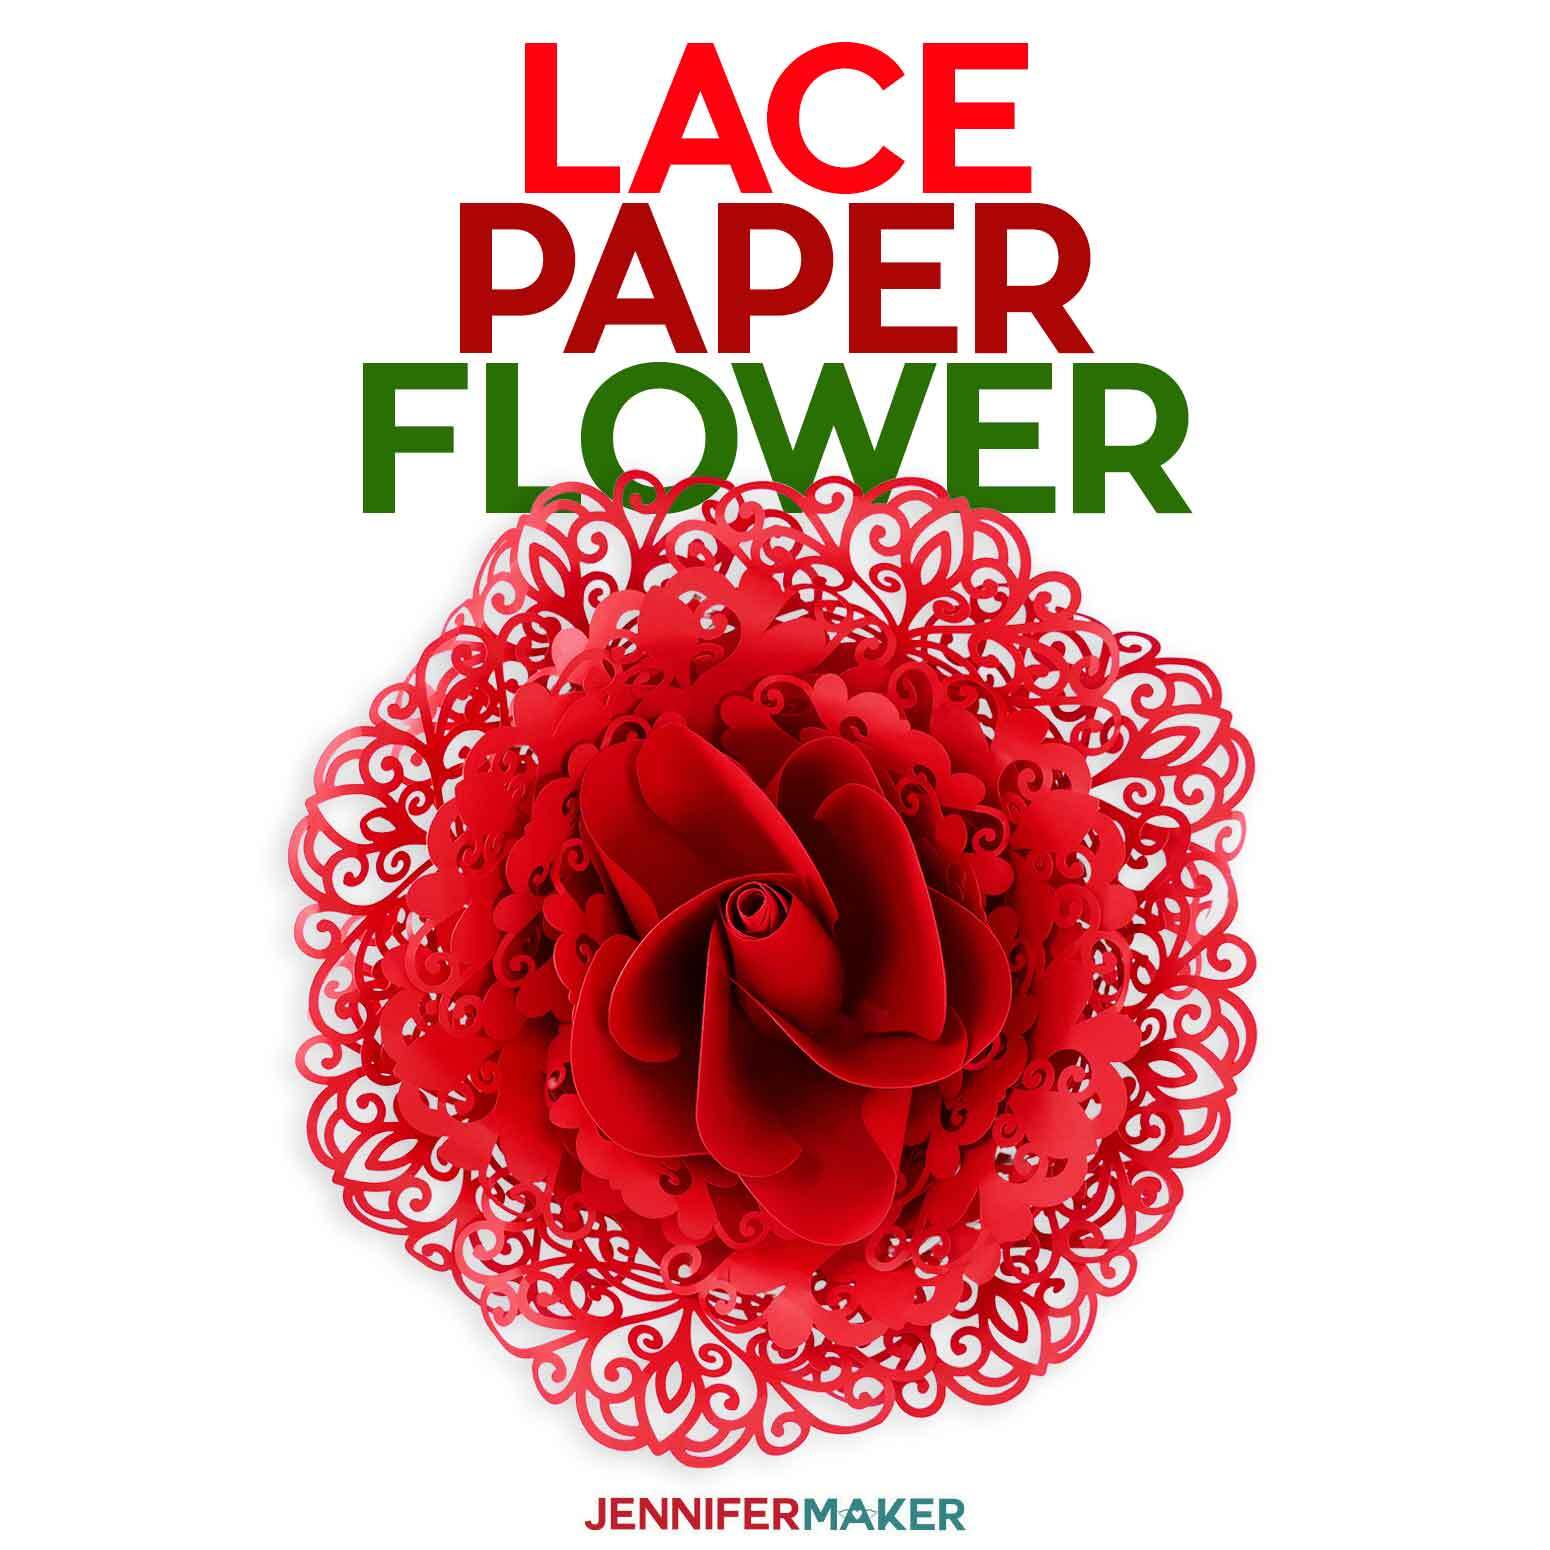
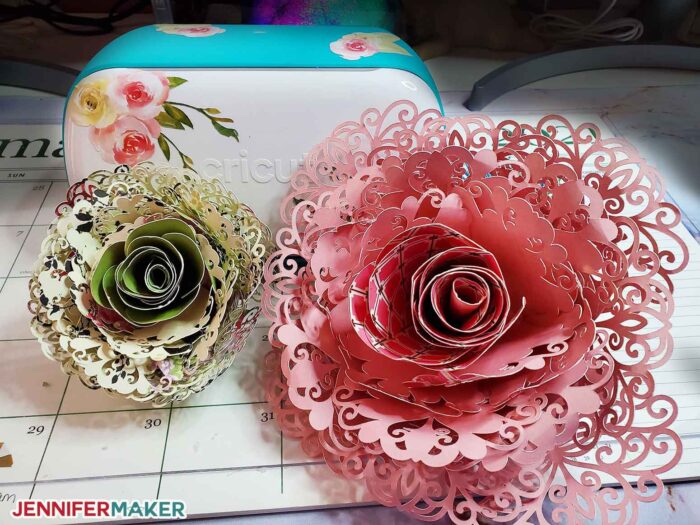
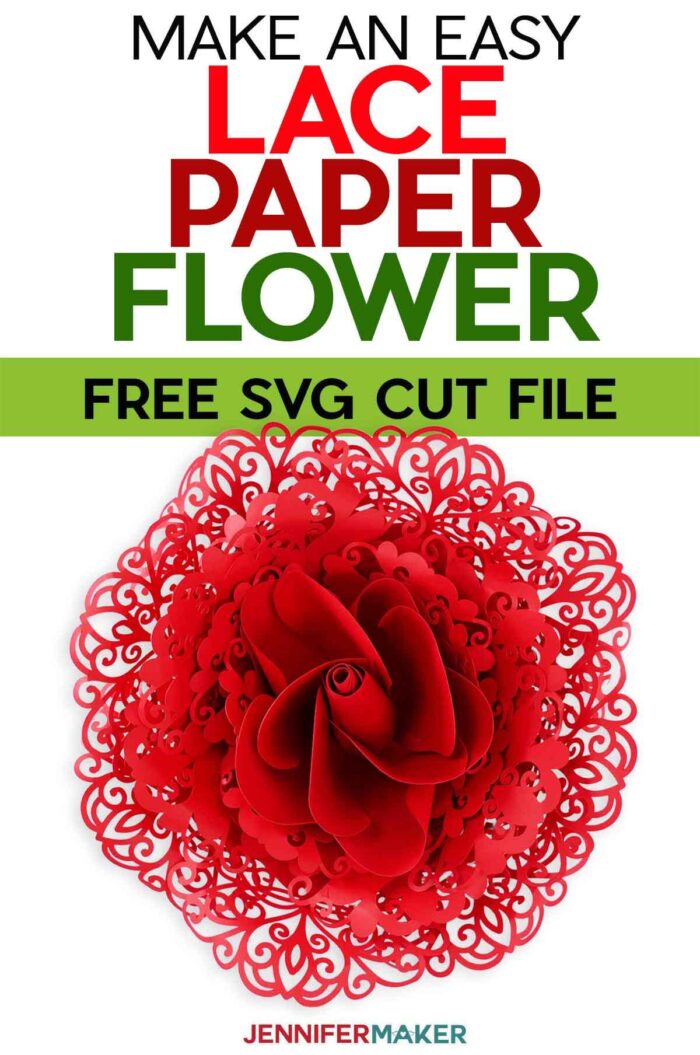
Make a stunning and elegant giant lace paper flower with this step-by-step tutorial and free template. This mesmerizing detailed flower is perfect to add a pop of color to your home decor!
Giant paper flowers are easily the most popular craft on my blog. I have so much fun making them and so it’s easy to keep making more and more. Some have been easy to create, like my giant rose or my paper magnolias but some have been more challenging, like my giant sunflower. This time though, I decided to not make a real life looking flower. Instead, I decided to take my giant paper flower idea and add some beautiful lace petals on the outside layer for a stunning giant lace paper flower!
Watch the Giant Lace Paper Flower with Filigree Petals assembly video here:

With the nice weather upon us, it’s easy to get excited for spring. Birds are starting to chirp, trees are growing leaves, and flowers are starting to bloom! Of course, it makes me want to create some spring themed ideas and what better way than to kick off with this fun Giant Lace Paper Flower with Filigree Petals! Have you made any flower designs? If you haven’t, I really suggest you give this one a try. It’s fun and easy!
People ask me what projects they should start with when they get their Cricut. Paper flowers are ones I always recommend because you don’t need a lot of supplies and they don’t take a long time to make. Most important though, is the room for error, which is something I love! This giant lace paper flower doesn’t have to be exact. Some people place their paper flower petals closer together and others prefer a looser look.

There’s a lot of flexibility on where you place your individual lace paper flower petals and you really can’t go wrong! Depending on whether you place your petals tightly or loosely, you will end up with a giant paper flower that is about 14 inches in diameter and six inches high — it can be the focal point of any indoor or outdoor space!
To make this giant lace paper flower, you need seventeen 12″ x 12″ sheets of 65 lb. solid core cardstock. Solid core cardstock means the paper is the same color throughout the paper — front, back, and inside — and is not white on the edges. Cricut, Michaels, and Amazon all have packs of solid core cardstock that you can use for this project, or even better, you can use what you already own! You can use heavier cardstock, but it will be harder to roll your lace paper flower petals into natural looking shapes. I prefer the flexibility that the 65 lb. cardstock allows.

To assemble your Giant Lace Paper Flower with Filigree Petals, I recommend you use hot glue. It’s more durable and since it dries so quick, it’s perfect for this project!
And that’s all you need! How easy is that?
Let me show you how easy it is to make this Giant Lace Paper Flower with Filigree Petals! This post contains some affiliate links for your convenience (which means if you make a purchase after clicking a link I will earn a small commission but it won’t cost you a penny more)! Read my full disclosure policy.
Materials to Make A Giant Lace Paper Flower with Filigree Petals
See my Amazon shopping list for this project here!
- Seventeen (17) Sheets of 65 lb Cardstock
- Two (2) Hot Glue Sticks
- A way to cut your cardstock — I used the amazing Cricut Maker, but you could also use a Cricut Explore, Joy , or Venture too! (Use the regular premium fine point blade for this project)
- Green Standard Grip Machine Mat
- Hot Glue Gun
- Marker/Pen to roll flower petals
- Design #299 (My free SVG/PDF/DXF design files are available in my free resource library – get the password by filling out the form at the bottom of this page)
How to Make A Giant Lace Paper Flower with Filigree Petals

Giant Lace Paper Flower with Filigree
Join me in making this gorgeous giant lace paper flower.
Materials
Tools
Instructions
STEP 1: GET MY FREE GIANT LACE PAPER FLOWER FILE
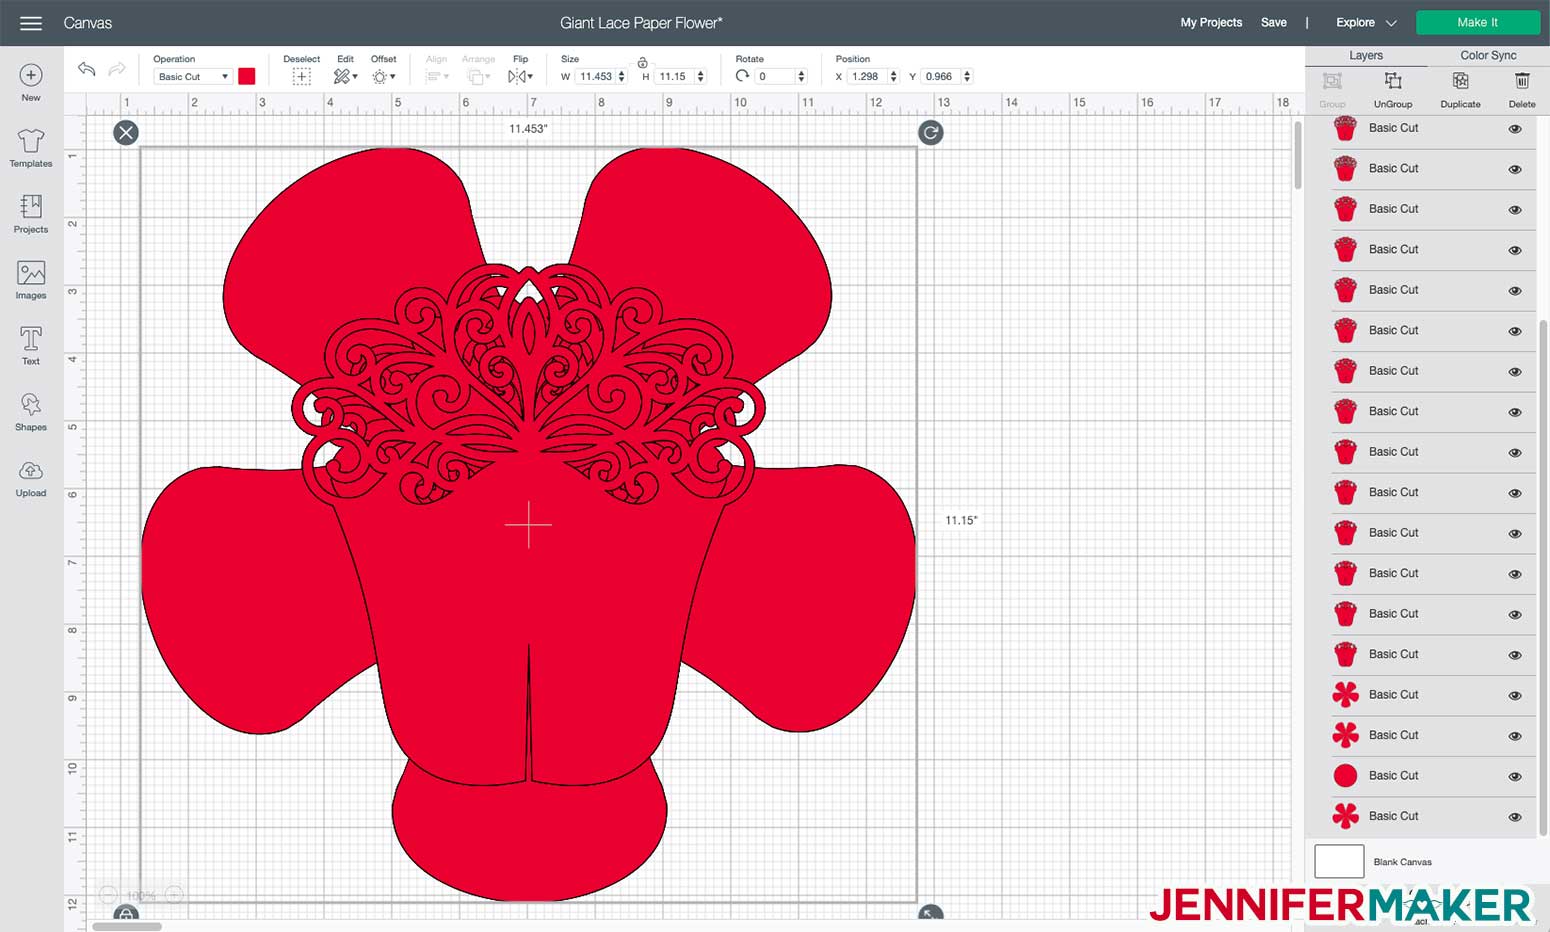
First, download my free Giant Lace Paper Flower SVG/DXF/PDF, Design #299, from my free resource library. If you're going to cut it on your cutting machine, upload the file to your design software. This is what my Giant Lace Paper Flower SVG file looks like in Cricut Design Space.
Tip: If you're not sure how to upload an SVG cut file to Cricut Design Space, watch this helpful video training series I made. If you're on an iPhone or iPad, here's how to download and upload SVG files to the Cricut Design Space app.
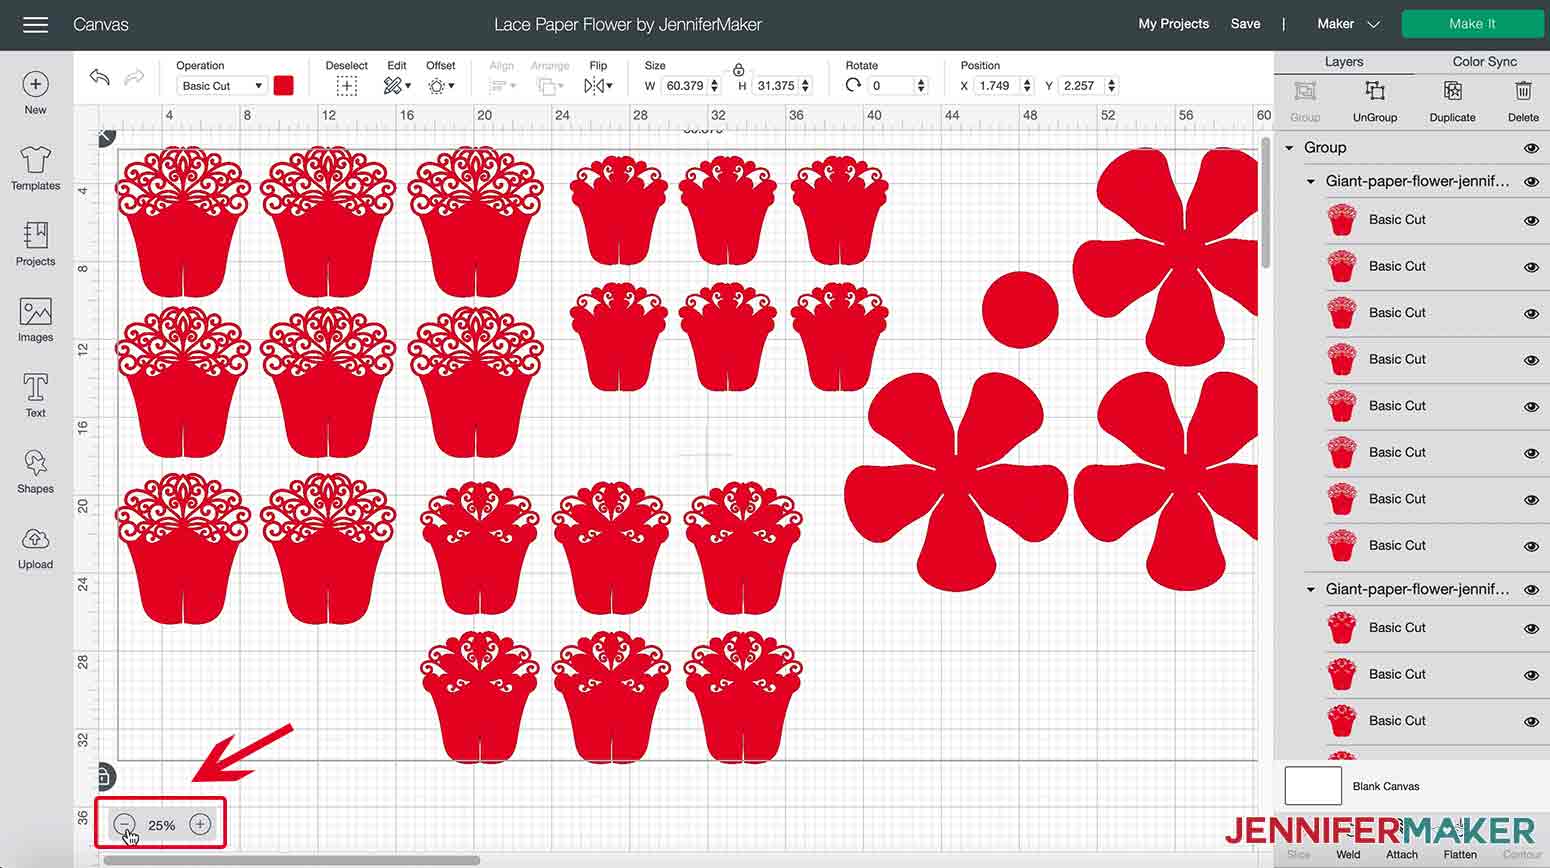
All of the petals are stacked on top of each other. If you want to see the individual pieces, you can click Ungroup and move each one apart, then zoom out to see the whole thing by adjusting the magnification in the bottom left corner. This is what it looks like at 25%.
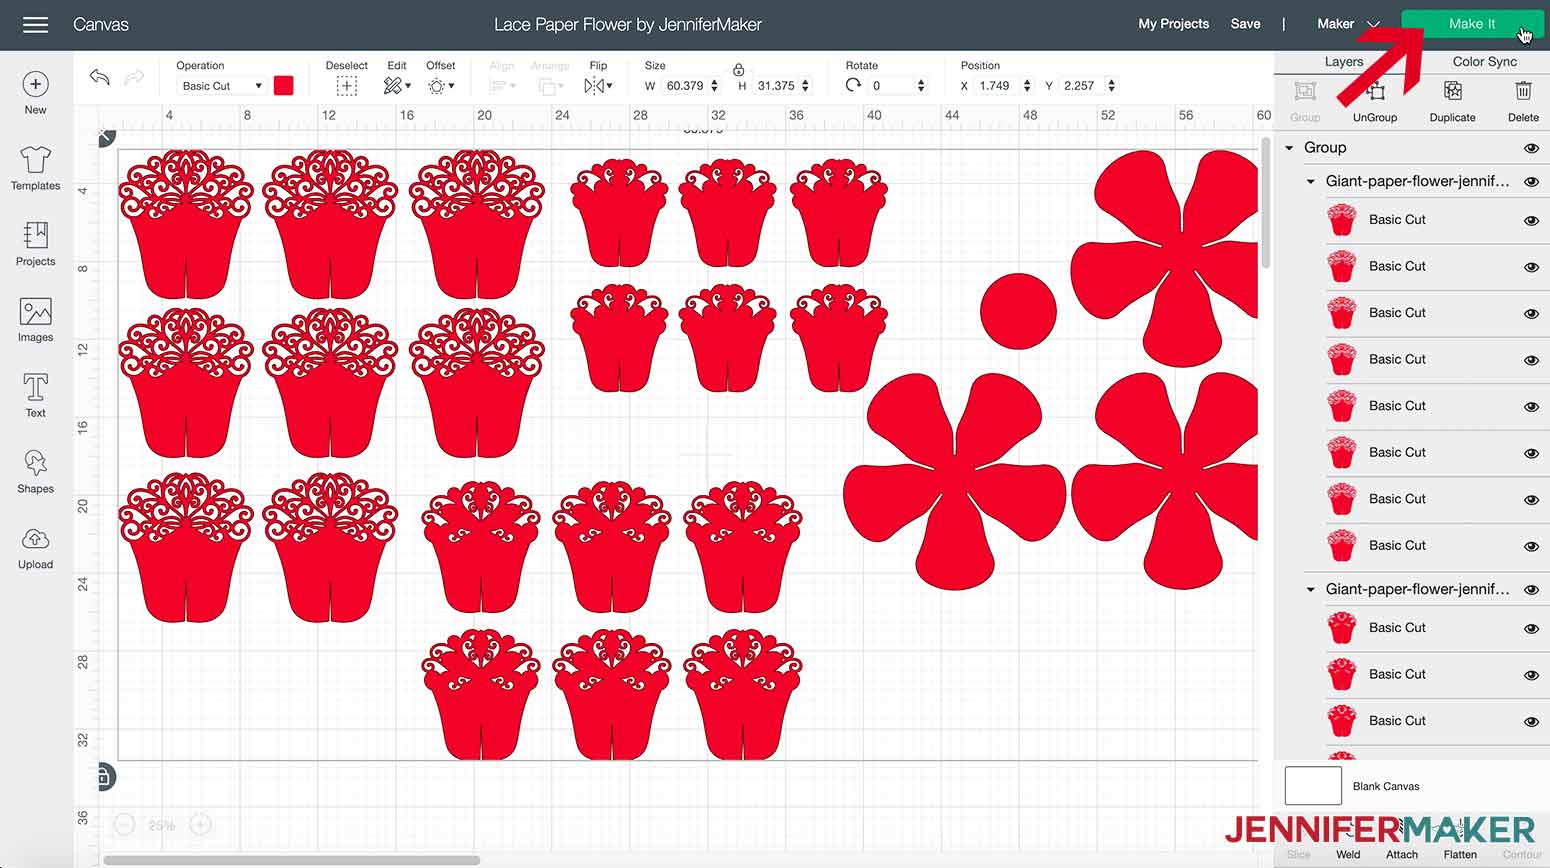
This giant lace paper flower will be about 14" in diameter when all assembled, but you can resize it now to make it smaller if you want. To resize, select everything and change the size at the top of the window — see this resizing guide for more help.
When you're ready, just click "Make It."
Cricut Joy users: There's a special version of this flower just for you in the ZIP archive — that file is pre-sized to fit on your cutting mat and will make a flower about 9" in diameter.
STEP 2: CUT THE GIANT LACE PAPER FLOWER DESIGN
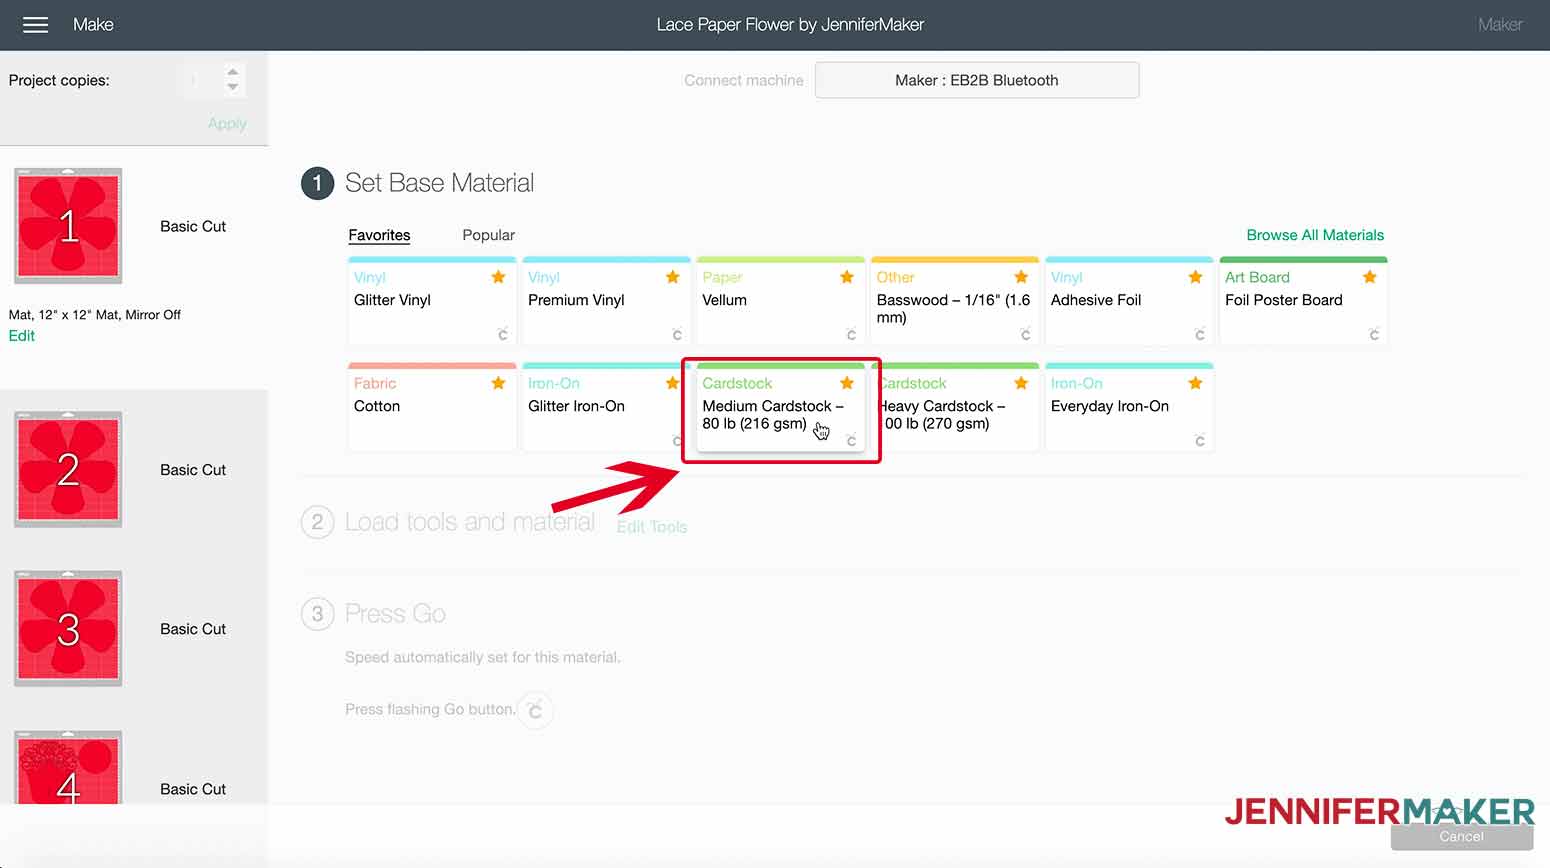
You will need 17 sheets of 12" x 12" (or six sheets of 12" x 24") solid core cardstock to make my Giant Lace Paper Flower. I used 65 lb cardstock and selected Medium Cardstock (80 lb) for my base material.
Under "pressure" drop down menu, select "more".
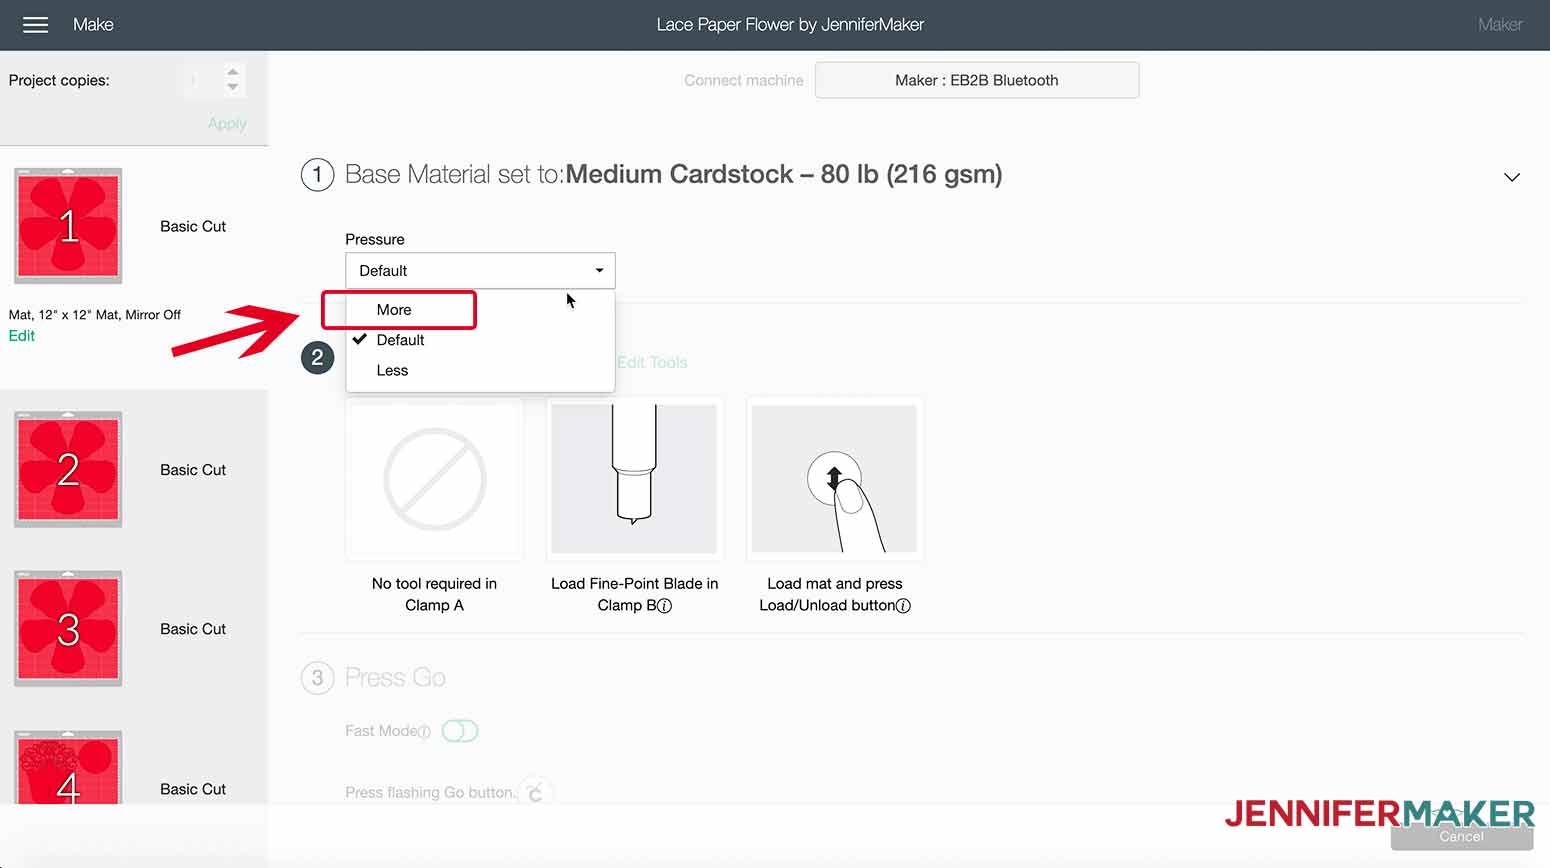
You are now ready to insert your first mat and begin cutting.
STEP 3: ASSEMBLE THE GIANT LACE PAPER FLOWER
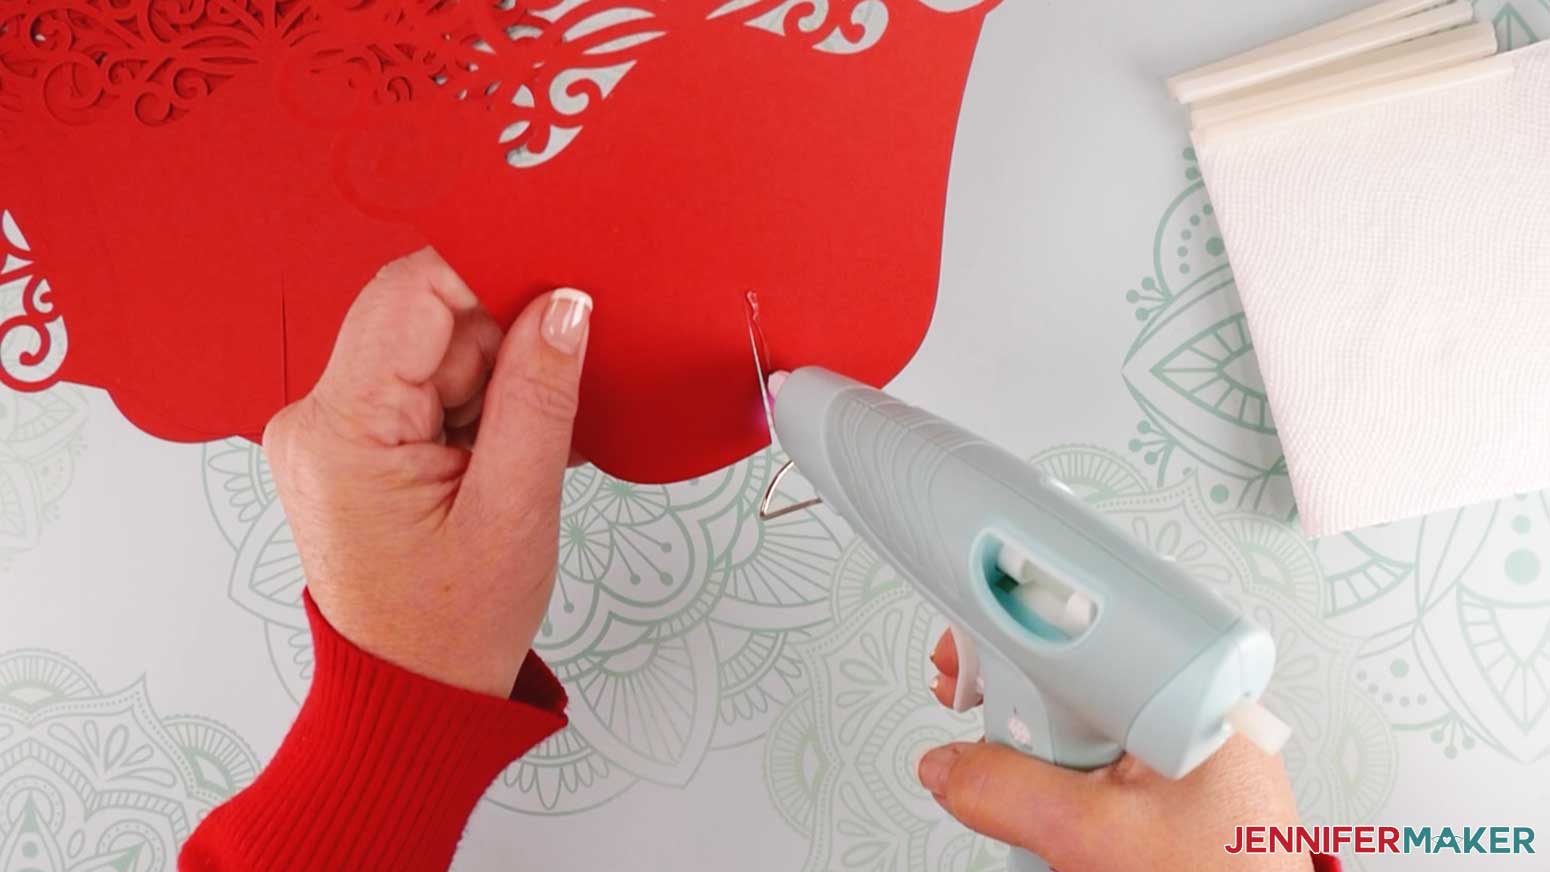
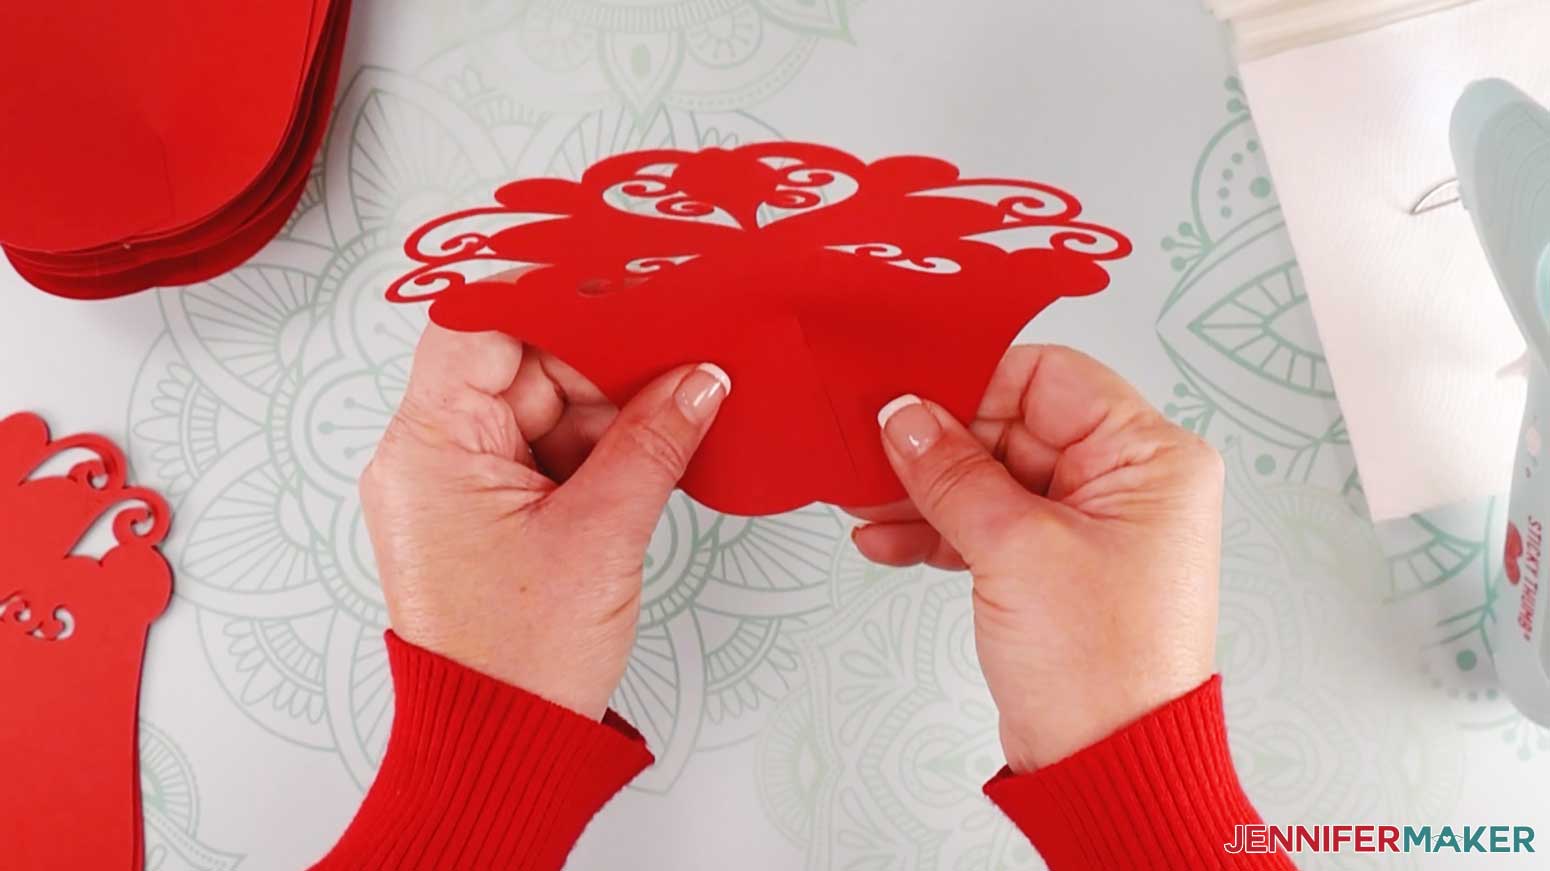
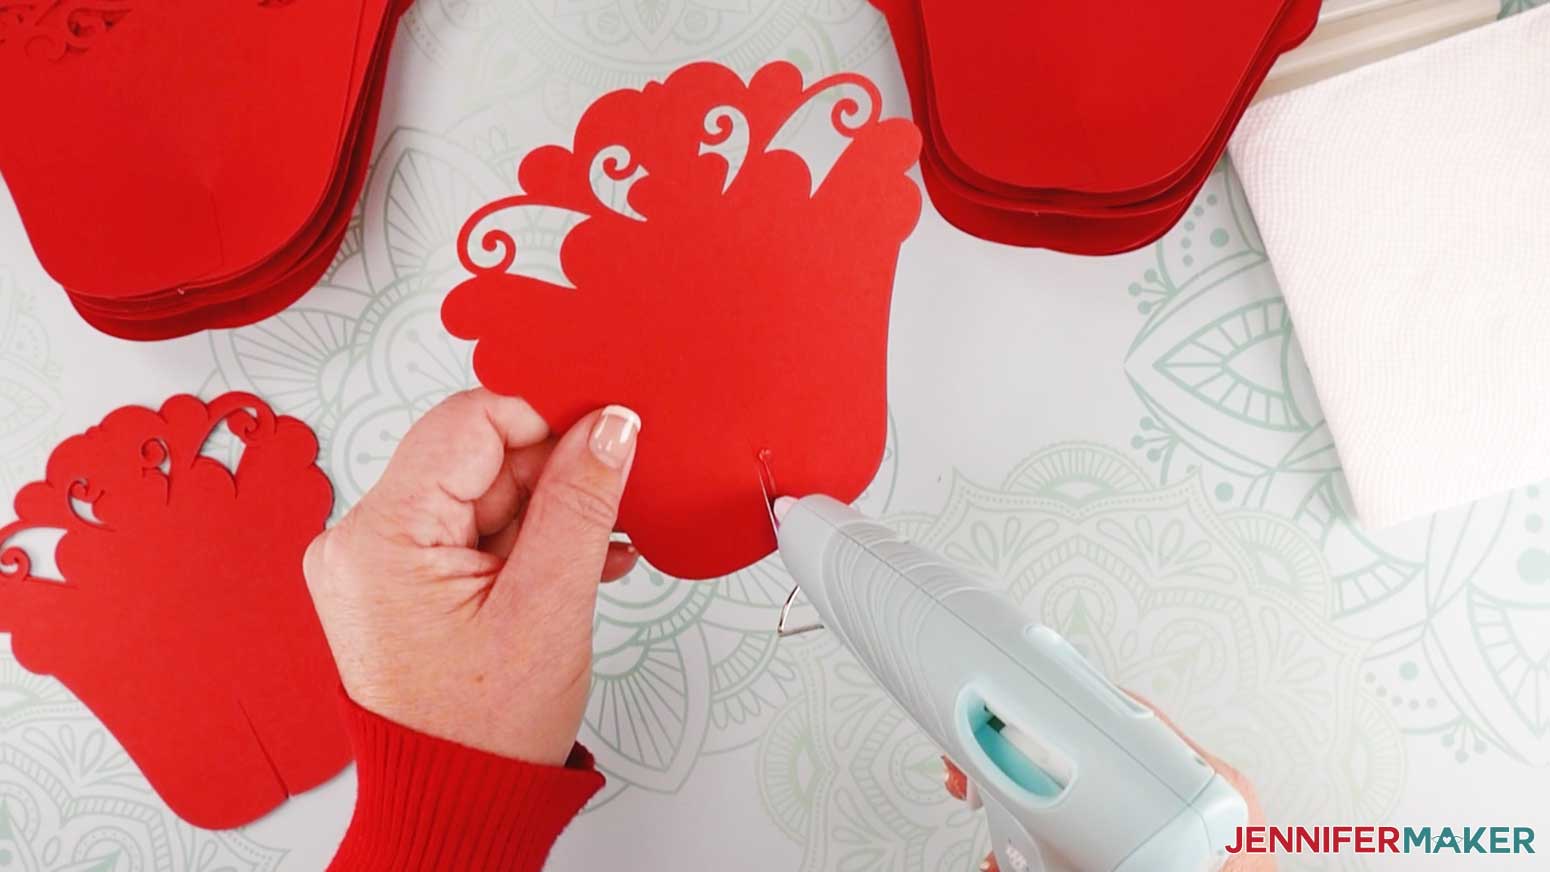
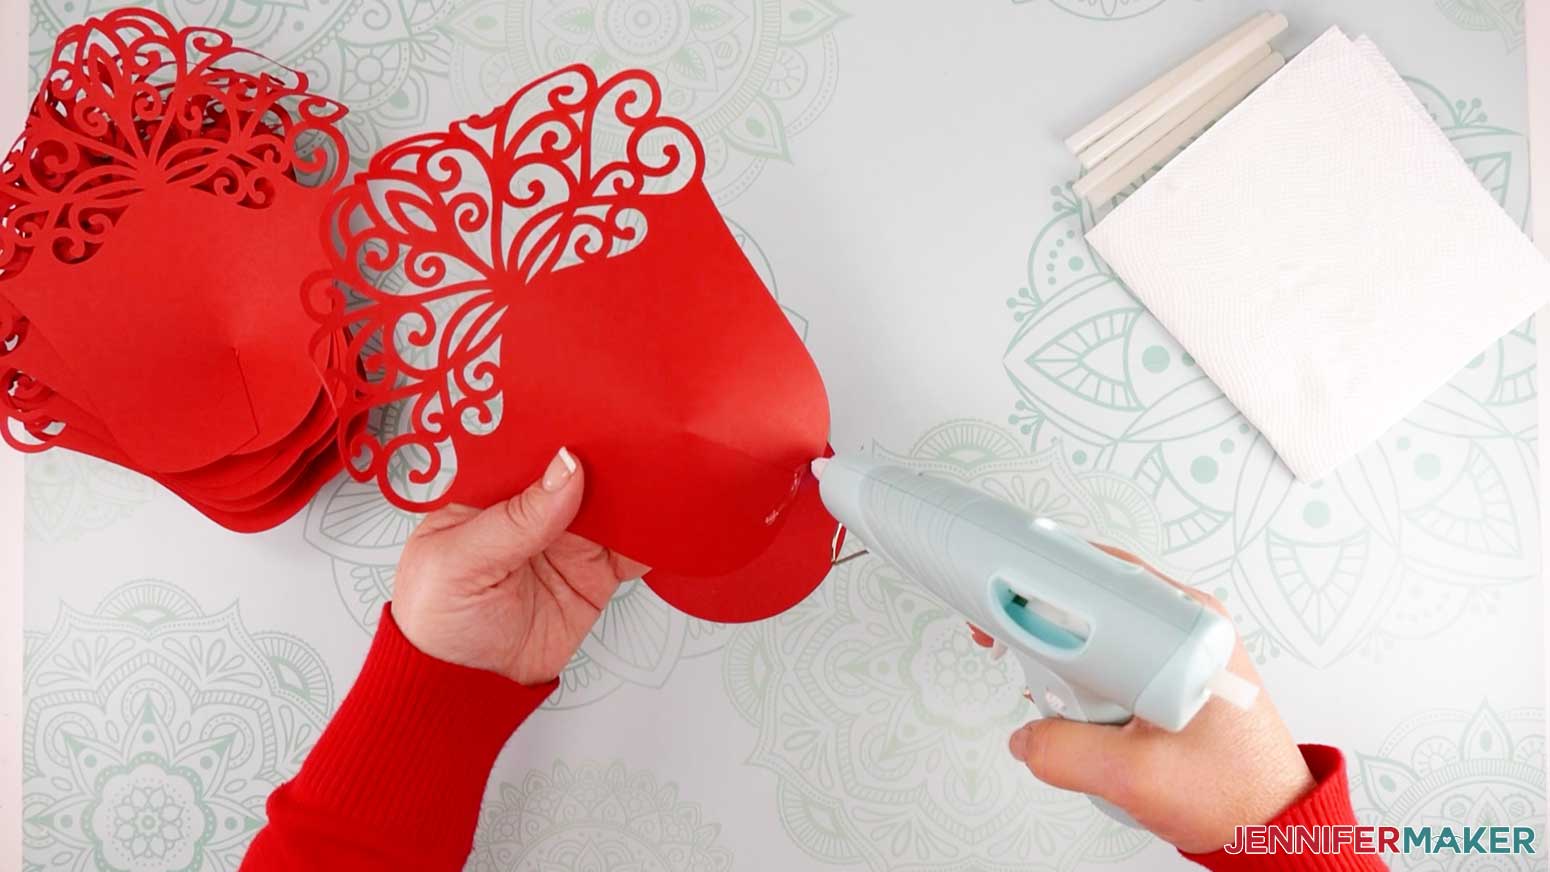
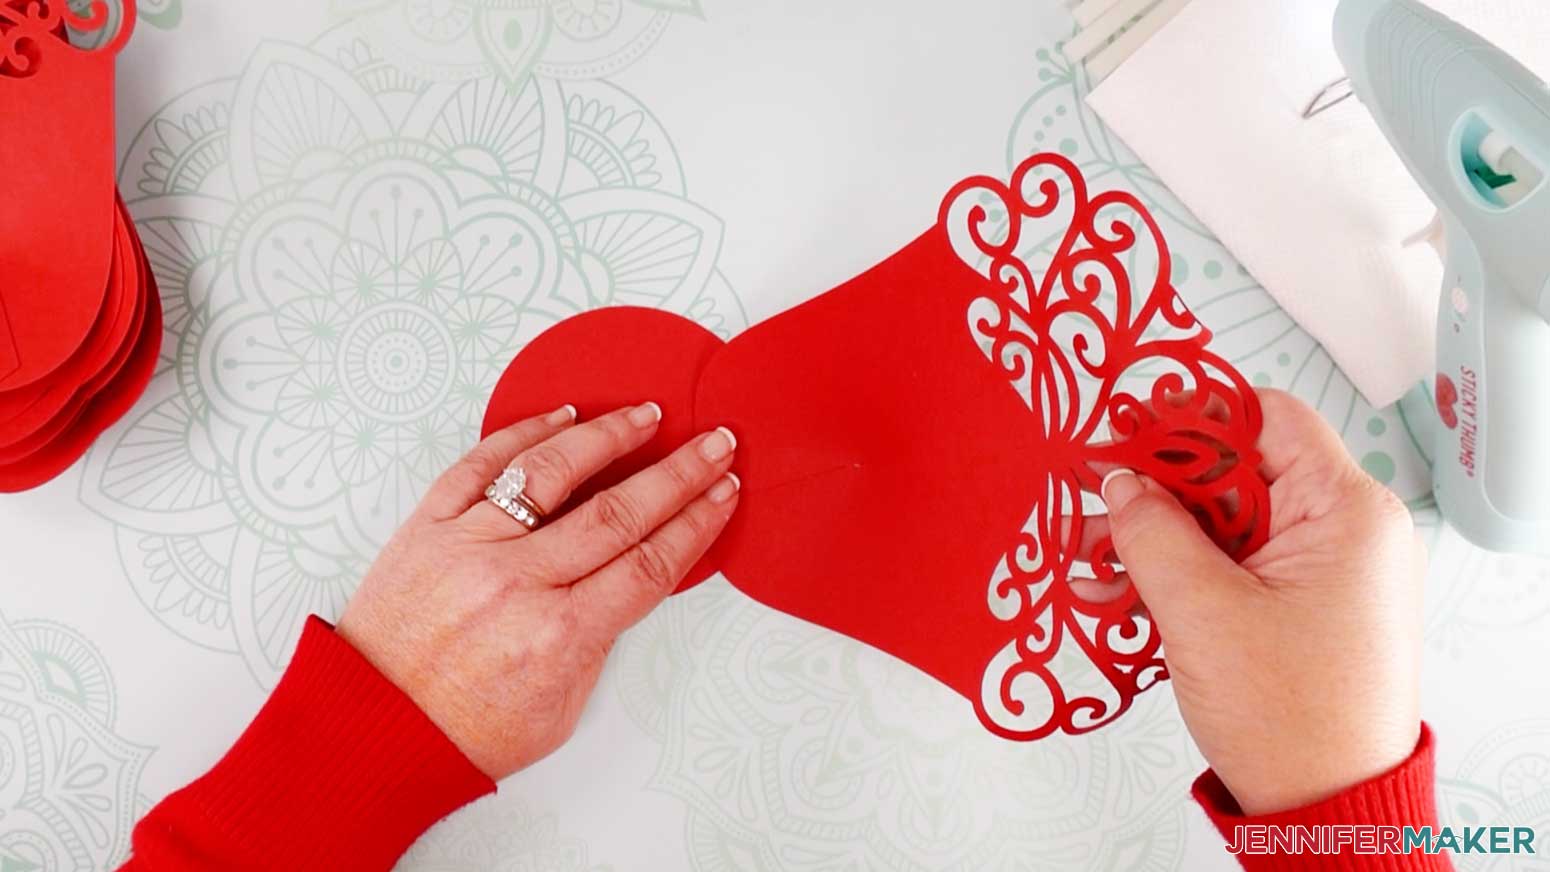
With all your cardstock pieces cut, its time to start assembling your Giant Lace Paper Flower. Begin by taking a large petal piece and glue one side of the bottom part of the petal close to the slit. Note: I am using a hot glue gun for this project but you can also use regular craft glue.
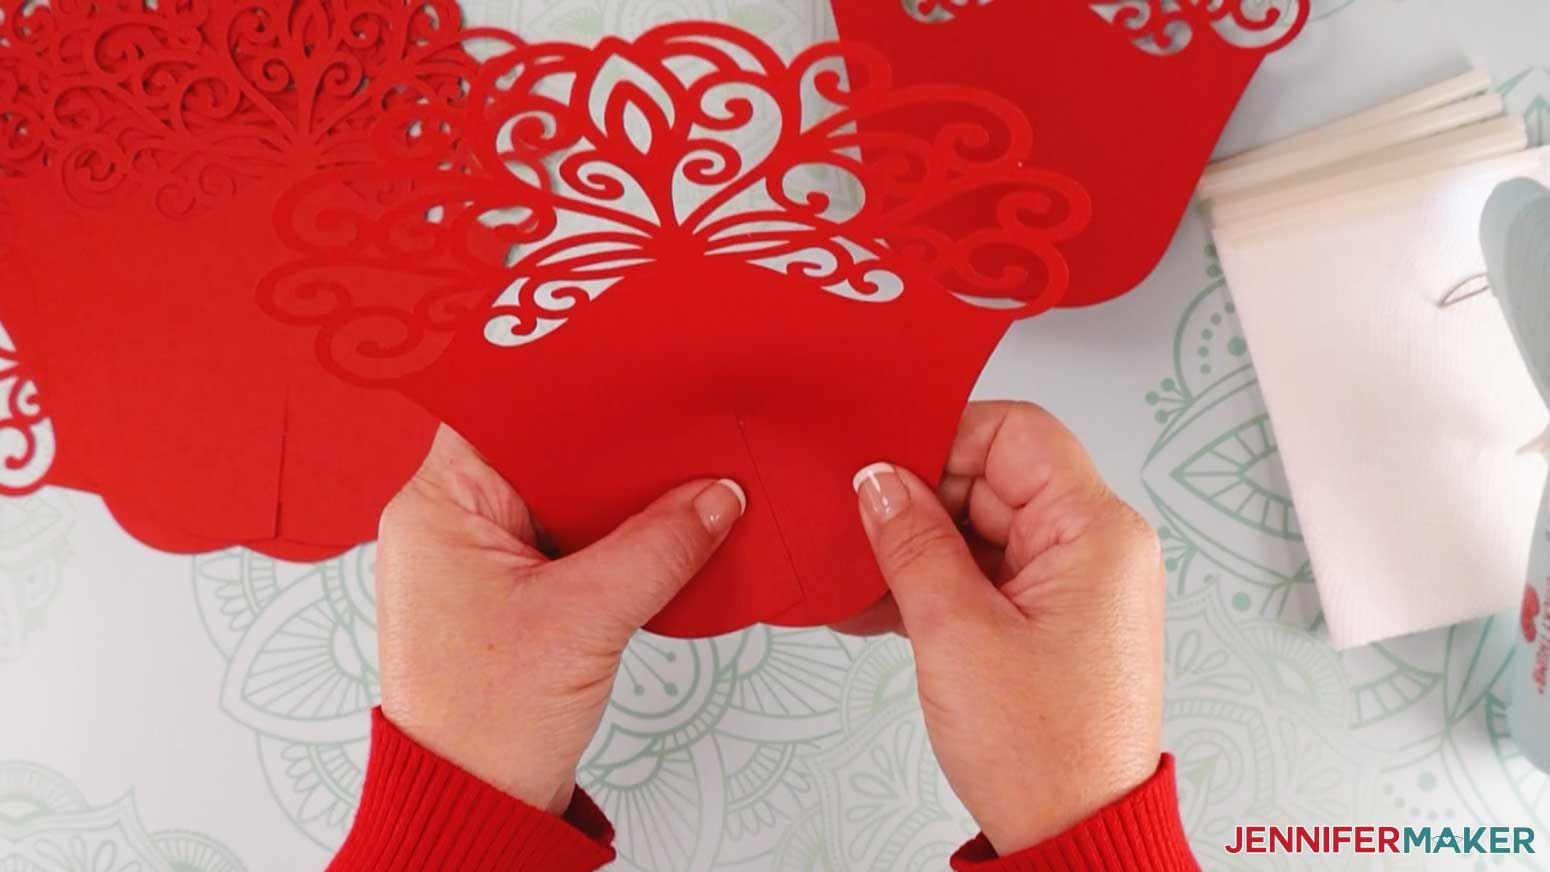
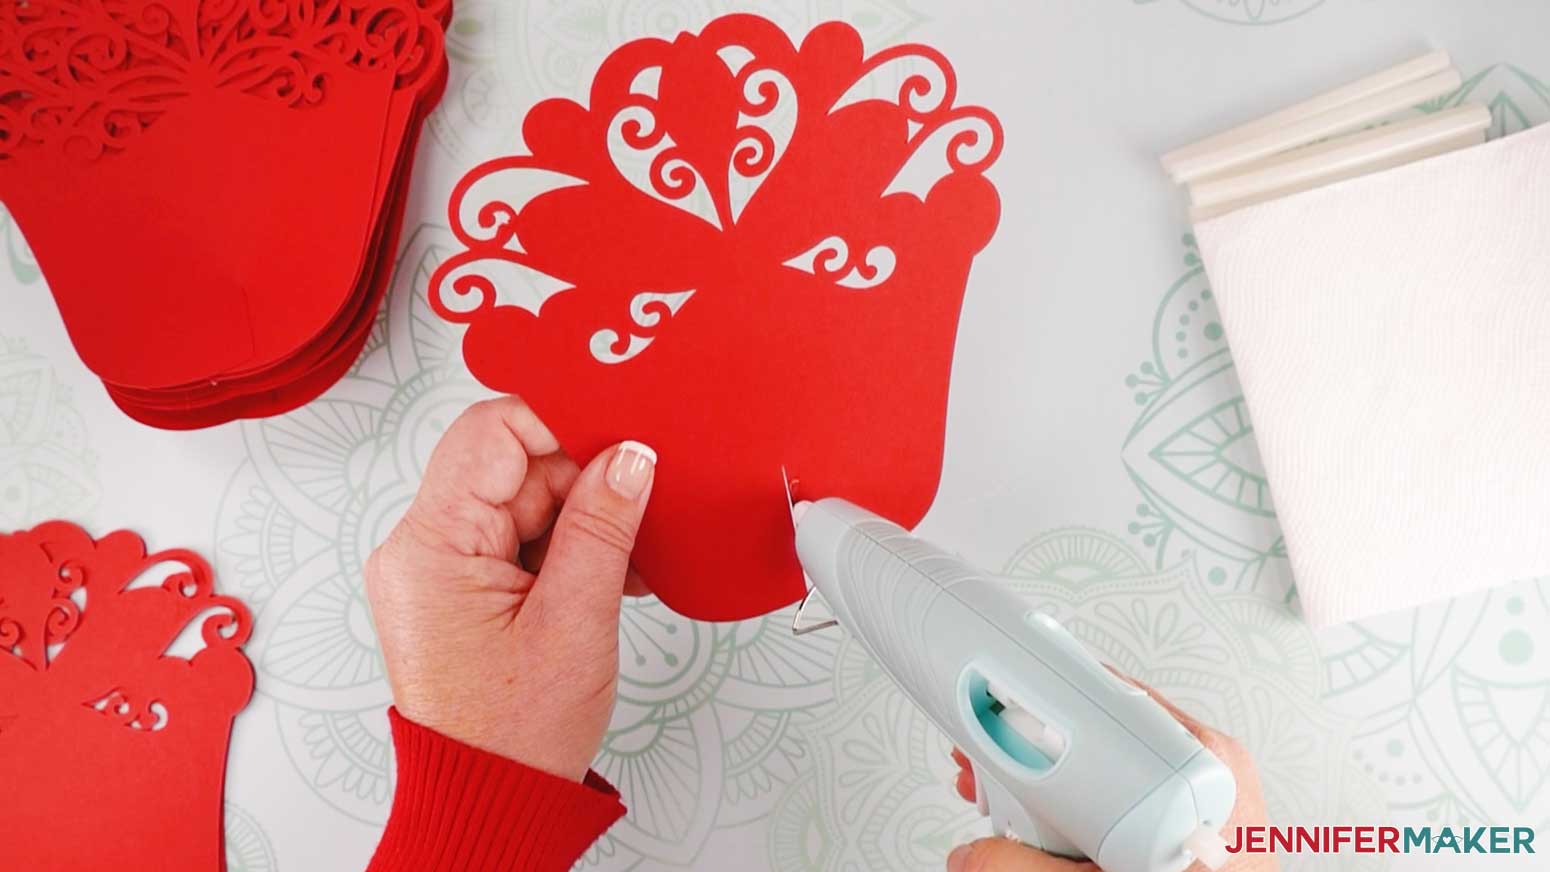
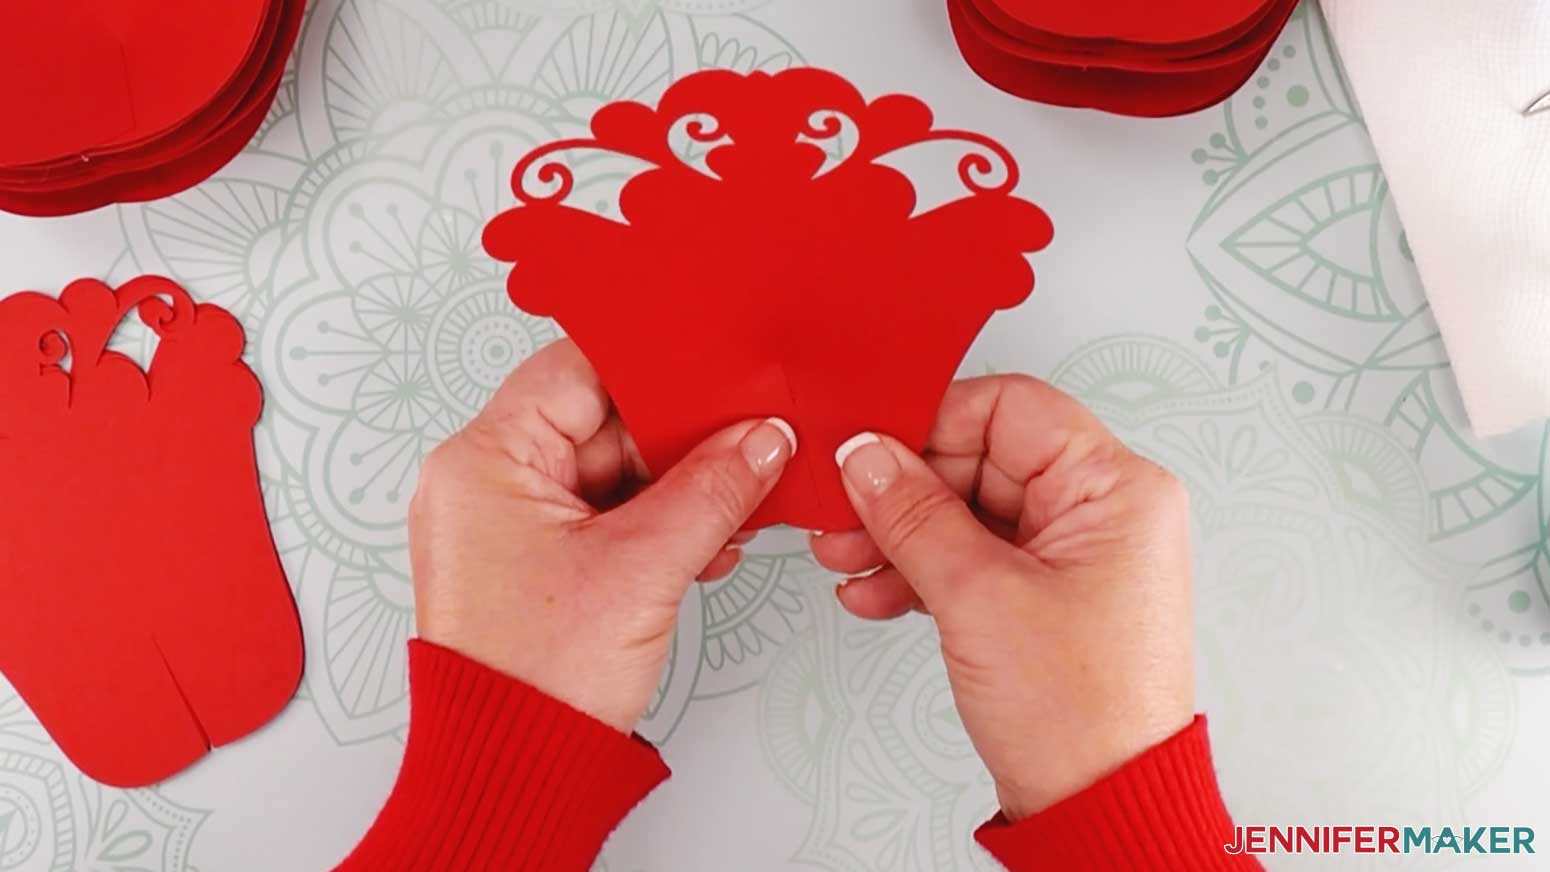
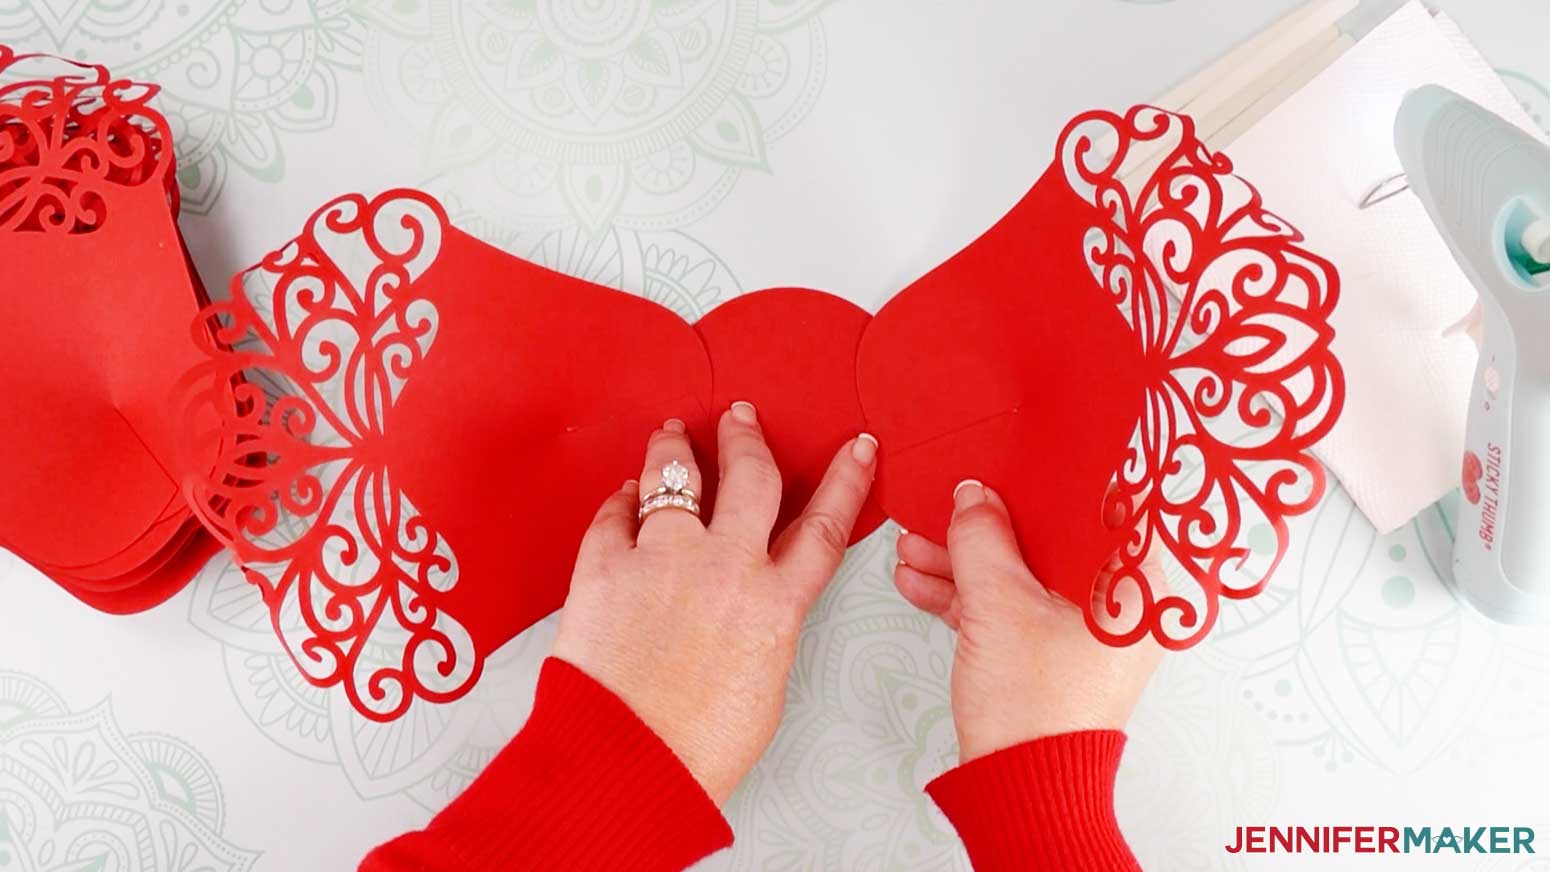
Fold the other side of the bottom part of the large petal on top of the side you just glued. Repeat this for all eight of the large petals.
Next, take a medium petal piece and glue one side of the bottom part of the petal close to the slit.
Fold the other side of the bottom part of the medium petal on top of the side to which you added glue. Repeat these steps for the five remaining medium flower petals.
Take a small petal piece and glue one side of the bottom part of the petal close to the slit.
Fold the other side of the bottom part of the small petal on top of the side to which you added glue. Repeat these steps for the five remaining small flower petals.
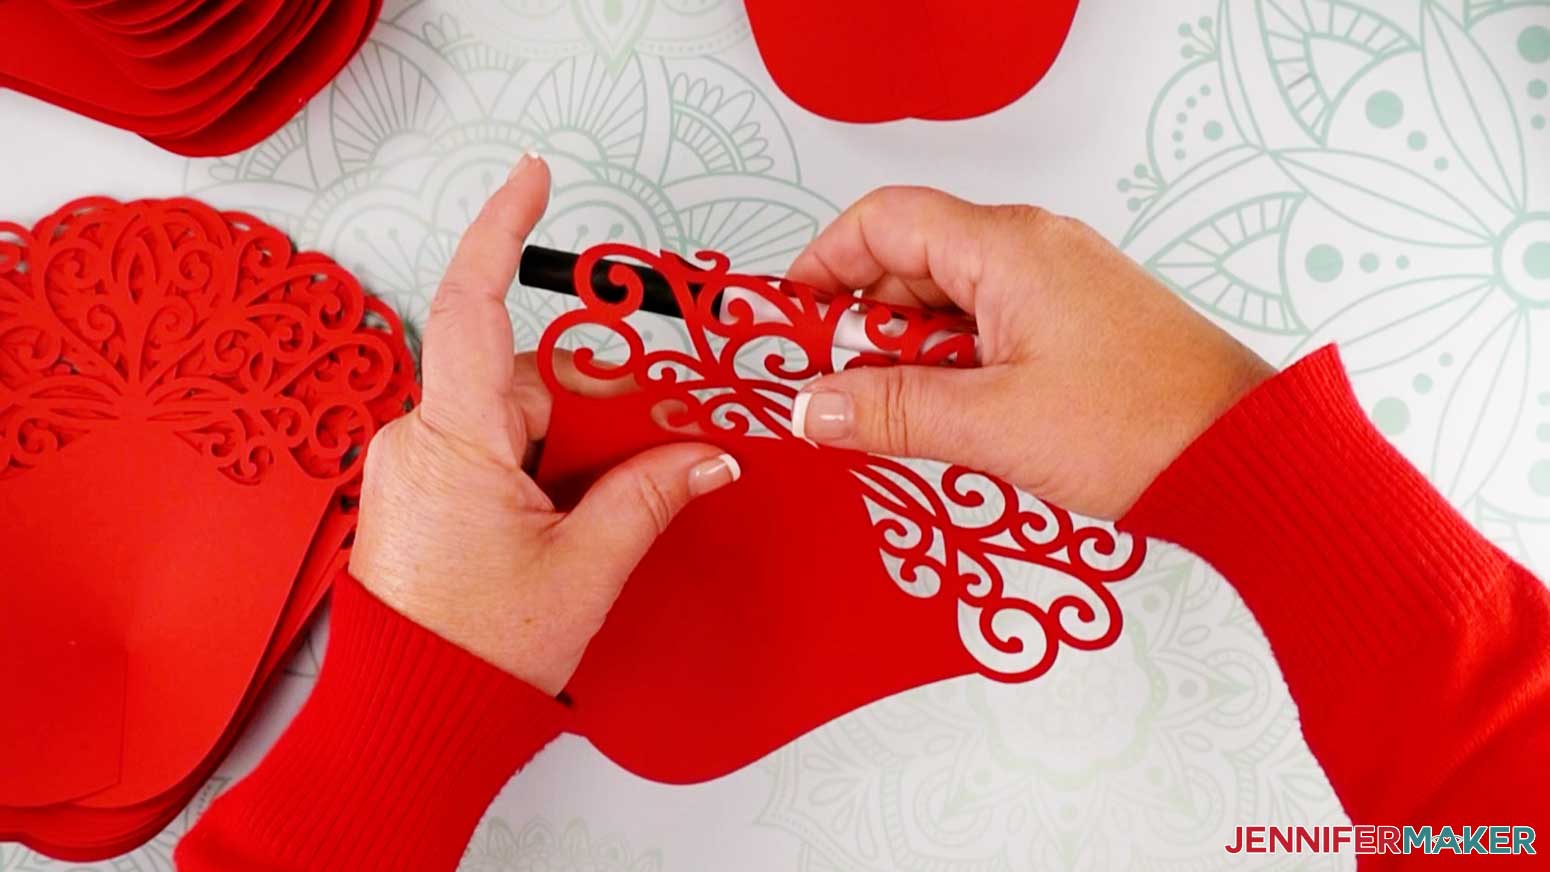
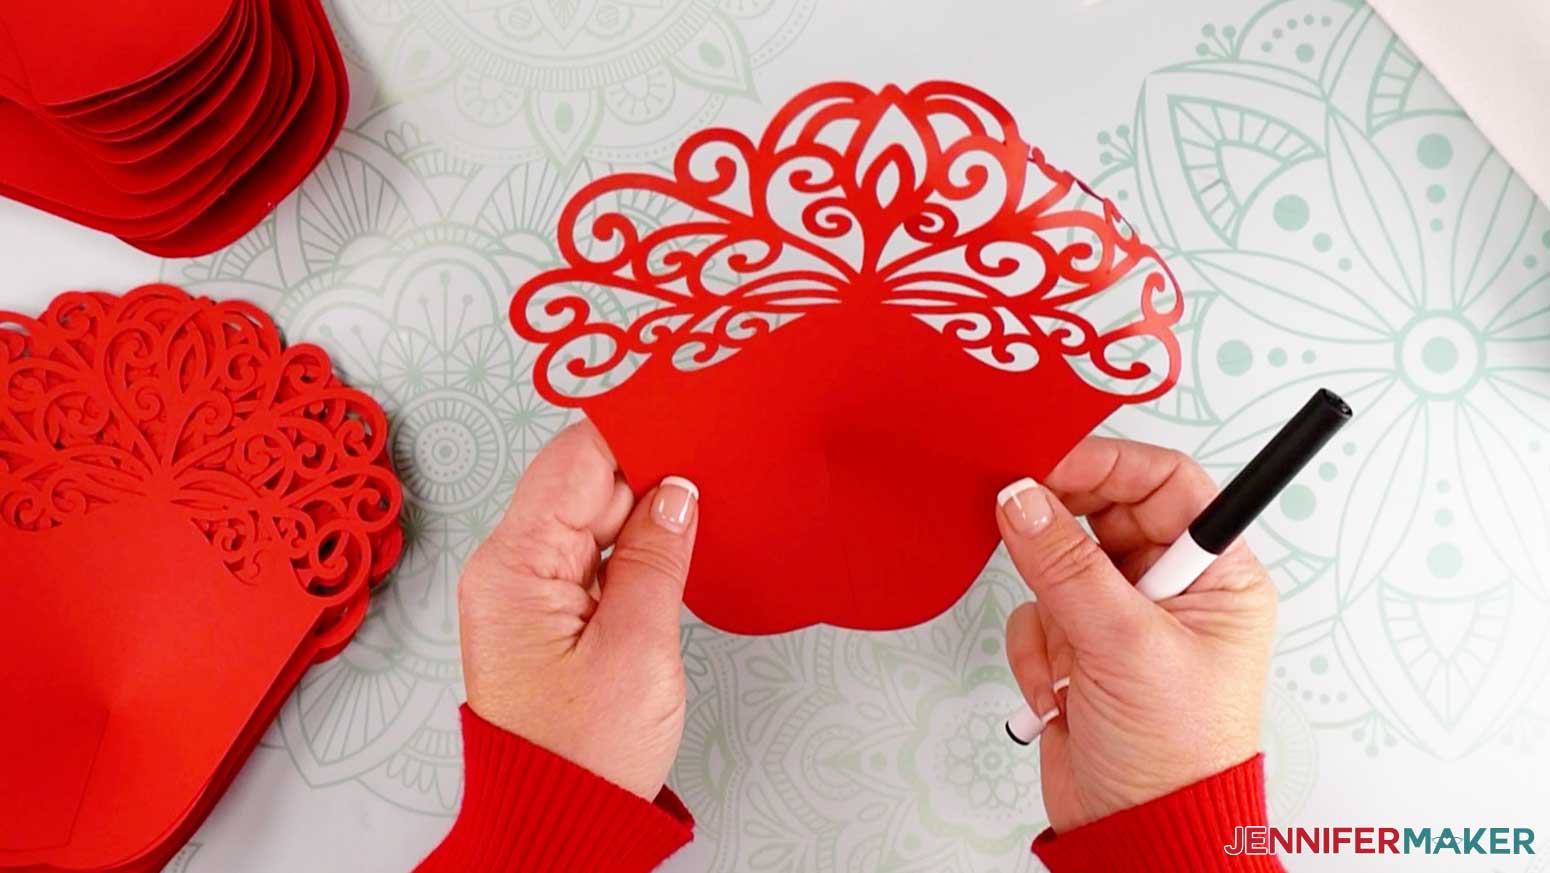
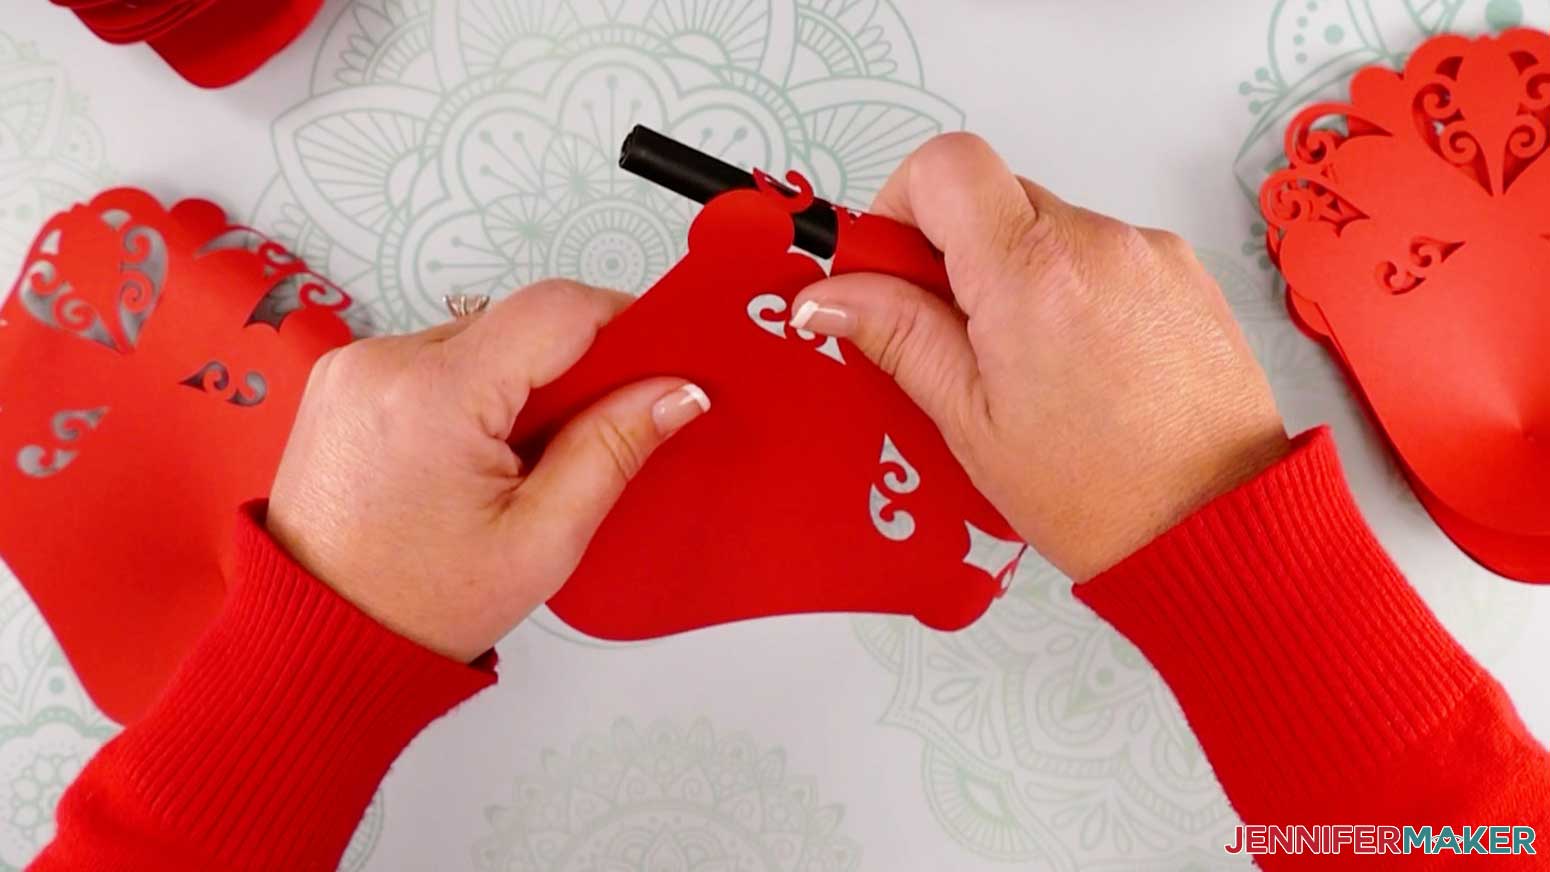
Next, I am going to show you how to make the flower bud for the Giant Lace Paper Flower. The flower bud consists of the three pieces each with five petals. Begin by taking one of the bud pieces and curl the sides of each petal inward using a pen or marker.
Repeat this step for the remaining two bud pieces. You can also alternate between curling the petal edges inward and outward for these two pieces.
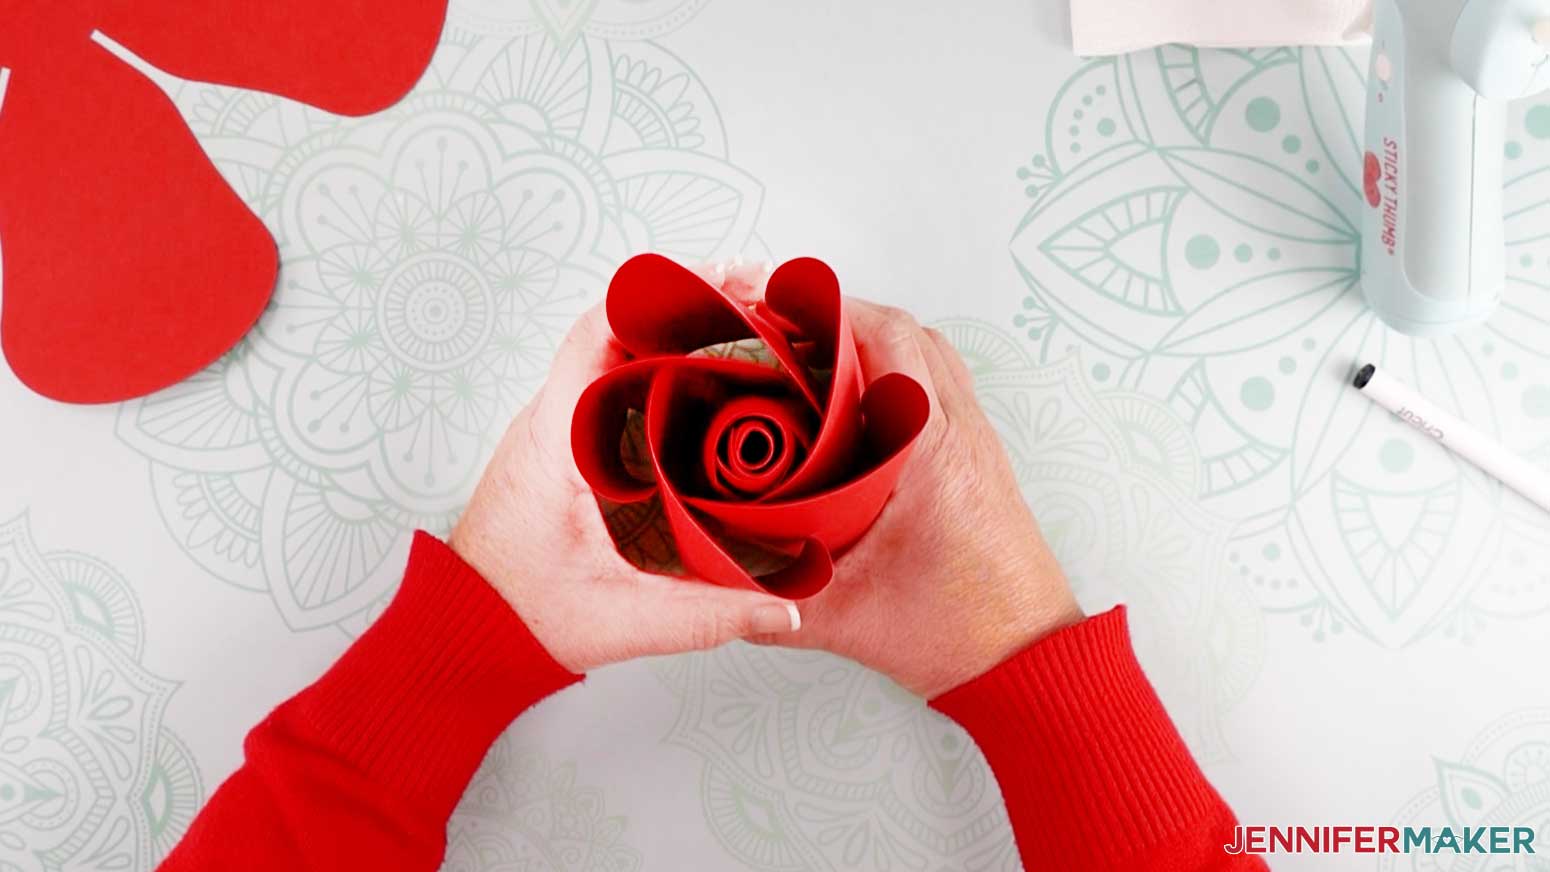
Grab one of the three flower bud pieces and wrap a petal into a tightly rolled cone shape then add glue to the edge of the petal so the cone shape stays in place.
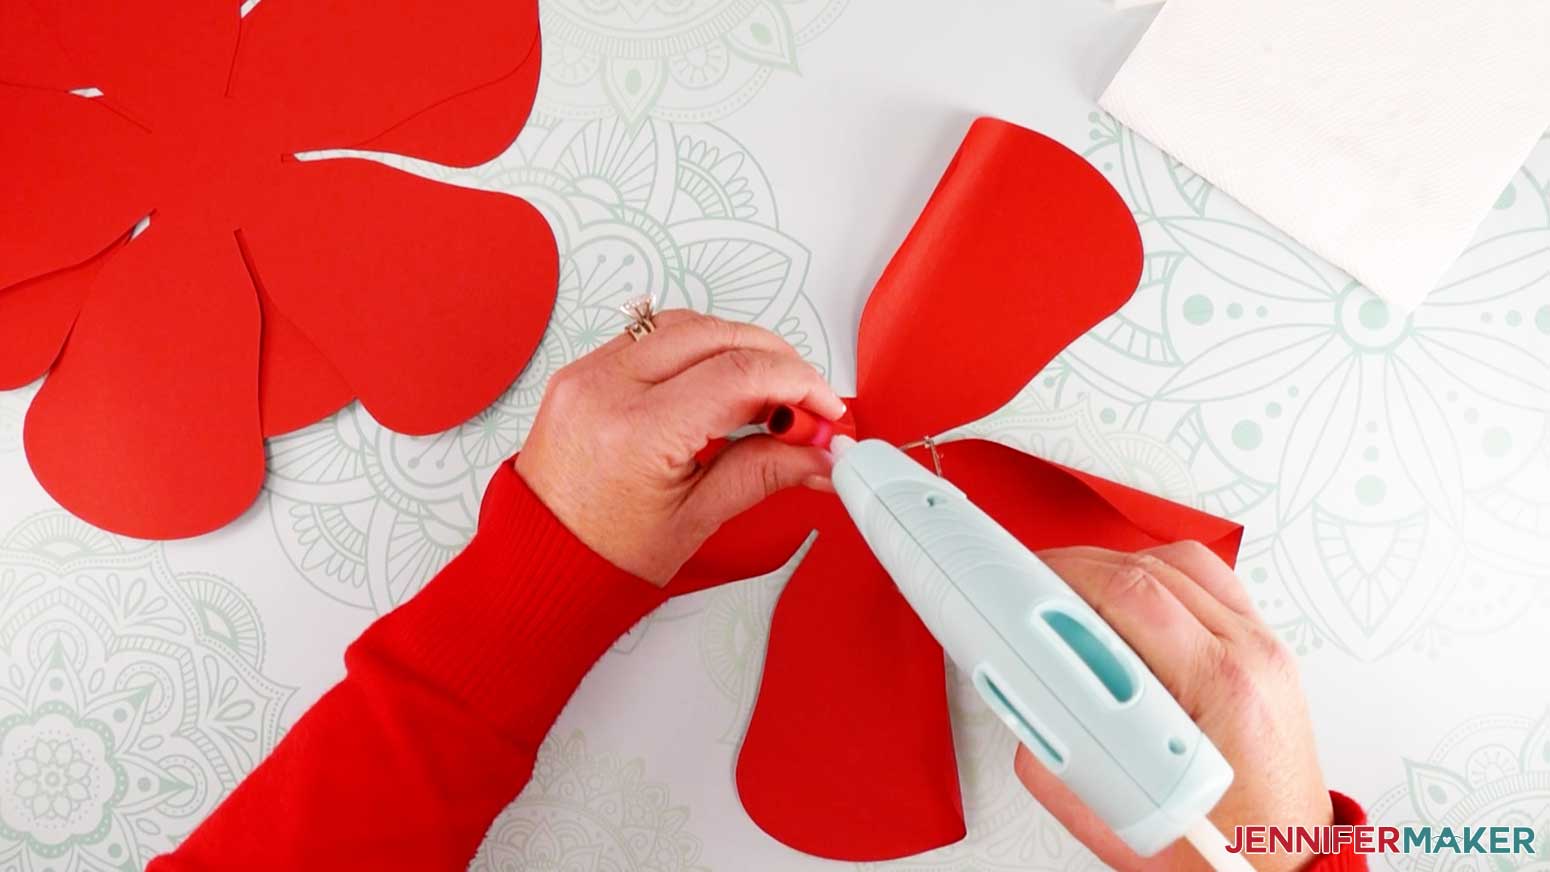
Now take one of the opposite petals to the one we just made into a cone shape. Add glue to the edge of the upper side of the petal and attach it to the cone shape.

Wrap the petal around the cone and add glue to the other side of the petal keep the petal tightly wrapped. Repeat this process for the remaining petals. Your bud should resemble my bud pictured below.
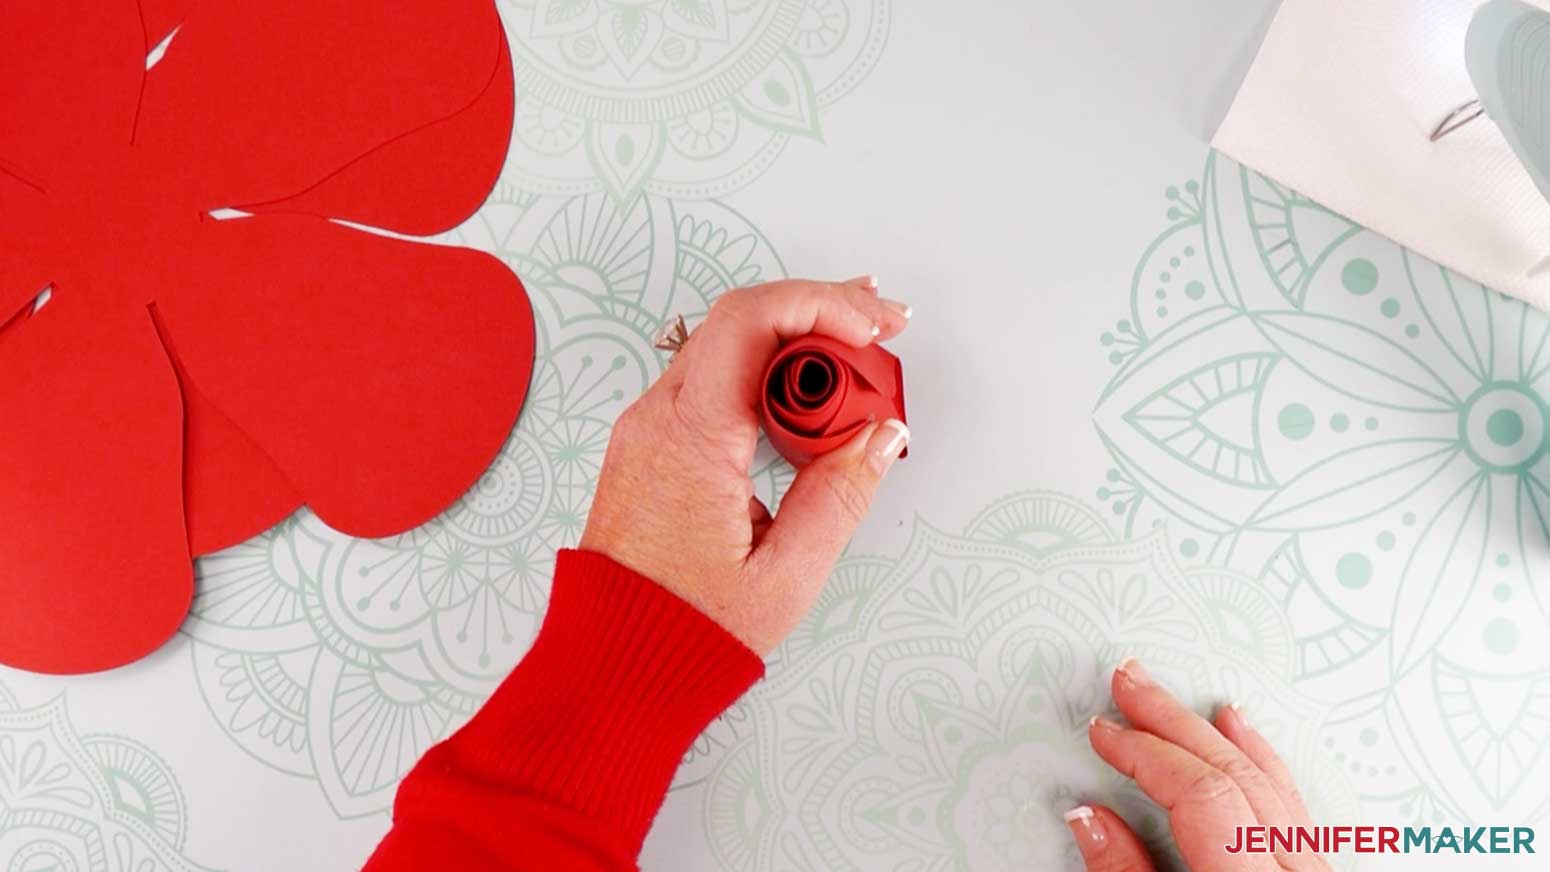
Add glue to the bottom of the bud we just made. Then stick it to the center of the second flower bud piece.
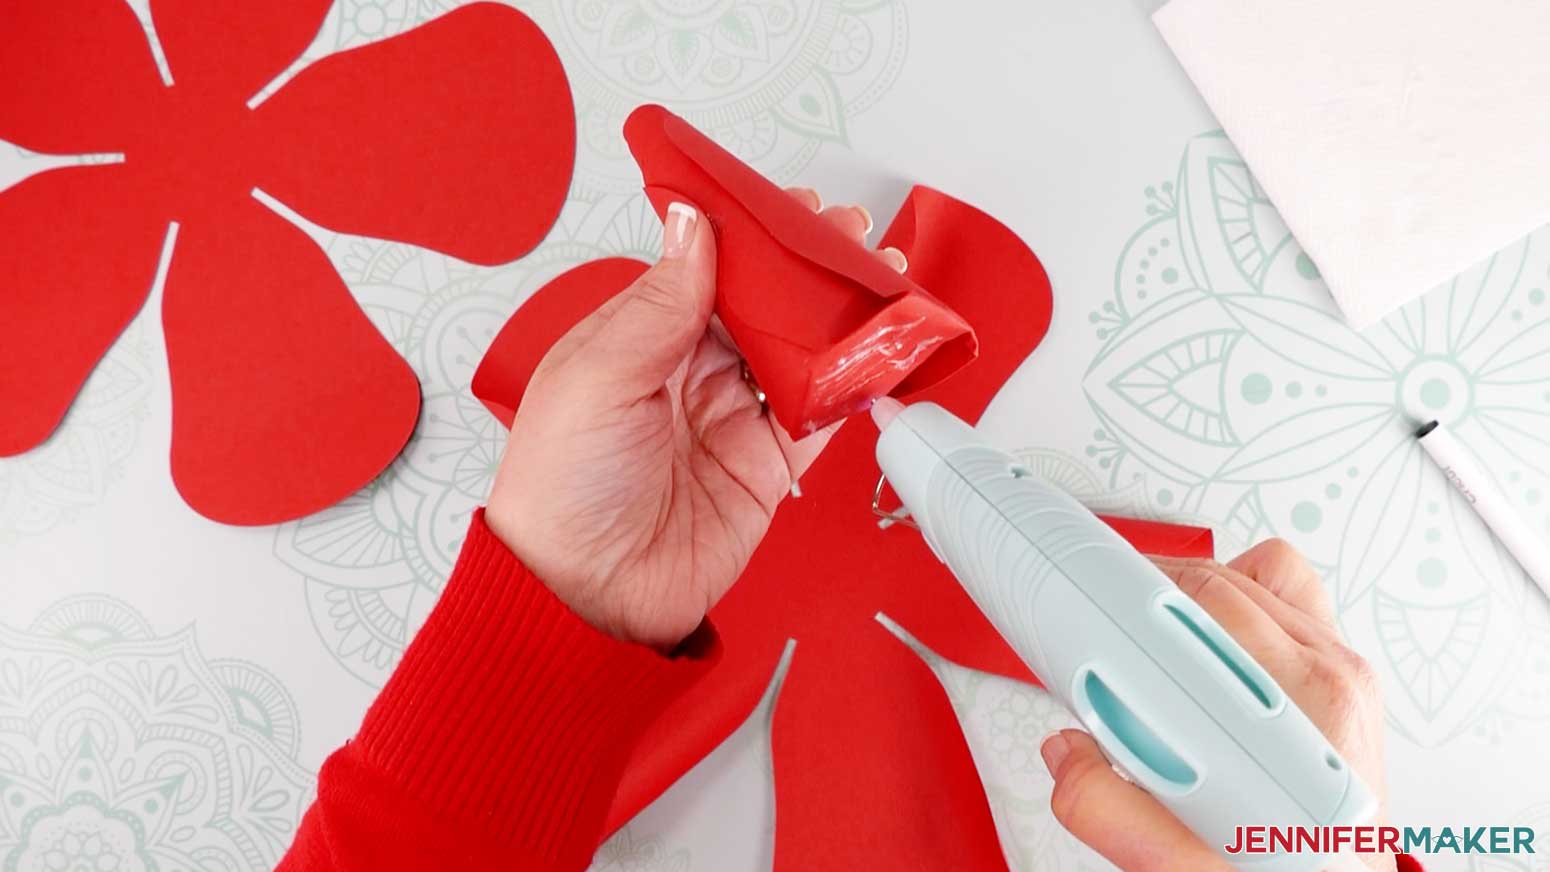
Add glue to the mid to lower edge of a petal.
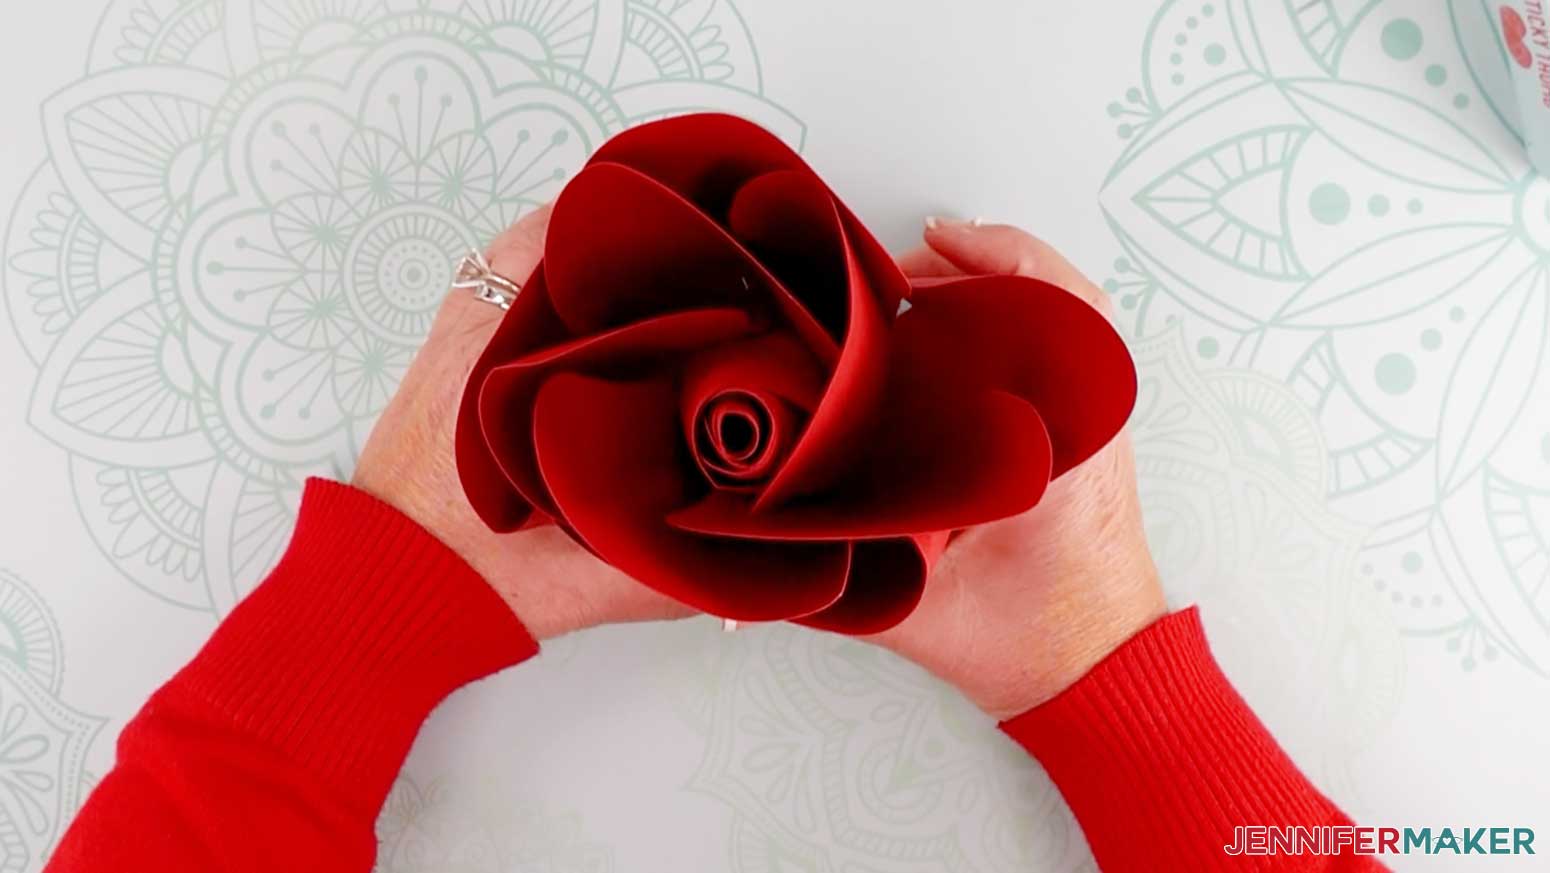
Glue the petal to the cone and wrap the petal around the cone-shaped bud as we did with the first bud piece. Continue adding glue to the lower edge of the remaining petals. Loosely wrap the petal around the bud. This is what my bud looks like.
Add glue to the bottom of the bud piece we just finished and glue it to the center of the last flower bud piece. Repeat the same process of gluing and wrapping the petals around the bud. When you are finished your bud for the Giant Lace Paper Flower should look similar to mine.
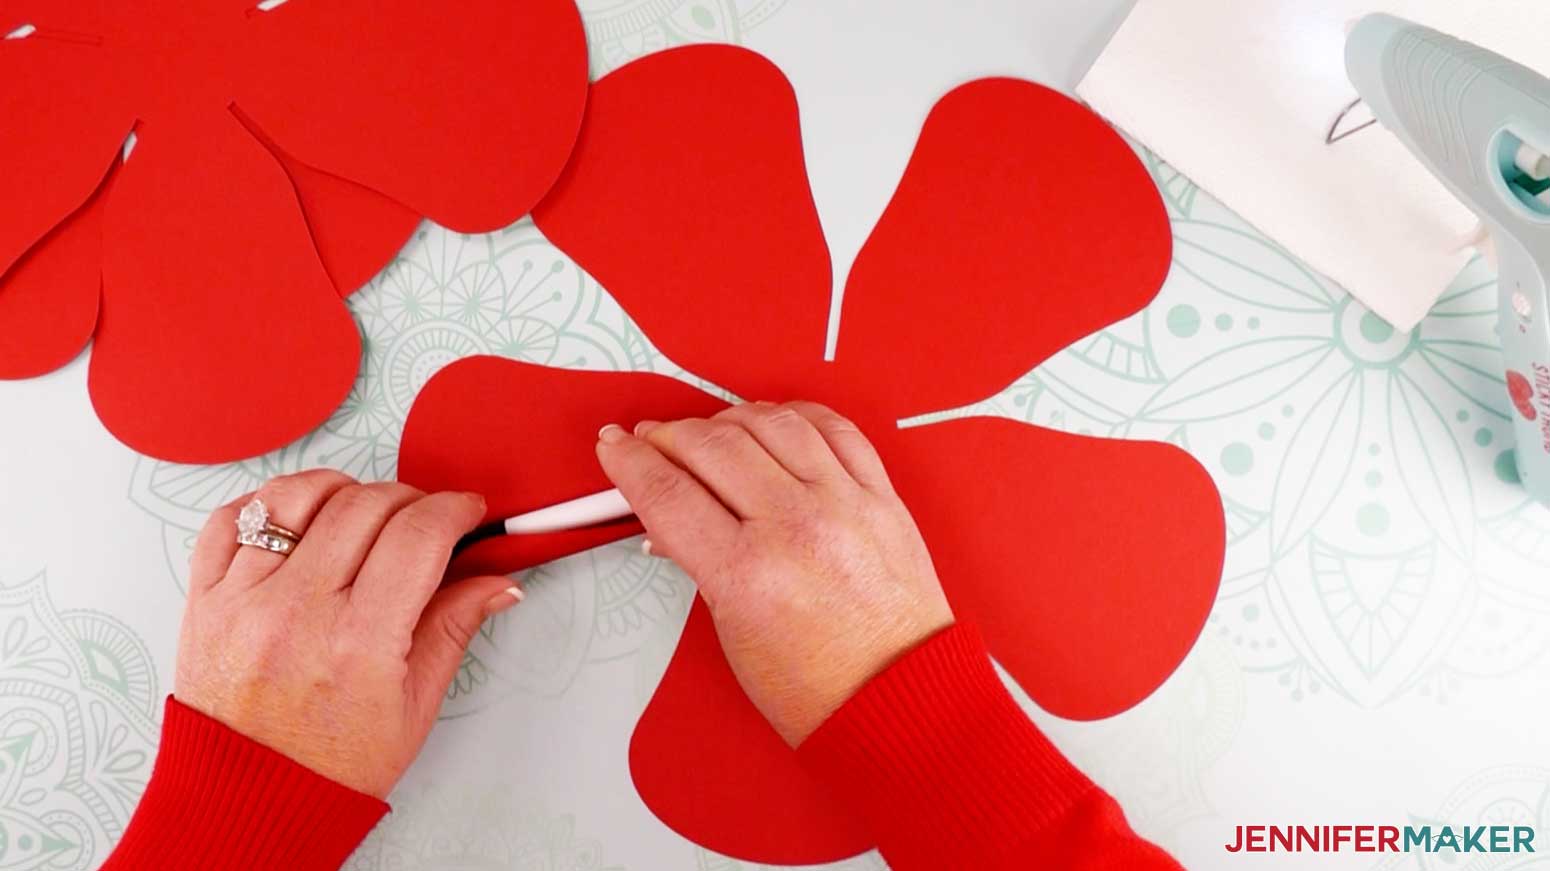
Take your eight large petal pieces and, using a marker or pen, begin rolling the edge of each petal around the pen to curl the paper. Do not rush curling your paper. Roll the edge of the petals back and forth around the pen until you are satisfied with the curl.
When you are finished curling your large petal pieces, it's time to move to the rest of the petals. Take your six medium and six small flower petals pieces and begin curling them one at a time.
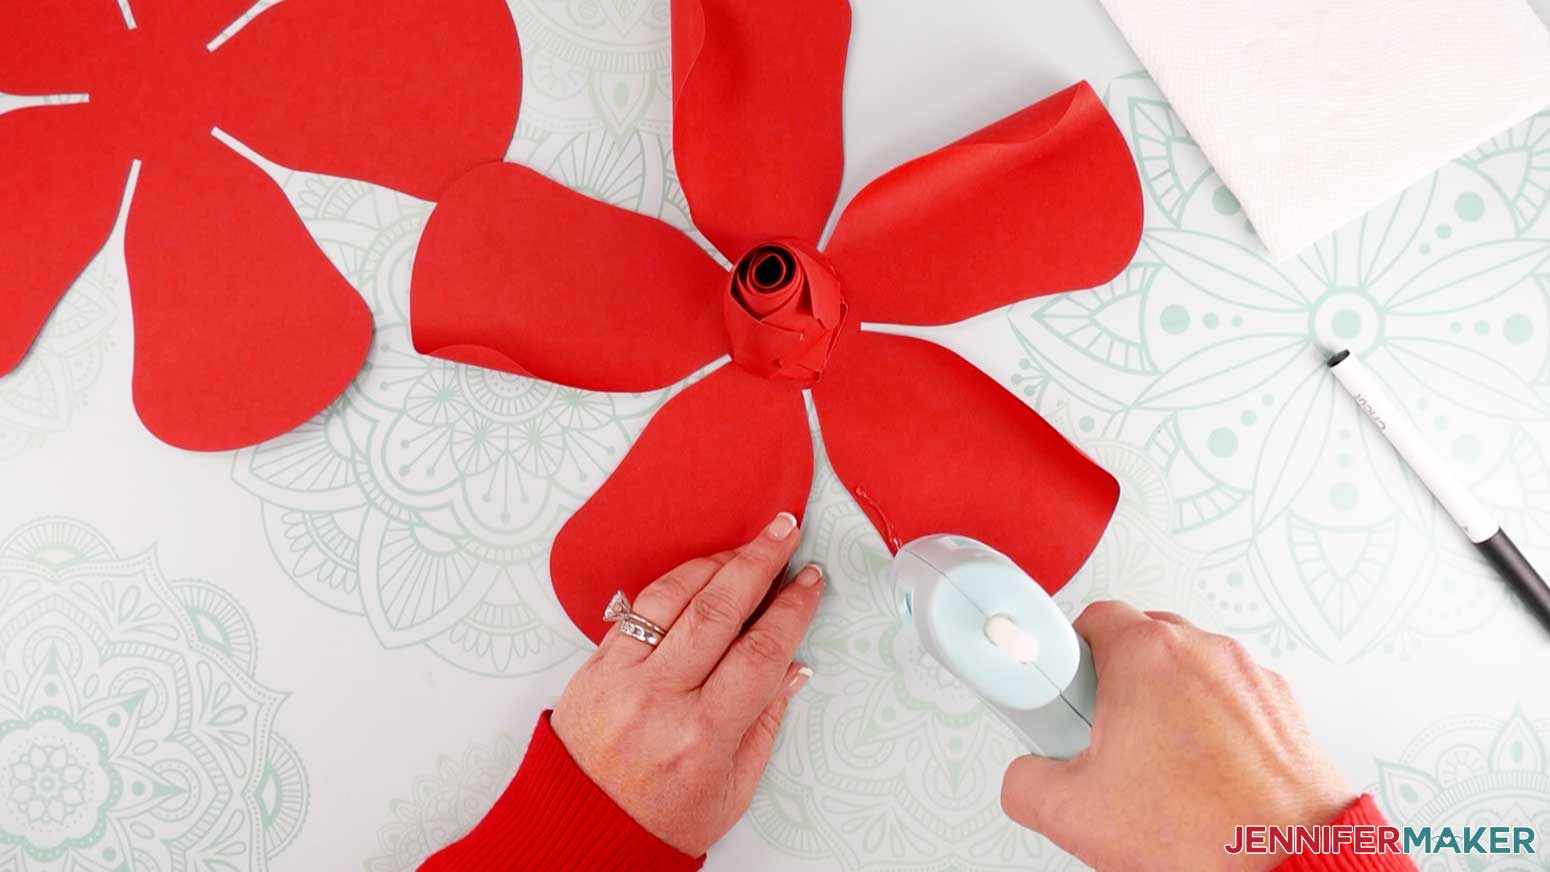
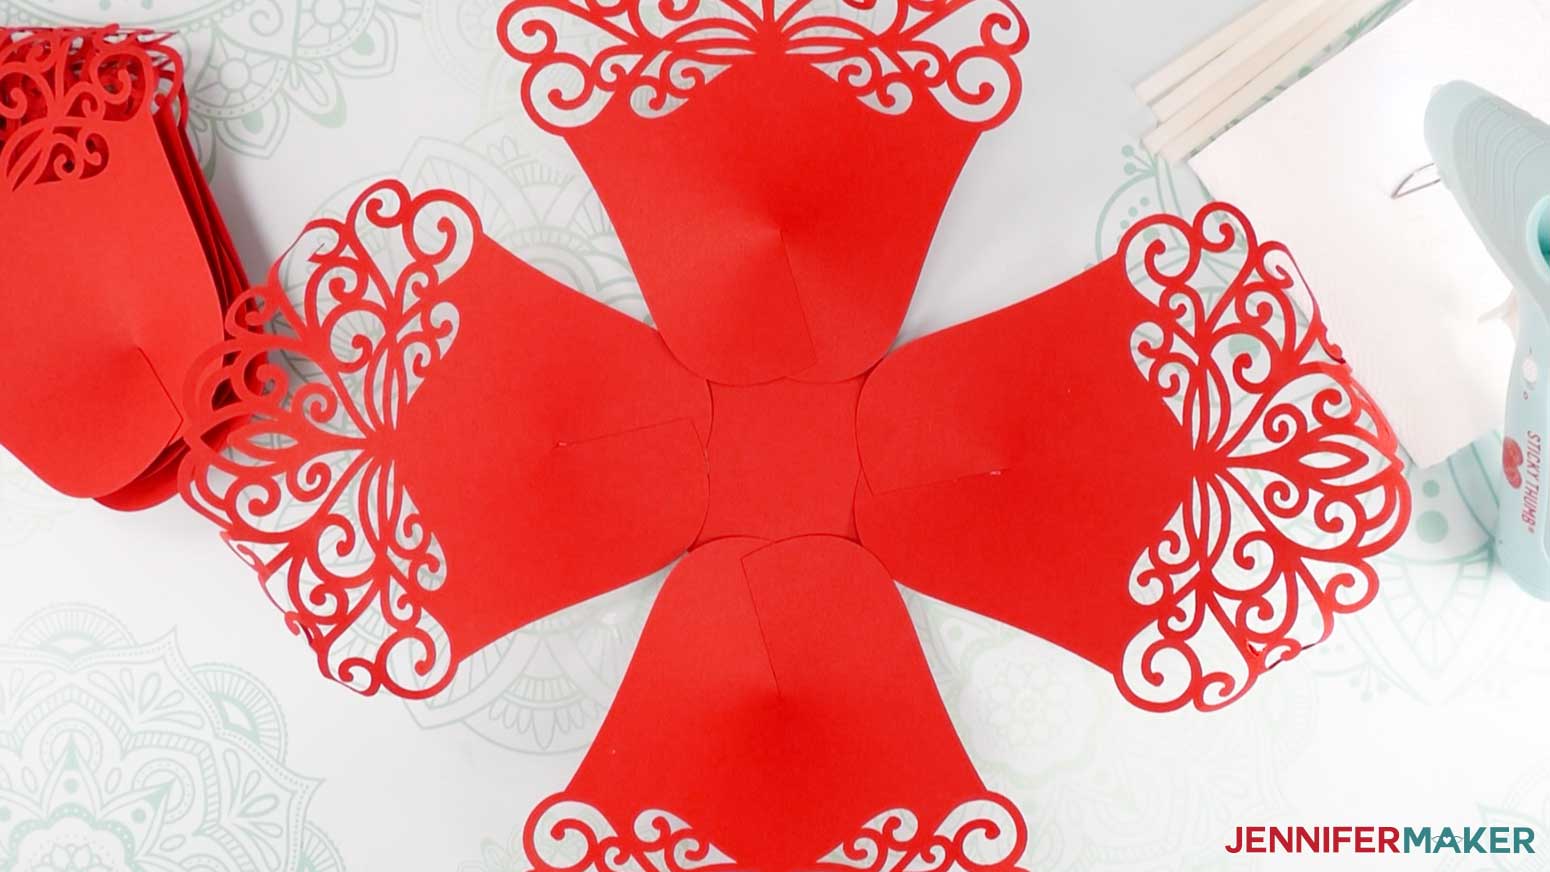
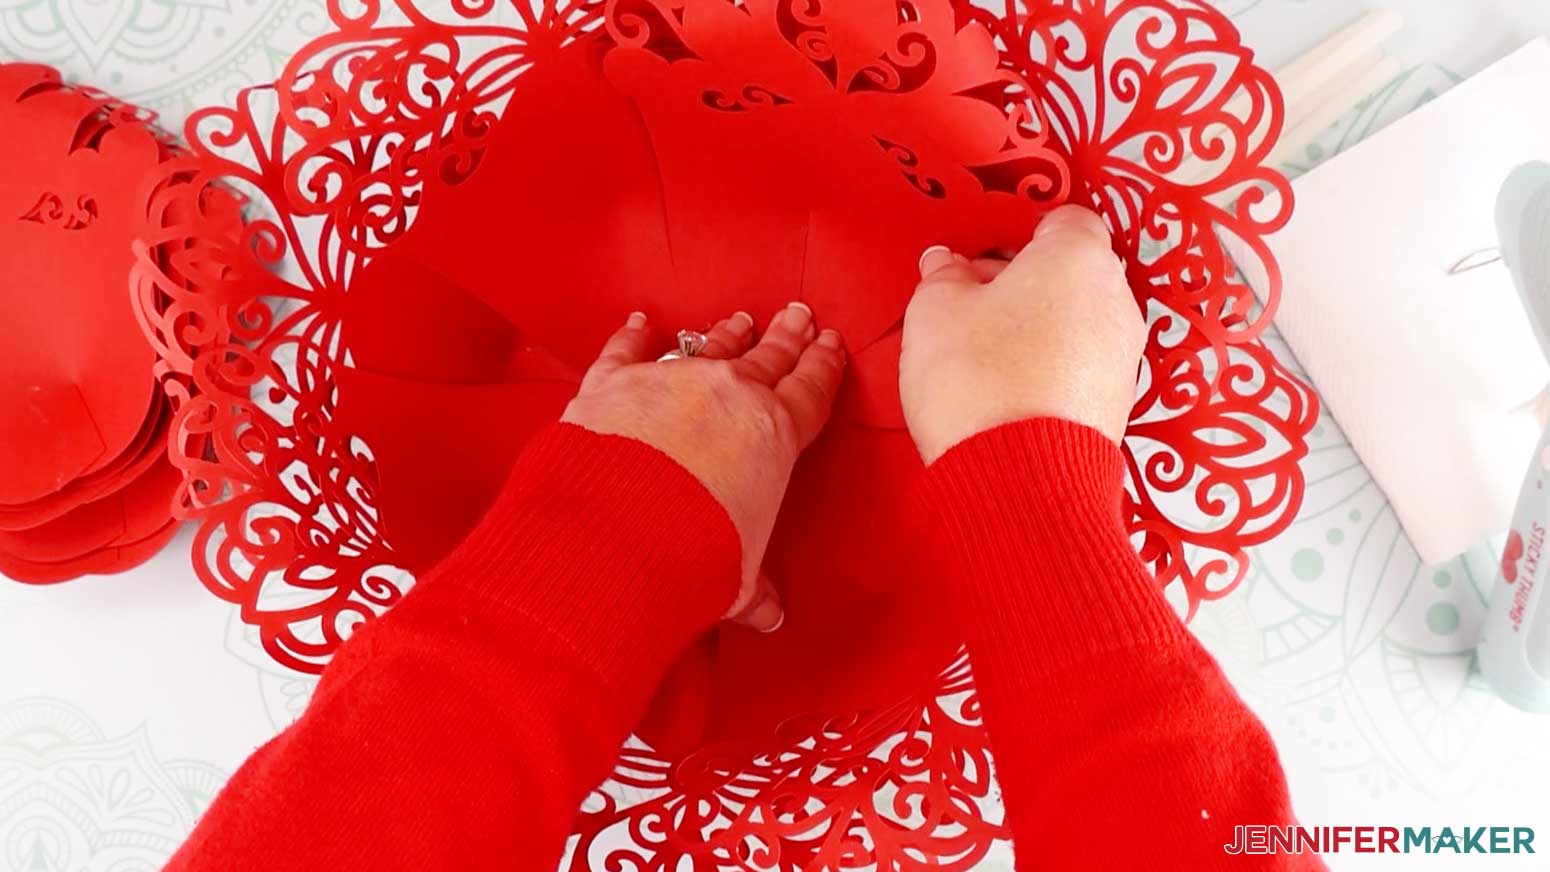
Next, take the circle piece from your cut materials. This is the base to which we will be assembling the Giant Lace Paper Flower pieces. Take one of the large petals and add glue to the bottom of the petal.
Place the petal on the outer edge of the circle base.
Take another large petal, add glue to the bottom, and place it on the base directly across from the first petal.
Take the third and fourth petals and place them between the first two petals.
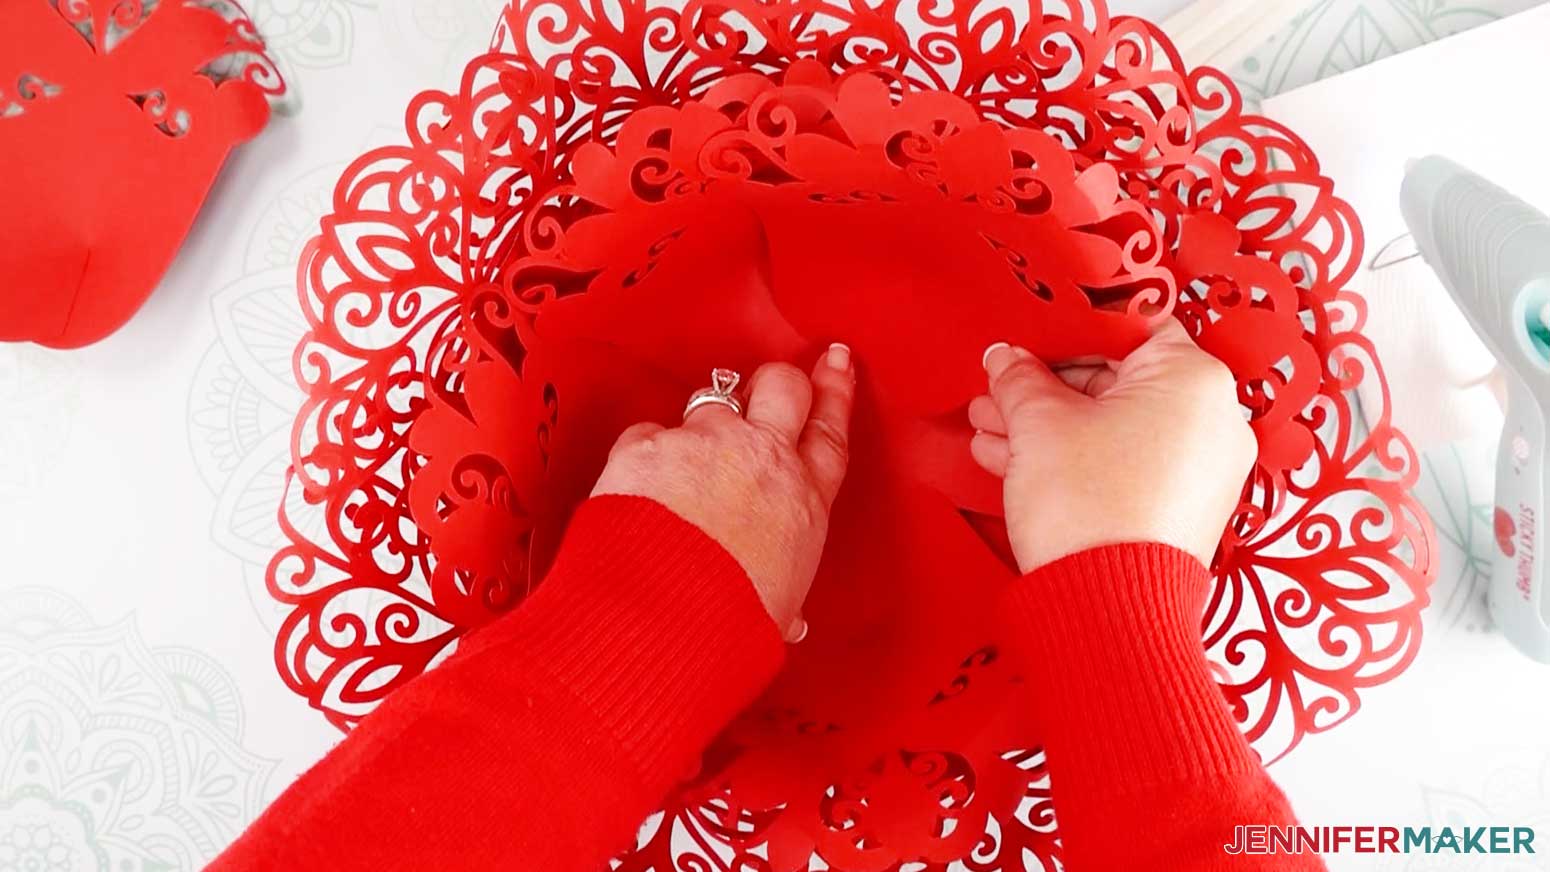
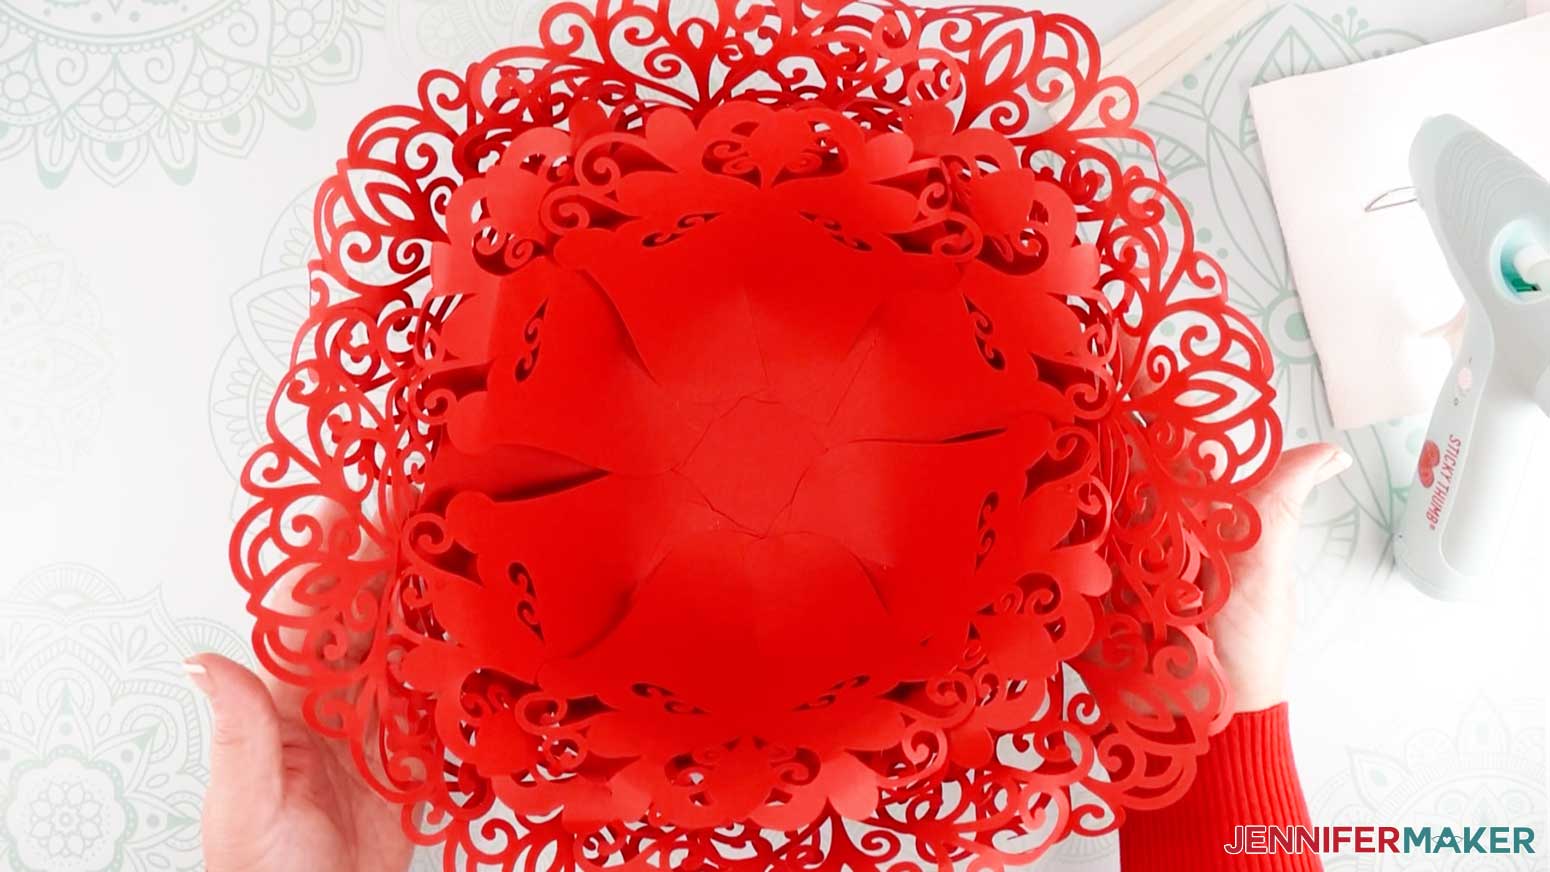
Next we will place the last four large petals in between the first four petals like shown below.
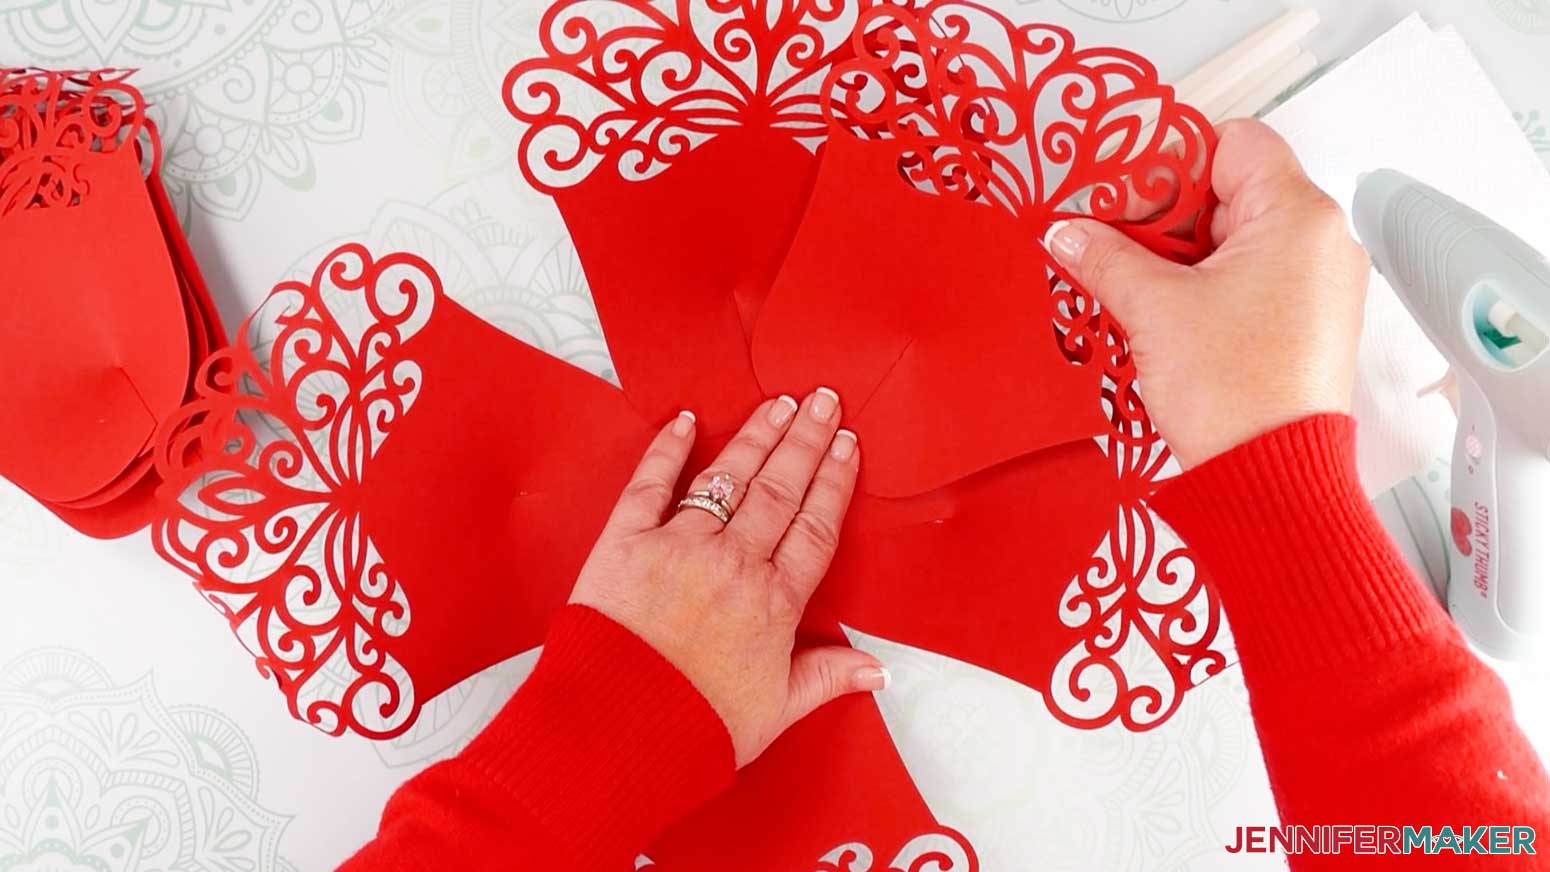
This is what my Giant Lace Paper Flower looks like with the large petals in place.
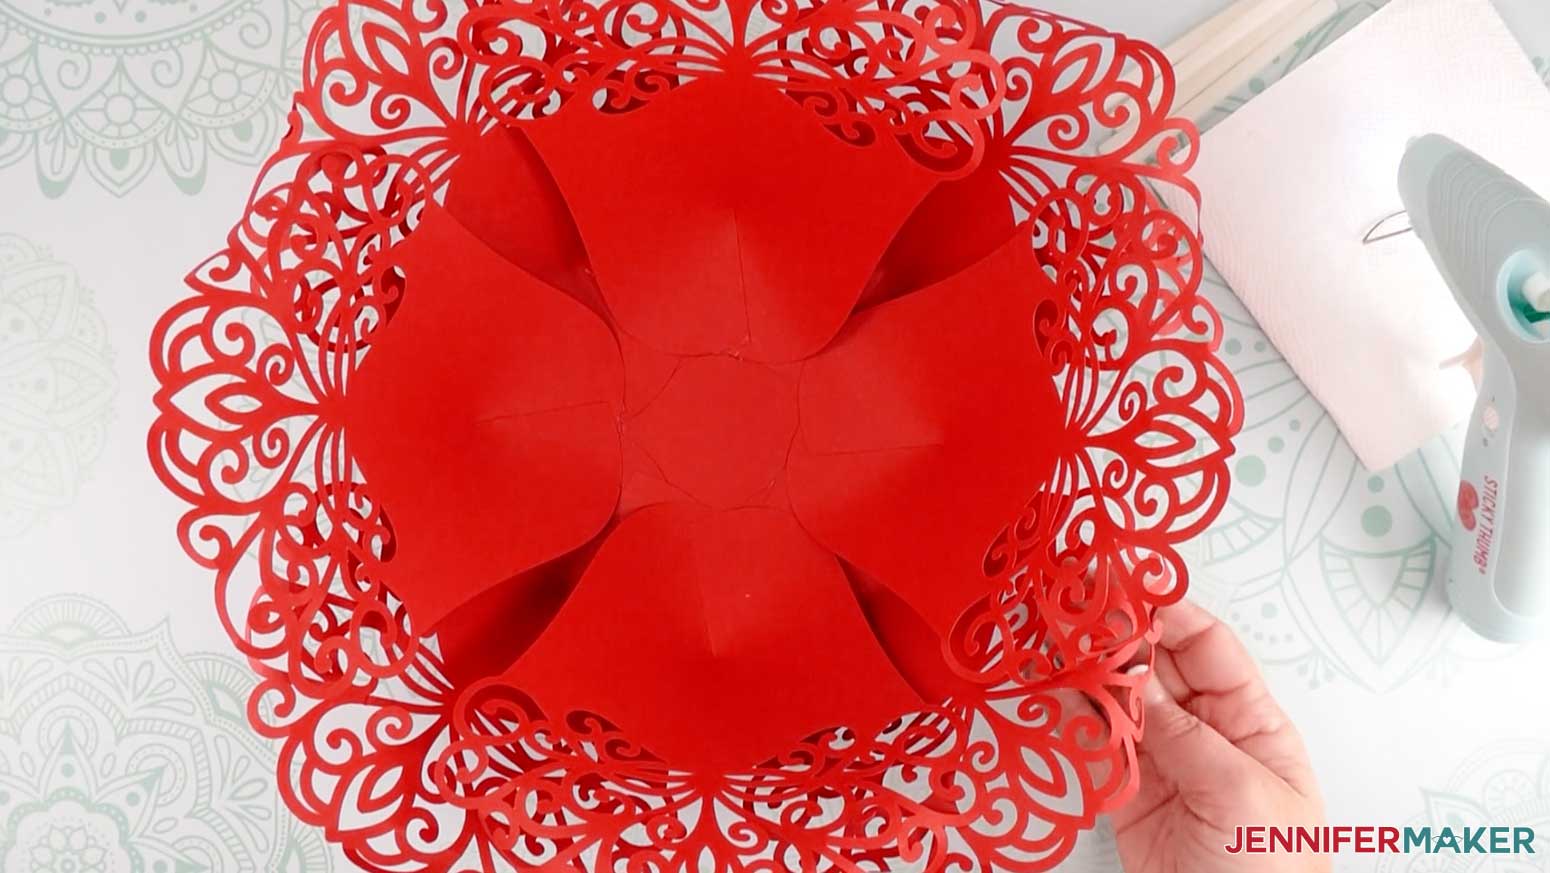
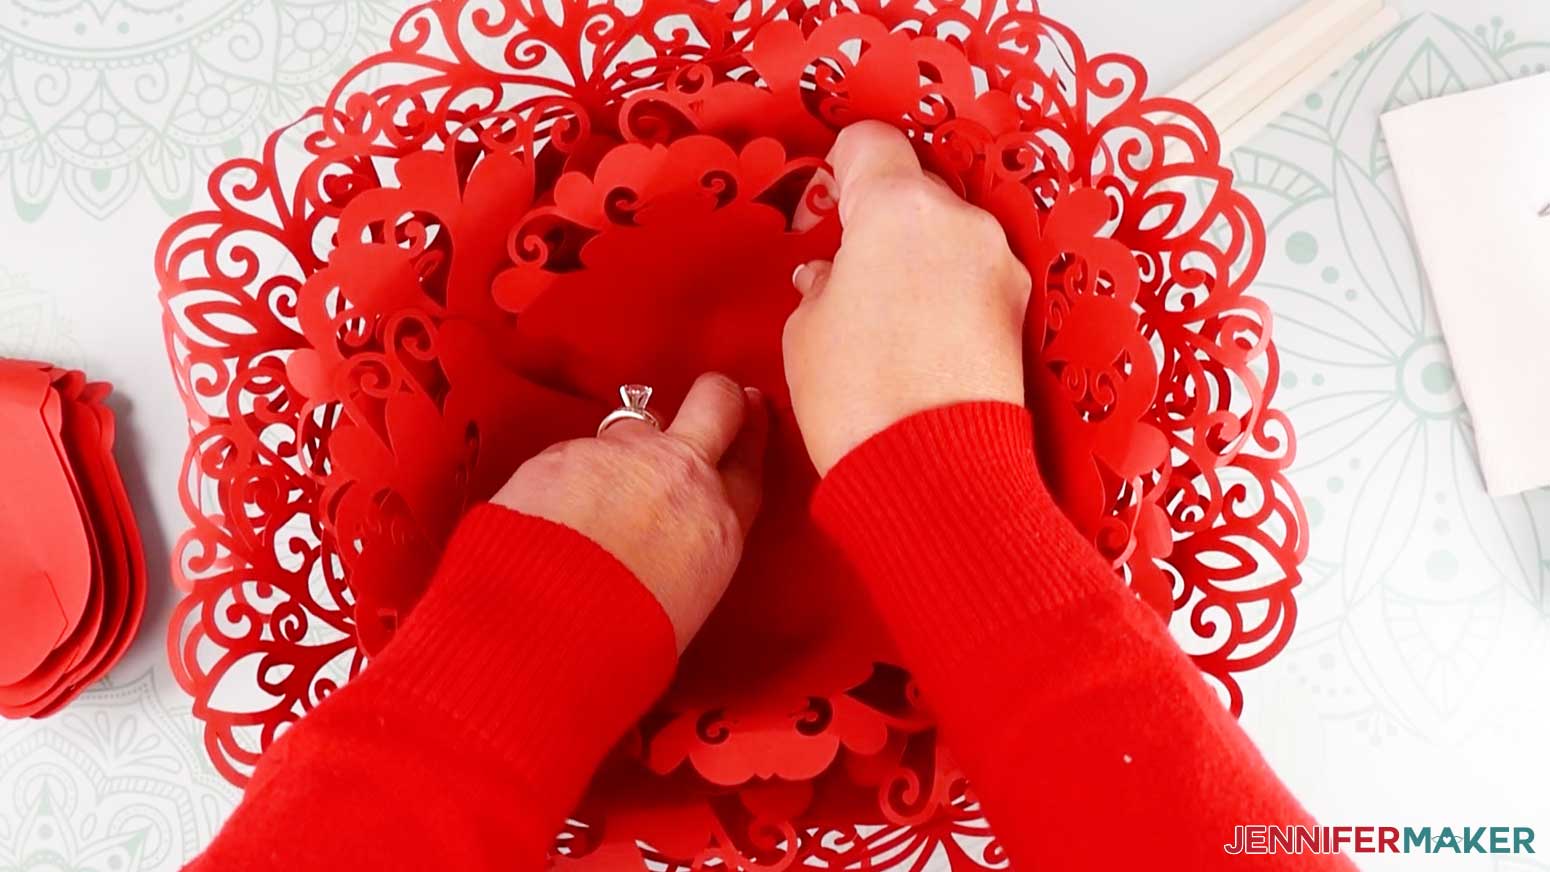
Now glue two medium petals opposite from each other in the center of the large petals.
Add the next two petals between the two petals you just placed. Then place the last two petals opposite of those two petals.
This is what my Giant Lace Paper Flower base looks like with all the medium flower petals added.
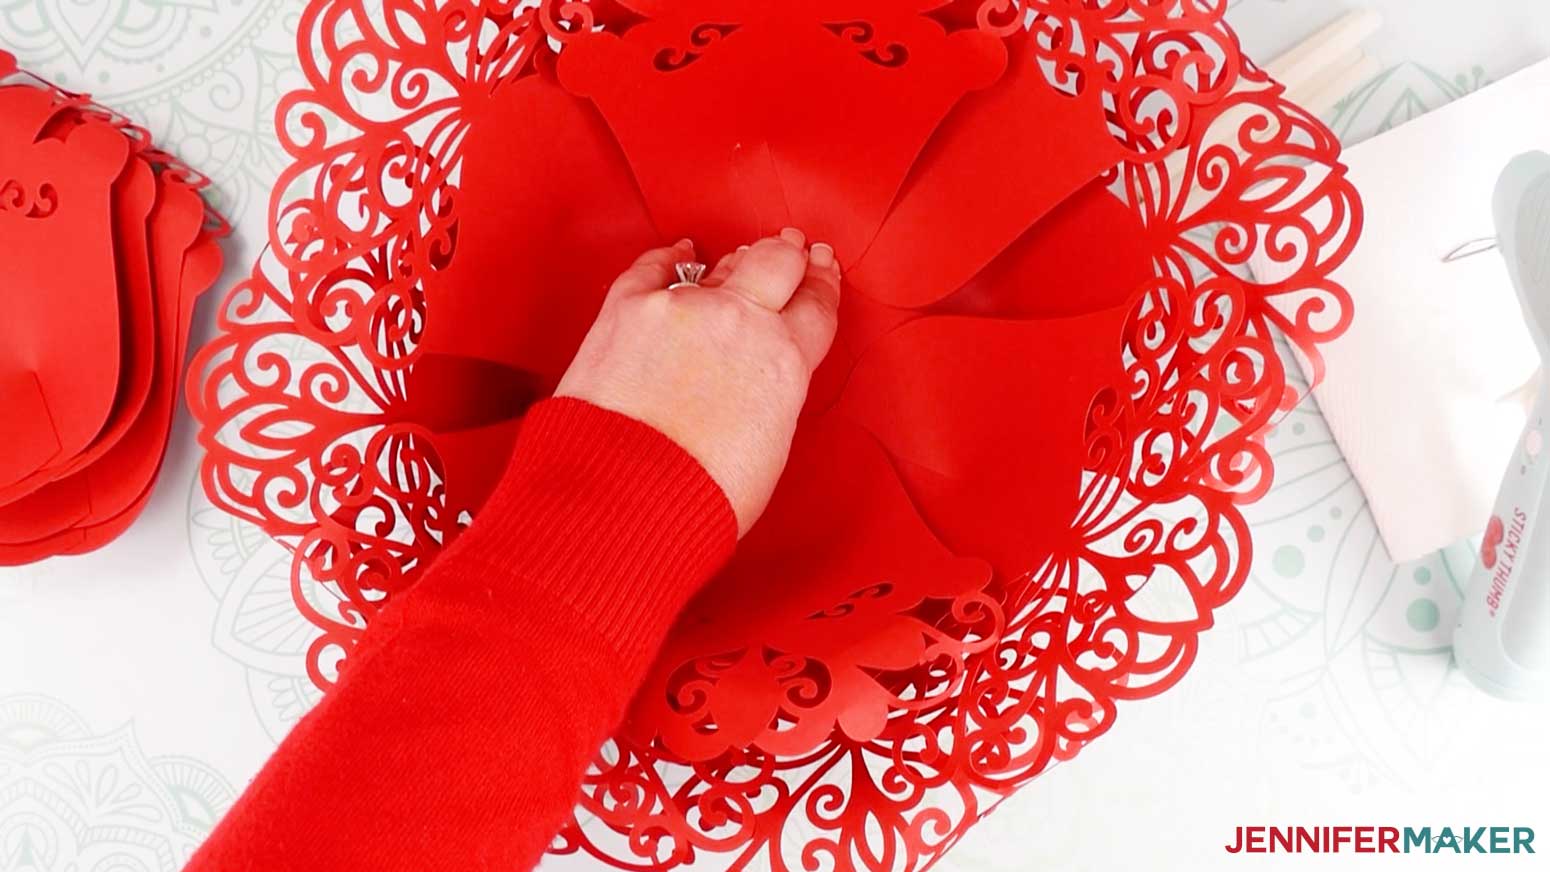
Add two small petals opposite from each other in the center of the flower.
Place two small petals opposite from the first two small petals and finish by placing the last two petals opposite of those. Here is what my Giant Lace Paper Flower looks like.
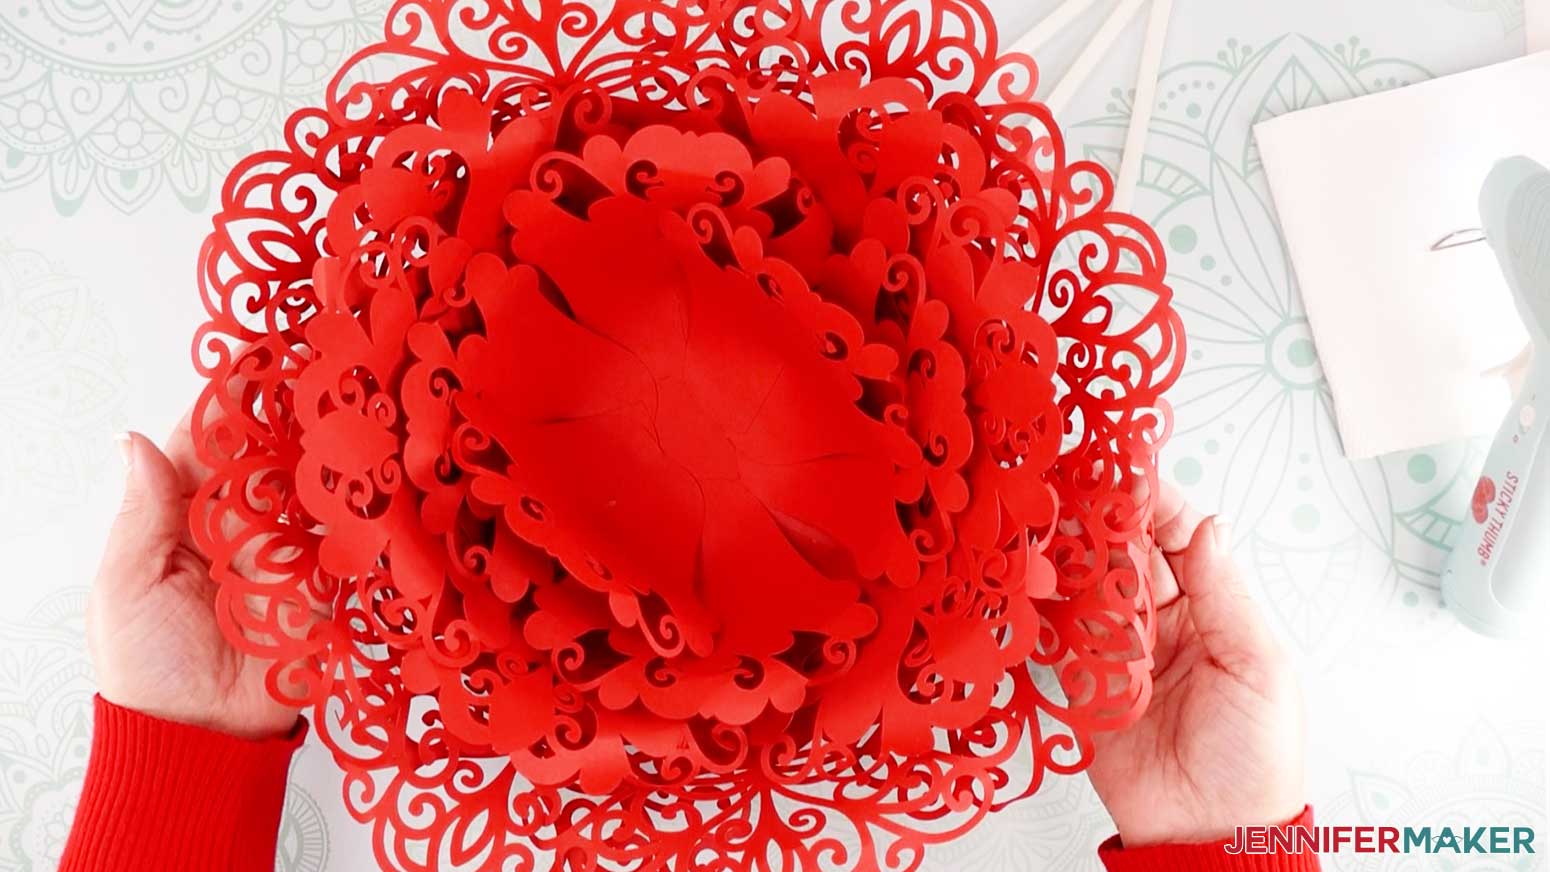
Pick up the bud piece that we made at the start of the project and add a good amount of glue to the bottom. Place the flower bud into the center of the Giant Lace Paper Flower petals.
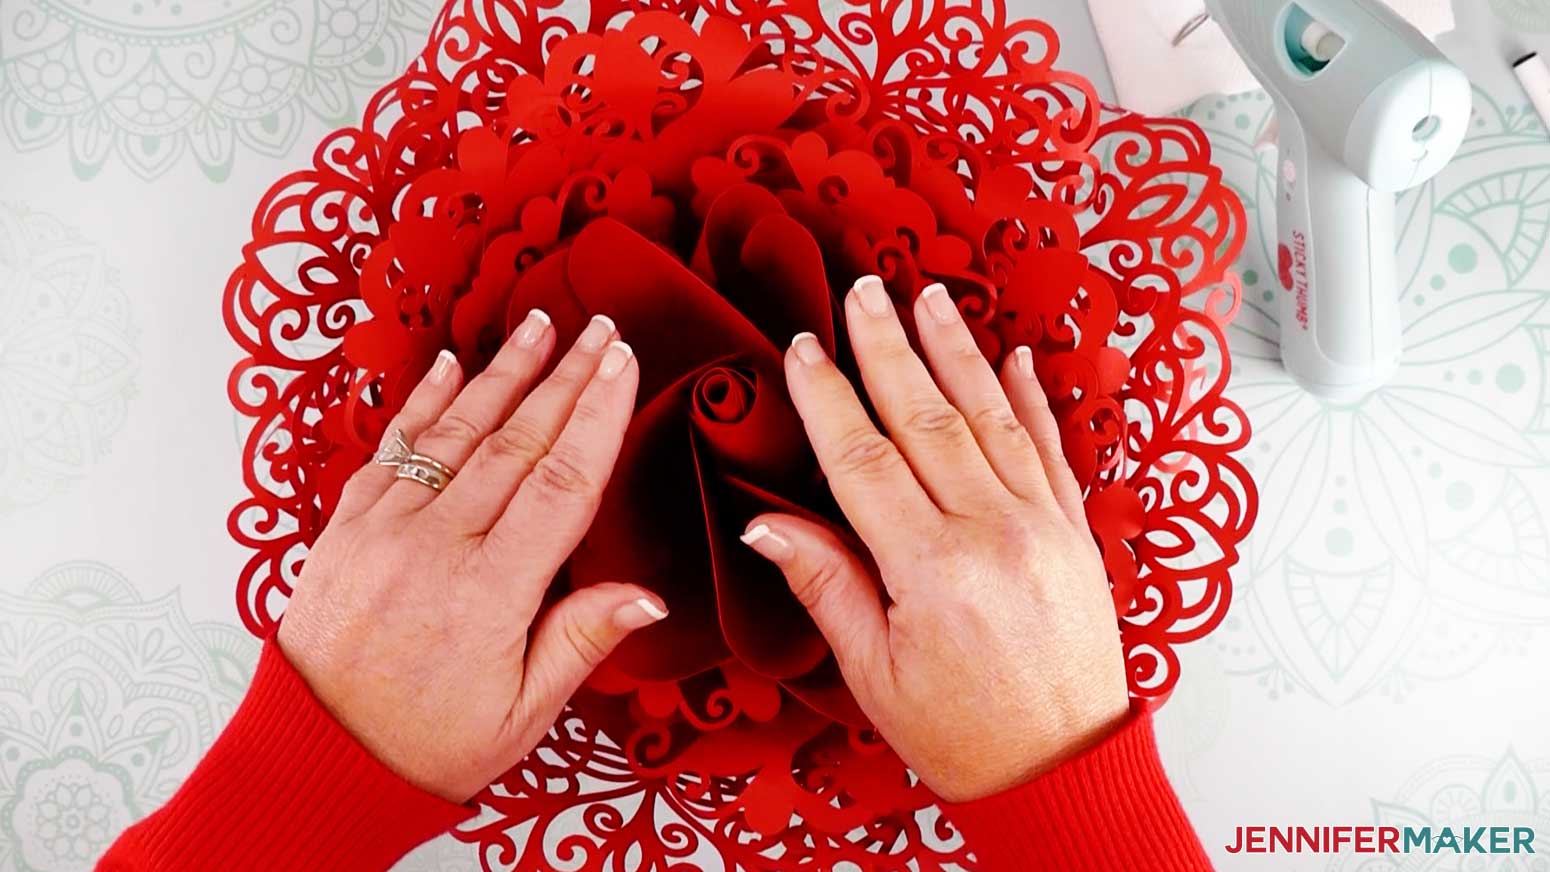
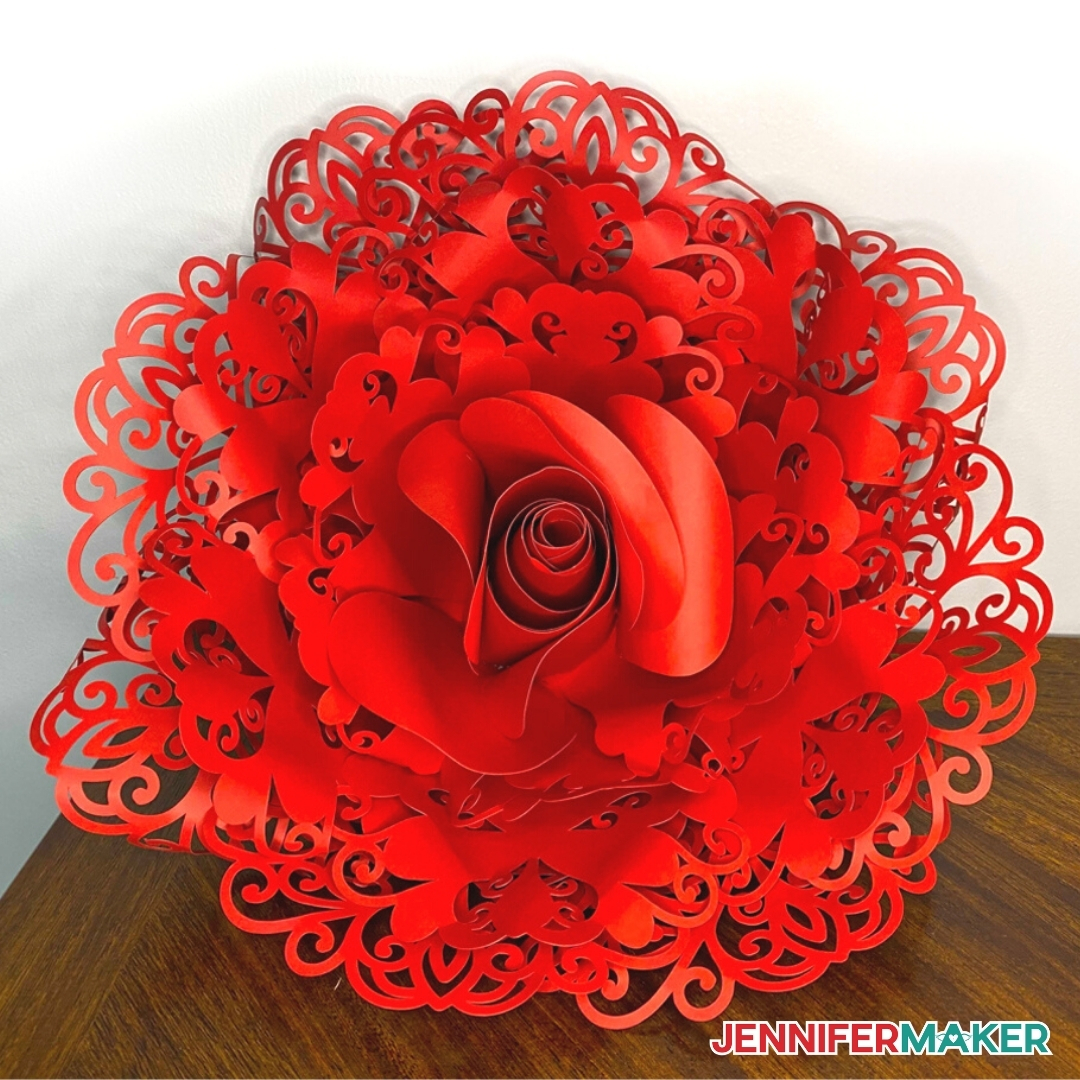
Make any adjustments and additional curls to your petals if needed. And this is what my finished Giant Lace Paper Flower looks like. Your flower may not look exactly like mine, but I know it will be awesome! The assembled size of my Giant Lace Paper Flower is approximately 14"W x 14"L x 6"H.
STEP 3: SHOW IT OFF
I added a magnet to the back of my Giant Lace Paper Flower and stuck it to the front door of my home. What will you do with your Giant Lace Paper Flower?
Notes
ACKNOWLEDGMENTS
Special thanks to the JenniferMaker Design Team for helping me design and assemble this awesome design.
Answers to Your Questions About Making a Giant Lace Paper Flower with Filigree Petals
Q: What can you do with a lace paper flower this big?
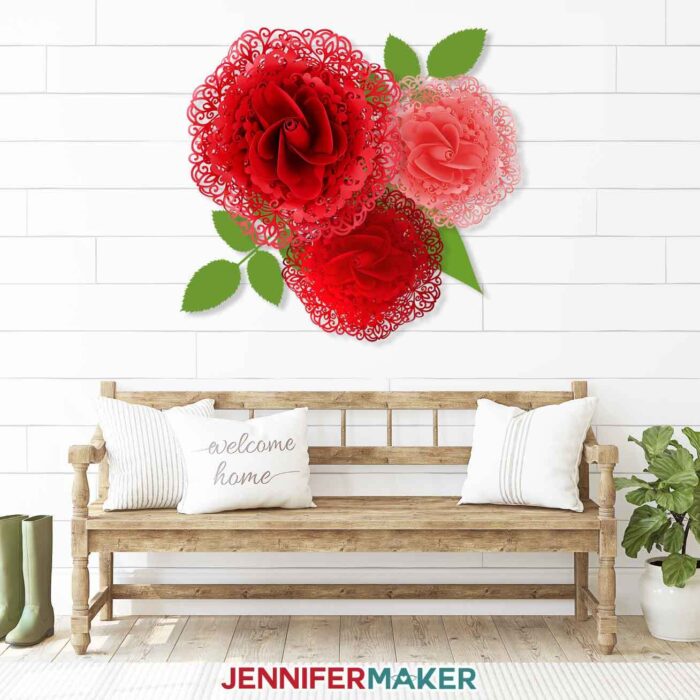
It’s true that these big flowers wouldn’t fit well in a vase, but there are SO many other things you can do with a giant lace paper flower! Hanging them on walls, either individually or in a group, is probably the most common use for one or more of them! I’ve heard of many people creating bunches of giant paper flowers to decorate baby and wedding showers, birthday and anniversary celebrations, and even Christmas trees! But, you also have the option of resizing the lace paper flower down to the size you want! Just make sure you don’t go too small, or you will have trouble with the lacy parts cutting out nicely!
Q: How would you attach a lace paper flower to the wall?
I recommend 3M Command Strips! They don’t hurt your walls and have always held the giant flowers up really well for me!
Q: I don’t own a Cricut (yet). Is there a way to make these without one?
There sure is! You don’t need a Cricut to make our Giant Lace Paper Flower with Filigree Petals, or create any of our projects! Go to our library and download Design #299, which contains a PDF version of the file – you can print this off on your computer printer!
Q: Can I make this on a Joy?
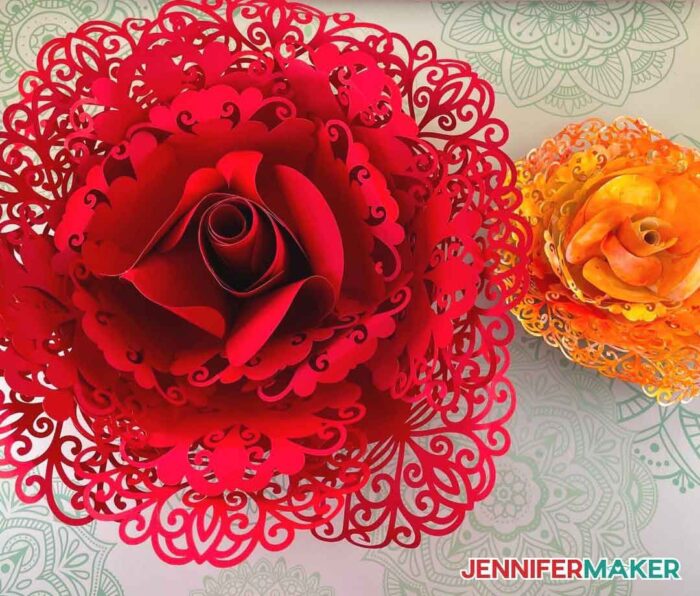
Yes, you can create your own lace paper flowers on your Cricut Joy! In our library, we have a Joy-sized file that will give you a cute little 9″ wide lace paper flower of your own (see flower on the right below)! Please note, though, that you will need to tape together the three base pieces, but all other instructions are the same! Or you can just resize the giant size flower to cut on your Joy — this will make a flower about 6″ wide, which you can see in the image below on the left.
Get my free SVG files to make your Giant Lace Paper Flower with Filigree Petals
Get the password for the library with the free pattern and cut files here by filling out this form:
I’d love to see your Giant Lace Paper Flowers with filigree petals!! I especially want to see how you use them. Please share a photo in our Facebook group or tag me on social media with #jennifermaker.
Love,

Want to remember this? Save this Giant Lace Paper Flower with Filigree Petals Tutorial to your favorite Pinterest Board!


I can’t wait to give this a go!!!
YAY! Hope you have as much fun making it as all of us are, Sandy! 🙂
I love your designs and this has just become my new favourite 🙂 When I saw the email with the flower photo, I immediately thought “Oh, how pretty”. It is a must-have and I can’t wait to try it out.
Thank you so very much, GG! We love to hear that our crafters are happy with our designs! 🙂
I haven’t been able to find the Rose for the Joy that you mentioned. Would you share it please?
The link to the Joy pattern is Design #299 in our Library, Pam! It’s right in the tutorial! Look for the SVG titled “JOY-sized-giant-lace-paper-flower”! 🙂
Do you have a pattern for the giant rose leaves shown in the wall display? I would love to do something like this for my mom’s 90 birthday party.
The leaves we used are from another one of our tutorials, Deb! You will need to resize them to something much larger, but you can find the SVG in our library! It’s Design #22, the Enchanted Rose and Decorated Glass Cloche!
Is there a tutorial on how to assemble the Joy sized Lace flower, it has 3 extra bases , I just need to know the placement of the petals on the base for the small flower.
We don’t have a tutorial especially for the Joy, but it’s pretty much the same process! The only difference is that the three smaller round bases (there are three small circles and one larger circle) are used to make the three bud sections! You can see in Step 1 of the tutorial, the picture that shows what the SVG looks like when it uploads to Design Space in the giant version, that there are three bud shapes. For the Joy version, you will need to do an additional step of gluing five of the smallest petals, the ones with no lace on the edges, to the smallest circles to make the shapes shown on the right! Those will make your flower buds, which you will assemble just like the giant rose, shown in the picture in Step 3! Sorry for any confusion!!! 😍