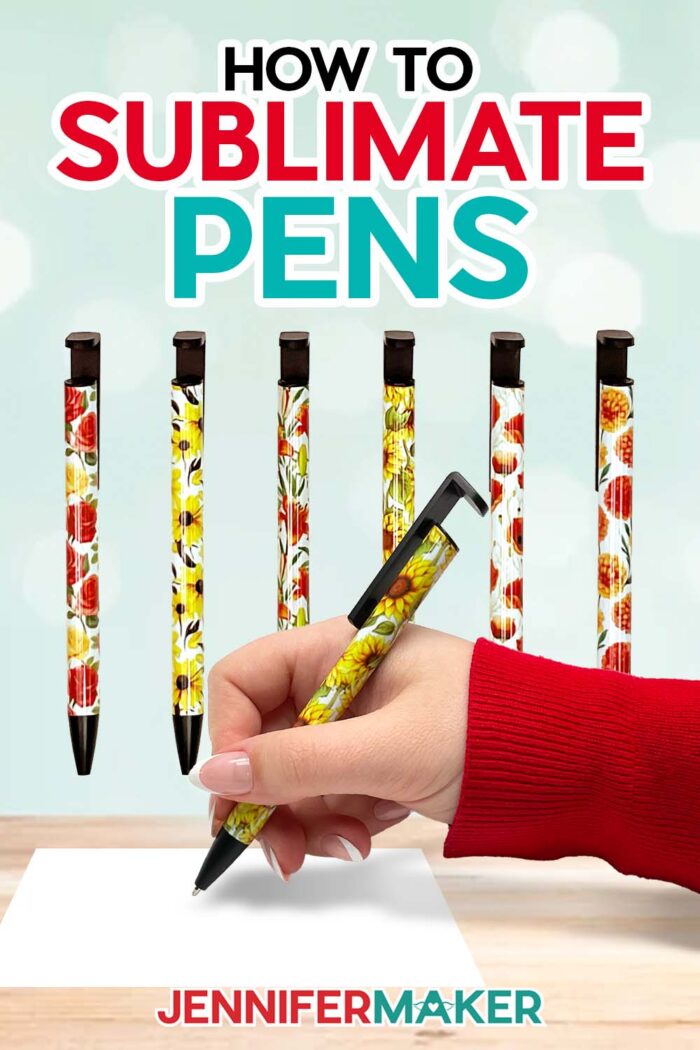
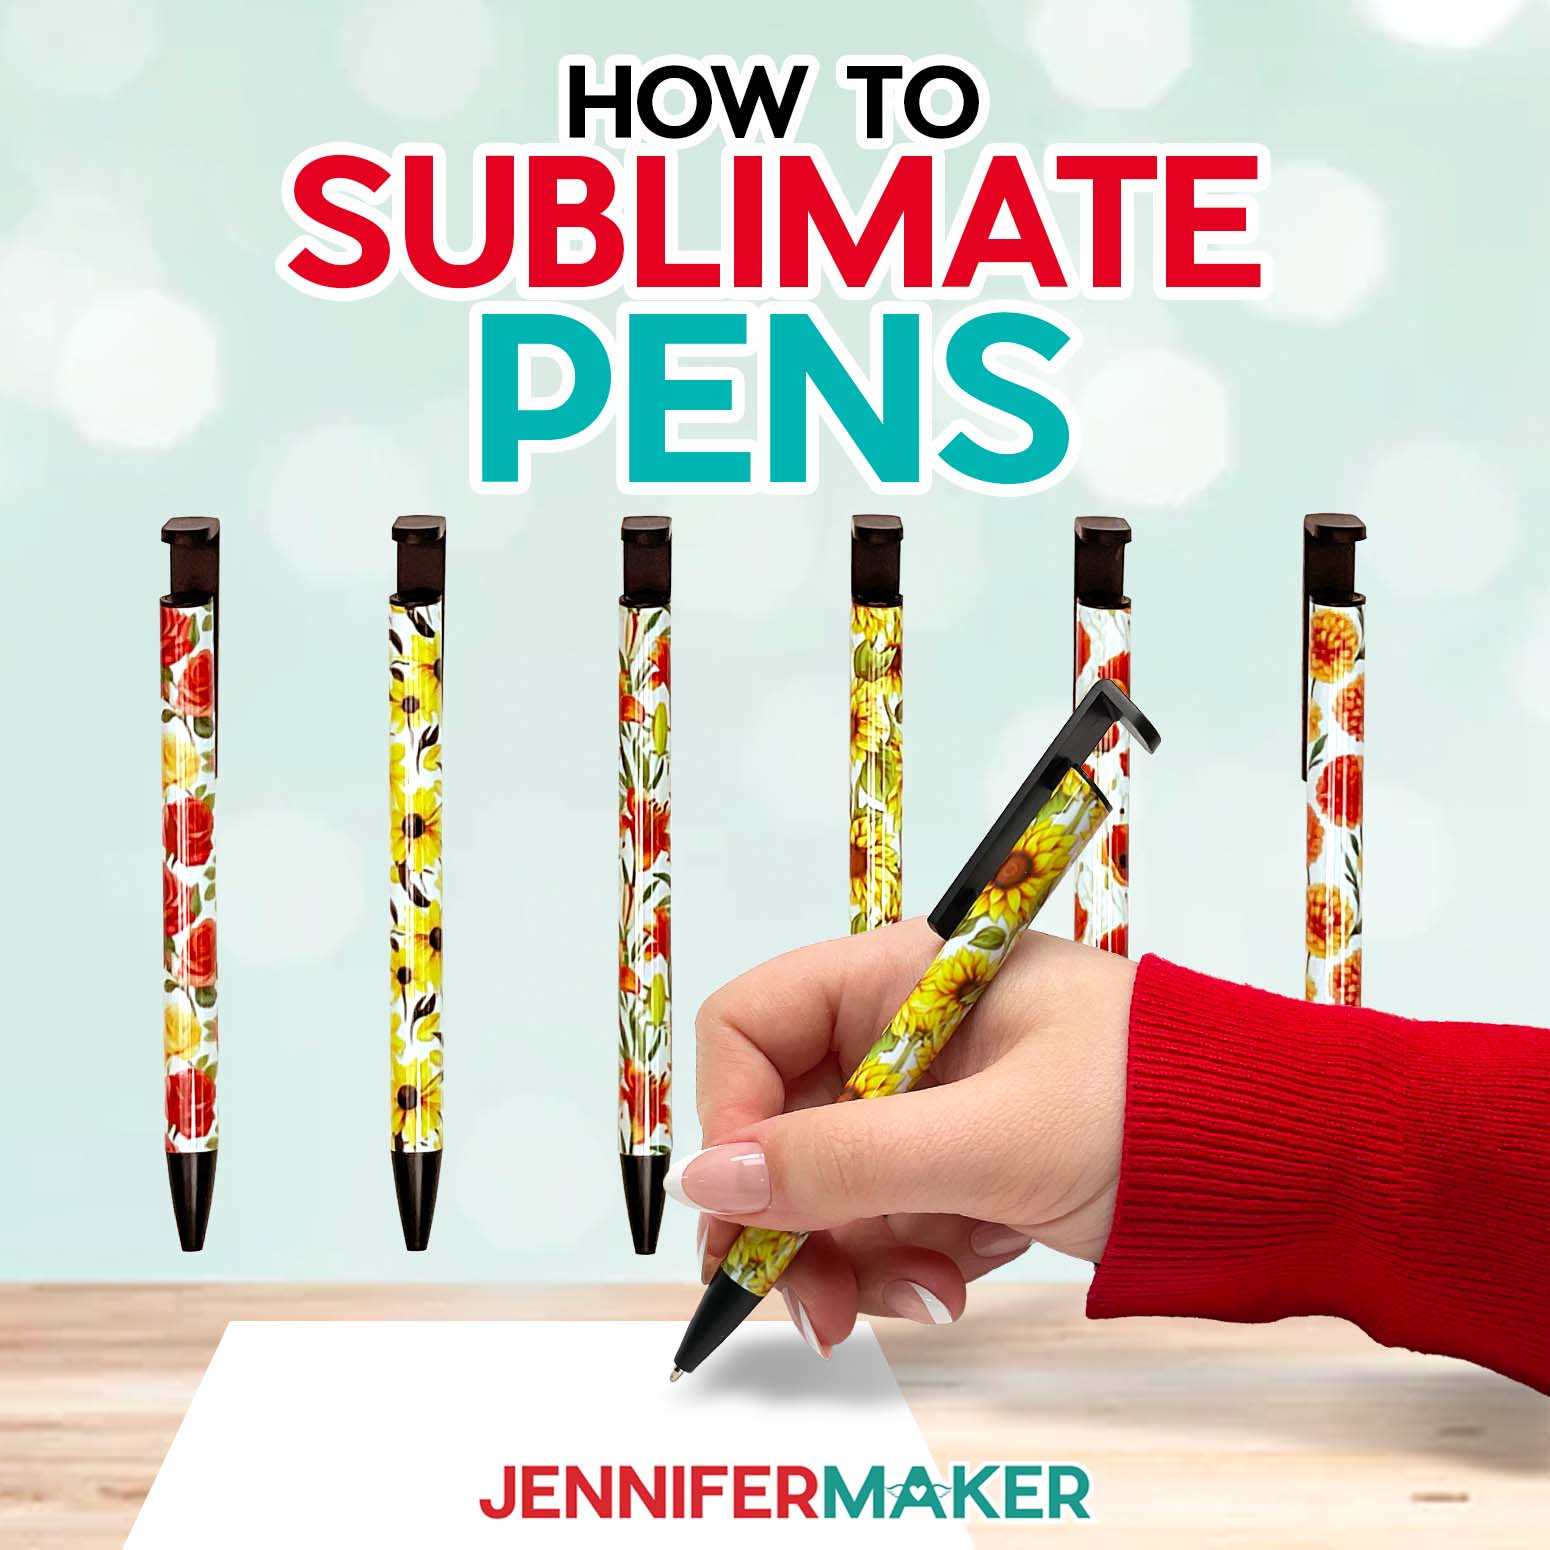
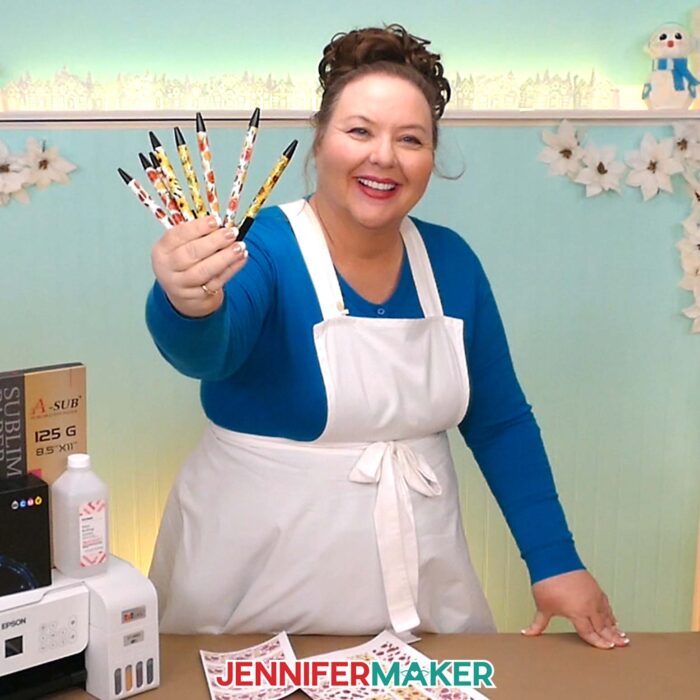
Learn How to Sublimate Pens to create unique and personalized gifts!
Sublimation has quickly become one of my favorite crafting methods, with its vibrant, permanent results. It’s always fun to try a new technique or tool, and today we’ll incorporate both into a new sublimation project. Today, I’ll to show you how to sublimate pens! Stay tuned for my tips, tricks, and new tools to get the best sublimation results and the nicest looking seams on your own custom ink pens.
Watch the full step-by-step tutorial on how to sublimate pens!

Sublimating smaller, three-dimensional items comes with a learning curve, but I’m here to walk you through the whole process on how to sublimate pens, and share every tip I’ve collected on the way!
First, I’ll show you how to measure and size your pen wrap using my pretty flower designs, then we’ll customize a pen with text. I used an AI image generator to create the designs, then edited them in Photoshop to make them sublimation-ready. We’ll use a neat tool in Cricut Design Space to make the text stand out against the patterned background!
Southpaws, I didn’t forget you! I’ll show you how to adjust your pen design for left-handed folks, and how to position it other ways for different results.
To get started, you’ll need some sublimation pen blanks. I found mine on Amazon, and like all other supplies and tools I’m using today, you can find the link below in my tutorial.
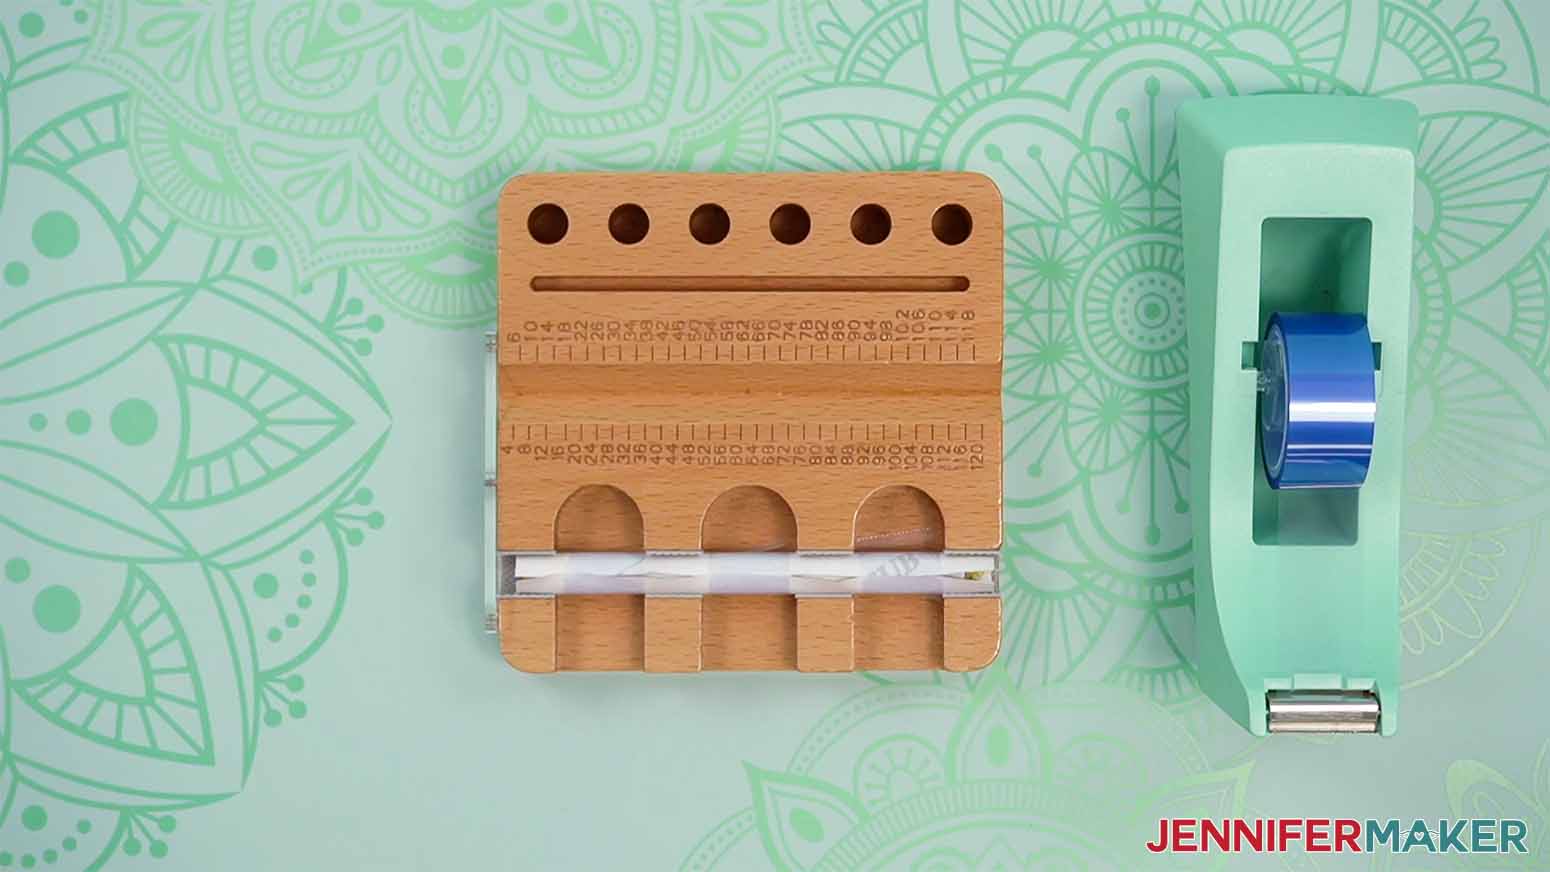
And we’re also going to try out a new tool together! It’s called the Pinch Perfect Sublimation Pen Pincher, and it claims to help wrap your sublimation paper nice and tight around your pen for a nicer looking seam. But, does it work? You’ll have to watch the video tutorial to find out!
You’ll need some basic sublimation supplies like a craft-purposed air fryer or convection oven, a sublimation printer and paper, and some other tools and materials you can find links to in the tutorial below. While we won’t need to use our Cricut cutting machines for this project, we will use Cricut Design Space to prepare and print the designs.
When I’m out and about, looking at items in a shop, sometimes I realize “Hey, I can sublimate that at home!” It’s such a rewarding and satisfying craft, especially due to the sheer number of sublimatable products on the market right now. And now that we all know how to sublimate pens, we can all add writing utensils to that list!
Let me show you how easy it is to sublimate pens! This post contains some affiliate links for your convenience (which means if you make a purchase after clicking a link I will earn a small commission but it won’t cost you a penny more, there is no additional cost)! Read my full disclosure policy.
Materials to Sublimate Pens
View my complete Amazon list with what I used to sublimate pens!
- One (1) Sublimation Pen Blank
- One (1) Sheet of A-SUB 125g Sublimation Paper 8.5″ x 11″
- Sublimation Printer – I used a converted Epson EcoTank ET-2800 Inkjet Printer
- Sublimation Ink
- Convection Oven -OR- Air Fryer
- Pinch Perfect Sublimation Pen Pincher
- Oven Thermometer
- Fan for Ventilation
- Heat Resistant Gloves
- Heat Resistant Tape
- Heat Gun
- Shrink Wrap Sleeve (Look for these in your pen kit!)
- Silicone Mat
- Looped Tape Measure
- Scissors -OR- Paper Trimmer
- Scraper
- Isopropyl Alcohol -AND- Coffee Filters
- Cooling Rack
- Design #544 (My free SVG/DXF/PDF design files are available in my free resource library – get the password by filling out the form at the bottom of this page

Learn How to Sublimate Pens
How To Sublimate Pens
Learn how to sublimate pens with custom designs!
Materials
Tools
- Sublimation Printer - I used a converted Epson EcoTank ET-4700 Inkjet Printer
- Sublimation Ink
- Convection Oven -OR-
- Air Fryer (The air fryer I used is currently unavailable but there are many other great options.)
- Pinch Perfect Sublimation Pen Pincher
- Oven Thermometer
- Fan for Ventilation
- Heat Resistant Gloves
- Heat Resistant Tape
- Heat Gun
- Shrink Wrap Sleeve (Look for these in your pen kit!)
- Silicone Mat
- Looped Tape Measure
- Scissors -OR-
- Paper Trimmer
- Scraper
- Isopropyl Alcohol -AND-
- Lint Free Cloth
- Cooling Rack
Instructions
STEP 1: GET MY FREE SUBLIMATION PENS DESIGNS
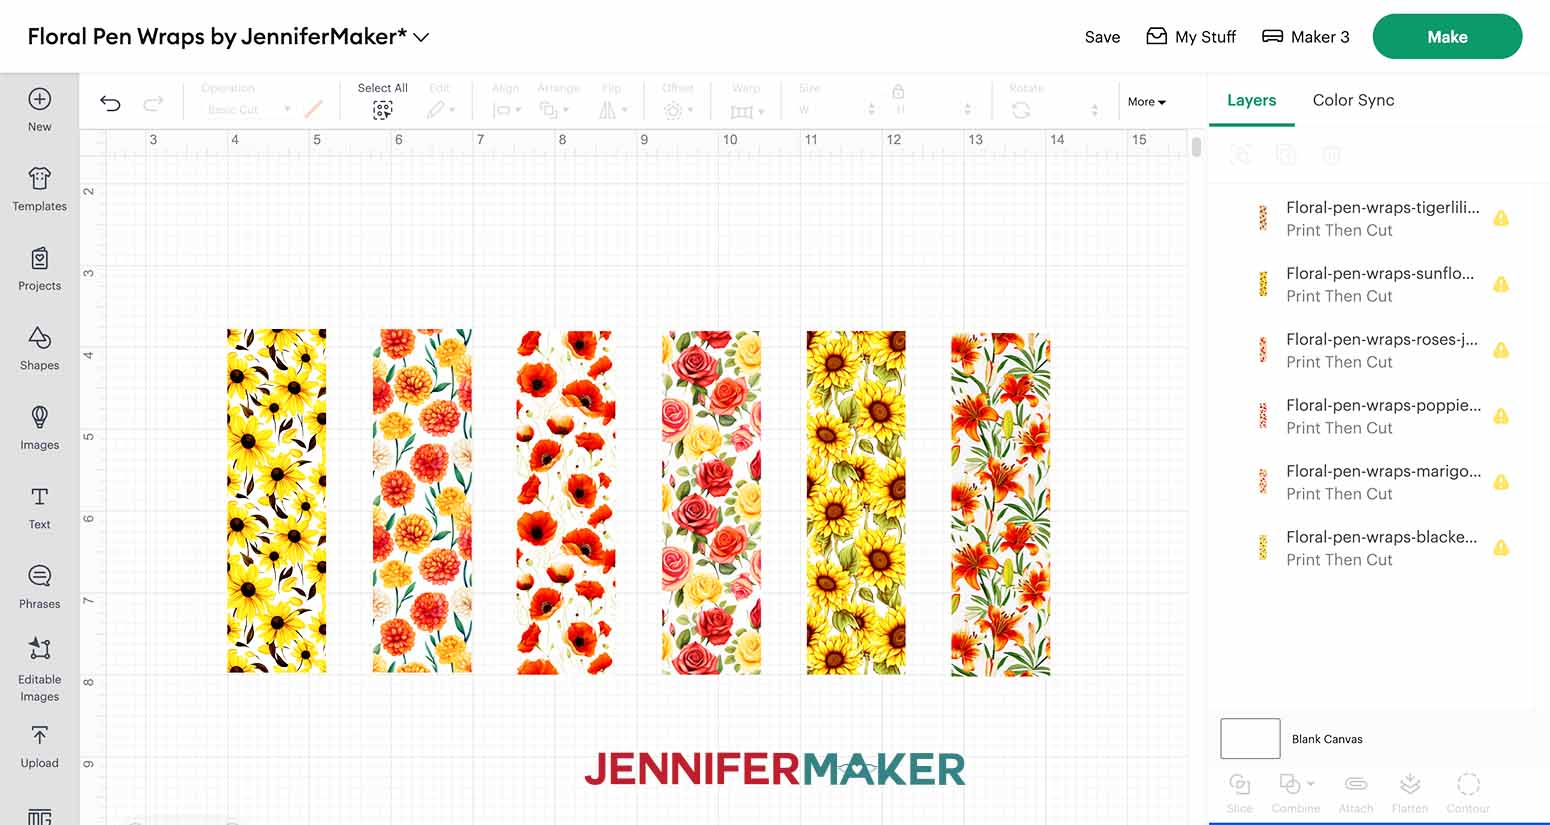
First, download my Floral Pen Wrap designs from my free library – look for Design #544. Alternatively, you can use the Save This Project form near the top of this post and the design link will be emailed to you.
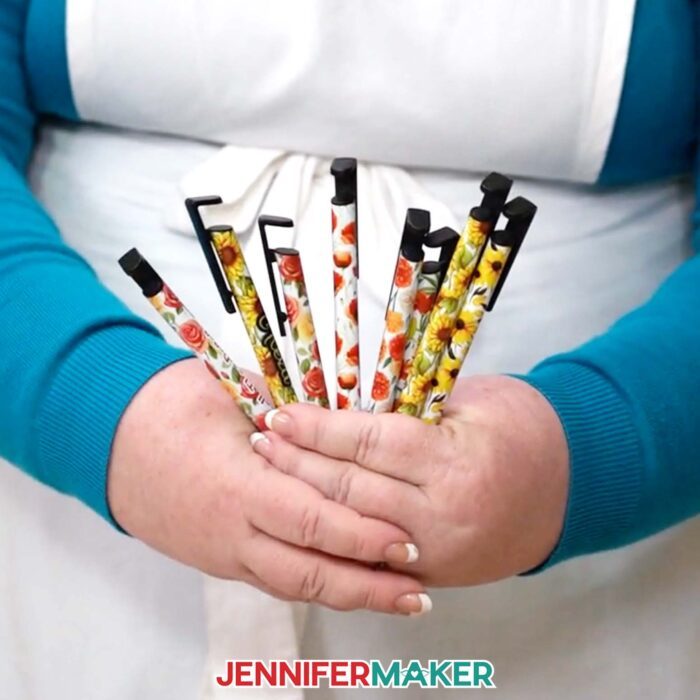
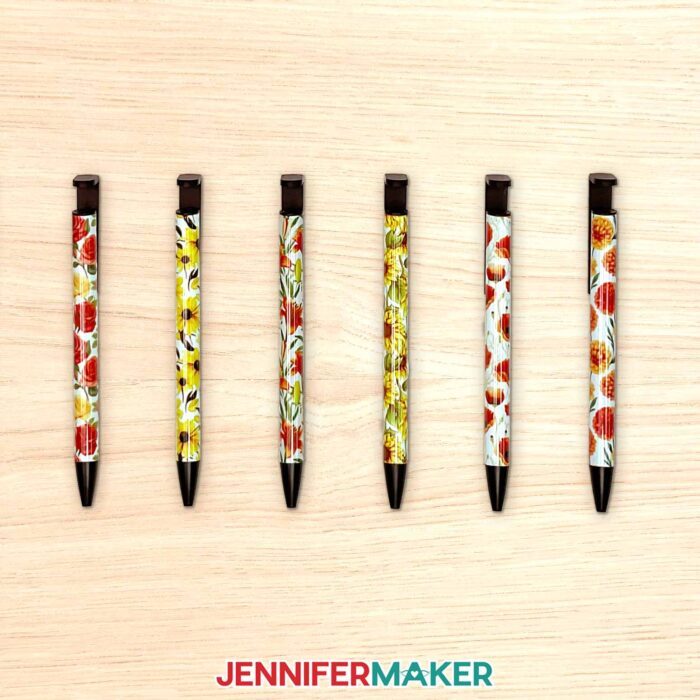
There are six floral designs to choose from: Black-Eyed Susans, Marigolds, Poppies, Roses, Sunflowers, and Tiger Lilies.
I used an AI art generator to create the designs, then made them even more fantastic with image editing software. If you want to learn more about the process, check out my workshop on creating and using AI-generated art in your crafts.
STEP 2: PREPARE AND PRINT YOUR PEN WRAP
NOTE: For full steps in printing sublimation designs, check out my tutorial How To Print Sublimation Designs From Google Docs.
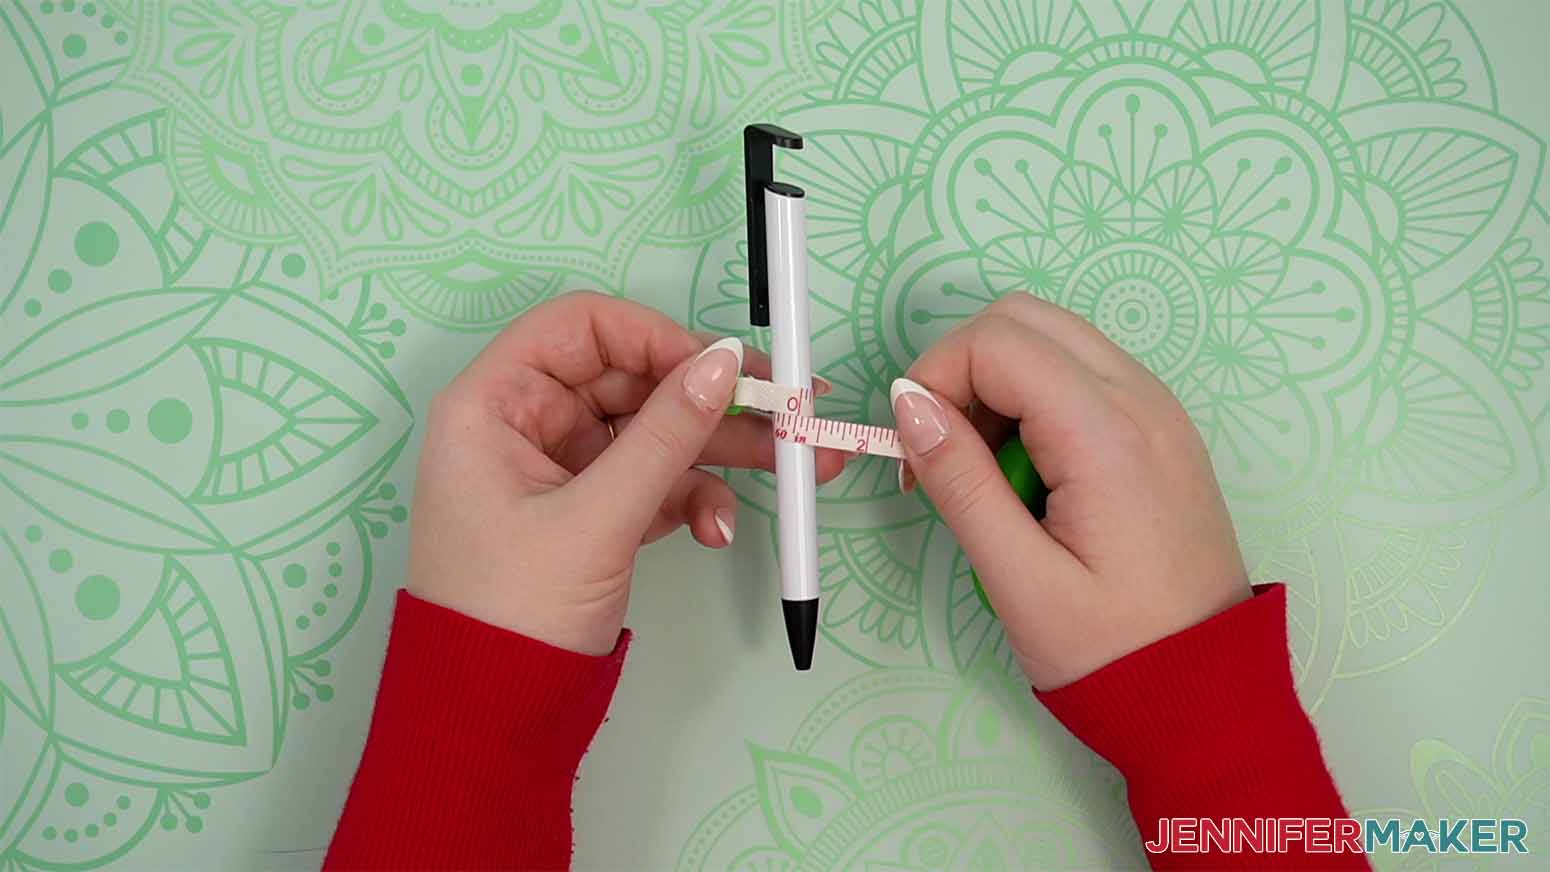
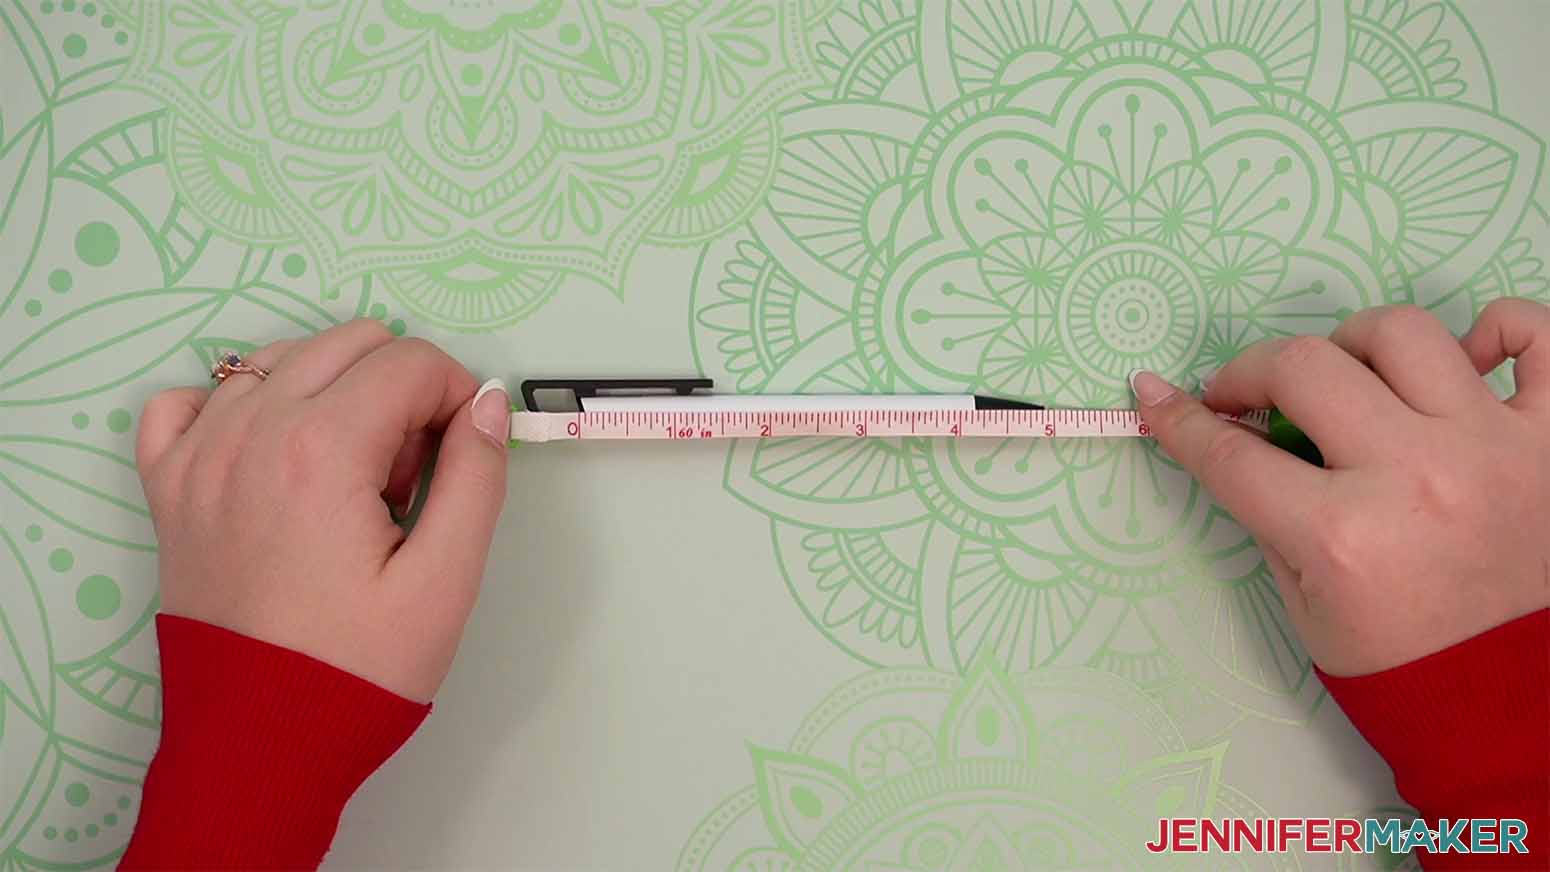
1. Measure the width and height of your pen sublimation area by using the looped tape measure. (While the tape measure is looped, make sure the edges of the tape aren’t skewed and wrap it around the pen barrel in a level line to determine the width. Flatten the tape measure by removing the end from the insert area, then use the tape to determine the length.)
2. Size your pen wrap so it is approximately 1/16” to 1/8” wider than the measured width. The length should be approximately 1/8” to 1/4” longer than the sublimation area. I sized my images to 1.35” wide x 4.66” long to fit the pens used in this tutorial.

OPTIONAL: ADD TEXT
Prior to printing, you can add a name or message to your pen design. I used Design Space to quickly add text, but you can use Google Docs, Canva, or any other editing software you choose prior to printing the designs.
CRICUT DESIGN SPACE
1. Open Cricut Design Space and click “New Project”
2. Click “Upload” and then “Upload Image”
3. Click “Browse”
4. Select your chosen PNG file.
5. On the Upload Image screen, select “Complex” and click “Continue”
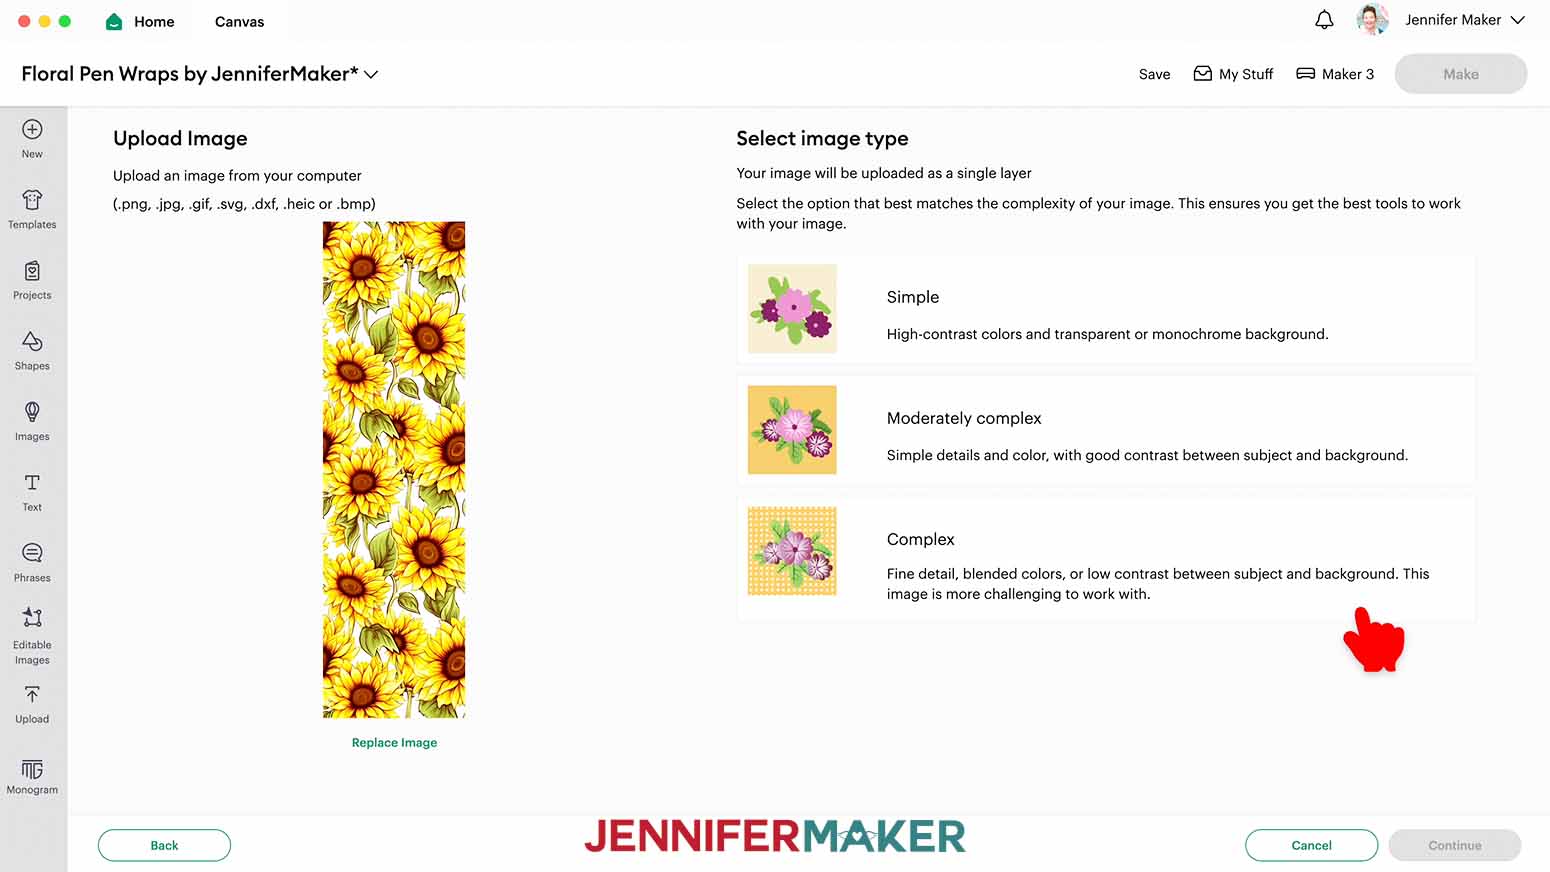
6. No background needs to be removed at this step, so click “Apply and Continue”
7. On the next screen, select “Print Then Cut Image” and click “Upload”
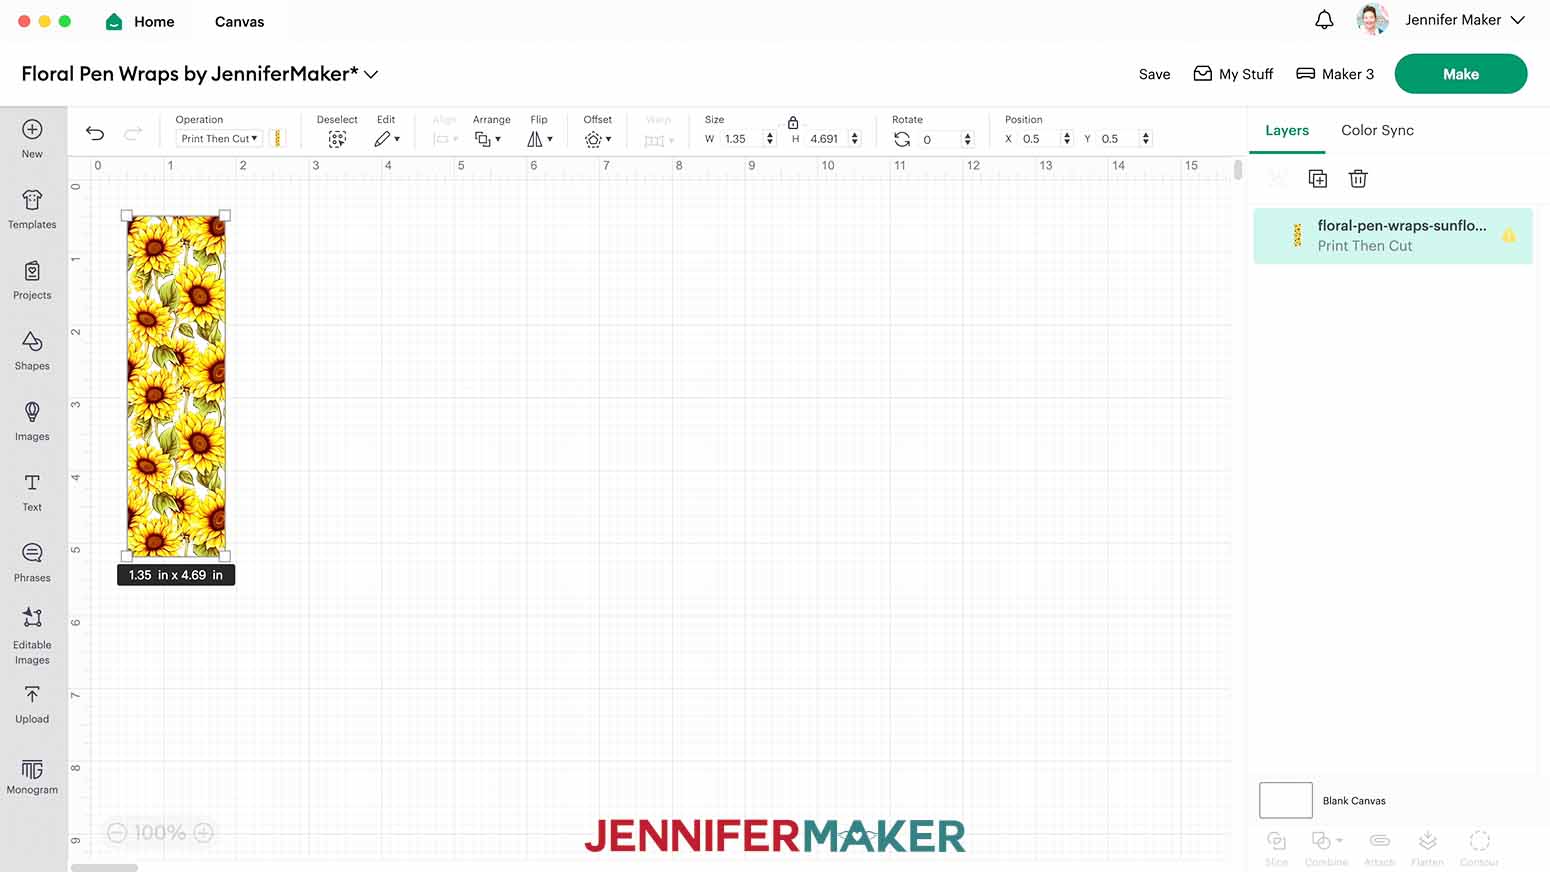
8. Select your design in “Recent Uploads” and add it to the Canvas
NOTE: You may see a low resolution warning even after resizing your images, and that's OK. They will print just fine at the size needed for these pens. However, I don't recommend enlarging these images for larger projects.
9. While leaving the lock icon closed, resize the image by entering 1.35” for the Width on the “Size” menu at the top.
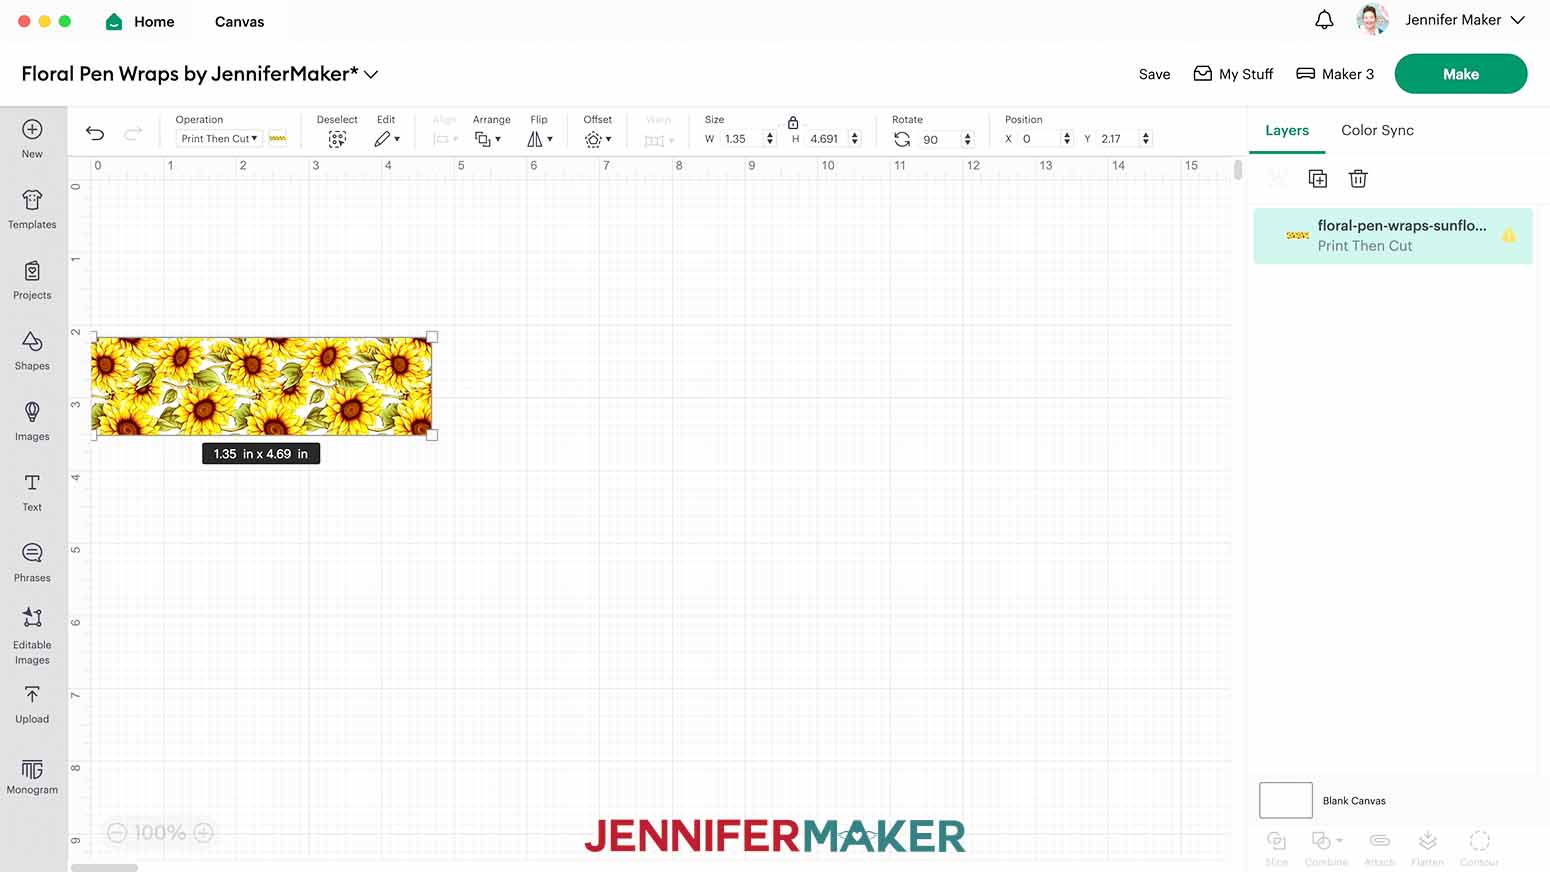
10. Rotate the design 90° by typing “90” into the “Rotate” box in the upper menu. The wrap design should now be a long rectangle.
11. Click the “Text” button and type your text.
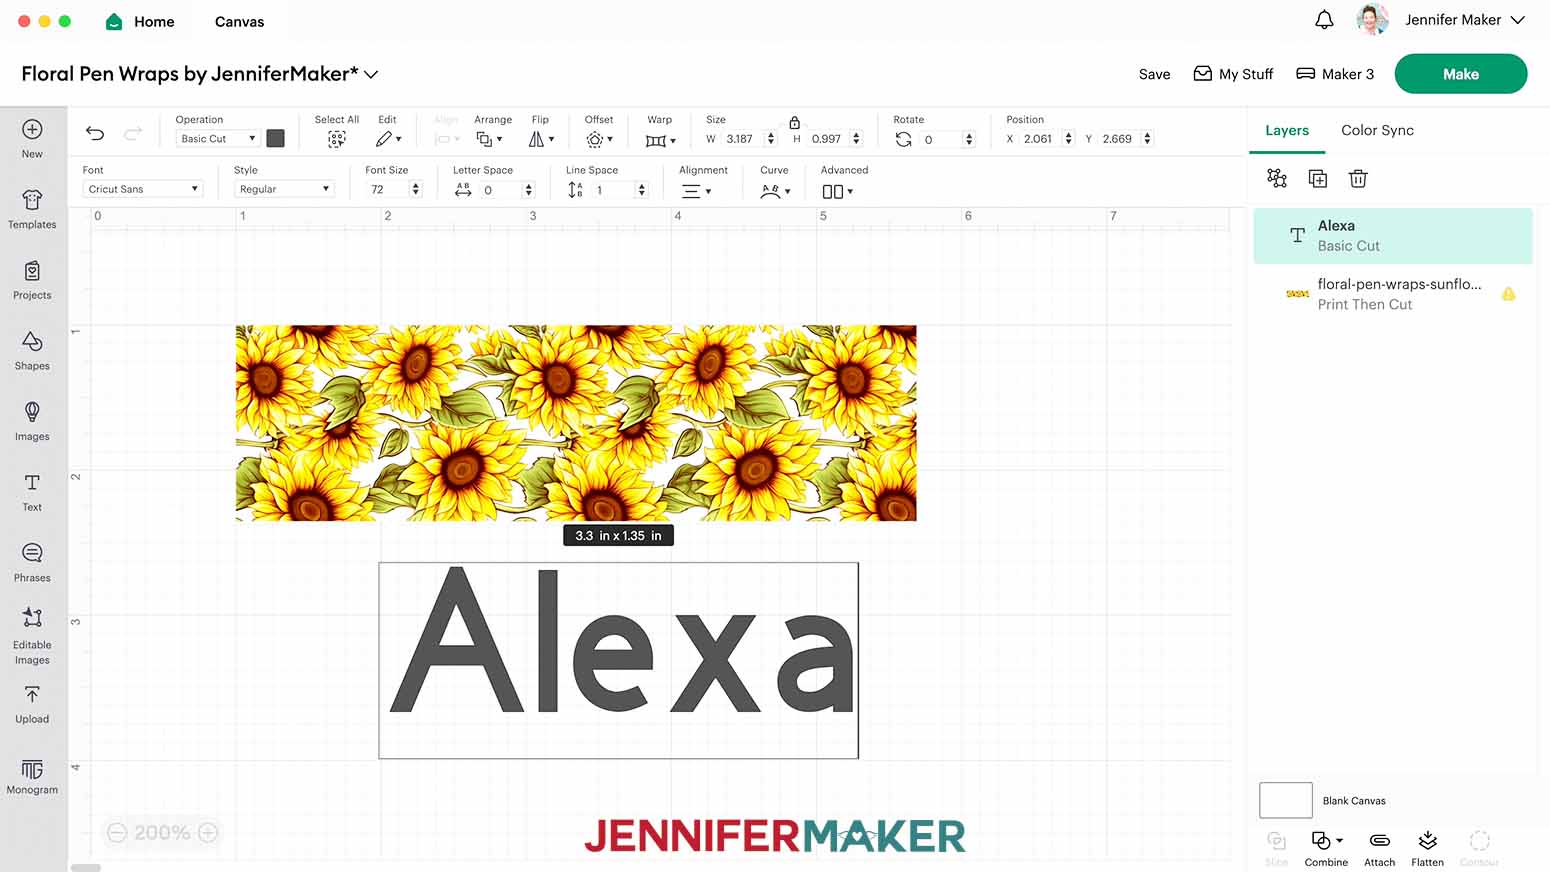
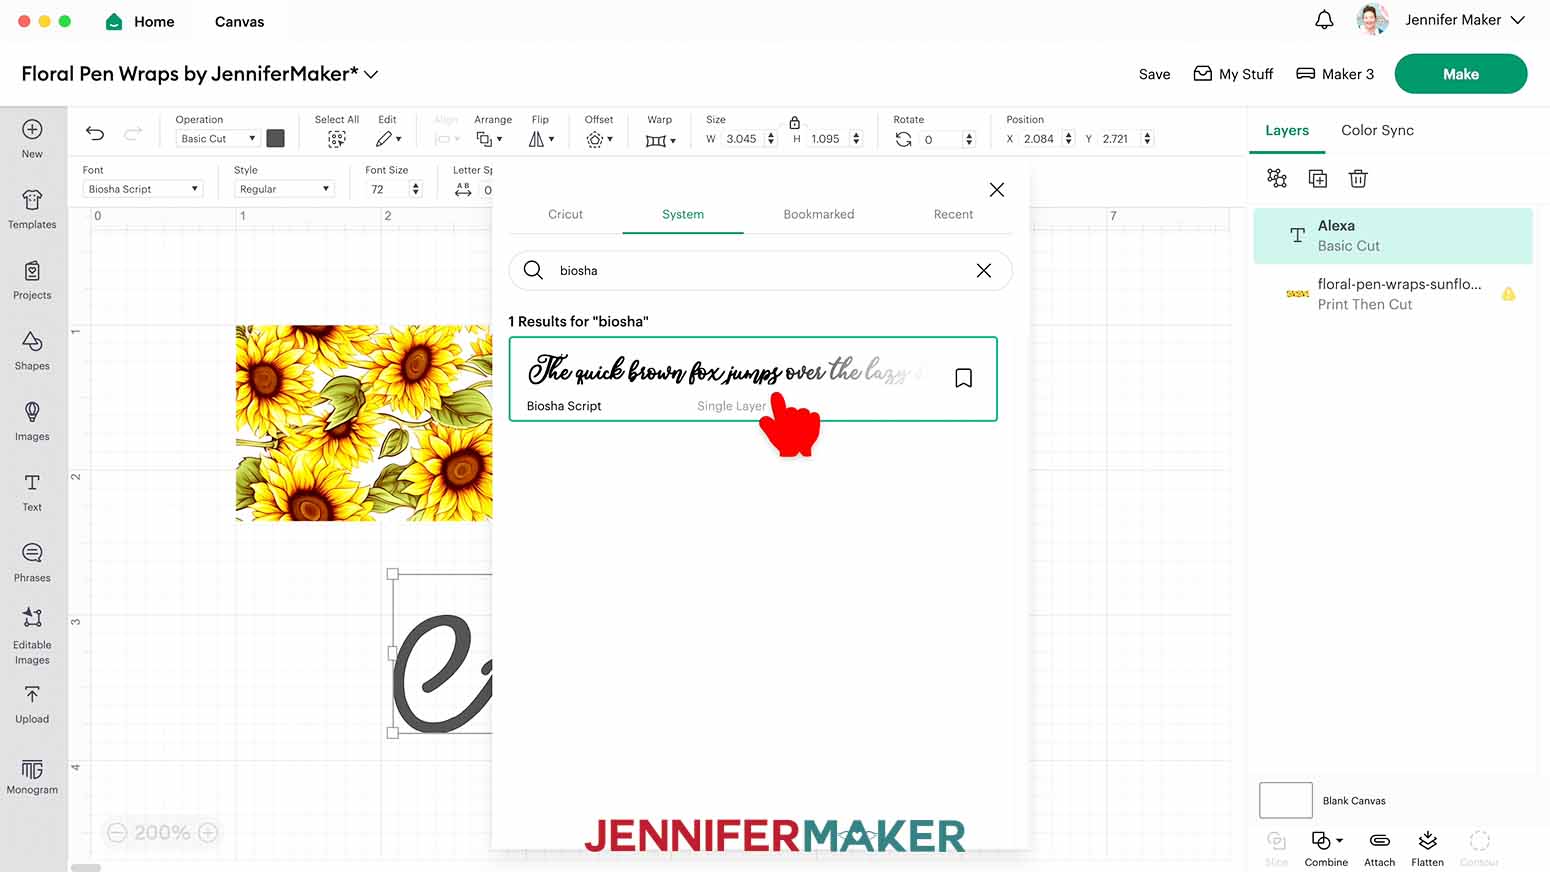
12. While the text is still selected, choose a font from the “Font” dropdown menu.
13. Change the color of your text to a color that will compliment your design by selecting the color box next to the “Operation” menu.

14. Resize your text so the height is approximately 1/3 the size of your wrap height. I sized my text to a height of 0.42”.

15. After resizing the height of the text, make sure the length is still short enough to fit well into the length of your sublimation area.
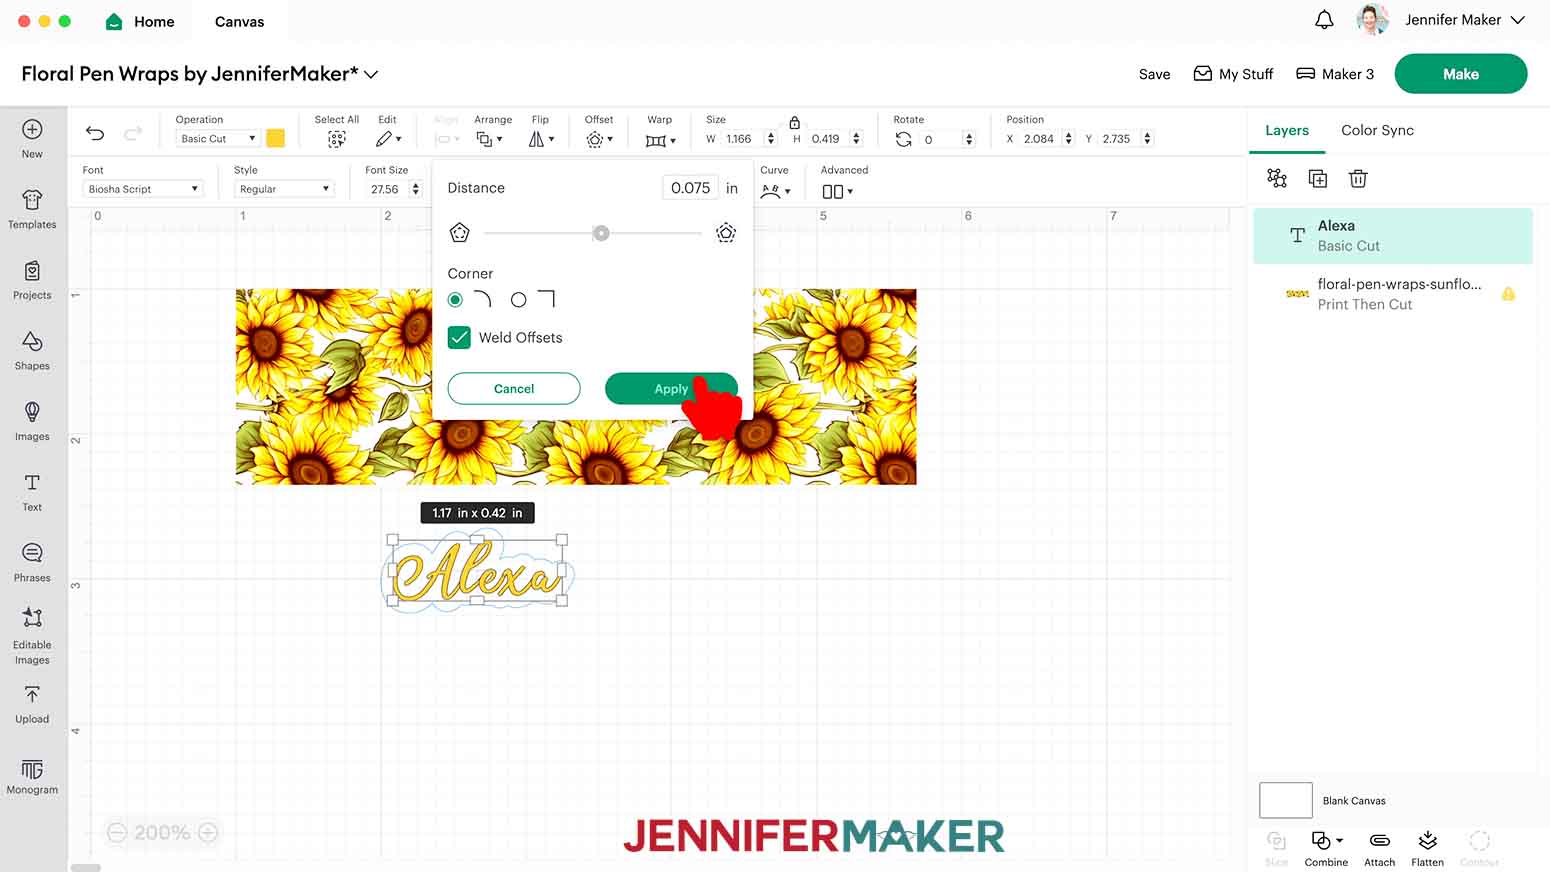
16. With the text selected, choose the “Offset” menu to add a solid background around your text. Move the slider back and forth to find a good size for your offset. I used 0.075” for mine.
17. Select your corner style and check the “Weld Offsets” box to make the offset a single shape, then click “Apply.”
18. Change the color of your offset to a color that will help your text stand out from the background. I chose white for my offset.

19. Select both the offset layer and the text and choose “Group”
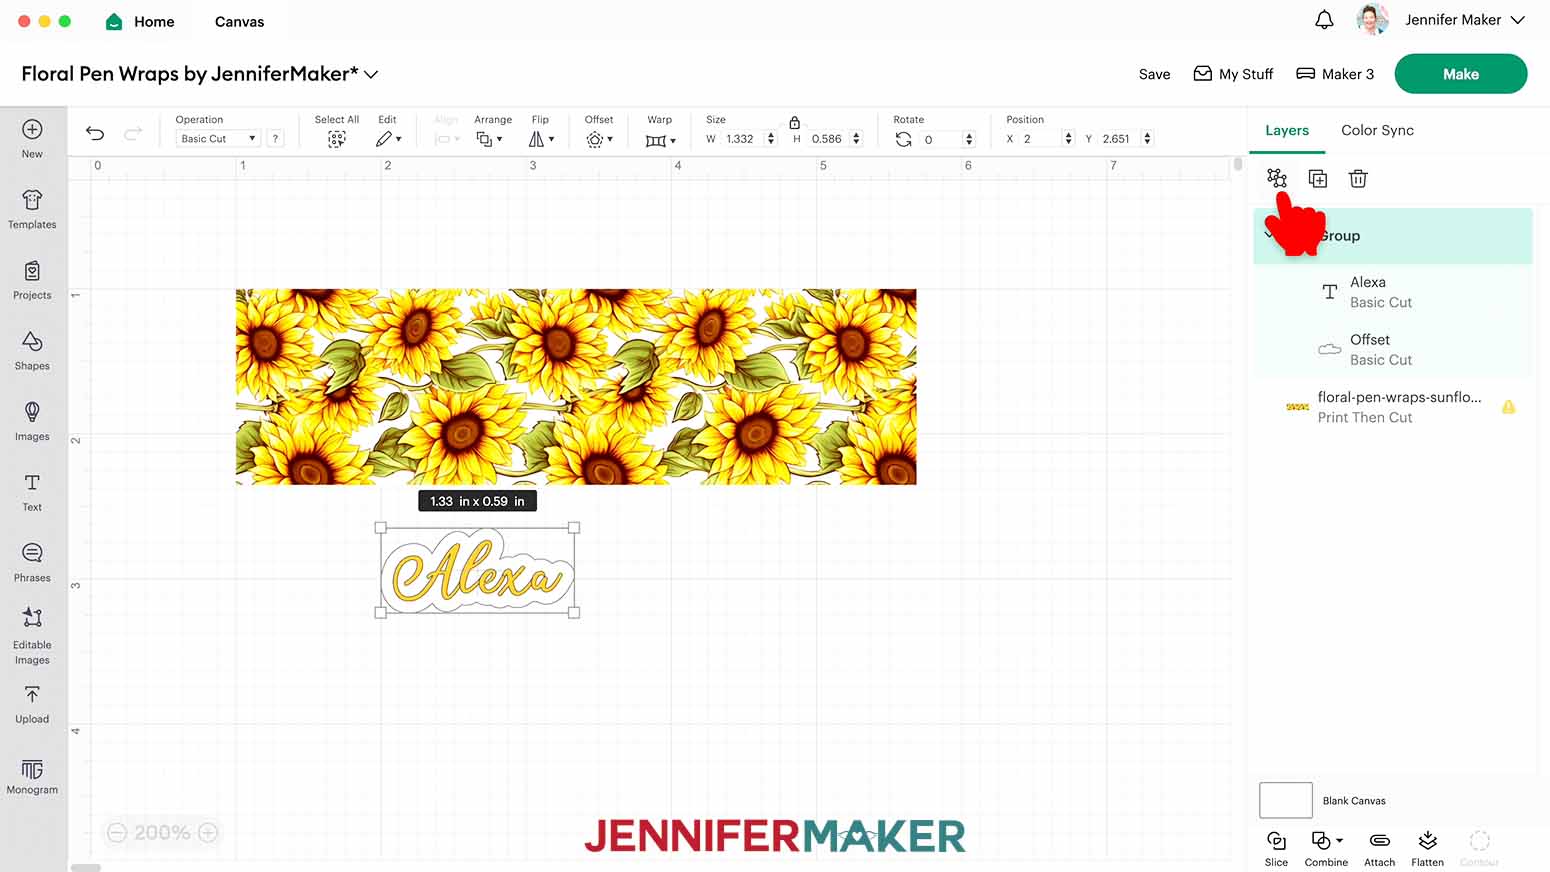
20. Move the text into place over the wrap design.

TIP: Moving the text into the upper or lower third of the design approximately 0.31” away from the edge will allow the text to show when the seam is on the back of the pen barrel and the pen is laid on its side or used for writing. Centering the text will allow it to show opposite the clip of the pen, but will make it more difficult to read when the pen is laid on a surface. Also - be aware of the direction of the text compared to the direction of the design.
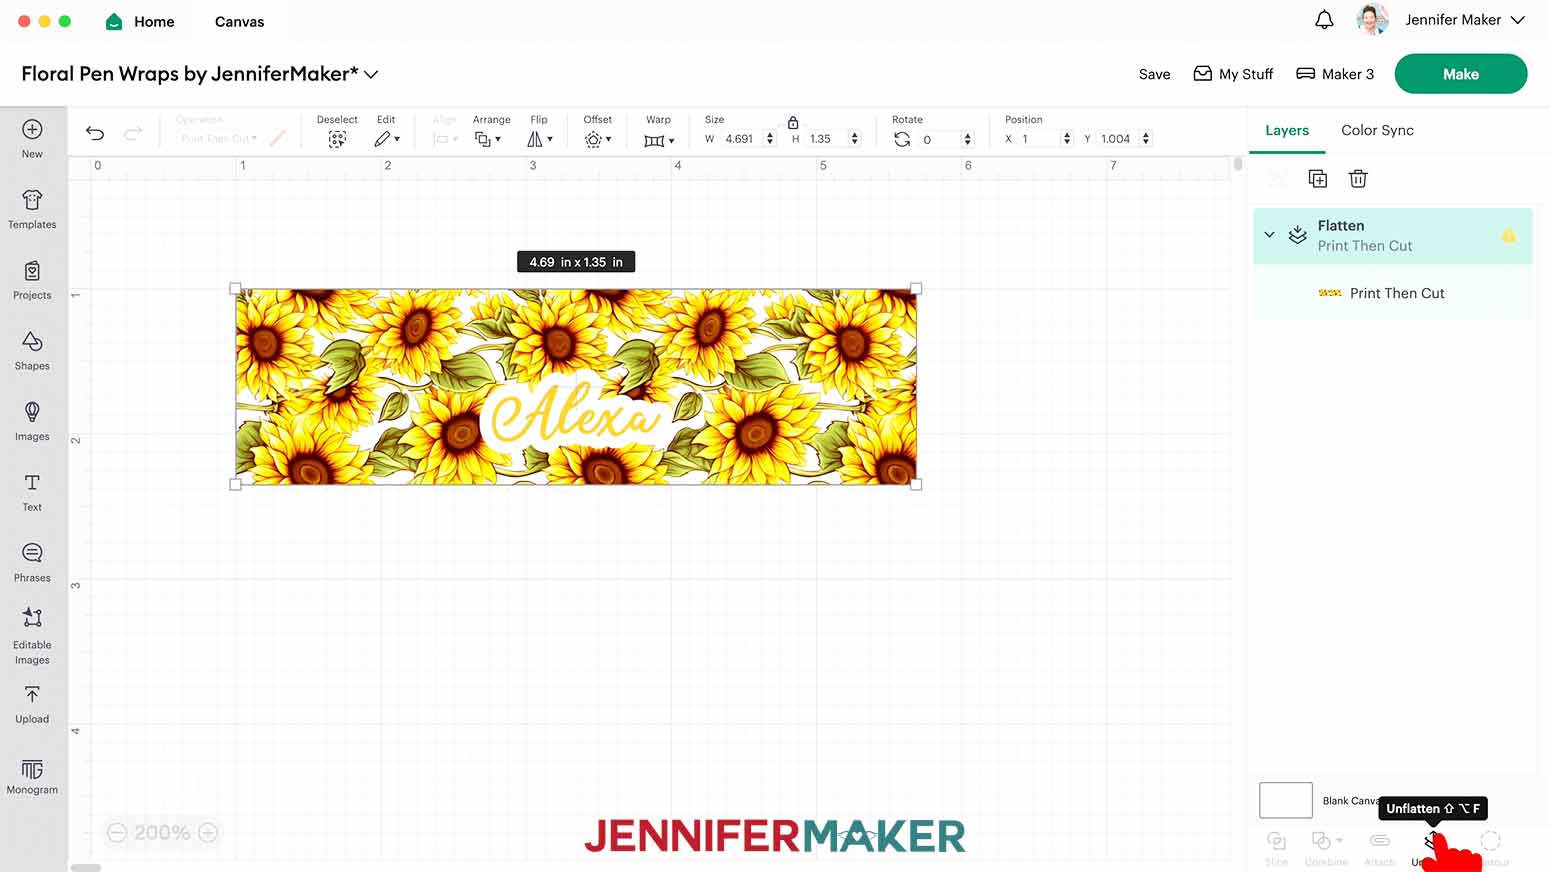
20. Select both the design and text/offset group, then click “Flatten.”
21. Make sure the correct machine is selected in the top right.
22. Click “Make It”

23. If prompted, click "On Mat," choose your mat size, and click “Confirm.”
24. On the Prepare Screen, make sure your Print Then Cut mat’s paper size is set to 8.5” x 11”

25. Turn on the “Mirror” toggle
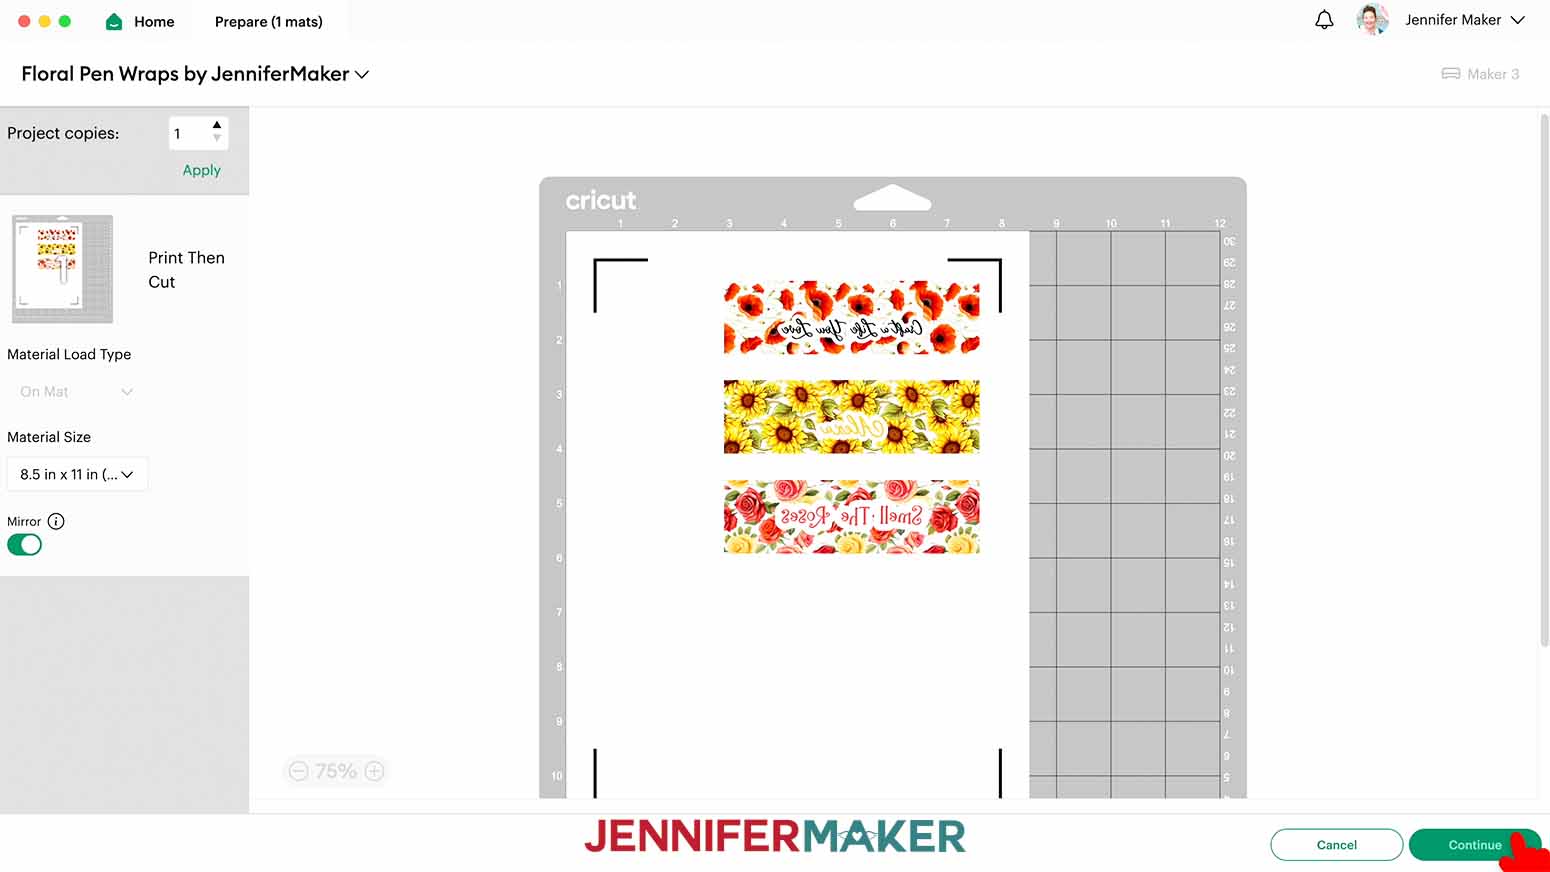
26. Click “Continue”
PRINTING
1. On the Make Screen, click “Send To Printer”
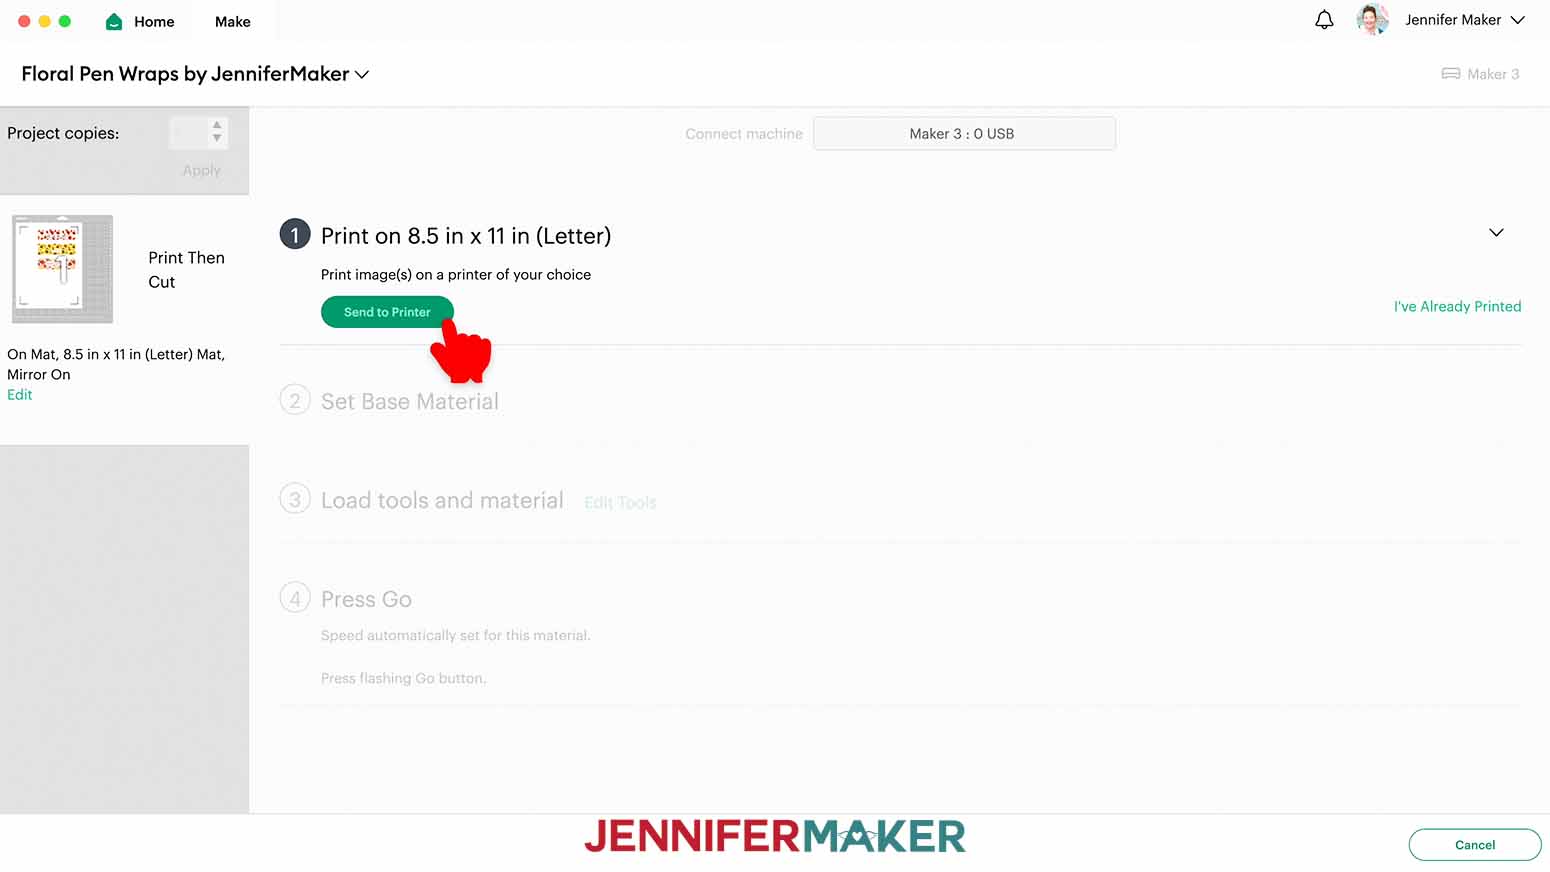
2. On the “Print Setup” menu, choose the correct printer, turn off “Add Bleed,” and turn on “Use System Dialog”

3. Click “Print”
4. Choose the settings needed to produce the highest quality print on your printer’s system dialog box, then click “Print”
NOTE: Cutting the image on the Cricut is not necessary. Once the image prints, it is OK to cancel the Print Then Cut operation in Design Space.
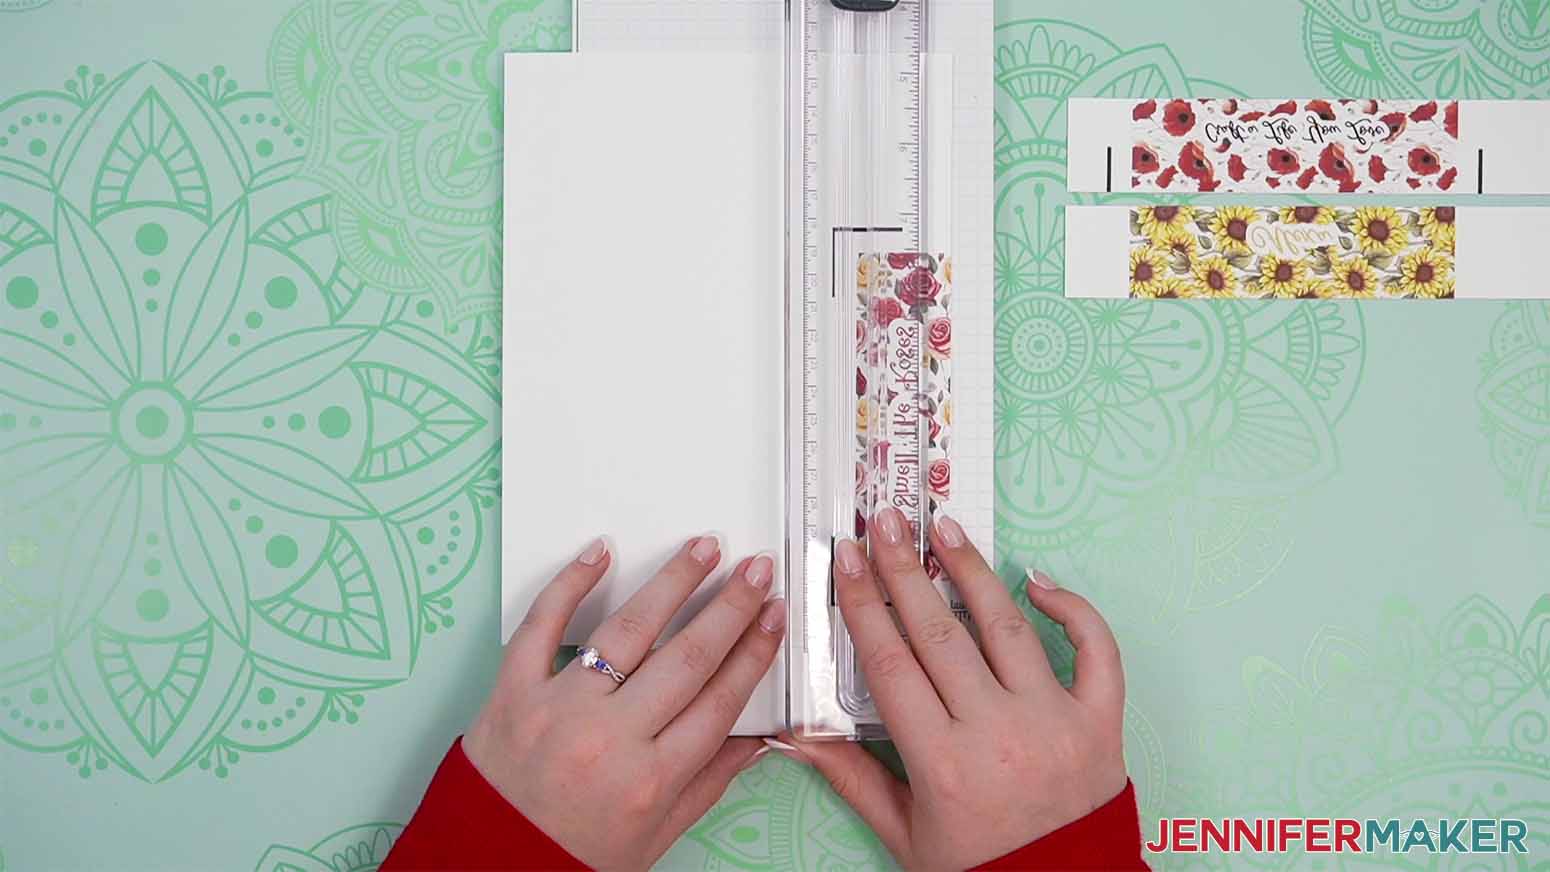
5. Allow the print to dry thoroughly
6.Trim the design so there is no white paper showing on any of the sides. (Use a trimmer for perfectly straight lines.)
 STEP 3: PREPARE YOUR PRINT AND PEN FOR SUBLIMATION
 STEP 3: PREPARE YOUR PRINT AND PEN FOR SUBLIMATION
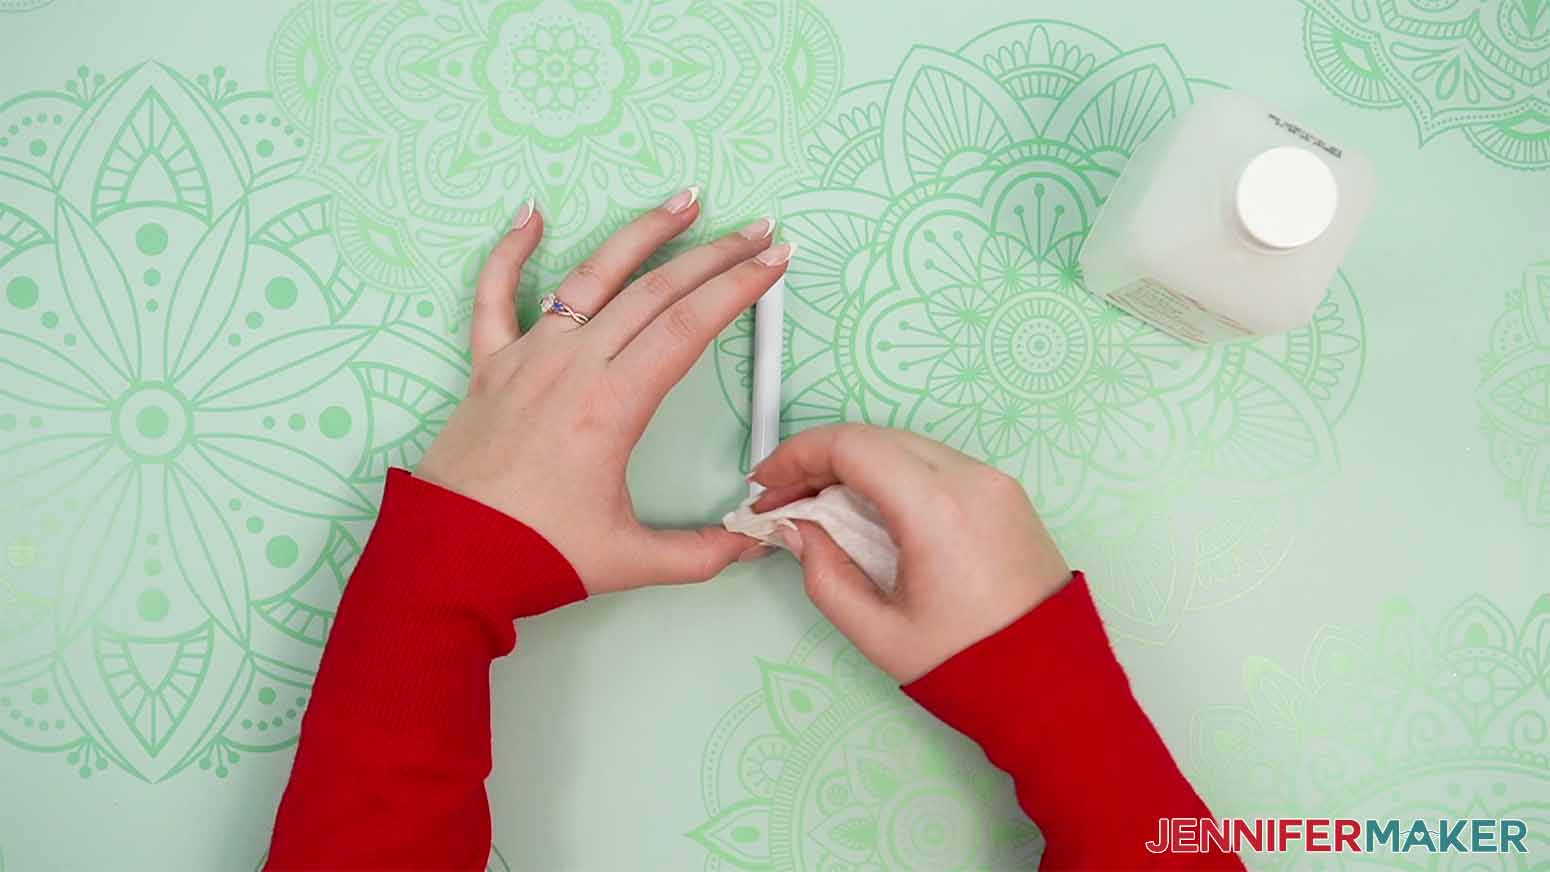
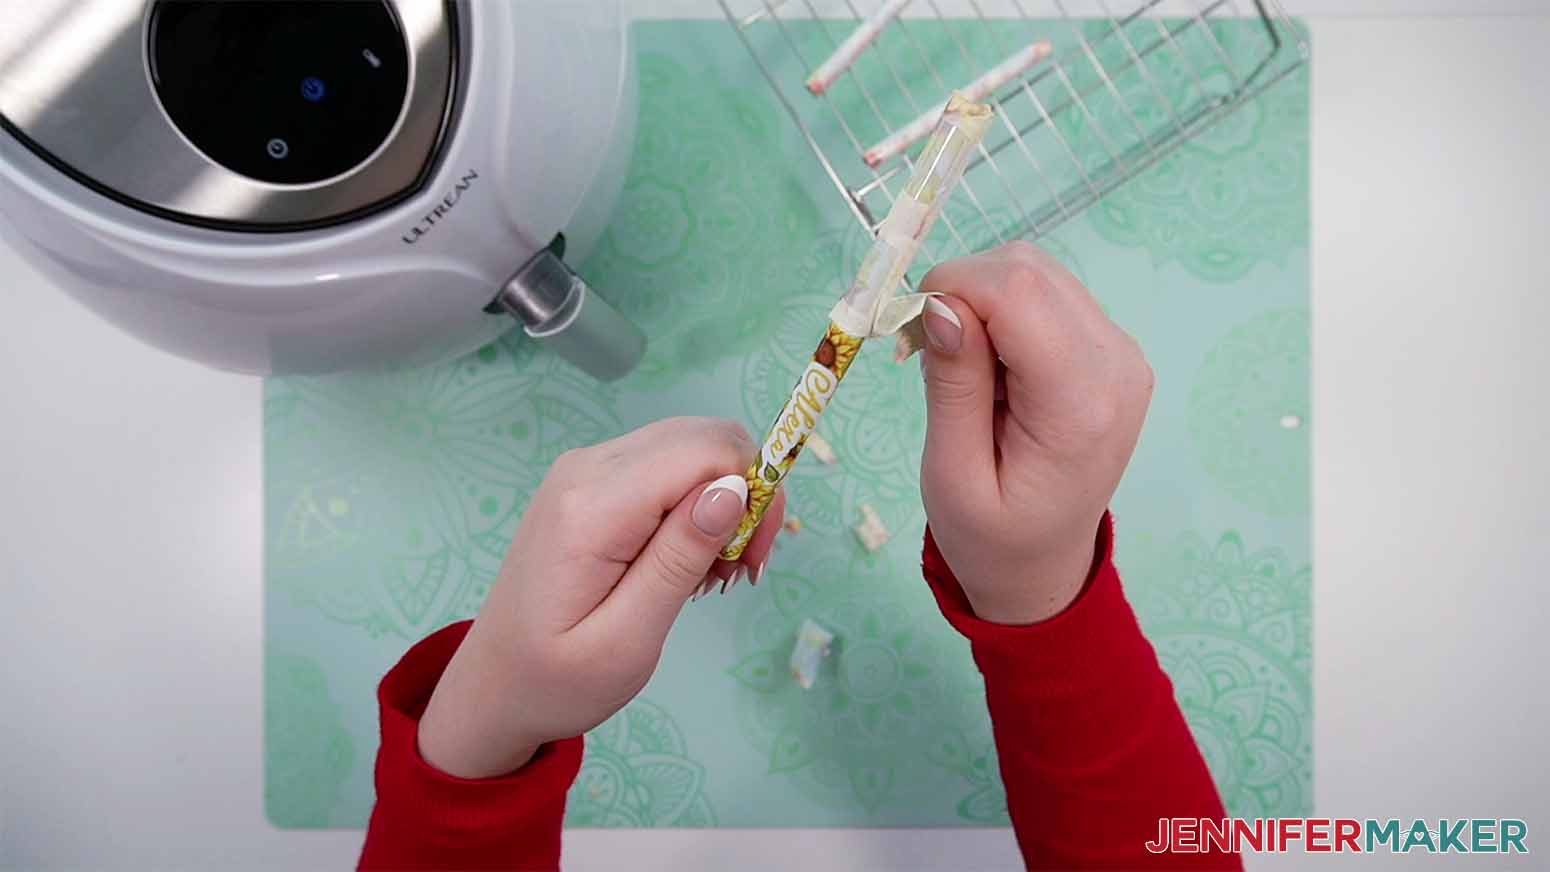
1. Only the metal barrel of the pen can be heated, so remove the writing mechanism from the pen by twisting off the cone at one end, then gently pulling the clip and attached spring system from the other. Be careful to not lose any of the small pieces!

2. Use a lint free material (like a coffee filter) with some rubbing alcohol to clean the pen barrel for a better transfer.
3. Place the design face up on a flat surface, then lay the pen barrel over the design, making sure the seam line will fall onto the back of the pen barrel where the pen clip will be after the pen is re-assembled. (Be sure to double check the top and bottom of the pen barrel compared to the top and bottom of the design!)

4. Pick up the paper and pen with both hands while wrapping the paper around the barrel. Be sure to keep the seam straight.

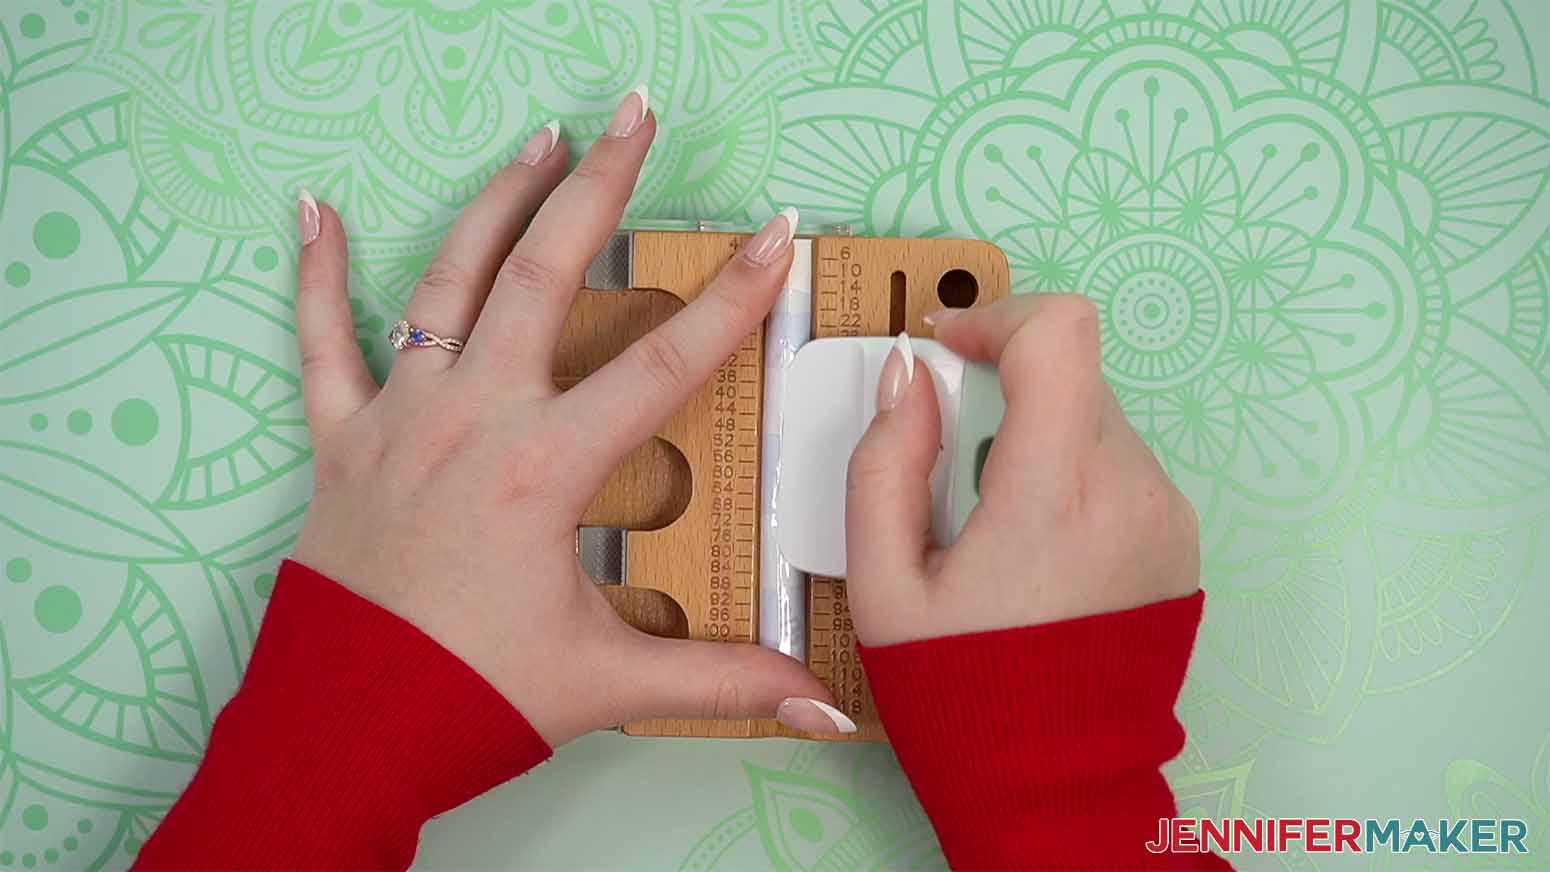
5. Press the wrapped pen barrel into the pinchers of the Pinch Perfect tool with the seam facing up.

6. Apply heat resistant tape across the center of the wrap design to close the seam.
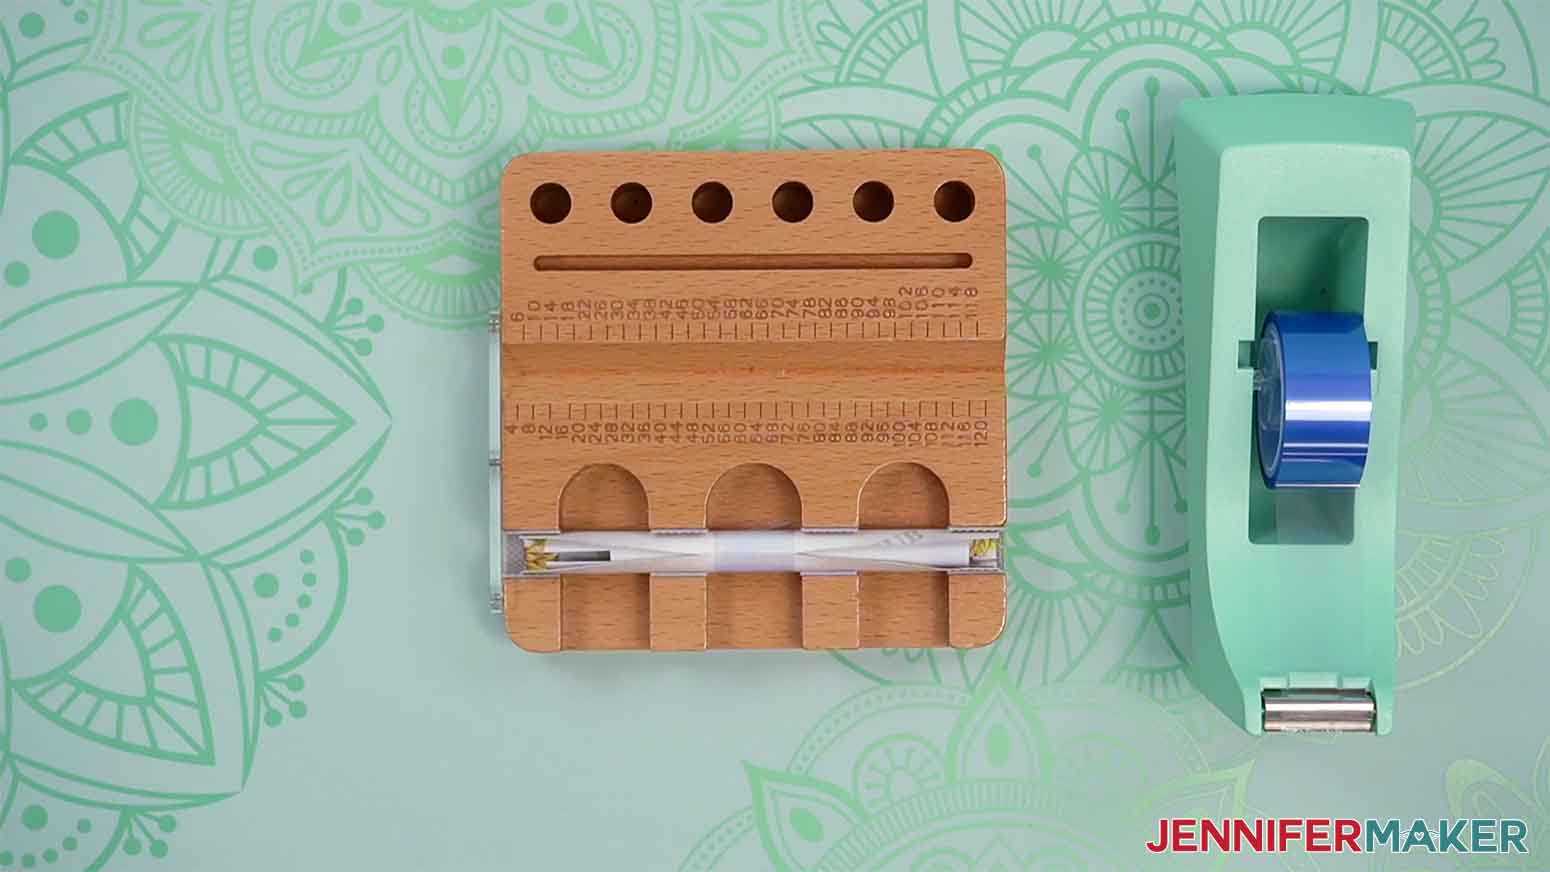
7. Place two more tape strips across either side of the center of the wrap design. (The pincher tool I used has cut out areas to make placing the tape easier.)
8. Remove the taped pen barrel from the pinchers and place it in the cradle area of the pincher tool.
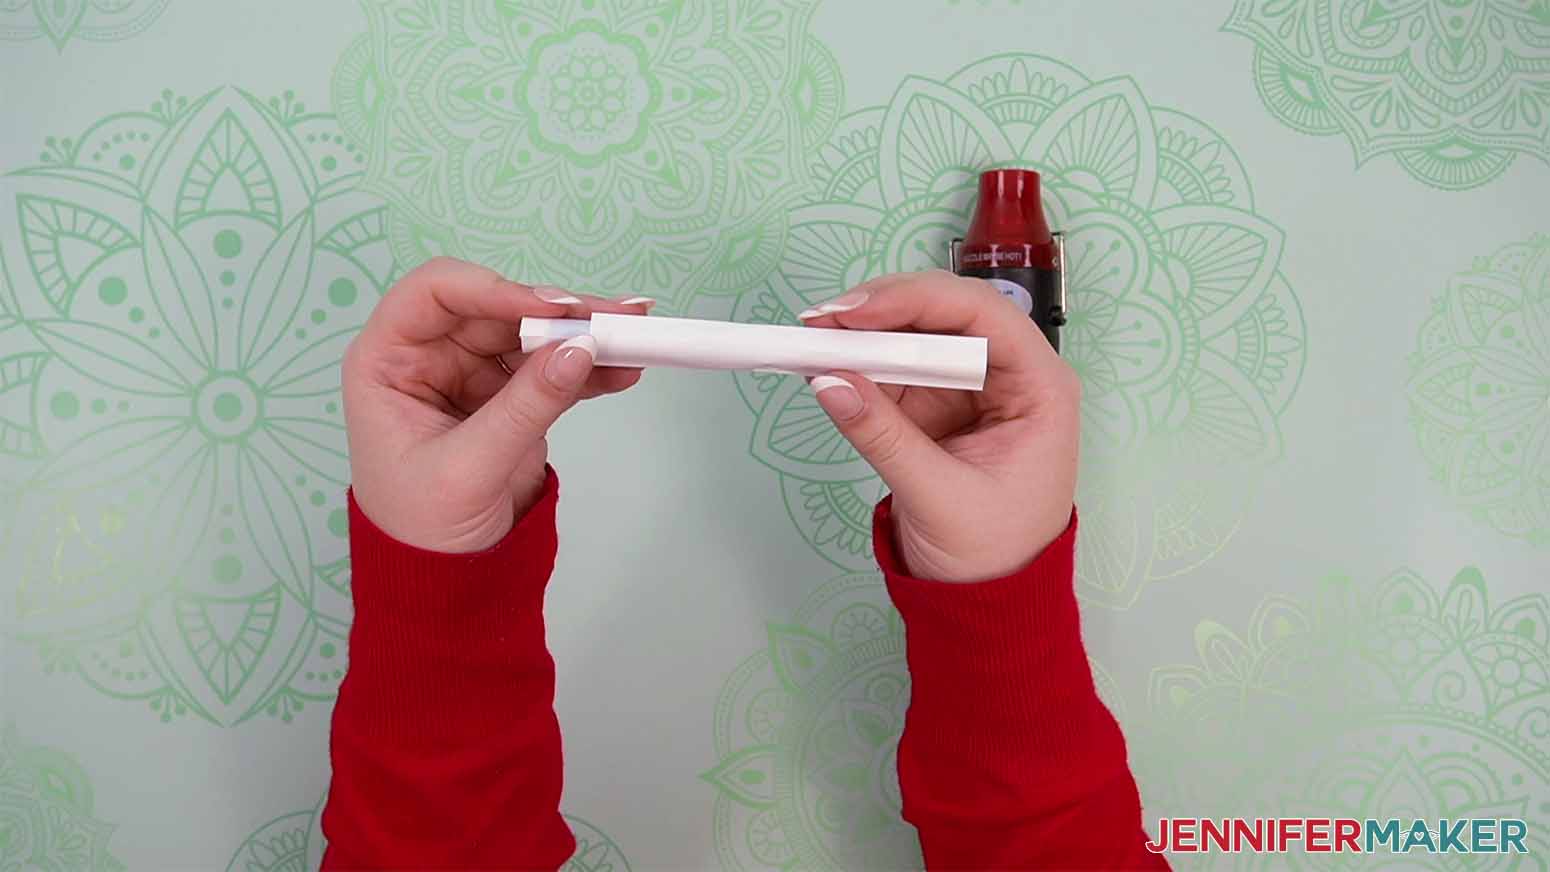
9. Apply one long piece of heat resistant tape vertically down the center of the pen barrel, covering the seam completely.

10. Use a scraper to press down on the seam to make sure it is tight and there are no air pockets.
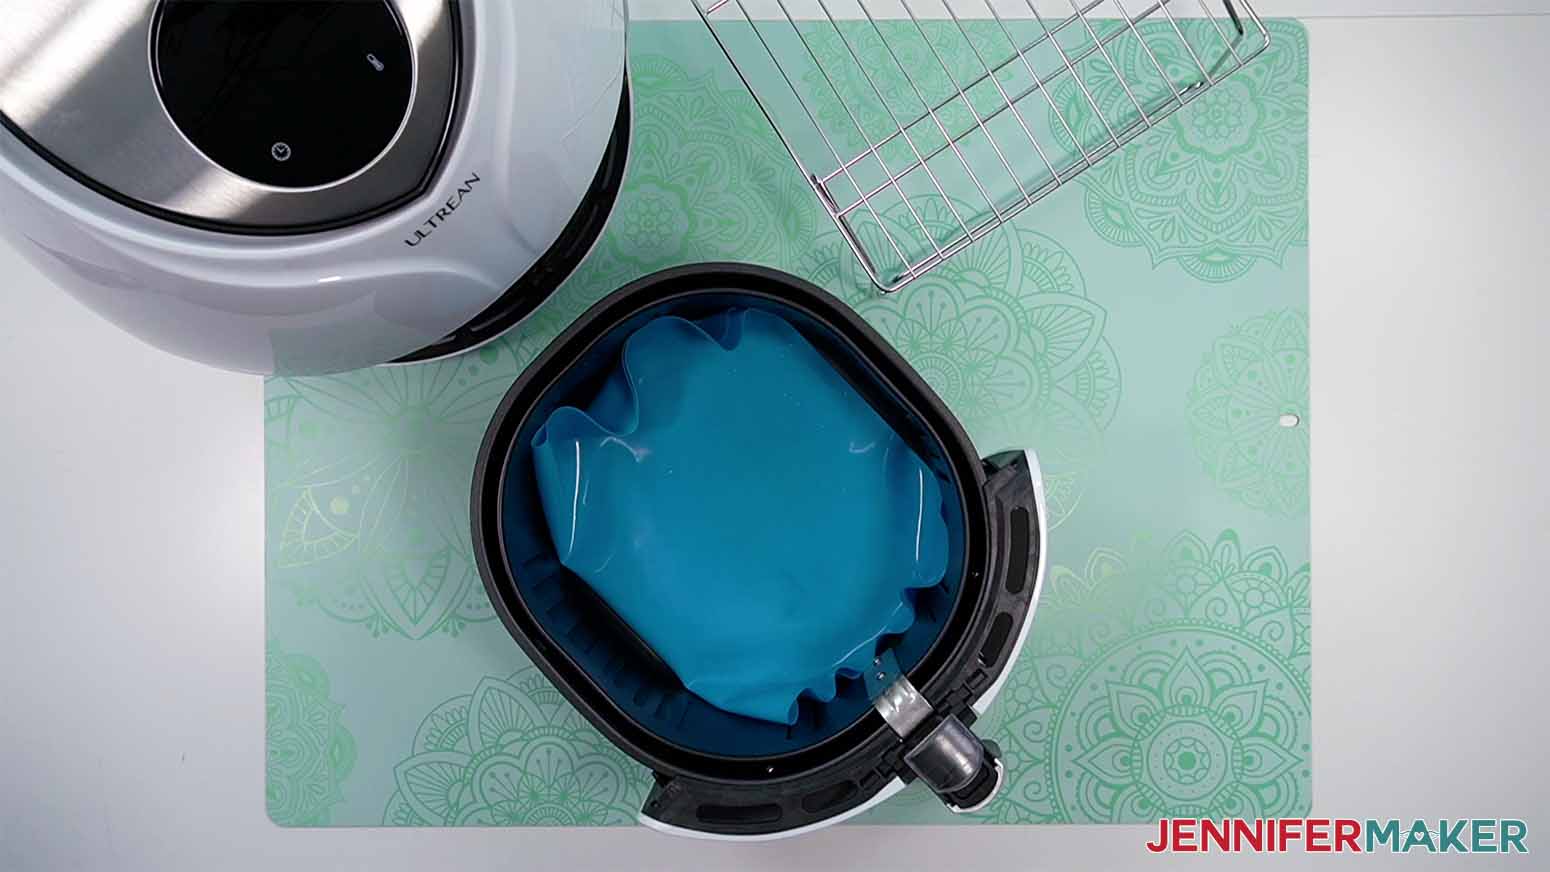
11. Open the end of a shrink wrap sleeve and insert the taped pen barrel into the tube.
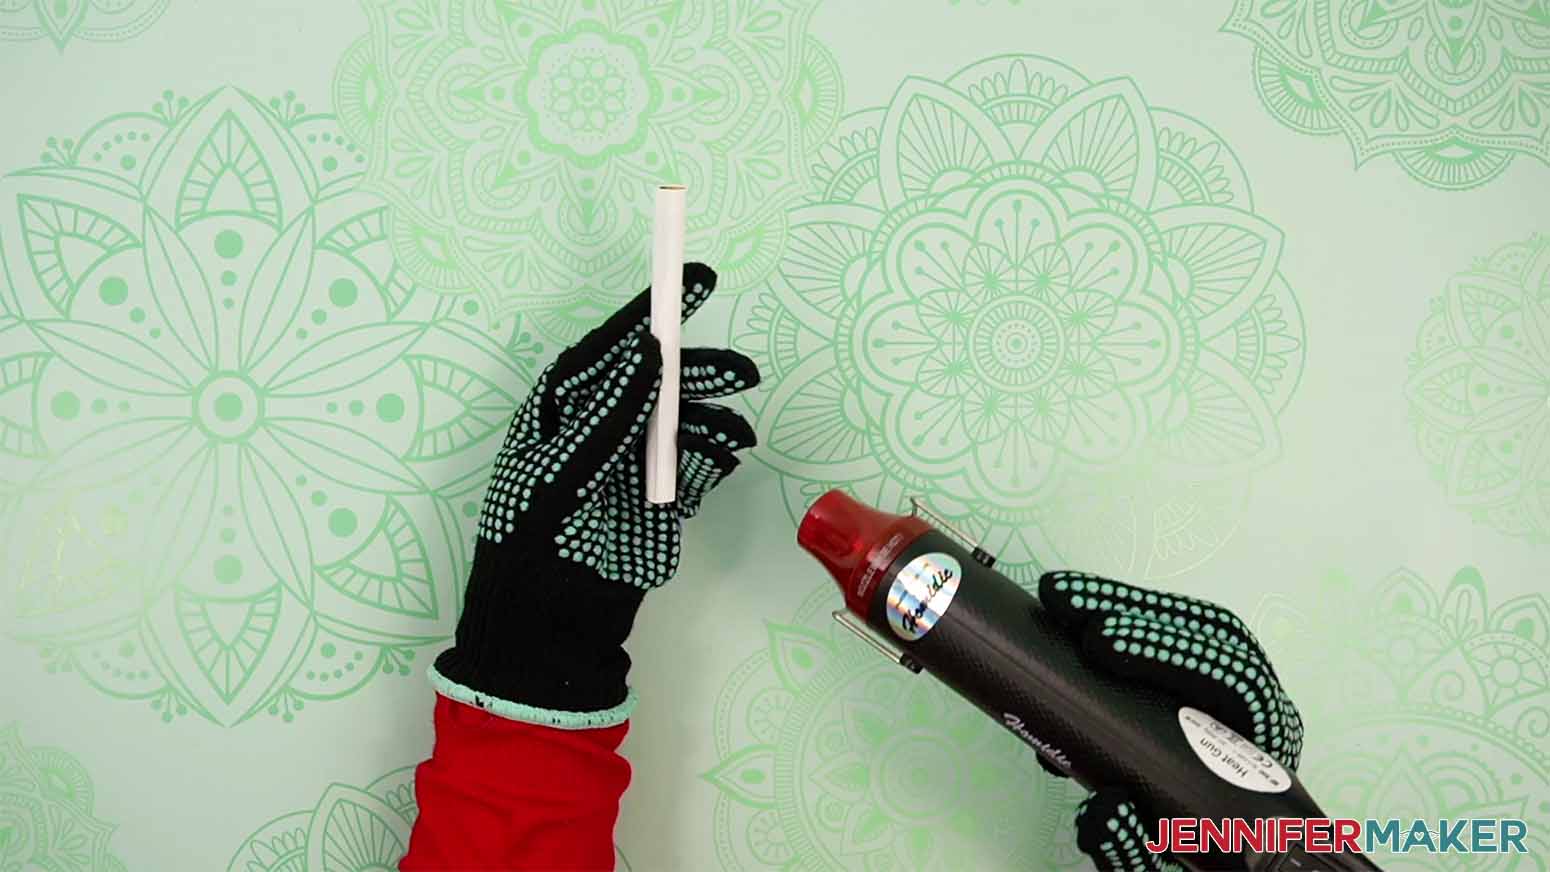
12. With heat resistant gloves on, use a heat gun to shrink the wrap sleeve tightly around the pen barrel.
STEP 4: SUBLIMATE YOUR PEN
Before you begin, make sure you are in a well ventilated area with a fan on or a window open.
NOTE: I explain how to sublimate the pen barrels with a convection oven, but an air fryer can also be used with the same temperature and time settings.
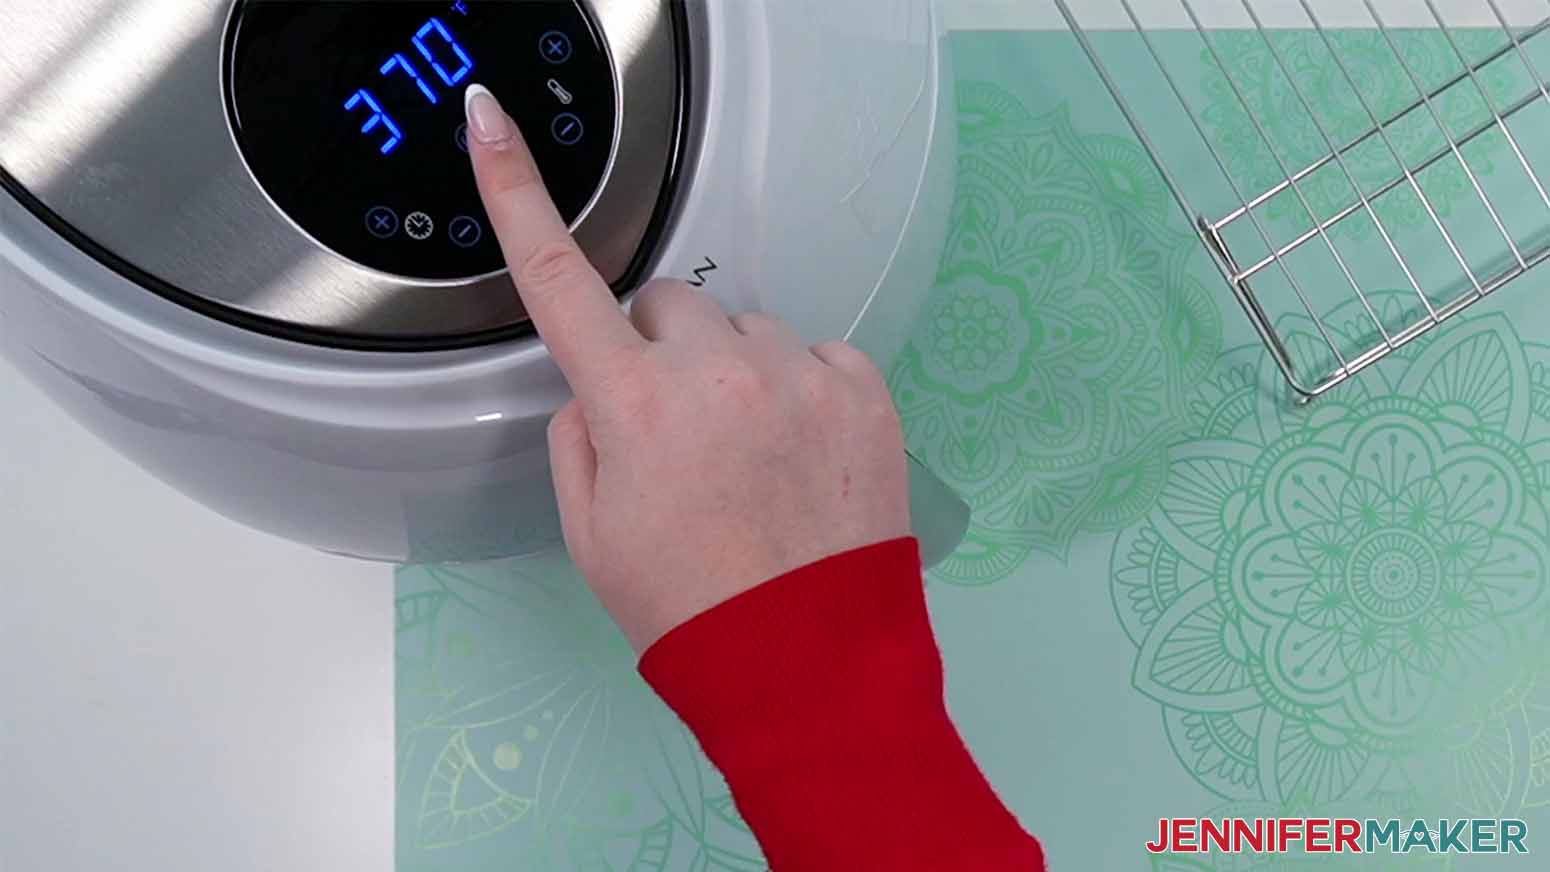
1. Heat a convection oven, using a thermometer to ensure the correct temperature is reached. Following the manufacturer’s directions, I heated my oven to 370 degrees F (188 C).
SAFETY NOTE: Make sure to use heat resistant gloves when handling the hot pen barrels.
2. Place a silicone baking mat onto the wire tray in the middle tray location of the oven
3. Set the prepared pen barrel onto the silicone baking mat

4. Bake the pen barrel for five minutes, rotating halfway through the time.
TIP: Pen barrels are so small you can sublimate several at once! Be very careful, though, to not let the hot barrels touch° each other. The shrink wrap sleeves will stick together and be very difficult to pull apart.
5. Remove the pen barrel from the oven and allow to cool on a cooling rack for 1-2 minutes
6. While the pen is still warm, carefully peel away the shrink wrap sleeve and sublimation paper from the pen barrel to reveal your design.
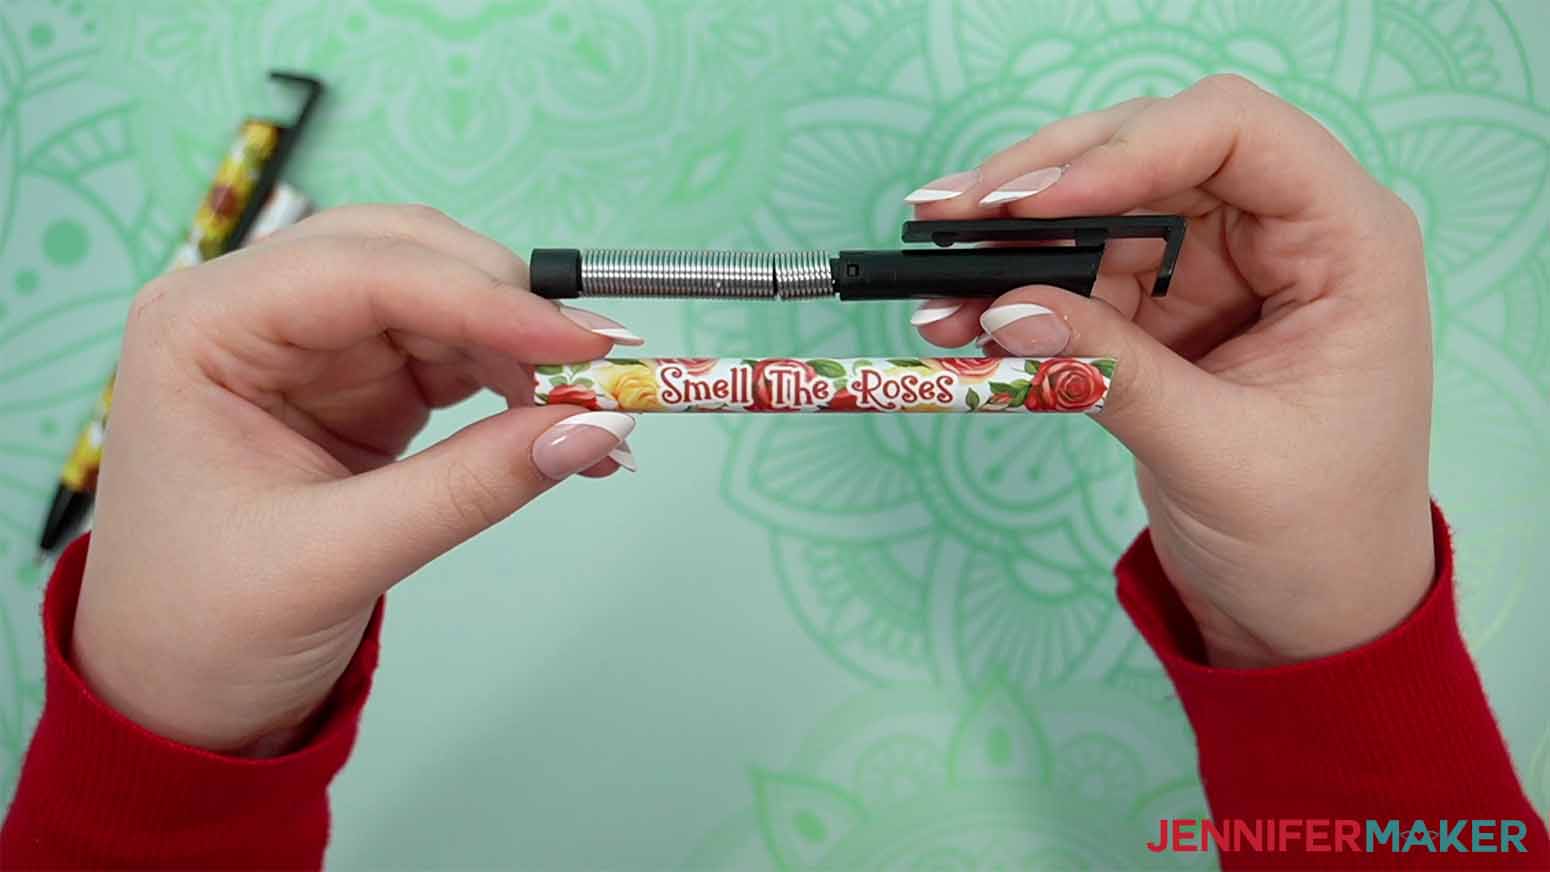
7. After the pen barrel is completely cool to the touch, reinsert the clip and spring assembly into the end of the barrel. Secure it in place by screwing the cone piece back into place on the opposite end.
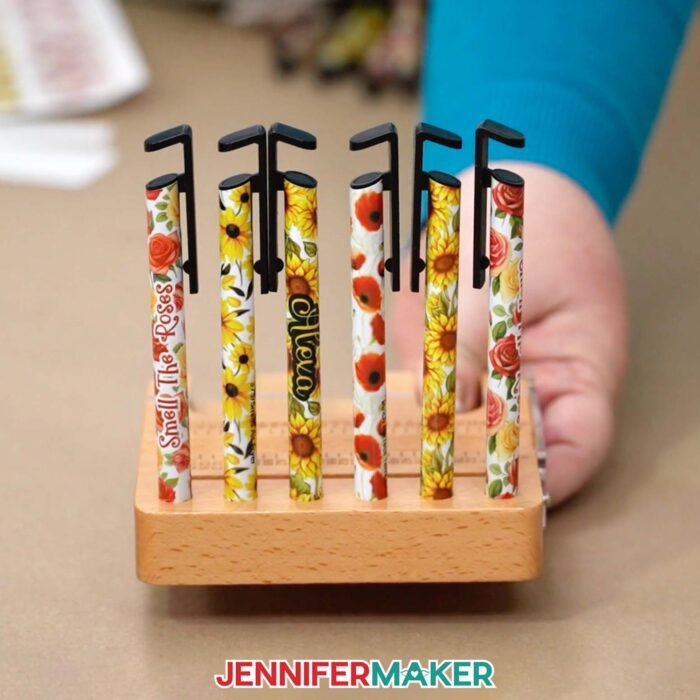
STEP 5: SHOW IT OFF
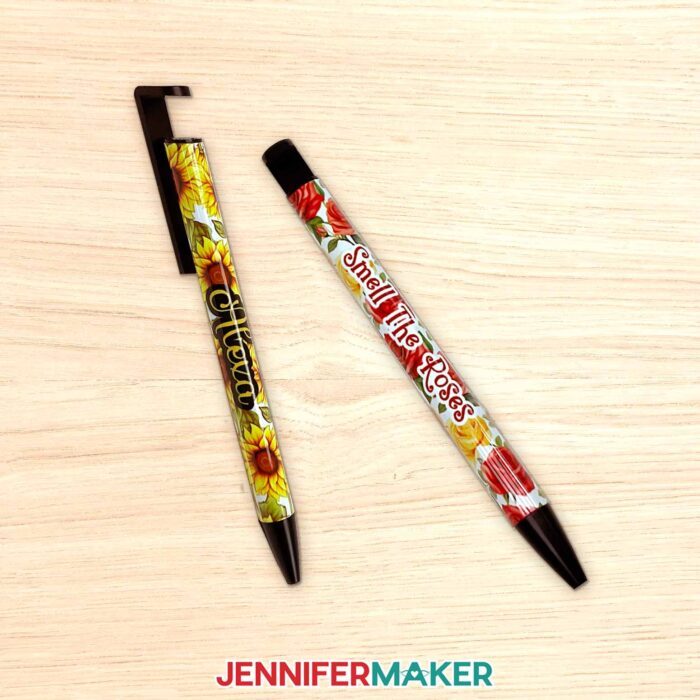
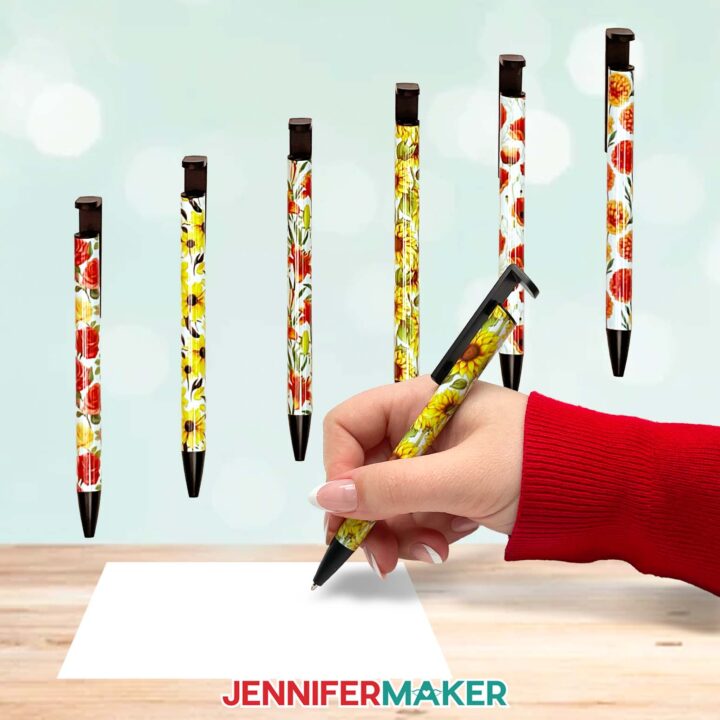
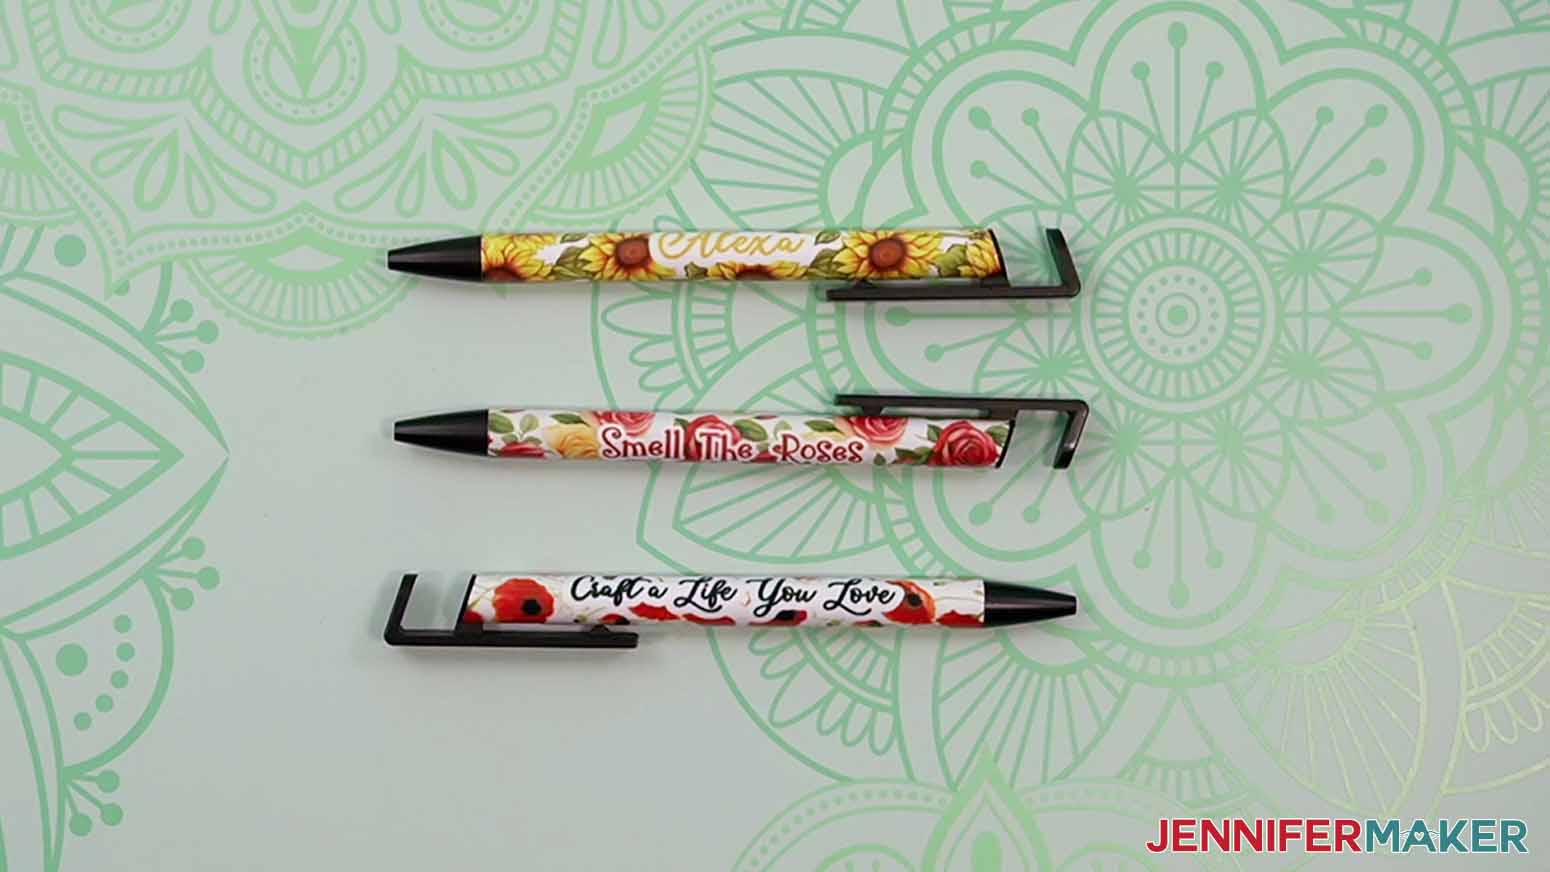
Your complete pen is ready to be used for writing, given as a gift, and (with this particular pen style) be used as a smart phone holder!
Notes
Typefaces:
“Alexa” - Biosha Script Free Alternative: Bonspire Script
“Smell the Roses” - ZP Gingerbread Cake Free Alternative: Chickens Lovers
Size:
Ink Pen Total Length: 5.5”
Ink Pen Sublimation Area: 4.25” Length x 1.26” Circumference
Care Instructions:
Clean only the barrel of the pen with soapy water after removing the pen mechanism. Allow to air dry.
Answers to Your Questions About How to Sublimate Pens
Q: I don’t know how to sublimate pens. How long do you sublimate pens for?
A: Not sure how to sublimate pens? Always follow the pen manufacturer’s instructions. Following mine, I sublimated my pens for five minutes.
Q: What is the best temperature for sublimation ink?
A: Again, follow your pen manufacturer’s instructions. I sublimated my pen barrels at 370 degrees Fahrenheit or 188 degrees Celsius — but your pens may have different recommended settings.
Q: What is ghosting in sublimation?
A: Ghosting occurs in sublimation when a still-hot sublimation design is moved or shifted in some way, causing an unwanted blurring effect to the final outcome. You can usually avoid this by letting your sublimated item rest and cool off a bit before removing the tape, butcher paper, and sublimation paper. Always check the manufacturer’s instructions on your sublimation blank first!
Q: Why is my black sublimation turning green?
A: If you’re not using color profiles, consider working with one to make your colors more accurate. You can also experiment with sublimating a little longer, as black sublimation ink can look green if it’s under-sublimated. Check out my 25+ Sublimation Color Problems and How to Solve Them post and use my Subliflower design to fix your color issues (scroll down to the bottom of this post to find out how to get a password to my free resource library, if you don’t already have one).
Q: How do I make my sublimation print brighter?
A: When your sublimation design prints on the sublimation paper, you may notice that it looks a big more dull or faded than you expected. This is normal! The colors come to life and are much more vibrant when sublimated.
Q: Do I need an oven for sublimation?
A: To sublimate 3D objects like pens, you’ll need a craft-purposed convection oven or a craft-purposed air fryer. To sublimate flat objects like shirts, bags, ceramic tiles, etc. you can use a heat press.
Q: Why can’t I sublimate in my oven?
A: Why does your convection oven or air fryer need to be “craft-purposed?” Why can’t you just use your regular oven for sublimation? Because once an oven is used for sublimation, it is no longer safe to cook food in it. Your sublimation oven should be used for sublimation ONLY.
Q: How do you use the Pinch Perfect Pen Wrapper tool?
A: I could explain here, but it’s best to watch it in action — in my video tutorial! You can scroll down to see photos of the process, too.
Get my free PNG file collection to create sublimated pens!
(If you do not see the signup form above, click here.)
I love seeing what you make with my designs and how you use them! Enjoy what you’ve learned about how to sublimate pens? Please share a photo of your sublimated pens in our Facebook group or tag me on social media with #jennifermaker.
Love,

Want to remember this? Save this How to Sublimate Pens Tutorial to your favorite Pinterest Board!