Learn how to sublimate fall tumblers with beautiful autumn designs!
When you’re a crafter, you have the superpower to customize and coordinate your creations with the seasons — and that includes gifts, home decor, and the things we use every day — like drinkware! We all know that staying hydrated is important, but using a cute cup (especially one you made yourself) makes it fun. So get your favorite beverage ready, because it’s time to sublimate fall tumblers!
Watch the full step-by-step tumbler sublimation tutorial to make items from either design collection:

These fall tumblers make the perfect gifts for anyone who likes to travel with a hot or cold drink on their autumn outing, or just wants a cute lidded cup for beverages at home. If you find your morning brew always getting cold because you got busy and forgot to drink it, these are for you. Save yourself from the ick of lukewarm coffee, and put it in a cute fall tumbler that you made yourself!
So, what’s a sublimation tumbler? How are they different than a regular tumbler you’d buy at the store? It’s a stainless steel tumbler that’s been coated with a white polymer material. This coating is designed to be sublimated with sublimation ink and a heat source. Regular tumblers won’t work for this project — you have to make sure you’re getting one designed for sublimation. I love sublimating these tumblers and I’ve got my favorite items linked in the materials list below.

To sublimate a fall tumbler, you’ll need the basic sublimation supplies like white cardstock, white uncoated butcher paper, and some heat-resistant tape. For tumblers, I also find it useful to use shrink wrap tubes to really keep the full page sublimation transfer close around the cup. I always get great results when I use them!
But first, you’ll need a design to sublimate. You can download my free designs using the link below. There are nine new designs for autumn, with fall leaves, sweaters, and cute illustrated landscapes. I created these designs with the help of AI image-generating software. To learn how to create your own AI images like these for crafting, check out my AI Art Playbook!

Next, you’ll need a printer to print the design. I used a converted Epson EcoTank printer, but you can use any sublimation printer with compatible sublimation ink. I printed my transfers on 8.5″ by 11″ A-SUB brand sublimation paper.
Where this becomes different from other sublimation projects is the heat source involved. While flat projects like T-shirts and coasters use a heat press to sublimate, tumblers are much too three-dimensional. Instead, we’ll use a convection oven to apply the heat.
Important Note: Do NOT use your regular home oven for sublimation! When an item is sublimated, the ink becomes gaseous and will coat the inside of the oven, rendering it unsafe for cooking food. A craft-purposed sublimation convection oven is an investment, but it’s more than worth it if you’ll be creating tumblers and other larger, more three-dimensional sublimation projects.

With any sublimation project, open a window or turn on a fan to disperse the fumes before you get started, and avoid breathing in when opening the convection oven. Safety first!
Be sure to check out the materials list below for everything you’ll need to sublimate fall tumblers! I hope you’ll use my new tumbler designs to create some projects of your own. Fill one with your favorite hot beverage and sip in style all fall long! They make fantastic gifts, too. Slip some coffee shop gift cards inside for extra awesome points.
Let me show you how easy it is to sublimate fall tumblers! This post contains some affiliate links for your convenience (which means if you make a purchase after clicking a link I will earn a small commission but it won’t cost you a penny more)! Read my full disclosure policy.
Materials to Sublimate Seamless Fall Tumblers
View exactly what I used in my Amazon shopping list!
-
- One (1) 20 oz. Straight Side Sublimation Tumbler
- One (1) Sheet of A-SUB 120g Sublimation Paper 8.5″ x 11″
- Sublimation Printer – I used a converted Epson EcoTank ET-2800 Inkjet Printer
- Sublimation Ink
- Sublimation-Specific Convection Oven
- Oven Thermometer
- Fan for Ventilation
- Heat Resistant Gloves
- Heat Resistant Tape
- Heat Shrink Wrap Sleeves (if your tumblers don’t come with them)
- Heat Gun
- Scraper
- Looped Tape Measure
- Paper Trimmer
- Scissors
- Isopropyl Alcohol
- Lint Free Cloth
- Cooling Rack
- Silicone Mat
- Scissors
- Cricut Portable Trimmer (especially helpful if you’re using a material thinner than 12″ wide)
- Painter’s Tape (optional)
- Isopropyl Alcohol -AND-
- Lint-Free Cloth
-
- Design #657 (My free PNG/PDF design files are available in my free resource library – get the password by filling out the form at the bottom of this page)

How to Sublimate Fall Tumblers Seamlessly
Sublimation Tumblers
Learn to make seamless sublimation tumblers in several ways.
Materials
- Sublimation Tumblers -- I used Skinny 20 oz Sublimation Tumblers
- Sublimation Paper - I used 8.5" x 11" A-SUB Sublimation Paper
- Sublimation Ink - I used Hippoo
- White Butcher Paper
- Rubbing Alcohol
- Optional Shrink Wrap Tubes
- Design #404 — My free Sublimation Tumbler design files (available from my free resource library — get the password at the bottom of this post)
Tools
- Sublimation Printer - I used the Epson ET-4700
- Tumbler Heat Press - I used the PYD Life 110 V
- Heat Gun - AND-
- Silicone Bands (optional)
- Heat Resistant Gloves
- Laptop or Desktop running Windows or Mac OS
- Google account - to use Docs for photo editing
- (Optional) Your ICC Printer Profiles here are the Hiipoo printer profiles
- Heat Resistant Tape
- Heat Resistant Felt Pad - optional
- Scissors -or-
- Paper Trimmer
- Ventilation - I use this fan
- Cricut Scraper
- Measuring Tape
- Lint free cloth
Instructions
STEP 1: GET OR PREPARE A SUBLIMATION DESIGN
You can use any of my Sublimation Tumbler design files from my resource library, Design #404. You can also make your own design.
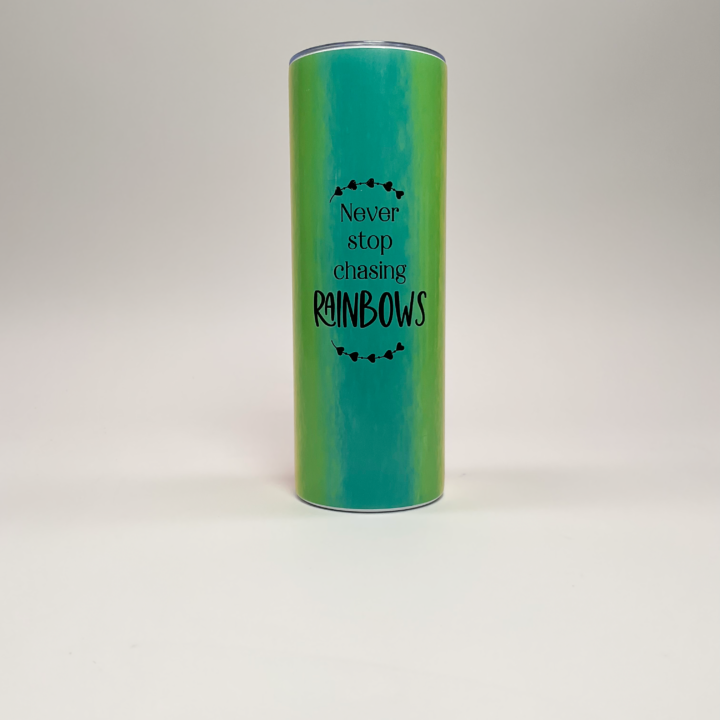
Download the files and pick your design.
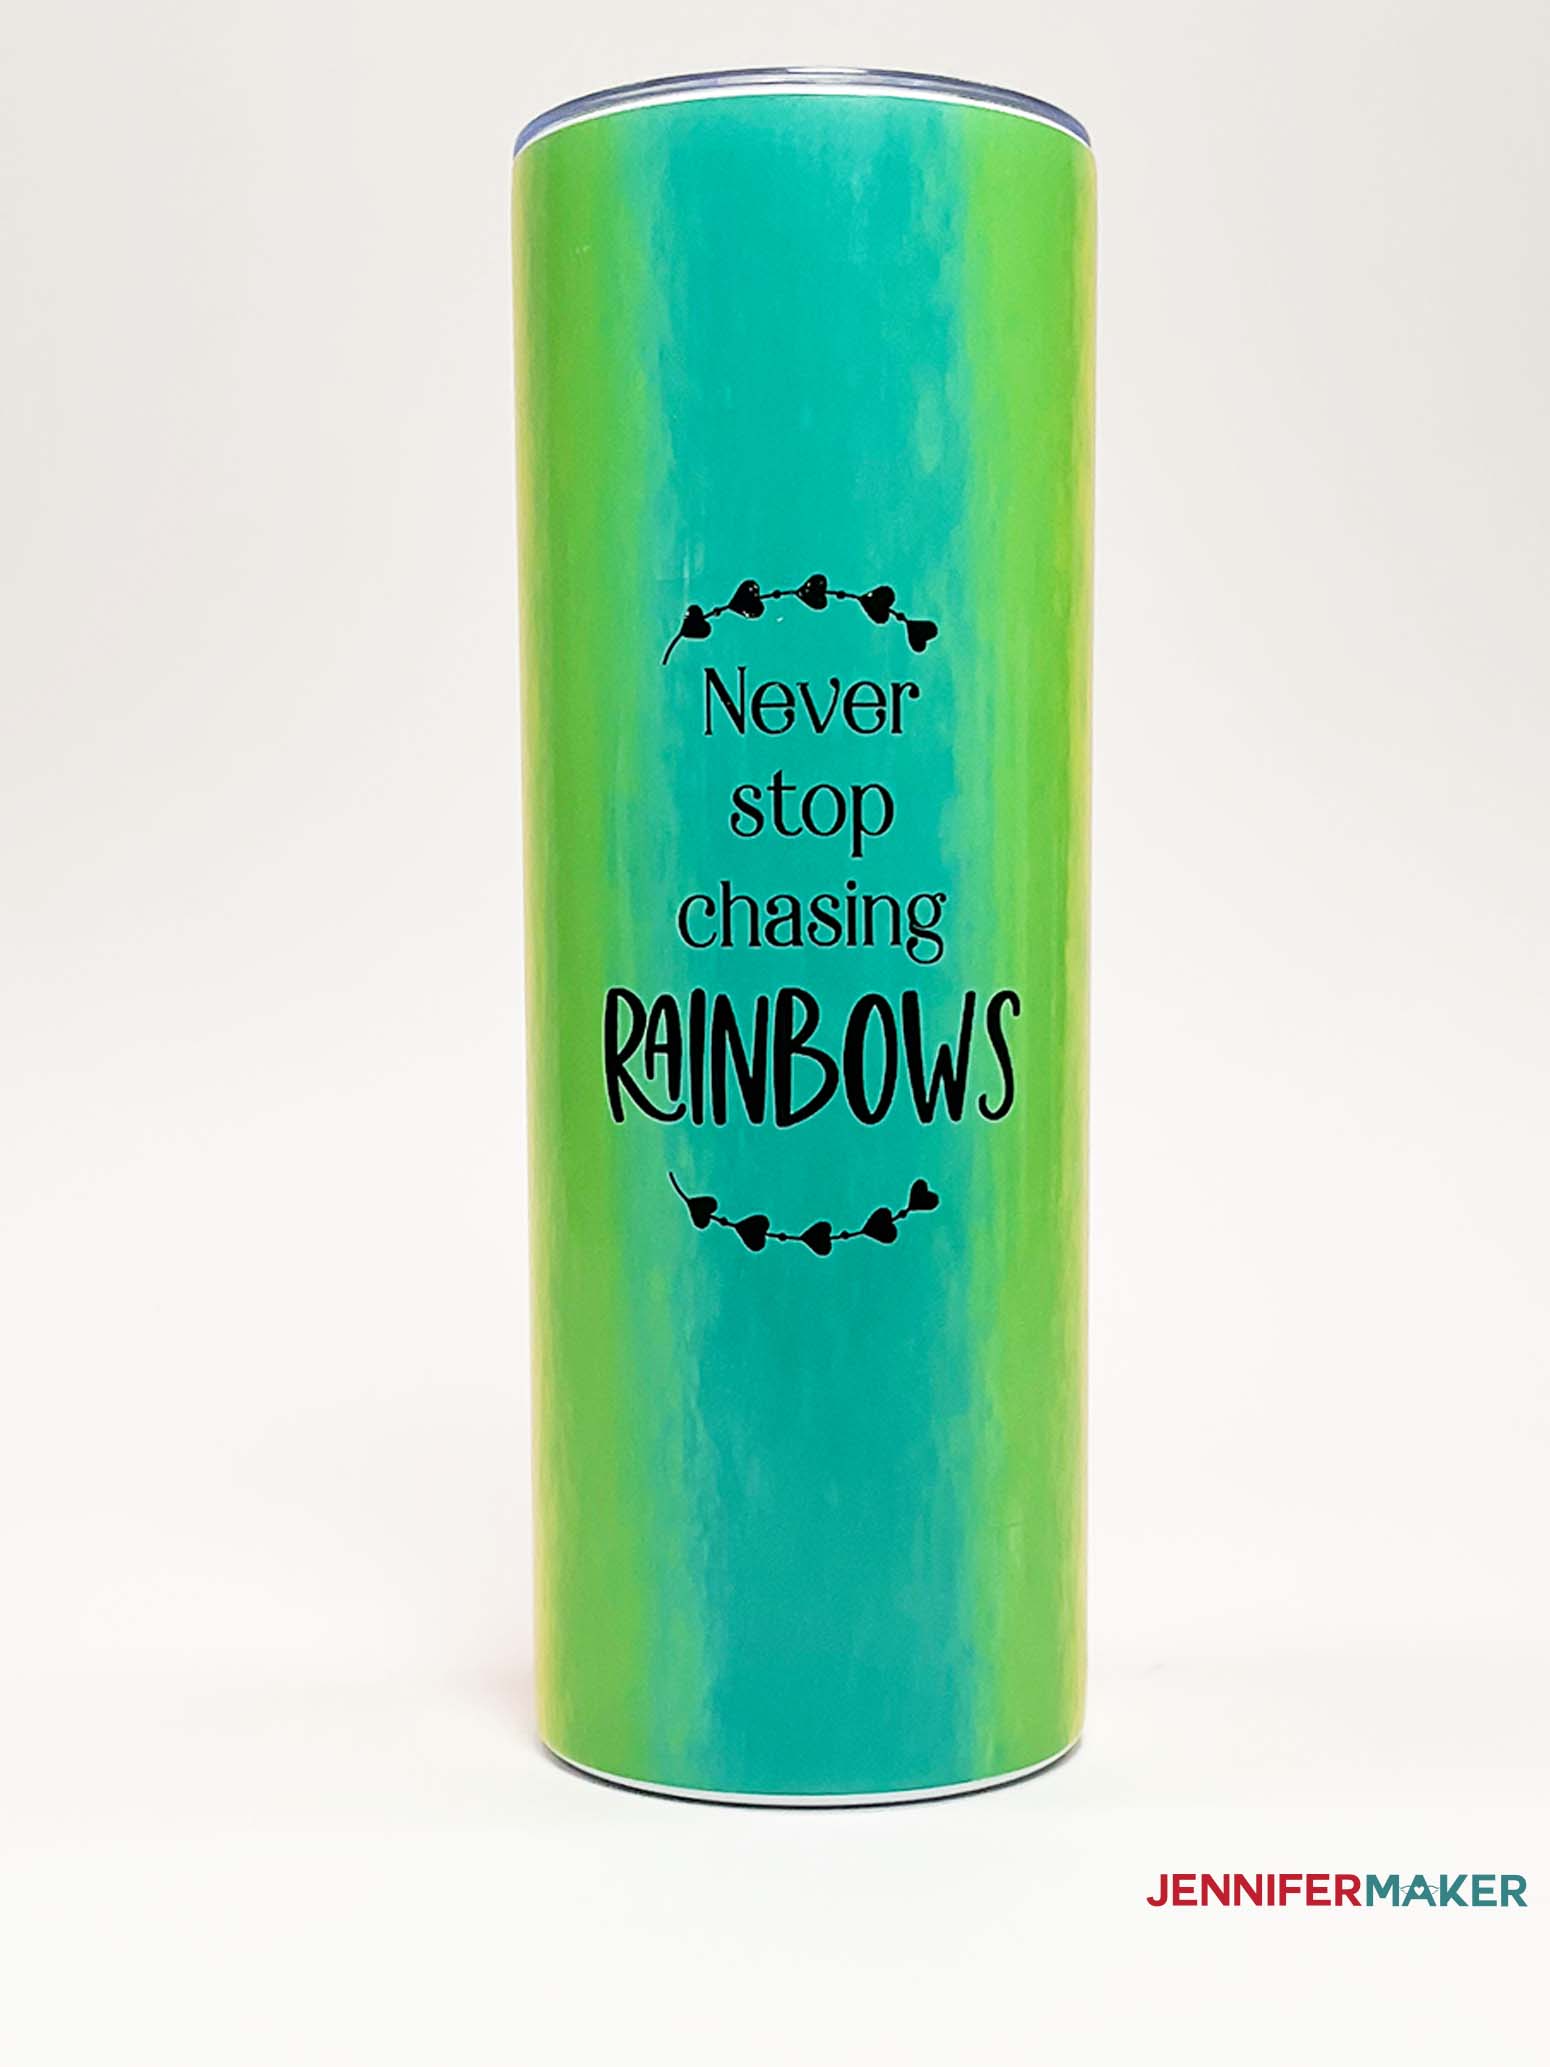
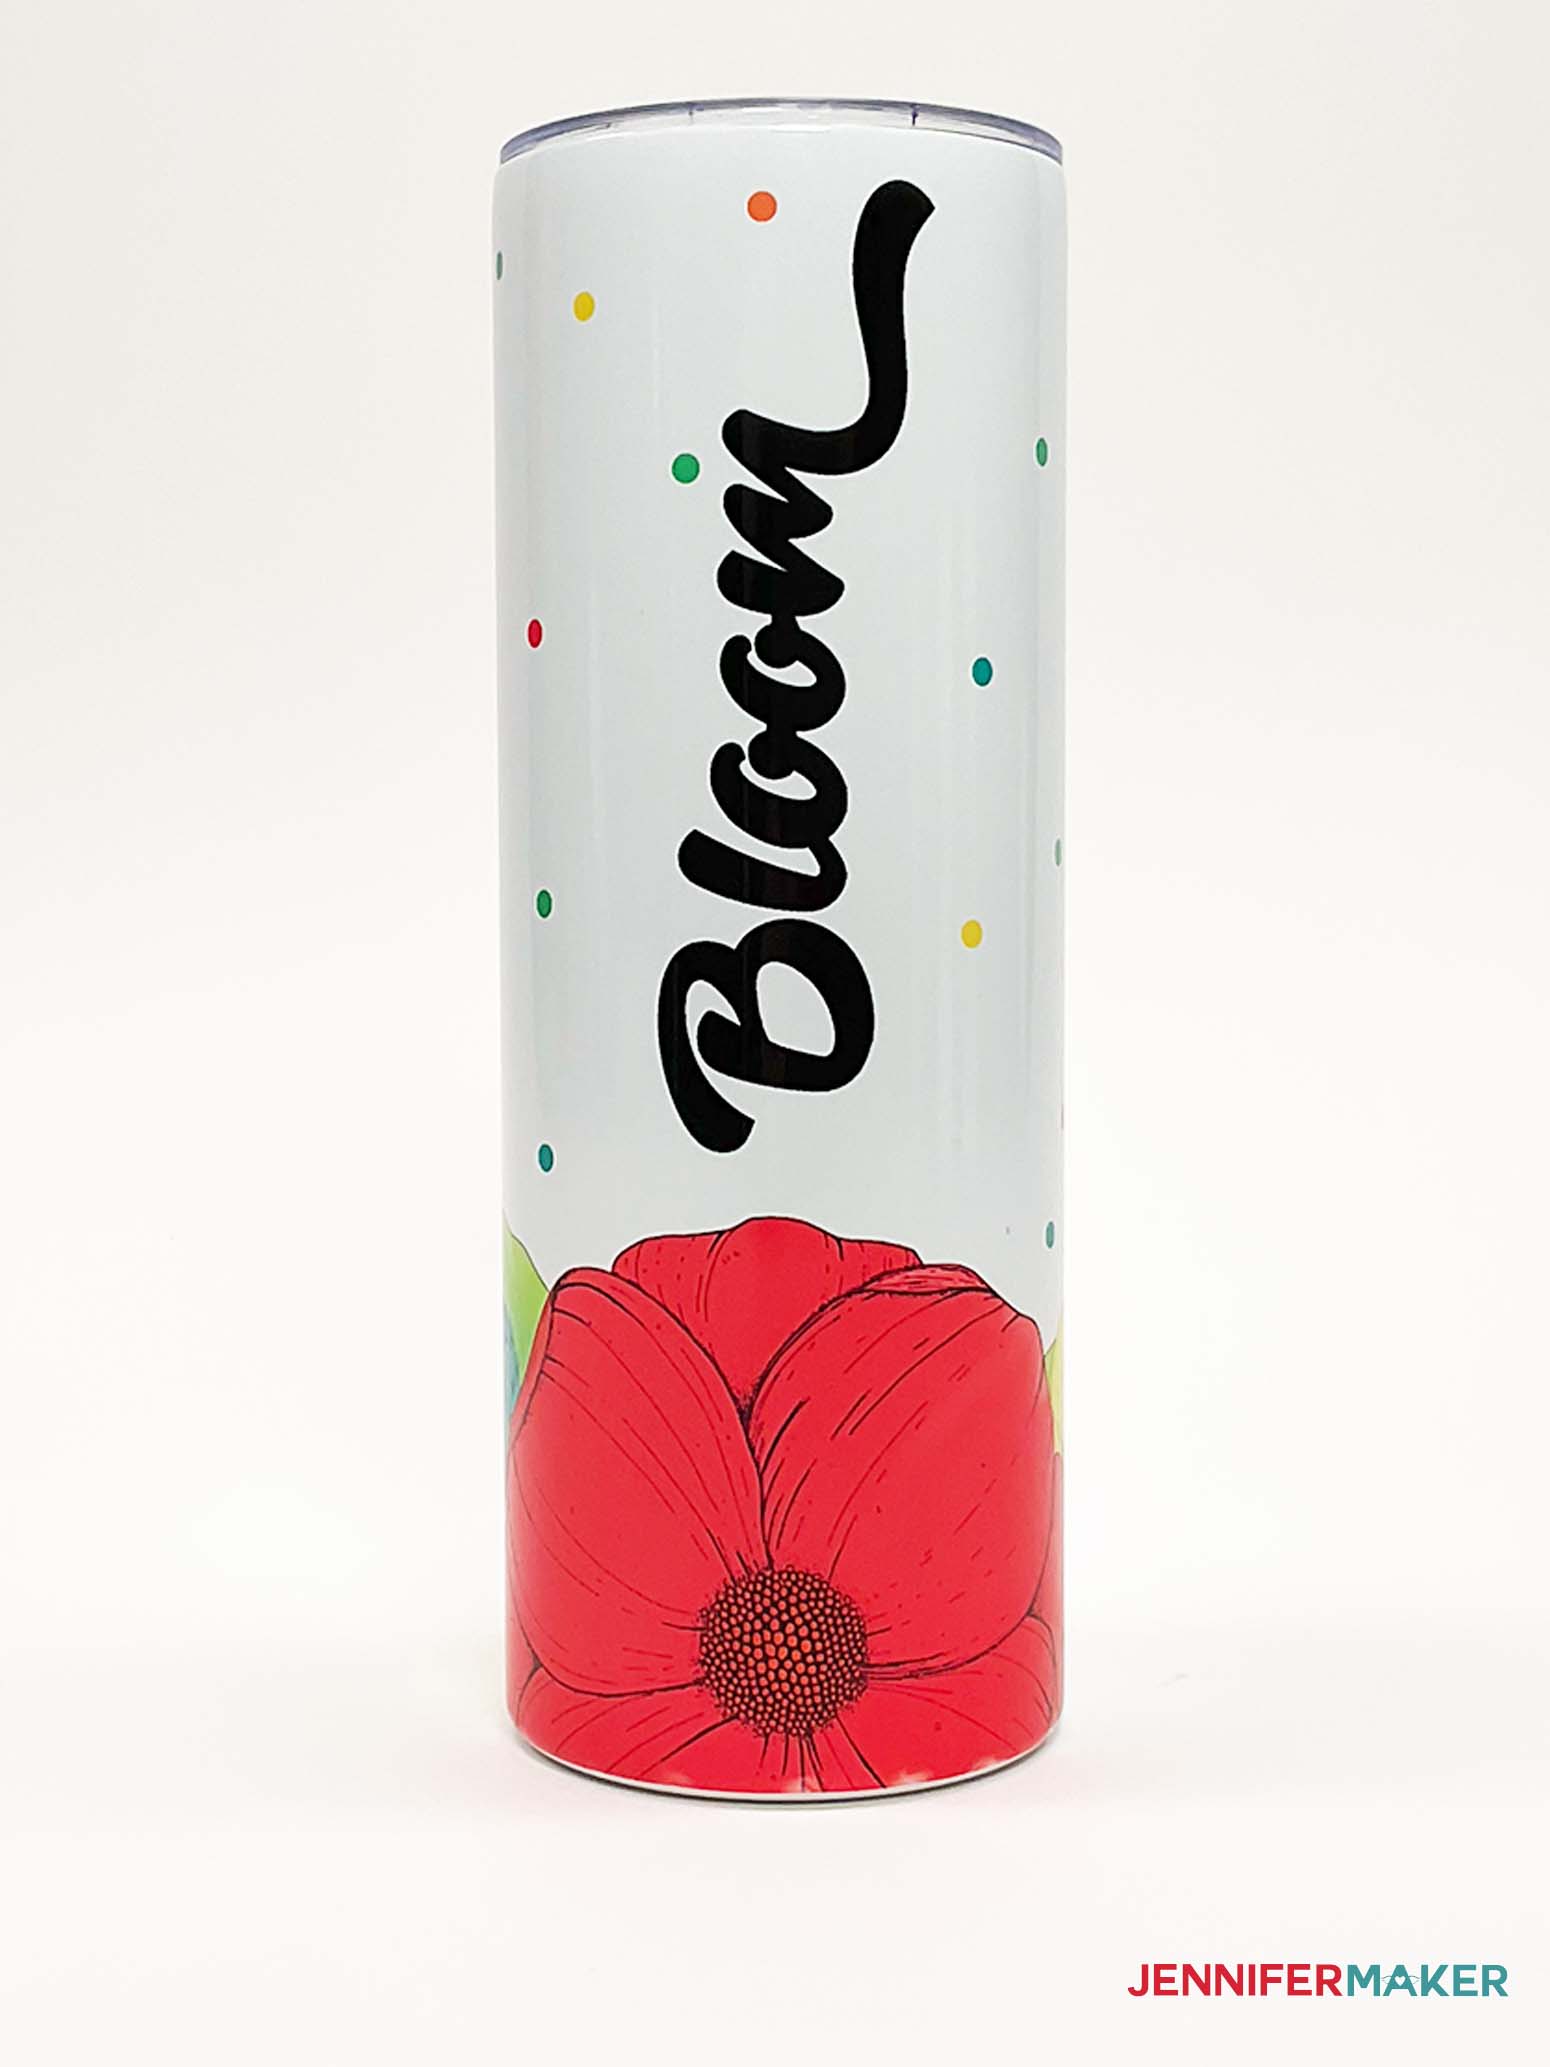
Today, I’m going to make the rainbow design, but you can use these steps for any of the options in the collection.
Sublimation, especially on objects like tumblers, is more of an art than a guaranteed scientific success. There are many variables at work - ink, print quality, pressure, getting a flat design to fit a round surface, overlapping areas, time, heat variability and more! So please don't expect a perfect, gift-quality result on your first try. Learning any new skill involves experimenting and making a few mistakes. You may also use up materials faster while you learn, so start with extra paper, prints, tumblers, and shrink wrap tubes if possible. Remember, an "imperfect" decorated tumbler will still hold your coffee perfectly while you craft!
STEP 2: PRINT YOUR SUBLIMATION DESIGN
We'll print the design on a good-quality sublimation paper for the best results. I’m using 8.5" x 11" A-SUB paper in my Epson EcoTank with Hiipoo ink. You can use another combination, of course.
For the full steps, view my earlier tutorial. If you're using the same design and tumbler as me, size the designs to 9.5" x 8.1". If you're using a different tumbler, measure the height from top to bottom and then around the item for the width.
If you use use a different design, you'll need to size it to match your tumbler's height and width (circumference). Be sure to make your design 1/8" wider than your tumbler's width for the seamless technique I teach you in this tutorial. Note that 1/8" extra is appropriate for the skinny tumblers I used in this tutorial — if you're using a narrower or wider sublimation surface, you may need to reduce or increase this extra width.
STEP 3: PREPARE YOUR PRINT AND TUMBLER FOR SUBLIMATION
Use a lint free cloth with some rubbing alcohol to clean the tumbler for a better transfer.
Since we want to avoid a gap or distracting seam when we wrap the design around the tumbler, there's a special way to trim the design.
Place the print face up on your surface so the correct edge is at the top. Grab your Cricut paper trimmer, the best way to get perfectly straight cuts!
Trim the top and bottom edges (9.5" long for my tumblers) of the design right on the edge of the ink. Try not to leave any white showing.
Trim the right edge in the same way, making sure there's no white at all.
The left edge is where we'll create the overlap to blend the seam as much as possible. Trim that edge so there is about a 1/4" strip of white left next to the design.

Grab your heat resistant tape and cut a few pieces that you can easily pick up. You'll need them soon and it's better to have them ready!
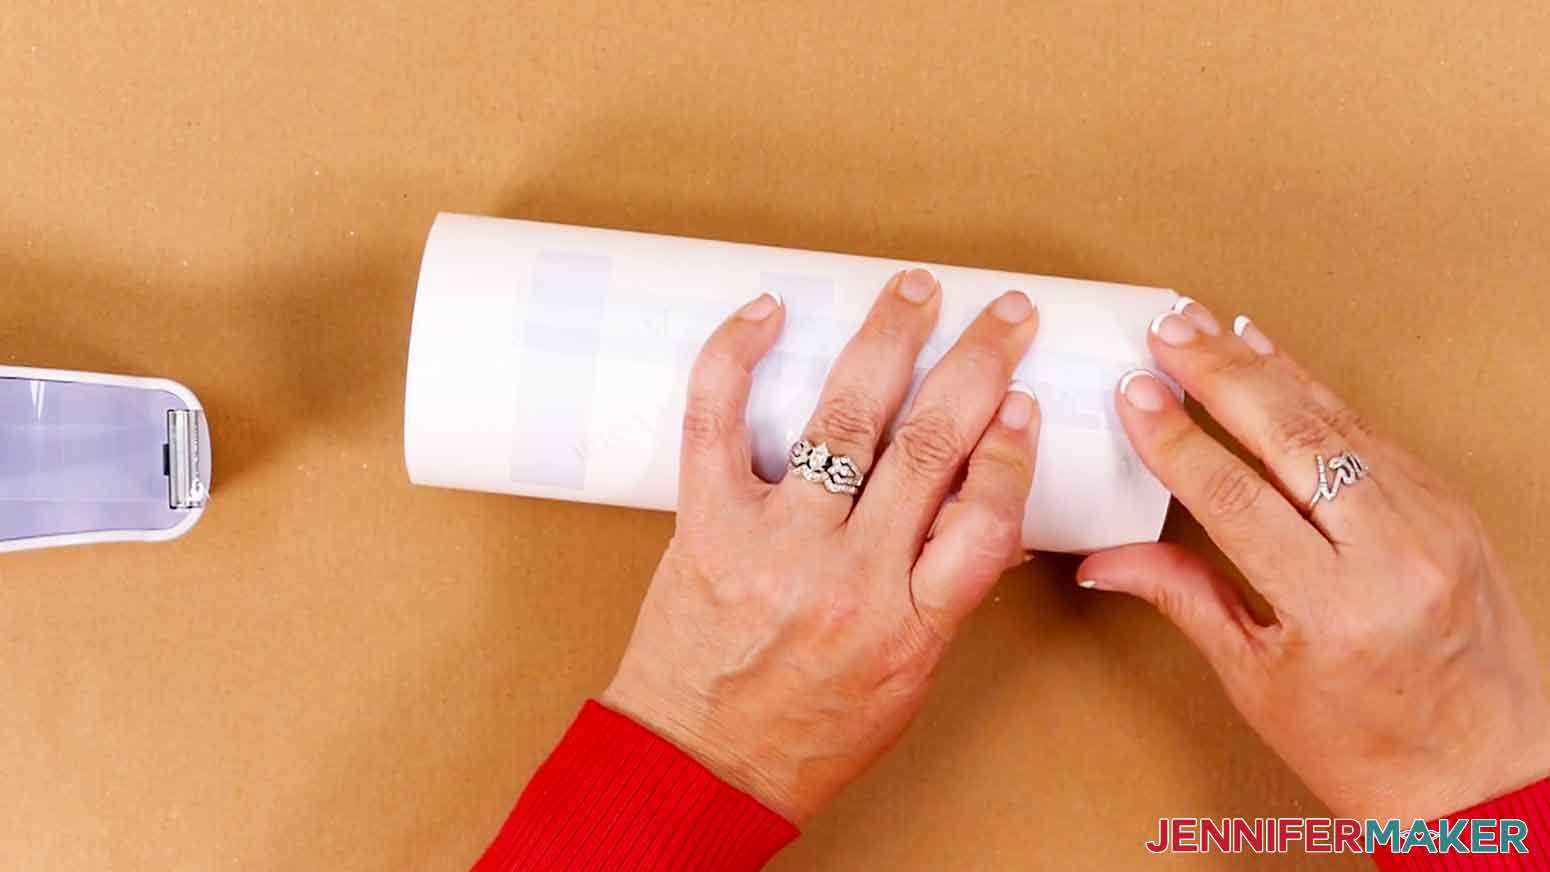
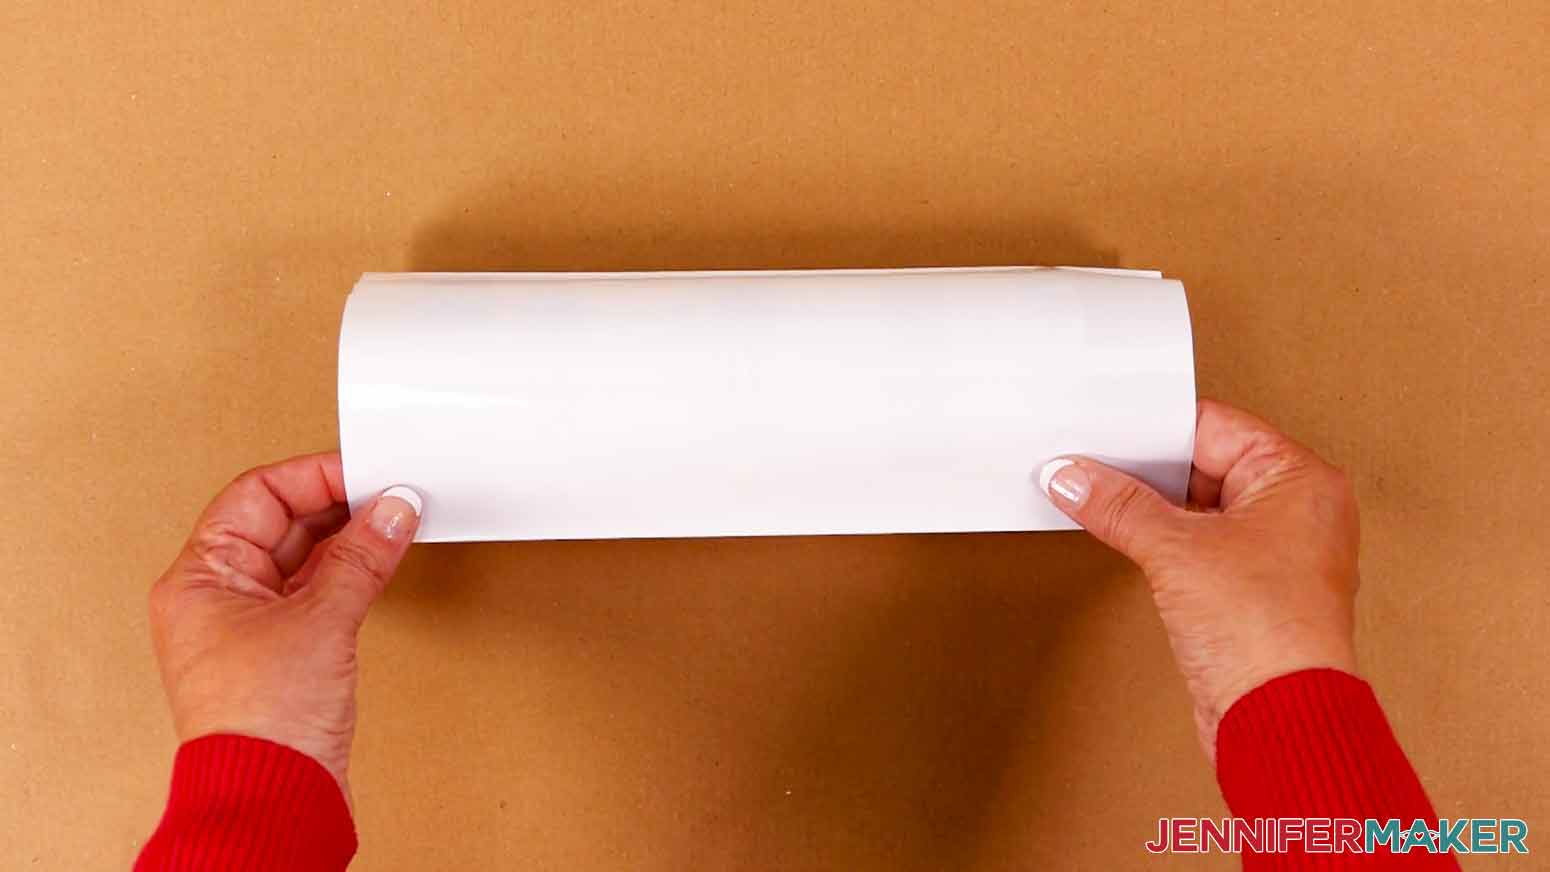
Place the tumbler on your work surface with the open edge at the top. Make sure the print is correctly oriented (especially since it has writing!) and wrap it around the mug so the ink touches the surface.
Where the edges overlap, put the side with the white showing on the outside of the layers.
Hold the wrapped print in place and gently tap the tumbler on the table from the bottom and top. That will help it straighten out.

Don't let the print shift and gently lay the tumbler on its side.
Our next goal is to secure the print to the tumbler as tightly as possible. If there are gaps between the surface and design, you might get white spots or other defects in the final result.
Lay the tumbler on its side and place a piece of tape securely on the white edge, but don't let it
touch the paper on the other side of the seam yet.
Use one hand to hold the lower layer of the design tight against the tumbler. Pull the loose section of tape tight as possible, then press it in place on the lower layer.
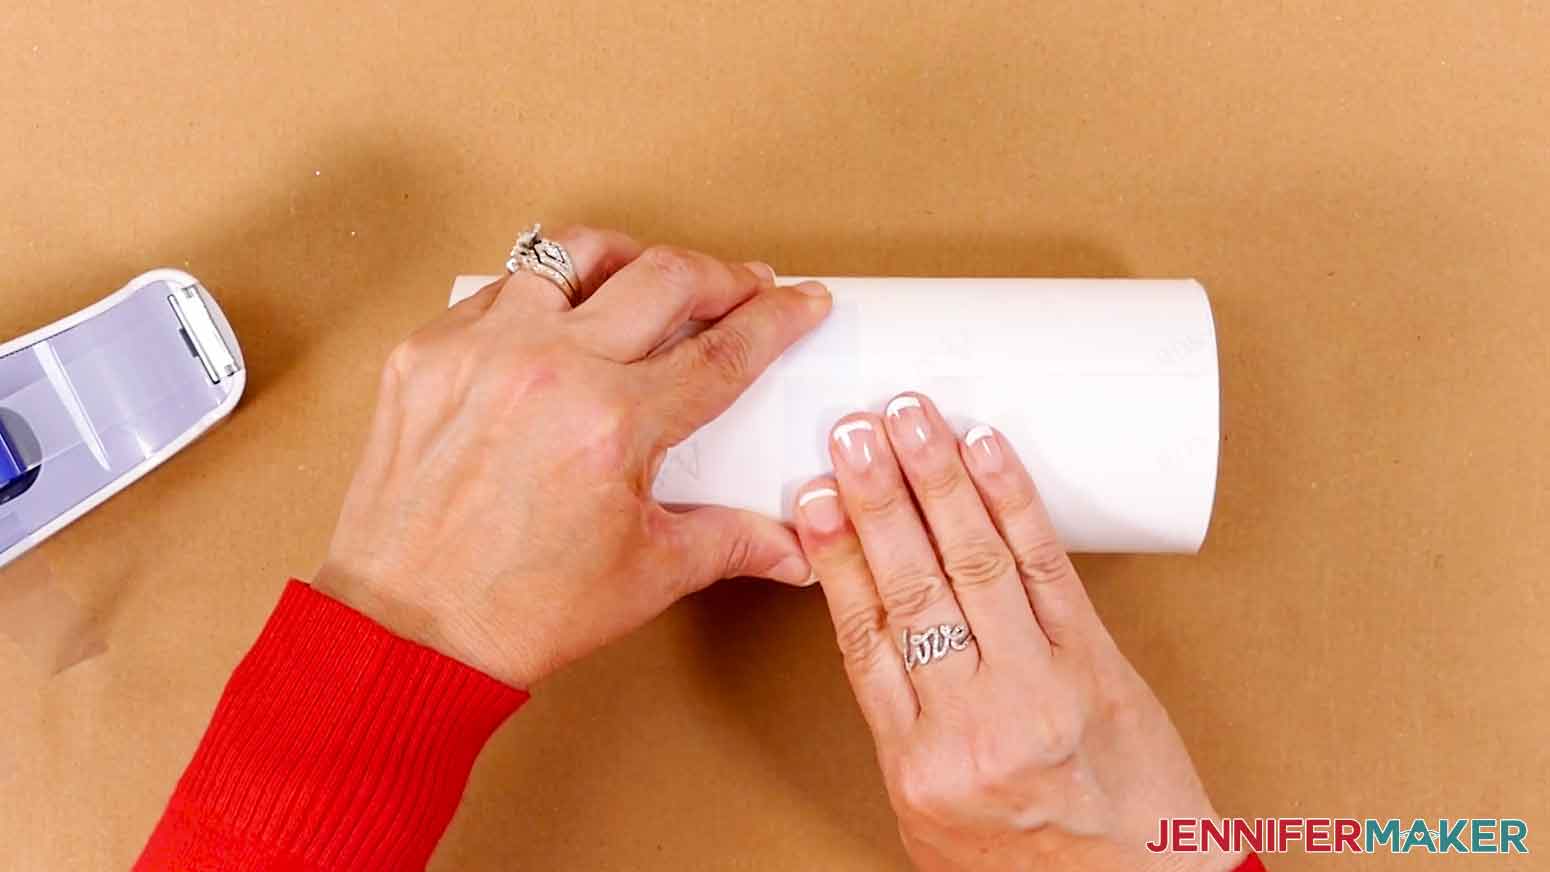
Add two more pieces of tape using the same method in between the first piece and the top and bottom edge of the design
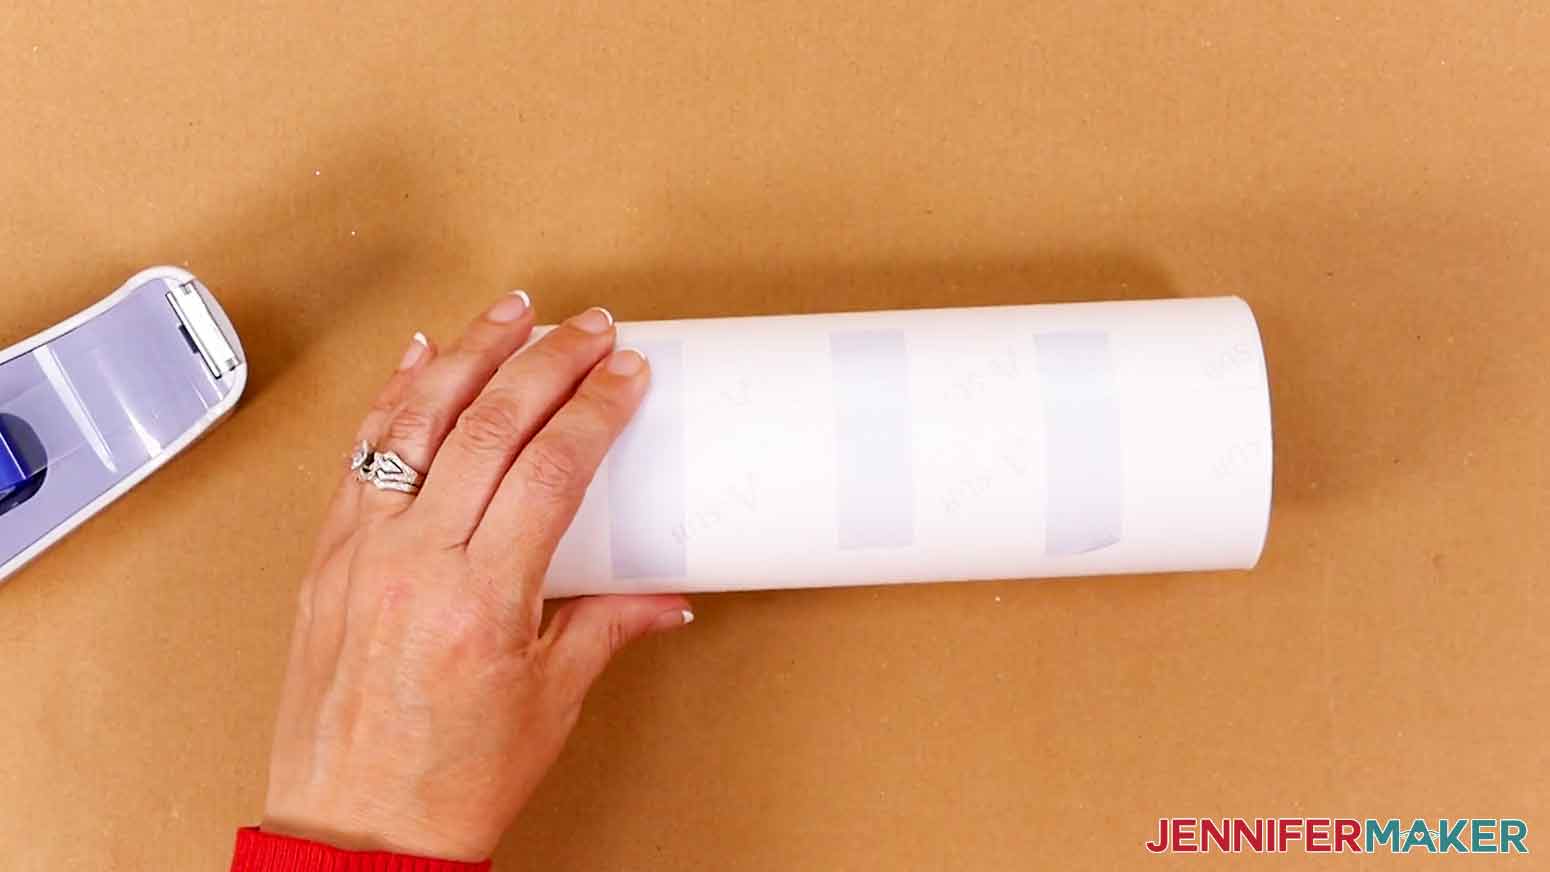
Add more tape perpendicularly to bridge the three pieces and completely cover the seam in between them.
To check if the paper is tight enough, try to press hard and smooth the paper from both sides toward the taped seam. If anything ripples or comes away from the tumbler, remove your tape and try again. This takes practice!
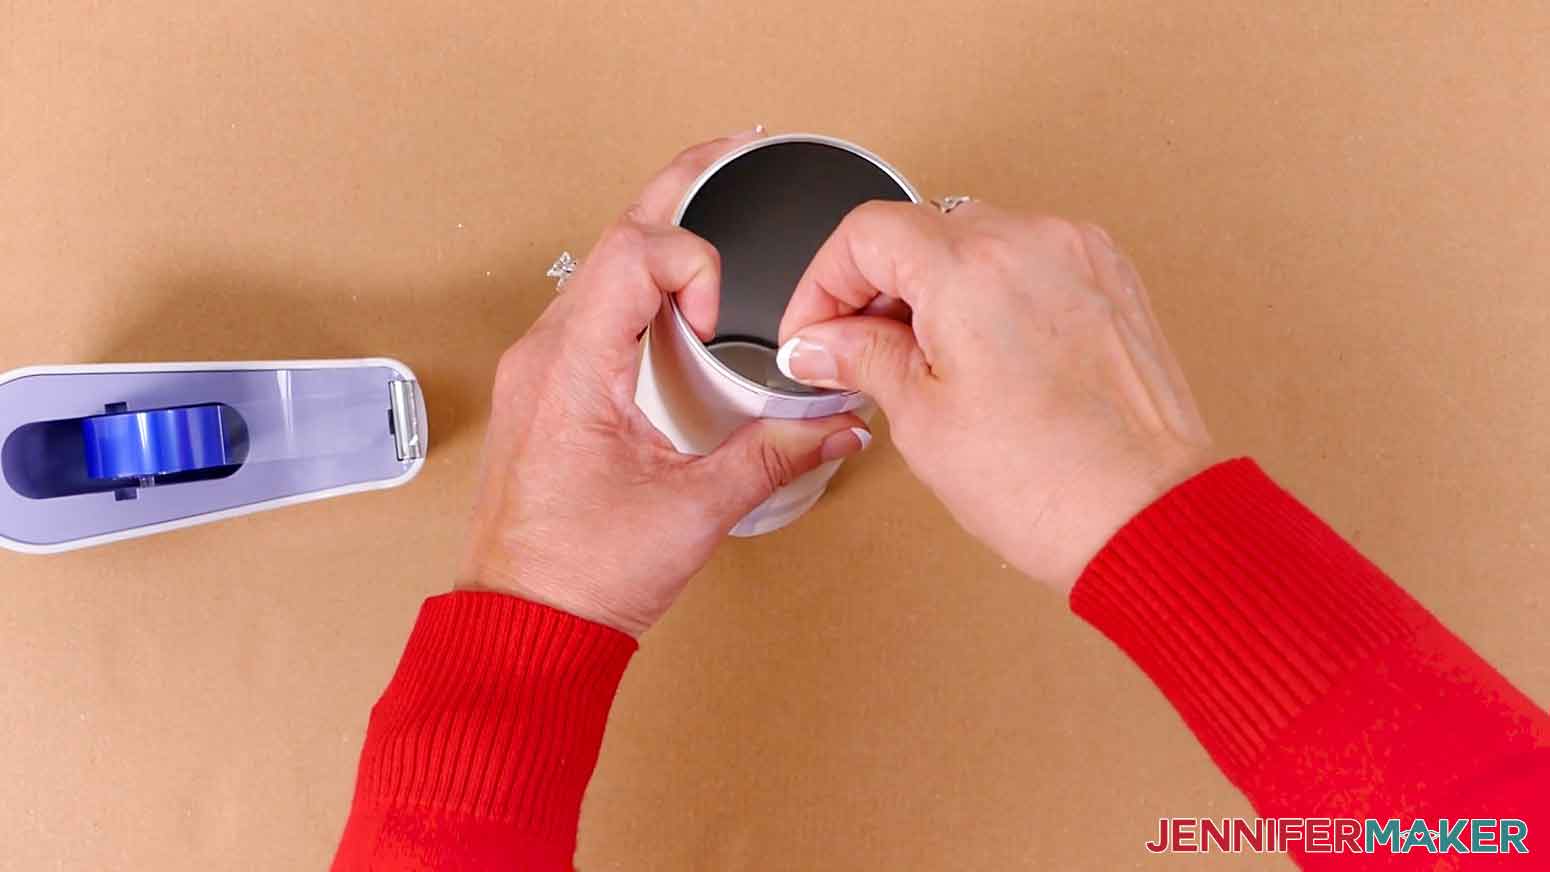
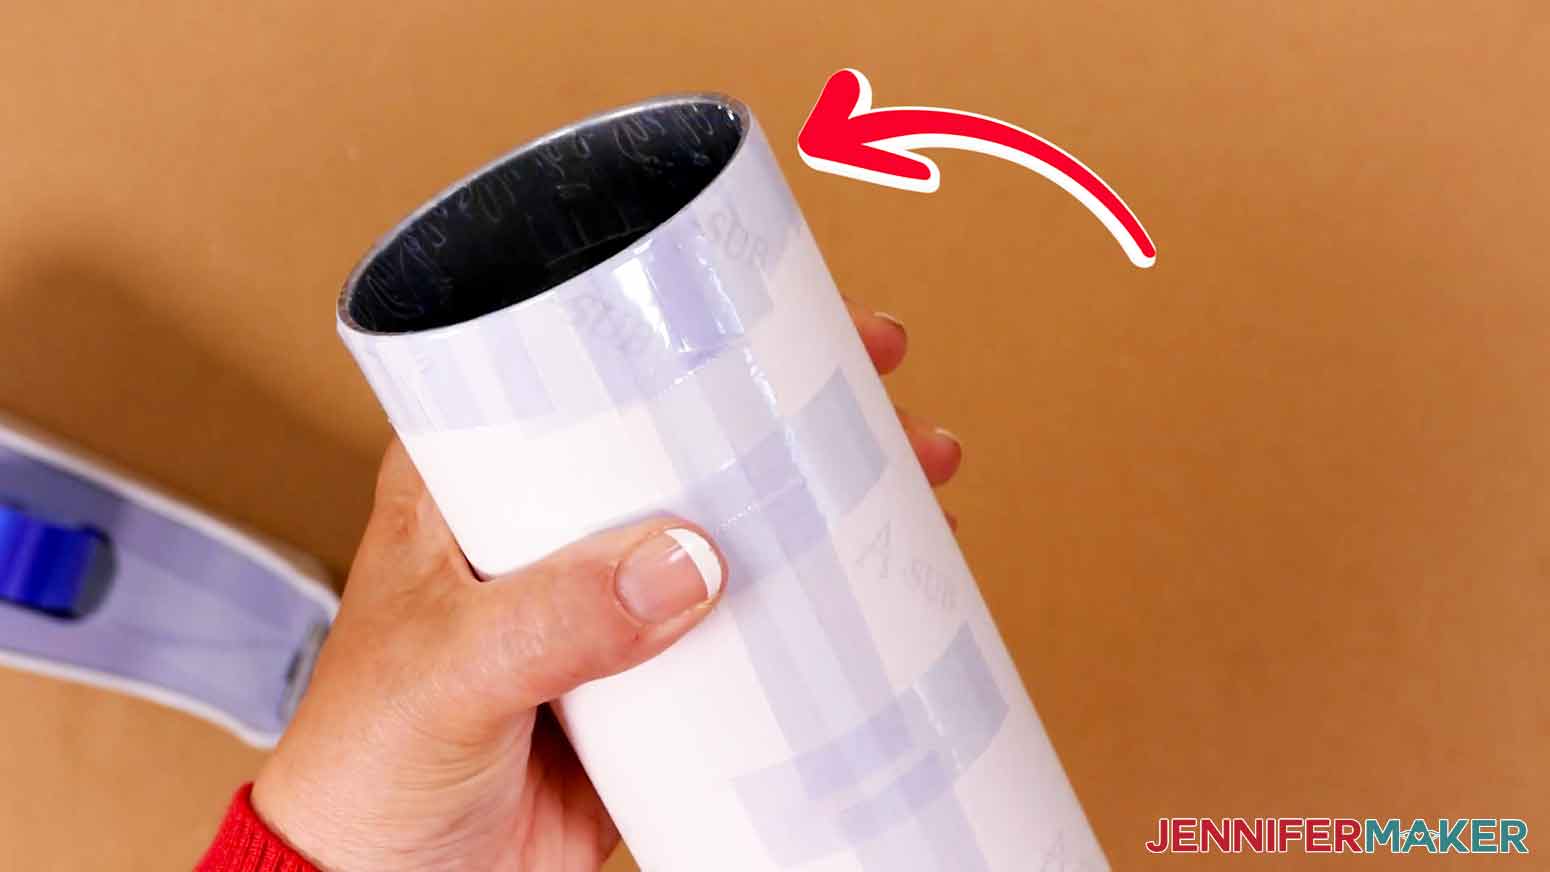
Once the paper is secure, add tape to cover the top remainder of the seam, allowing some to extend past the edge. With your thumb on the tape, pull the extra tape as hard as you can over the edge and secure it inside the tumbler. Repeat for the bottom portion, securing the paper to the bottom as well.
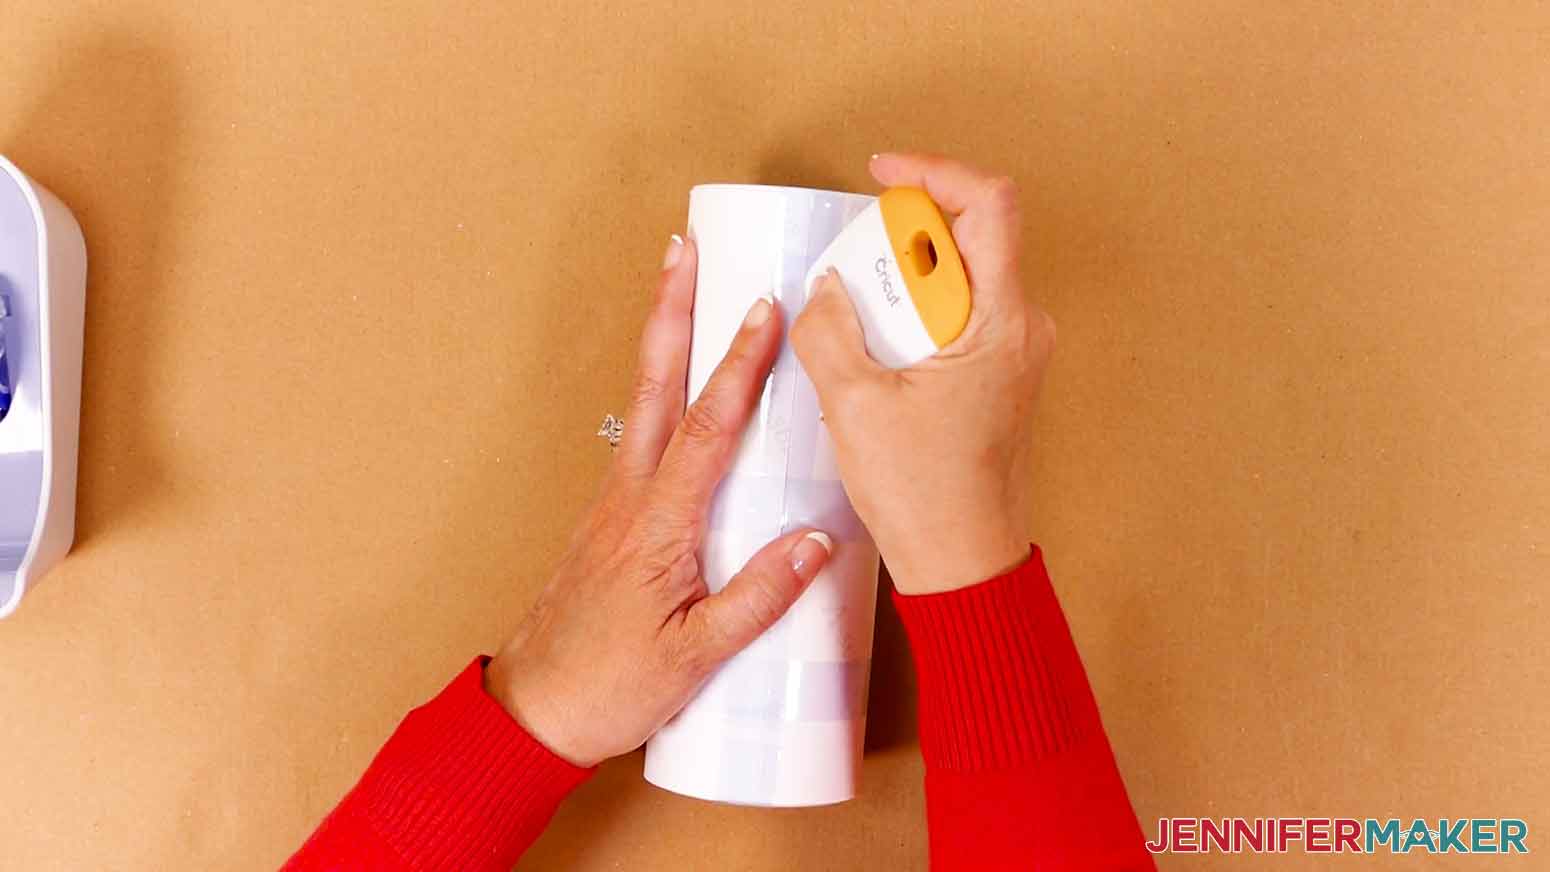
Now we want to work all the air pockets out of the seam. Use a scraper or your fingernail and be really thorough.
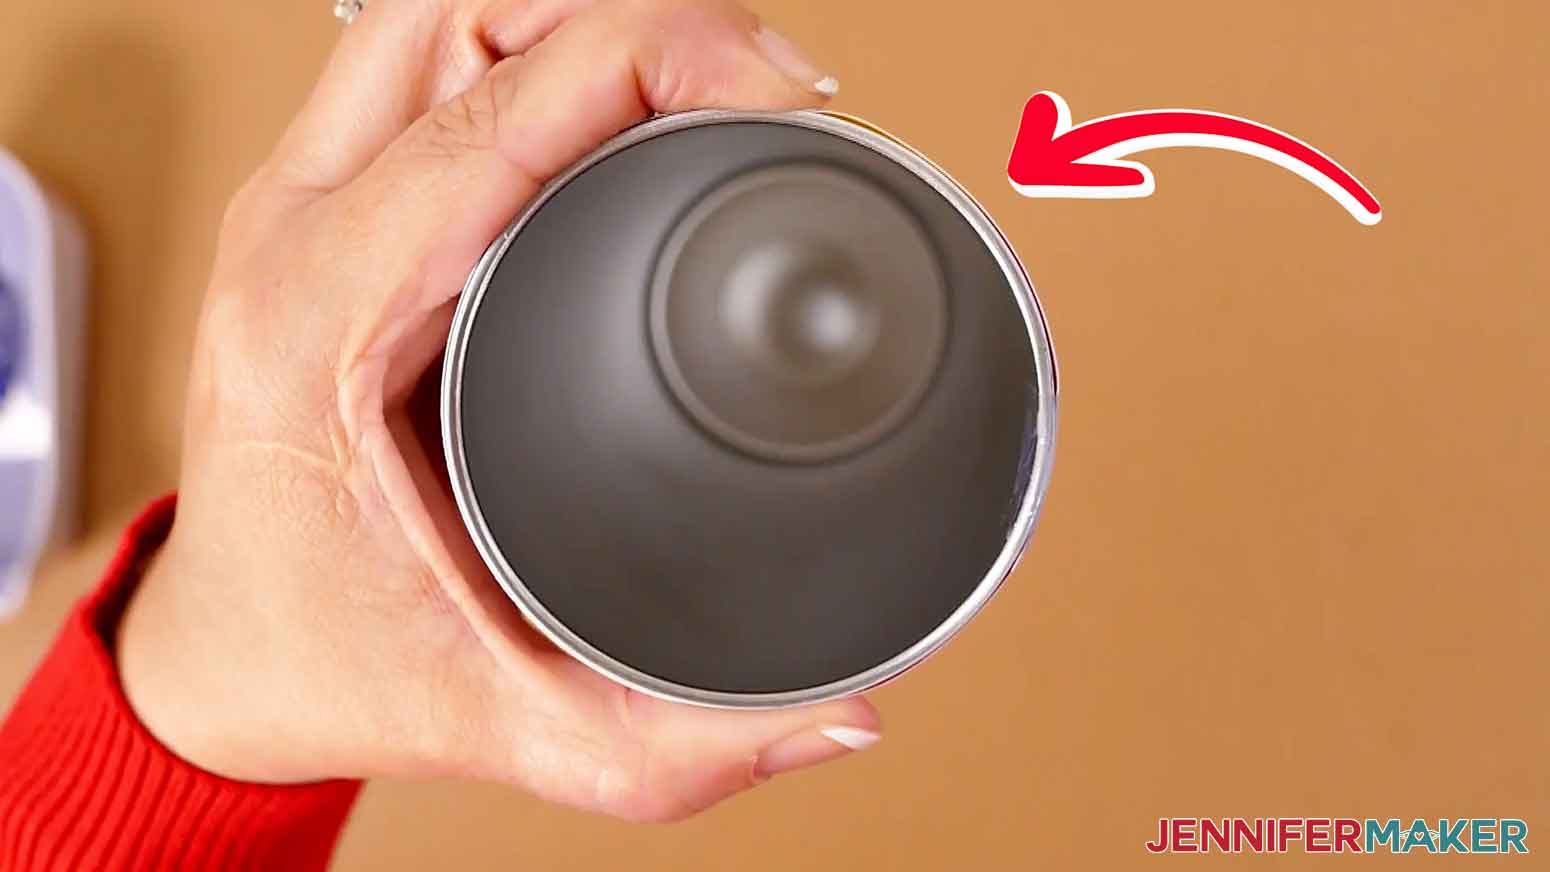
Taping the print around the top edge helps create a smoother transfer. Look down at the tumbler from the top and think of it like a compass. Place the original seam in the North direction.
Just like we did for the top of the seam, place tape at the south location, letting it extend past the edge. Keep your thumb on the taped paper and pull the extra tape tightly, securing it to the tumbler's inner surface. Smooth the tape with the scraper to remove any air pockets. Repeat for the East and West points.

Then, fill in the intermediary directions like North East until the entire top rim is secured.
Again, repeat for the bottom edge.
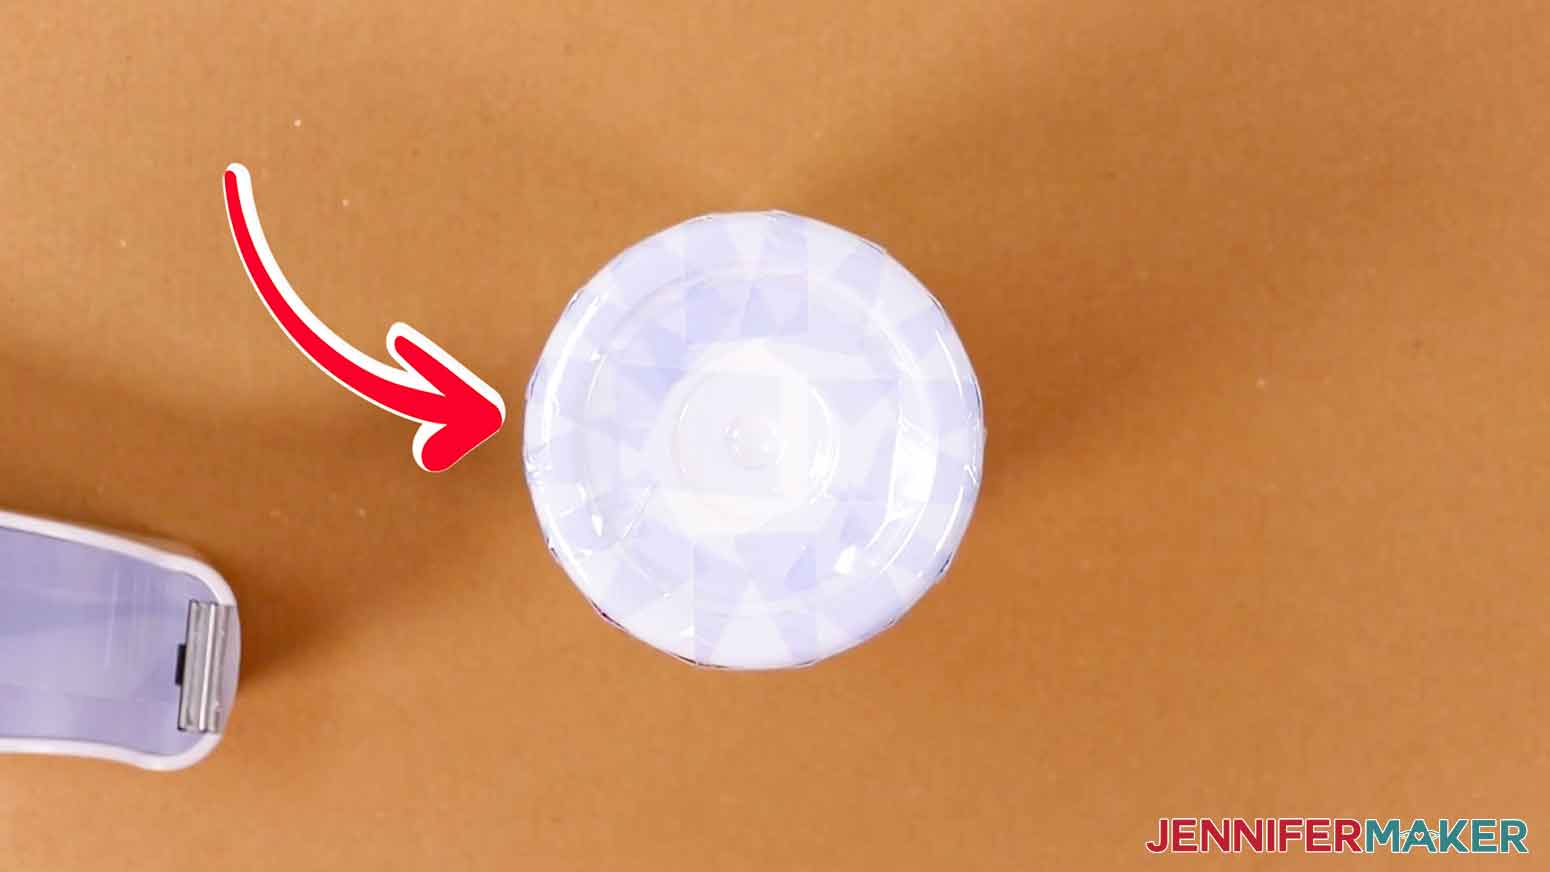
TIP: On the bottom, use an extra long piece of tape to mark with the seam is, which you can reference when you need to turn the tumbler in the heat press.
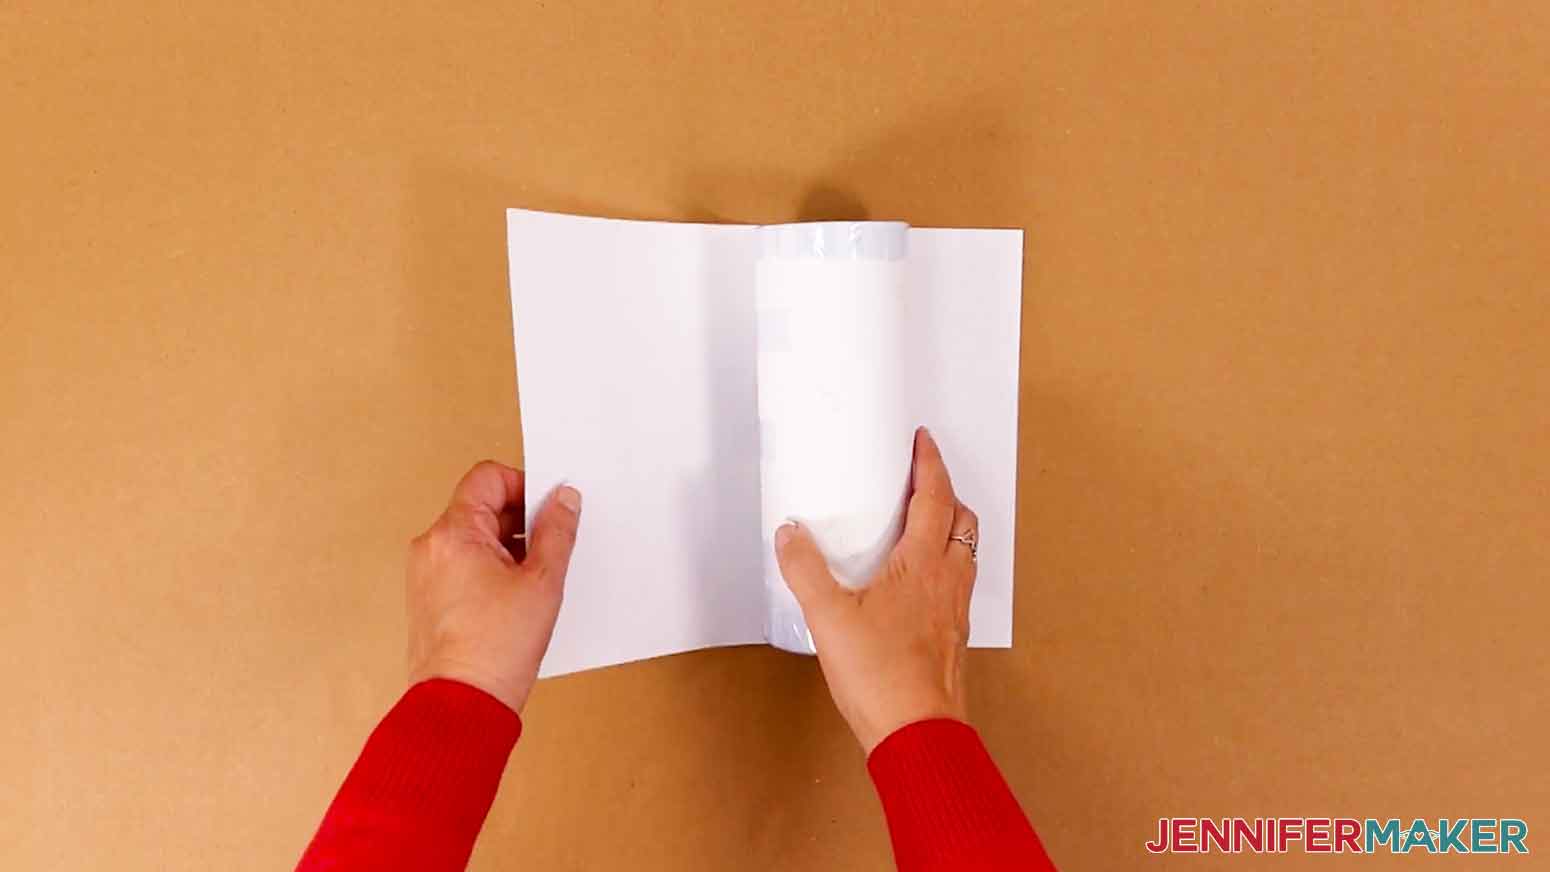
Wrap the tumbler with a piece of white butcher paper to protect it.
STEP 4: PRESS YOUR SUBLIMATION PRINT
Tumbler Press Method
Before you turn on the press, adjust the tension so your tumbler fits snuggly. Try to make the pressure as even as possible all around the tumbler.
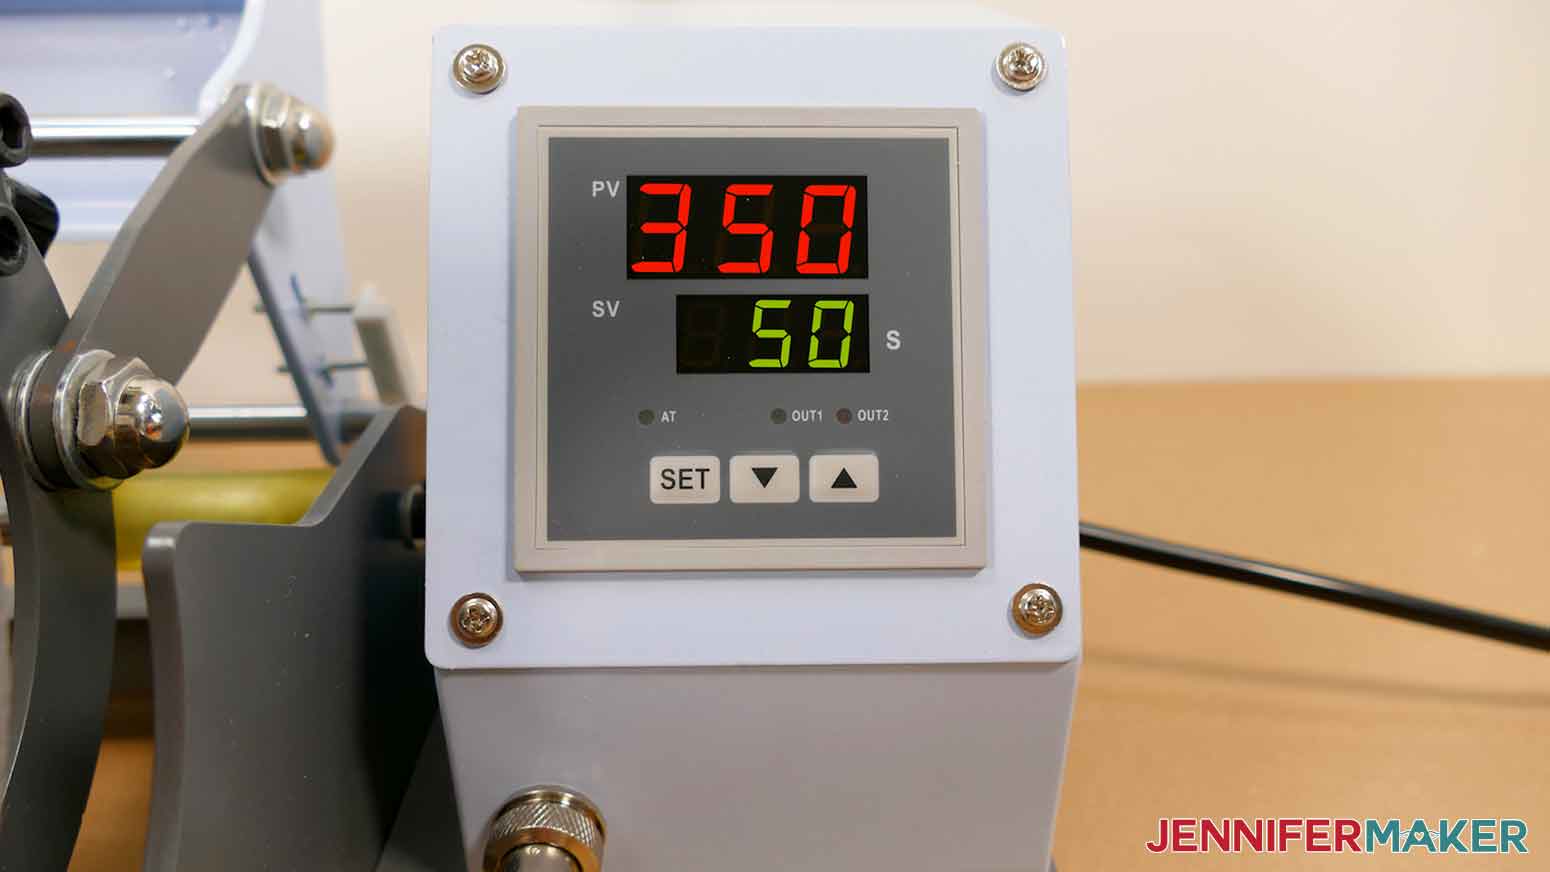
Check the manufacturer's directions for the correct temperature and time for your machine and project. I set the PYD Life 110 V's temperature to 350 Fahrenheit and the time to 50 seconds.
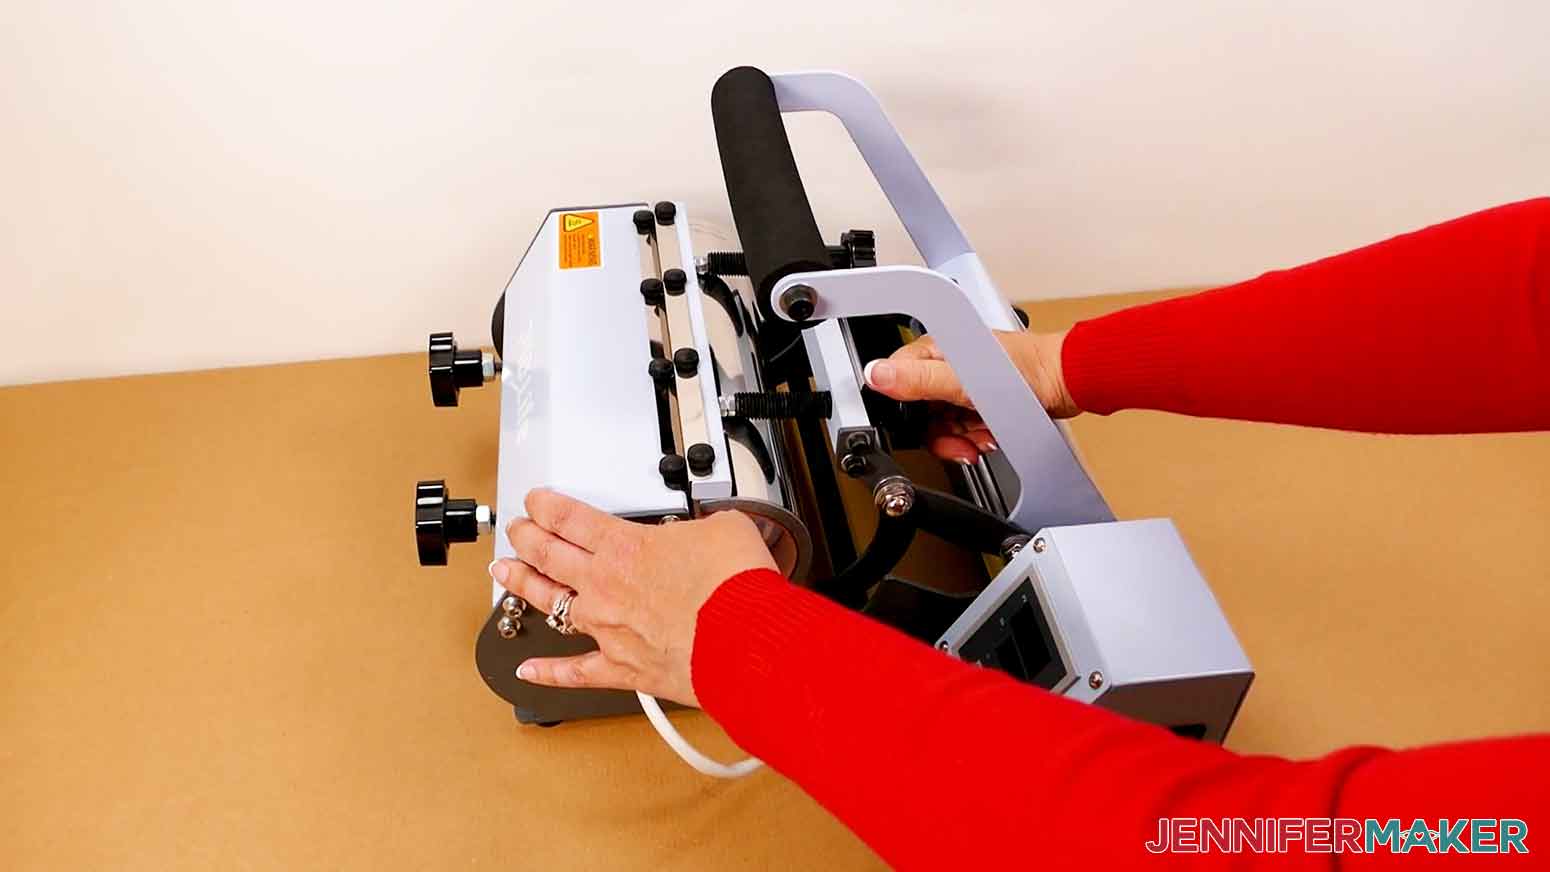
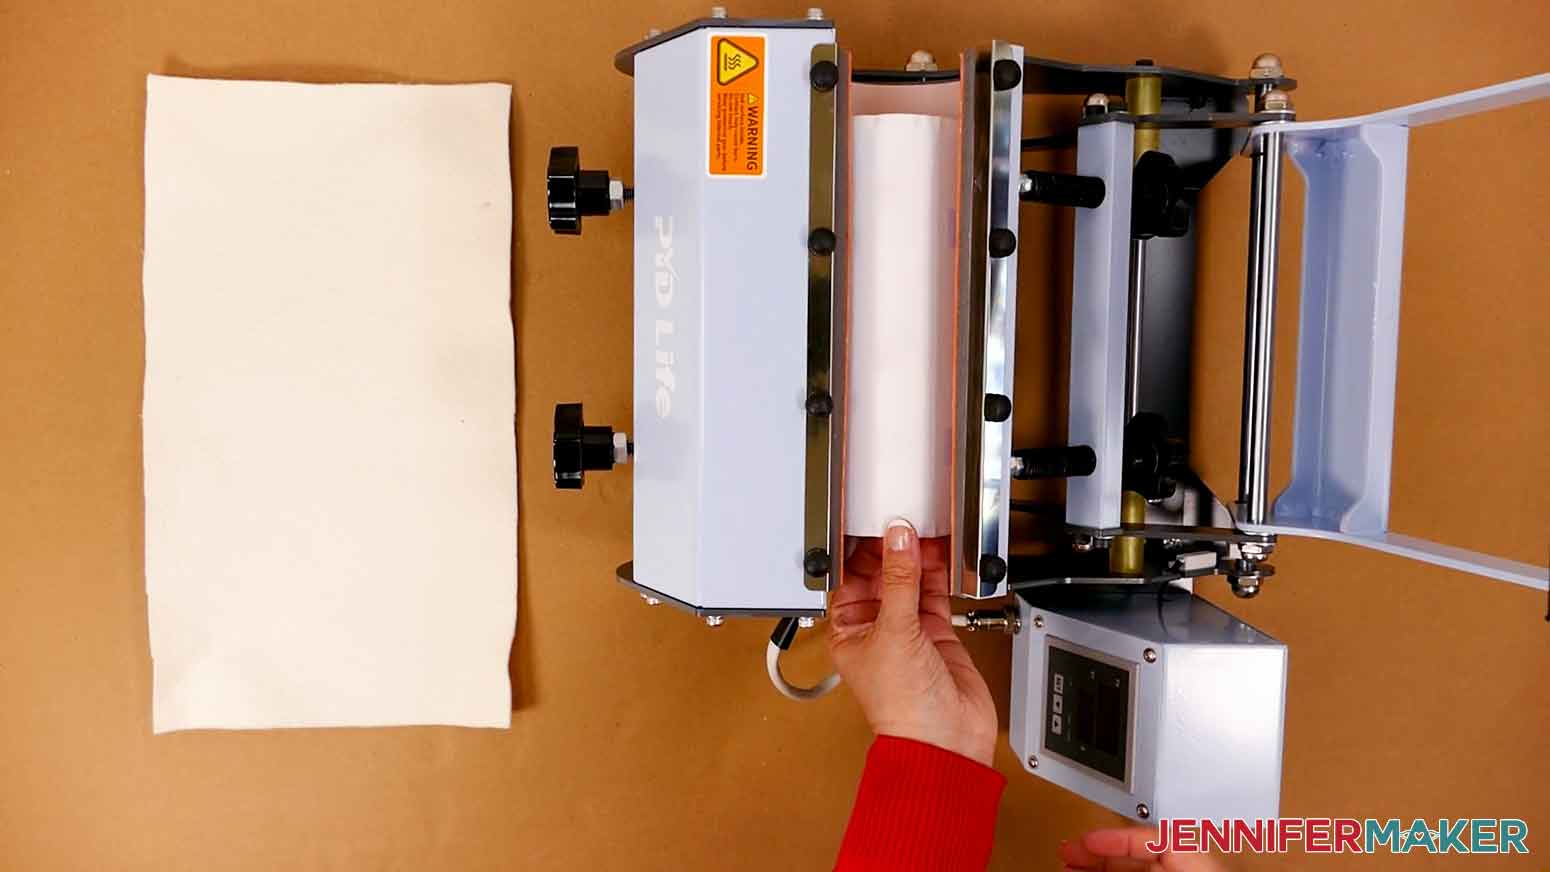
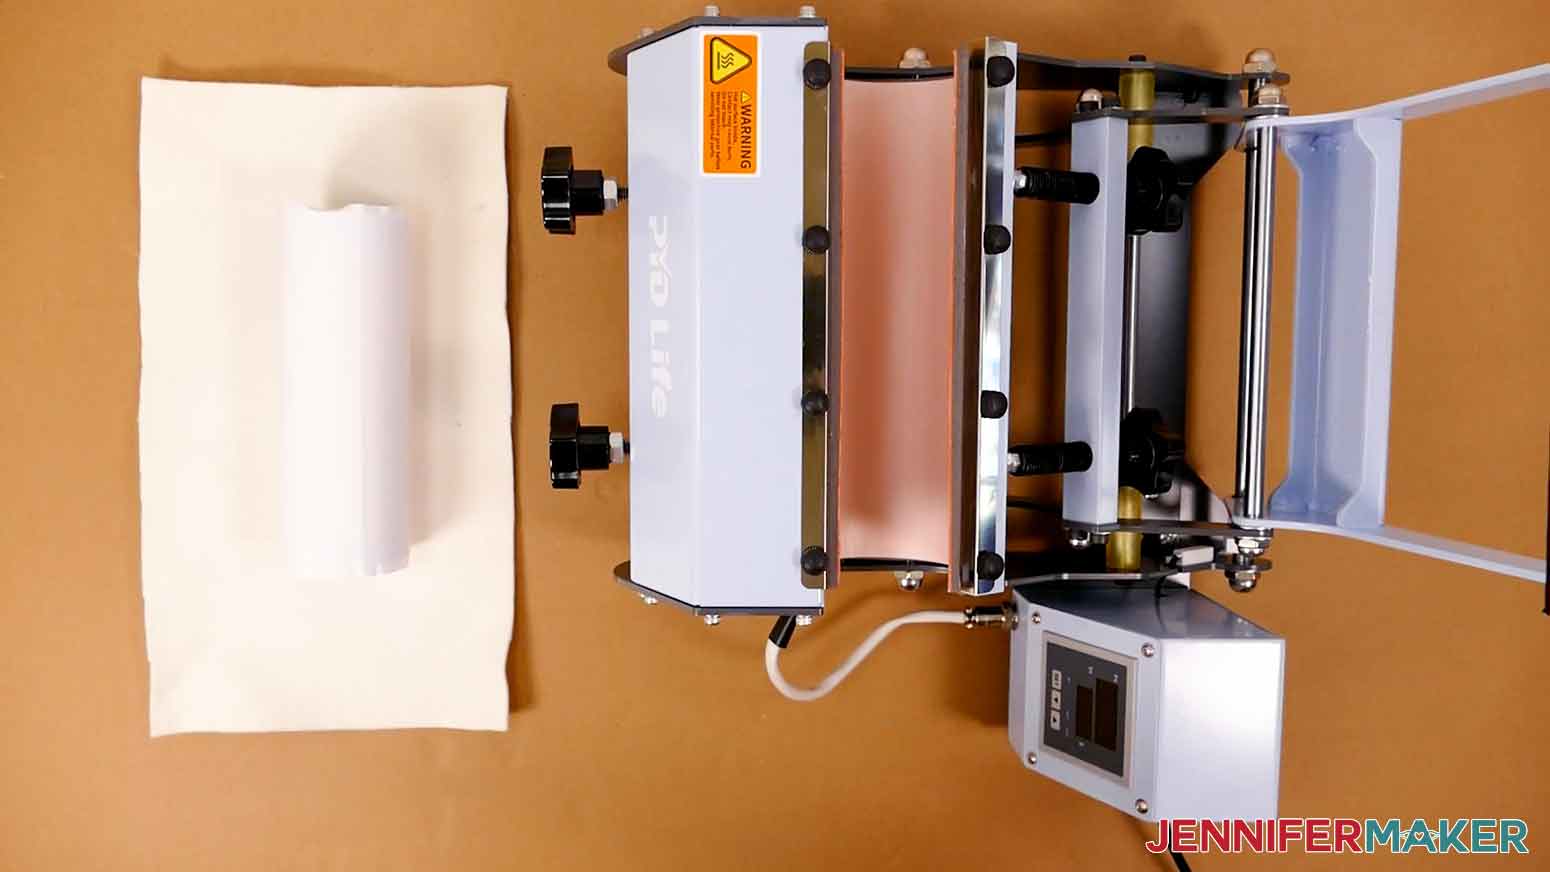
Place the tumbler in the heat press, making sure the seam is to the side. Pull the press's handle to close it.
Put on heat resistant gloves now that the items will be hot.
When the 50 seconds are up, open the press and rotate the tumbler 180°. Close and press the tumbler for another 50 seconds.

When it is done, remove the tumbler and place it on a heat pad to cool.
Convection Oven Methods
Before you begin, pull out any wire racks and place a heat resistant felt pad on the bottom of the convection oven to protect the surface. You might need to cut it to size.
Method 1: Shrink Wrap
Tape the print to the tumbler using the method above.
Preheat the oven to 375°
Some sublimation tumblers come with shrink wrap tubes but not all do.
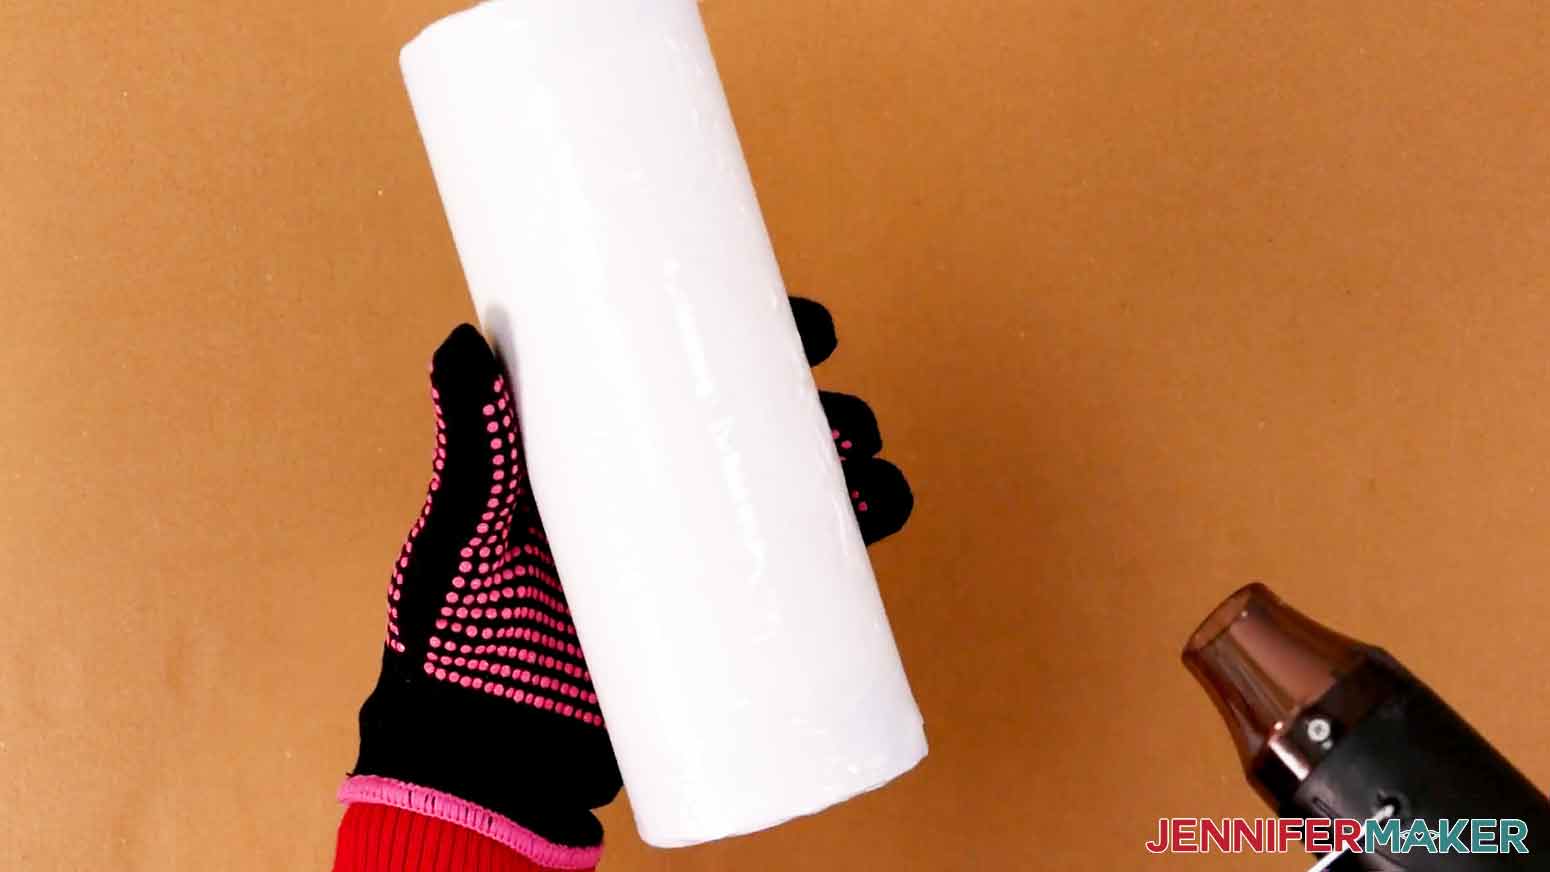
Pull a shrink wrap tube over the tumbler. You might need to trim it if it's much taller than your tumbler.
Put on your heat resistant gloves. Use the heat gun to slowly heat the shrink wrap as it conforms to the tumbler. Make sure most wrinkles are clear, but don't make it too tight or it will pull apart in the oven.
Place the tumbler in the center of the oven and heat for six minutes.
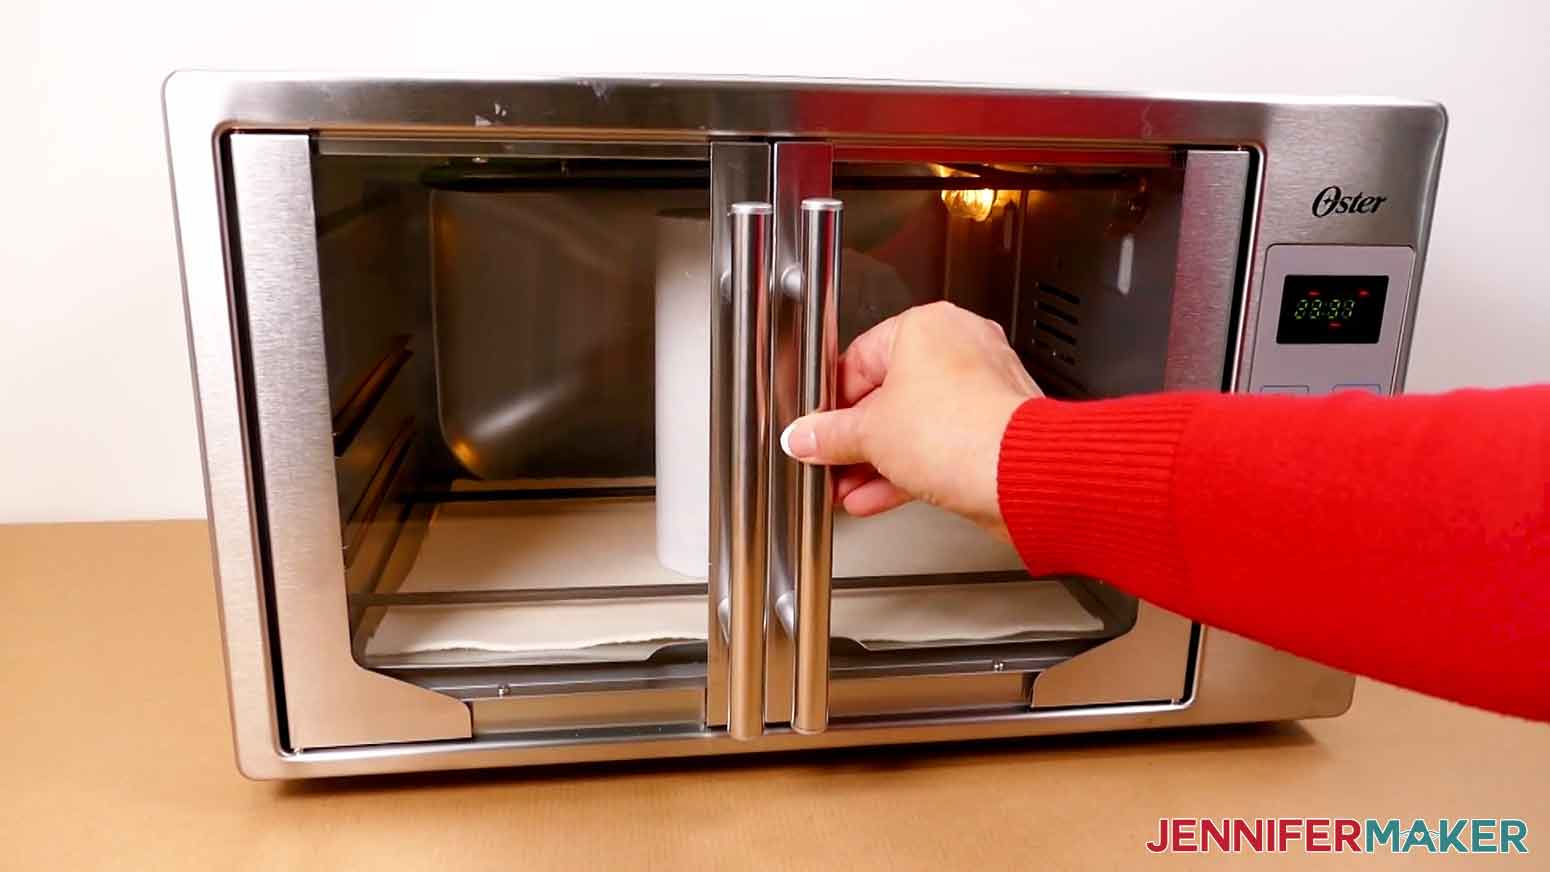
NOTE: Some ovens create a better result if you rotate the tumbler (with your heat resistant gloves!) 180° halfway through the heating process.
Remove the tumbler from the oven after the time is up and let it cool.
Remove the shrink wrap.
Method 2: Silicone Bands
Tape the print to the tumbler using the method above.
Preheat the oven to 375°.
Then, tape a piece of butcher paper around the tumbler to prevent ink from getting on the bands.
Place the silicone bands onto the tumbler, spacing them out evenly. Try to put the bands on the end as close to the tumbler edges as possible - it's ok if they cover the edge.
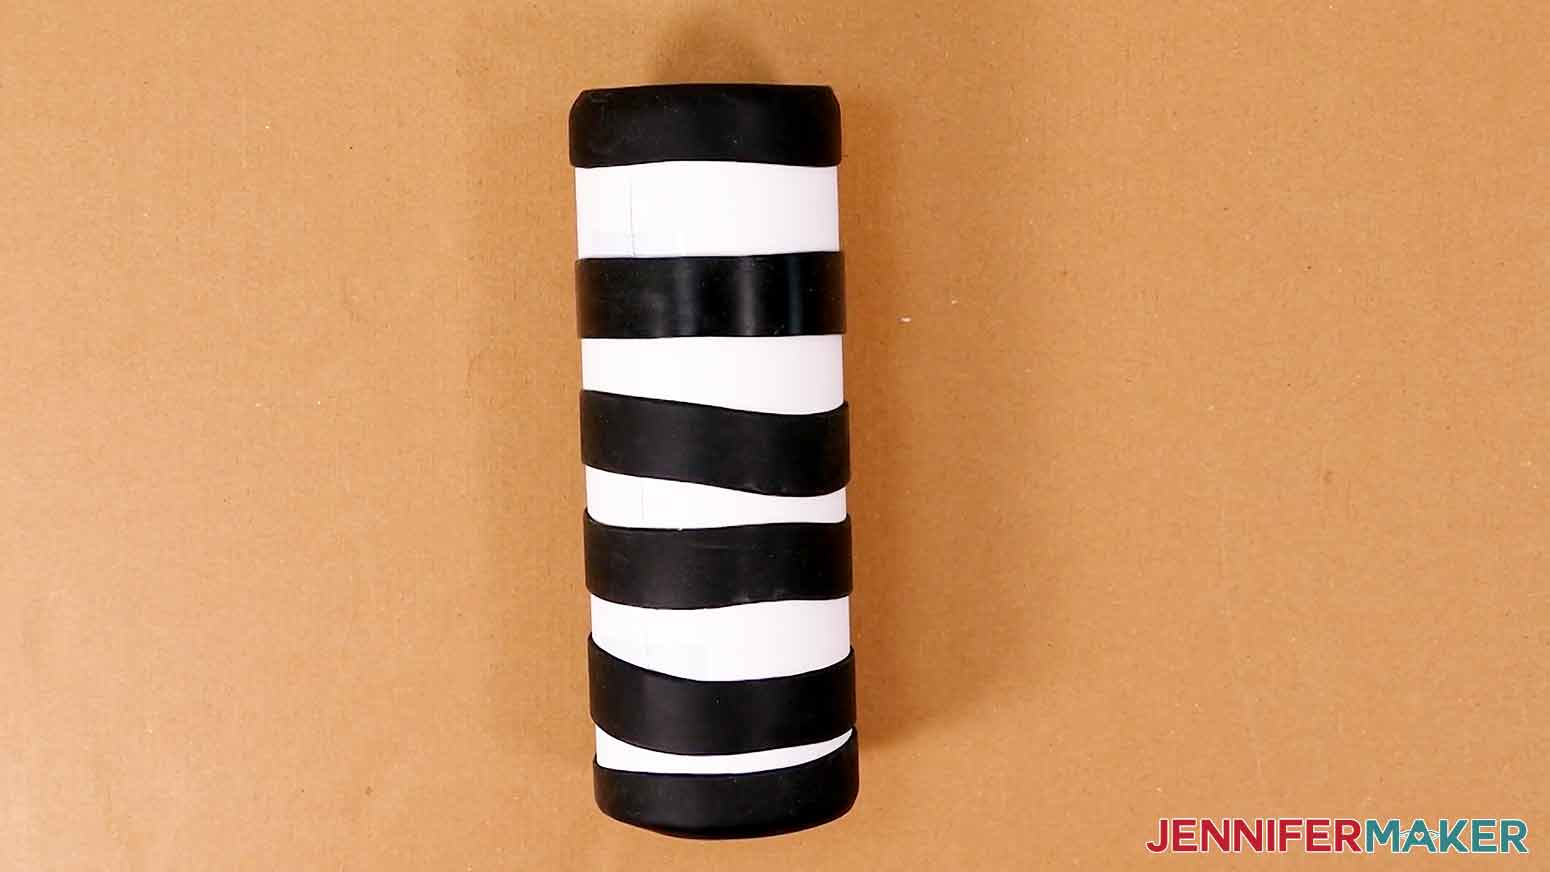
Place the tumbler in center of the oven and heat for six minutes.
Safely remove the tumbler from oven after the time is up and let it cool.
Remove the bands and paper.
STEP 5: SHOW IT OFF!
When your tumbler is cooled, peel away the tape and paper. Some of the paper may stick to the tumbler, just rinse it off with water.

To make your print last, only handwash the tumblers with soapy water. Remember to check your tumbler's instructions in case it's different!
Notes
Final size 8" tall, 2 7/8" diameter.
Typefaces: Andala Script and Berson Dream Trio
Answers to Your Questions About Sublimating Fall Tumblers
Q: What temp and time do you sublimate tumblers?
A: I followed my Sublimation Cookbook to learn the time and temperature settings for this project. They’re also in the tutorial!
Q: What causes ghosting on sublimation tumblers?
A: Ghosting can occur when a freshly sublimated object is moved around too much while it’s still hot. If the object and the sublimation transfer is still hot, the image is still sublimating. To avoid this, simply wait until your sublimated item has cooled off before handling or removing the paper, and don’t move it around more than you need to while it’s sublimating. It’s a natural effect of the sublimation process because the ink is in a gaseous state until it’s cooled.
Q: Why is my sublimation print color so dull?
A: Sublimation tumbler wraps look much duller on the paper than they do after they’re sublimated, so don’t worry if your printed PNG file looks faded or different colors than you expect. The vibrant colors will show when transferred to the sublimation blanks!
Q: Do you need to seal sublimation tumblers?
A: When tumblers are sublimated, the image becomes a part of the surface permanently so there’s no need to seal the tumbler.
Q: Should you clean a tumbler before sublimation?
A: Yes. Cleaning the tumbler before sublimating will remove dust, debris, and skin oils that could interfere with your transfer. Use isopropyl alcohol and a soft cloth to wipe the outside of your tumbler down before sublimating.
Q: Why am I getting white spots on my sublimation tumbler?
A: If your sublimation tumbler has white spots on it after sublimation, your printed design may not have been tight enough against the tumbler. You can try re-sublimating it, or cover it up with a darker design.
Q: Can I use an air fryer to sublimate tumblers?
A: Yes, as long as you only use the air fryer for sublimation, the appliance will work for tumblers. Do not use your crafting air fryer for food! Excess sublimation ink will get on the appliance’s inside and is not food-safe.
Q: Where can I buy sublimation blanks and supplies?
A: I like shopping with Amazon because of the fast, free shipping I get with my Amazon Prime membership. Your local craft supply store probably has a lot of what you need too!
Q. How do I care for a sublimated tumbler?
A. Simply hand-wash it with dish soap and warm water and a gentle sponge, then leave it to air dry or wipe it dry with a clean, soft cloth. Follow these care instructions and it should hold up indefinitely. The same applies for sublimation mugs, cutting boards, or anything else that you’ve sublimated that may need cleaning after use.
Get my free PNG files to make your own sublimated fall tumblers!
(If you do not see the signup form above, click here.)
I love seeing what you make with my designs and how you use them! Inspire others and share a photo of your sublimated fall tumblers in our Facebook group or tag me on social media with #jennifermaker.
Love,

Want to remember this? Save this Fall Tumblers Tutorial to your favorite Pinterest Board!