
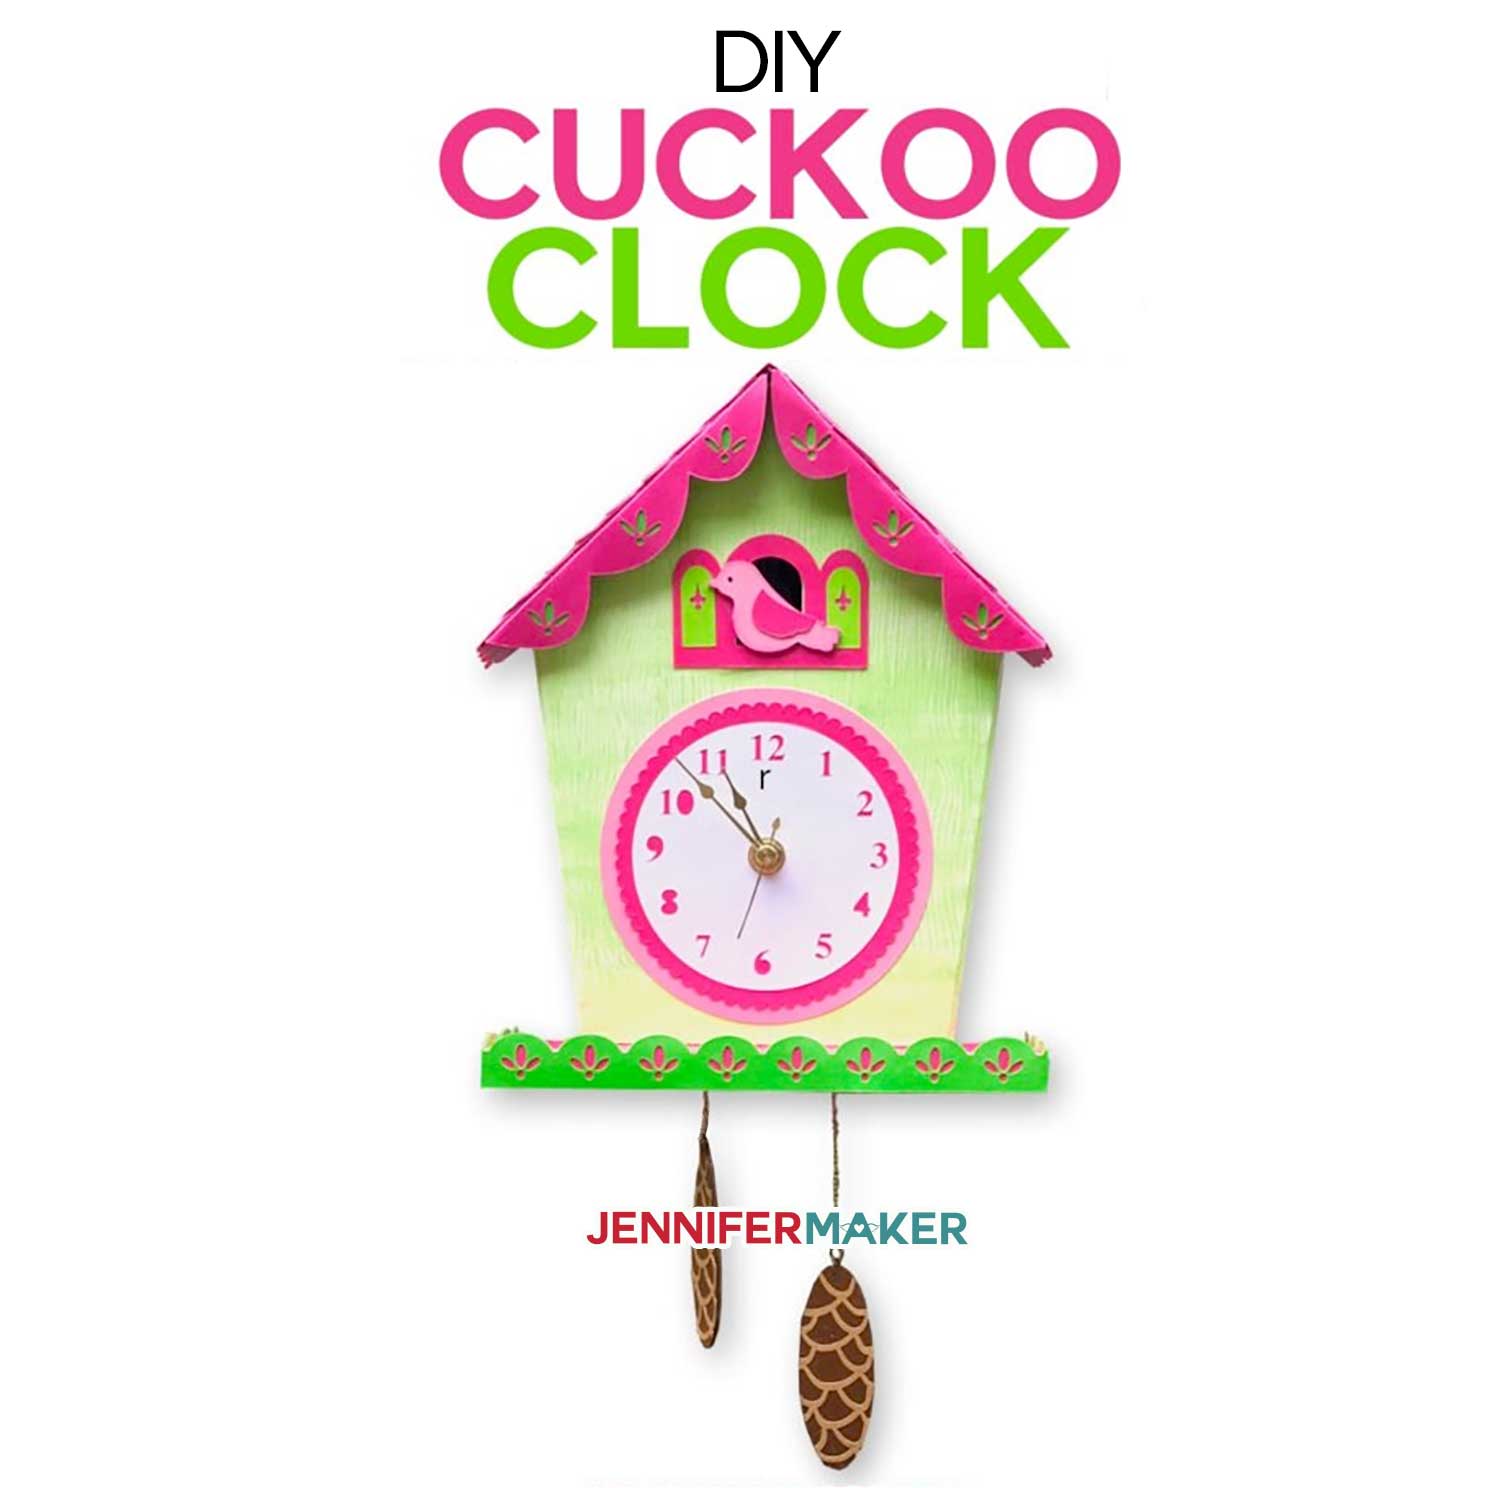
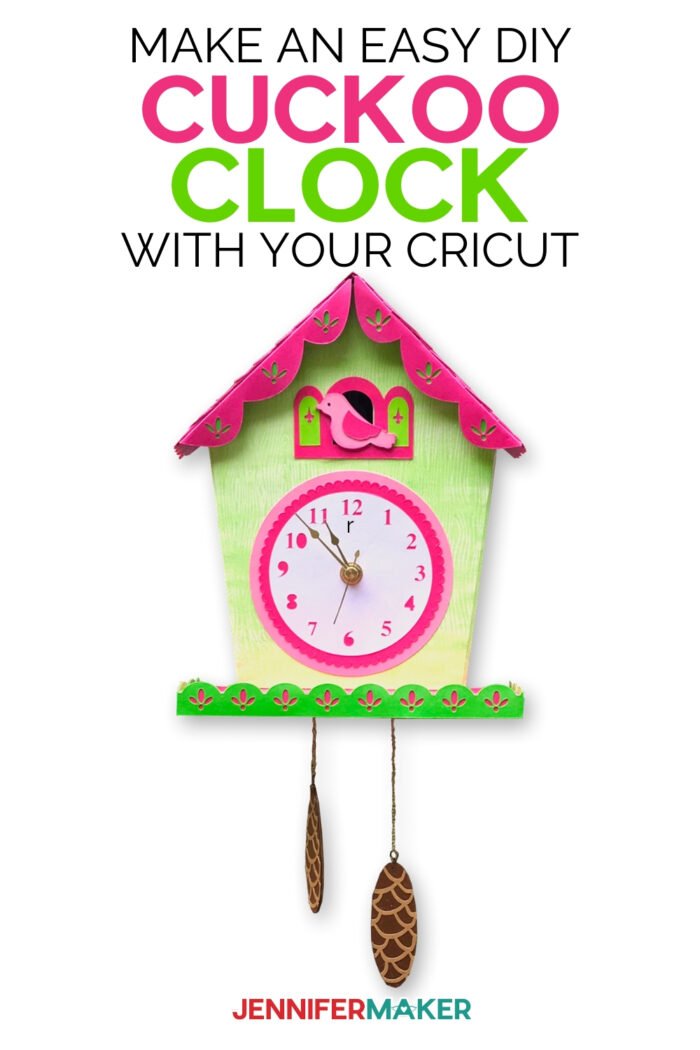
Learn how to make a fun DIY Wall Clock from cardstock! This step-by-step tutorial shows you how to create your own working cuckoo clock.
As many of you know, I have a popular course called CUT ABOVE SVG Design in which I teach my fellow crafters how to do what I do — namely, how to create, design, and share designs as SVG cut files for projects! One of my star students, Lucy Foxworth, is doing just that, designing amazing creations and sharing the SVG cut files freely with others on her own blog. Lucy has shown us how to make an adorable paper fairy house and a pop-up Holiday Manor card. Both designs were big hits! This time around, she’s showing us how to make an adorable cuckoo clock that works. This DIY wall clock makes a wonderful gift that you can customize for different occasions. So fun! Take it away, Lucy!
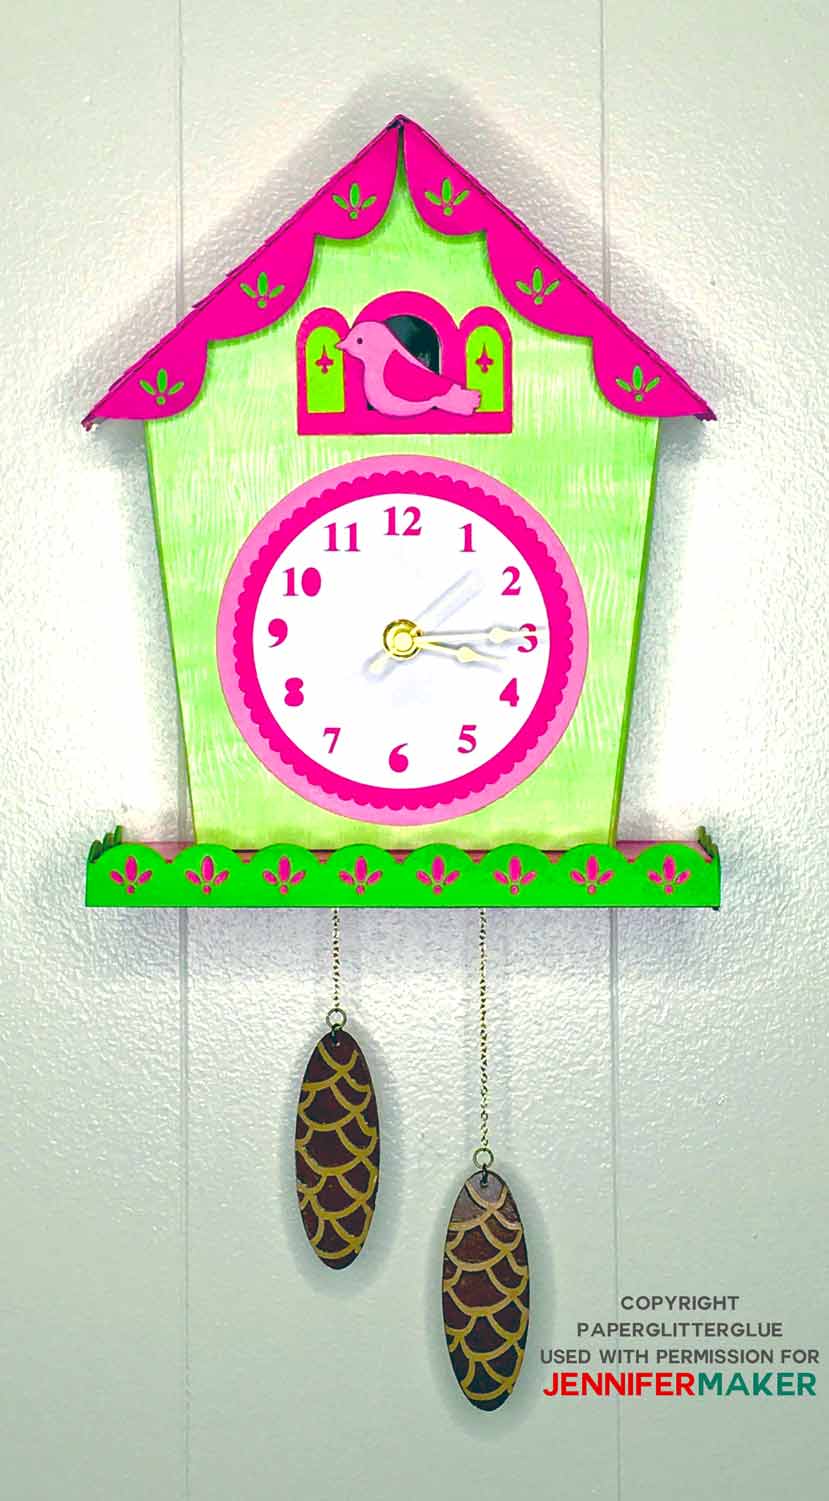
Since I learned to make patterns and use my Cricut (from Jennifer’s CUT ABOVE SVG Design course), I can’t stop thinking of cool things to make. One project that has been on my mind is making a clock that really works. So I designed this DIY wall clock with a cuckoo! It turned out seriously cute — it makes a great gift! This design is made as a baby gift, but you can make so many variations that it could be a gift for anyone.
When I designed this DIY wall clock, I had two things challenges to work around. Number one is that my main cardboard and cardstock material is 8.5″ x 11″. Second, the common clock mechanisms you can buy usually have two-inch long hands. That means that the clock face needs to be four inches across. You can buy smaller clock hands, but they are usually special orders from clock companies. Rather than go that route, I decided to use what you can easily find online or at any hobby or craft store.
Ready to make your own adorable DIY wall clock? This step-by-step tutorial shows you exactly how to do it. This post contains some affiliate links for your convenience (which means if you make a purchase after clicking a link I will earn a small commission but it won’t cost you a penny more)! Read my full disclosure policy.
Materials to Make a DIY Wall Clock
- Clock Mechanism
- Smooth Cardboard
- Cardstock
- Options to make wood grain surface:
- Watercolor paper – 140 lb paper (need deboss tool for your Cricut Maker)
- Scrapbook paper
- Wood veneer
- Paint for the surface of the debossed paper
- Glue
- Hot glue
- Mod Podge (recommended, but optional)
- Painter’s tape to adhere the cardboard to the cutting mat
- Corrugated cardboard for the base and as a spacer
- Chain and jump rings for the hanging pinecones
- A way to cut your clock pieces (I used the amazing Cricut, but you can use another cutting machine or even scissors)
- Cricut Debossing Tip (optional for use in Cricut Maker)
- Cricut Deep-Point Blade
- Cricut Fine-Point Blade
- Cricut StandardGrip mat (for cutting cardstock)
- Cricut StrongGrip mat (for cutting cardboard)
- Design #214 – The free pop-up house card templates (available in our free resource library — get the password toward the bottom of this post)
DIY Wall Clock with Cuckoo
How to make a cute DIY wall clock with working hands and a cuckoo!
Materials
- Clock Mechanism
- Smooth cardboard
- Cardstock
- Watercolor paper (140lb), scrapbook paper or wood veneer
- Paint
- Craft glue
- Mod Podge (optional)
- Painter's tape
- Corrugated cardboard
- Chain and jump rings for hanging pine cones
- Design #214 - The free SVG design available in my free resource library.
Tools
- Hot glue gun and glue sticks
- A way to cut your cardstock and cardboard (I use the amazing Cricut cutting machine)
- Cricut Debossing tip (optional for use in Cricut Maker)
- Cricut Deep-Point Blade
- Cricut Fine-Point Blade
- Cricut StandardGrip mat (for cutting cardstock)
- Cricut StrongGrip mat (for cutting cardboard)
Instructions
Step 1: Download the DIY wall clock pattern
The pattern for the DIY wall clock with a cuckoo and pinecone weights is available in PDF, SVG, and DXF formats. You can get all of the files in my free resource library or in the Paper Glitter Glue library when you have the password. To get the password, just subscribe to my crafting newsletter and you will get the password right away.
For your convenience, the SVG and DXF pattern templates are divided into two main sections - the cardboard body of the clock and cardstock trim. There is also a bonus SVG file to make a debossed woodgrain surface for the main surface of the clock.
Tip: If you're not sure how to upload an SVG cut file to Cricut Design Space, watch this helpful video training series I made. If you're on an iPhone or iPad, here's how to download and upload SVG files to the Cricut Design Space app.
The PDF format is divided into sections that fit on 8.5" x 11" cardboard or cardstock.
Step 2: Cut out the DIY wall clock pieces
The main cardboard pieces for the clock looks like this in Cricut Design Space.
Important: These files have SCORE LINES in them. I've grouped each scoreline with the section it goes with. You'll need to first UNGROUP the main group, then change the layers of scorelines to "Score" in Cricut Design Space, and then attach the score layer to the cut layer that goes with it. Need help with the scoring lines? Check out my tutorial on Cricut Scoring, Grouping, and Attaching!
I rearranged the pieces so you can see all of them with the attached scorelines.
You have a number of options for the surface of the DIY wall clock. You can use woodgrain scrapbook paper or veneer. But I used watercolor paper debossed with a woodgrain pattern to decorate the paper covering the structure of the wall clock. Cut out the shape of the front, back, and side pieces to fit the structure of the clock.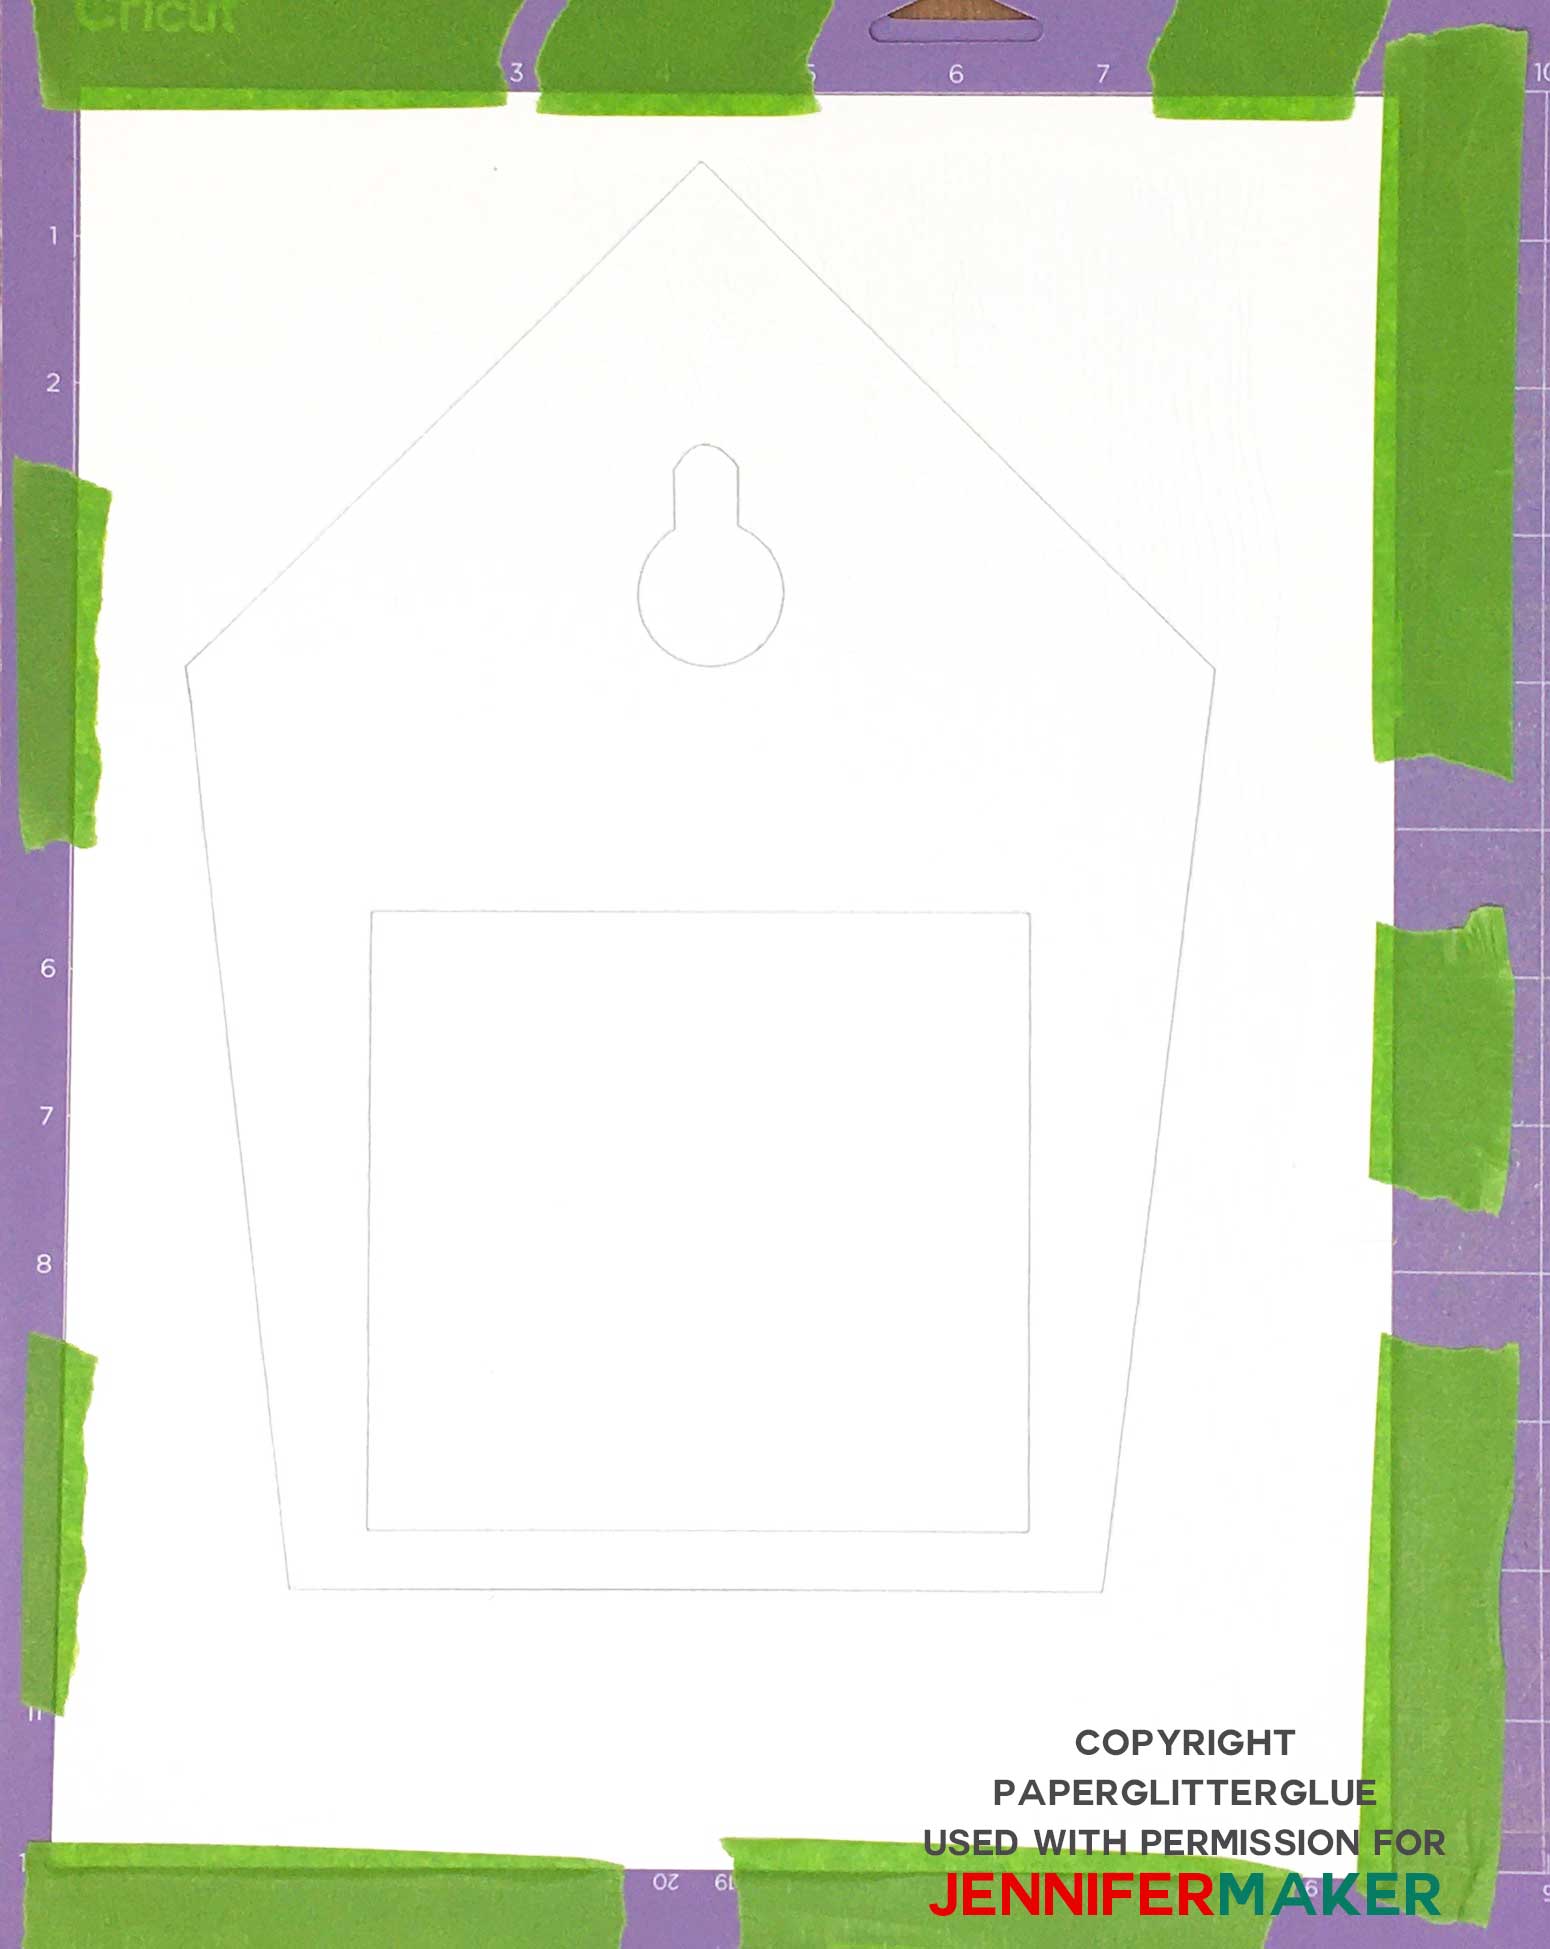
If you use the watercolor paper, paint the raised areas to make it look like wood grain. You can read more about it in this post where I made a Fairy House with wood grain paper.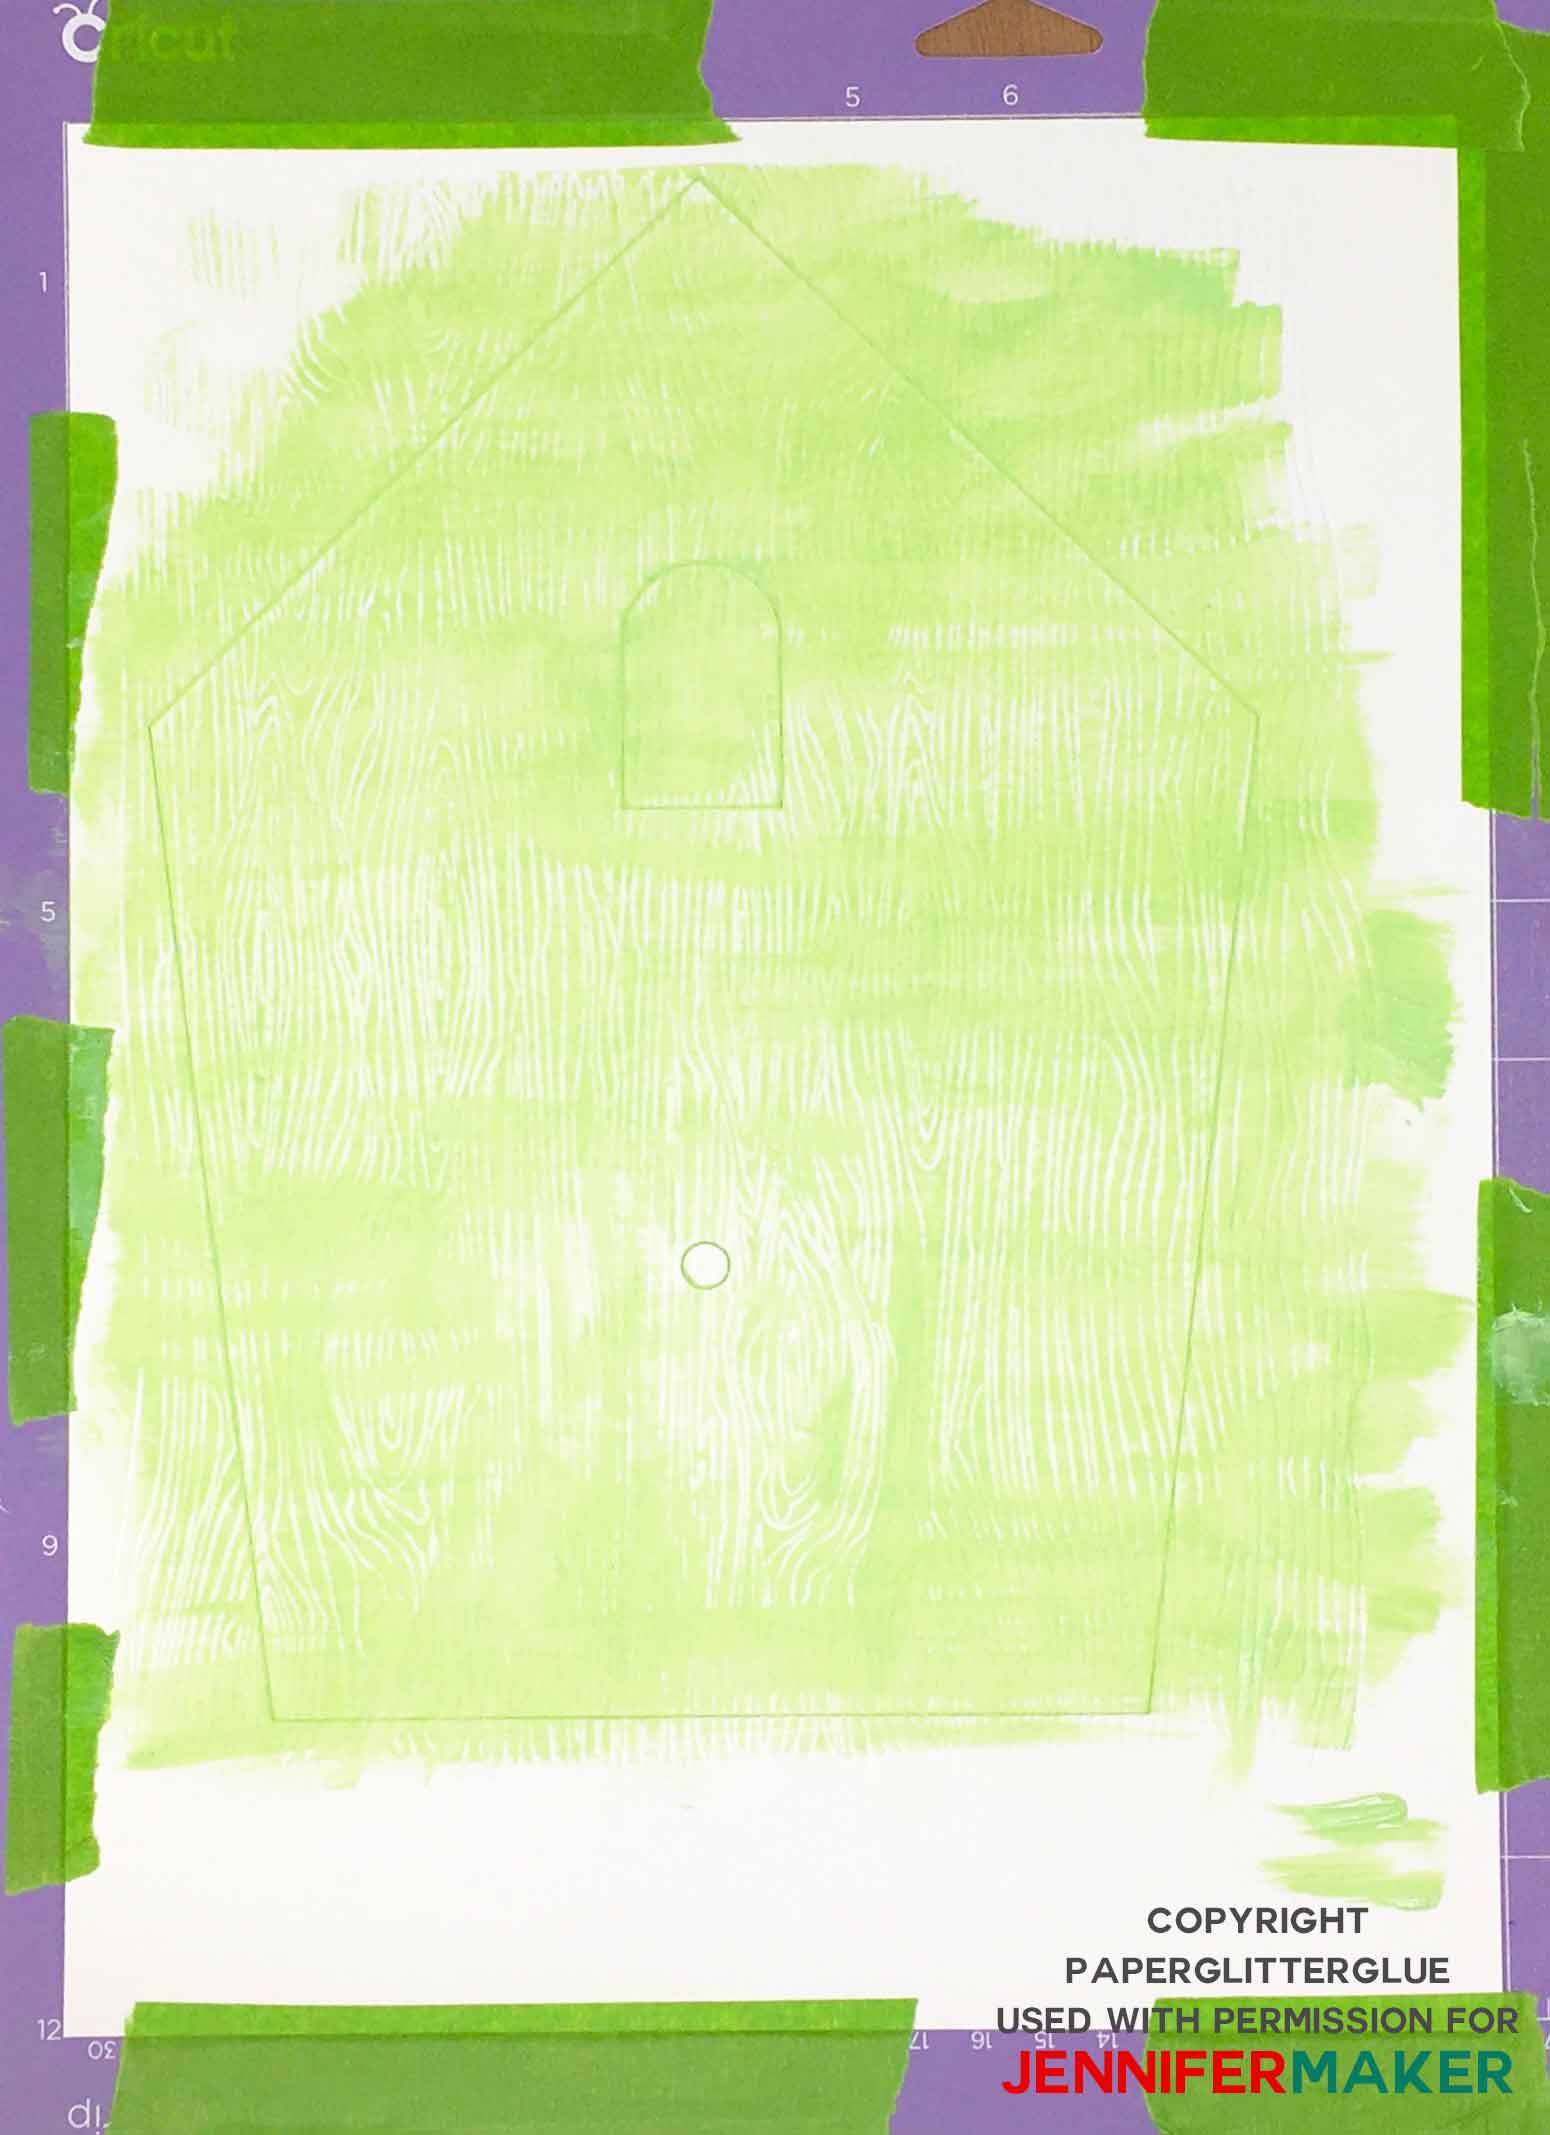
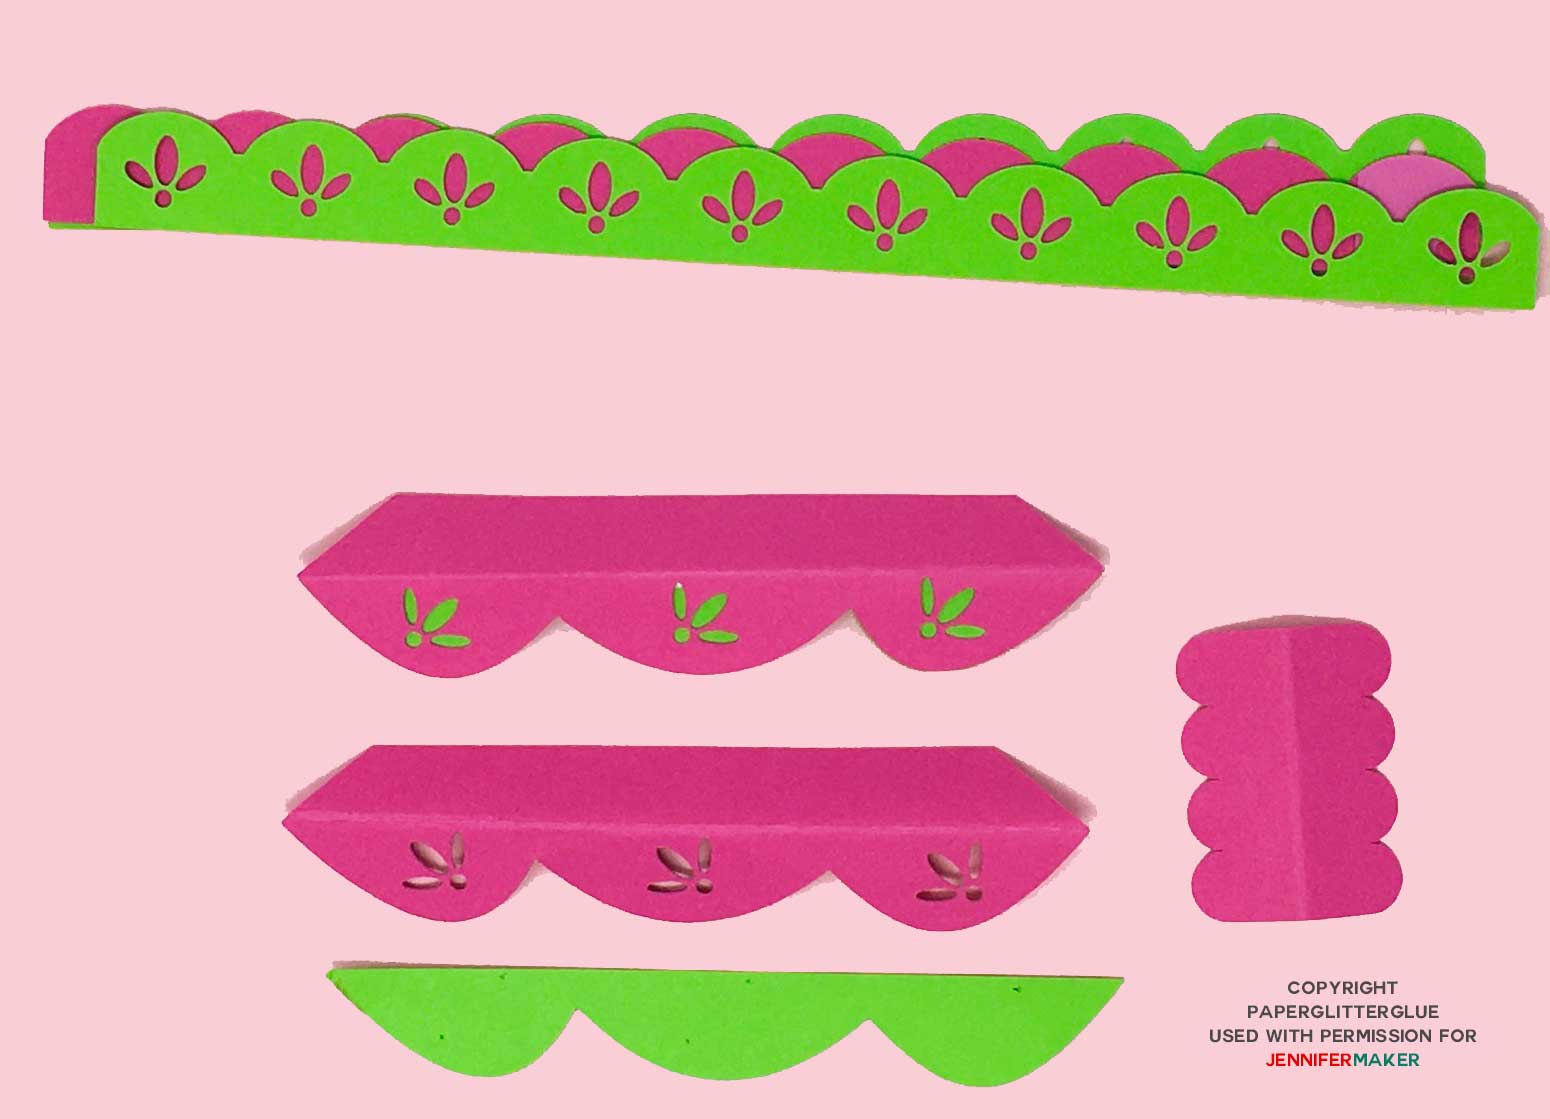
For the trim, use contrasting colors to accentuate the cutout sections. Glue 2 layers together for the trim that goes around the base and at the roofline. You need two strips of trim for the clock base. Here's how it looks in Cricut's Design Space.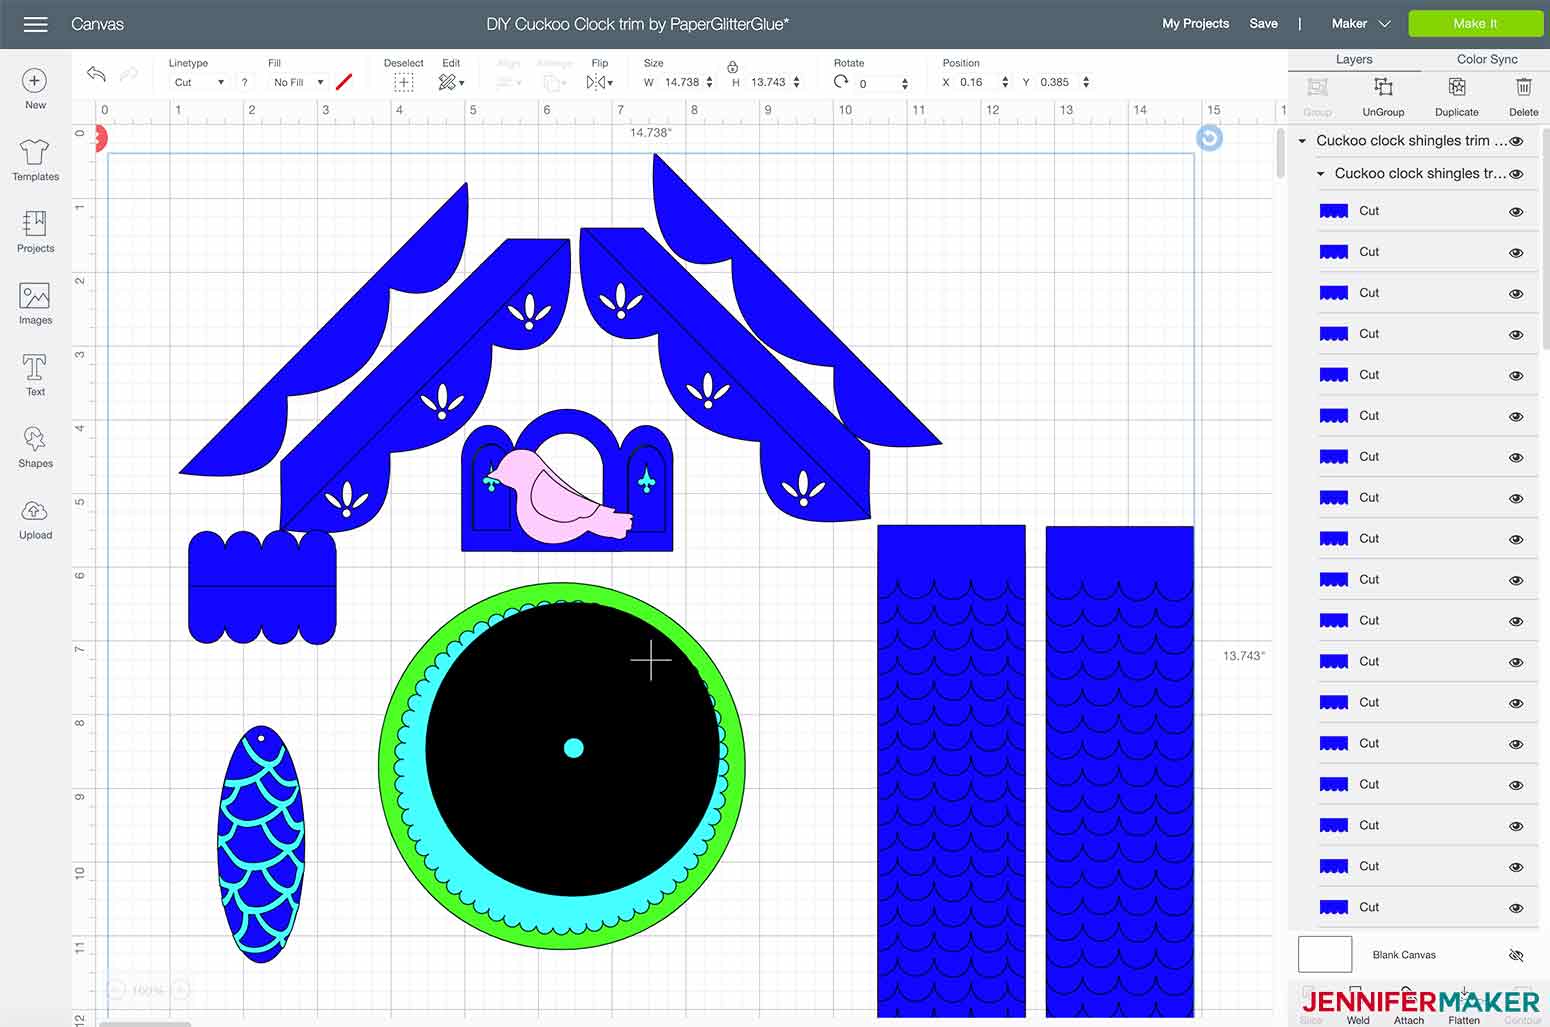
Glue 3 sheets of cardstock for trim at the base. Glue a contrasting color behind the trim for the roof.
Step 3: Assemble your DIY wall clock
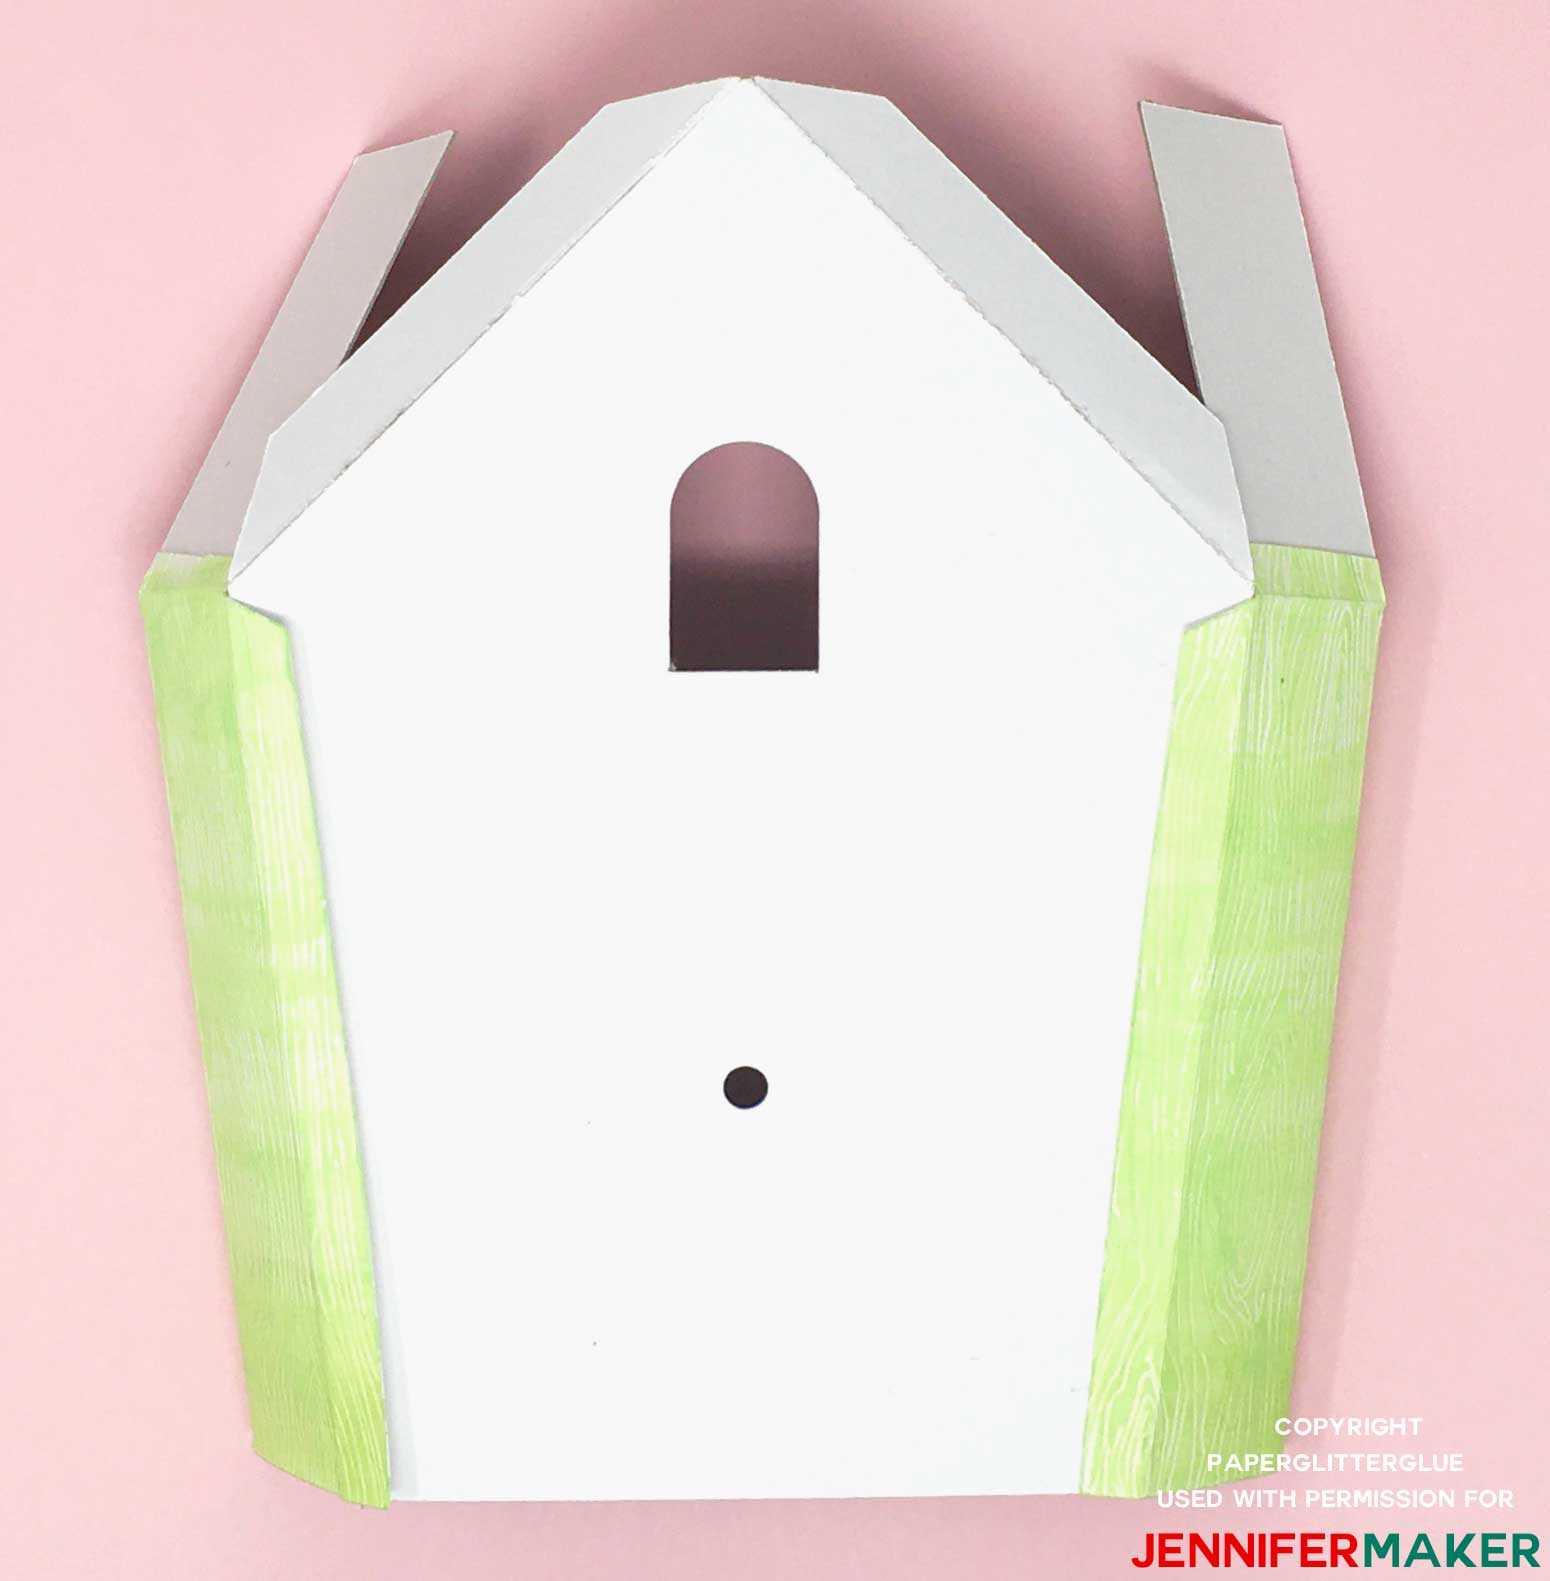
Glue the side pieces as shown onto the front piece of the clock. The glue tabs go in the back of the clock.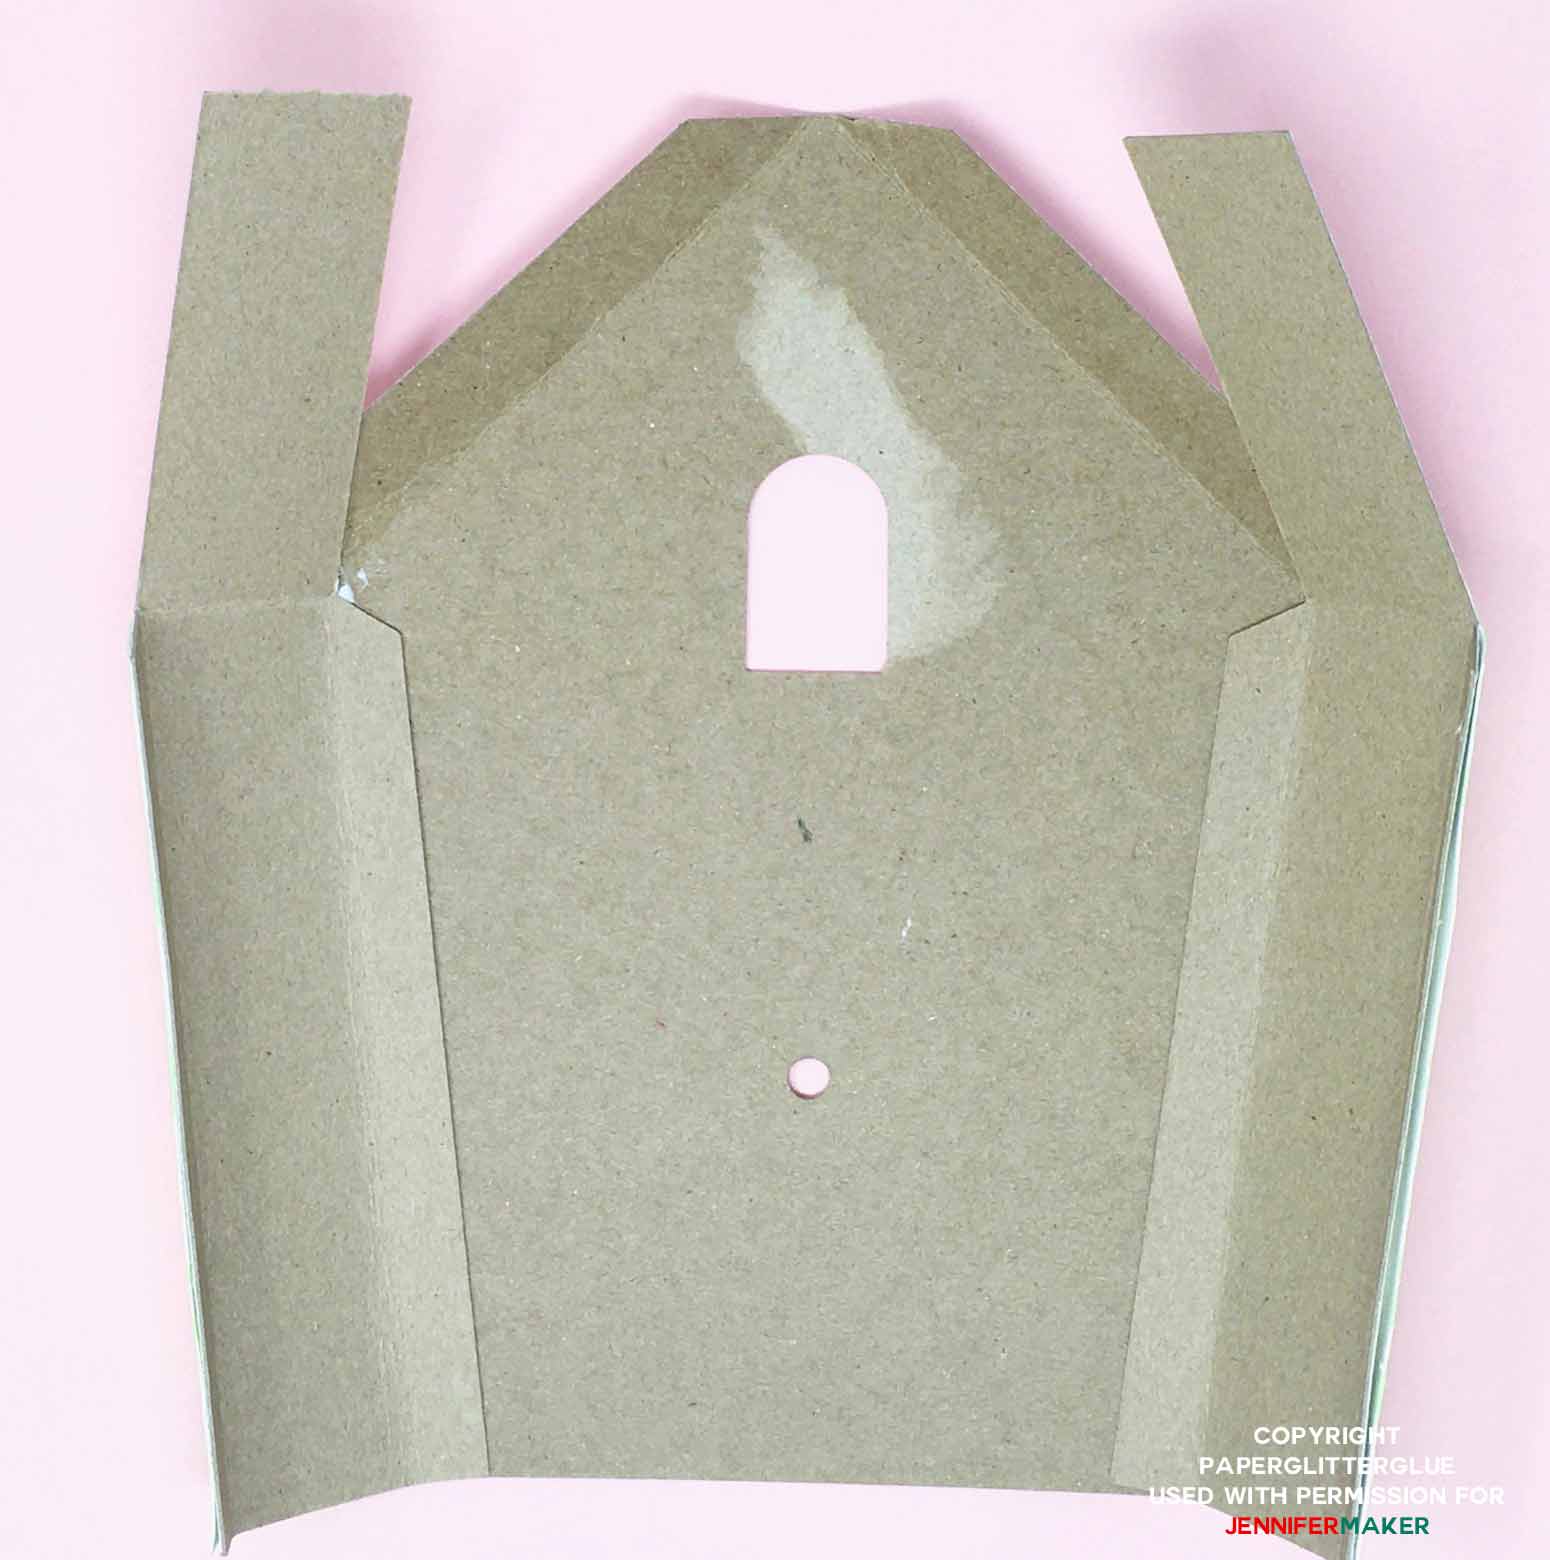
After the side pieces are glued to the main front piece, glue the decorative woodgrain paper to the front. To make the surface more durable, coat it with Mod Podge.
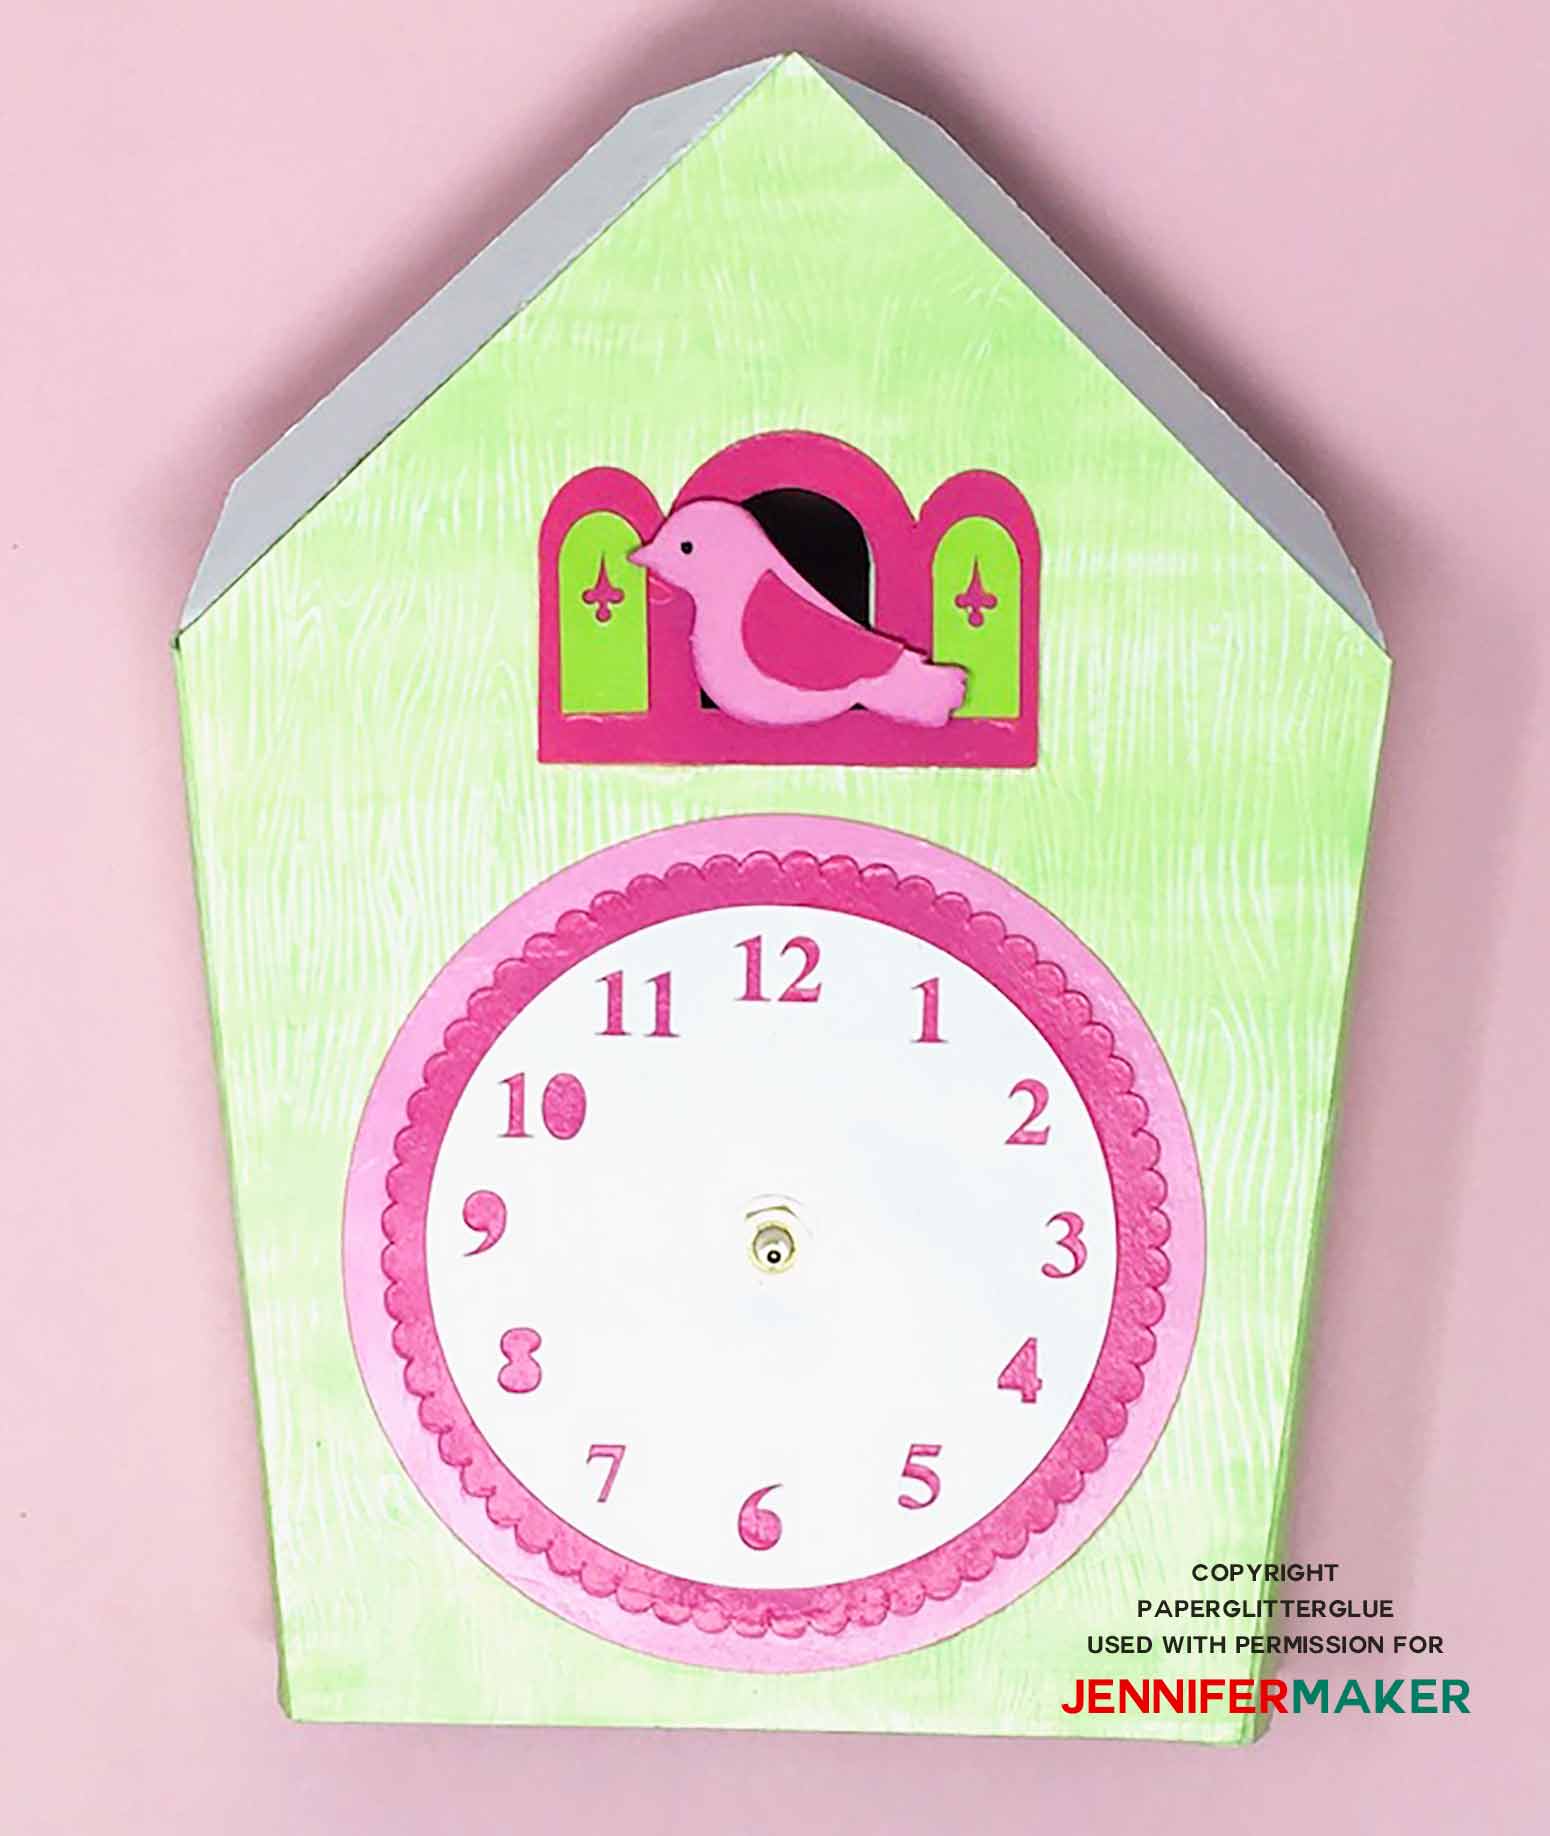
Next, glue the DIY wall clock face and decorative circles on the front of clock. The clock face consists of 3 layers of circles with the number layer as the top layer. After all the layers have been glued down, coat the front of the clock with Mod Podge.
Now glue the bird and shutters to clock front. To make the bird a little more sturdy, I glued 2-3 layers of cardstock together.
Next, glue the wing to the little bird. Glue the shutters and window frame to the window on the clock front. And last, glue the bird to the front of the shutters.
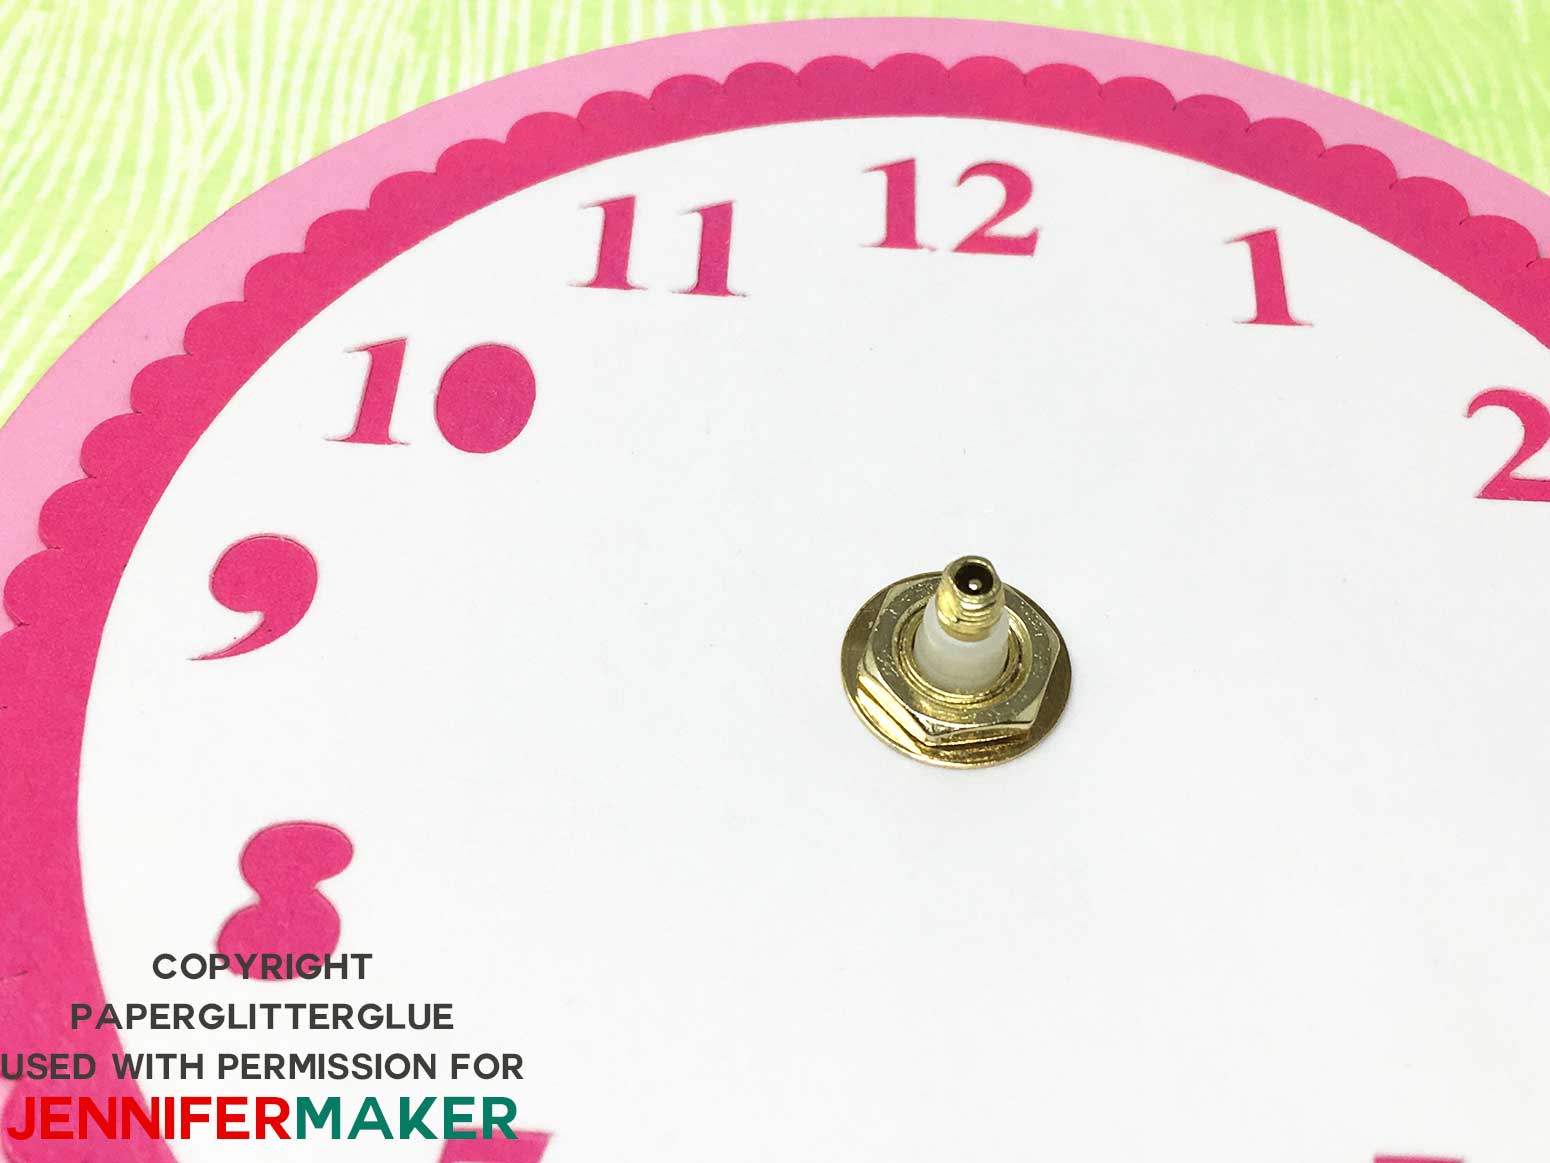
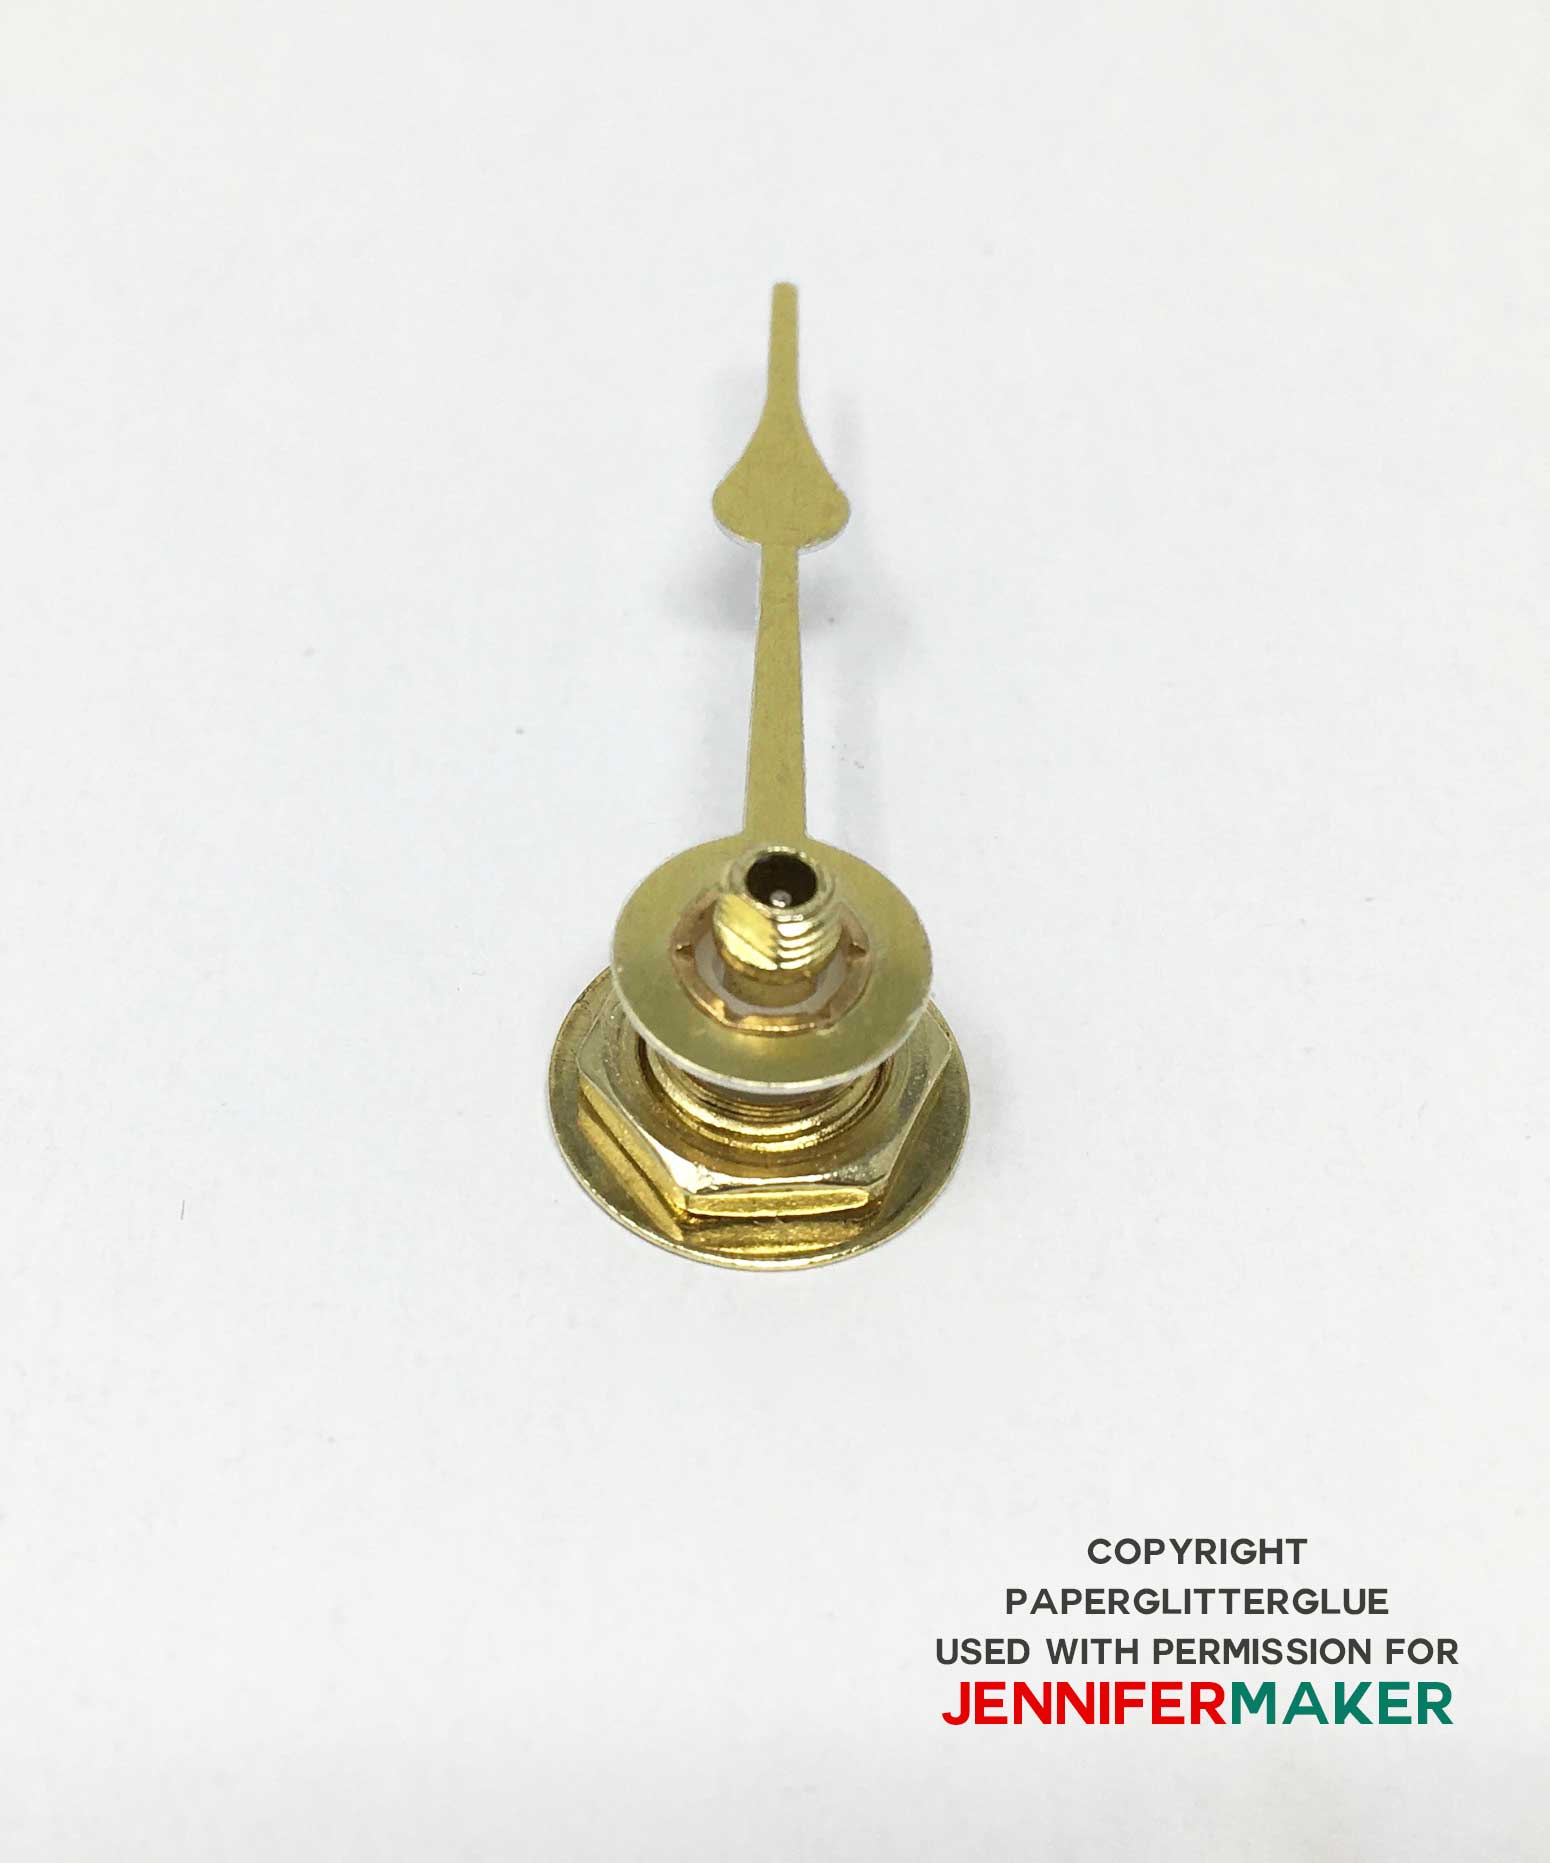
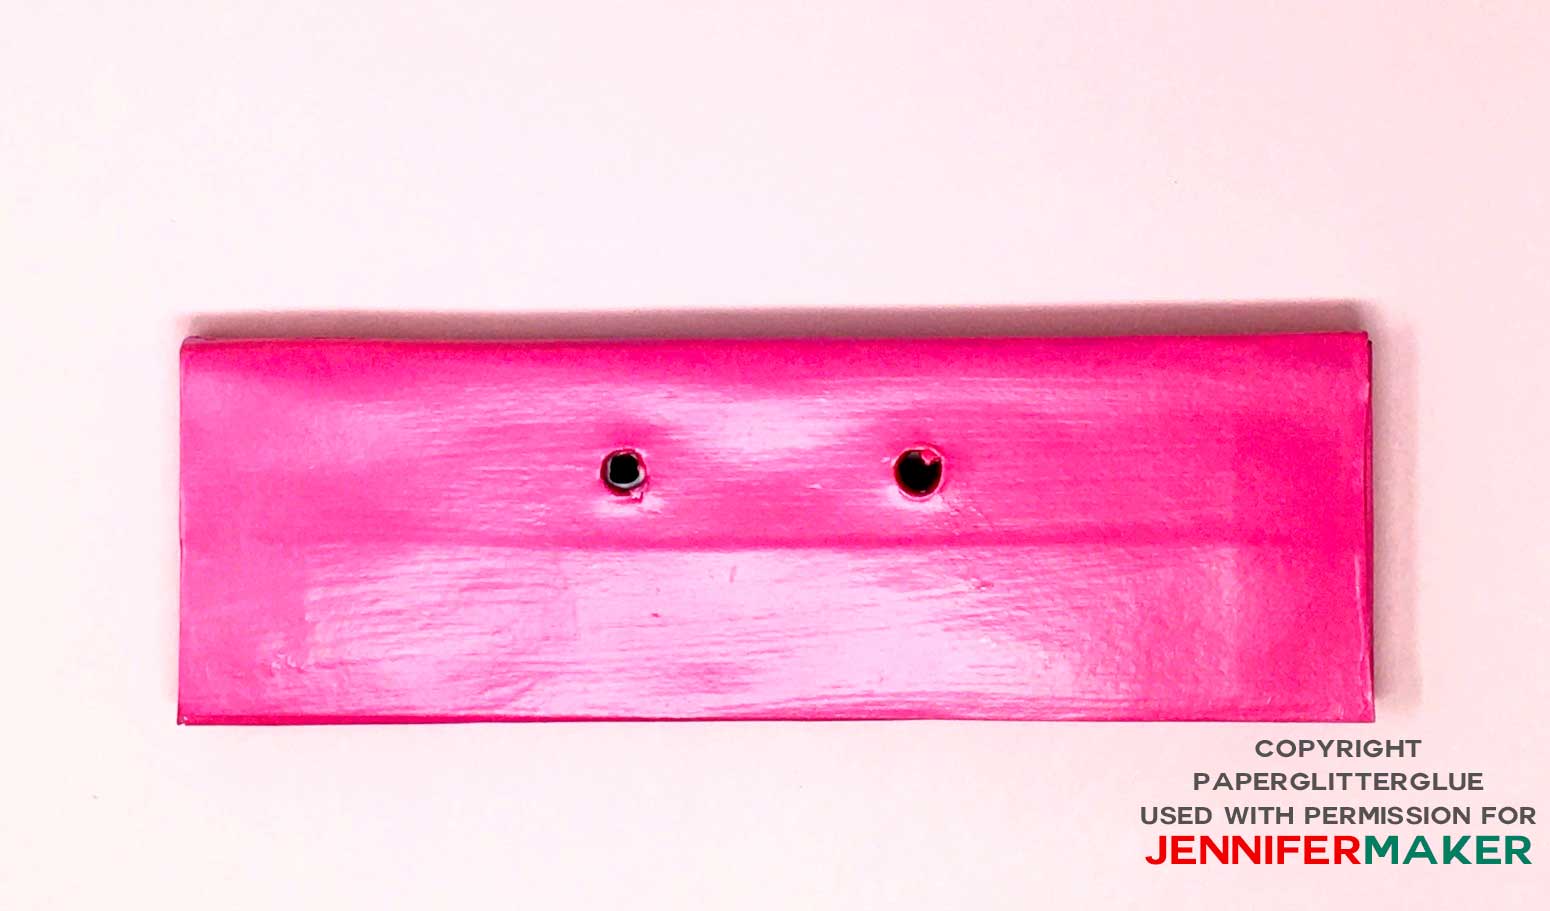
Now that you have the clock face finished, test fit the clock mechanism to make sure it fits through the circles. The length of the threaded section of the clock mechanism varies based on the kit you purchase. For example, the clock in the photo below is 1/4 inch long. Be sure to leave enough thread so the hex nut can be tightened. You will likely need a cardboard spacer to give support to the clock and clock mechanism.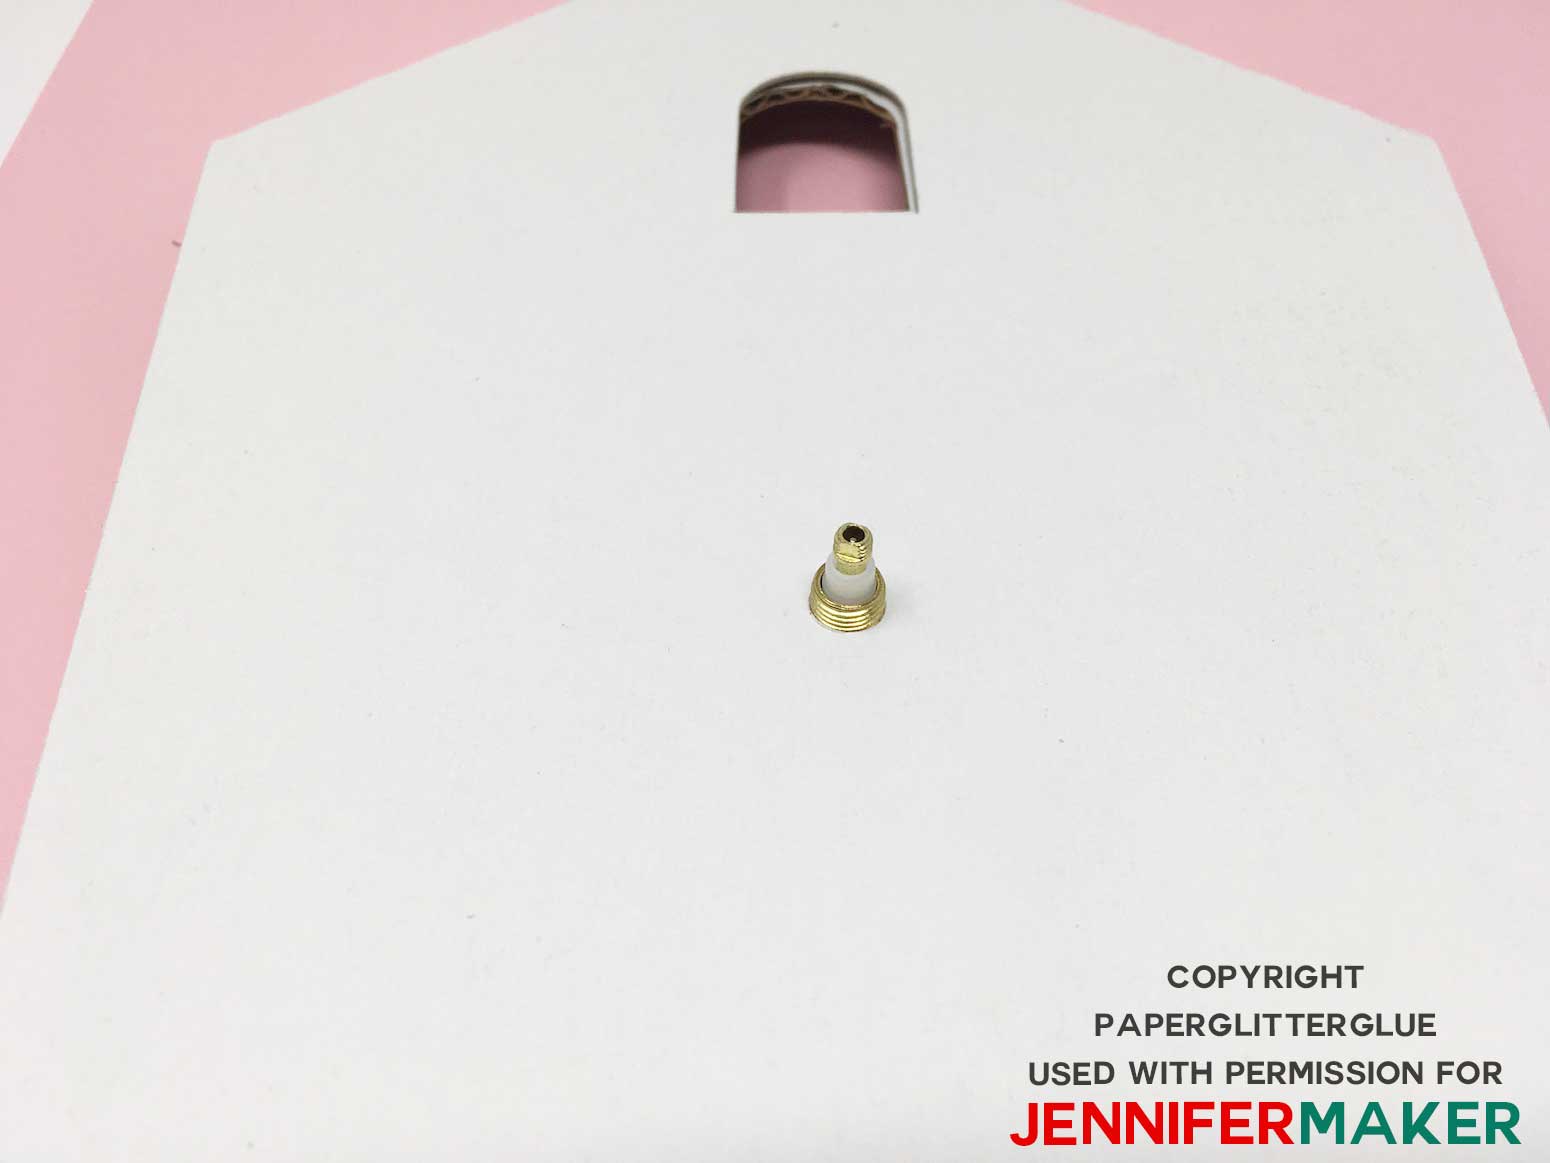
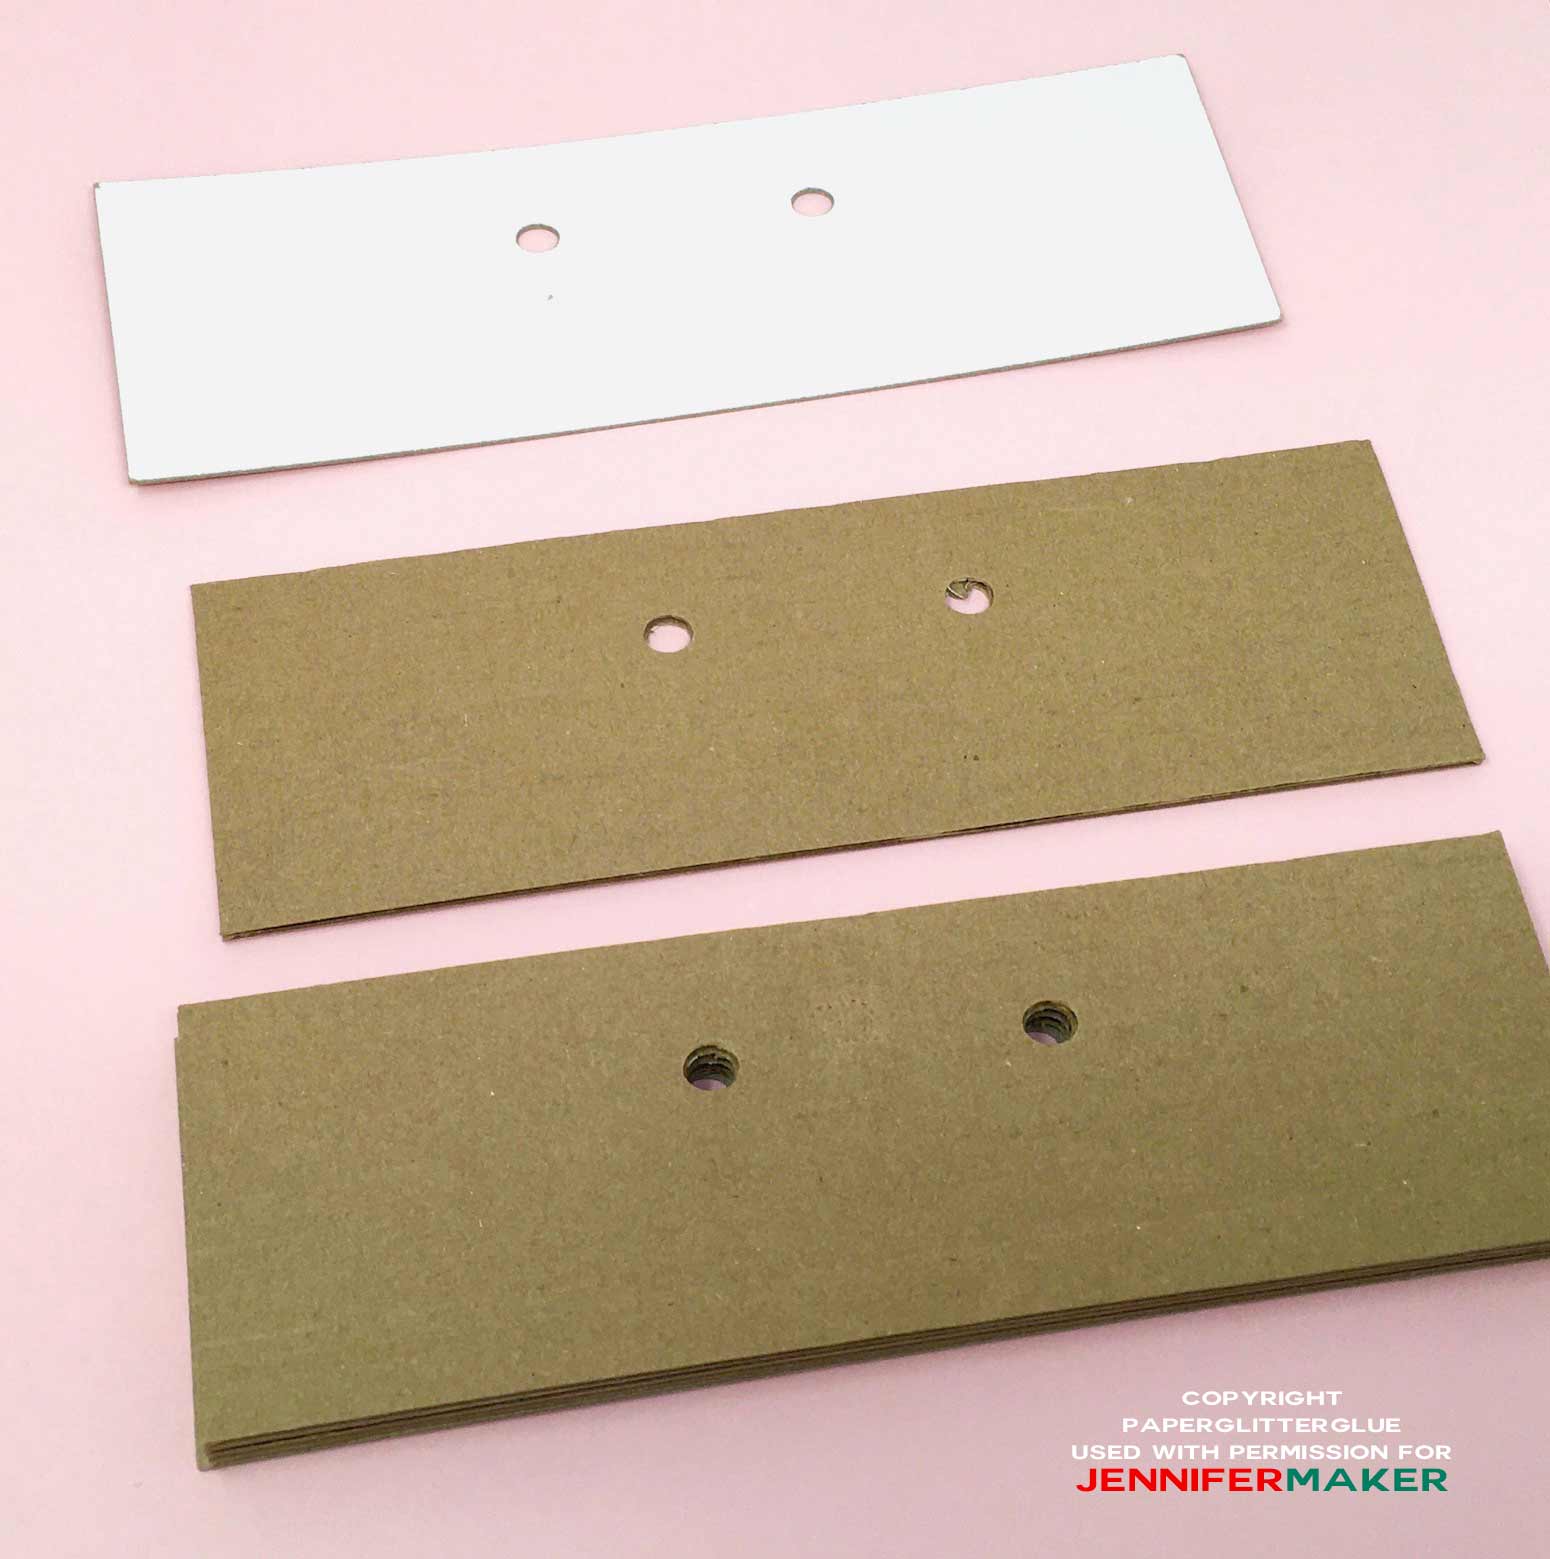
Next, make a cardboard spacer so the clock mechanism fits properly.
For a 1/4-inch thick clock, you probably need only one layer of corrugated cardboard as above. I cut out the corrugated cardboard in the shape of the clock front omitting the roof flaps. You can just cut a square of cardboard if you want, but I like my cardboard creations to be sturdy so I cut the cardboard in the shape of the little cuckoo clock house.
![]()
I used three layers for my clock which has a 3/4-inch threaded mechanism. It was a little bit thicker than I needed so I cut out a section for the clock mechanism to fit better.

Glue the corrugated cardboard spacer to the back of the clock.
Insert the clock mechanism through the holes in the front piece of the clock. First, place the black washer on the back of the clock, then add the brass washer and the hex nut to the front. Add the additional parts of the clock after the DIY wall clock is finished.
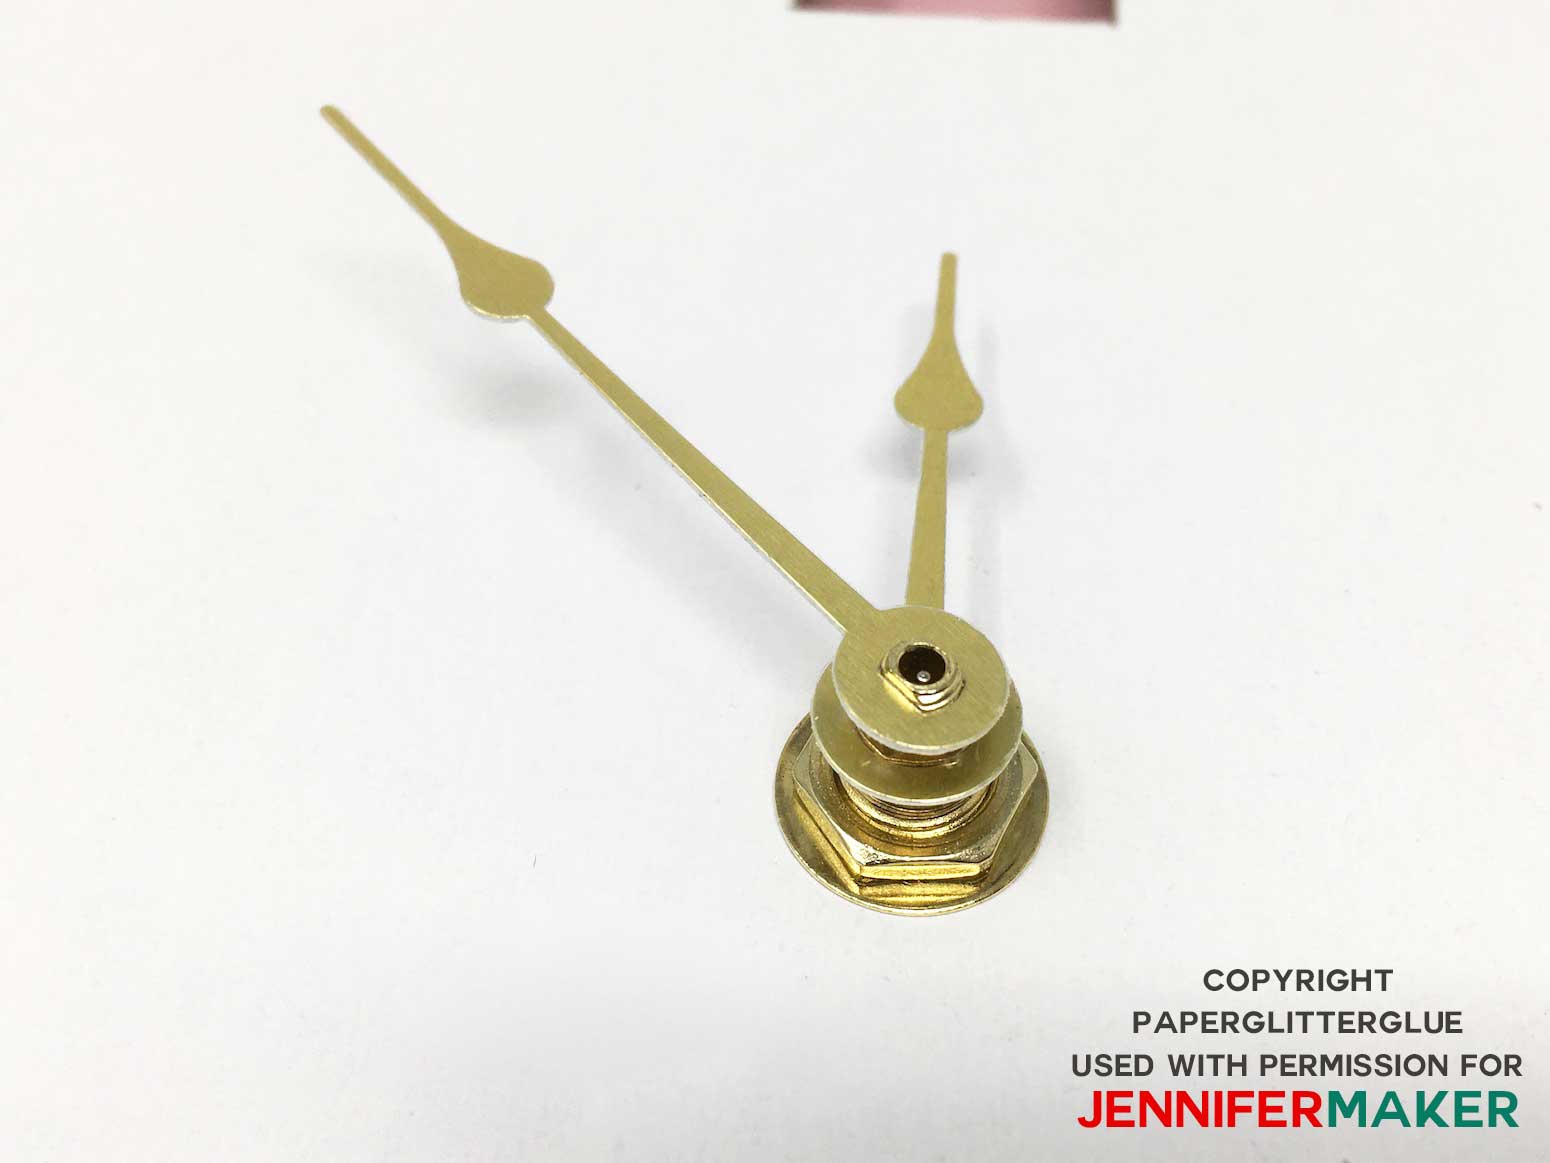
Remember to save the hour hand, minute hands, open nut, and the second hand until after the clock is completed because they are easily bent.
Lightly hot glue the clock mechanism in place
You only need a little bit of hot glue to hold it in place. You want to be able to remove it if it quits working in the future. So just add a dab of hot glue on each side. That way you can peel off the hot glue if needed later on.
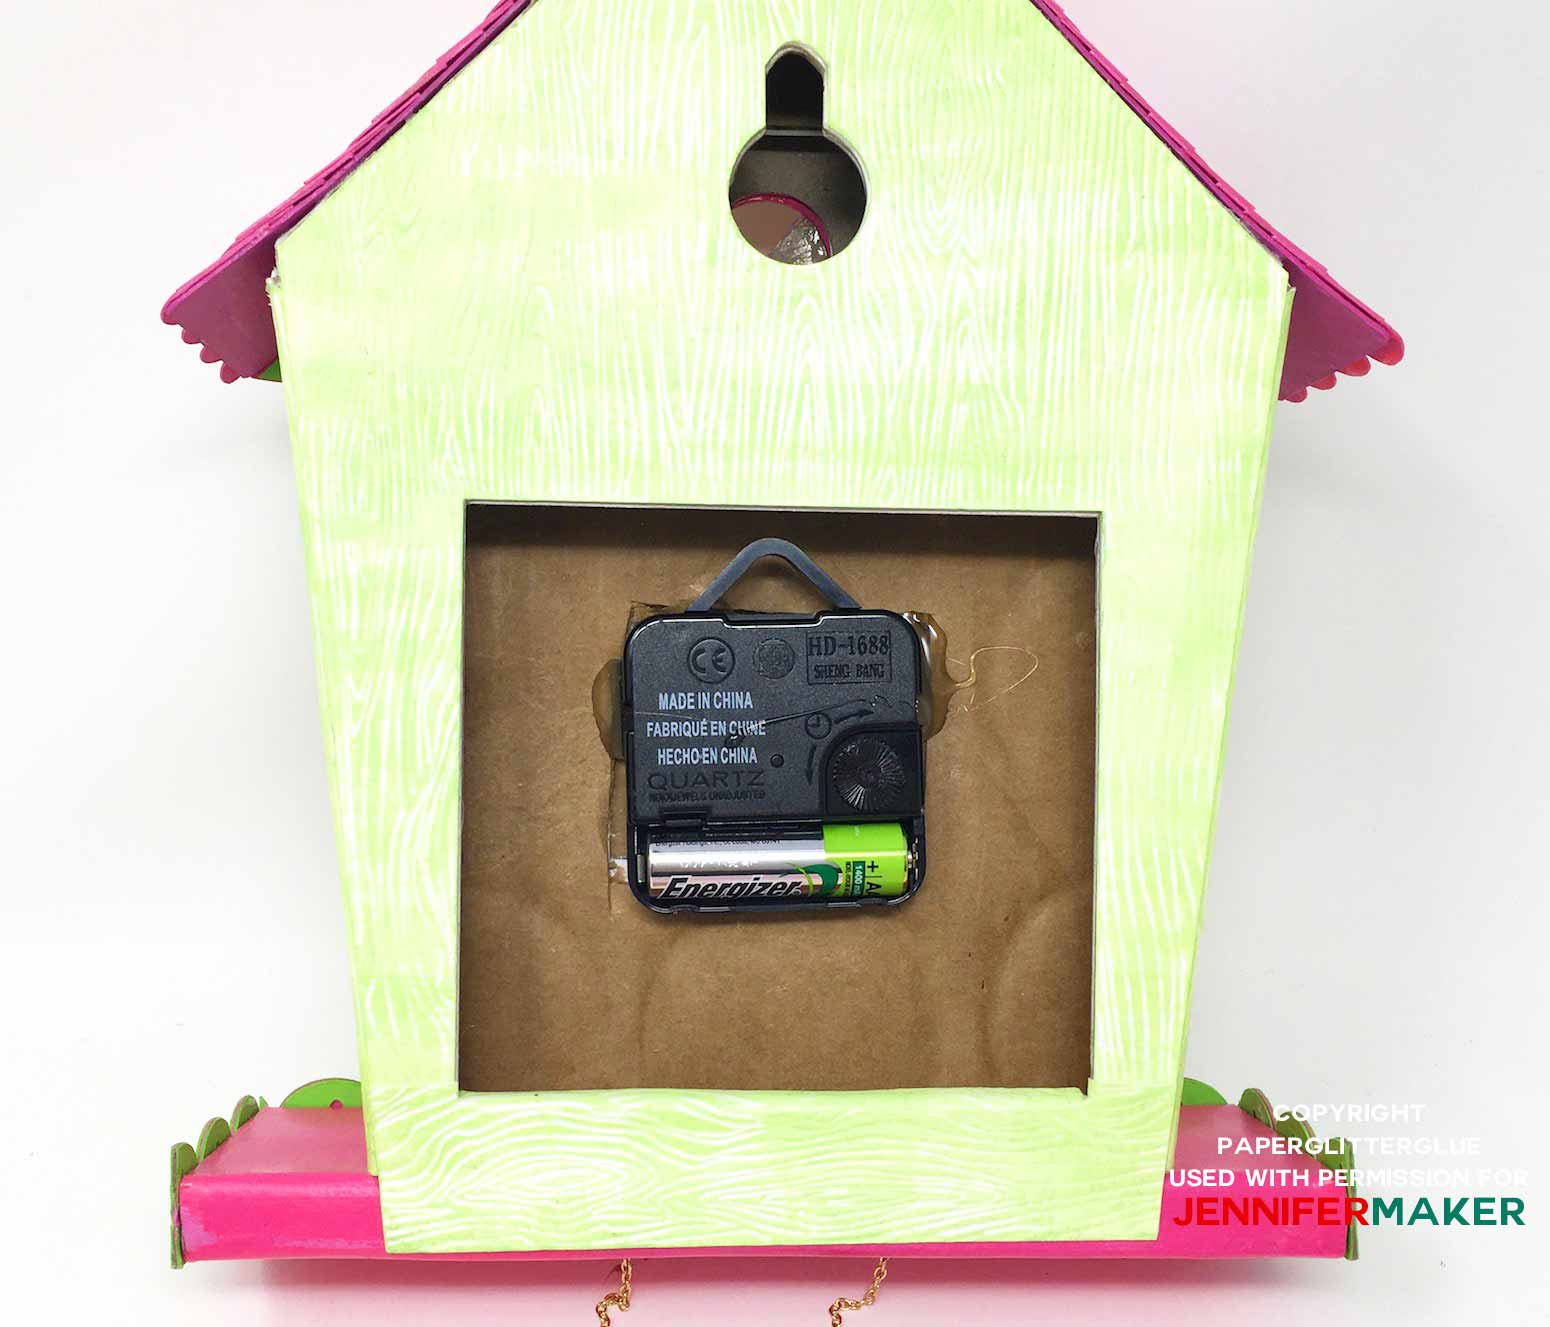
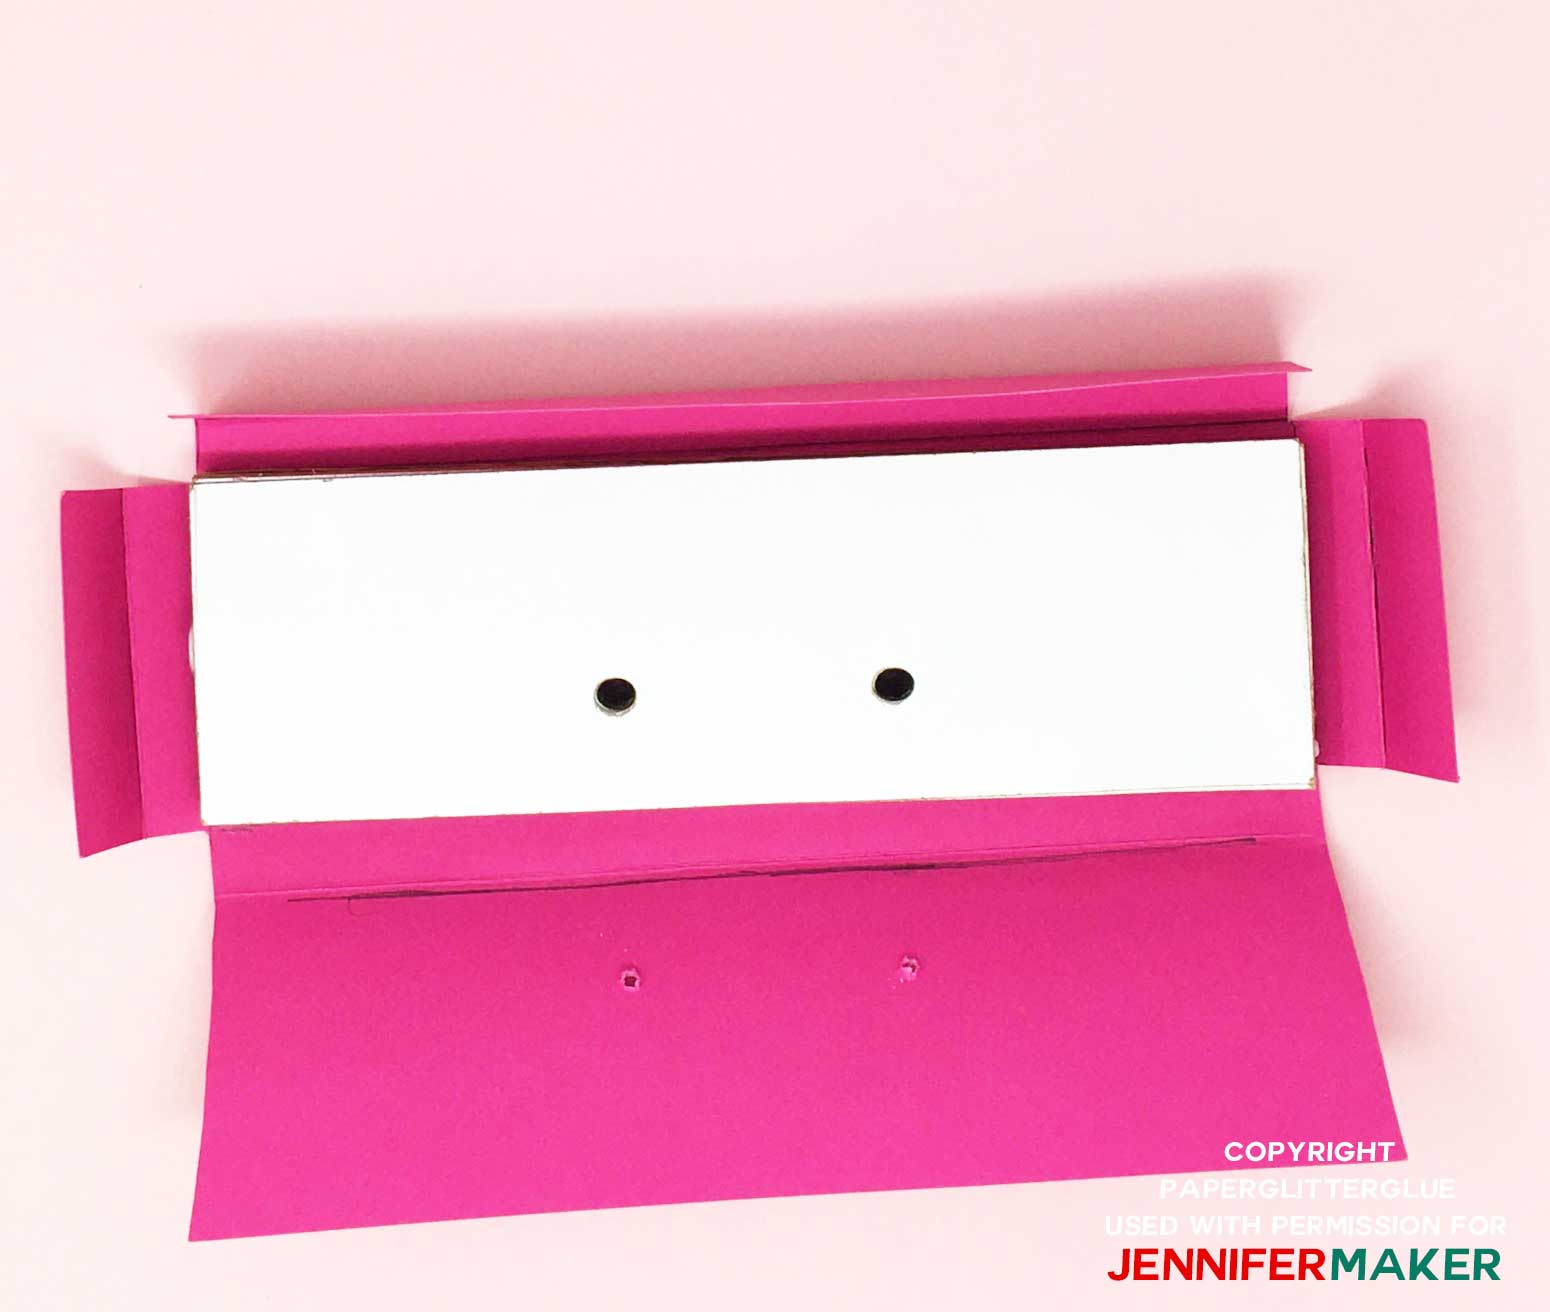
Glue the cardboard back piece to the clock body. Be sure to glue the roof flaps to the area at the top.
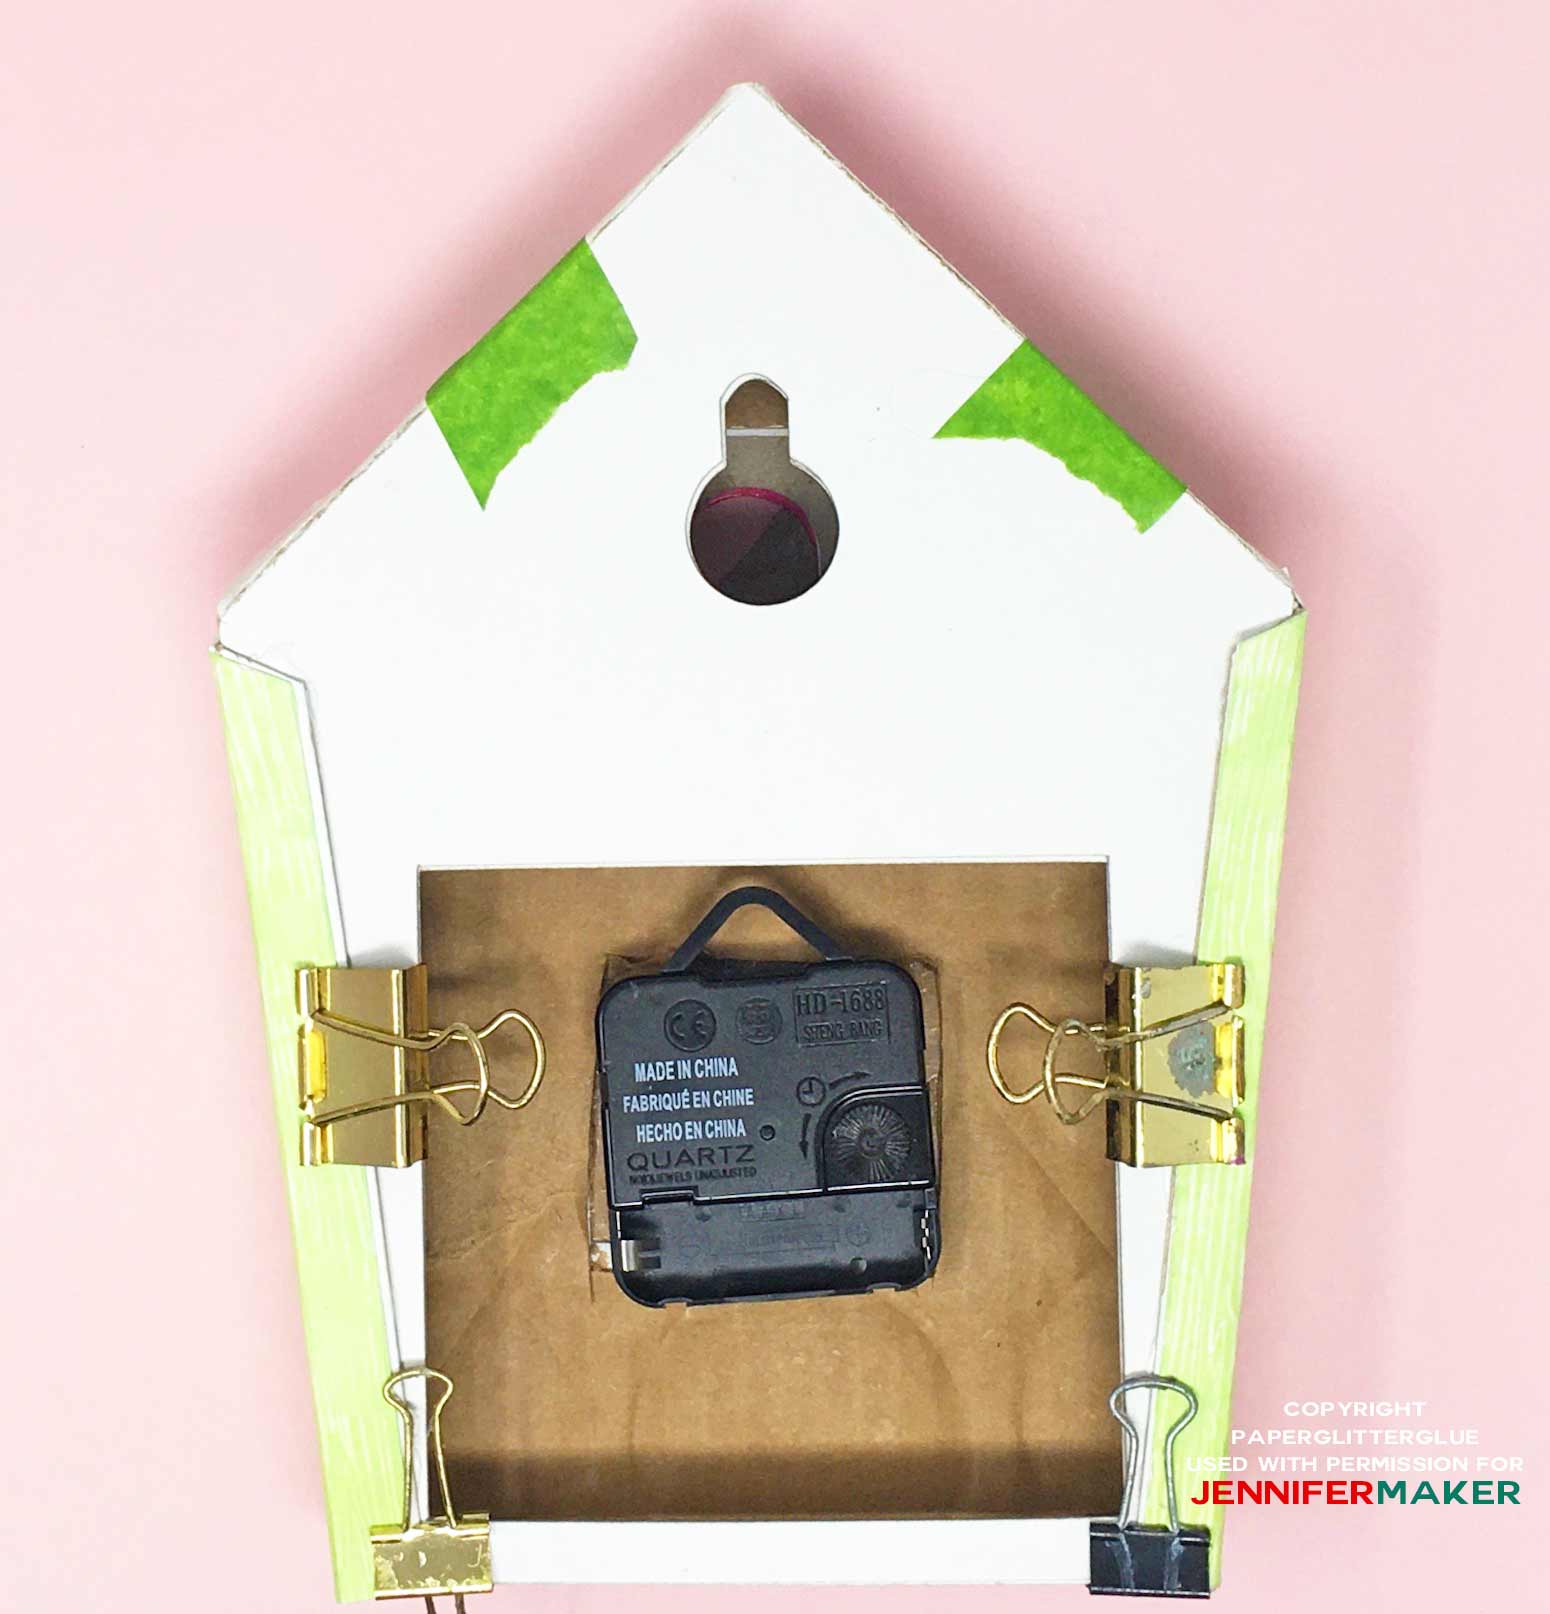
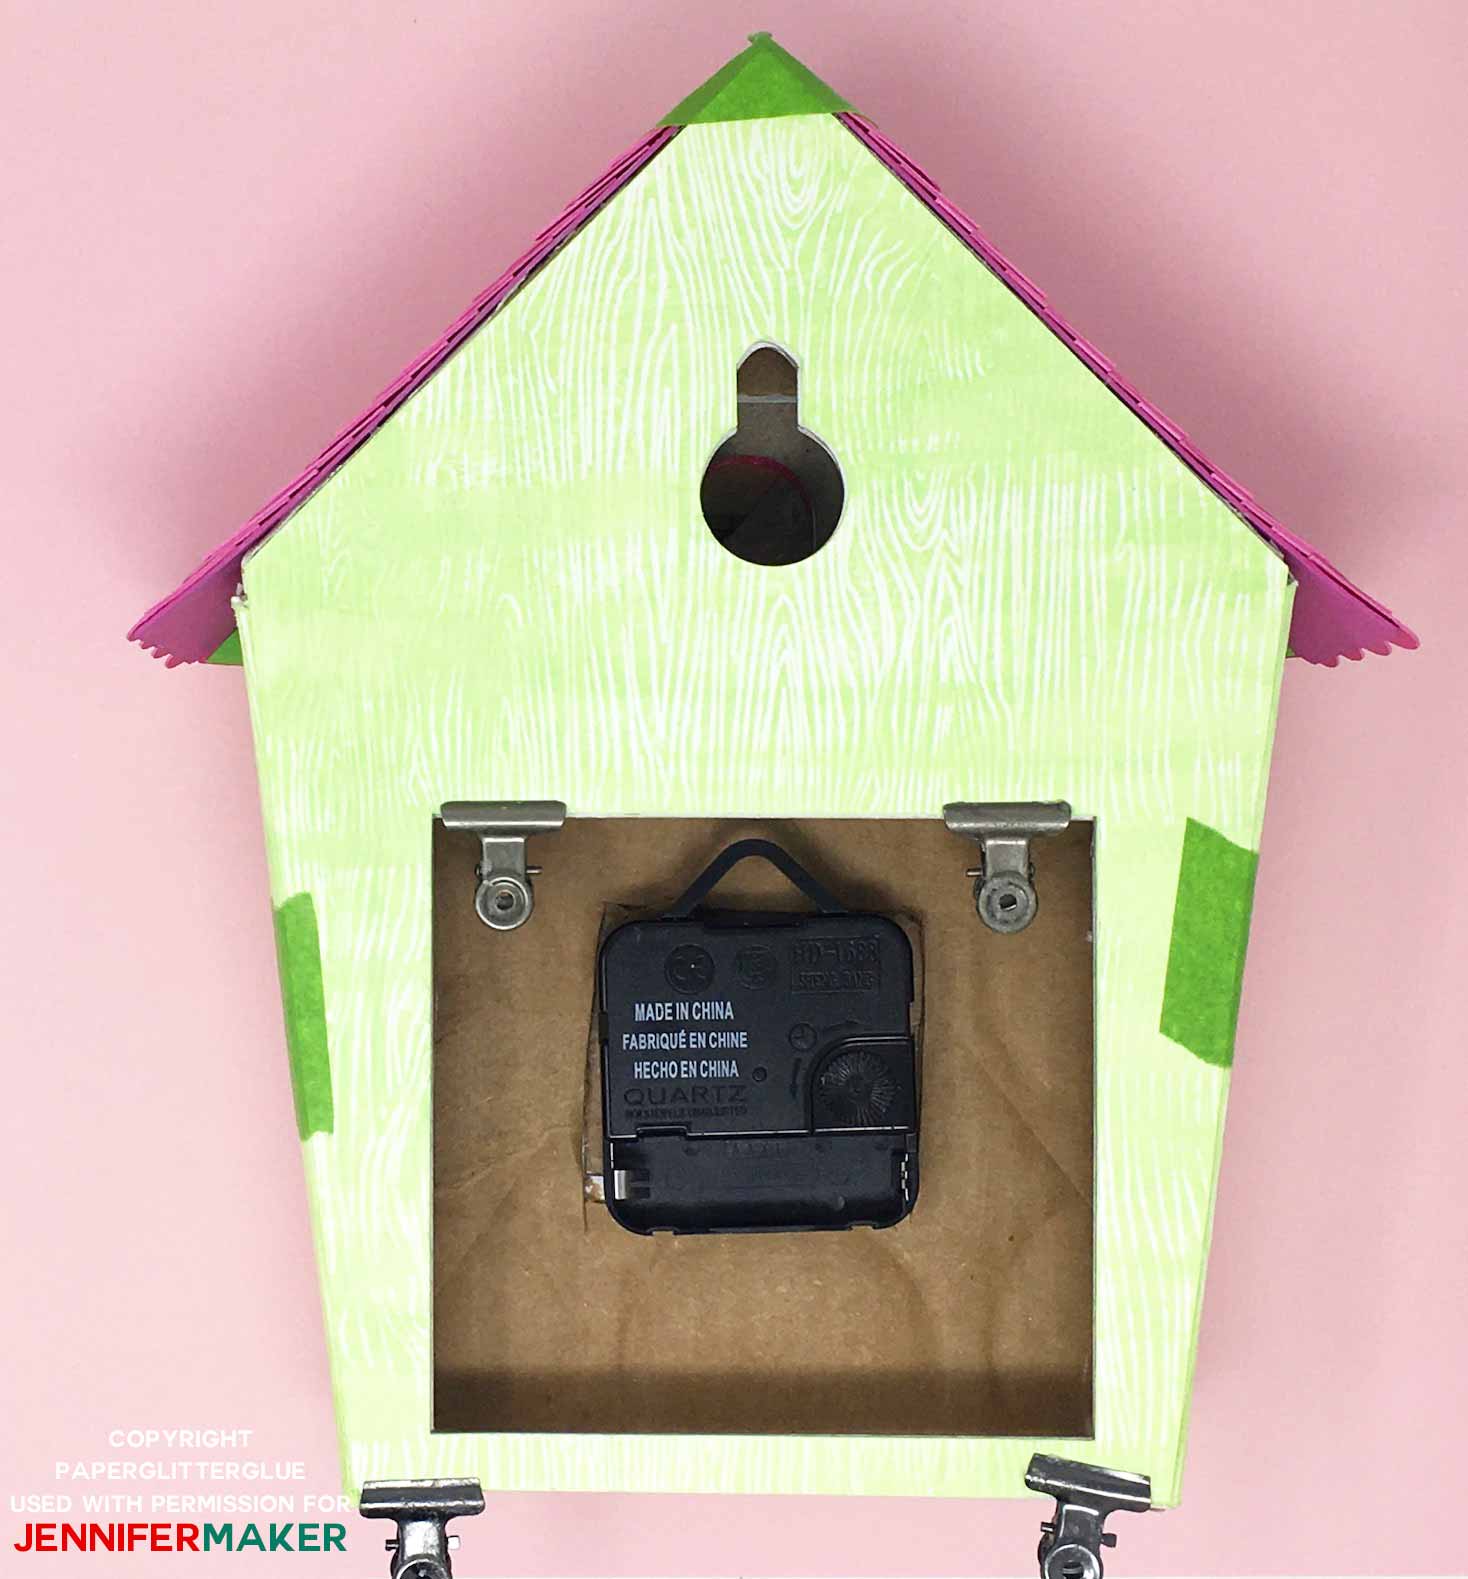
Once the cardboard back piece is firmly in place, glue the decorative paper to the back. (you can do this before or after you glue the roof on. I use clips and painter's tape to hold this in place while the glue dries.
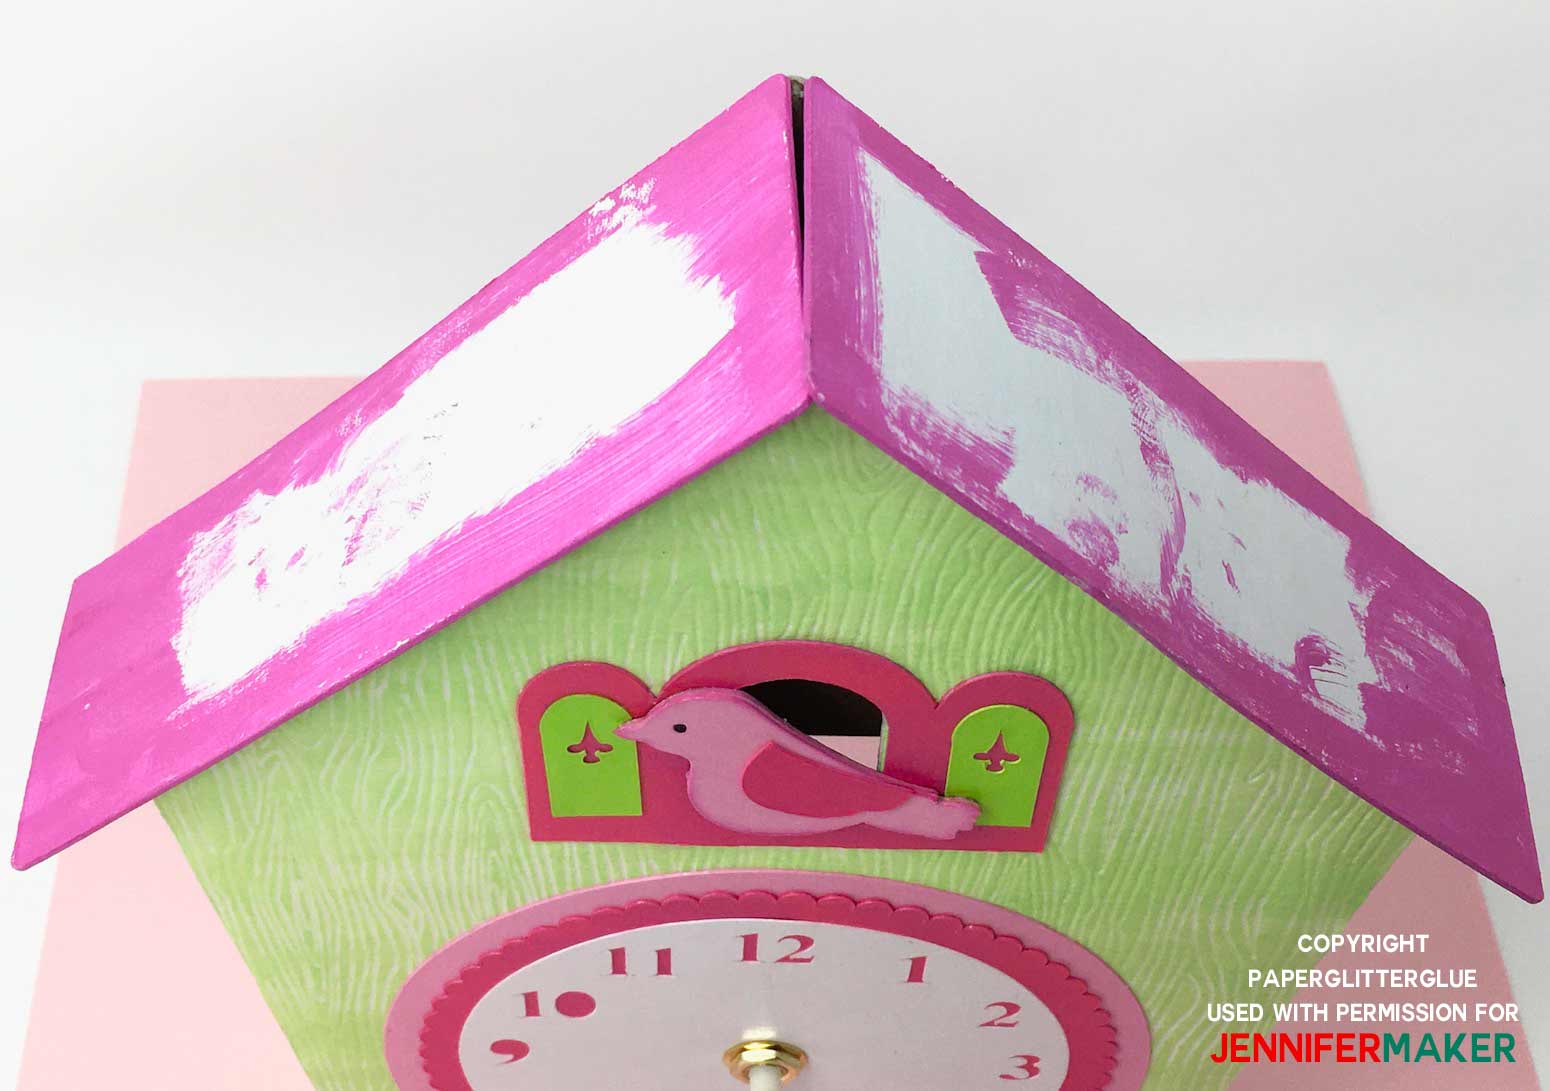
Next, glue the roof pieces on top
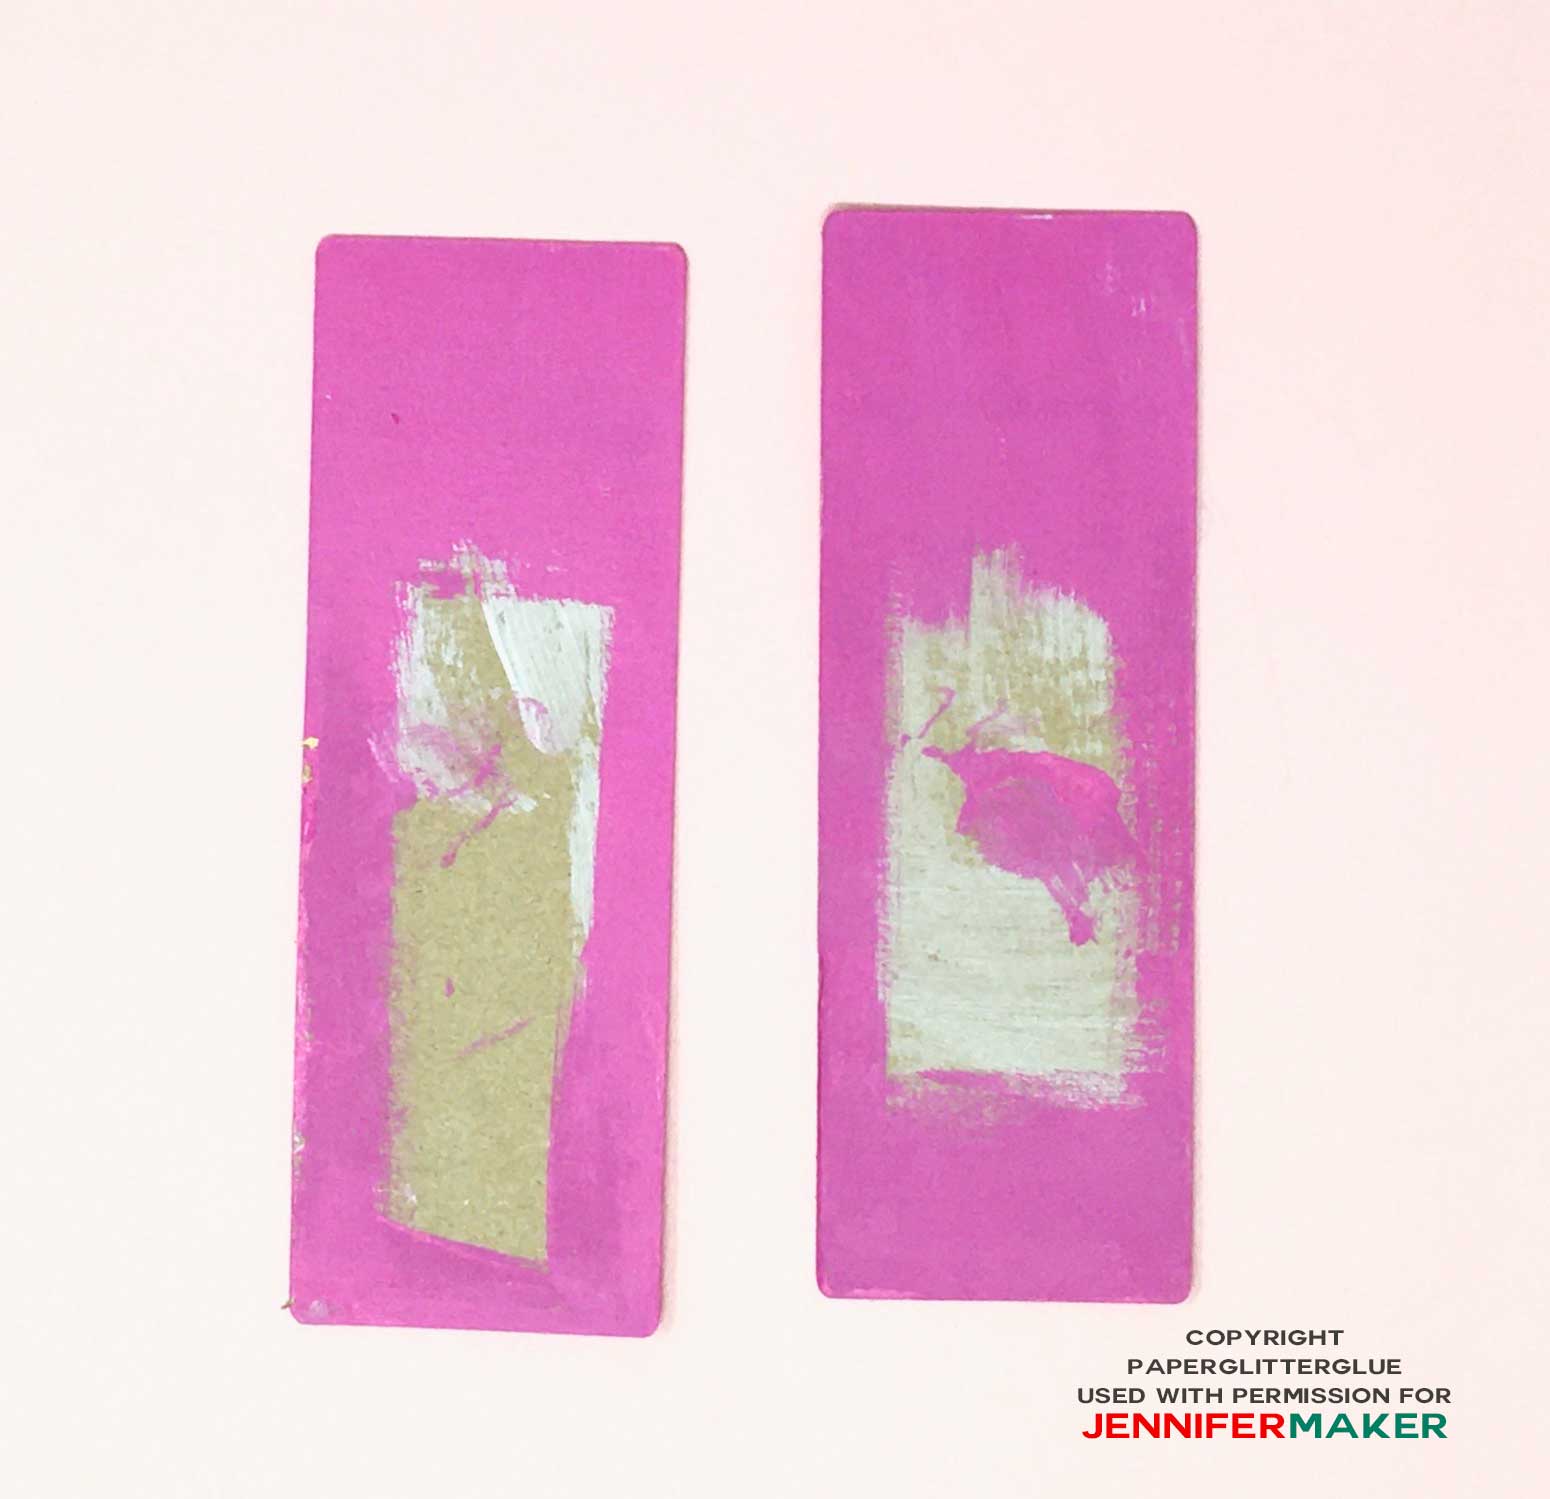
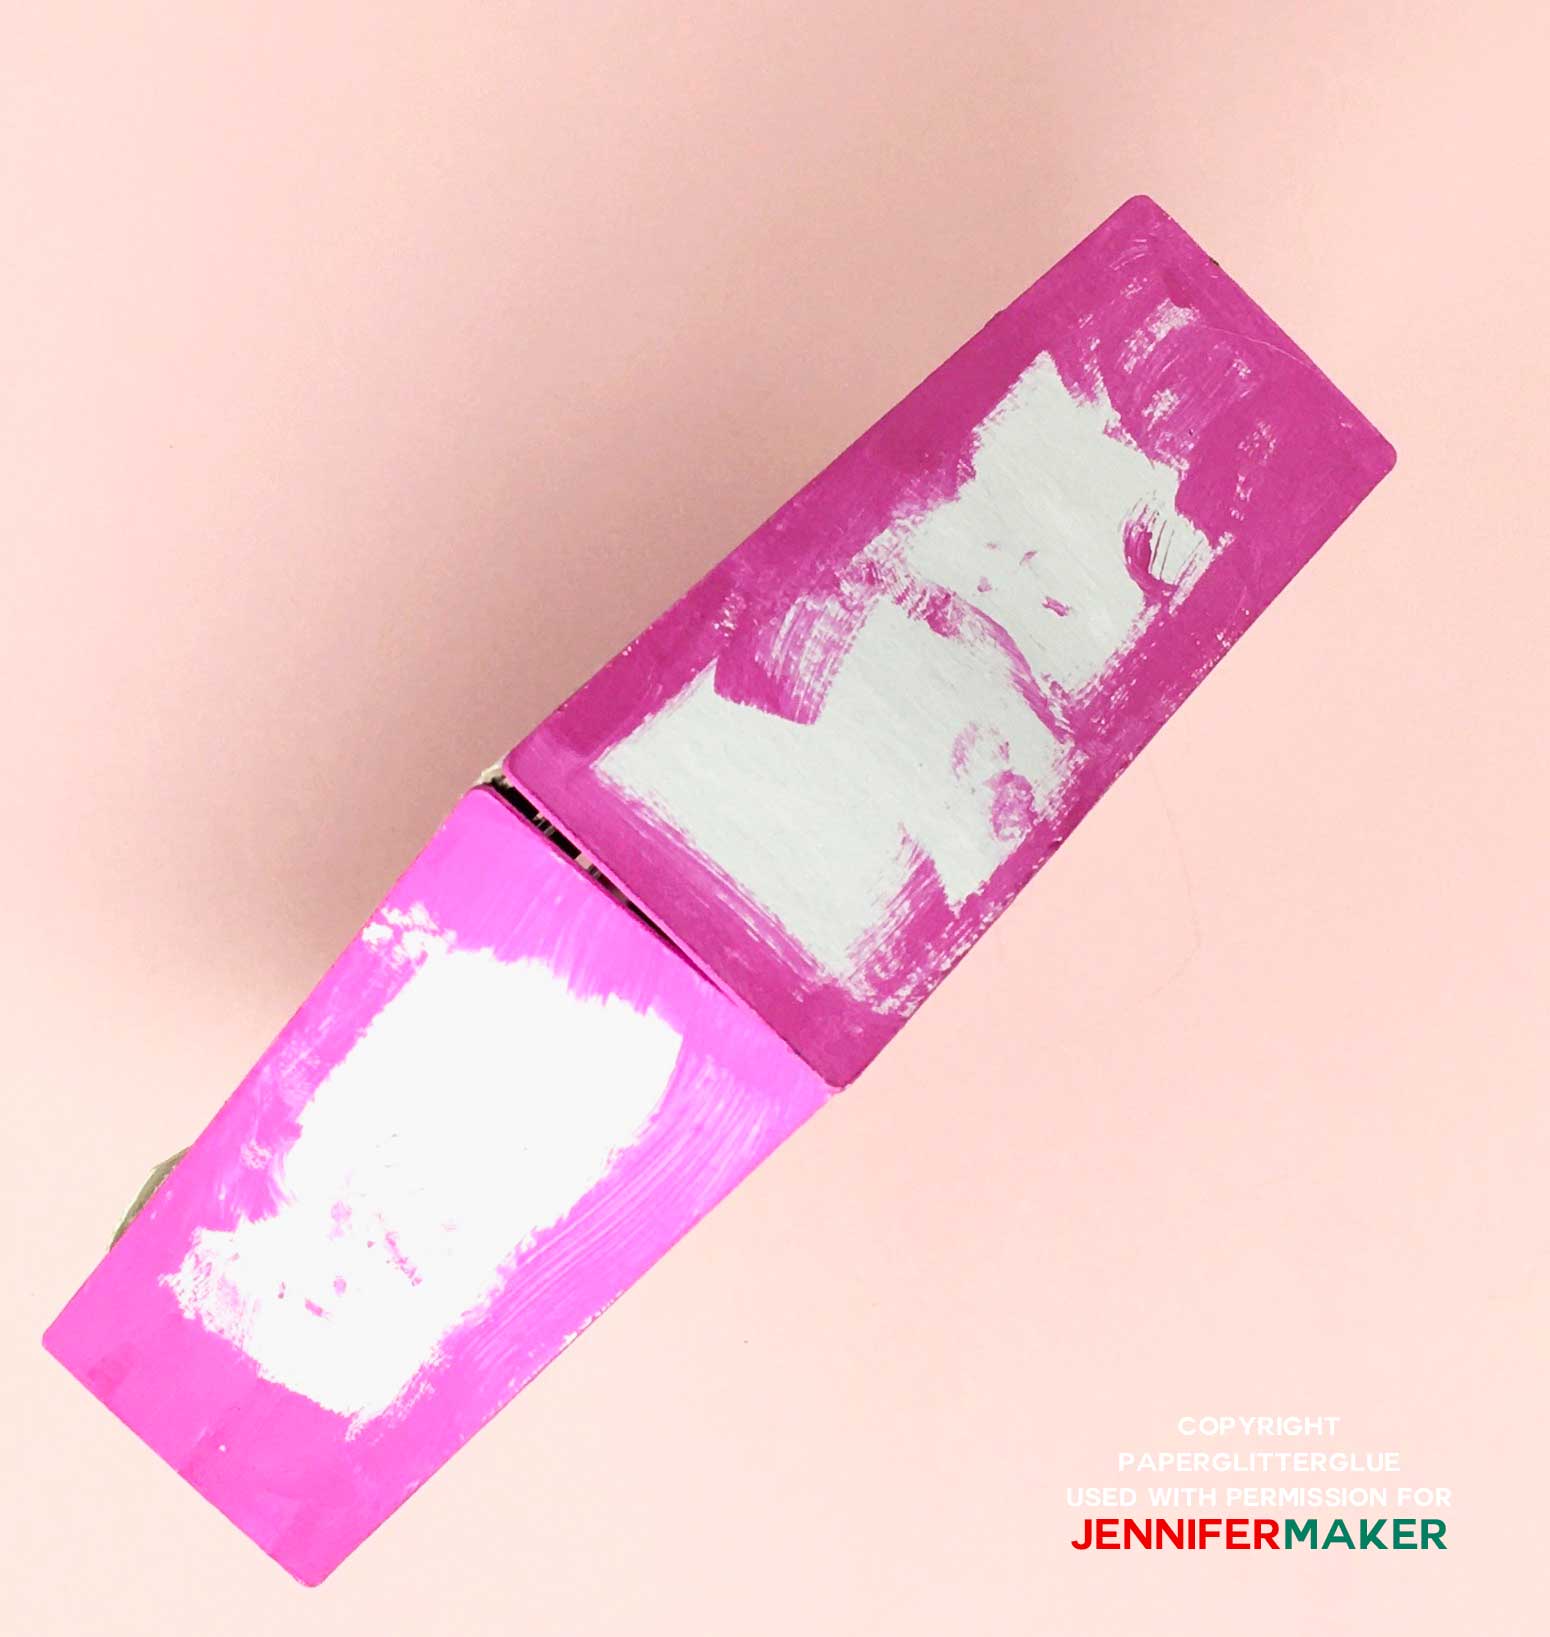
First, prime the roof pieces so that the underside cardboard won't show. Then glue the two roof pieces on top of the wall clock. It's ok if they don't fit perfectly because they will be covered entirely with shingles.
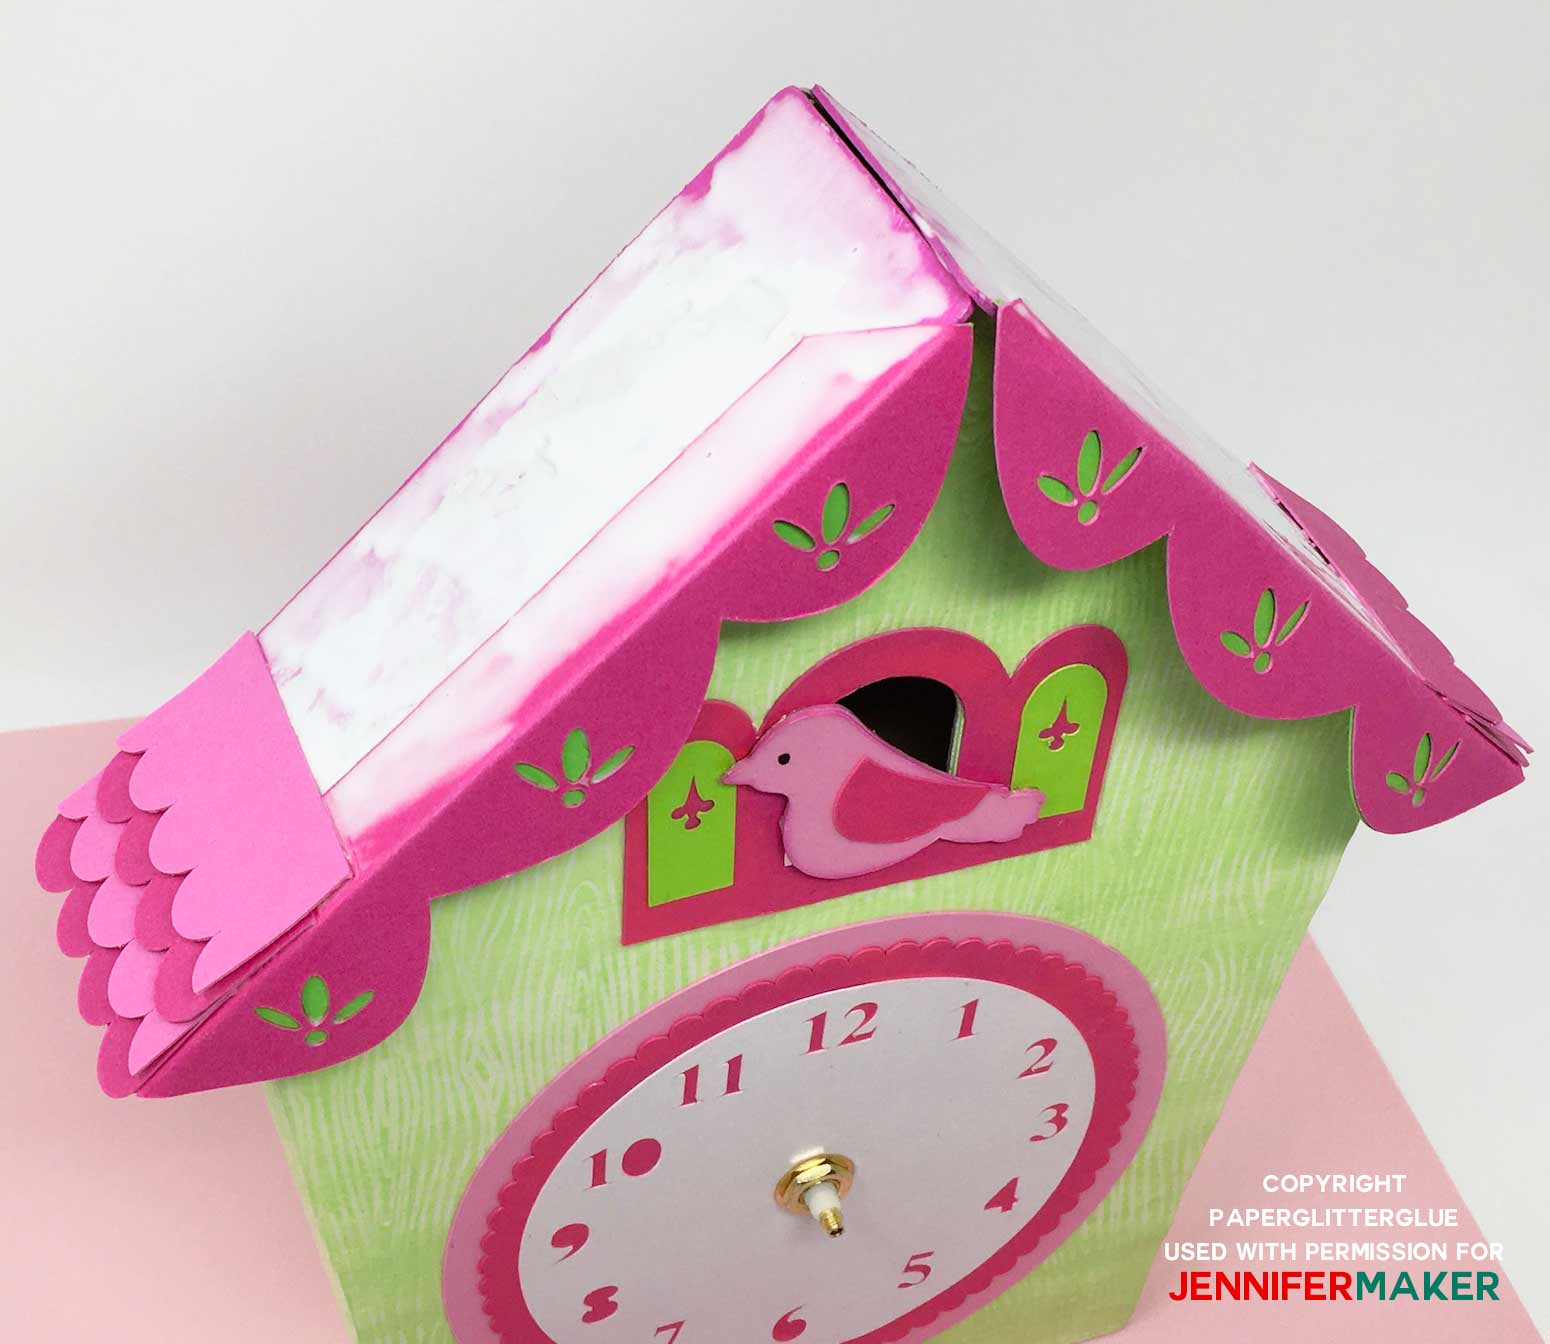
Now, add trim and shingles to roof
First, glue a contrasting color to the back of your angled roof trim. Then glue the trim to the front of the roof overhang. Finally, stagger the shingles and adhere to the roof. Glue the ridge piece to the top of the roof.
Now you can finish installing the clock mechanism.
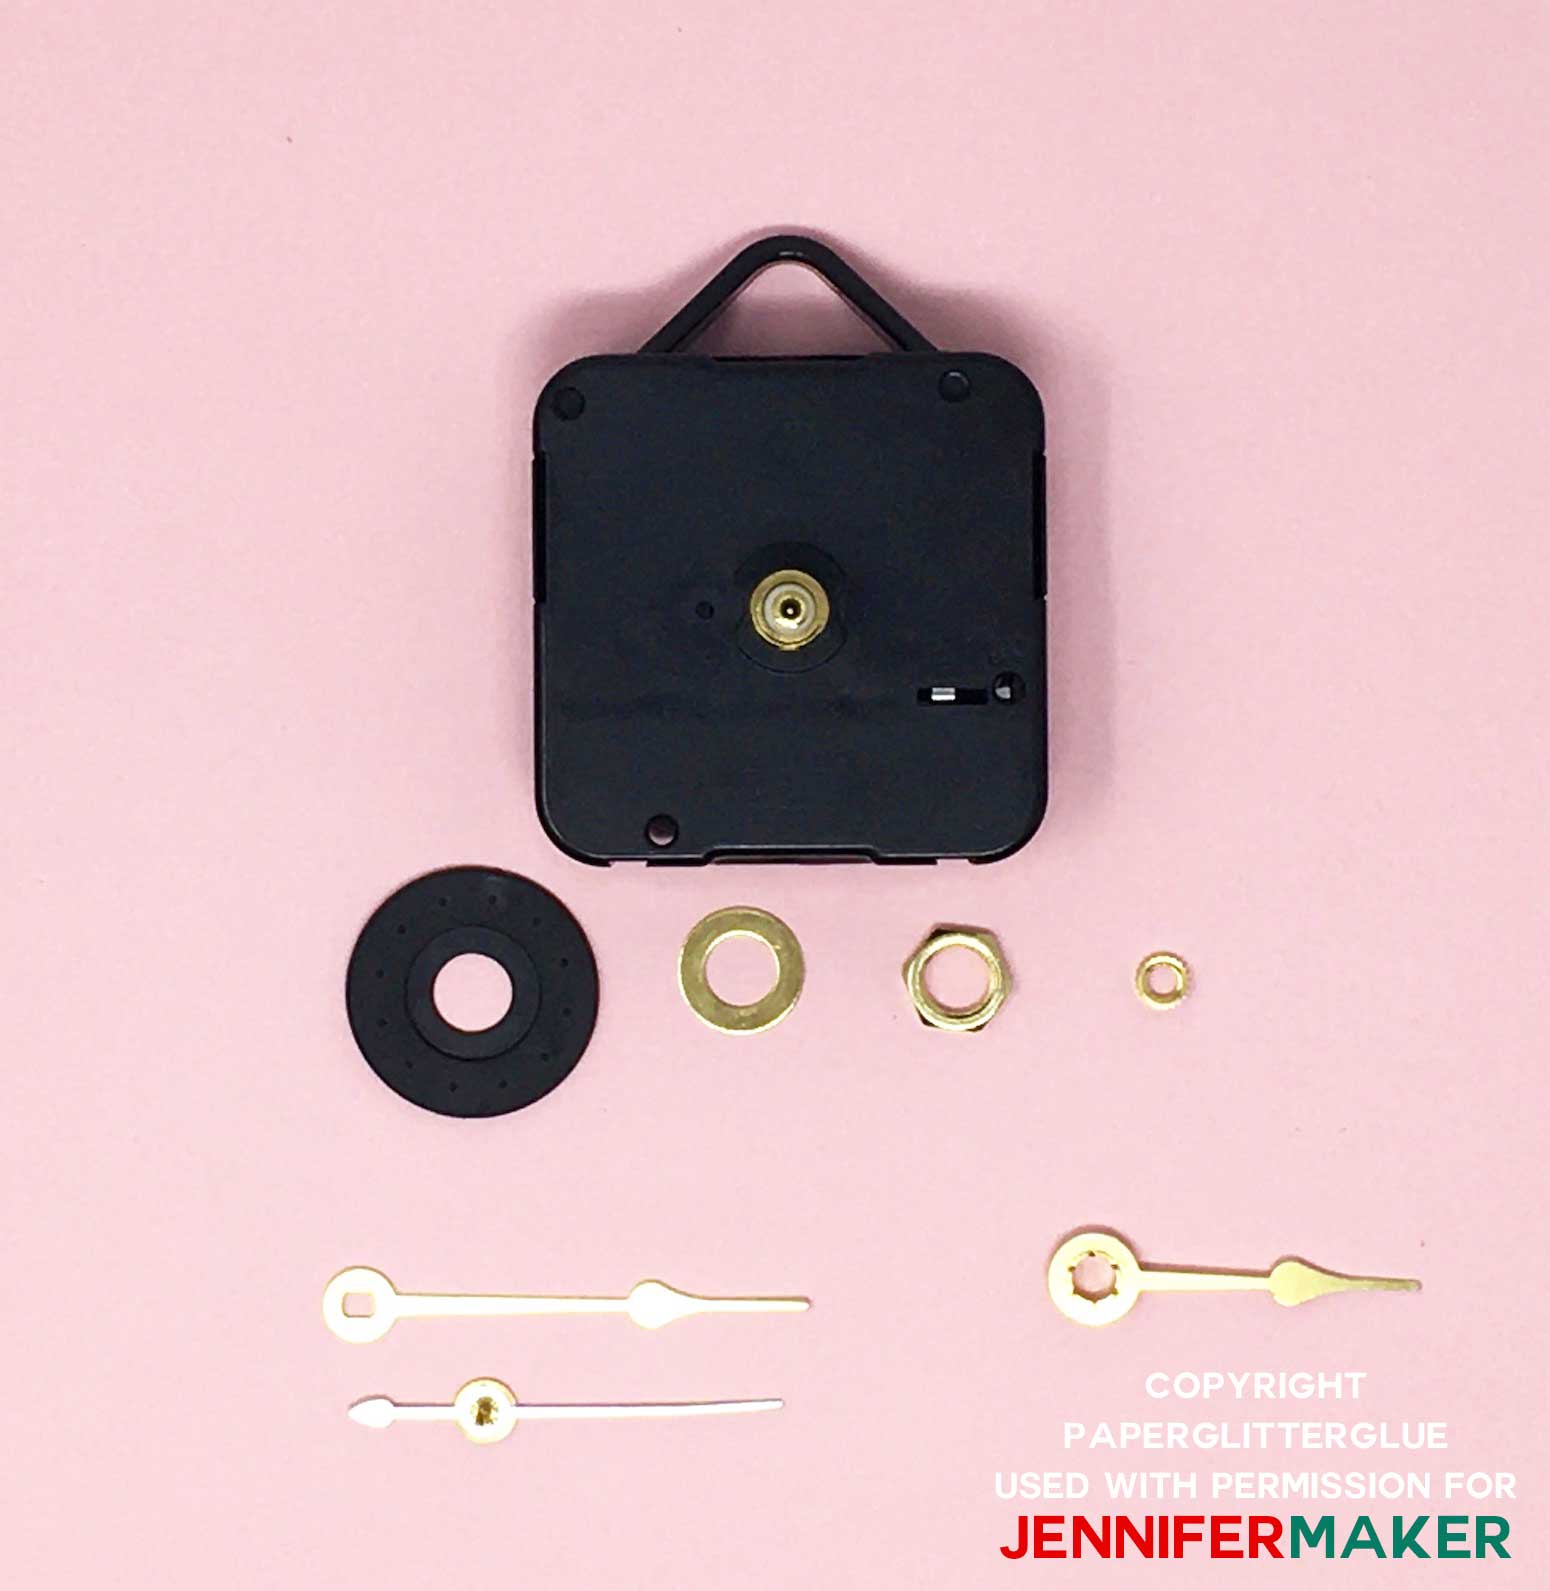
Insert the clock mechanism through the holes in the front piece of the wall clock. Again here is the order for the clock mechanism. We've already added the clock mechanism, the black rubber washer, the brass washer and the hex nut. Now finish with the clock hands.
A. Clock Movement Mechanism - the main body of the clock
B. Larger black rubber washer which goes on the back of the cardboard clock
C. Brass washer - goes on the front of the clock face
D. Hex nut
E. Hour hand
F. Minute hand
G. Open nut - tiny nut that goes on top of the minute hand
H. Second Hand - don't put that on until you are sure the clock is put together correctly because can be difficult to remove
So here are the real tricks to putting the clock together. Remember that the black rubber washer goes behind the clock. Put the brass washer on the front of the clock face followed by the hex nut.
Note: The hardest clock mechanism part to put in place is the hour hand. Push it down with your fingernails on two sides. It should be secure and not flop around when you make the clock. This is very important. I had trouble with this step at first.
Next, add the longer minute hand. Sometimes it is a little bit difficult to fit in place but not as challenging as putting on the hour hand.
Next screw on the tiny open nut. Make sure it is screwed on the threads straight.
Insert the battery so you can make sure the wall clock works. When you know the clock works, you can add the second hand which is thin and kind of fragile. If it bends just bend it back the right way. It clicks in place.
Now make the cardboard base. I used three layers of corrugated cardboard with a smooth layer on top to make the base. Cover with cardstock top and bottom. You want to make sure it looks good on the bottom as well because that part is going to be visible when the clock is hung.
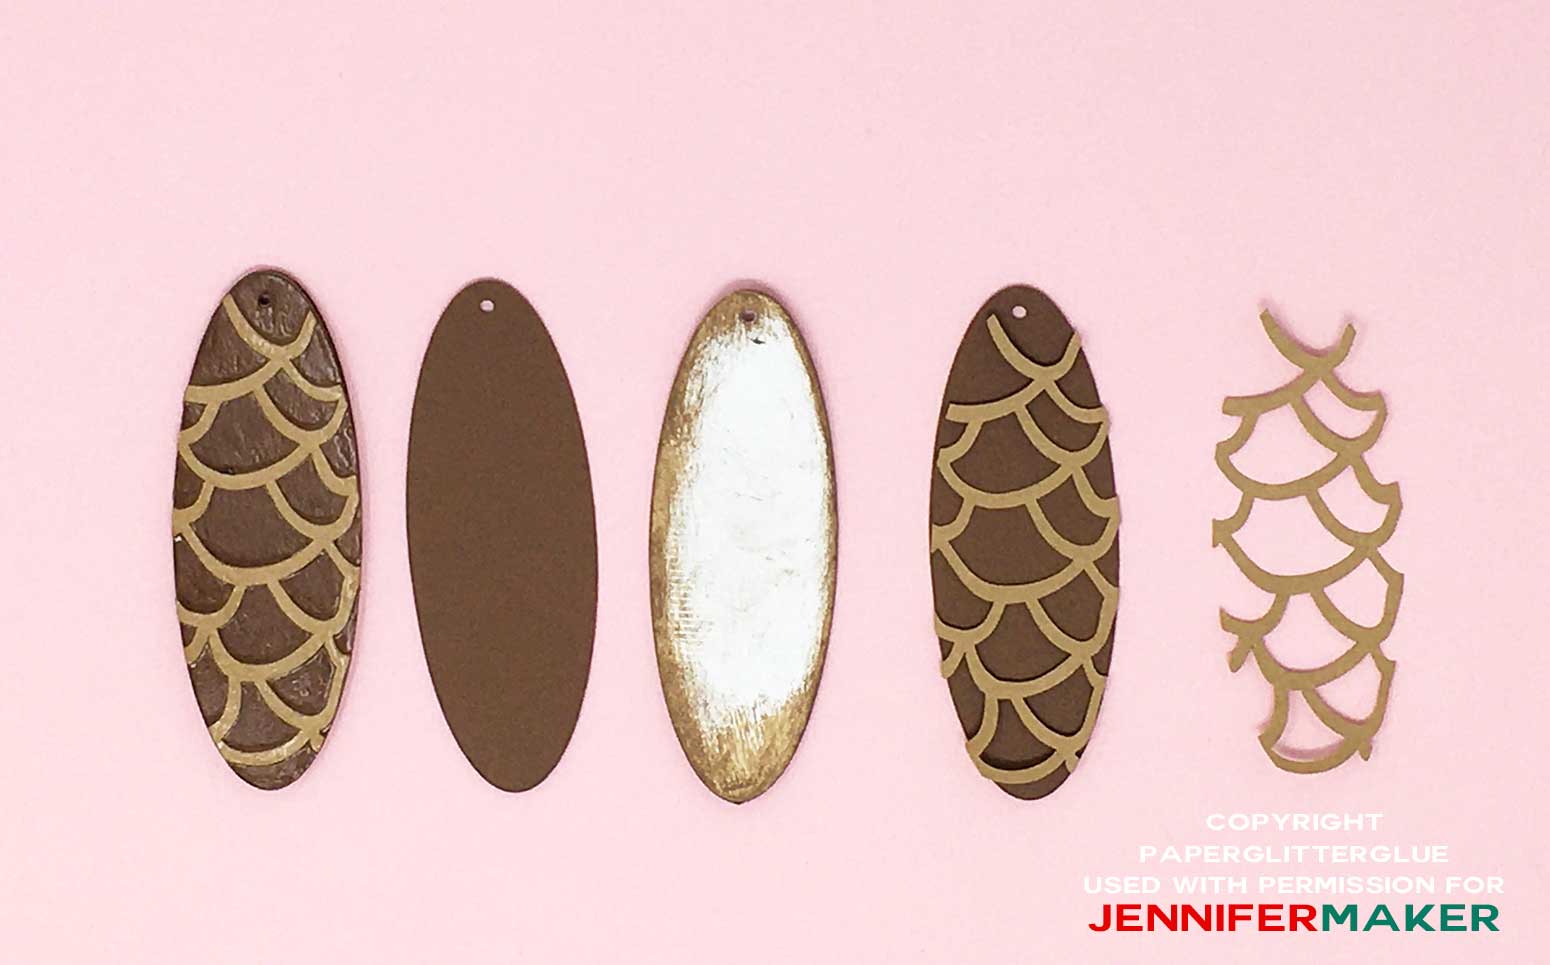
A fun additional detail to add to your DIY wall clock are the hanging pine cones as most cuckoo clocks have these weights attached to them. To make the pine cones that look like weights, cut out two cardboard pieces for two pines cones. Then cut out 4 brown cardstock pine cones to cover both sides of the cones. Add decorative lattice pieces on both sides of the pine cone.
Hang pine cones from the base of the clock and hot glue in place
Add jump rings to the holes at the top of each pine cone. Then add a jump ring to the chain. Connect the pine cone jump ring to the chain jump ring. This lets it swing freely.
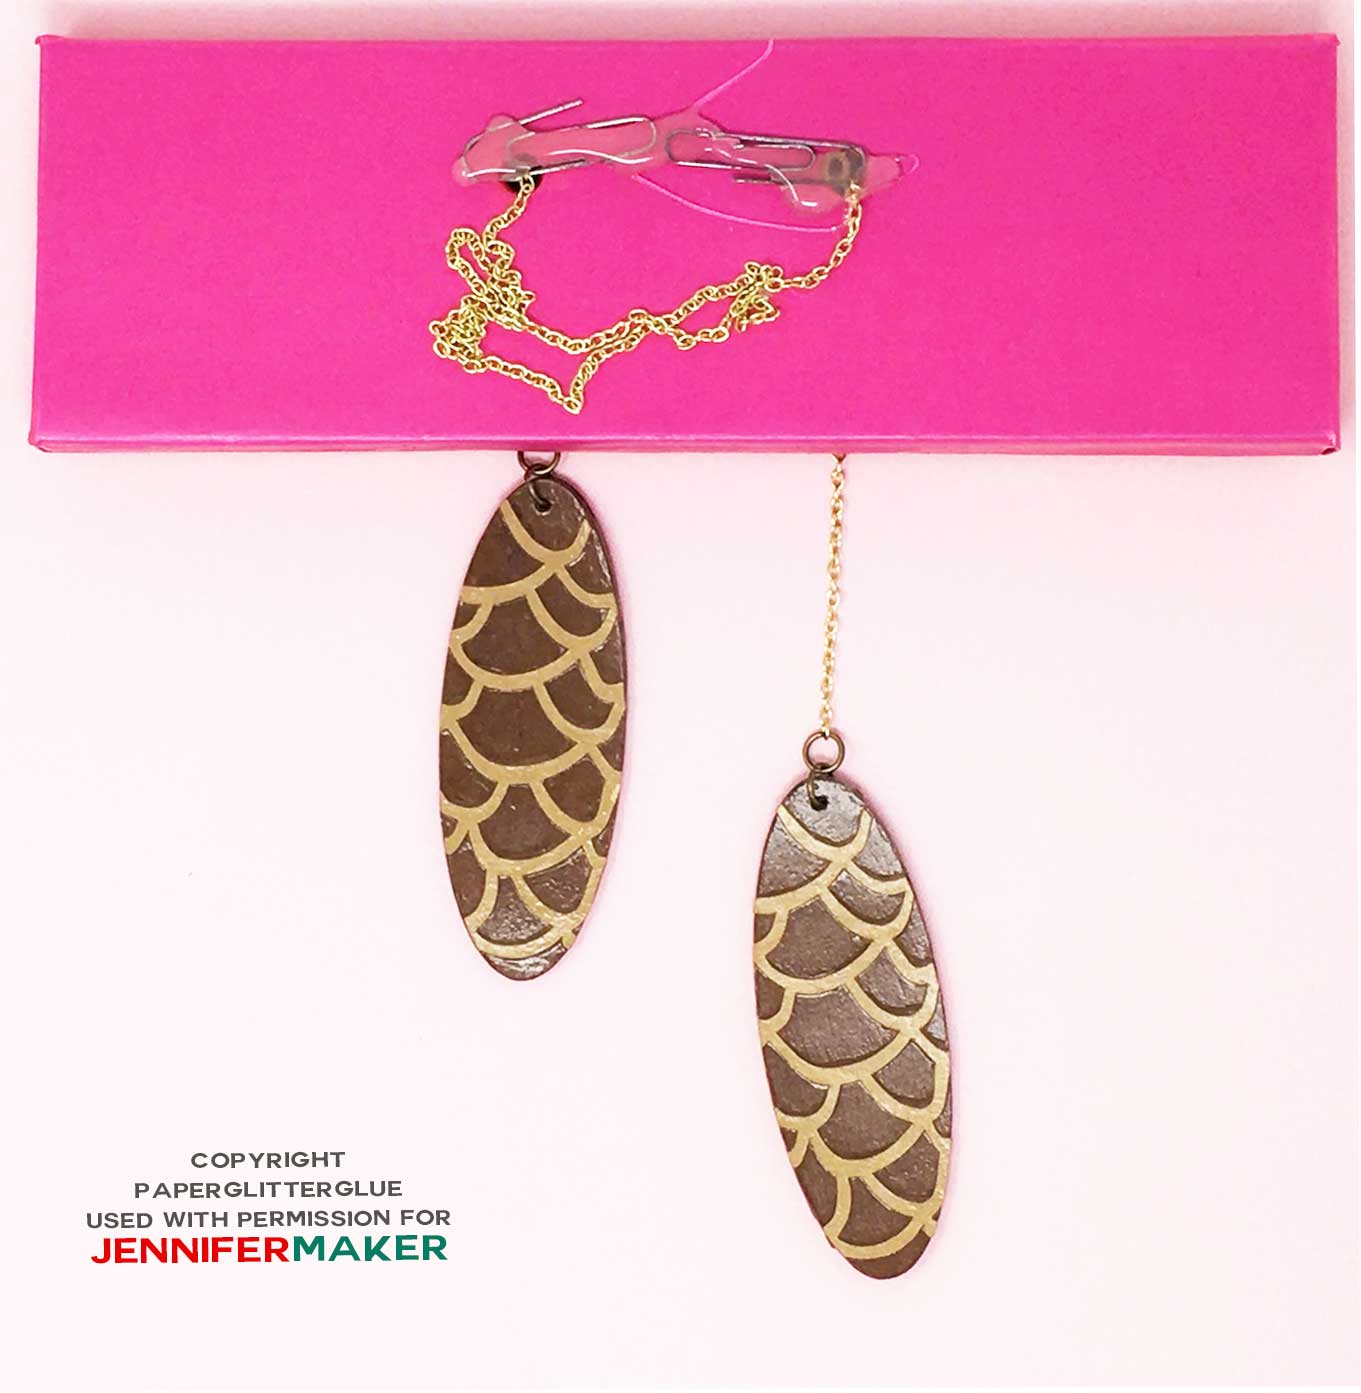
Decide on the chain length. Attach the chain to a paper clip or larger ring and then hot glue in place. Trim off the extra chain.
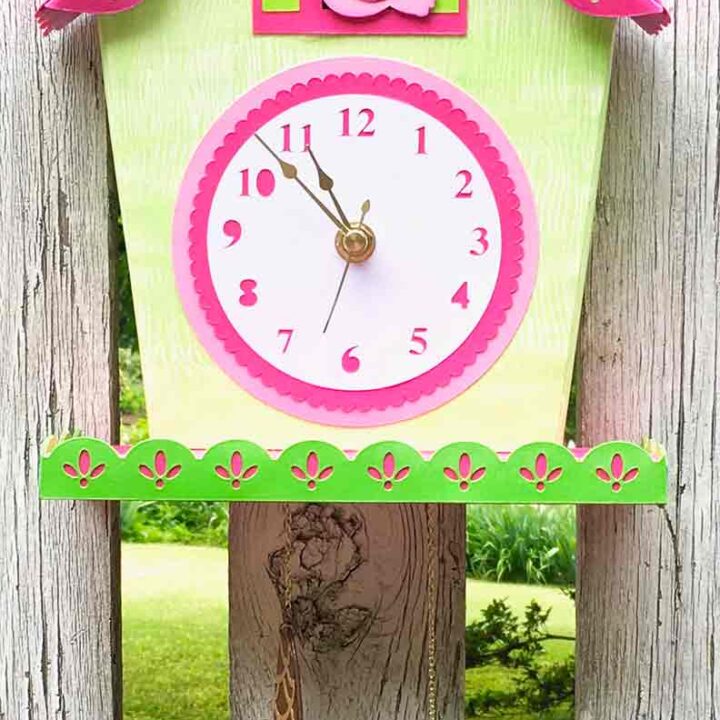
Glue base to clock and glue trim around the base of your DIY wall clock
You can use hot glue here to glue the clock to the base, but I recommend you also reinforce it with some paper adhered with white glue on the back to add extra holding power. You can see the extra paper on the back of the clock for extra support in the photo below.
Finally, glue the trim around the base. the base is 8 inches wide so you have to cut off some the excess trim. The depth of the base is 2.5 inches so cut a second strip of trim to fit on the sides.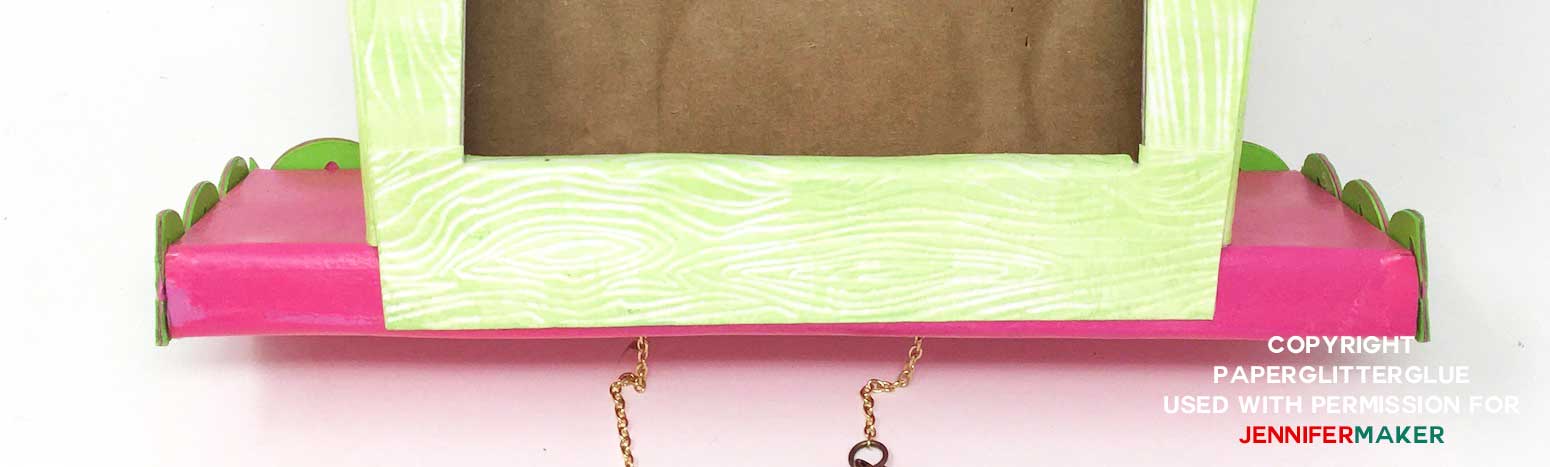
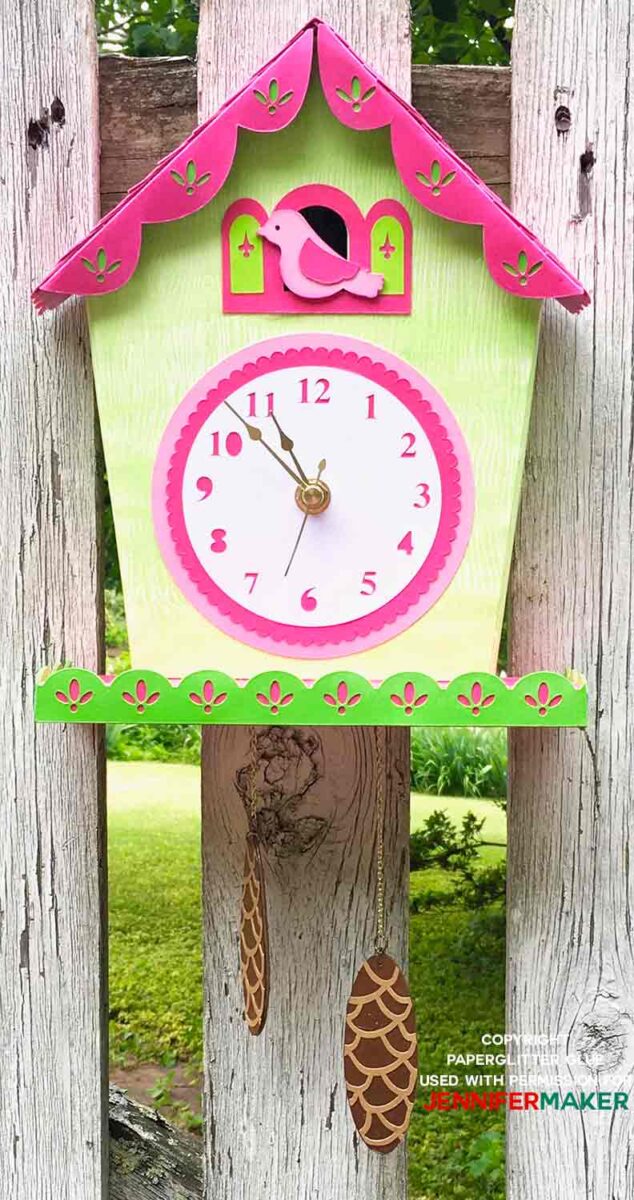
Step 4: Show it Off!
This DIY wall clock will make someone a great gift!
Get the free DIY Wall Clock SVG File FREE!
Love,

Want to remember this? Save the DIY Wall Clock with a Cuckoo Tutorial to your favorite Pinterest board!


This is so adorable!! Can’t wait to give this a try. Thanks for sharing!