

 When I was young I was absolutely convinced of Santa’s existence. I put out cookies and milk on Christmas Eve. I laid awake that night, listening intently for him. And in the morning, I checked for footprints (and hoofprints). I may be older and wiser now, but I still love the idea of Santa Claus. So today, on Day 7 of my MAKE IT MERRY: 25 Days of Maker Projects Christmas, we’re going to get a little nostalgic for those innocent and sweet Christmas of yesterday. Today we’re going to make a personalized DIY Santa Sack.
Santa Sacks are typically large drawstring bags which you can fill with presents for a special person. They are perfect for wrapping that large and unwiedly present we tend to get every Christmas. And in some parts of the world, Santa Sacks are used in lieu of wrapping paper, which I think is a pretty awesome idea!
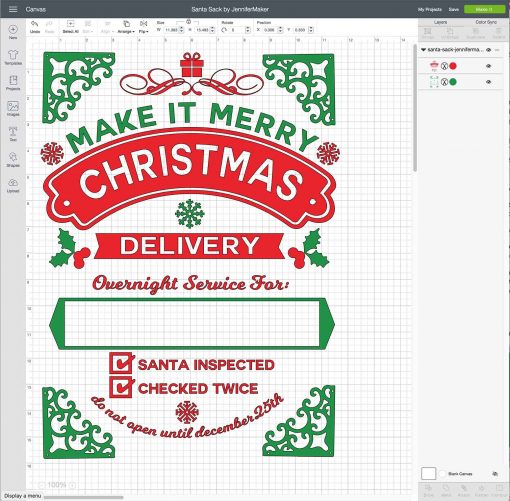
I’ve designed the sort of Santa Sack I would like. It’s a little old fashioned, a little nostalgic, and a lot adorable. I made mine into a mini Santa Sack simply because I didn’t have a large sack on hand, so feel free to do that, too. Normally Santa Sacks are about 28″ tall by about 20″ tall. If you don’t have a sack this size, a pillowcase will do in a pinch! Here’s the design itself:

Let me show you how to make this fun Santa Sack. This post contains some affiliate links for your convenience (which means if you make a purchase after clicking a link I will earn a small commission but it won’t cost you a penny more)! Read my full disclosure policy.

Materials for the DIY Santa Sack
- 1 drawstring bag or pillowcase, cotton or fleece (large or small)
- Iron-on vinyl, also known as heat transfer vinyl (HTV) — I use and recommend Siser HTV and I specifically used Easyweed HTV (black), Easyweed Electric HTV (red), and Glitter HTV (black)
- Parchment Paper
- An iron or EasyPress
- A way to cut the HTV (I used a Cricut Explore)
- 12″ x 24″ Cutting Mat (if you’re making a large Santa Sack)
- Design #71 – My free SVG cut file (available in my free resource library—get the password at the bottom of this post)
How to Make Your DIY Santa Sack
First, download Design #71 which is my free SVG cut file from my free resource library and upload the file to your design software. I use Cricut Design Space, so that’s what I’ll be showing you how to do. If you’re not sure how to upload an SVG cut file to Cricut Design Space, watch this helpful video training series I made.
Double-check the size of your bag or pillowcase and resize the Santa Sack design in Cricut Design Space as needed. Remember, you’ll want to have some empty space around the outside of the design as it appears on the from of your Santa Sack, so make it a bit smaller than your actual sack’s dimensions.
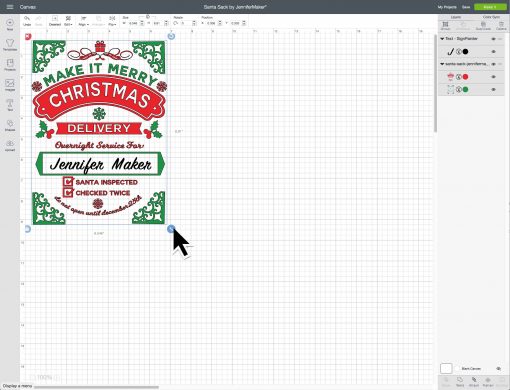
Click the Text icon on the left, click in the design’s green box on your Canvas area in Cricut Design Space, and type out the name you want to appear on the Santa Sack. You’ll want to change the size and font to something appropriate to match the Santa Sack. I used a free font called Milkshake. I made my name black as I had black HTV, but you may prefer to use red or green to use less vinyl

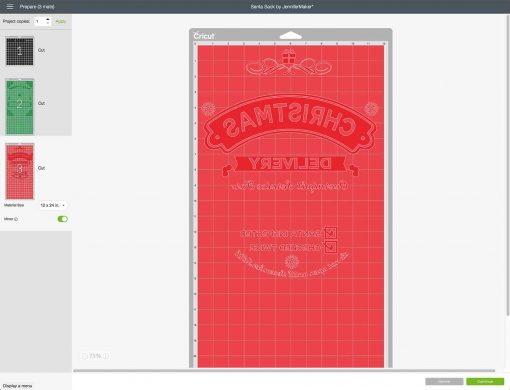
Click the Make It button to send your image for preparation. On the next screen, click the toggle next to “Mirror” on each layer — mirroring is necessary when cutting HTV.
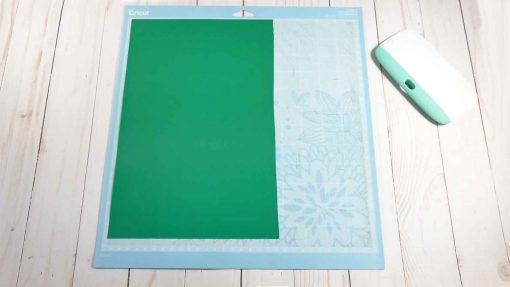
Cut out your vinyl. Be sure to put the SHINY SIDE DOWN on your cutting mat.
When done cutting, remove the excess vinyl from each of your cut sheets.
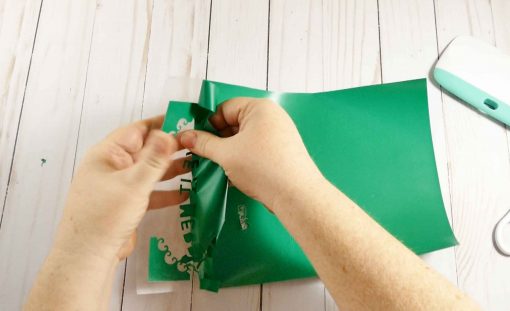
Weed the little details out of the center of letters and decorations.

Check your designs for any bits that are in the wrong place, or not removed, by holding it up the light. Do this BEFORE you iron them on to anything!

Heat your iron to the setting between polyester and wool, which is approximately 305–320°F (the proper temperature for Siser HTV).
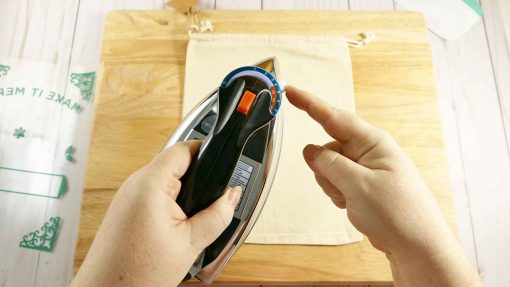
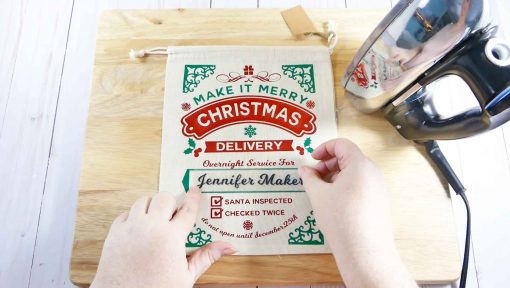
Find a hard surface, such as a wood cutting board, and pre-iron your drawstring sack or pillowcase. (An ironing board is not firm enough for applying HTV). Pre-ironing your surface helps to remove moisture.
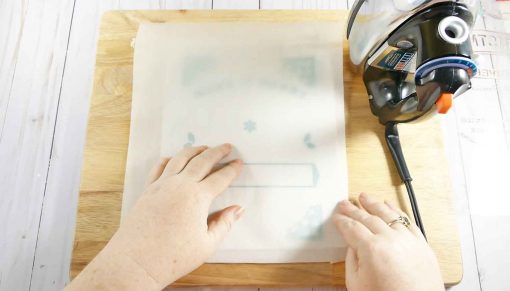
Now lay your green layer on your sack (sticky side down), centering the design evenly on your sack. Use the four corners on the green layer’s design to guide you.
Lay a piece of parchment paper over the vinyl’s plastic backing.
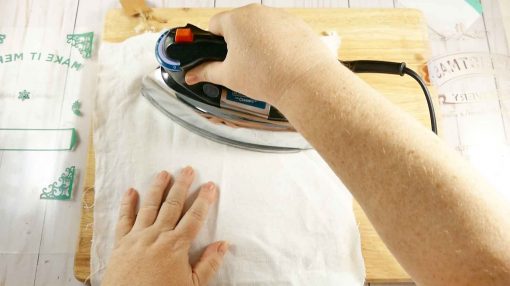
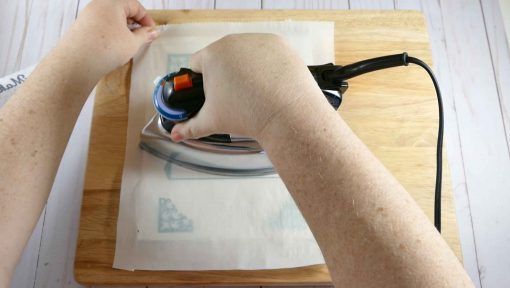
Begin ironing on your design. You want to press your iron down on the design (medium pressure) for about 10-15 seconds. I sort of lean into my iron and that seems to work well. Make sure every part of your design gets this treatments.

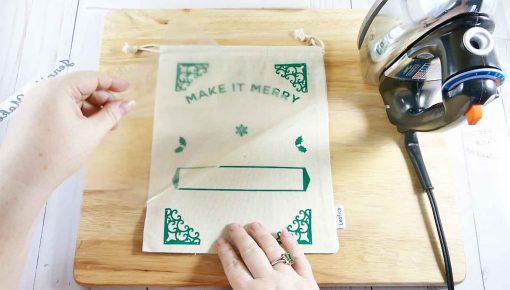
Gently peel away the plastic transfer sheet and your design should stick to the sack, not the sheet. If it does not, lay the plastic sheet back down, cover it up with parchment again, and iron again with more pressure.
Put your parchment over your sack again and iron another time.
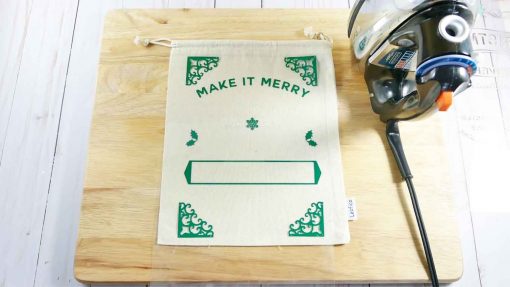
Continue with the red layer.
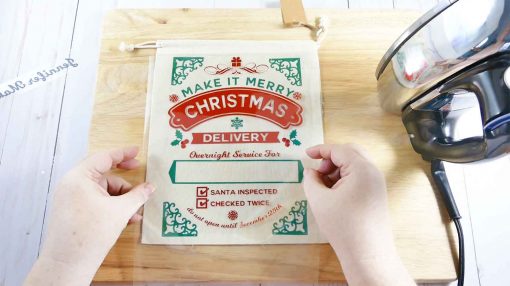
And then the black layer.
When you’re done, you have an adorable DIY Santa Sack!


Get my free template and cut files for the DIY Santa Sack
I hope you have fun making the DIY Santa Sack! If you make one, I’d love to see! Share a photo with me at [email protected] or tag me on social media with #jennifermaker.
Also, be sure to visit tomorrow to open the Day 8 gift of my MAKE IT MERRY: 25 Days of Maker Projects Christmas! If you want to be notified of when there is a new gift ready to open on my blog, just fill out this form!
Love,

Want to remember this? Save the DIY Santa Sack to your favorite Pinterest board!


Thank you for this amazing idea.