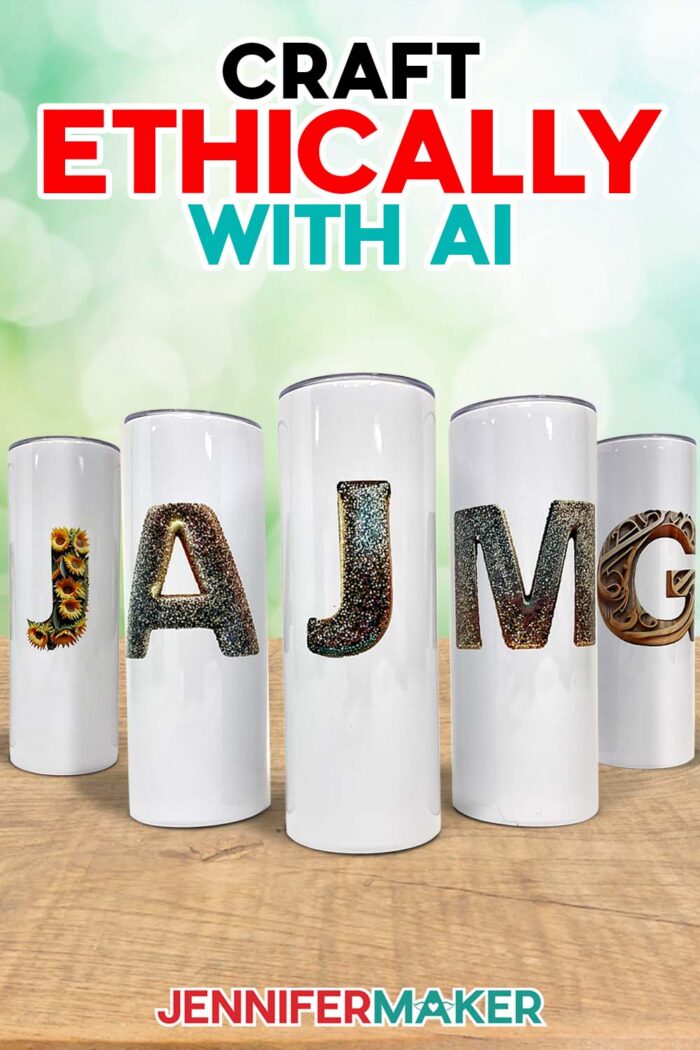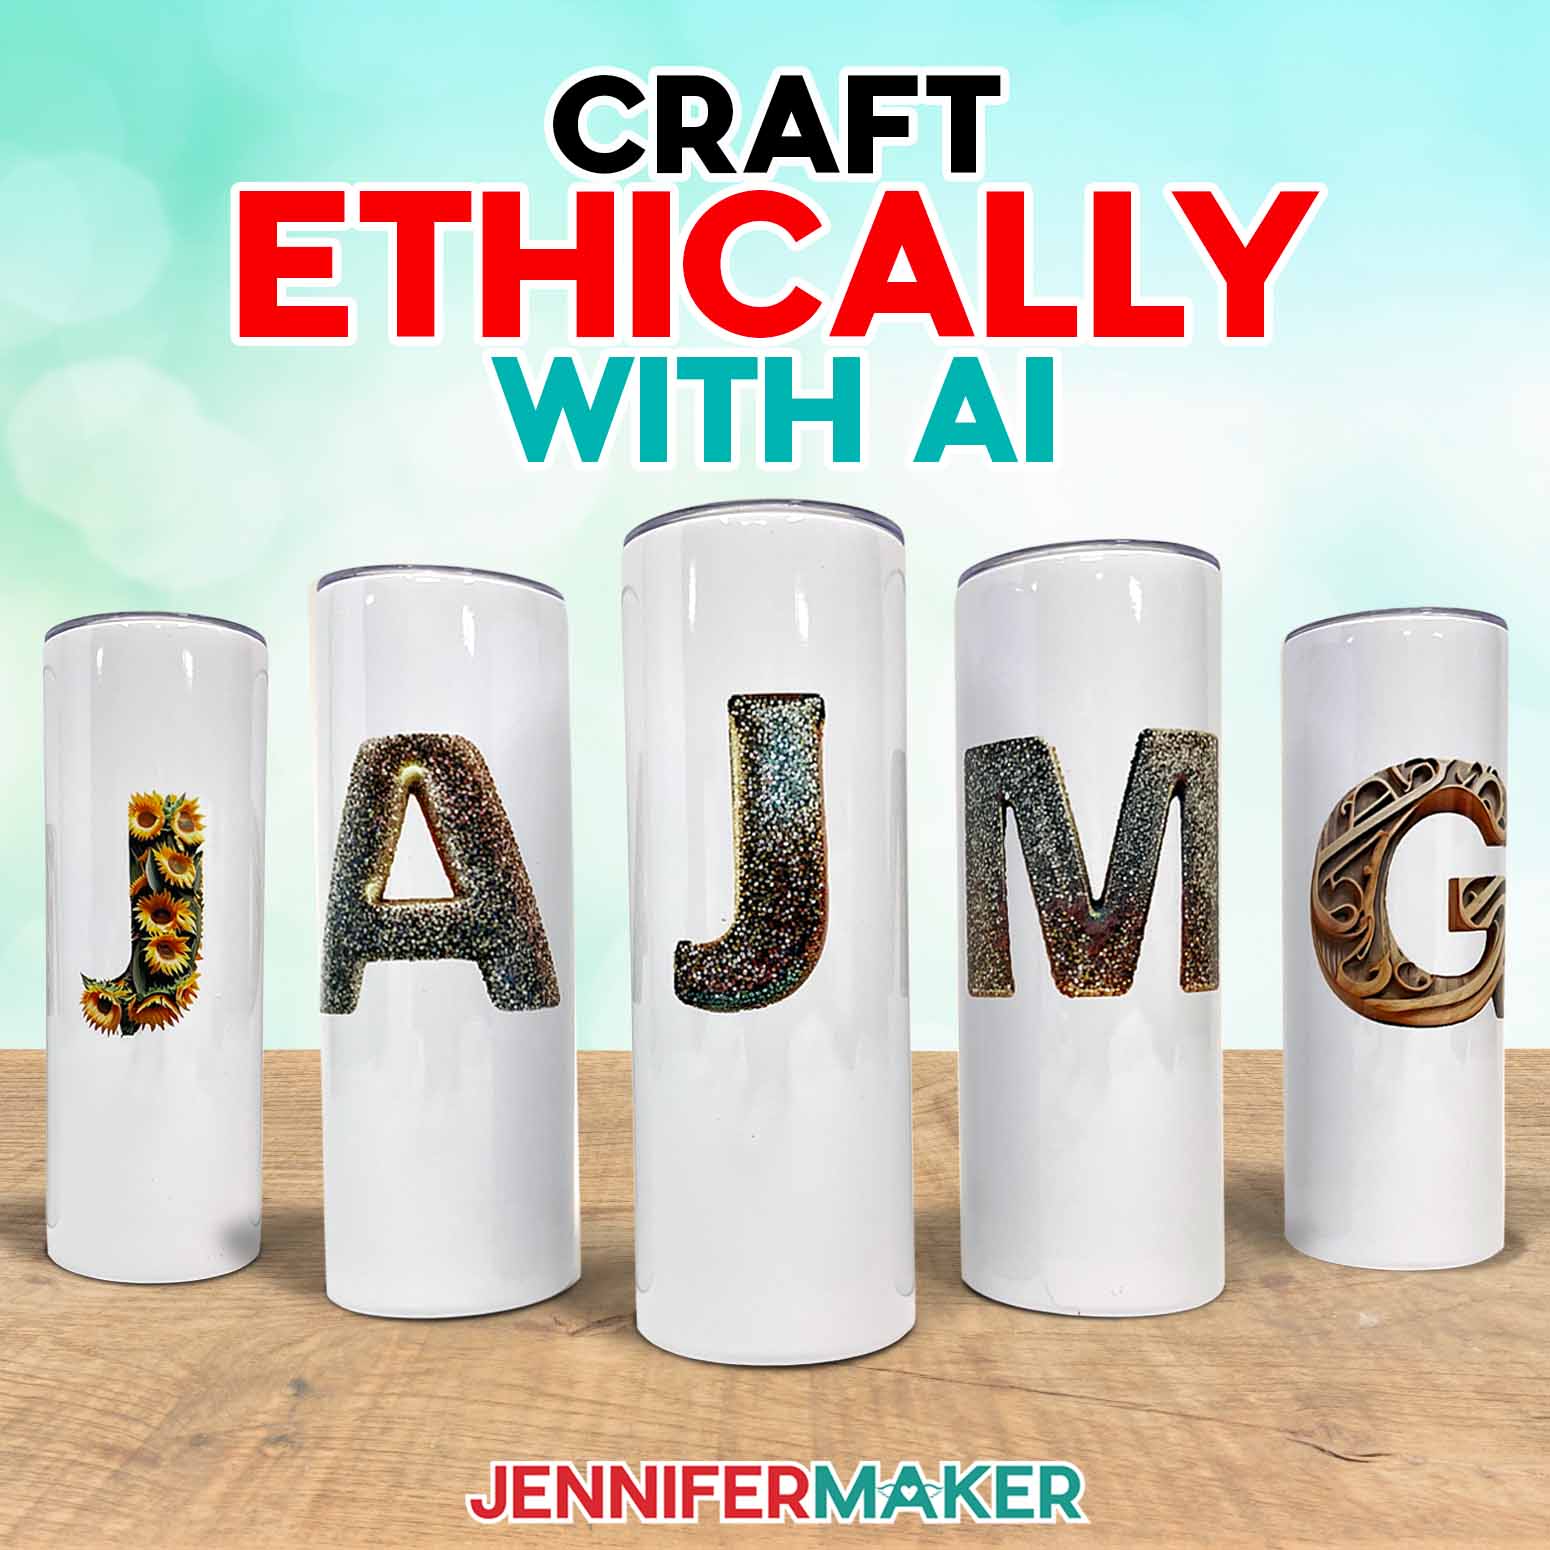
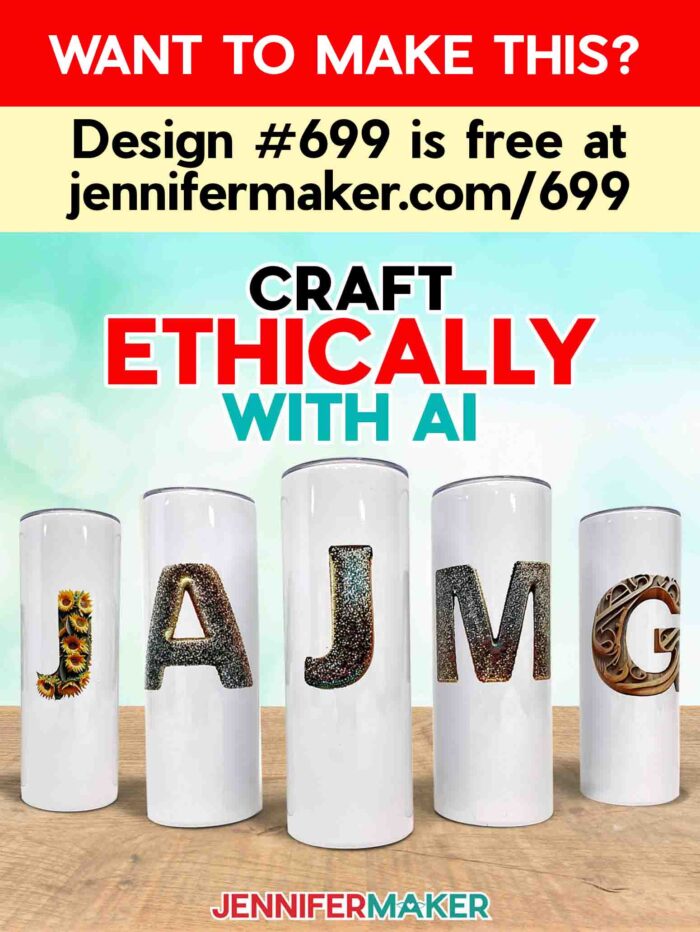
Learn how to craft ethically with AI and make pretty sublimation tumblers!
Are you curious about how to use artificial intelligence (AI) tools in your crafting? With the right software and some practice, anyone can create a stunning collection of reusable designs without stressing about their skill level. But, can you craft ethically with AI? In this tutorial, I’ll show you how to use an AI image-generating tool to create gorgeous and ethical AI projects, like glitter letter images to sublimate on a tumbler!
Watch the full step-by-step video tutorial on making sublimation tumblers with AI graphics:

In 2021, I discovered sublimation crafting and immediately fell in love with the endless creative possibilities! I soon began designing PNG files to share, but the demand for these colorful new designs grew rapidly. Brainstorming and digitally creating each design was too much to keep up with!
I love combining technology and creativity (I’m a Cricut crafter, after all!), so when I heard about AI image generation, I had to give it a try. To produce an AI-generated image, all you need is an AI image generating software and a carefully crafted prompt. Surprisingly, it was a ton of fun! Pretty soon, I was generating images straight out of my imagination – images I didn’t have the artistic skill to render myself. I began using them in Print Then Cut and sublimation projects, and sharing the results with my crafting community.
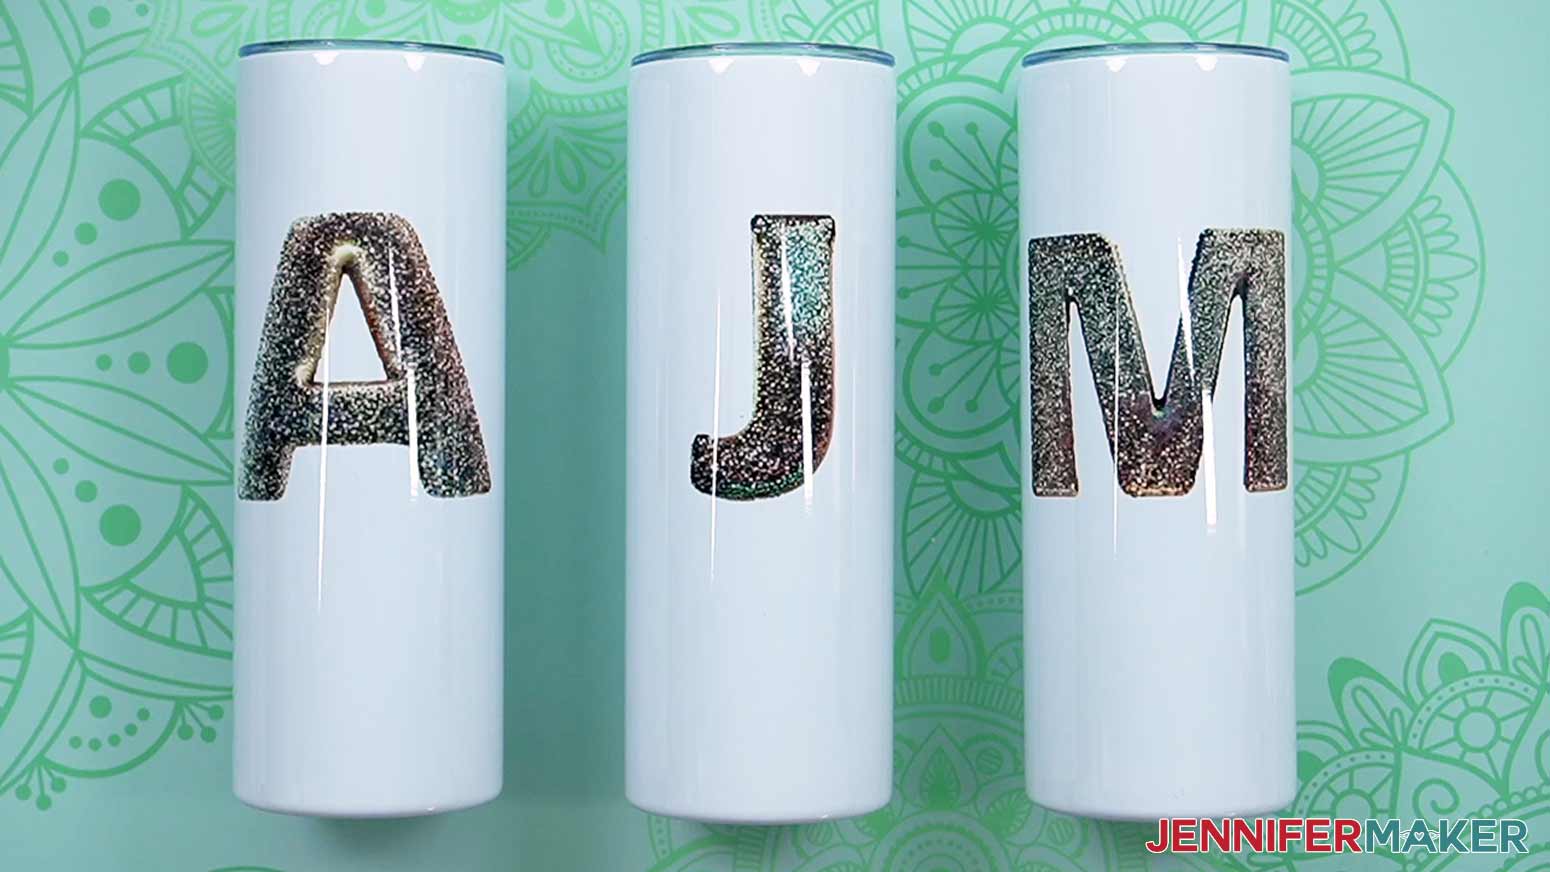
I generated these glitter letters using an AI-art generator, too. I’ll show you how to sublimate them onto tumblers, but first I’ll show you how to generate them yourself using the same software I used.
When I started using the AI software, I had a few big questions. Ethical questions. How did the AI generator create these images, and where did the elements for the images come from? And was it ethical to use these designs in crafts, especially crafts that would be sold? What about copyright laws? Was it even possible to craft ethically with AI?
I wanted to play with technological advancements that enhance the world of crafting – not hurt it!
So I set out to learn more about AI’s role in crafting. I learned so much that I created a whole workbook around it, and crafting ethically with AI! In my AI Art Playbook, I teach you how to write effective prompts and use software to generate images that closely resemble the picture or design they have in mind – like glittery initials to sublimate onto tumblers!
One major lesson I’ve learned is that AI art generation isn’t actually magic – even though it might seem like it! Instead, it’s a collaborative effort between a human creator and AI algorithms that are trained on massive amounts of data. Developers use this training data to enable the AI technology to use machine learning to generate new images based on user input.
Then I learned about the ethical issues involved with using AI generated art. Ethical challenges come up when this source material includes artists’ work without their consent. Imagine spotting an AI-generated image containing an element you had originally painted, photographed, or digitally drawn. It might be used without credit, permission, or compensation. Not cool!
Additionally, in the United States, copyright laws don’t apply to AI images because the generated results are not technically created by human intelligence. This lack of transparency can be damaging to genuine artists who rely on their skills for their livelihood.
I realized that if I was going to be using AI-generated art in my crafting, or sharing those images with my crafting community, I would need to find tools that adhered to ethical principles — and my core values. I researched different AI art generators, and found that you can craft ethically with AI!
Adobe Firefly uses responsible AI practices by training their algorithms only on Adobe stock images, openly licensed content, and designated public domain material – not on art gathered indiscriminately from the internet. They have a free option, but I like my Adobe Express premium paid account. I love using it knowing that I’m respecting ethical boundaries, and not contributing to potential harm of talented artists.
I even used Adobe Firefly to create the beautifully blingy glitter letter images you see in this post! I think it’s important to always disclose if an image is AI-generated, and I always let you know when I’m using AI art in a project.
Understanding the ethical implications of AI is the first step toward creating more responsible AI-generated images and projects. By prioritizing ethics, we can avoid harming creatives and ensure that AI technology enhances – rather than exploits – the creative process.
Be sure to watch the tutorial video for more information on using AI-art generators ethically, and to learn how to sublimate your own AI-generated images onto a tumbler!
The future of AI in crafting is exciting — and FUN! But it’s up to us to craft responsibly and avoid AI ethics issues. By using tools that prioritize ethical standards and respecting artists’ work, we can enjoy the world of AI in a responsible way!
Let me show you how to craft ethically with AI and sublimate a tumbler! This post contains some affiliate links for your convenience (which means if you make a purchase after clicking a link I will earn a small commission but it won’t cost you a penny more, there is no additional cost)! Read my full disclosure policy.
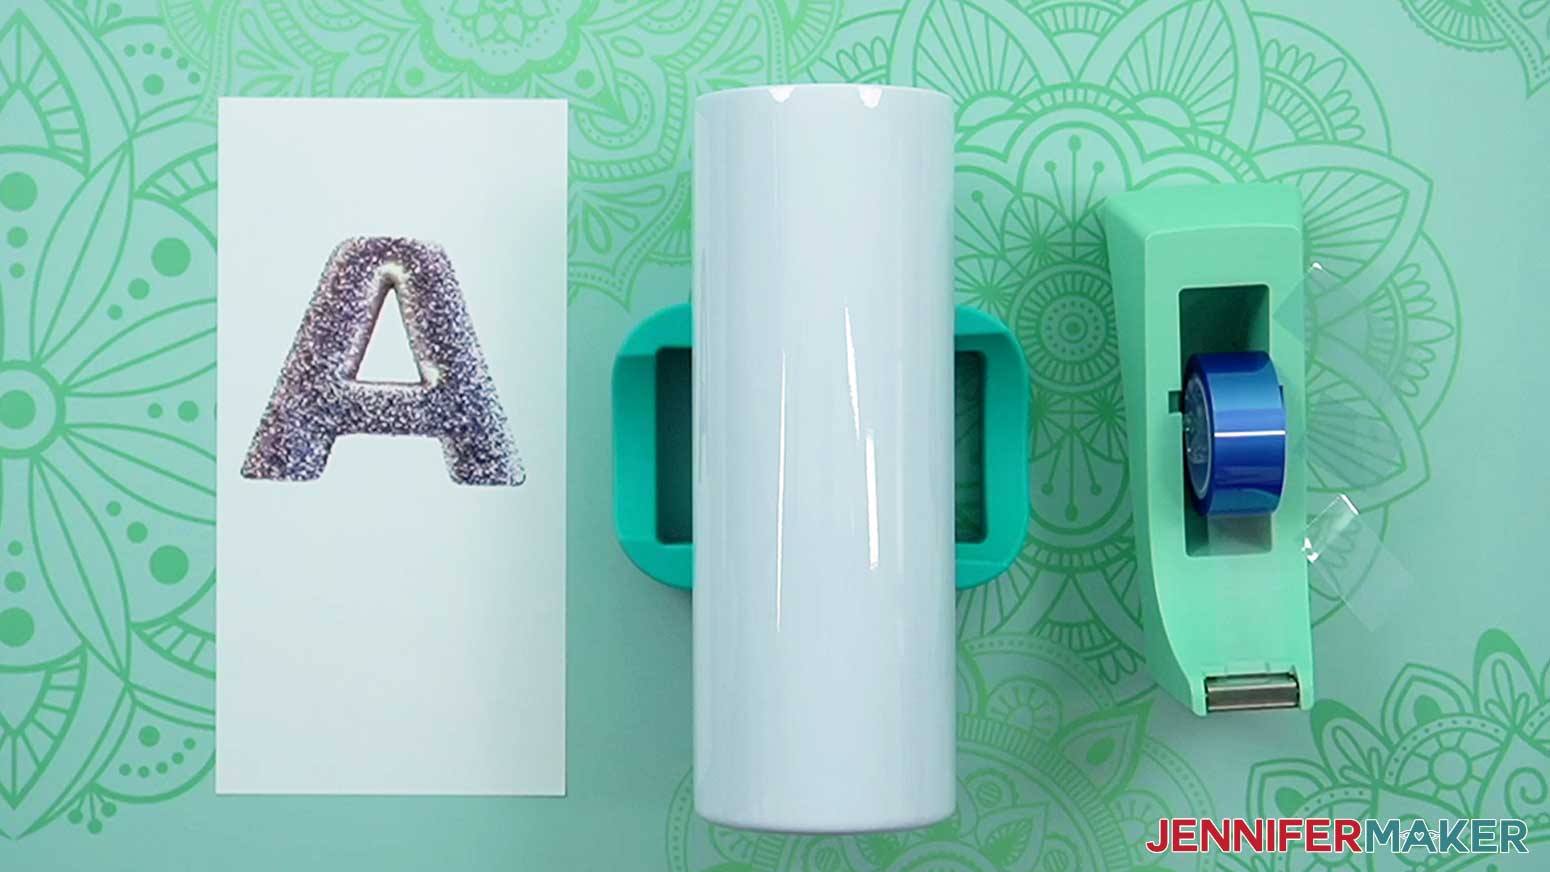
Materials to Make A Sublimation Tumbler
View my Amazon shopping list for the exact items I used!
- One (1) 20 oz. Straight Side Sublimation Tumbler
- One (1) Sheet of A-SUB 125g Sublimation Paper 8.5″ x 11″
- Adobe Firefly Premium Plan
- Google Account
- Looped Tape Measure
- Sublimation Printer – I used a converted Epson EcoTank ET-4700 Inkjet Printer
- Sublimation Ink – I used Hiipoo
- Convection Oven
- Oven Thermometer
- Fan for Ventilation
- Heat Resistant Gloves
- Heat Resistant Tape
- Silicone Pressing Mat
- Butcher Paper
- Scissors
- Scraper
- Isopropyl Alcohol -AND- Lint Free Cloth
- Pressing Mat
- Shrink Wrap Sleeves if your tumblers do not come with these
- Heat Gun
How to Make a Sublimation Tumbler With AI Ethically
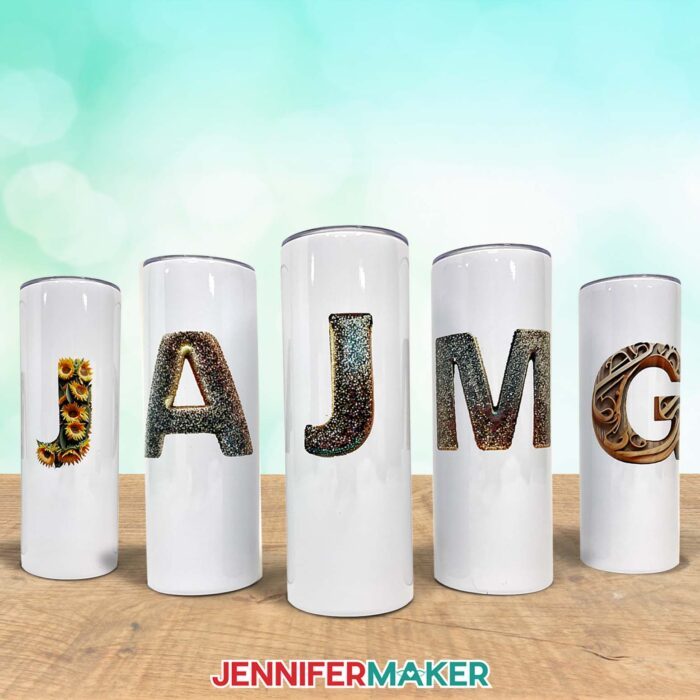
Custom & Ethical AI Art Tumblers
Learn how to create AI Art tumblers with our done-for-you glitter letter designs, and then learn how to create your own AI Art ethically using Adobe Firefly
Materials
Tools
- Adobe Firefly Premium Plan
- Google Account
- Looped Tape Measure
- OPTIONAL: Cup Cradle
- Sublimation Printer - I used a converted Epson EcoTank ET-4700 Inkjet Printer
- Sublimation Ink - I used Printers Jack
- Convection Oven
- Oven Thermometer
- Fan for Ventilation
- Heat Resistant Gloves
- Heat Resistant Tape
- Silicone Pressing Mat
- Butcher Paper
- Scissors -OR-
- Paper Trimmer
- Scraper
- Isopropyl Alcohol -AND-
- Lint Free Cloth
- Pressing Mat
- Shrink Wrap Sleeves if your tumblers do not come with these
- Heat Gun
Instructions
STEP 1: GET OR PREPARE A SUBLIMATION DESIGN
First, download my alphabet designs from my free library – look for Design #699. Alternatively, you can use the Save This Project form near the top of this post and the design link will be emailed to you.
It includes a collection of glittery letters, numbers, and symbols you’re welcome to use! But I’ll also show you how to create them using the Adobe Firefly AI Art Generator.
TIP: If you’re not sure how to download zip files, go to jennifermaker.com/svgs because the steps are similar for PNGs and Google Docs.

NOTE: Since Adobe Firefly is pretty new at the time of this recording, some details and screens might be different when you’re following these steps.
1. Go to jennifermaker.com/adobe-firefly in your Desktop’s browser.
NOTE: As of May 2024, there’s a Free plan and a Premium plan. The Free plan has only 25 credits, watermarks your results, and has other limitations, so you’ll want the Premium Plan if you plan to use this for your craft business. Follow the prompts to sign up for the plan that you prefer.
2. Sign in to your account with Adobe Firefly access.
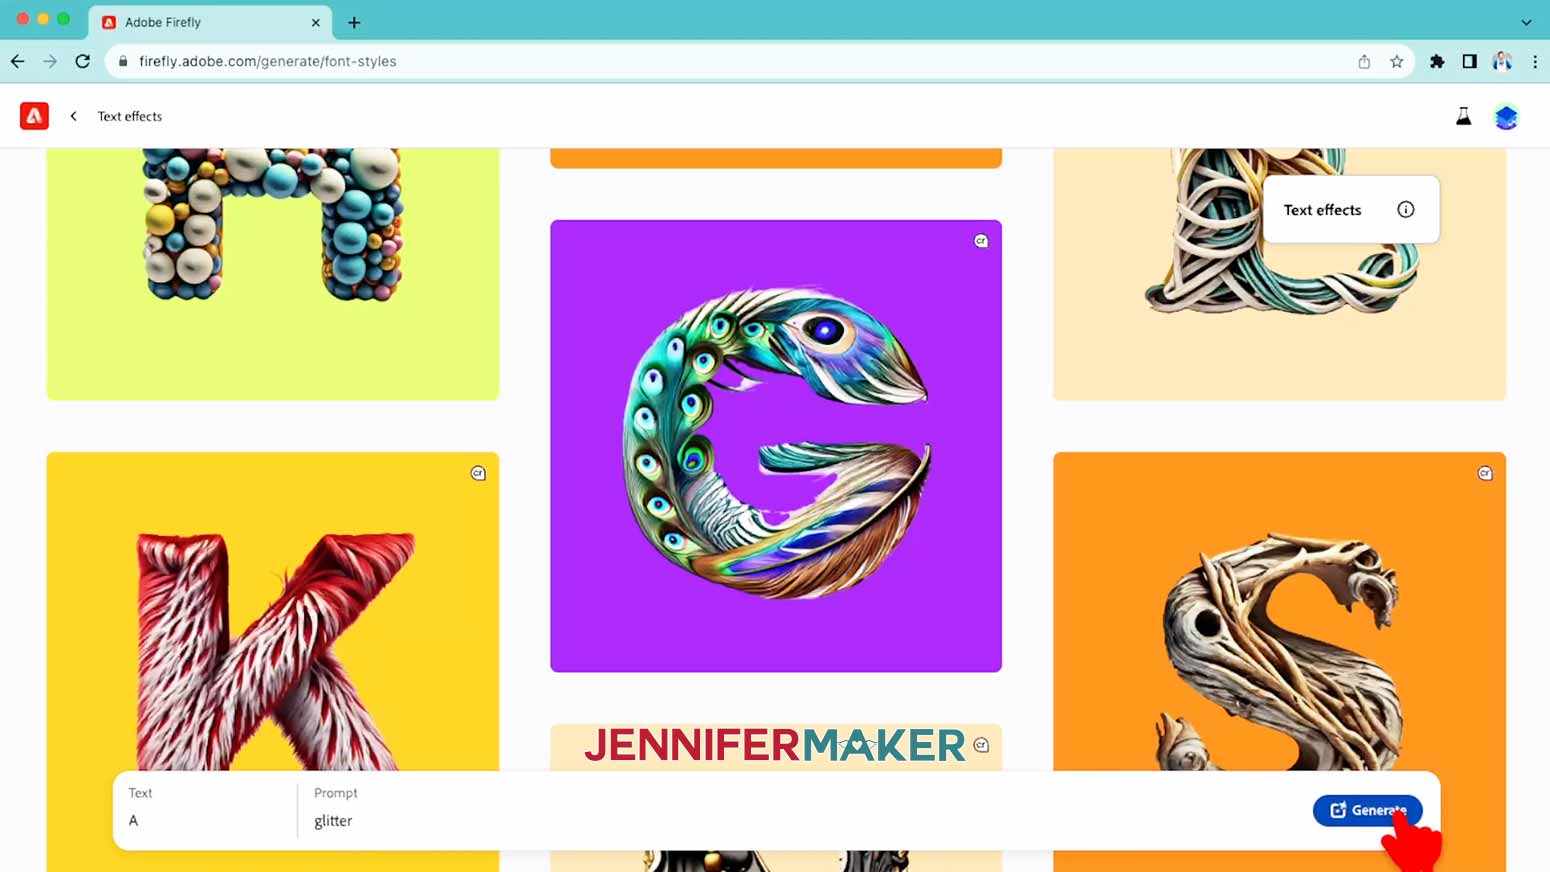
3. Go to firefly.adobe.com and click “Generate” under “Text Effects.”
4. To make an alphabet, type “A” in the “Text” field at the bottom.
5. For the “Prompt” field, describe the look you want. I’ll type “glitter” then click “Generate.”
6. A new screen will load with your results after a few seconds.
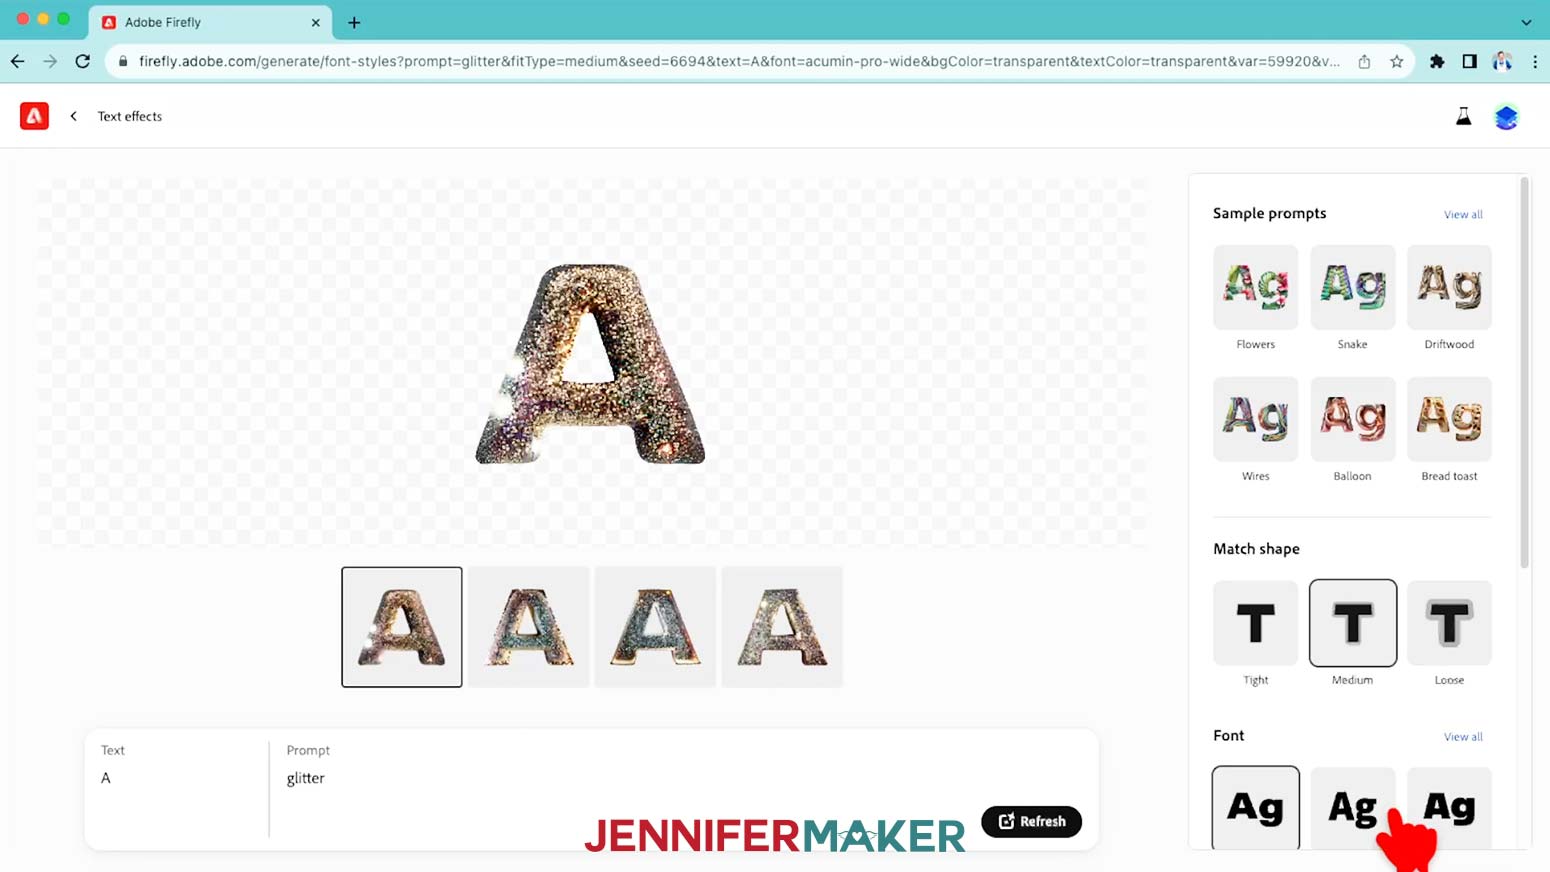
7. Firefly gives us four results by applying the prompt to the text. If you don’t like any of them, click “Refresh” to get new options.
NOTE: Just be aware that in the future, this might take a credit from your account like your first set did. Once the tools start using credits, you can click your account icon in the upper right corner to see how many credits you have.
8. There are some sample prompts and controls to the side, including “Match shape,” “Font” and “Color” options.
9. The “Match shape” section controls how close the effect, in this case glitter, goes beyond the letter’s edges. It defaults to “Medium” where you might see a few pieces in the background.
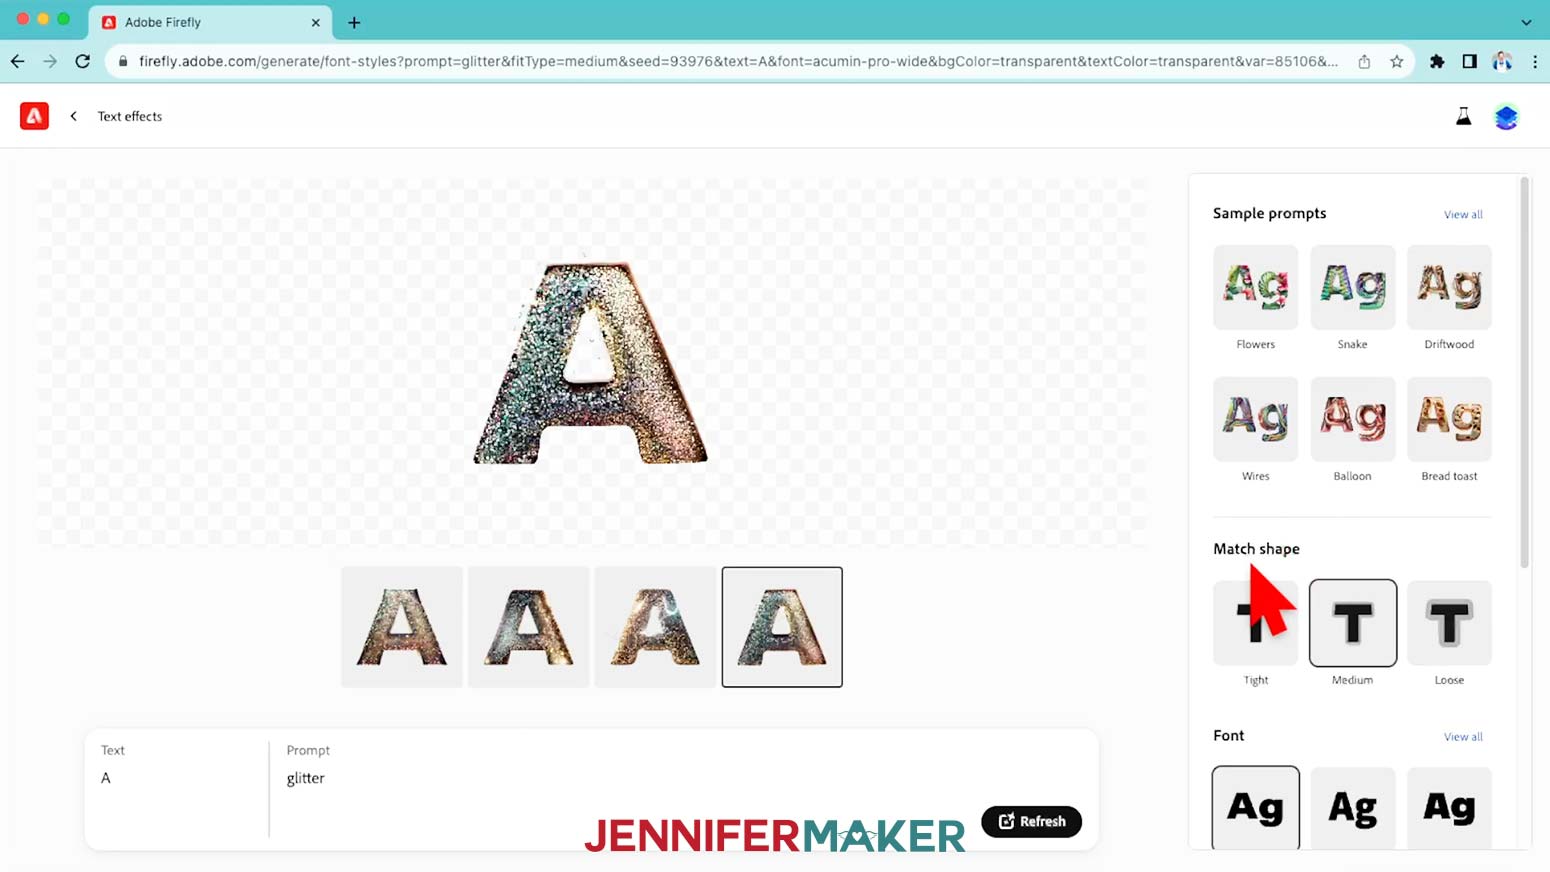
10. Click “Loose,” then the “Generate” button to see the difference!
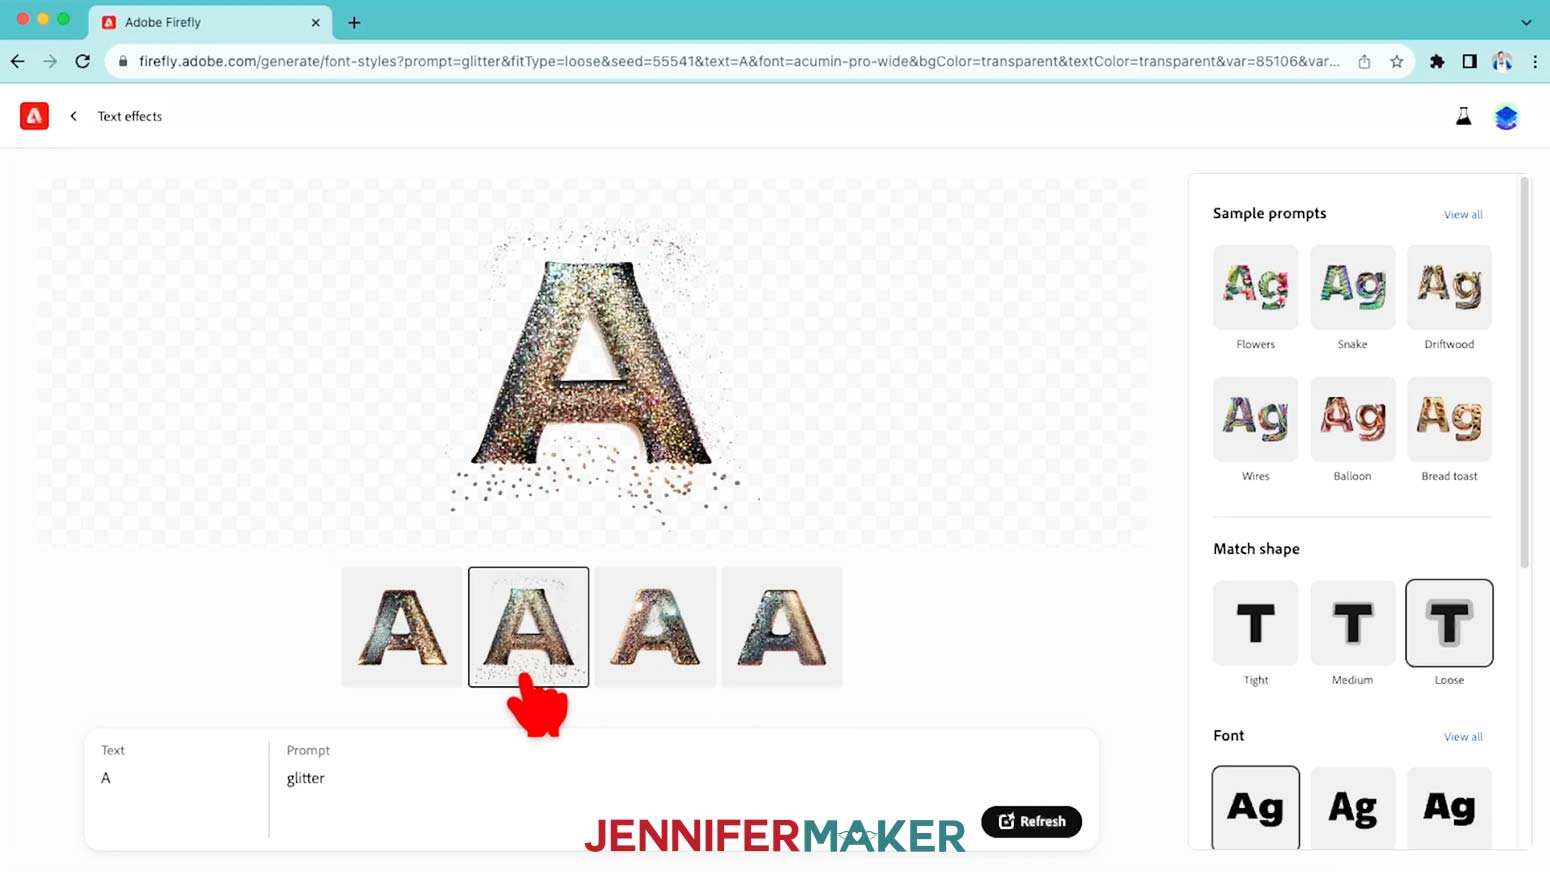
NOTE: I don’t want that because I want my initial to look clean on the white tumbler, but it’s a fun technique to play with! I’ll use “Tight” because that keeps all the glitter within the letter’s boundaries.
11. You can also get different results by selecting another "Font" example like "Cooper" and clicking "Generate."
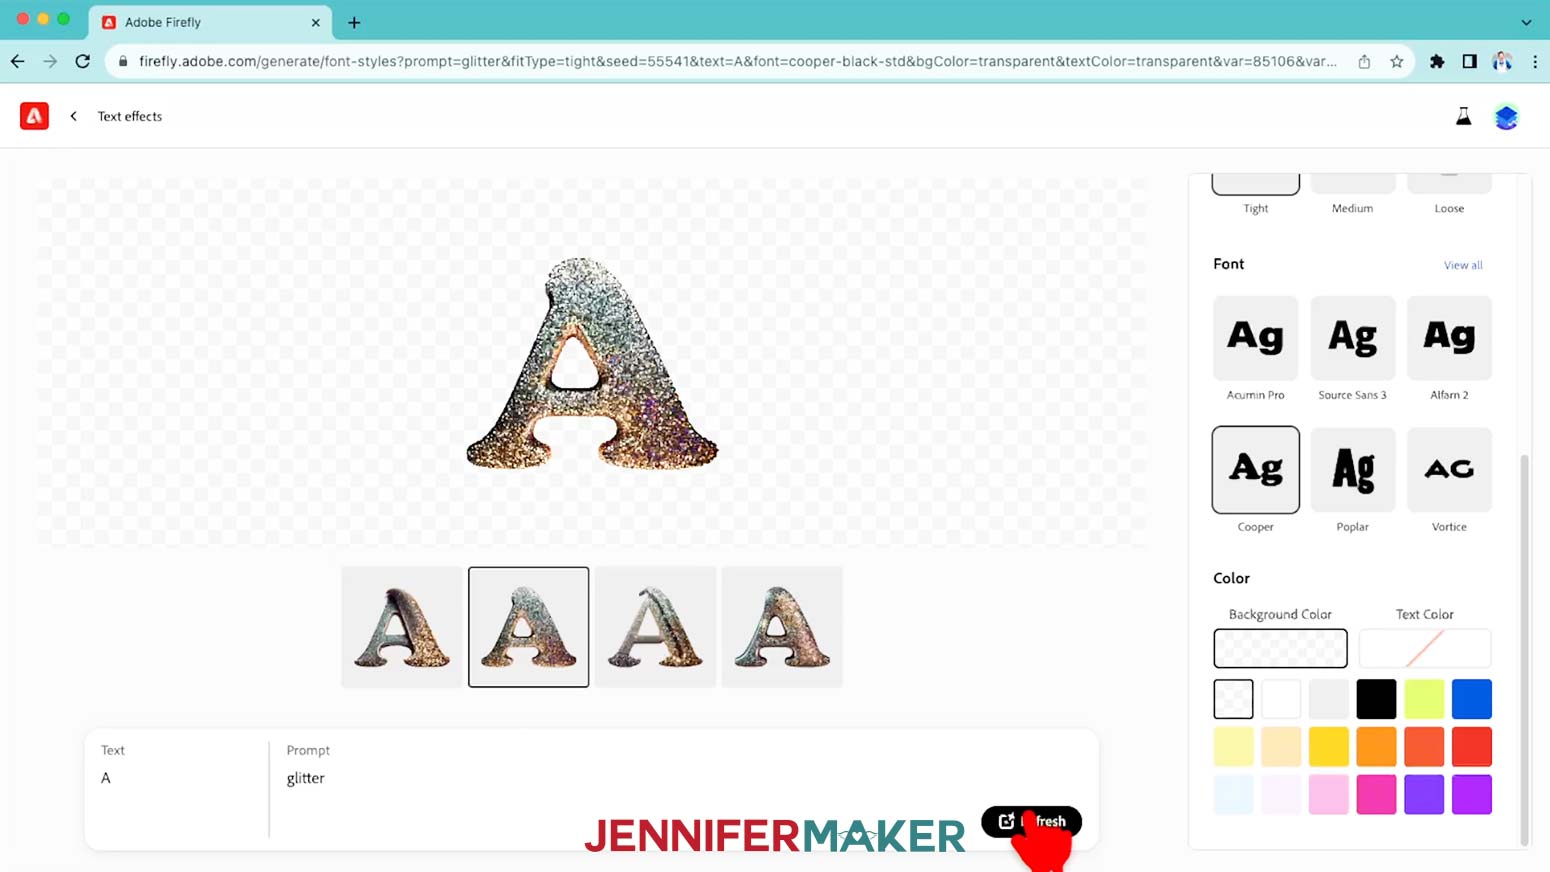
NOTE: But I’m going to stick with Acumin Pro.
12. Under “Color,” change the “Background Color” to white and keep the "Text Color" set to the white box with a red line, meaning you don’t want any color on the letter.
13. When you have the look you want, click the box with an arrow icon in the upper section of the canvas and click “Download.”
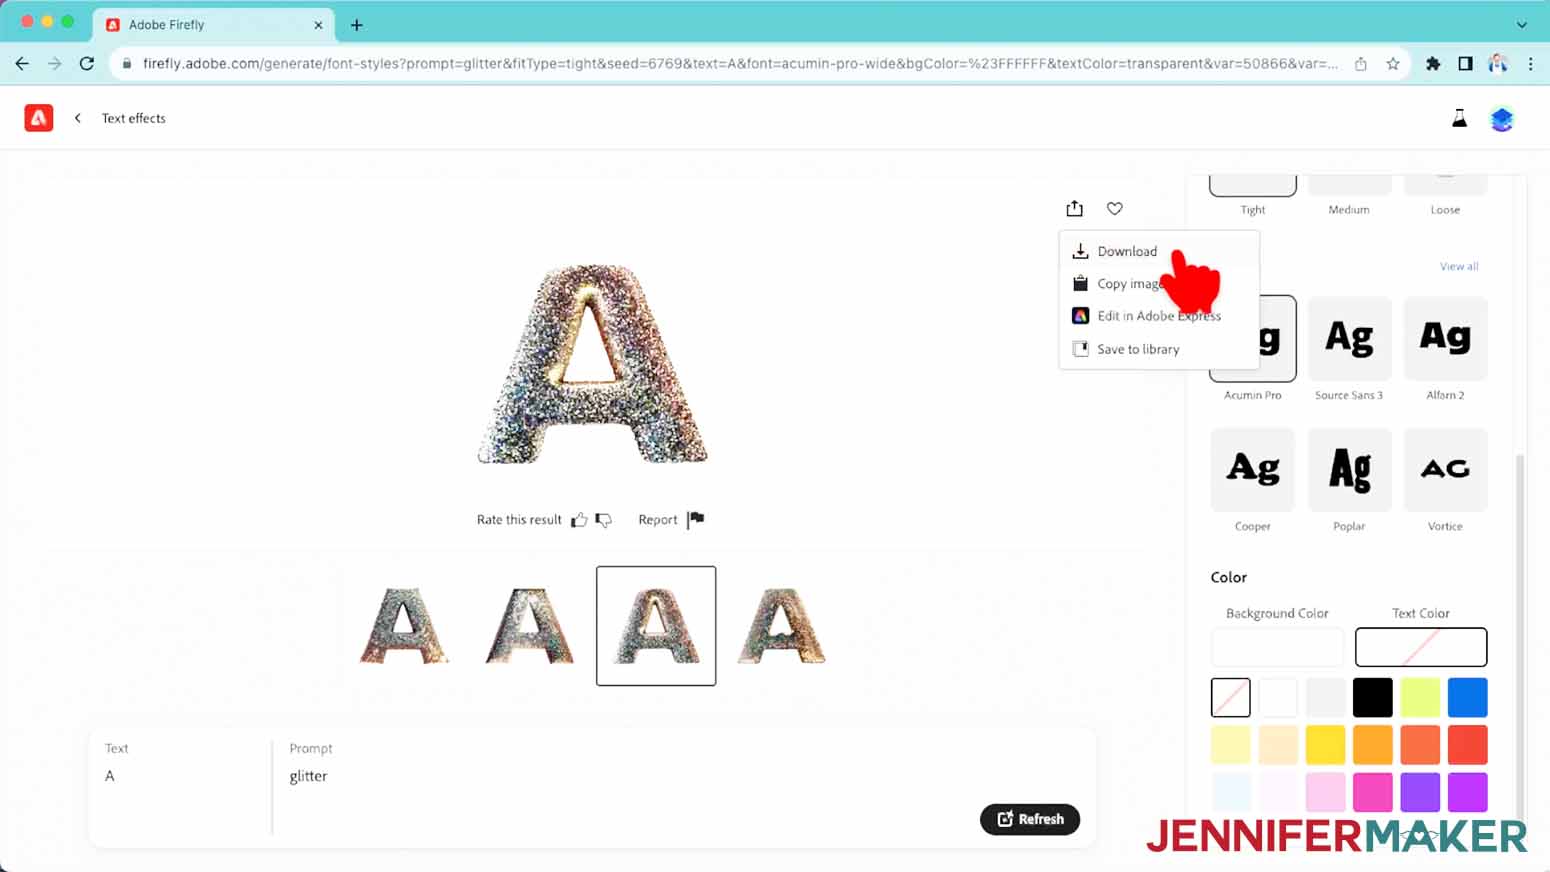
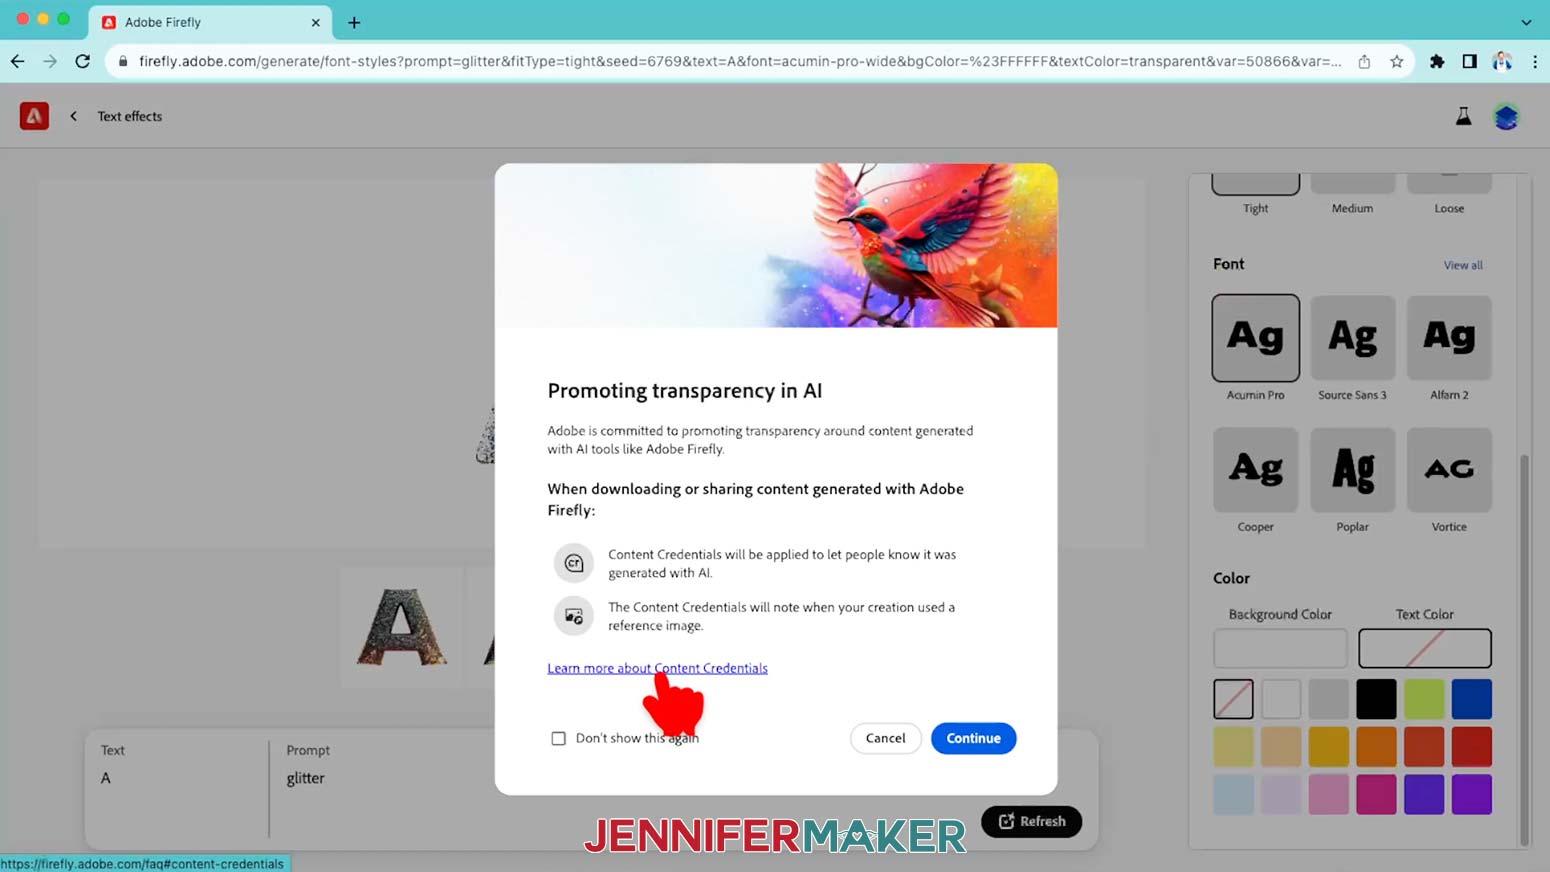
14. A pop-up will show about Content Credentials, which is data Adobe embeds in the download file that explains its AI origin and other details. I recommend reviewing the link for the most up to date information.
15. Click “Continue.”
16. Click “Continue” again and your file will download!
17. To make the rest of your collection, keep the same settings but change the “Text” field to a capital “B” and click “Generate” again.
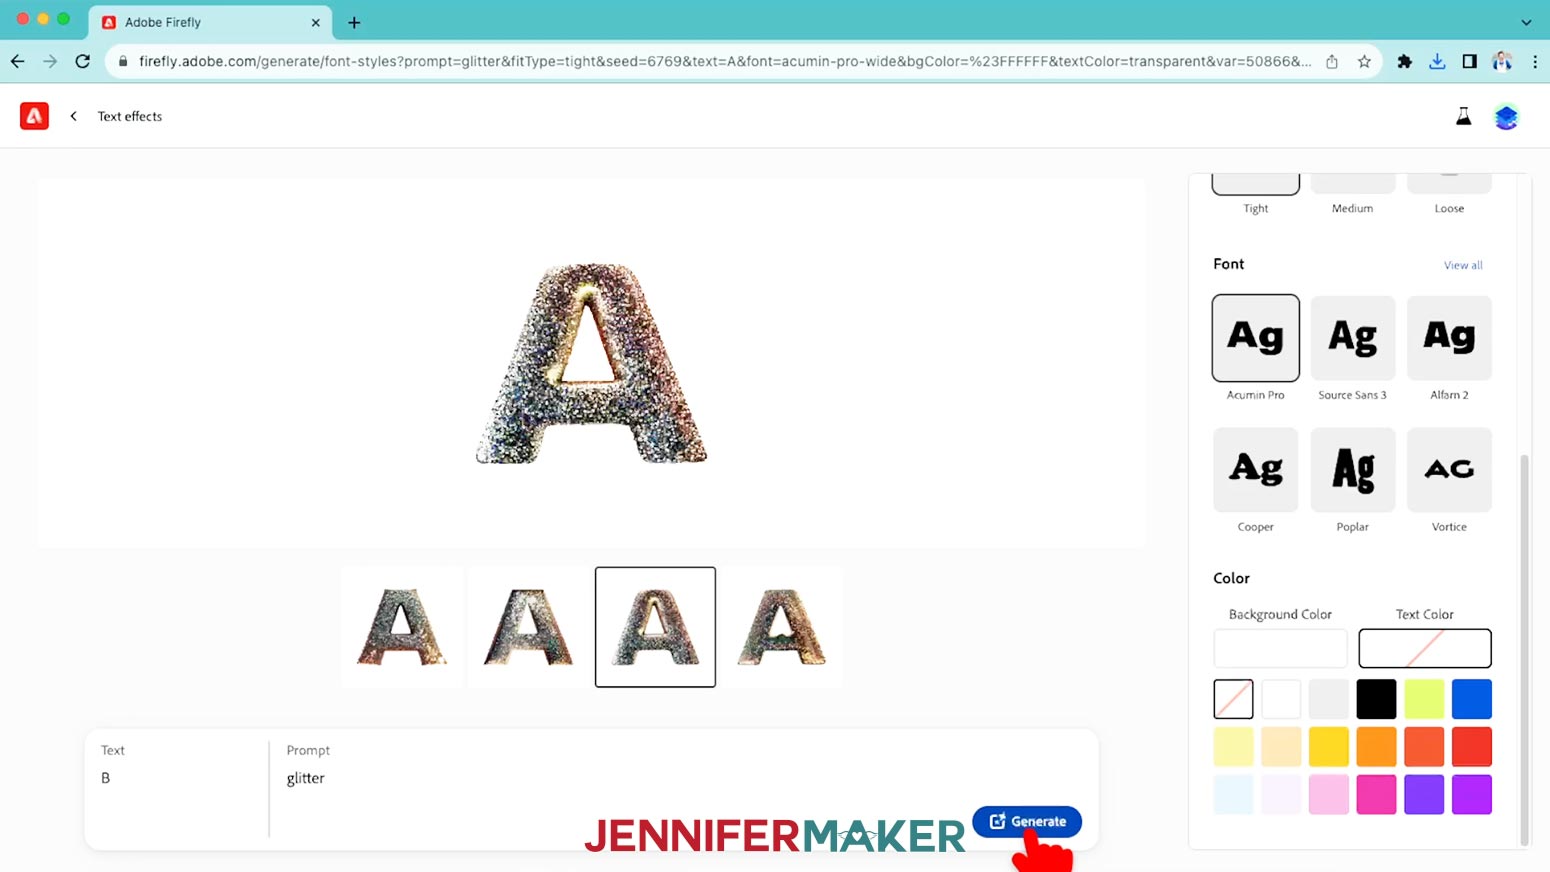
18. Select the one you like the best that looks similar to the A. If you don’t like any of them, click “Refresh” for new results.
19. Download that one, too!
20. Keep going to generate and download all the letters, numbers, and punctuation symbols you want!
NOTE: The punctuation marks did give me some weird results, so you might have to adjust your settings or click “Refresh” to try again.
STEP 2: PREPARE AND PRINT YOUR SUBLIMATION DESIGN
1. I’m using 20 ounce skinny tumblers, but it’s always a good idea to measure your blank before sizing your design.
2. The looped tape measure is helpful. Just feed the small edge through the window like a belt, then put it around the tumbler. You can place the tunbler in a holder to keep it still.
3. Carefully pull the edges away from each other, keeping it straight and make it tight! The number at the arrows is your circumference!
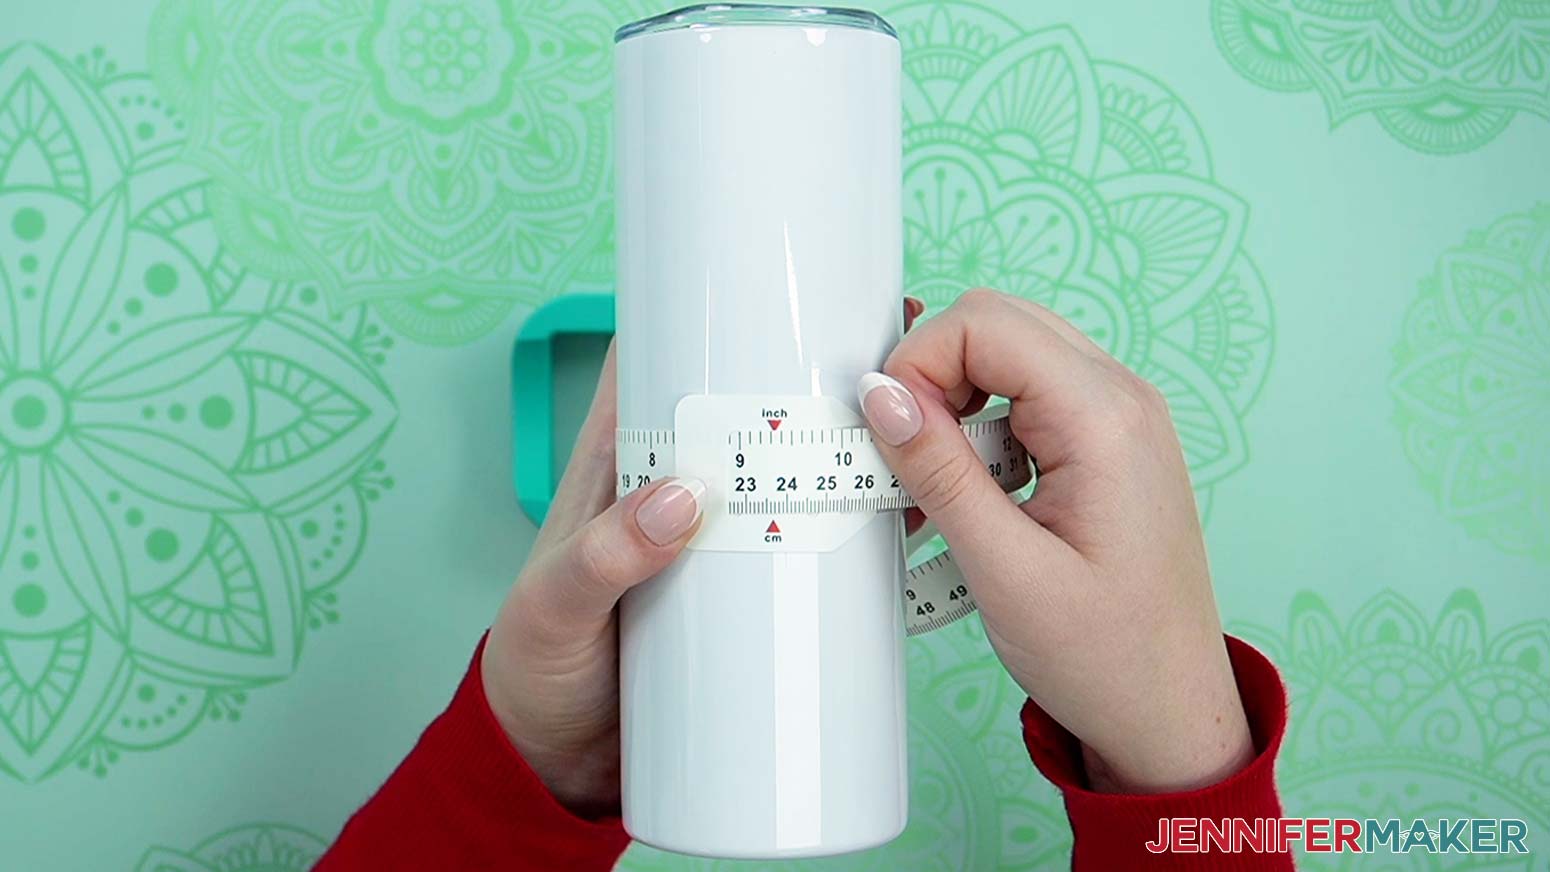
4. Since we’re making a statement design without a seam, we want the initial to be legible without needing to turn the tumbler much. If it’s too wide, the design will wrap around too far.
5. If you want to see the initial without rotating the cup, measure just part of the curved surface. Take the tape off the tumbler, undo the loop, and look straight down on the cup.
6. Place the tape’s arrows at one side where you want the design to start, then curve it straight across the cup horizontally.
7. Pick the number to the right where you want the design to stop. I want my letters to be 3.5” wide at the most!

8. Then, use the tape to measure the height just in case yours is different from mine.
NOTE: Keep it straight and don’t include any area without the sublimation coating, like a metal lip. Mine is 8" tall.
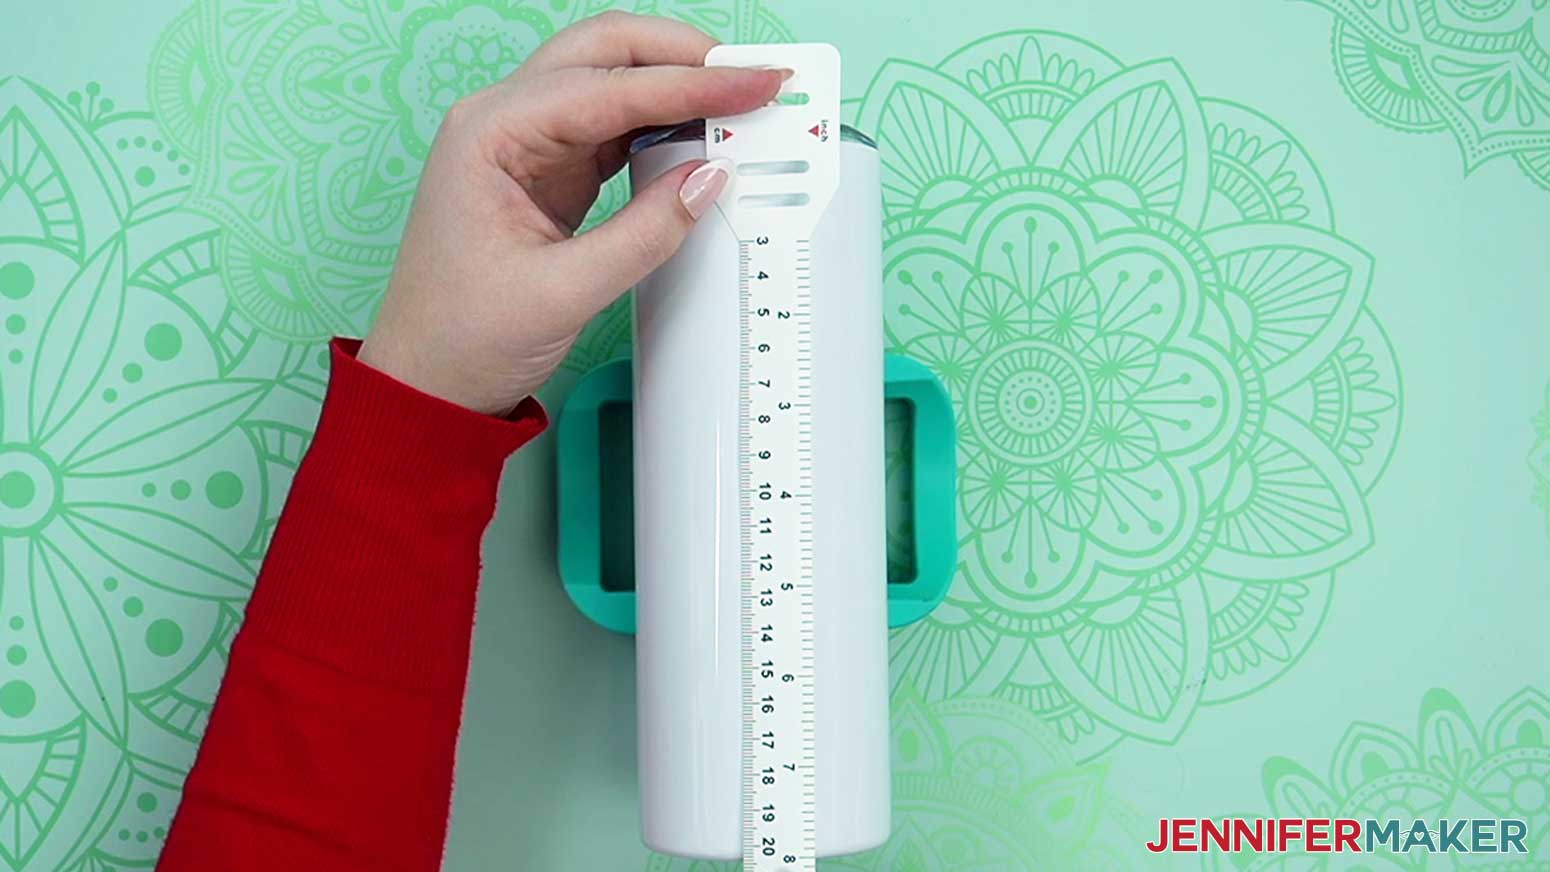
9. Estimate how tall you want the design to be by measuring your target area. About 3.5” tall looks good!
NOTE: You can use your preferred tool to prepare a few initials for print sublimation, but I like Google Docs.
10. Open Google Docs in the Google Chrome web browser.
NOTE: I prefer to use the browser over the app, since mobile devices can’t work with printer profiles and other helpful features. Google Docs is free, but you will need a free Google account to use it.
11. Click on "Blank" to open a new document.
12. Go to the "File" menu and select "Page Setup.”
13. Under “Orientation” select “Landscape. This will allow us to print three letters on one page plus make placement easier.
14. Change your margins to “Zero” and your Paper Size to match your sublimation paper size. Mine is 8.5”.
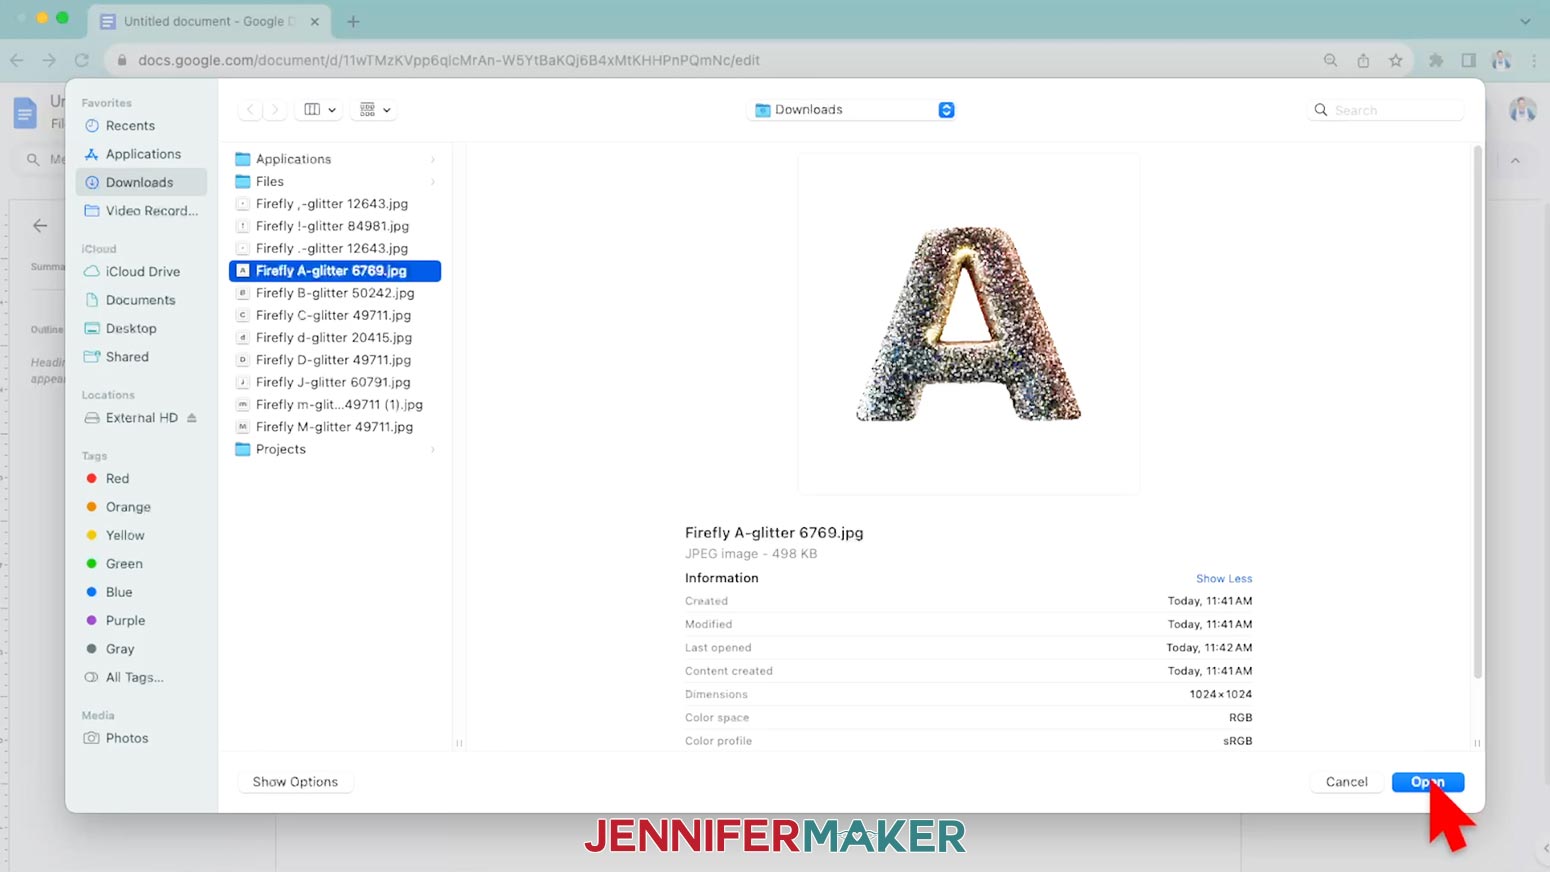
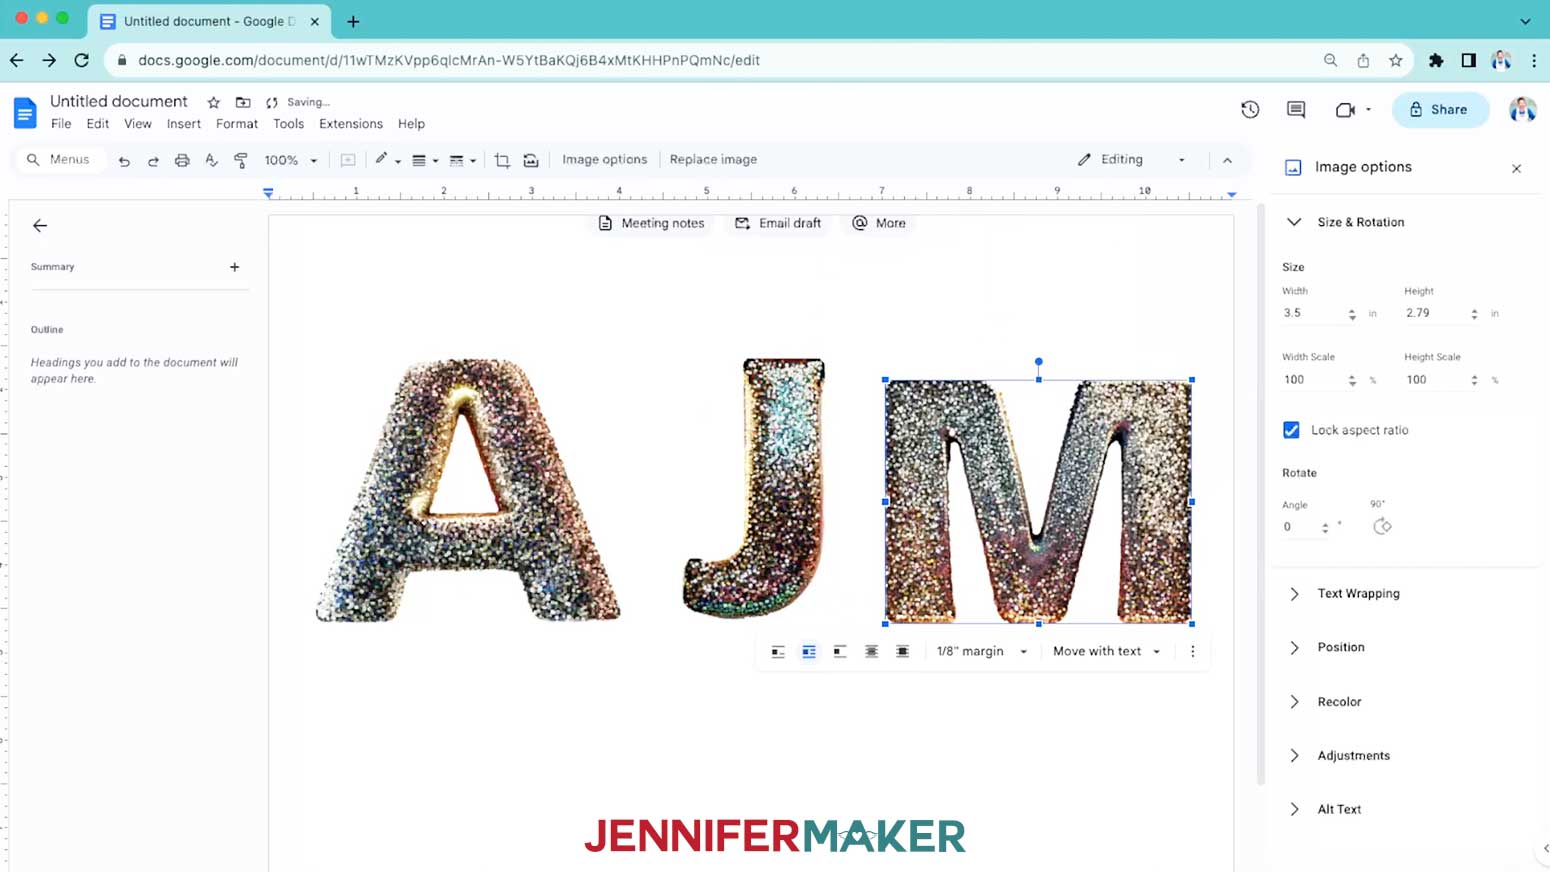
15. Go to the "Insert" menu. Select "Image", then select "Upload from Computer.”
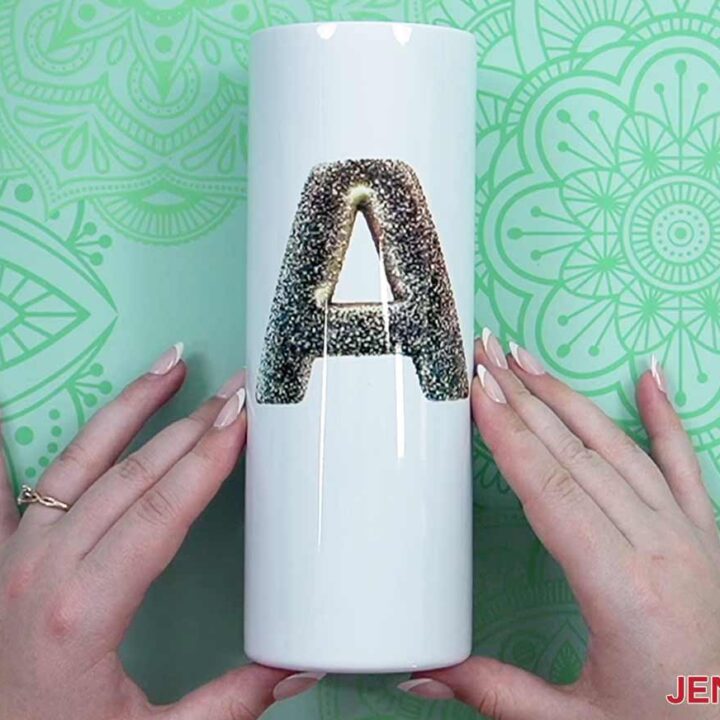
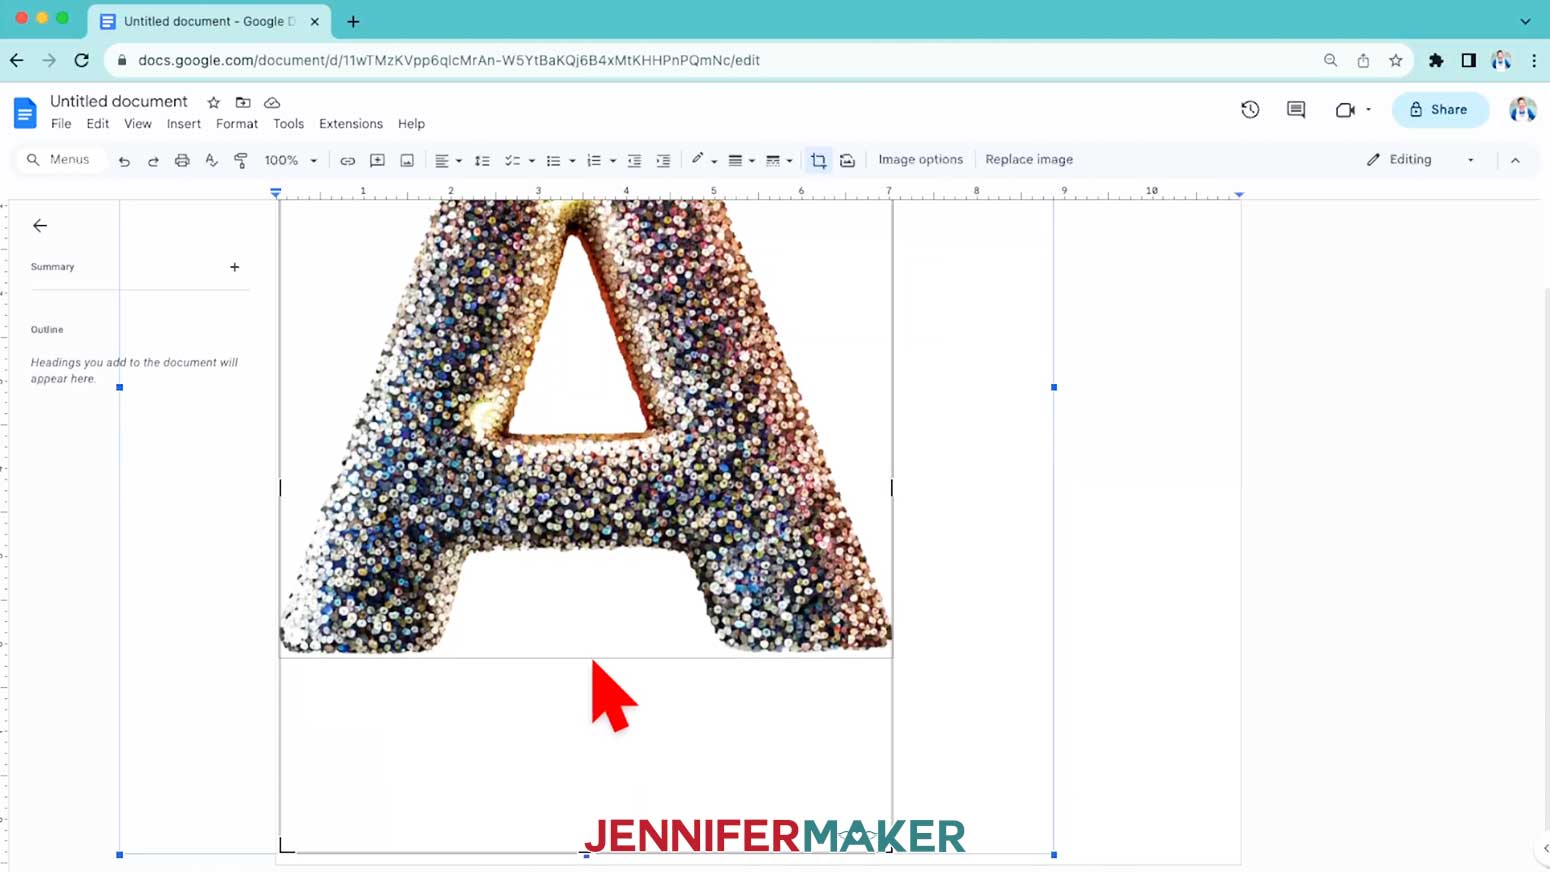
16. Locate the letter PNG you want to use from the folder you downloaded. I'll start with the A for Alexa.
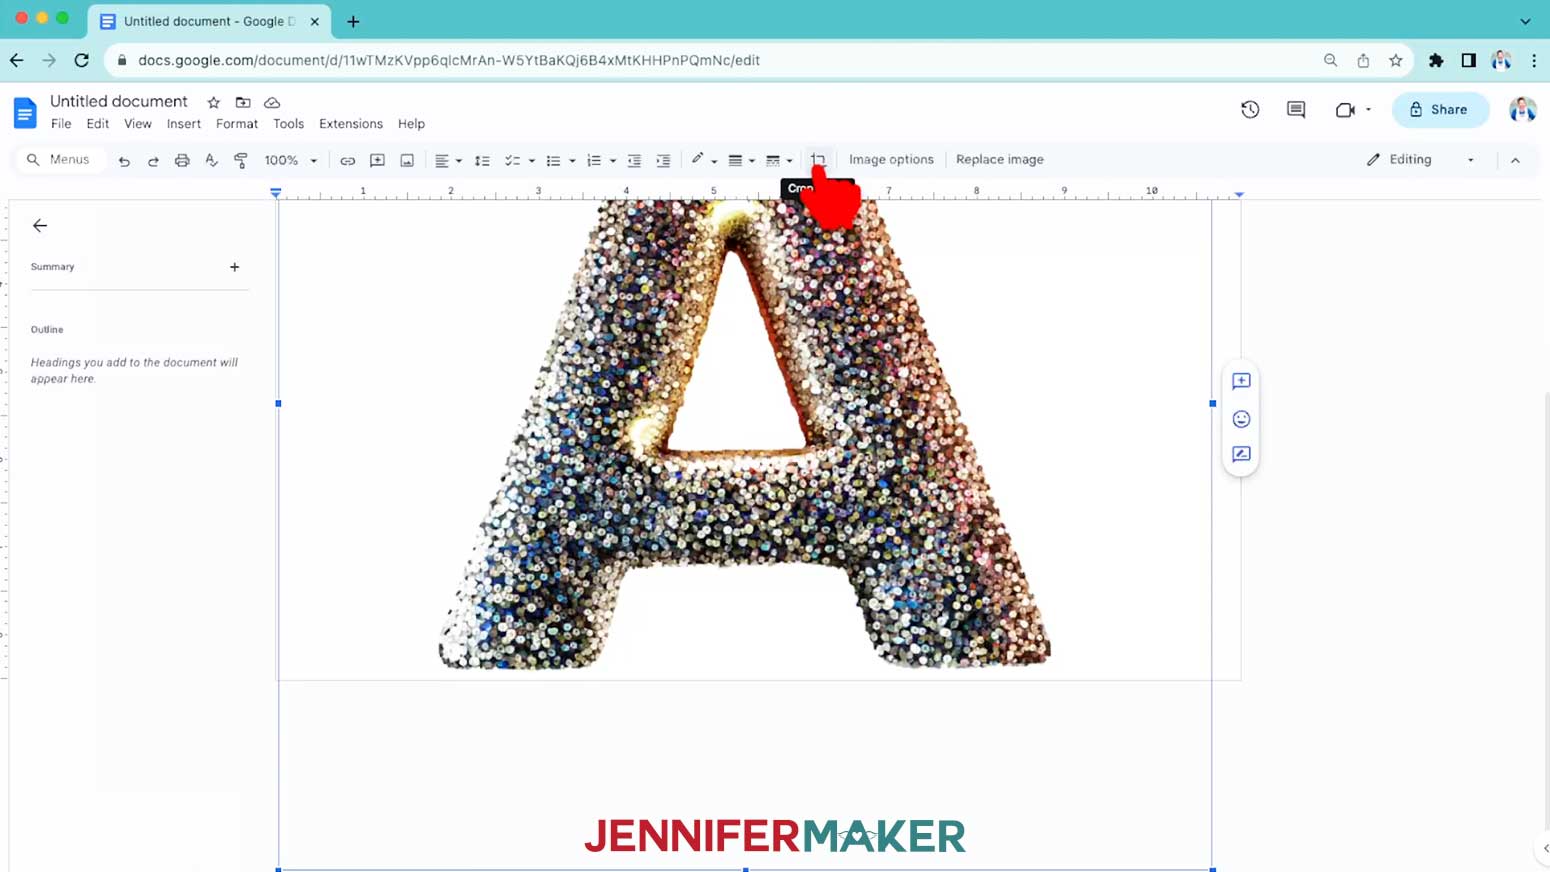
NOTE: First we’ll use the crop tool to get rid of the extra white space so we can control the letter’s dimensions directly.
17. Click the design, then select the crop icon in the tool bar, which looks like a square with some extra lines at two corners.
18. Hover your cursor over the top of the bounding box where there is a black rectangle. Your cursor will turn into an arrow.
19. Click and drag down to see a thin line where the cropping will happen until you’re almost at the top of the letter.
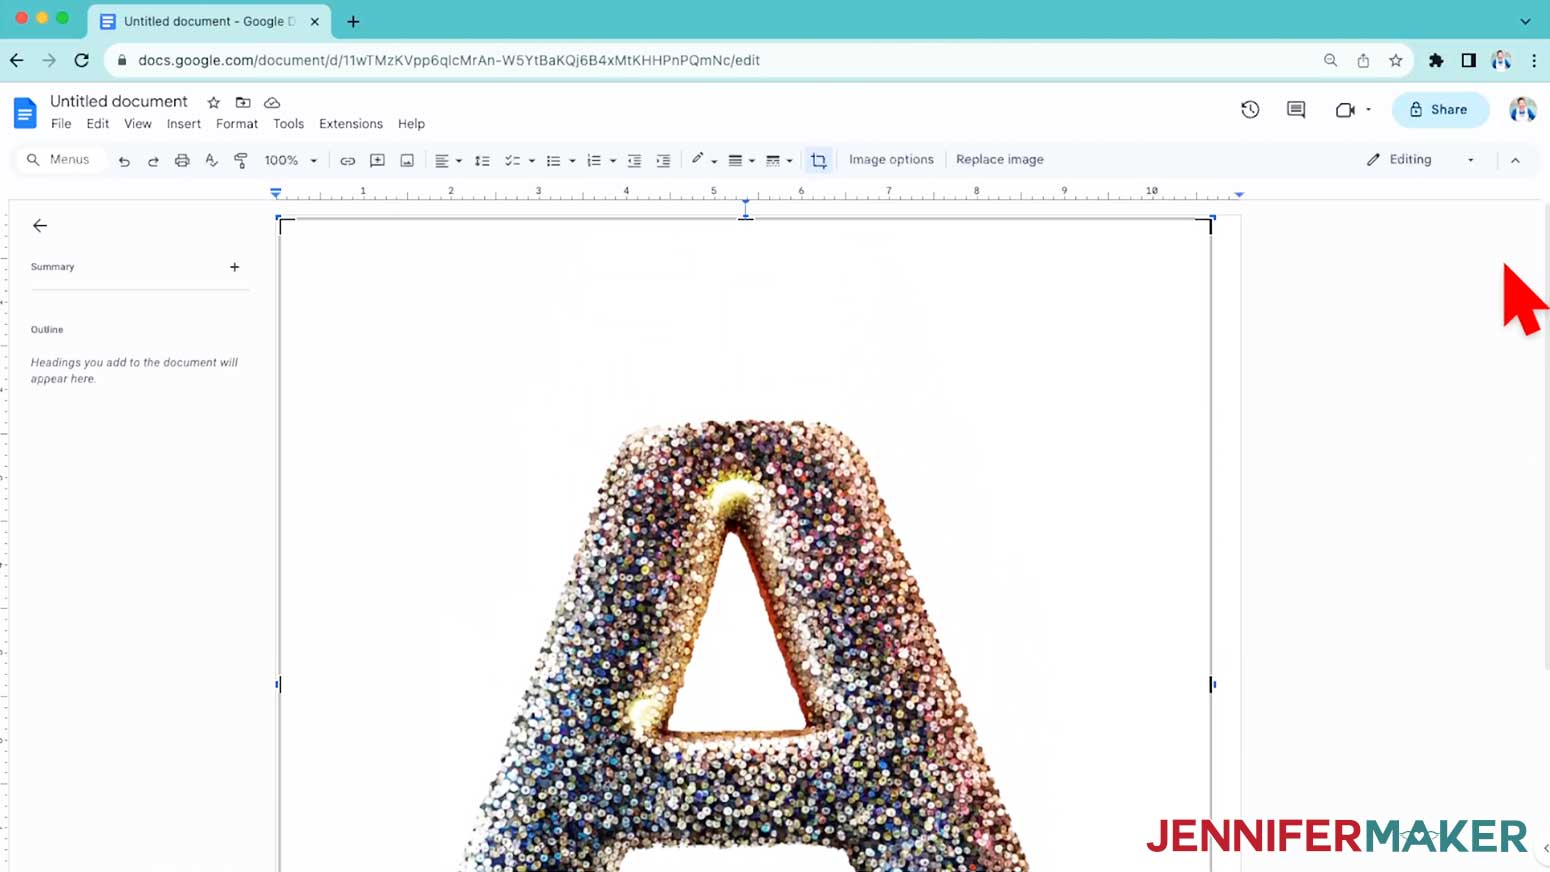
20. Release the mouse and your design will change so there’s very little white at the top!
21. Use the same steps to crop the excess white area on the other three sides.
22. Then press "Enter" or "Return" to accept the cropping.
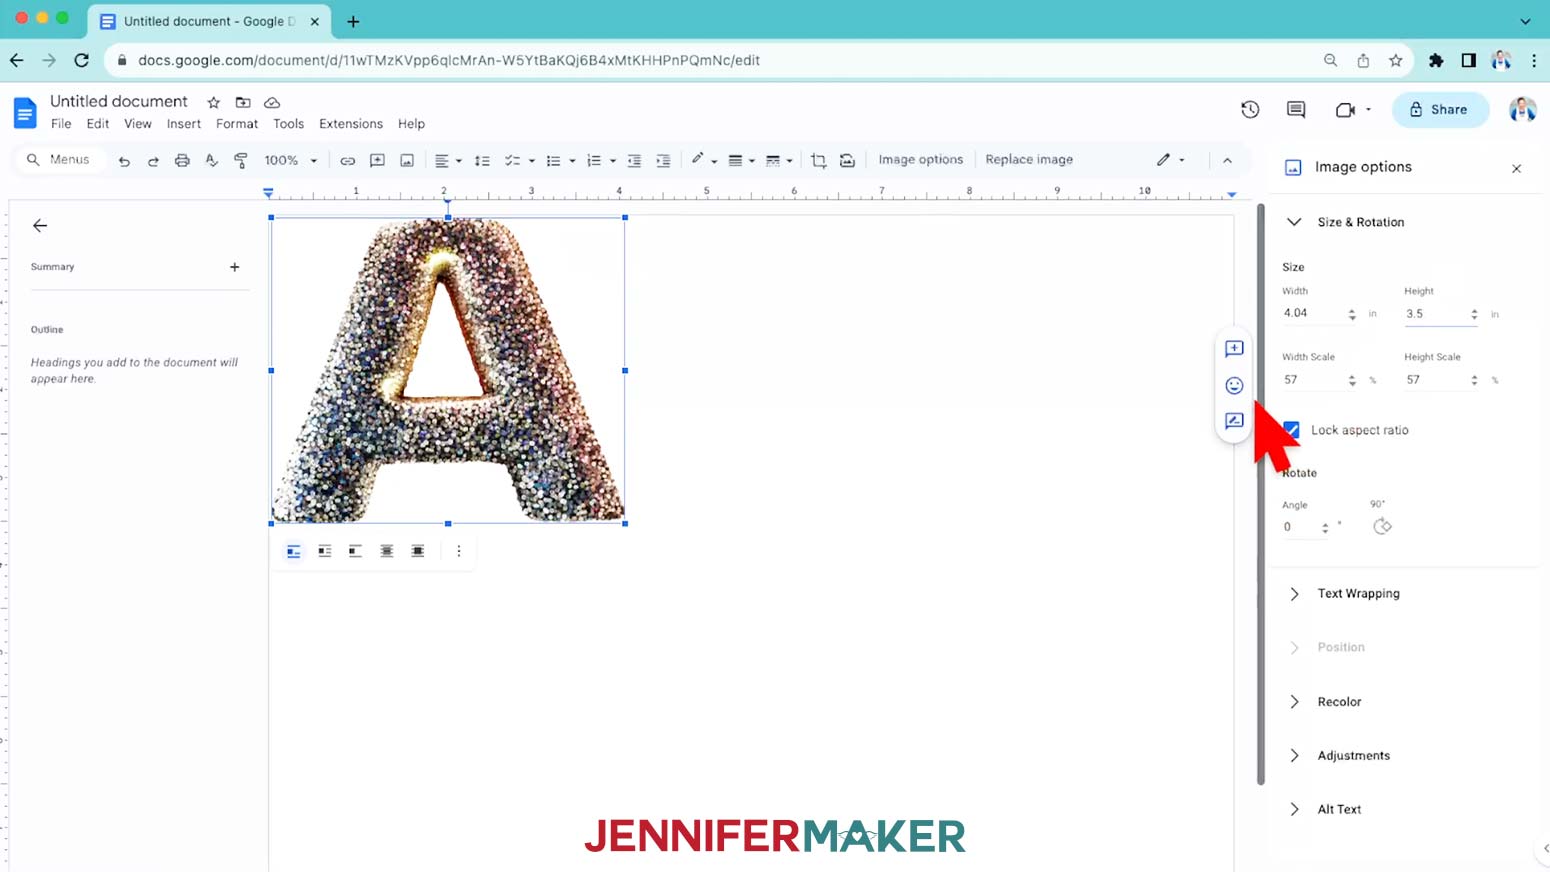
23. To resize the letter, right-click the image, then select "Image Options.”
24. Make sure the "Lock aspect ratio" box is checked, and change the Height field to fit your design area. I’ll make mine 3.5” tall.
25. To add two other initials without overlapping, select the A, then click the “Wrap Text” icon at the bottom.
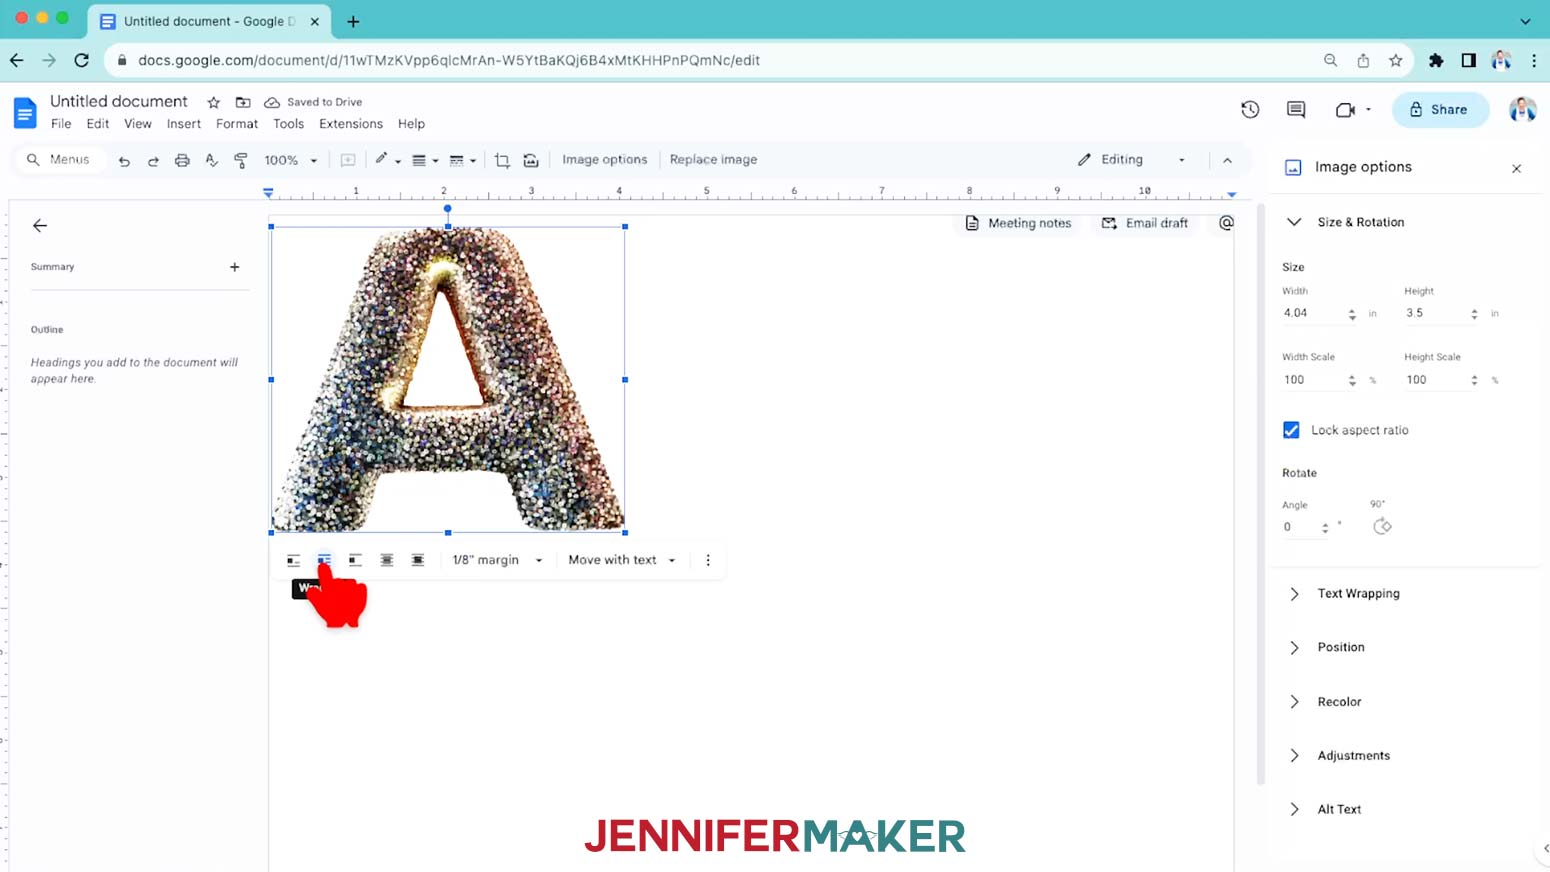
26. Click “Insert” to add another letter and resize it the same way, so it sits next to the “A.”
27. Remember to select the “Wrap Text” icon at the bottom of the letter.
28. Add your final initial the same way. I’ll add an M.
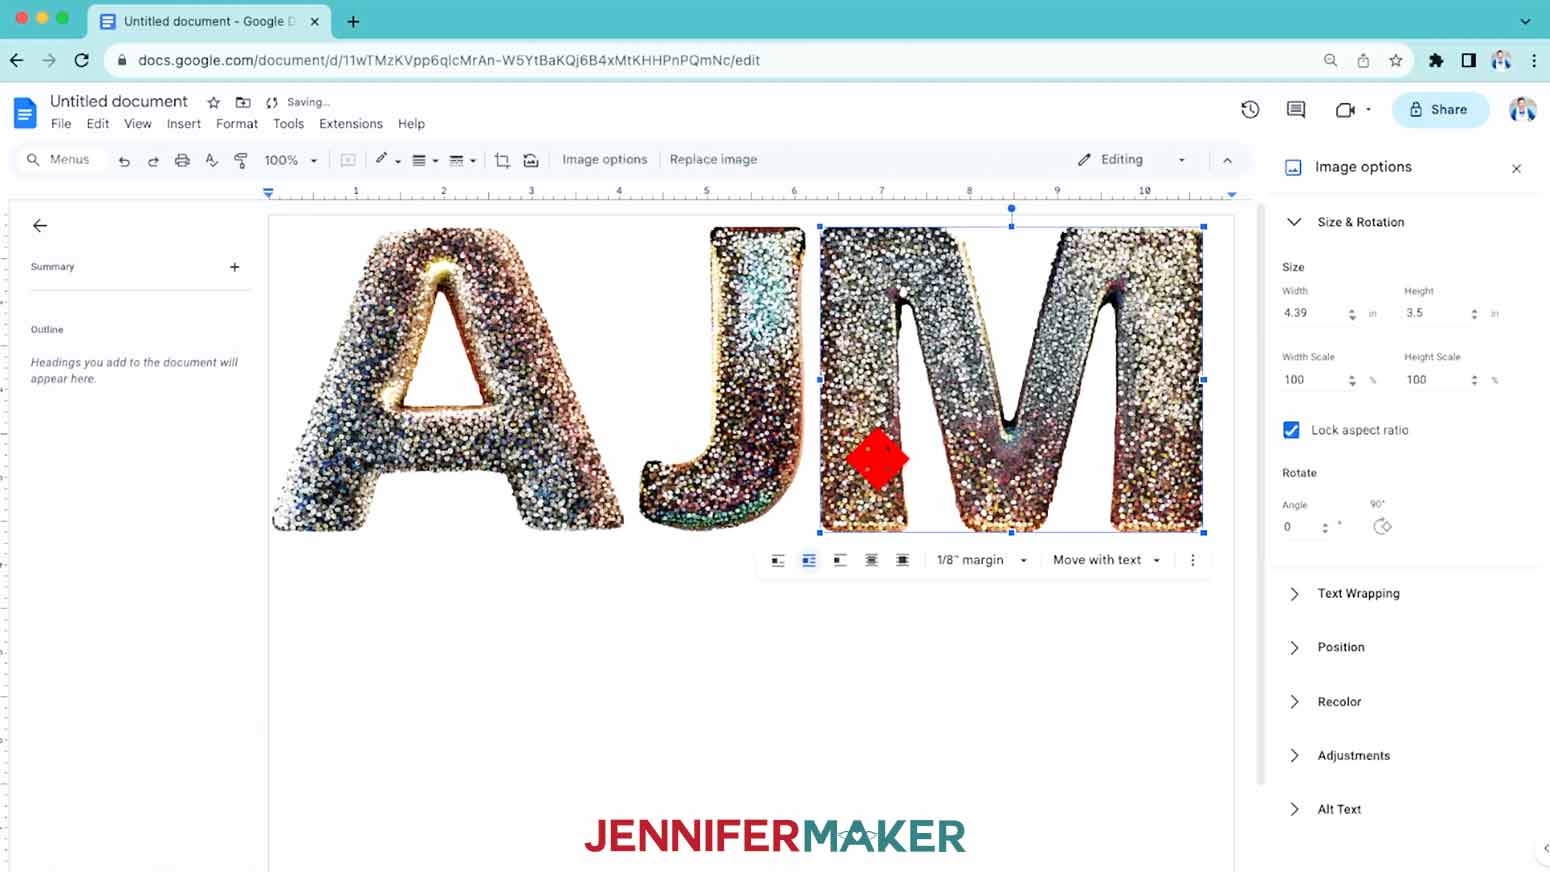
TIP: Even though they’re the same height as the J, the A and M look like they’ll wrap too far around the tumblers. If you want to check, print the designs on plain paper, trim the edges, and tape them face up on your tumblers. You can get a sneak peek without using up sublimation supplies!
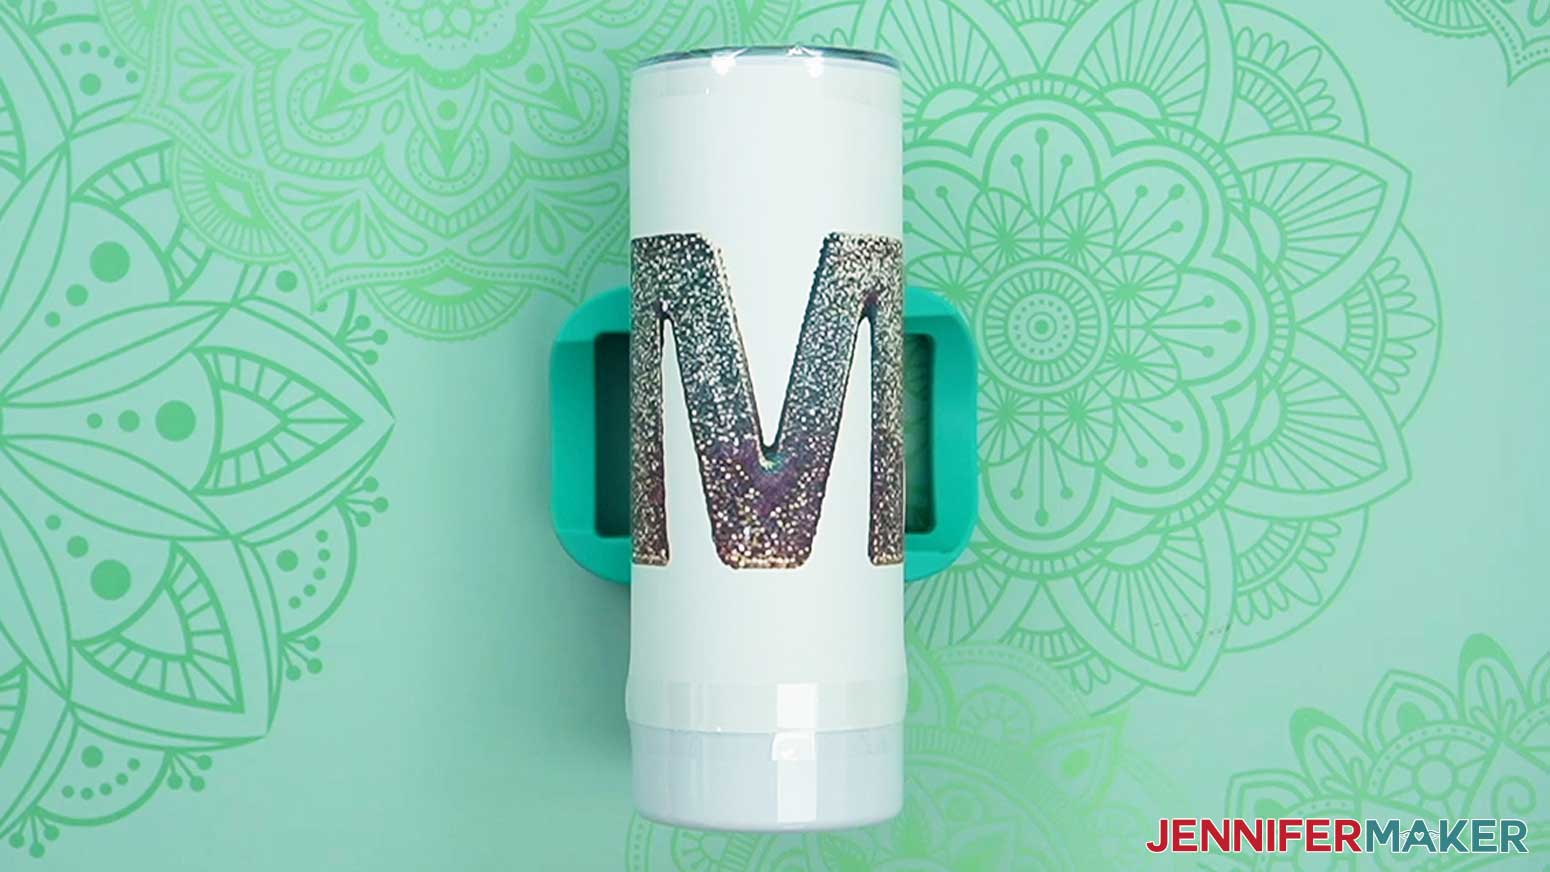
29. I’m going to make the A and M designs 3.5" wide because I want the letters to be legible without turning the tumblers.
30. Also, making the J closer to 3" tall looks more cohesive.
31. Then, select each letter one at a time and use your left and right arrow keys to even out the white space in between them.
TIP: We’ll use the paper’s height and straight top and bottom edges to help align each design on a tumbler, so making columns like this works well.
32. Click each letter one at a time and move it to the paper's middle using your down arrow key. Try to line up the bottom edges to make the results cohesive.
33. Click “File” and “Rename” to save your work, and you’re ready to print!
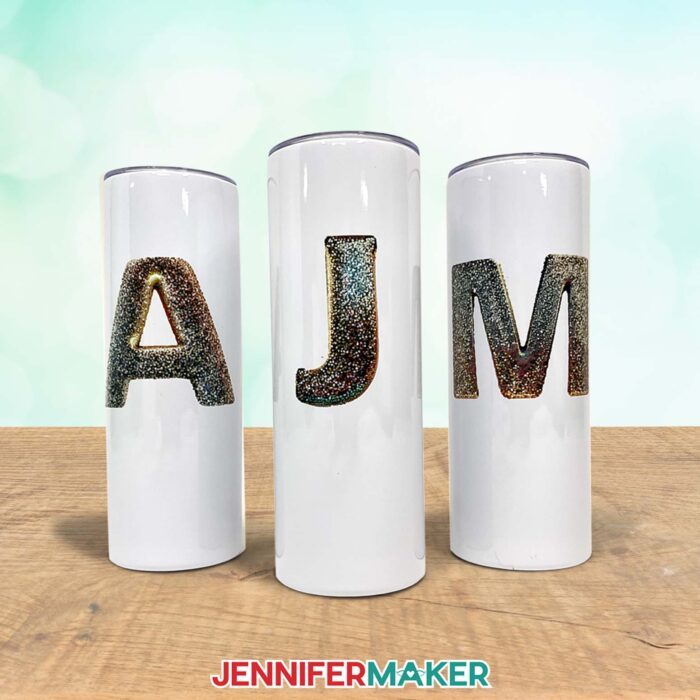
(rename A-J-M-AI-Art-Ethics-tumblers-jennifermaker)
NOTE: There are so many printer, software, and device combinations, your setup or preferences may be very different from mine. But you can reference the steps in my Sublimation Design Printing tutorial that best fit your printer. Just remember to mirror or flip your design, print at high quality, and load your sublimation paper correctly!
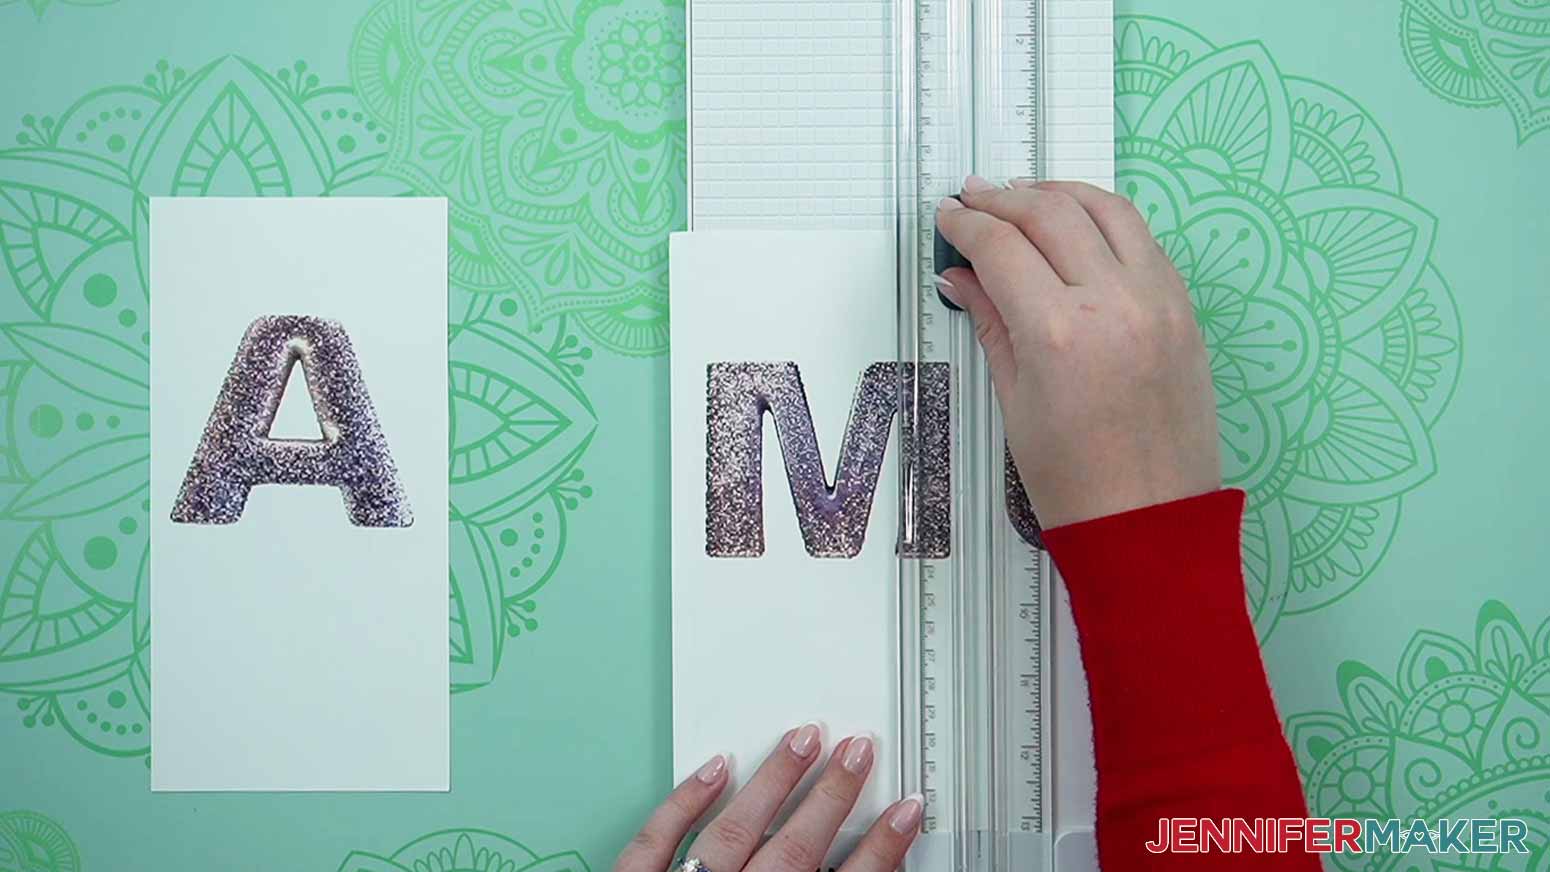
34: Here’s how my printed initials look!
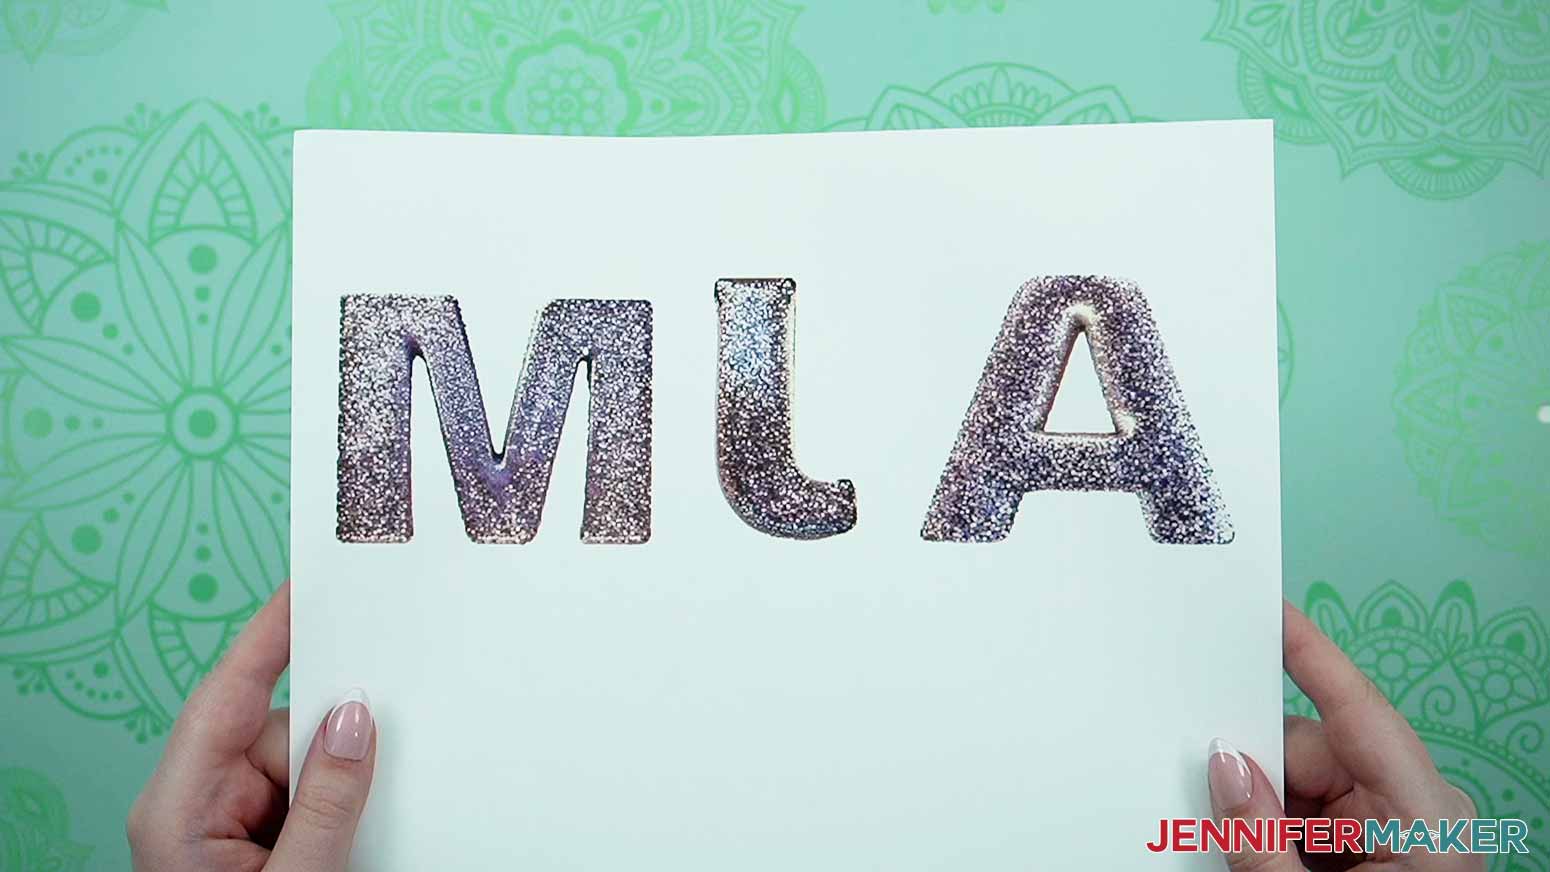
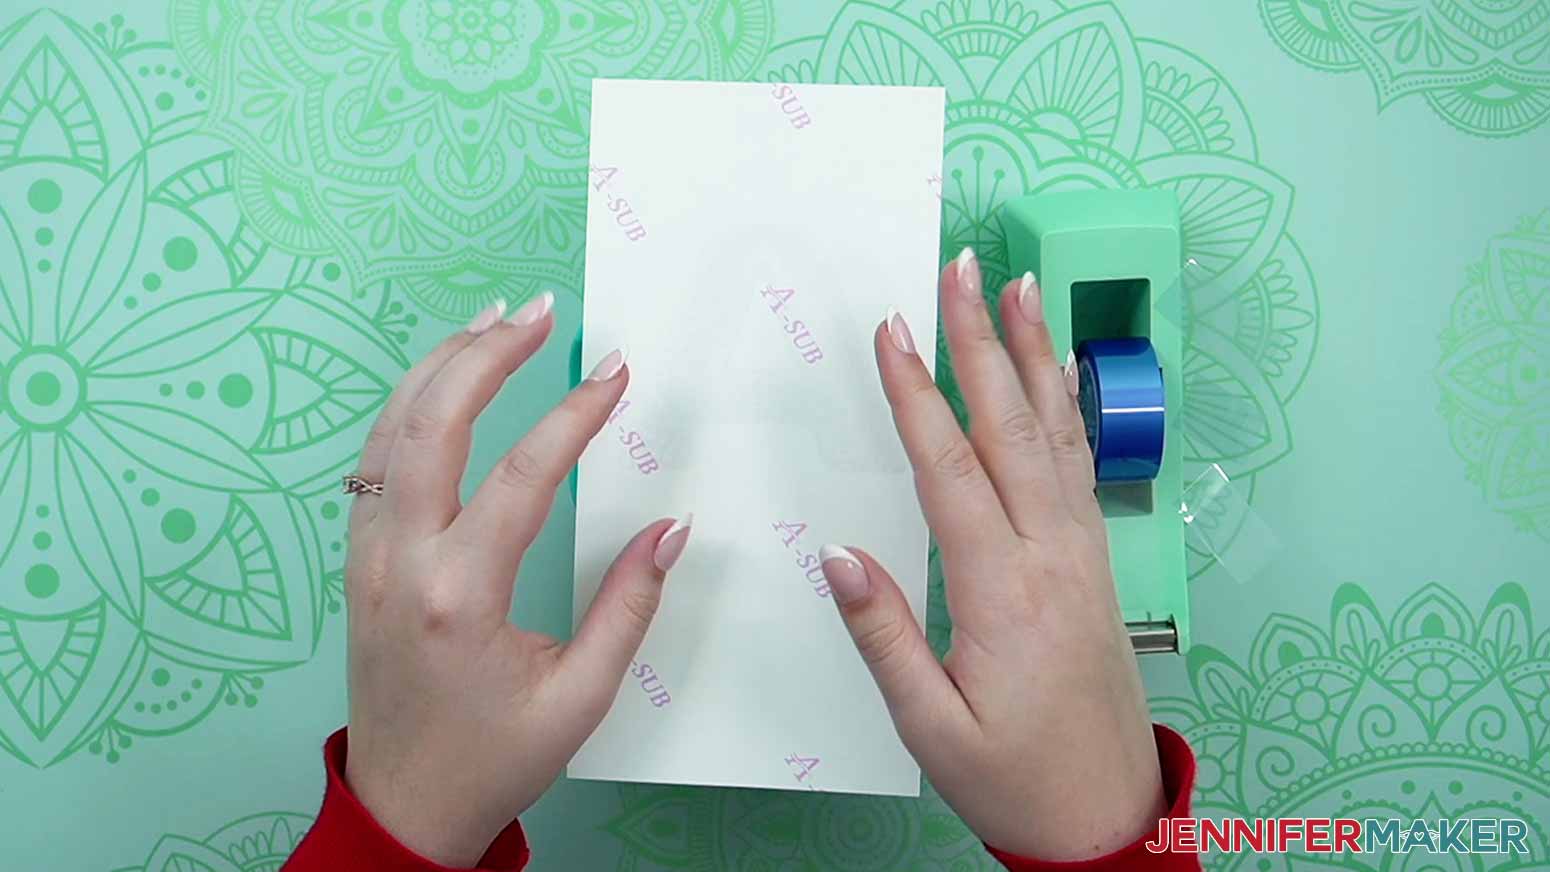
35. Once your print is complete and dry, use a paper cutter to separate the letters into 8.5” tall rectangular designs. Try to cut them with even white space between each initial and keep the cuts straight.
STEP 3: PREPARE YOUR PRINT AND TUMBLER FOR SUBLIMATION
1. If you haven’t already, take the cover off the tumbler so you can easily reach inside the cup and it won’t melt!
2. Then, use a lint-free cloth with some rubbing alcohol to clean the tumbler for a better transfer.
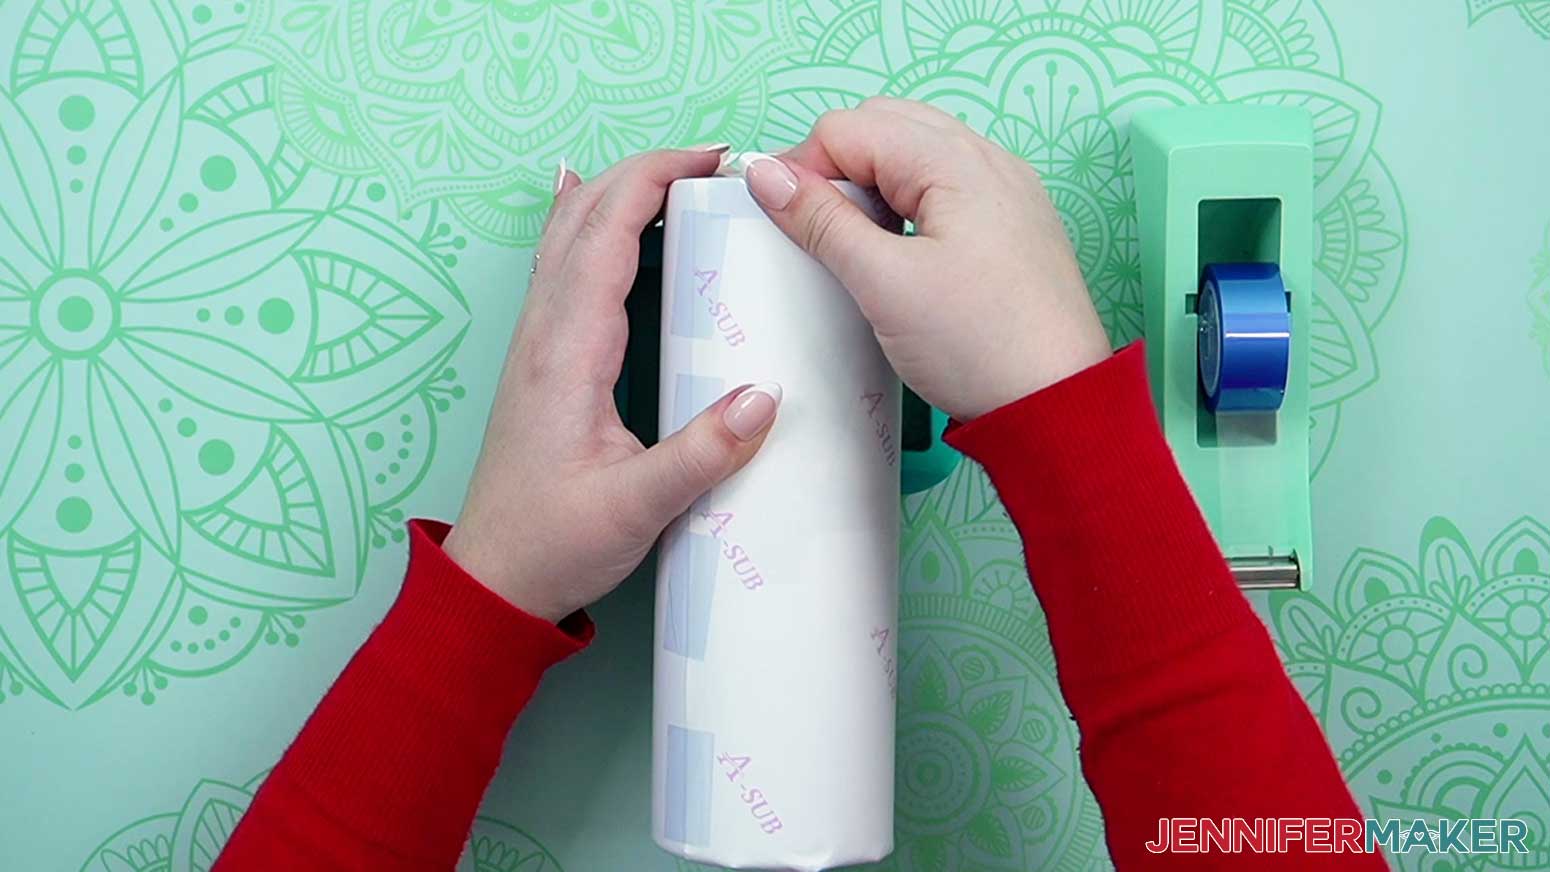
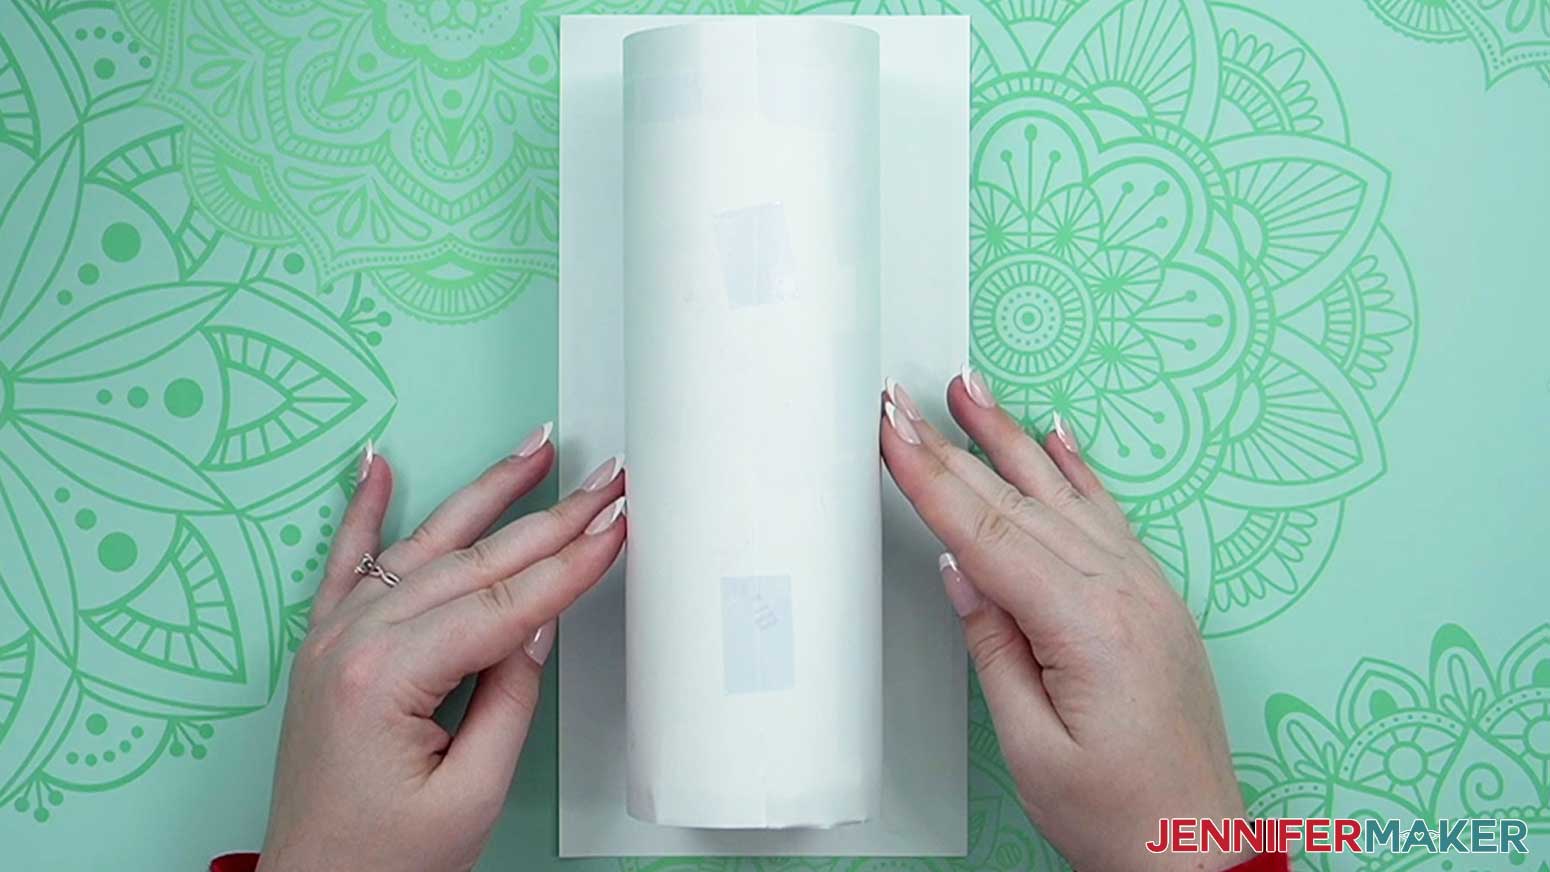
3. Place the sublimation print face up on your work surface so the upper edge is at the top. I’ll start with the A.
4. Grab your heat resistant tape and cut a few pieces that you can easily pick up.
5. If you have a tumbler holder, this is a great time to use it!
6. Place the tumbler in the holder or on your work surface with the opening at the top.
TIP: If there’s a spot that seems like the back, keep that section down.
7. Hold the design face down over the tumbler. Make sure the print is correctly oriented, especially since it has a letter!
8. Line up the paper’s top edge with the sublimation section right below the tumbler’s lip. Make sure it’s straight, because this is how we’ll keep the letter straight, too! Tape it.
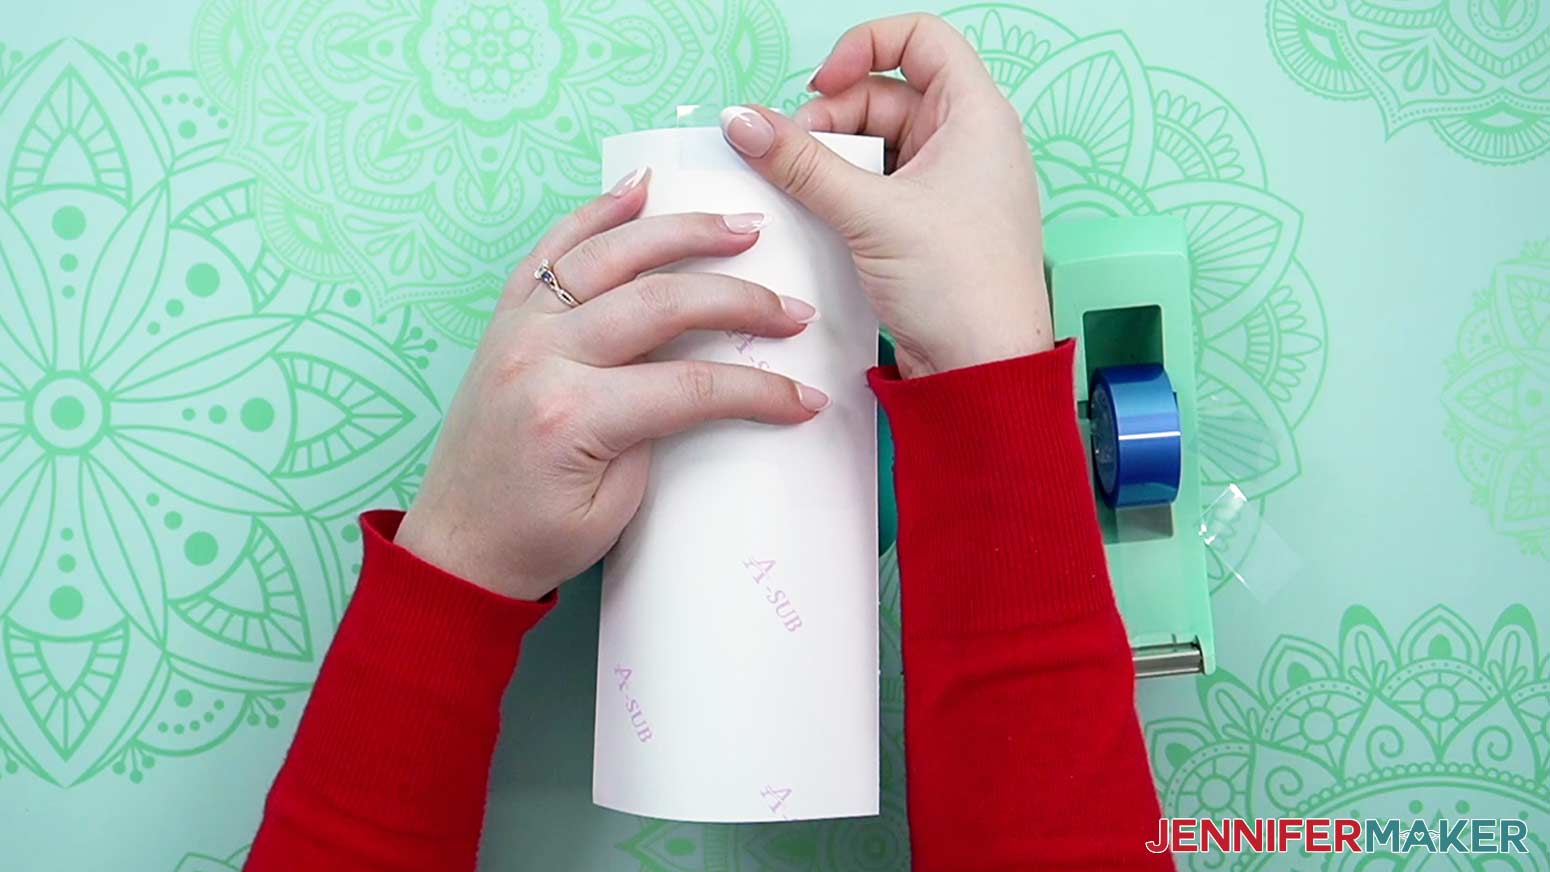
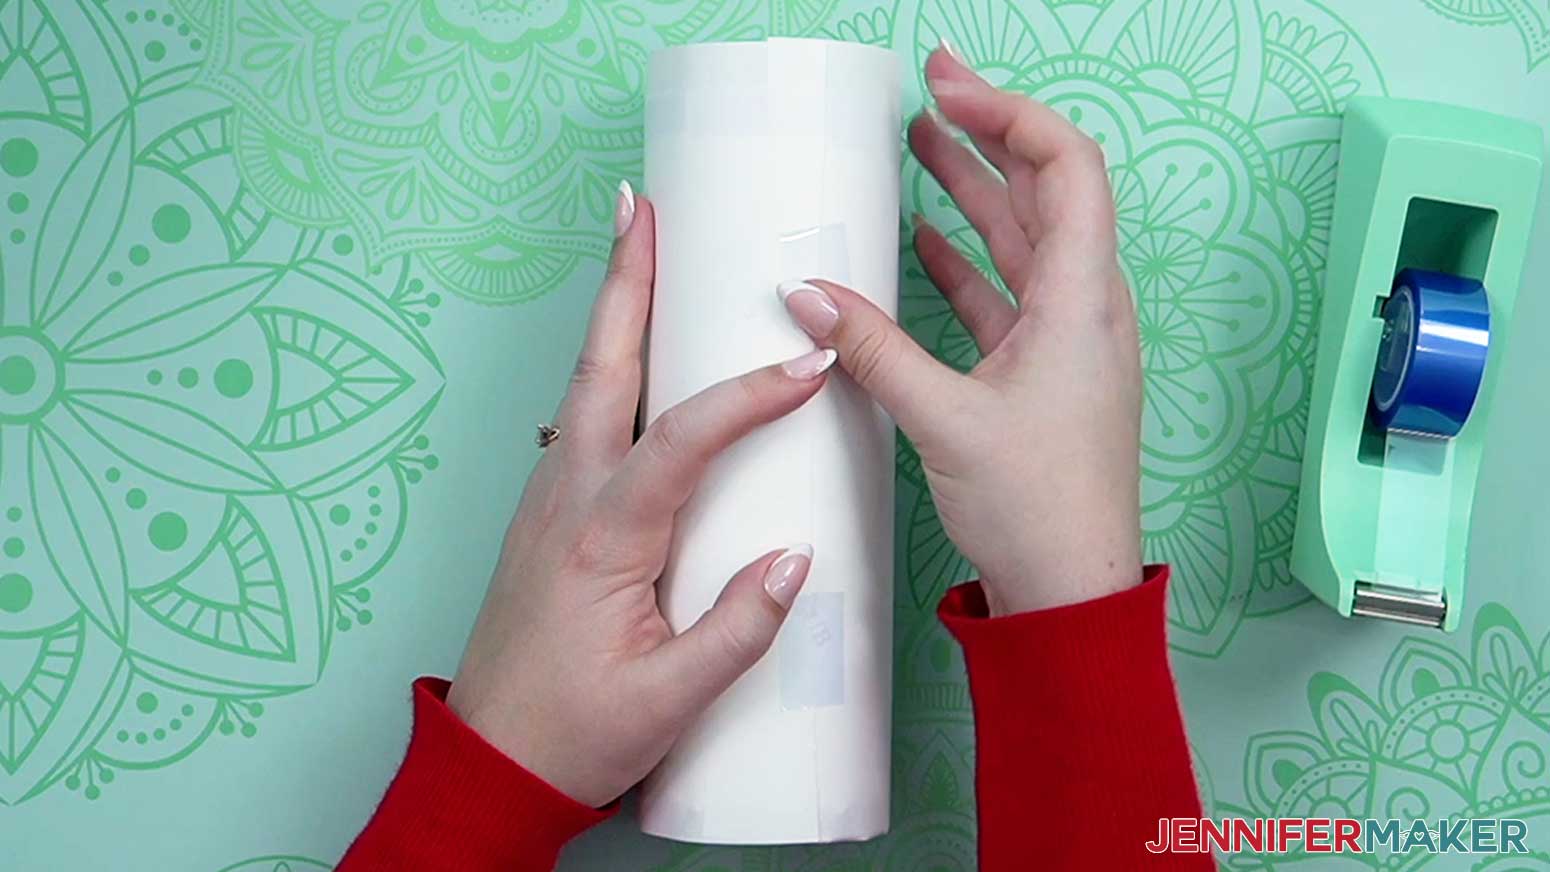
9. Once the top is really secure, use your fingers to smooth the design straight down to the tumbler’s bottom.
NOTE: The paper will extend past the tumbler edge a little, but you should still be able to tell if it’s straight.
10. Use tape to secure the paper’s lower section tight to the tumbler’s bottom edge. Make sure the straight edges of the paper aren’t skewed, and your initial will still be in the right spot!
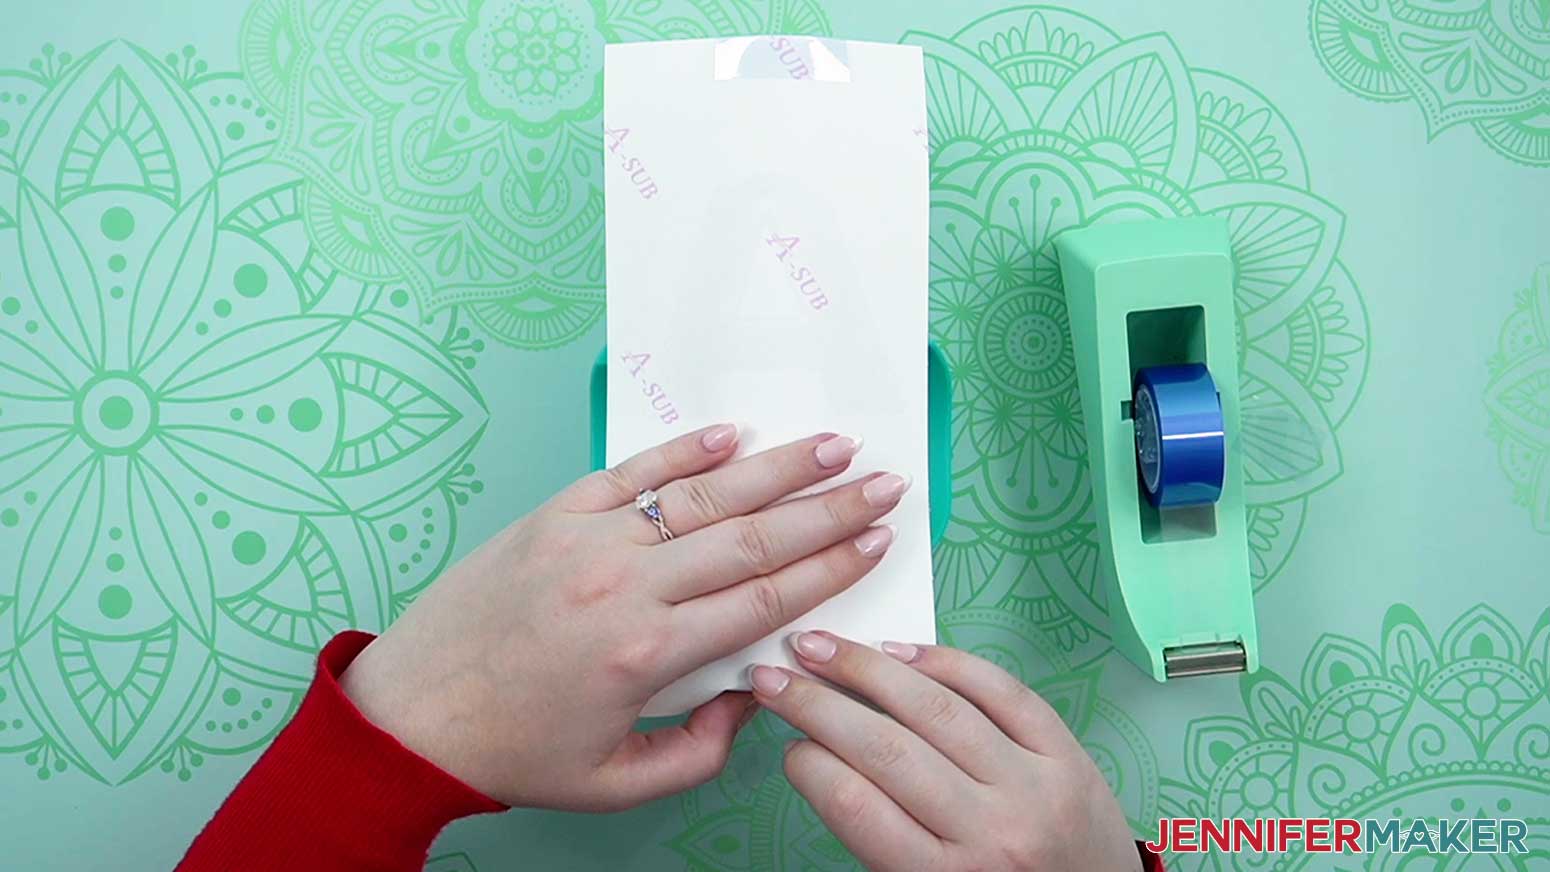
11. Then, smooth from the initial’s middle out to the right edge and tape the paper in place.
12. Repeat for the left edge.
13. Once the design can’t shift, you can add more tape around the sides for extra security.
STEP 4: TRANSFER YOUR SUBLIMATION PRINT
NOTE: I’ve tried several methods for sublimating straight tumblers and prefer to use a craft-specific convection oven with a little help from some shrink wrap tubing and a heat gun. If you use this oven for sublimation, it’s officially your sublimation oven. The dye will spread throughout the machine and it’s not totally safe to cook in again.
1. Before you begin, pull out any racks other than the bottom tray and place a heat resistant silicone mat on it to protect the surface.
2. Also, open a window or turn on your fan to improve your ventilation.
3. When I consult my Sublimation Cookbook for tumblers, it says to preheat my convection oven to 375°F (190°C). I like to put an oven thermometer right in the center to make sure the temperature is correct.
4. While waiting for the convection oven to come up to temperature, wrap the tumbler with a piece of white butcher paper for a little protection. A few pieces of heat resistant tape will keep it secure.
5. Some sublimation tumblers come with shrink-wrap tubes, but not all do. If you order them separately, be sure they’re the right size to easily fit your tumbler’s width.
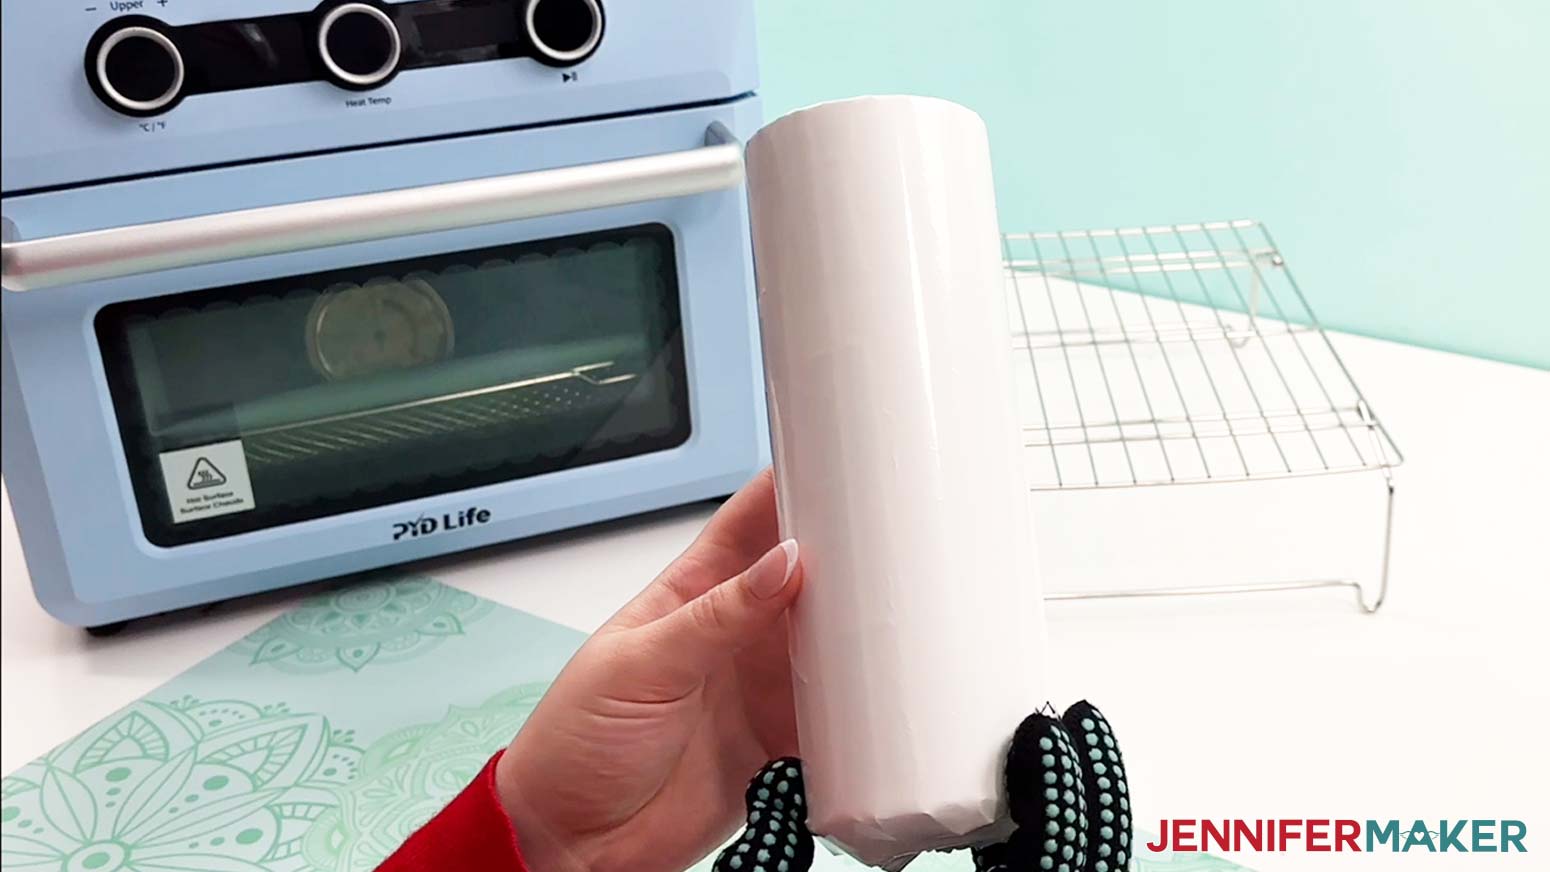
6. Open up a shrink-wrap tube and pull it over your tumbler.
7. Put on your heat-resistant gloves and use your heat gun on a low setting to slowly heat the wrap so it conforms to the tumbler.
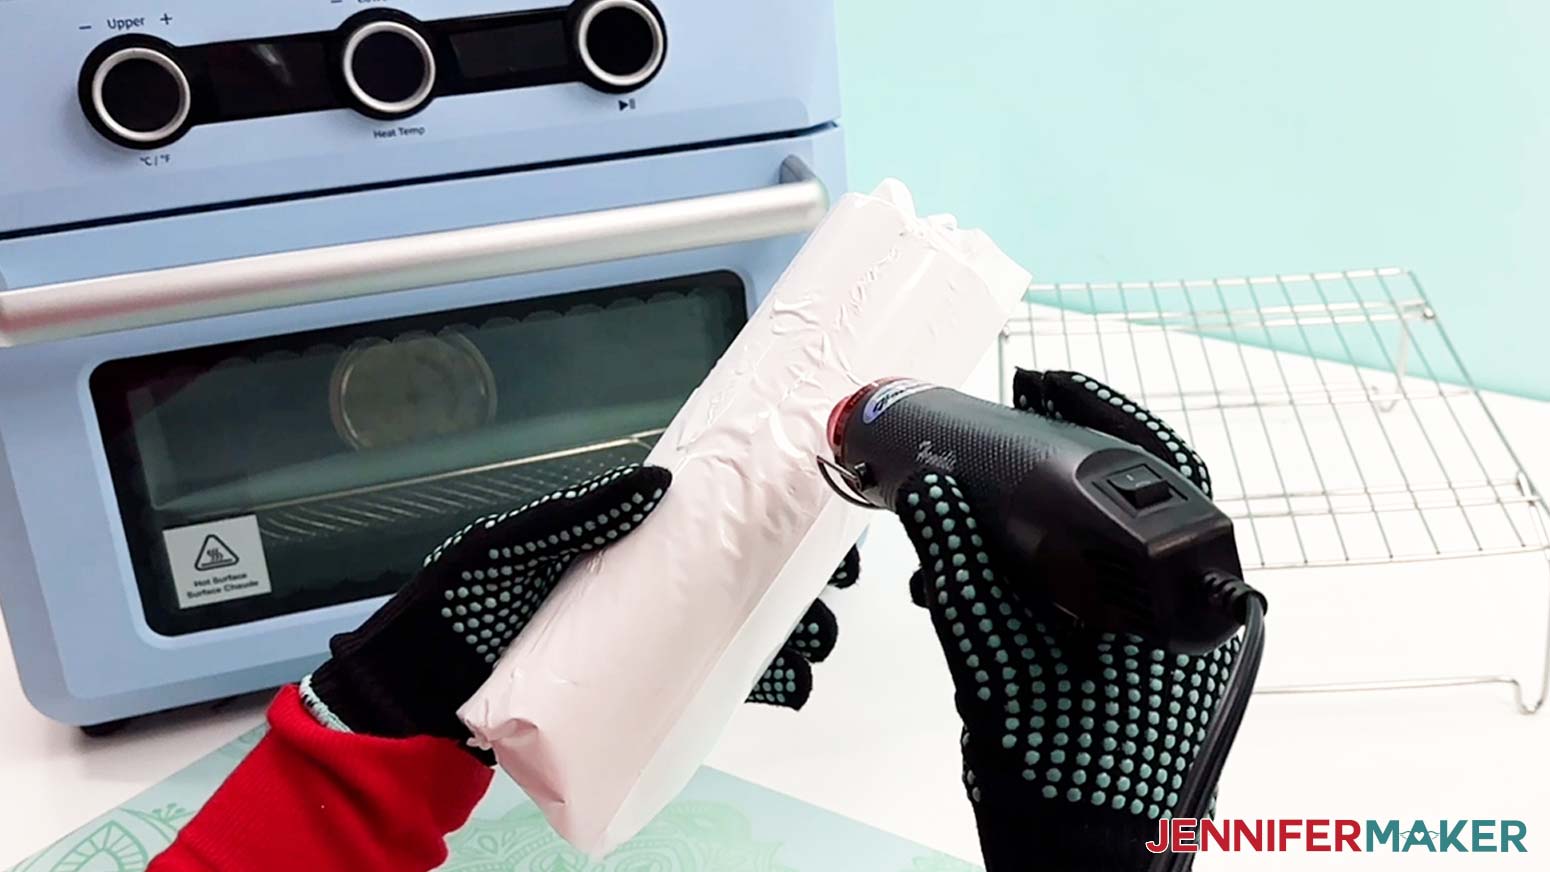
8. Make sure most of the wrinkles are smooth but don’t make it too tight or it will pull apart in the oven.
9. Place the tumbler in the center of the oven.
10. Heat it for a minute and a half, then with your gloves on carefully turn it 180°. Repeat that process until it’s been heated for six minutes.
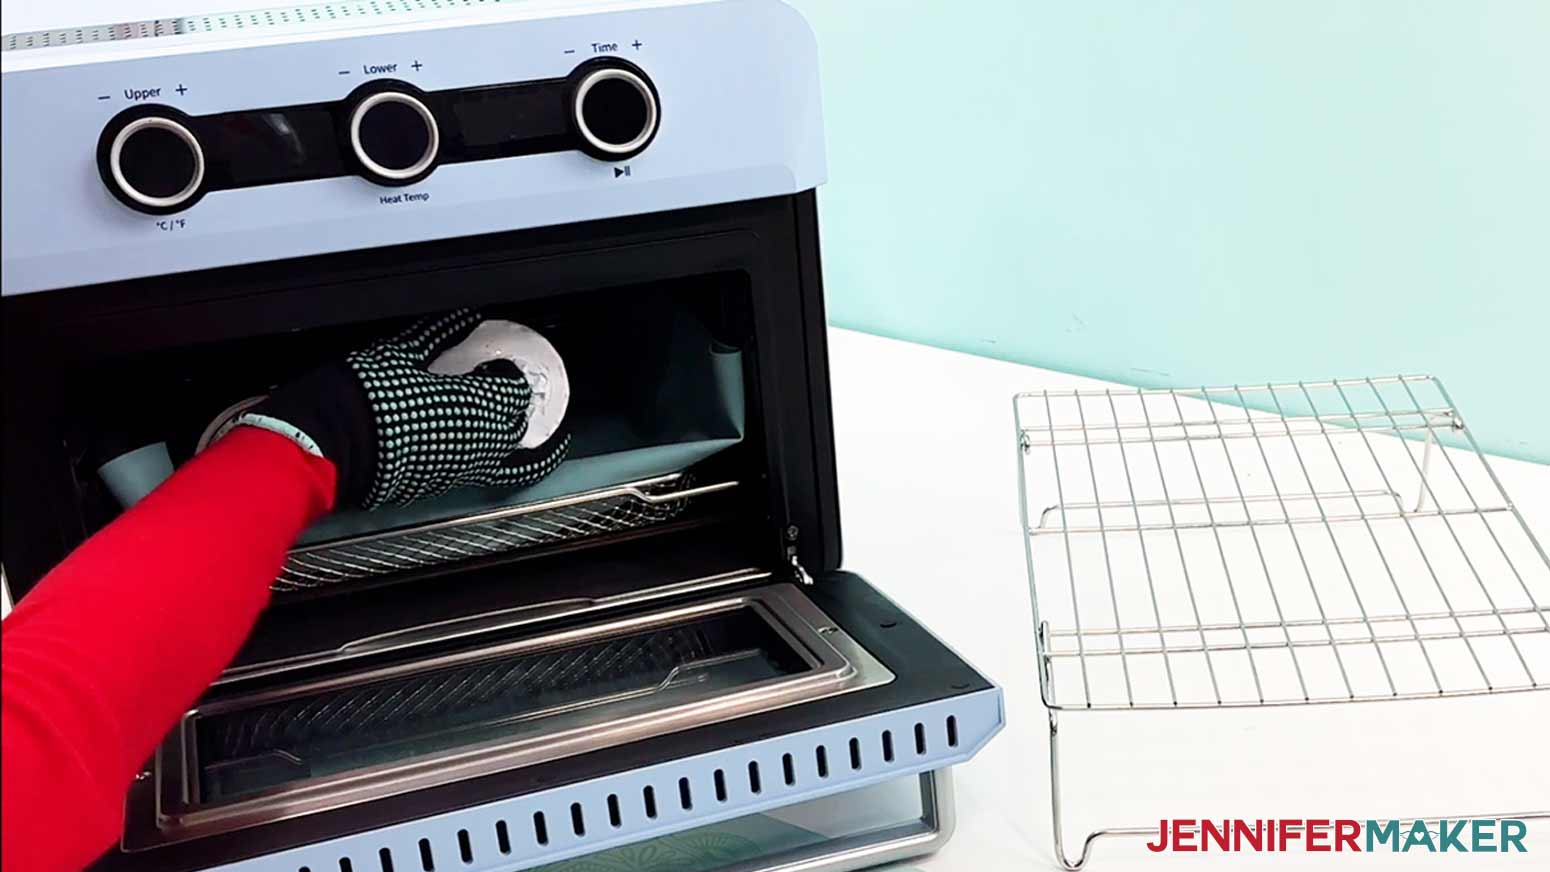
11. Once the time is up, put your gloves back on to remove the hot tumbler and place it on a heat-safe surface like a pressing mat.
12. Let it sit for a few minutes until it’s cool.
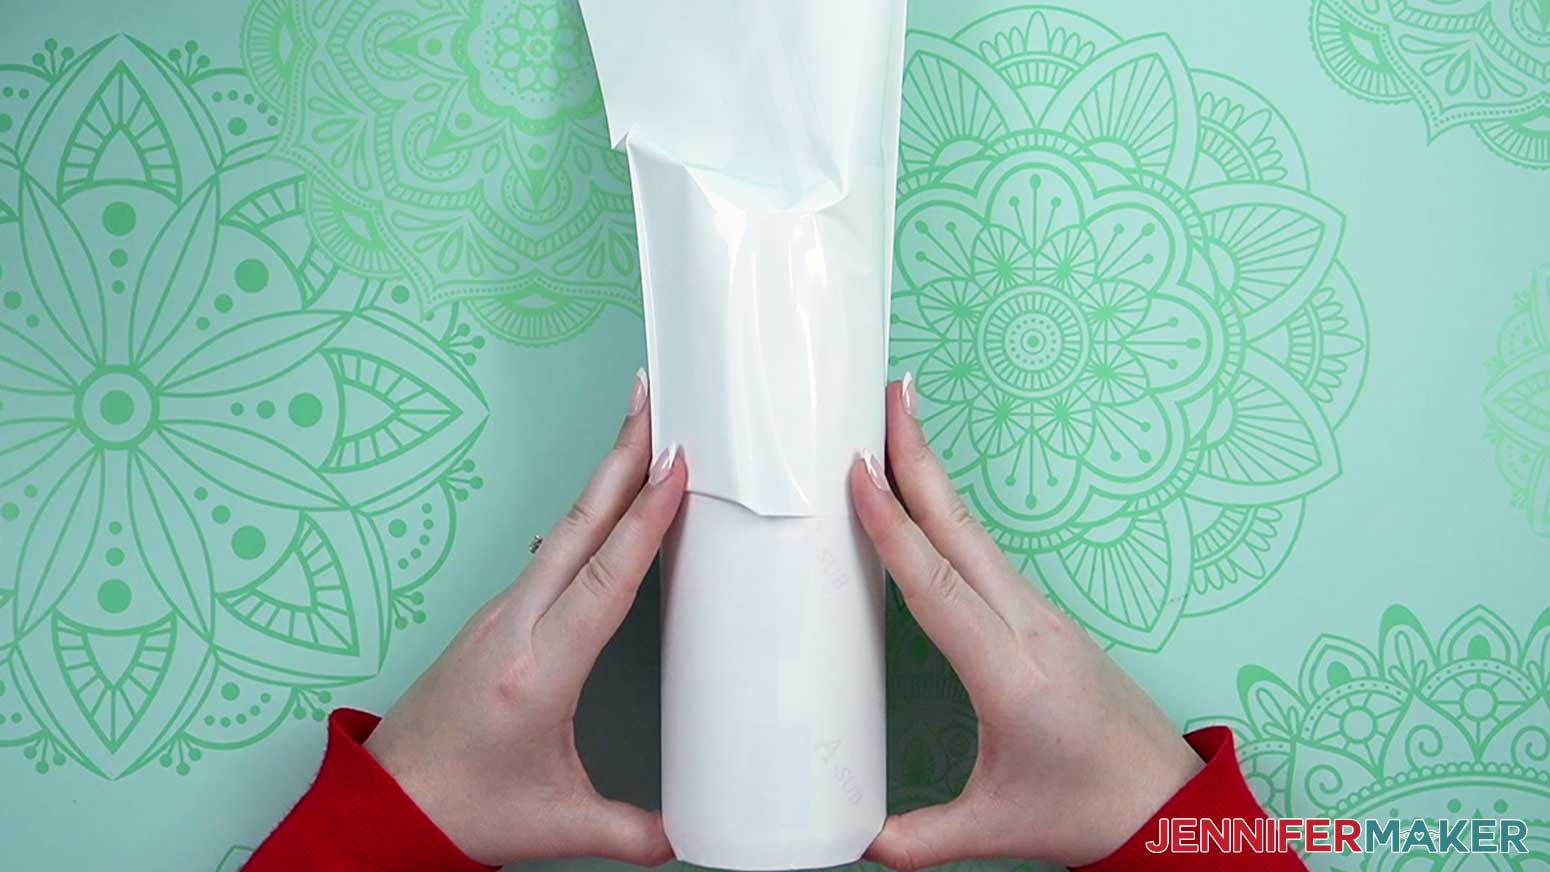
13. Then, remove the shrink wrap tape, and paper layers.
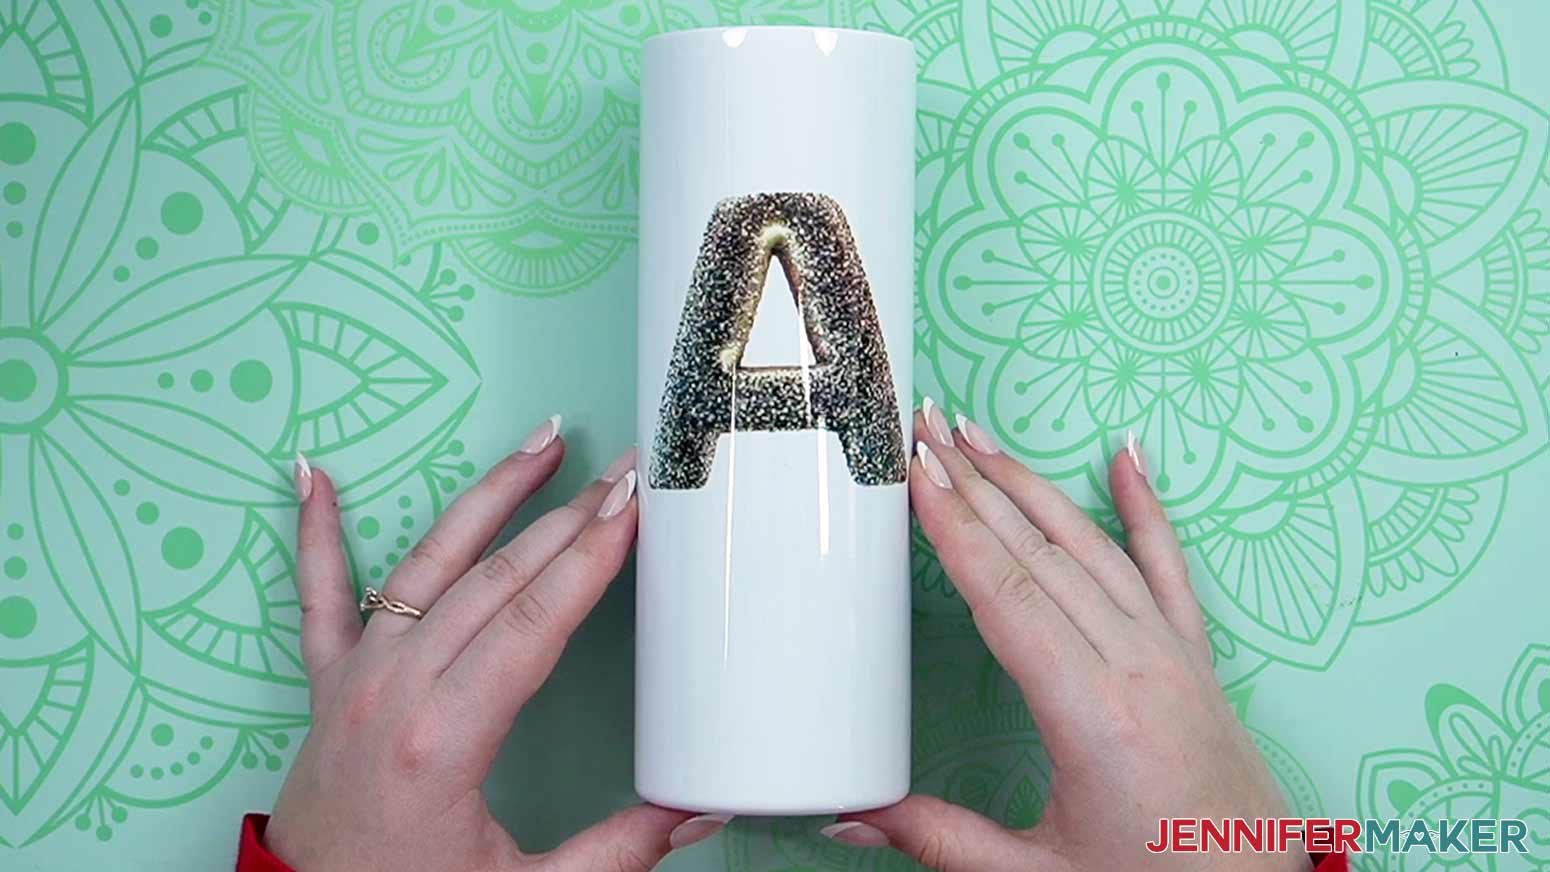
STEP 5: SHOW IT OFF!
And there’s your beautiful tumbler ready for a customer!
Answers to Your Questions About Crafting Ethically With AI
Q: Can AI art be used ethically?
A: Yes, I believe it can. By using AI image generators that use their own stock images and art that they have permission from the creator to use, AI art can be generated, and used in an ethical way.
Q: Can I use AI tools to generate art in the style of a specific artist?
A: Even using an artist’s name in a prompt to replicate their style is ethically problematic, because that style was created and honed by a real life person. I especially recommend against using the names of living artists in your AI prompts, or using AI-generated content explicitly inspired by their work, as it has a negative impact on their ability to earn money from their creations.
Q: Will AI replace human artists?
A: AI image generation tools are not replacements for “real world” human artists or designers. Not only do they rely on human-created art, they require a human creator to guide and refine the final product. By using ethical AI tools, we ensure that our use of artificial intelligence in crafts respects artists’ rights and sticks to ethical standards.
Q: Can I make and sell these custom cups?
A: I love supporting creative entrepreneurs! If you want to use my designs and projects for commercial use, please familiarize yourself with my important licensing information before selling your crafts.
I do not permit sale of my digital items, but you can sell the creative goods you make with them — as long as you follow my licensing requirements. That means you cannot sell the design files, but you can sell decorated tumblers that you made with the files within the guidelines linked above.
Get my free PNG files to make a glitter initial tumbler!
(If you do not see the signup form above, click here.)
[/non_member_content]
I love seeing what you make with my designs and how you use them! Please share a photo of your custom letter tumbler in our Facebook group or tag me on social media with #jennifermaker.
Love,

Want to remember this? Save this post on Crafting Ethically With AI to your favorite Pinterest Board!