
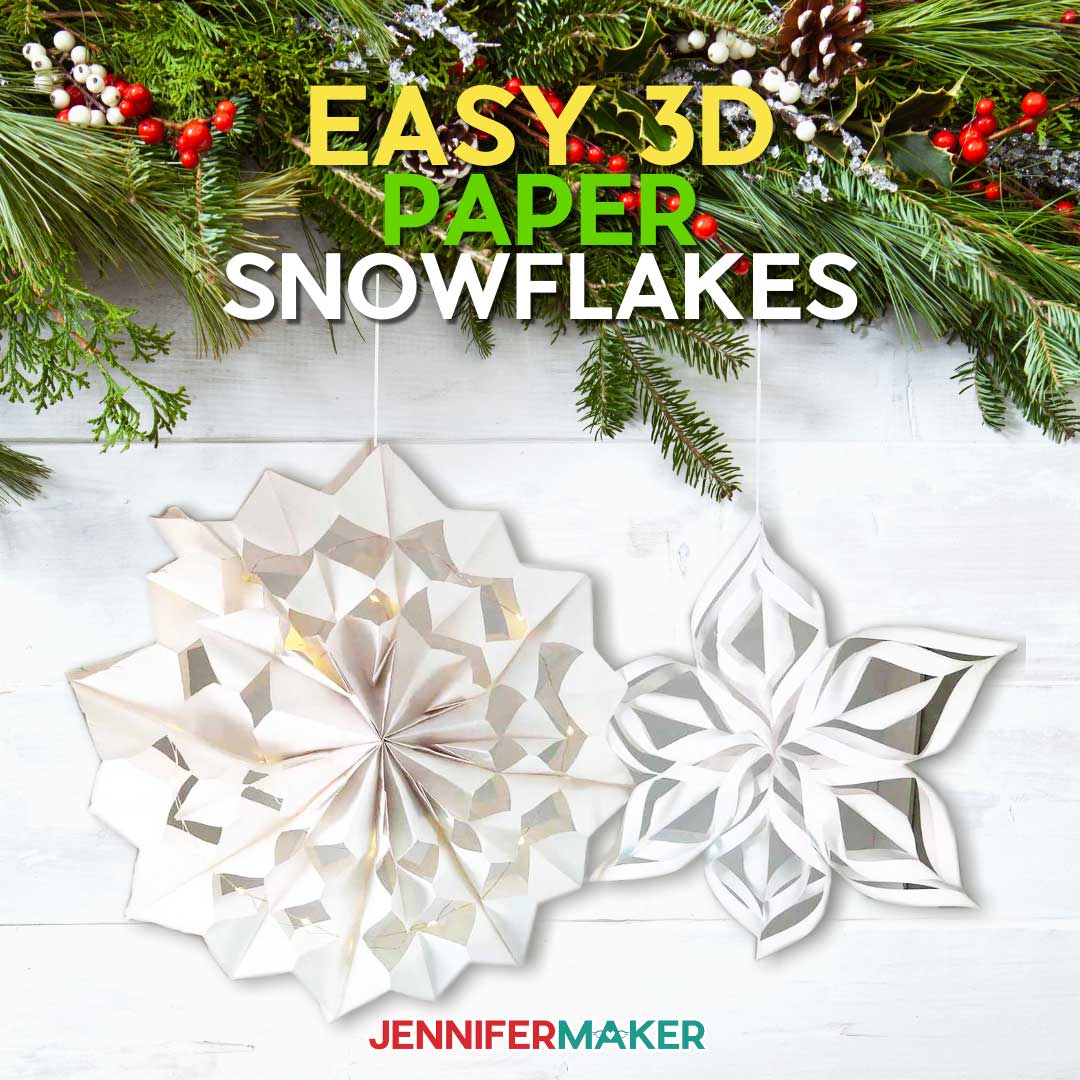
Learn how to turn simple white cardstock or paper bags into 3D giant paper snowflakes in mesmerizing shapes!
If you are looking for some fun and fast decorations for your home or office, you’re going to love this giant snowflake project. They quickly add holiday cheer to a room or office! These 3D snowflakes are super easy to make and will look great well into the new year. I love making paper snowflakes, because you can leave them up well after the holidays are over! So for Day 4 of The Great Maker 25-Day Gift-Away Challenge, I am showing you how to make Giant Paper Snowflakes!
See exactly how to make Giant Paper Snowflakes in my tutorial video (or keep scrolling if you prefer a printable step-by-step photo tutorial):

I’m going to show you how to make two different giant paper snowflakes — the twisty snowflake and the fan snowflake!
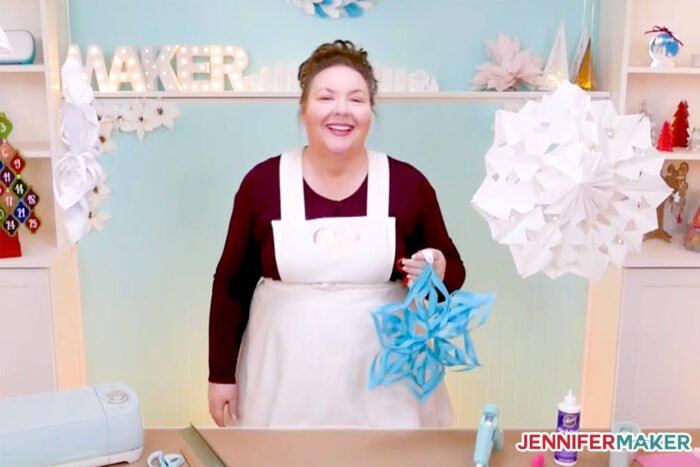
For the twisty snowflake, you need six sheets of 8.5″ x 11″ 65 lb. cardstock. Of course, it doesn’t have to be white … I also made some out of a pretty blue cardstock!
For the fan snowflake, you need eight white paper lunch bags — these are 5″ x 3″ by 9″ in size. If you don’t have paper bags, or can’t find them, you can make them yourself from 20 lb. copy paper (here are directions).
You’ll also want a bit of twine or string to hang your snowflakes, and maybe a hole punch to make a hole for your string. And a strand of LED fairy lights adds a fun touch as well!
To put these snowflakes together, I recommend a hot glue gun and glue sticks. You will also want some finger caps to protect your fingers from the hot glue. For that reason, you may prefer to use tacky glue. And it’s also fine to use tape, especially to keep the twisty snowflakes together.
Now the twisty snowflake can be cut with scissors, with a craft knife, or with a Cricut cutting machine — if you use a Cricut, I recommend you use the green StandardGrip mat and the fine point blade.
The fan snowflake can only be cut by hand with scissors or a craft knife. The fan snowflake is a fun project to do with a group!
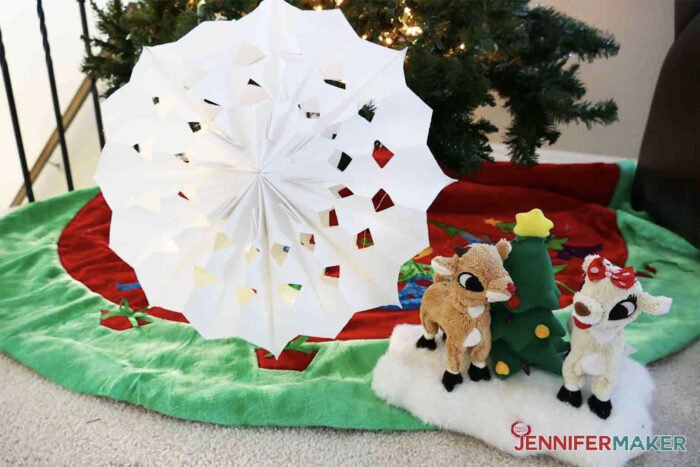
Here is a giant paper snowflake — a “fan” version — made by Debbie, one of my team members and our Design Elf!

So let me show you where to get the patterns for these two snowflakes, then I’ll show you how to cut and assemble them step by step! This post contains some affiliate links for your convenience (which means if you make a purchase after clicking a link I will earn a small commission but it won’t cost you a penny more)! Read my full disclosure policy.
Materials to Make Giant 3D Snowflakes
View our Amazon shopping list with the exact items we used to make this project!
- Two (2) sheets of 12″ x 12″ 65 lb. cardstock, or six (6) sheets of 65lb. 8.5″ x 11″ cardstock
- Eight (8) white paper bags (or make them yourself with eight sheets of 8.5″ x 11″ 20 lb. paper — see directions here)
- One (1) roll of white string or twine
- One (1) string of LED fairy Lights (Optional)
- Cricut StandardGrip Cutting 12×12 Mat (green mat)
- Hot Glue Gun and glue sticks
- Hot Glue Finger Caps (Optional)
- A way to cut your paper (I used the Cricut Maker cutting machine but this can also be cut on a Cricut Explore)
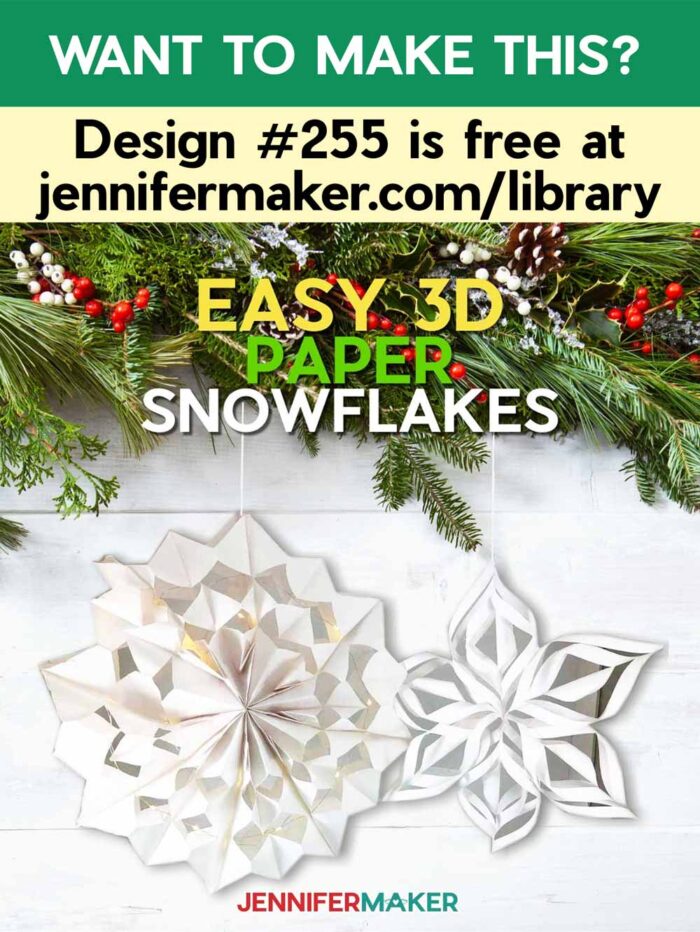
- Design #255 – My free giant snowflake patterns and SVG design files (available in my free resource library—get the password by filling out the form at the bottom of this page)
How to Make Giant Paper Snowflakes
This project is so fun! I love snowflakes and love to display them both at holiday time and during the winter season. I can enjoy these snowflakes without the work of shoveling them! You will notice that this project contains a DIY snowflake made from paper bags and one that is cut with the Cricut. They are both adorable and will look so gorgeous displayed in our homes. Download the free giant snowflake pattern from my blog at JenniferMaker.com/255 -- just go to the red bar at the top and look for Libraries, then either click Get a Password (if you don't yet have one) or click Enter the Library. You can find the pattern by searching the page for design #255 and then click it to download an SVG cut file for cutting with a Cricut or another cutting machine, as well as a printable PDF for cutting by hand. There's also a snowflake you don't need any pattern for and I'll show you how to make that one after make the one that DOES require a pattern. Let me show you how to cut the twisty snowflakes on a Cricut. First, upload the SVG cut file to Cricut Design Space. If you're unsure how to unzip and upload SVG files, please watch my SVGs Made Simple training series at jennifermaker.com/svgs Tip: If you are not sure how to upload an SVG cut file to the Cricut Design Space, watch this helpful video training series I made. If you are on an iPad or iPhone, here is how to download and upload SVG files to the Cricut Design Space app. Don't be surprised when you see that there are six pieces to cut on two mats-- that's how many arms the twisty snowflake has, so be sure to cut all six! With all six of your twisty snowflake pieces cut, it's time to start twisting and gluing! If you cut your pieces from light cardstock, any type of glue works fine in this step. But if you used a heavier cardstock, or a glitter cardstock, you'll want to use hot glue or tape instead. The fan snowflake is equally as beautiful as the twisty snowflake, but it's entirely handmade -- you can't use a cutting machine to make it. Next mark the places on the bag where you want to have cut outs in your snowflake. You can use a ruler to make them perfect but that's not important, because snowflakes are irregular anyway! So you can just draw your design. Just be sure you don't cut into the area you glued your bags together. Now straighten out your fairy lights and get them ready to thread through the holes. How pretty is this fan snowflake? Remember, you can the fairy lights or leave au natural. I love it both ways! My paper bag snowflake is approximately 18 inches in diameter once finished and my fancy snowflake is approximately 16 inches in diameter when finished. Special thanks to the JenniferMaker Design Fairy Team, specifically Design Fairy Vicki, for helping me design and assemble these adorable 3D Snowflakes. As an Amazon Associate and member of other affiliate programs, I earn from qualifying purchases.
Giant 3D Paper Snowflakes
Materials
Tools
Instructions
STEP 1: GET THE 3D SNOWFLAKE DESIGN
STEP 2: CUT OUT YOUR CARDSTOCK
Once you have uploaded the design into Cricut Design Space, all you need to do is resize the snowflake if you wish, and then click Make It.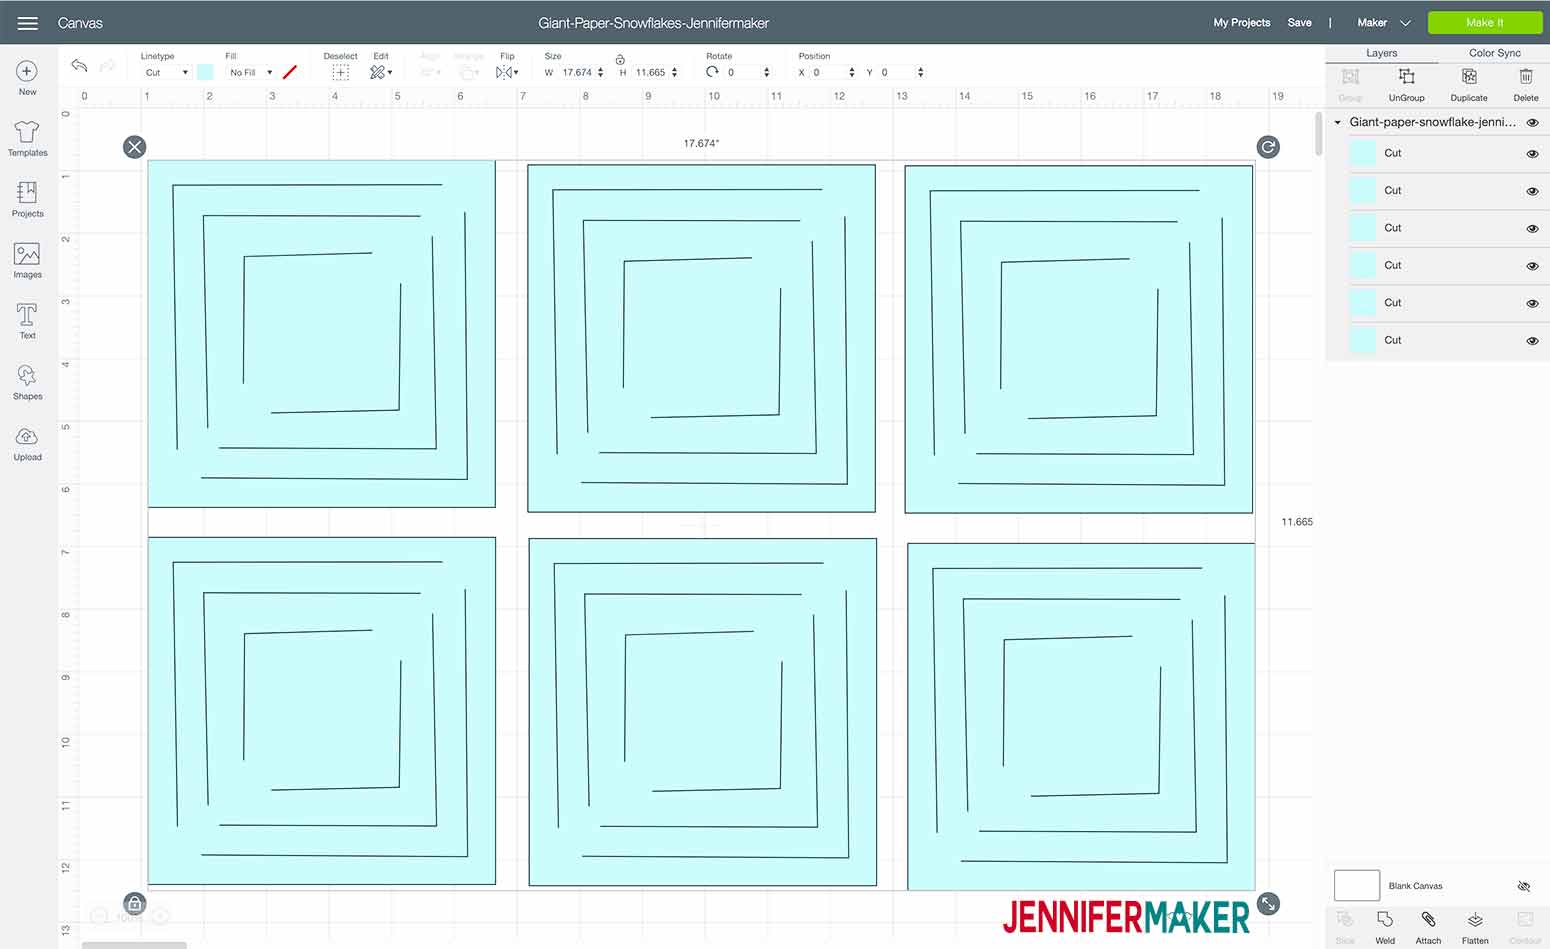
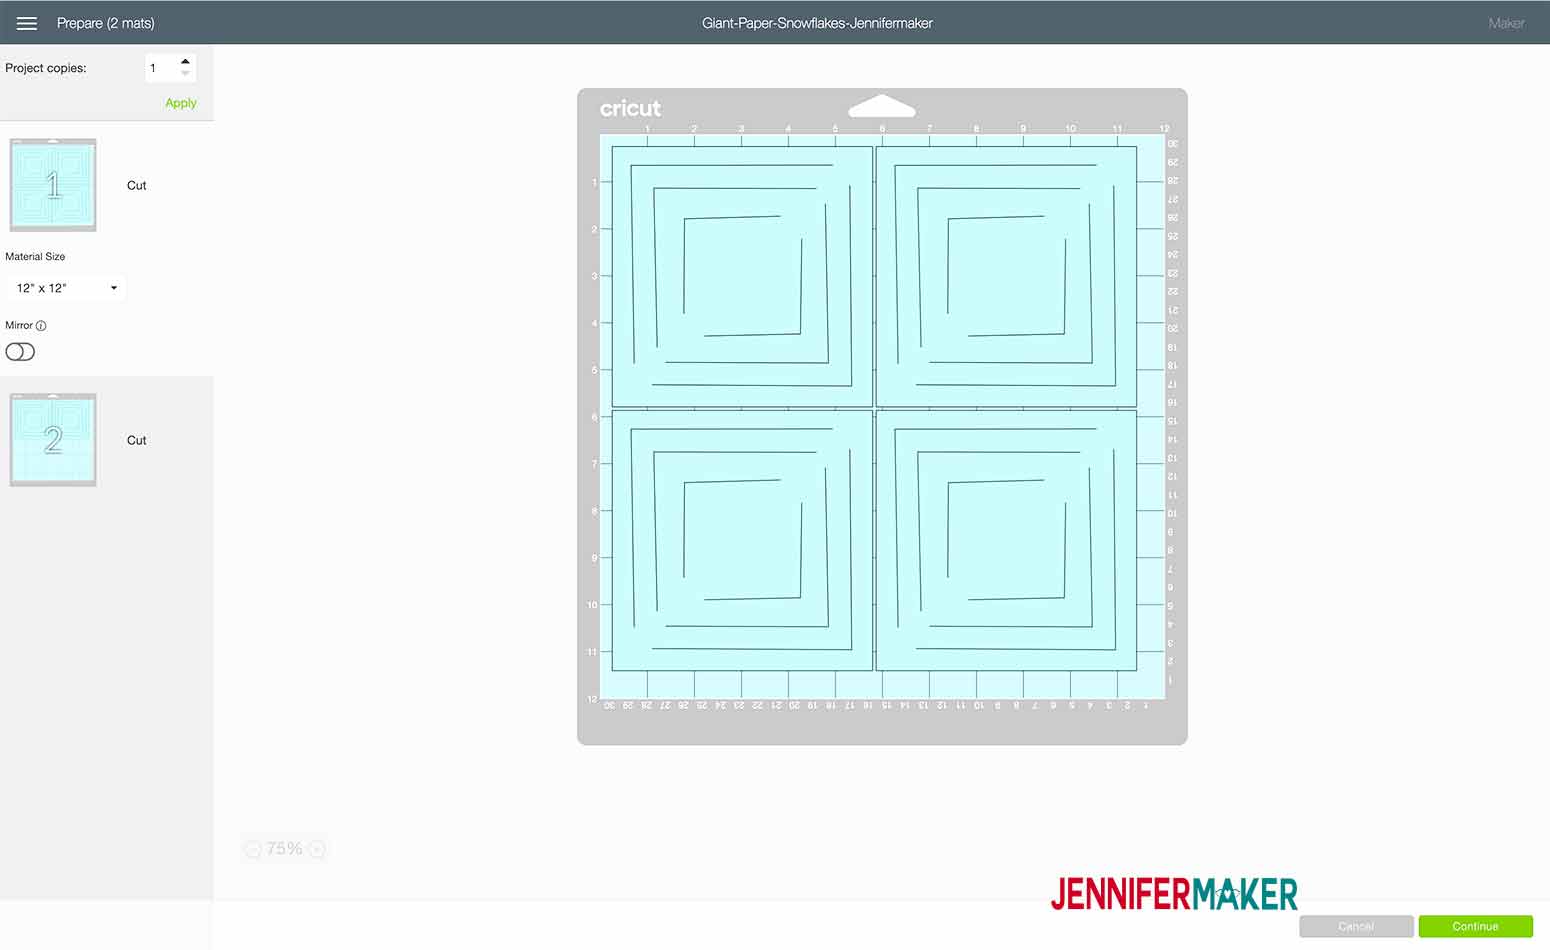
Now just select the material you are cutting. I used lightweight cardstock as my cutting material as it allowed me the most flexibility for gluing. If heavier paper is used, taping the ends together would be a better way to adhere the ends.STEP 3: MAKE THE TWISTY SNOWFLAKE DESIGN
Start by taking the inner most flaps and bring them together like this, then glue them.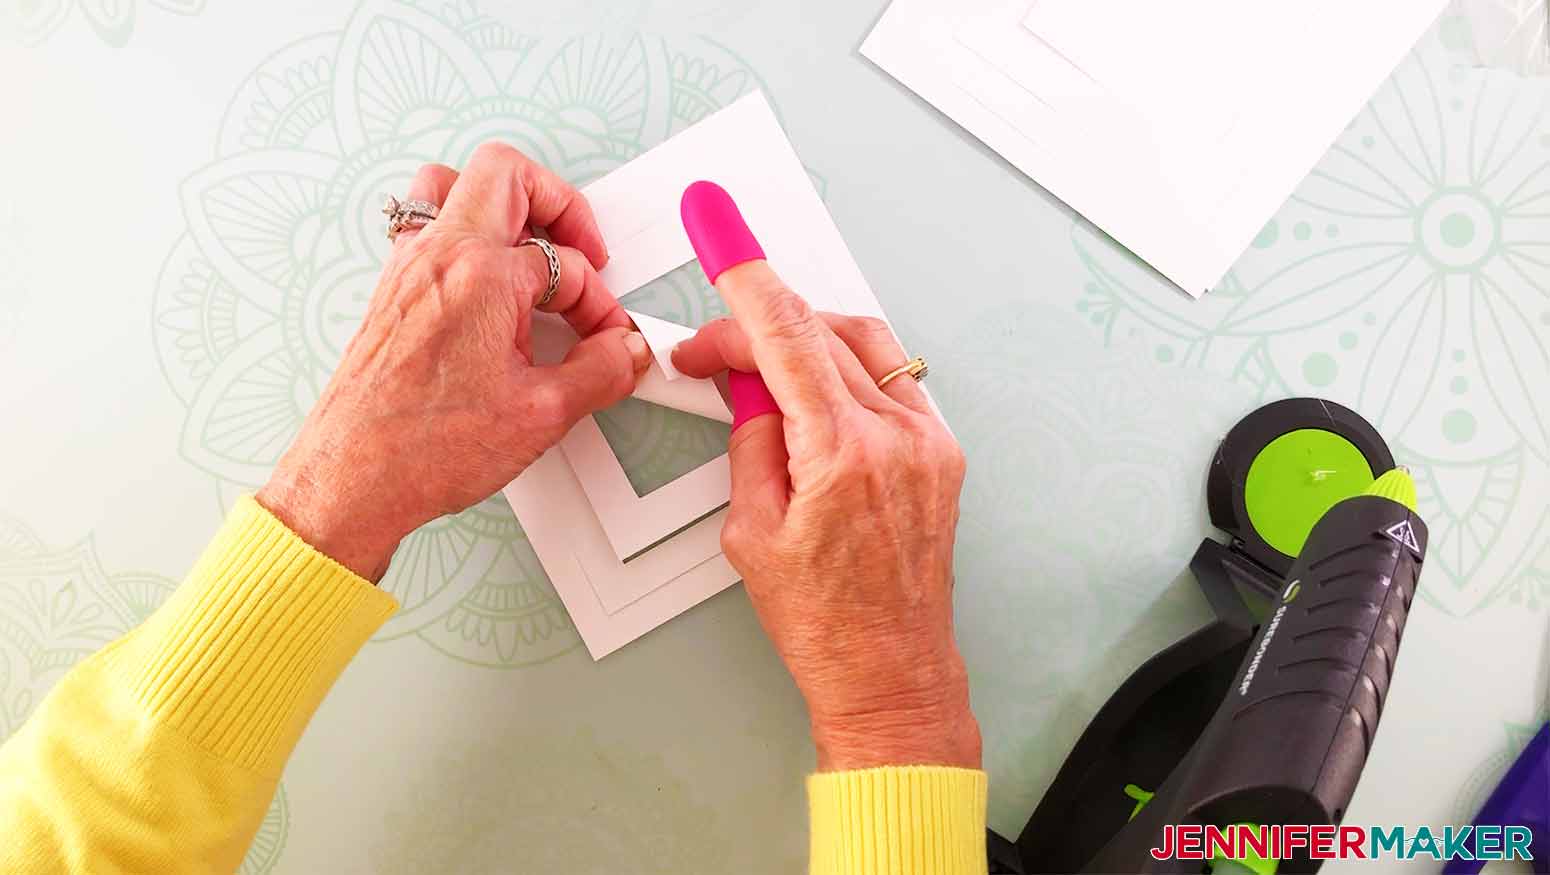
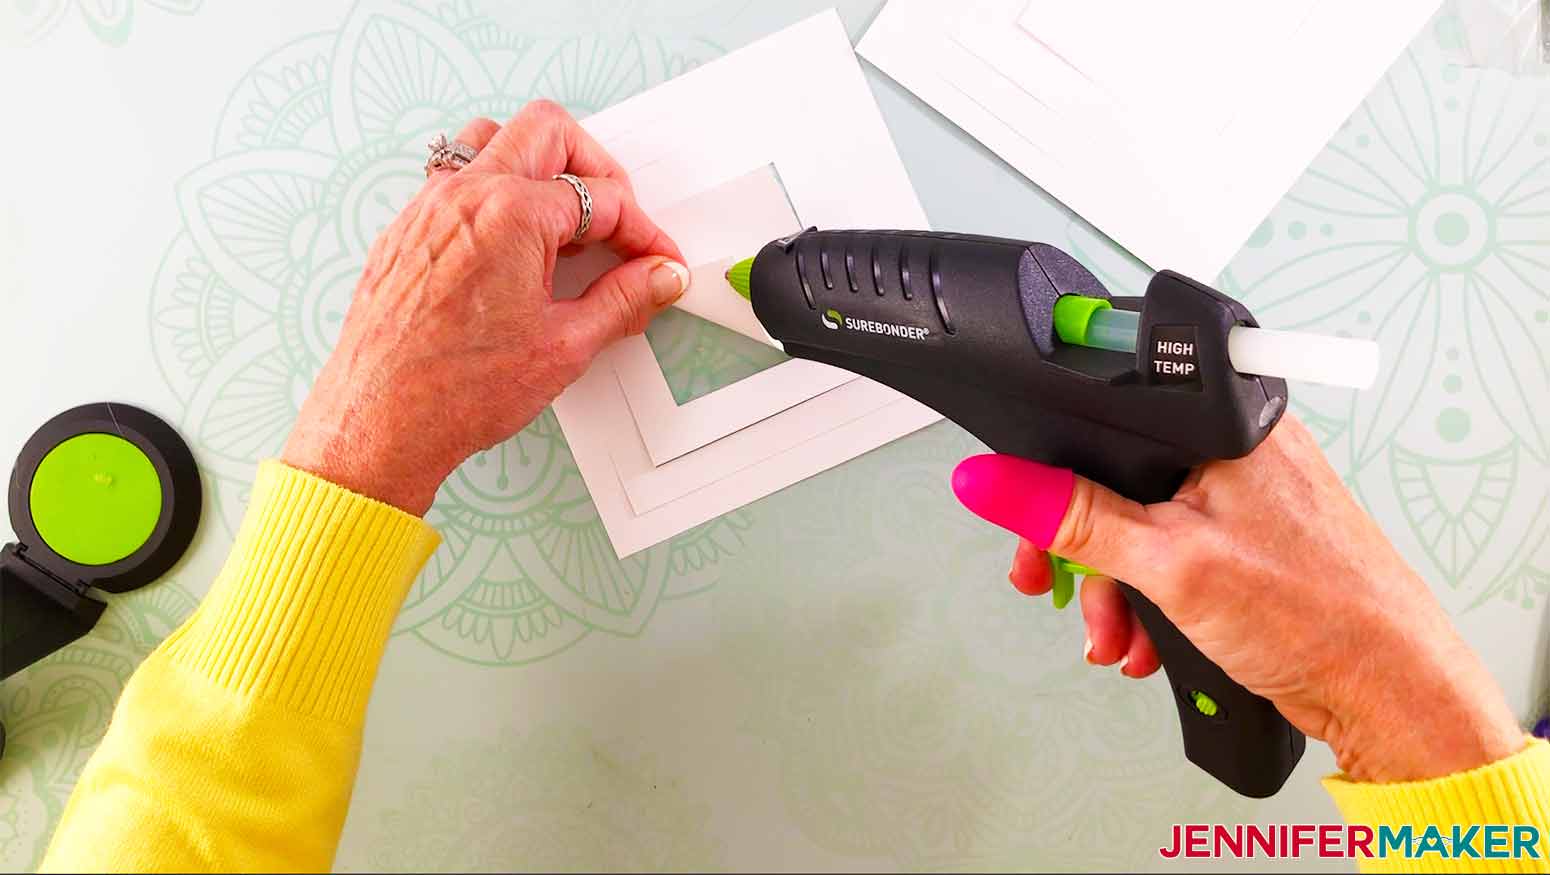
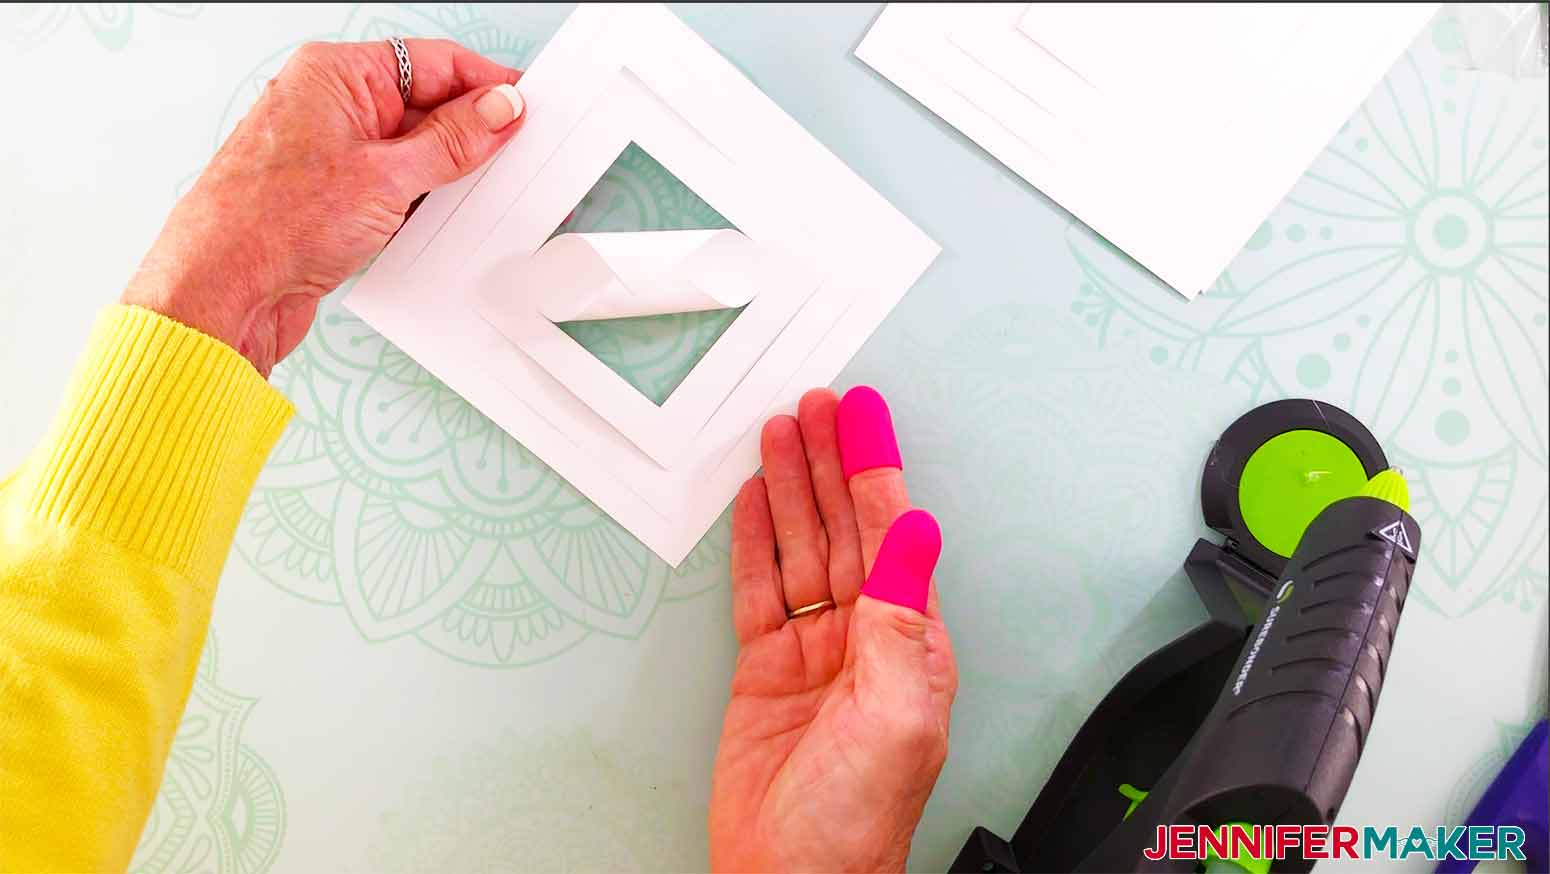
Flip the sheet over and bring the next inner most flaps together like this, then glue in place.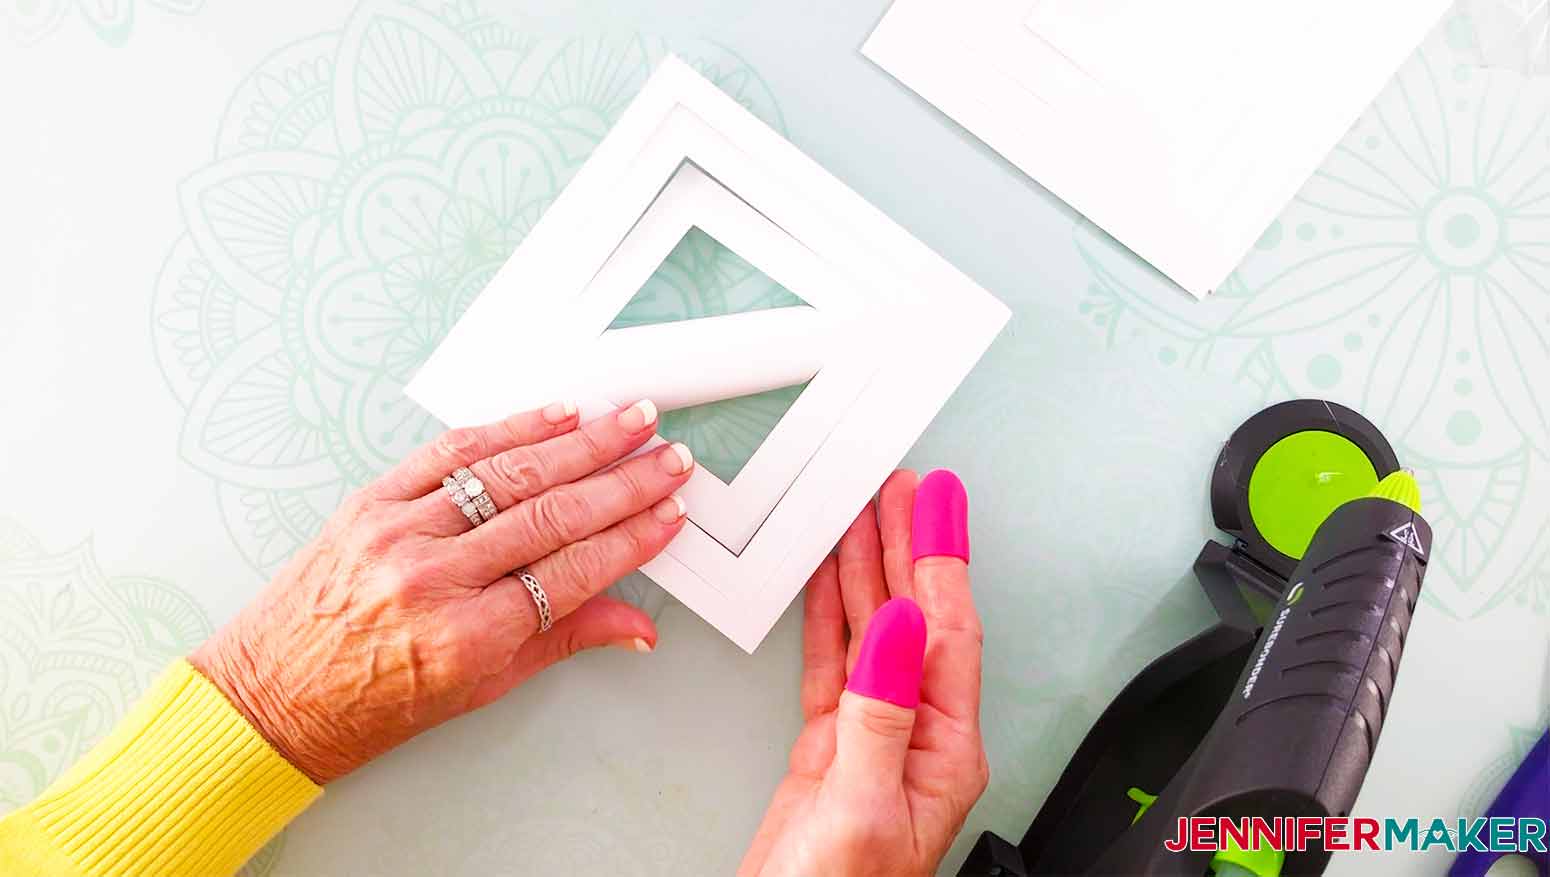
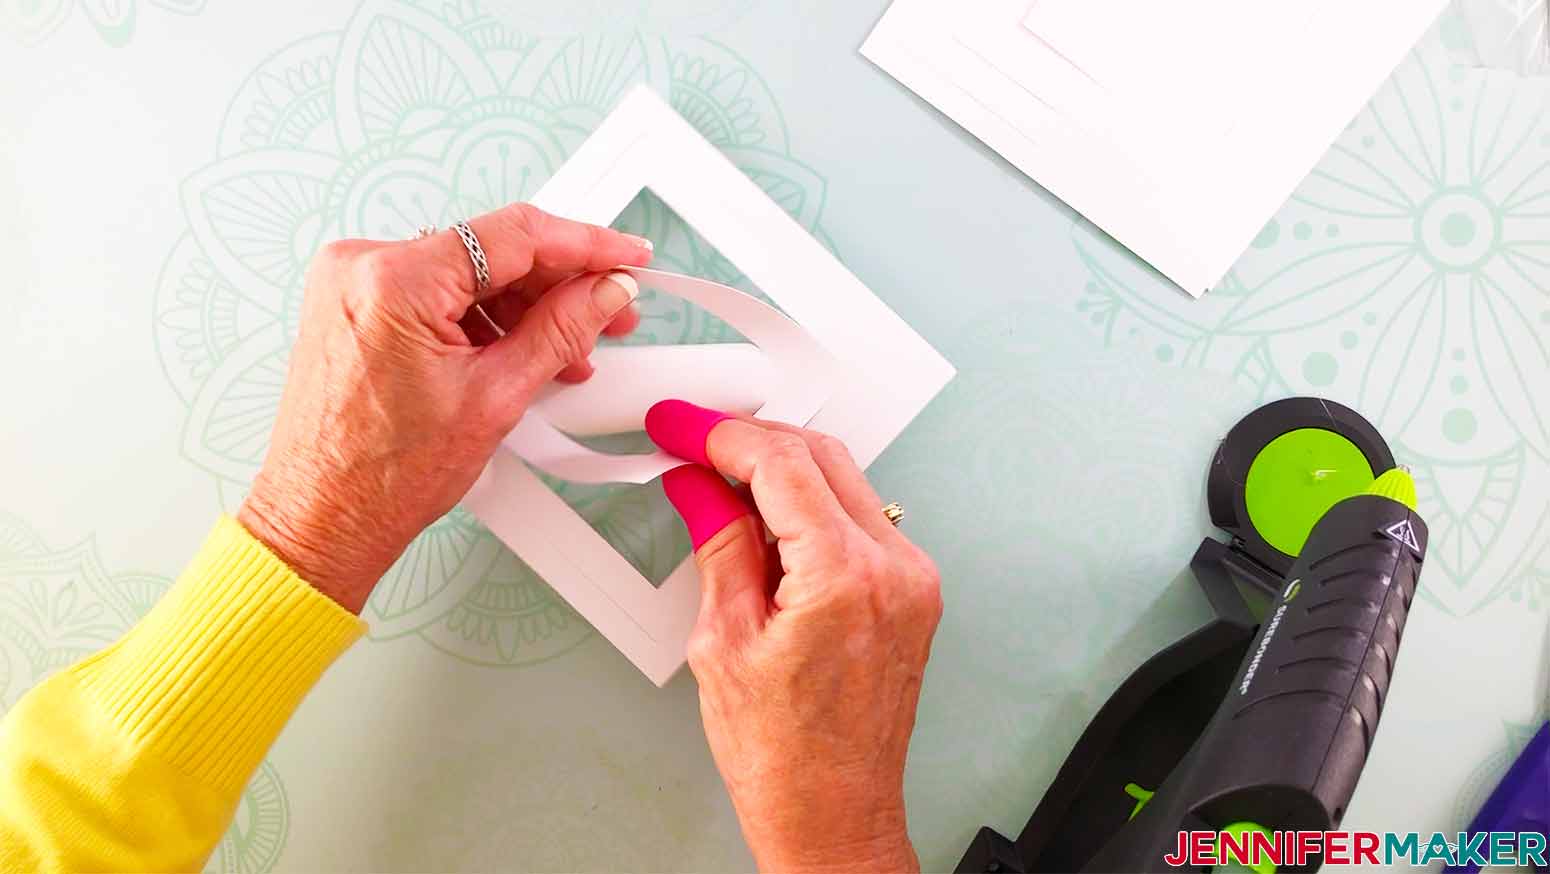
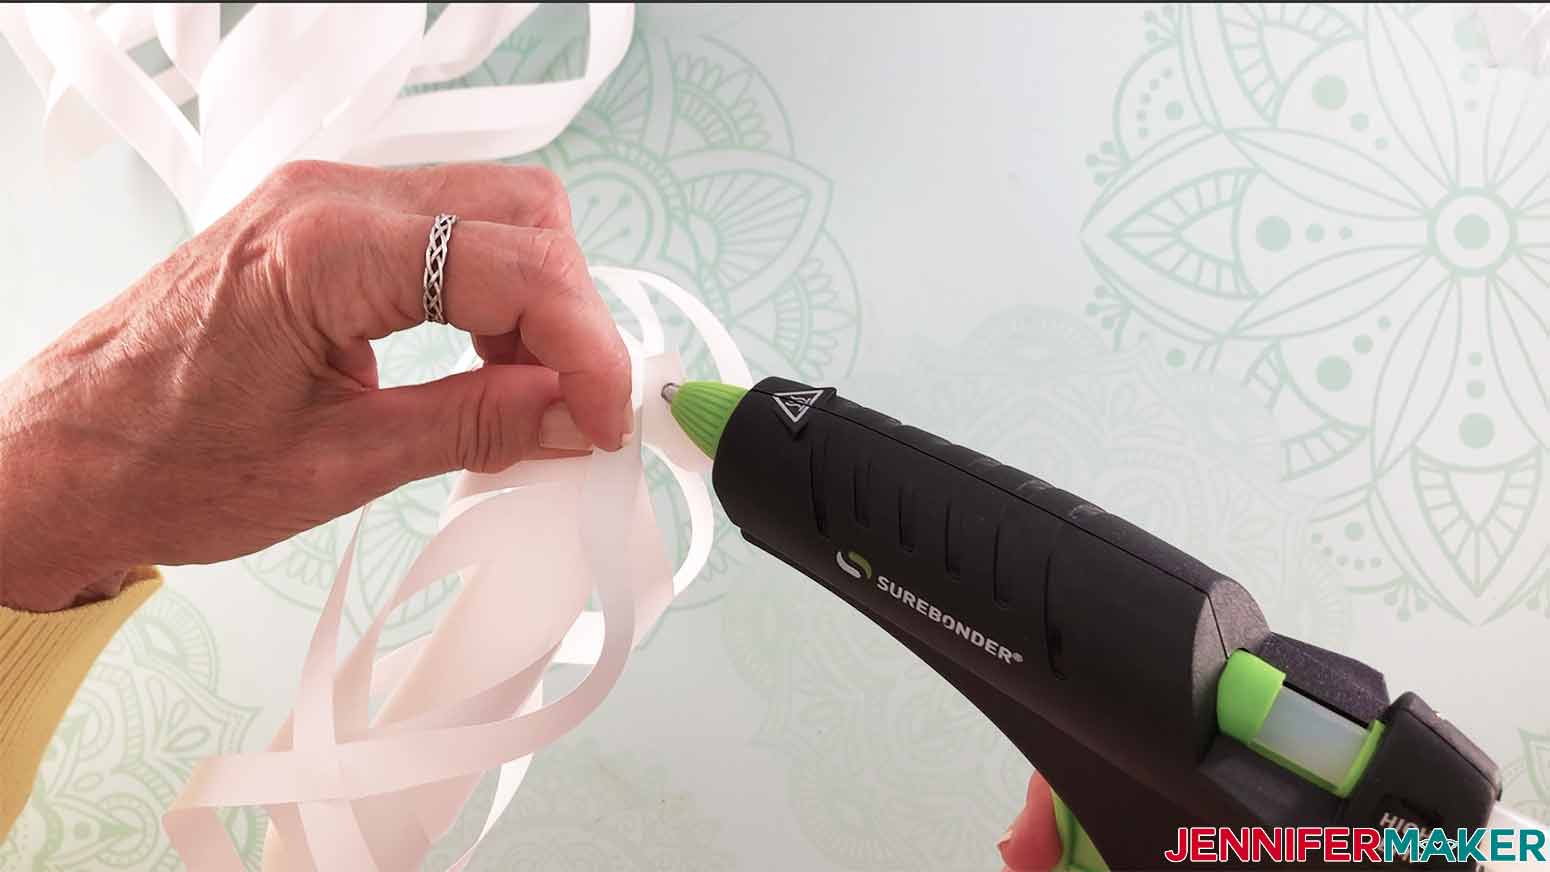
Keep flipping and gluing until you have finished the first arm of the snowflake. It should look like this when finished.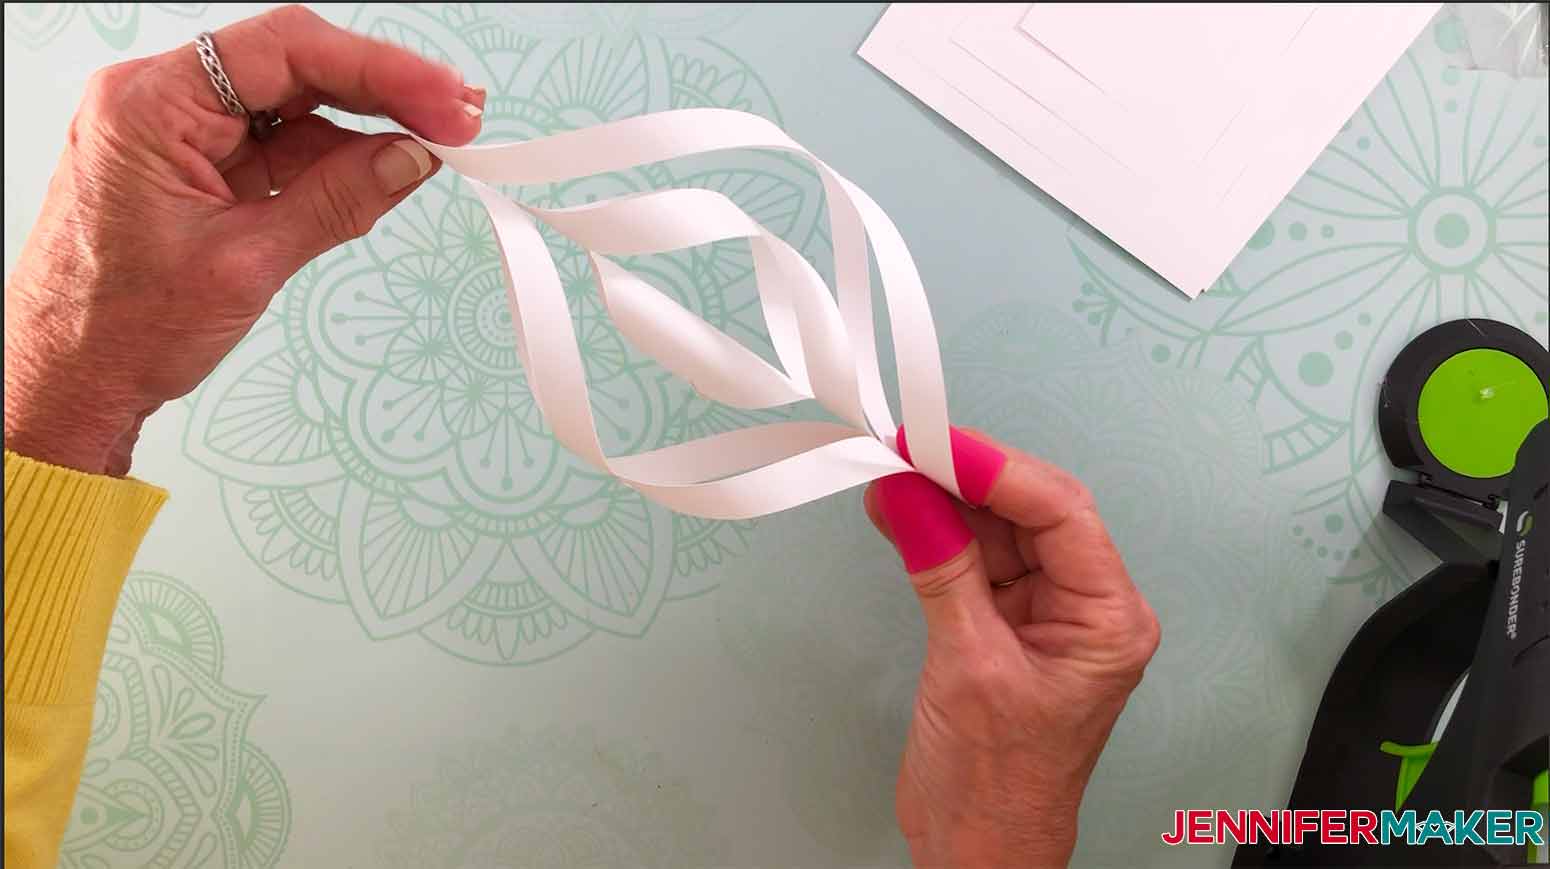
Set that one aside, and now do the other five arms of the snowflake, just as you did the first.
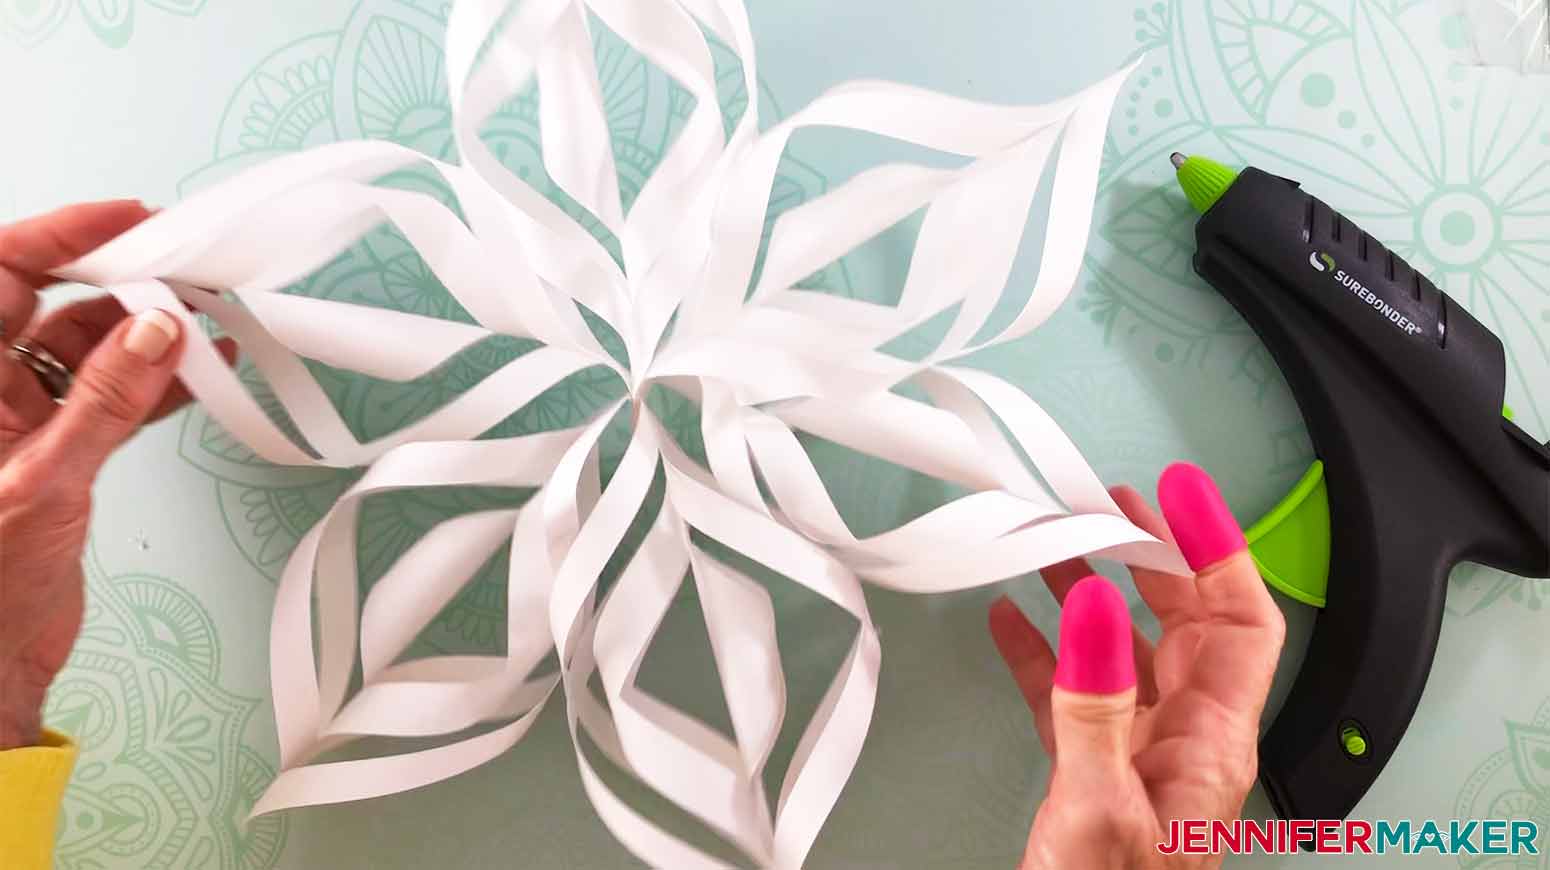
Once all 6 arms are assembled, it's time to put this snowflake all together. Simply glue all six arms together at the tip, just like this. 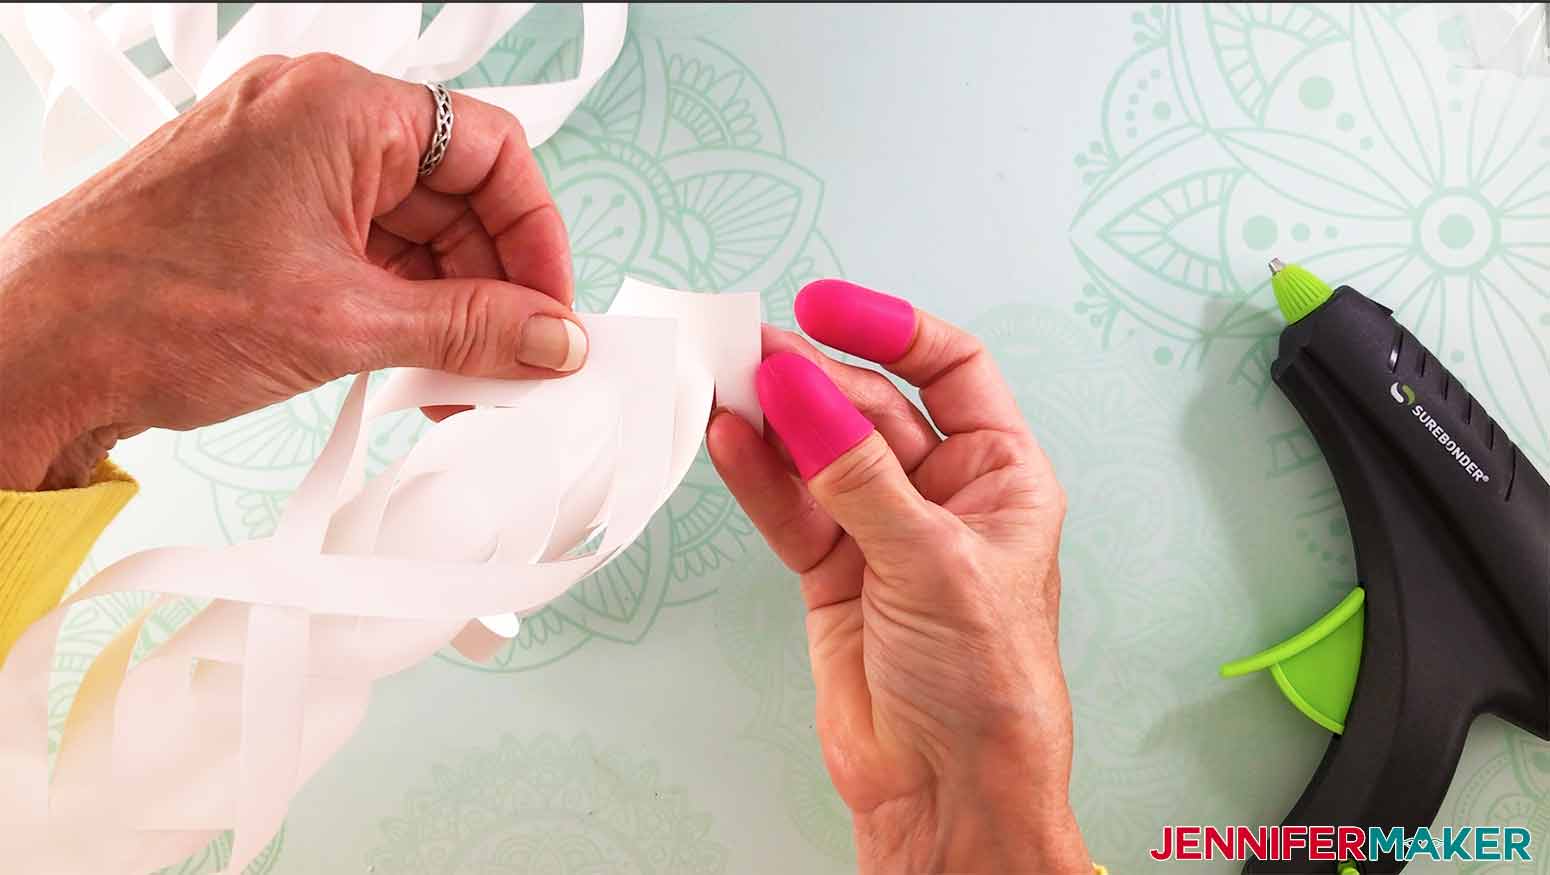

The final step is to use a hole punch to make a hole at the top of your snowflake! Use this hole for string, ribbon, or whatever type of cord you wish so you can hang your snowflake!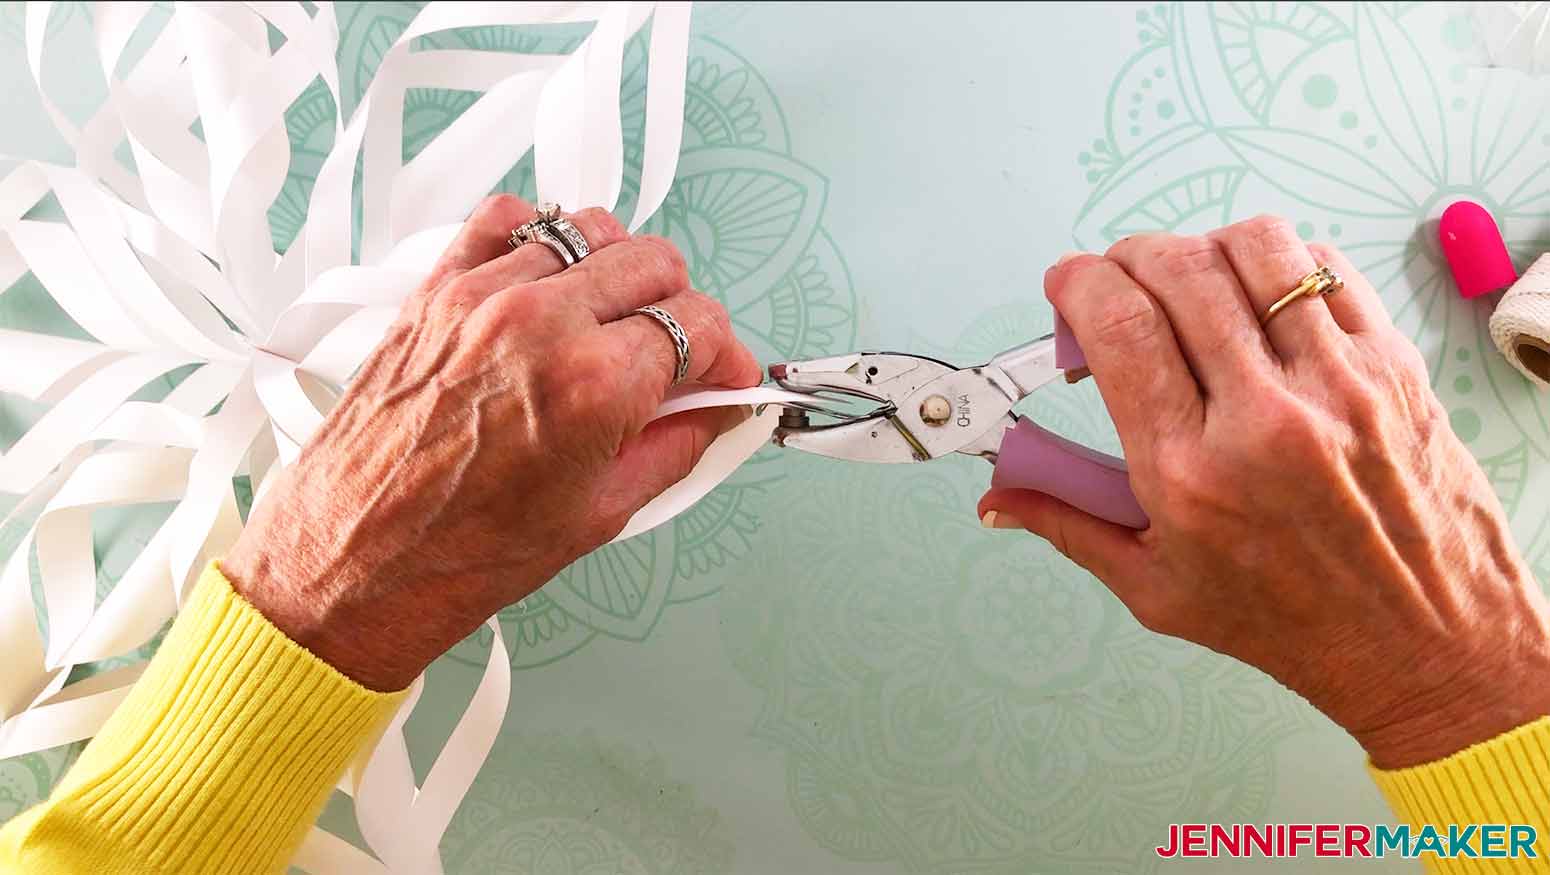
What a beautiful snowflake! You'd NEVER guess that this was so easy!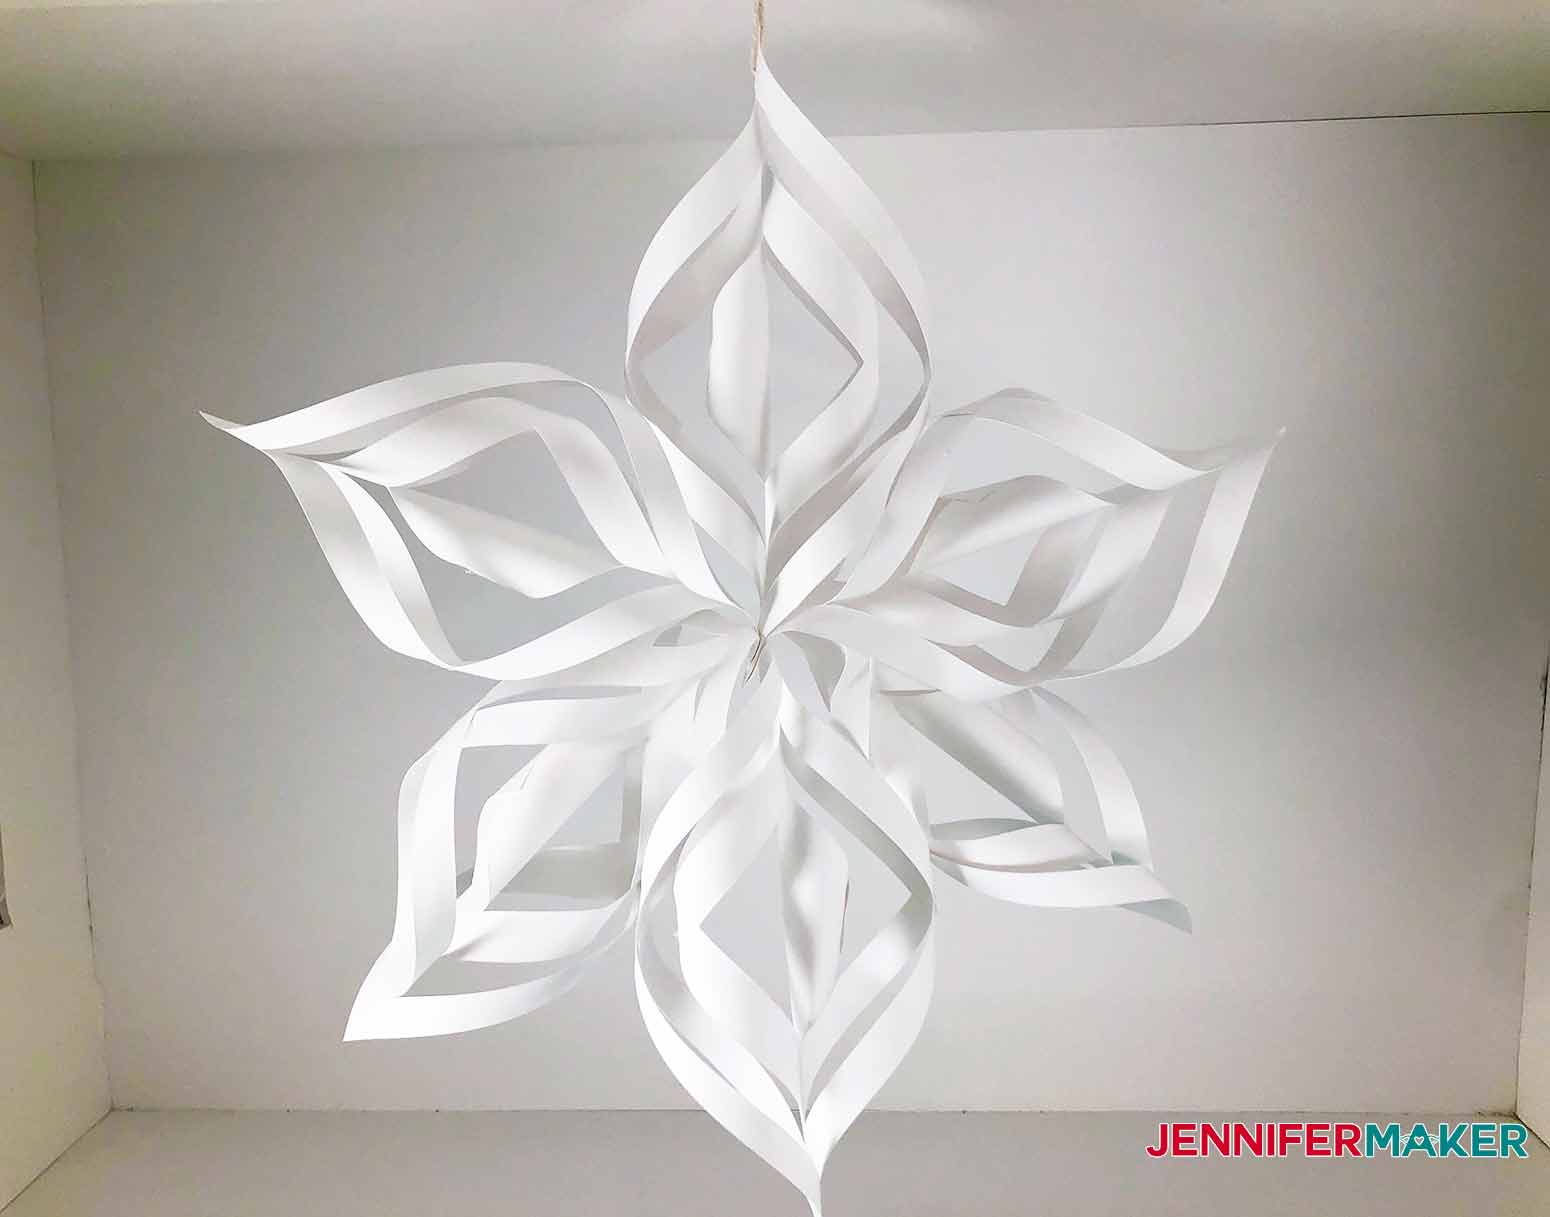
STEP 3: MAKE THE FAN SNOWFLAKE
To make the fan snowflake, get eight white paper bags, like these. If you don't have eight white paper bags, you can make them yourself with a sheet of 20 lb. copy paper and some hot glue.
You'll also want a way to glue your bags together, such as a hot glue gun and glue sticks. If you use hot glue, remember the glue is hot so be careful. You may want to use finger protectors to avoid burns.
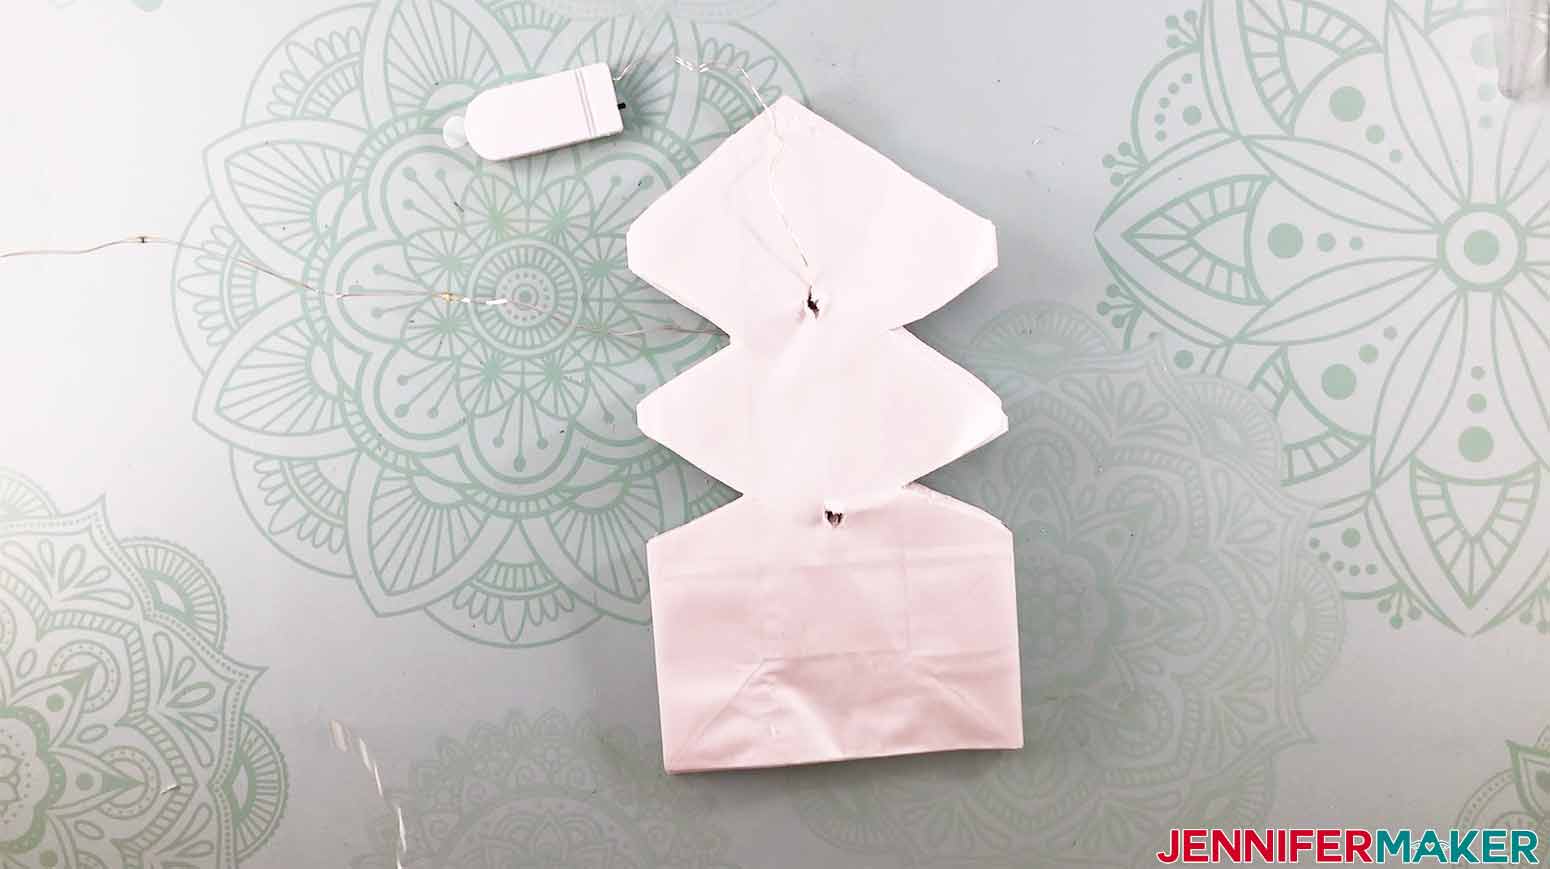
To begin, place your bag on a work surface with the bottom up, like this. Now place a strip of glue down the middle of the bag, starting about an inch from the top. Be careful that you don't put glue too close to the top, or it will end up gluing the bags closed.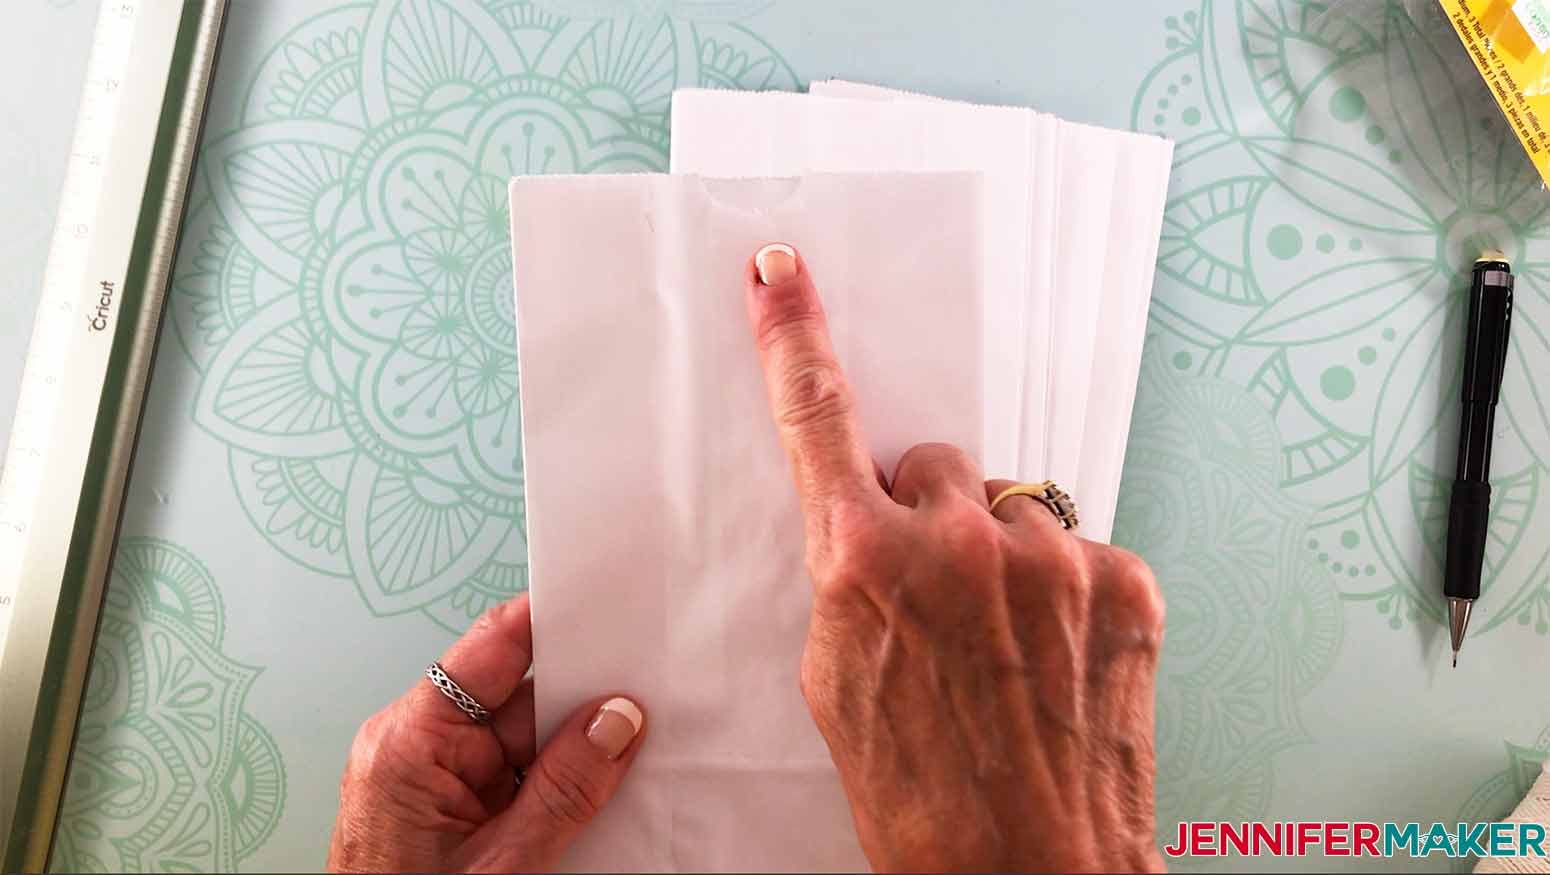
Now place a strip of glue across the bottom of your bag. Your glue strip will look like an inverted T. Before the glue cools, quickly place another bag in the same orientation on top of the bag you just glued. So the new bag should be bottom up, too!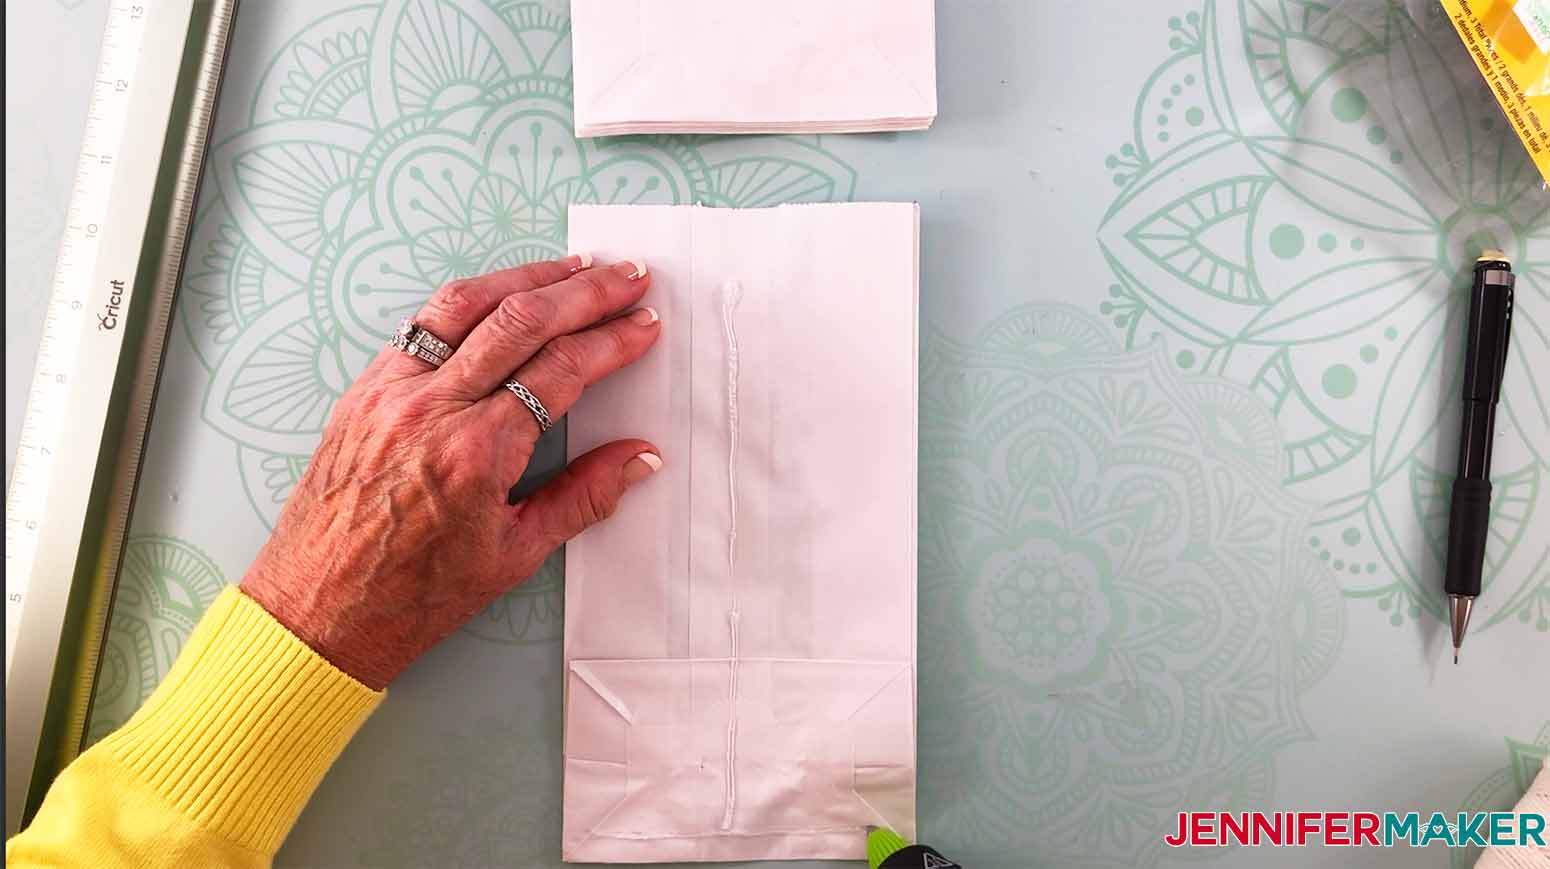
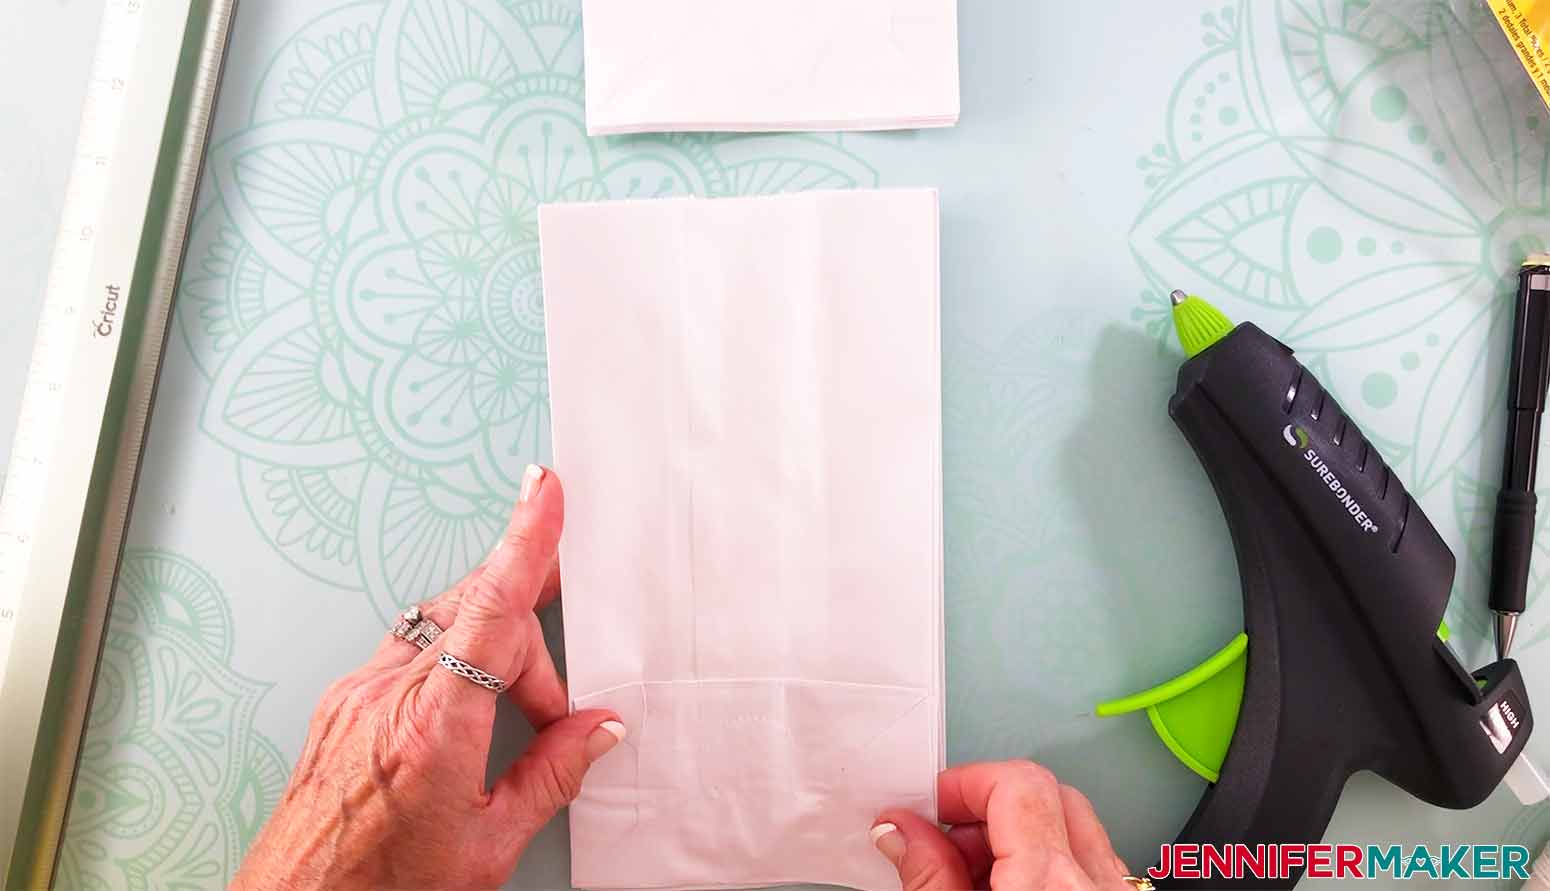
Continue the assembly of the stack by placing a glue strip on each bag and stacking them on top of each other.
Once all the bags are glued together, check your stack to make sure that none of your bags are glued closed. Each bag should open at the top as it normally does. As long as you keep the glue away from the top of the bag, the bags should not get stuck together.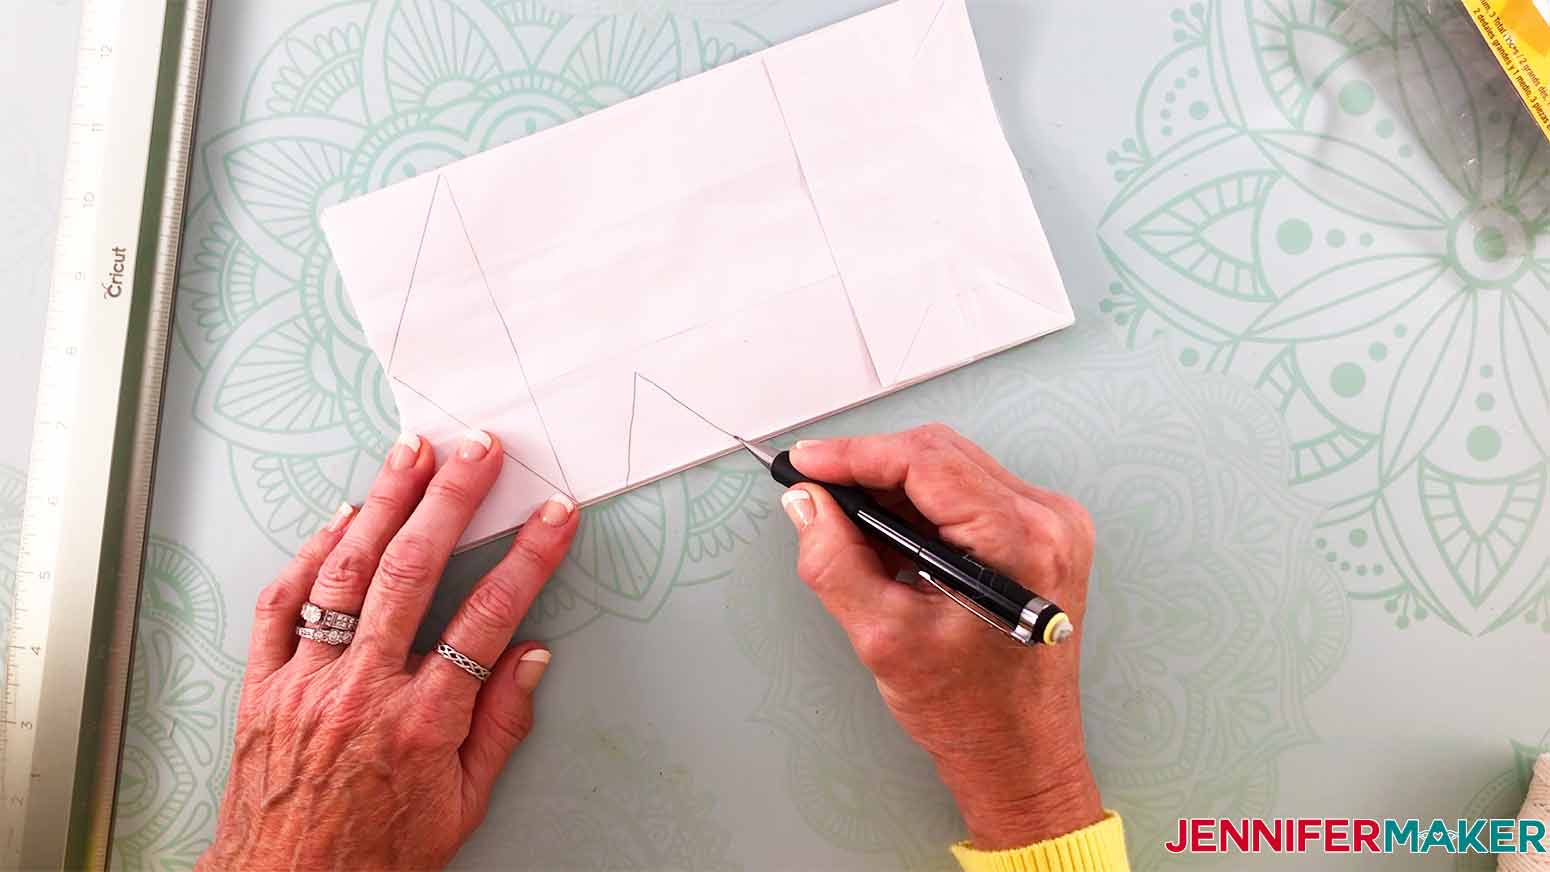
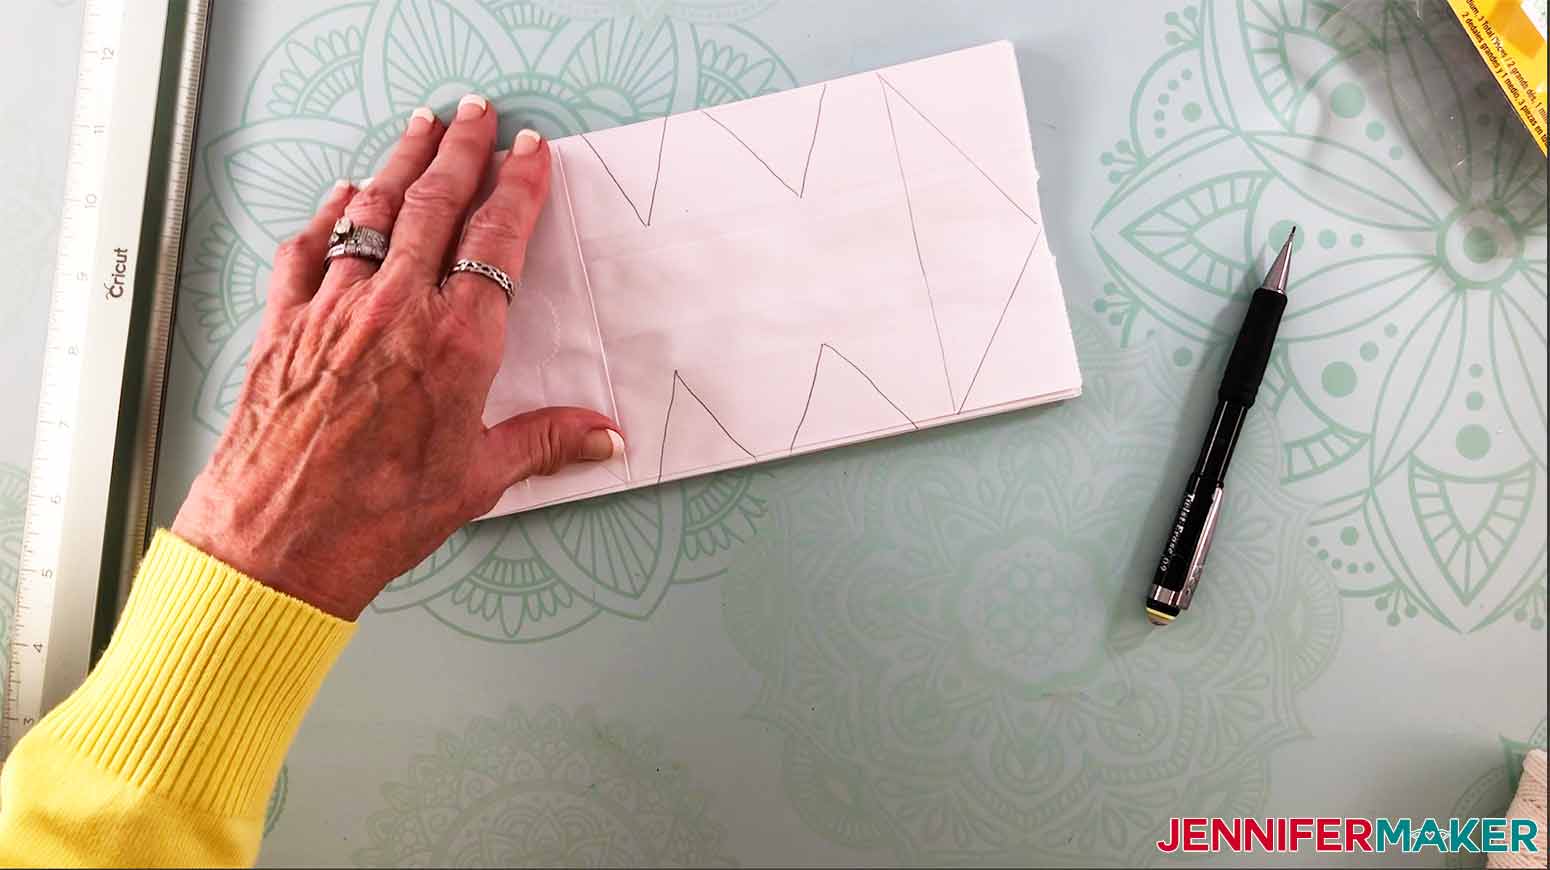
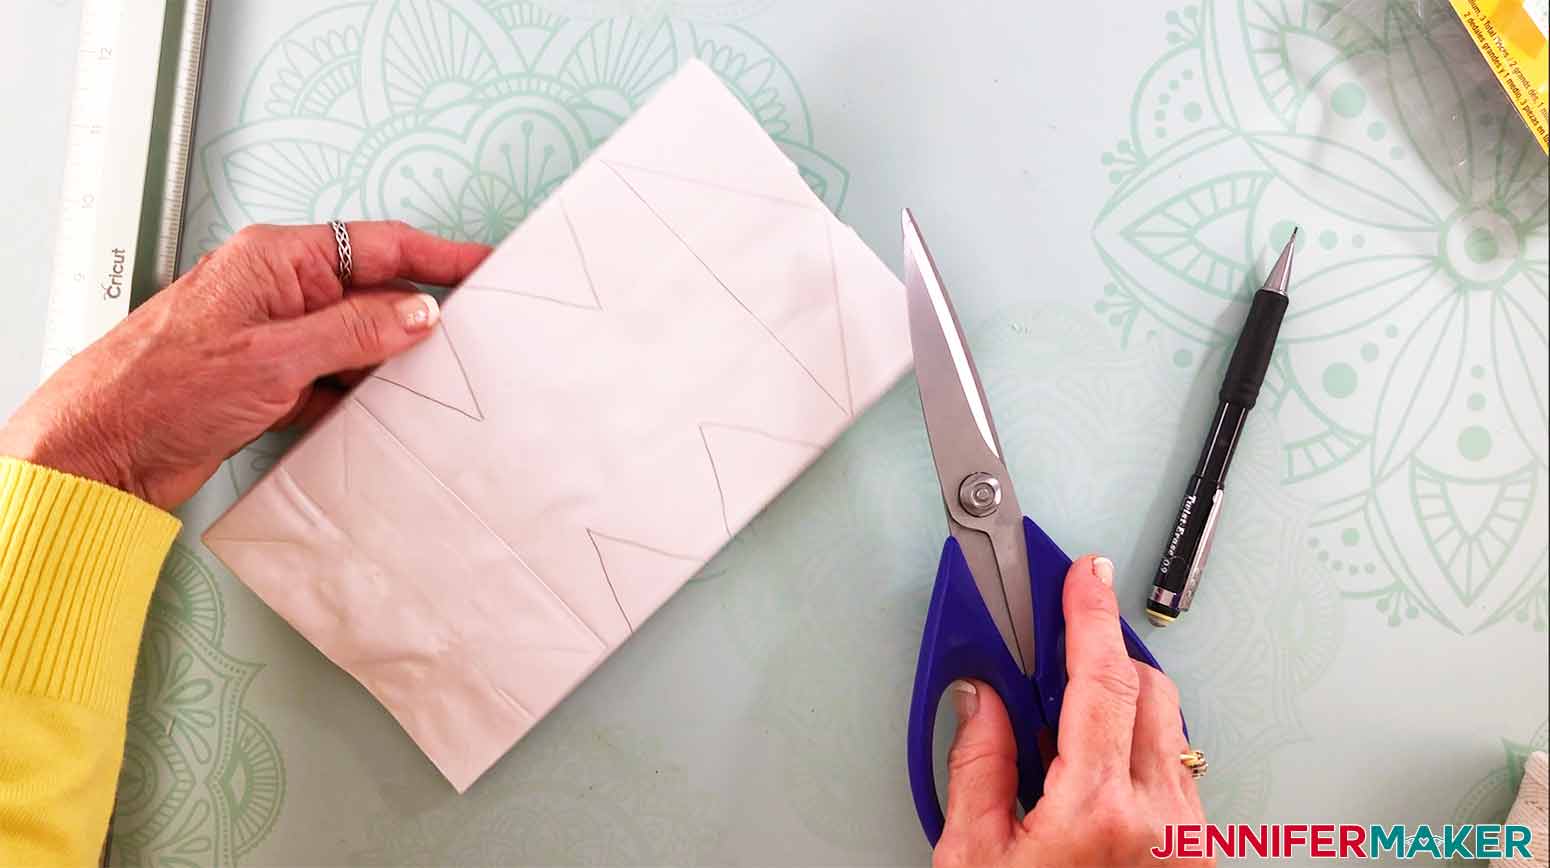
Once you've drawn your design on the snowflake, cut it out! Use a pair of heavy duty scissors, as there are a lot of layers there. And don't worry if you get a cut that isn't perfect -- just cut over the part that isn't cut just right.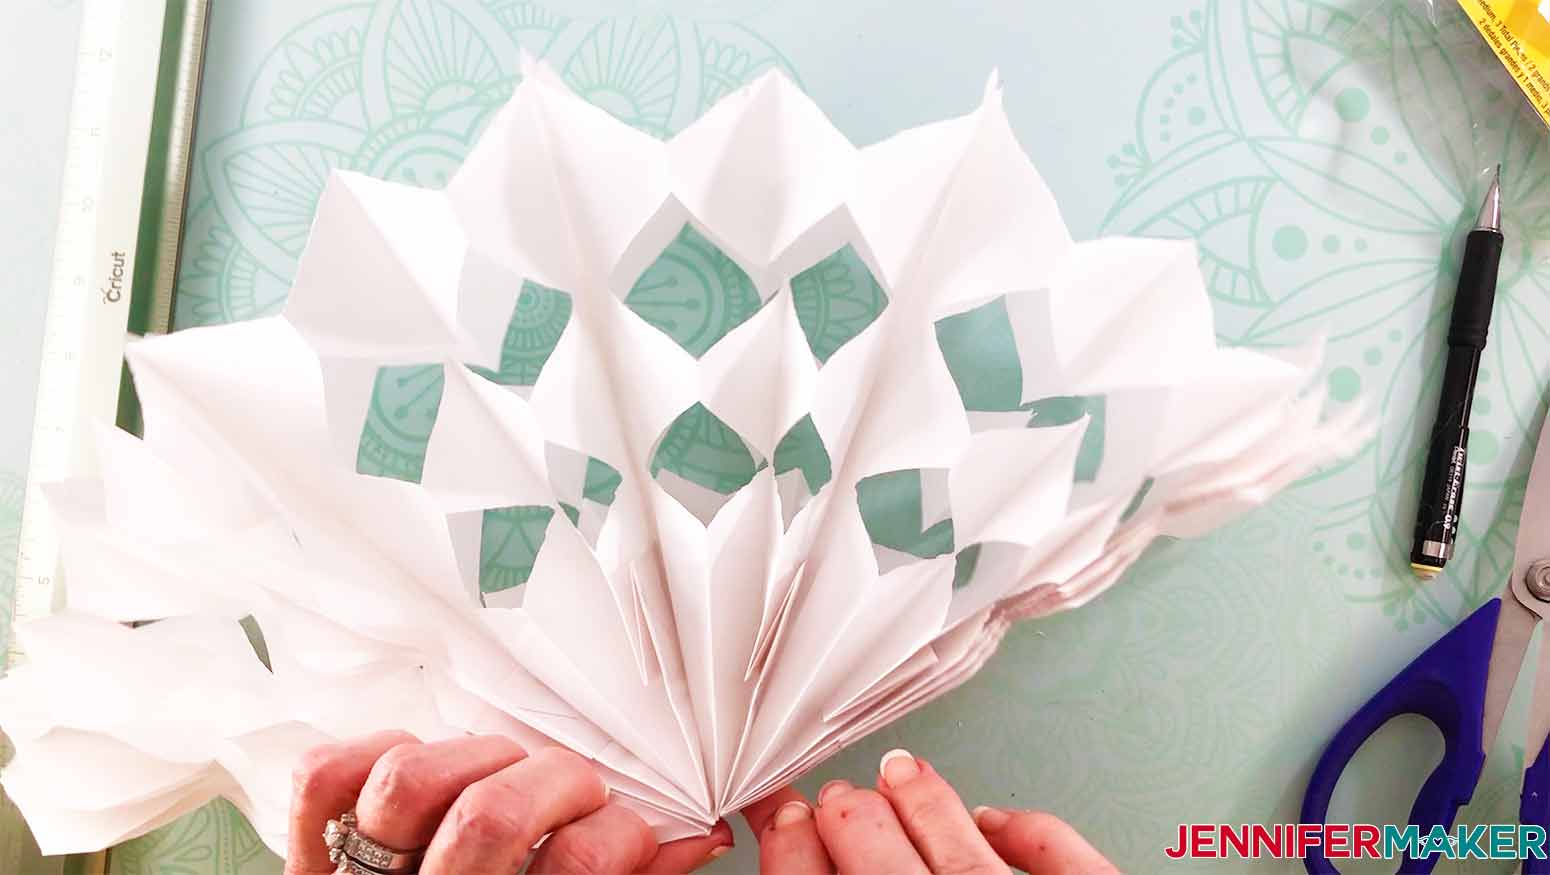
You can also add fairy lights to your fan snowflake if you want!
To get the fan snowflake ready for fairy lights, mark two spots on the stack of bags for holes. You can use your scissors or something equally pointy and sharp to poke a hole through the bags. Be sure to be careful with this step. Take your time and go slow so as not to poke the scissors through too fast, or worse yet, poke yourself!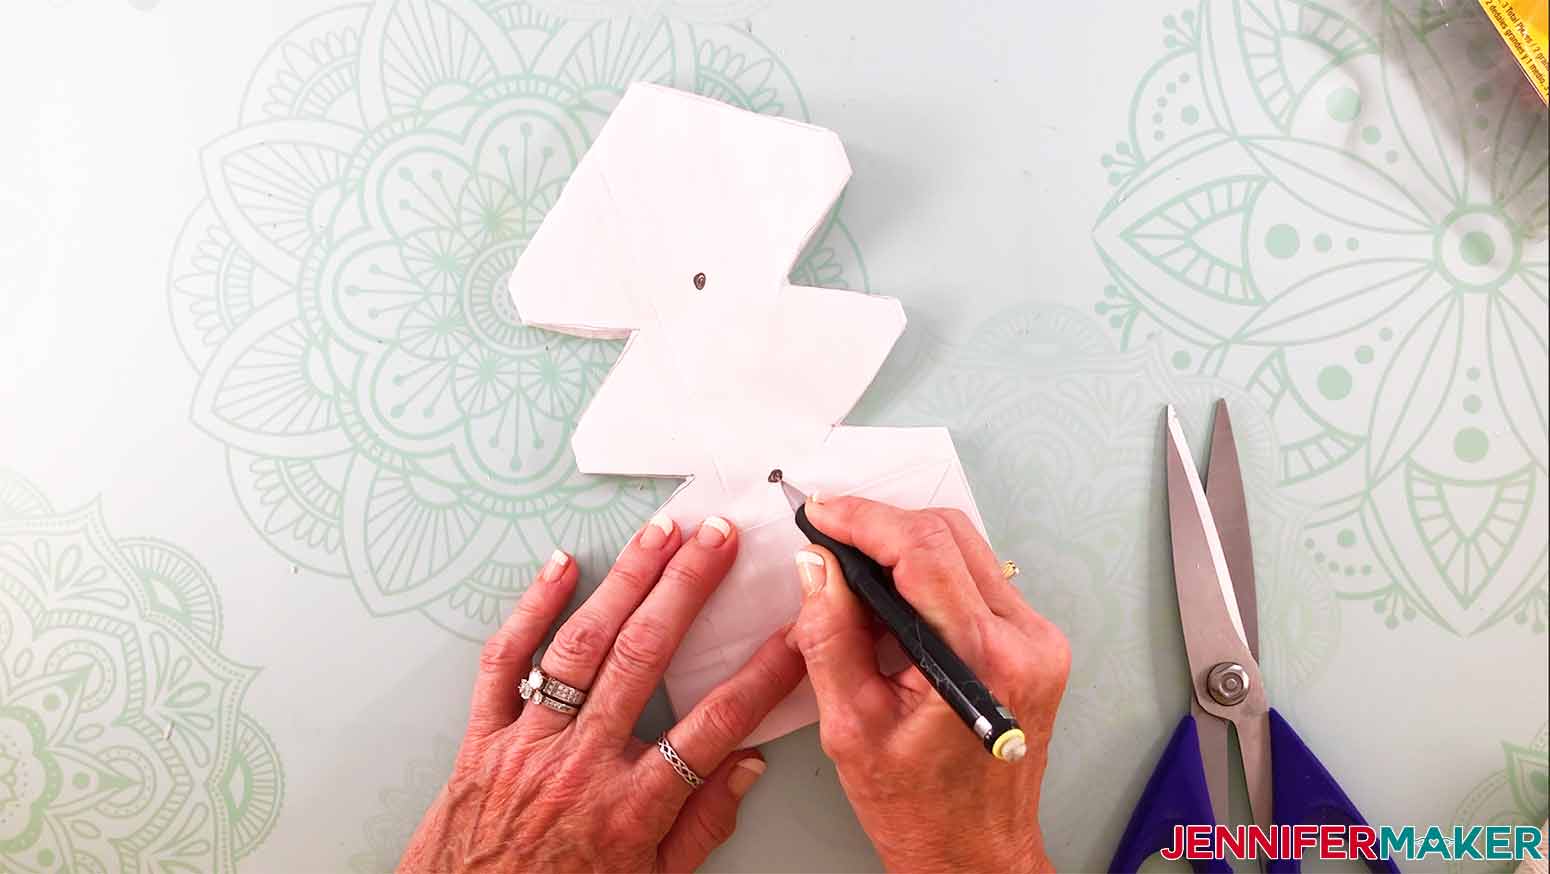
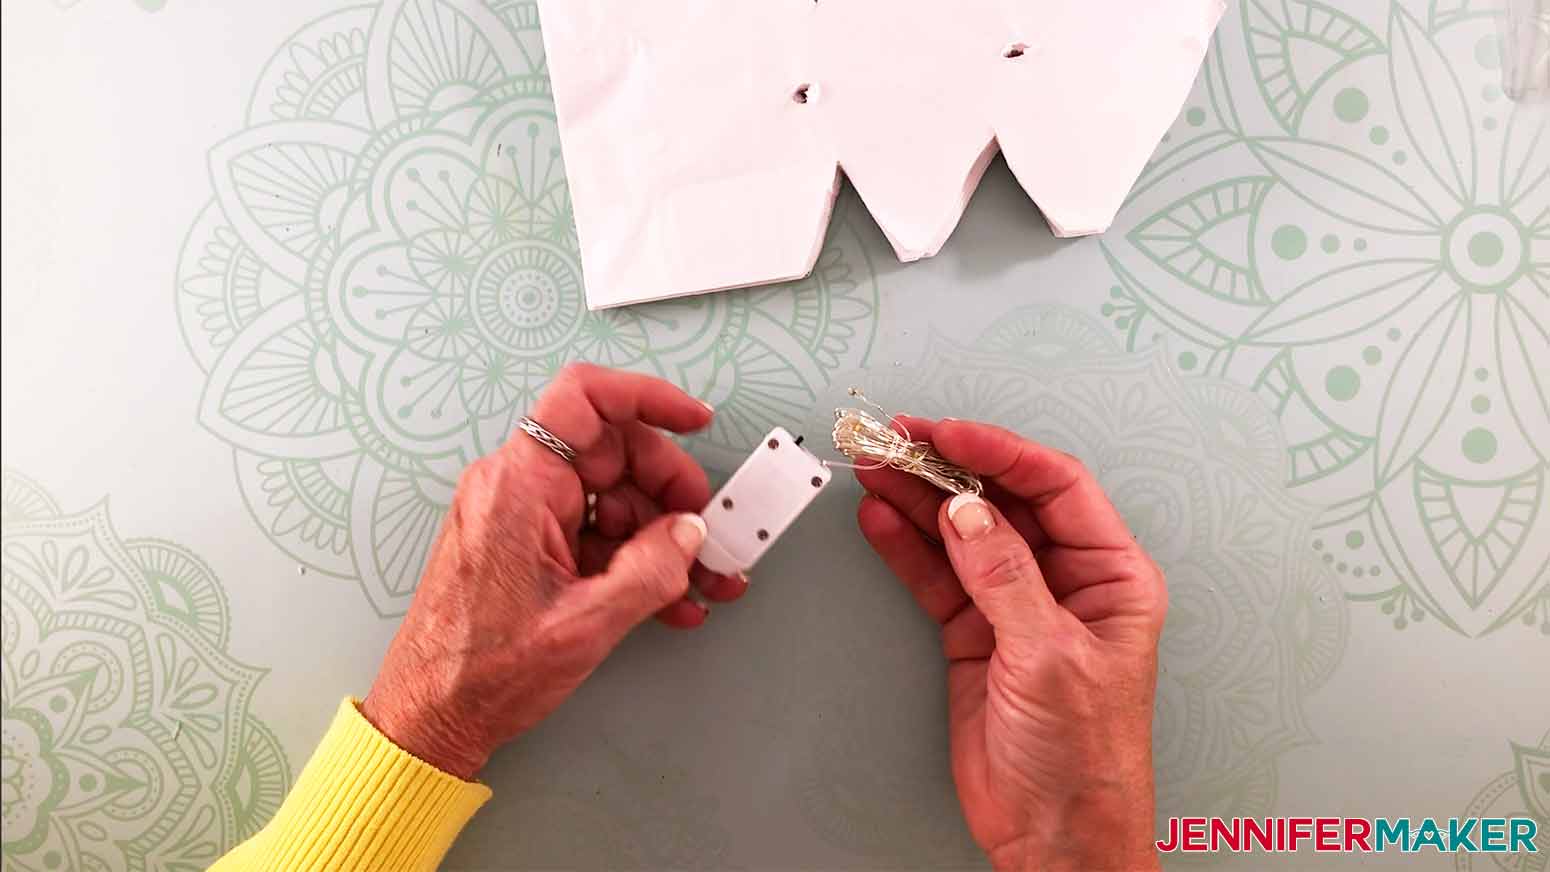
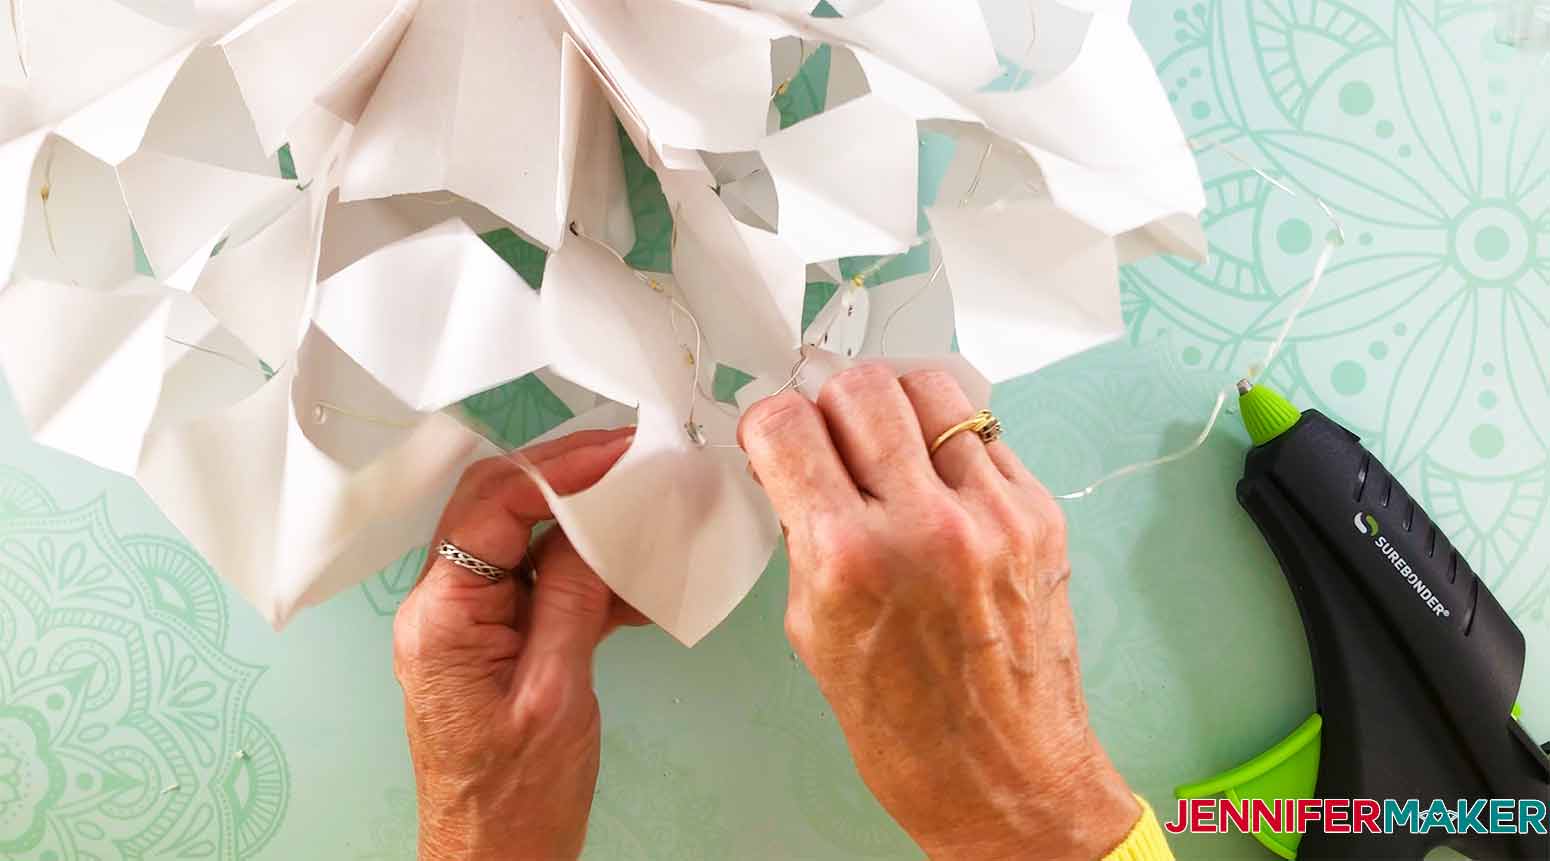
Begin to thread the lights through the top hole first. Pull the lights almost all the way through until there is just about 3 or 4 inches of the switch left out at the top. Then follow through and thread through the bottom hole. Be sure to not pull the lights all the way through. You must leave about 12 inches or so to allow room to open up the snowflake. If you pull too much through, you will know as you won't be able to fan out your snowflake. Just loosen up the lights and allow more room for the lights to thread through the snowflake. Be sure to take extra care when threading the fairy lights through the snowflake...be gentle and take your time so as to not tear the paper bags. This can be a bit fiddly, but the end result is worth it, so be patient and stay positive!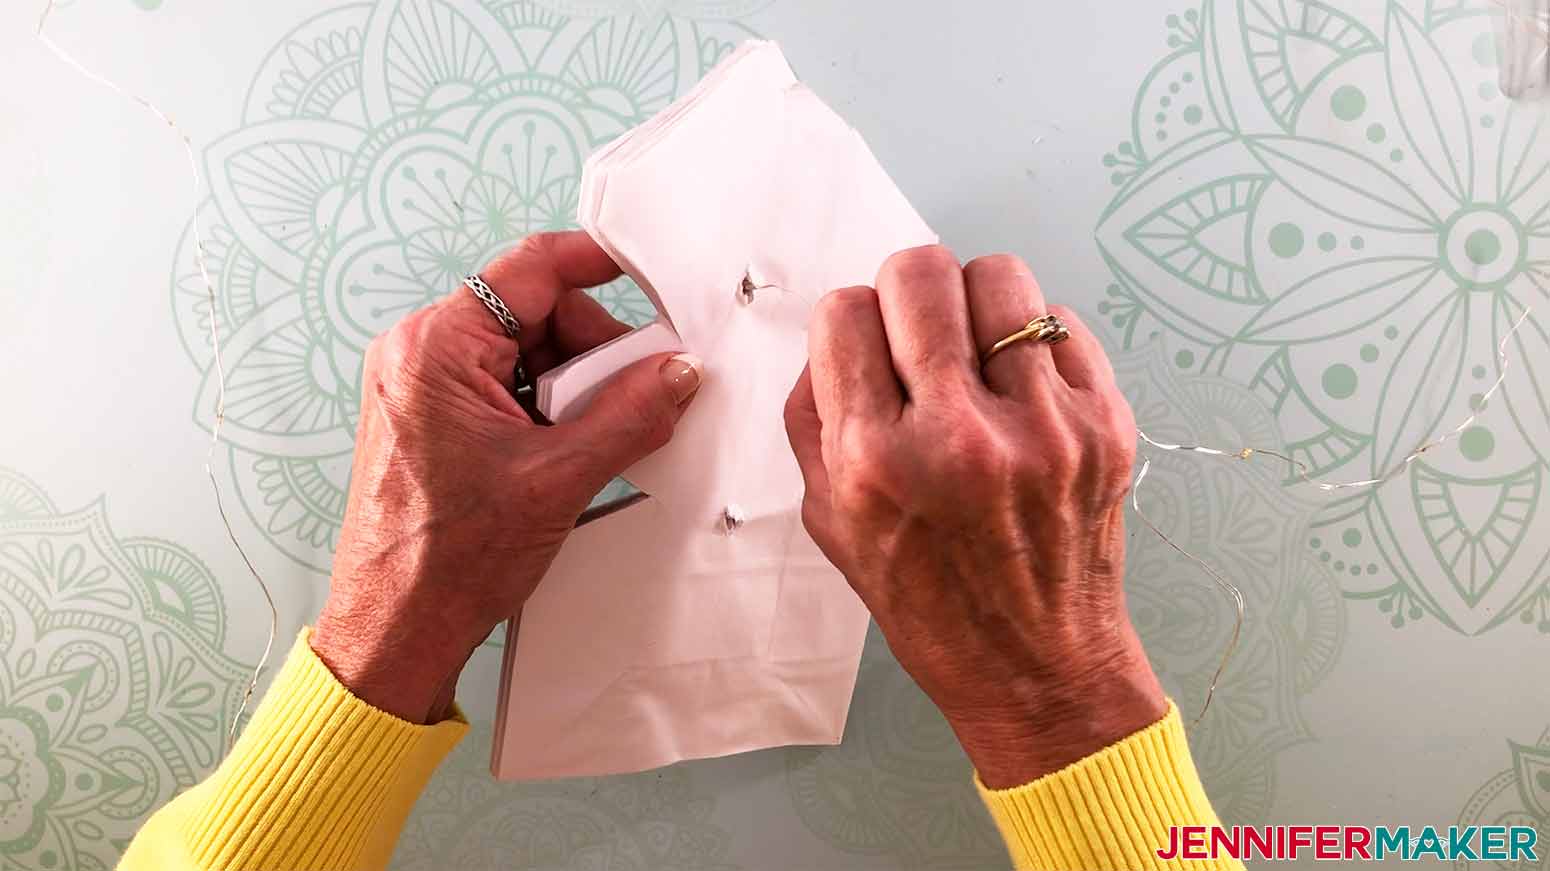
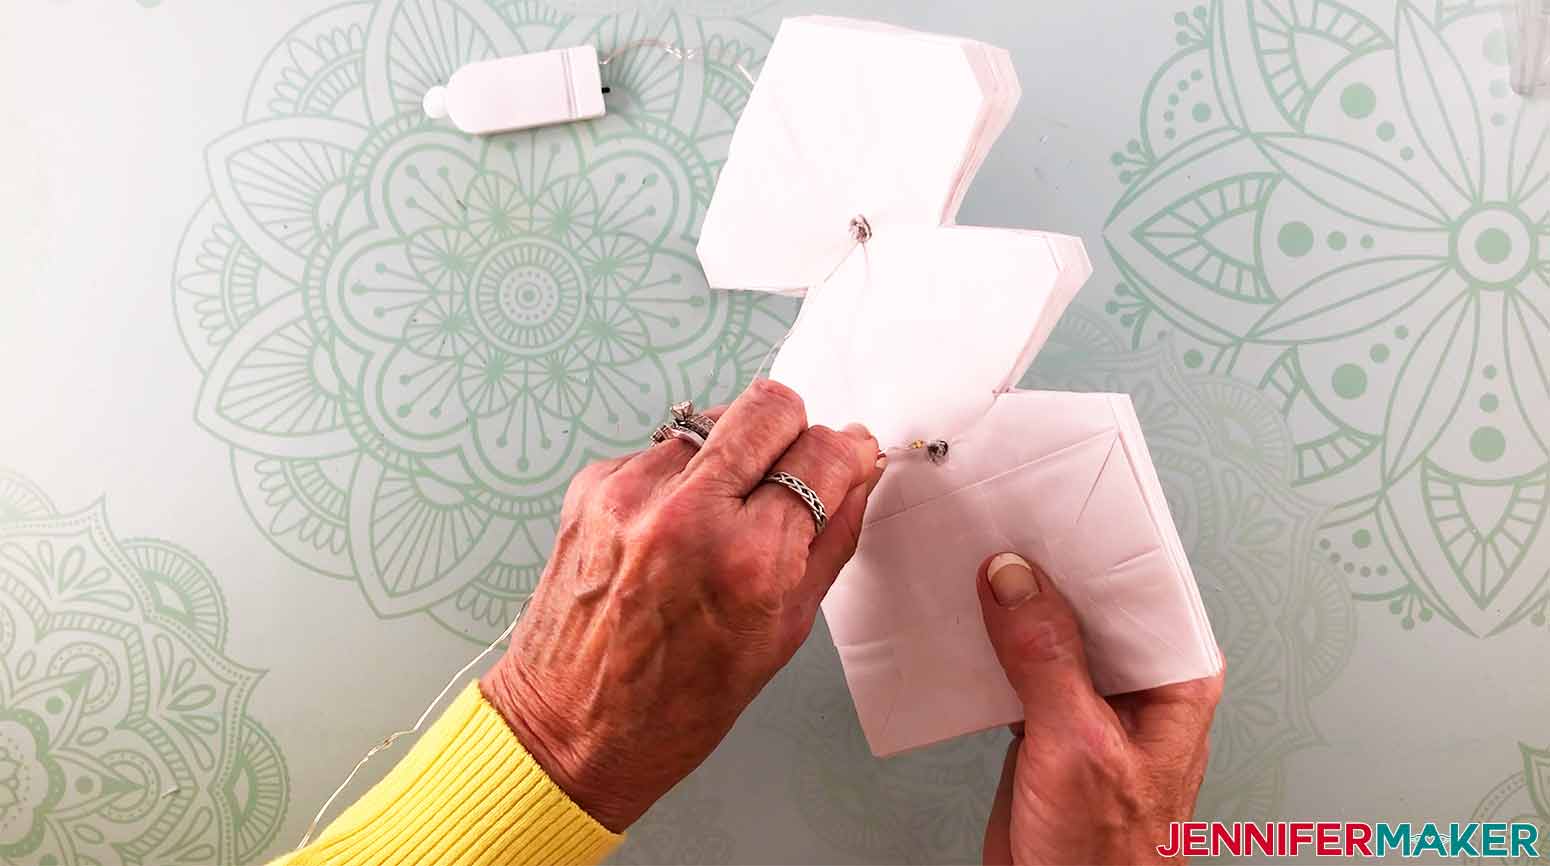
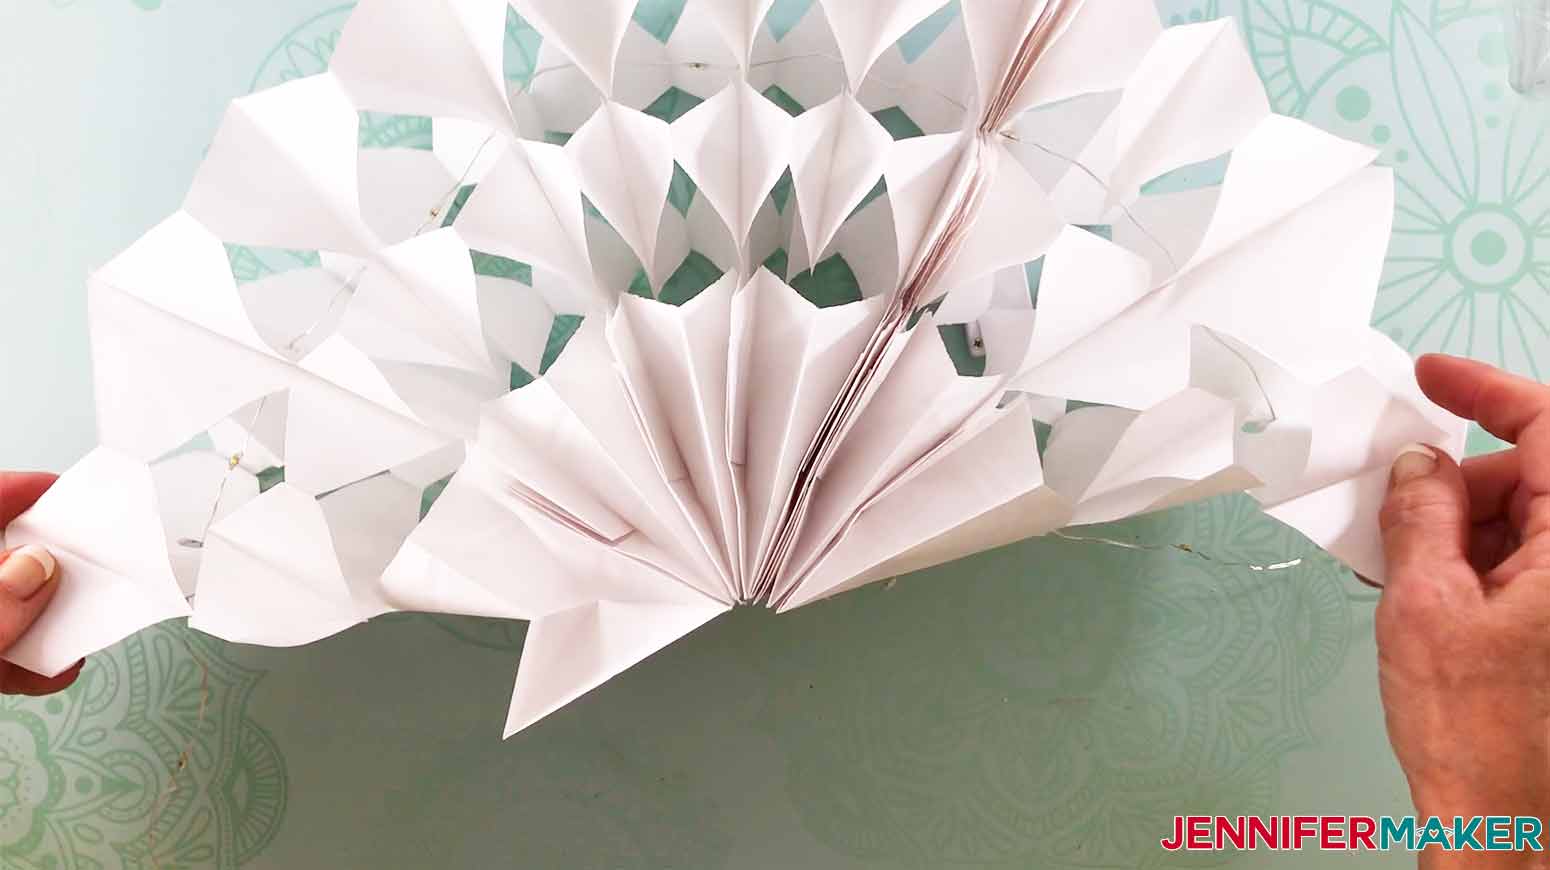
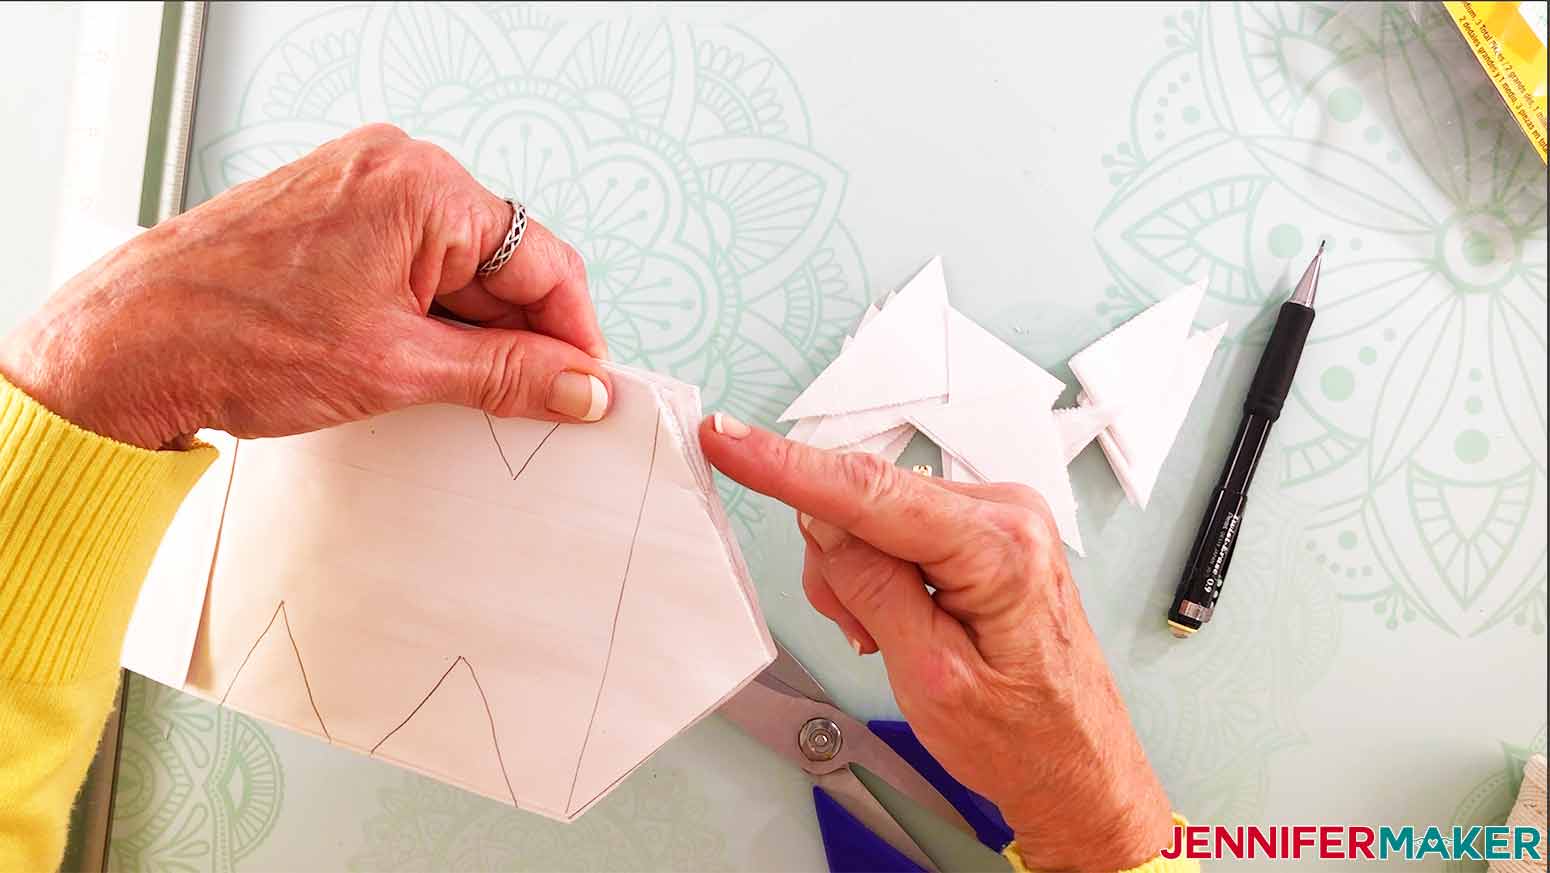
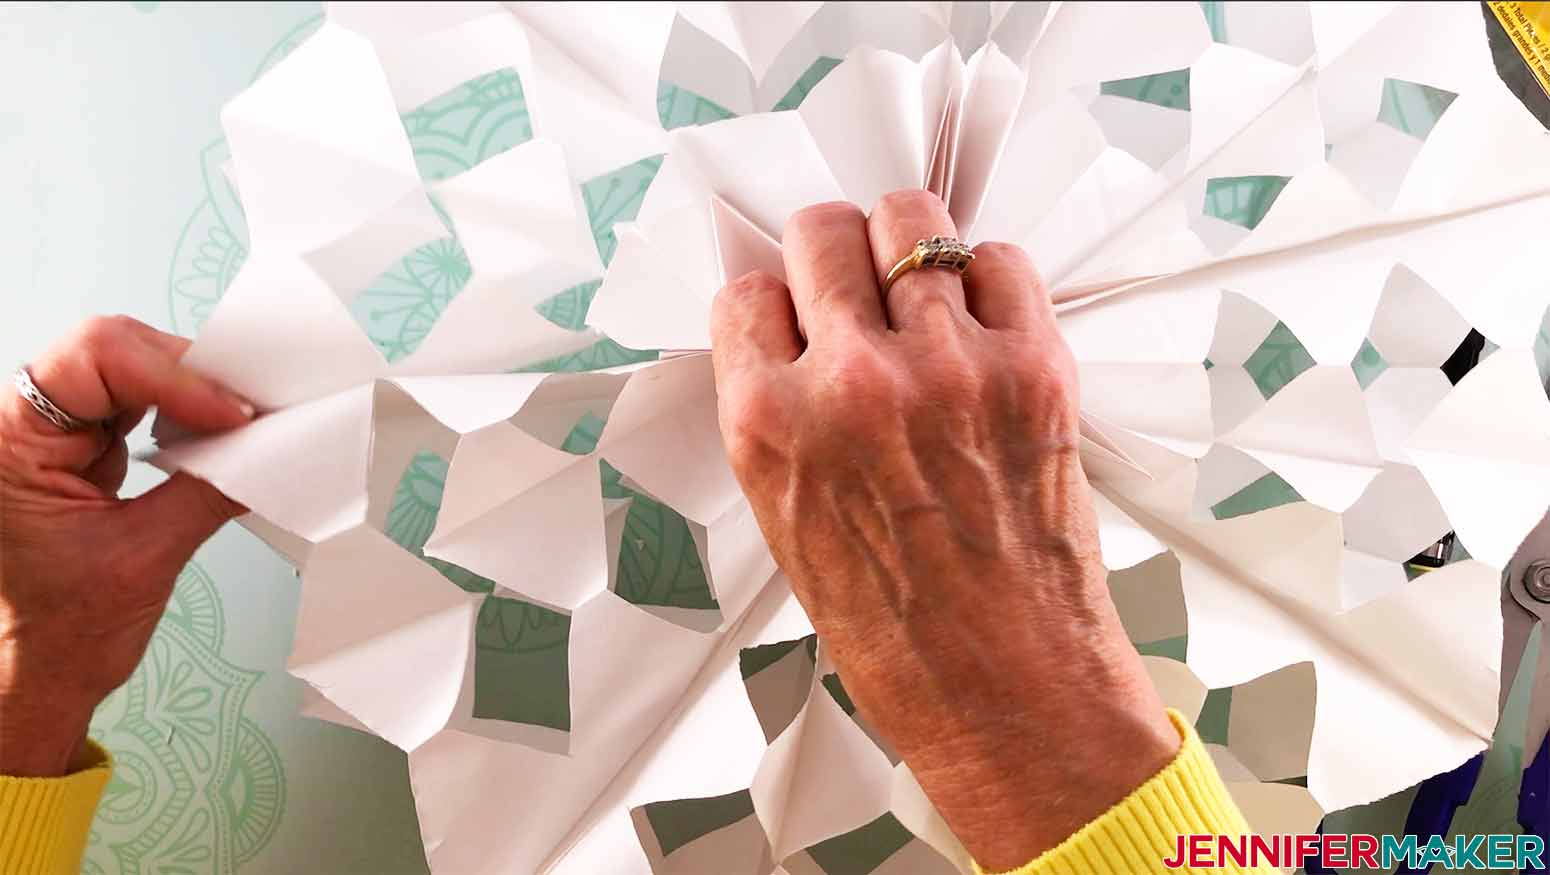
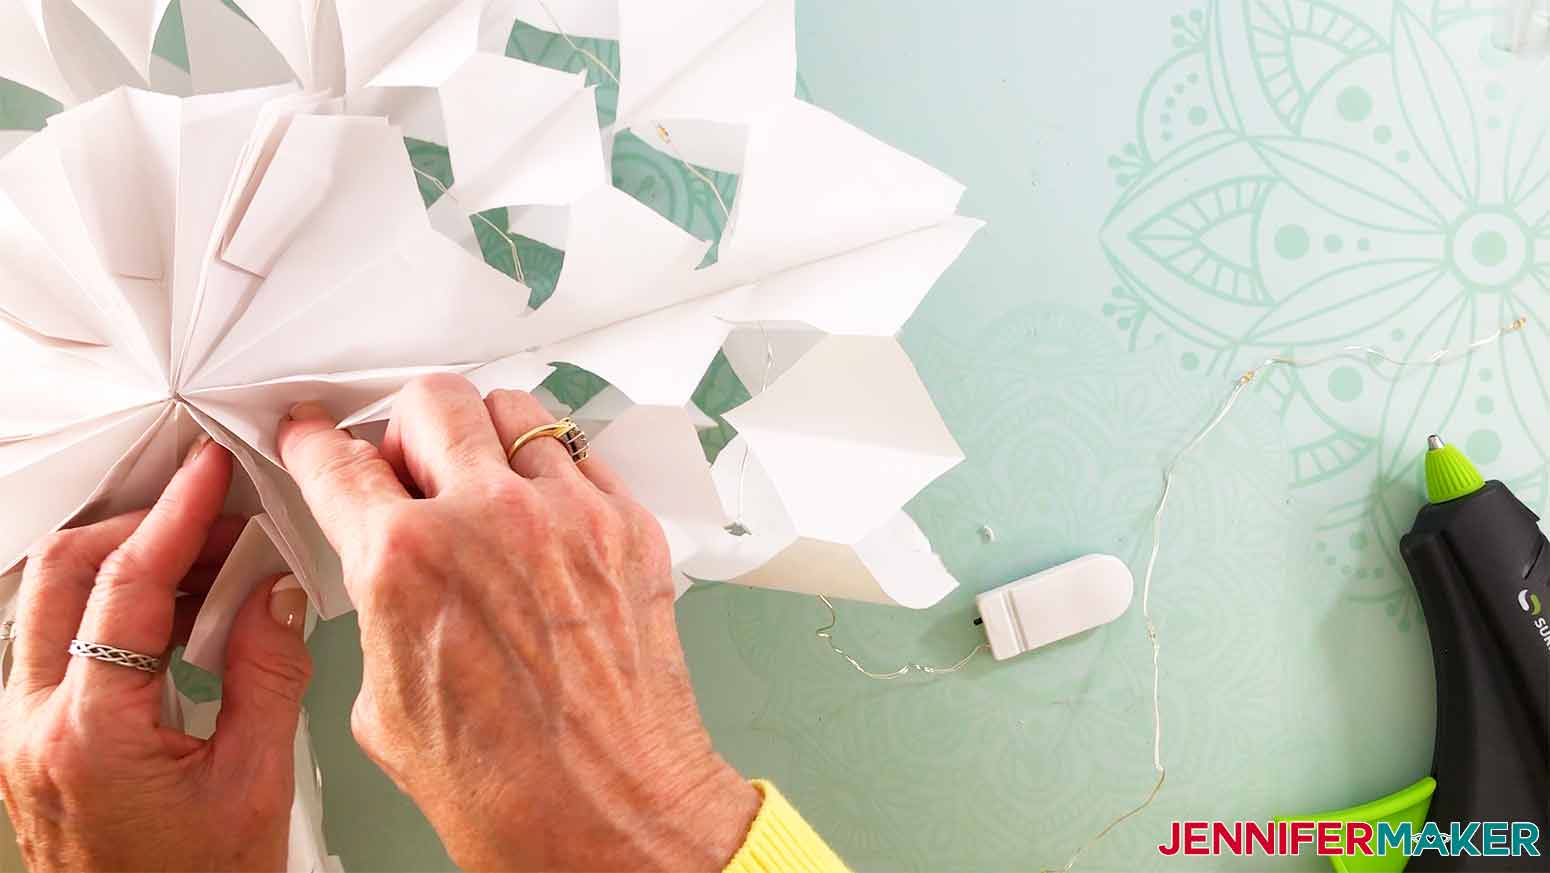
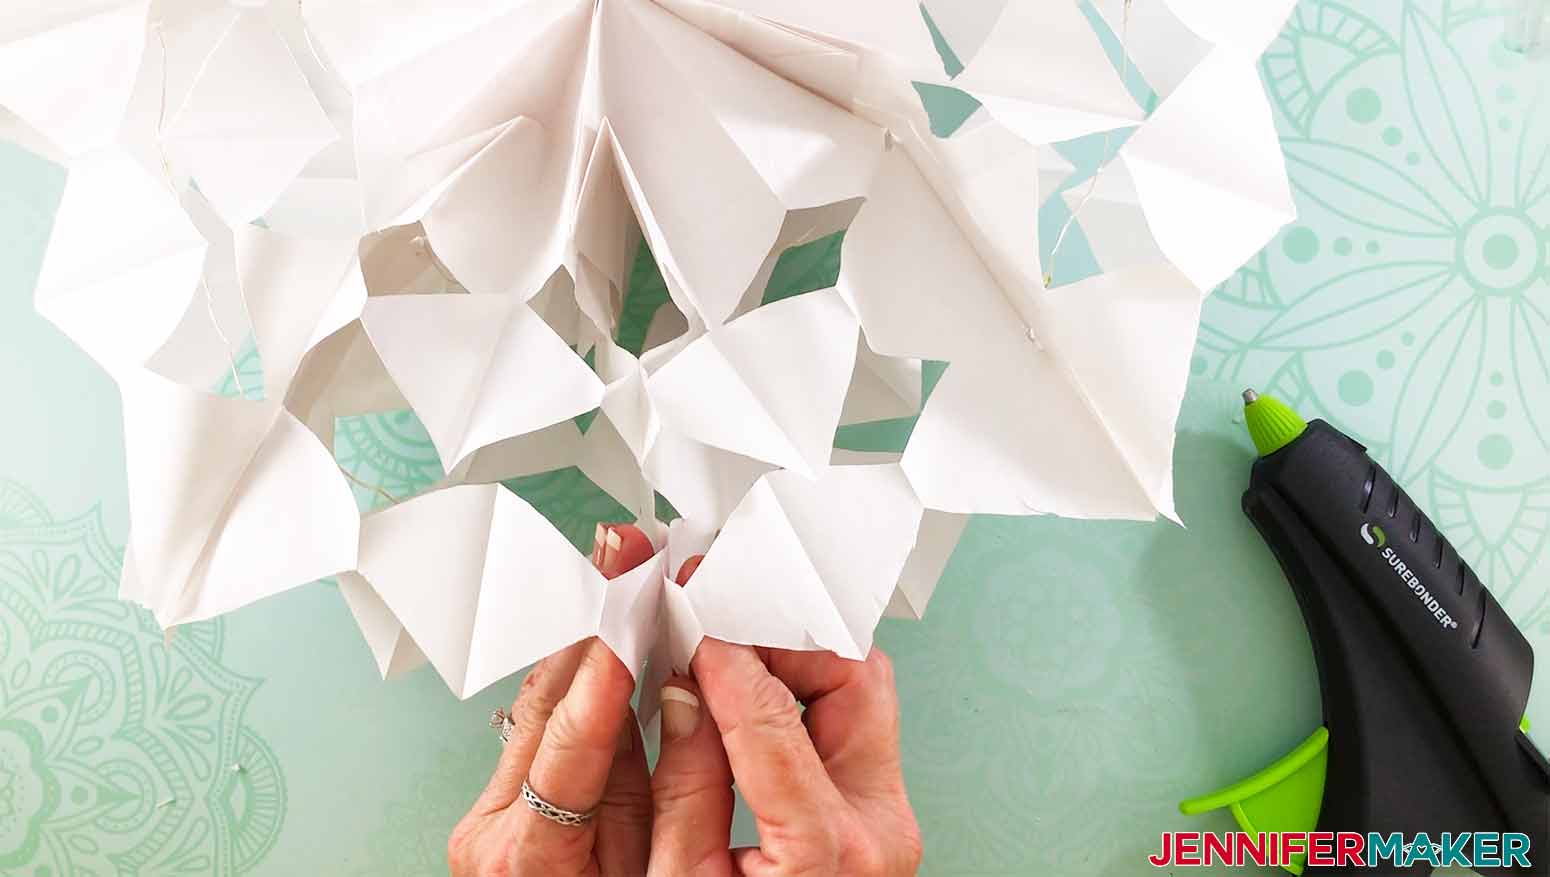
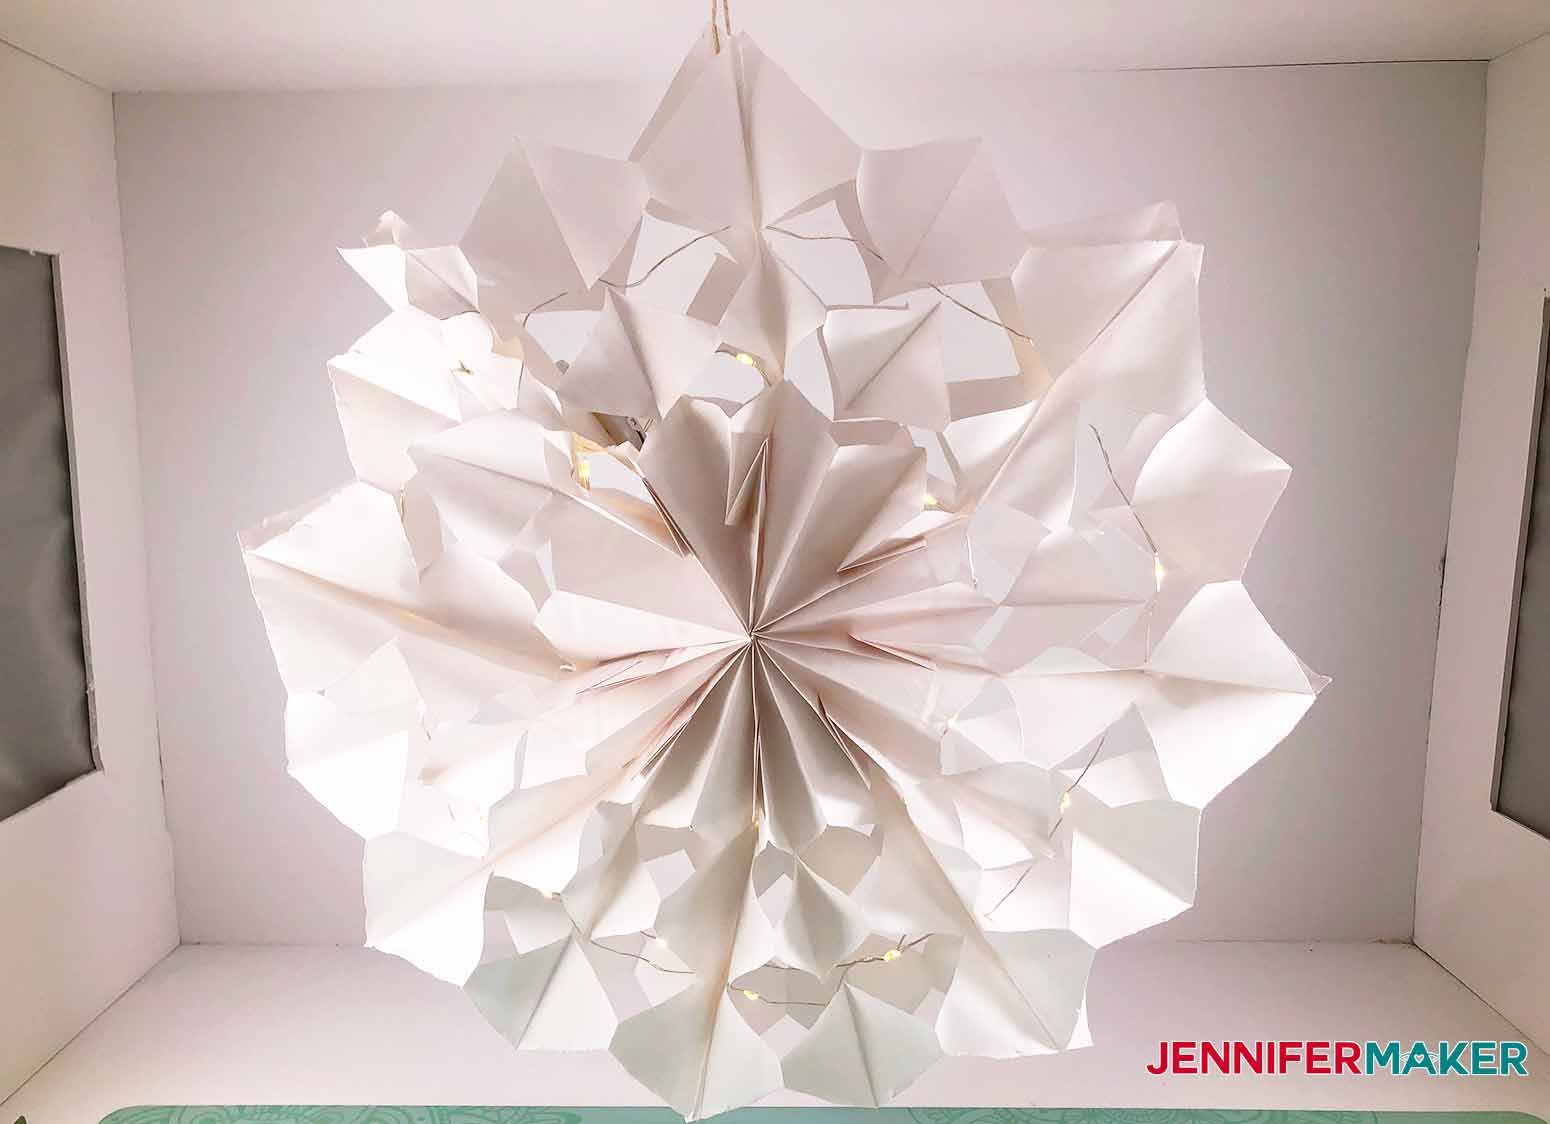
Once you have your fairy lights strung through both holes, fan it open until the top and bottom bag on your glued stack can touch. If you have an issue fanning it open all the way, give the fairy lights more slack.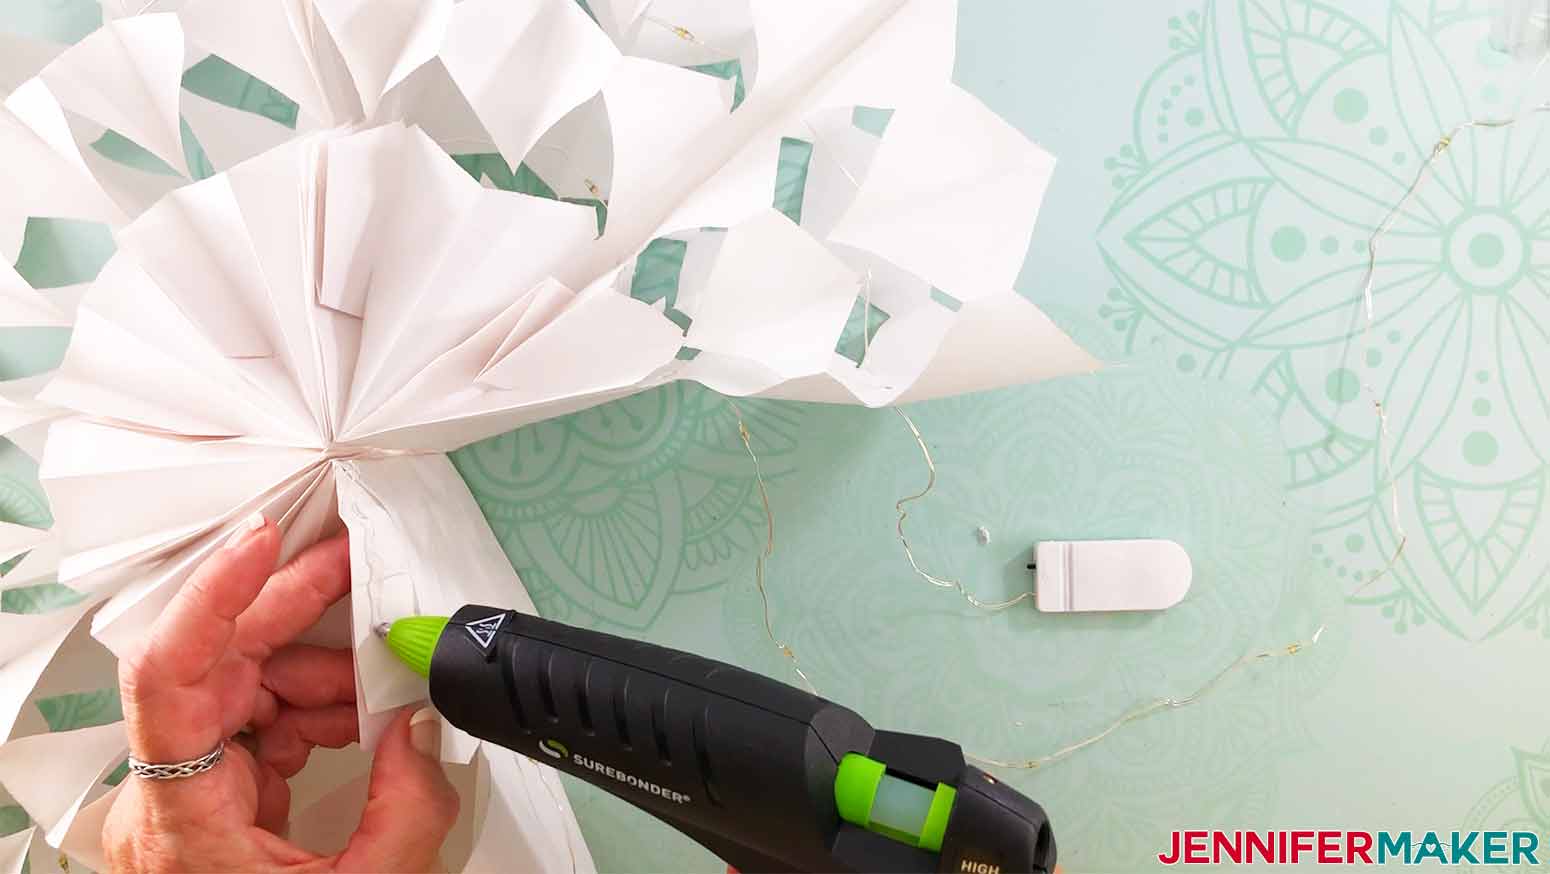
With your snowflake fanned open, glue the ends together so it stays open. Start at the inside of the snowflake and work your way out to the point. Glue both sides of the two ends to assure it keeps its shape.
You can tuck the light switch into one of the snowflake pockets and then weave any extra lights back through the holes. to make it all nice and tidy.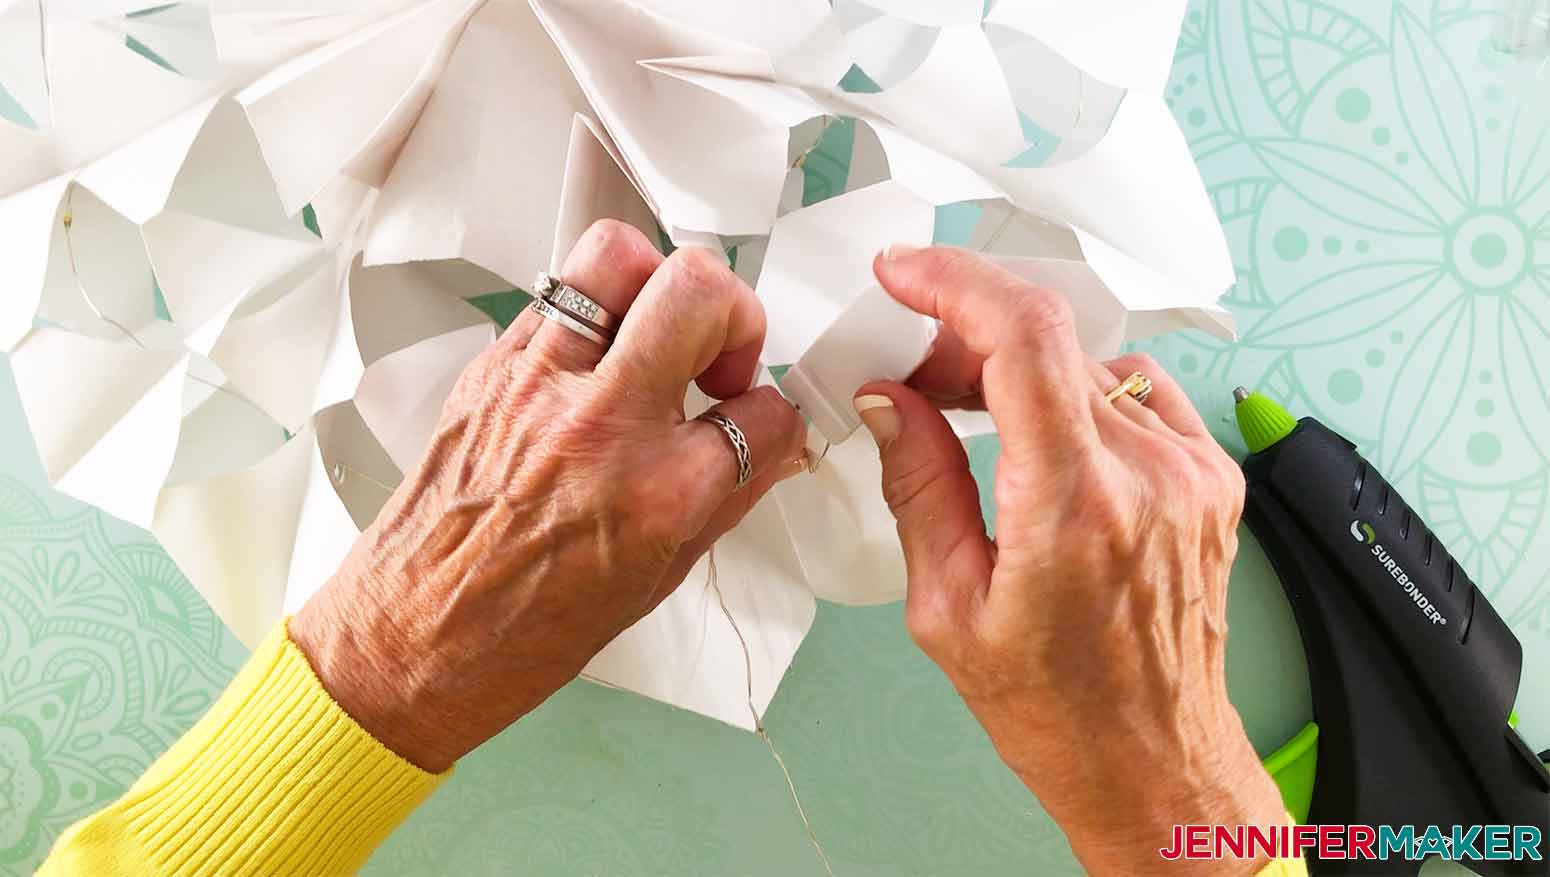
Your fan snowflake is almost done! Now you need a way to hang it up. I recommend you use a paper punch to make a hole for your string or ribbon.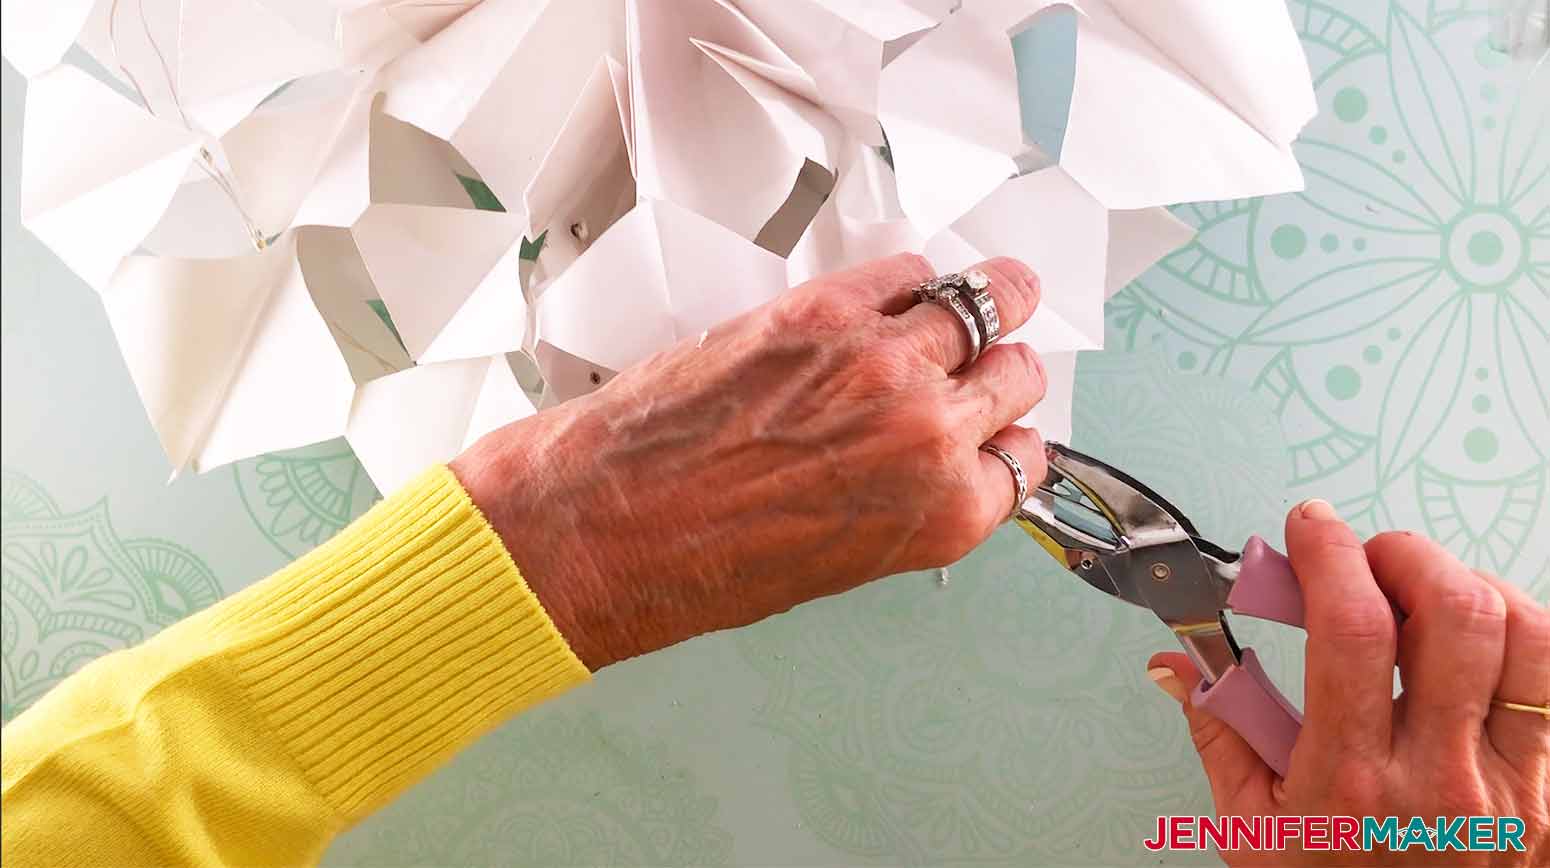
STEP 4: SHOW IT OFF!
Notes
Recommended Products

Answers to Your Questions About Making Giant Paper Snowflakes
Q. I can’t find any white bags!
Not to worry! We have a tutorial to make your own bags if you can’t find any. Don’t forget to check our link for the white paper bags as we try to keep our shopping lists updated with items that are in stock.
Get my free SVG files to make Giant Paper Snowflakes
I’d love to see your 3D snowflakes and all the colors and sizes you make! Please share a photo in our Facebook group or tag me on social media with #jennifermaker.
See all of the projects, tutorials, and free designs in The Great Maker 25-Day Gift-Away Challenge!
Love,

Want to remember this? Save this Giant 3D Snowflakes tutorial to your favorite Pinterest Board!


Hi Jennifer I am in UK ,I am a bit confused about about card stock needed for large snow flake , don’t know if you can help I can use up to 300 grm can you tell me equivalent to yours I need .
Thanks
Great question! Here is what I found about 300-350 grm paper:
“A heavier cardstock, card in this range has a higher quality feel to it
and is often used for business cards. This range is also suitable for
wedding invitations and handmade cards.”
It sounds like this paper should work, you definitely can give it a try!