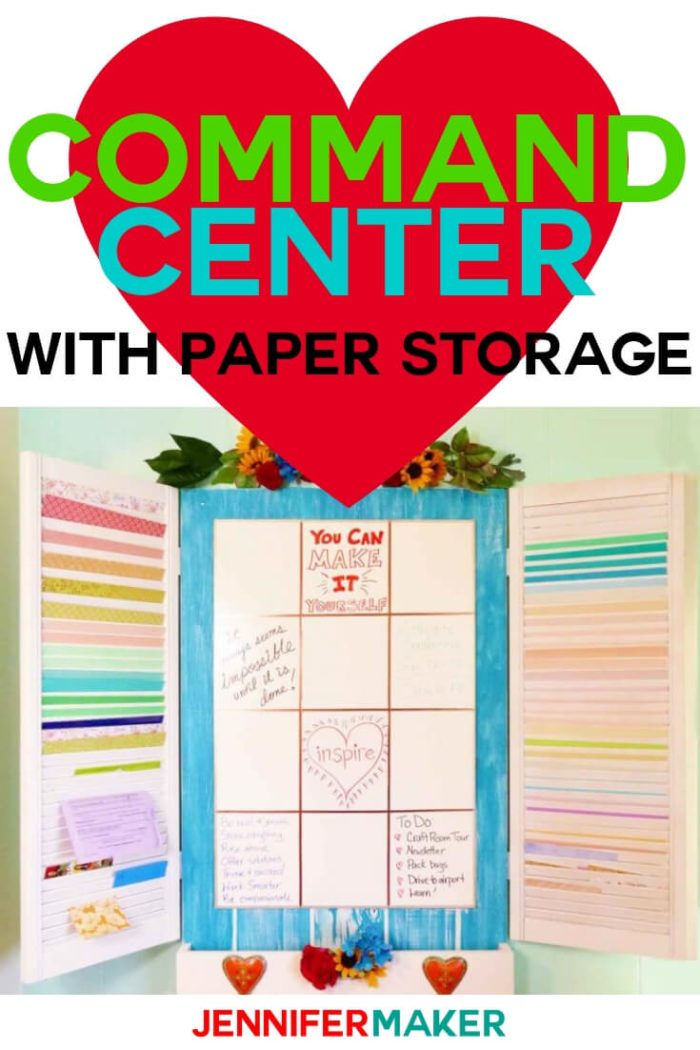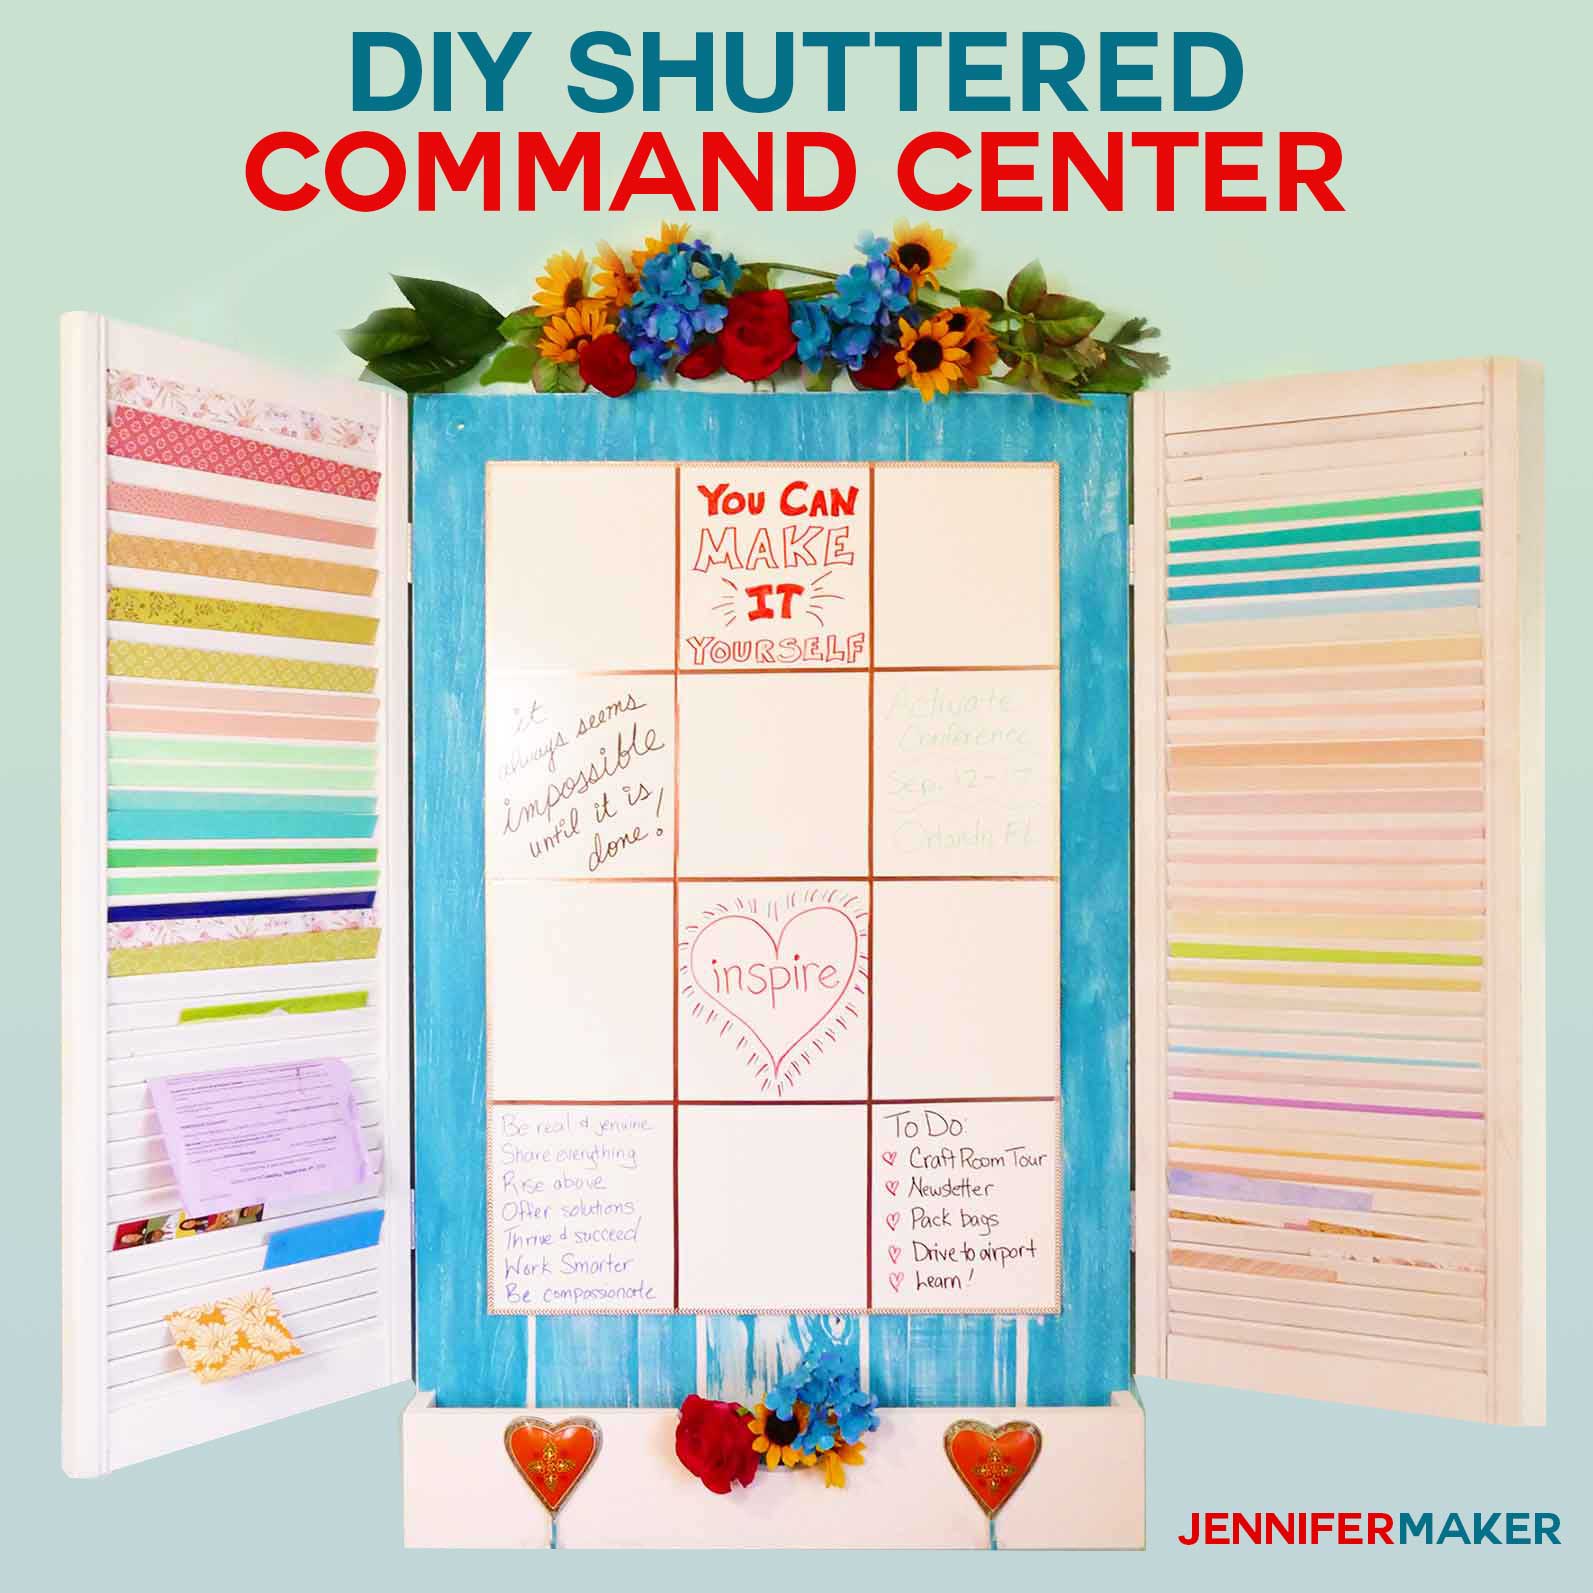
Make a unique and functional DIY command center that holds information, paper, and loose items. And you can even close up this command center when company comes over!
I’ve been wanting a command center in my craft room for some time. If you’re not familiar with the term “command center,” it’s just a fancy term for a place where you keep notes, papers, and important items. I have created a command center in a central location in my home, but I still wanted one near my desk in my craft room. This DIY command center uses old wood shutters I’ve turned into paper organizers, something you don’t see everyday. It’s charming, fun, and creative!
One of the fun features of this DIY command center is how the shutters can completely close and cover up your notes and papers. I designed it this way on purpose so I could keep my scribblings private whenever I wanted. And closing it also allows me to physically close up all the “stuff” when I just want to relax and not be reminded of my to-do list. It’s working out quite well for me so far!
So let me show how to make my DIY command center. This post contains some affiliate links for your convenience (which means if you make a purchase after clicking a link I will earn a small commission but it won’t cost you a penny more)! Read my full disclosure policy.
Materials Needed to Make My DIY Command Center
- Two wood shutters with slats at least 12.5″ wide. My shutter is 15″ wide by 42″ tall. If you plan to store paper with these shutters, do not buy plastic shutters from the home improvement store—it won’t work. I bought my wood shutters from the Ann Arbor ReUse Center for $3.
- (Optional) If you want to use your shutters for paper storage, you’ll need about 7-8 yards of material at least 40″ wide. (I used 100% cotton. You don’t need special fabric — use something from your stash or something from the clearance bin at the fabric store. If you end up buying fabric, look for polka dots or stripes — it’ll make it easier for cutting and fitting!)
- A staple gun (manual or electric) and staples that aren’t too long.
- Two (2) eight-foot long by 12″ wide planks of 3/4″-thick wood (I got mine from Mendards)
- A piece of whiteboard material at least 24″ wide (I got mine from Menards)
- Four (4) 2-1/2″ hinges and screws
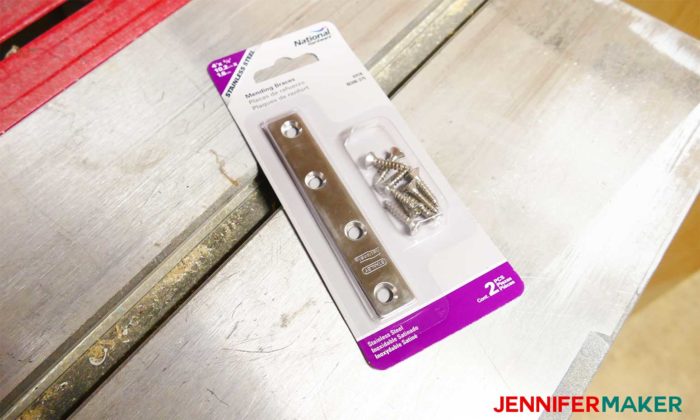
- Four (4) Mending braces
- Wood glue
- Eight (8) One inch-long nails (for keeping the planks together as the glue dries)
- Four (4) One inch-long wood screws (for attaching the optional window box)
- Liquid Nails
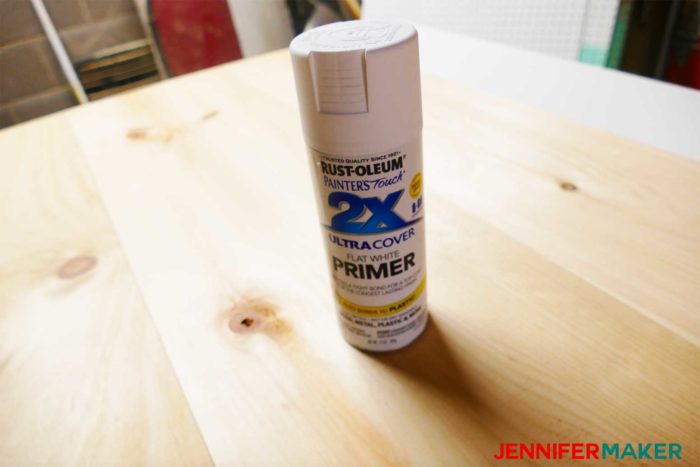
- White primer paint
- Sandpaper
- (Optional) Flat or eggshell paint in a color to complement your decor
- (Optional) Washi tape
- Brackets for mounting your command center on the wall
- Other decorative elements, like hooks
How to Make My DIY Command Center
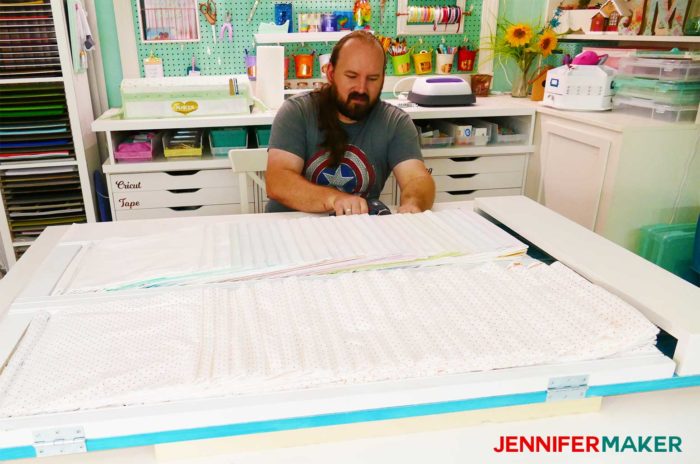
First, you need to decide if you want to convert your shutters into paper organizers. I recommend it, because paper! I have an entire tutorial for that at DIY Paper Organizer from Repurposed Shutters. Follow those directions then come back here. Here’s a video that shows the process of turning the shutters into paper organizers:
[youtube https://www.youtube.com/watch?v=fWS4ZCyr0Ok]
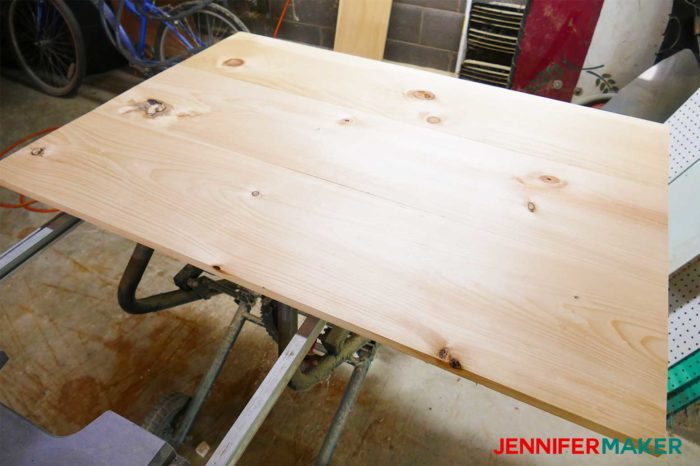
Next, you need to cut your 3/4″ wood planks into three 48″ sections. We used a table saw.
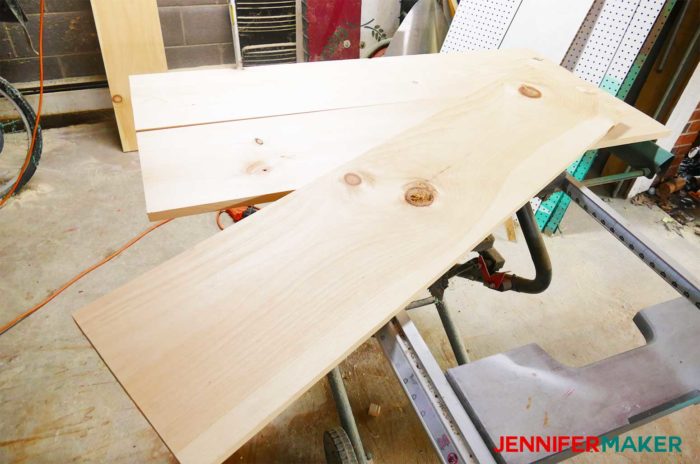
Glue the three planks together with wood glue, side by side. We put some nails in the ends to keep the planks together while they were drying.

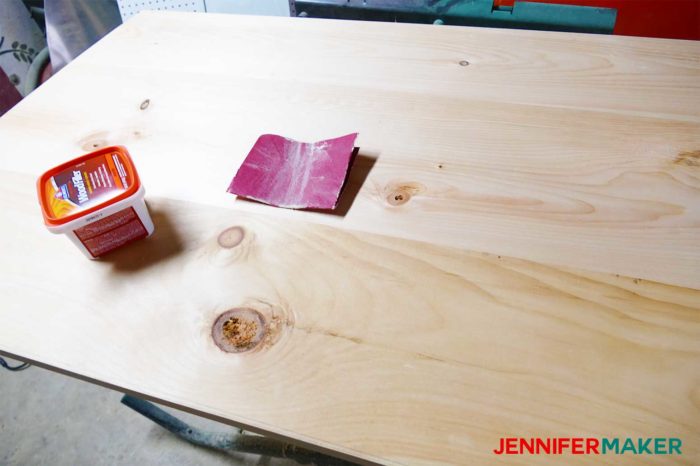
If your planks need it, sand them and fill holes with wood filler. This is totally optional, of course. We chose to do it.
Place your shutters on top of your planks to check for size. You want your two shutters, set side by side, to be the same width as your planks.
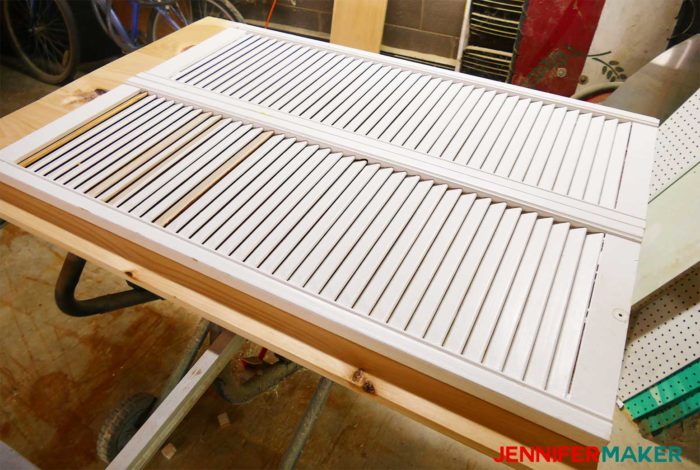
If necessary, trim your planks down to match the width of your two shutters.

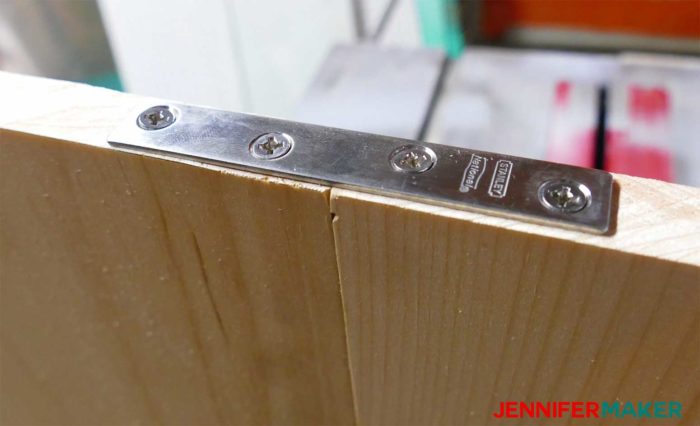
Screw mending braces between each set of planks to keep your DIY Command Center stable.
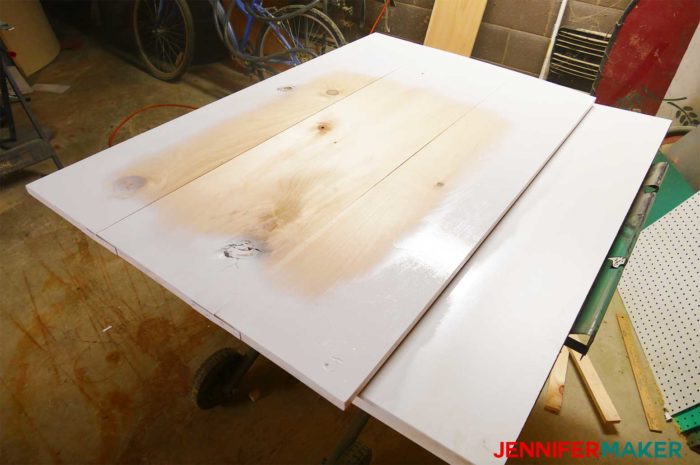
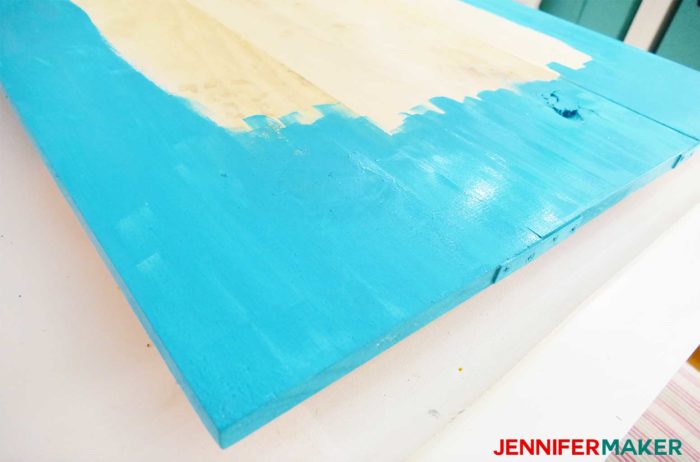
Paint your DIY command center base with white primer paint.
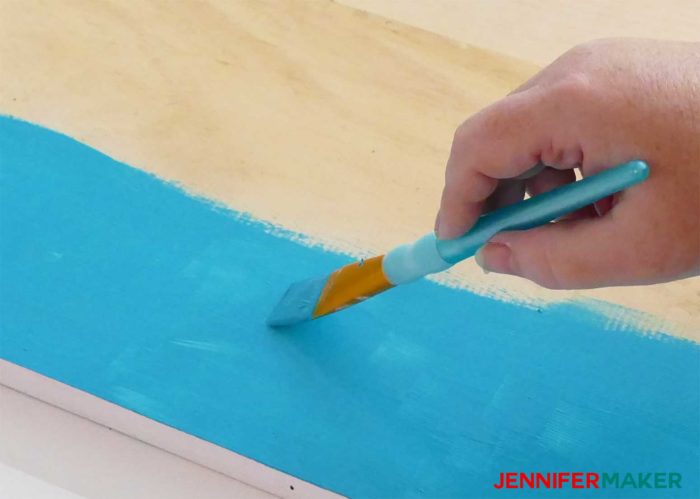
Optionally, paint your command center base with a flat or eggshell color that matches your home decor. I picked turquoise.
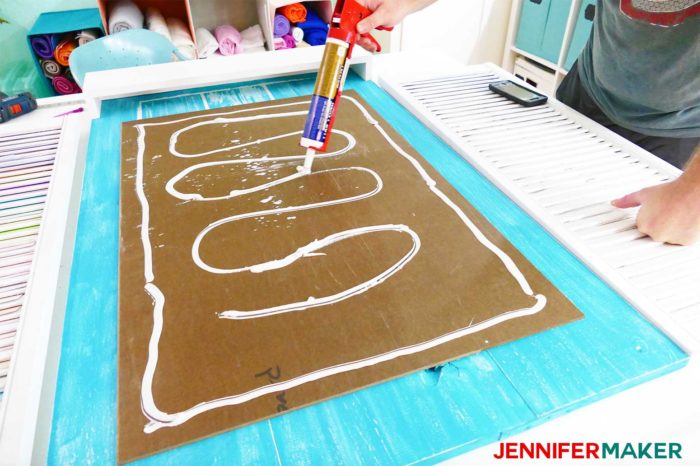
Cut your white board down to about 29″ x 36″, or whatever size you think will look good. Attach it to your command center base with liquid nails. Weight it down and allow it to dry overnight.
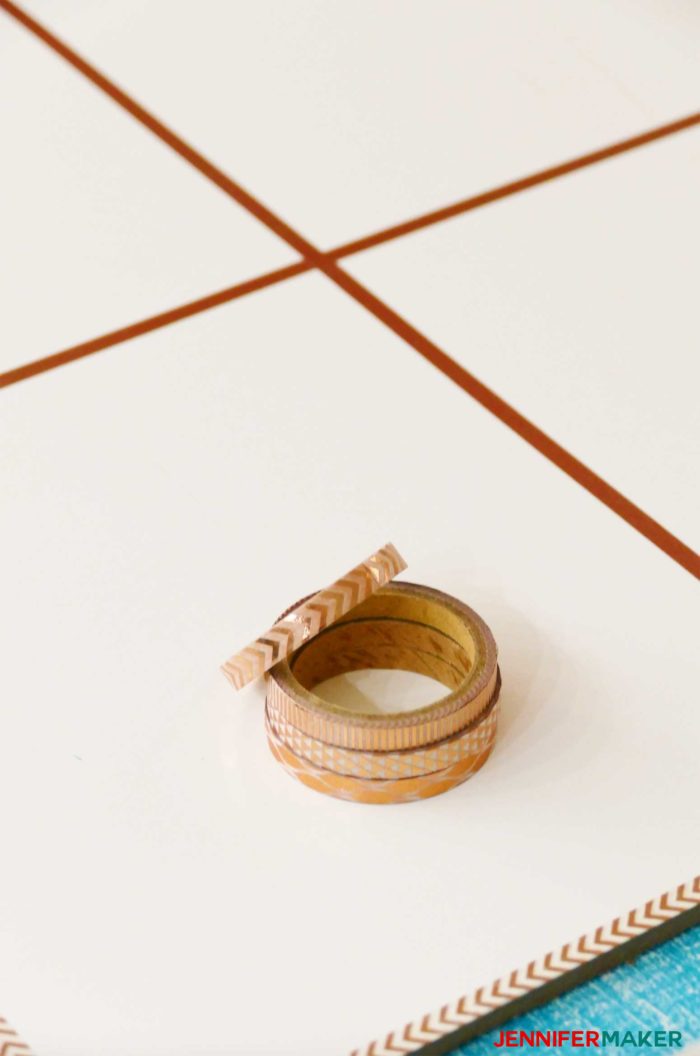
Decorate your white board with washi tape to make it look like a window. I used copper washi tape here.
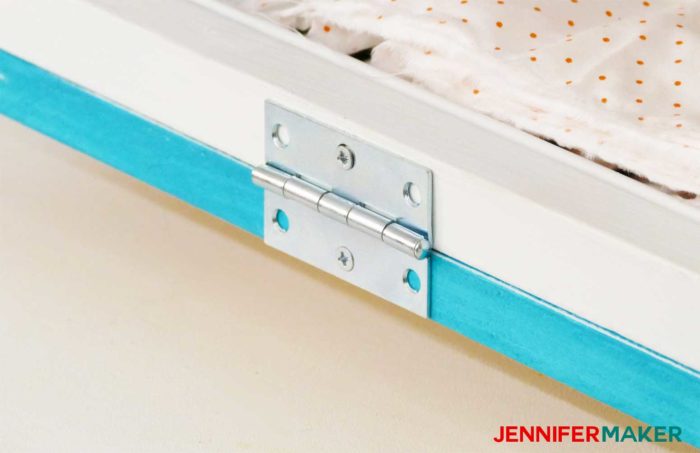
Place the shutters on your DIY command center base face down and screw in two hinges to each shutter to attach it to the base.
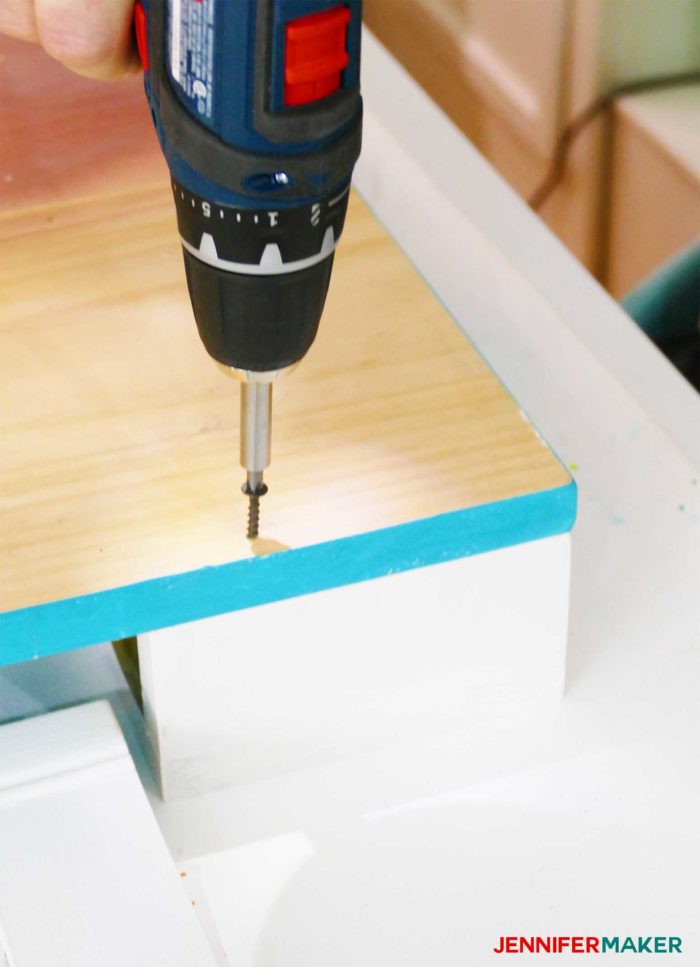
Optionally you can make and screw on a window box for storage. You can use the leftover wood from your second plank to do this!
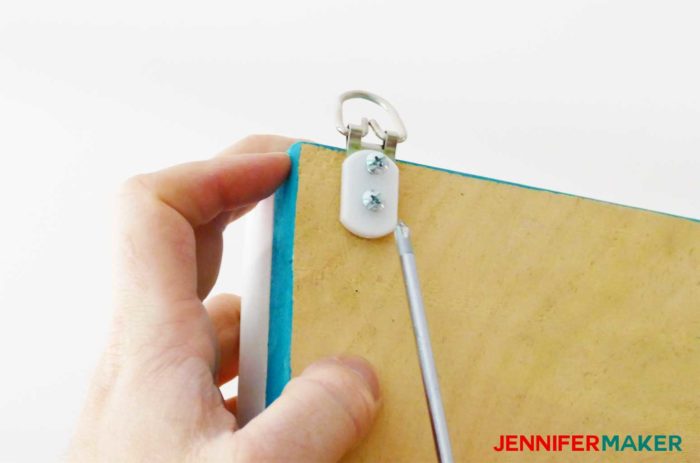
Now screw in three mounting brackets on the top edge of your DIY command center.
And, finally, screw in the three corresponding hanging brackets on your wall and hang your DIY Command Center!
 \
\
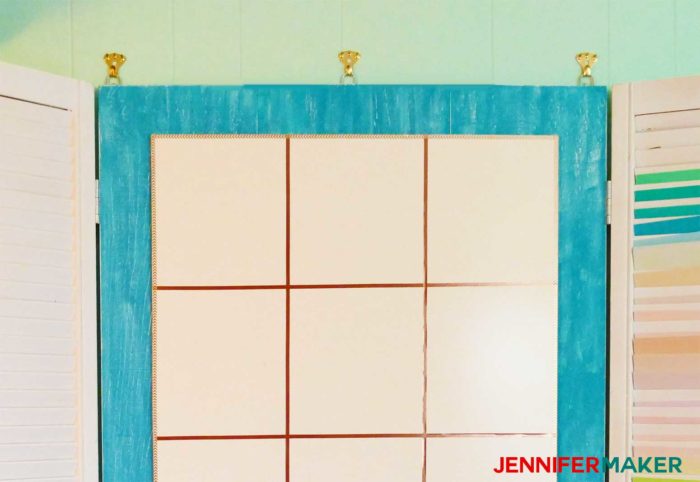
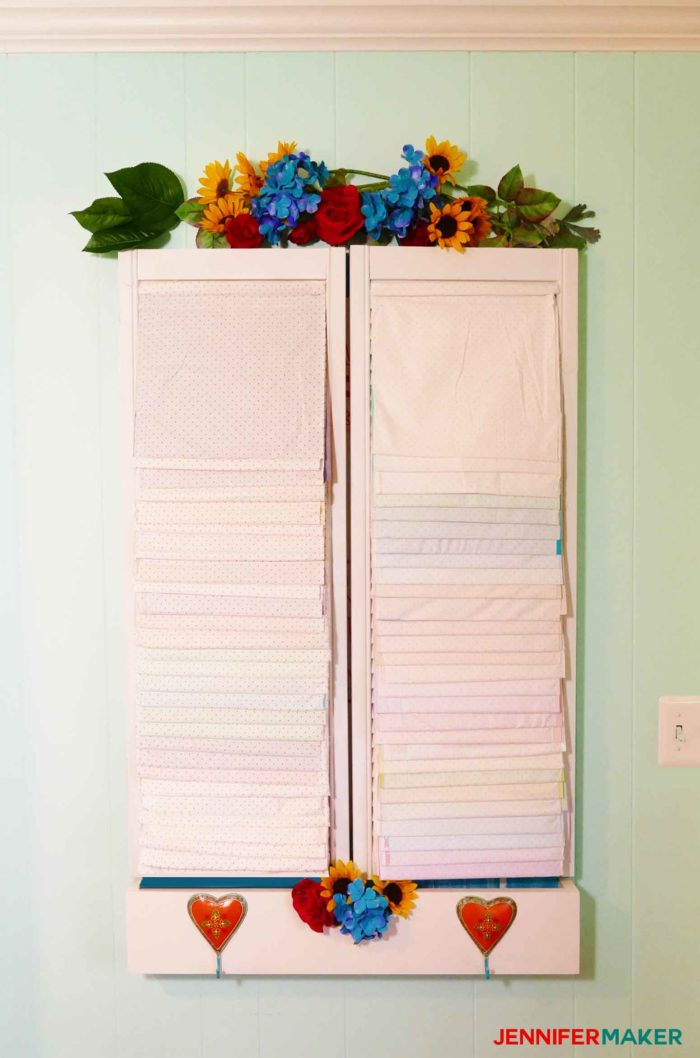
Here is the DIY command center with the paper storage shutters closed:
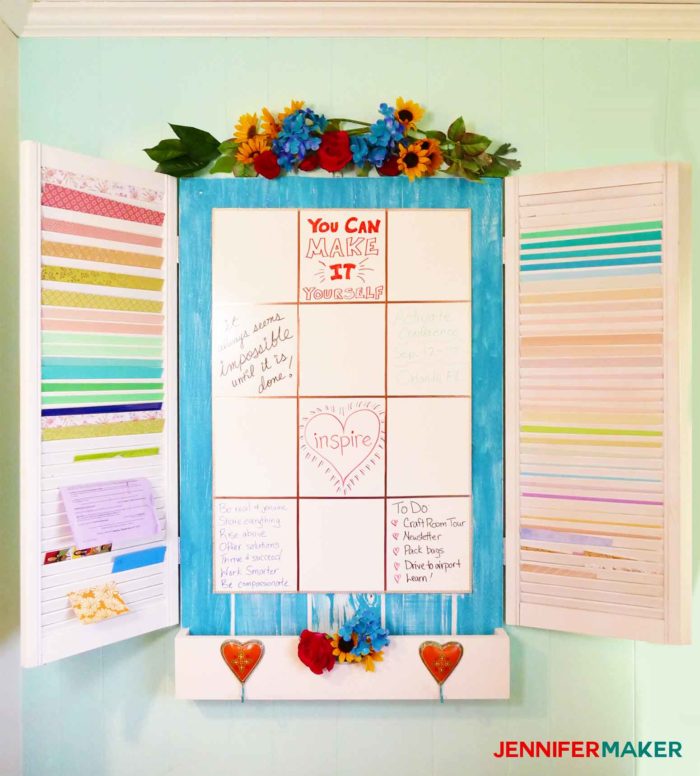
And here is the DIY command center with the shutters opened up!
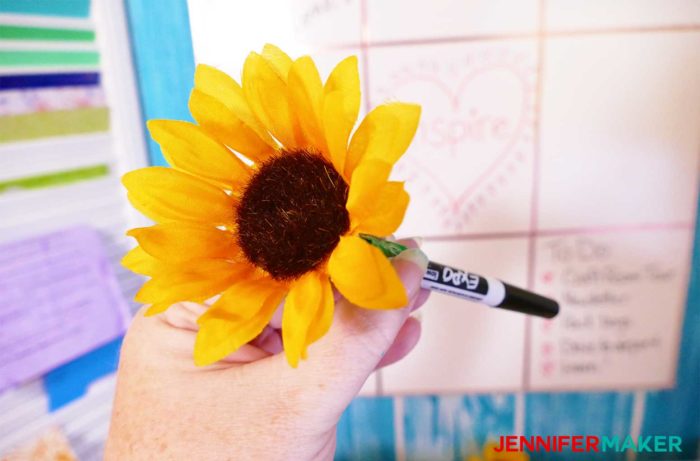
Oh, and I taped silk flowers to the whiteboard markers so I wouldn’t lose them (and so they’d look great in my window box).
I’m just LOVING this command center. And my family comes in and leaves me notes on it, too. So much fun.
If you make the DIY command center, let me know — send me a photo at [email protected] or tag me on social media with #jennifermaker.

Want to remember this? Save the DIY Command Center with Paper Storage to your favorite Pinterest board!