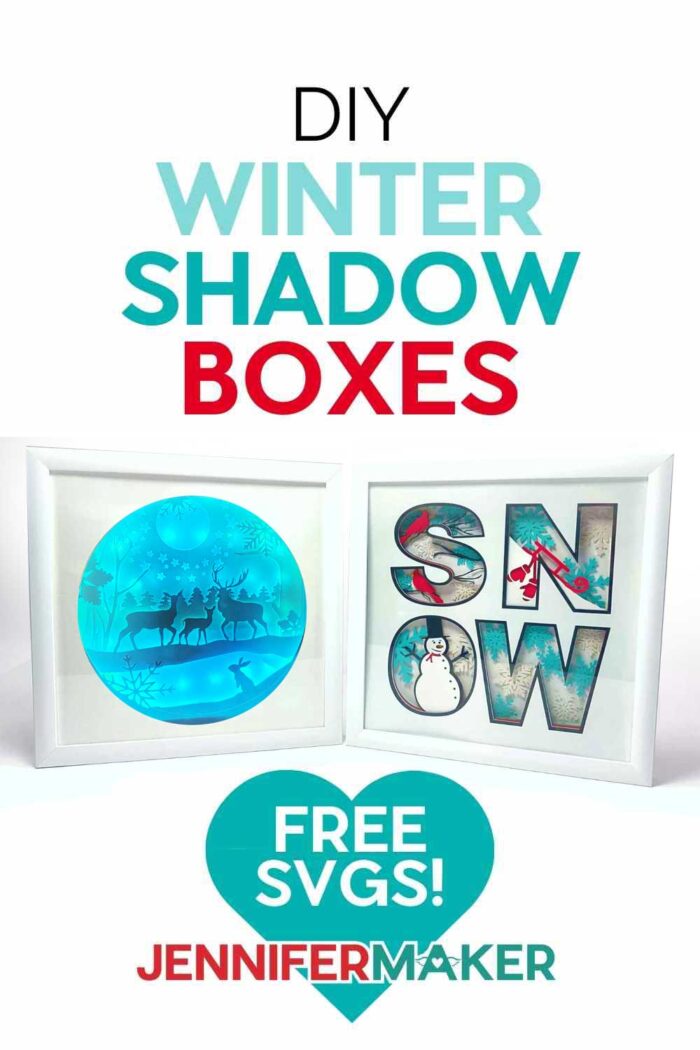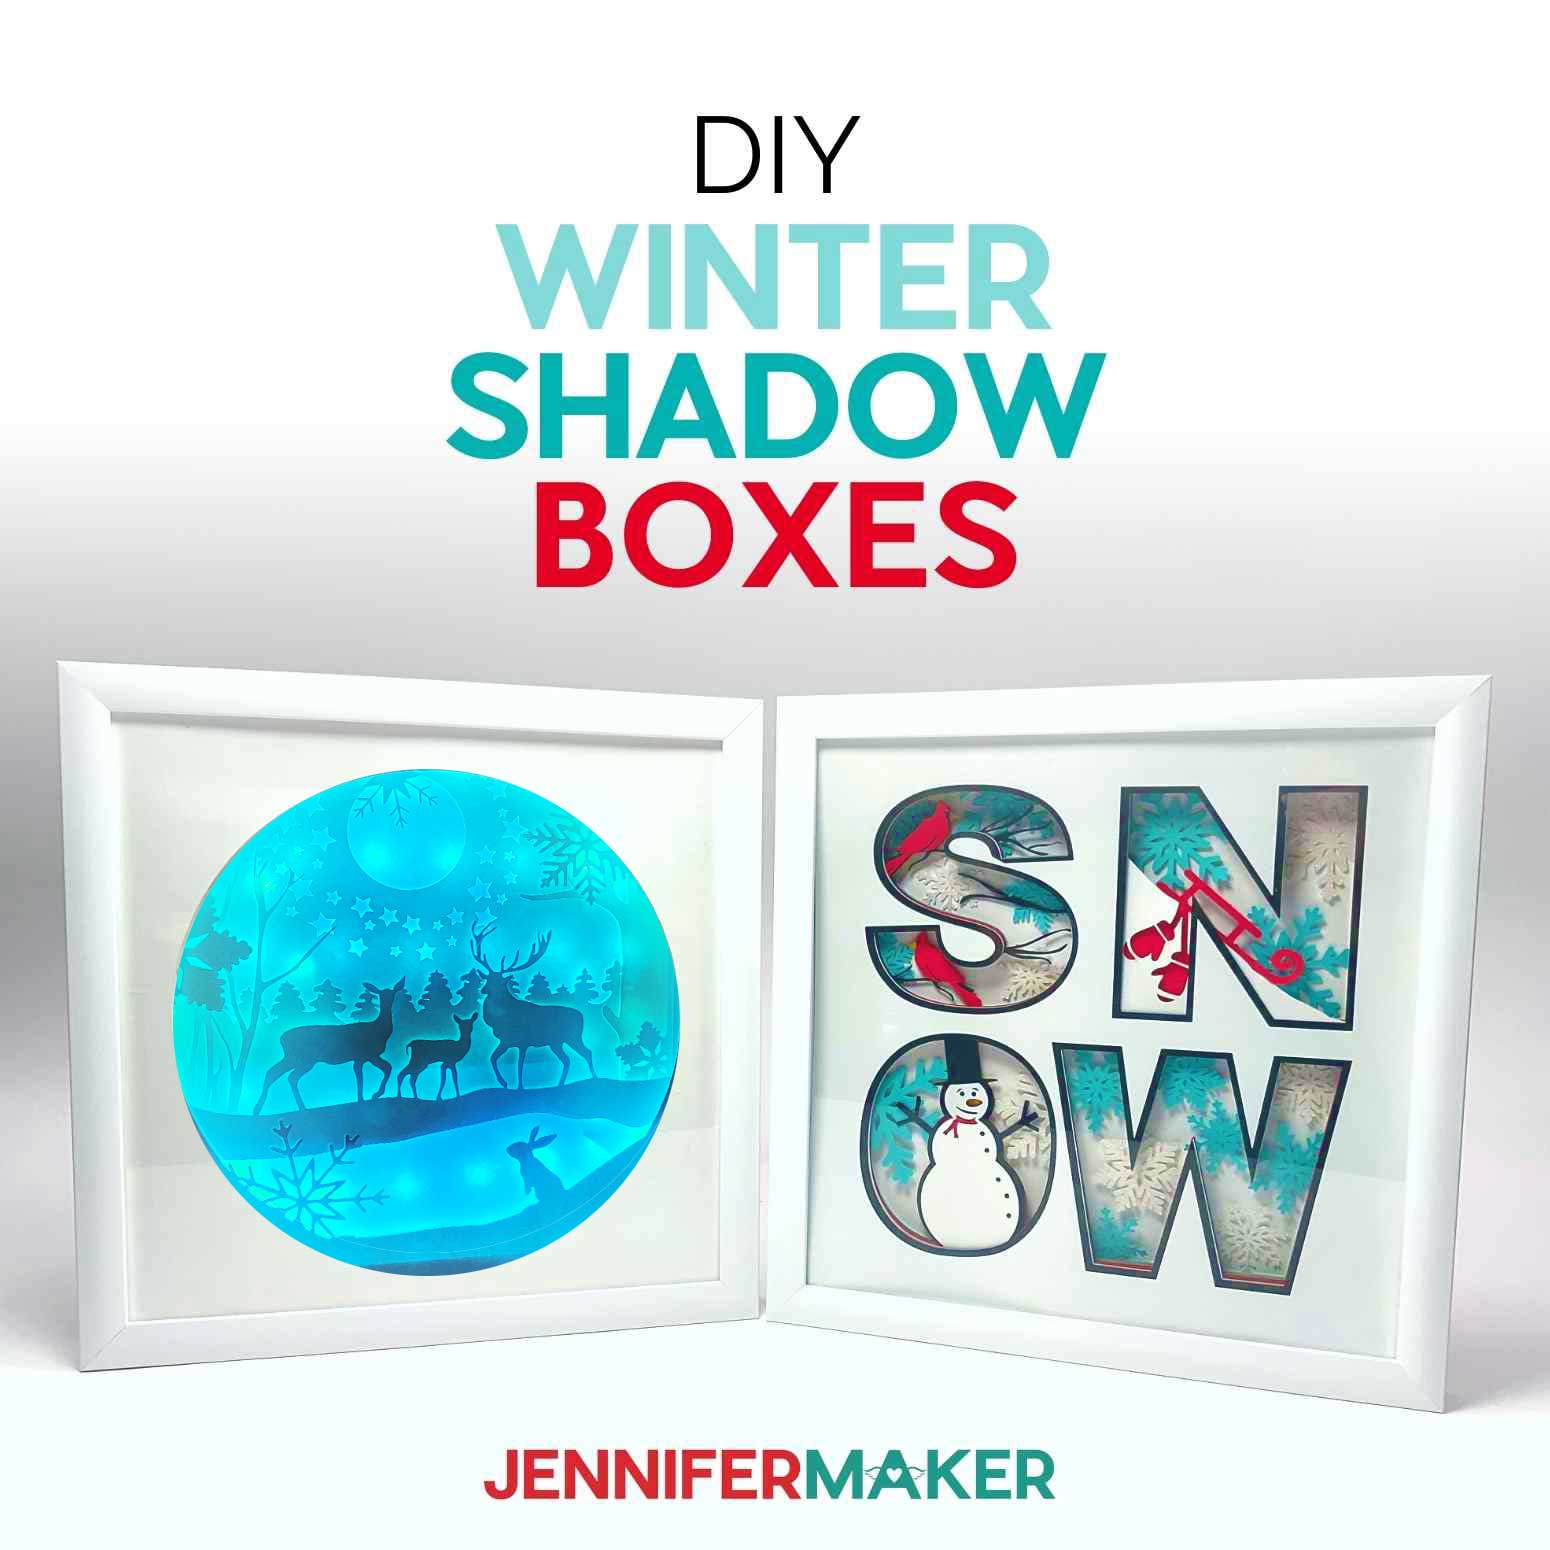
Learn to make winter shadow boxes with or without lights!
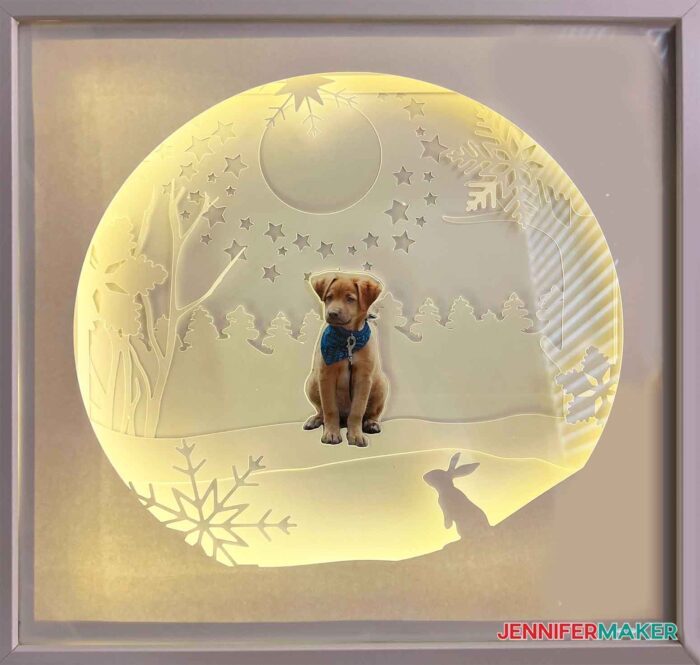
Shadow boxes are some of my favorite Cricut projects. There are just so many different things you can do with a layered paper project like this. For this project I designed two different cozy 3D layered shadow boxes, both with a winter theme. They were a lot of fun to make and they’re perfect for displaying during the holiday season. I’m going to show you how to make these beautiful shadow boxes, plus how to add your own photo to a shadow box for an even more personal touch!
Watch the full step-by-step video showing you exactly how to create your own winter shadow box with a VIP pass to Maker Academy Weekend 2022!

The materials you will need for this project include a variety of cardstock depending on the design you will be creating, some foam board for supports between some layers, an LED strip light for that special added effect, as well as a shadowbox frame of course.
You will also be using some double-sided adhesive foam square, 3D Zots glue dots, butcher paper to protect your frame during assembly, either a green or blue machine mat (depending on how sticky your mats are), some craft glue, craft knife, self-healing mat, and metal cutting ruler to cut the foam board straight.
Some other necessities include a brayer, weeding tool, and scraper. And if your frame has glass, you will need some coffee filter as well as isopropyl alcohol to clean it. Mine was plastic however.
If your ruler is too big to measure your shadow box you will need a measuring tape. Also, if you’d like to add a print then cut image, you will need a printer. I also used my Cricut Maker 3 to cut my paper but you can use the cutting method of your choice.
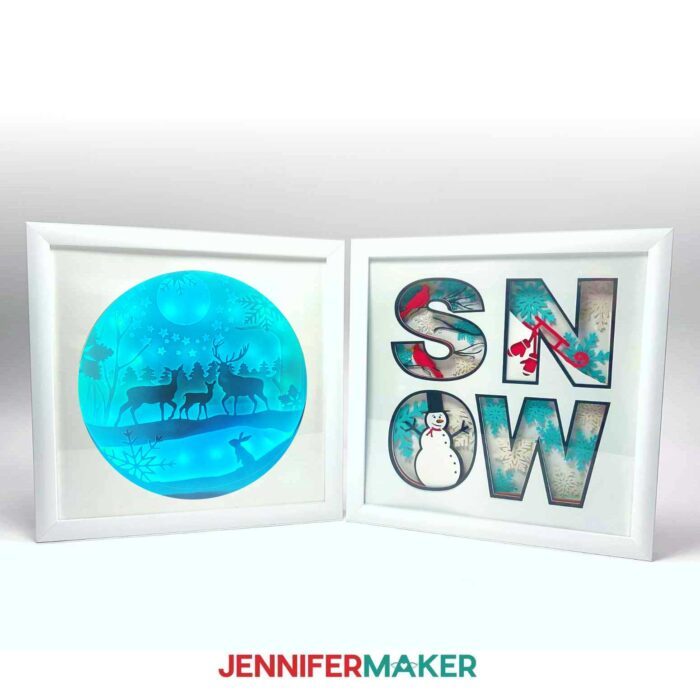
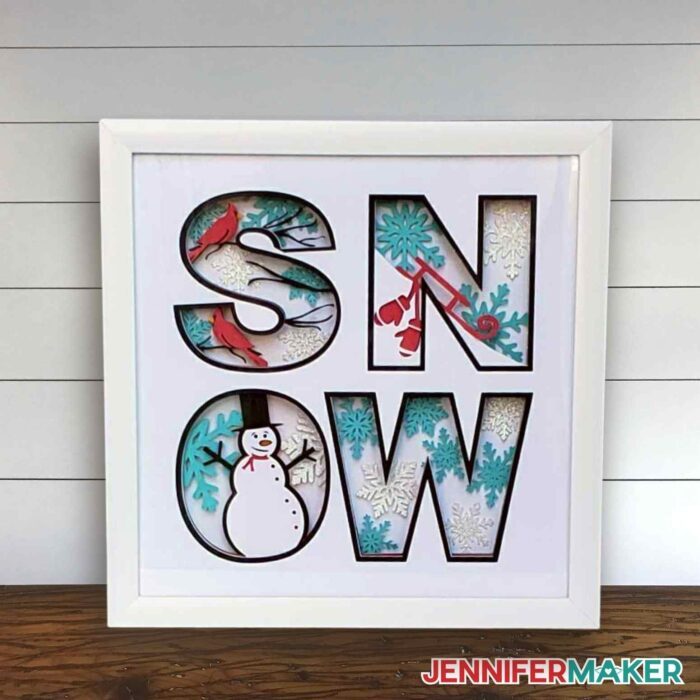
These shadow boxes are some of my favorites I’ve made to date! I love how nice and cozy they make my home feel. Add this shadow box to your family room to add a personal touch to your decor. Or, create a shadow box that you can gift out to your friends and family! These are so fun to make and can be personalized to your liking.
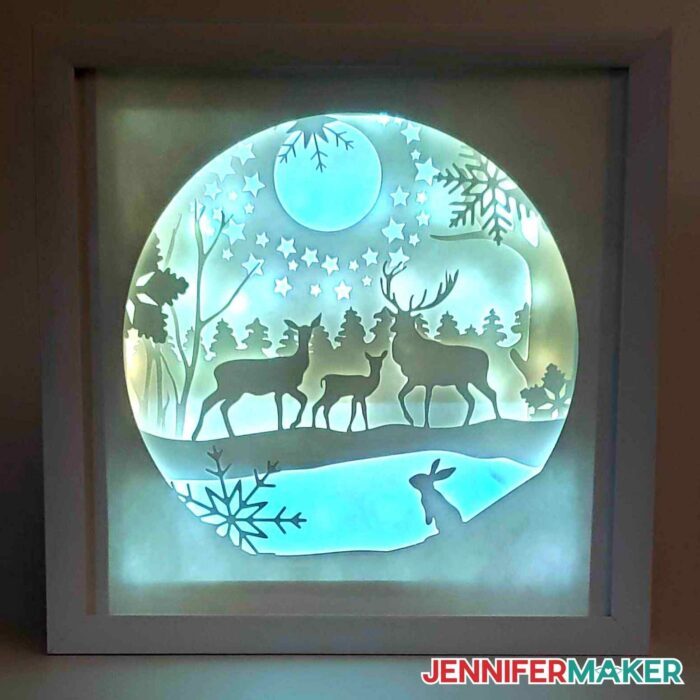
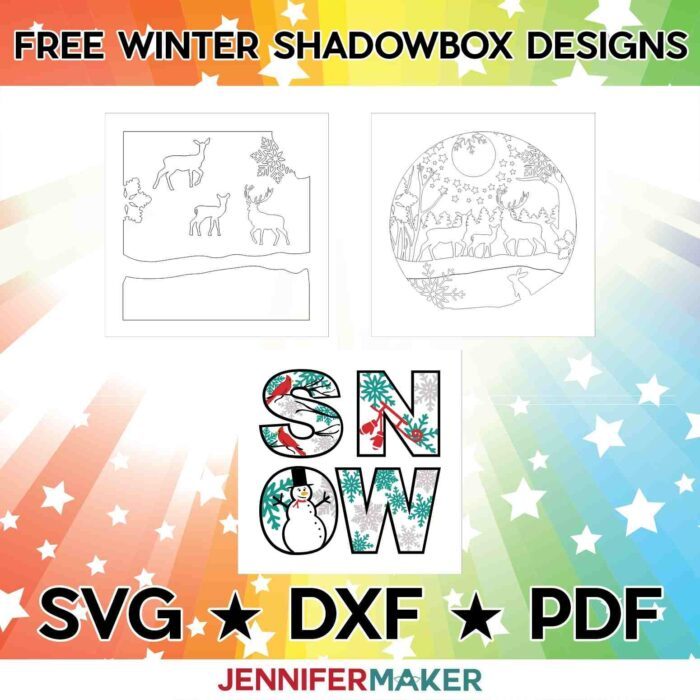
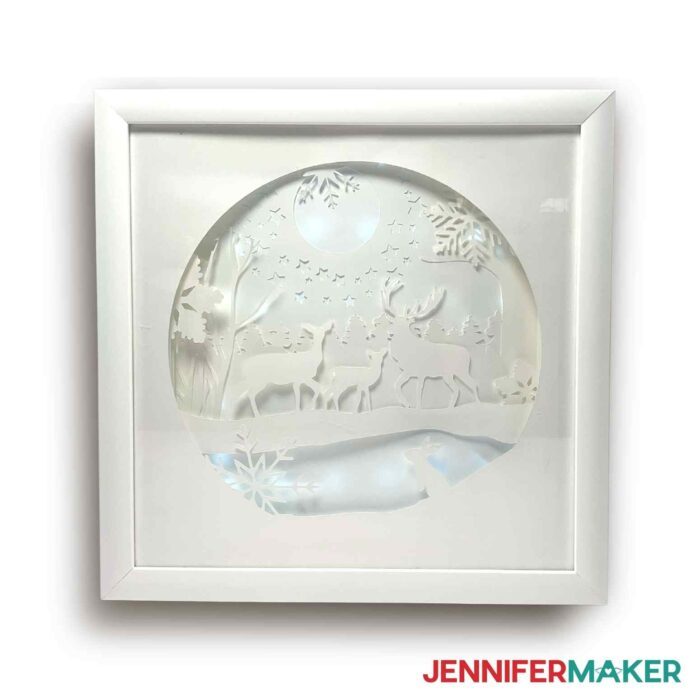
I’ve made a few different designs for you to choose from. The one below is my winter nature theme shadowbox and looks lovely with the added lights. Something about adding lights to a project makes it much more special.
You can even add your own photo! Here is my nature-themed shadow box with a photo of my dog Hunter when he was a puppy.
Here’s a supply list of what you need to make winter shadow boxes! This post contains some affiliate links for your convenience (which means if you make a purchase after clicking a link I will earn a small commission but it won’t cost you a penny more)! Read my full disclosure policy.
Materials to Make Winter Shadow Boxes
View my Amazon shopping list with the exact items we used to make this project
- Several sheets of 12″ x 12″ 65 lb White Cardstock – 7 for the Deer or Custom, 3 for Snow
- 8.5″ x 11″ 65 lb White Cardstock – if you’d like to add a Print then Cut photo or image
- 12″ x 12″ 65 lb Teal Blue Cardstock – 1 for Snow Design
- 12″ x 12″ 65 lb Cardstock – for Snow Design, 2 black and 1 red
- 12″ x 12″ 65 lb White Glitter Cardstock – 1 for Snow Design
- One (1) 18″ X 24″ piece of foam board – for supports between some layers
- One (1) 6.5′ LED Strip Light
- 12″ x 12″ Shadow Box frame
- Double-sided Adhesive Foam Squares or dots
- 3D Zots Glue Dots
- Butcher Paper – to protect your frame during assembly
- Cricut Green StandardGrip Machine Mat 12” x 12″ -OR-
- Cricut Blue LightGrip Machine Mat 12” x 12″, depending on how sticky your mats are
- Craft Glue
- Craft Knife -AND-
- Self-Healing Mat -AND-
- Metal Cutting Ruler – to cut the foam board straight
- Brayer
- Weeding Tool
- Scraper
- If your frame has glass, a Coffee Filter -AND- Isopropyl Alcohol to clean it, but mine was plastic
- Measuring Tape if your ruler is too big to measure the shadow box
- Printer – if you’d like to add a Print then Cut image, I used my HP ENVY Photo 7155
- A method to cut your paper, I used the amazing Cricut Maker 3 but you can also use the Cricut Maker, Cricut Explore 3, or the Cricut Explore — you can use the standard fine-point blade for this project.
- Design #415 — My free SVG/PDF/DXF design files are available in my free resource library (get the password by filling out the form at the bottom of this page)
How to Make Your Own Winter Shadow Boxes
The detailed step-by-step assembly video on how to create winter shadowboxes debuted during Maker Academy Weekend 2022, held online November 3-6, 2022. Get an on-demand pass to watch all 20+ workshops, each with a printable handbook, transcript, audio files, design files, and support with a VIP pass below:

Creating a shadow box like this is a great way to decorate your home for the season. And the best thing about them is that they are so easy to store once the season is over. Your designs will not get ruined because your project is safe inside the shadowbox frame!
Here is my winter nature theme design before we dim the lights. They look so detailed that you’d think it took hours to make. They don’t, I promise! They were pretty easy to make and I guide you each step of the way!
Answers to Your Questions About How to Make Winter Shadow Boxes
Q: Where is your tutorial for this project?
This is a special project we made for our free Maker Academy Weekend 2022 event! A complete and detailed step-by-step video premiered during the event November 3-6, 2022 — specifically, this tutorial video was available to watch for free for 24 hours beginning November 6 at 10:00 am ET! You can get access to the full video, the printable handbook that details how to make this beautiful project if you get a VIP Pass to Maker Academy Weekend 2022, which comes with other perks and bonuses, too!
Q: What kind of paper do I use for my winter shadow box?
You can use any 65 lb-80 lb. or higher cardstock to make a layered shadow box — it’s your choice what color and texture you want to use. The lighter your paper, the more light will shine through (if you’re using lights). If you want to use the exact same materials I used, check the materials list above.
Q: How do I keep my shadow box layers stuck together?
I used double-sided foam adhesive squares applied to the underside of each layer, which gave the layered paper an interesting look with depth and shadow. But you could also use adhesive foam circles or 3D Zots to achieve a similar effect. And you can also just keep the layered flat against one another by using craft glue or spray adhesive instead. There are no rules, just what you prefer!
Q: Can I cut these shadow box layers on a Cricut Joy?
While you could resize this project down to fit on a Cricut Joy, I think the detail might be difficult to cut out cleanly. But feel free to give it a try!
Q: My cardstock keeps ripping on the intricate cuts. What can I do?
Be sure you’re using a clean and sticky machine mat, good quality cardstock, and a clean blade. See my Cricut Cutting Problems post for all the tips I use to get clean cuts every time.
Get my free SVG files to create these wonderful shadow boxes!
I love seeing what you make with my designs and how you use them! Please share a photo of your winter shadow boxes in our Facebook group or tag me on social media with #jennifermaker.
Love,

Want to remember this? Save this Winter Shadow Boxes Tutorial to your favorite Pinterest Board!