
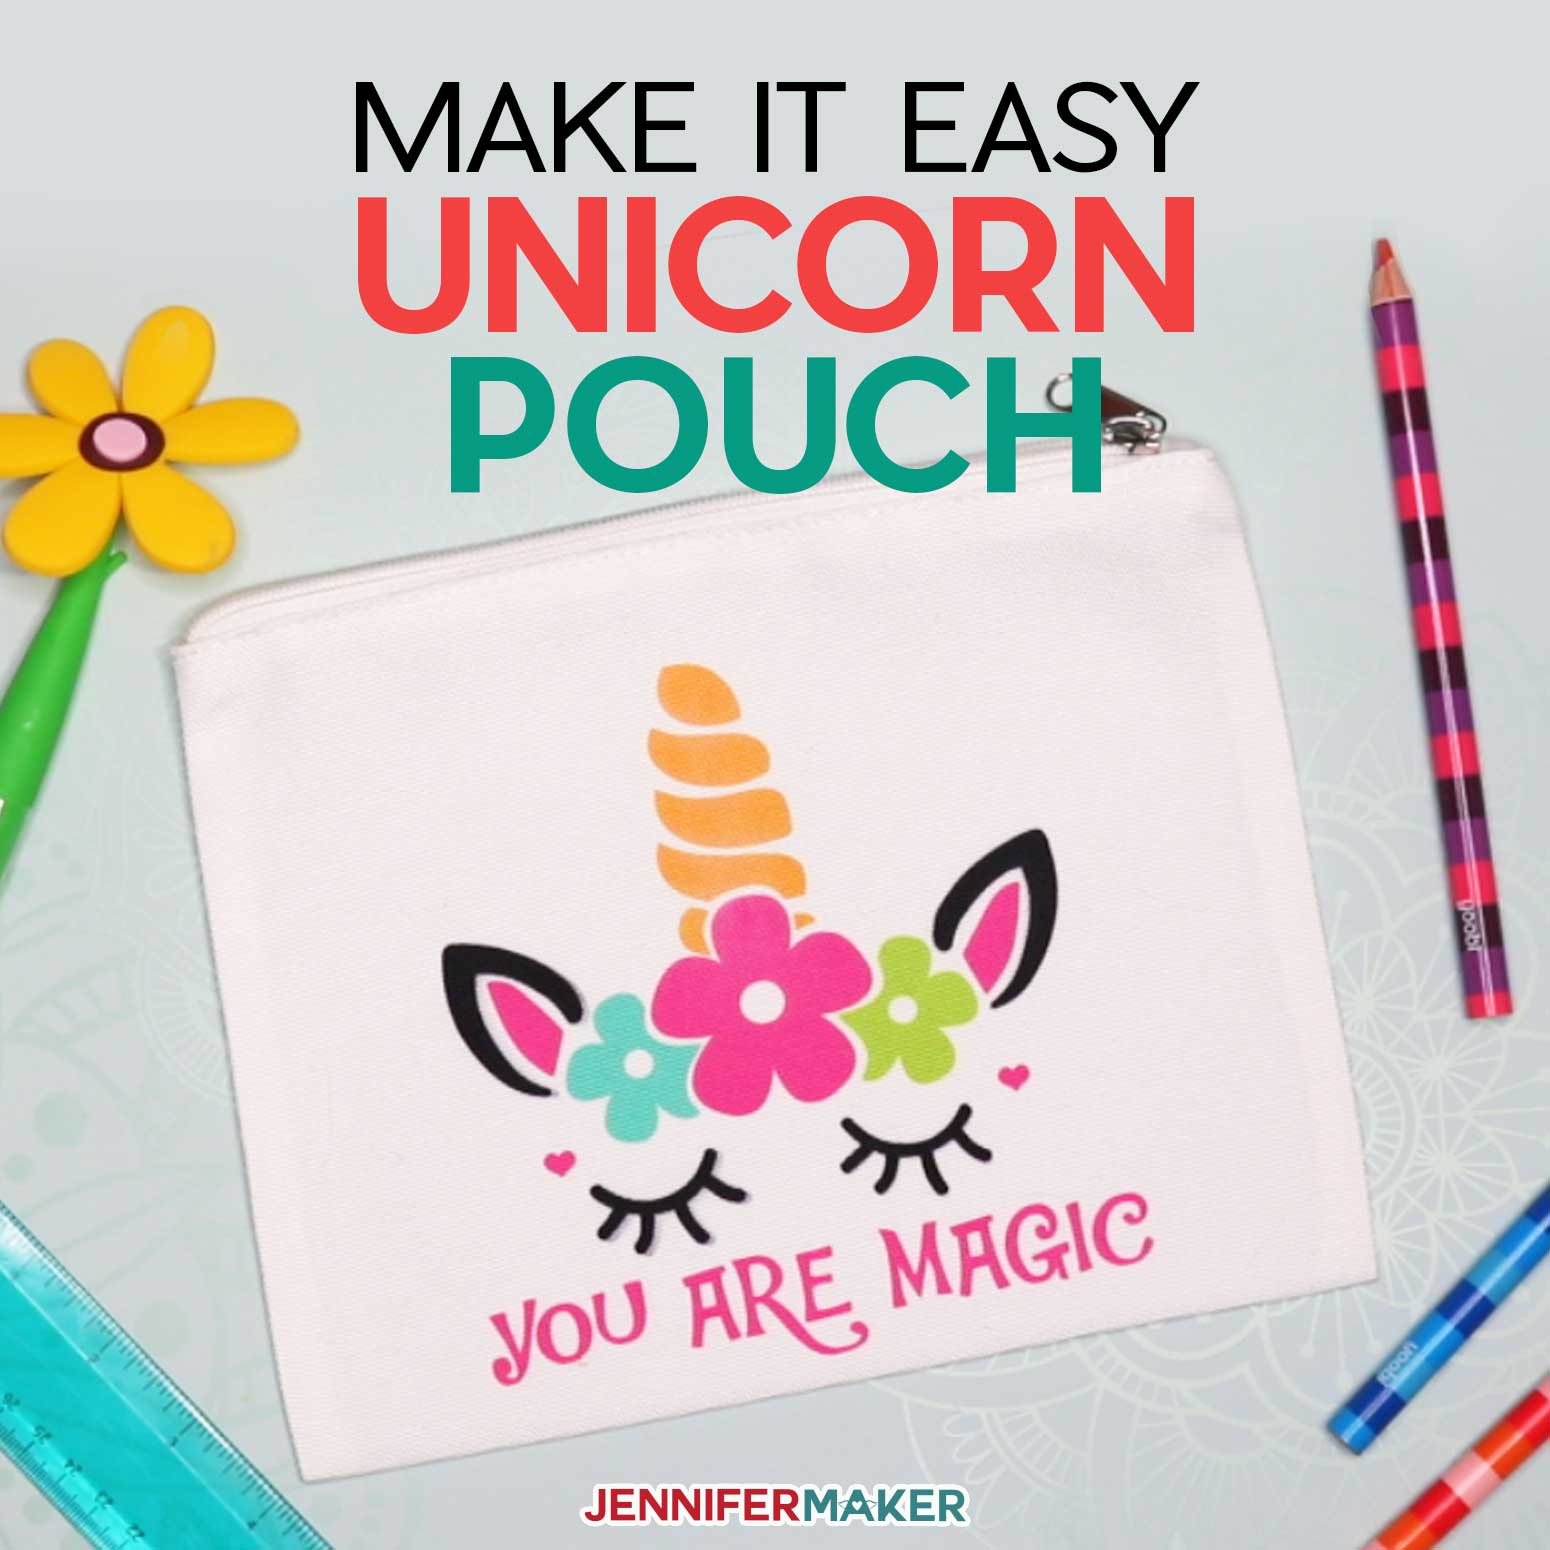
Get a free unicorn SVG to make a layered Infusible Ink or iron-on vinyl bag, shirt, or tumbler!
Unicorns are everything magical and special, so it’s no wonder they’re super popular across many spectrums. I’ve designed many unicorns, like my rainbow unicorn and my cute face unicorns, but I thought it would be fun to make my own version of the unicorn head with flowers and pretty eyelashes! This flowery unicorn head style has been trendy in the past year or so, and I wanted to design one that is a little easier to layer with Infusible Ink or iron on vinyl. So today I’m going to show you how to use this free unicorn SVG to make a cute zippered pouch with Infusible Ink!
Watch me apply the layers of the unicorn SVG to a cosmetic bag in this video workshop:

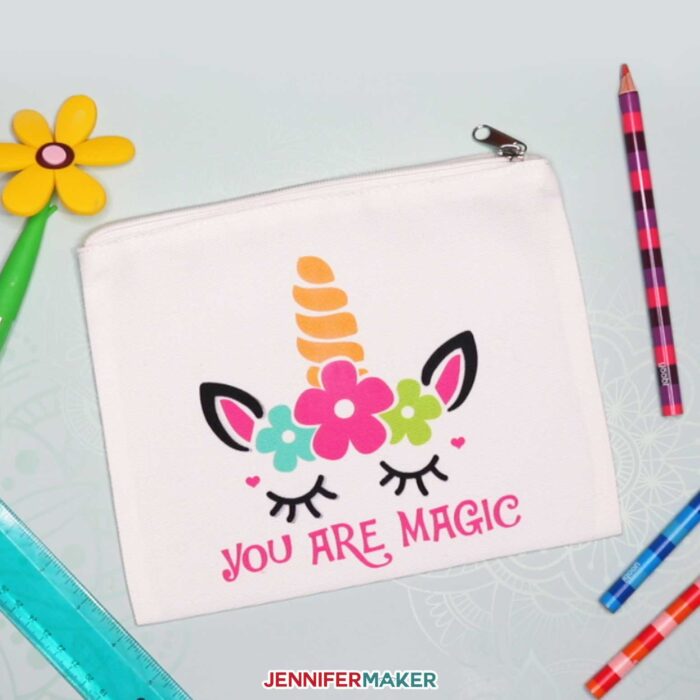
This Unicorn Head SVG would look great in either iron-on vinyl (HTV) or Infusible Ink on a wide variety of things — T-shirts, totebags, mugs, or tumblers. For this tutorial, I’m going to use Infusible Ink on a zippered pouch / cosmetic bag. If you’d like to learn how to layer iron-on vinyl onto a T-shirt, check out this tutorial for details!
So are you ready? Let’s use this cute unicorn head SVG to decorate a zippered pouch! This post contains some affiliate links for your convenience (which means if you make a purchase after clicking a link I will earn a small commission but it won’t cost you a penny more)! Read my full disclosure policy.
Materials Needed to Make a Cute Unicorn Pouch with Infusible Ink
- Cricut Infusible Ink Transfer Sheets – I used the black, party pink, avocado, bright teal, and tangerine colors of transfer sheets.
- Cricut Infusible Ink Cosmetic Bag (this would also look great on a t-shirt)
- Cricut EasyPress or Heat Press (I used the EasyPress 2 large size)
- Cricut EasyPress pressing mat I used the medium size)
- StandardGrip mat
- White cardstock
- Butcher paper (provided inside your package of Infusible Ink transfer sheets)
- Scissors and tweezers
- Lint roller
- A way to cut your Infusible Ink Transfer sheets (such as a Cricut)
- Design #222 – My free unicorn SVG cut file design (available in my free resource library—get the password at the bottom of this post)
How to Use Cricut Infusible Ink Transfer Sheets to Make a Cute Unicorn Pouch
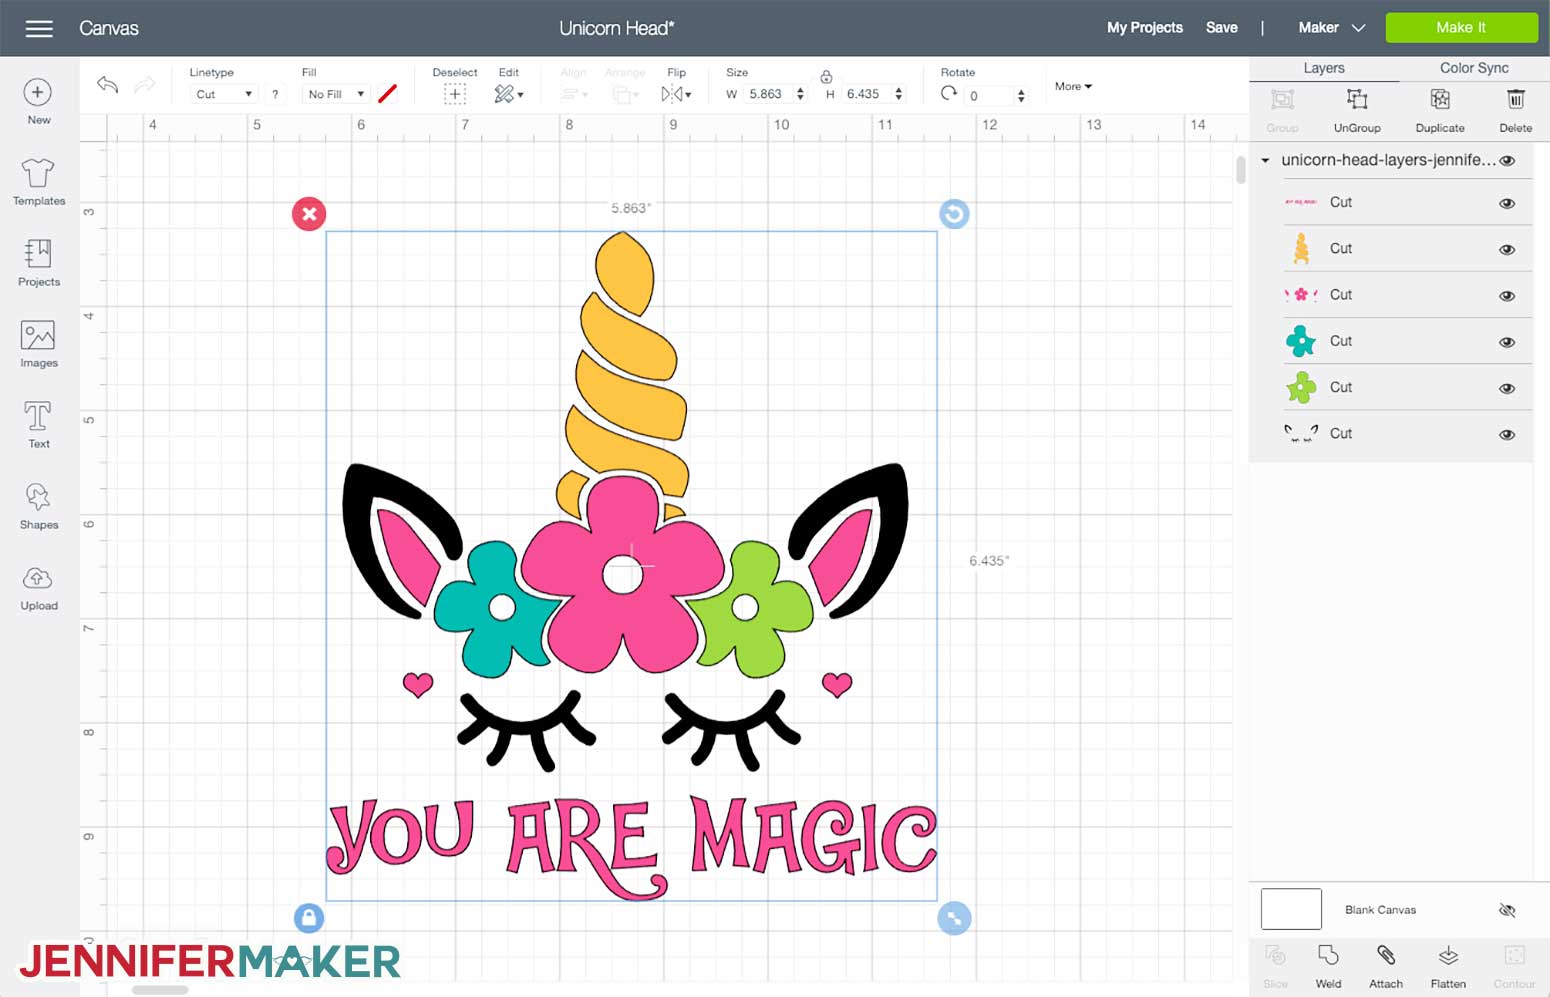
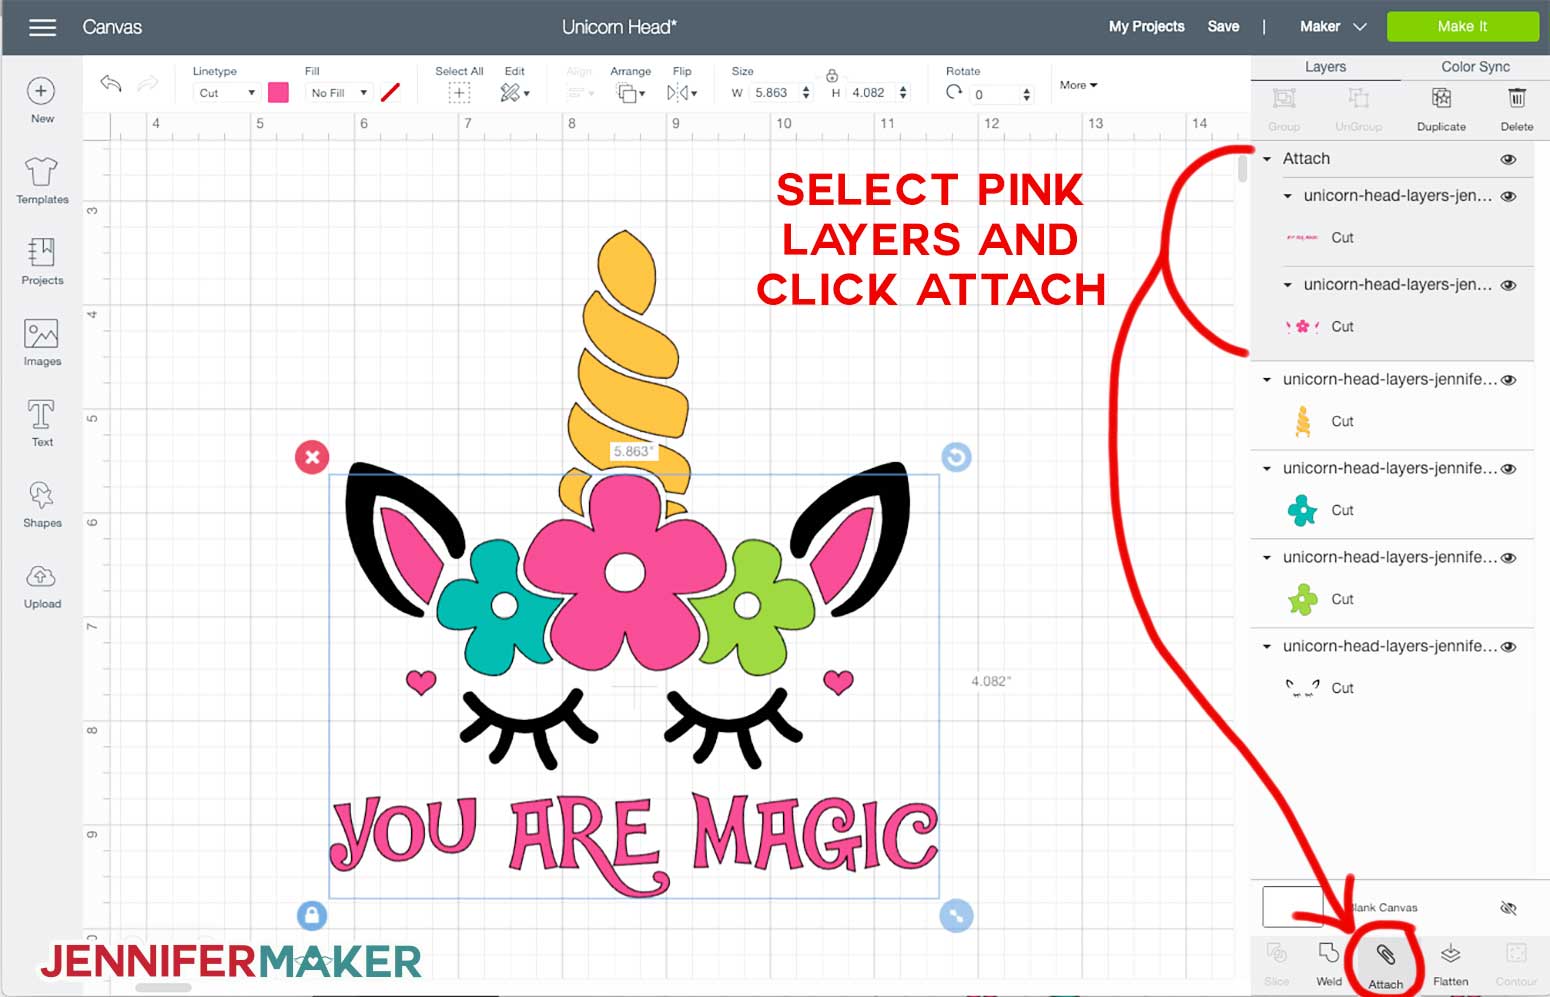
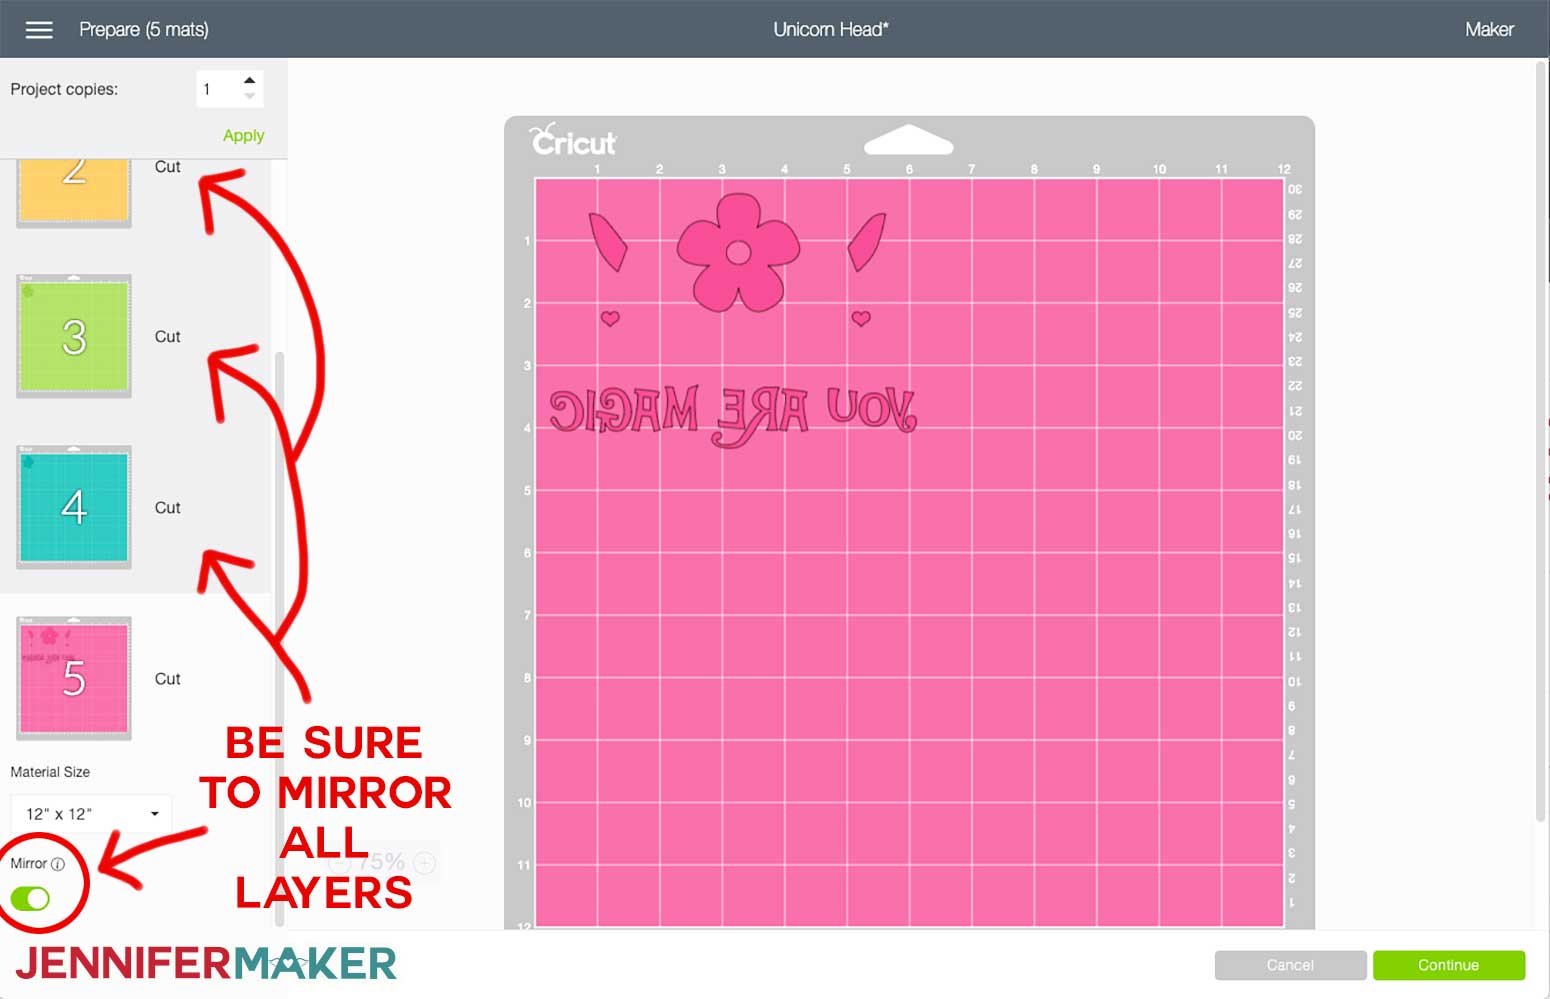
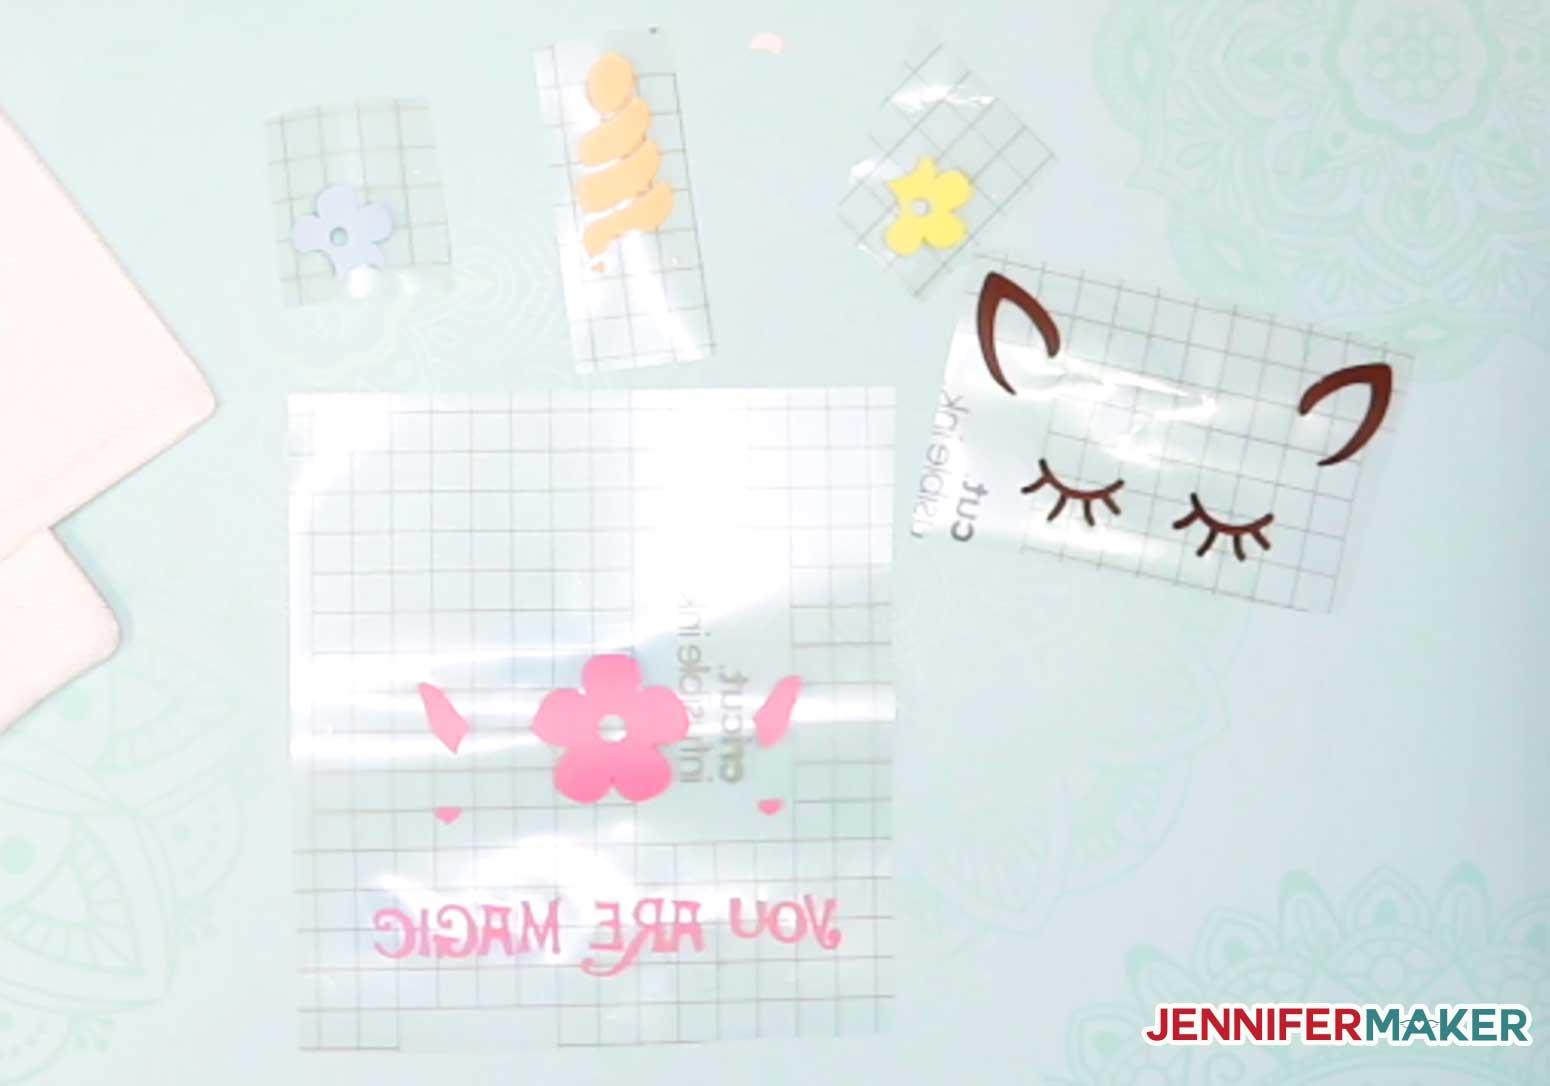
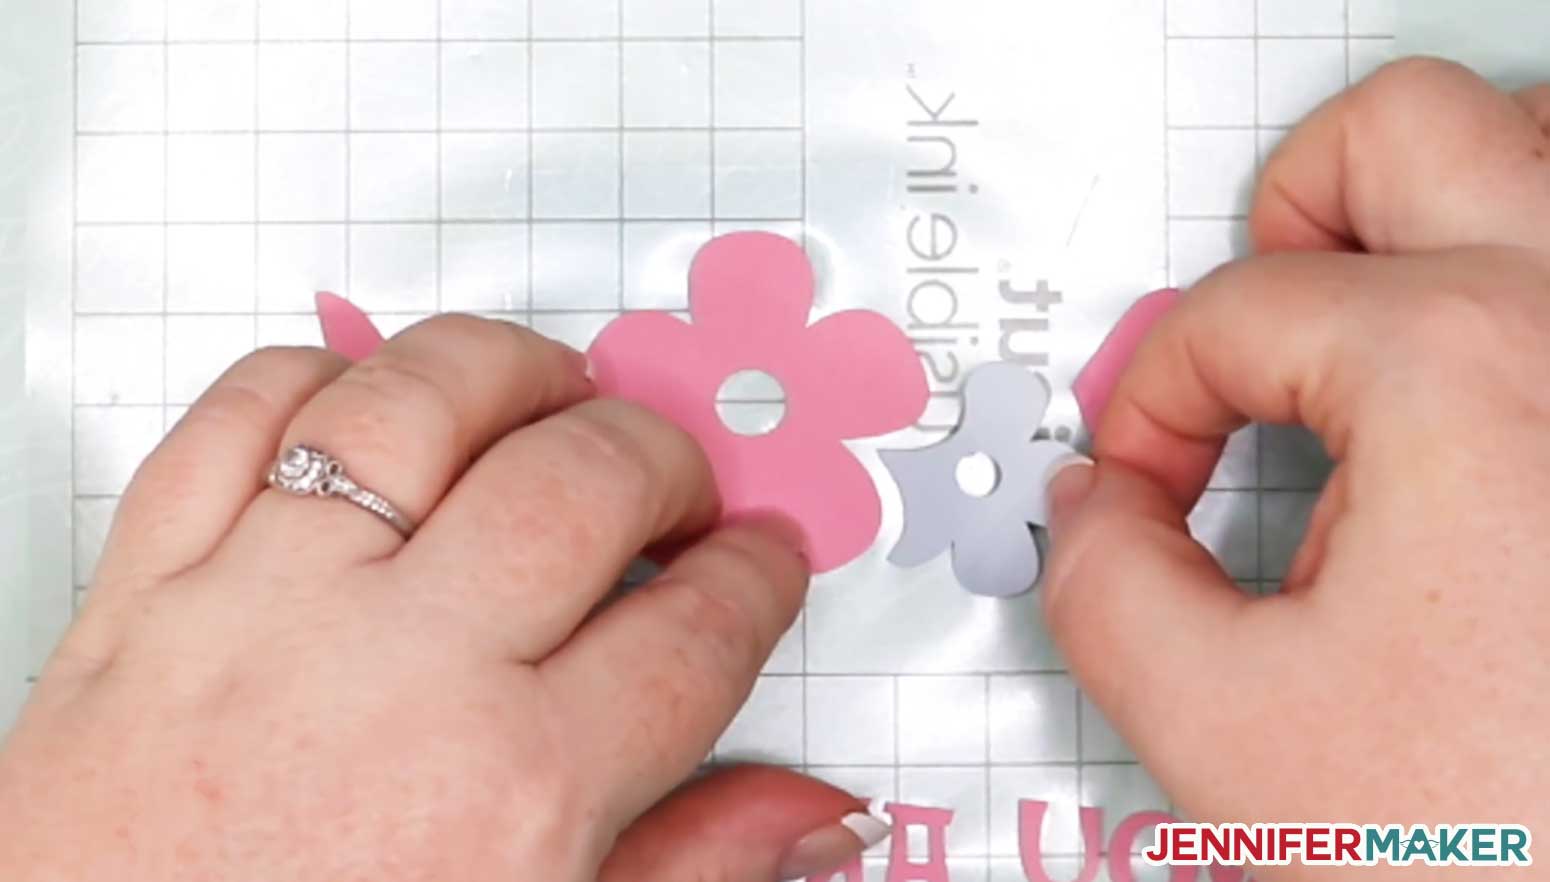
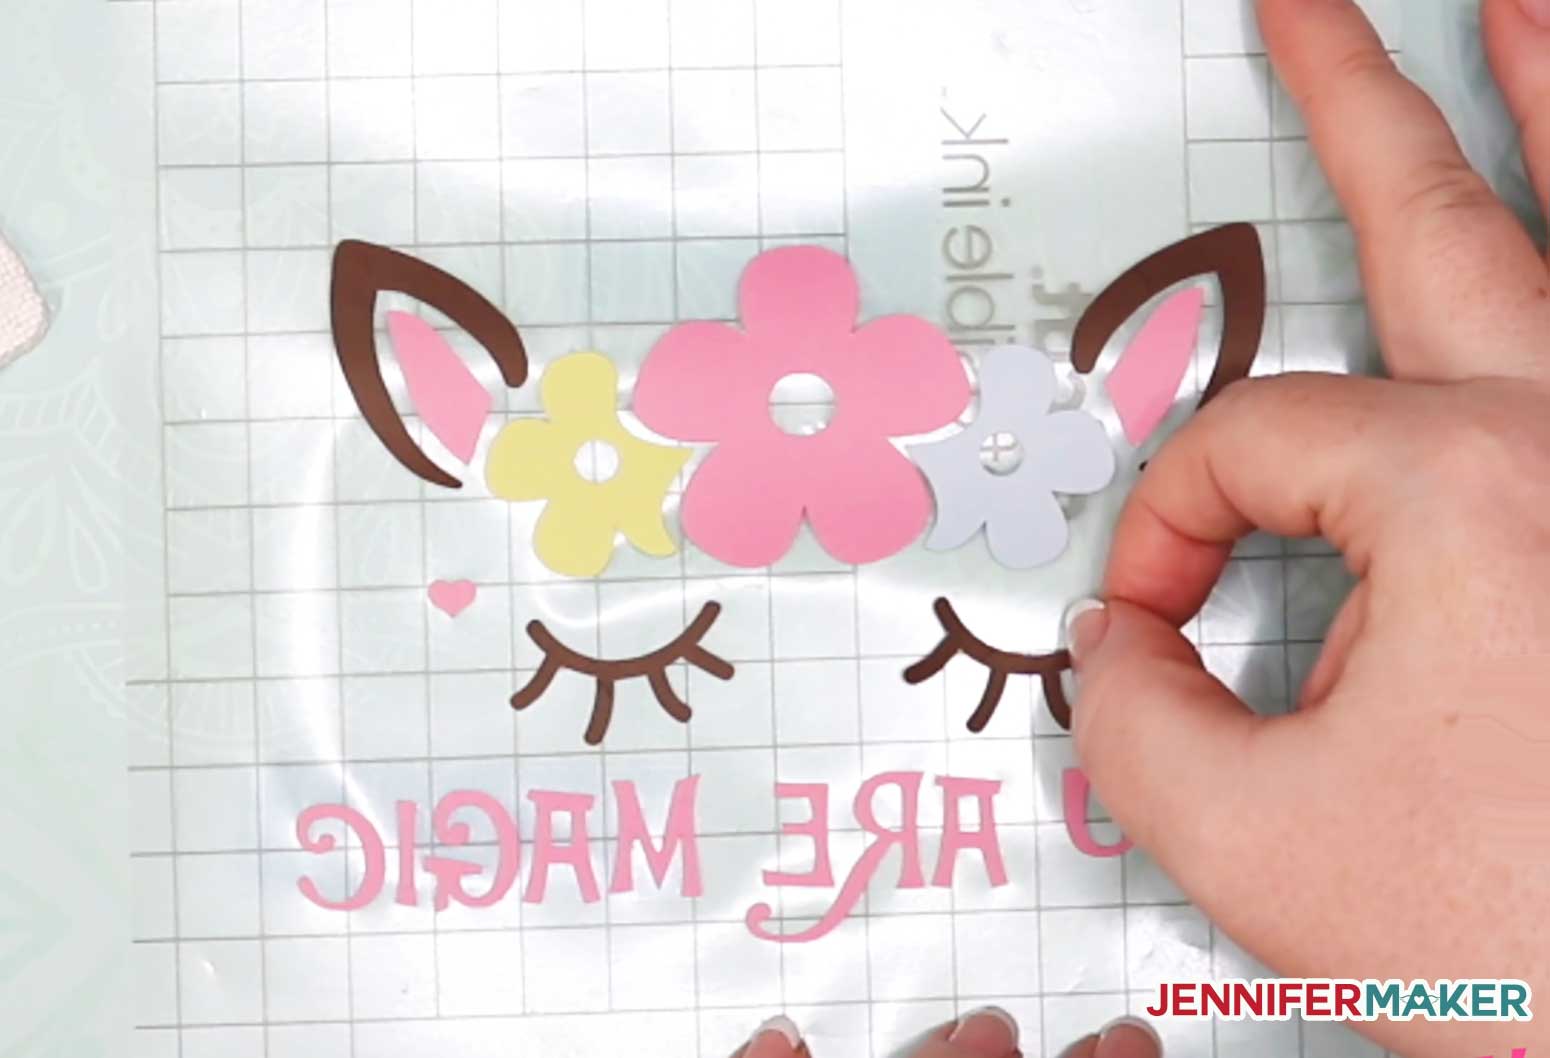
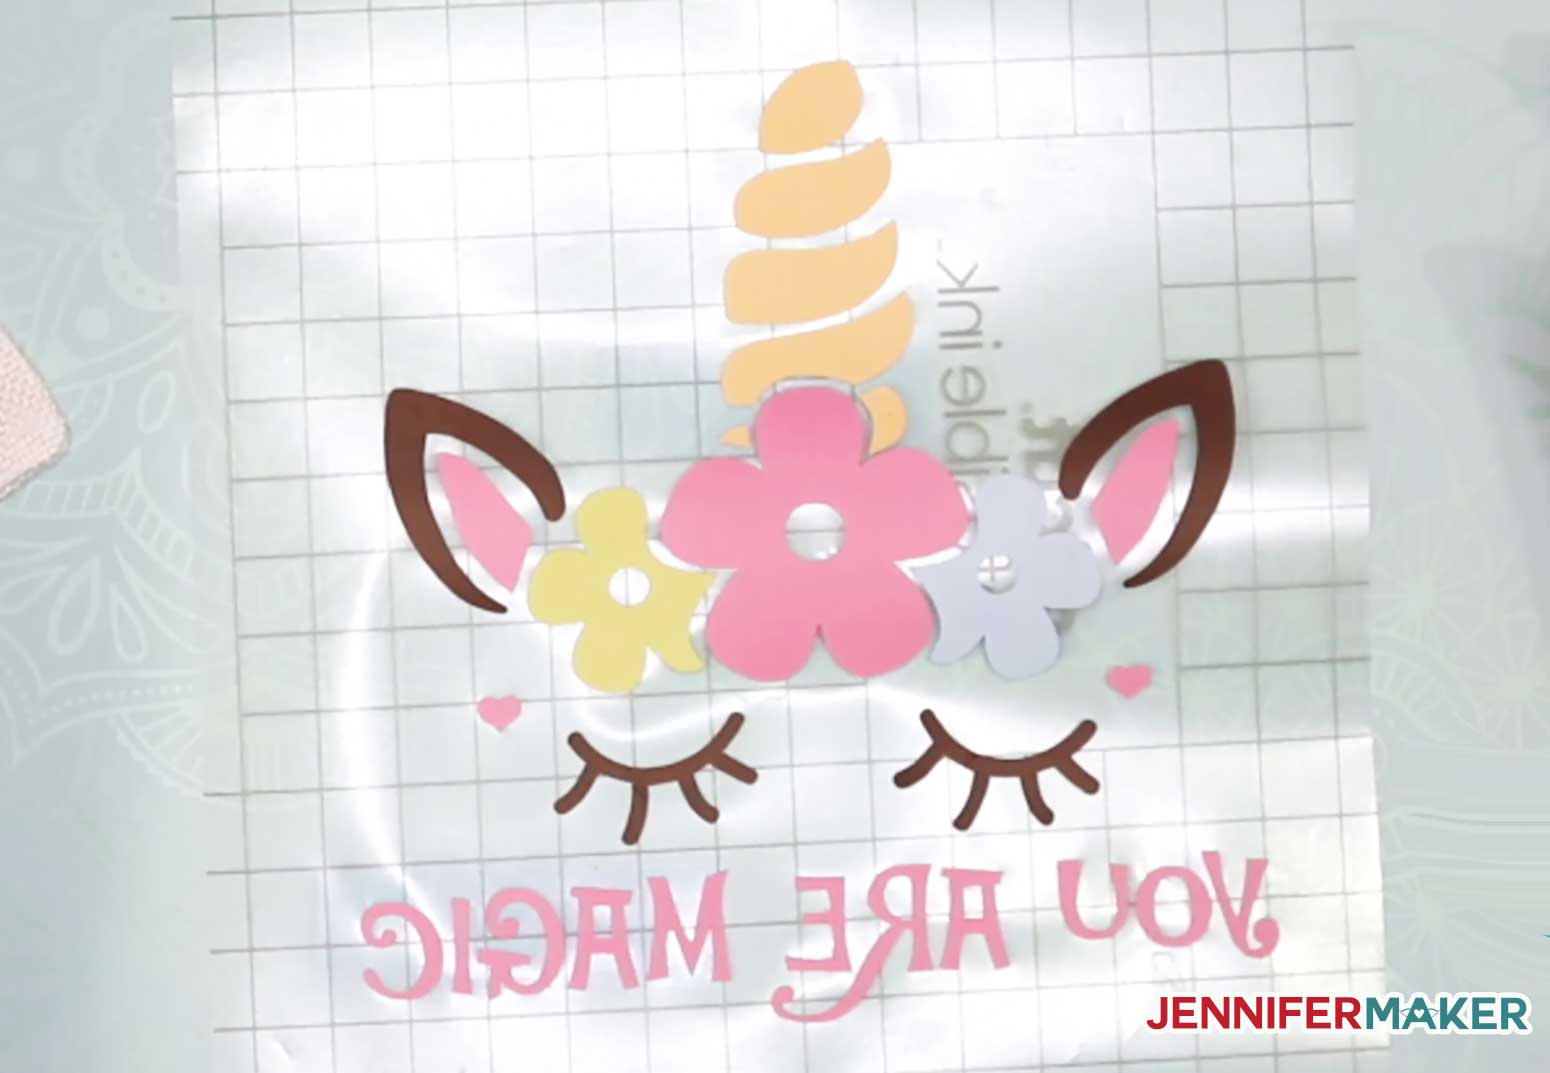
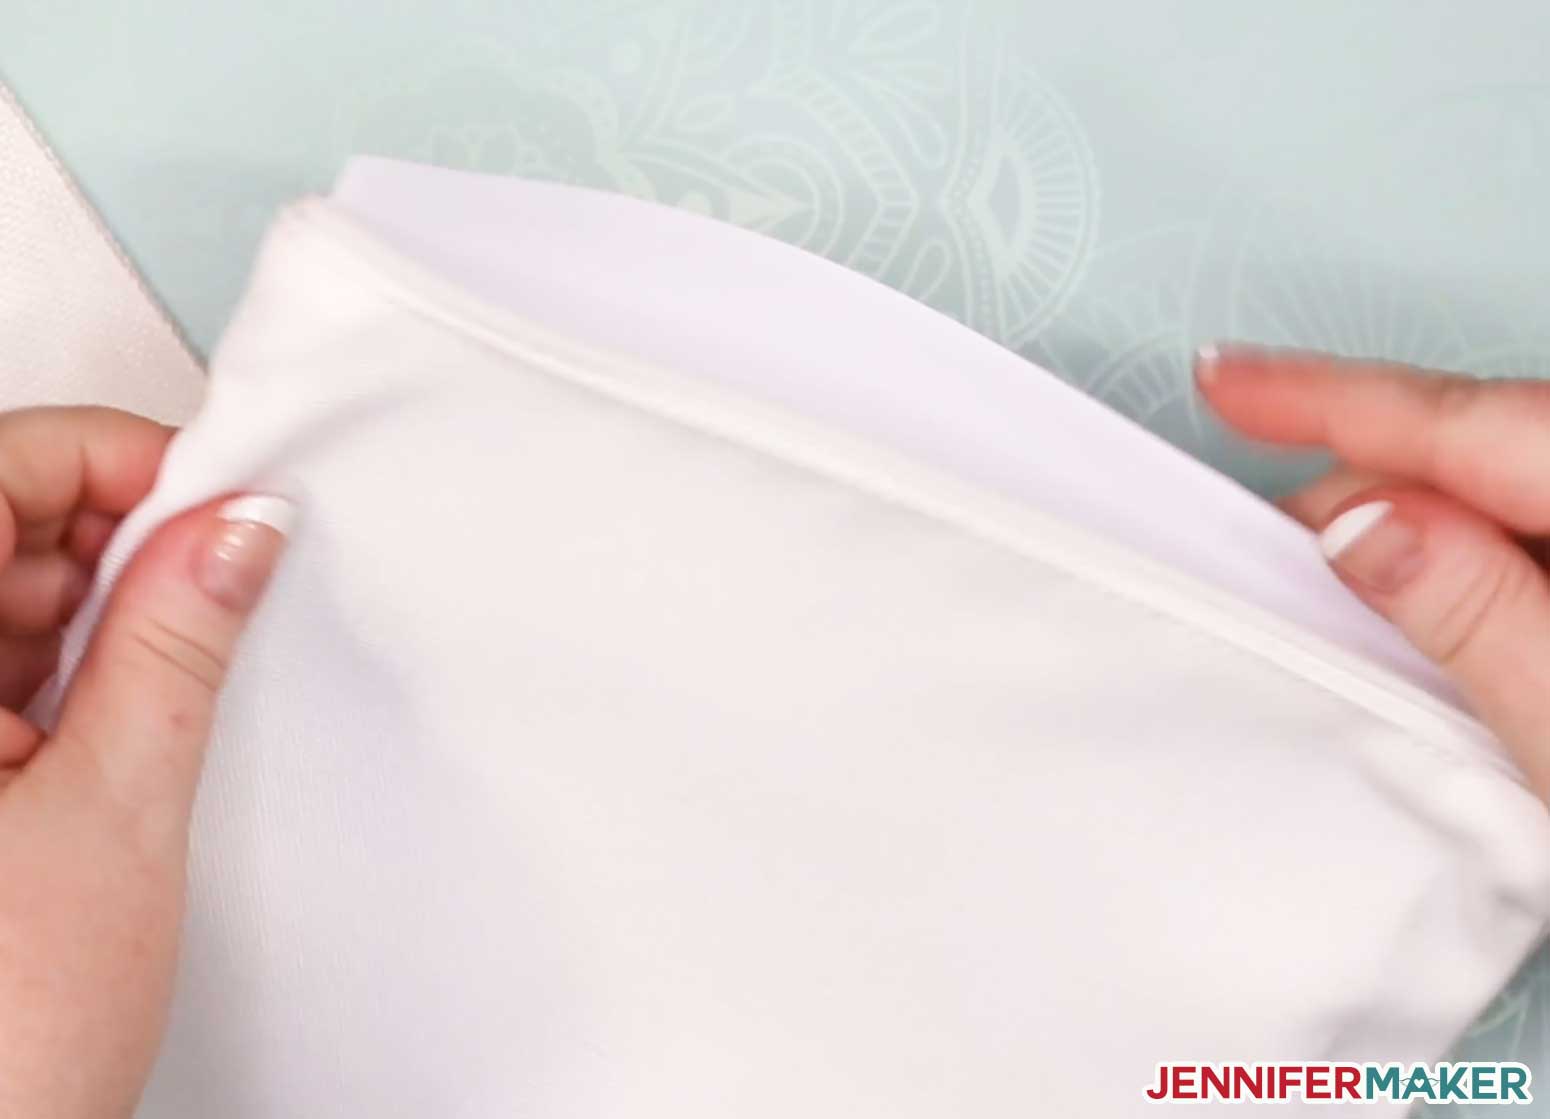
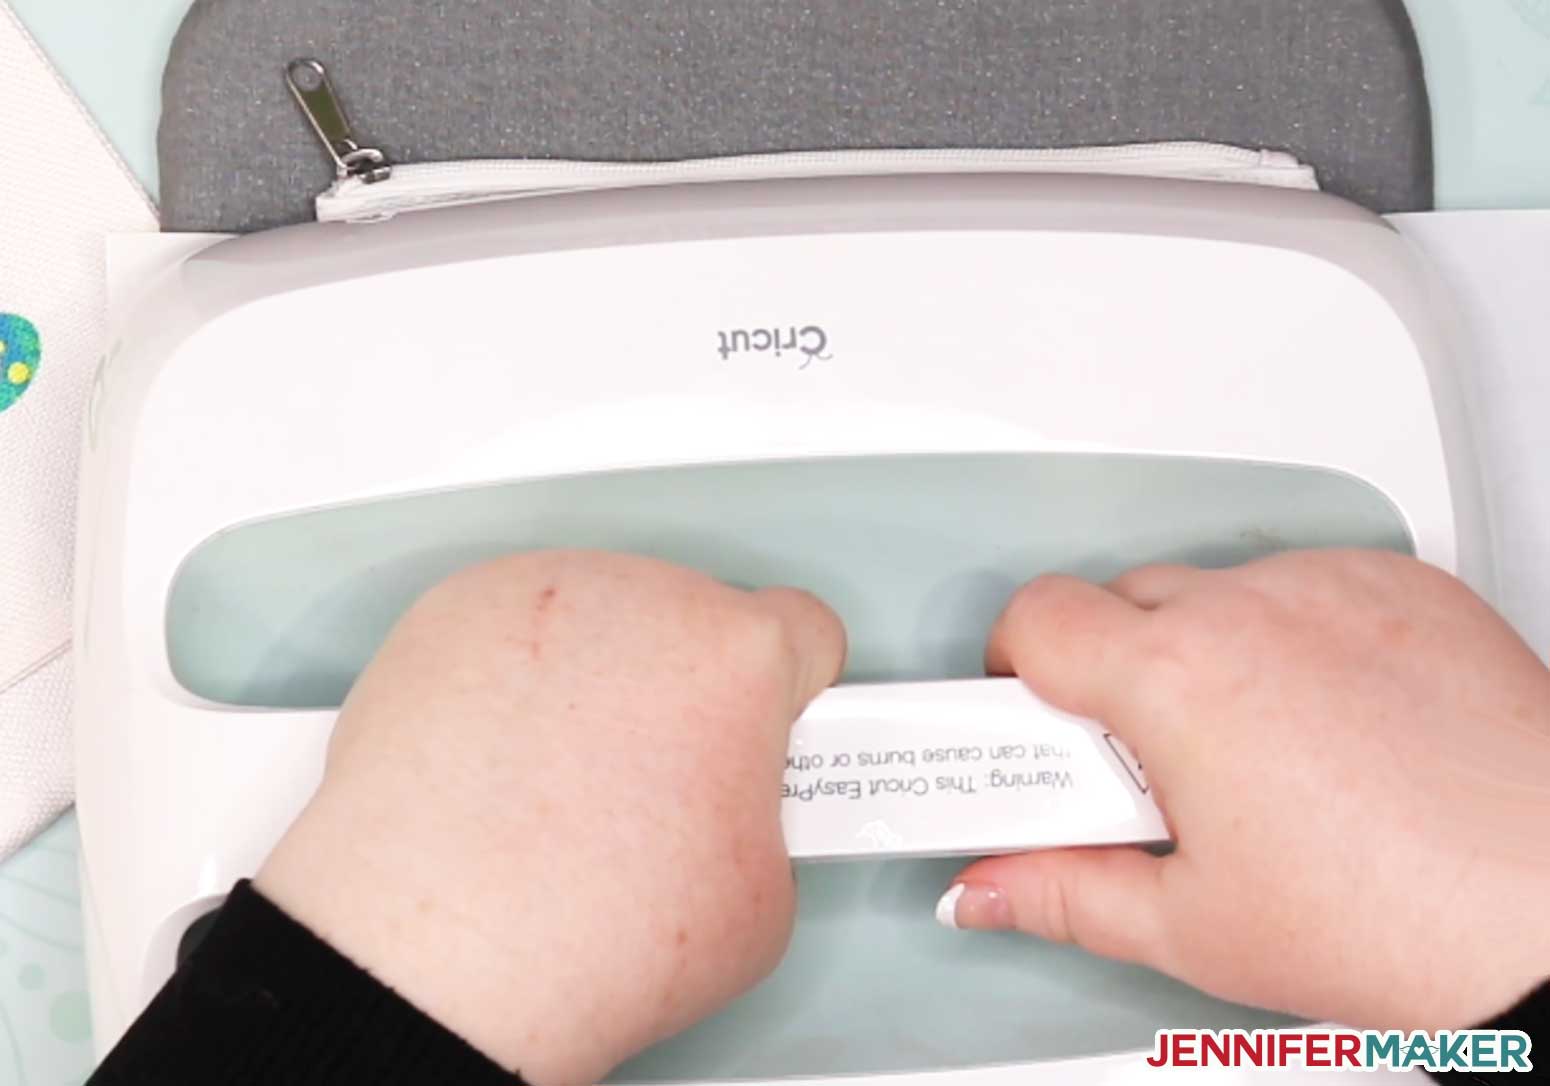
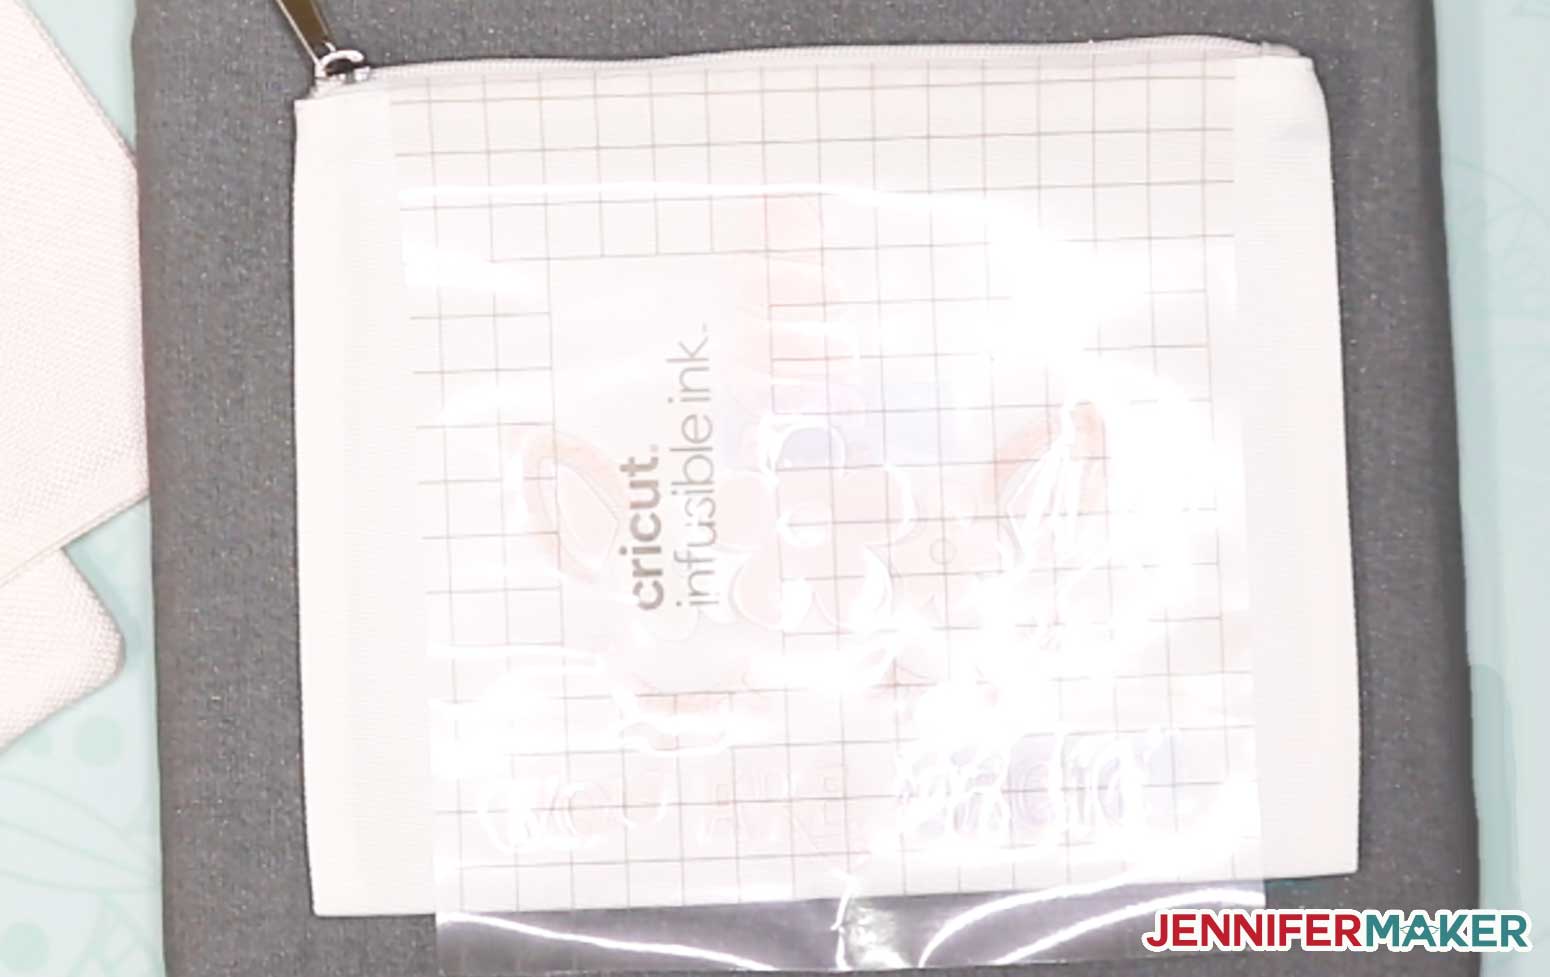
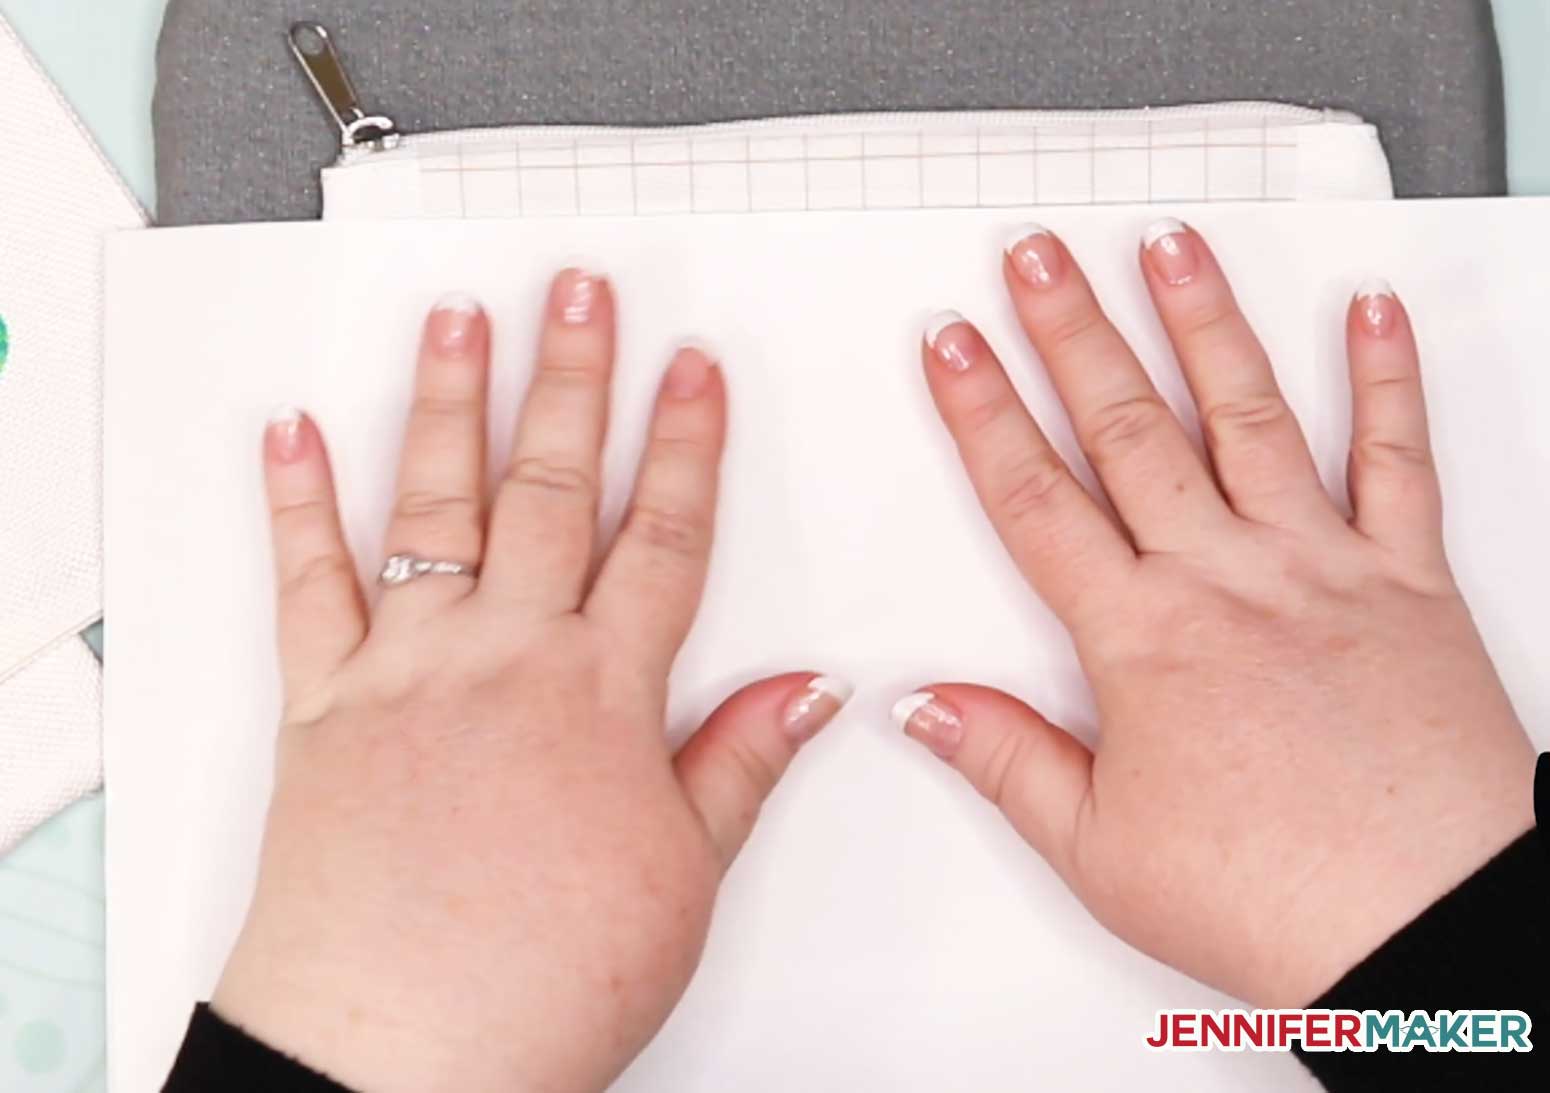
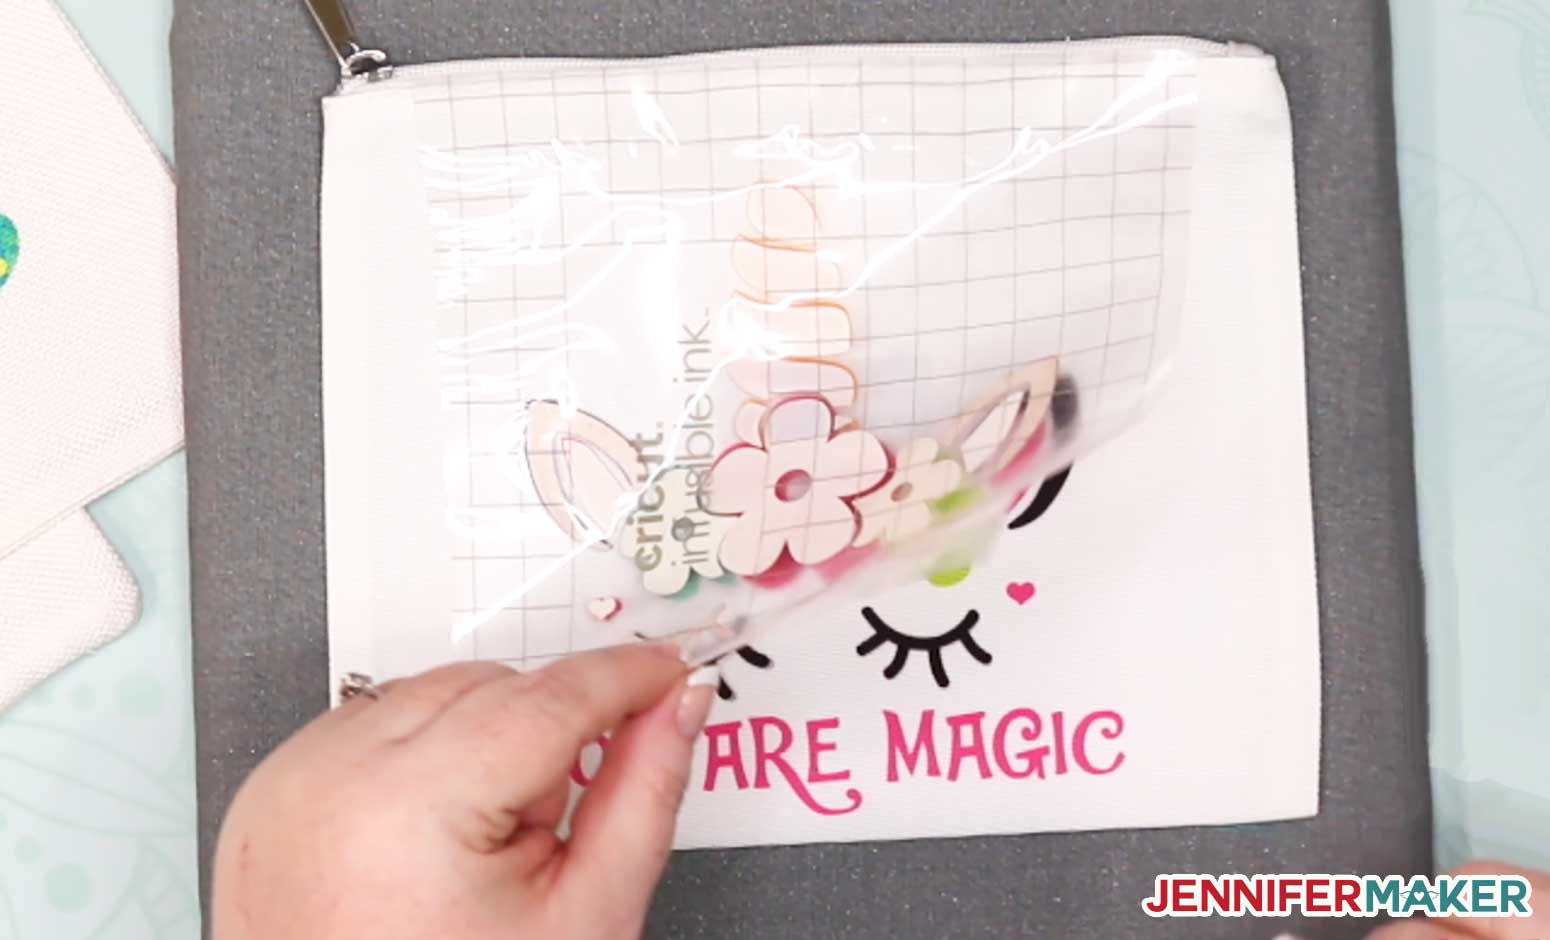
Step-by-step directions to apply a layered Infusible Ink design on a zippered pouch using the cute Unicorn Head SVG You can get my free unicorn SVG design (Design #222) from my free resource library. It's available as an SVG for the Cricut, DXF for Silhouette, and PDF/PNG for whatever else you may need it for. IMPORTANT NOTE: If you’re not sure how to upload an SVG file to Cricut Design Space, or you’re having issues (such as getting a message that says “unsupported file”), please watch my free training series, SVGs Made Simple. It will help you SO much! Here's what my cute Unicorn Head SVG design file looks like uploaded to Cricut Design Space (Desktop): Let me show you how to prepare this file for cutting out in either Infusible Ink or iron-on vinyl in Cricut Design Space. First, decide if you'd like to keep the "You Are Magic" lettering. If you want to keep it as is (in pink), I recommend you Ungroup everything, then select both pink layers and click Attach to keep them together when they are cut out. That's mostly all you need to do to prepare the SVG itself. When you're ready, click the green Make it Now button. On the next screen, you'll want to be sure to MIRROR all layers. Both Infusible Ink and iron-on vinyl are cut out mirrored so they can be applied face down on your project. Select each layer and toggle the Mirror option on. If you are using Infusible Ink, I also recommend you move your pink layer down on the cutting mat as this will give you room to put the other layers later on. Just click, hold, and drag the pink down a few inches. Now we'll use a clean green StandardGrip mat to cut our layers of Infusible Ink. It's super important you put your Infusible Ink PRETTY SIDE UP on your cutting mat. Cut out each color of the unicorn design, which is five layers if you haven't changed any colors from my original. It's now time to weed our unicorn layers. Weeding means to remove all of the parts that we don't want to transfer to our project when we apply it with heat. So that means we remove all the extra bits AROUND the designs. To weed Infusible Ink Transfer Sheets, it's recommended that you employ the “cracking” method. To do this, peel the cutting mat away from your cut design (which is what I always recommend anyway), then slightly bend and roll the cut paper until you hear a little cracking sound (which happens as the cuts separate). Don't worry if your design lifts off the liner a bit. After you "crack" your cut design, just take away the excess paper and you'll be left with just your design on the liner. Here's what the unicorn design looks like after you've weeded it -- all you see are the various colors on the liner: Next, you need to layer your unicorn. I recommend you keep the pink on the liner sheet as is and put all the other colors onto it. Just remove the cut designs from the liner sheet and move them over to the pink liner sheet, like this: Continue transferring and layering your colors until your unicorn design is complete! First, if you are using a Cricut EasyPress, refer to the Cricut EasyPress Interactive Quick Reference Guide which will tell you how to prep your material and EasyPress, how to apply, and how to care for the finished product. This takes the guesswork out of the process. You can view the guide at jennifermaker.com/easypress. You'll want to preheat your EasyPress to the proper temperature (I'm using 385°F) and set your timer to the right amount (I'm using 40°F). Put a piece of white cardstock inside the zippered pouch. Do not fold it to fit; cut it to fit. This cardstock prevents the Infusible Ink from bleeding through to the other side of your pouch. Pre-heat the zippered pouch for 15 seconds. Lint roll the surface of the blank to pick up any dust or debris Place the layered Infusible Ink design on blank, with the carrier sheet (liner) side up, on your pouch, like this: Cover the blank and carrier sheet with butcher paper larger than the design. Press with light pressure at 385°F for 40 seconds. Do not move the EasyPress around while pressing. When the timer is up, slowly lift the EasyPress and remove butcher paper. Slowly remove liner while warm (Note: If transfer sheet remains on the surface, remove it with tweezers) Allow 24 hours after applying your Infusible Ink before washing in cold water and mild detergent. Tumble dry low or line dry. Do not use fabric softener, dryer sheets, or bleach. Iron if needed (medium heat, no steam). Do not dry clean. Enjoy your new and super cute unicorn pouch! The font used for "You Are Magic" is DK Jambo, which we purchased a commercial license to use here.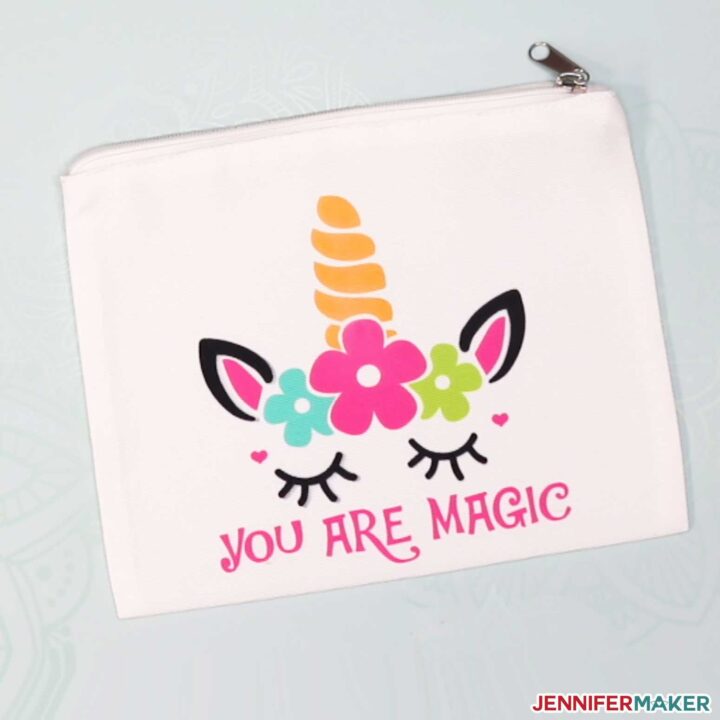
Cute Unicorn Pouch
Materials
Tools
Instructions
Step 1: Get my Cut Unicorn SVG Design
Step 2: Cut Out Your Unicorn Design

Step 3: Weed and Layer Your Unicorn Design

Step 4: Transfer Your Layered Unicorn to Your Pouch

Step 5: Take Care of Your New Infusible Ink Pouch

Notes
Get my free Unicorn Head SVG cut files
If you use this cute unicorn SVG, please share a photo in my helpful Cricut Facebook group or tag me on social media with #jennifermaker.
Love,

Want to remember this? Save the Unicorn Head SVG with Flowers and Hearts to your favorite Pinterest board!


Hello Jennifer, I cut the unicorn out but its too big for any of my frames. Is it possible to adjust it to a 12″x12″ (30cmx30cm) frame , or won’t it look right?
Thank you
You are welcome to resize it to any size frame you have, Julie.