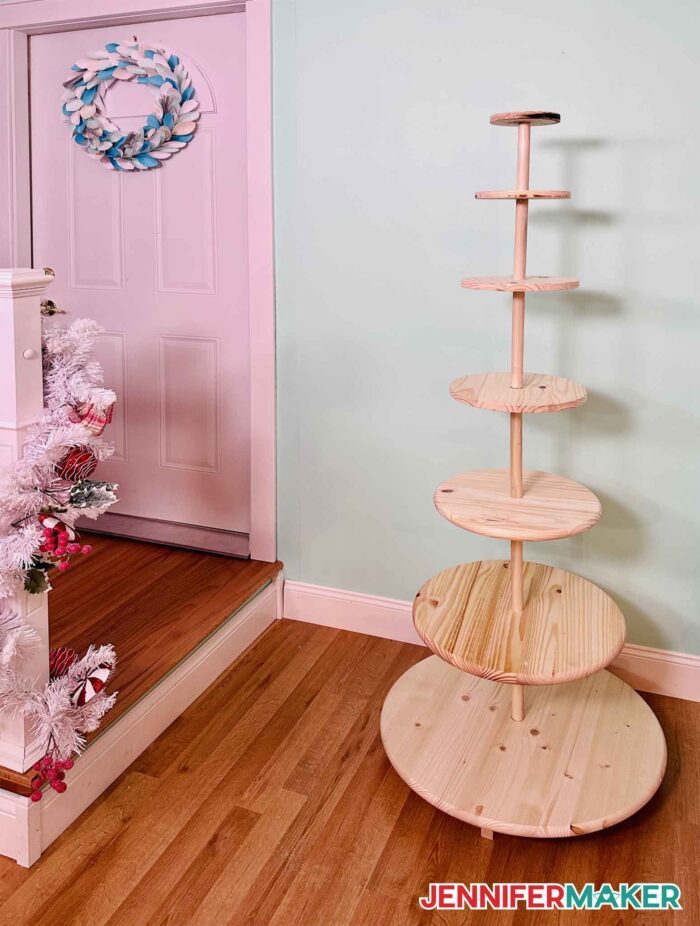
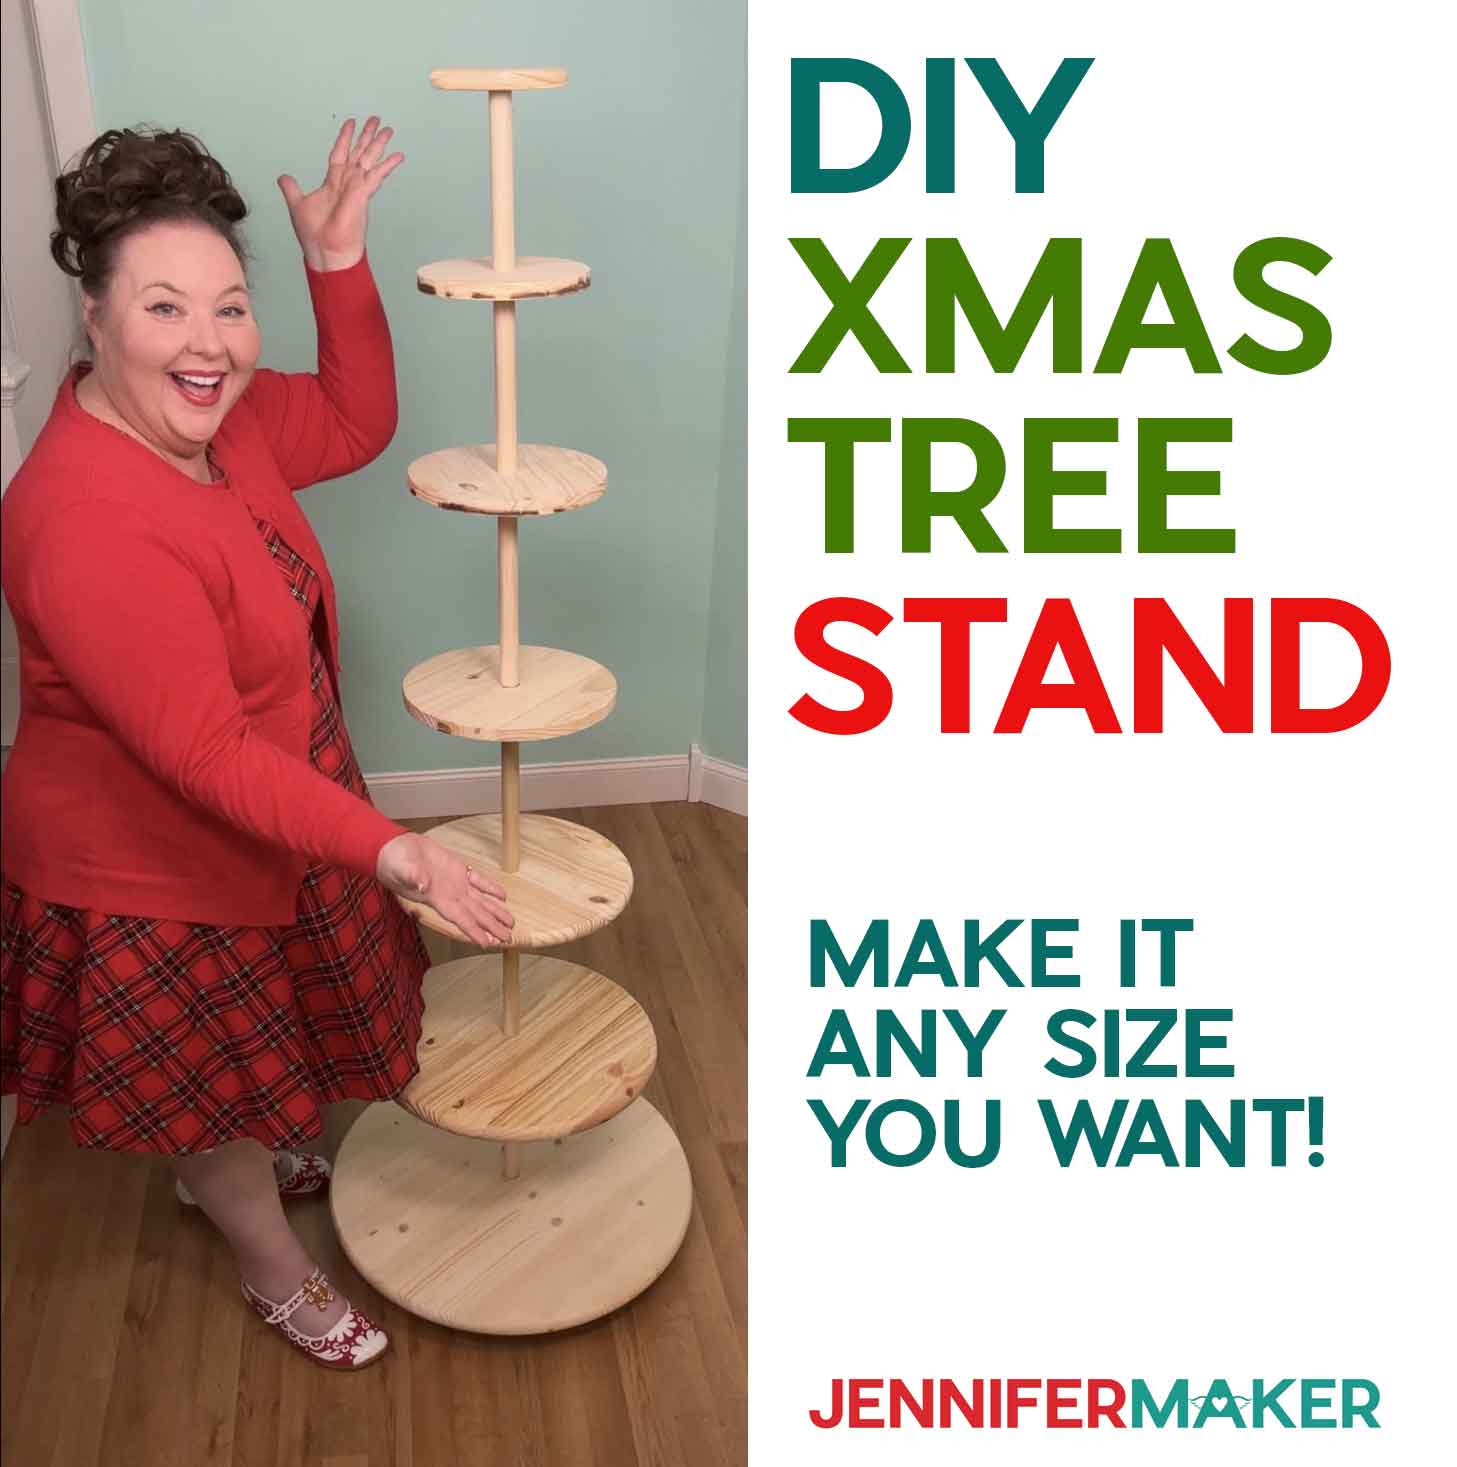
Learn how to make your own display shelf that looks like a Christmas tree!
After we made our 2023 Paper Village Countdown (coming December 1st), I wanted a fun way to display it. So Greg and I worked together to design a simple Christmas-tree shaped display stand made from tabletops, 1″ dowels, and some hardware. It turned out great! If you’d like to make one of your own, I’m sharing all the supplies and plans here.
This post contains some affiliate links for your convenience (which means if you make a purchase after clicking a link I will earn a small commission but it won’t cost you a penny more)! Read my full disclosure policy.
Materials And Tools to Make a Christmas Tree Display Stand
- Several pre-finished tabletops in various sizes (we used 24″, 18″, and 15″ sizes from Lowes)
- AND/OR 1″ wood that you cut into circles (we cut 12″, 10″, 8″, and 6″)
- 48-inch-long 1″ dowel (one for a short tree, two for a tall tree)
- 3/8″ in- 16 x 3 in. stainless steel hanger bolts (we used just one, but you could also use one per shelf for maximum storability)
- 3/8″ in- 15 x 7/16 in. x 1 in. stainless steel pronged/flanged tee nuts (we used one, but you could also use one per shelf for maximum storability)
- A way to cut your wood (we used a jigsaw and a drill with a 1″ flat wood boring bit)
- Wood glue
How to Make a Christmas Tree Display Stand
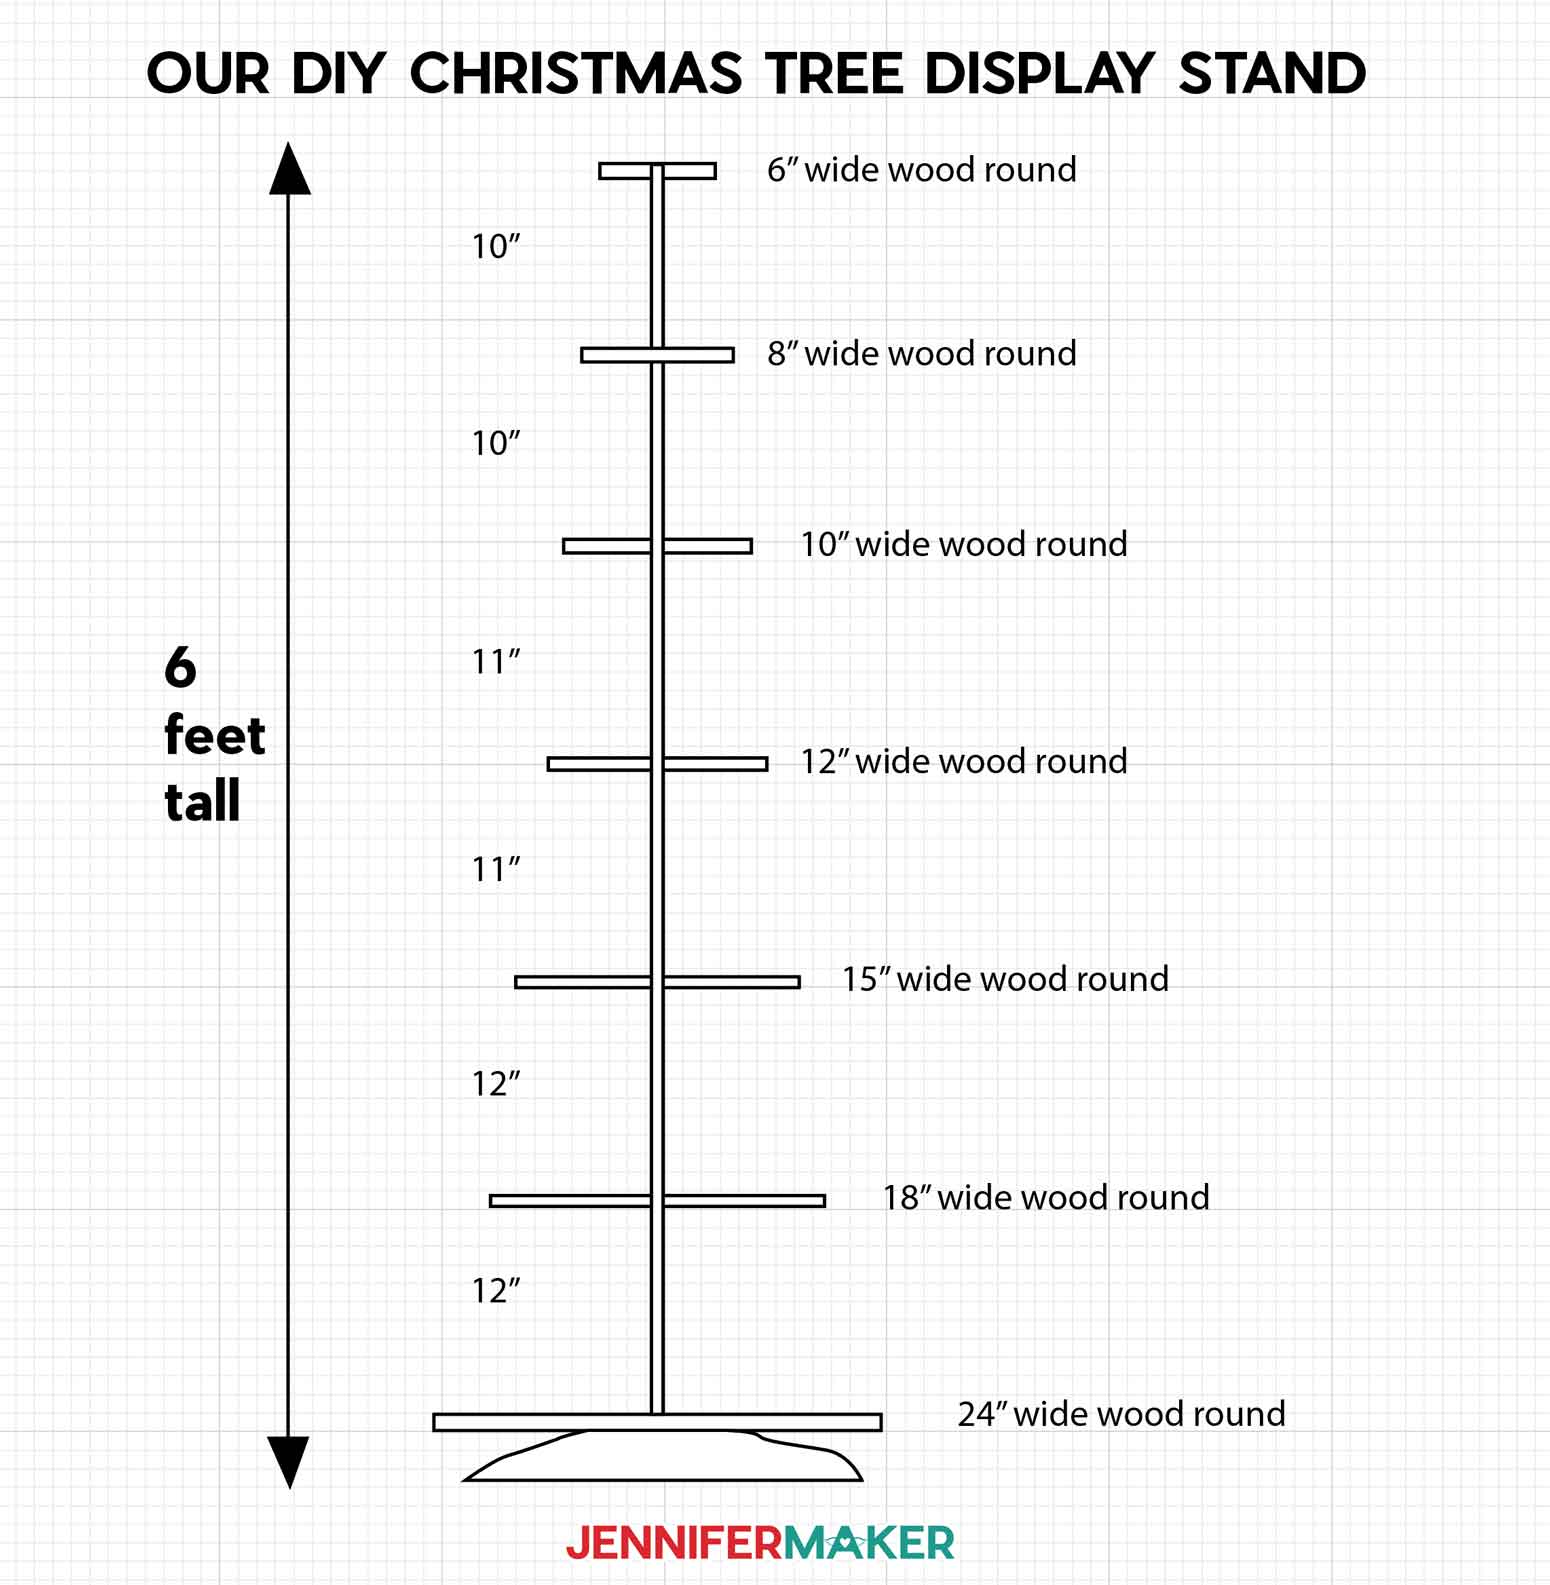
- Decide how tall you’d like your finished tree stand to be and how much space you’d like in between your shelves. My tree is just about 6-feet-tall and has seven shelves that have 11″ between them at the bottom and end up with 9″ between shelves at the top. You can make yours shorter, of course. If you want a tree less than four feet, you need just one 48-inch-dowel. It it’ll be taller, get two 1-inch-diameter dowels.

- Decide how wide you’d like your finished tree stand to be at the base — I needed mine to fit in a small space, so I chose 24-inches wide. But if you want your display shelf to look more like a regular-sized tree, you will want it to be 30 or even 36 inches wide. Then decide on how many shelves and what sizes you’d like them to be. We had the following sizes of shelves: 24 inch, 18 inch, 15 inch, 12 inch, 10 inch, 8 inch, and 6 inch
- Go shopping for your wood. You can get pre-finished tabletops at home improvement stores like Lowes in sizes from 15″ to 36″ in diameter. You can also get 12 inch round wood boards. Or just buy 1″-thick project board and cut your own circles on a jigsaw (tip: make a perfect circle by tying a string and pencil to a thumbtack and drawing a circle)
- Cut your wood. How you cut your wood depends on how tall and how many shelves you plan, as well as how store-able you want it to be when you’re not using it. We plan to use ours for display most of the time, so ours only comes apart in two sections — but you could have yours come apart at every shelf if you want (if you do, cut your dowels to be anywhere from 12″ to 10″ long). We ended up cutting our four circles (12″, 10″, 8″ and 6″) from our 1″ project board on our jigsaw, and cutting one of the dowels in half. We used the leftover project board to create a simple stand to sit below the bottom shelf, but this is not necessary — it can just sit on the floor, too.
- Add hardware as needed. Wherever you want your tree to come apart for storage, add a tee nut in the exact center of your wood circle, and then add a steel hanger bolt in the bottom of a dowel piece. If you don’t care about it coming apart, you can simply cut 1″ holes in your wood circles with a 1″ flat wood boring bit in the exact center instead for all, unless your tree is over 48″ tall (in which case you’ll need to join the second dowel with hardware, so one of your middle shelves will need the hardware).
- Attach your dowels to your wood circles. You’ll do this either by screwing the hanger bolts into the tee nuts, or by sliding the dowel into the holes (that’s what we did). If you slide your dowel through the holes in your circles, It’ll probably be a snug fit and stay put, but as we don’t plan to disassemble ours, we still used some wood glue to keep everything in place — just put the wood glue around the spot on the dowel you want your shelf(s) to rest at, then slide the shelf down onto it. Allow it to dry and set.
And that’s it! It only took a few hours to make.
If you want to decorate it as I did in the video below, you’ll also want a staple gun, greenery, and LED lights! It took me about one hour to decorate.
Did you make one? Please share a photo in our Facebook group or tag me on social media with #jennifermaker.
Love,