
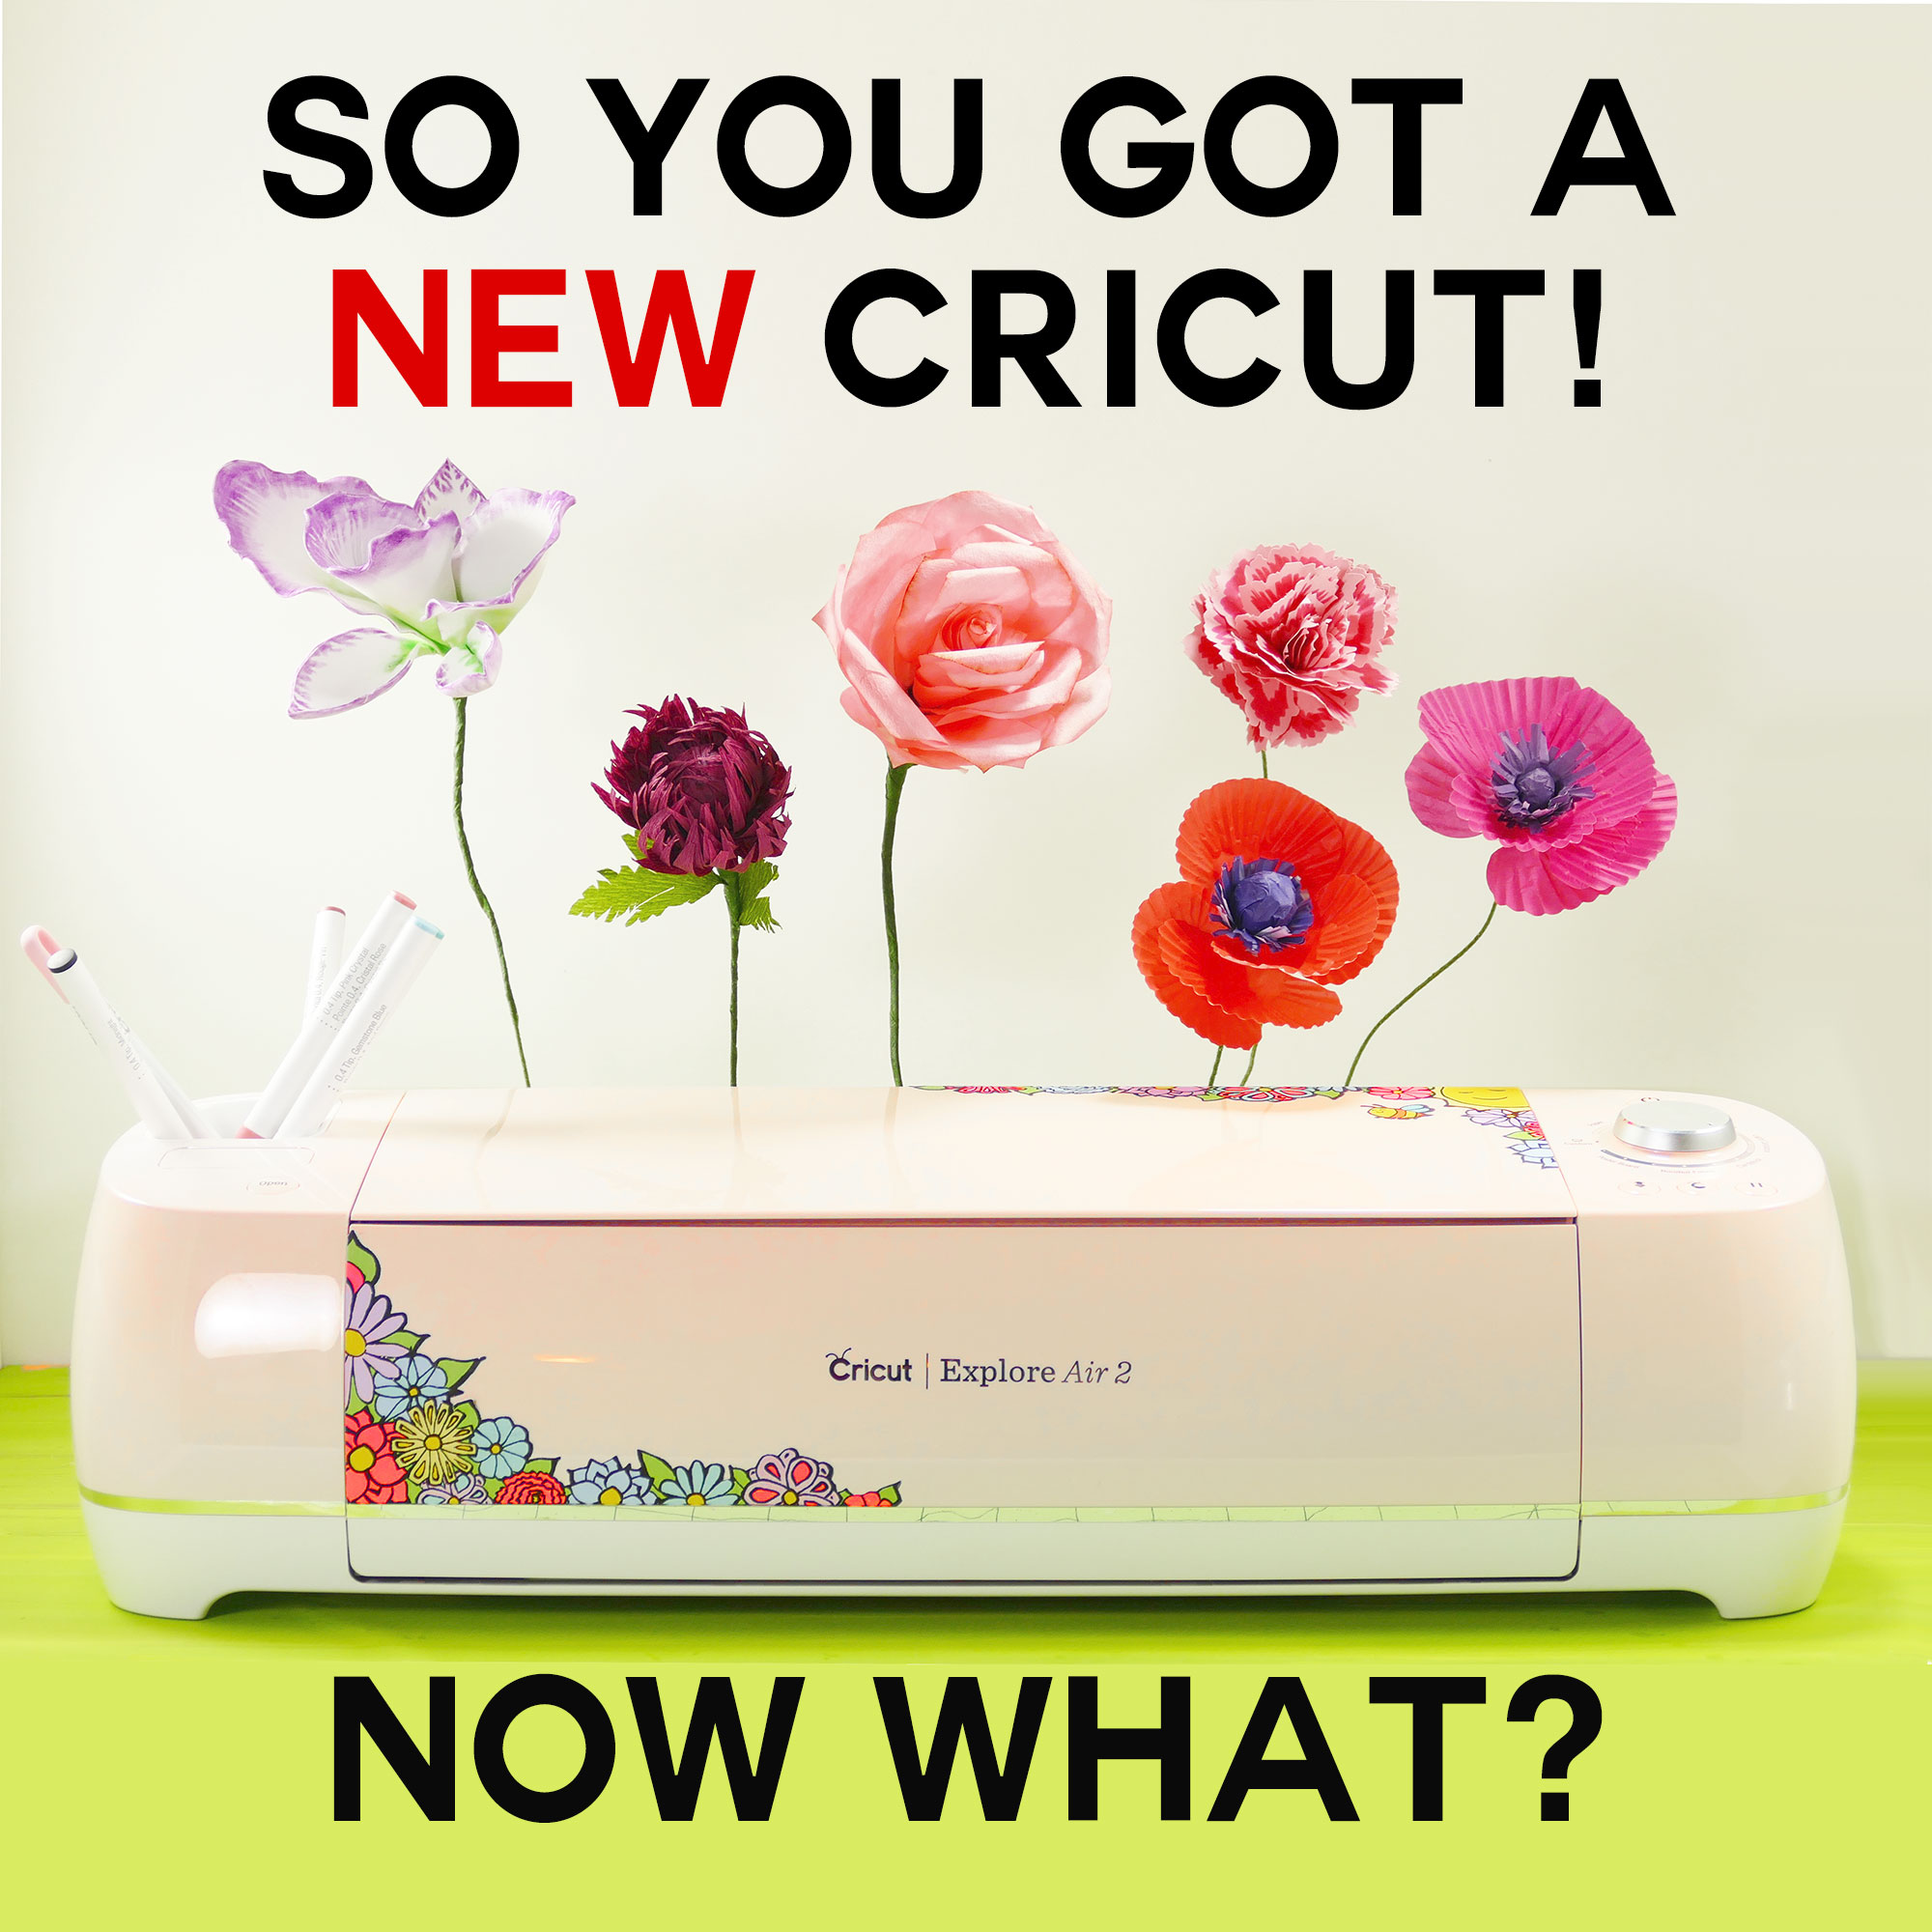
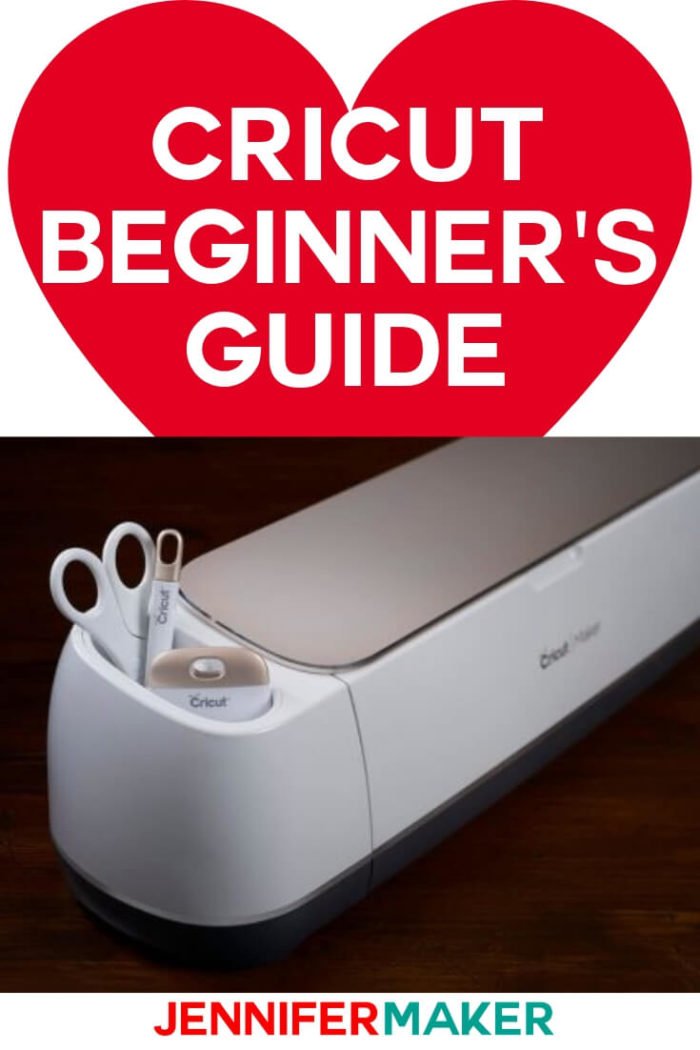
Did you get a new Cricut Joy, Cricut Explore, or Cricut Maker cutting machine as a Christmas gift, birthday gift, or just because? I know my mother, sister, and MANY of my readers did! So now that you’ve got that pretty, shiny box, you may be wondering what the heck to do now. I can help! This guide is just for you. So proud new Cricut owner, go get your box, and let’s get this show on the road!
This post contains some affiliate links for your convenience (which means if you make a purchase after clicking a link I will earn a small commission but it won’t cost you a penny more)! Read my full disclosure policy.
What do I need to get started?
- Your pretty new Cricut Joy, Cricut Explore or Cricut Maker
- Access to power (possibly an extension cord, too)
- A computer (with Windows 8 and higher, or Mac OS 10.13 or higher), an iPad or iPhone (with iOS 12 or later), or an Android tablet or phone (with version 6 or higher)
- Internet access on your computer or device
Where do I set up my new Cricut Explore or Cricut Maker?
Tip: If you are a more visual person and prefer video, I have a free series of online classes that walks you through the entire process of setting up and using a new Cricut — sign up for free at https://makeracademy.com/cricutkickoff
![]()
I recommend you put your new machine somewhere near your computer or where you’ll be using a connected device, such as your tablet. And you also need to be within range of a power outlet. I set mine up on a set of shelves to the right of my desk, so it’s actually within arm’s reach. I LOVE having my Cricut here because while my Cricut Explore Air 2 doesn’t have to be physically connected to my computer (because it is wireless), I do need to be near it to load and unload mats and press the buttons. Having the Cricut to one side or another of you — or even behind you — is ideal. If you can, keep it within arm’s reach — you will thank yourself later for this! You also need space in front of and behind the Cricut for the mats to move in and out of, at least 10″ in both directions.
Another thing to consider is the surface upon which you set your new Cricut. I did NOT consider this when I first setup my Cricut, but now that I’ve used mine for a while I know better. My Cricut sits on the edge of the shelf. When I load my mats, they just hang down because there is no flat surface directly in front of the machine. Sometimes this makes the material on my mat unhappy. And when the mats unload, they sometimes fall onto the floor — again, because I have no surface in front of the machine. So, if you can, set it up so that there is a flat surface of at least 10″ in front of your machine. But if doing this means you have to move your Cricut far away, don’t do it — having it across the room will just drive you nuts!
You also need at least 10 inches behind your machine (for the mats to move back to as they are cutting) and 10 inches above the top of your machine. You need room to open the lid and put in things like pens and a scoring stylus.
How do I set up my new Cricut?
Now that you’ve picked out (and hopefully cleared off) the perfect spot for your new Cricut, let’s open that pretty box up! (I have a Rose edition Cricut from Joann. Your box may look similar, but have a different color of Cricut pictured on it.)
The first thing you’ll notice when you open your box is your mat (or mats, it depends on what you ordered). Pull the mats out and set them aside.
Gently pull your machine out of the box, cardboard packing and all. Set it in its new home. Isn’t it sweet? Go ahead and remove the cardboard ends and the protective wrapper from your Cricut. You can take off any tape that is keeping the lid closed and protecting the dial on the right, too.
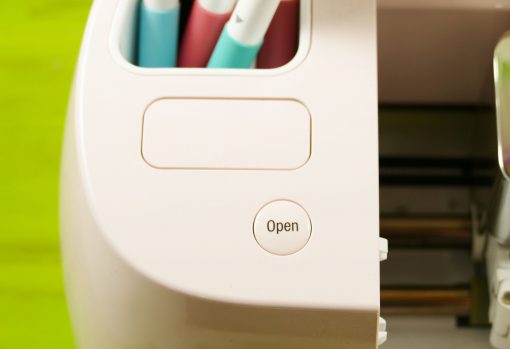
Press the “Open” button on the left side of your Cricut. (The Cricut Maker doesn’t have this button—just open the top lid and the rest will follow!) The doors will open slowly (I love this). Remove the protective foam under your pen and blade holders.
Now if you look back inside your box, you should see at the bottom a piece of paper with a link. If you can’t find it, the link is https://design.cricut.com/setup. Go to this link on your computer or tablet — Cricut makes setup from this point SO easy and fast. They will walk you through the whole process of downloading the plugin and plugging in your Cricut.
You’ll find your power cable (it’s the one with a big plastic “brick” on it) in the bottom of the box — follow the setup instructions on your computer/tablet to attach it to the back of your Cricut. Find an outlet to plug this in. Make sure you’re plugging it in to an outlet that has power, too!
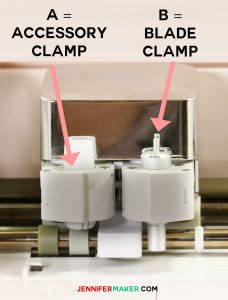 Your new Cricut should already have its blade installed. You can tell this by looking at the tool holder with the clamps labelled “A” and “B.” (A stands for Accessory, B is for Blade.) You should see a metallic canister-shaped object (the “blade housing”) in the B clamp. If you do, you’re all set!
How do I connect the Cricut to my computer?
If you have the Cricut Explore Air, Explore Air 2, or Maker, you can connect wirelessly to your Bluetooth-enabled computer (or another device, like an iPad). To do this, power on your Cricut by pressing the round power button on the top right side of your Cricut. Now open your Bluetooth settings on your computer or device (you may need to enable it first). You will see “CricutAIR” or “MAKER” appear in your list of devices. Select it, click Pair, and enter the code 0000.
If you have the Cricut Explore One, or do not have Bluetooth, you’ll need to connect the Cricut with the USB cable. The square end goes in the back of your Cricut, while the rectangular end goes into the USB port on your computer. This video shows you how to do it.
You’re now ready for your first project.
How do I cut my first project on the Cricut?
Everything you need to make your first Cricut project is included in those accessories that came with your Cricut! So take out everything else from the box. Among the items you should see a package with some paper. You’ll need this to make the Enjoy card, your first project.
 Now just follow the onscreen directions in Design Space (that’s where the setup link above takes you). You will be directed to do the following:
- Load the pen into Clamp A.
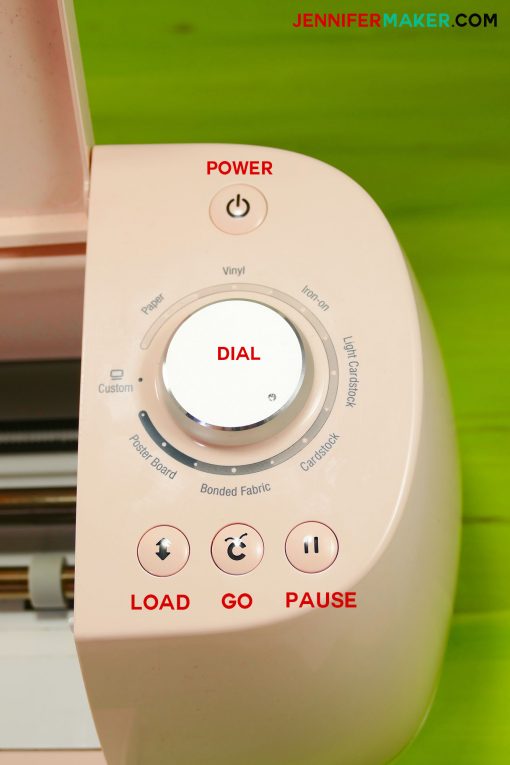
- Turn the dial on your machine to “Cardstock.”
- Remove the plastic cover from your mat (if multiple mats came with your Cricut, pick the BLUE one)
- Place the white cardstock from the package on the mat in the TOP LEFT corner inside grid.
- Position the mat underneath the mat guides on the machine.
- Push the mat in firmly against the rollers as you press the Load button (marked in red on the photo below).
- Press the flashing Go button on your machine.
- Wait while your machine writes and cuts your card.
- Press the Unload button (it’s the same as the Load button you pressed earlier) when your project is done and the light flashes
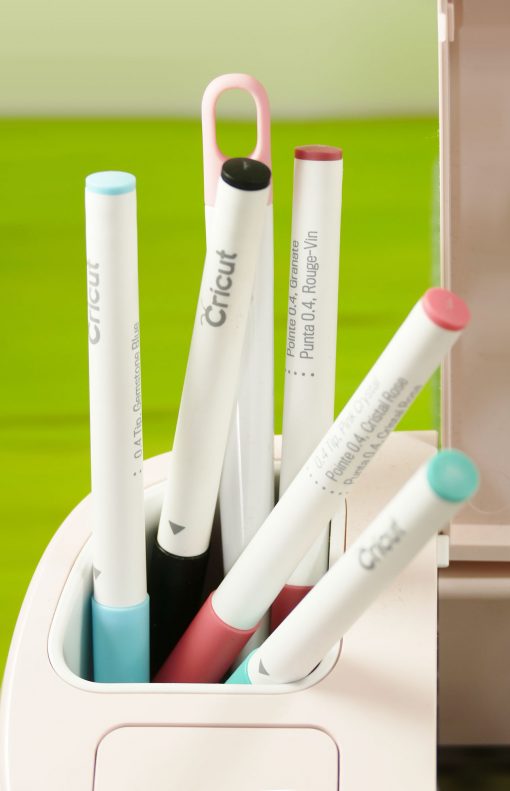
- Take the pen out and put it away (tip: store your pens cap-down in the accessory cup on the top left of your machine)
- Remove the cut cardstock from your mat
- Fold the card in half.
- Insert the dark cardstock liner (also included in that package) into the corner slots.
That’s it! You’ve completed your first project! It really is that easy.
Tip: You can access this first project later on if you want to make it again — just go Design Space, click the hamburger menu (three lines) in the top left, choose New Machine Setup, and you will be presented with the project again (after clicking through the intro screens.
Do I need any Cricut accessories?
You can get started with what comes in the box, but you’ll need some extra accessories and supplies to make projects. Check out my list of what Cricut accessories and supplies I think a new Cricut owner needs here! If you want to make my papercraft projects, one of the best accessories I think a new Cricut Explore owner needs is a scoring stylus. I use mine all the time, and many of my projects utilize it. You can get one here!
Now what do I do with my Cricut?
You’re now ready to take on the crafting world, my friend! Your new Cricut Explore comes with a free trial of Cricut Access, which is a library of images, projects, and fonts. It’s all inside Cricut Design Space (the app you used to setup your Cricut). So I recommend you click Projects, choose “Cricut Access” from the dropdown menu at the top, and pick a project that looks like something you want. Some projects will be harder or require tools or materials you don’t have yet, so try to stick with something simple at first. Each project will tell you what materials and accessories you need, so be sure to check. When you’ve found something, click the green Make It button to get started.
Are you ready to make some of the projects I’ve designed? You can! Here is a project I made just for beginners — the Easy Layers Greeting Card Set: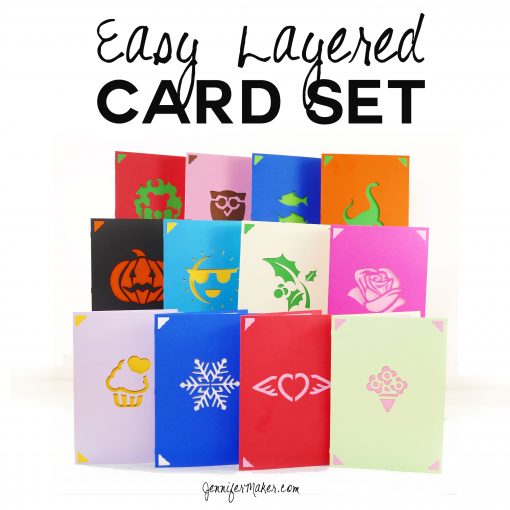
- Download the files from my Free Resource Library (get the password to it by filling out the form at the bottom of this post).
- Unzip them (most computers just do this for you when you download them).
- Go back to Design Space and click the Upload button.
- Click Upload Image.
- Browse until you find the folder with the files you downloaded. There is a file for each card.
- Select the file you want (it will have “.SVG” on the end of the filename).
- Once the card images appear onscreen, click Save.
- Click the card image under “Recently uploaded images”
- Click “Insert Images.”
- Click the green “Make It” button in the upper right corner.
- Click the green Continue button.
- Make sure the dial on your Cricut is set to Cardstock.
- Place a piece of cardstock (color of your choice) onto your mat (put it on in landscape orientation, wider than taller) and load it into the machine.
- Click the flashing Go button to begin cutting.
Each card is a two-sheet project, so you’ll need to load another mat with another sheet of cardstock into the machine. Design Space will show you what color will be cut next, or you can use whatever colors you want.
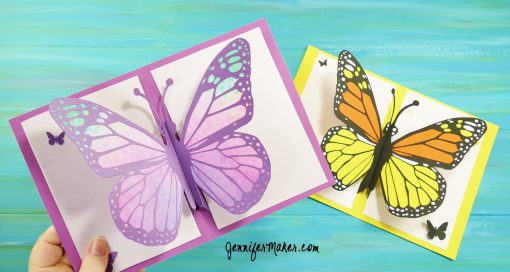
Once you feel comfortable with uploading SVG files for your new Cricut, you can make any of the projects on my blog or elsewhere on the web. You can find many free SVG files, or you can buy them, too. All of the SVG files in my Resource Library are free for you to download and use! MyPop-Up Butterfly Card is another easy project great for beginners.
I you have any questions, please come on over to our awesome Cricut Crafters group to get help right away!
Love,

P.S. Here are some great Cricut Tips and Tricks to help you get the most out of your cutting machine!
Want to remember this? Save it to your favorite Pinterest board!


This was super helpful as a new Cricut Maker owner! Thank you so much!
I saw your comment about having 10″ of tabletop in front of the Cricut to help support the mat. Do you also need the same for the 10″ clearance behind the Cricut or will the mat be supported just fine without it?
You do want a 10 inch clearance behind your machine too because they mat will need that space as the machine is cutting.