
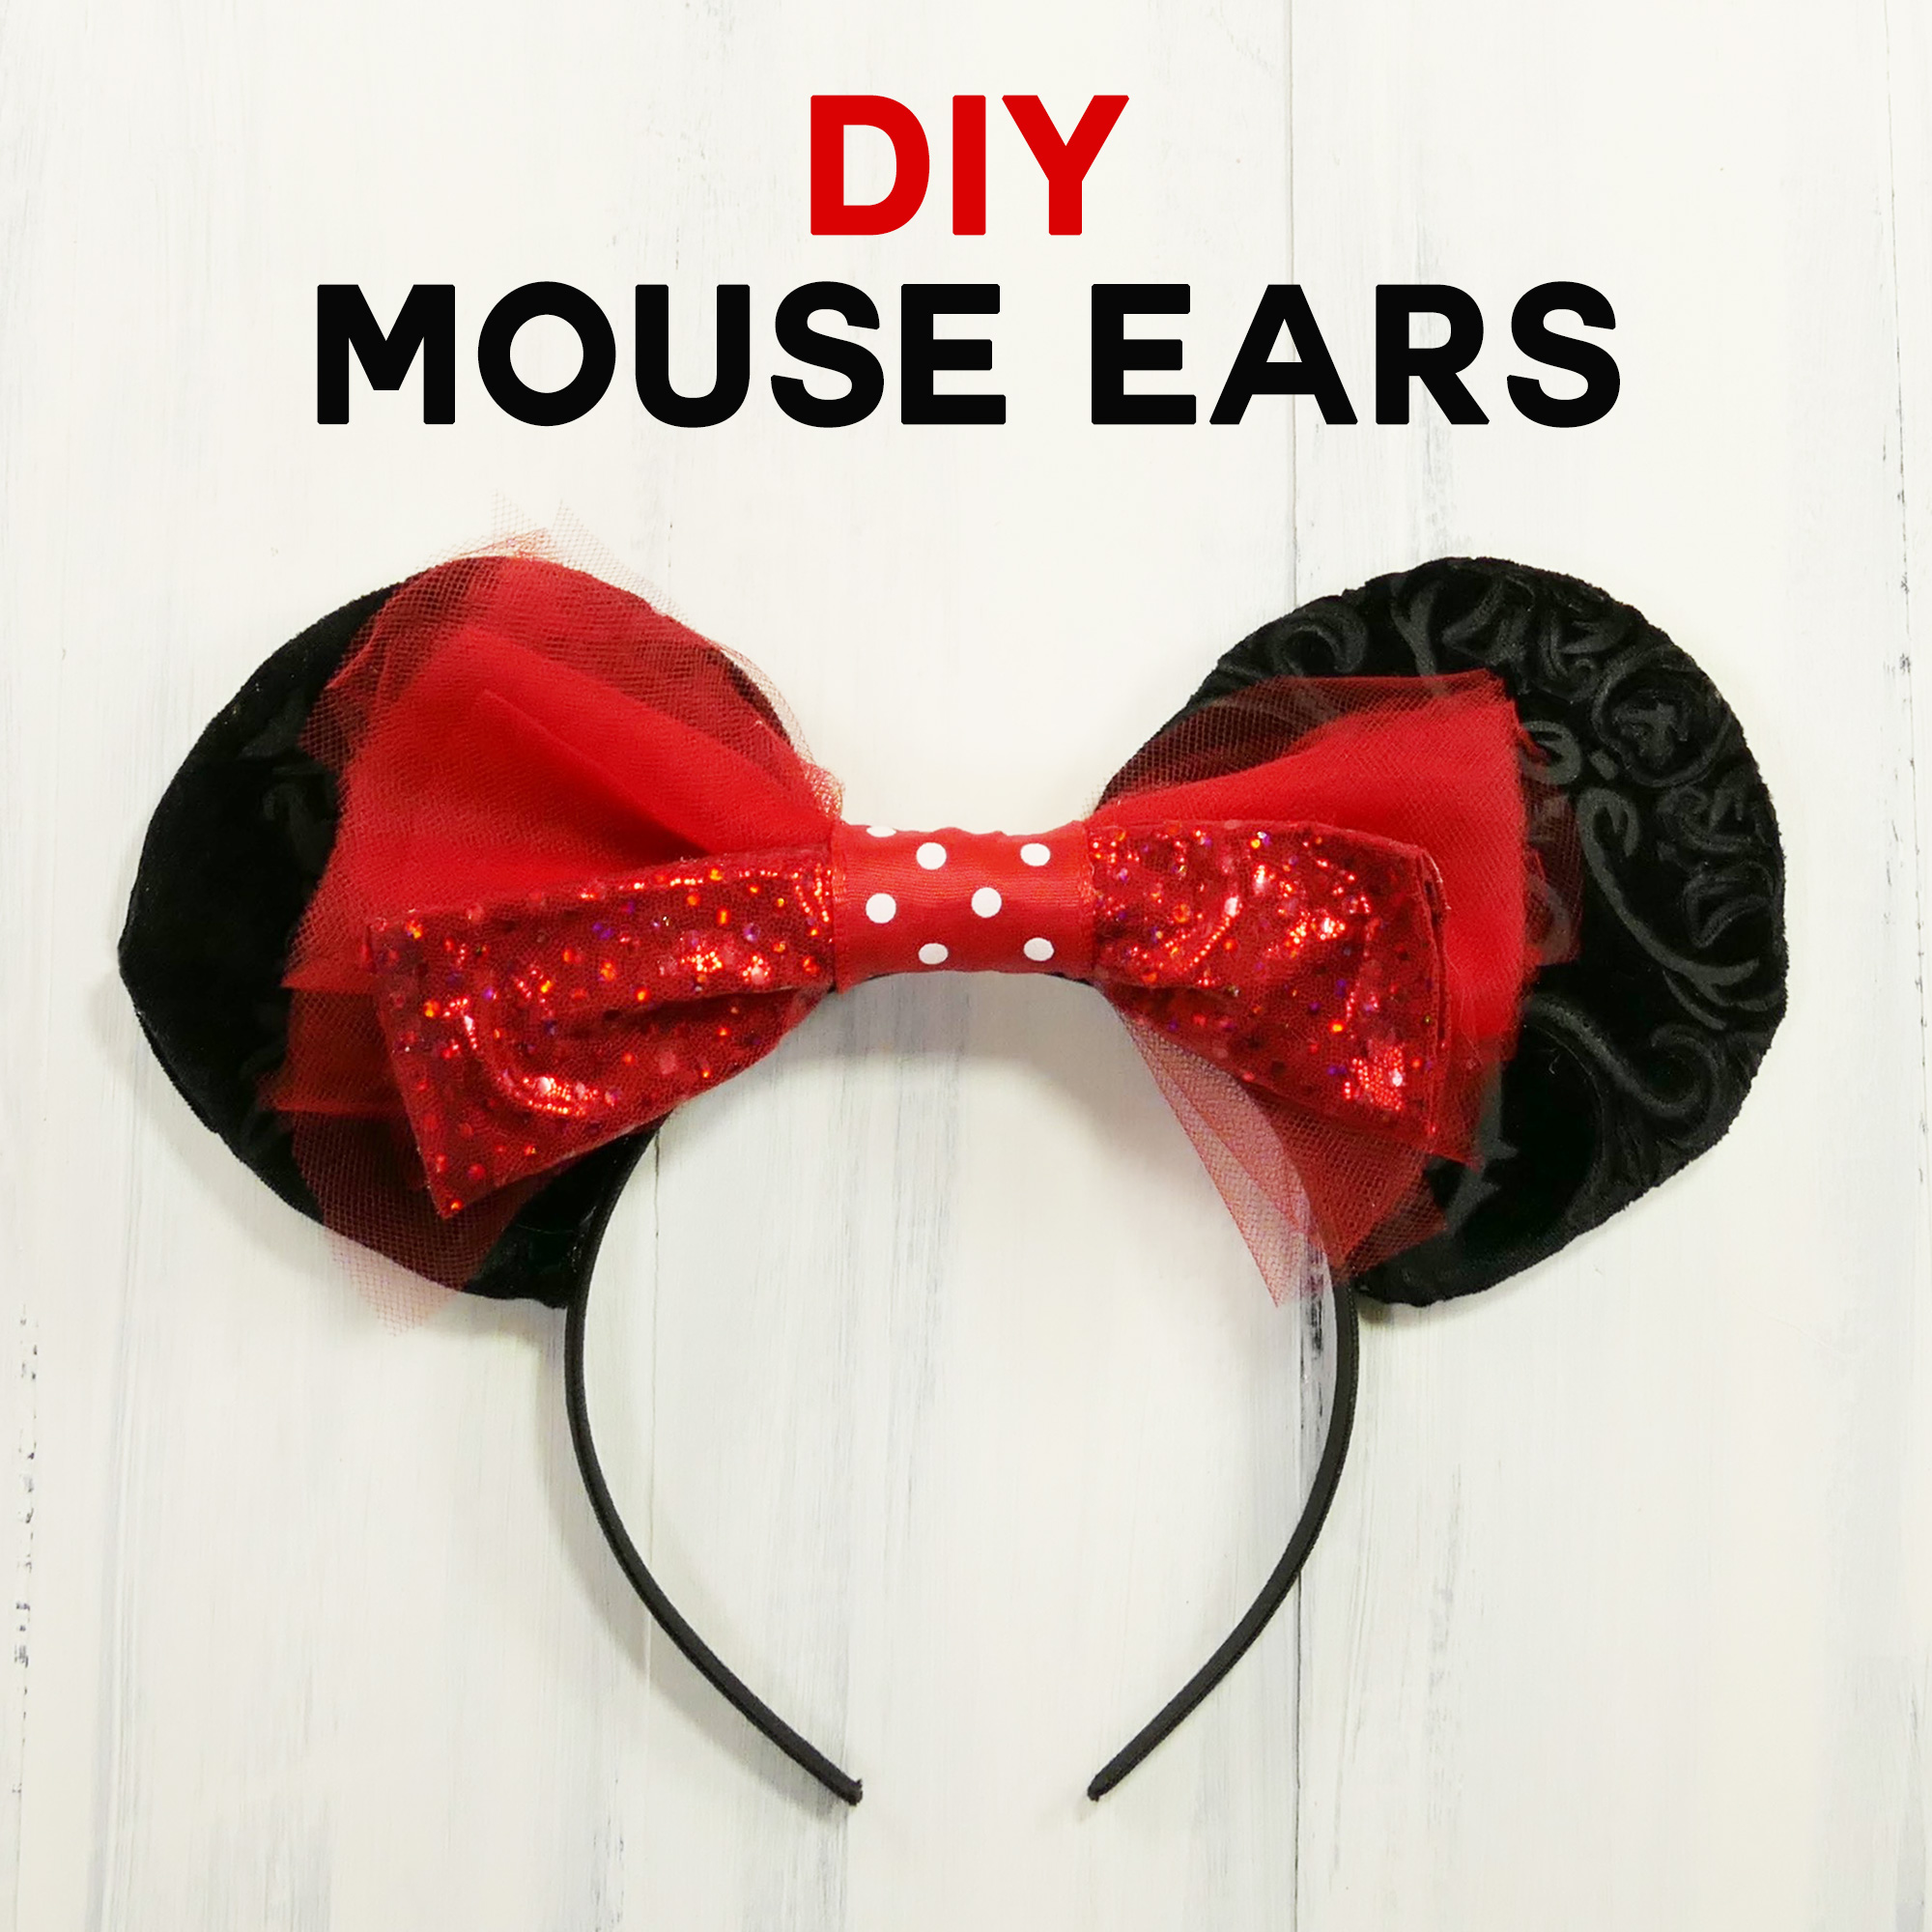
Want to make a set of Mickey Mouse Ears to match your outfit? Or how about just save some money for your next Disney vacation? In this tutorial, I show you how to create Mouse Ears that look great and cost a lot less (less than $10) than the ones sold on Disney property (about $30). And best of all, you can customize them to your personal taste and style. You can make some really amazing Mouse Ears that no one has ever seen before. Go crazy and have fun!
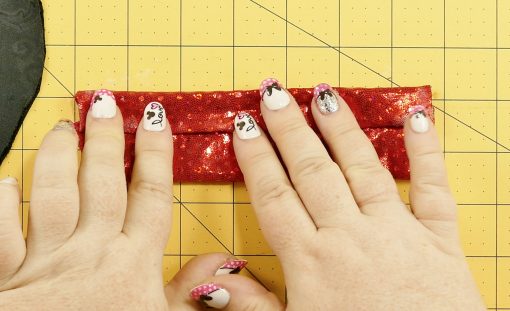
By the way, if you’re curious about my nails, they’re DIY Minnie Mouse Nail Vinyls that you can make, too!
This post contains some affiliate links for your convenience (which means if you make a purchase after clicking a link I will earn a small commission but it won’t cost you a penny more)! Read my full disclosure policy.
DIY Mouse Ears Materials

- Headband in an appropriate color (I got mine from the Dollar Store)
- Fabric, 1/4 yard (fabric with a little stretch works great here)
- Craft foam, 5mm (one sheet)
- Batting (1/2 yard)
- Ribbon, bows, or extra fabric (1/8 yard) for bows and accessories
- Liquid stitch (for the no-sew version)
- Needle and thread/sewing machine and pins (for the sewn version)
- Scissors and/or rotary cutter
- Hot glue gun
- Design #28 – Pattern (uploaded to my resource library, which you can access for free by filling out the form at the bottom of this post)
- Cutting mat (optional)
Let’s Make Some DIY Mouse Ears!
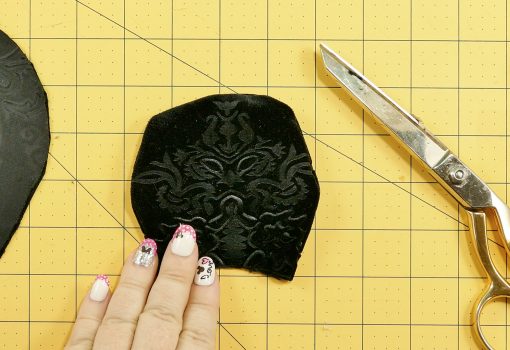
First, print out Design #28 which is the ear pattern (it’s in my resource library—get the password by filling out the form at the bottom of this post) and cut out the pieces.
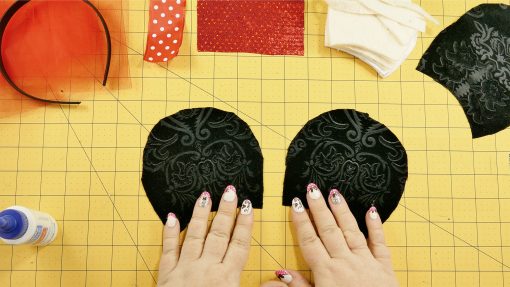
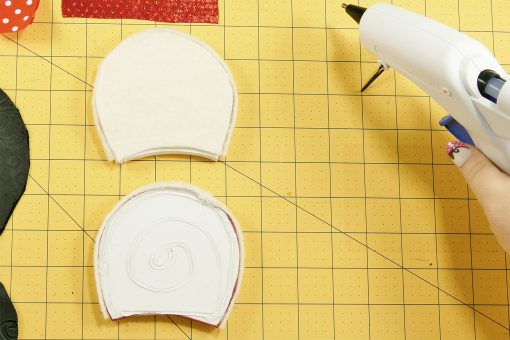
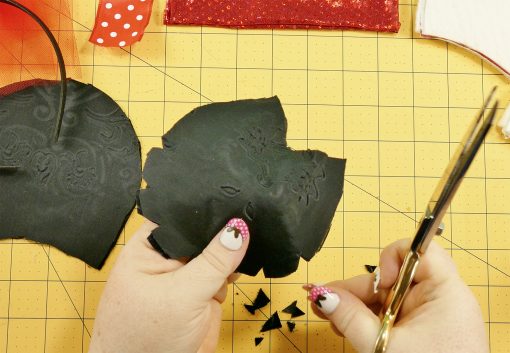
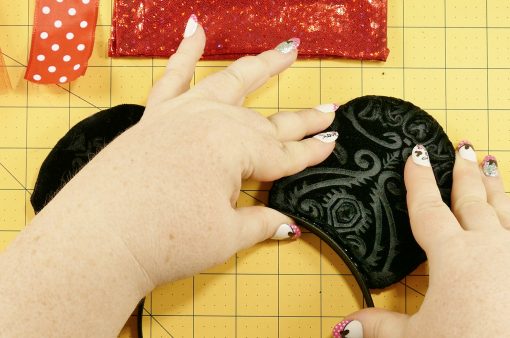
Next. cut out four pieces of fabric using the pattern marked “Fabric (cut 4).” If you have a pattern on your fabric, pay attention to where the pattern falls on the ear when you cut it out. I used a flocked velvet with a pattern, and as you can see by the photo below, I made sure the pattern looked the same on both ears.
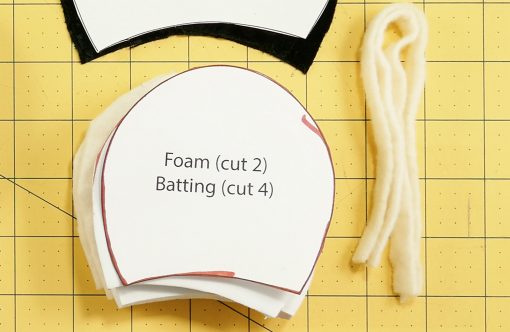
Then cut out the rest of your materials. You need to cut out two piece of foam using the “Foam (cut 2)” pattern, cut out four pieces of batting using the “Batting (cut 2)” pattern, and cut out two strips of batting using the “Batting Strips (cut 2)” pattern.
Now lets attach your ear pieces together. You can sew this, or use the no-sew method:
SEW VERSION: Place your fabric right sides together and pin in place. Sew along the outside perimeter (the big curve of the ear) leaving a 1/2″ seam allowance—do not stitch along the bottom curve.
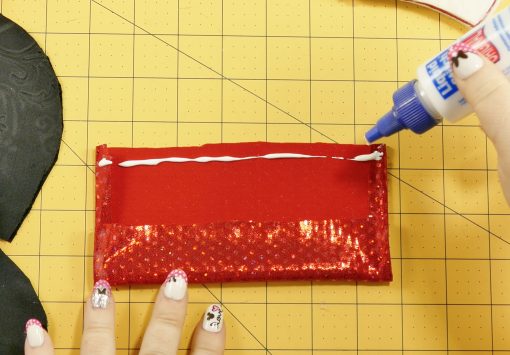
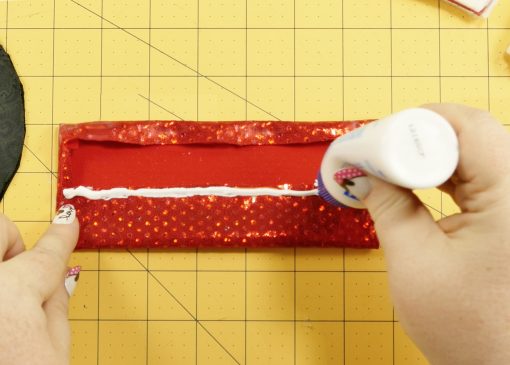
NO-SEW VERSION: Place a fabric piece RIGHT side up (so you can see the good side of the fabric). Place Liquid Stitch along the outside perimeter (the big curve of the ear) about 1/2″ from the edge—do not put Liquid Stitch along the bottom curve. The line should be continuous. Now put a fabric piece on top, RIGHT side down (so the right sides are facing each other). Press gently and allow to dry for at least 30 minutes. Repeat with the other ear.
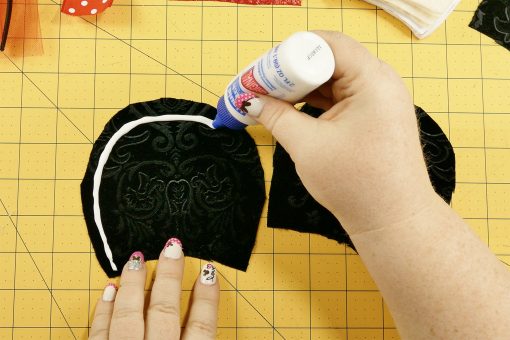
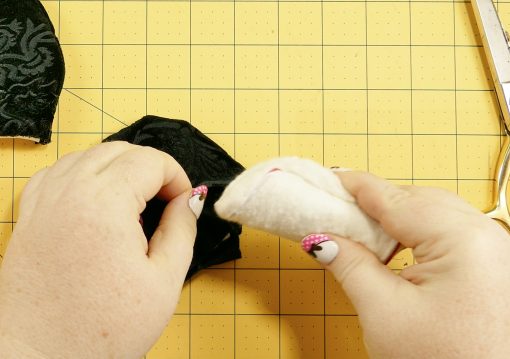
Apply hot glue to the large outer curve of a foam ear. Now attach one of the batting strips to the outer edge of the foam. Repeat for the other foam ear.
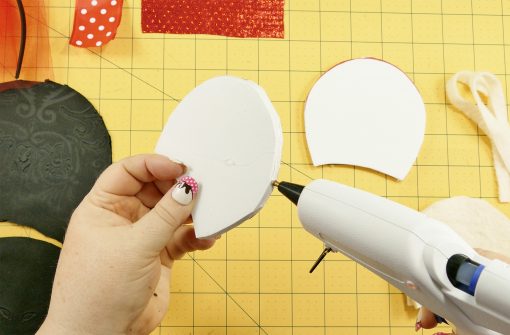
Now glue the larger batting pieces of each side of each foam ear.
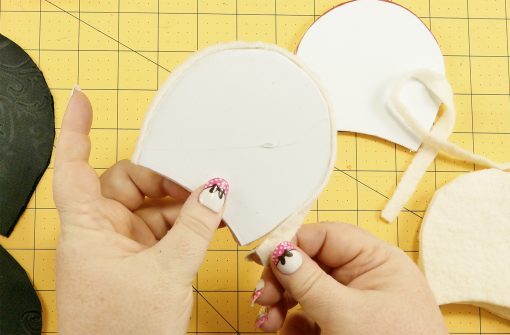
When your ear pieces are attached to each other (and dry, if it’s a no-sew version), cut notches all along the curve using your scissors — just be careful not to cut into the sewn line. Repeat for the other ear. These notches make the ear seam appear smoother when finished.
Turn each ear piece inside out.
Curl your foam pieces up like a rolled tortilla and put into your ear pieces, adjusting as necessary until it looks good.

Fold the material beneath the ear and hot glue into place.
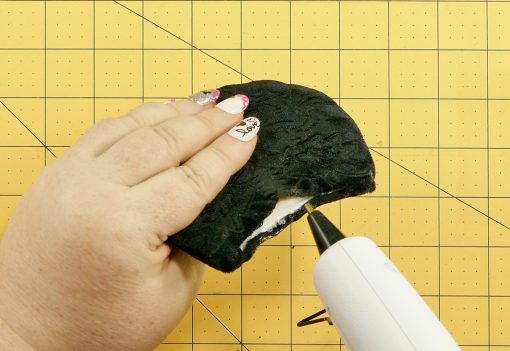
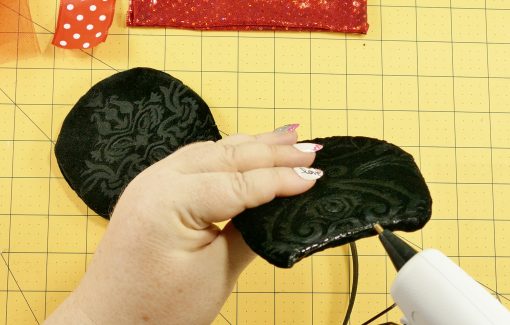
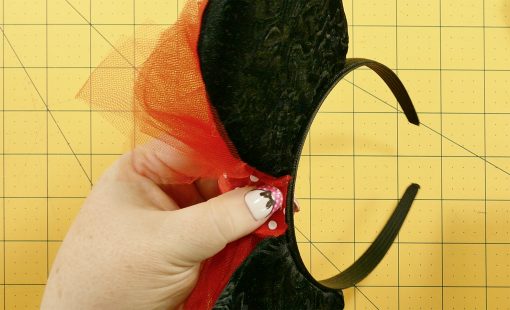
Place hot glue along the bottom edge of an ear and attach it to the headband. Repeat for the other ear, leaving about 1″ between the ears for the best look. Hold the glued ear against the headband until the glue sets for the most even placement.
Add Accessories to Your DIY Mouse Ears
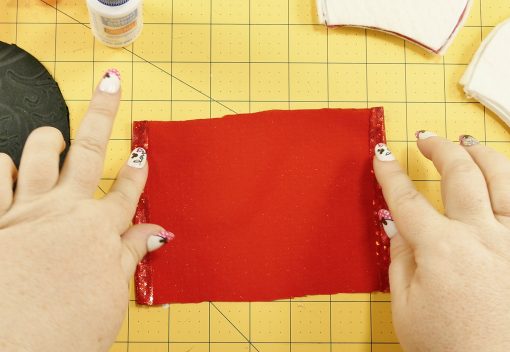
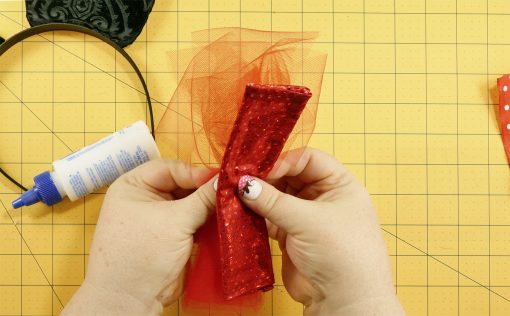
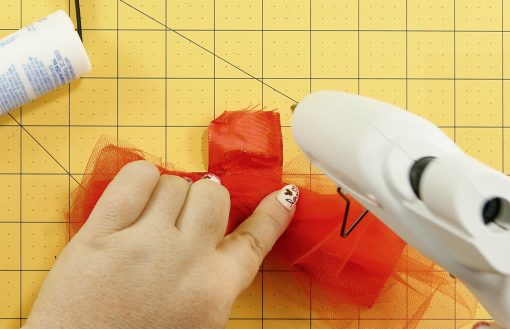
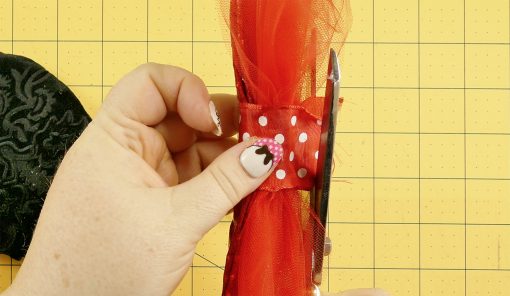
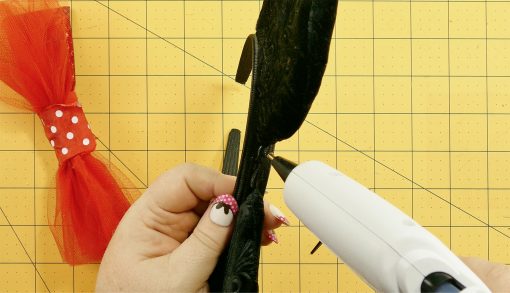
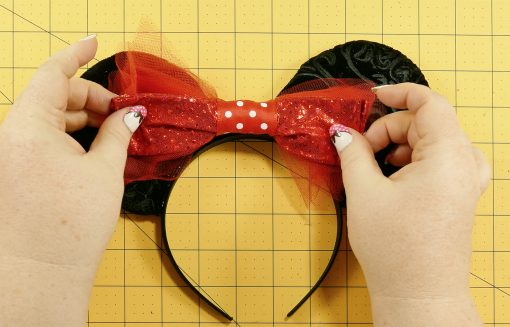
Using your ribbon, bows, or extra fabric, make accessories. In the black-and-red Minnie Mouse ears in this tutorial, I used some lengths of tulle and some extra fabric to make a bow (using the “Bow Pattern”), wrapped a small piece of cut polka dot ribbon around the bow and tulle, and glued the ribbon to itself. Then I glued the ribbon to the center of the headband. Here are a series of photos showing me making the no-sew bow (with Liquid Stitch), adding the tulle, wrapping it, and attaching it.

You can get really creative with your mouse ears! I recommend you take a trip to your local fabric store and browse the fabrics for ideas. Feel free to attach ribbons and accessories to the individual ears before you attach them, too! Imagine a pirate-themed set of mouse ears made with leatherette, red-and-white striped fabric, and a hoop earring! Or how about Star Wars-themed mouse ears with a light side and a dark side. You can have a lot of fun with this.
Get my free pattern to make your own mouse ears!

Subscribe (free!) to get access to my resource library with all my free cut files, printables, and patterns! Subscribing gets you my weekly newsletter with details about my new free patterns, too!
I’d love to see your creations! Please send me your photos and I’ll include them in the blog with your permission. And please let me know if you have any questions.
Love,

Like this tutorial? Please share it with your friends and pin this post to your favorite craft board!


These are great – and I know they would save a bunch of money over buying them at the park!
Thank you, Roseann! They definitely save money — the mouse ears in the parks are cute, but super pricey!
So fun for a trip to Disneyland! Thanks for sharing with SYC.
hugs,
Jann
Super Cute! We love Mickey and Minnie,. I made Mickey and Minnie Ears with a Roadster Racers theme for my sons birthday.. Love the idea to use fabric!
http://www.cookiescoffeeandcrafts.com/mickey-and-the-roadster-racers-birthday-party-favors/
These are so cute. My daughter would love them. #FrugalMommas
Much appreciated!
How adorable and budget friendly, too. Thanks for sharing at Brag About It. Pinning.
Thank you, Beverly! And thank you for hosting your party!
This is so cute! My daughter is going to Disney for the first time in a few weeks, this would be fun to make for her. Thanks for linking up to #HomeMattersParty
Love these Minnie ears! Thank you for sharing at Ravenwould
These are adorable. & beats buying expensive mouse ears in Disneyland. Thanks for sharing the at the #InspiraitonSpotlight party pinned & shared.
Congratulations! You are featured at the Friday Favorites linky party this week! I love your easy tutorial. Head over to the party to view your feature as well as the other projects: https://be-alice.blogspot.com/2017/07/friday-favorites-week-381.html
Hope to see you at the next party! Happy Friday 🙂
*Maisy