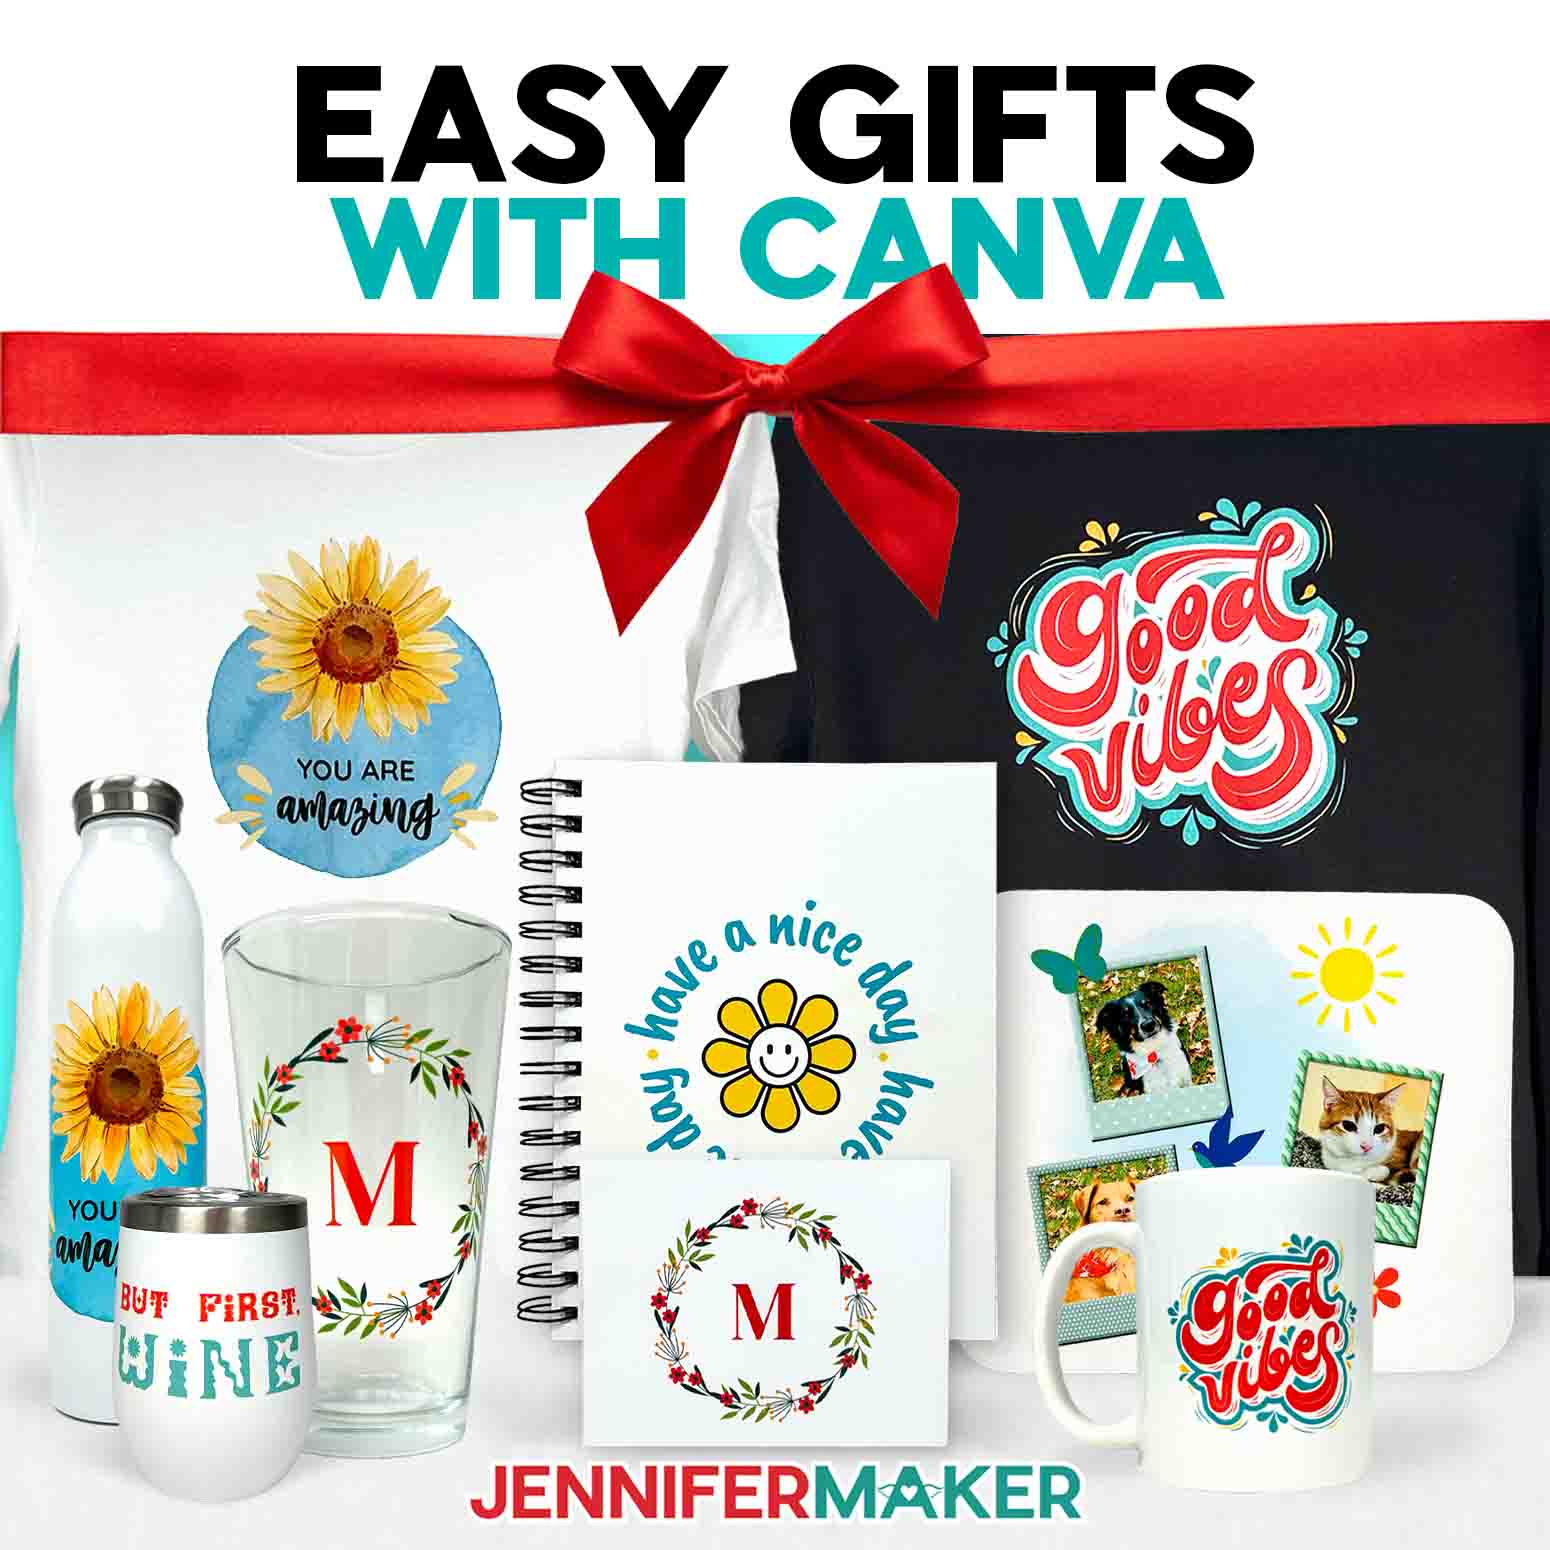
Learn how to create amazing Canva gifts EASY with my free designs!
Have you ever wished you could give a handmade-looking gift without spending hours cutting, gluing, or pressing vinyl? I have too! As much as I love making things from scratch, sometimes the holidays sneak up on us, and suddenly there’s not enough time to make something special for everyone on our list. That’s why I’m so excited to share this project! Creating Canva gifts that look handmade, feel heartfelt, and arrive ready to wrap is the perfect blend of creativity and convenience. And the best part? You can design everything from mugs and tote bags to notebooks and T-shirts, all from your computer–no Cricut mats, blades, or vinyl needed!
See the full step-by-step video tutorial on how to design and order Canva gifts:

I’ll admit, I was skeptical the first time I ordered a few printed gifts through Canva’s print service. I’ve always been a hands-on crafter. You know, the kind who loves peeling back the liner of vinyl or pressing down a fresh design. But after unboxing my first order, I was amazed. Every piece looked professionally made, the colors were rich and consistent, and the designs printed exactly the way I saw them on screen. It was one of those rare times when technology felt truly creative, and it reminded me that sometimes crafting smarter is just as rewarding as crafting harder.
In the video, I walk you through how to take your own images (or my free designs) and turn them into beautiful, high-quality presents in minutes. Whether you want to add a monogram to a mug, a meaningful quote to a notebook, or a favorite photo to a mouse pad, I’ll show you how to do it step by step. You’ll see how easy it is to personalize designs and choose from Canva’s catalog of printable products, all with a free account. It’s a great way to create custom gifts that look like they came from a boutique but still carry your personal touch.
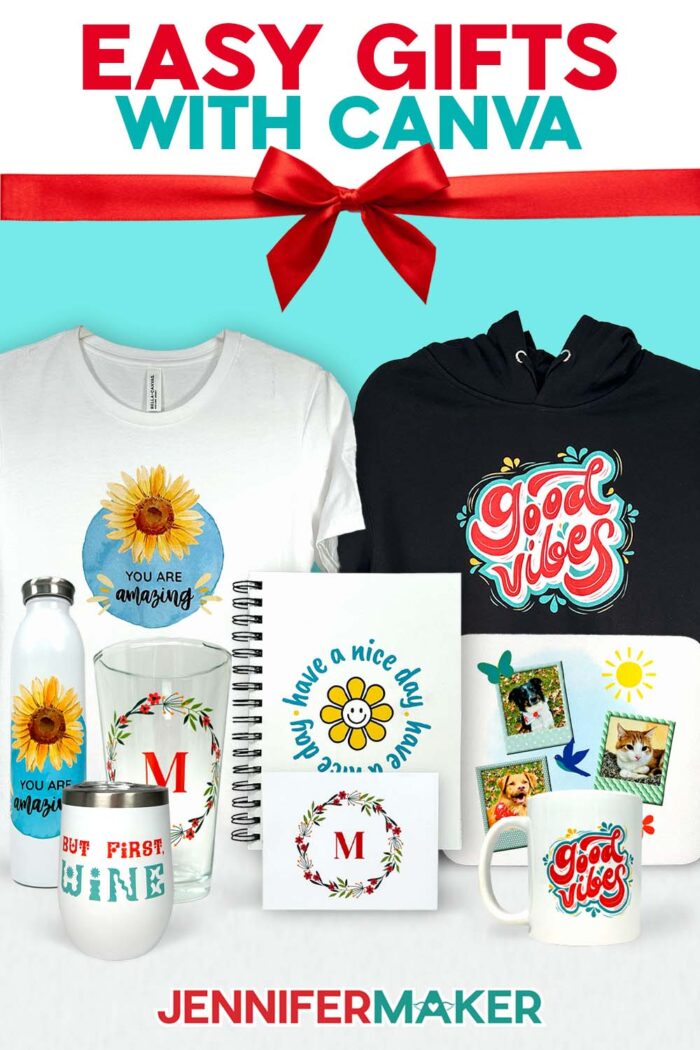
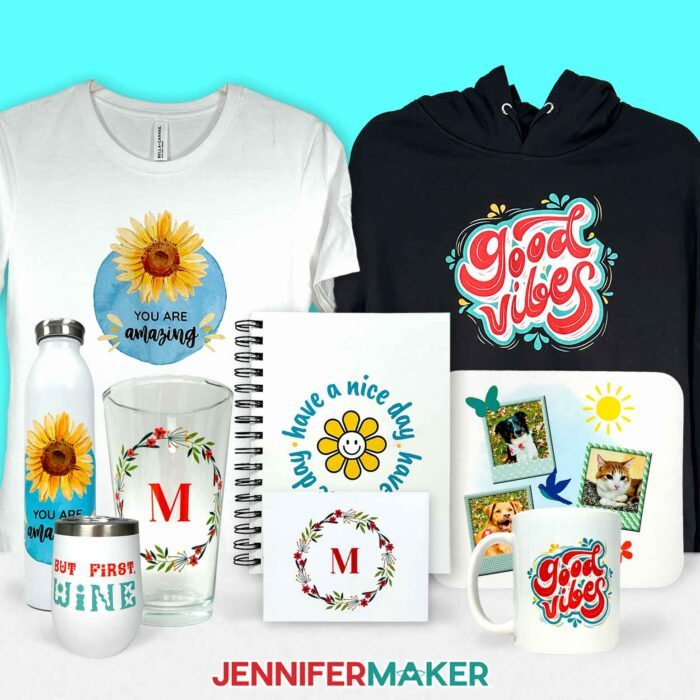
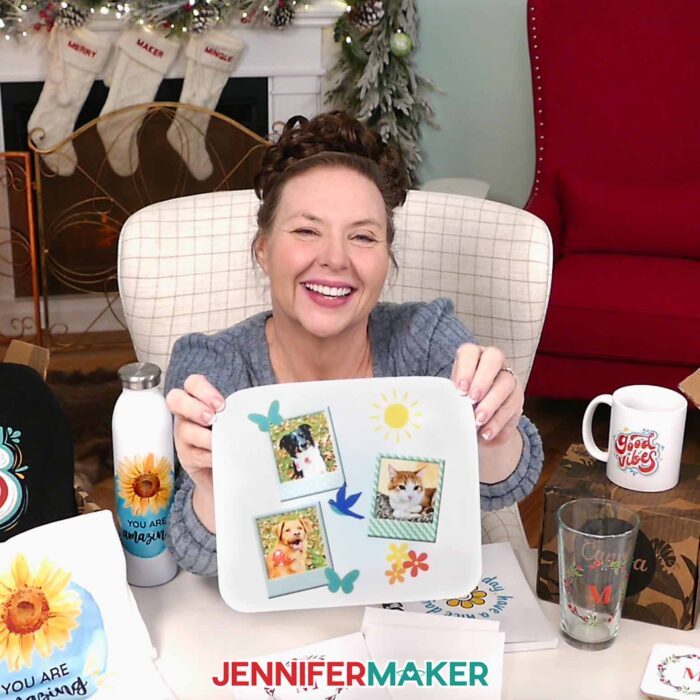
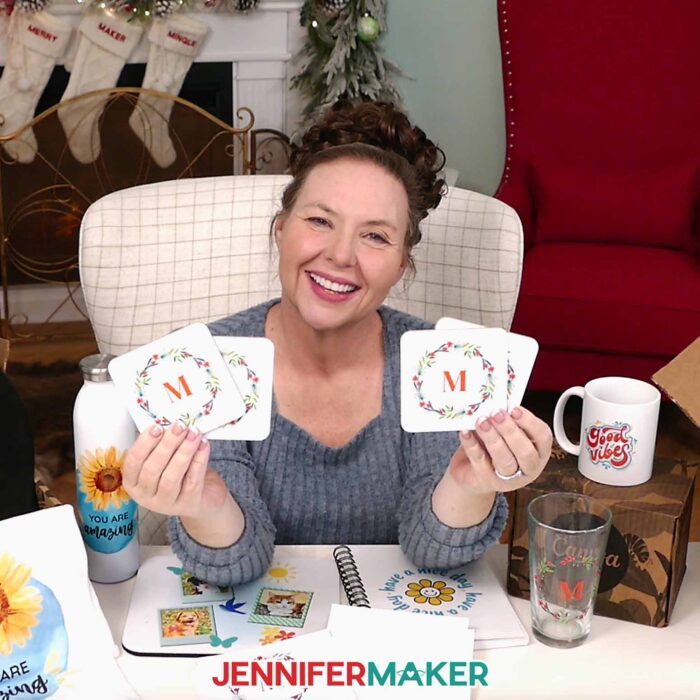
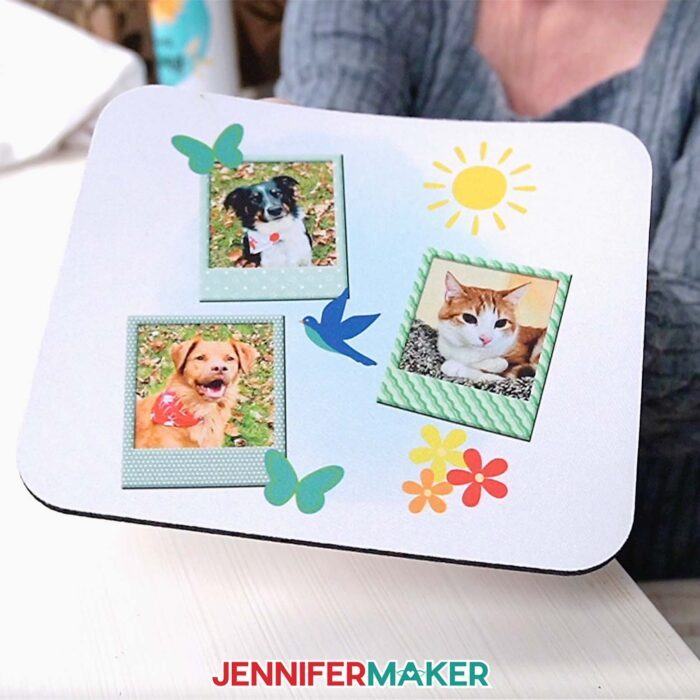
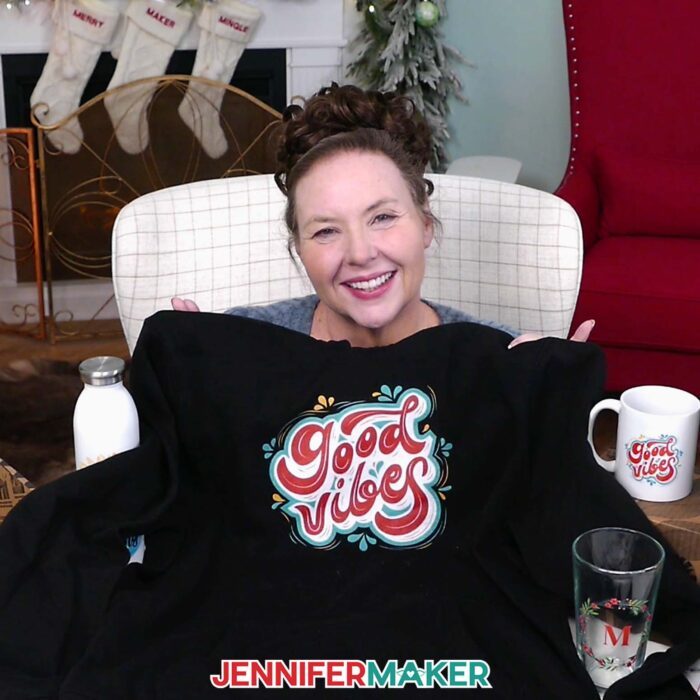
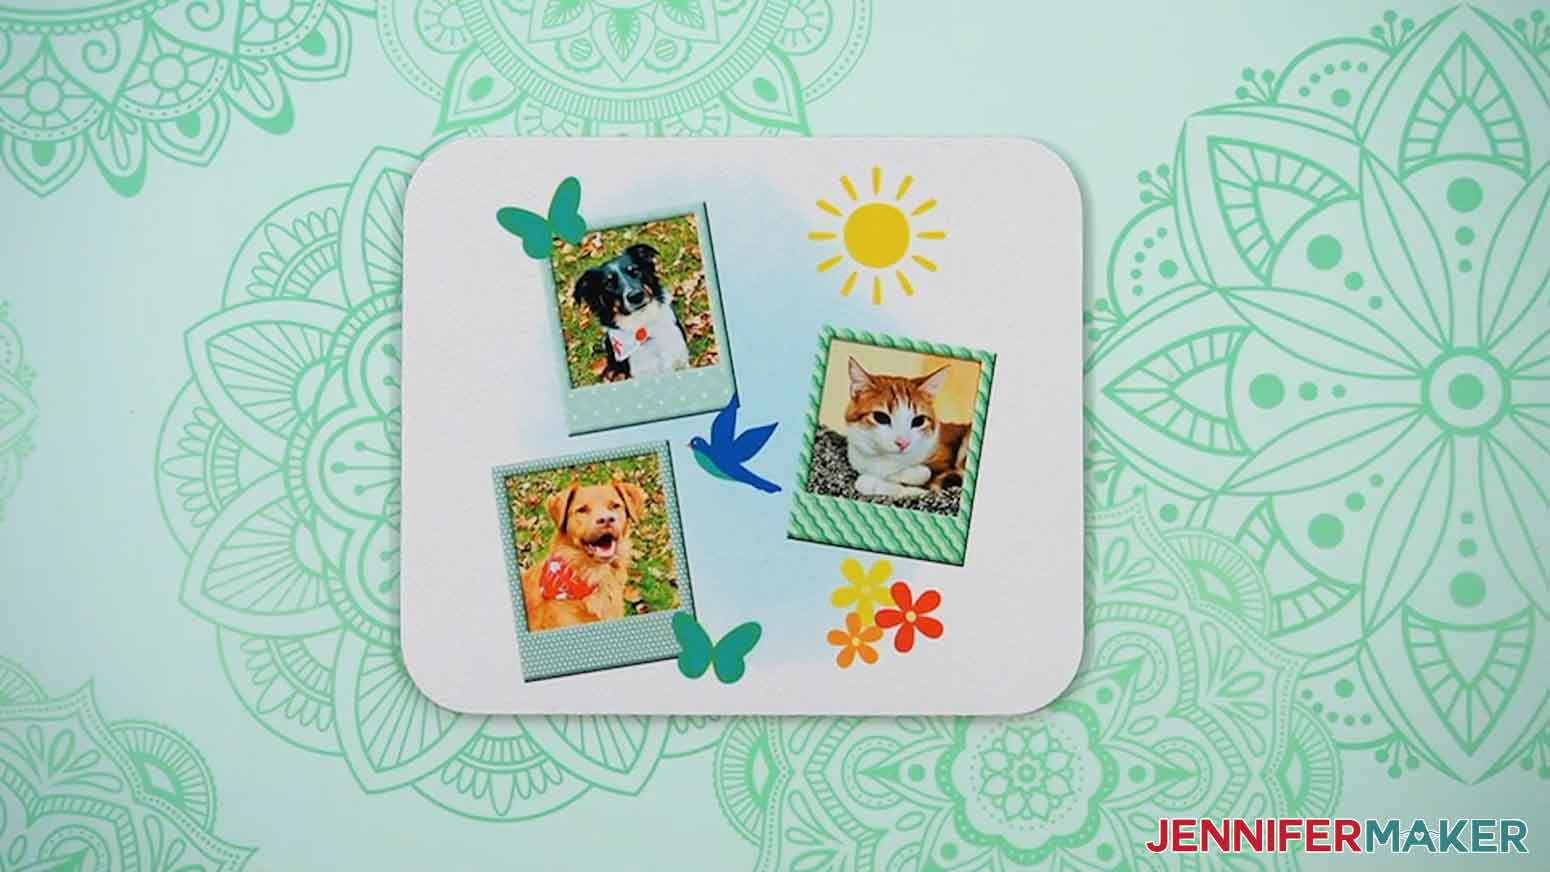
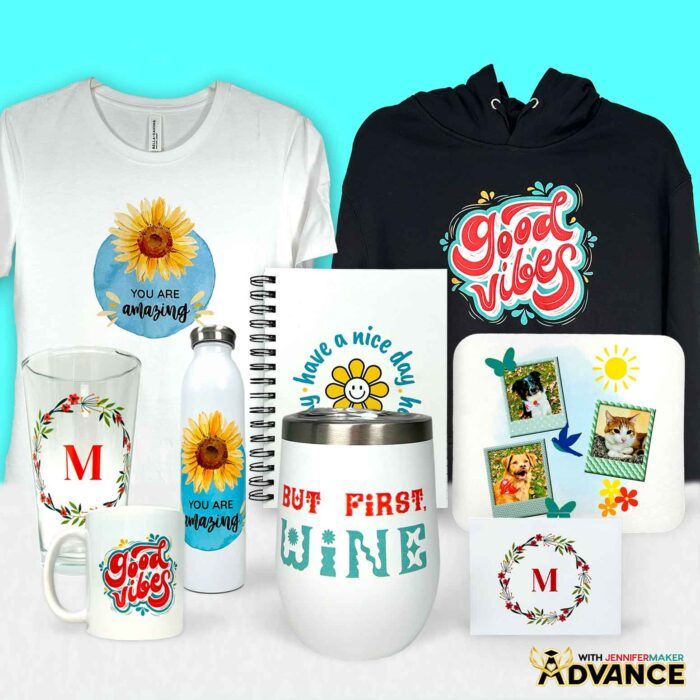
When I tested out this process, I designed five different graphics like cheerful phrases, a delicate floral wreath, and even a playful photo collage featuring my pets, Butterscotch, Hunter, and Chloe. Each image looks incredible printed on a variety of items! The note cards are crisp and elegant, with thick matte paper that feels like fine stationery. The notebook’s cover is vibrant and sturdy, ready for journaling or sketching. And my photo mouse pad makes me smile every time I sit down to work. Don’t even get me started on the mug! It’s glossy, colorful, and completely dishwasher safe. Every product exceeded my expectations, proving that you don’t need fancy equipment or hours of crafting time to create something special.
That’s what I love about this process: it bridges the gap between handmade and modern. You still get to make something meaningful, but Canva takes care of the printing, packaging, and shipping. No late-night crafting sessions, and no glue-covered fingers. Instead, just thoughtful, creative gifts delivered right to your door. And with so many options in Canva’s catalog, it’s easy to find something for everyone. From water bottles and coasters to tote bags and T-shirts, you can mix and match designs or create entire matching sets. It’s such a great way to check off your holiday shopping list without losing that personal, creative spark.
In the video, I show you how to personalize one of my wreath designs with your own name or monogram. Then I teach you how to make a custom photo layout for a heartwarming keepsake. You’ll see how to pick the perfect product for your design, preview it before ordering, and choose your preferred finishes (like matte note cards or glossy mugs). I’ll even share some of my own favorite product images and settings so you can compare results and decide what works best for your projects. Seeing how beautifully everything printed gives me so many new ideas for gifts!
If you’re someone who loves making custom gifts but struggles to find the time, this project is a life saver! It’s especially handy during the holiday season, when we’re balancing baking, decorating, and trying to get everything wrapped and shipped on time. Canva’s print service takes the pressure off while still letting you design something meaningful and creative.
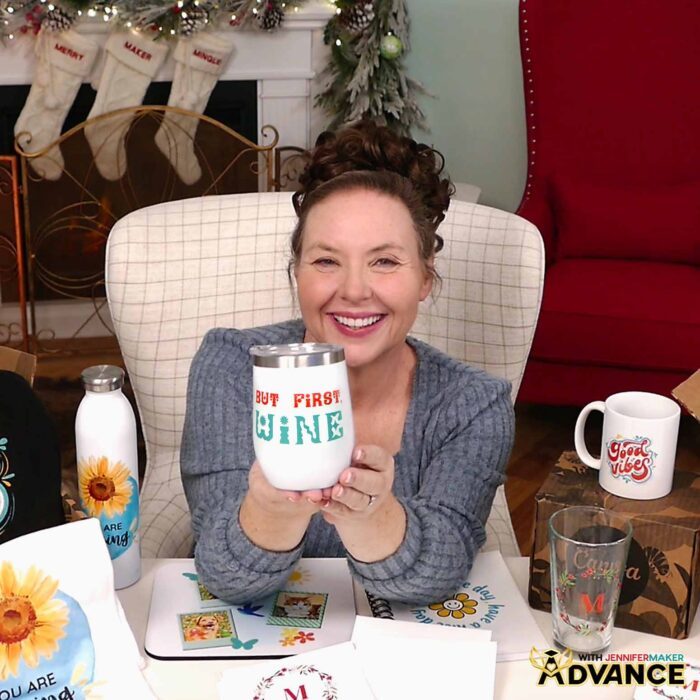
I also created an ADVANCE with JenniferMaker tutorial that takes this project a step further. In it, we explore how to use Canva’s templates and resource guides to quickly and easily customize premade designs to fit your creative ideas. It’s an easy way to grow your creative confidence and make your designs look like upscale gifts! Learn more about ADVANCE with JenniferMaker here!
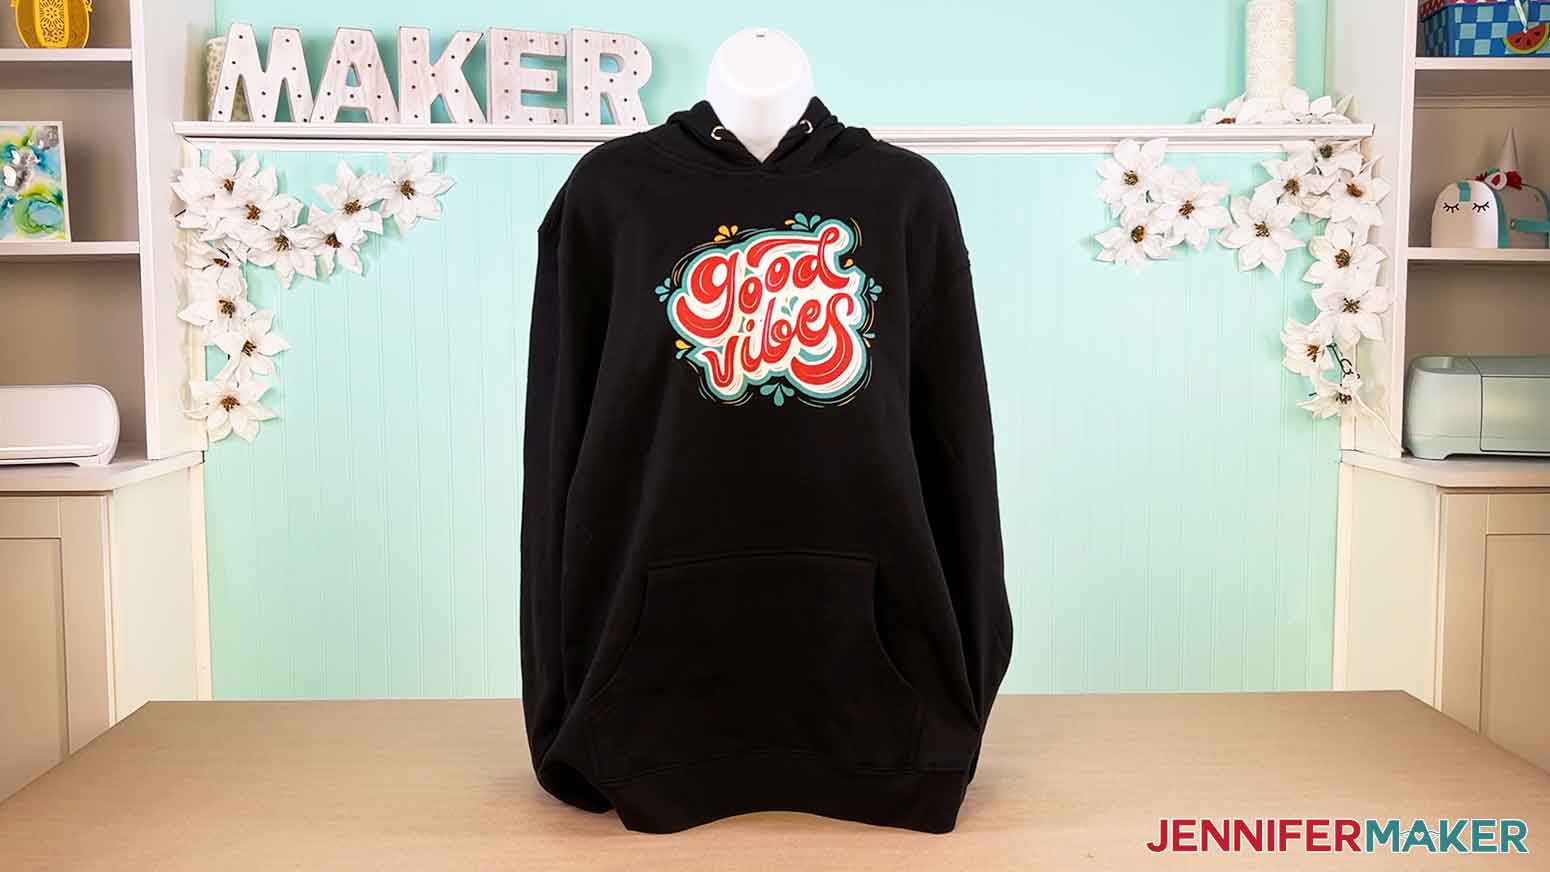
In the main video tutorial, you’ll get an inside look at how each gift turned out, complete with close-up product images so you can see the color accuracy, texture, and quality for yourself. I ordered ten different items for this project, and every one of them looked and felt like something you’d find in a high-end store. The colors matched perfectly, the text was sharp, and the materials felt durable and gift-ready. It’s hard to pick a favorite, but the hoodie might have stolen my heart. It’s so soft, plush, and printed perfectly, even on dark fabric.
The entire experience reminded me that creativity doesn’t always have to mean complicated. Sometimes, the best gifts come from a clever idea and the right tools to bring it to life. Canva makes that possible for anyone, whether you’re a longtime crafter, a small business owner, or just someone who loves giving thoughtful gifts.
So if you’re ready to see how easy it is to design and order your own Canva gifts, be sure to watch my full tutorial on the blog. You’ll find everything you need, from my free downloadable designs to links for the exact products I used, along with a few surprises to make your projects shine. Whether you’re making something for the holidays, a birthday, or just because, it’s a fun, fast, and fulfilling way to create something that looks handmade and from the heart.
This holiday season, skip the stress and let your creativity take the lead. Your custom gifts will look amazing, your recipients will feel special, and you’ll get to enjoy the best part of crafting: sharing joy. Happy crafting!
Let me show you how to use Canva to create personalized gifts! This post contains some affiliate links for your convenience (which means if you make a purchase after clicking a link I will earn a small commission but it won’t cost you a penny more, there is no additional cost)! Read my full disclosure policy.
Materials to Pair & Use with Canva Gifts
View my Amazon shopping list with the exact items I used and some helpful accessories.
- A Free Canva Account
- #7 Extra Large 14.5″ x 19″ Poly Bubble Mailers (optional, for shipping)
- #2 Medium 8.5″ x 12″ Poly Bubble Mailers (optional, for shipping)
- 6″ x 6″ x 6″ Corrugated Cardboard Boxes (optional, for shipping mugs and wine tumblers)
- 8″ x 4″ x 4″ Corrugated Cardboard Boxes (optional, for shipping pint glasses)
- Shirt Boxes (optional, for T-shirts and tote bags)
- Extra-Large Shirt Boxes (optional, for hoodies)
- Assorted Gift Boxes with Lids (optional)
- 5″ x 7″ Envelopes (optional, if you order notecards without envelopes)
- Fineliner Pens (optional, to gift with notebooks)
- Water Bottle Cleaning Tablets (optional, to gift with water bottles)
- Tea Sampler Box (optional, to gift with mugs)
- Cup Lid Cleaning Brush (optional, to gift with wine tumblers

How to Make and Order Canva Gifts!

Canva Gifts
Learn how to make personalized Canva Gifts using my free Starter Pack!
Materials
- Mousepad
- T-Shirt
- Hoodie
- Mug
- Tote
- Notebook
- Tumbler
- 3.86" Square Sublimation Coasters -OR-
- 3.93" Square Sublimation Coasters
- Notecards
- Pint Glass Beer Mugs
- Wine Tumbler
- Design #778 (My free PDF design files are available in my free resource library - get the password by filling out the form at the bottom of this page)
Tools
Instructions
STEP 1: GET MY FREE CANVA GIFTS DESIGNS
First, download my Canva Gifts files from my free library – look for Design #778. Alternatively, you can use the Save This Project form near the top of this post and the design link will be emailed to you.
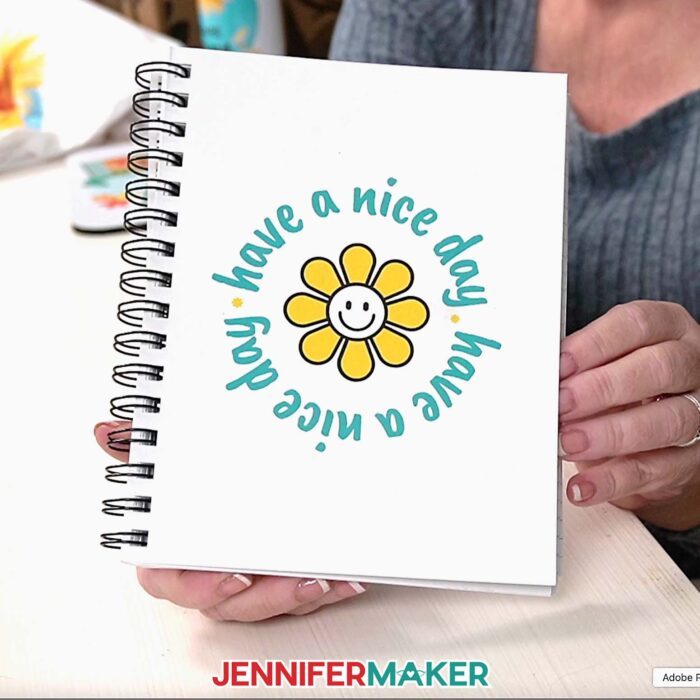
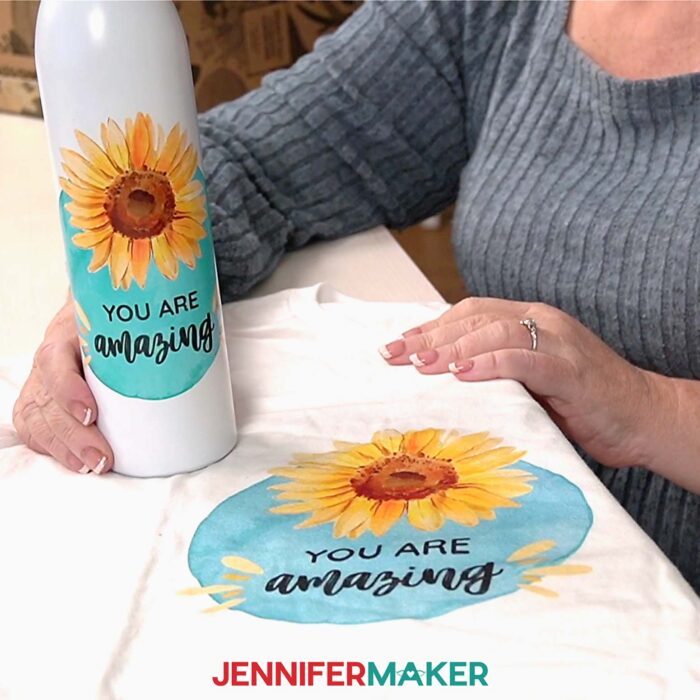
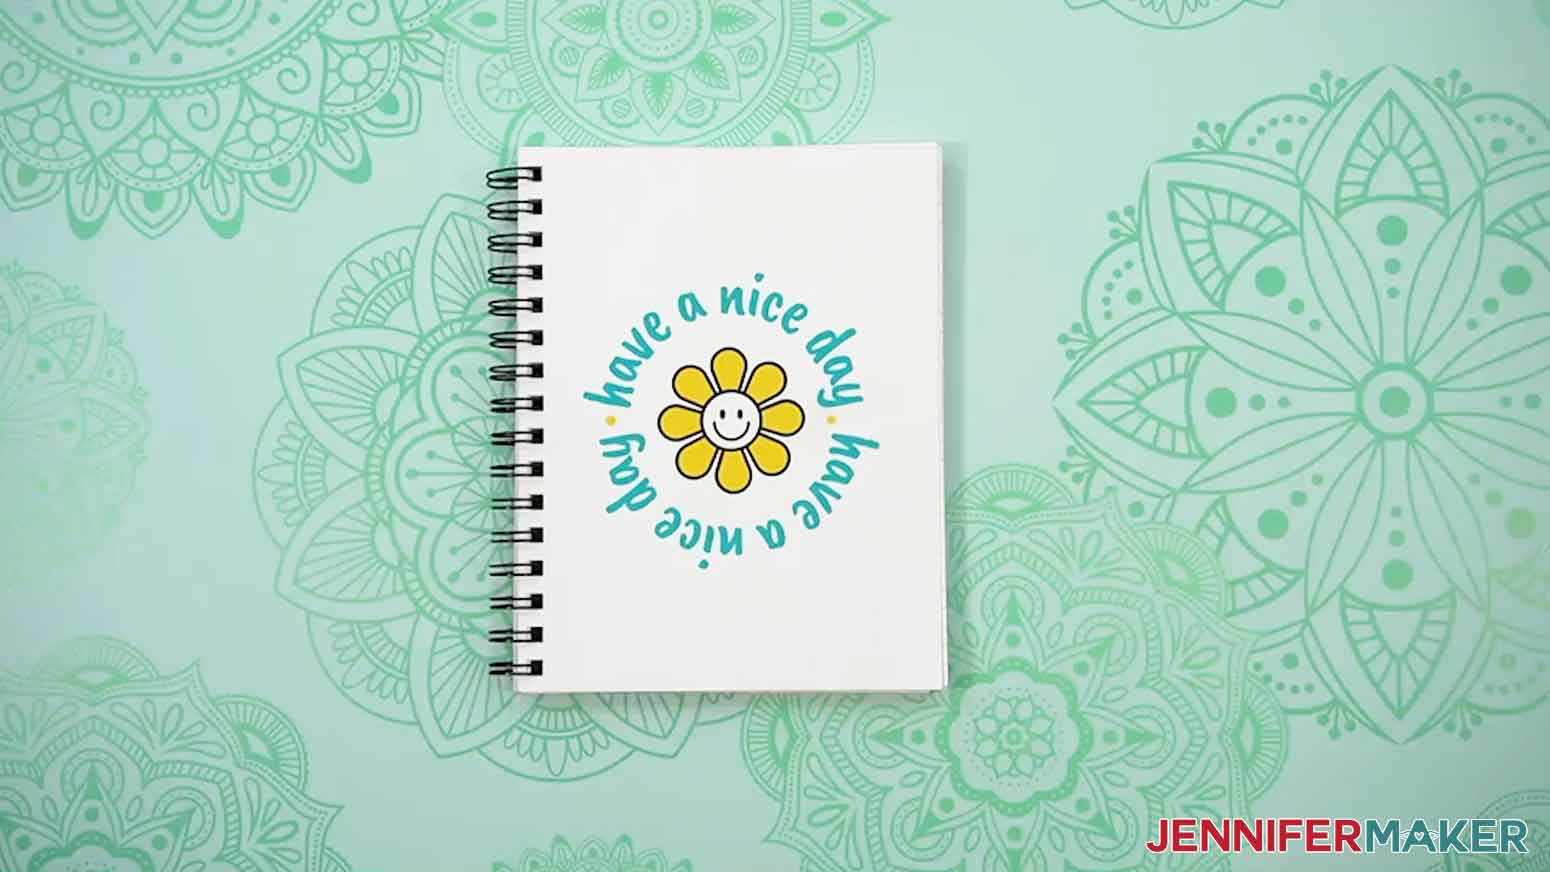
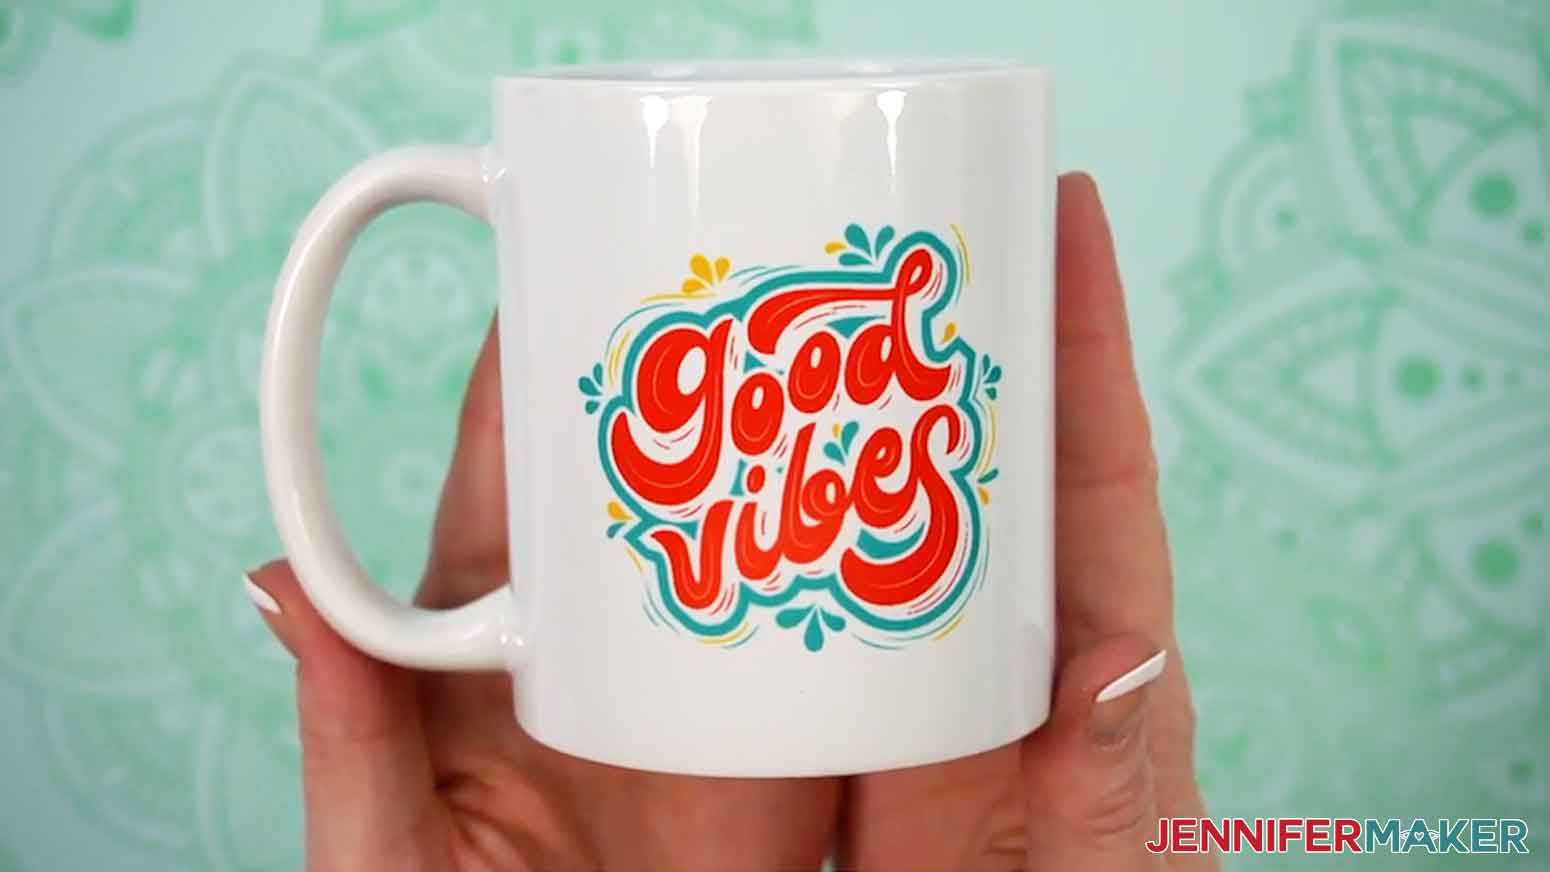
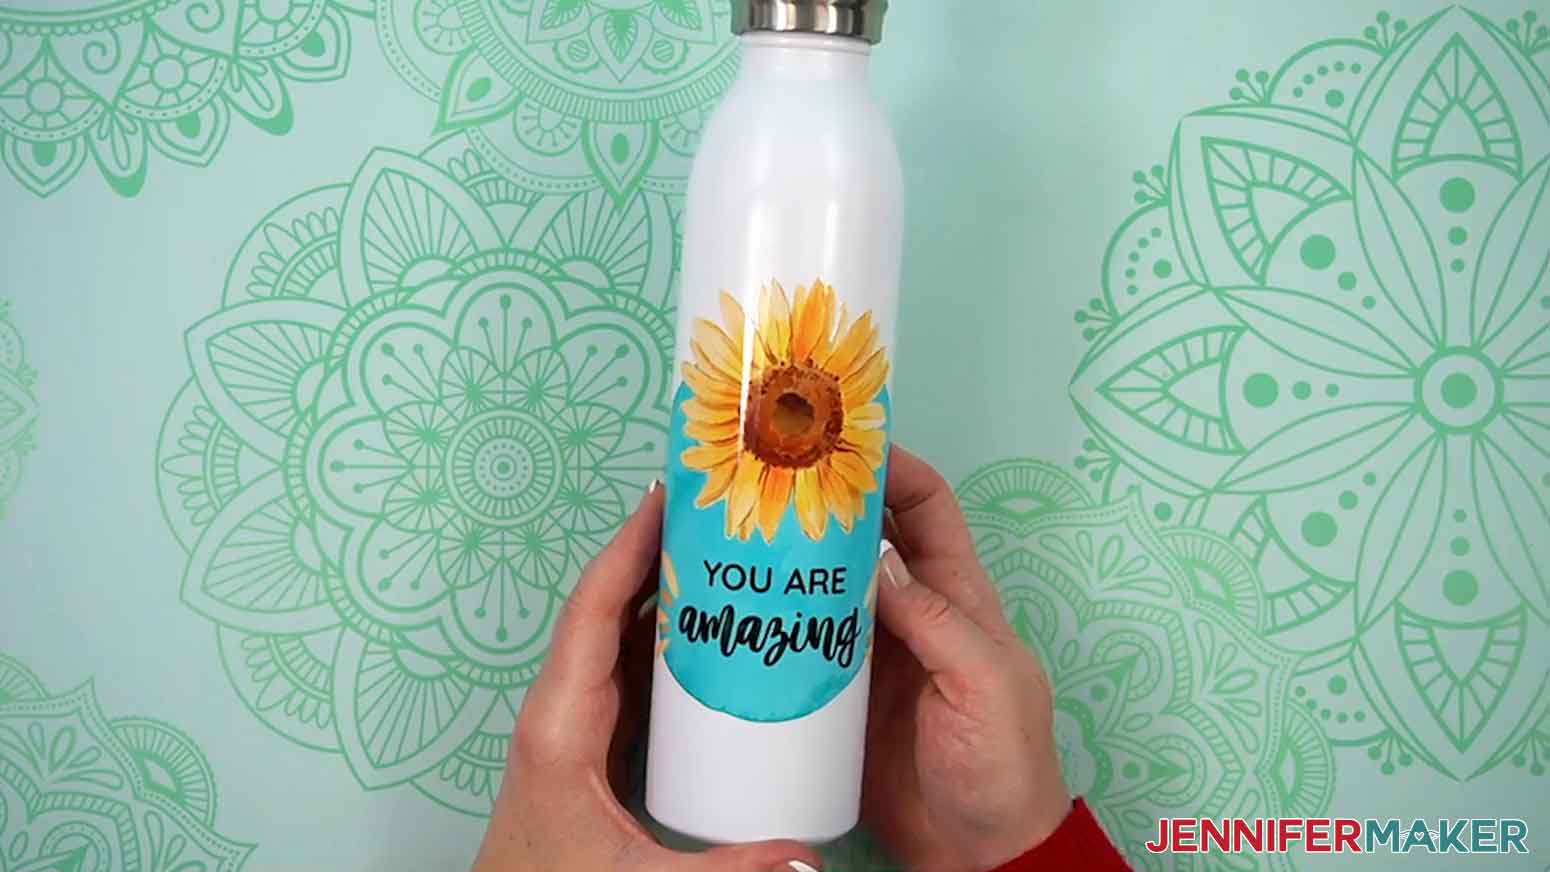
In the PDF folder, you’ll find a file with links to my five flexible Canva designs you can use for this project: “Good Vibes,” “Have a Nice Day,” a wreath, “You Are Amazing,” and photo frames.
My “Good Vibes,” “Have a Nice Day,” and “You Are Amazing” designs are ready to use as is. I’ll show you how to quickly adjust my Wreath design for personalized gifts, and then show you how to add your own photos to my Photo Frames design!
There is also a PDF reference guide with links to 11 giftable items found in Canva’s “Print with Canva” product catalog. These links have my designs ready to go, so you can order your gifts in a matter of minutes!
TIP: If you’re not sure how to unzip the download file, go to jennifermaker.com/svgs to learn how. The process is similar for PNG files.
STEP 2: PREPARE YOUR GIFT’S DESIGN IN CANVA
1. To get started, open your computer’s browser and go to jennifermaker.com/canva.
NOTE: If you’re new to Canva, check out my Canva for Beginners tutorial.
2. Either sign in to your account or follow the prompts on the screen to sign up for a free account.
NOTE: Canva does offer paid subscriptions with more tools and elements, but I’ll show you how to do everything with the free account.
3. Open the Design Ideas PDF and click the template for the design you want to use.
NOTE: First, I’ll show you how to quickly adjust my Wreath design for personalized gifts!
4. Click “View Template,” then “Open in Editor” to open the design in a new canvas.
5. Click “File,” go down to “Settings,” and make sure “Show rulers and guides” has a check mark next to it.
6. With the new project canvas ready, click the filename field at the top and replace the current name with your own.
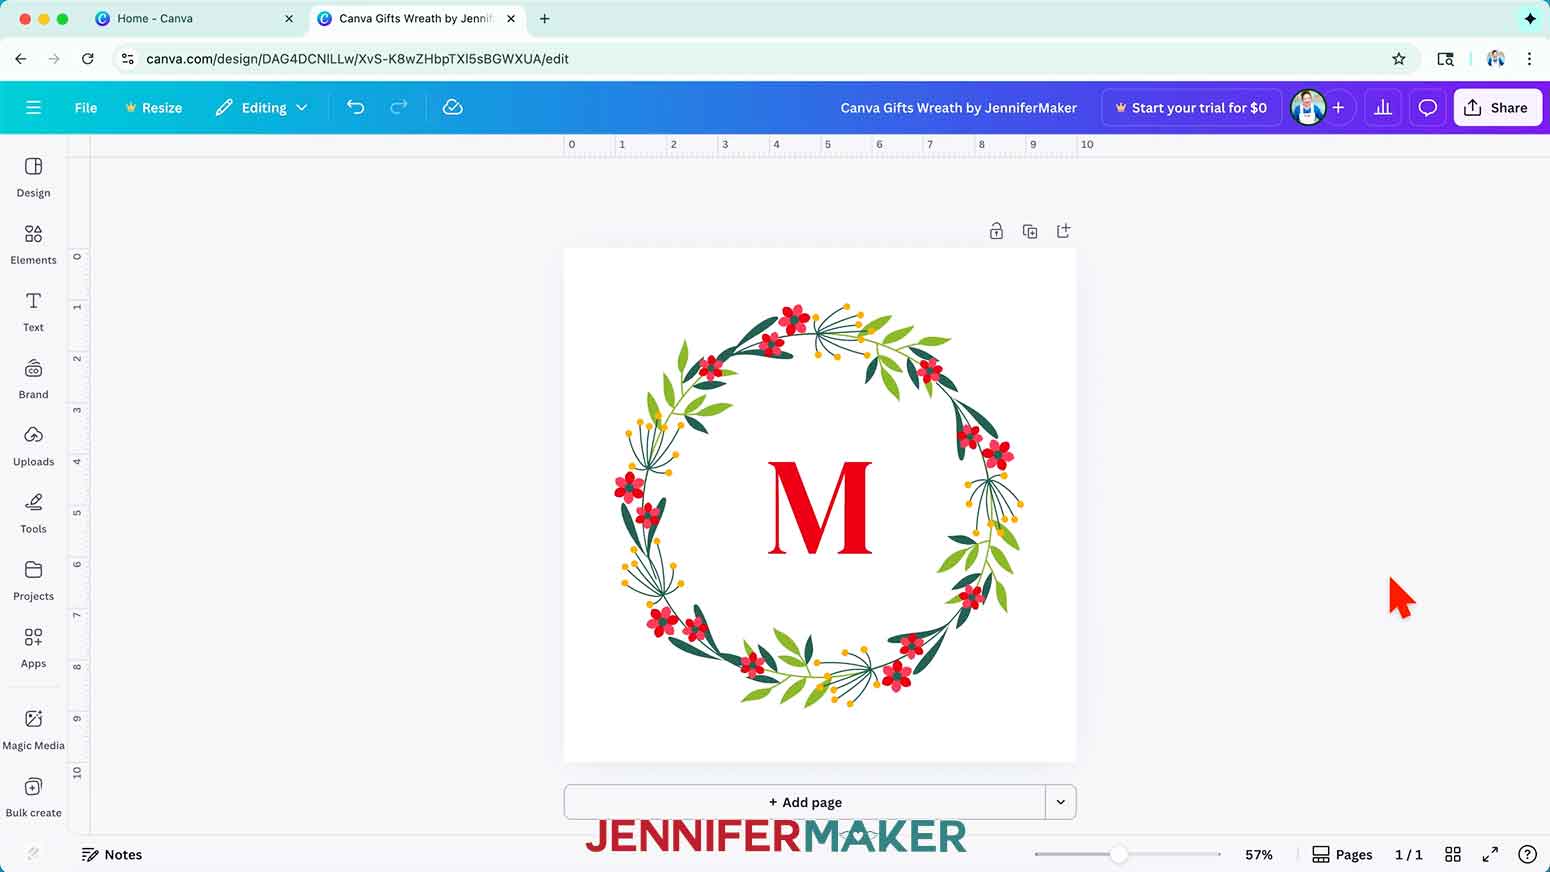
7. To add some text to personalize the wreath design, click the “Text” icon in the side panel, then click “Add a text box.”
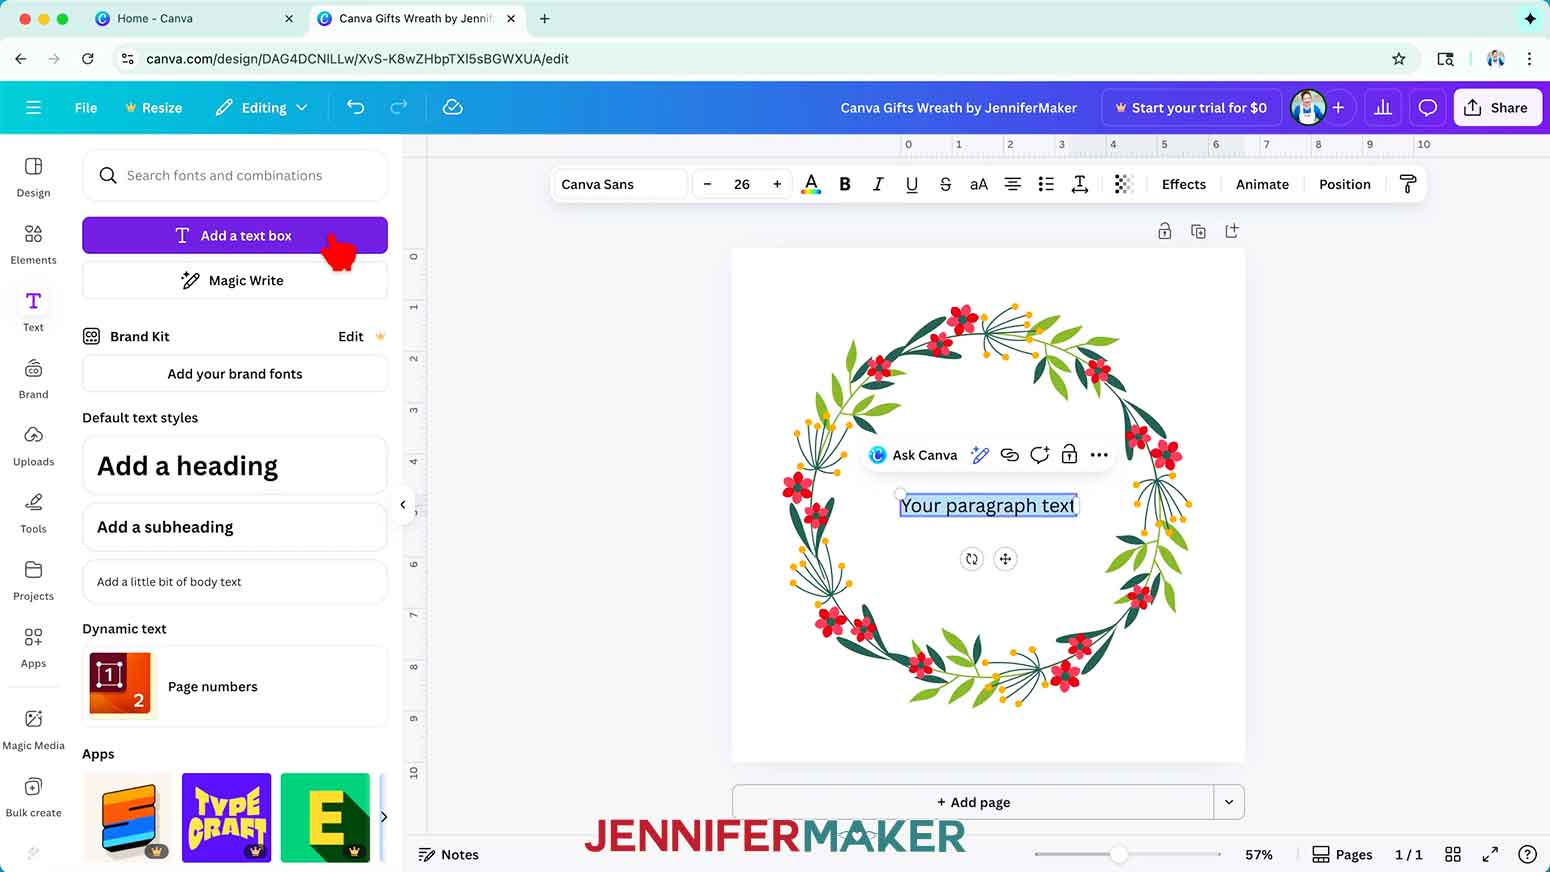
8. Type your desired text in the box and make it larger if needed.
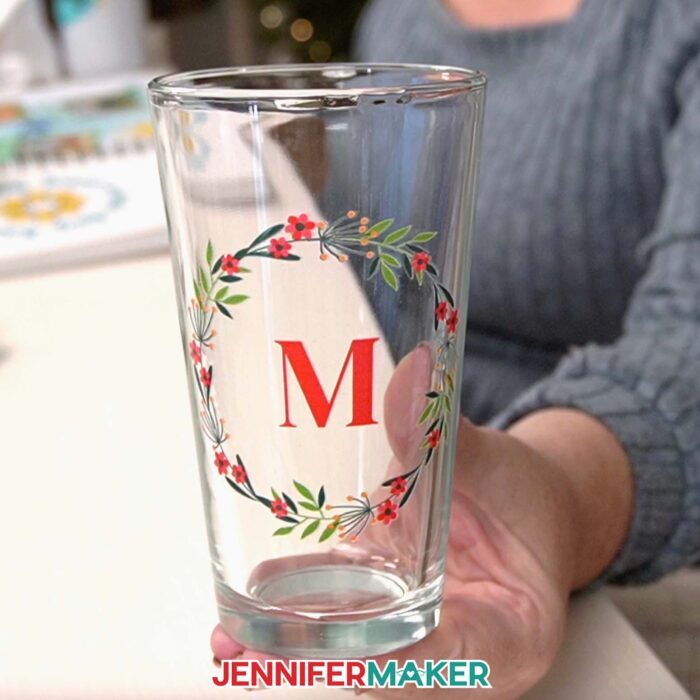
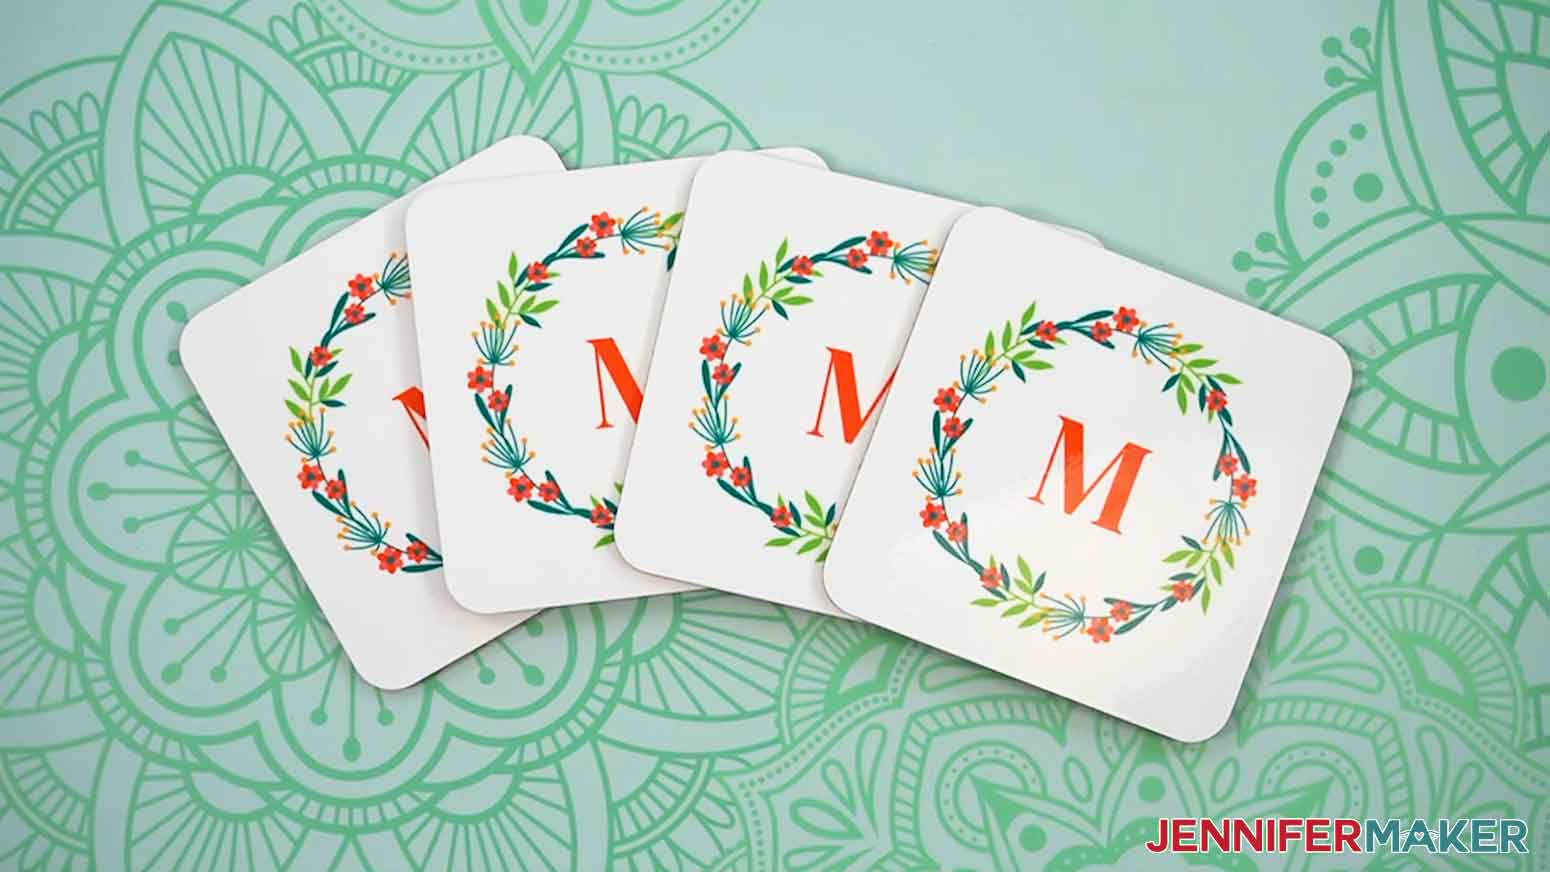
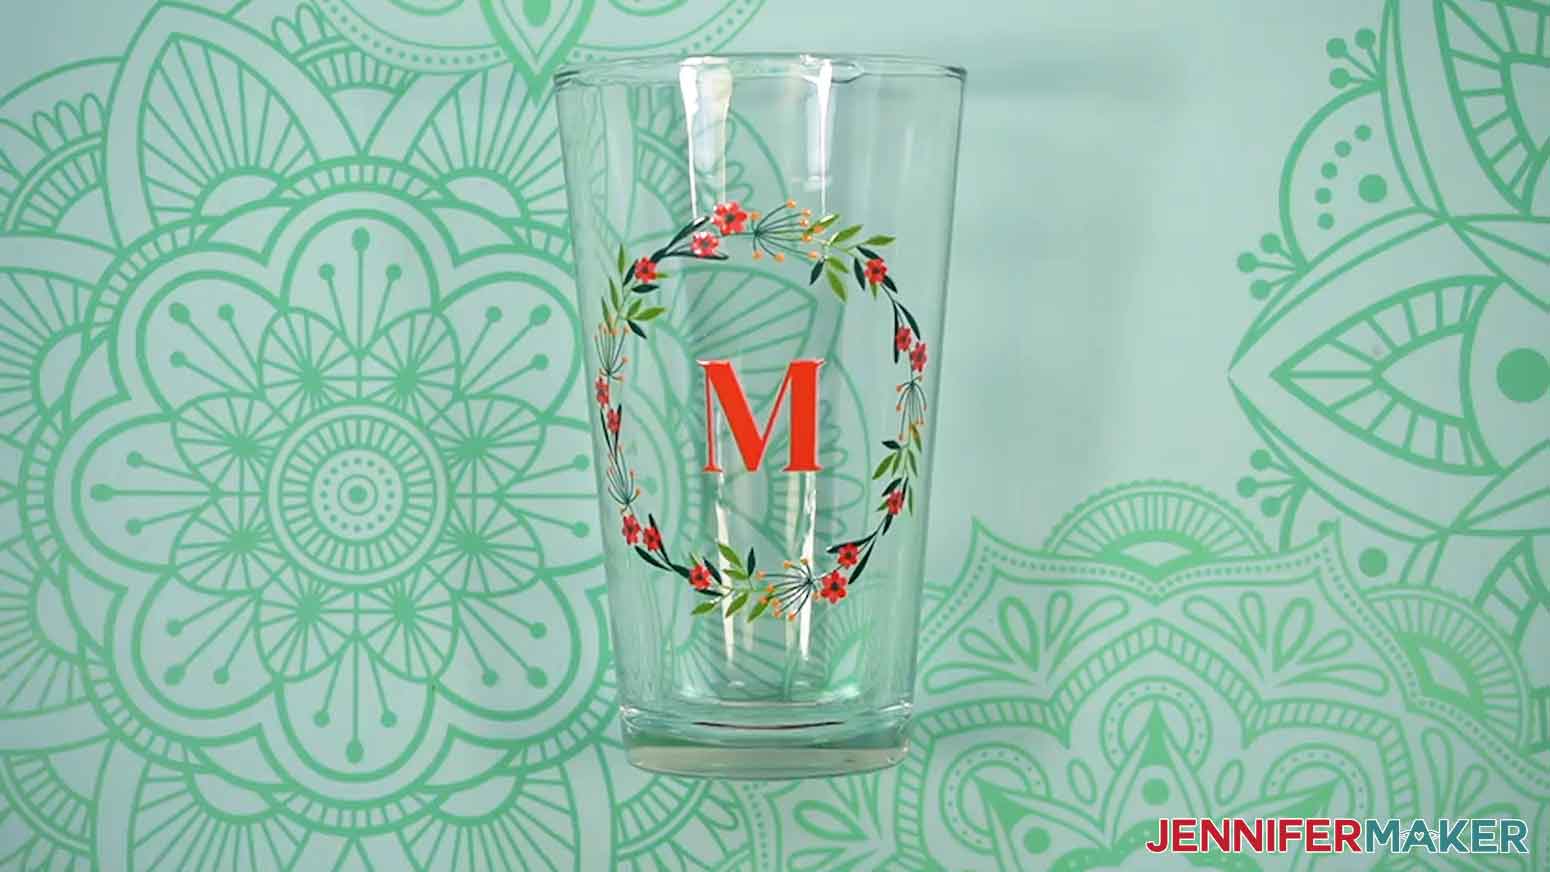
NOTE: I’ll type in “M” to turn this into a monogrammed “Maker” wreath.
9. To change your text’s typeface, select the text box, then click the font name field to open the Font menu in the side panel.
NOTE: It likely says “Canva Sans.”
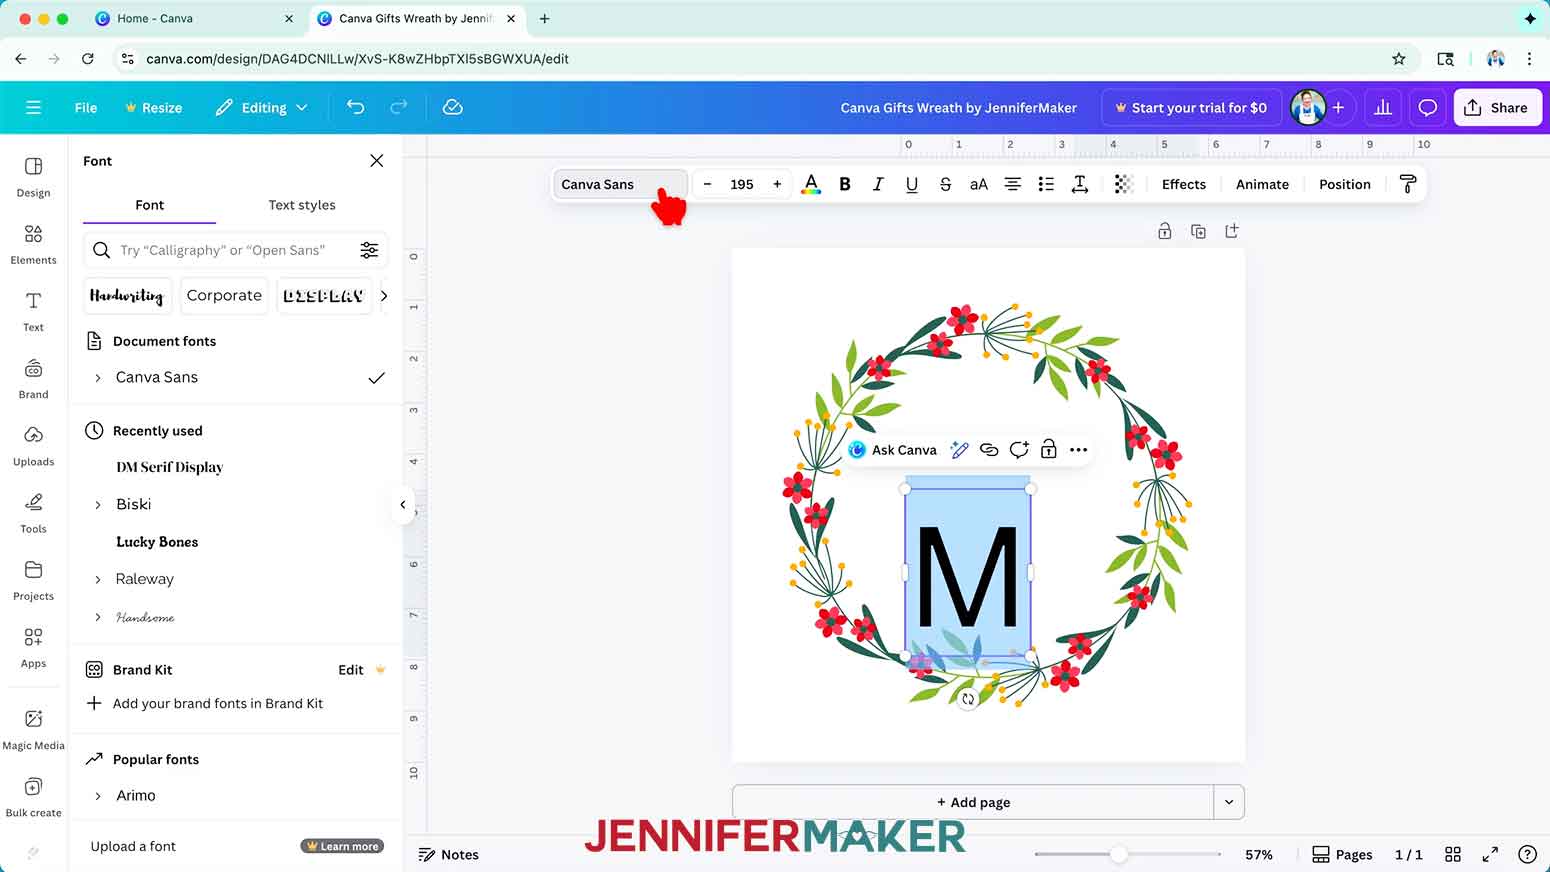
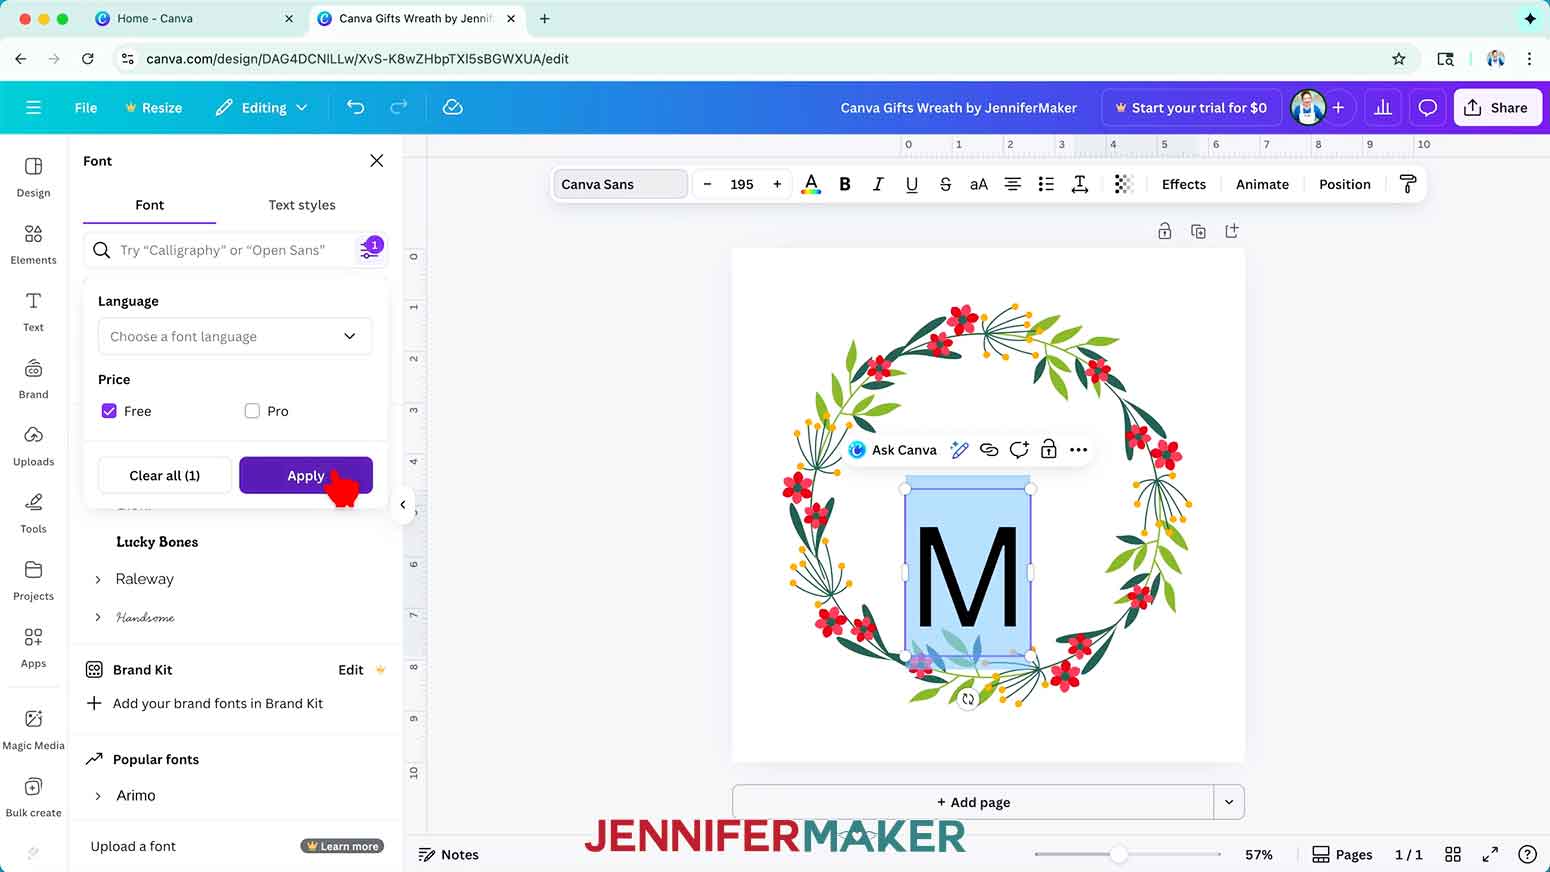
10. Click on the icon with three horizontal lines and small circles to open the “Filter” menu, check the box next to “Free,” and click “Apply” to show only typefaces you can use without a paid account.
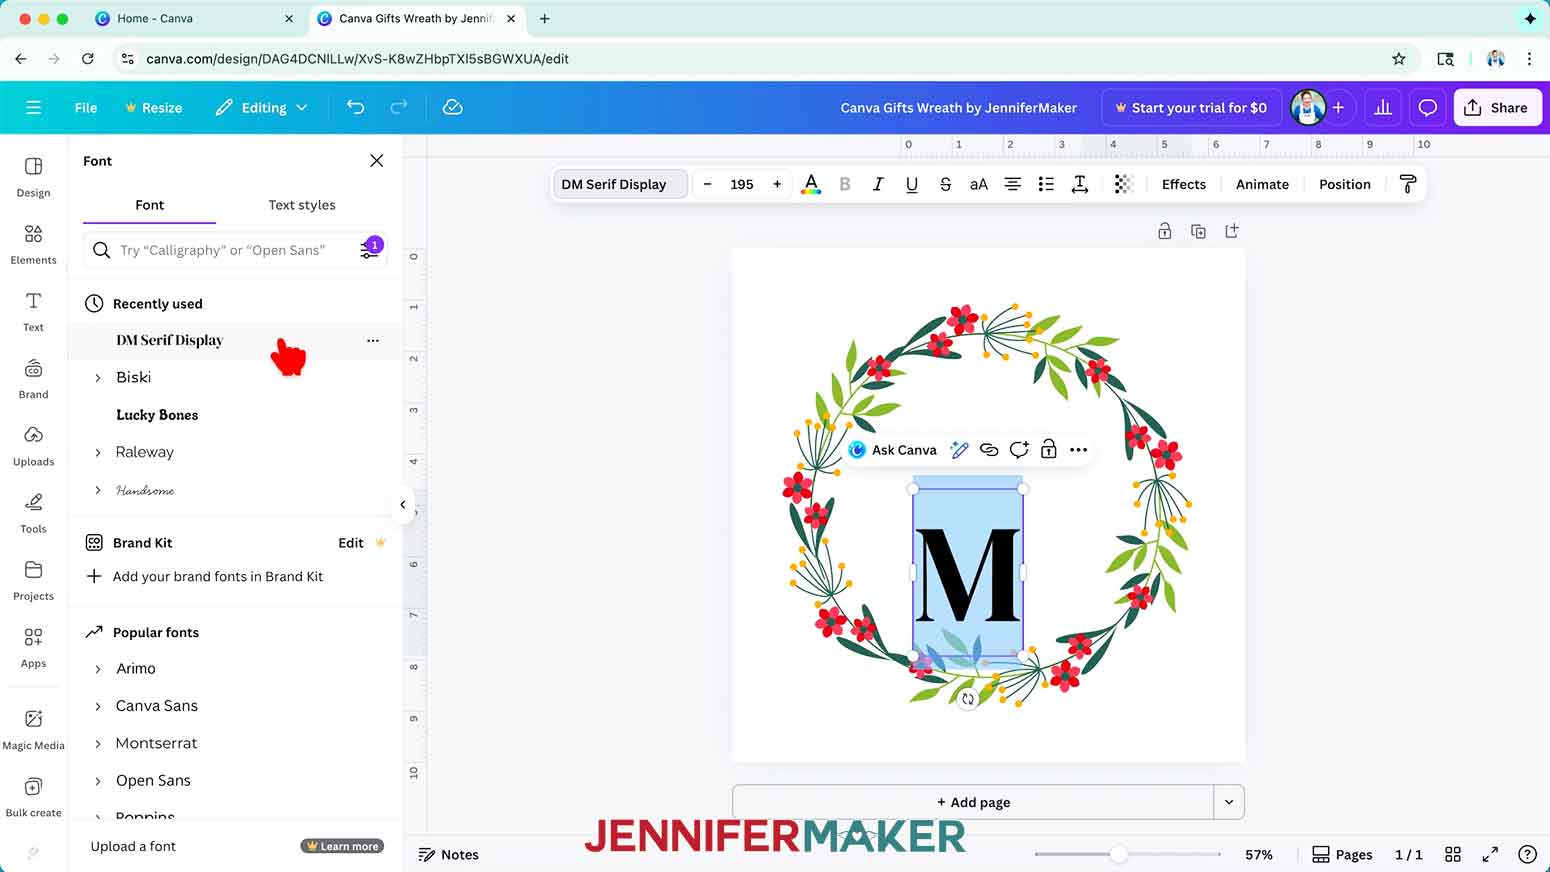
11. Click a typeface you like from the list to apply it to your text.
TIP: If there’s a down arrow beside the typeface, you can click to expand it and see other formatting options, too.
NOTE: I’ll choose the free Canva font “DM Serif Display.”
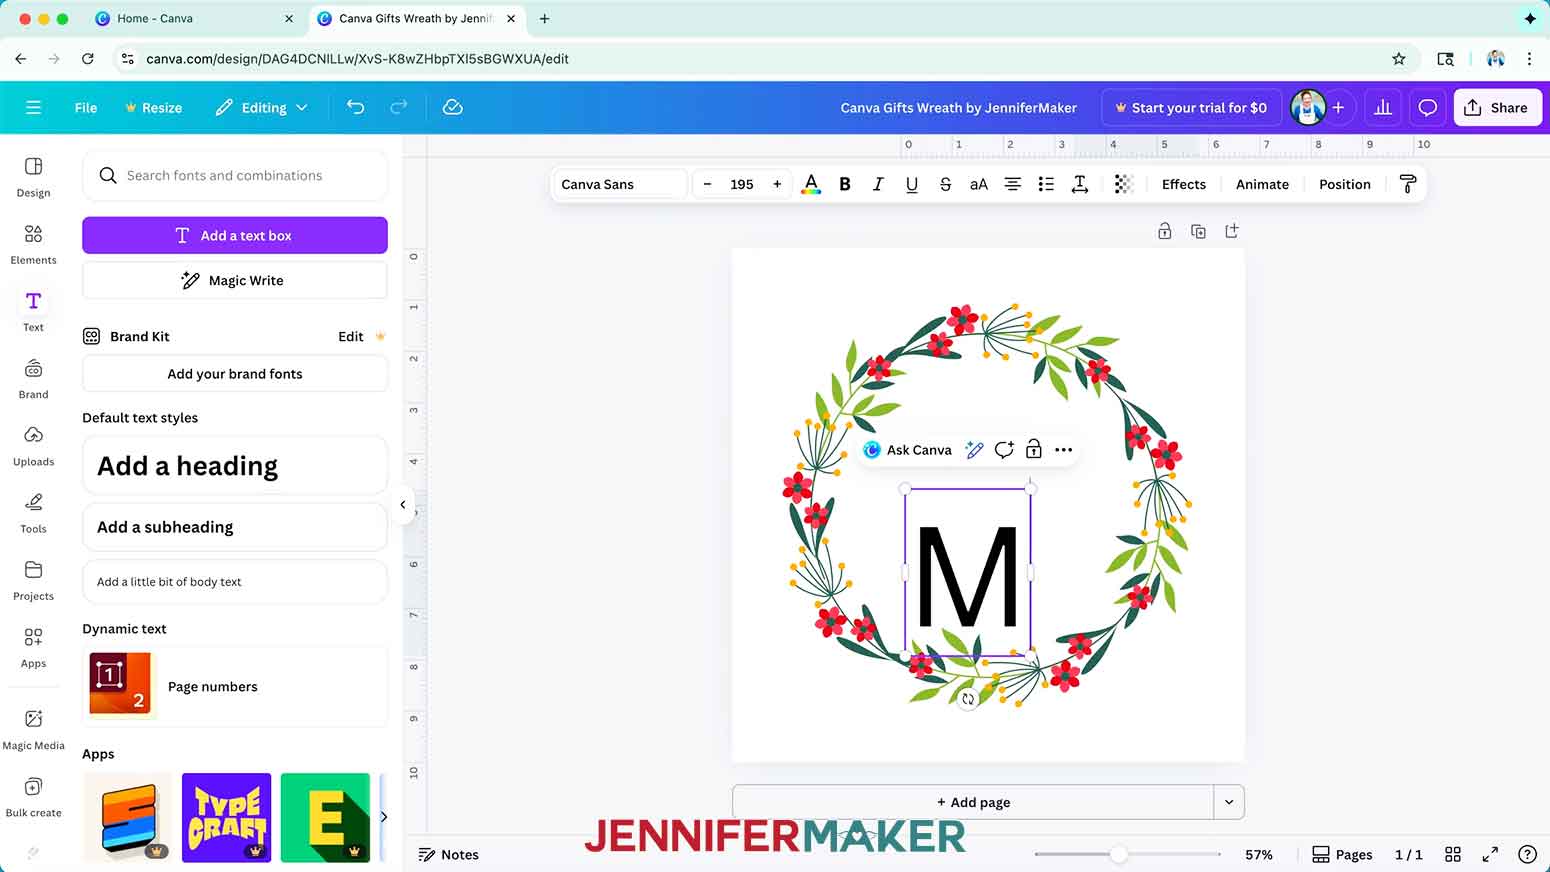
12. Use the text box’s corner Resize handles to make your text larger or smaller as needed, and the side handles to adjust the text’s position inside the box.
NOTE: I’ll adjust mine to font size 195.
13. Then click and drag the text box to move it into your desired position.
NOTE: I’ll use the guidelines to center my letter “M” in the middle of the design.
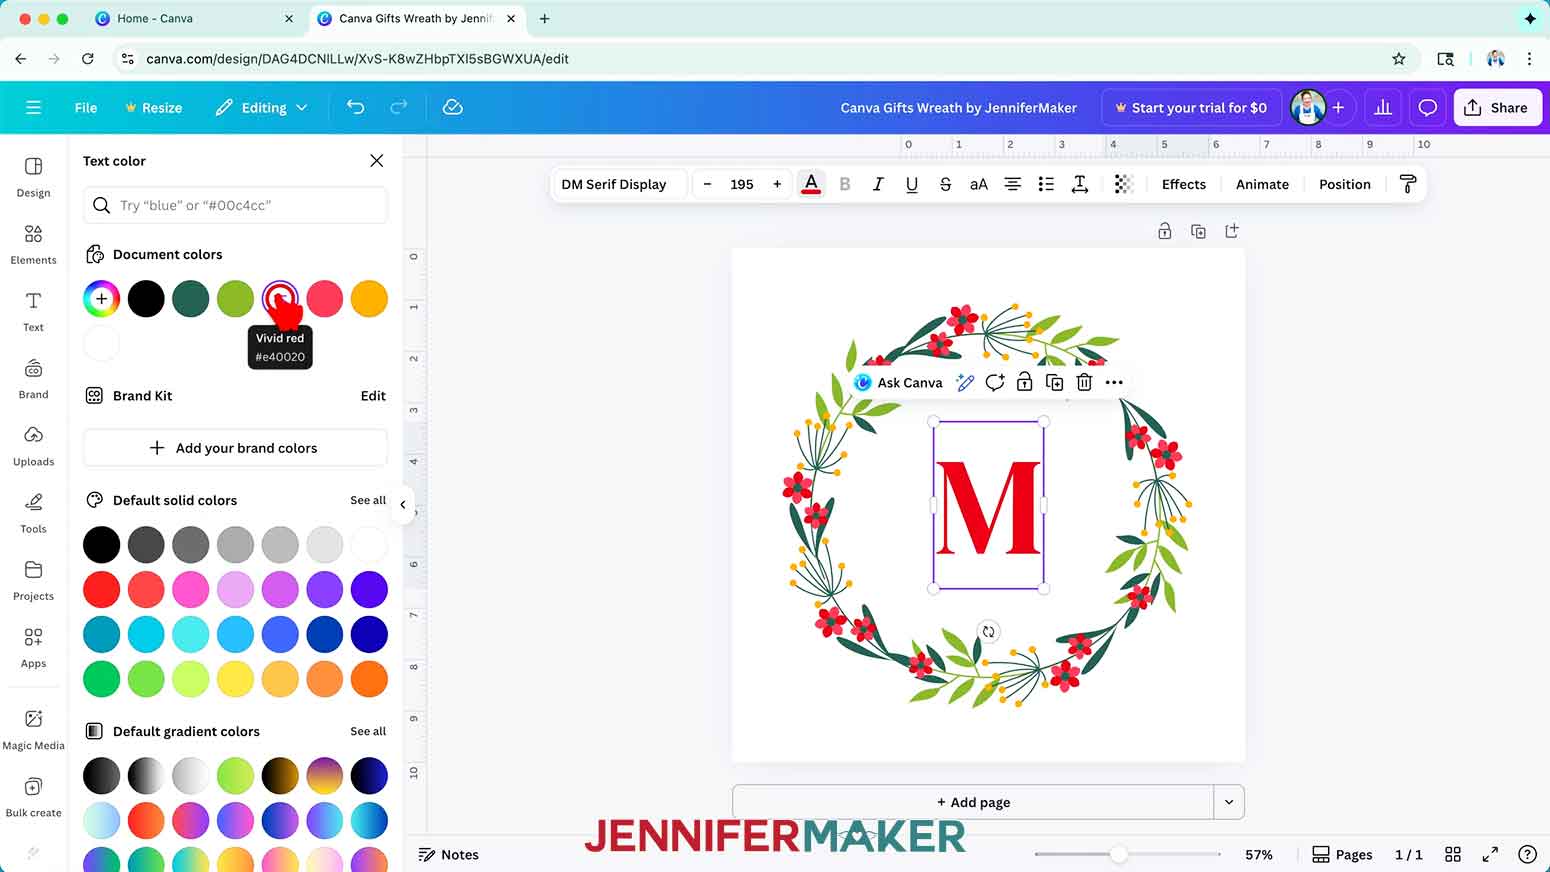
14. To change the color of your text, select the text box, then click the toolbar button with the letter “A” above a color box, then choose a new option from the menu.
NOTE: I’ll change mine to red.
15. Your design is ready to turn into a gift!
VARIATION: PHOTO FRAMES DESIGN
1. Follow Steps 1-6 of the “PREPARE YOUR GIFT’S DESIGN IN CANVA” section to open the Photo Frames design in Canva.
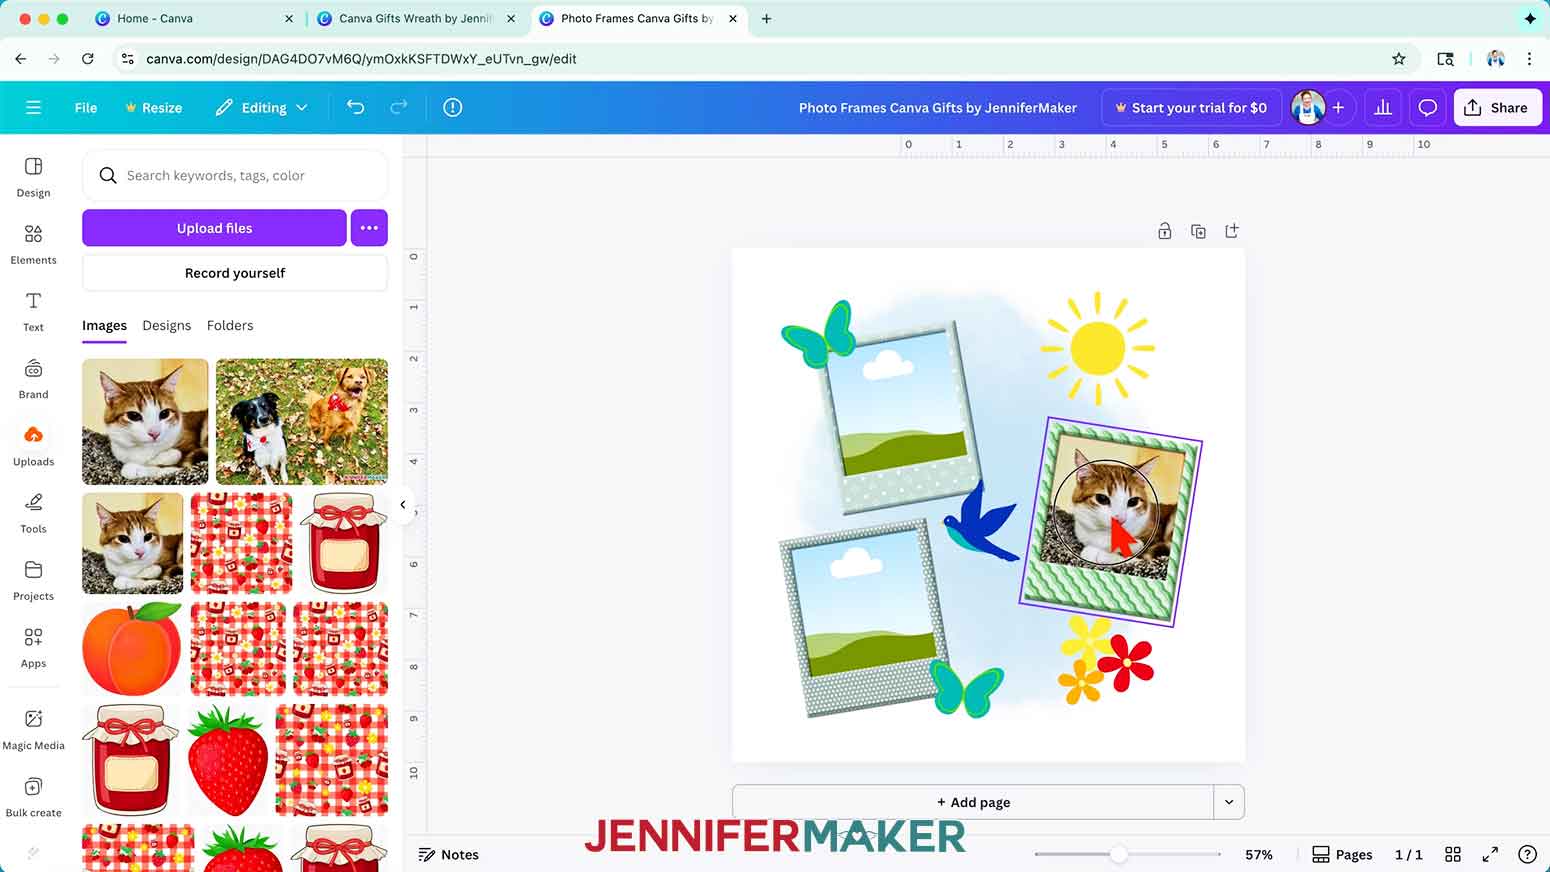
2. To add a photo to a photo frame, click on “Uploads” in the side panel, and then “Upload files.”

3. Select the photo you want to upload and click “Open.”
NOTE: I’ll use a picture of Butterscotch.
4. In the Uploads Panel, click and drag your photo over a frame with the landscape placeholder, and watch it fill in automatically.
TIP: If you accidentally click to add the photo to your canvas, you can click and drag it into the frame.
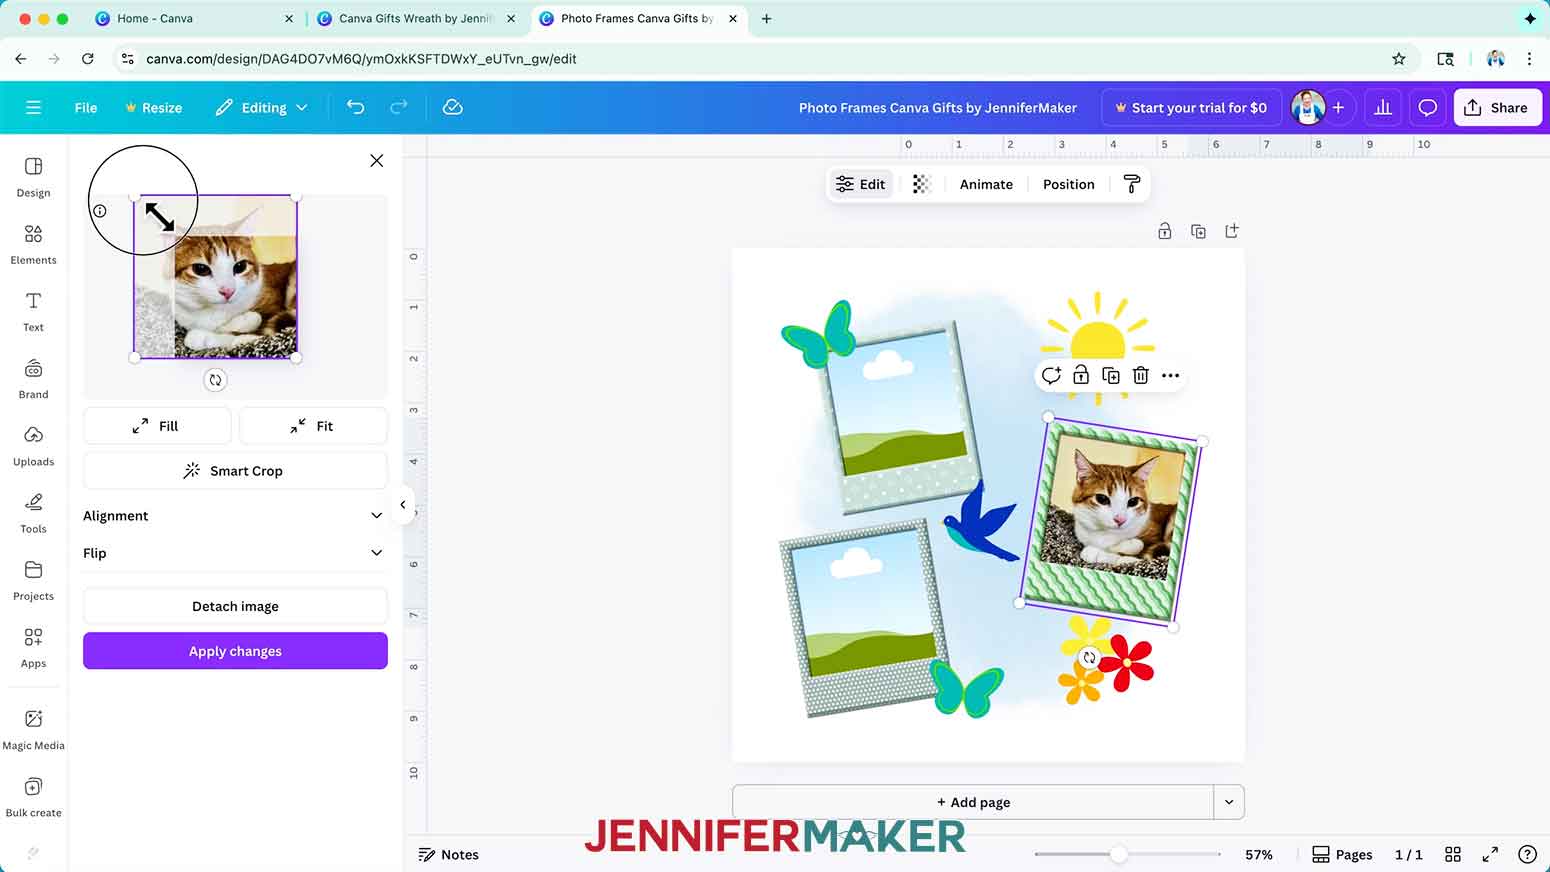
5. To change the size or position of your photo to focus on a different part inside the frame, double-click on the Frame to open the Edit panel.
6. In the preview window, use the handles to resize and rotate your photo as desired, then drag the photo into position.
7. When you are satisfied with your photo’s size and positioning, click “Apply changes.”
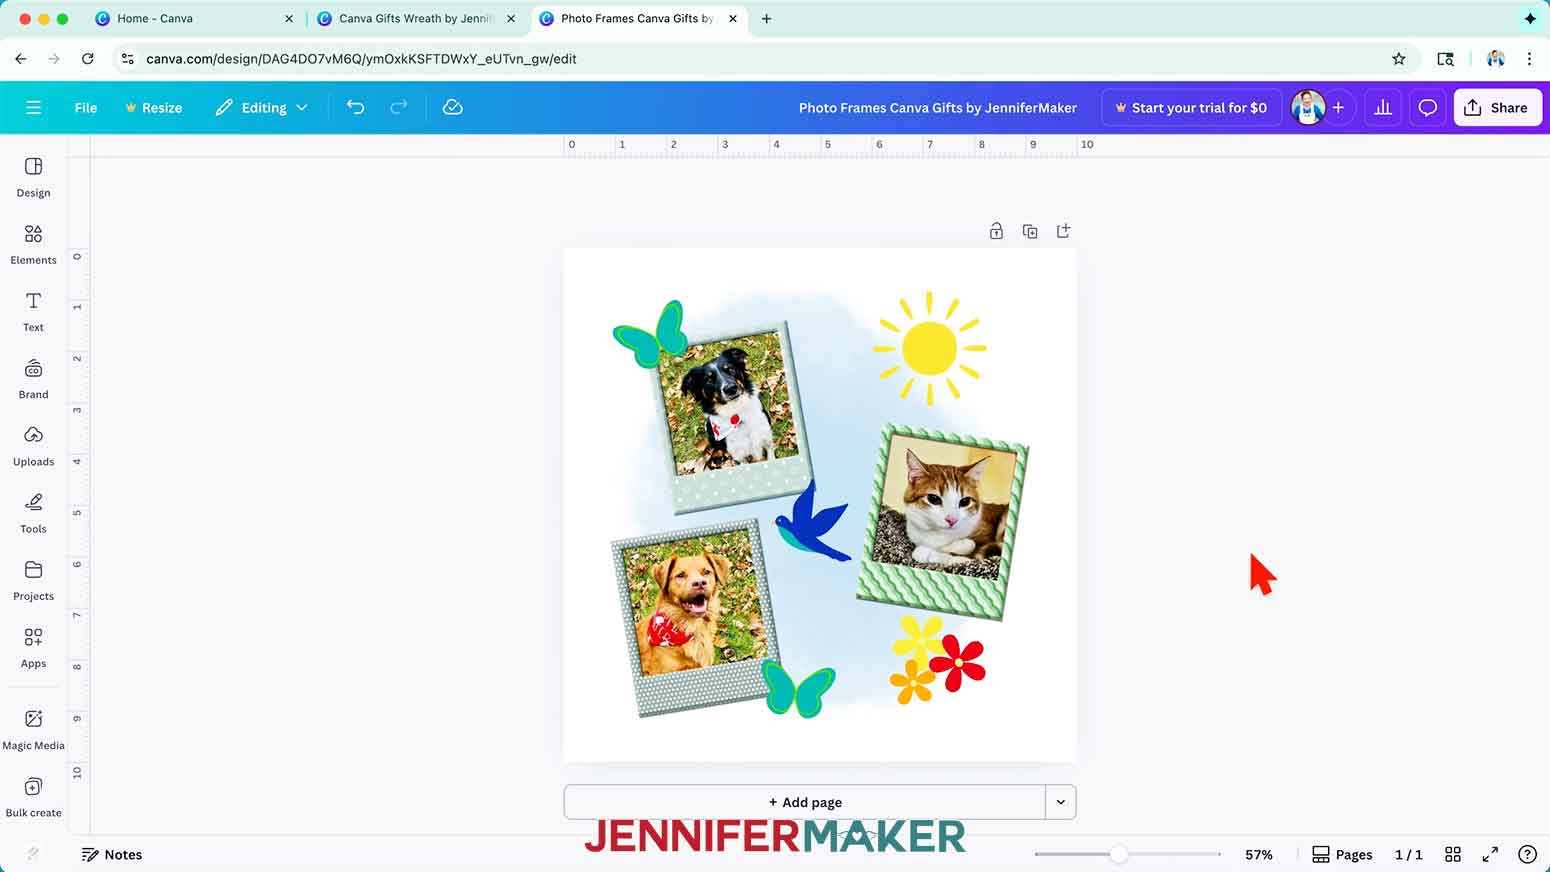
8. Repeat Steps 2-7 for the remaining photo frames.
NOTE: I’ll add photos of Hunter and Chloe, too.
9. Your design is ready to turn into a gift!
STEP 3: ADD YOUR DESIGN TO A CANVA PRODUCT
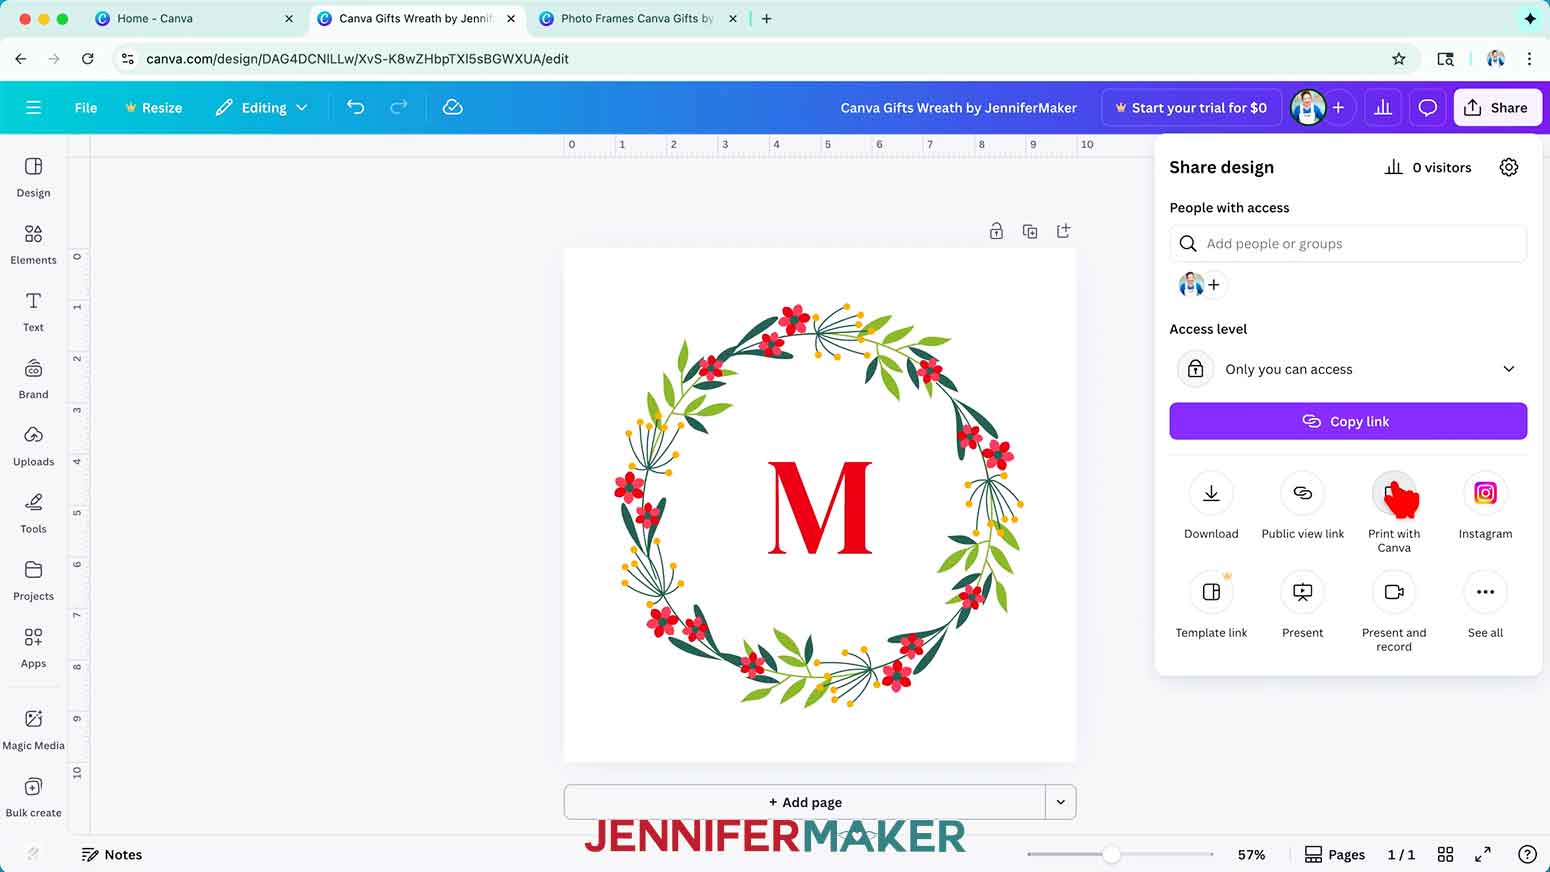
1. To add your design to a physical product you can give as a gift, click “Share” and “Print with Canva” to open Canva’s print-on-demand product catalog.
2. Browse the catalog to find a product you’d like to add your design to.
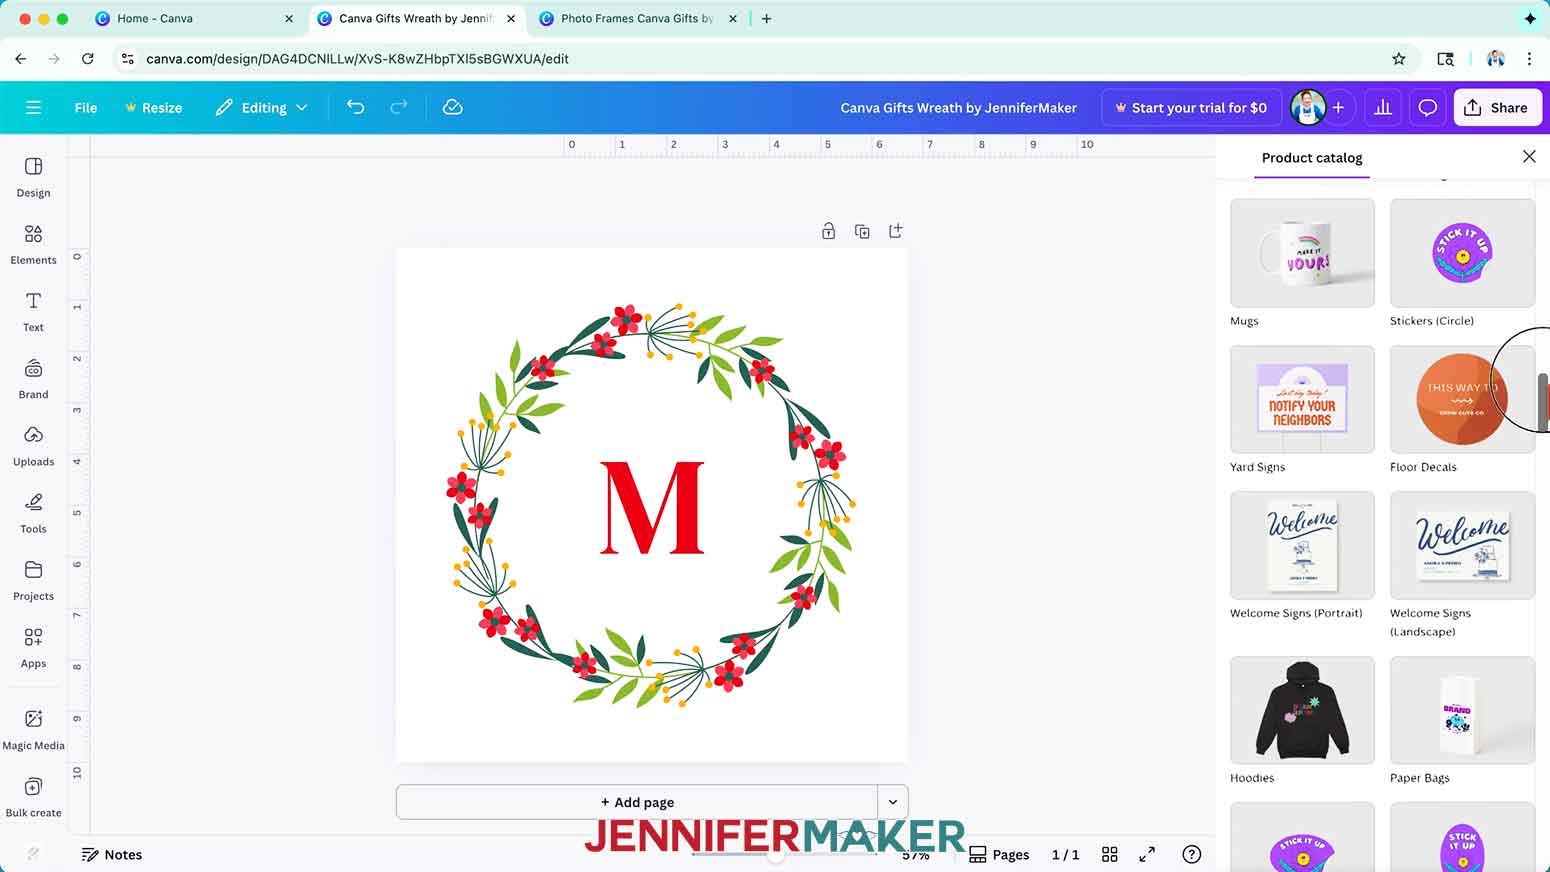
3. Or, if you have a gift idea in mind, enter a related keyword in the “Search print products” bar to narrow down your search.
NOTE: I’ll type in “note” to browse through some paper-based products.
4. When you find a product you like, click it to open your design in a new browser tab. Canva will automatically resize and position the design to fit the recommended print area for the product you’ve chosen.
NOTE: If you have pop-ups blocked on your browser, an “Allow new tabs from Canva” window will pop up on your screen. Follow the instructions to grant Canva permission to open new tabs to see the product you selected.
NOTE: I’ll select the “Note Cards” product.
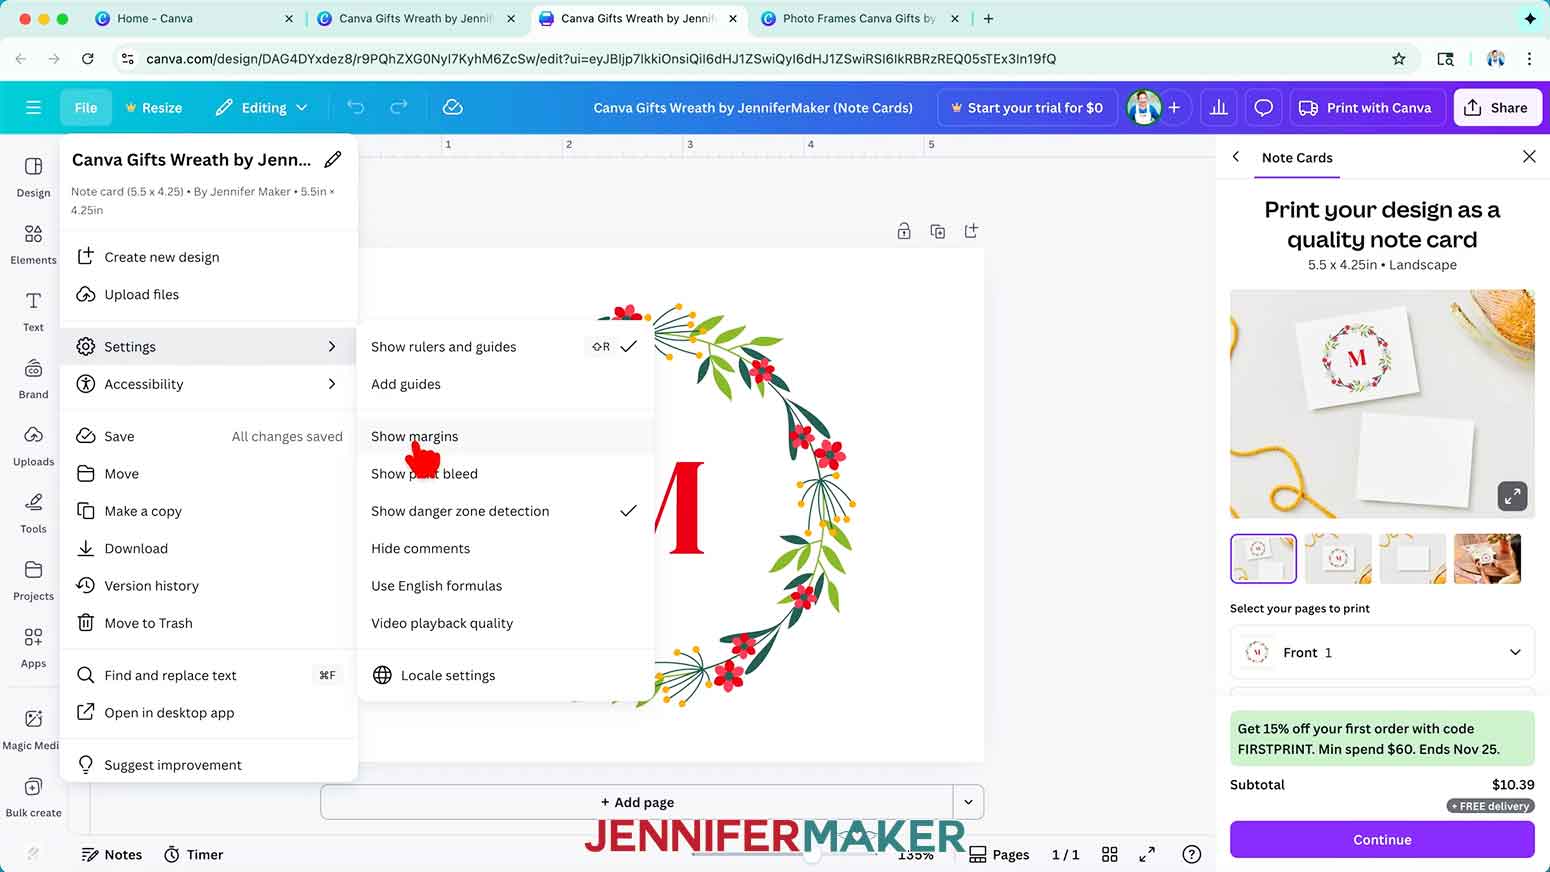
5. Click on “File,” hover over “Settings,” and make sure “Show margins” has a check mark beside it.
NOTE: This adds dashed lines around Canva’s recommended design area on your product’s canvas.
6. If you’d like to resize the design, drag a box over all the elements to select them.
7. Then use the corner handles to make the design larger or smaller as desired. You can make your design larger than Canva’s recommended size (the area inside the dashed margin lines), but avoid stretching your design inside or beyond the “Danger Zone” or your designs will get cut off on the final product.
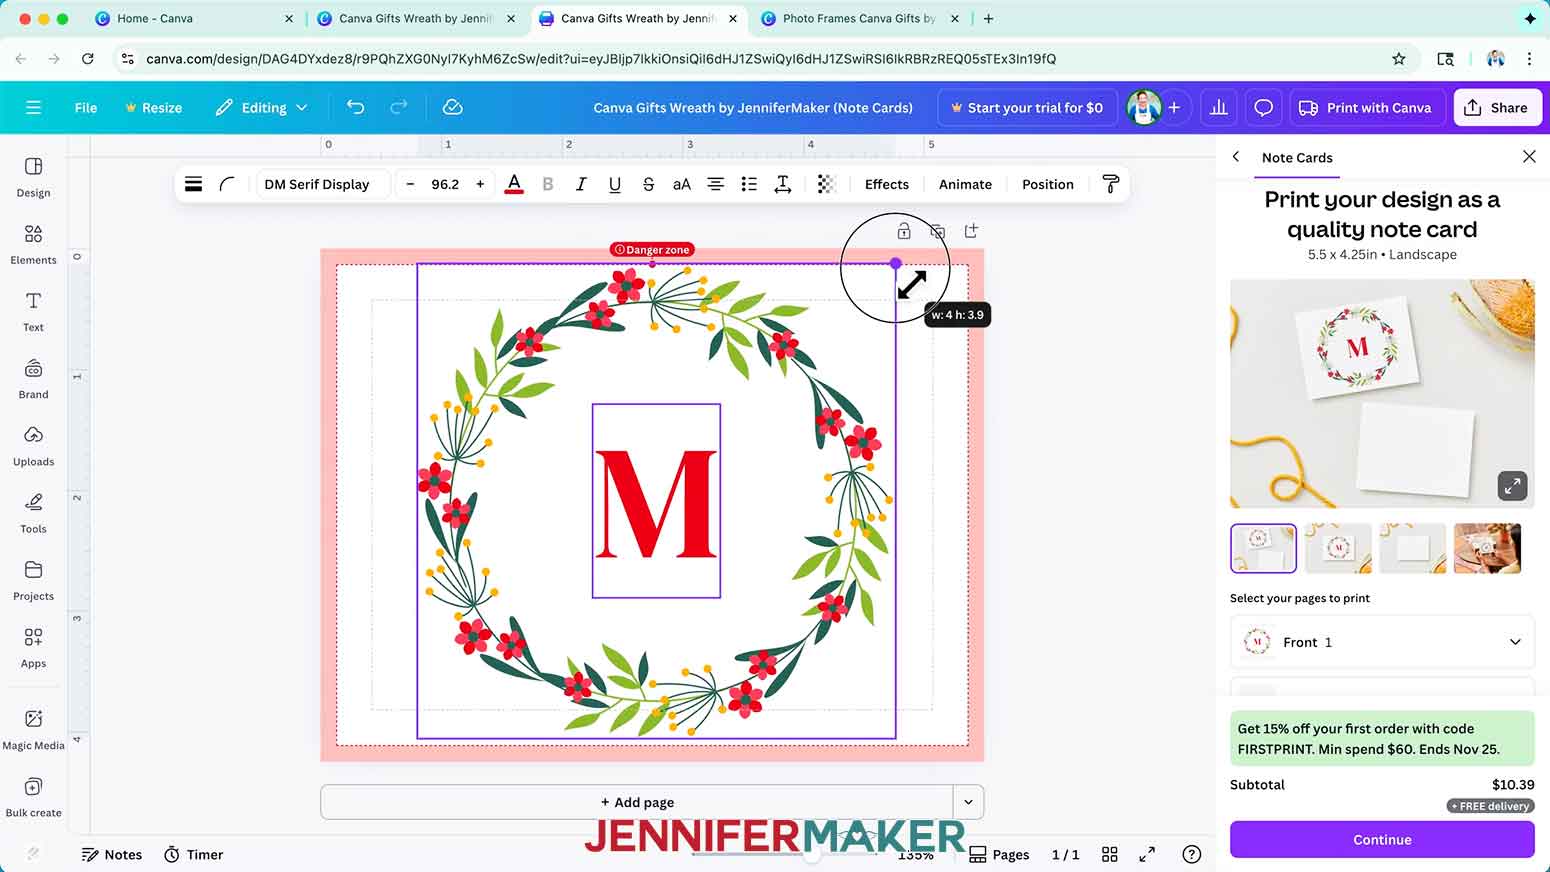
8. If you’d like to reposition your design, make sure all the elements are selected. Then drag the design where you want it on the canvas, but continue to avoid the “Danger Zone.”
9. Check the preview window to be sure your product looks the way you want it to, and make any final adjustments if needed.
STEP 4: CHOOSE YOUR SETTINGS AND ORDER YOUR GIFT
NOTECARDS
1. Before ordering your note card, make sure to adjust the settings for your product.
2. First set the options under “Select your pages to print.”
NOTE: My design is on Page 1, so I’ll set the “Front” to 1 and the “Back” to “None.
3. Then select your paper type.
NOTE: I’ll choose “Premium paper” for better quality and sturdier paper.
4. Choose an option under “Paper finish.”
NOTE: I’ll choose “Matte finish” for a slightly textured surface I can write on.
5. Choose the number of cards you want to print in the “How many?” dropdown box.
NOTE: I’ll choose 5.
6. If you’d like to include envelopes with your print, check the box beside “Include envelopes in my order.”
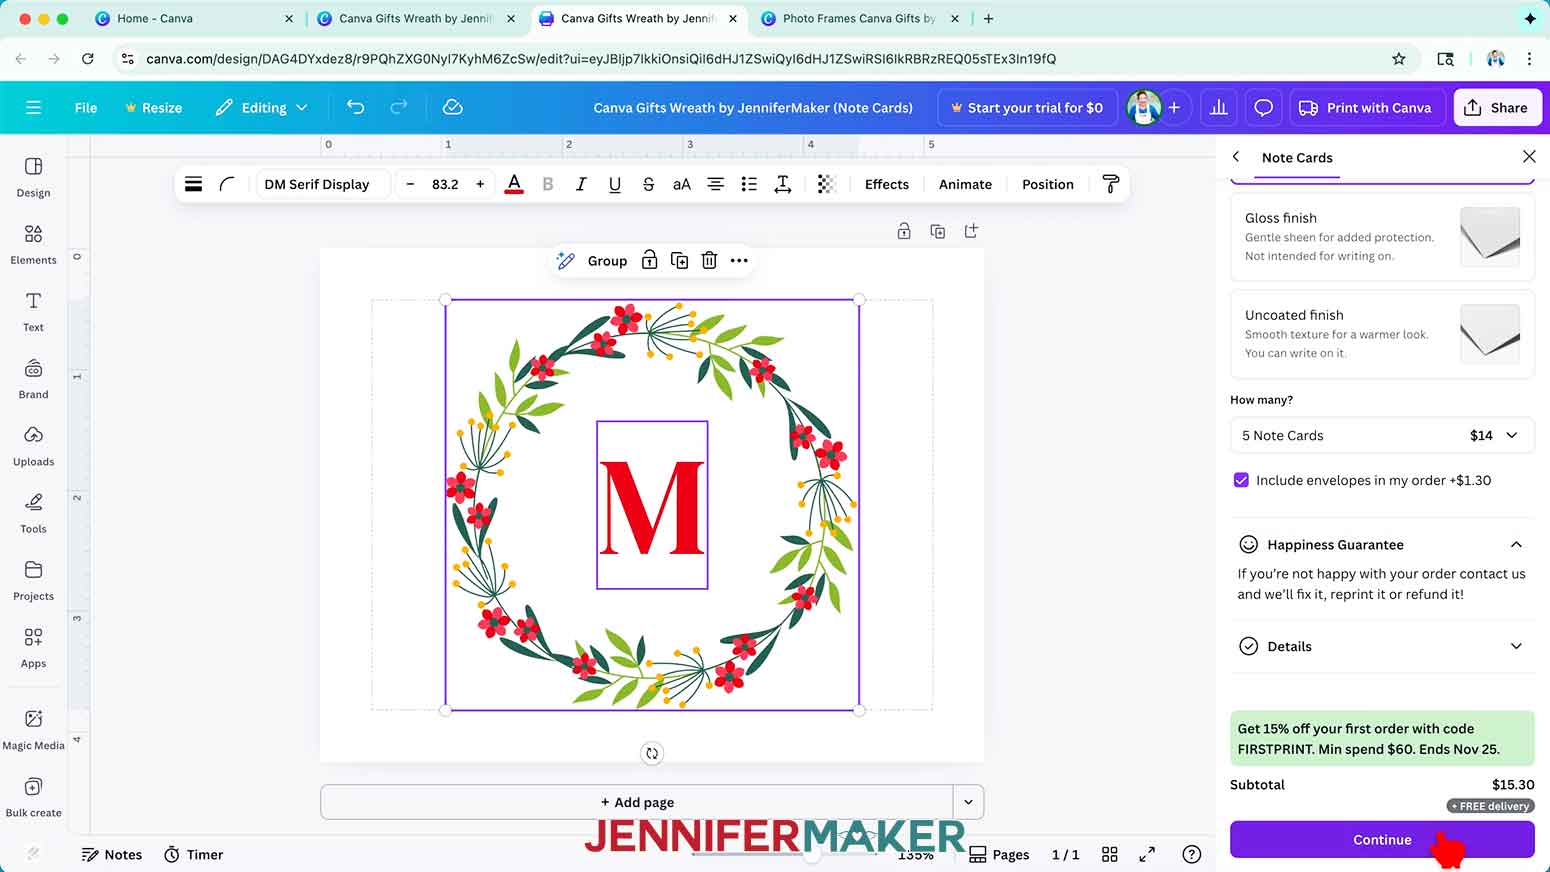
NOTE: The size of the notecards is included above the product preview image.
NOTE: I have my own envelopes, so I’ll leave this box unchecked.
7. Click “Continue.”
8. Fix any issues Canva flags for your design on the “Let’s get ready to print” screen.
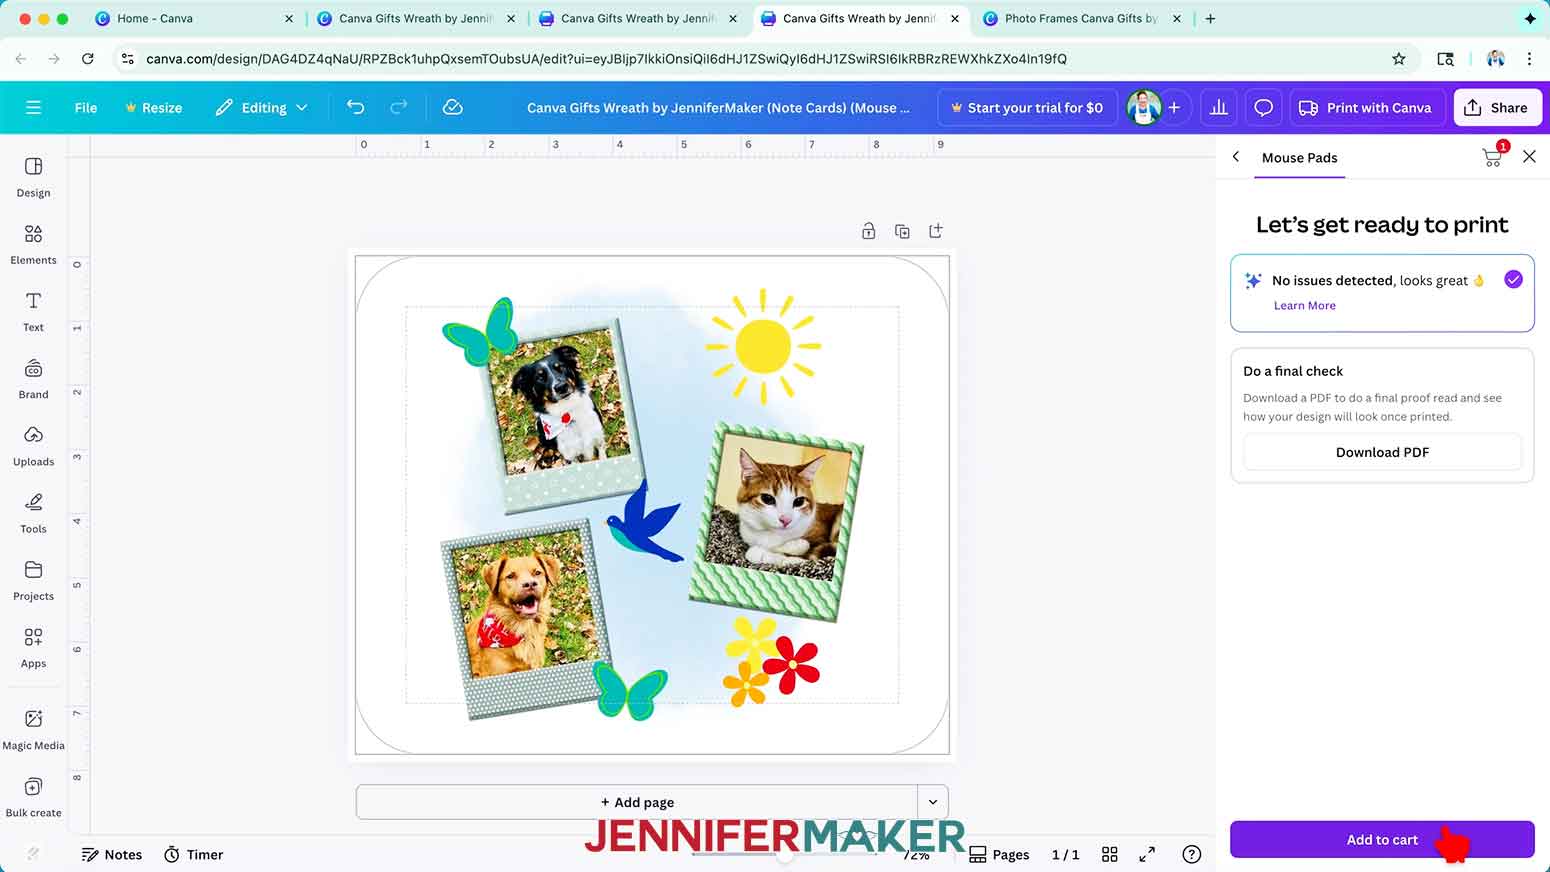
NOTE: You aren’t required to make any of the suggested changes.
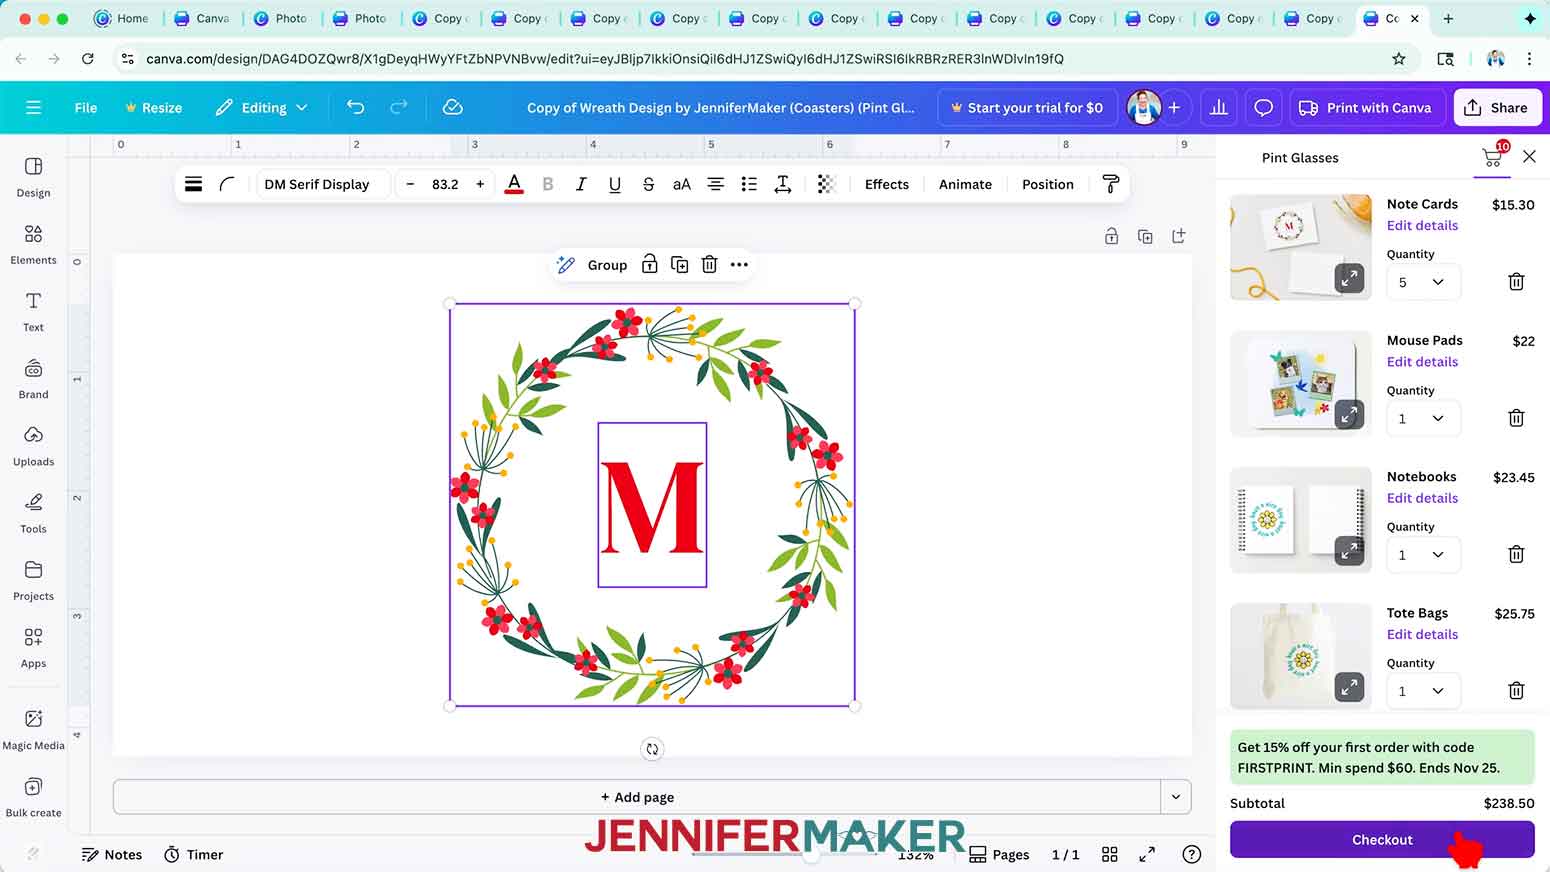
9. Click “Add to cart.”
10. Then click “Checkout.”
11. Fill in your details, choose your shipping method, and enter your payment information on the “Secure checkout” page.
12. Then click “Place order.”
NOTE: A confirmation window will pop up to let you know your order has been placed successfully.
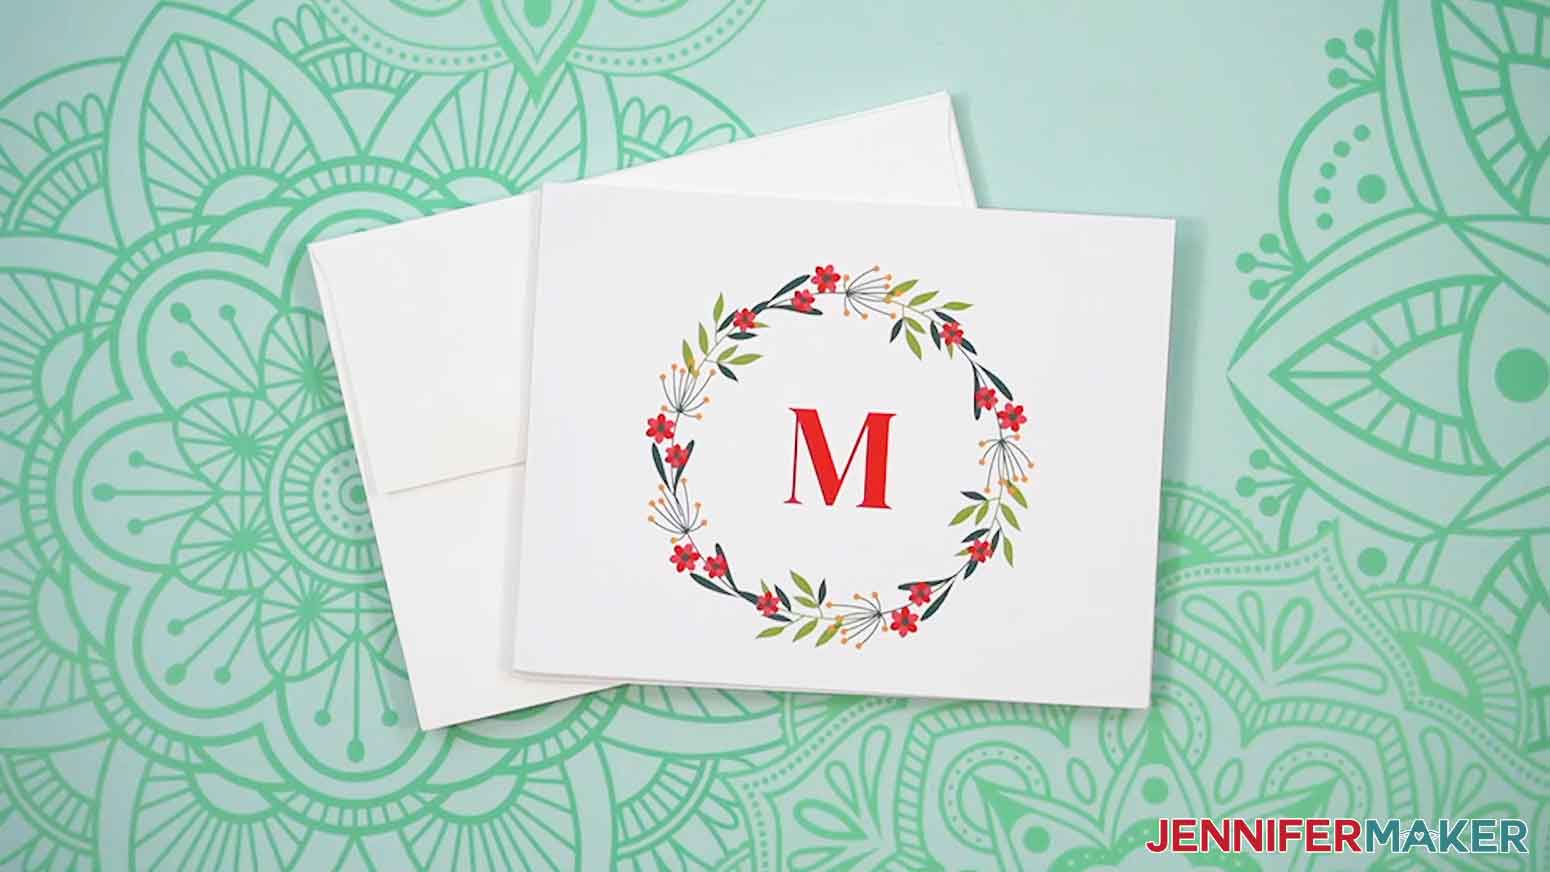
13. When your note card arrives, open the box to see how it turned out!
NOTEBOOKS
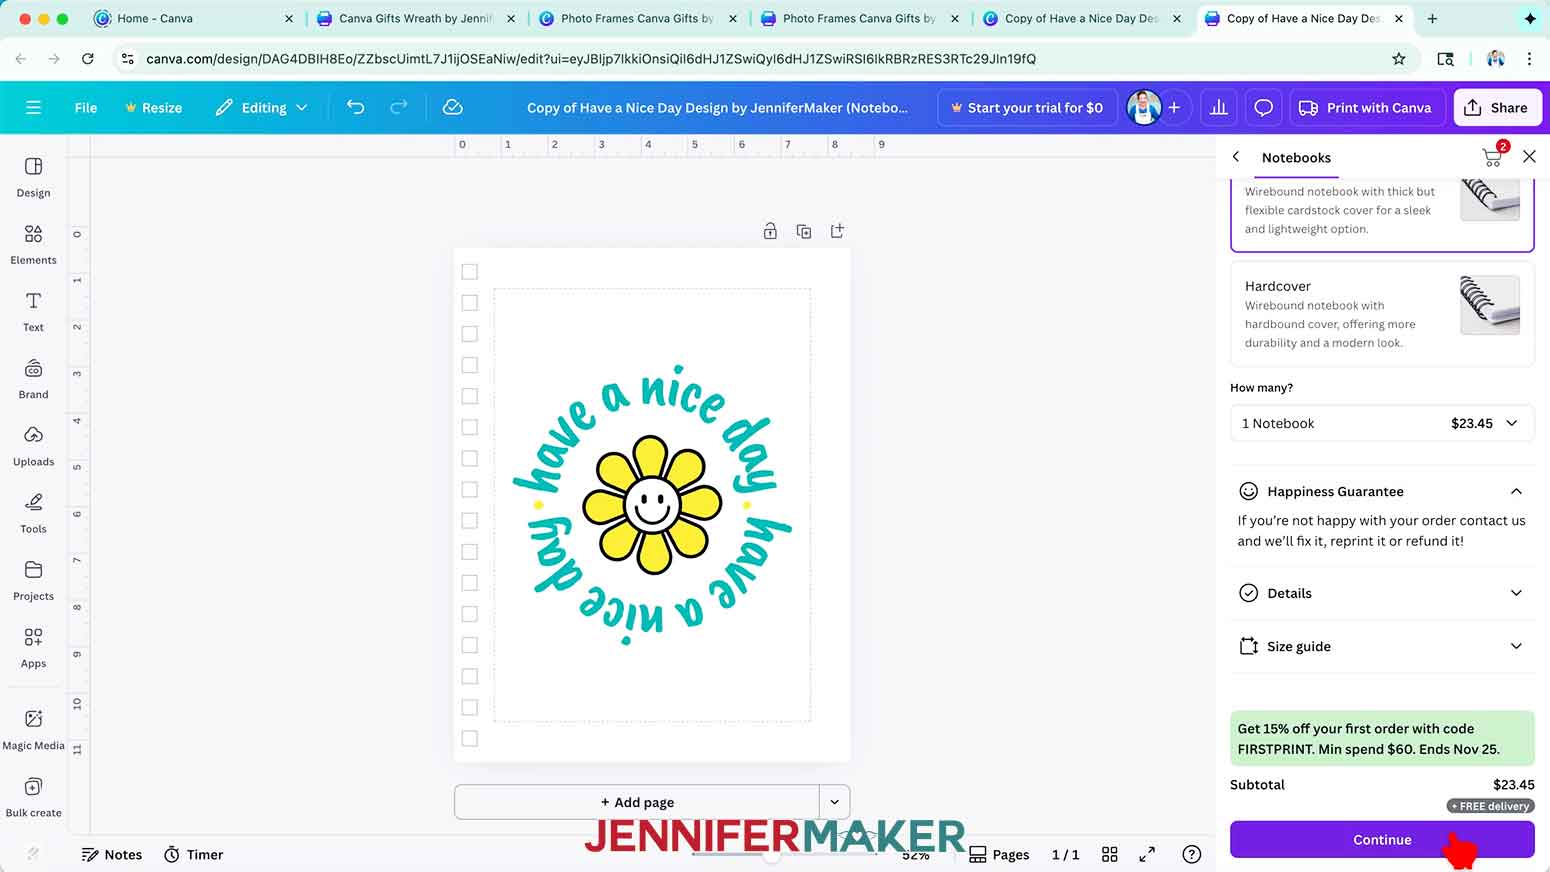
1. Before ordering notebooks, make sure to adjust the “Print with Canva” settings for your product.
2. First, set the options under “Select your pages to print.”
NOTE: My design is on Page 1, so I’ll set the “Front cover” to “1” and the “Back cover” to “None.”
3. Then select your notebook’s size.
NOTE: I’ll choose “Small” for a 6.375” x 8.25” notebook.
4. Under “Inside pages,” choose which style you want for your pages.
NOTE: I’ll pick “College ruled” for plenty of lines to write on.
5. Then pick a “Cover type” for your notebook.
NOTE: I’ll pick “Softcover” for a lightweight notebook.
6. Choose the number of notebooks you want to print in the “How many?” dropdown box.
NOTE: I’ll choose 1.
7. Follow Steps 7-13 from the “NOTECARDS” section to order your gifts.
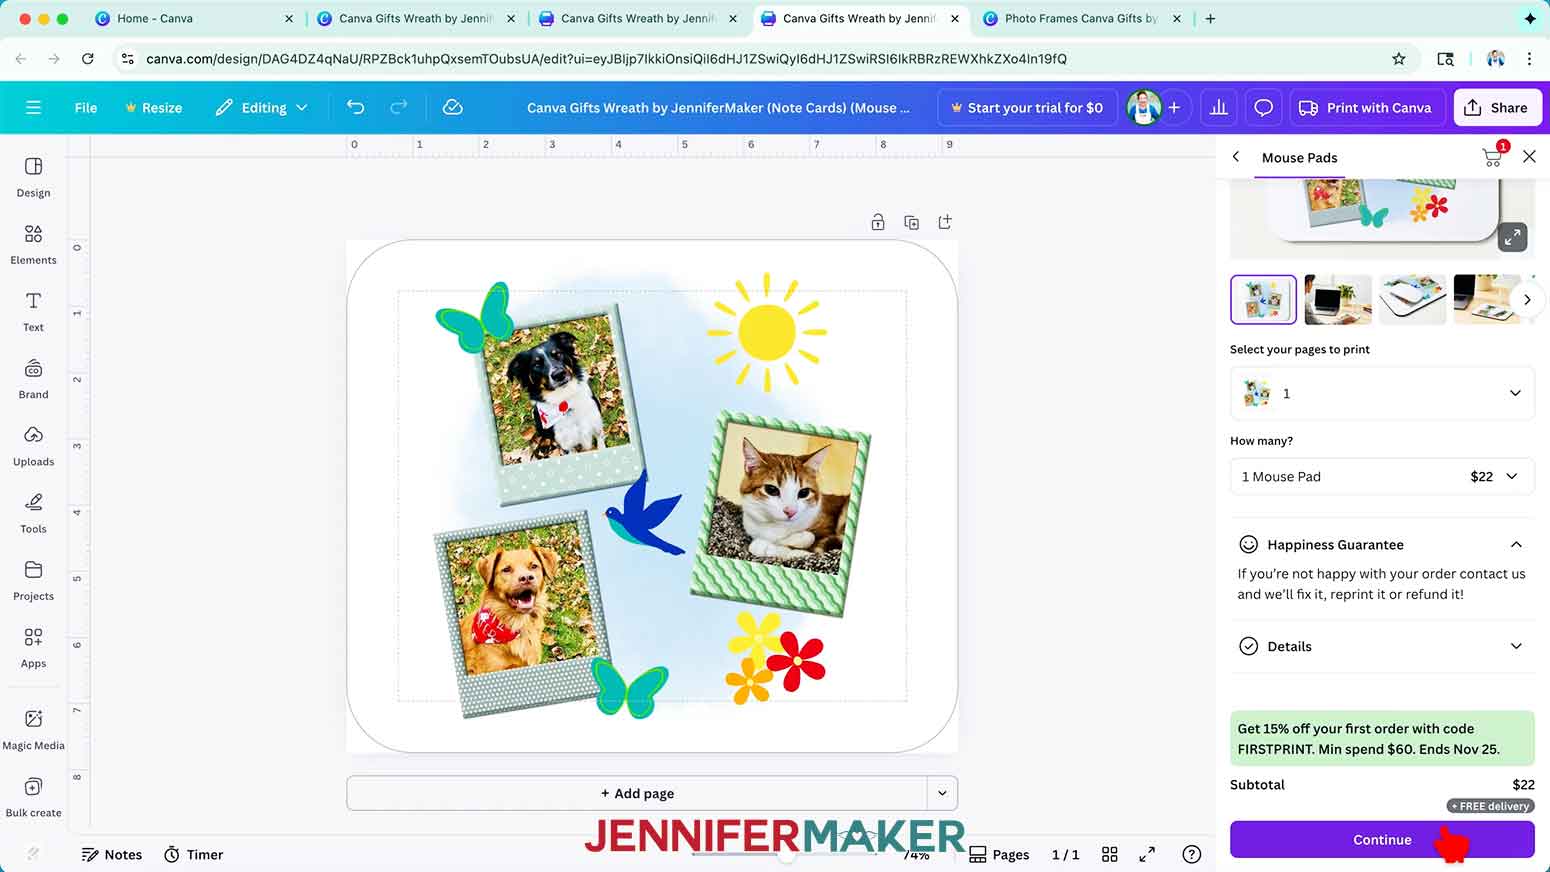
MOUSE PADS, CERAMIC MUGS, WATER BOTTLES, COASTERS, AND PINT GLASSES
1. Before ordering mouse pads, ceramic mugs, water bottles, coasters, or pint glasses, make sure to adjust the settings for your product.
2. First, set the options under “Select your pages to print.”
NOTE: My design is on Page 1, so I’ll make sure “1” is selected.
3. Choose the number of products you want to print in the “How many?” dropdown box.
NOTE: I’ll choose 1 for the mouse pad, ceramic mug, water bottle, and pint glass, and 4 for the coasters.
4. Follow Steps 7-13 from the “NOTECARDS” section to order your gifts.
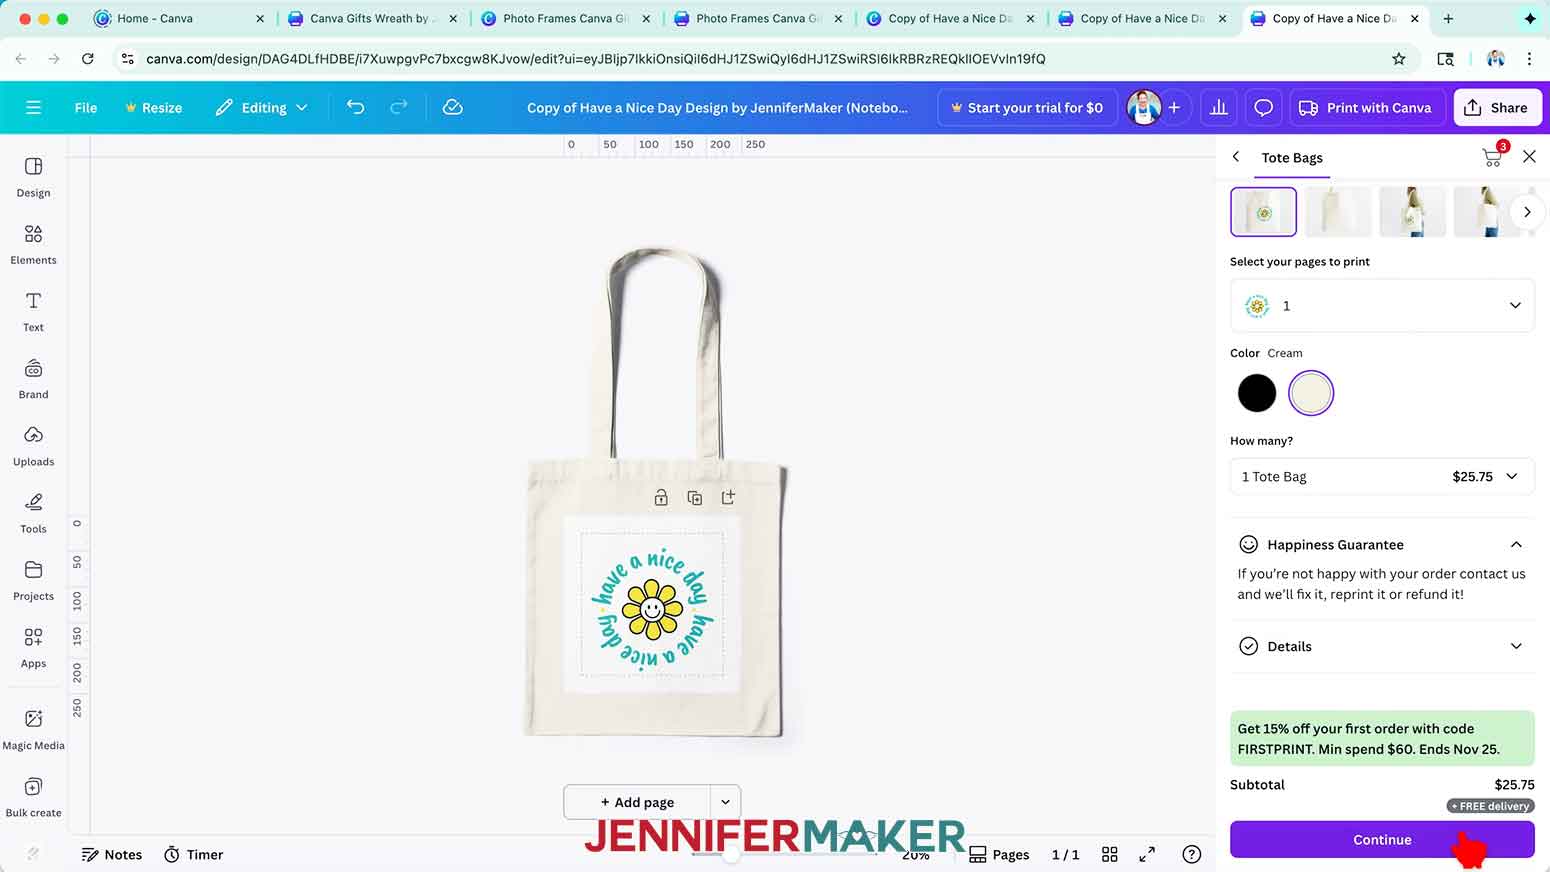
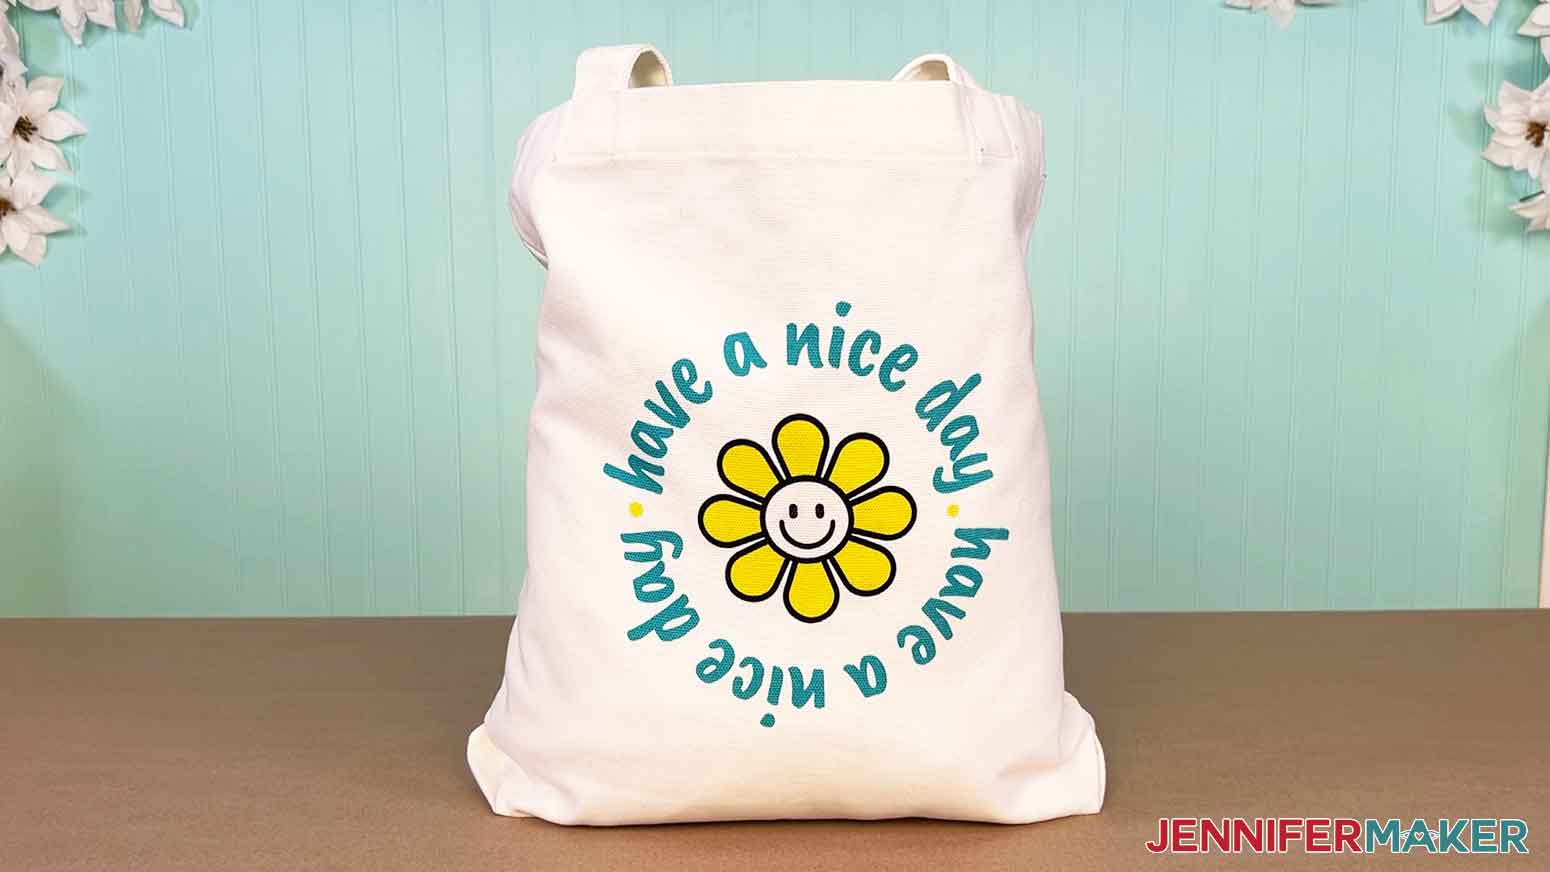
TOTE BAGS AND WINE TUMBLERS
1. Before ordering tote bags or wine tumblers, make sure to adjust the settings for your product.
2. First, set the options under “Select your pages to print.”
NOTE: My design is on Page 1, so I’ll make sure “1” is selected.
3. Then select your product’s base color.
NOTE: I’ll choose cream for my tote bag.
4. Choose the number of products you want to print in the “How many?” dropdown box.
NOTE: I’ll choose 1 tote bag.
5. Follow Steps 7-13 from the “NOTECARDS” section to order your gifts.
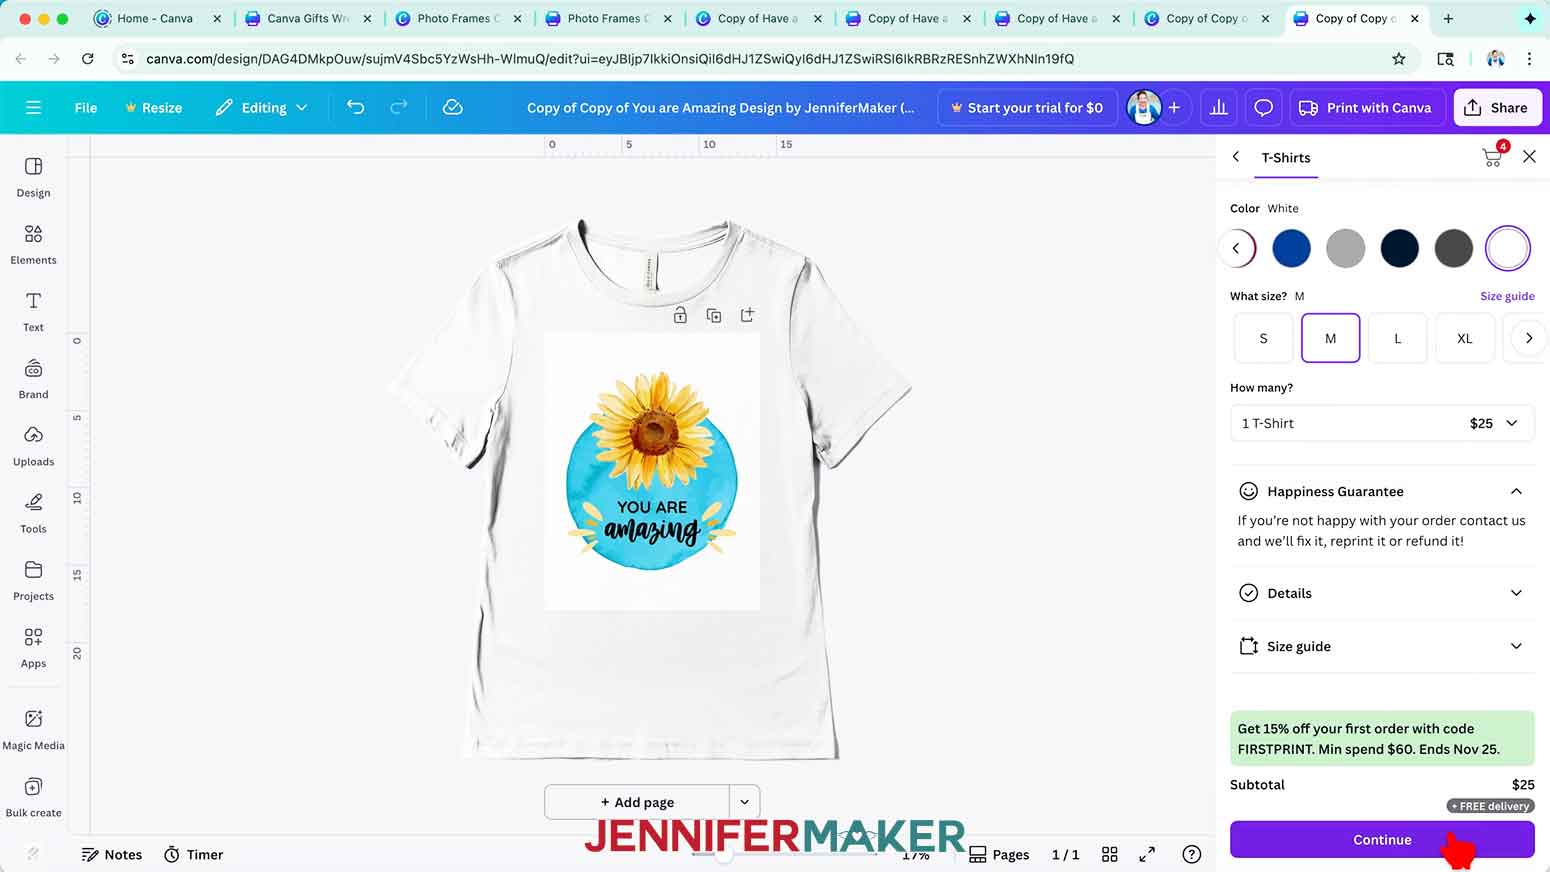
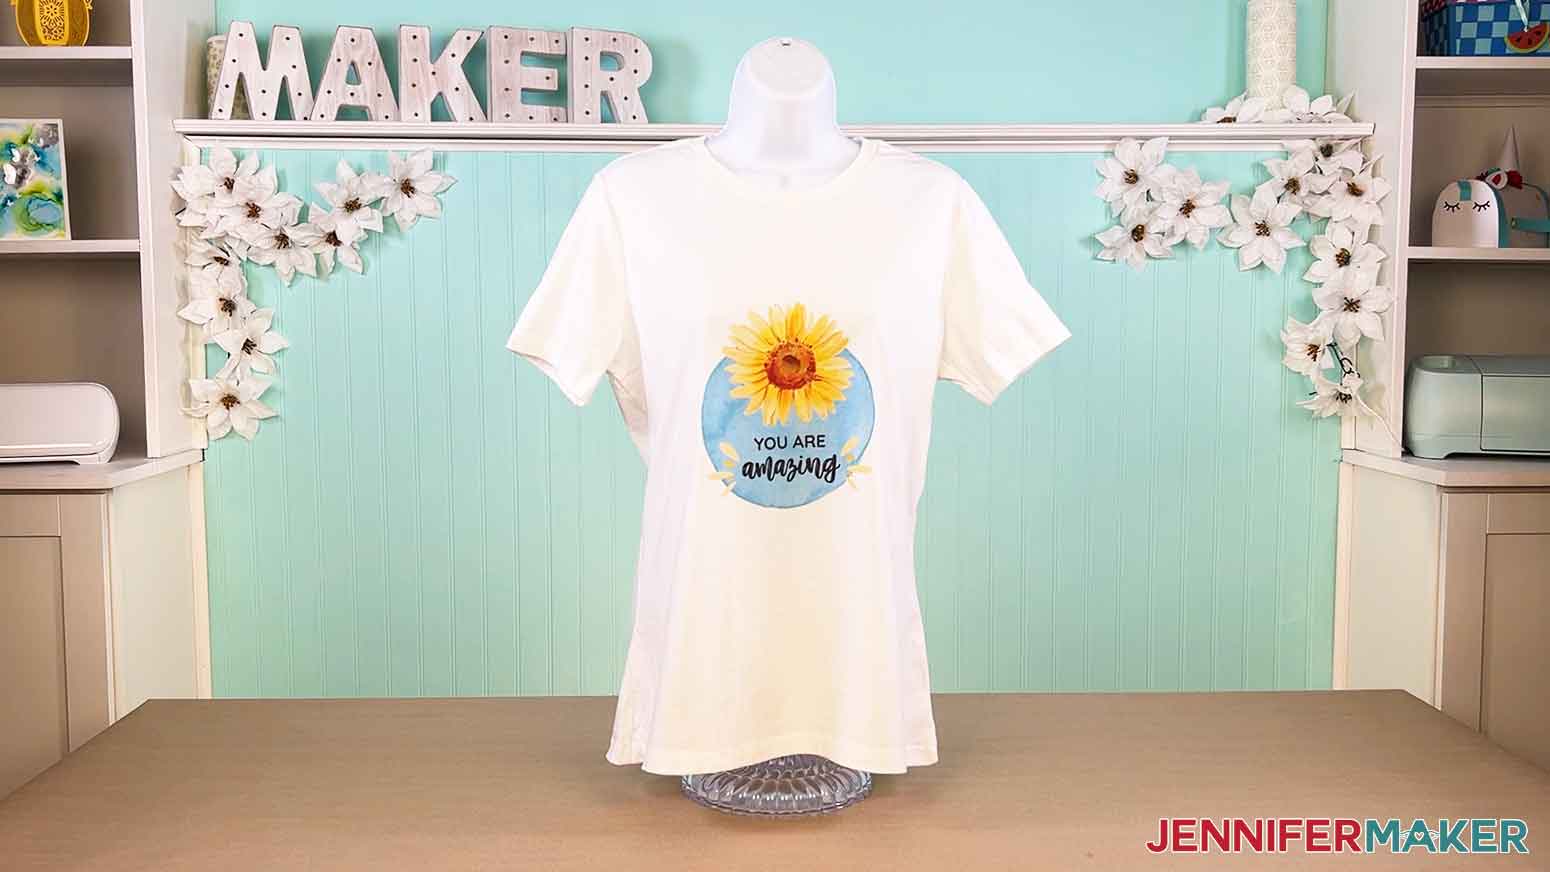
T-SHIRTS AND HOODIES
1. Before ordering T-shirts or hoodies, make sure to adjust the settings for your product.
2. First, set the options under “Select your pages to print.”
NOTE: My design is on Page 1, so I’ll set the “Front” to 1 and the “Back” to “None.
3. Then select your product’s base color.
NOTE: I’ll select white for my T-shirt and black for my hoodie.
4. Choose the “Fit” to determine the cut of the clothing.
NOTE: I’ll choose “Women” for my T-shirt and “Adult” for my hoodie.
5. Then pick a sizing option under “What size?”
NOTE: I’ll pick “M” or “Medium” for both gifts.
6. Choose the number of products you want to print in the “How many?” dropdown box.
NOTE: I’ll choose 1 for both gifts.
7. Follow Steps 7-13 from the “NOTECARDS” section to order your gifts.
STEP 5: SHOW IT OFF
You now have a really cool assortment of personalized gifts you’ve designed in a matter of minutes!

Notes
Canva Typefaces:
Caveat Brush (Have a nice day)
Quicksand (You are amazing)
Better Together Script (You are amazing)
DM Serif Display (Monogram)
Answers to Your Questions About Canva Gifts
Q: I want to learn how to quickly edit Canva templates to customize my gifts. How do I do that?
A: You can learn more about Canva gifts and how to use resource pages for quick, easy customization in my ADVANCE program. Learn more about ADVANCE here!
Q: What are Canva gifts?
A: Canva gifts are custom-printed products you design yourself using Canva’s free online design tool. You can create personalized mugs, tote bags, shirts, notebooks, and more, then have them printed and shipped directly to your door. It’s a simple, fun way to make professional-looking gifts without needing a Cricut, vinyl, or a heat press.
Q: Do I need Canva Pro to make these gifts?
A: Nope! Everything in this project can be done with a free Canva account. In the video tutorial, I’ll show you how to find and use the free fonts, elements, and tools you’ll need to make your own beautiful designs.
Q: Can I use my own photos or designs instead?
A: Absolutely! You can upload your own photos, logos, or artwork right into Canva and apply them to any of the available products. It’s a great way to personalize your gifts for family, friends, or even small business branding.
Q: What kinds of products can I print on with Canva?
A: Canva’s print catalog includes a huge variety! There’s stationery like note cards and notebooks, drinkware like mugs and tumblers, clothing, coasters, tote bags, and so much more. In the video, I show examples of how my designs look on ten different products!
Q: How is the print quality on your Canva gifts?
A: I am genuinely impressed with the quality of the personalized gifts I ordered from Canva! The colors look exactly as they do on my screen, the lines are crisp, and the materials feel professional. Perfect for gifting!
Q: Are these Canva gifts good for the holidays?
A: Canva gifts make amazing personalized presents during the holiday season, especially when you’re short on time. They’re also perfect for birthdays, teacher gifts, or just-because surprises. And since everything is so customizable, there’s truly something for everybody.
Q: How long does it take to receive my order?
A: Shipping times vary depending on what you order and where you live, but my items arrived quickly and beautifully-packed. Canva takes care of all the printing and shipping so your gifts come ready to wrap.
Get my free Canva Gifts PDF files with links to the designs and templates I used!
(If you do not see the signup form above, click here.)
I love seeing what you make with my tutorials and how you customize them! Please share a photo of your Canva gifts and gift ideas in our Canva Creators Facebook group, or tag me on social media with #jennifermaker.
Love,

Want to remember this? Save this Canva Gifts tutorial to your favorite Pinterest Board!