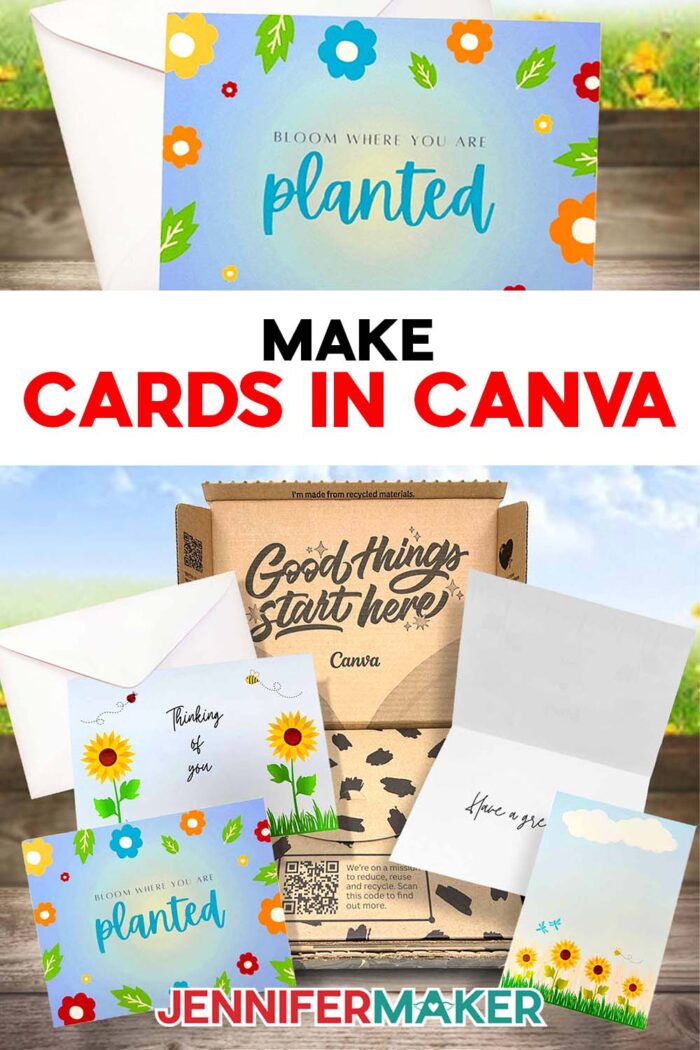
Learn how to make cards in Canva using free templates!
Picture this: You’re in the card aisle, searching for that perfect combination of the right look with the right words. Sometimes, you can get close — and other times, you might be standing there forever, never quite finding the perfect card for the occasion. That’s exactly why I started designing my own greeting cards and envelopes to match. I wanted something more personal, more “me” — and definitely something that didn’t feel like an afterthought! Making a custom greeting card from scratch might sound a little intimidating at first, but with a computer and my easy tips, you can learn how to make cards in Canva!
See the full step-by-step video tutorial on how to make cards in Canva:

I’ve done the research and testing to find the easiest and most accessible method available to make cards in Canva, and I can’t wait to share it with you! And since card sizing is important, my download includes a card and envelope-sizing cheat sheet! It includes standard size guidelines, so you don’t have to guess or hunt around the internet for measurements. It’s a good idea to keep it nearby while you’re designing your card, so you can always check that you’re making or buying the right size envelope.
One of the best parts about this project is that you don’t need anything fancy to get started. With simple tools and materials like a computer with internet access, a regular inkjet printer, and some matte photo paper, you can make homemade card magic!
And while cards are simple, there are a few key materials and tools. Paper type really makes a difference when it comes to color quality and overall finish — so if you want your final product to have the highest quality look and feel, that’s the trick. And, having a paper trimmer on hand helps make your cuts crisp and clean. You can also use a scraper tool to make the crease look super professional.
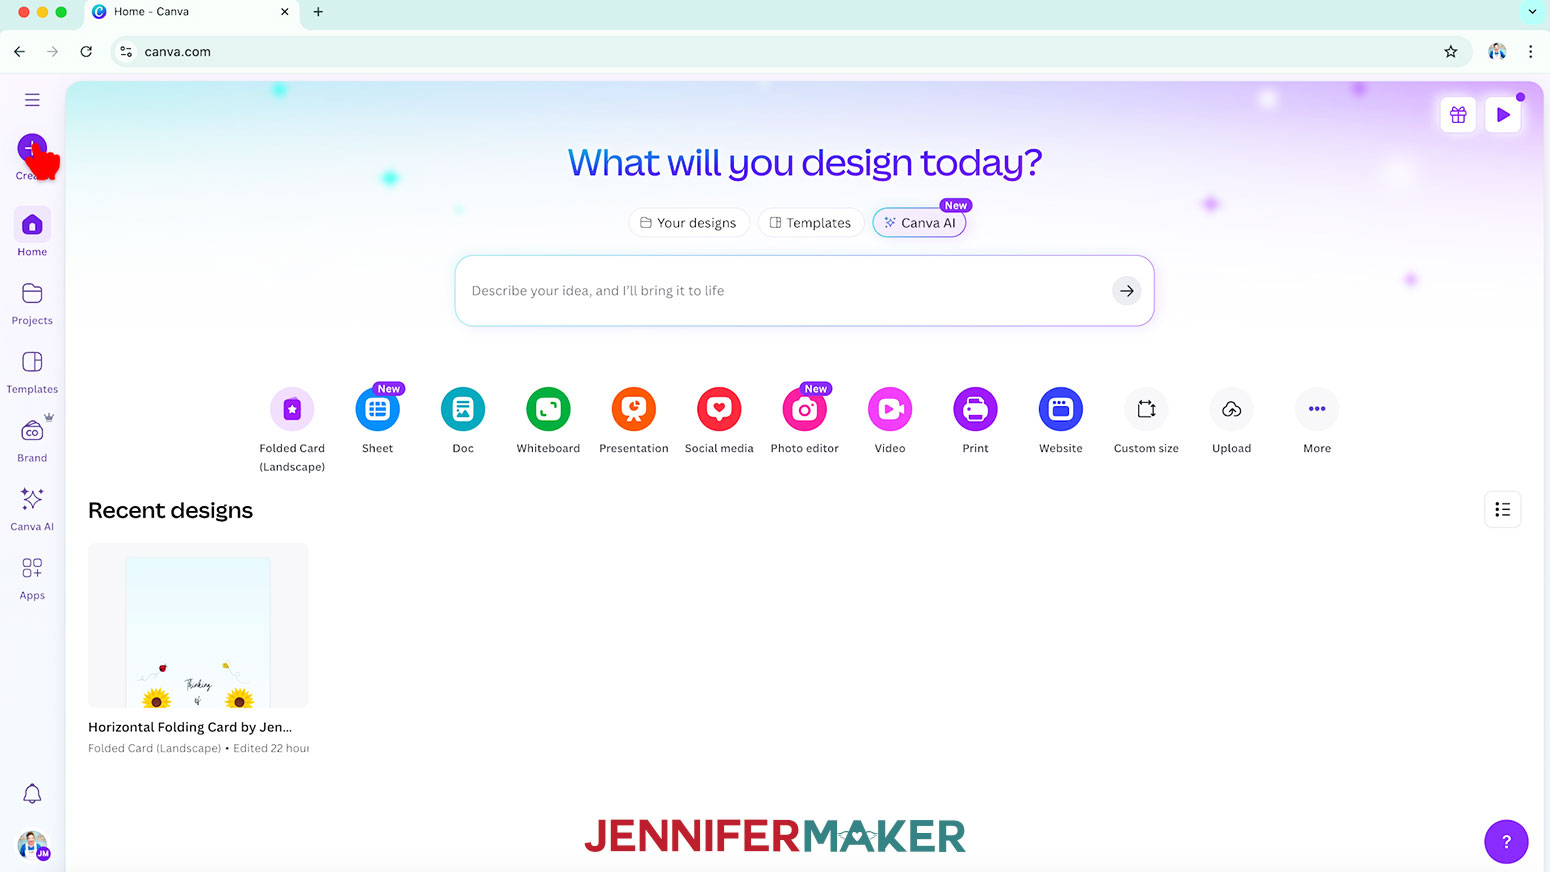
But first, you need a card to create! The first thing we’ll do is open up Canva, an amazing free design tool. There’s no need to invest in Canva Pro or a full design suite — everything I show you works great with the free version of Canva! I’ll walk you through creating three different card designs using free Canva templates, design elements, and text.

We’ll cover a few important tips, too, like how you cannot change the size of your canvas once it’s set (with a free account), so be sure to choose a custom size for your project that is larger than you’ll need. I’ll walk you through what I mean in the video.
Next, we’ll use the search bar to browse thousands of graphics. Choose graphics without a crown icon –- that means they’re free to use without a paid account.
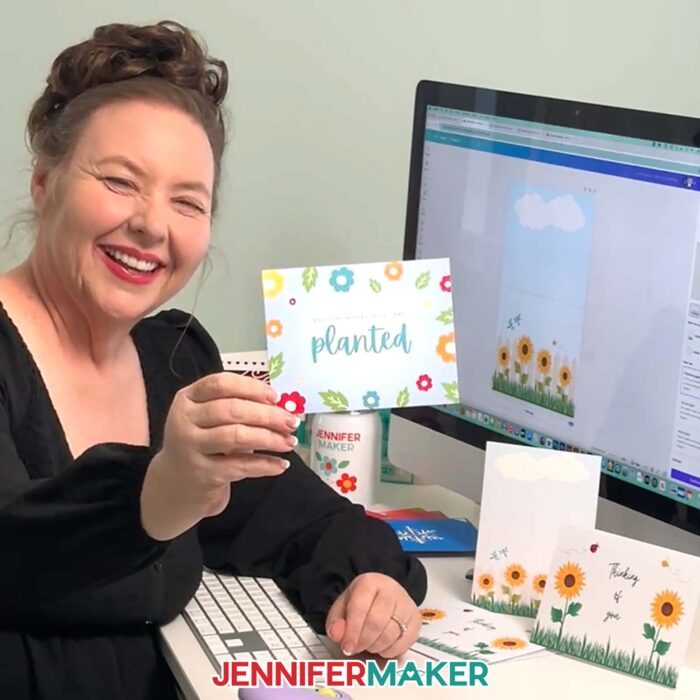
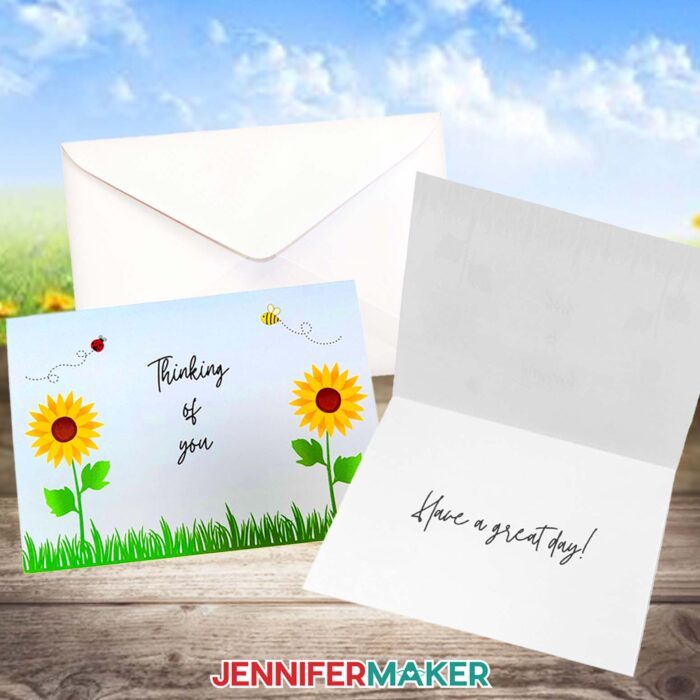
From there, it’s all about playing with images, colors, and text elements. I love creating cards from scratch because you get full control over the design! Start with a beautiful background, then layer on fun details like grass, flowers, clouds, or bees. You can flip and rotate them, duplicate them to build a scene, and even adjust the color of the elements to match your theme. I’ll show you how! The graphic design part of this is so fun because there are so many ways to make it your own. If you’re unsure what to search for, think in themes –- holiday, birthday, thank you, etc. –- and go from there.
Then comes the part that makes it really special: the words. Adding text elements is simple, and it’s amazing how much a heartfelt phrase can change the feel of your card. Just make sure to filter by “Free” when picking typefaces (unless you have a Canva Pro membership) so you don’t accidentally fall in love with a paid option! I’ll walk you through how to change the color to coordinate with your other design elements, then show you how to use the pink guide lines to center it perfectly.
And if you’re short on time or just want to start with a Canva template instead of designing from scratch, that’s totally fine too! There are tons of beautiful templates under the “Cards & Invitations” section, and with just a few quick edits like changing colors, swapping fonts, or adjusting text, you’ll have something completely unique in minutes. That’s the magic of Canva: whether you’re a total beginner or already dabbling in cardmaking or graphic design, you can go from blank paper to treasured keepsake in a few clicks.
Once you’ve finished your new Canva card design, it’s time to print! I’ll show you how to print your card true to size, with the highest quality results. I’ll also show you how to use the right settings so your design goes right to the edge when trimmed. And did you know you can use Canva’s printing service to get your card printed professionally and delivered to your door? We’ll go over that too!
Designing greeting cards from scratch lets you send not just a message, but a piece of your heart. Whether you print it at home or send it to a printing service, you’ll know your final product is full of love and intention. Remember: You CAN make something beautiful, even if it’s your first time!
Would you like to design your own double sided card in Canva? I have a workshop just for you in my ADVANCE program. Plus, I’ve created a cheat sheet calendar of occasions to send cards, so you’ll never miss an opportunity to share the love! Learn more about ADVANCE with JenniferMaker here!
Let me show you how to make cards in Canva! This post contains some affiliate links for your convenience (which means if you make a purchase after clicking a link I will earn a small commission but it won’t cost you a penny more, there is no additional cost)! Read my full disclosure policy.
Materials to Print Your Canva Card at Home
View my Amazon shopping list with the exact items I used.
- One (1) Sheet of 8.5″ x 11″ Matte Photo Paper
- One (1) 5″ x 7″ A7 Envelope (optional)
- Free Canva Account
- Color Inkjet Printer (if you want to print at home)
- Paper Trimmer -OR-
- Scissors
- Scraper Tool

How to Make Cards in Canva!

Make Cards in Canva
Learn how to make cards in Canva!
Materials
Tools
- A Free Canva account
- Color Inkjet Printer (if you want to print at home)
- Paper Trimmer -OR-
- Scissors
- Scraper Tool
Instructions
STEP 1: GET MY FREE CARD AND ENVELOPE SIZING PDF
First, download my Canva Card files from my free library – look for Design #749. Alternatively, you can use the Save This Project form near the top of this post and the design link will be emailed to you.
In the folder, you’ll find a handy reference sheet with standard card and envelope sizes to help you design your cards and matching envelopes.
TIP: If you’re not sure how to upload, go to jennifermaker.com/svgs to learn how to unzip and upload. The process is similar for PDF and PNG files.
To get started, open your computer’s browser and go to jennifermaker.com/canva.
NOTE: If you’re new to Canva, check out my Canva for Beginners tutorial.
Then, either sign in to your account or follow the prompts on the screen to sign up for a free account.
NOTE: Canva does offer paid subscriptions with more tools and elements, but I’ll show you how to do everything with the free account.
STEP 2: DESIGN YOUR CARD IN CANVA
OPTION 1: DESIGN A CARD FROM A BLANK TEMPLATE
HORIZONTAL FOLDING CARD
- In Canva, click the “Create a design” button.
TIP: Depending on your view, the button may just say “Create.”
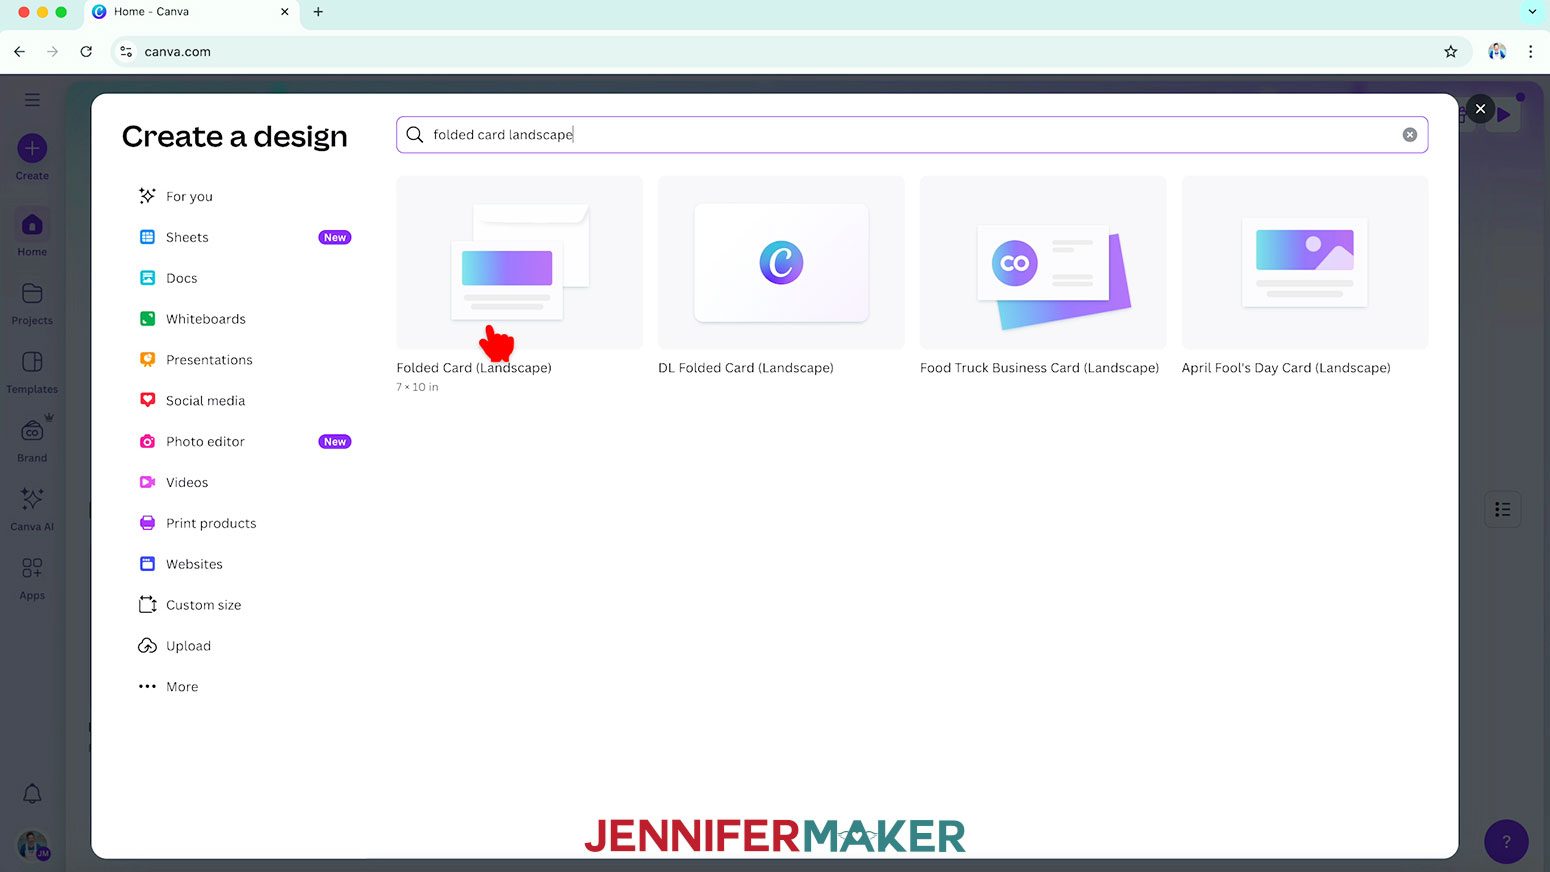
- In the search bar, type in “Folded Card (Landscape)” to find the blank template for a horizontal folding card.
- Click the template to open it in a new canvas.
TIP: The horizontal fold line in the center won’t print with your design. The top half will be the back of the card and the bottom half will be the front. - Then click on “File,” hover over “Settings,” and select “Show print bleed.”
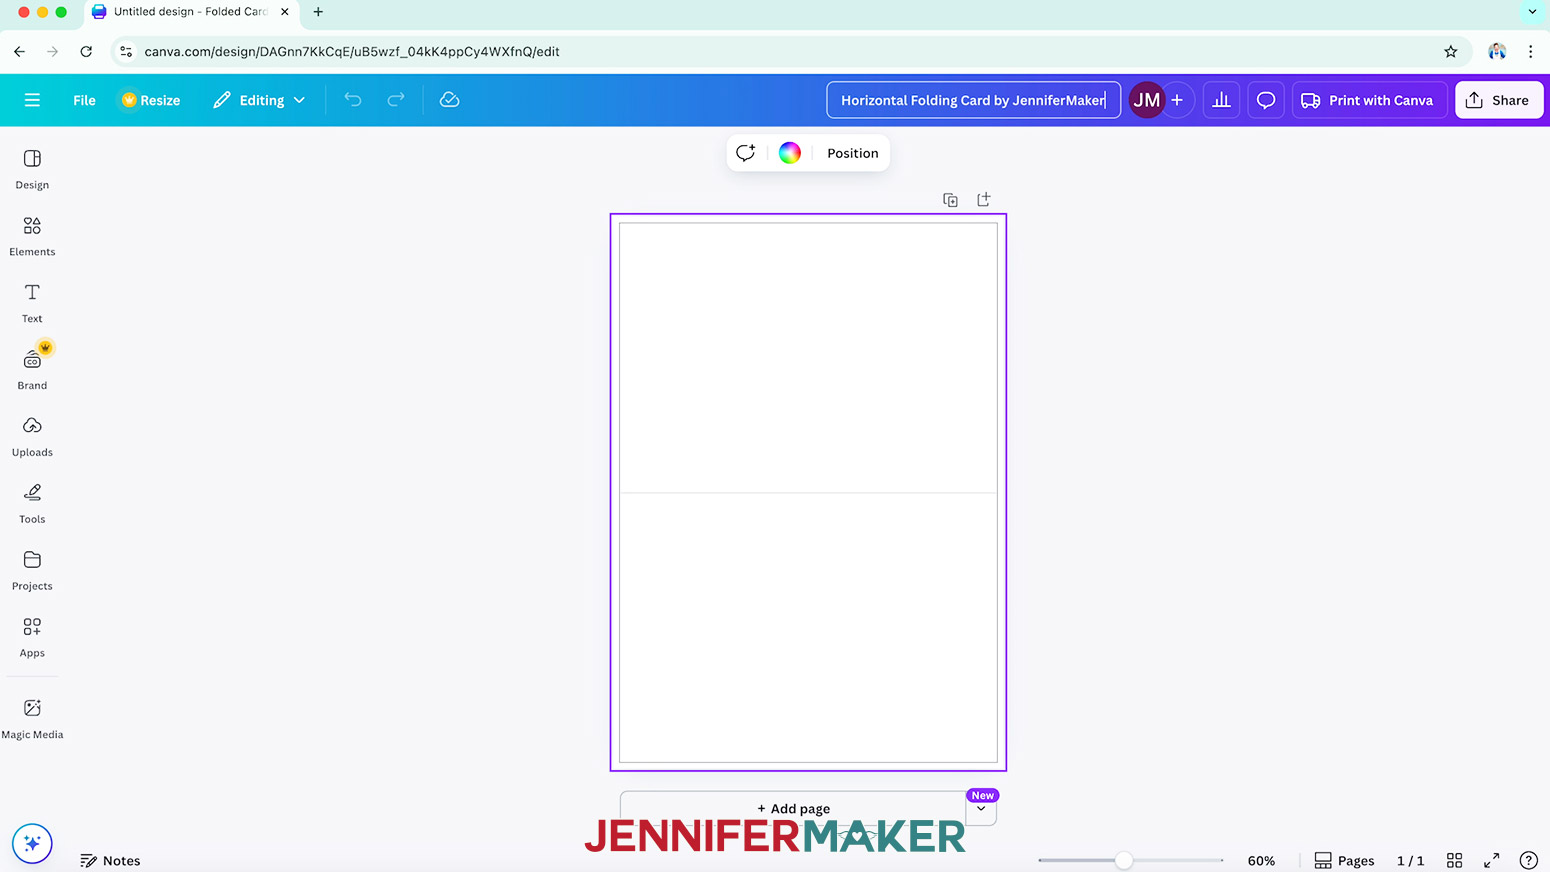
NOTE: This will add extra space to the edges of your canvas to prevent white edges around your design when printing and cutting. - With the new canvas ready, click the filename field at the top and replace the current name with your own.
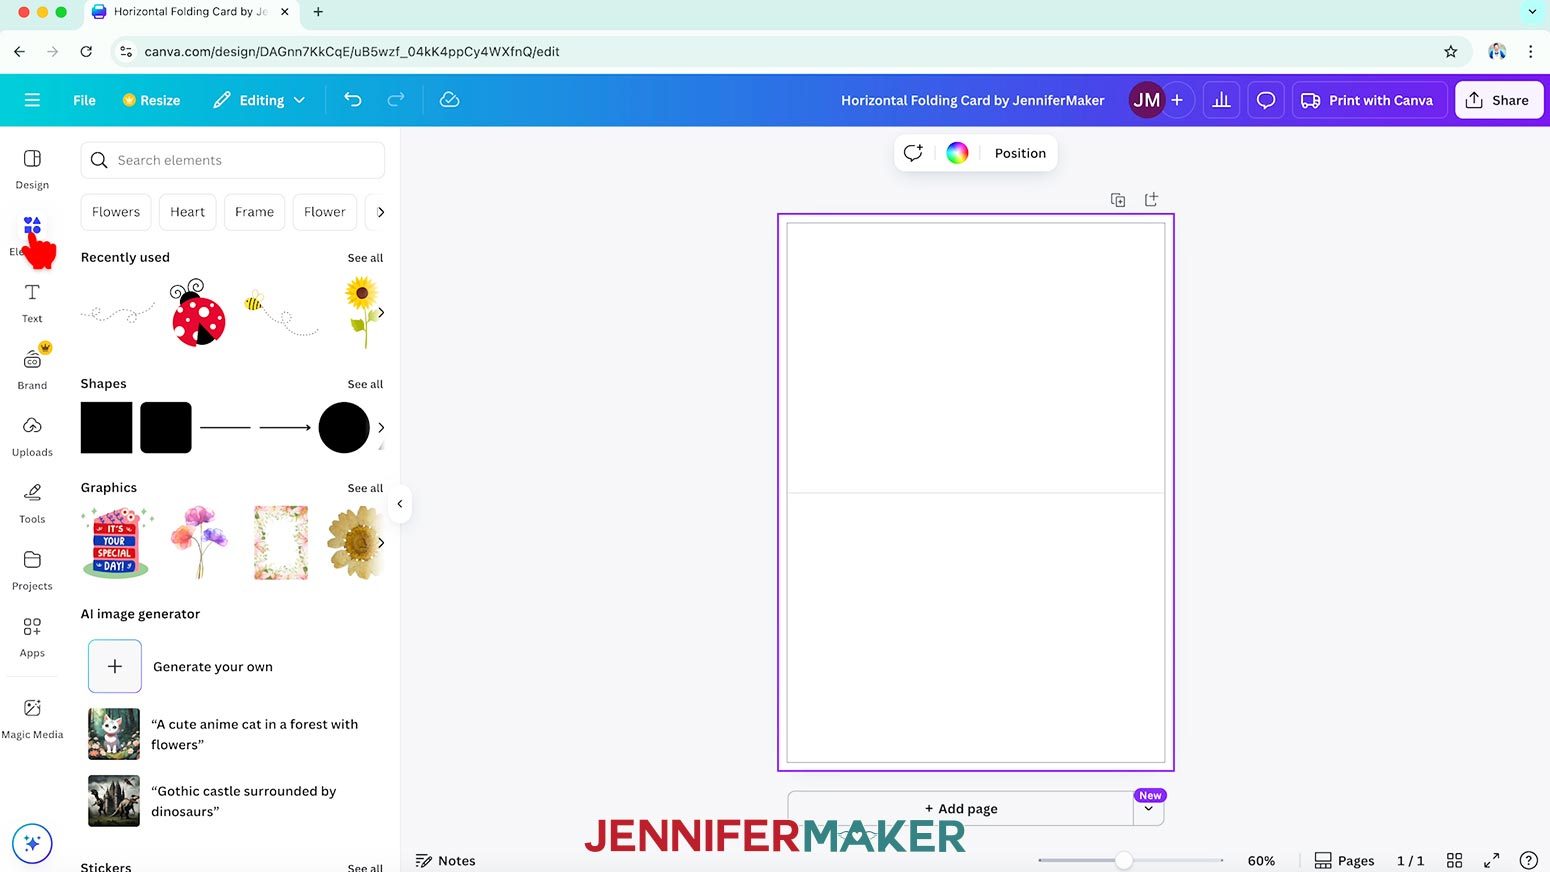
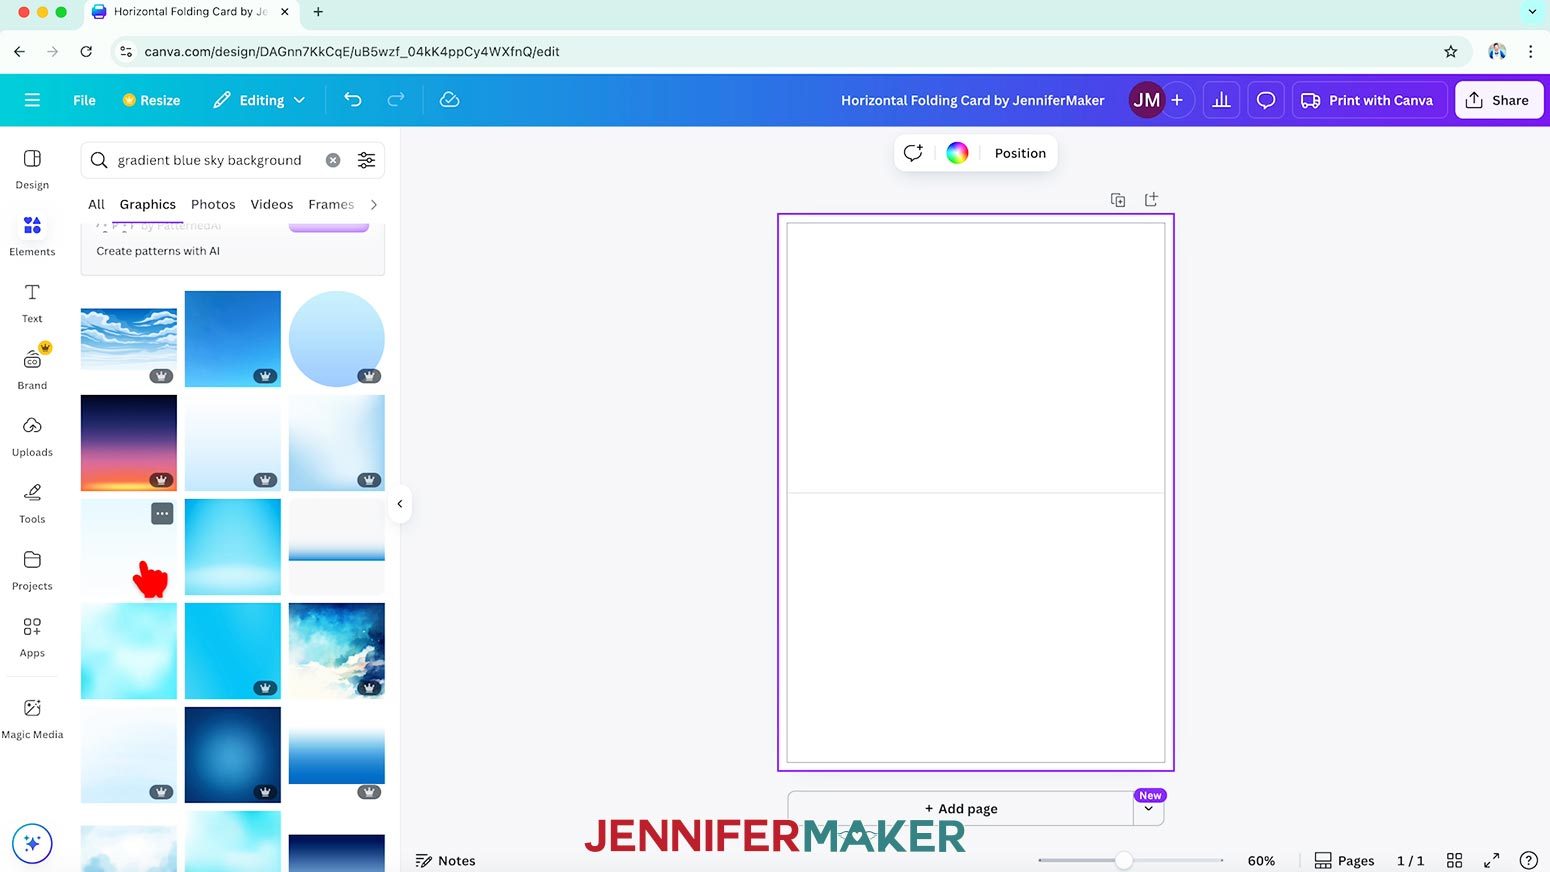
NOTE: I’ll name mine “Horizontal Folding Card by JenniferMaker.” - Next, click on “Elements” to browse Canva’s image collection for a background for your design.
NOTE: Items with a crown are Canva Pro items. You’ll need to purchase them individually or sign up for a paid membership to download images using these elements. - Or, to find an image that fits a specific design you have in mind, type a related phrase in the “Search” bar.
NOTE: I’ll type in “gradient blue sky background.” - Click “See all” to expand a section to see more available options in that category.
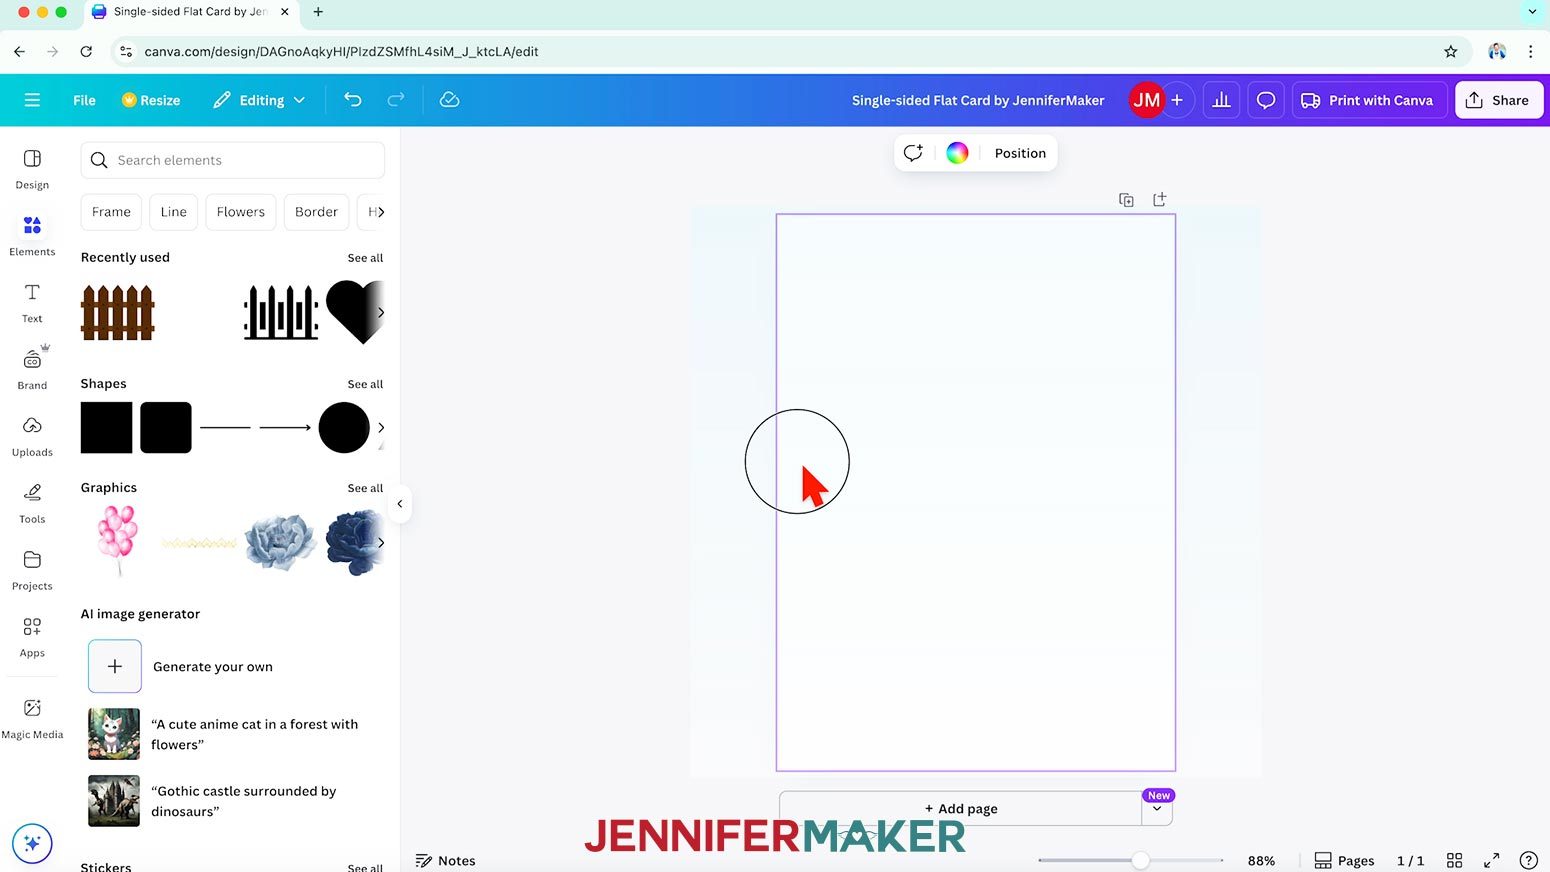
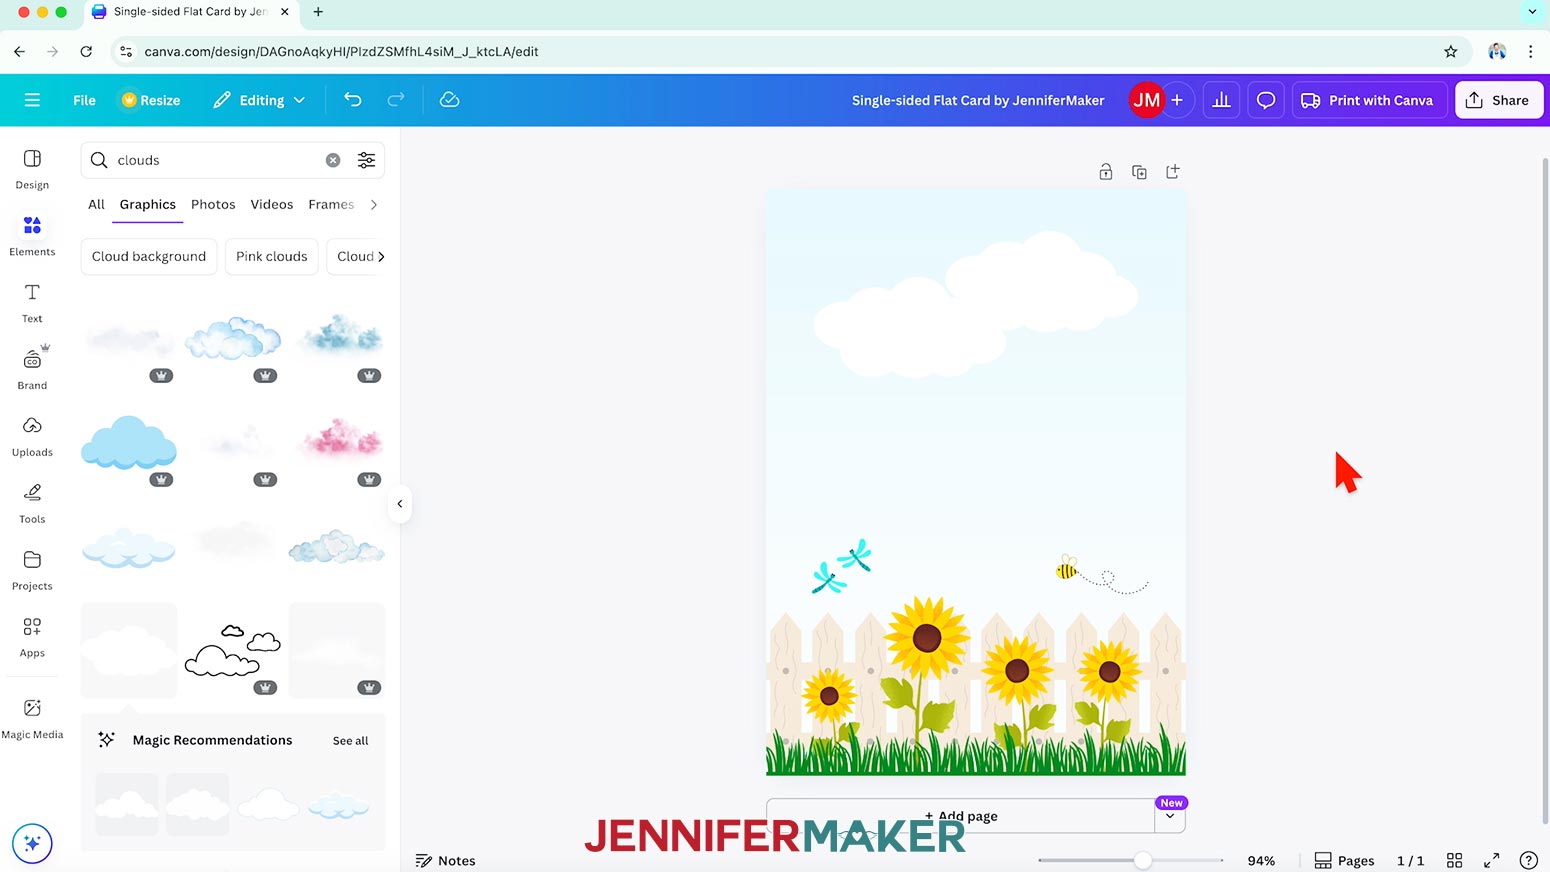
NOTE: I’ll expand the “Graphics” section. - When you find an image you like, drag it over to your canvas so it fills in the background.
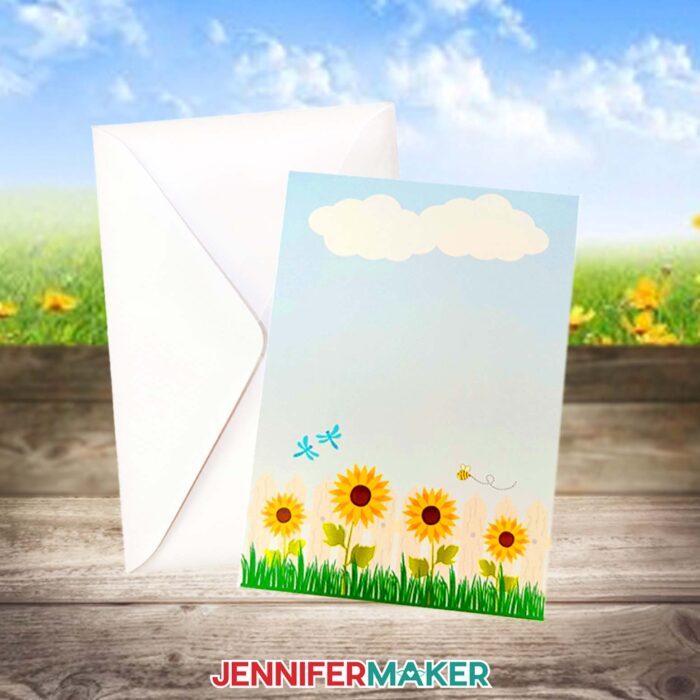
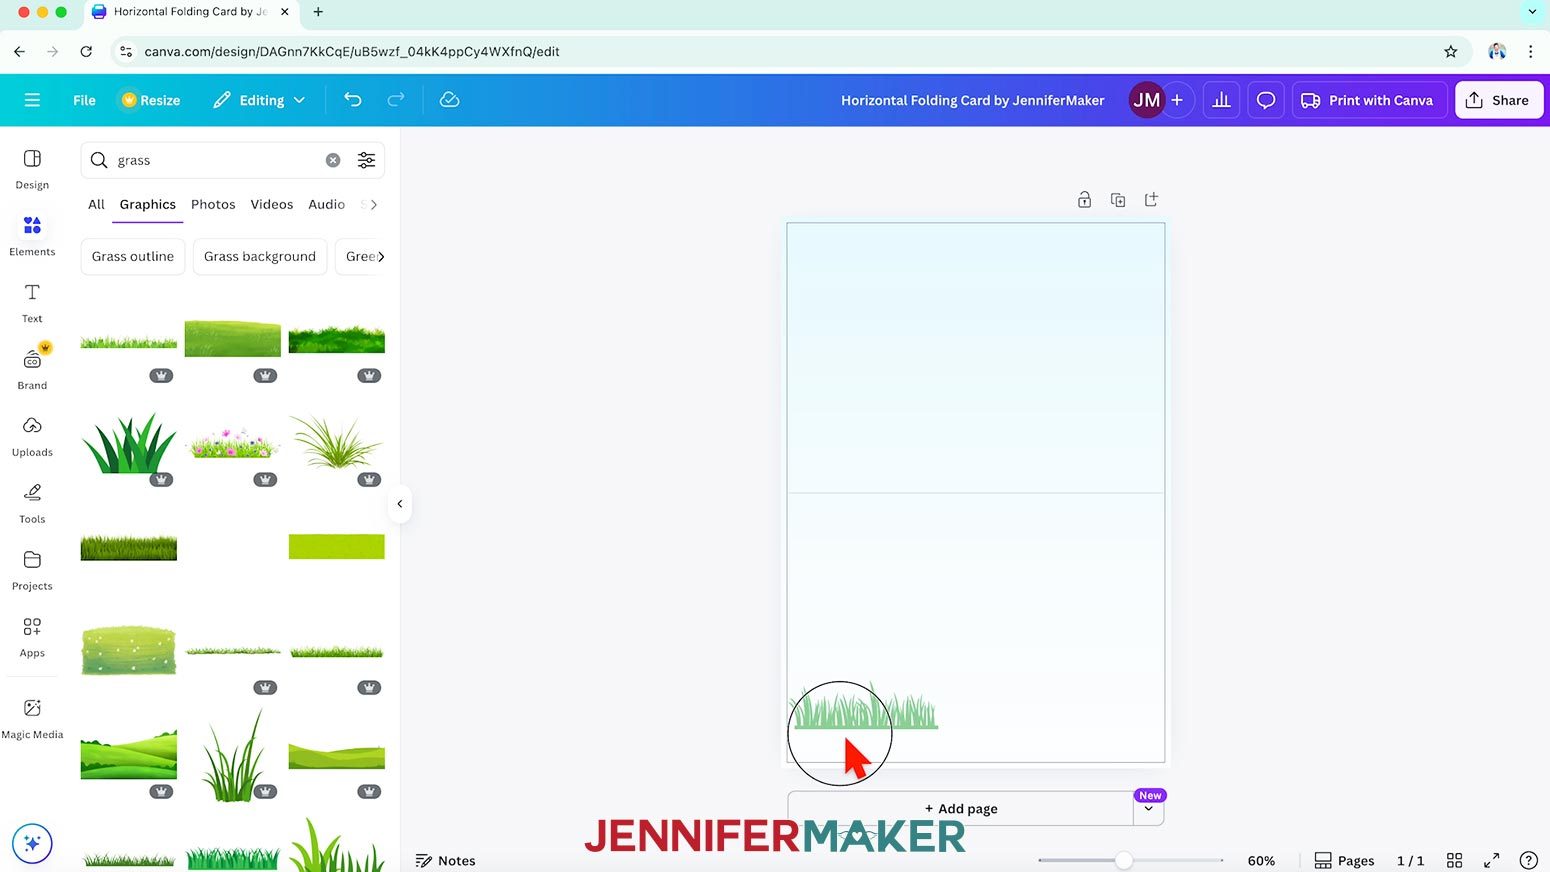
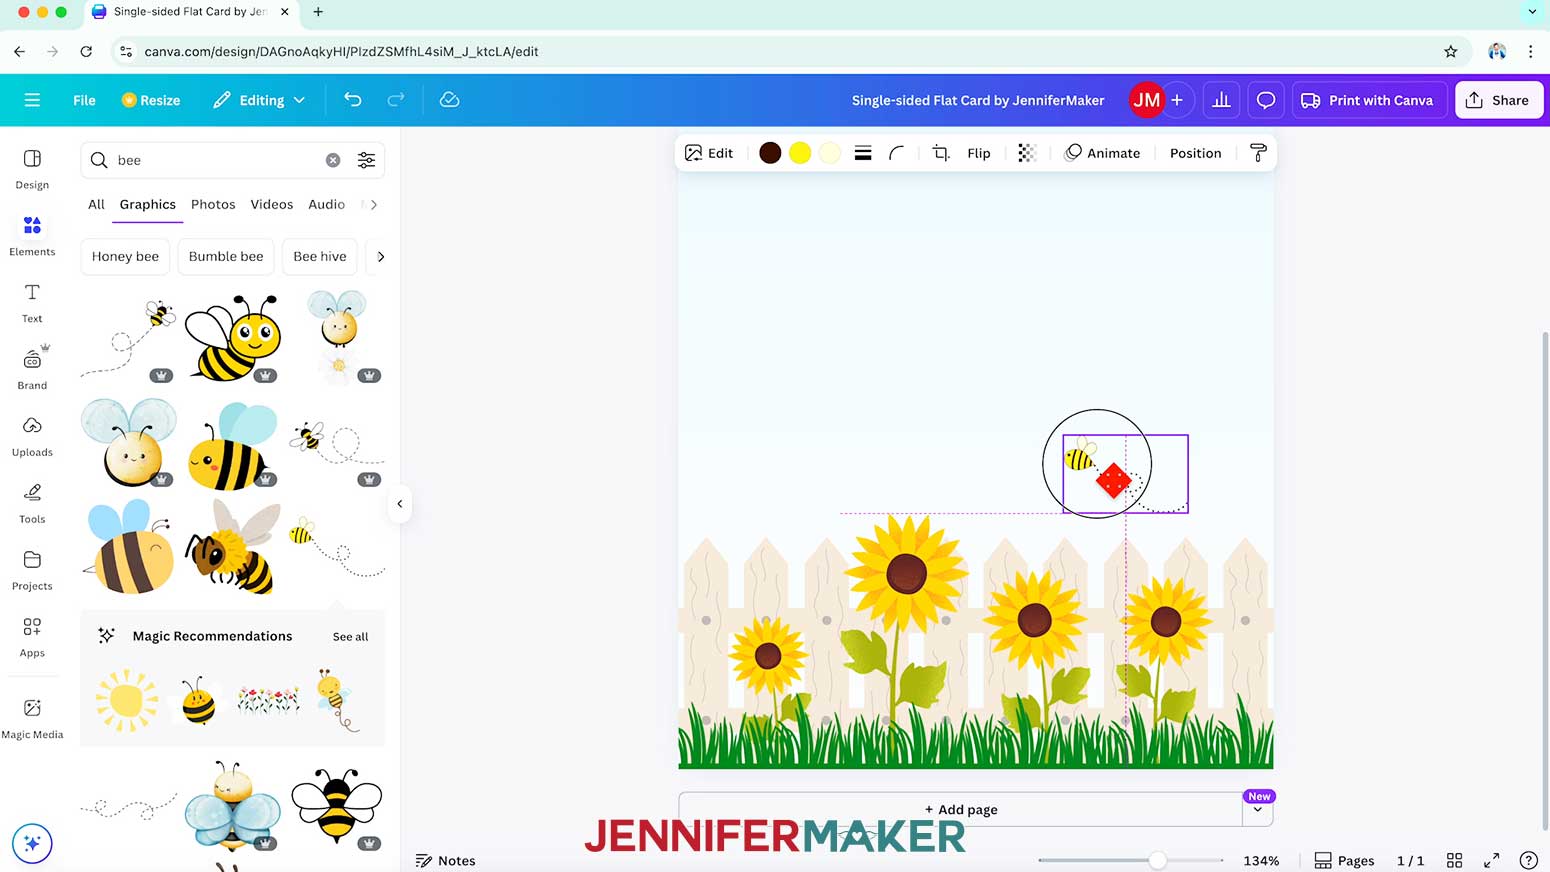
NOTE: The background automatically extends into the print bleed area. - Next, browse or search the “Elements” panel to find one or more foreground images for your card’s design, and click to add them to your canvas.
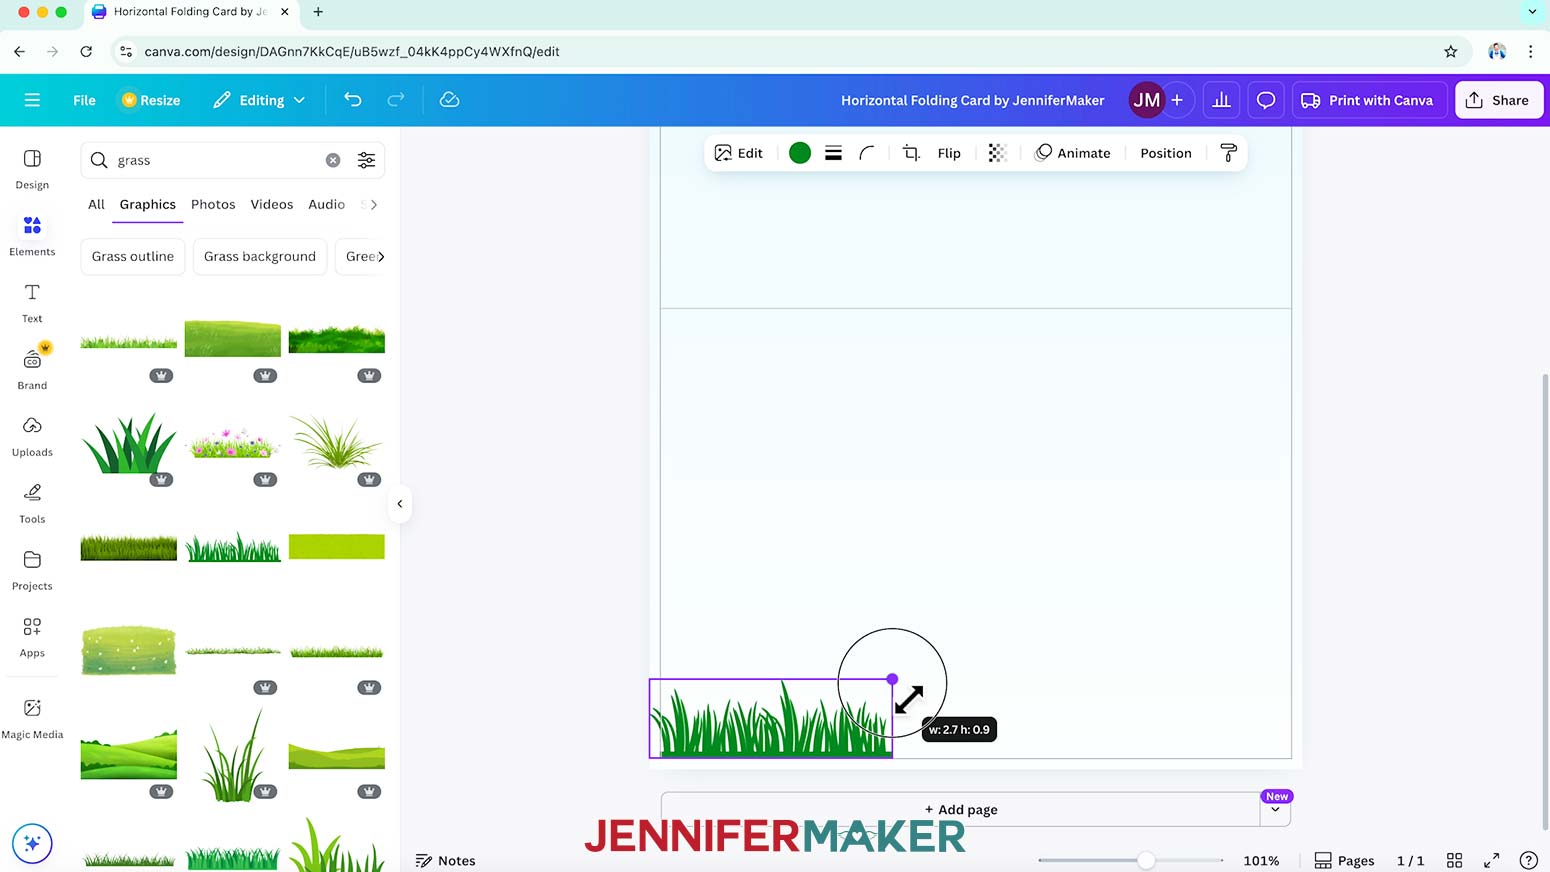
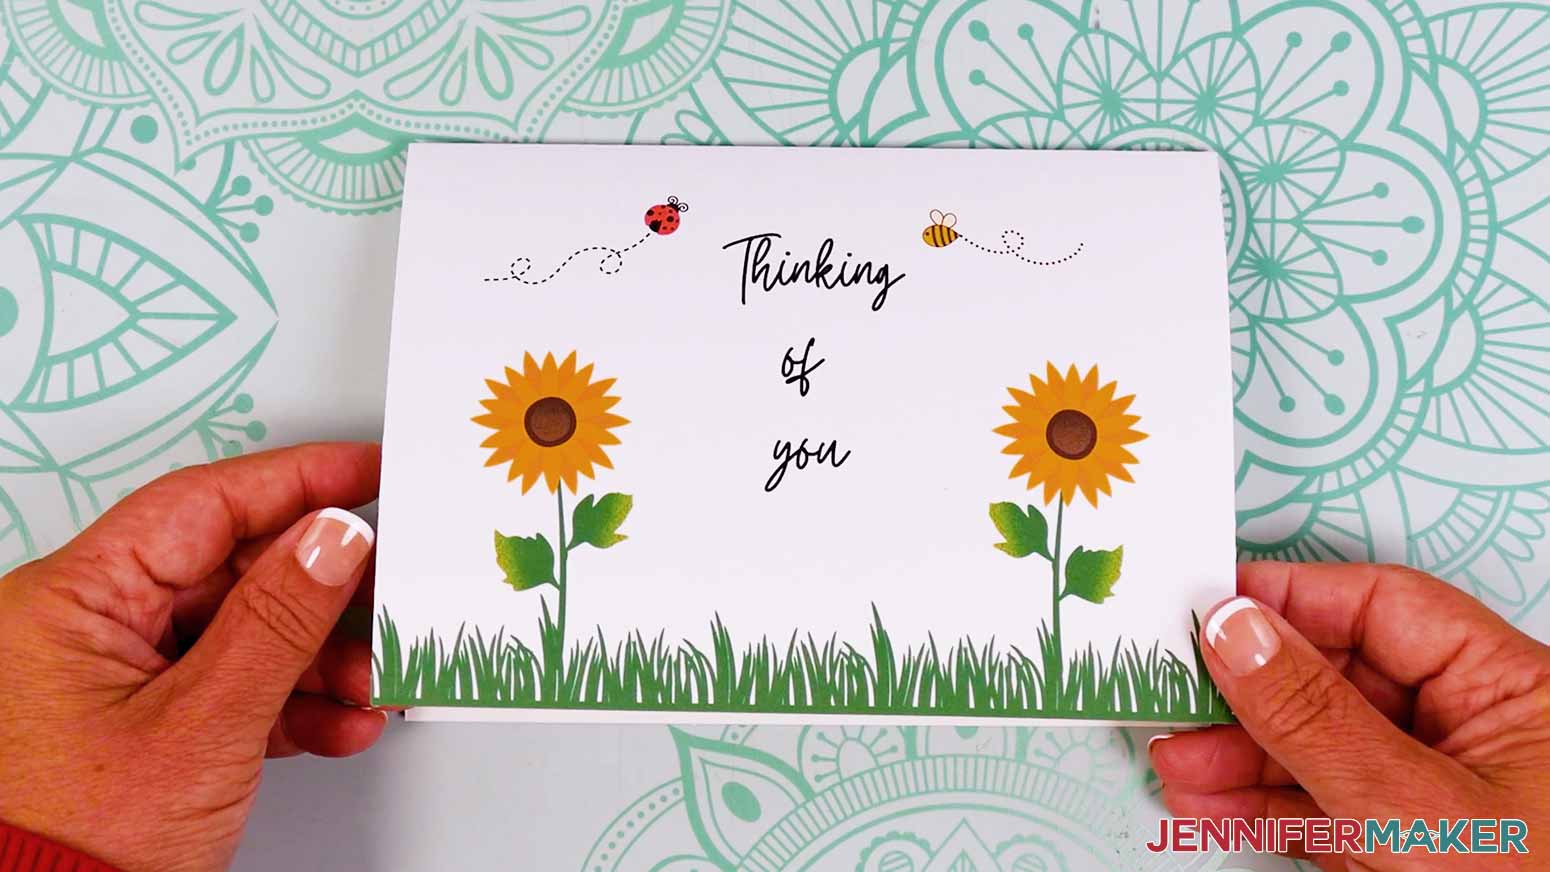
NOTE: I’ll add a graphic of some grass. - Position your elements as desired.
TIP: Use the pink lines that pop up to help align your elements. - Use the corner handles to resize the graphic as needed.
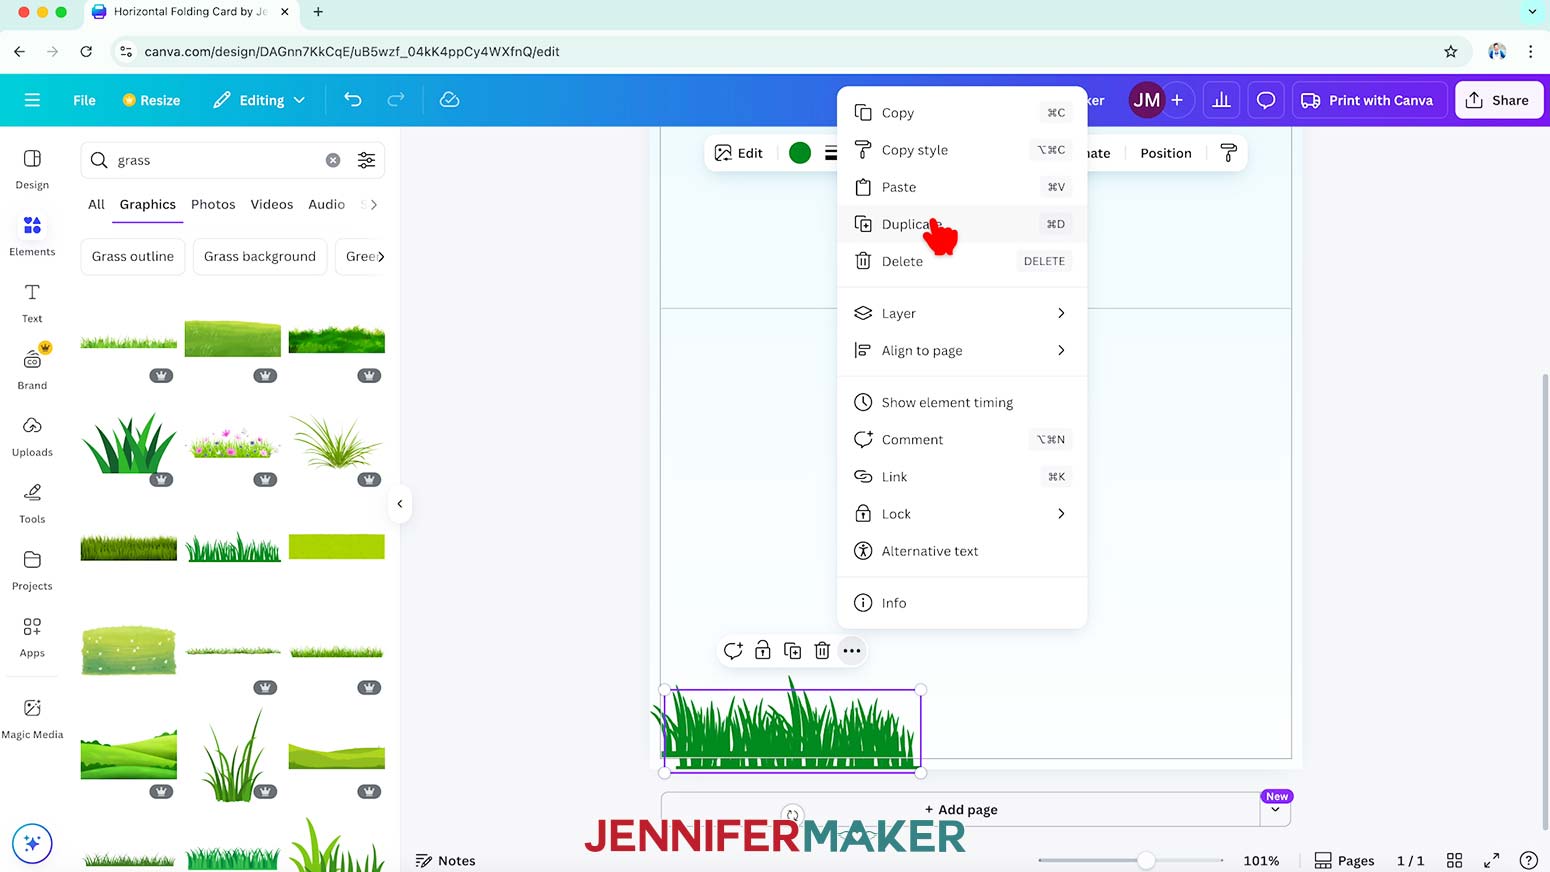
- If you’d like to create a copy of an element, select it, click the three dots, and select “Duplicate.” Then resize and position the copy as desired.
NOTE: I’ll duplicate the grass element and create a line of grass across the bottom of my card, extending into the bleed area. - Repeat Steps 10-13 to add additional elements to your card if you like.
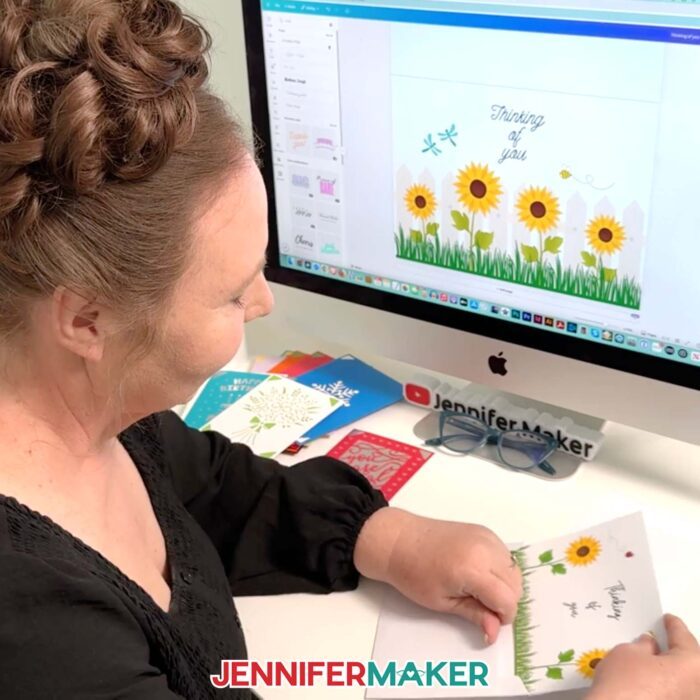
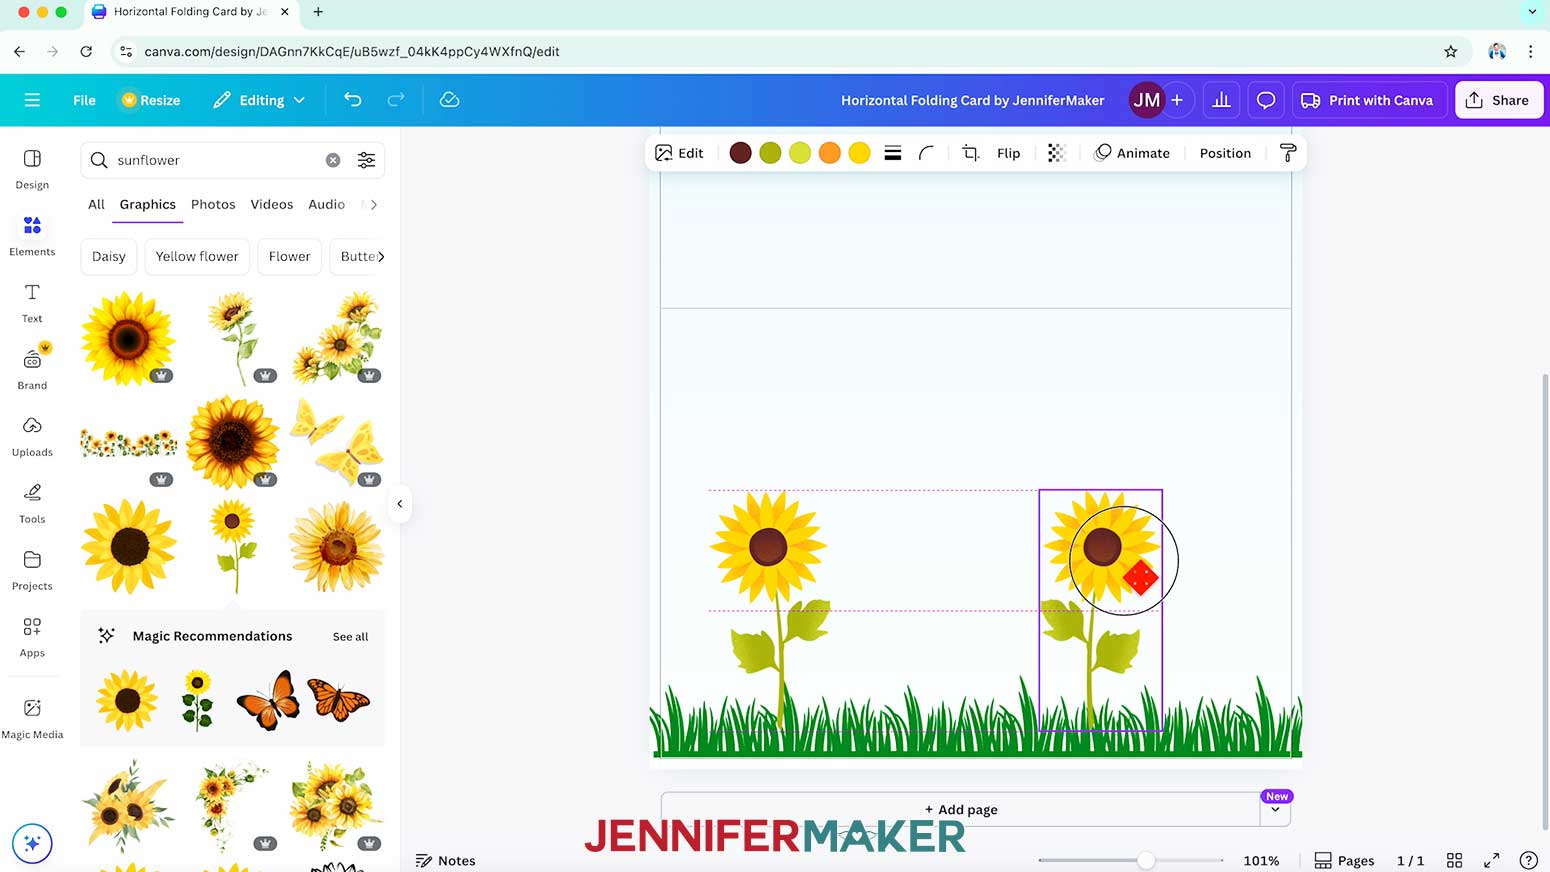
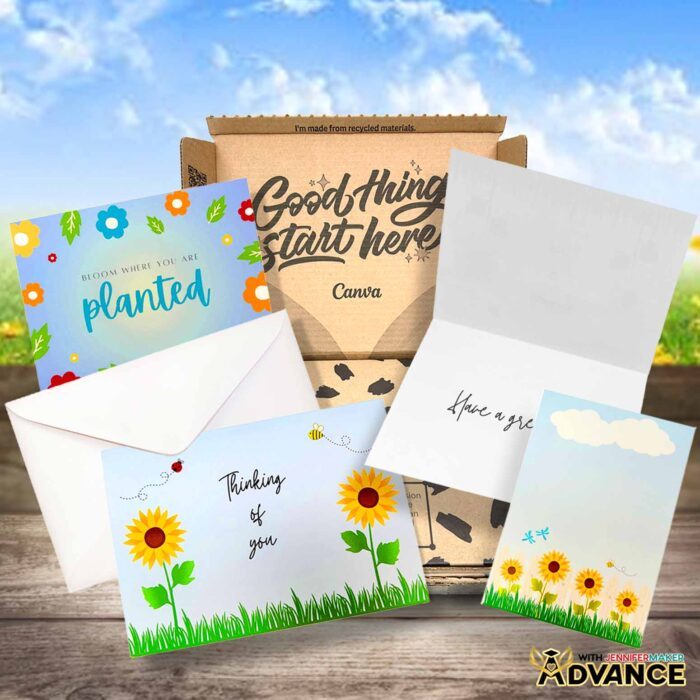
NOTE: I’ll add a sunflower to the left side of my card. - To create a mirror image of an element, duplicate it the same way as Step 13, then select the copy, click “Flip” and “Flip horizontal.” Then adjust and position as needed.
NOTE: I’ll duplicate my sunflower, mirror it, and then move it to the right side of my card. - To rotate an image, select it and drag the curved arrows outside the image to adjust its angle.
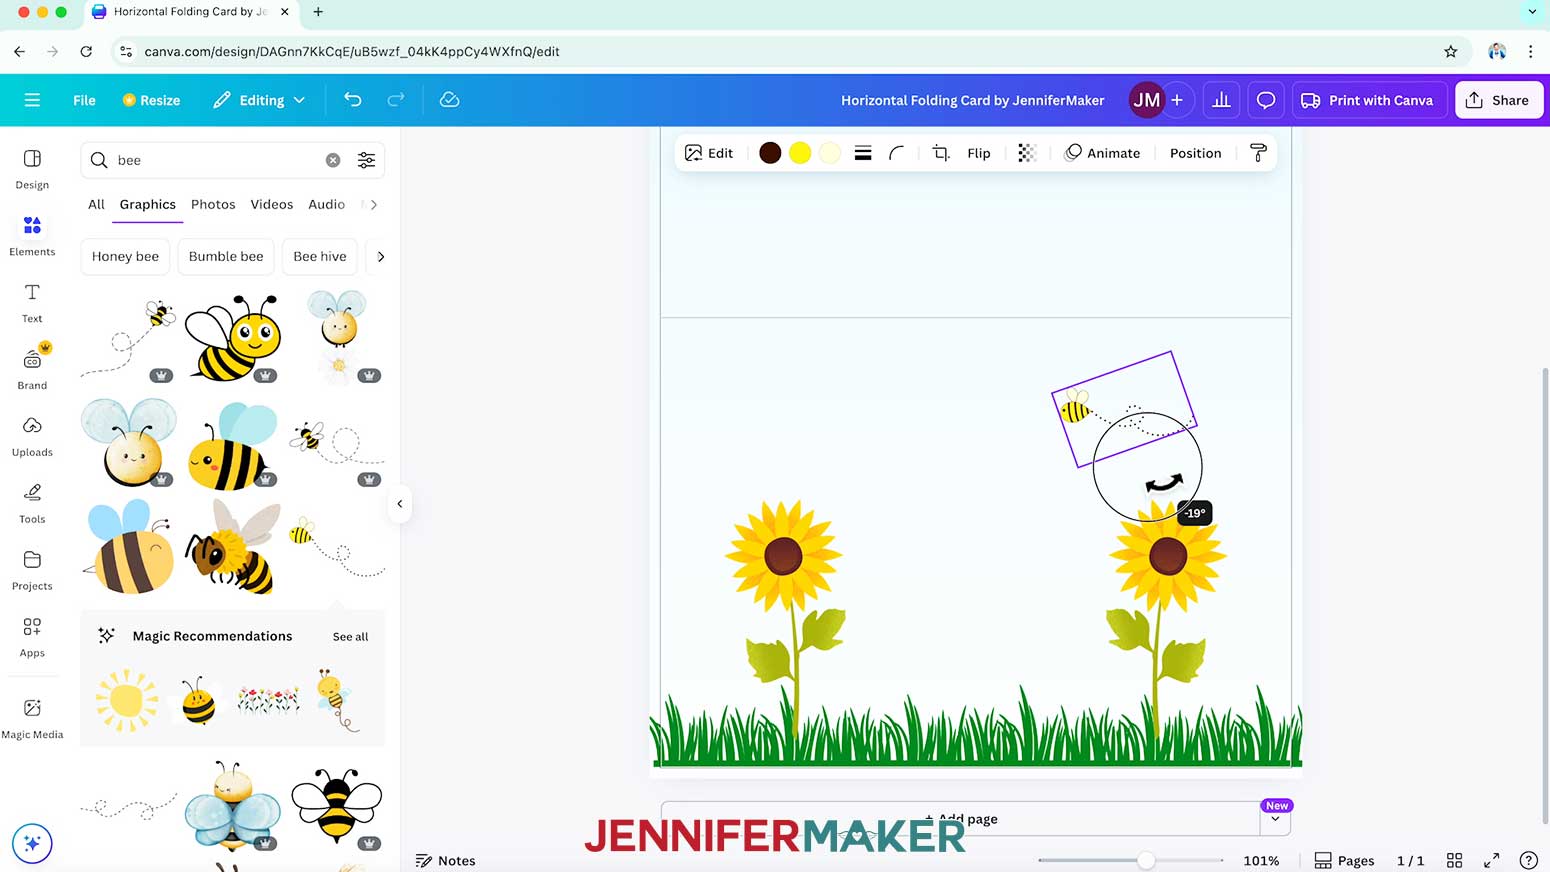
NOTE: I’ll repeat Steps 10-13 to add a bee graphic, position it over my right sunflower, shrink it, and then rotate it so it looks like it’s flying over the flower. - Continue adding and adjusting elements as desired.
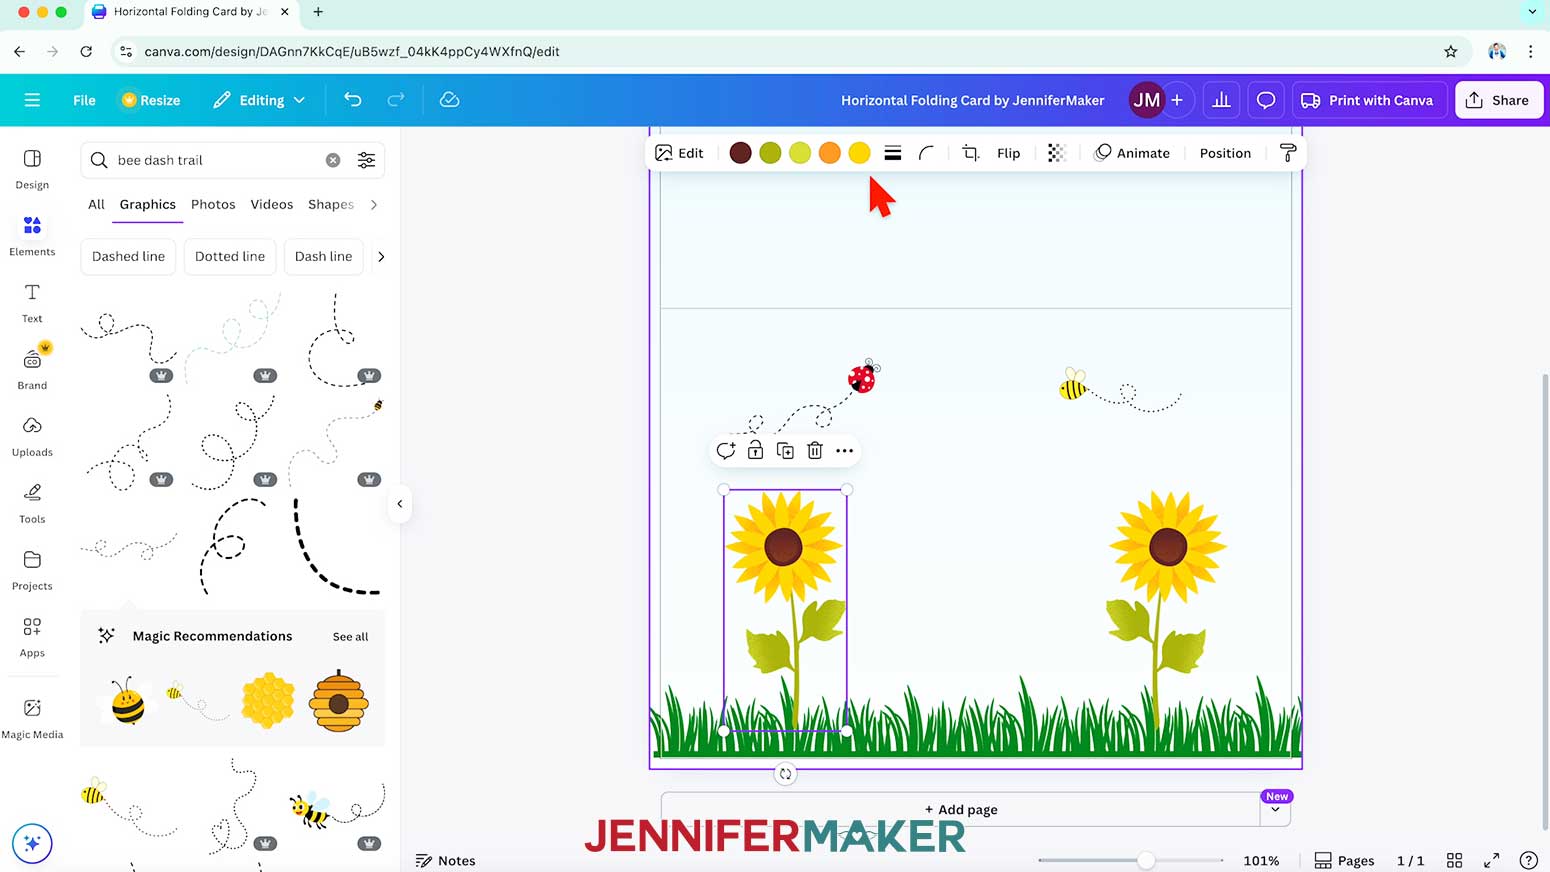
NOTE: I’ll add a ladybug and flight trail over my left sunflower. - To change an element’s colors, select it and make sure there are color swatches at the top, which indicate you can adjust them.
NOTE: If color swatches do not appear, you won’t be able to change the element’s individual colors. To learn about filter effects and other color correction tools in Canva, check out my How to Design a Wind Spinner in Canva tutorial. - Click the swatch you’d like to change, and select a new option in the Color Panel that appears. The new color will take the place of the original in your image.
NOTE: I’ll change my sunflower’s stem to match my grass, then change the leaf tips to a lighter shade of green. - Change as many colors as you like to make the card uniquely yours!
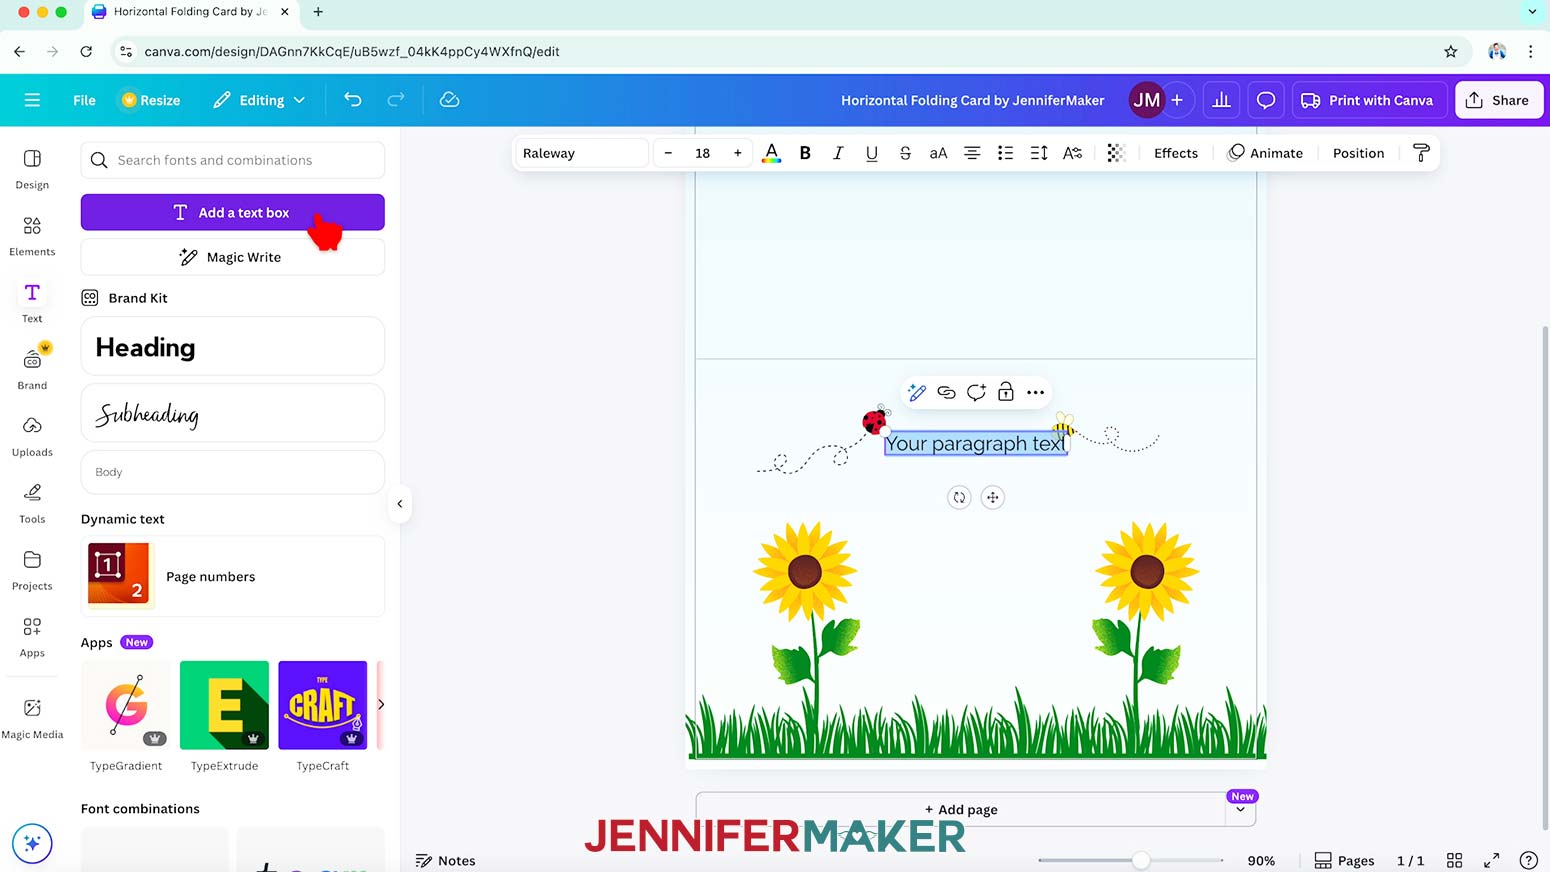
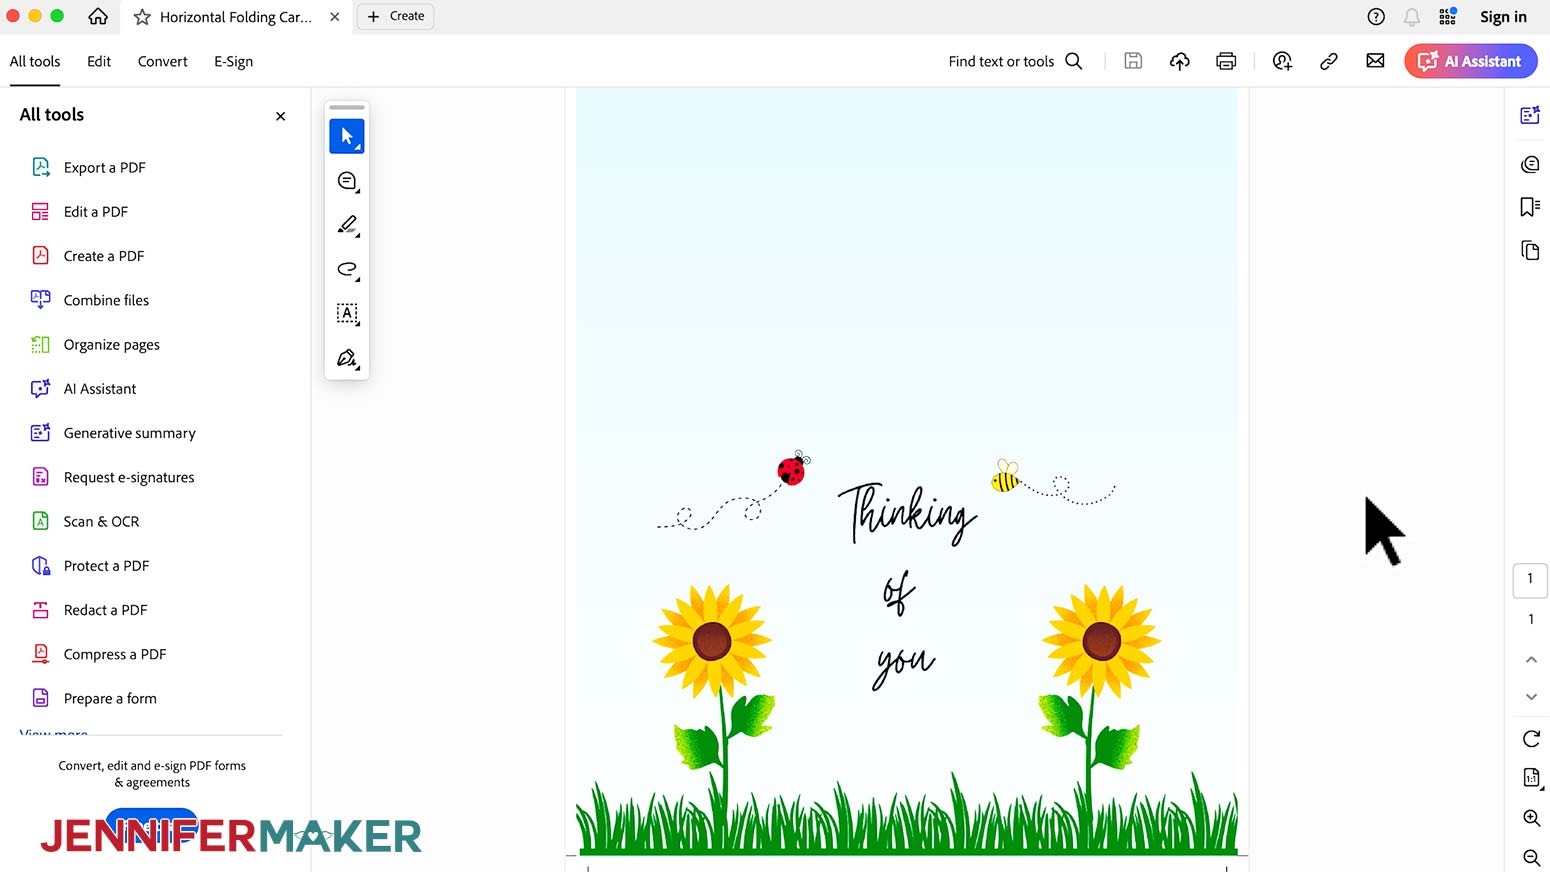
NOTE: I'll change my second sunflower to match my first, and then change the spots on my ladybug to black. - To add some text, click the “Text” icon in the side panel, then click “Add a text box.”
- Type your desired text in the box.
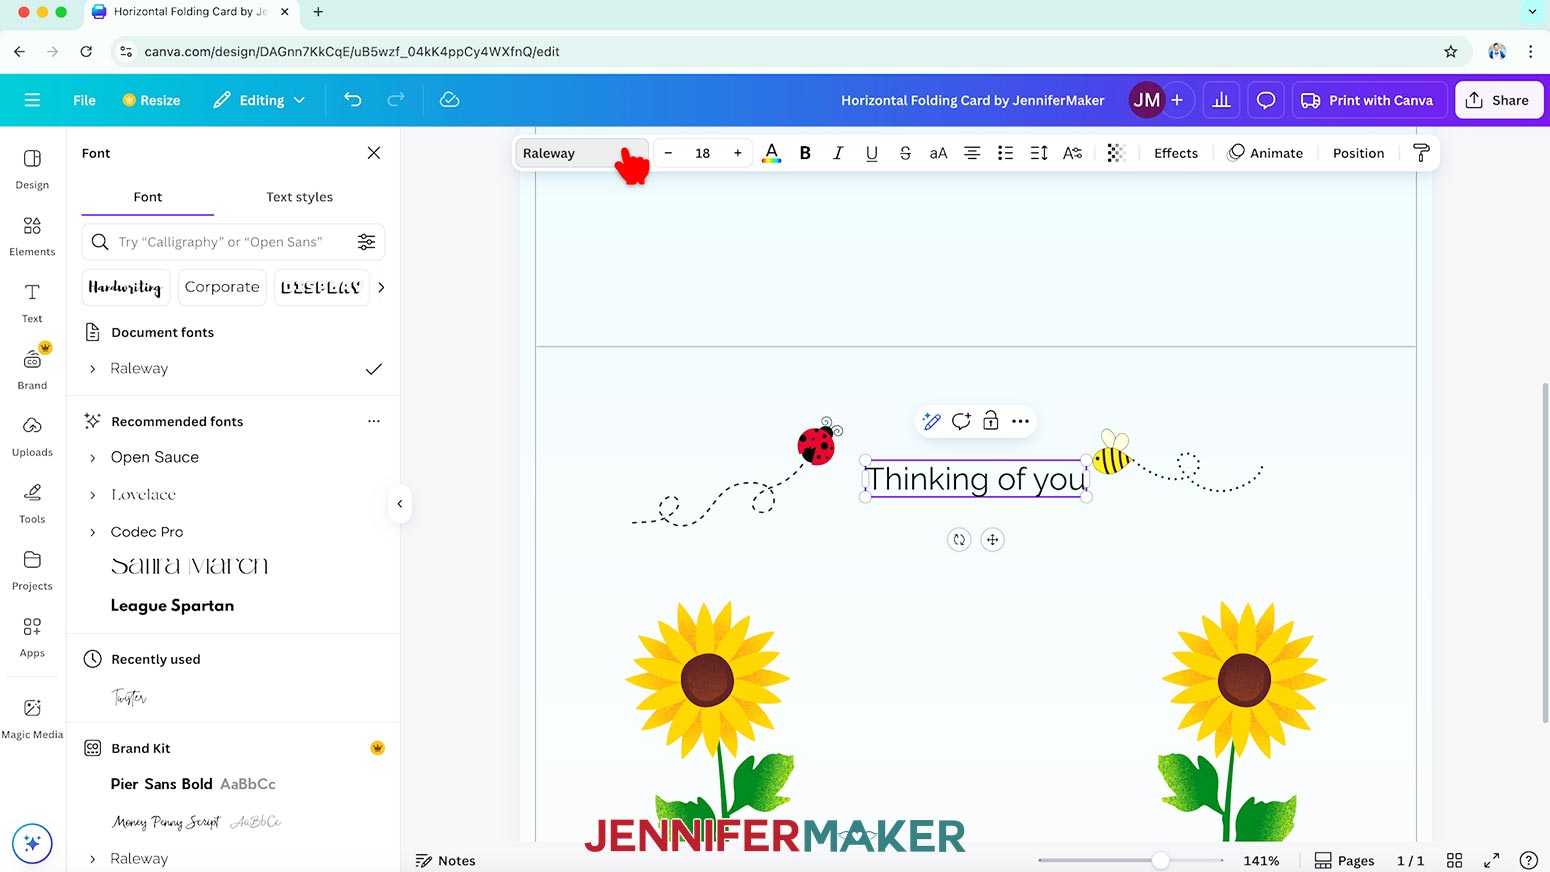
NOTE: I’ll type in “Thinking of you.” - To change your text’s typeface, keep the text box selected and click the field that says “Canva Sans” to open the Font menu in the side panel.
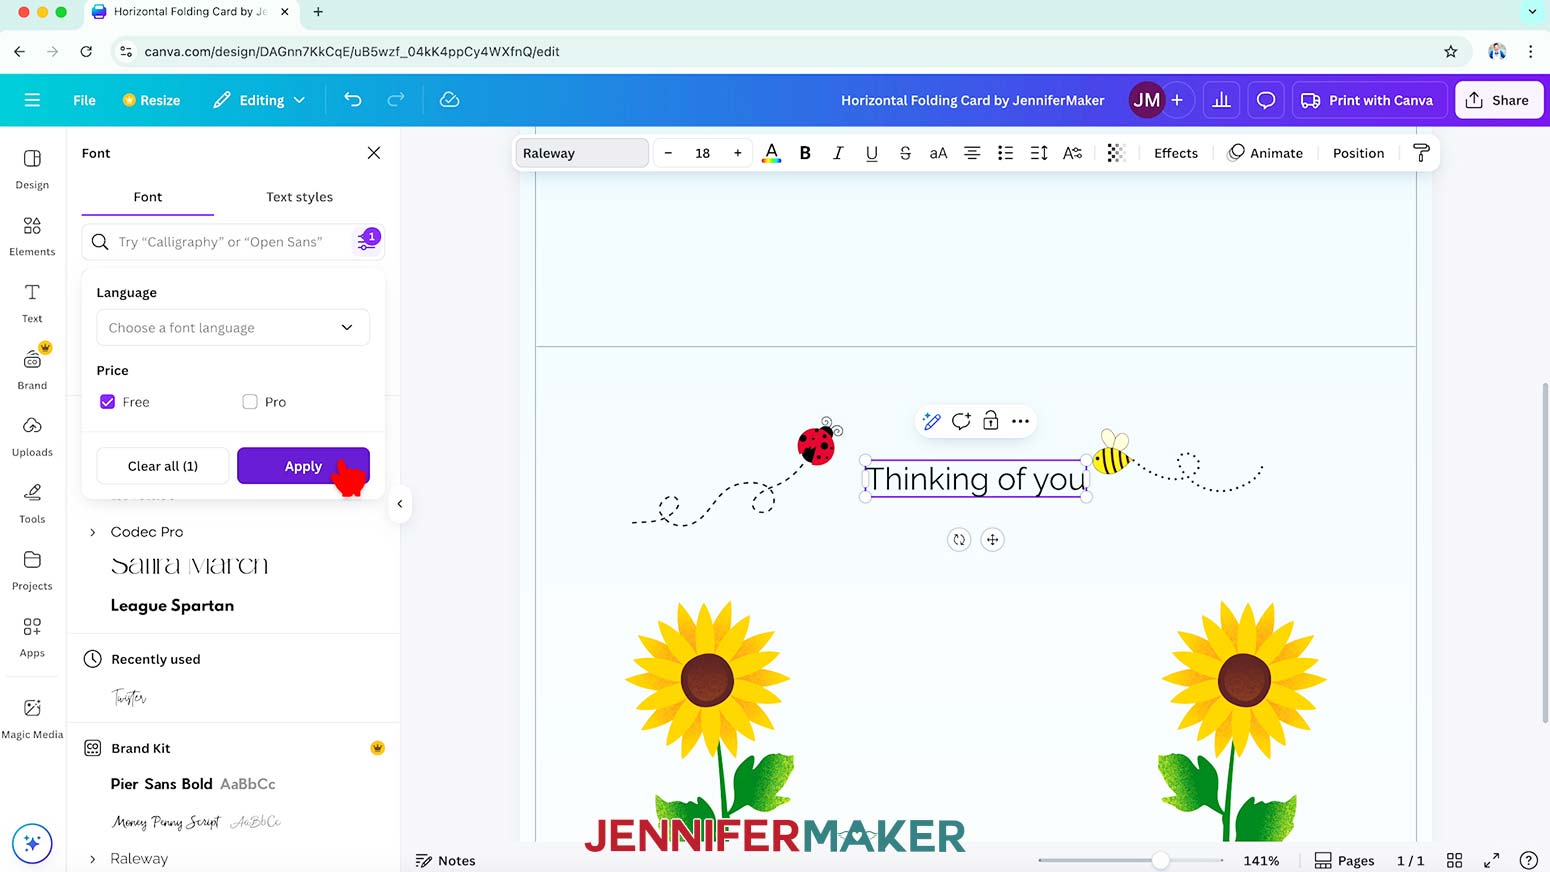
- Click on the icon with three horizontal lines and small circles to open the “Filter” menu. Then check the box next to “Free,” and click “Apply” to show only fonts you can use without a paid account.
- Click a typeface you like from the list to apply it to your text.
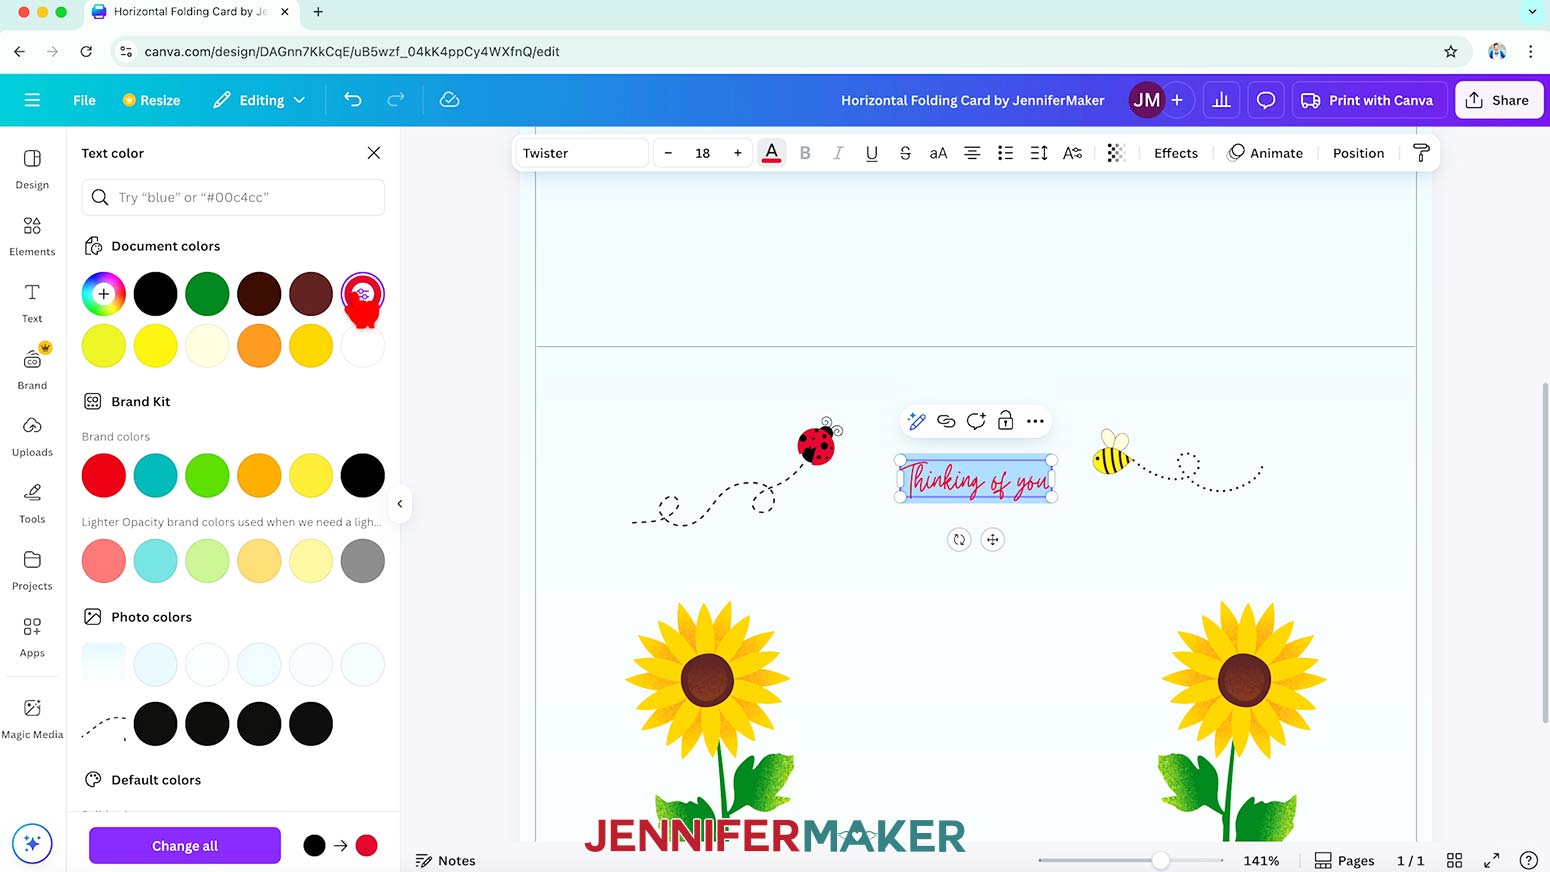
NOTE: I’ll choose “Twister.” - To change the color of your text, click the toolbar button with the letter “A” above a color box and choose a new option.
- Use the corner Resize handles to make your text larger or smaller as needed, and the side handles to change the text’s position inside the box.
- Click and drag the text box to move it into your desired position.
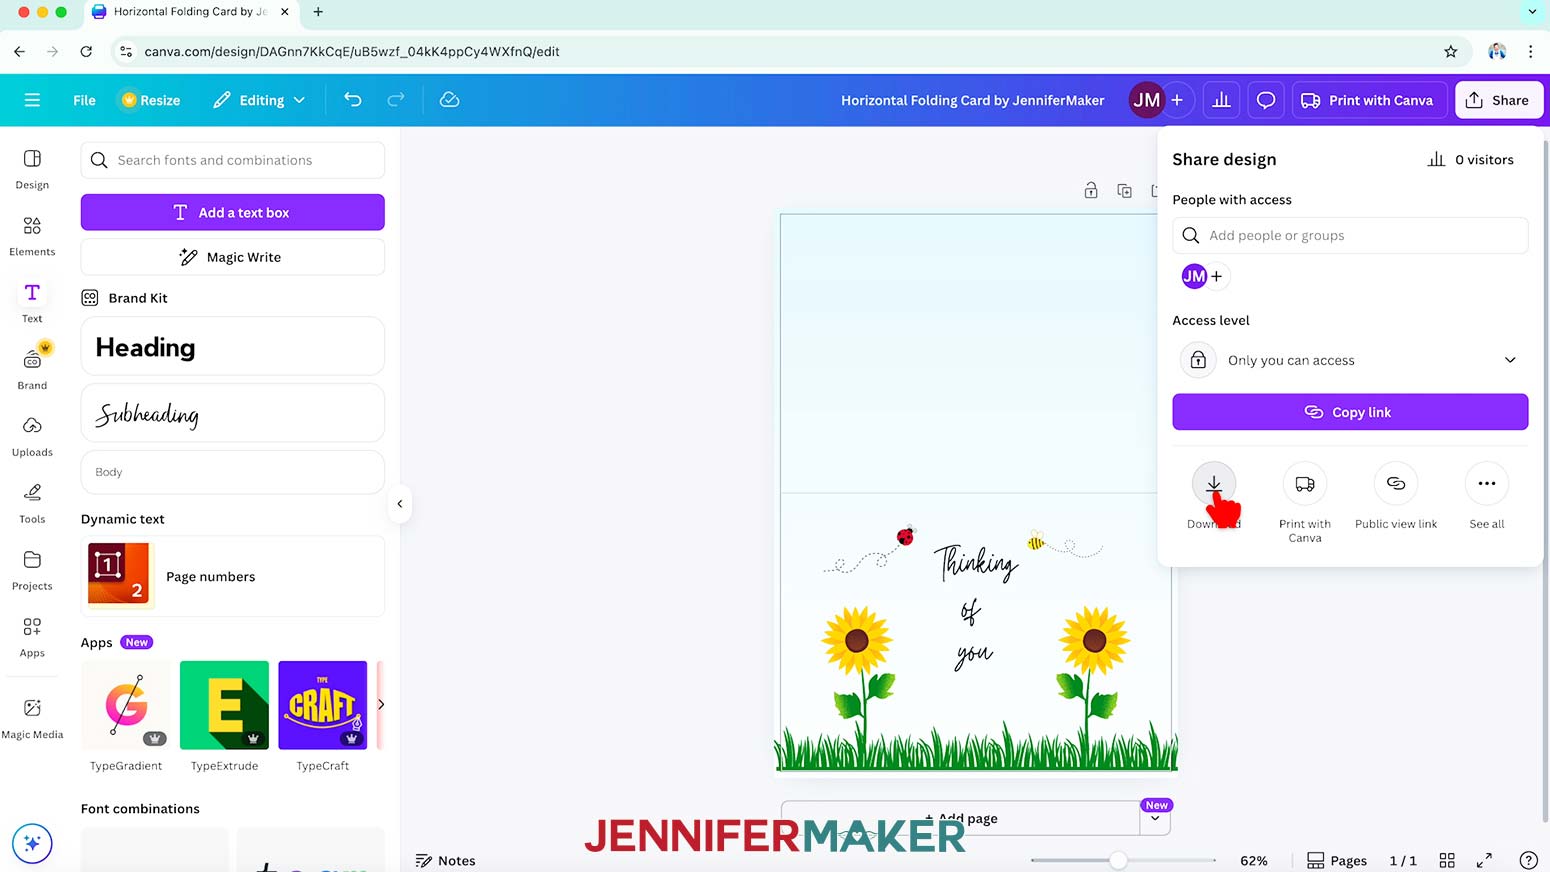
NOTE: I’ll place my text between the sunflowers. - To use the design, click “Share” in the top menu.
- Select “Download.”
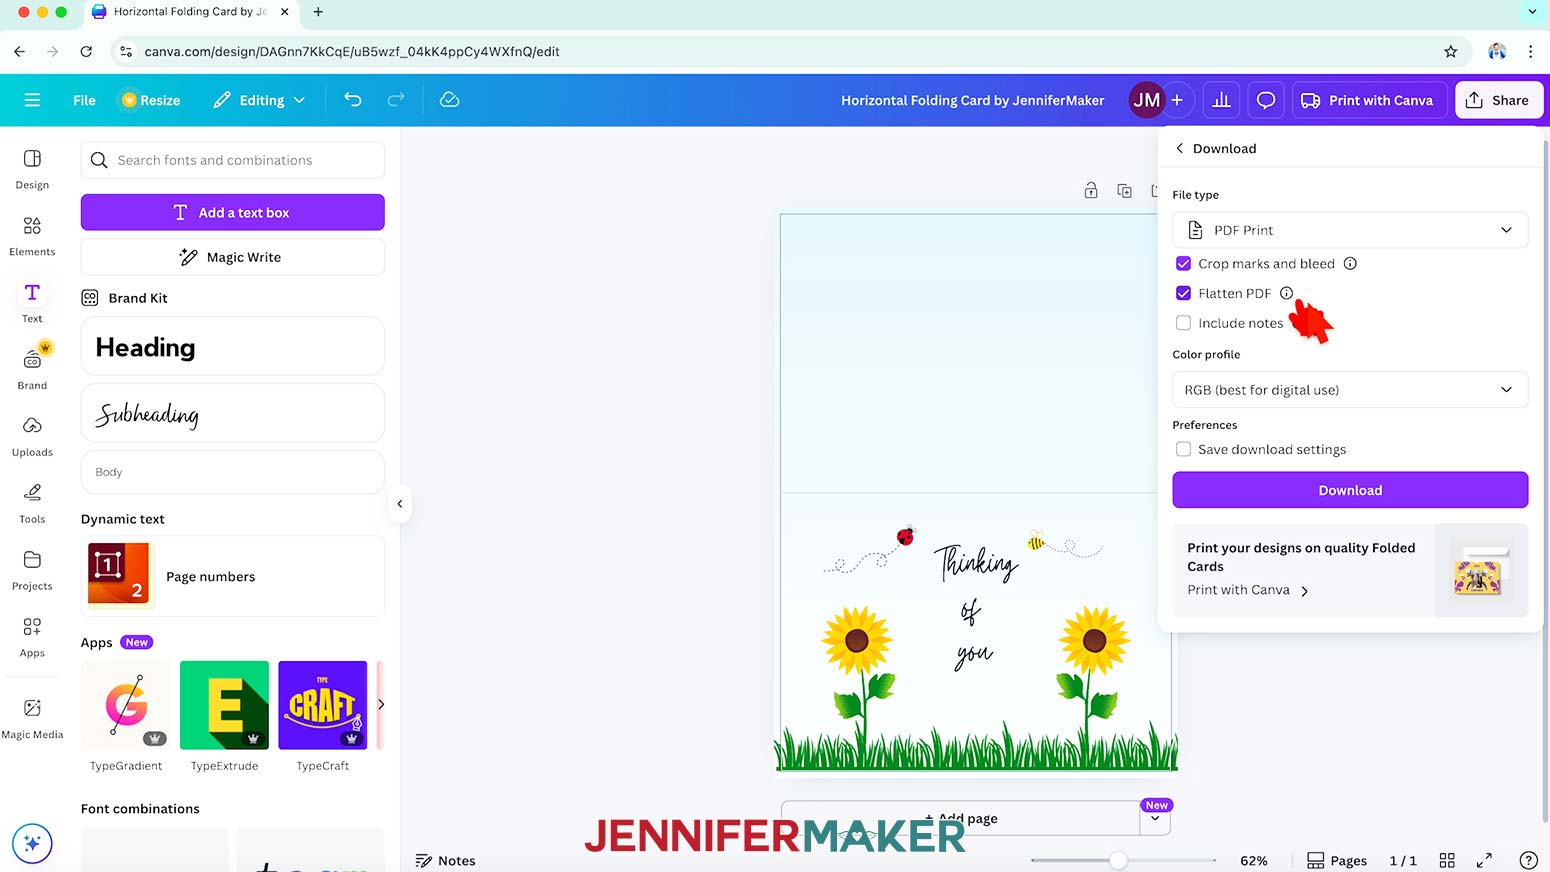
- Change the file type to “PDF Print.”
- Check the box next to “Crop marks and bleed.”
NOTE: This prints the card with cut guides and a slight bleed area to avoid white areas on the edges of your design. - Then check the box next to “Flatten PDF.”
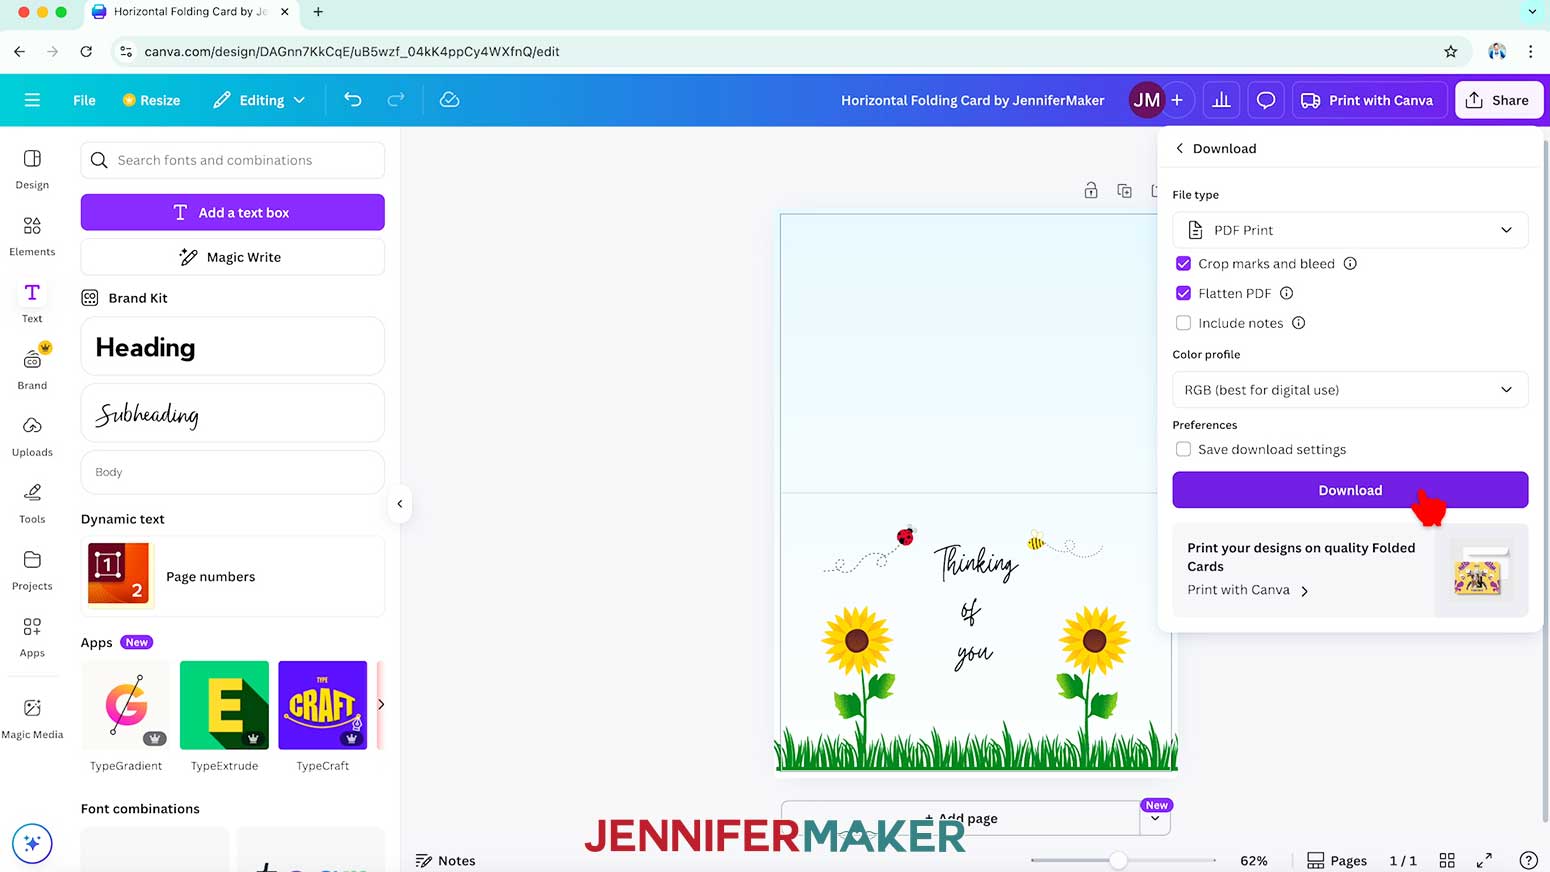
NOTE: Flattening a PDF in Canva combines all your layers into one flat image. This helps to preserve your design’s appearance for printing. - Click “Download.”
- Your folding card design is ready to print!


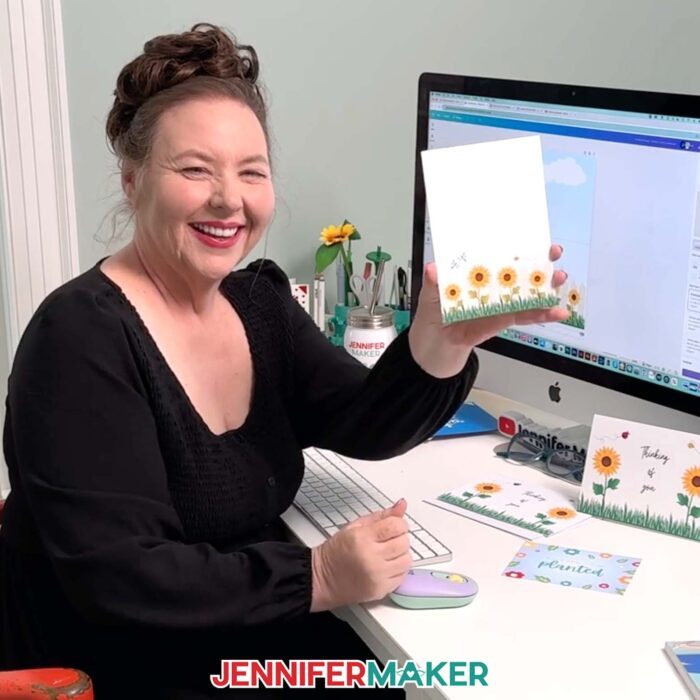
SINGLE-SIDED FLAT CARD
- Follow Steps 1-5 from the “HORIZONTAL FOLDING CARD” section to open a blank “Invitation (Portrait)” template in a new canvas.
NOTE: I’ll name mine “Single-Sided Flat Card by JenniferMaker.” - Follow Steps 6-9 from the “HORIZONTAL FOLDING CARD” section to add a background to your card.
NOTE: I’ll add the same pastel blue gradient background I used for my folding card. - Follow Steps 10-20 from the “HORIZONTAL FOLDING CARD” section to add foreground elements to your card.
NOTE: I’ll add a picket fence, sunflowers, grass, a bee, dragonflies, and clouds to my design. - Follow Steps 21-28 from the “HORIZONTAL FOLDING CARD” section to add text to your design.
NOTE: I’ll keep mine blank, but you can add a special message if you like! - Follow Steps 29-34 from the “HORIZONTAL FOLDING CARD” section to download your design.
- Your flat card design is ready to print!
PRINT YOUR CANVA CARD AT HOME
- Open your card’s saved file on your computer. It will open in Adobe Acrobat.
NOTE: It will most likely be in your downloads folder.` - Click the “Print this file” icon on the menu bar at the top of the document window to bring up the Print settings.
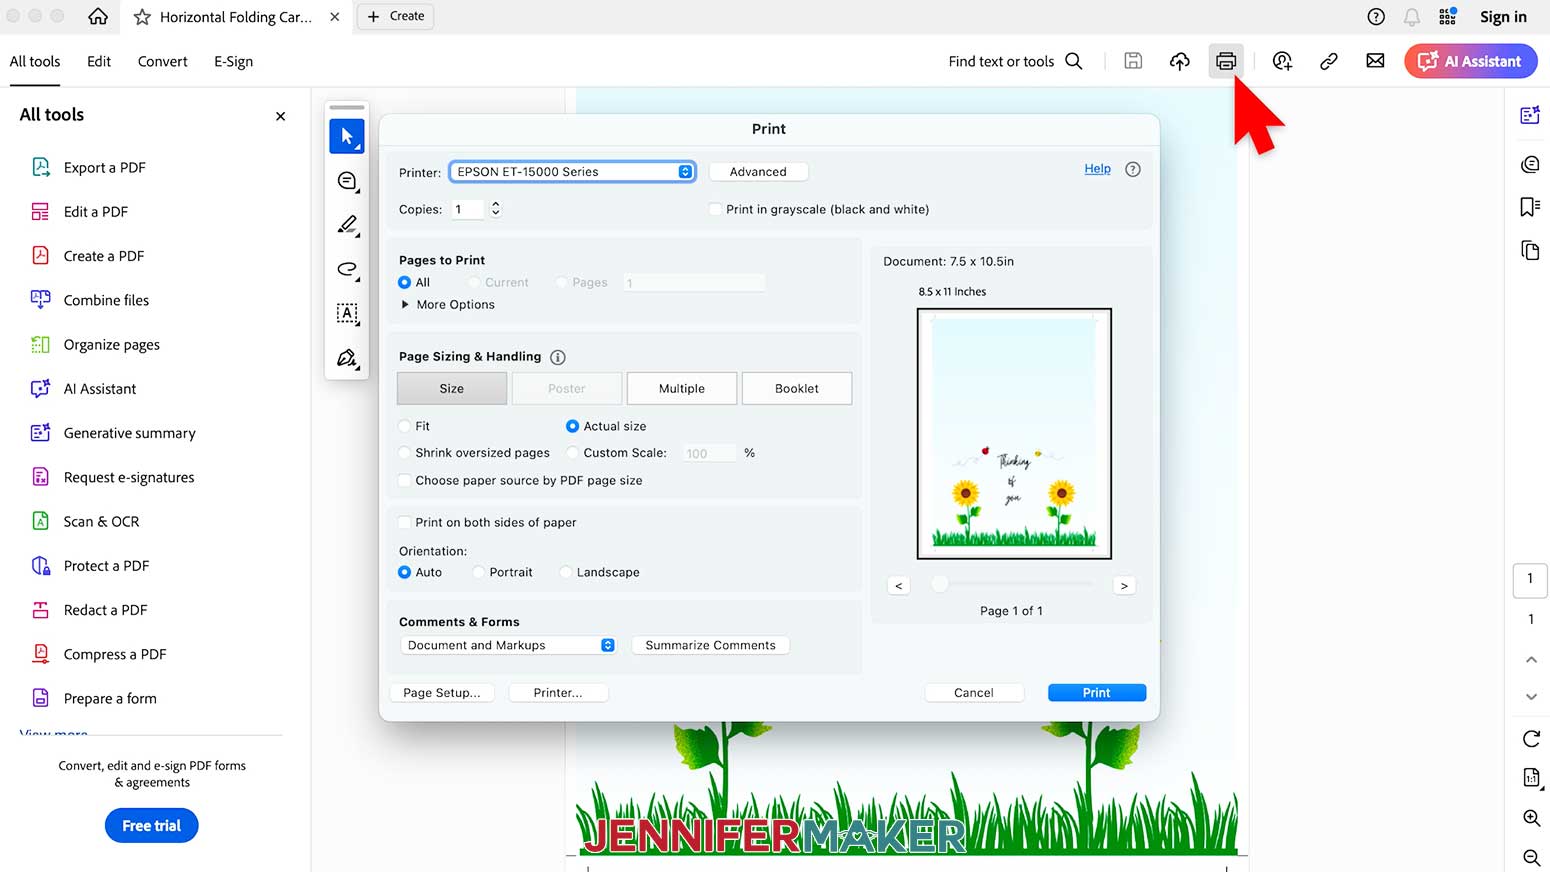
- Make sure the correct printer is selected.
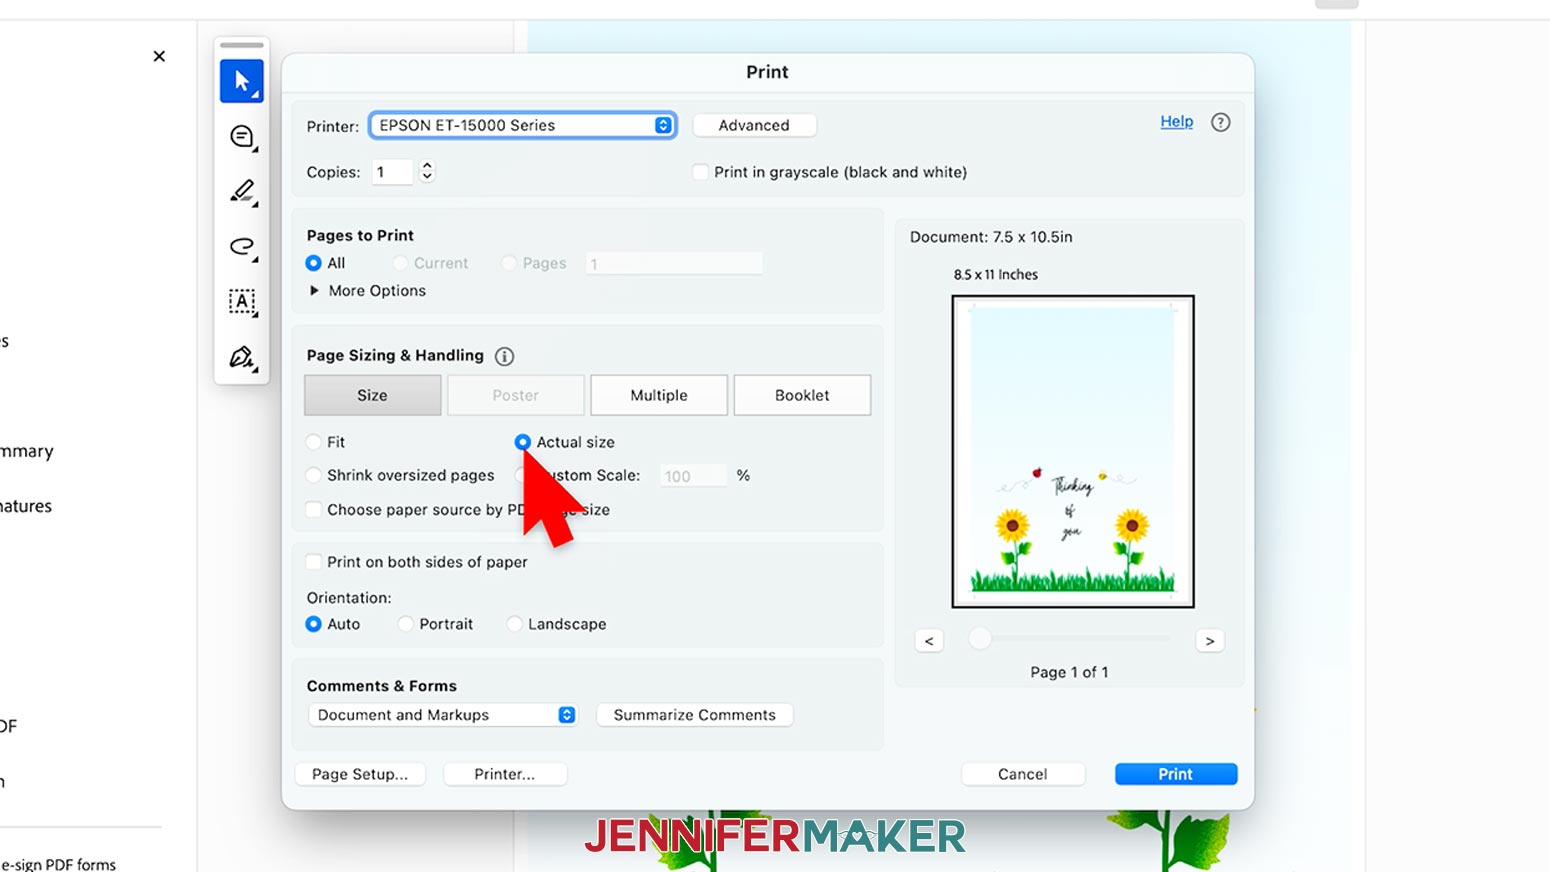
- Under “Page Sizing & Handling,” make sure the bubble next to “Actual size” is filled so the image prints at the correct size.
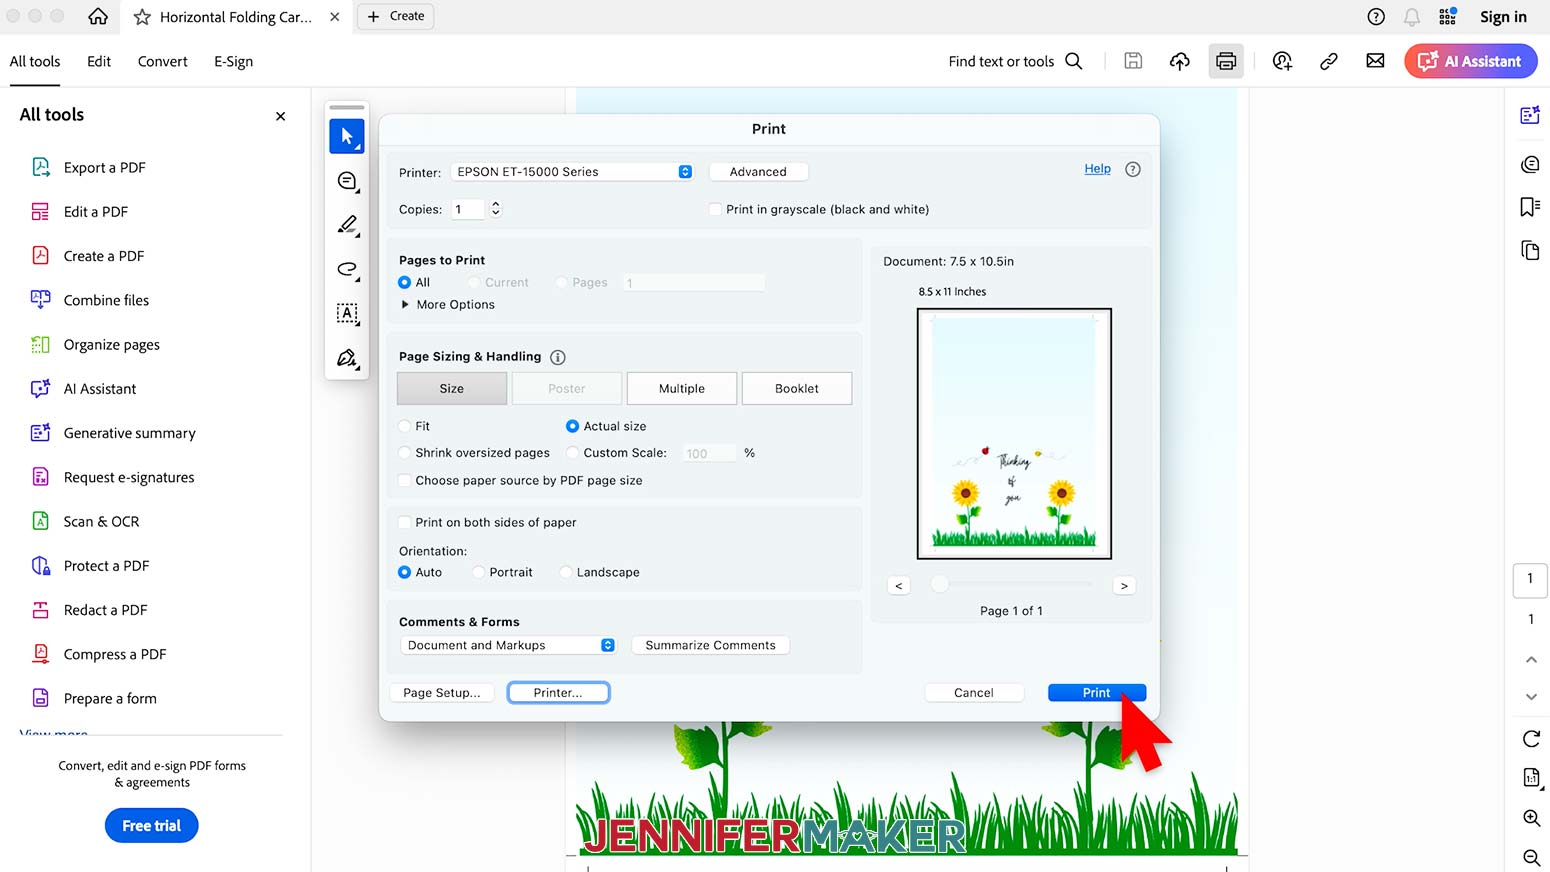
- Click the “Printer…” or “Properties” button to open the printer settings.
- Your print menu may look different from mine. Just make sure that you select “Matte Photo Paper” for the “Paper Type” and the highest “Print Quality” setting.
- Load a sheet of photo paper correctly into your printer.
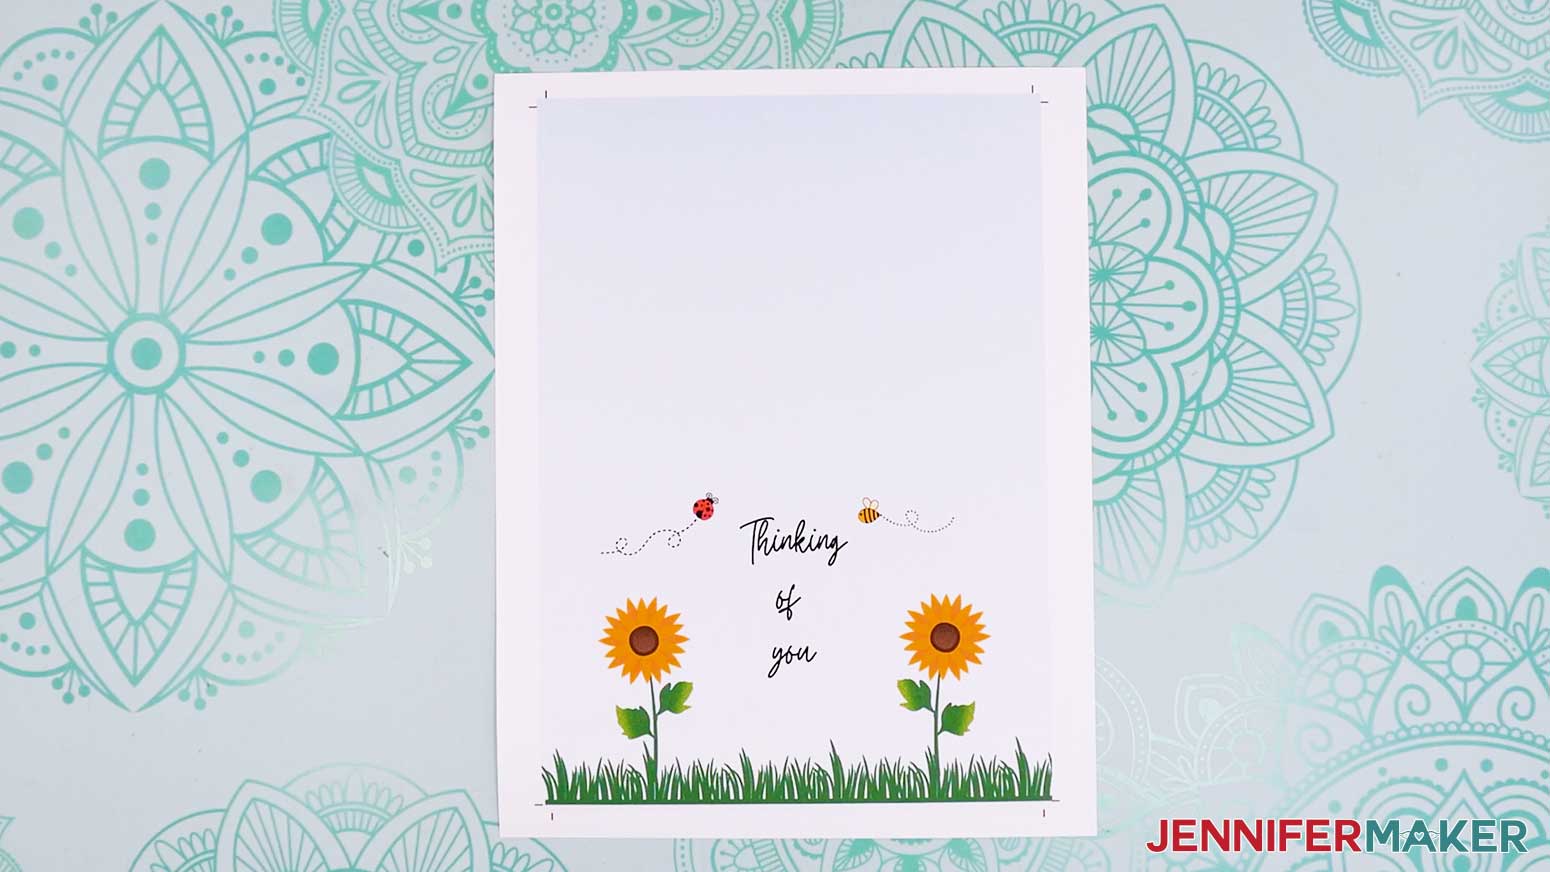
NOTE: Check the packaging for information on how to load the paper. - Click “Print” and then “Print” again.
- Allow the print to dry before handling it, as the ink can smear.
- Your print is ready to go!
 `
`
CUT YOUR PRINTED CANVA CARD
- Extend the guide arm on your paper trimmer.
- Lift the guide ruler.
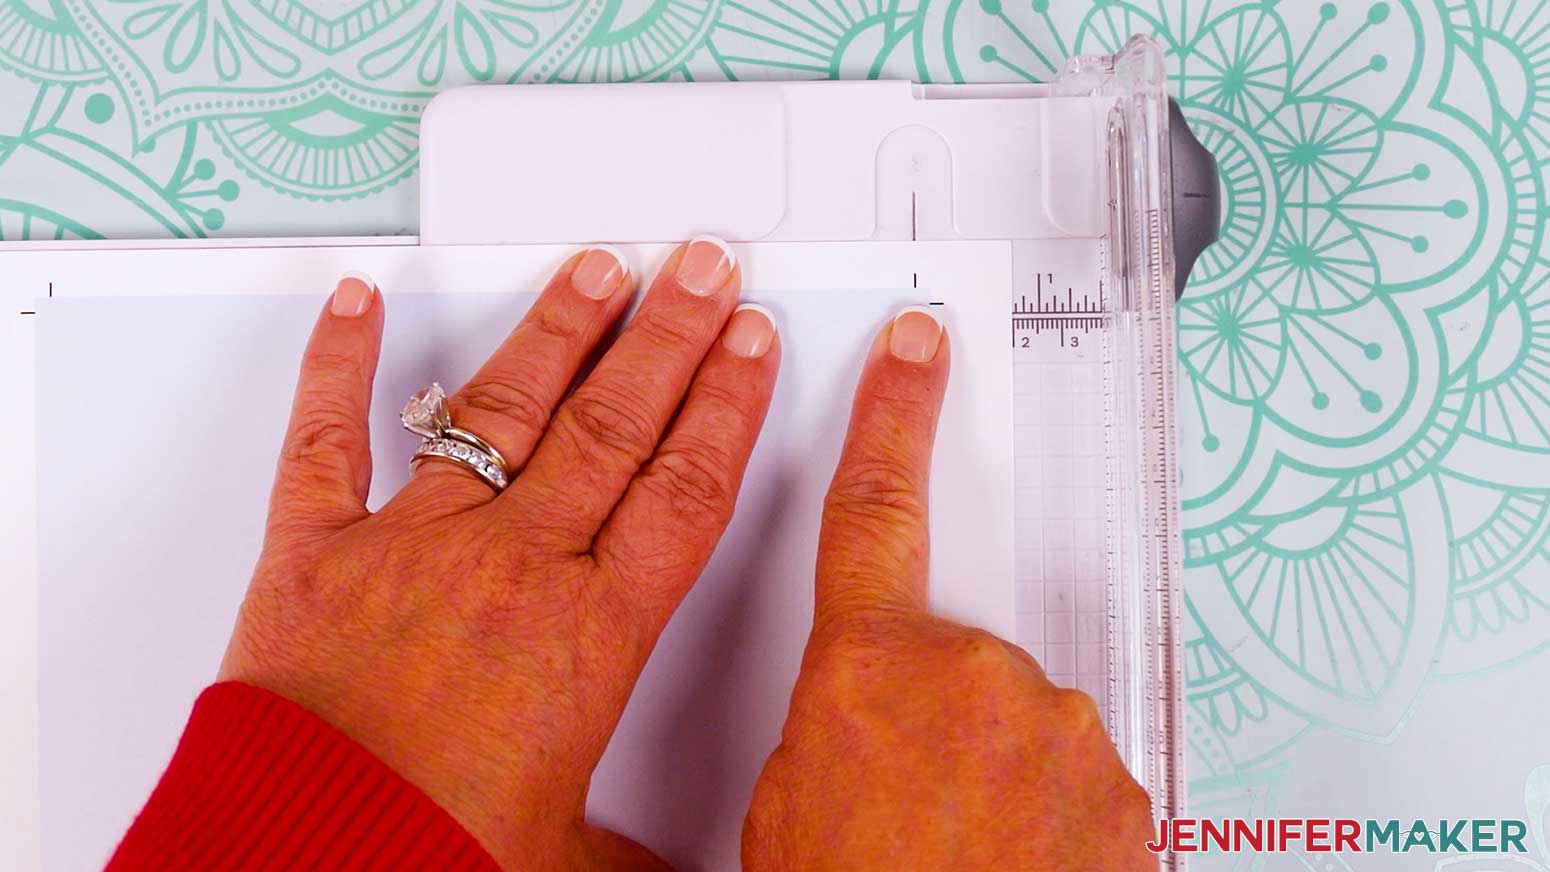
- Place your printed sheet face up on the trimmer’s cutting area so the edge is under the guide ruler.
- Adjust the card so the vertical crop marks are lined up with the cut line.
- Lower the guide ruler and make sure the paper is straight against the guide’s top edge, then make sure the cut will still be in the correct spot.
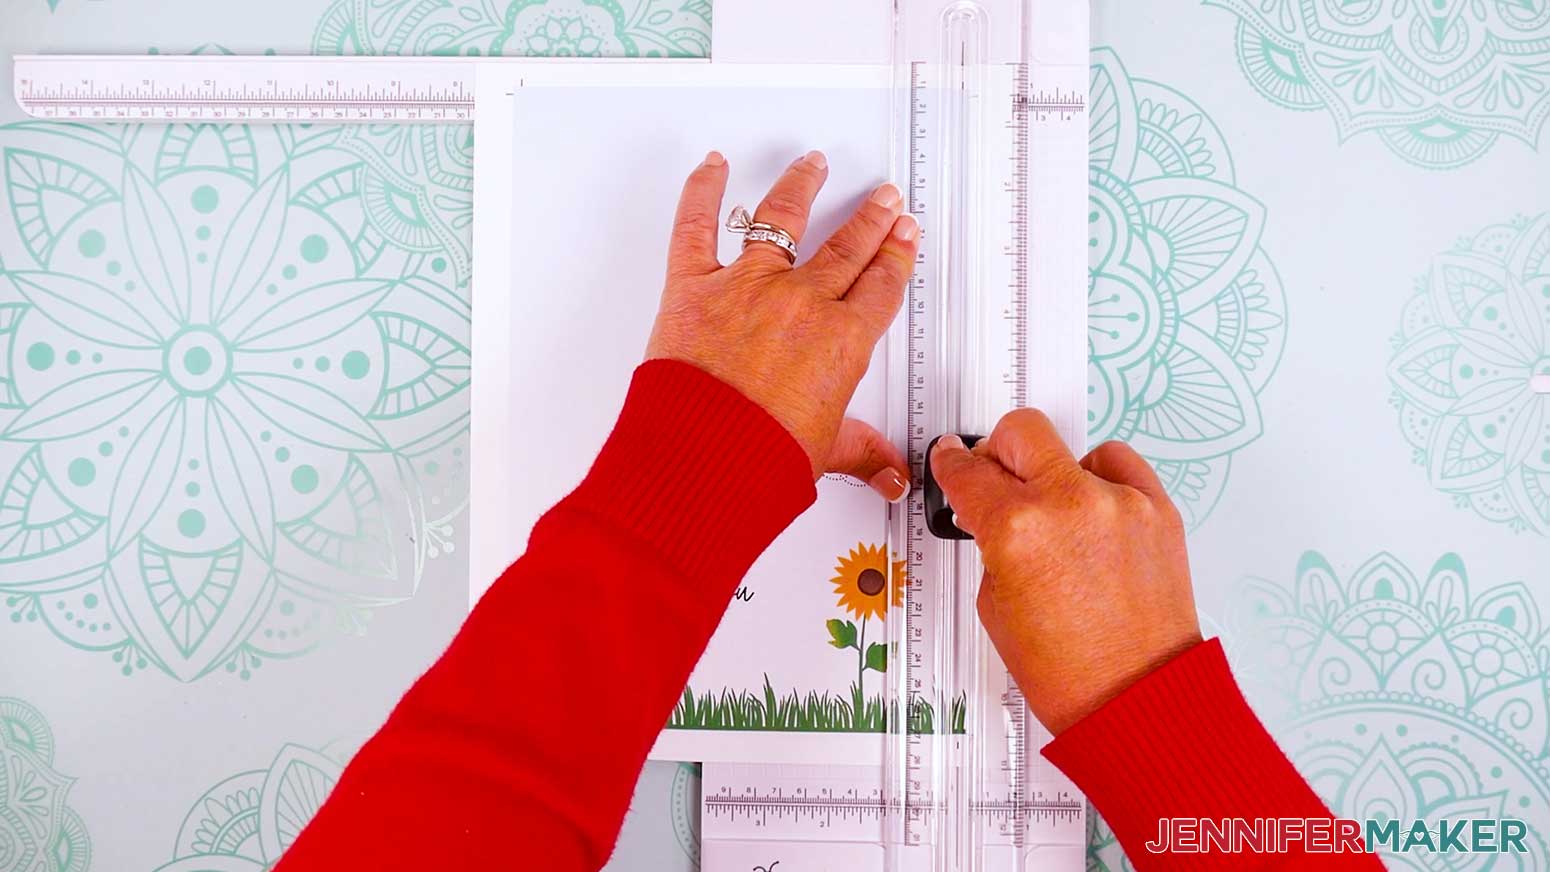
- Hold the ruler in place with one hand but keep your fingers away from the blade.
- With your other hand, bring the blade straight down in a smooth motion to make the cut.
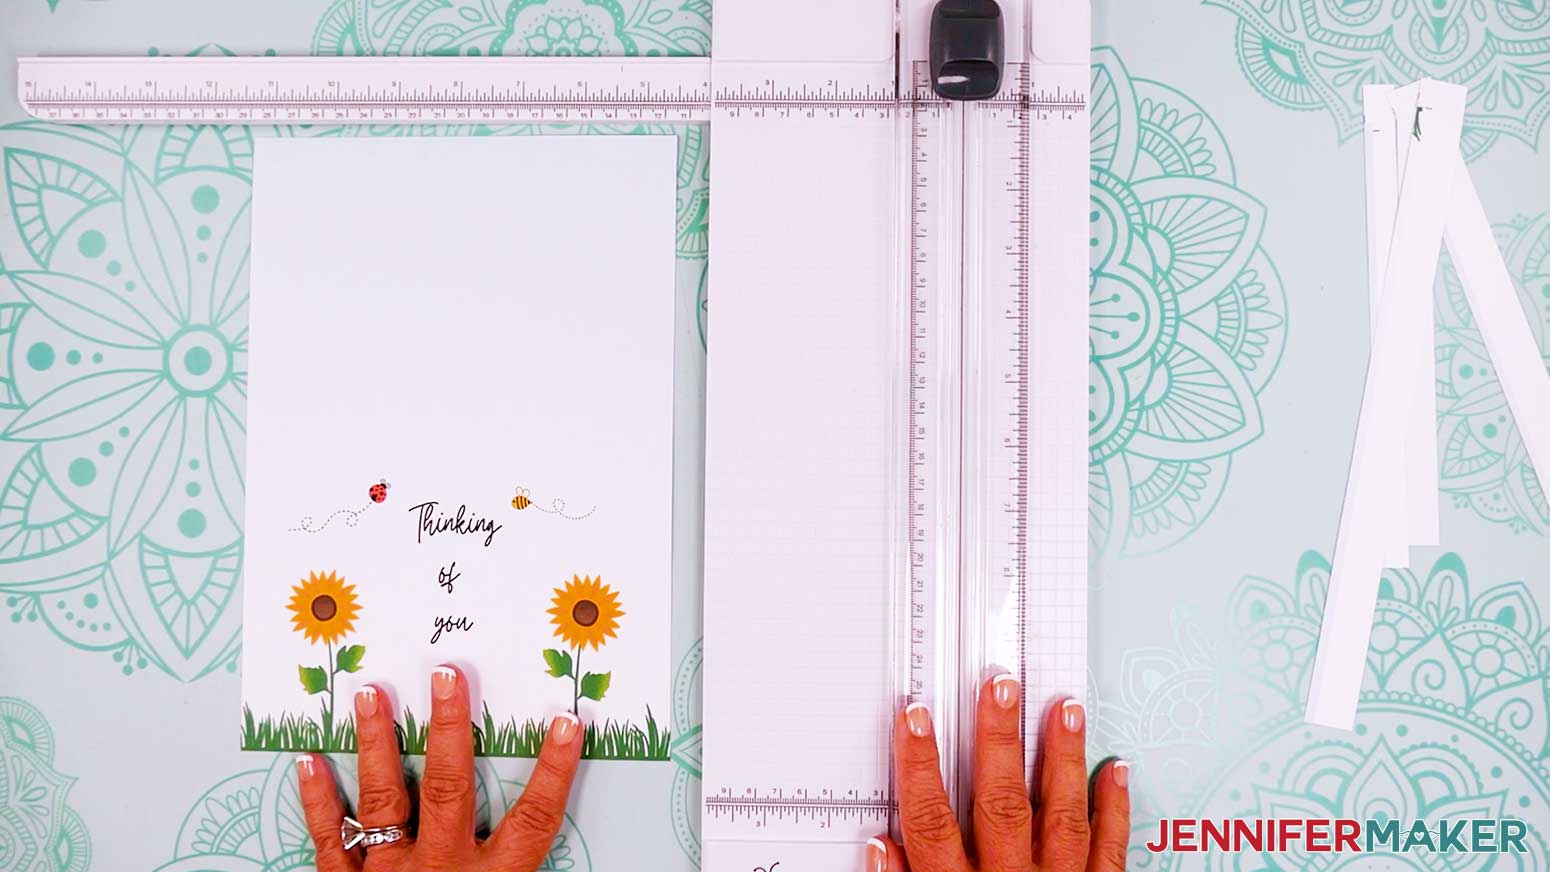
- Repeat Steps 2-7 for the three remaining sides.
- If your card has a fold, lay it face down on your work surface.
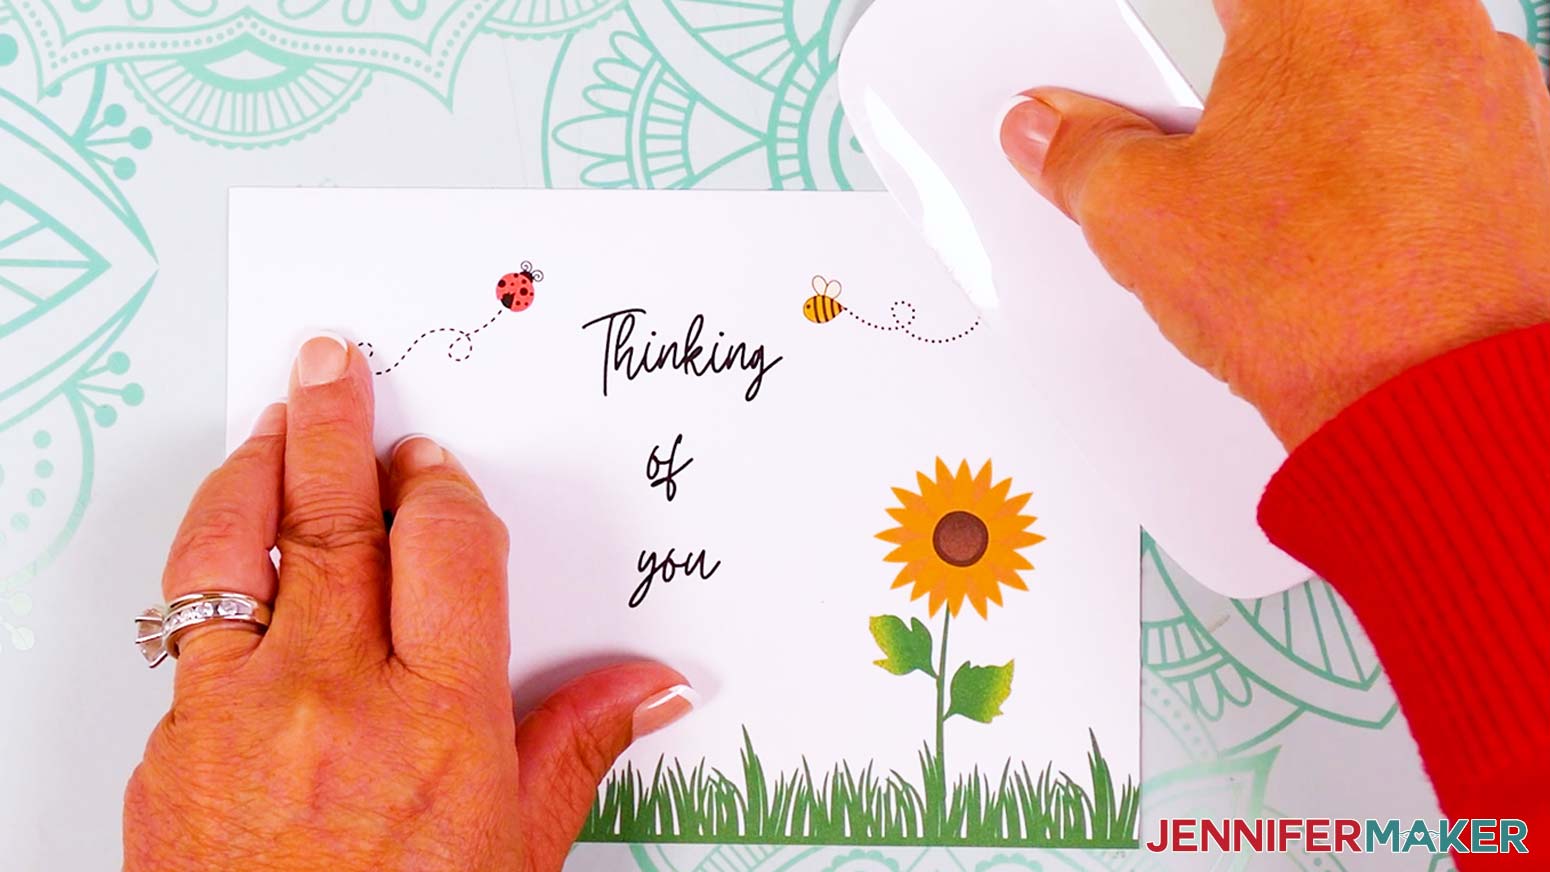
- Bring up the corners to match the opposite side and fold the card down the center.
- Use a scraper tool to sharpen the fold.
- Your card is ready!
OPTION 2: DESIGN A NOTECARD FROM A PRE-MADE TEMPLATE
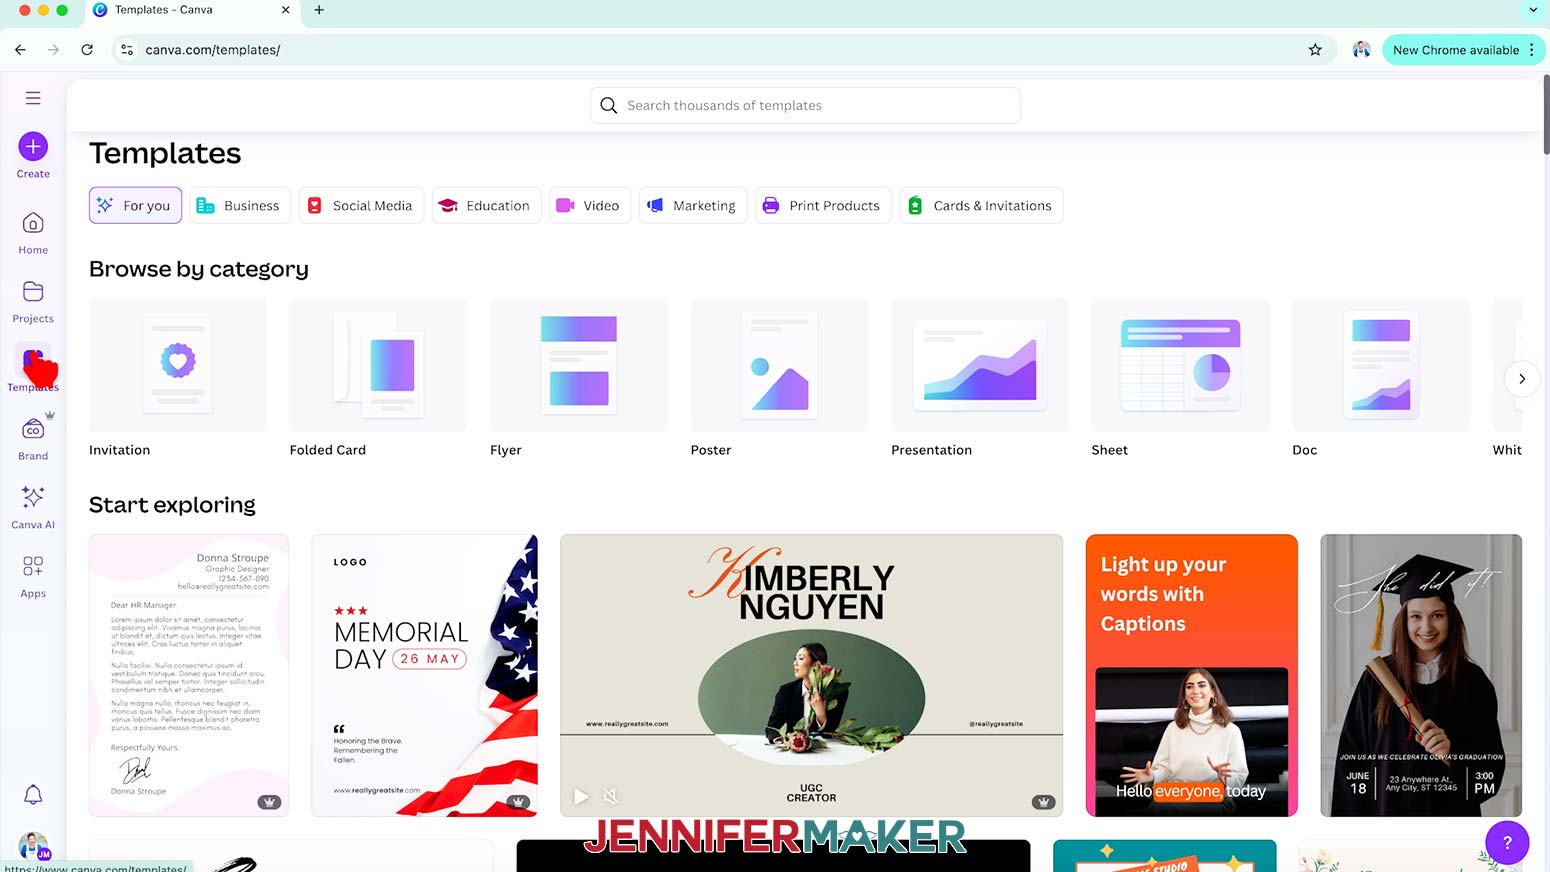
- Click the “Templates” button in the left panel to open Canva’s “Templates” menu.
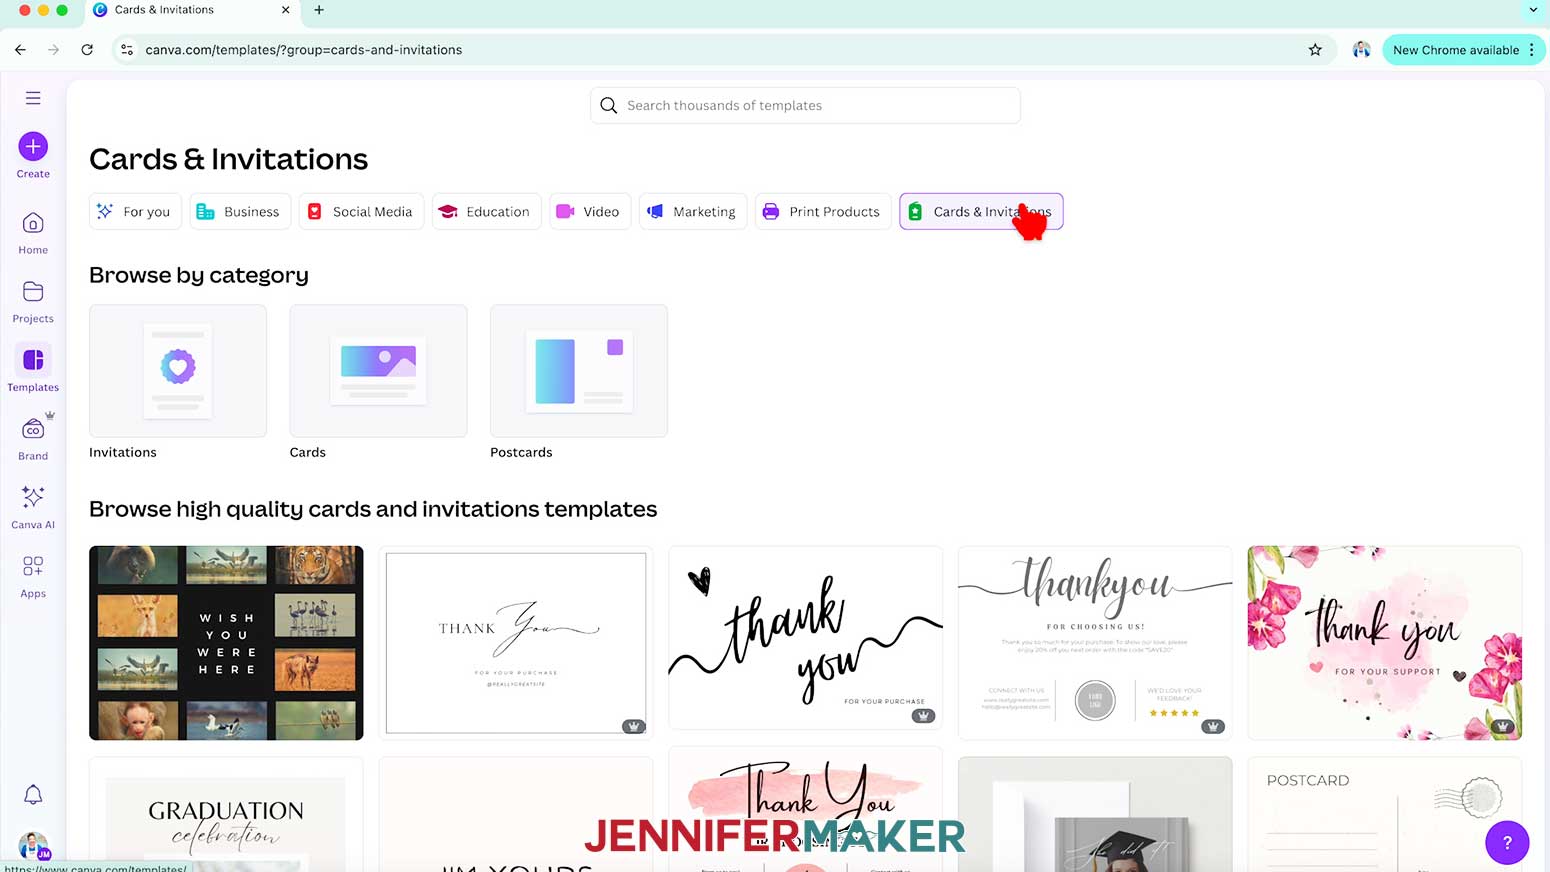
NOTE: Templates with a crown are Canva Pro items. You’ll need to purchase them individually or sign up for a paid membership to use them. - Then click on “Cards & Invitations.”
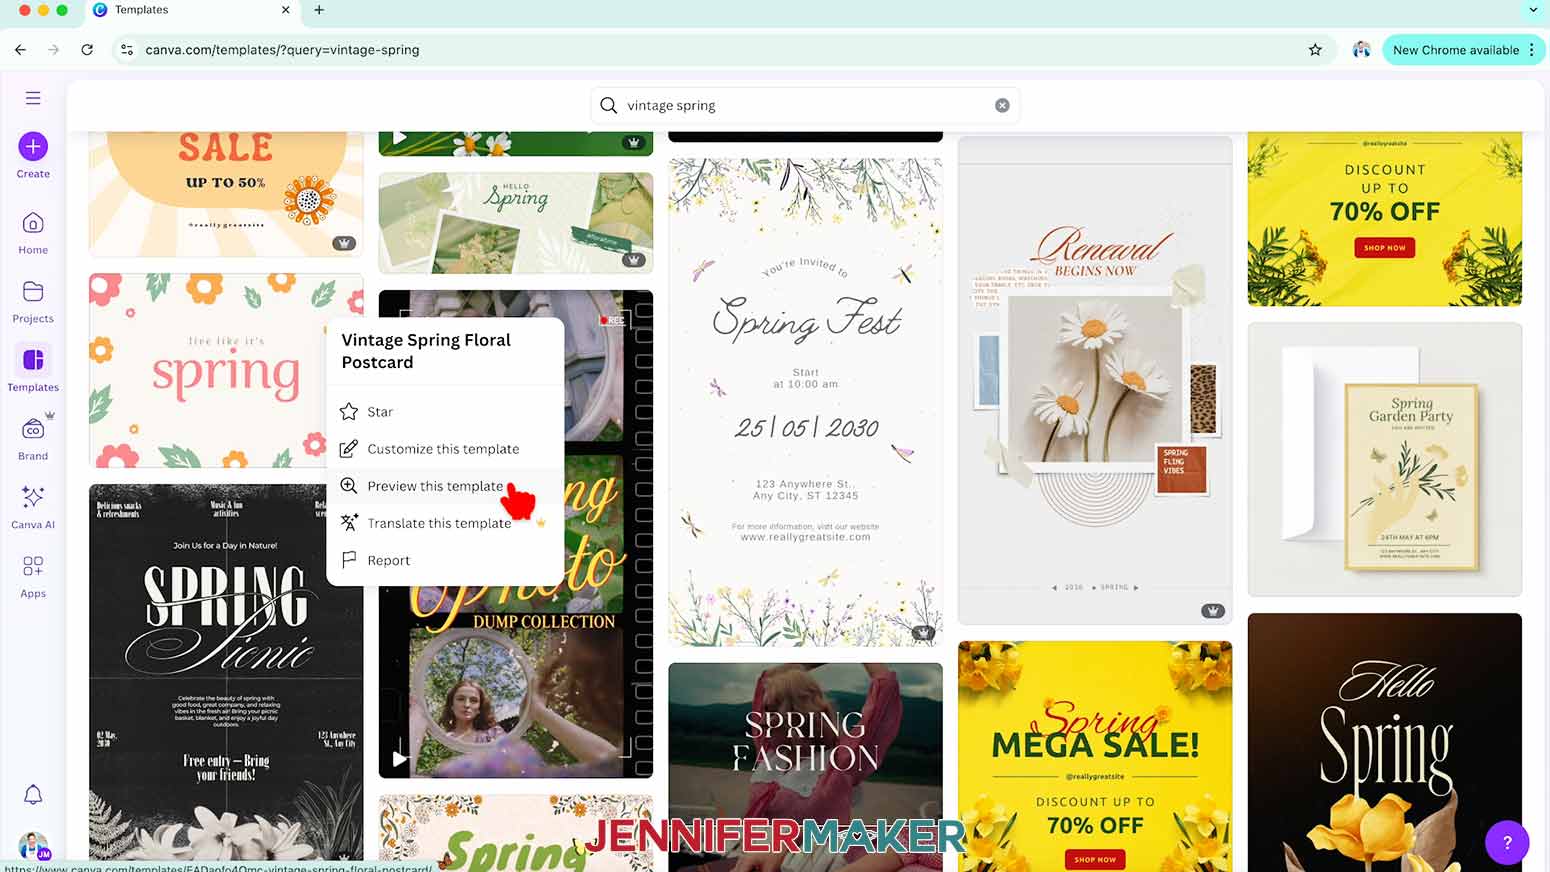
- If you have a theme or idea in mind, you can enter it in the search bar to find templates that match.
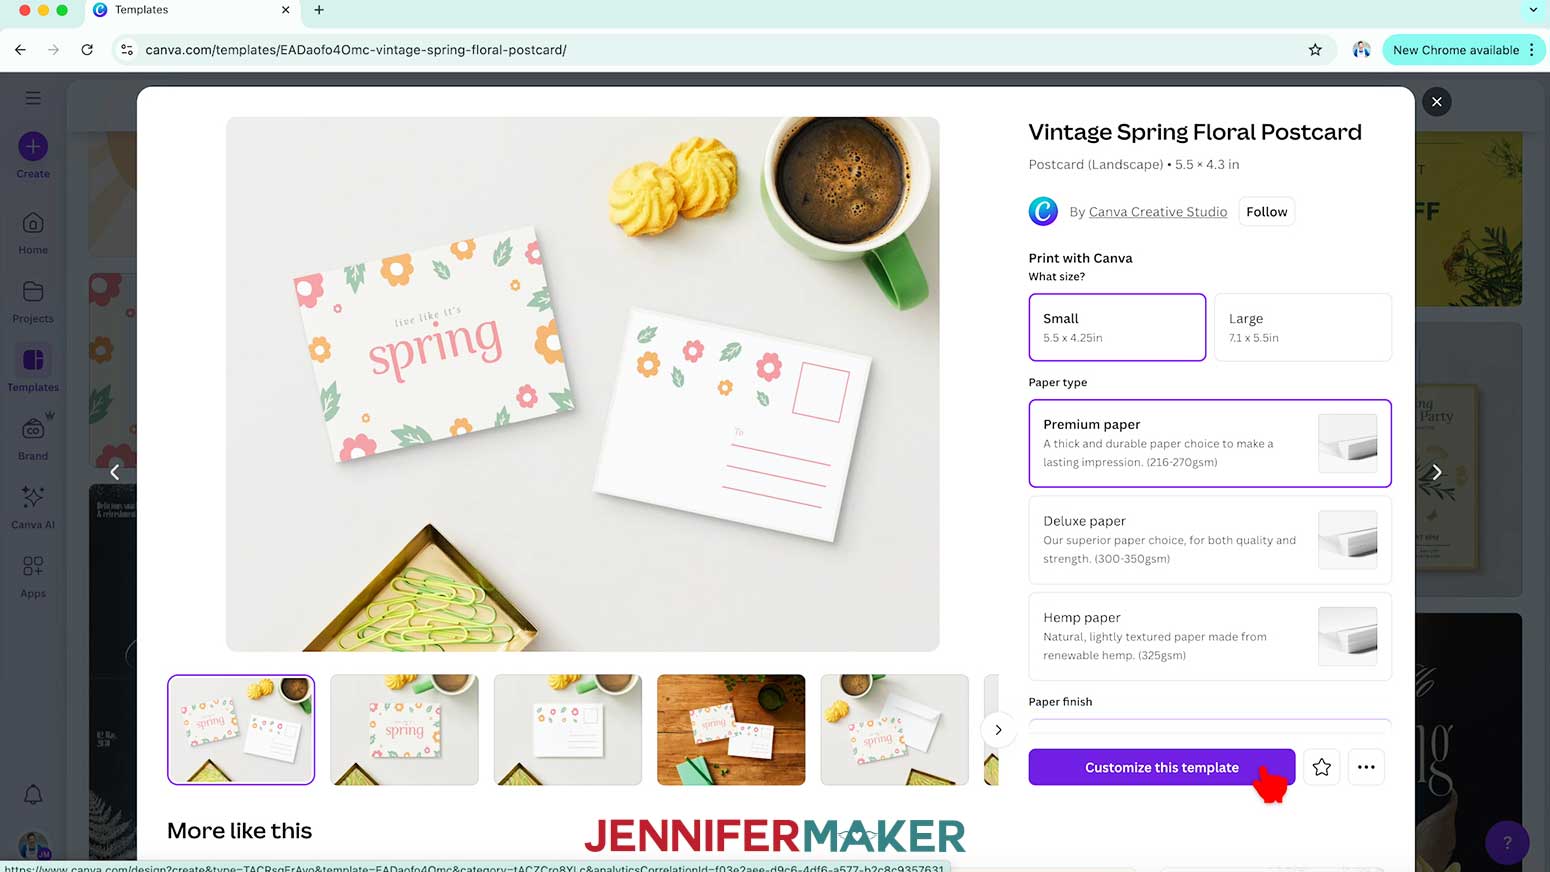
NOTE: I’ll type in “vintage spring template.” - When you find a template you like, hover over the three dots in the top right corner and select “Preview this template.”
TIP: It’s easier to adjust the design’s colors to fit your theme if you pick a template with a simple design and solid objects.
NOTE: I’ll choose a template with simple flowers, leaves, and text. - In the preview window, you’ll see “Print with Canva” settings, with options for print size, paper, corners, and number of cards to order. We’ll go over these in more detail later.
NOTE: If you adjust these now, you can still change them later. - For now, click “Customize this template.” The template will open in a new canvas.
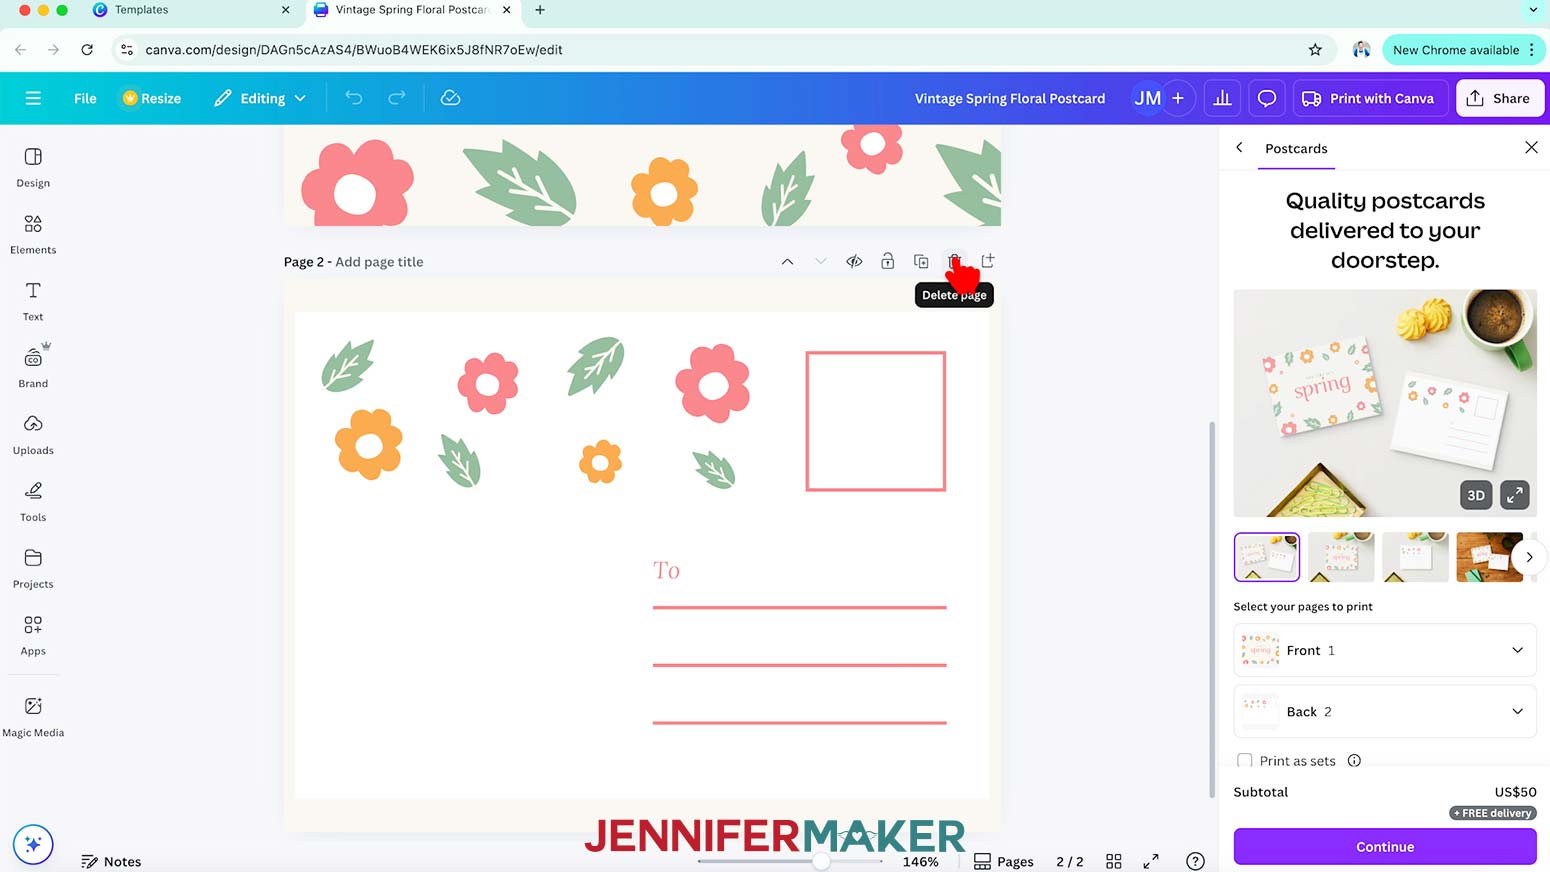
- If your template has additional pages, click the “Trash” icon above each page to delete them.
NOTE: I’ll delete Page 2 of my template. - To save your design, click the filename field at the top and replace the current name with your own.
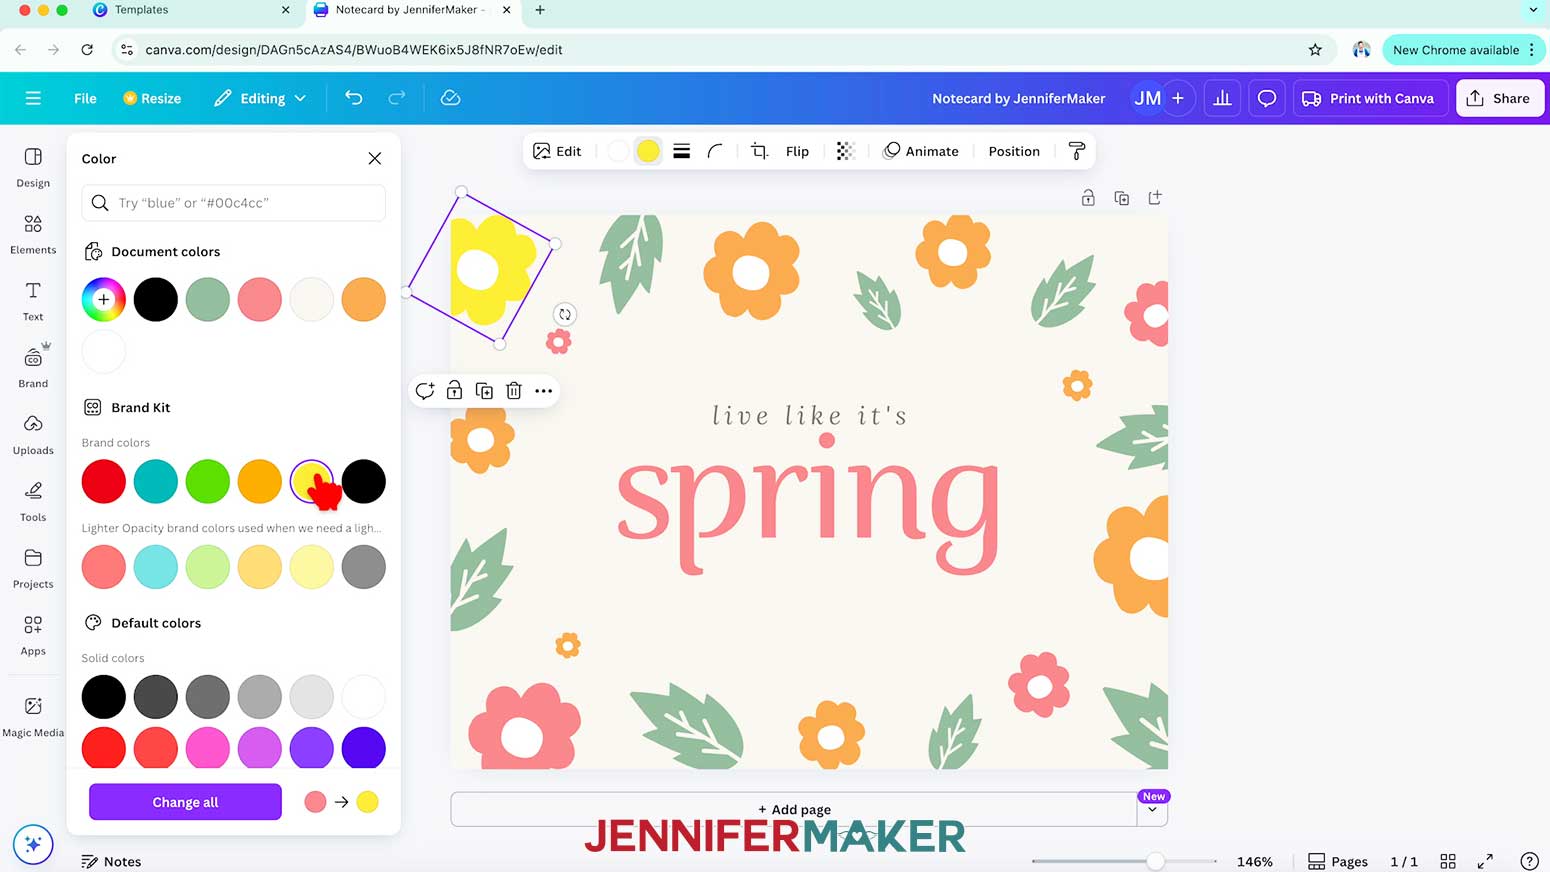
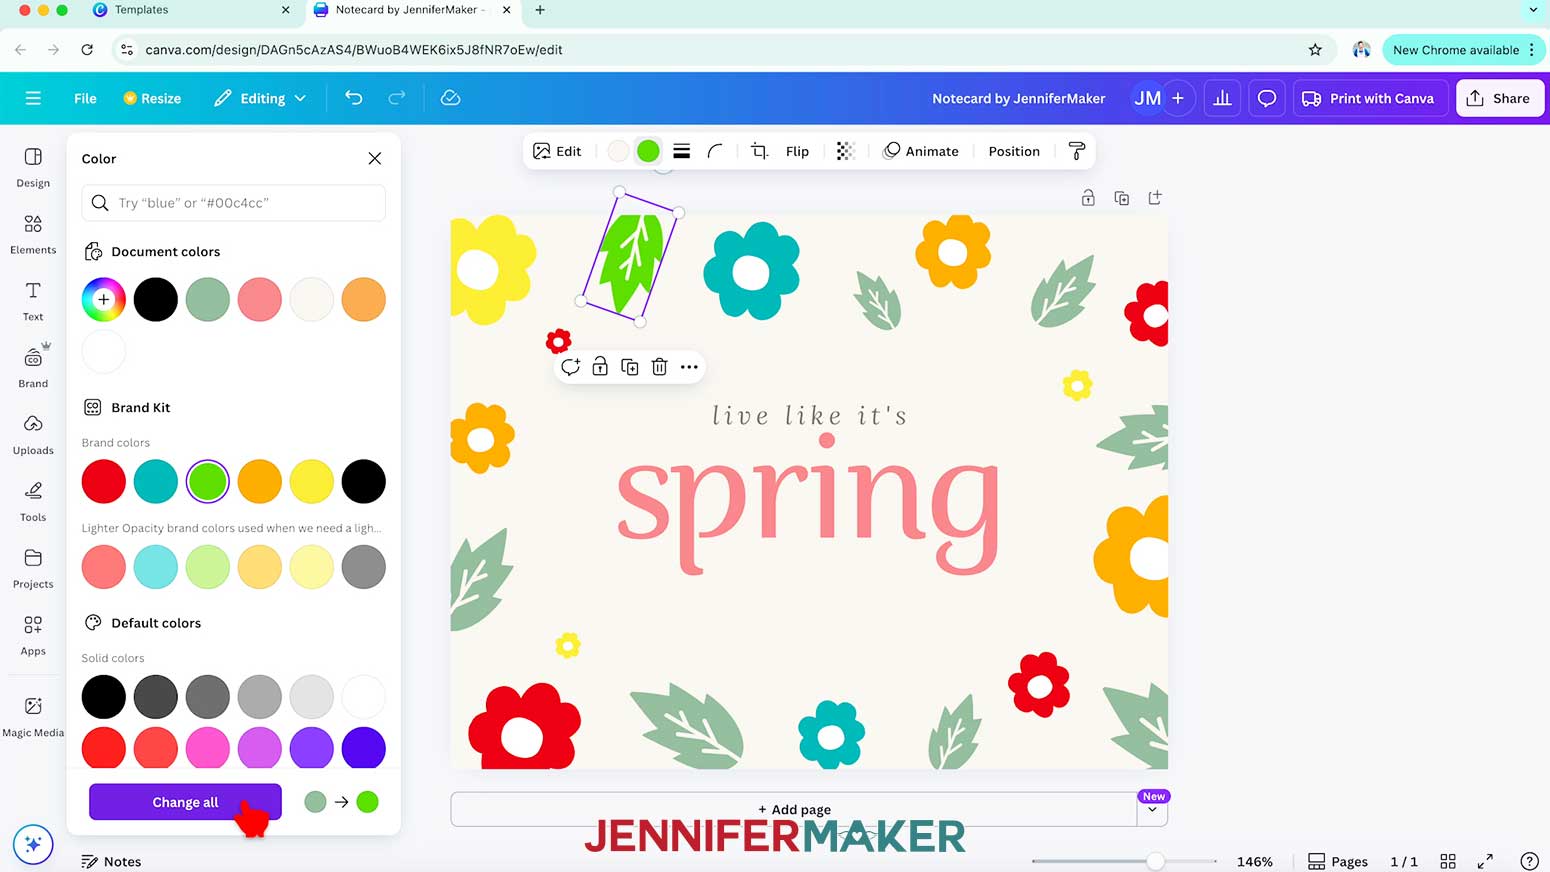
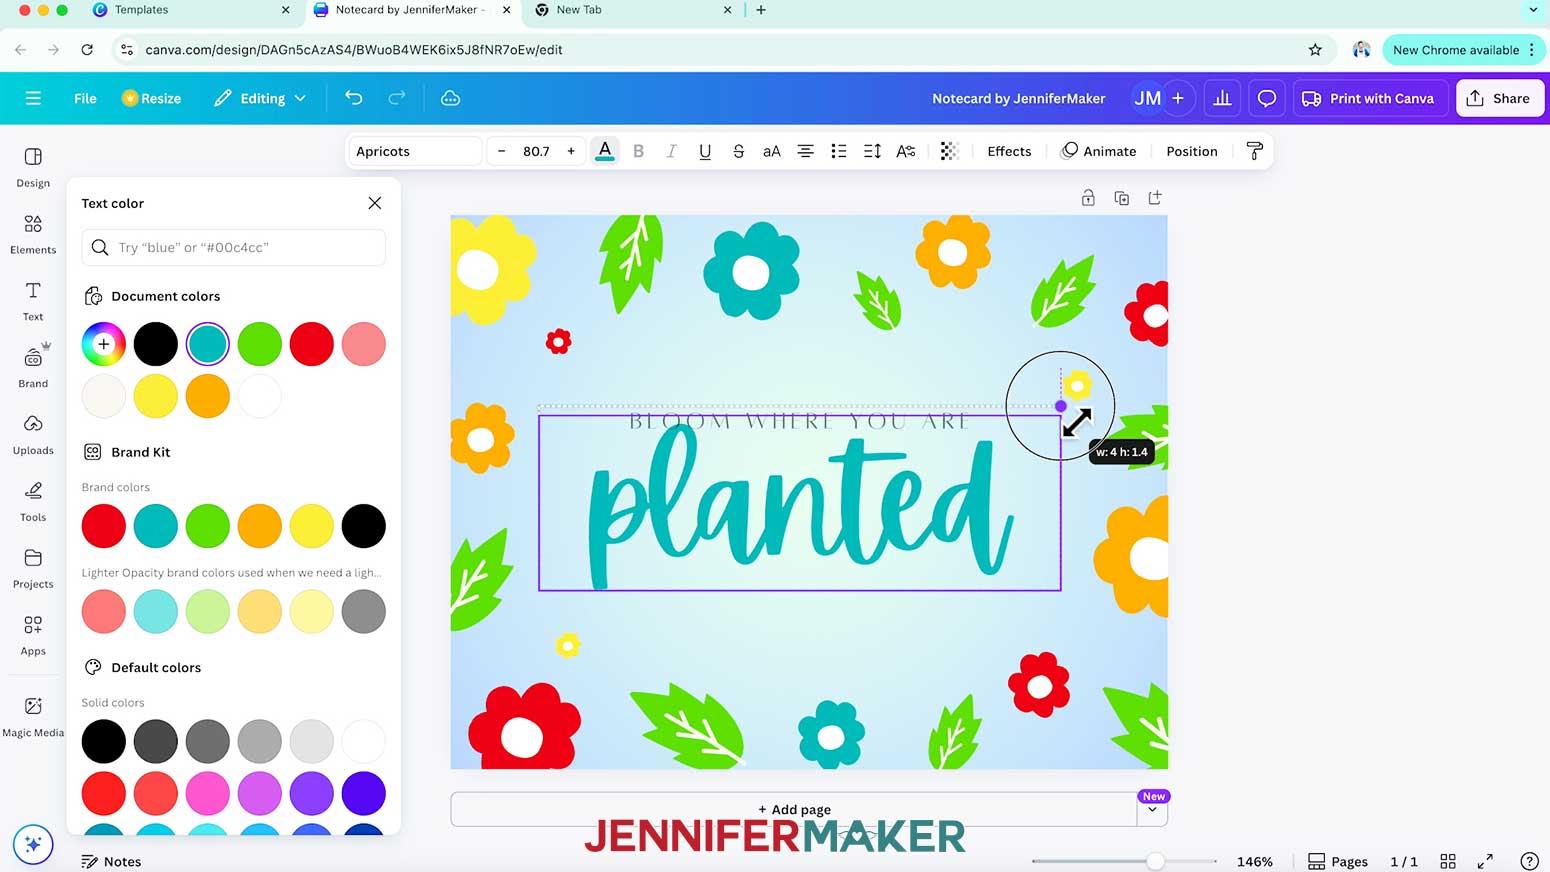
NOTE: I’ll change mine to “Notecard by JenniferMaker.” - To change an element’s colors, select it on your canvas and one or more color swatches will appear in the toolbar above it.
NOTE: If color swatches do not appear, you won’t be able to change the element’s individual colors. - Click the swatch you’d like to change, and select a new option in the Color Panel that appears. The new color will take the place of the original in your image.
NOTE: I’ll change the top left flower’s petals to yellow. - Change any other individual elements the same way.
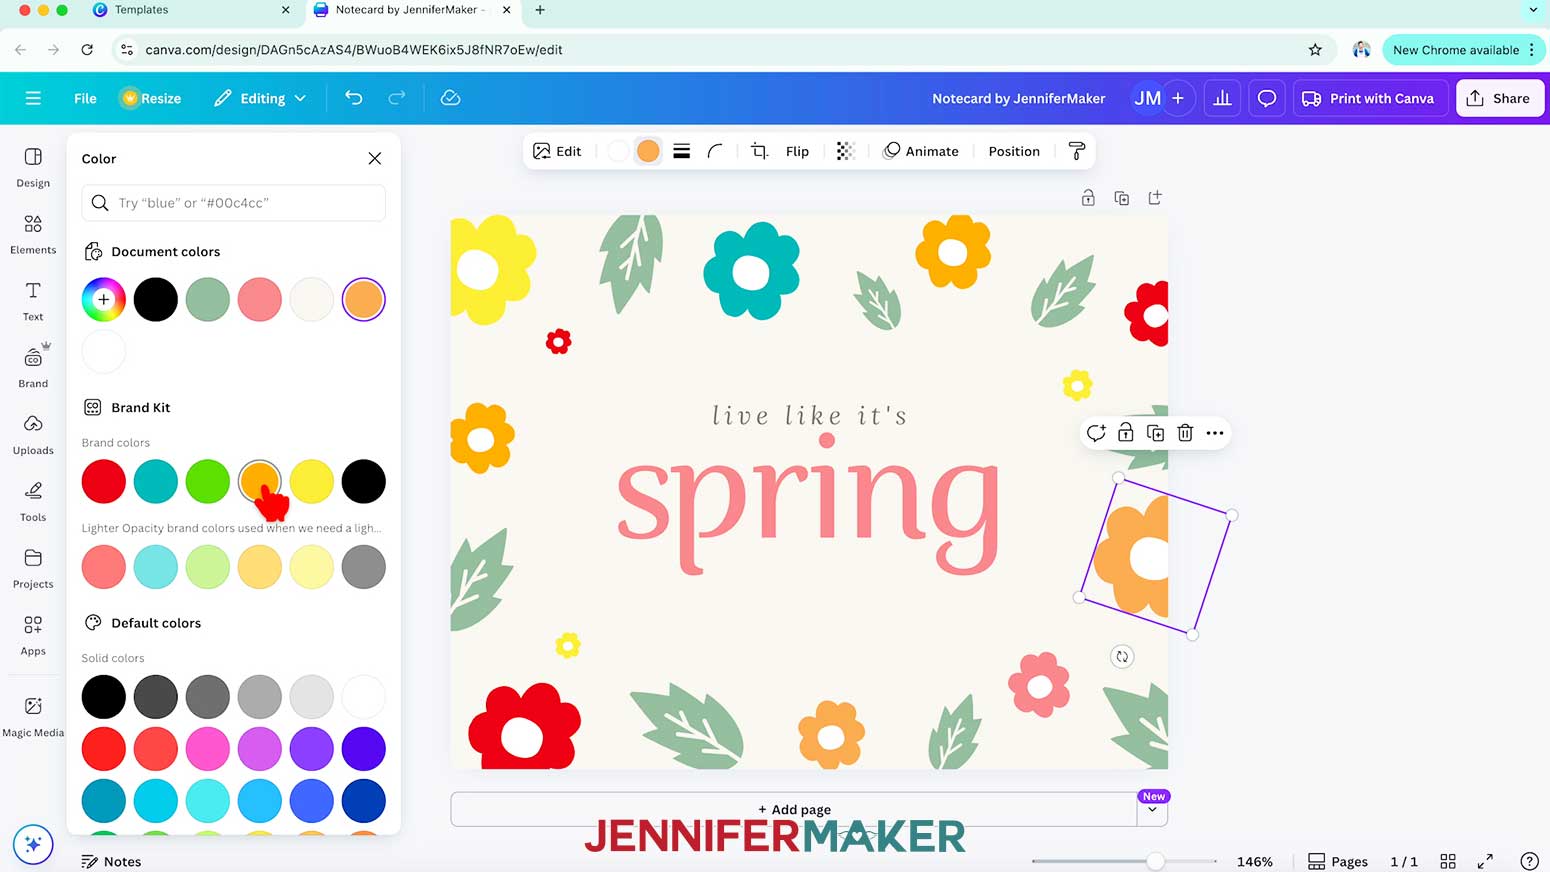
NOTE: I’ll make an assortment of yellow, orange, teal, and red flowers. - To change all elements that are the same color to a new one, first select one element and choose a new color.
NOTE: I’ll change one of the leaves to bright green. - Then, before closing the Color Panel, click the “Change all” button at the bottom to apply the new color to the remaining elements.
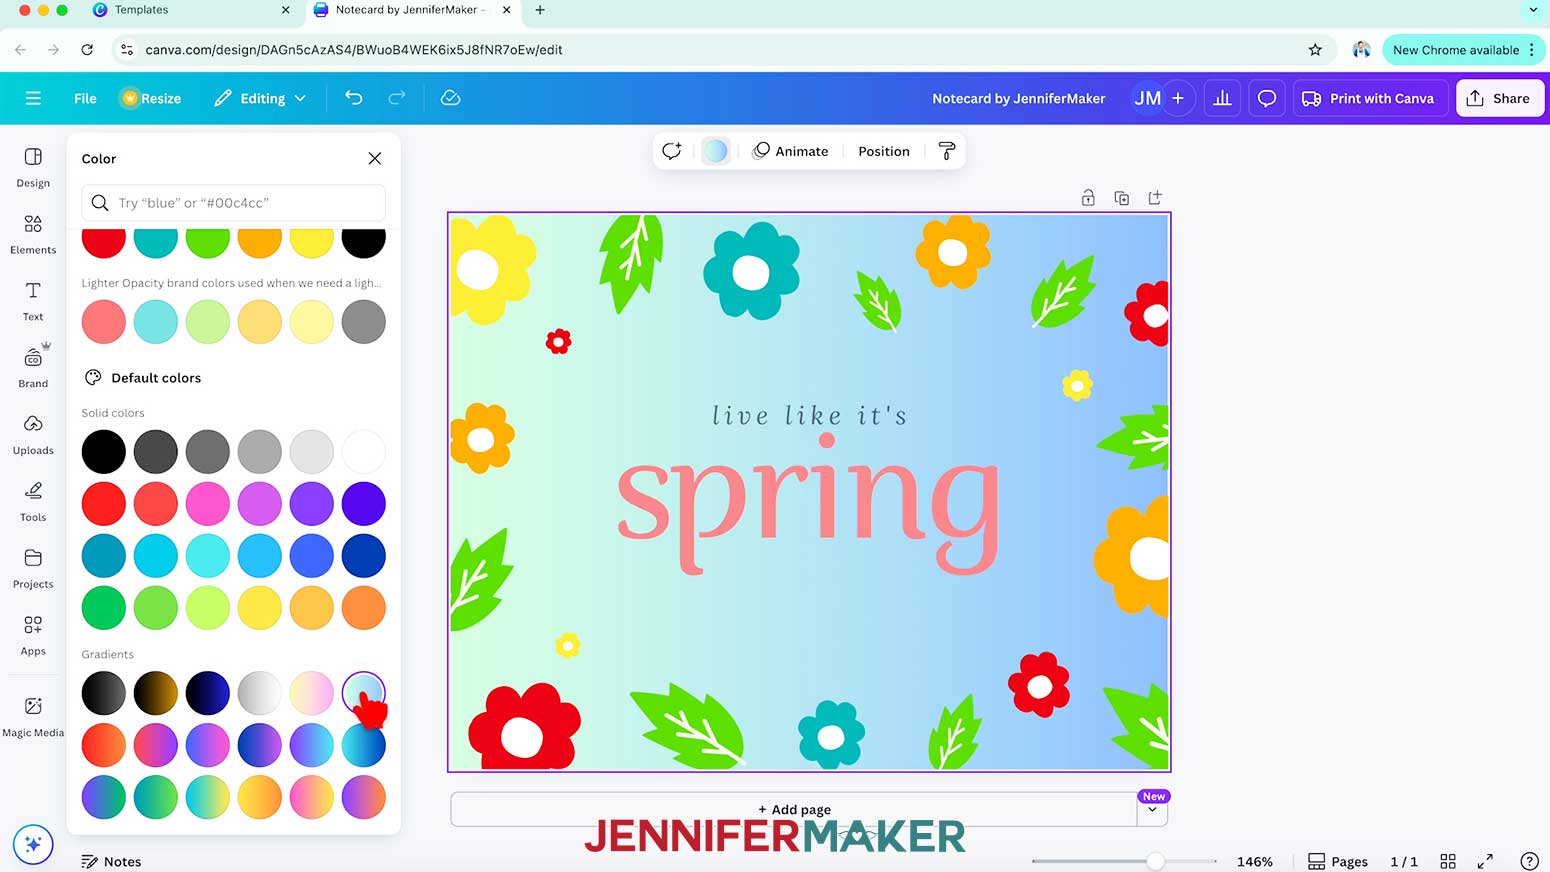
- To change your background, select it on the canvas, click the color swatch in the Edit bar, and choose something you like, such as a gradient.
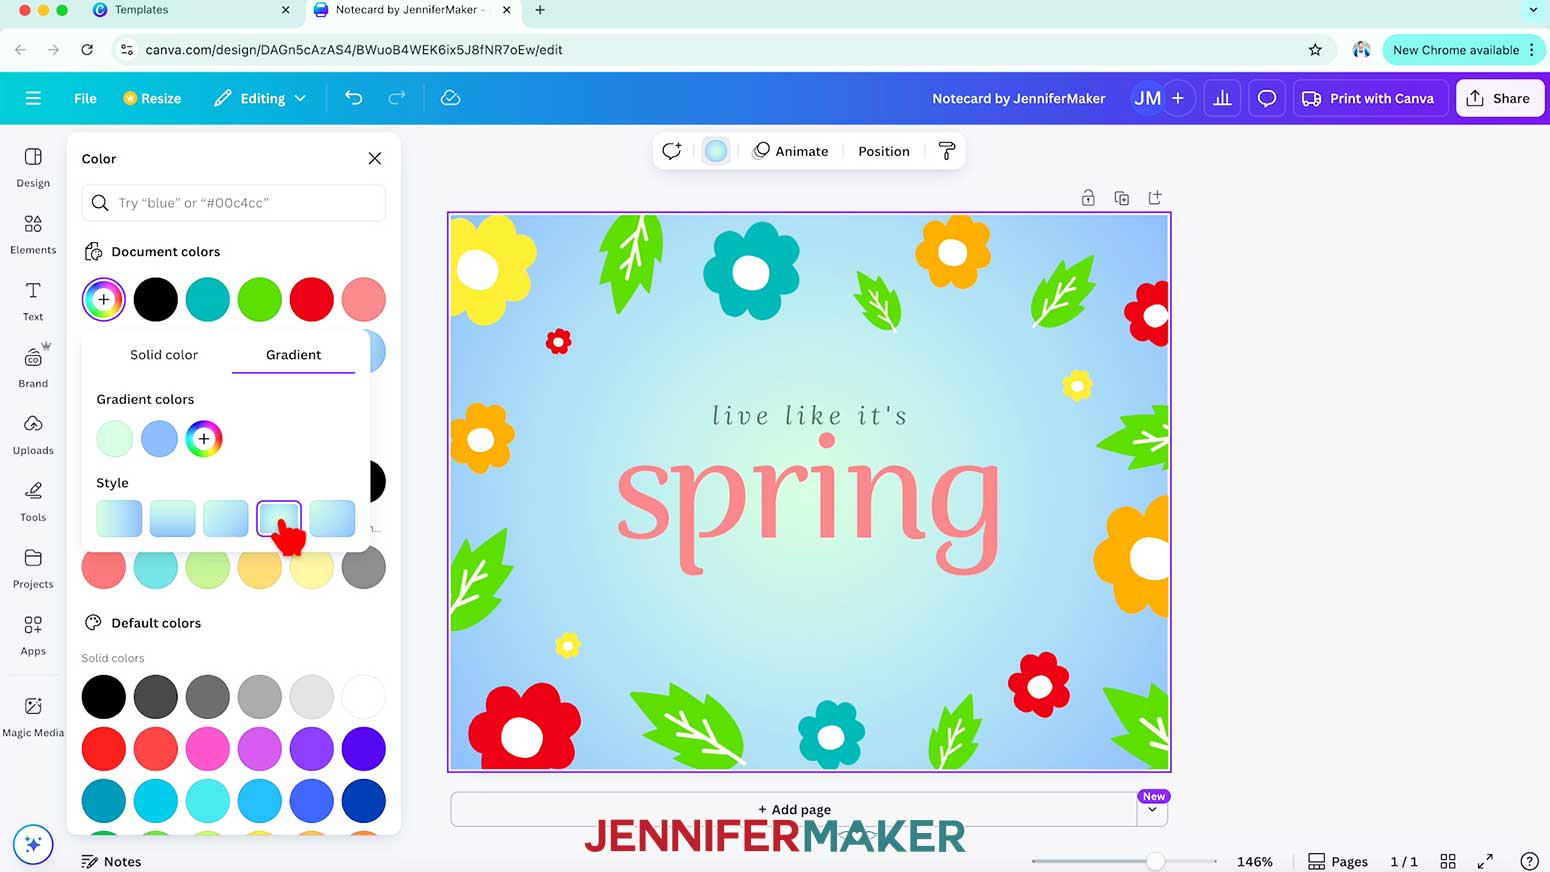
NOTE: I’ll choose a light green to light blue gradient. - To change a gradient’s colors or direction, click the gradient swatch under “Document colors” to bring up the “Gradient” tab.
- Then choose a direction for the gradient under the “Style” section.
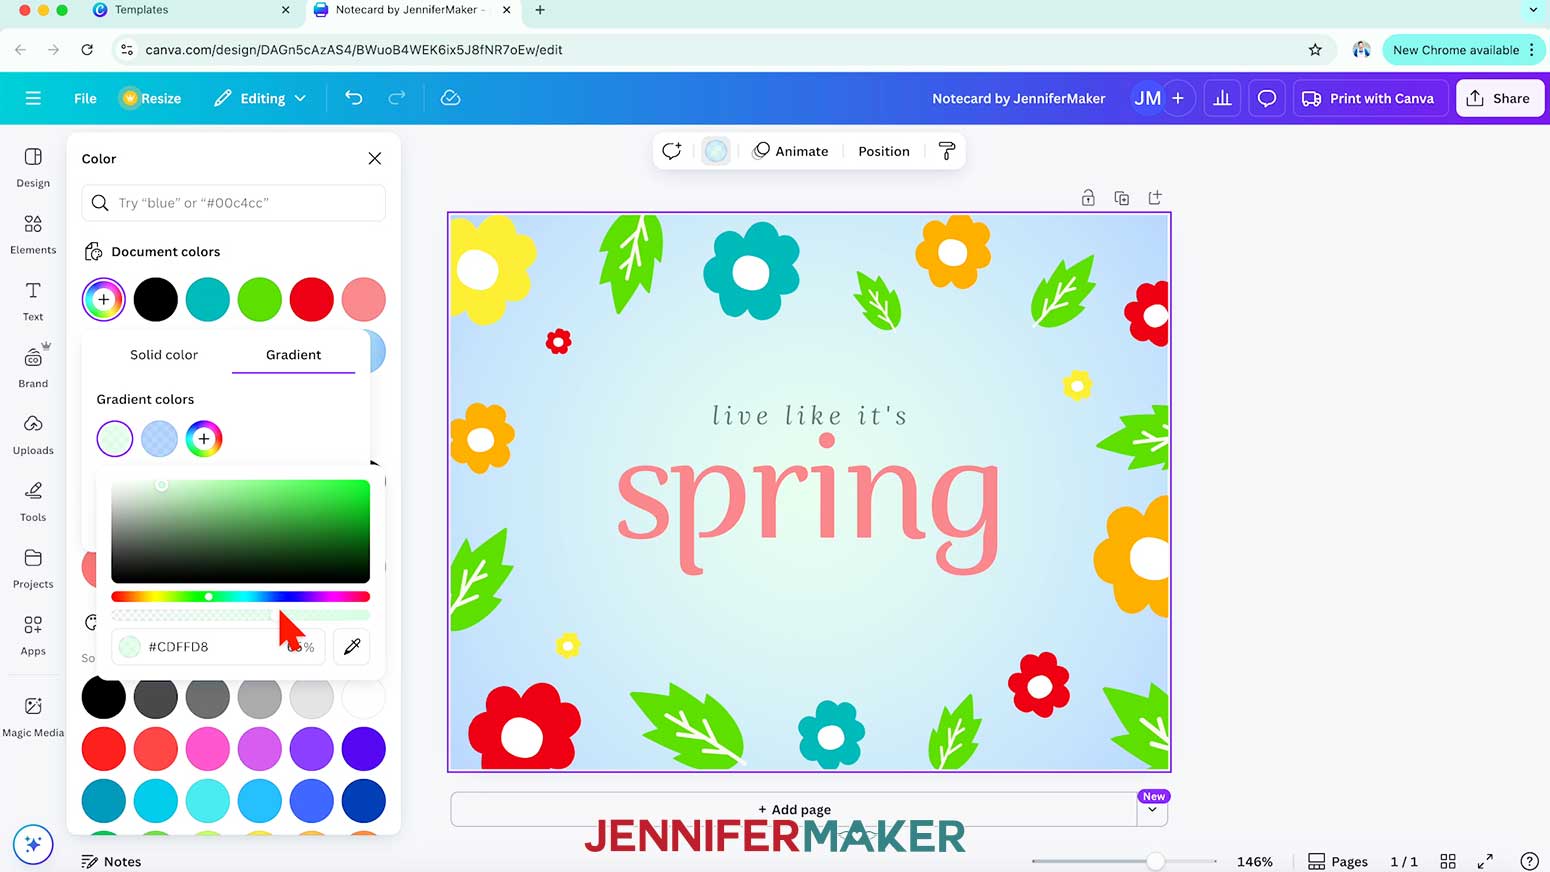
NOTE: I’ll choose the gradient that moves outward from the center. - You can also edit the individual colors in the gradient by clicking them under “Gradient colors.”
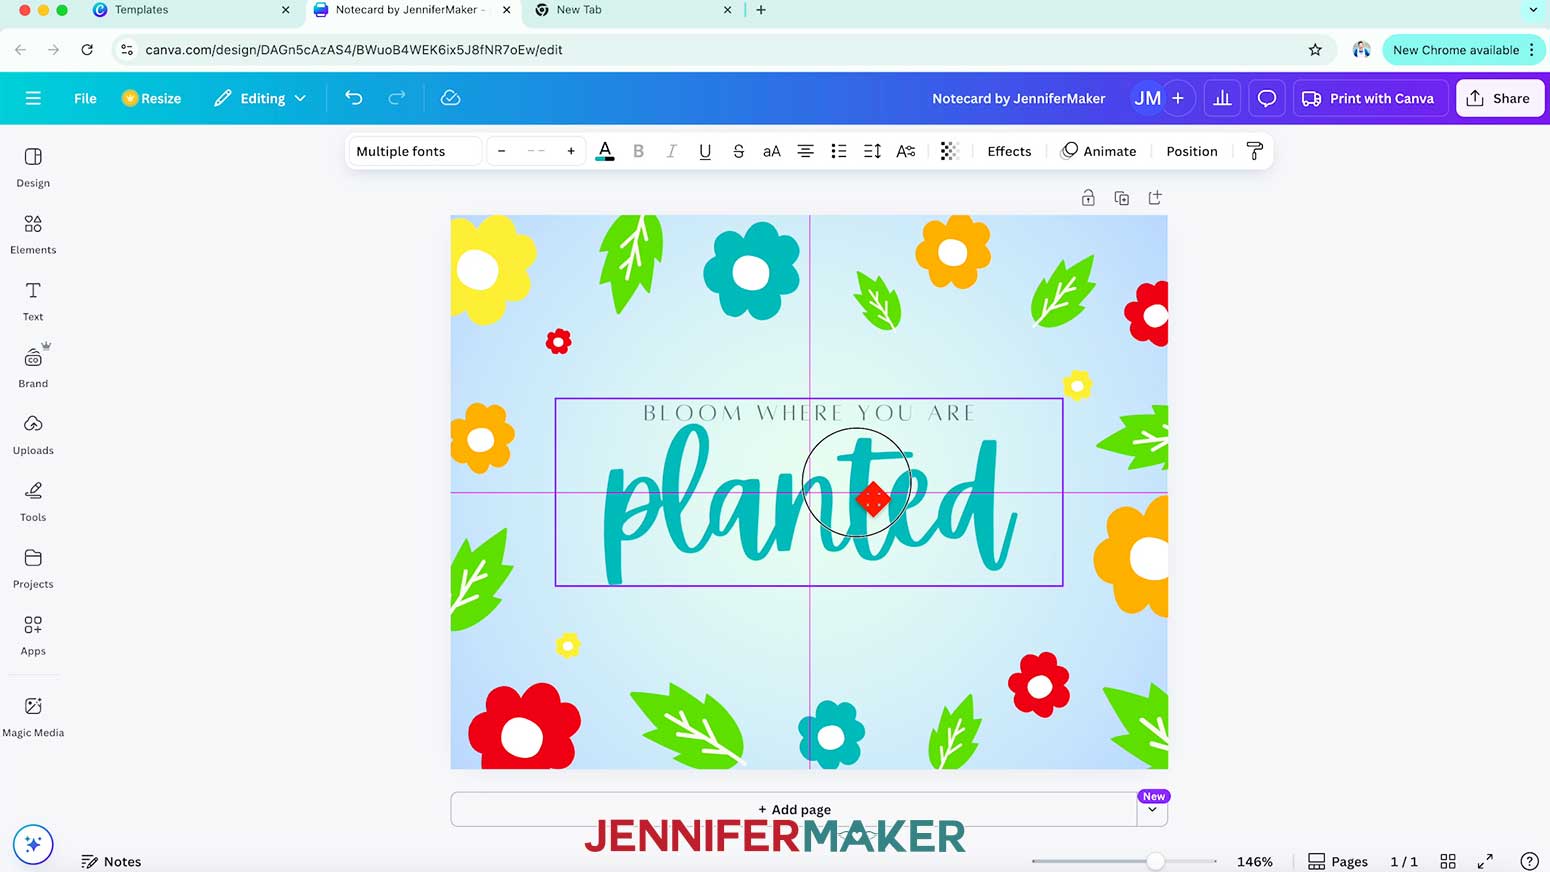
NOTE: I’ll drag the opacity slider of the blue down to 70% and the green to 65% for a softer look. - To edit a text box, double-click it and type in new text.
NOTE: I’ll type “BLOOM WHERE YOU ARE” in the top text box, and “planted” in the bottom text box. - Then follow Steps 23-28 from the “HORIZONTAL FOLDING CARD” section to adjust your text.
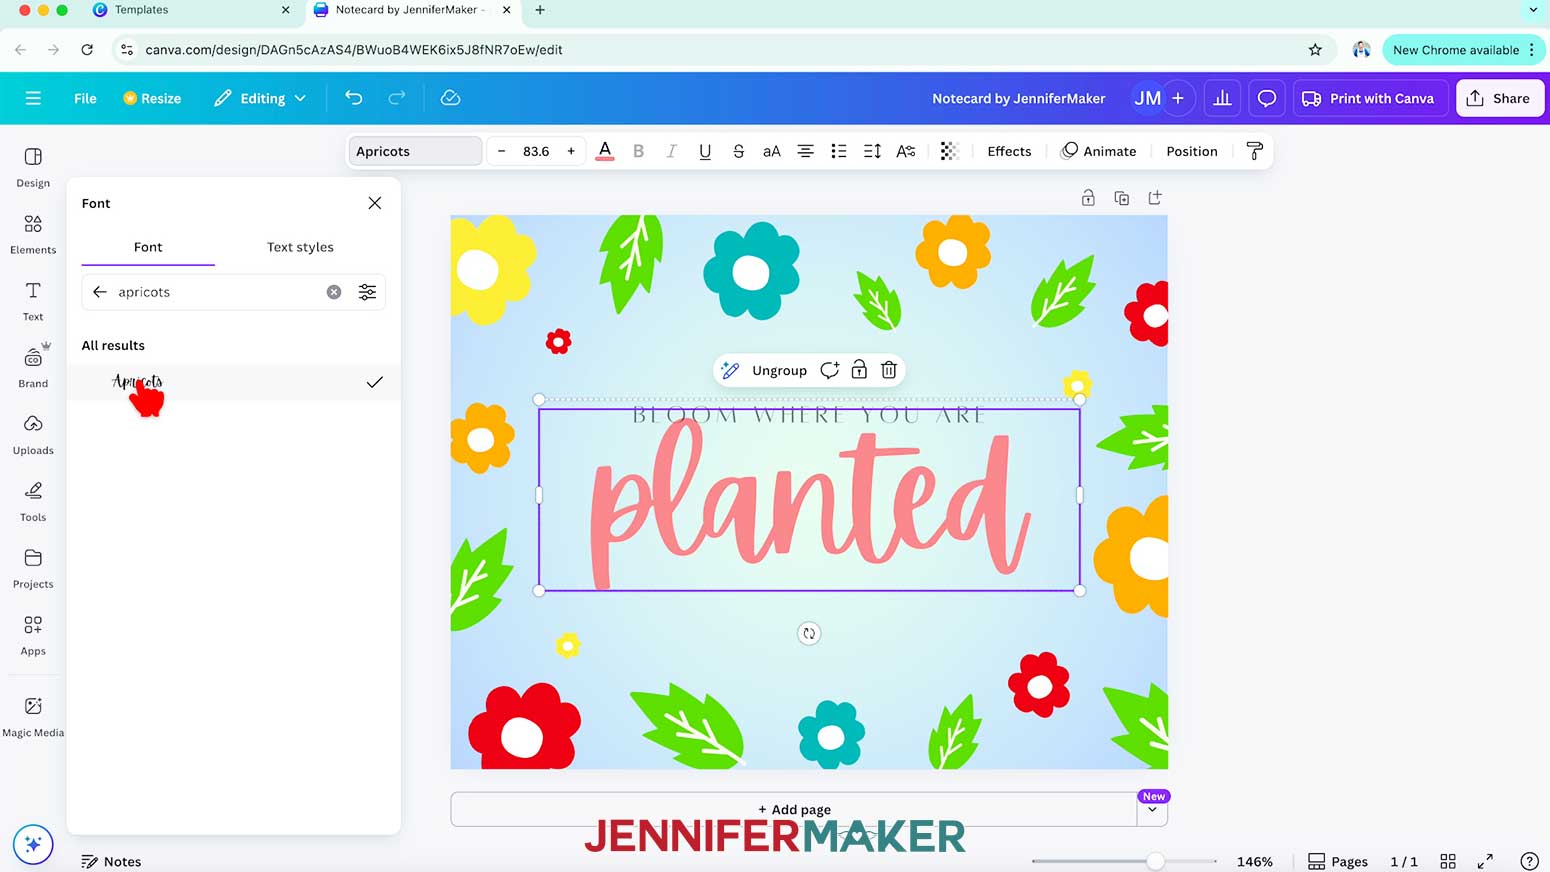
NOTE: I used the free Canva typefaces “Alta” for my top text and “Apricots” for my bottom text, and changed the bottom text color to teal. - You can adjust the template’s text style, too. For example, click the slanted “I” icon to add or remove italics.
- Use the corner handles to shrink or expand your text, and the side handles to adjust the text’s position inside the box.
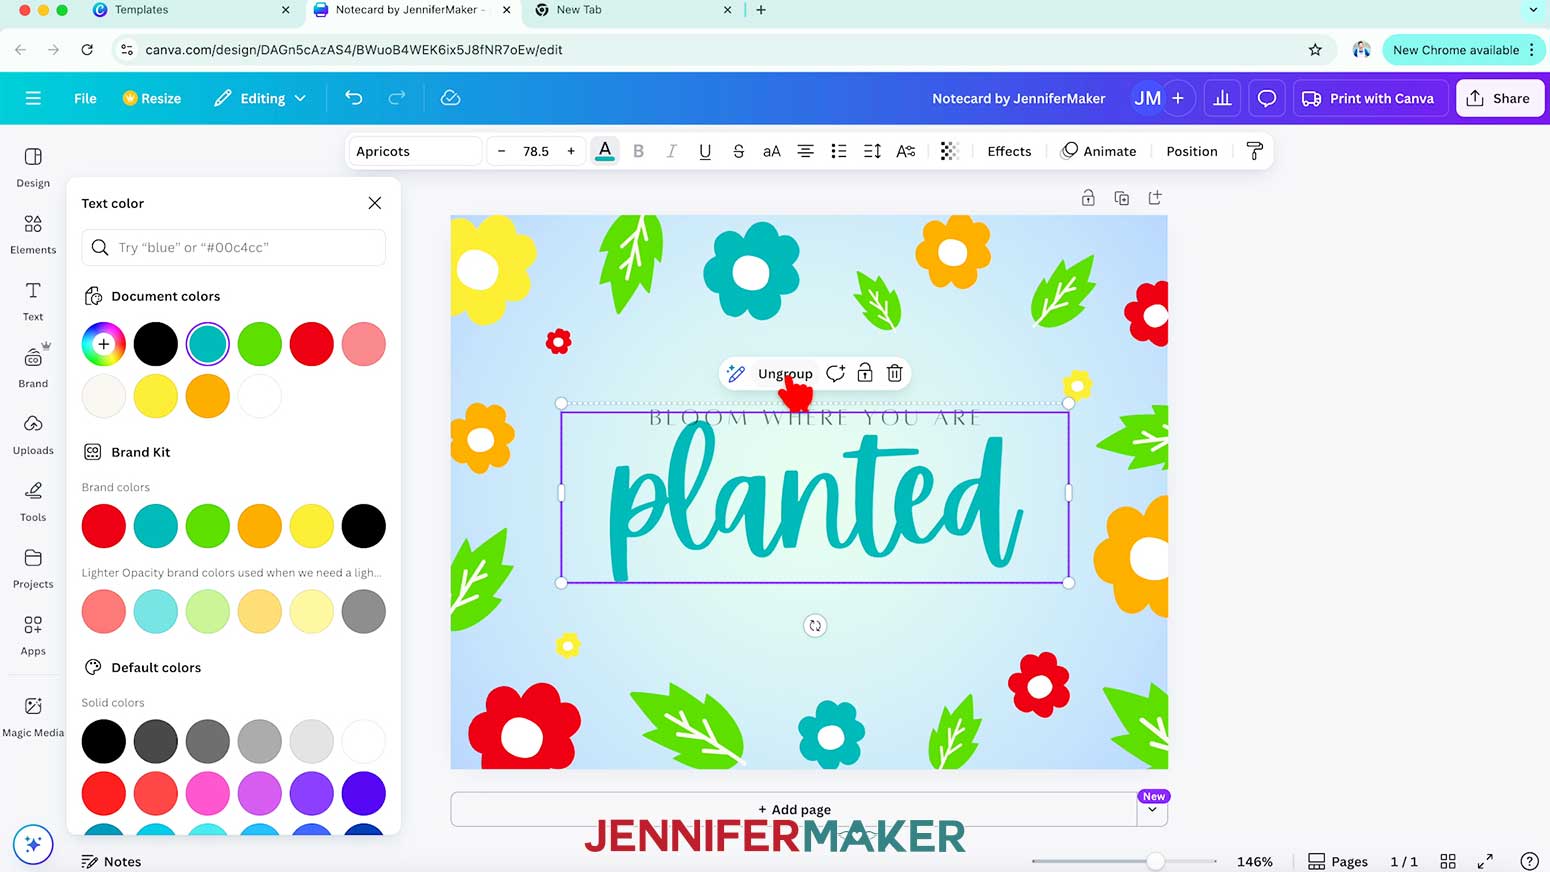
- To adjust the spacing between the two boxes, select the boxes and click “Ungroup” to separate them, then adjust the positioning as desired.
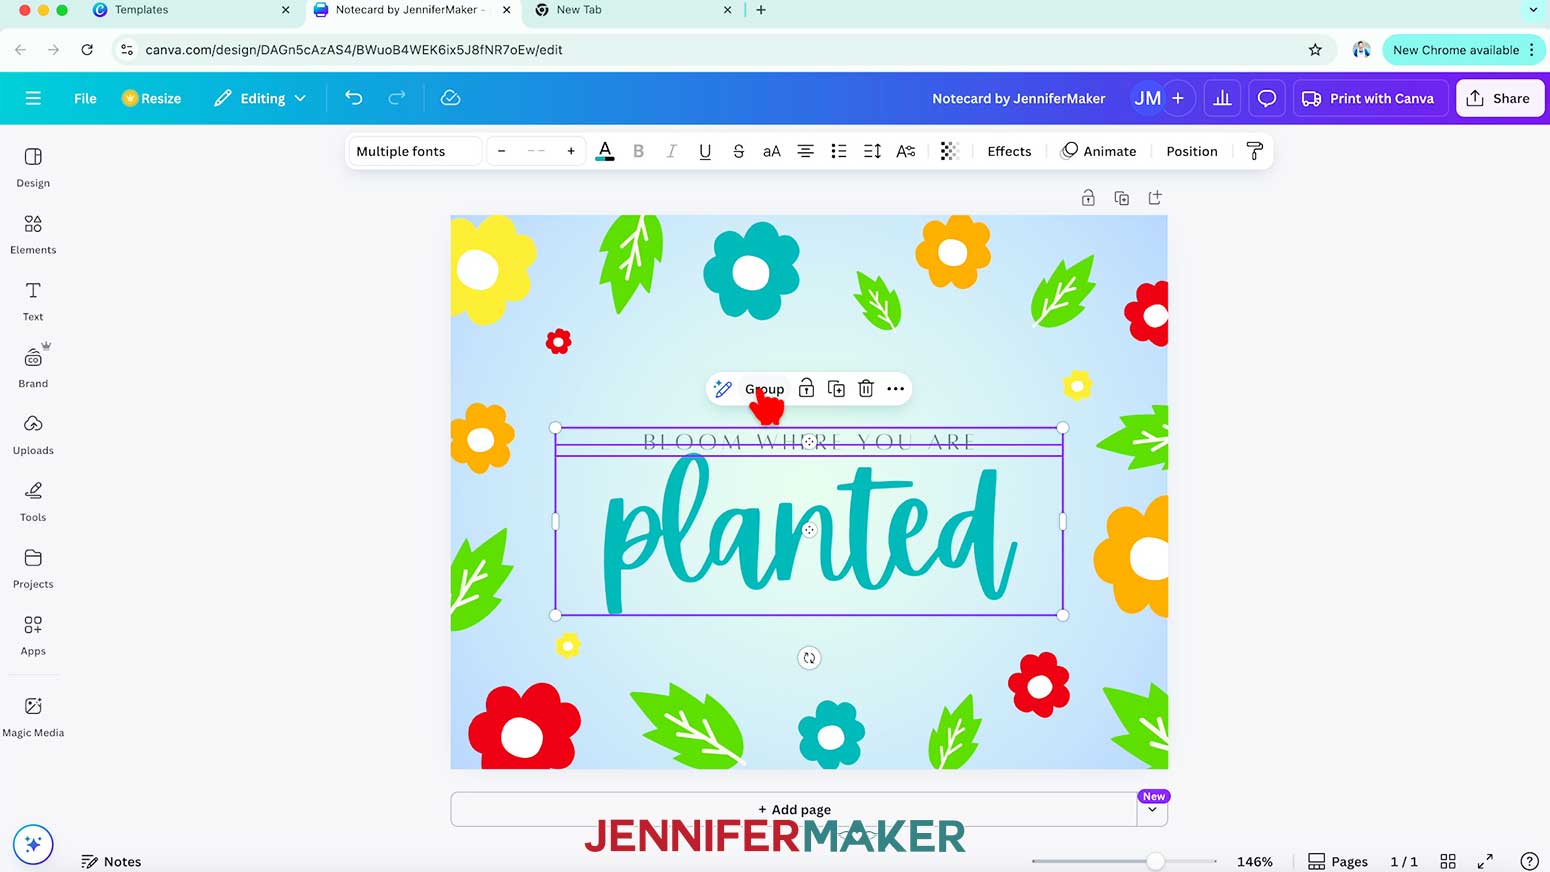
- Select both boxes and click the “Group” option to regroup them so you can move them as one again.
- Then drag the grouped text boxes into position.
TIP: Use the pink lines that pop up to help with alignment.
NOTE: I’ll center the text on my card. - Follow Steps 29-34 from the “HORIZONTAL FOLDING CARD” section to download your design.
- Your notecard design is ready to print!
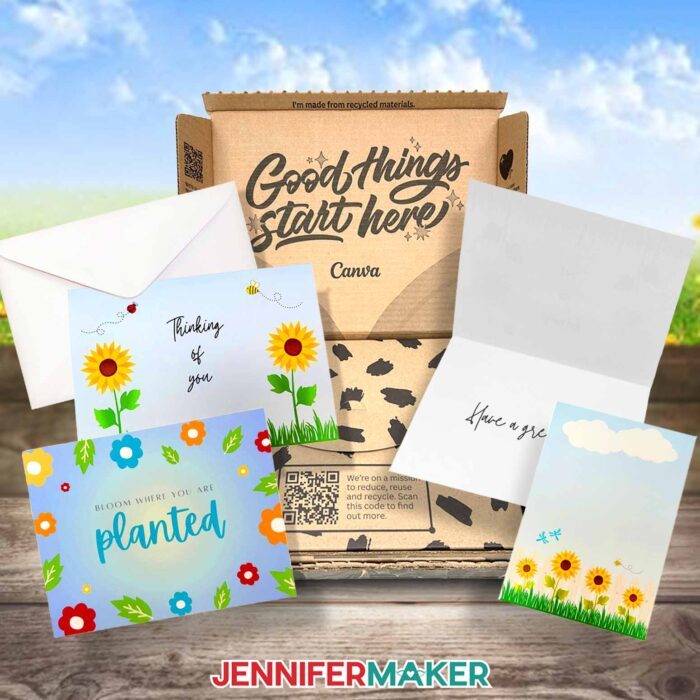
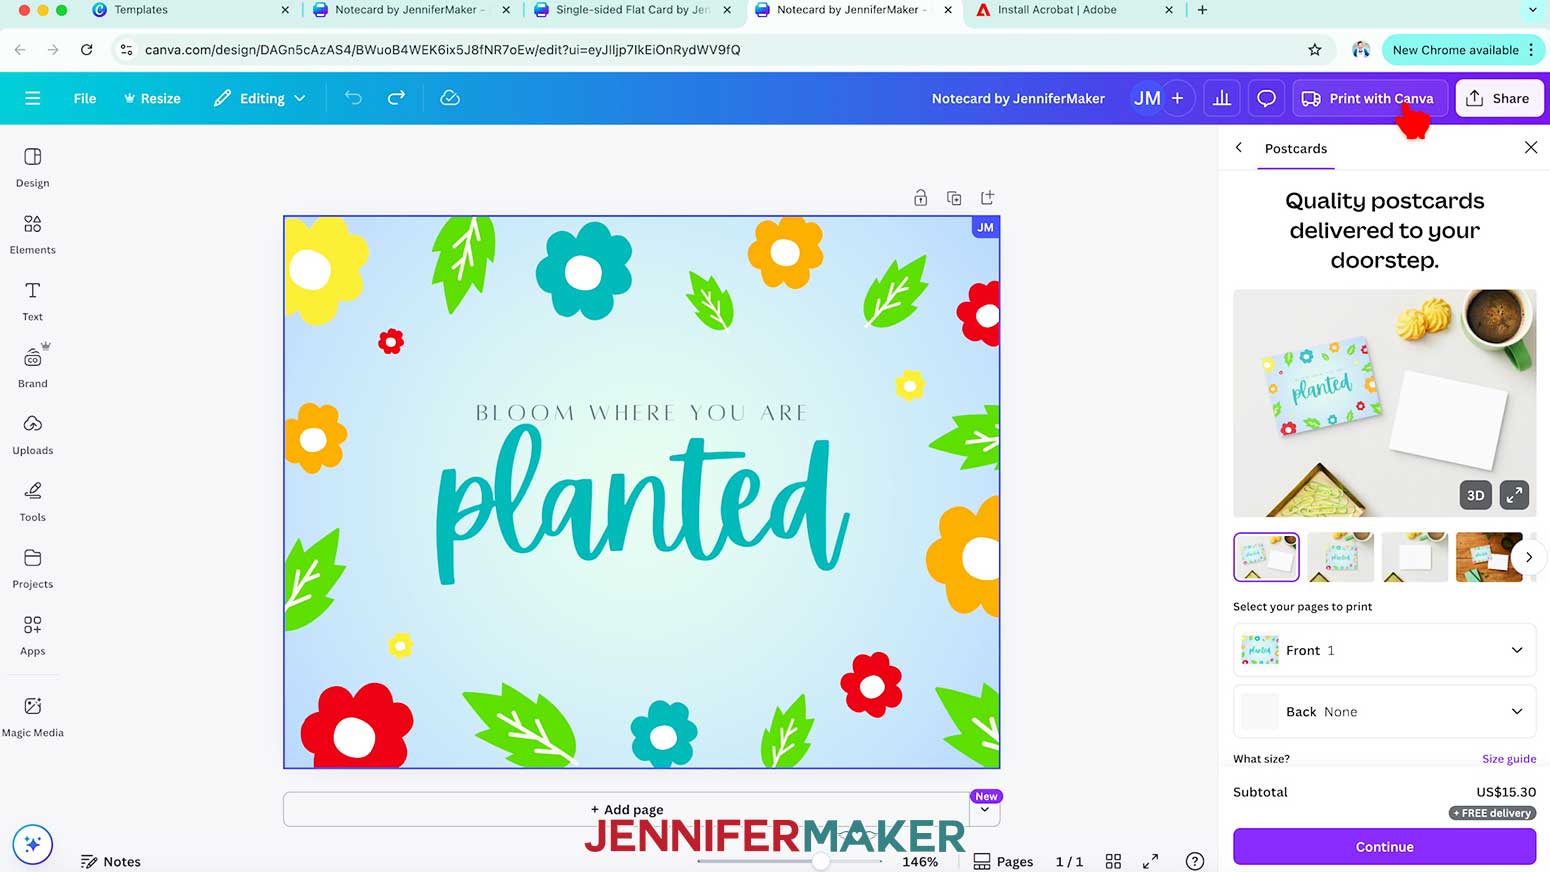
ORDER PRINTS THROUGH PRINT WITH CANVA
- With your notecard project open in Canva, click the “Print with Canva” button.
- Now let’s take a closer look at the “Print with Canva” settings.
- First, choose a size for your notecards. I’ll pick the Small (5.5” x 4.25”) cards.
- Then select your paper type. I’ll choose “Premium paper.” It’s the thinnest option, but it’s similar to heavy cardstock, so I know it’s sturdy enough to hold up.
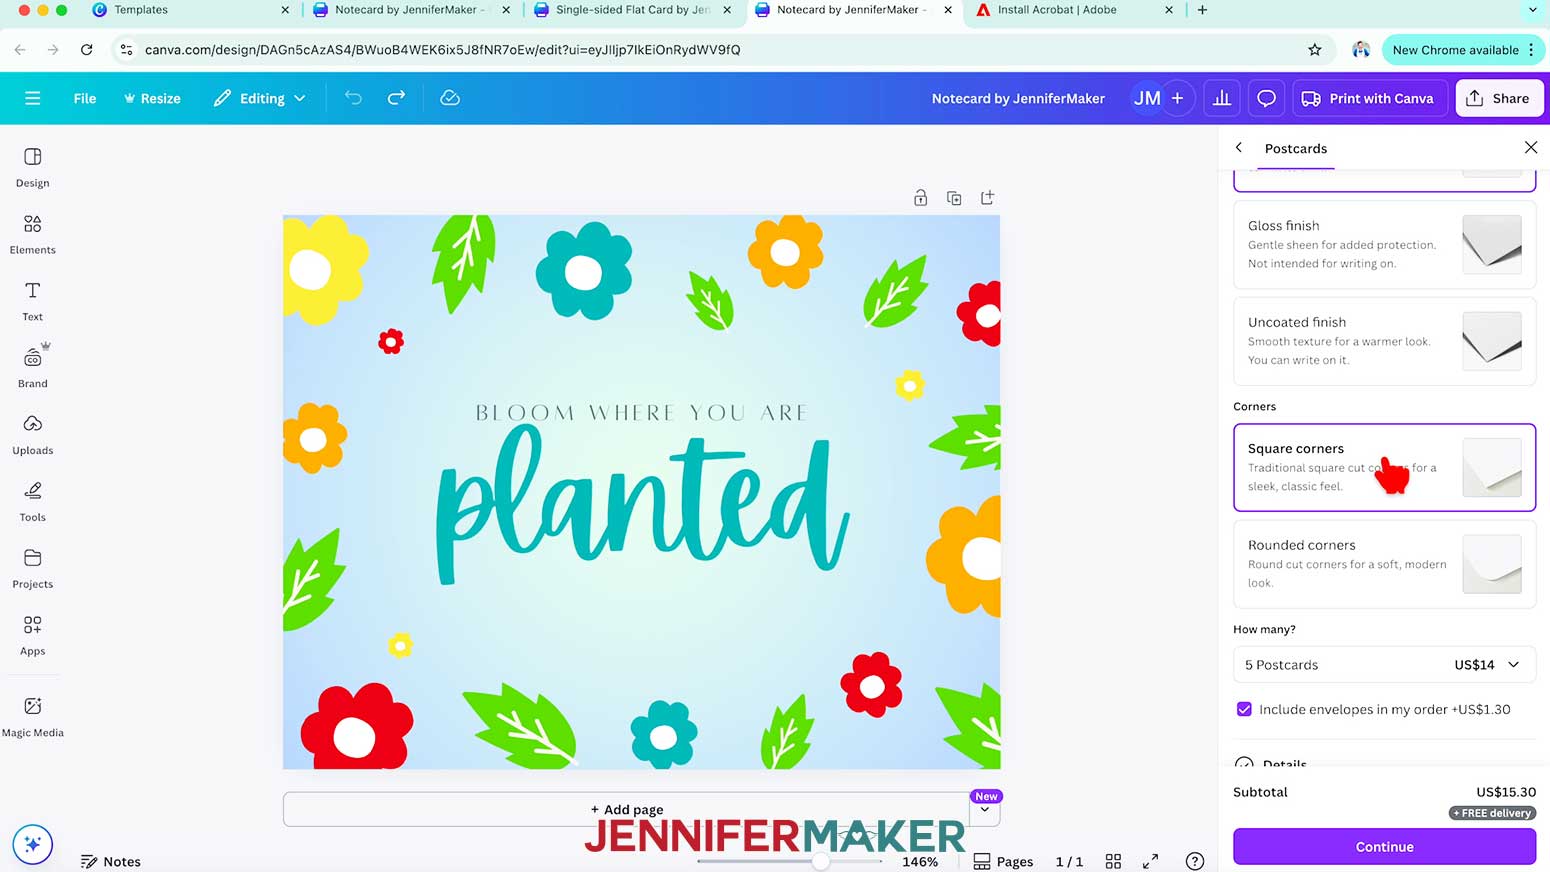
- Under “Paper finish,” I’ll choose “Matte finish” for a slightly textured surface I can write on.
- Next, I’ll pick “Square corners” under the “Corners” section so my corners don’t get cut off.
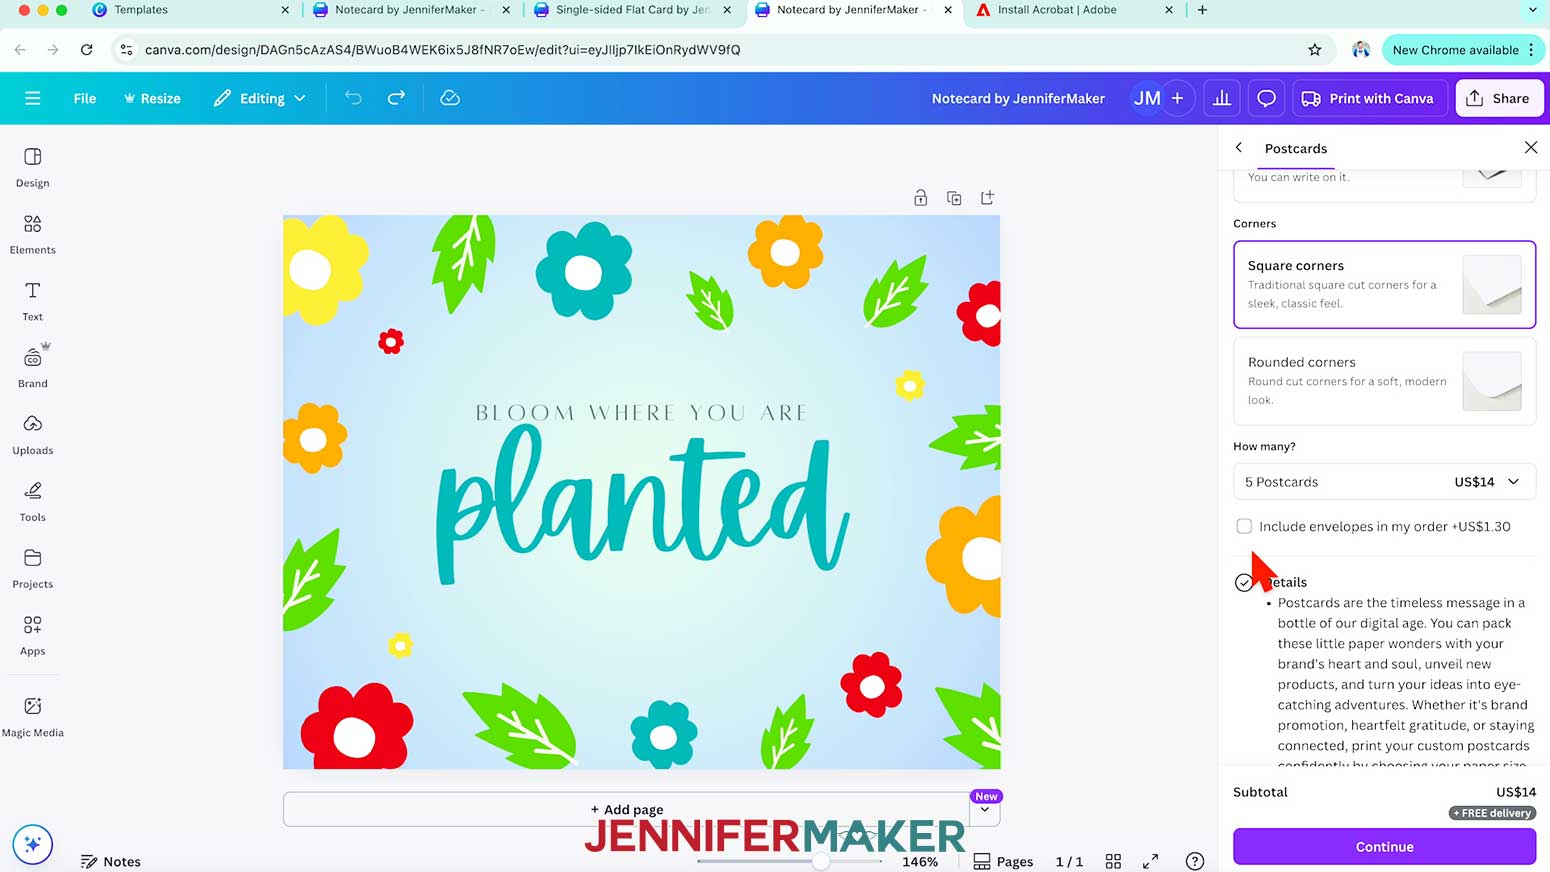
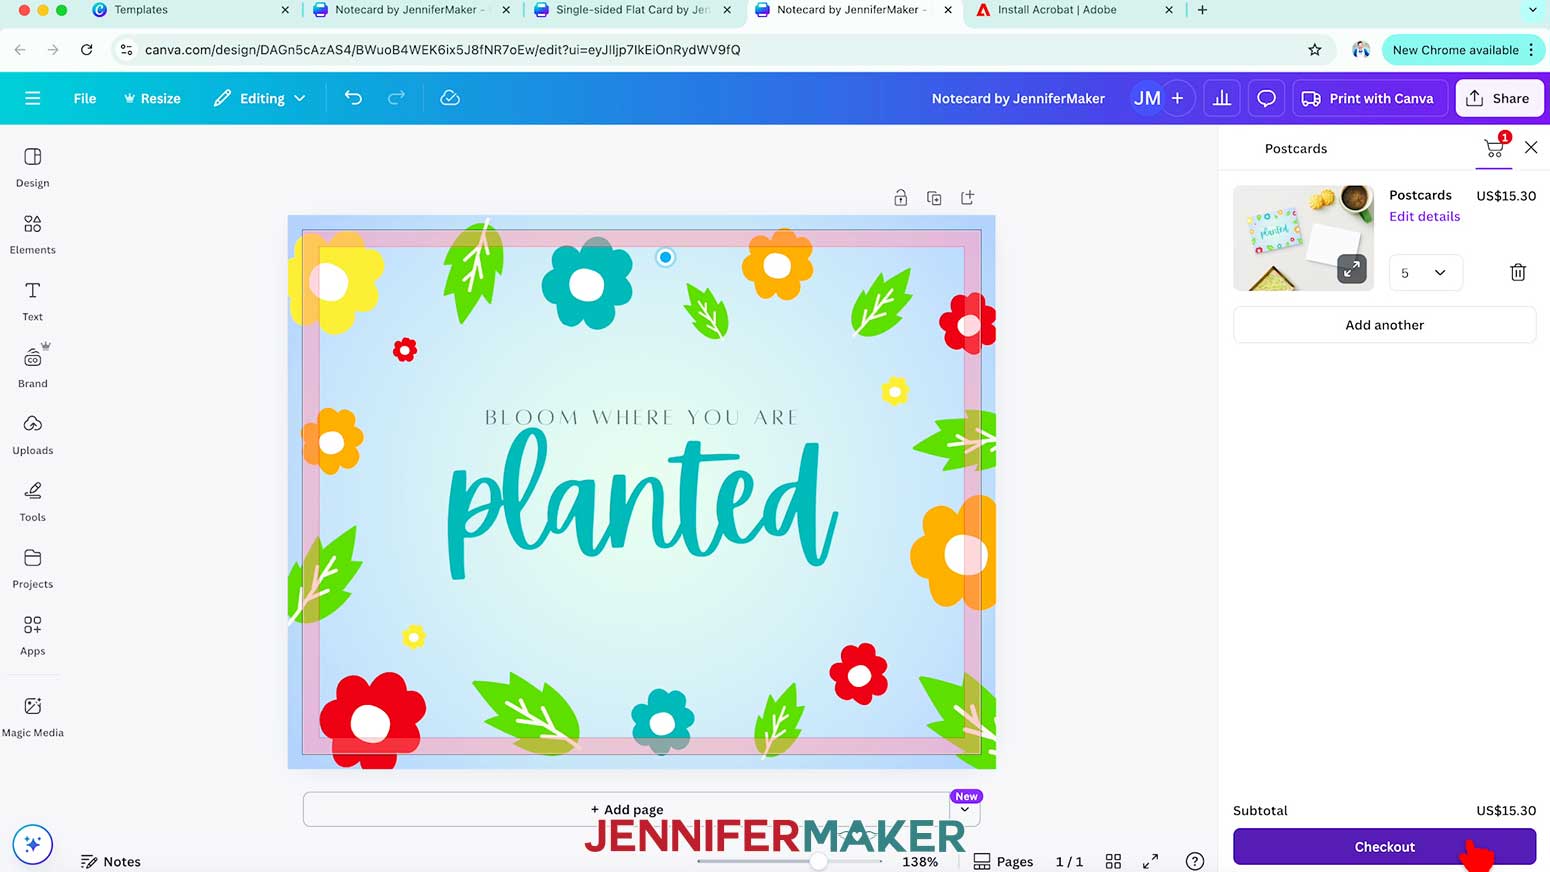
- Choose the number of cards you want to print in the “How many?” dropdown box.
NOTE: I’ll choose 5. - If you’d like to include envelopes with your print, check the box beside “Include envelopes in my order.”
NOTE: I have my own envelopes, so I’ll leave this box unchecked. - Click “Continue.”
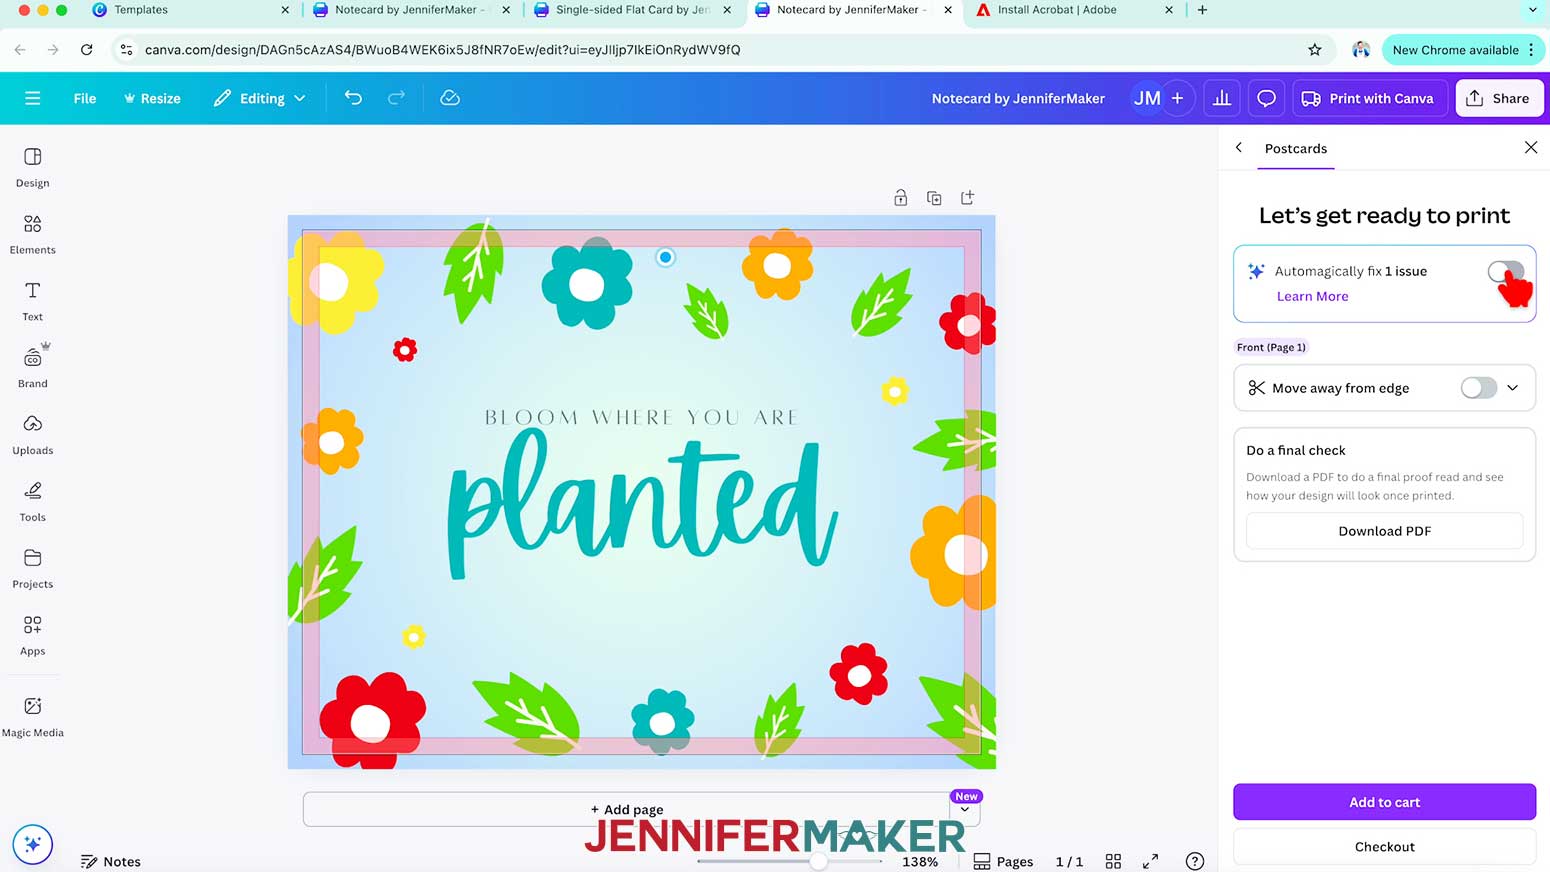
- If there are any issues with your design on the “Let’s get ready to print” screen, click the button to “Automagically fix issues.”
- If you don’t like the fix results, you can uncheck the “Automagically fix issues” box and adjust each issue manually instead.
NOTE: I’ll leave the “Move away from edge” option toggled off so Canva doesn’t change the placement of my teal flower. - Click “Add to cart.”
- Then click “Checkout.”
- Fill in your details, choose your shipping method, and enter your payment information on the “Secure checkout” page.
- Then click “Place order.”
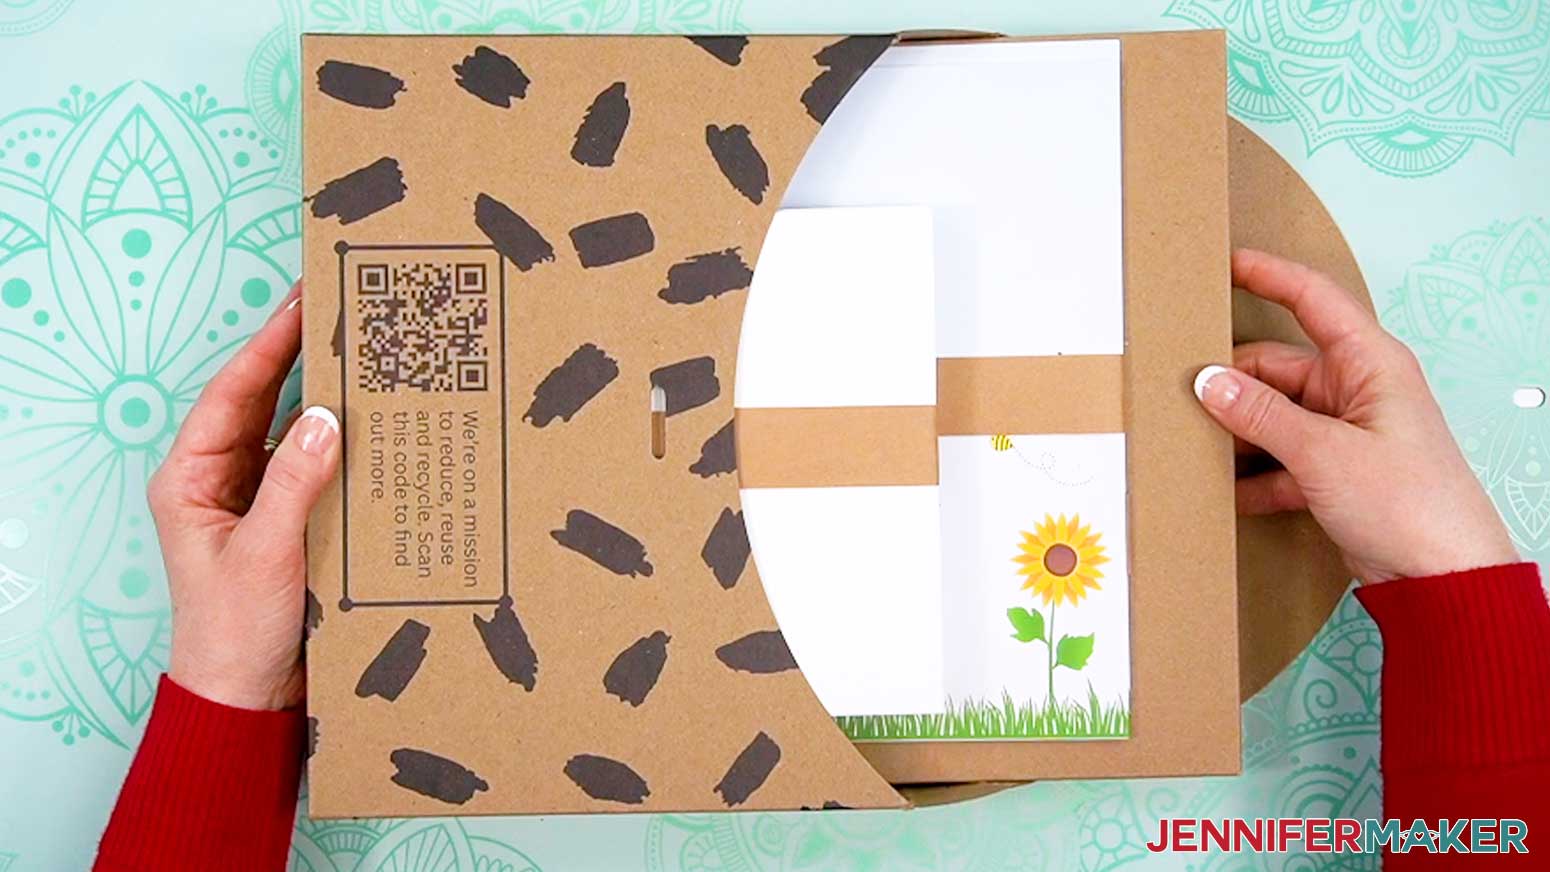
NOTE: A confirmation window will pop up to let you know your order has been placed successfully. - When your cards arrive, open the box and enjoy!

STEP 3: SHOW IT OFF
You now have an impressive card made using Canva! Slip it in a matching envelope to send it through the mail. If you’d like to learn how to make your own envelopes, check out my How to Make an Envelope tutorial!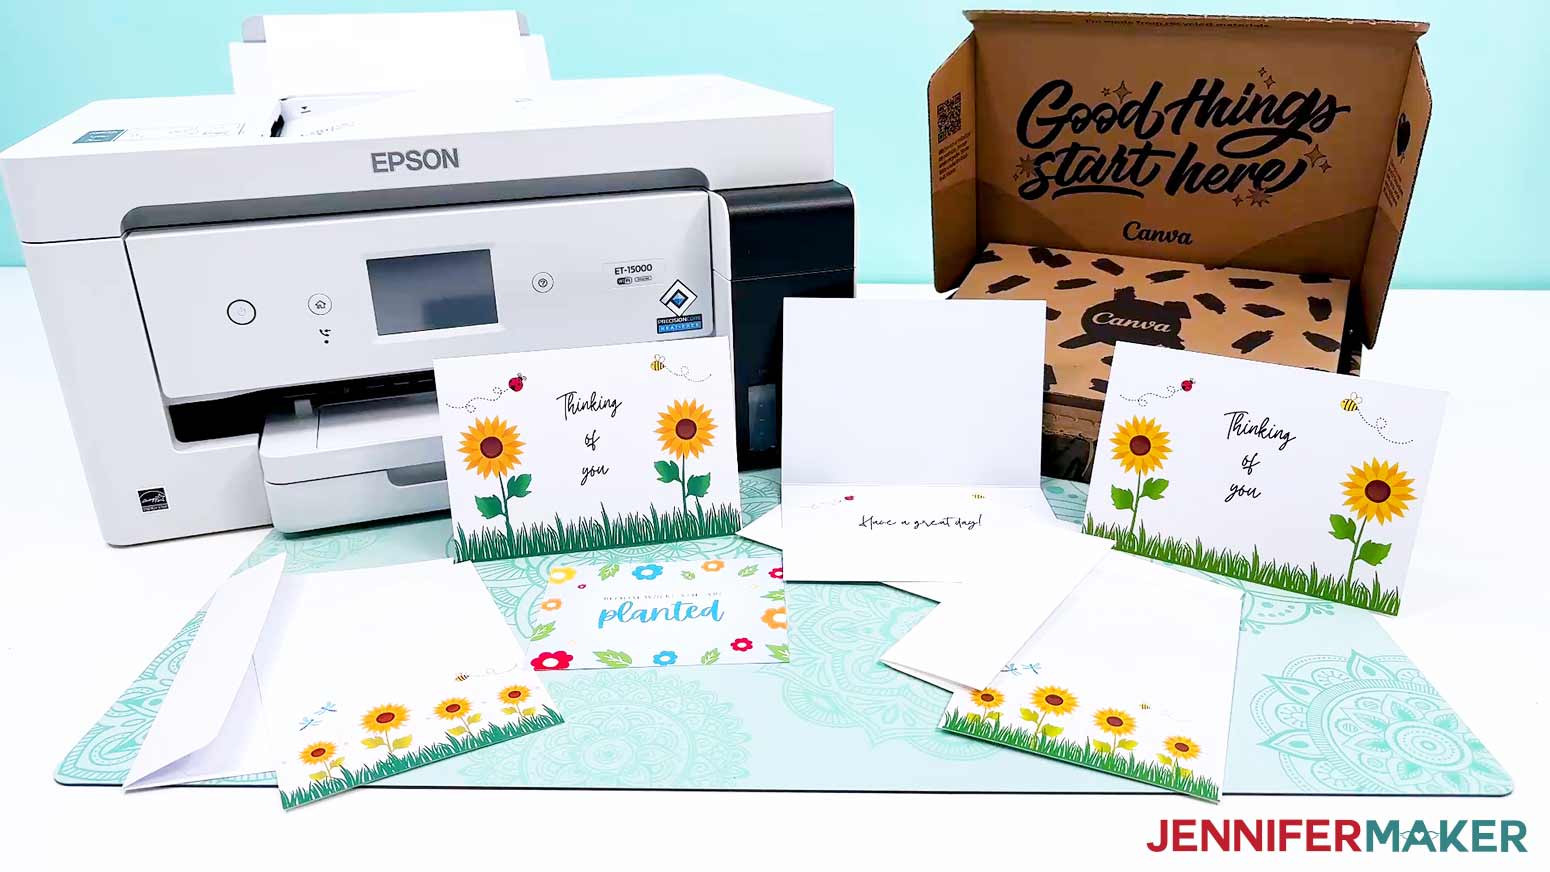
Notes
Finished Sizes:
Folding Card: 5” x 7”
Single-Side Card: 5” x 7”
Notecard: 4.25” x 5.5”
Fonts Used: Twister, Alta, Apricots (all free Canva fonts)
Answers to Your Questions About Creating Canva Greeting Cards
Q: I want to design a card with printing on both sides. How do I do that?
A: You can learn how to design a custom double-sided card in Canva and get the card occasion cheat sheet in my ADVANCE program. Learn more about ADVANCE here!
Q: Can you make cards with Canva?
A: I can show you how to make a card in Canva! Just follow the video tutorial or read through the written tutorial above to learn how to make three types of cards easily with a free Canva account.
Q: Can you make notecards in Canva?
A: Yes, you can make notecards in Canva — and I’ll show you how in this tutorial! You can start from a blank page to create a custom greeting card or personalize a pre-made Canva template with your own colors, text, and design elements. It’s a fun and creative way to make something truly your own using the free version of Canva.
Q: Can you tell me how to print cards off Canva?
A: In the tutorial video and the written tutorial above, I walk you through the whole process of designing cards in Canva and then printing them from your home inkjet printer.
Q: What is the best free online card maker?
A: Canva is one of the best free online card makers out there! With the free version of Canva, you can access thousands of design elements, text tools, and templates to create beautiful custom greeting cards — no fancy tools or graphic design experience required!
Q: How long does Canva printing take?
A: If you choose to use Canva’s printing service, delivery times can vary depending on your location and selected shipping option. For the fastest results, print at home using high-quality paper.
Q: What kind of paper do I use when I make cards in Canva?
A: For the best results, use double-sided matte photo paper. This paper type helps your colors stay bright and crisp, giving your final product a professional look and feel, even when using a regular inkjet printer at home.
Get my free Card and Envelope Size Reference PDF file!
(If you do not see the signup form above, click here.)
I love seeing what you make with my tutorials and how you customize them! Please share a photo of your custom greeting cards in our Facebook group or tag me on social media with #jennifermaker.
Love,

Want to remember this? Save this How to Make Cards in Canva tutorial to your favorite Pinterest Board!