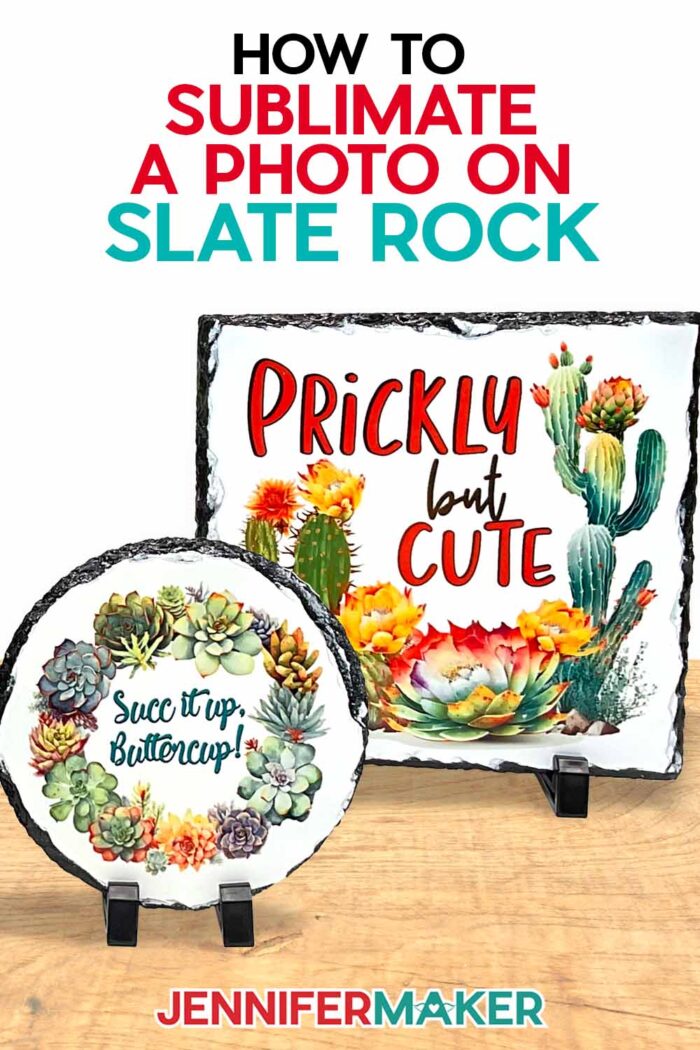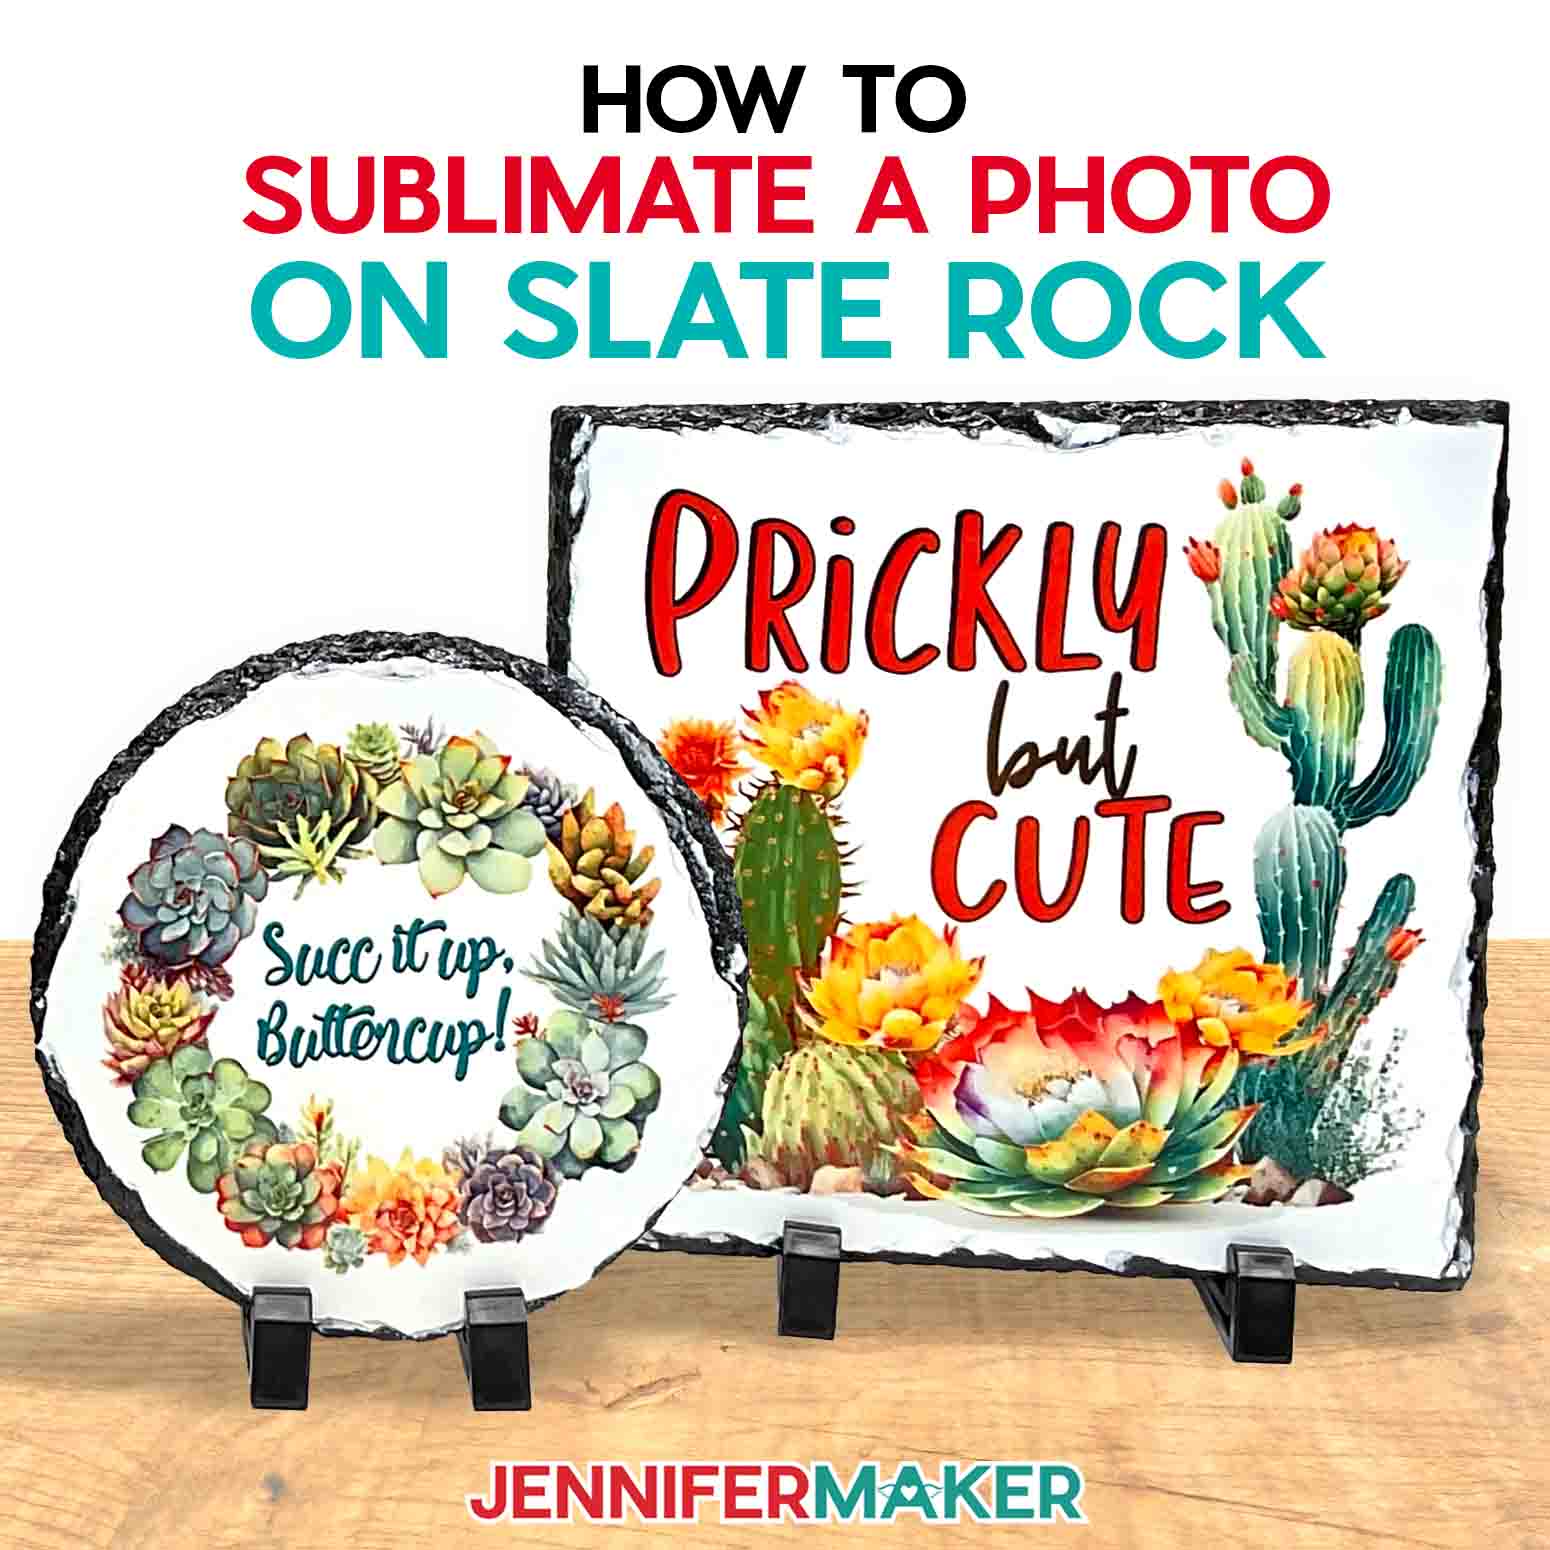

Learn the tricks to sublimate on slate!
Slate rock is dark, uneven, and soaks up liquid, so it’s can’t be fun to sublimate, right? Wrong! As long as you pick the right sublimation slate blank and use the right steps, you can create beautiful custom decor! Slate is a wonderful way to show off your favorite photos, designs, and images of every kind. Let me show you how to make it work.

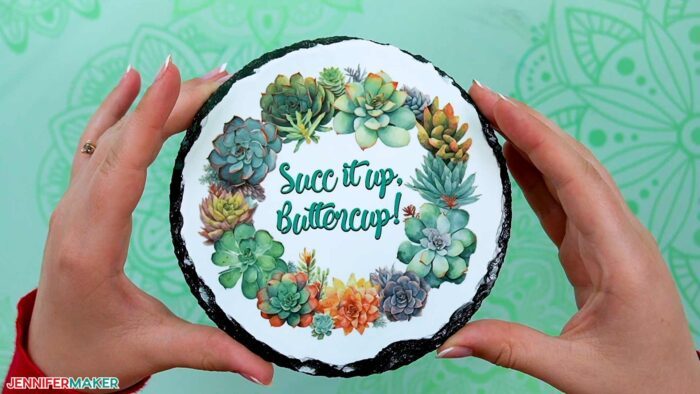
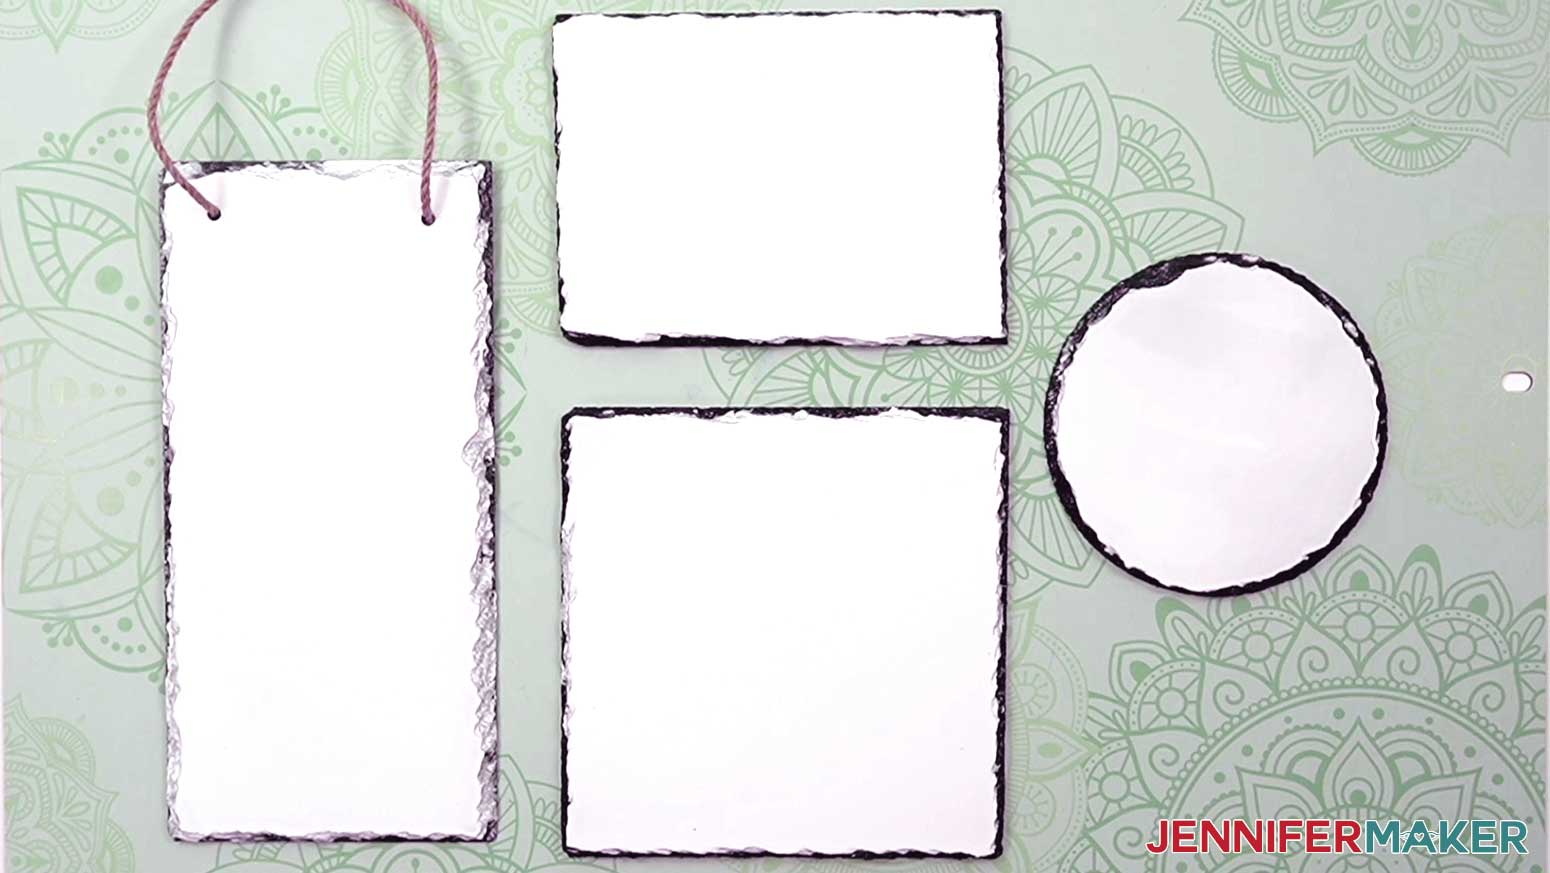
I won’t deny it, sublimation slate blanks have their challenges! The natural sedimentary stone blanks aren’t made with polished slate. They have chiseled imperfect edges and other natural imperfections, which I think makes them more interesting! But even with the sublimation-ready coating added on the main imprint area, the natural texture can distort images, especially full color photographs. But that’s ok, adjusting your design’s size and placement gives you control over the finished look.
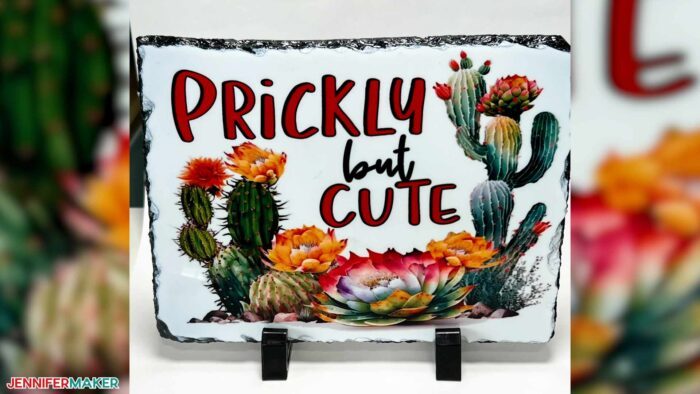
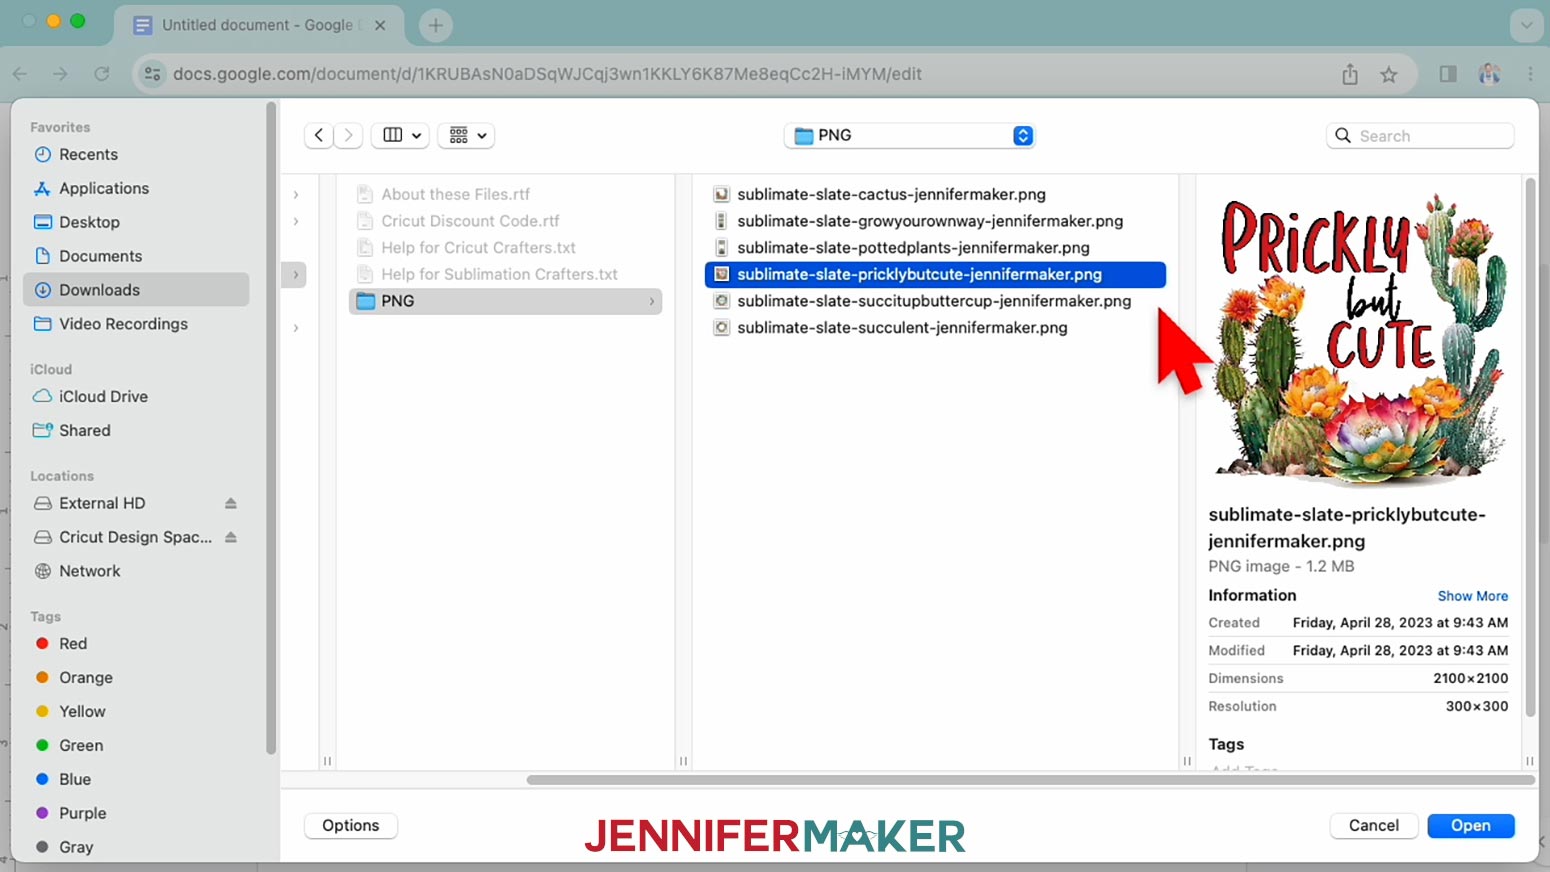
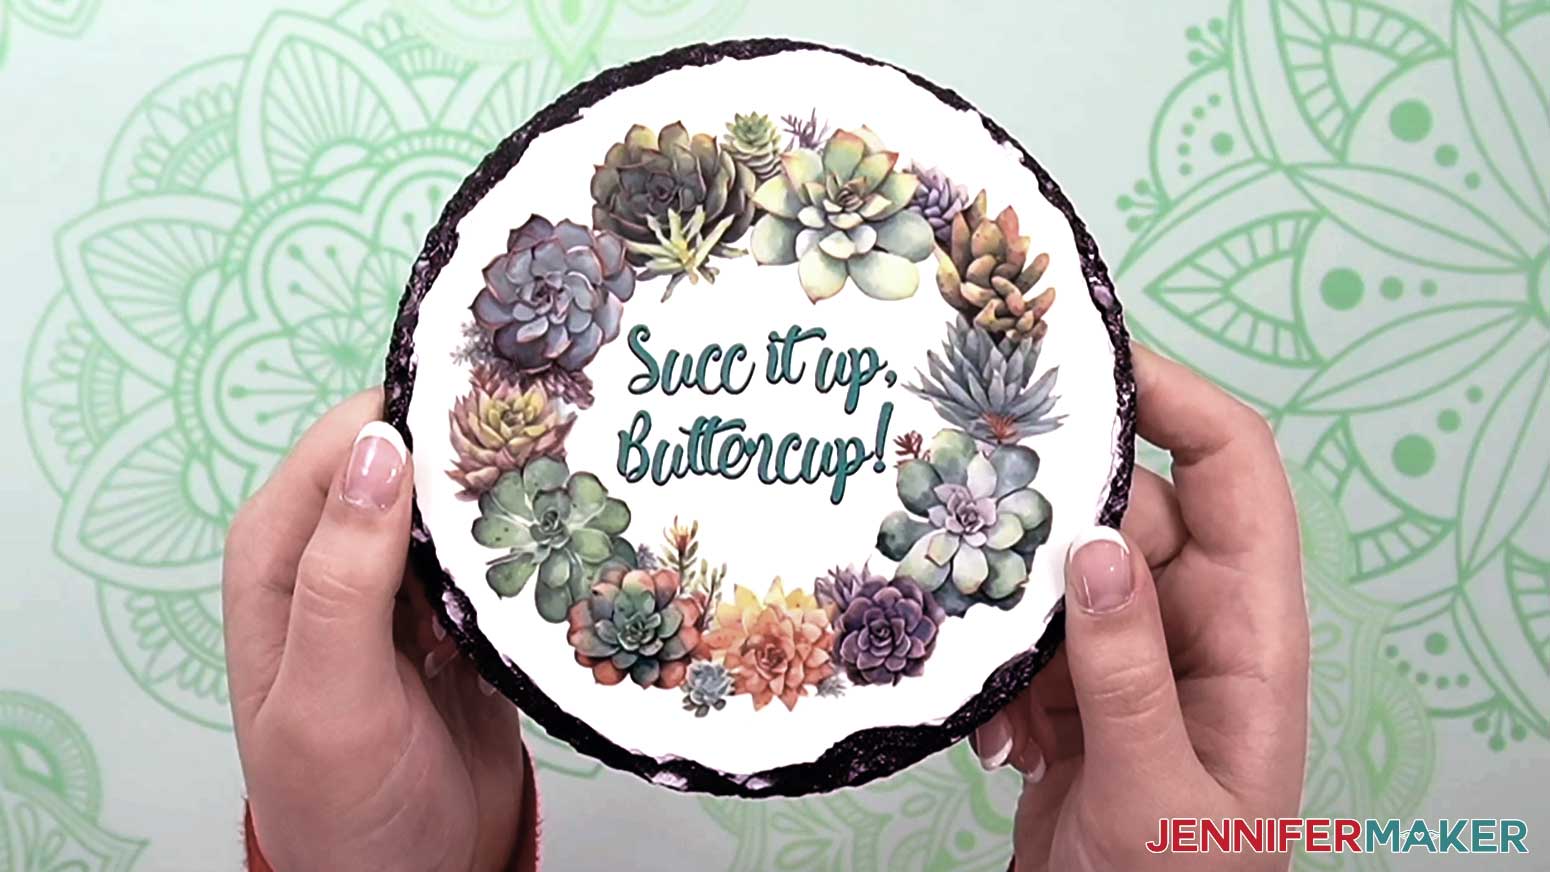
If you’re using an image with uneven edges, like my free cactus designs made using an AI art generator, leaving some of the white coating plain will create a nice border between the transfer and the rough edges of the natural stone
The free download includes versions with and without text so you can pick your preference.
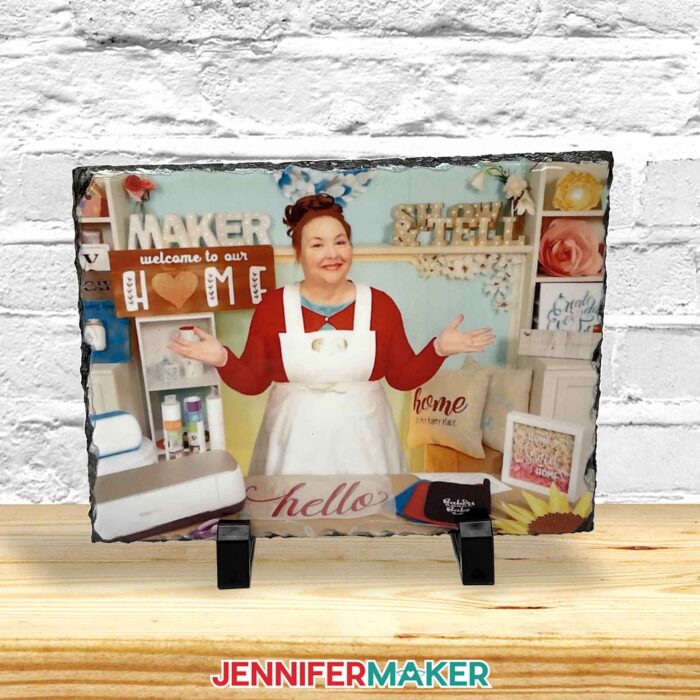
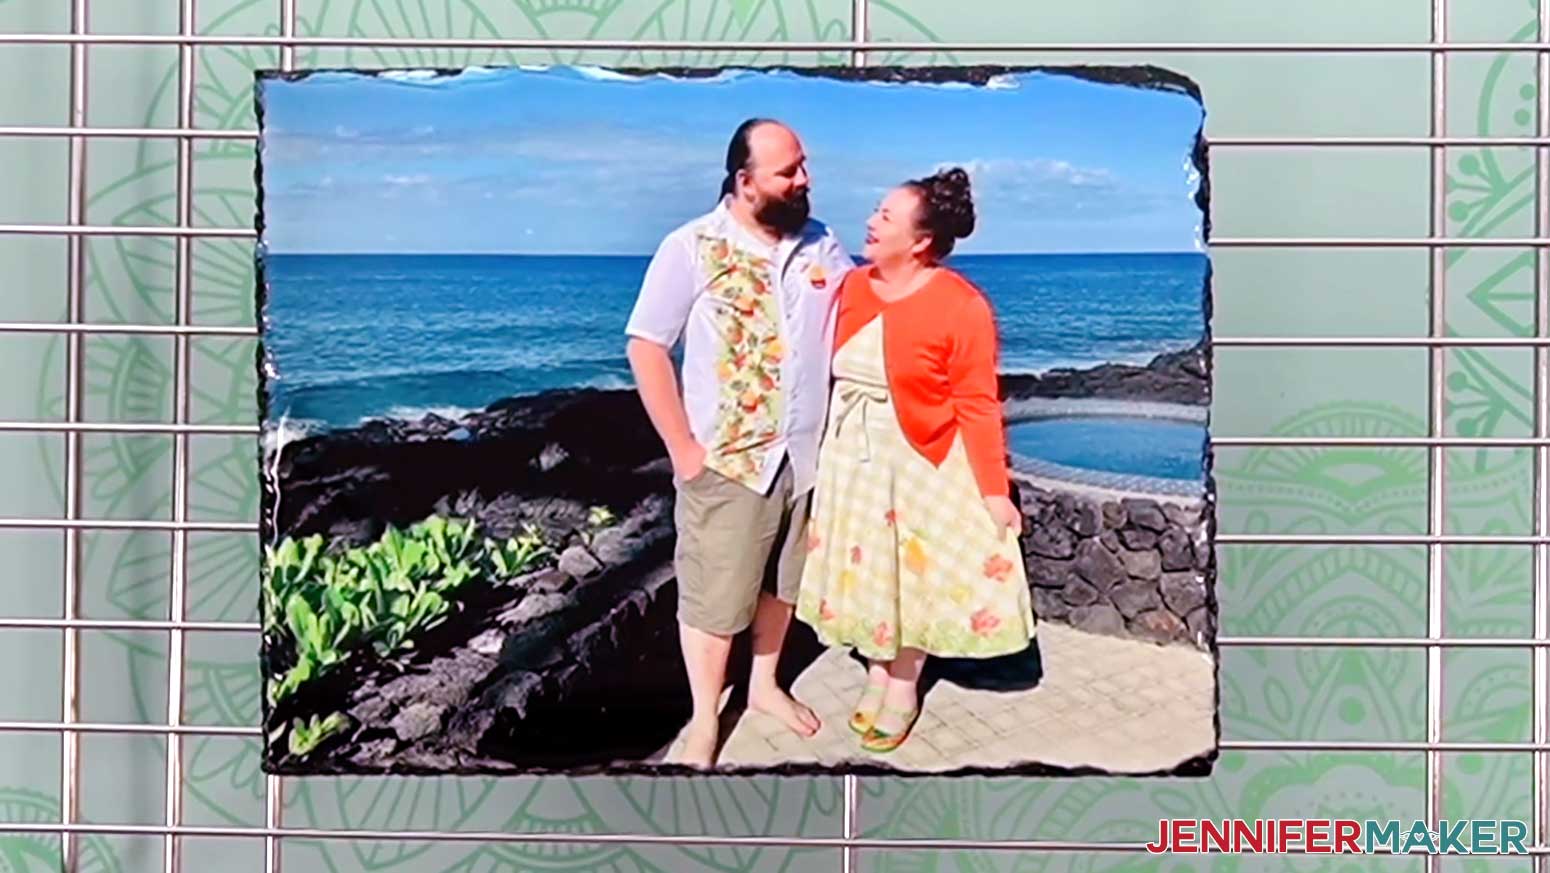
Or, if you’re using a full coverage design like a photo, print the sublimation transfer so the subject will stay on the imprint section, but the less important sections go all the way off the slate. The background ink will naturally shape to the uneven slate edges, covering all the white.
It’s also important to pick the best slate size for your project and tools. While you can tile designs on sublimation slate blanks, it will be easier to overheat sections that way. That can distort the colors, unfortunately. Pressure is also important when sublimating on slate, so I tried three different heat press machines.
Pressing with the 9″ x 9″ EasyPress created crisp results, but only if I added bodyweight, which can get uncomfortable during a 7-minute press!
The 12″ x 10″ EasyPress is 5.5 lb heavier and created the same results without any added weight!
And the Cricut Autopress also produced nice results without additional weight, but I liked the concentrated heat from the portable presses a bit more.
I also tested the green heat-conductive mat that is recommended for sublimation slate blanks. While I didn’t get drastically different results, the mat might help even out heat if your press seems to have hot and cool spots.
I used my Epson Eco Tank sublimation printer ( a regular inkjet printer I converted into a sublimation printer) along with the best sublimation inks and paper (in my opinion) to create the high quality prints for my projects.
So, how can you personalize sublimation slate blanks? Let’s learn how! This post contains some affiliate links for your convenience (which means if you make a purchase after clicking a link I will earn a small commission but it won’t cost you a penny more)! Read my full disclosure policy.
Materials & Tools for Sublimation Slate Blanks
- Sublimation Slate Blanks – I used different sizes:
- Sublimation Printer – I used a converted Epson EcoTank Inkjet Printer
- Sublimation Paper – I used A-SUB 8.5″ x 11″ sublimation paper or the 8.5″ x 14″ sheets
- Sublimation Ink – I used Hiipoo sublimation Ink
- Heat Press – I used the Cricut EasyPress 2 9″ x 9″, the 12″ x 10″ EasyPress, or the Cricut Autopress
- Heat Press Mat – I used my 12″ x 12″ EasyPress Mat
- Cooling Rack
- Scissors
- Pen or pencil
- Fan
- Heat Resistant Tape
- Heat Resistant Gloves
- White Cardstock 12″ x 12″
- White Butcher Paper
- Lint Roller
- Ruler
- Silicone Heat Press Pad 10″ x 12″ size, 0.3″ thick – optional
- Design #504 (My free PNG design files available in my free resource library – get the password by filling out the form at the bottom of this page)
How to Personalize Sublimation Slate Blanks
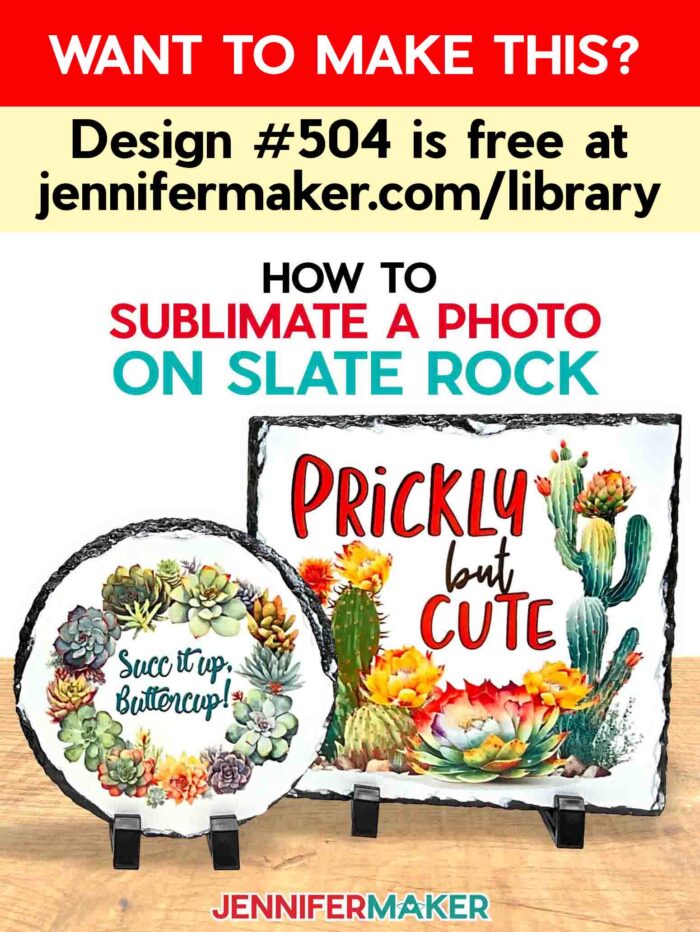
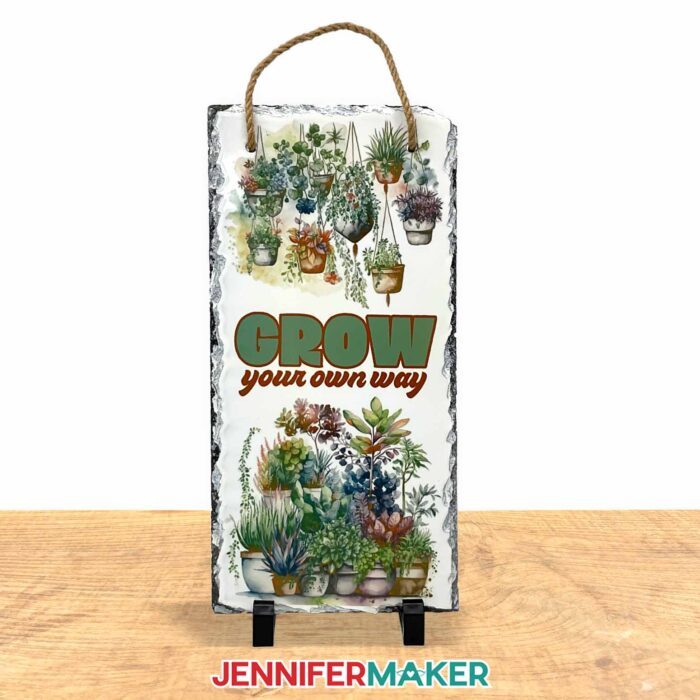
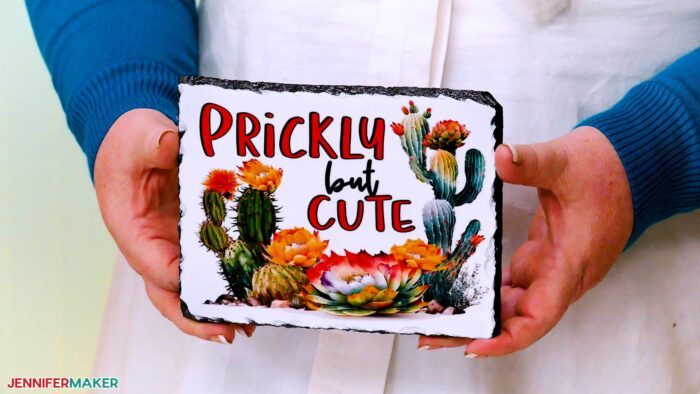
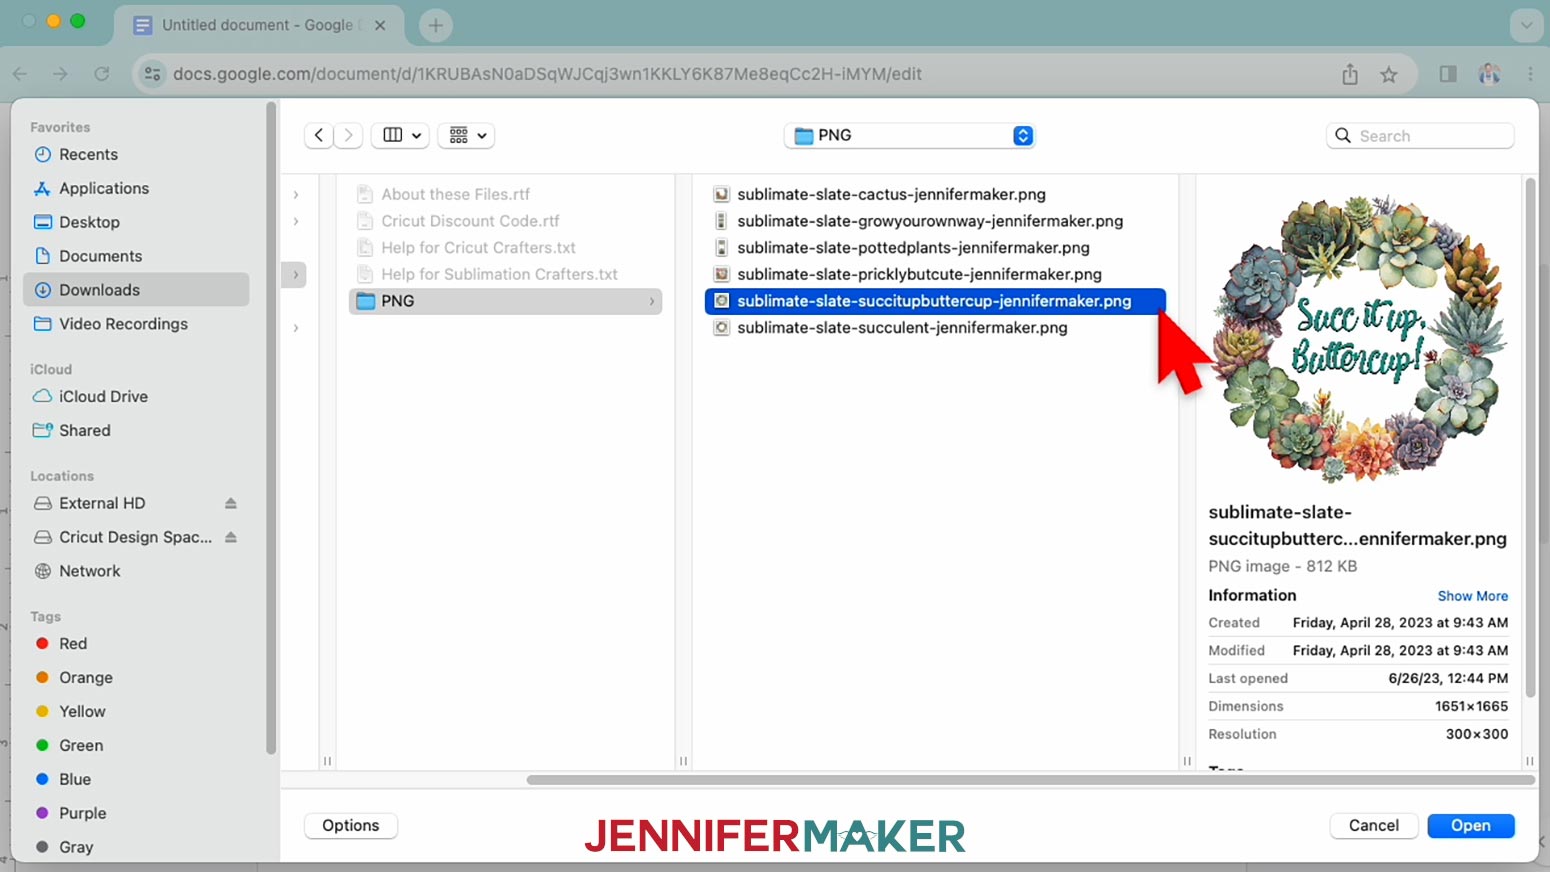
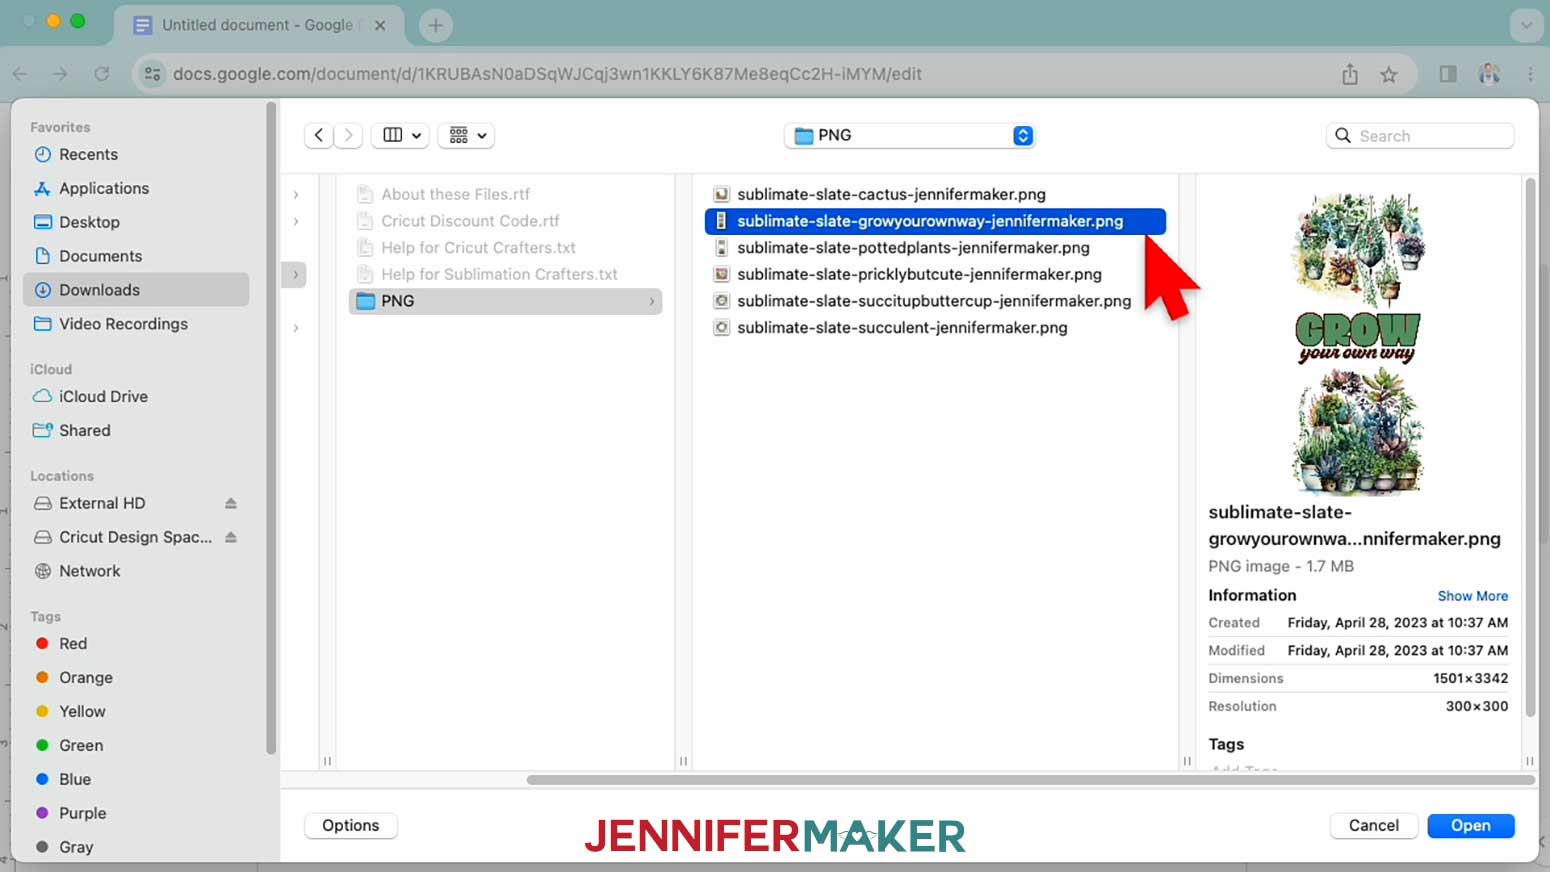
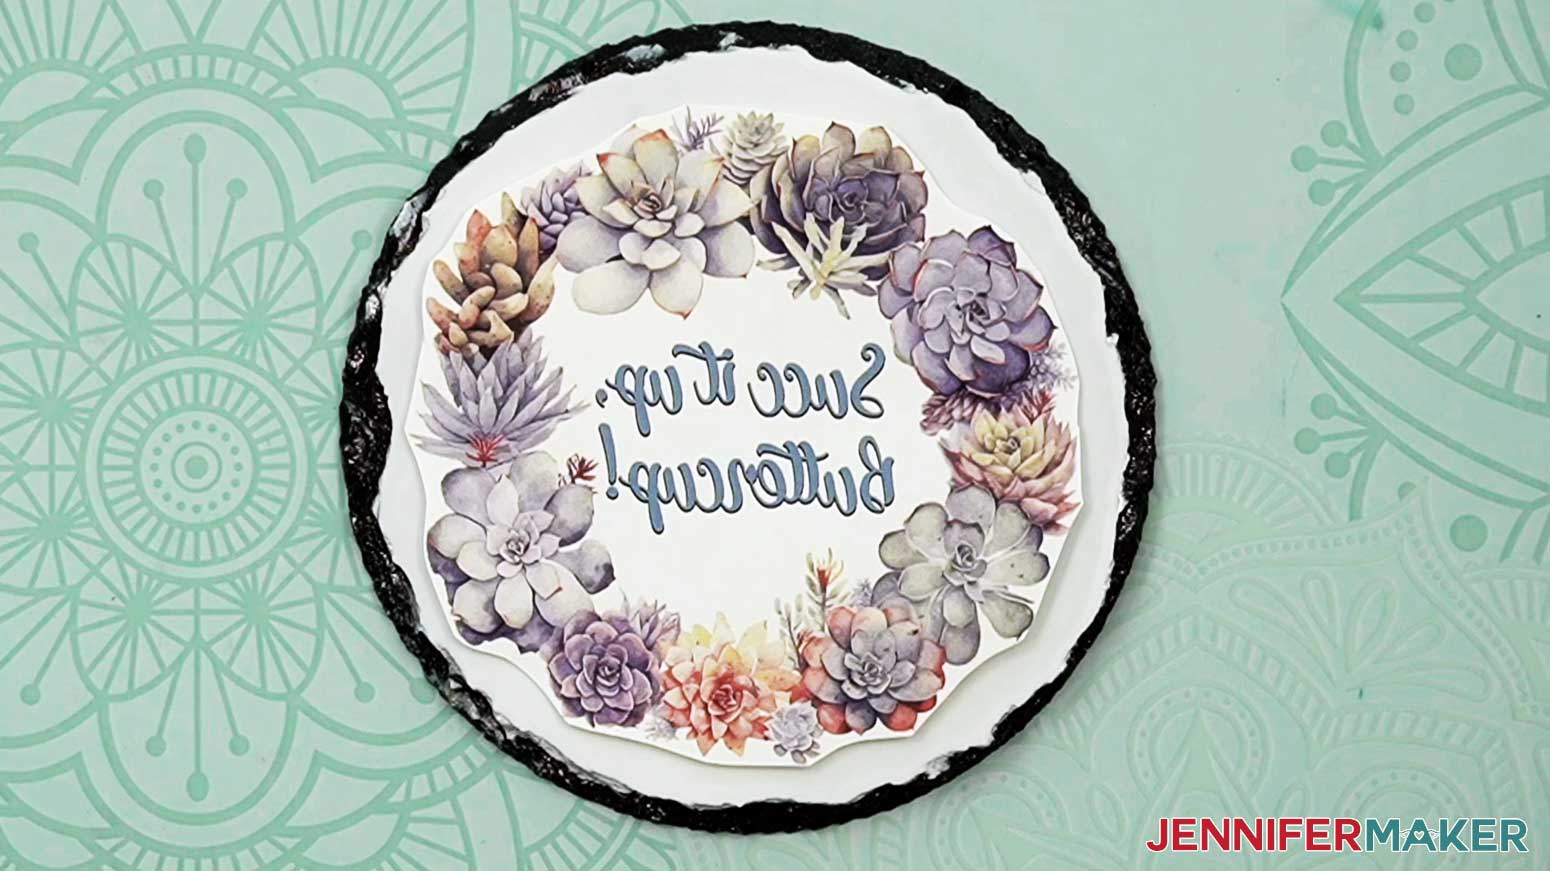
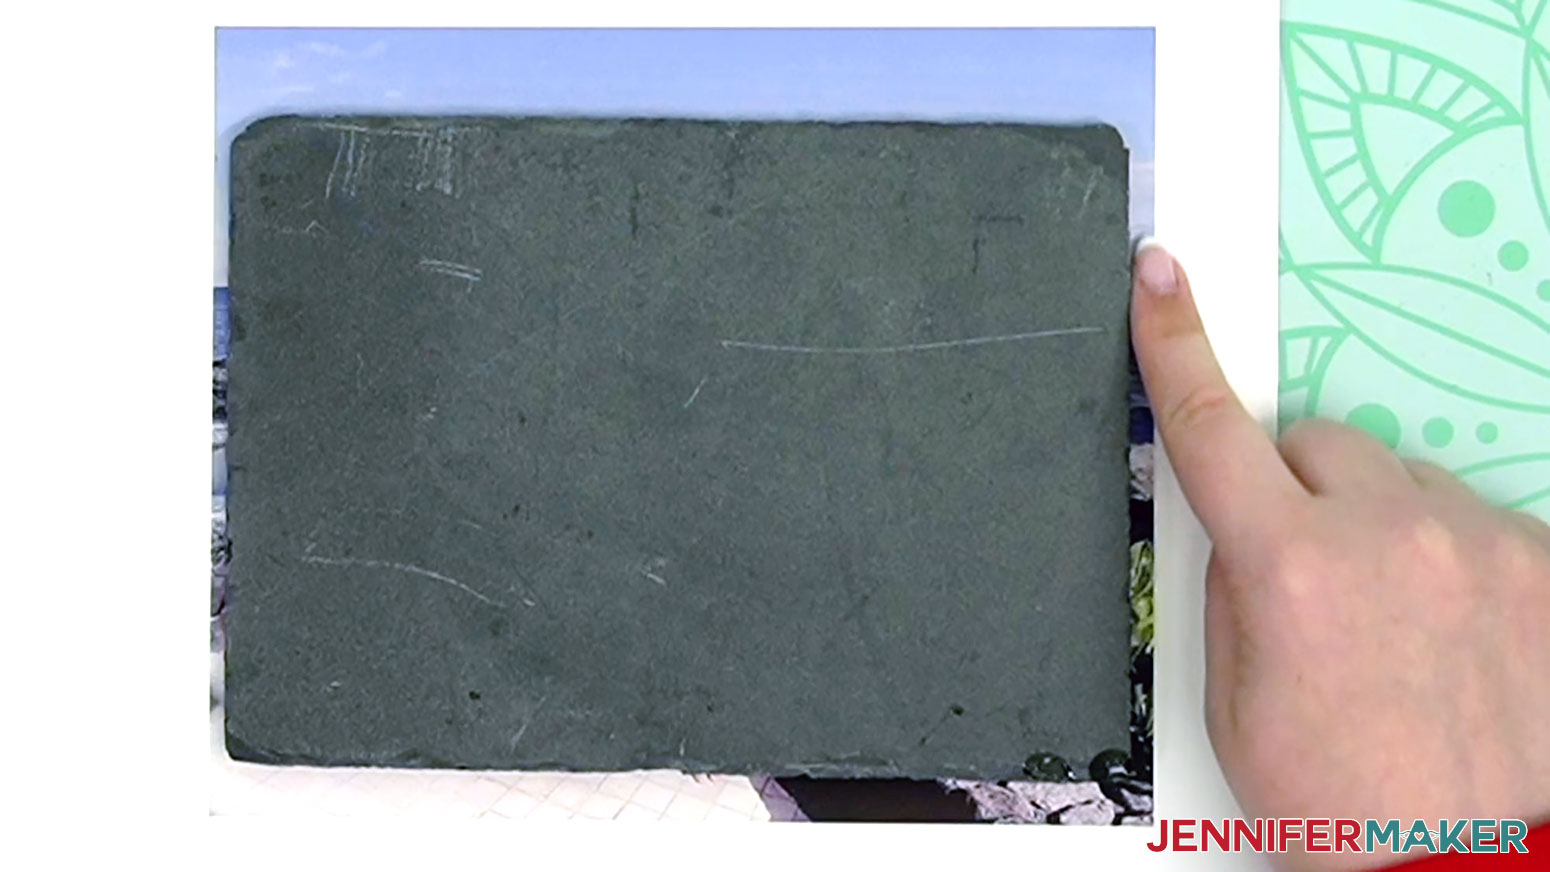
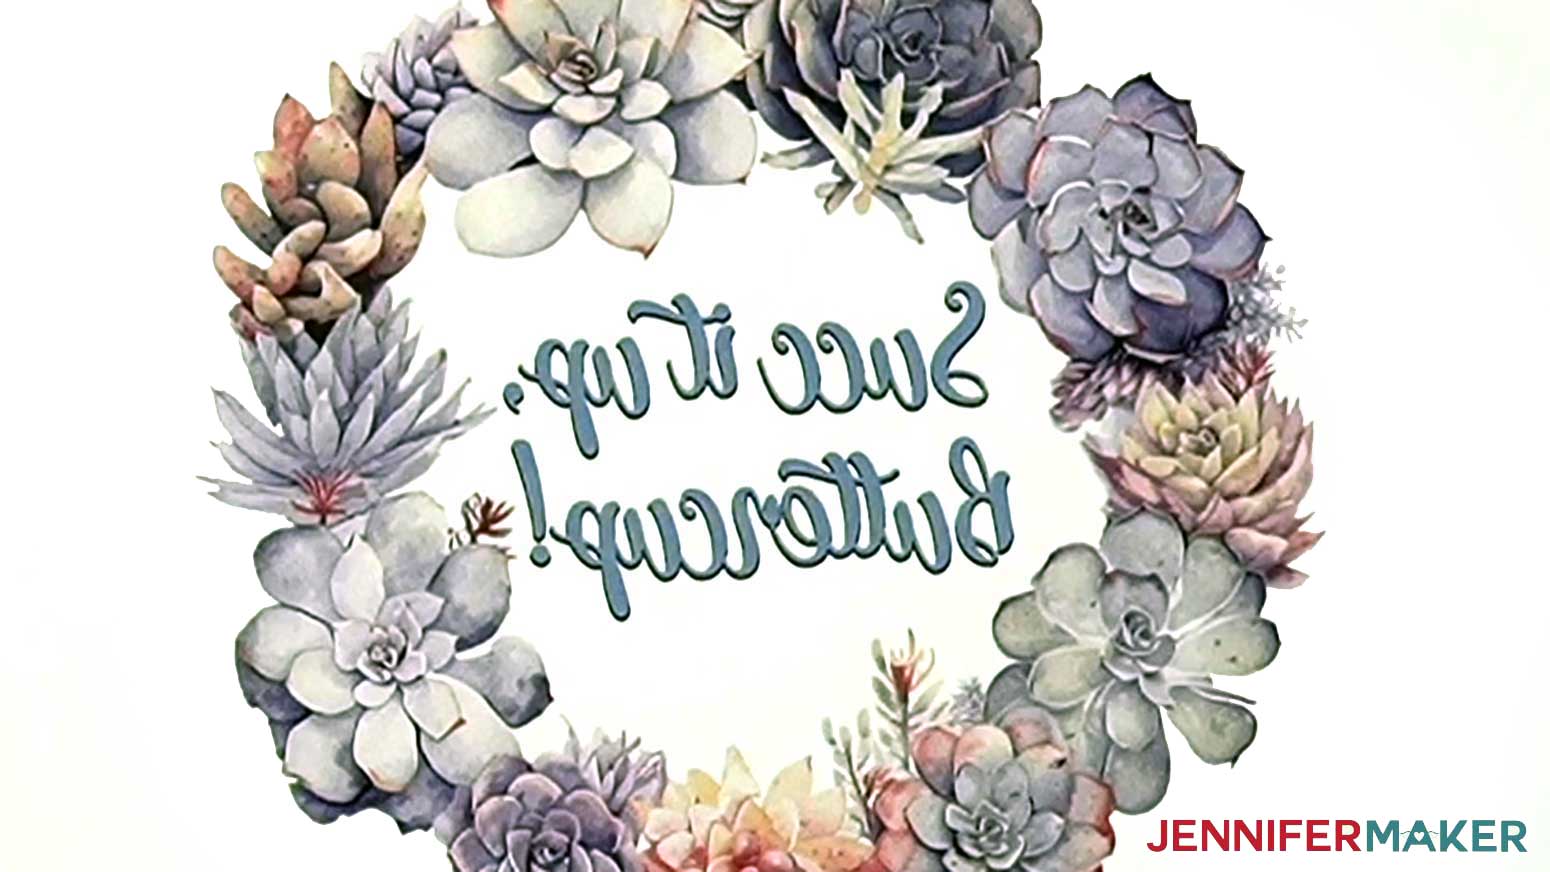
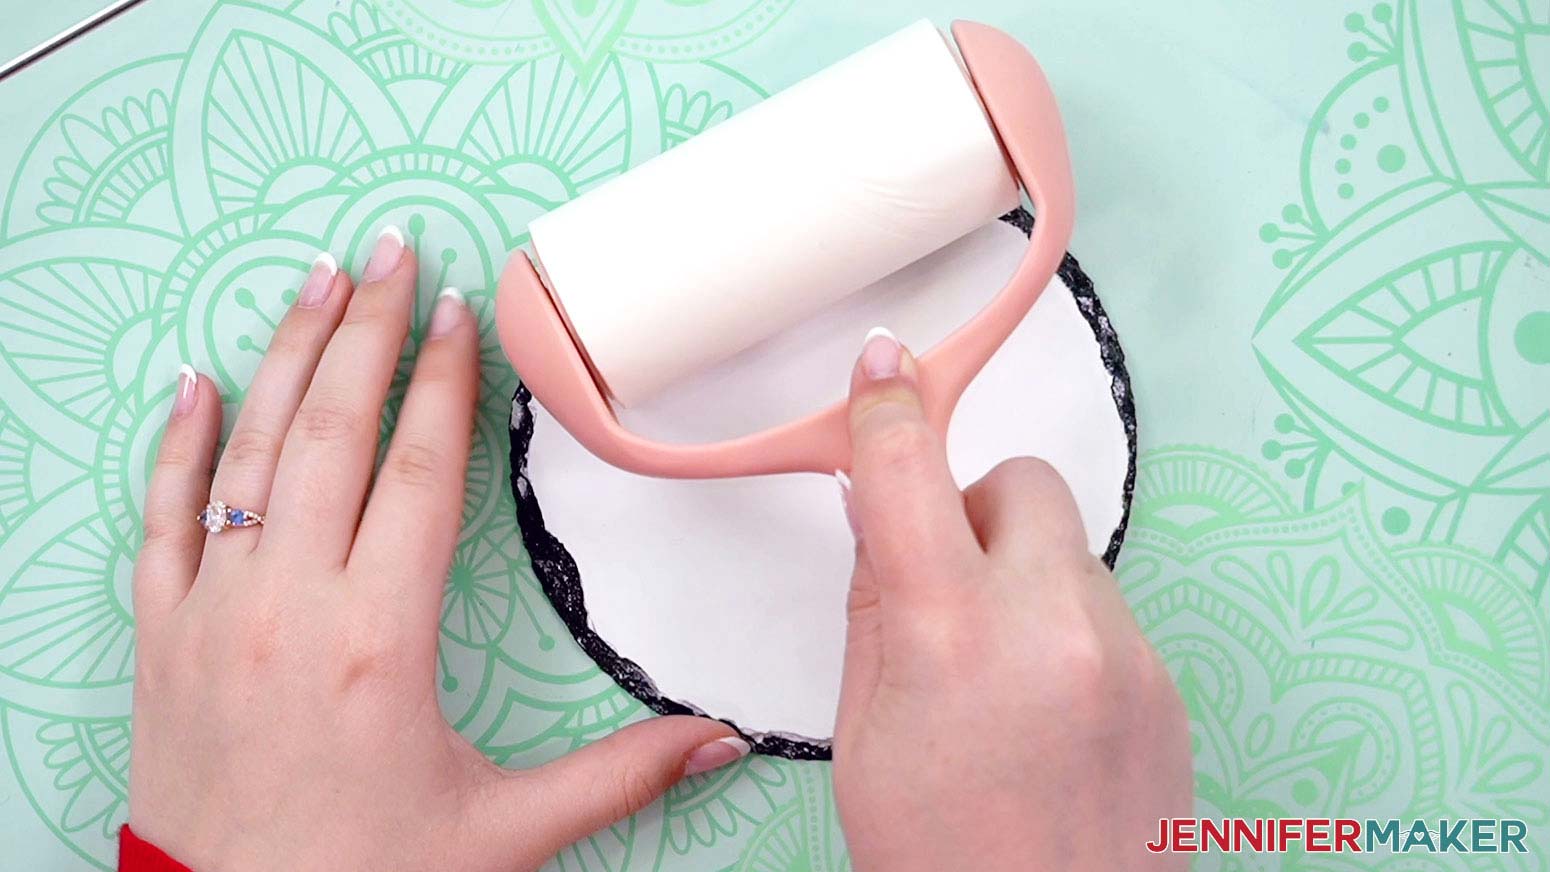
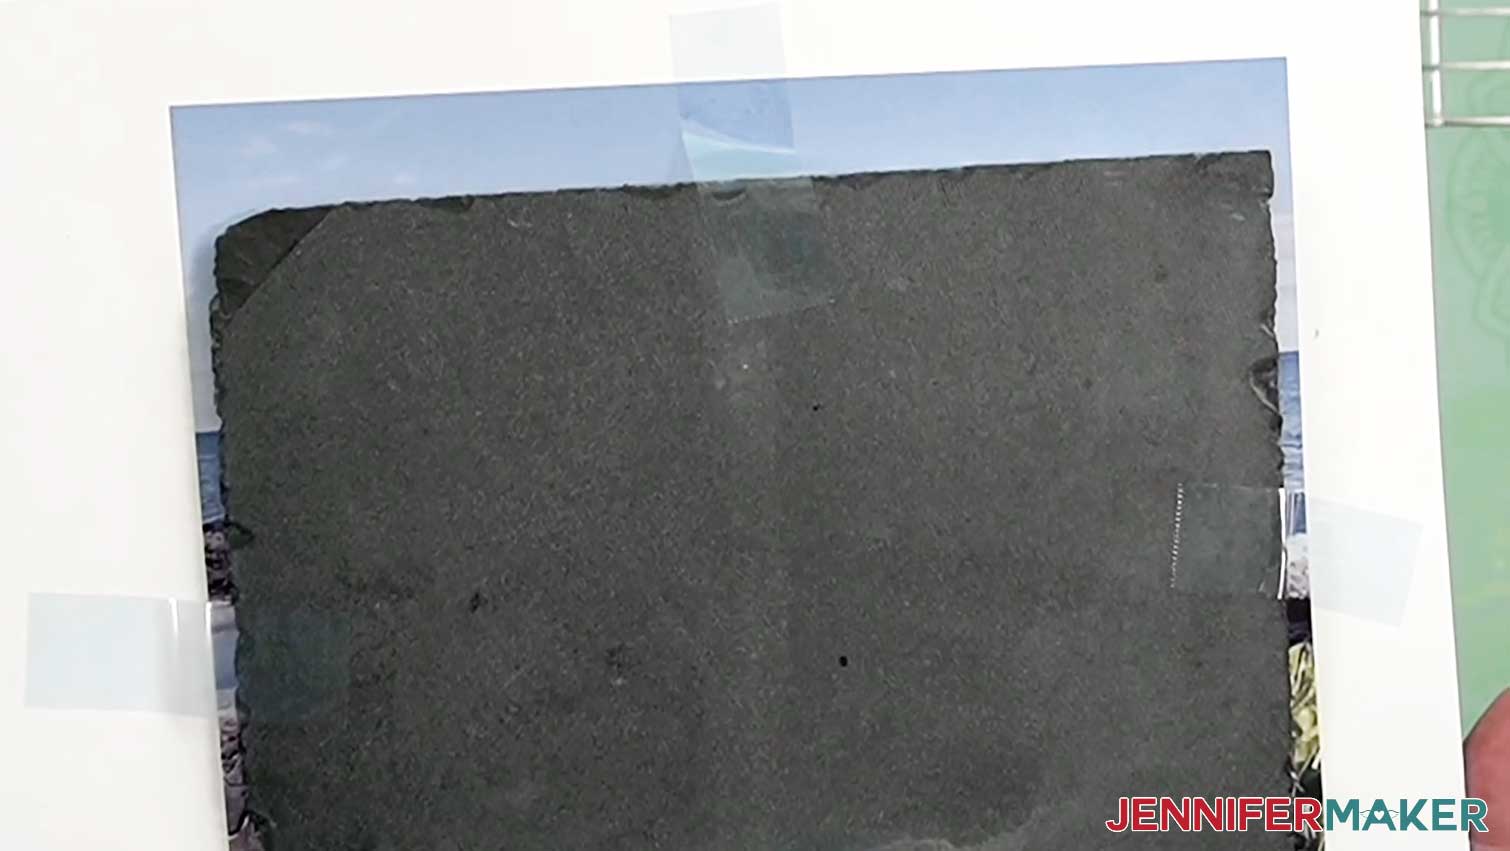
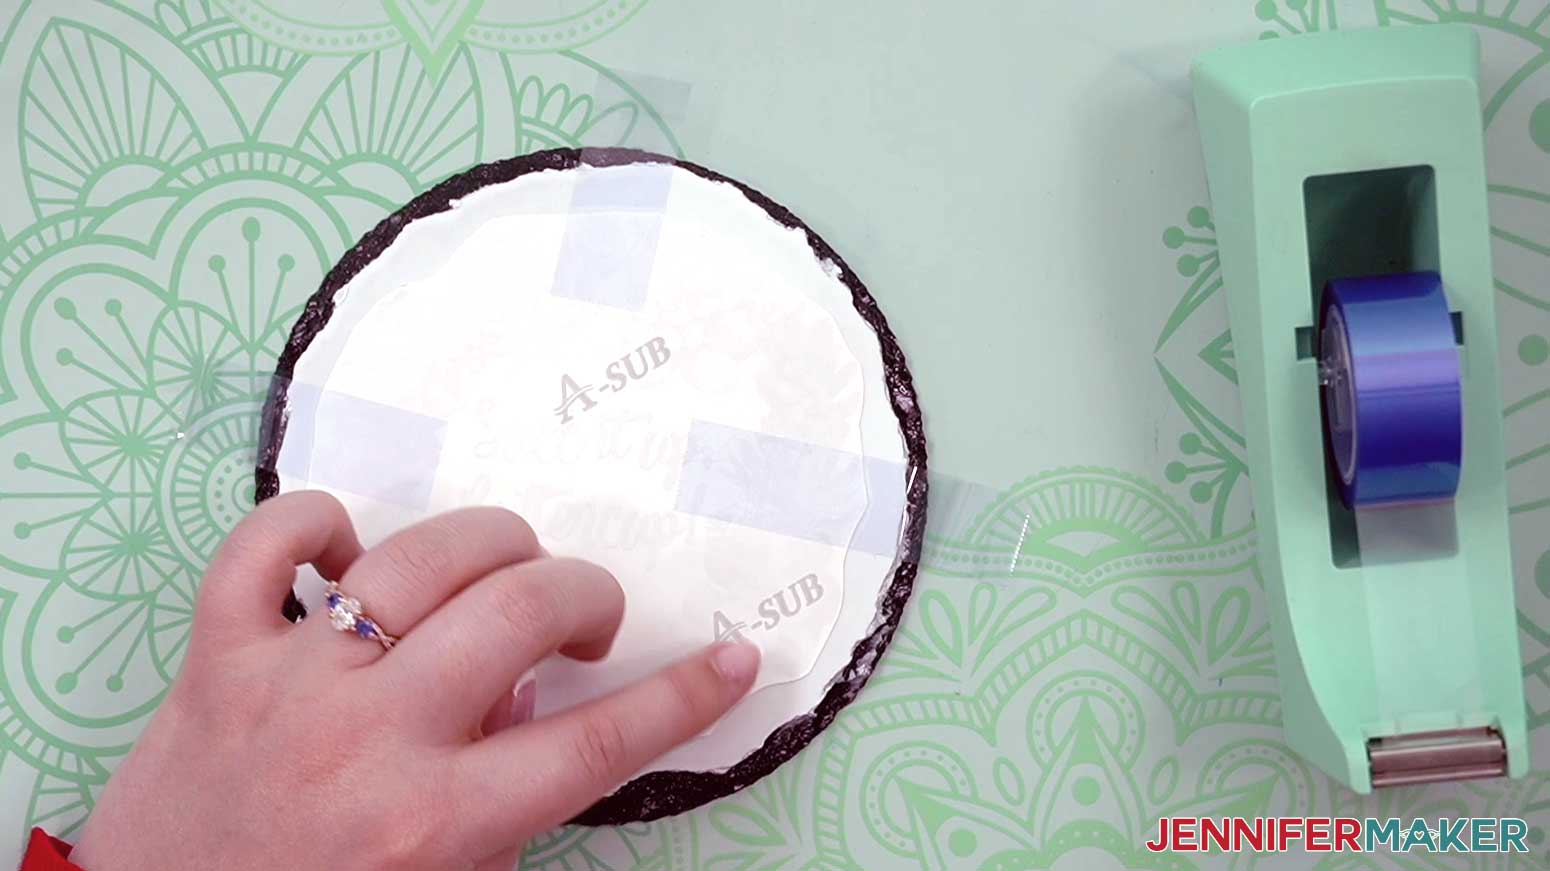
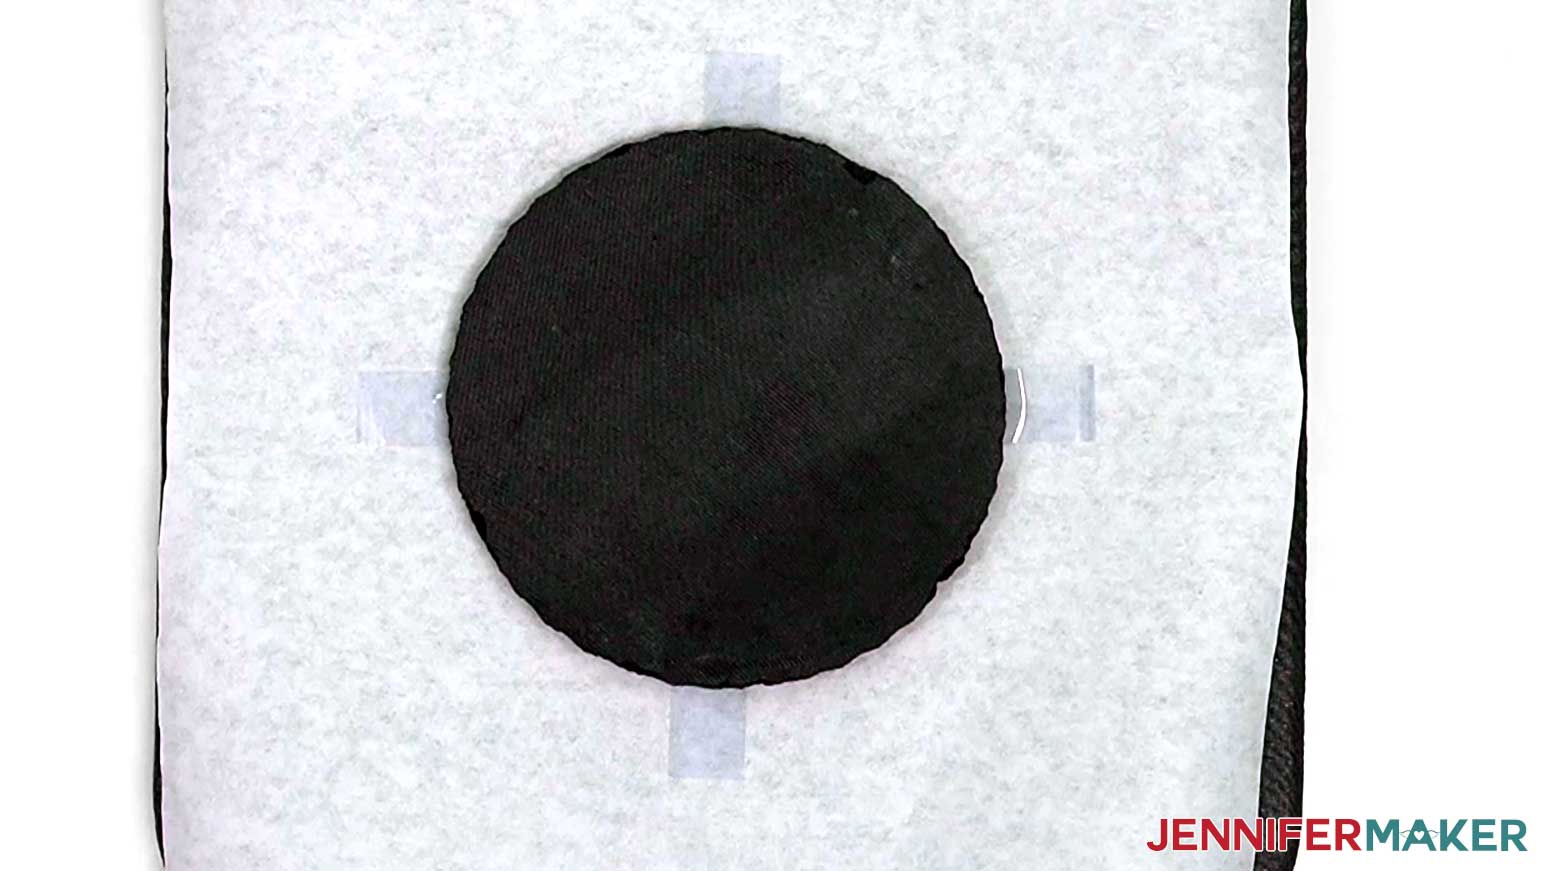
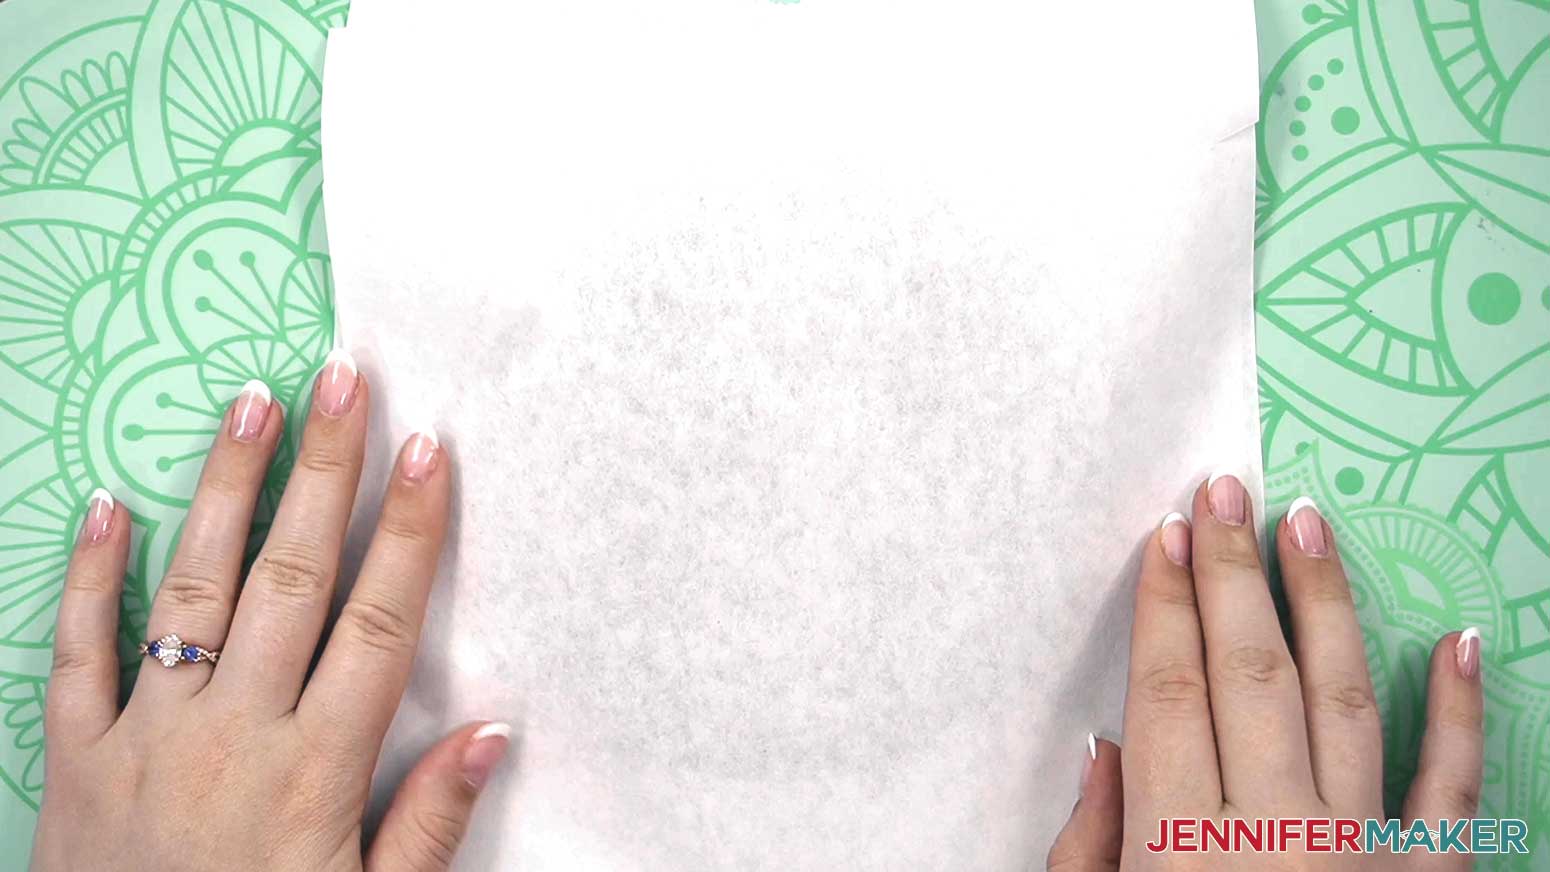
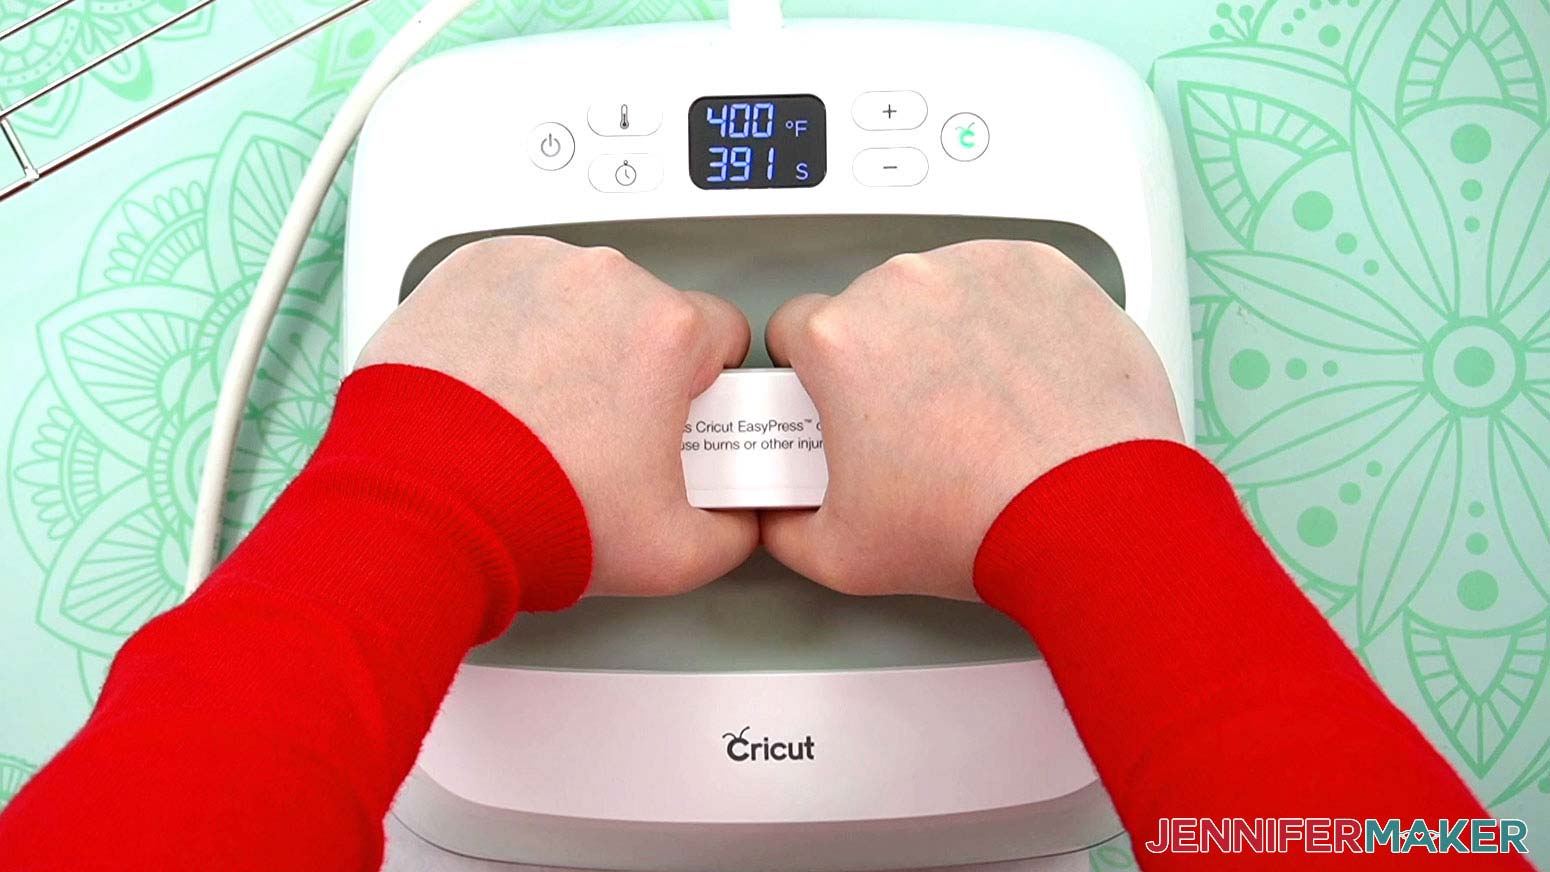
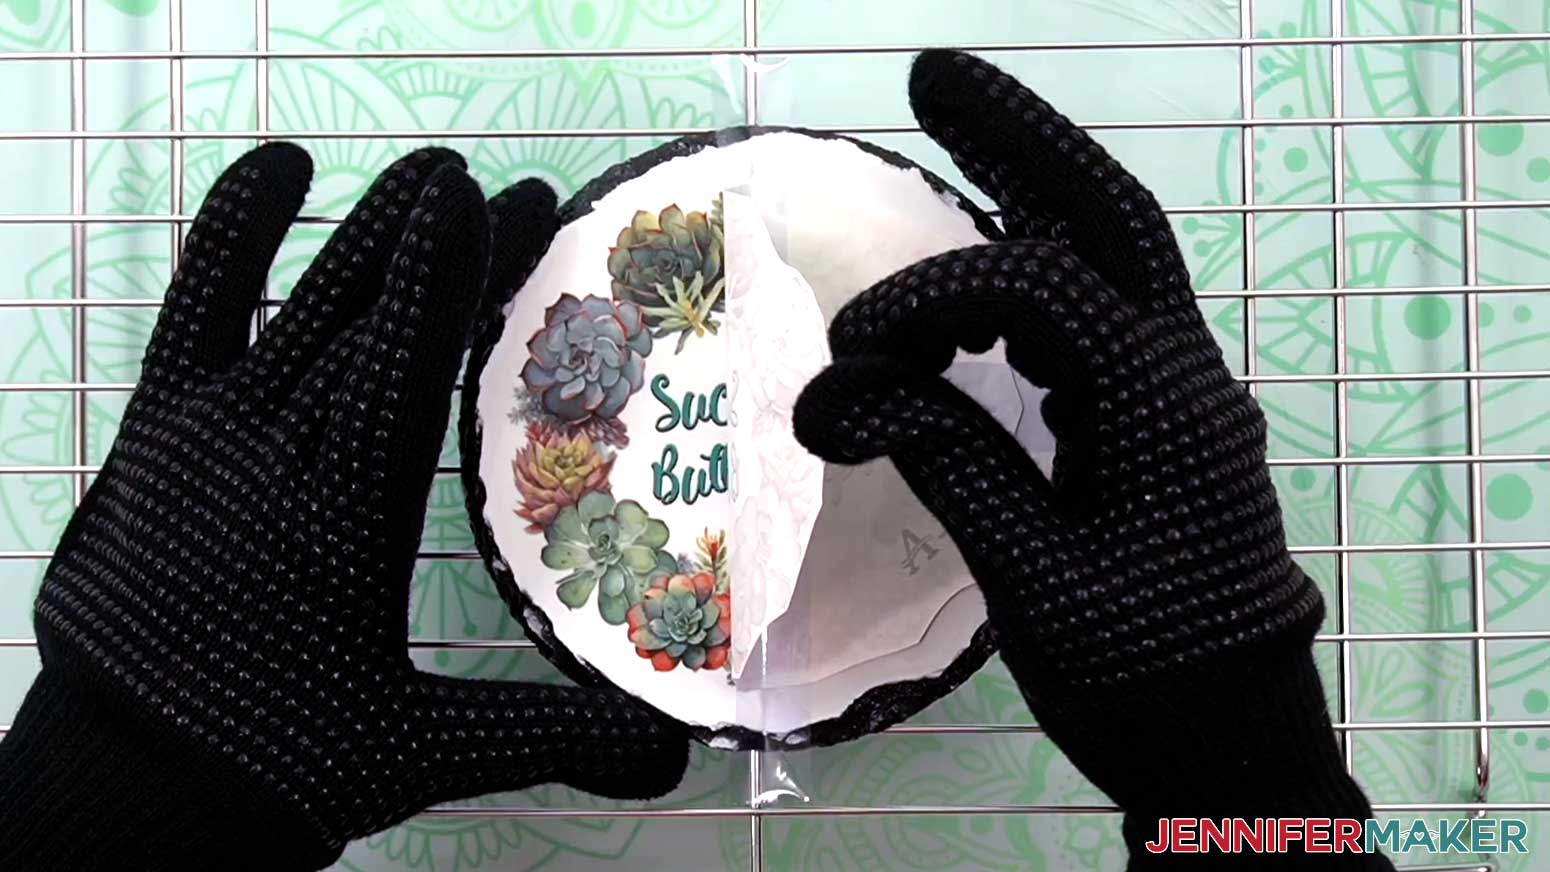
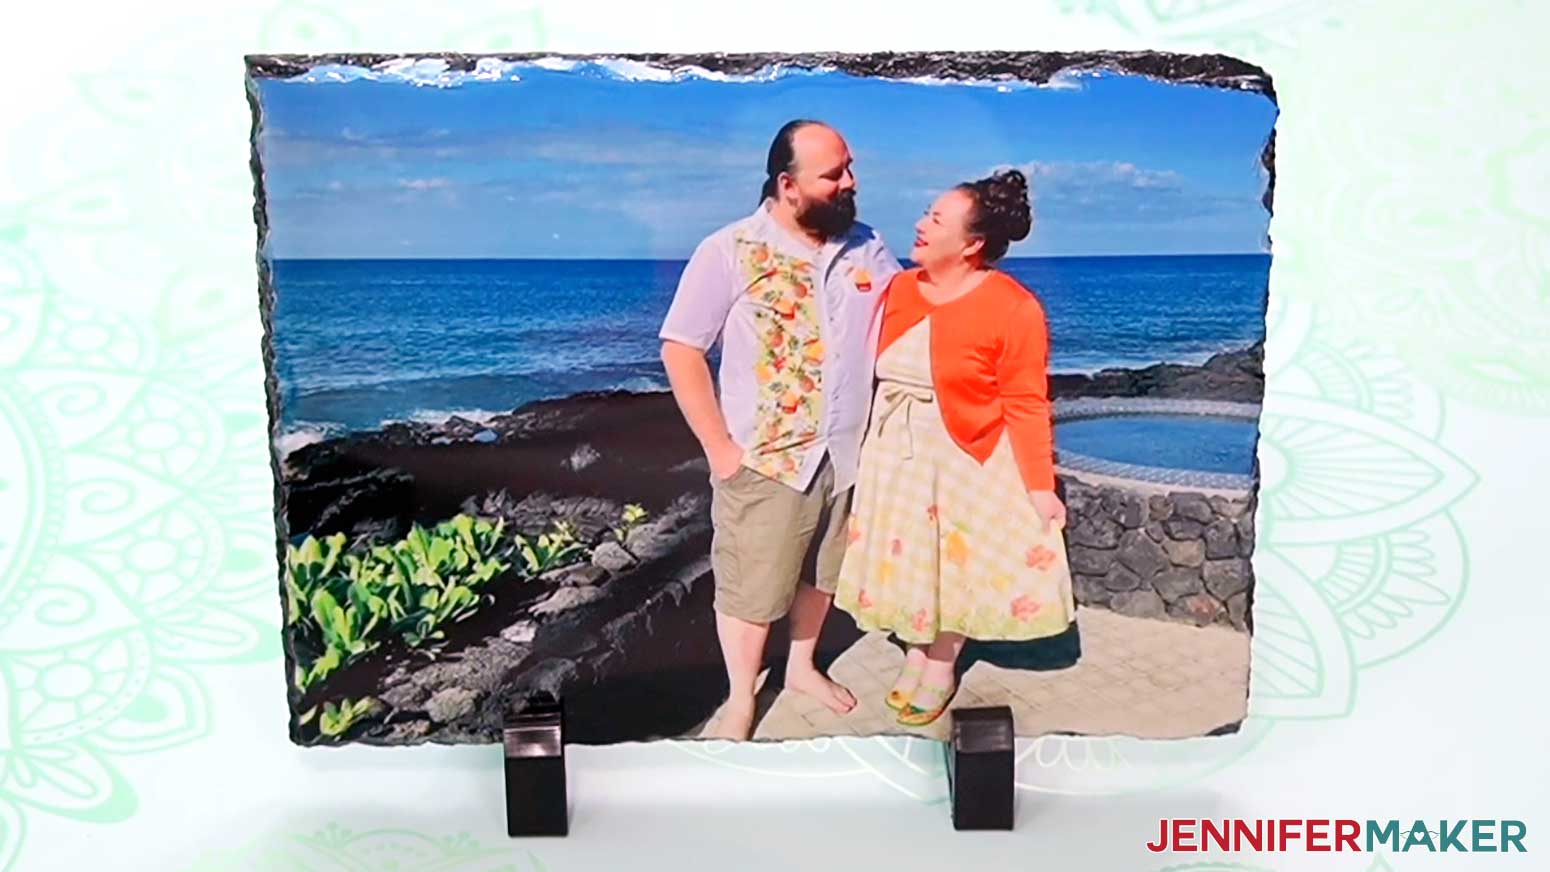
Learn how to use sublimation slate blanks with your favorite designs or images. First, download my Sublimation Slate Blanks PNG files from my free resource library. It's Design #504. My designs include a round image of succulents, a square image of colorful cacti, and a rectangular image of potted plants. Each design is available with or without the fun sayings already added. Feel free to use the images without text to add your own messages! Slates are available in several sizes and shapes, so measure your blank to ensure your image size is correct before printing. My plant images are designed to be slightly smaller than the imprint area on the slate, but if you are sublimating a photo onto the slate, be sure to make the photo slightly larger than the slate. Even though slate has uneven edges, the photo will still sublimate onto them. Any missed edges will show bright white rather than blend in with your photo. If you need help printing for sublimation, please check out my Sublimation T-Shirts for Beginners for detailed information on printing. Make sure to Mirror your images that include text. Before you begin, make sure you have proper ventilation by opening a window or turning on a fan. WARNING: You will be working with materials that will be heated to a high temperature. Wearing heat-resistant gloves when handling the slates immediately after pressing is required to prevent burns. NOTE: Before beginning, keep in mind that it is not recommended to use a slate blank that is larger than the size of your press. It is difficult to get even pressure, temperature, and color over the entire slate when pressing in more than one area. Also, while it is possible to sublimate slate using an EasyPress, it may not be your most practical option since you have to apply continuous pressure for the entire length of the sublimation time, which is typically 7 to 8 minutes! If you do choose to use a slate that is larger than your press size, use a design that can easily be pressed in sections to allow for how well the slate holds the heat. (Some discoloration at the seam area of the image may occur due to overheating the slate at the overlap.) For this tutorial, we will be using the heat settings for slate in my Sublimation Cookbook on page 63. Preheat your Autopress or EasyPress to 400°F (204°C) and set the time to 420 seconds. Prepare your slate by cleaning it with a lint roller. With the sublimation print face up on the table, place the blank face down with the back of the slate facing up. Secure with heat-resistant tape by draping the tape over the edge of the slate onto the image below on all four sides. Be sure the image is sufficiently large enough to cover all the edges. Even though slate has uneven edges, the photo will still sublimate onto them. Any missed edges will show bright white rather than blend in with your photo. If your image is intended to be smaller than the slate, and have a white border all the way around, it will be easier to center the image by placing the slate face up and securing the sublimation print face down onto it. Place a clean sheet of blowout paper on your heat mat. (I used white butcher paper.) Now, making sure the slate is face-down, place it onto the pressing pad. The sublimation print will be face-up and sandwiched between the piece of blowout paper and the slate. Place another sheet of blowout paper on top of the slate. Finally, press your heat press down onto the stack and start the timer! If you are using an EasyPress, applying firm pressure tends to give the best results. After the time is up, remove the heat source from the top of the stack. Let the slate sit for at least 10 seconds to cool down and prevent ghosting the image. Make sure your heat-resistant gloves are on, then remove the top sheet of blowout paper and lift the slate from the pressing pad. Sit it on a cooling rack face-up and carefully remove the sublimation paper from the slate. It can take quite some time for the slate to cool, so be careful not to touch it with bare skin right away. Colors may also darken slightly over time as the slate cools. Once it is cool to the touch, the slate is ready to display! TIP: If you experience temperature fluctuations with your heat press, you may notice areas in the final image that are too light, too dark, or even miscolored, even though the rest of the image came out perfectly. Purchasing and using a heat conductive green pad like the one in my tools list can help spread heat evenly across the surface of the slate to compensate for uneven temperatures on the surface of your heat press. The heat conductive pad can be placed on top of the second sheet of blowout paper as the final layer added to the stack before pressing. TIP: If you consistently find yourself needing to press sublimation images for less time in order to get your best colors, and you're having trouble getting the colors just right on these slates, try pressing them for a minute or two less time. Slates come in easel display and hanging options. They make great gifts for family and friends. Use a favorite photo, or a cute saying to liven up your space! Typefaces: Care Instructions:
Sublimation Slate Blanks
Materials
Tools
Instructions
STEP 1: GET OR PREPARE AND PRINT A SUBLIMATION DESIGN
STEP 2: SUBLIMATE YOUR SLATE BLANK
STEP 3: SHOW IT OFF
Notes
For Succulent Image: Kite Script
For Potted Plant Image: SunshineBridge SansPress and SunshineBridge Script
For Cactus Image: Shoelace Scrawl Regular and CattieShine Sans Regular
Dust with a soft cloth. Do not expose to temperatures above 385 degrees Fahrenheit (196 degrees Celsius), or sublimation ink may "re-activate" and fade or become uneven in color.
Answers to Your Questions on Sublimation Slate Blanks!
Q: Can I sublimate on slate?
A: Yes, as long as the slate has the proper sublimation-ready coating applied, you can sublimate on it.
Q: How long do you heat slate for sublimation?
A: The time can vary, but I found 7-8 minutes worked best for most sublimation slate blanks.
Q: What is the coating on sublimation slate?
A: There is a polymer-based substance added to slate rock plaques that makes them work with sublimation ink.
Q: Do you sublimate slate face up or down?
A: I tried several approaches with different heat presses and liked sublimating with the slate face down on the printed designs or full color photos the best.
Q: How do you heat press rock slate?
A: Glass is an excellent conductor of heat, so when it gets hot it gets REALLY hot! It also stays hot for quite a while after heating. Always use heat-resistant gloves when handling hot glass from heat pressing. you’ll use a heat press to apply your printed image from sublimation transfer paper onto the material, just like any other sublimation project!
Q: Can you overheat sublimation?
A: Yes, if your colors transfer to the sublimation slate blanks but look dark or otherwise wrong, it’s possible that the ink or blank was overheated. This is more likely to happen if you press an area multiple times, like where a tiled design slightly overlaps.
Q: Can you do sublimation on regular slate?
A: The sublimation slate blanks have a special coating, which is what the sublimation ink bonds to. Normal slate will not show sublimation ink.
Q: What materials can you not sublimate on?
A: If the surface isn’t made of or coated with a polymer like polyester, it likely will not hold sublimation dye. There are a few exceptions (like wood – though I did get the best results when it was coated with paint), but for the most part you want to make sure the material is made of or coated with a polymer. When in doubt, look for blanks meant for sublimation, and follow the manufacturer’s instructions for recommended temperature and other details for a successful sublimation. Popular choices for sublimation blanks include garden flags, T-shirts, tumblers, mugs, even socks!
Q. Will my sublimation design fade in sunlight?
A. Prolonged exposure to UV rays (like those from the sun) will eventually cause your sublimation design to fade, whether it’s on slate, glass, or any other surface. So keep that in mind if you plan to hang your sublimation slate blanks in sunny areas.
Q: Are sublimated slate boards food safe?
A: No, since the sublimated surface isn’t protected, it isn’t food-safe. The sublimation slate blanks are for decoration only.
Get my free PNG files to use sublimation on slate blanks!
(If you do not see the signup form above, click here.)
I’d love to see YOUR beautiful sublimation projects on slate! Please share a photo in our Facebook group or tag me on social media with #jennifermaker.
Love,

Want to remember this? Save this tutorial on How to Sublimate on Slate Blanks to your favorite Pinterest Board!