
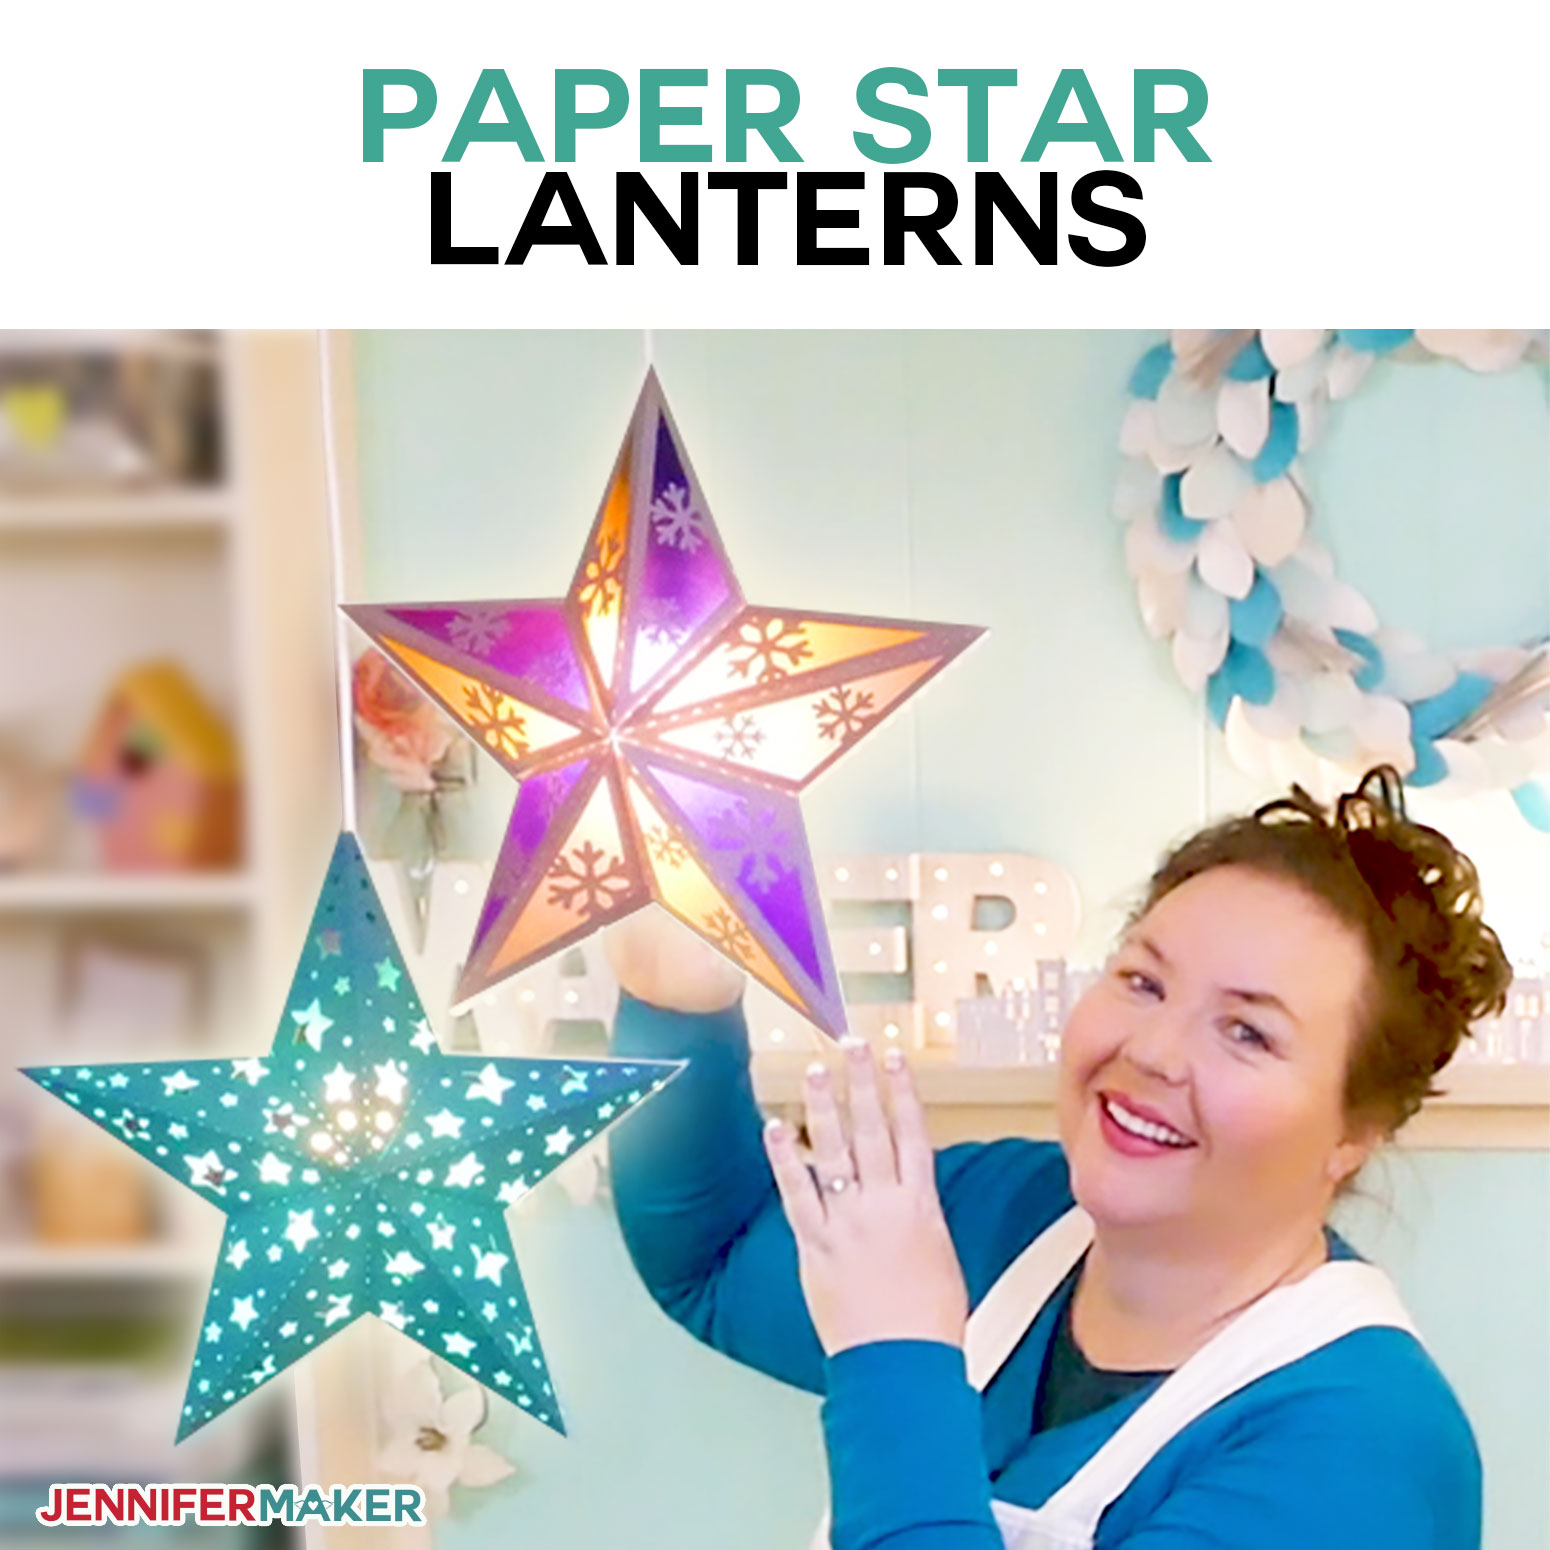
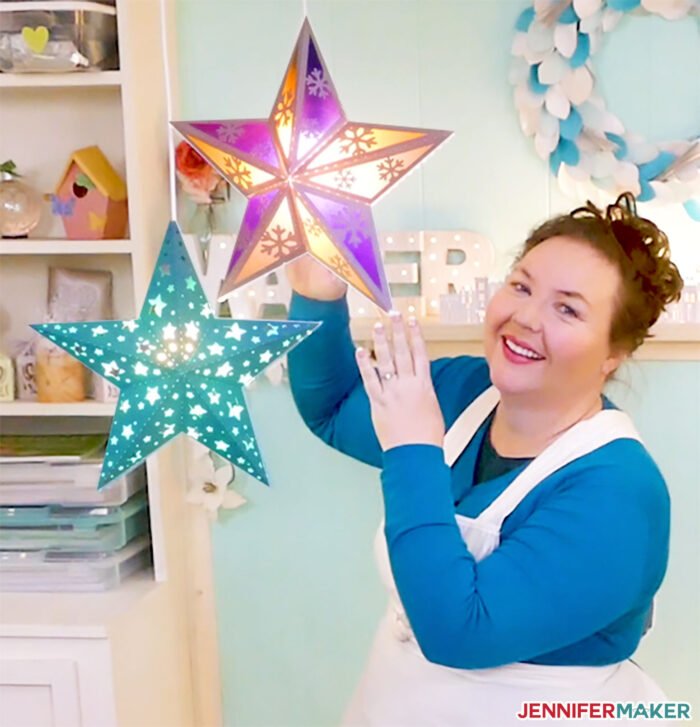
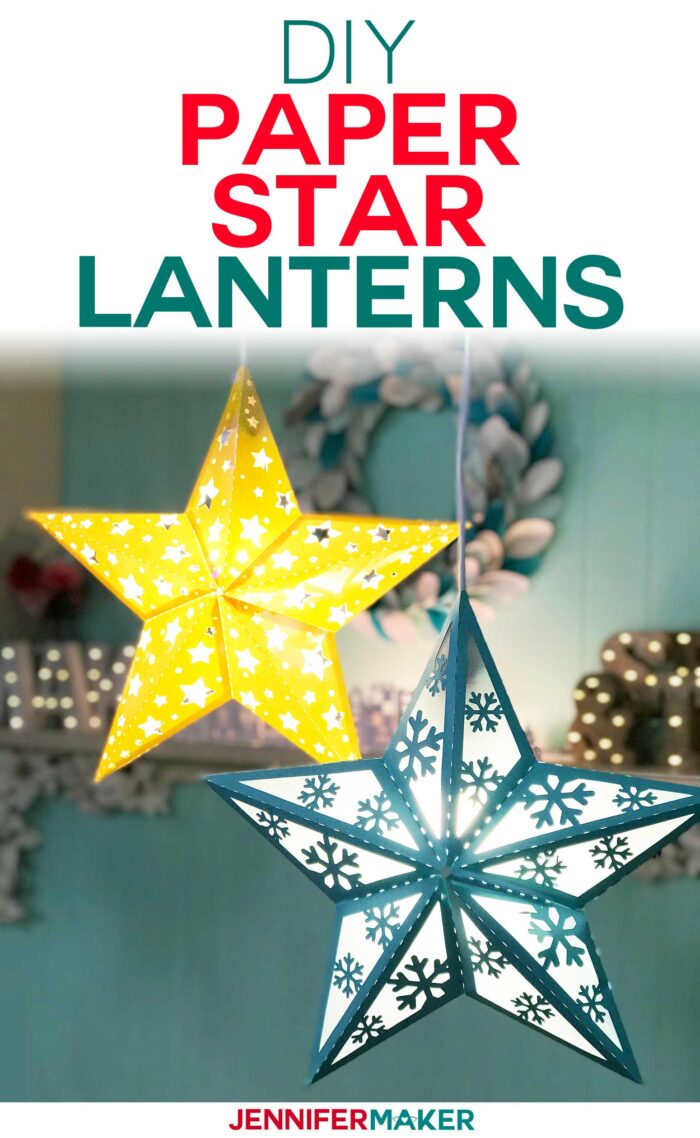
See how to make gorgeous paper star lanterns that cast a magical glow with lovely star and snowflake cut-outs!
I love making paper lanterns! So much so, in fact, that a couple of years ago, I made a paper lantern or luminary for every month of the year and I’ve also created a very pretty heart paper lantern too! And this is the perfect season for paper lanterns — they cheerfully light up our homes on those long, dark winter nights. You can also make these in other colors, like red, white, and blue, for the summer! Let me show you how to make paper star lanterns!
Want to save this project? Enter your email below and we’ll send the project straight to your inbox.
See exactly how to make this beautiful paper star lantern in this tutorial video below (or keep scrolling if you prefer a step-by-step photo tutorial):
Here are the star lanterns I made for the holidays!

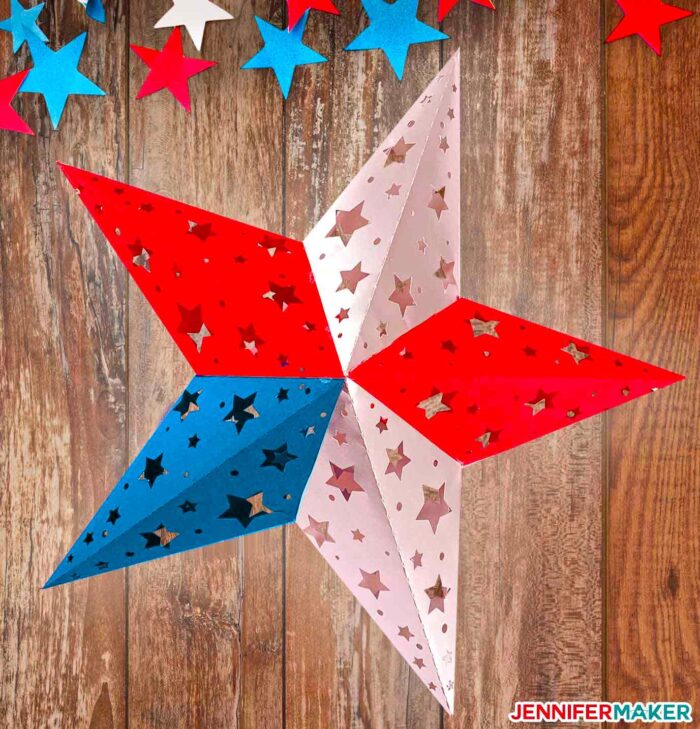
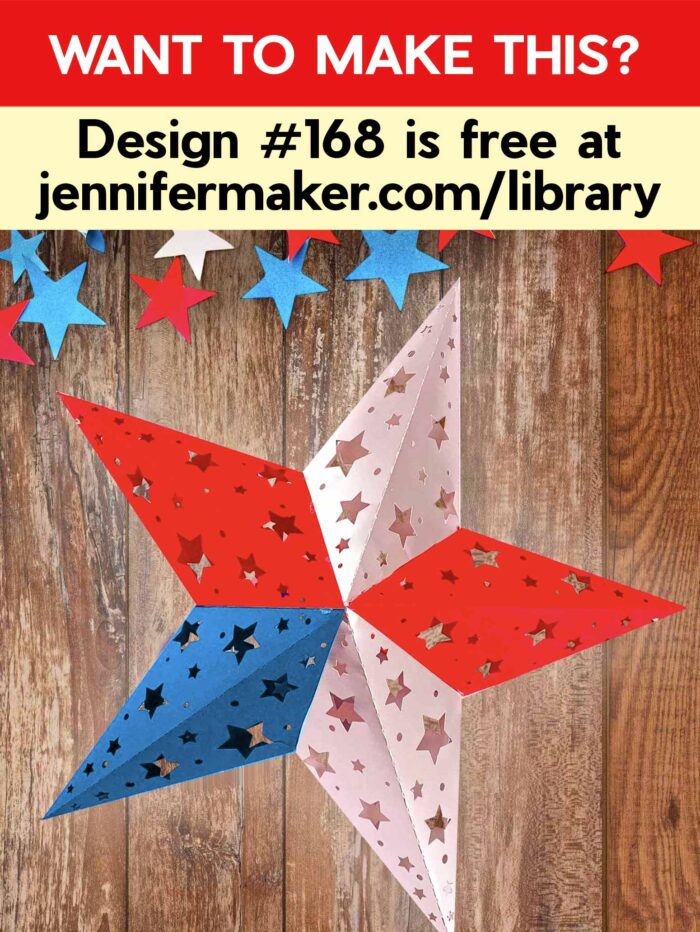
And here’s a red, white, and blue paper star!
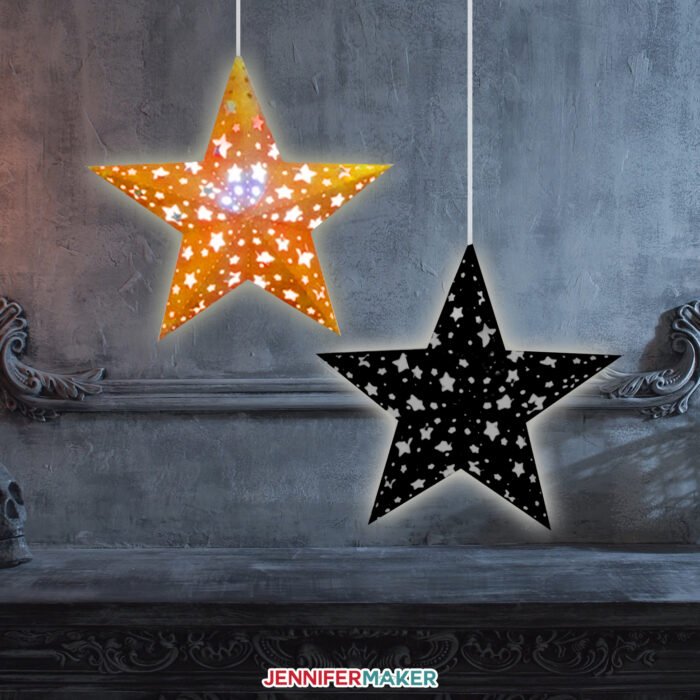
You can even make them for the fall and Halloween!
I’m eager to show you how to make paper star lanterns! This post contains some affiliate links for your convenience (which means if you make a purchase after clicking a link I will earn a small commission but it won’t cost you a penny more)! Read my full disclosure policy.
Materials to Make a Paper Star Lantern
- 8.5″ x 11″ 100-110 lb. cardstock (I used red, blue, and white) or poster board (I used foil holographic posterboard)
- (Optional) 8.5″ x 11″ vellum
- (Optional) Hanging lantern cord for pendant LED lighting
- (Optional) 40-Watt LED Light Bulbs
- A way to glue your paper star lantern, such as hot glue, Bearly Art Precision Craft Glue, or spray adhesive (useful if you use the vellum layer)
- A way to cut your cardstock (I used an amazing Cricut)
- Design #168 – My free SVG/DXF/PDF cut file/pattern for the shadow box template (available in my free resource library—get the password at the bottom of this post)
How to Make Paper Star Lanterns
Step 1: Get my free paper star lantern file and pattern.
Download the free paper star lantern pattern (Design #168) from my free resource library (get the password to the library in the form at the bottom of this post).
Step 2: Cut your paper star lantern pieces.
You can cut this paper star lantern with a good craft knife, and I’ve included a PDF if you’d like to do that. I cut these on my Cricut cutting machine because it is so much faster, so let me show you how to do that!
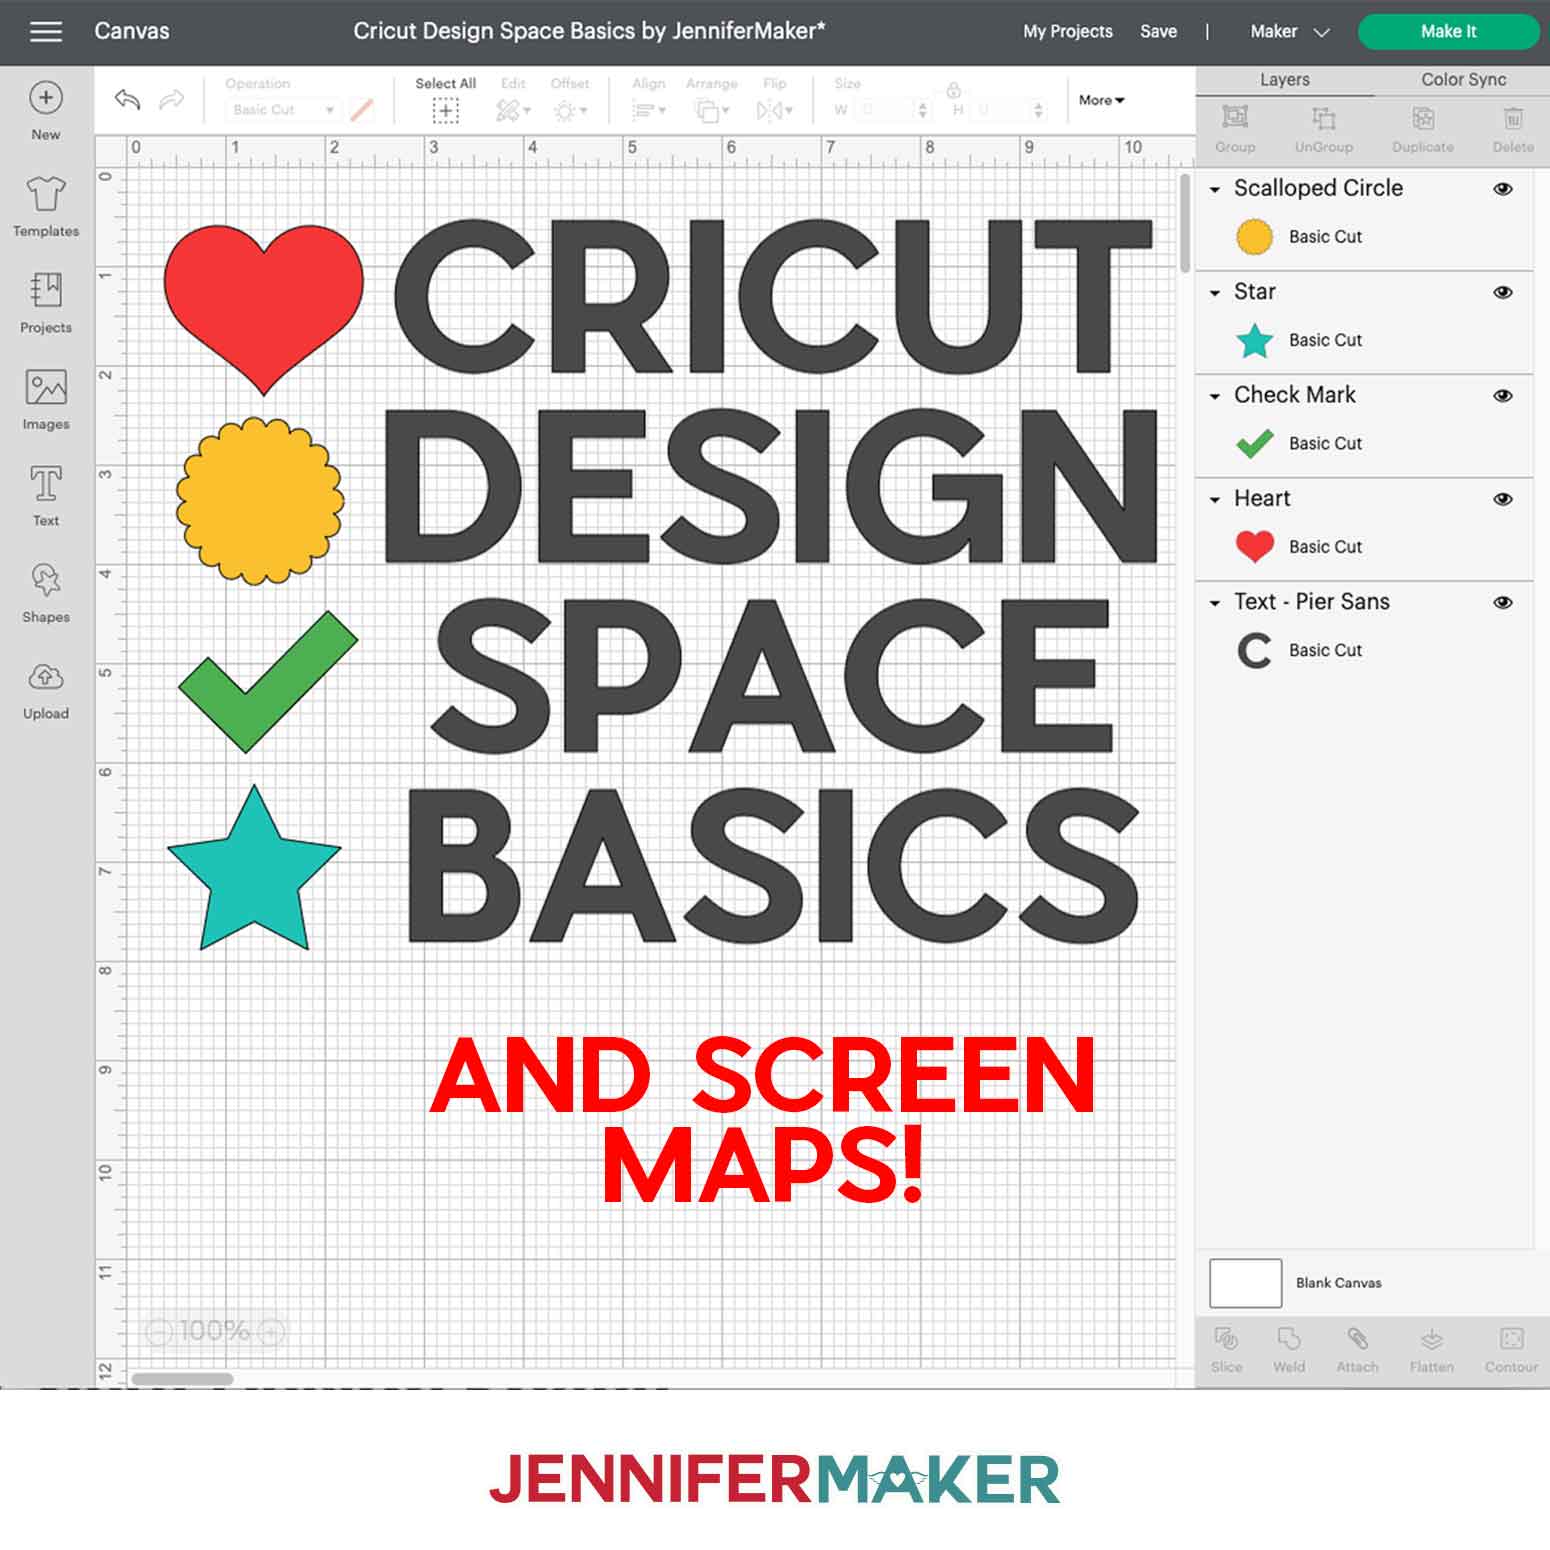
First, upload the paper star lantern SVG file to Cricut Design Space and place it on your canvas.
If you’re not sure how to upload an SVG cut file to Cricut Design Space, watch this helpful video training series I made. If you’re on an iPhone or iPad, here’s how to download and upload SVG files to the Cricut Design Space app.
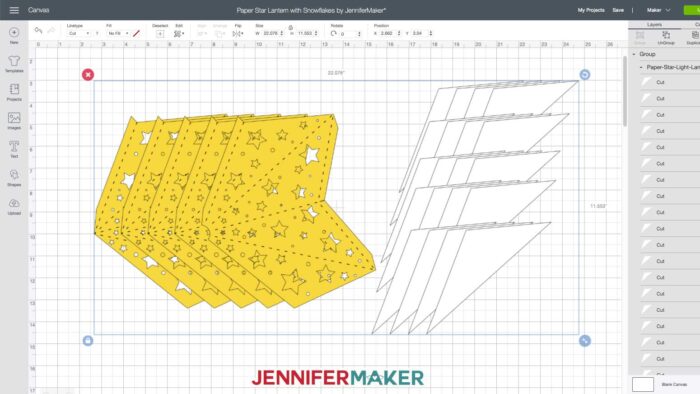
Here’s what my paper star lantern SVG cut file looks like uploaded to Cricut Design Space: Please note the size is 23.532 inches x 17.85 inches.
And here’s what the paper star lantern with the snowflakes SVG looks like in Cricut Design Space:
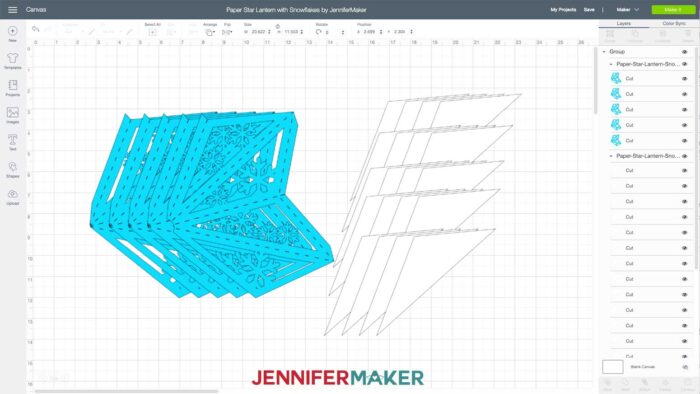
Decide if you want to cut the vellum layer out. The vellum will diffuse the light which gives your paper star lantern a nice glow and disguises the light fixture inside, but the lighting effect of stars and snowflakes cast on walls won’t be as pronounced with the vellum included. You decide which one you like best — the vellum layer is optional for both paper star lanterns. If you decide not to use vellum, hide or delete that layer (the white triangles).
When you’re ready, click “Make It” — there is no scoring, grouping, or attaching required for this project!
I recommend you cut this project from 100 lb. or 110 lb. cardstock or poster board if you want to hang a light inside it. This hanging paper star lantern needs to be sturdy enough to support itself, and this material works the best. For material settings, use the “glitter cardstock” setting as that will give you two passes and cuts cleanly.
Step 3: Assemble your paper star lantern.
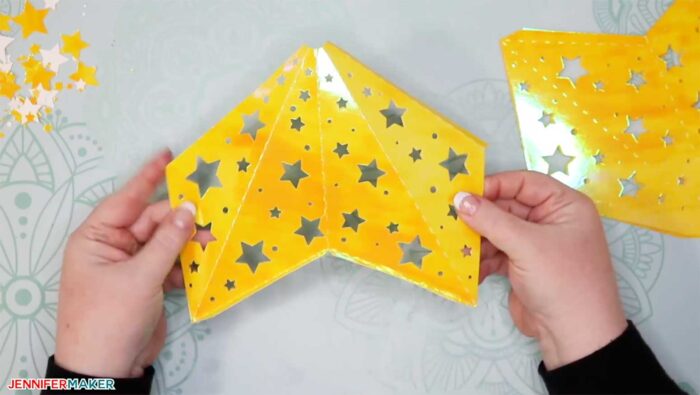
A. Prefold each dashed angle of each of the five paper star lantern pieces, including the long side tab.
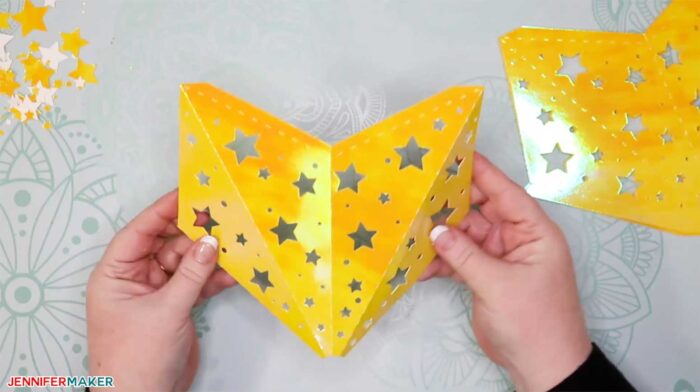
B. Prefold the bottom of the two tabs in the opposite direction from how you folded it in step A. Be sure to fold all five pieces in the same manner.
C. If you are including the vellum layer, spray the inside of each of the five paper star lantern pieces with permanent spray adhesive. Then place the vellum on the top of the sections of each star lantern piece. Let dry completely before continuing.
D. Identify the star point piece with a crescent missing at its point and set it aside for now.
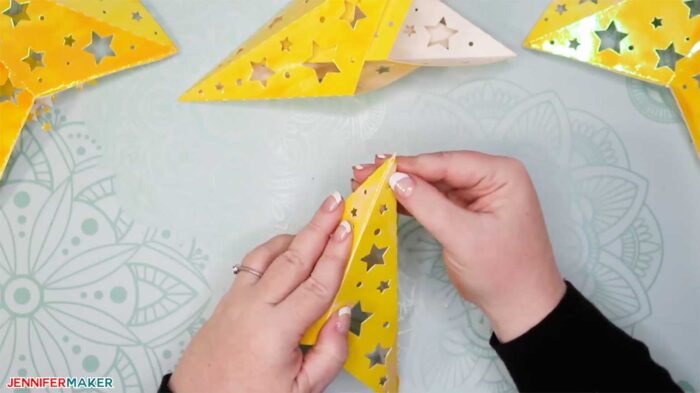
E. With the other four pieces, place glue along the long side tab, glue the tab to the inside of the other side to form a point. Be sure that the pieces align flush. Repeat for all four pieces. This will give you four star points.
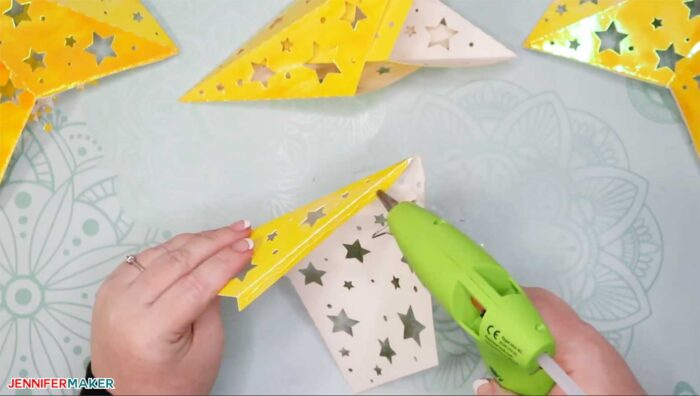
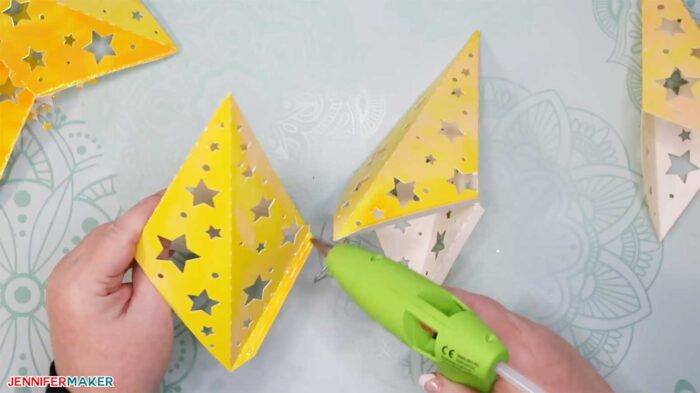
F. Place glue on one side of the bottom tab of one star point and glue another star point to the other side of the light fixture tab, working your way around until the four assembled star points are glued together.
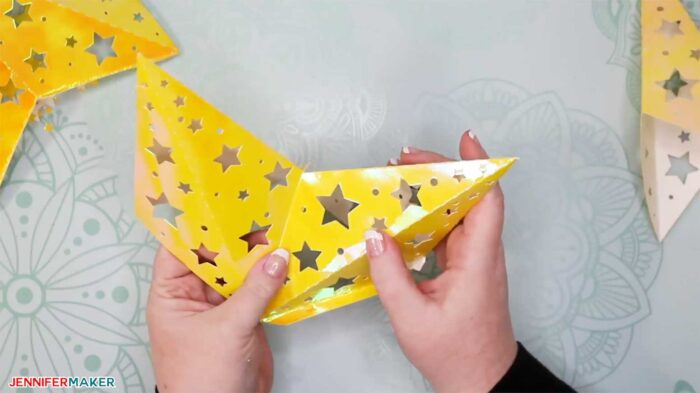
G. Pick up the piece you set aside earlier and glue the shorter tabs to the main star assembly — you’ll need to reach inside to press the layers together as the glue sets.
H. If you want to light up your paper star lantern, place the light fixture inside now with the cord sticking out the end of the unglued point. Carefully glue the long tab in place to close up your paper star lantern. The last piece is a bit fiddly, so time and care should be taken when assembling. Go slowly and be patient with yourself.
When you’re done, hang your paper star lantern from the pendant cord!

Get my free paper star lantern SVG cut files and patterns
If you make paper star lanterns, we’d love to hear about it! Please share your photo in our Facebook group, email it to me at [email protected] or tag me on social media with #jennifermaker.
See all of the projects, tutorials and free designs in The Great Maker 25-Day Gift-Away Challenge!
Love,

Want to remember this? Save the DIY Paper Star Lantern Tutorial to Your Favorite DIY Pinterest Board!

I love this! My youngest has special needs and loves Christmas, so he has his own small tree in his room and he picked this for me to tweak to be his tree topper. How big is the finished star? I would appreciate an idea how much I need to shrink it down. Thanks for the fabulous idea!
I’m new to the cricut, but I’ve been looking through your files and your tutorials. OMGeee! I’m so excite to try these! Thank you. I had no idea what I was going to make with this expensive toy and I’m feeling much better now.
Will I have to open up the paper when I need to change the lightbulb?
LOVE these. I have a friend who is having a baby and is doing a twinkle twinkle little star theme. My question how or what would you suggest to use to just have one of these on a dresser top to light up sitting there, not hanging?
What a cute idea and I bet you would get some great suggestions posting in my Cricut Crafters & Makers Group!
Hi Jennifer, where did you get the pendant lights? Thank you for sharing your amazing talent!
Hi Debra! You will want to check out the materials list towards the top of the blog post to see where I got everything to create my stars. Hope this helps!
I love this. My first try I wanted to make the snowflake and I thought the dimensions for the them were the same as the star that are listed in the tutorial Right above the screenshot of the yellow star in design space. 23.53.2 X 17.85 – Unfortunately that didnt work one side was longer than the other when I tried putting it together. SO I then watched the video and it showed 20.622 H 11.553 – I hope that is it, This time I will do a tester before I cut it all. I just wanted to know if it is just me or if this should be updated in the instructions.. thank you so much I Love your crafts!
Hi Karina! The dimensions are different. If you are using an iOS device I do give you the dimensions to increase it to.
Oh thank you Yes I was using an IOS. I must have missed those dimensions. Either way it is beautiful and I got it done 🙂
Could the light bulb catch the Star Luminary on Fire?
I Love the Design!!! It’s so Beautiful.
Hi there! Not with the bulb we are using! We will always put safety first!
Hi Jennifer
These Stars are so Beautiful!!! So Amazing!!!! I was Wondering if i put up three Star Lanterns at different heights, where do all the cords go so it doesn’t look messy. I keep imagining cords all down the walls. Do you have any ideas so I don’t have 3 cords running down the wall in three different spots?
Thanks so much,
Viv
Thank you, these can add such a pretty touch to your room! The cord is only there to help hang them, so you wouldn’t have anything running down the wall. And if you don’t want to hang them you don’t need the cord at all! A little tea light inside is what adds the light. They’re so versatile!!
jennifer i uploaded the paper star lantern svg the file folder contains 2 one says light and separated the other file does not. which one am i to use i have a maker and am using my laptop
The image in my blog tutorial shows the one that is not separated. I include both so that they are easy to see separated, but if you want to follow my tutorial exactly, you’ll want the one that does NOT say separated! Good luck, this is such a pretty project when it’s all finished!