
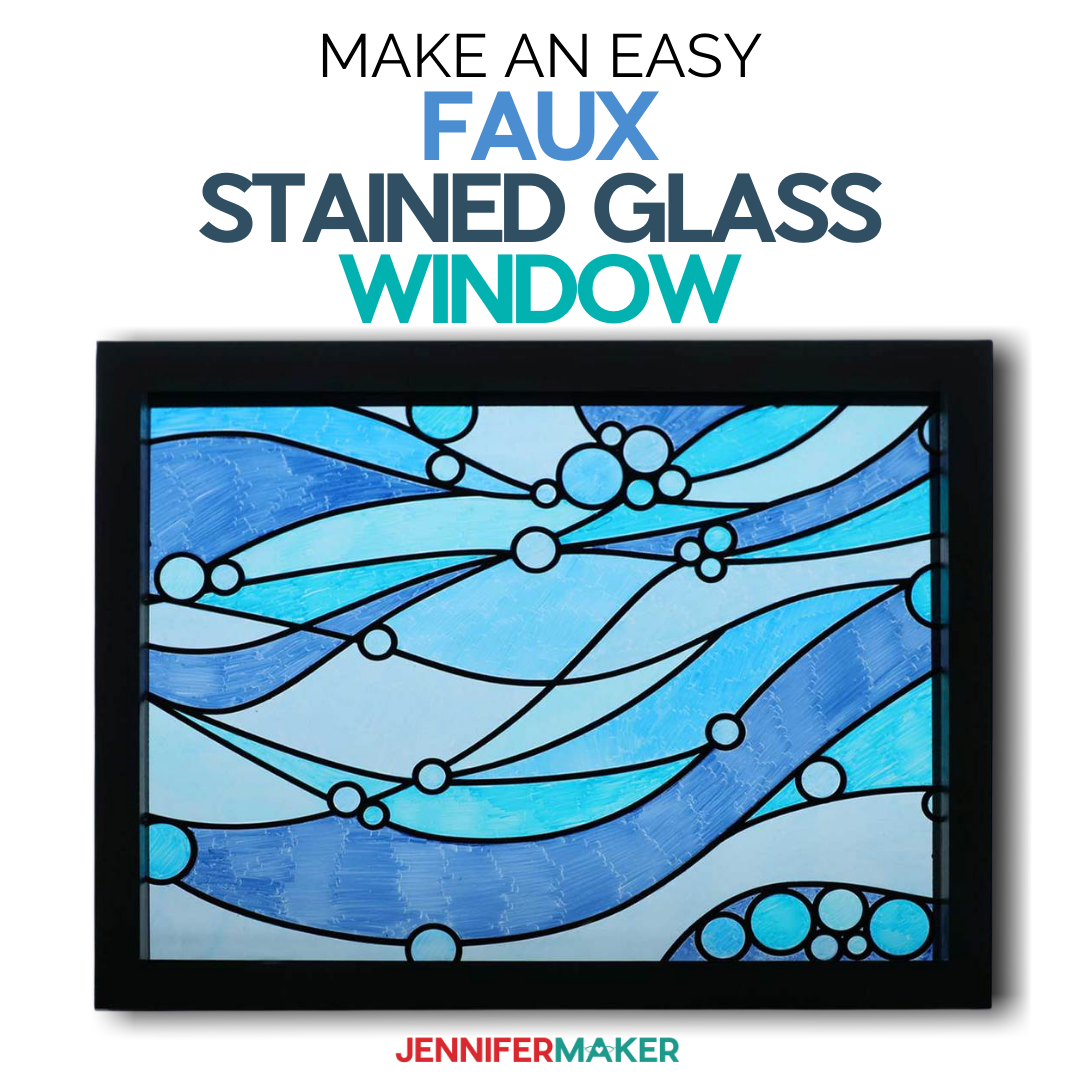
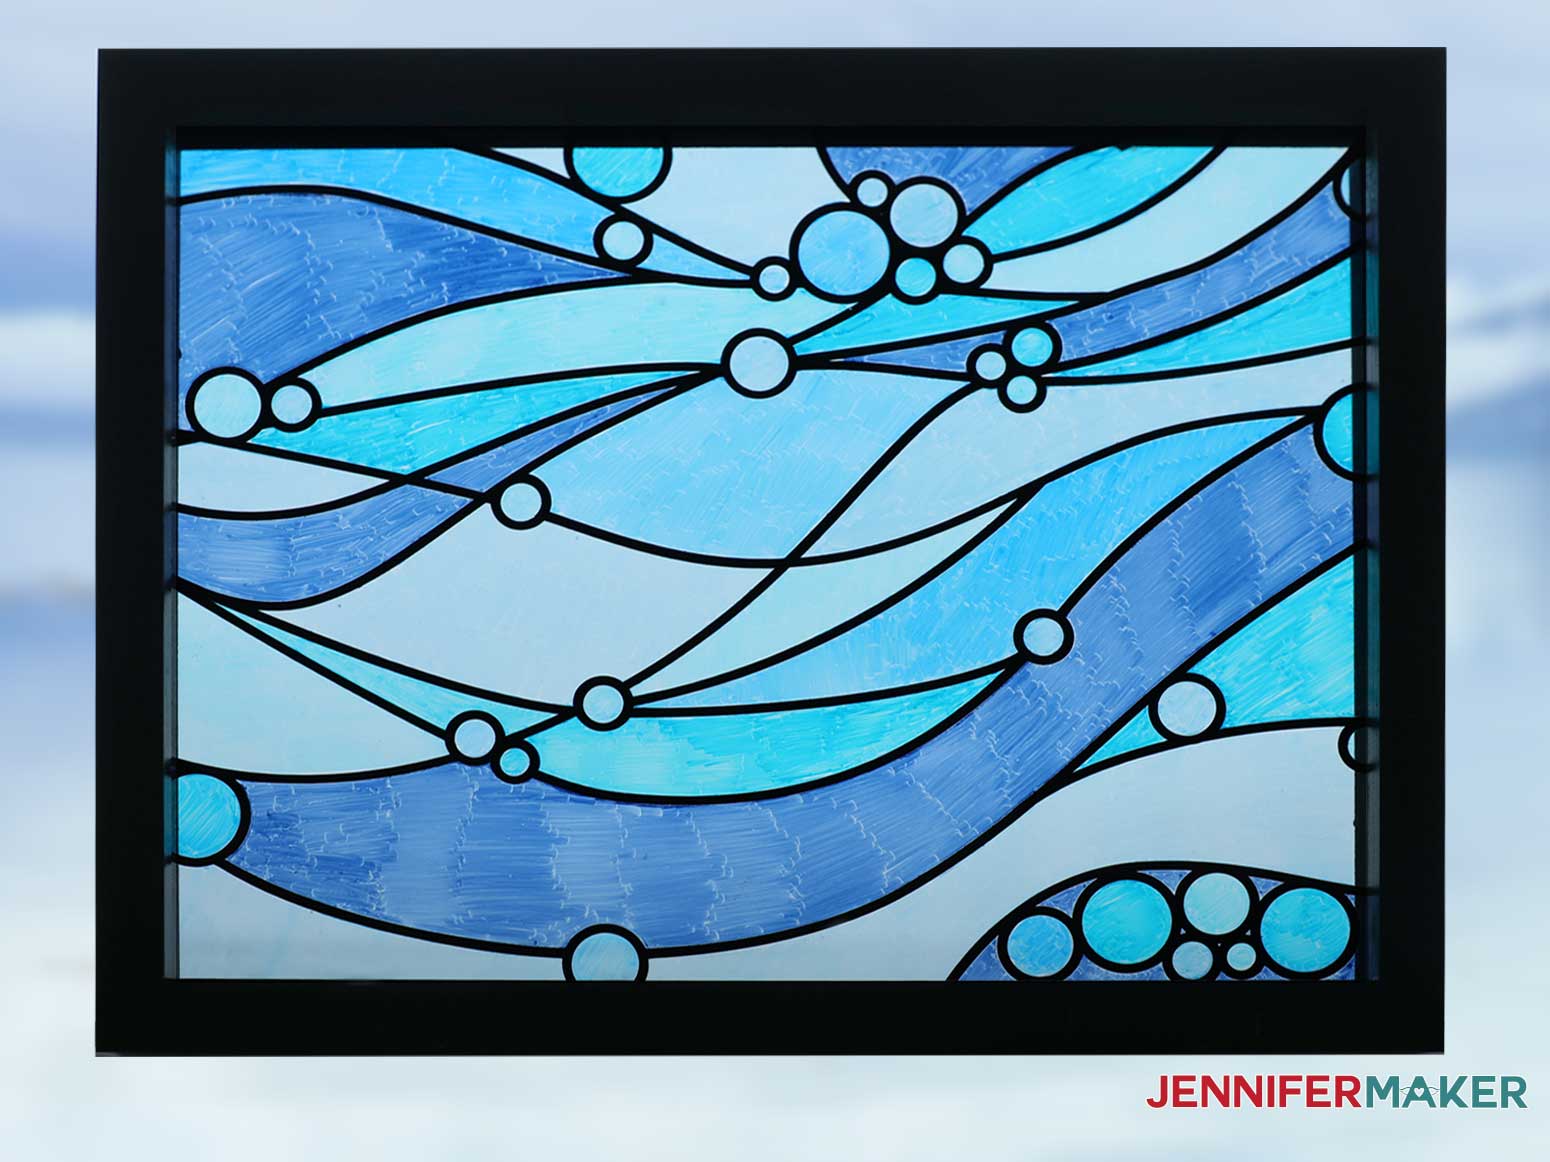
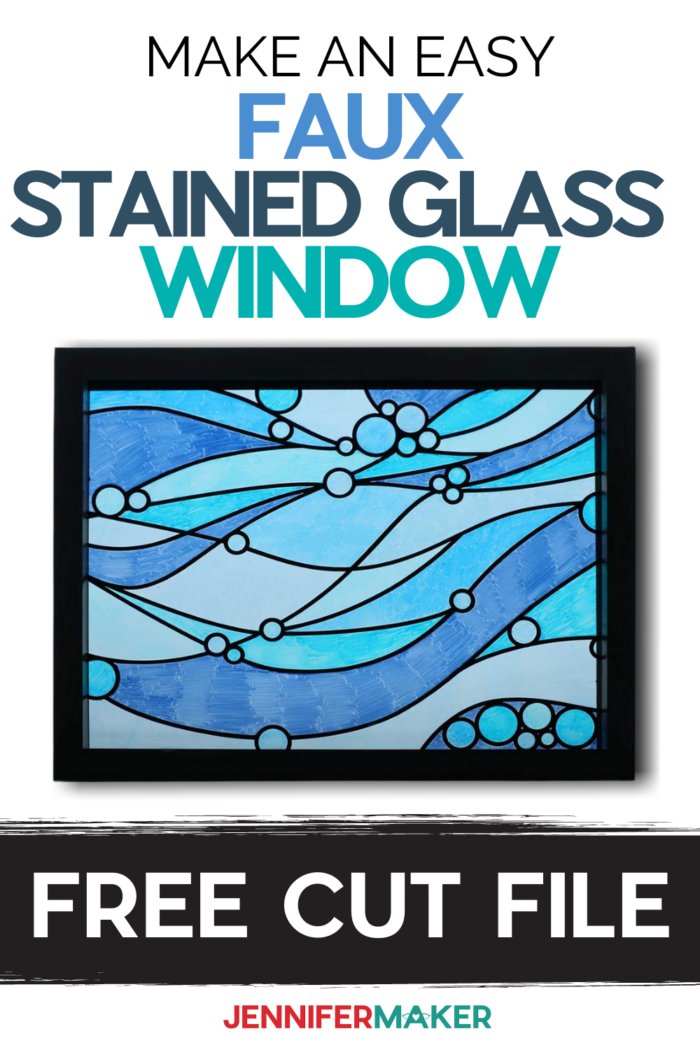
Learn how to make an impressive Faux Stained Glass Window.
If you’re looking for a really beautiful and unique handmade gift this year, THIS is it! This is a “stained glass” window you can make yourself without needing to know anything about traditional stained glass techniques. That’s because it’s OUR stained glass is made with a Sharpie permanent marker! Can you believe it? It’s amazing, isn’t it? I love adding unique touches to my home, and this stained glass window coordinates well with my decorated glass blocks! I love that this project has such flexibility, you can play with the colors and the design to fit any room with any theme! So for Day 22 of The Great Maker 25-Day Gift-Away Challenge, I am showing you how to dress up your house with this impressive Faux Stained Glass Window!
See exactly how to make this faux stained glass window in my tutorial video (or keep scrolling if you prefer a printable step-by-step photo tutorial):

 What is The Great Maker 25-Day Gift-Away? This is an annual tradition here at JenniferMaker! Every day for the first 25 days of December we gift you with a brand new project, design, tutorial, and video. On top of that, we host a giveaway with 25 prizes. Some of the amazing prizes are Cricut cutting machines, sewing machines, gift cards, and beautiful print editions of our popular Cricut Coach Playbook. You can even earn bonus entries for sharing photos of the daily projects! Click here to learn more about The Great Maker 25-Day Gift-Away!
To make your faux stained glass window, you begin with a double glass floating frame. A floating frame just means that there are two pieces of glass the same size in the frame. You can get these at craft and frame stores, and I’ve included a link to where I found everything on Amazon. This floating frame is 11″ x 14″ in size.
To create the lines you see in real stained glass, which by the way were traditionally made from lead, we’re going to use black permanent adhesive vinyl. Much safer than lead! One twelve by fifteen piece of black vinyl is all you need for one window. You’ll also want a similarly sized piece of transfer tape to get that vinyl onto your glass.
I used my Cricut cutting machine to cut the design from black vinyl, along with the fine point blade, a green StandardGrip cutting mat, a weeding tool, and a scraper.
And, of course, we need our Sharpie markers! I used several colors from this pack of 24 to get the variations you see here. But you can get to pick whatever colors you wish! That’s a big part of the fun, right?
Other items to have on hand include a craft knife, isopropyl alcohol, and some lint-free towels.
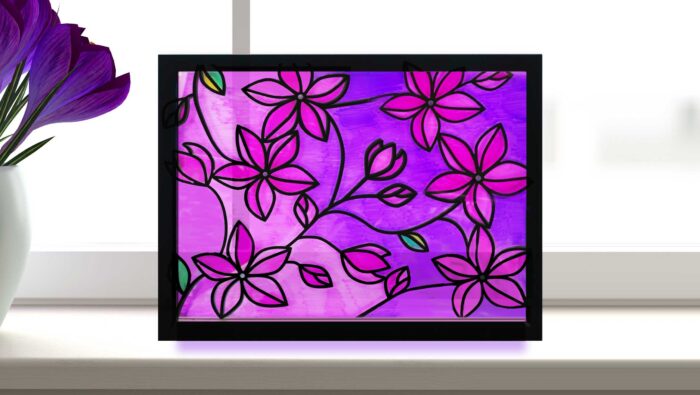
Last but not least, you need the pattern. I have two different designs — waves and flowers — and you can pick whichever one you want.
So let me show you where to find the designs, and then I’ll show you how to cut and color your stained glass window! This post contains some affiliate links for your convenience (which means if you make a purchase after clicking a link I will earn a small commission but it won’t cost you a penny more)! Read my full disclosure policy.
Materials to Make a Faux Stained Glass Window
View my Amazon shopping list with the exact items we used to make this project!
- 11″ x 14” Double Glass Floating Frame
- Sharpie Permanent Markers
- Permanent Vinyl in Black (I used Cricut Premium Vinyl)
- Transfer Tape or Paper (I used Cricut Standard Grip Vinyl Transfer Tape)
- (Optional) Krylon Kamar Varnish Spray
- (Optional) Krylon UV Resistant Spray
- Cricut StandardGrip Mat 12×24”
- Weeding Tool
- Vinyl Scraper such as Cricut Scraper XL
- Craft Knife such as the Cricut TrueControl Knife
- Cricut Self Healing Cutting Mat
- Lint-Free Paper Towels
- Isopropyl Alcohol 90% or higher
- A way to cut your vinyl (I used the Cricut Maker cutting machine but this can also be cut on a Cricut Explore)
- Design #273 – My free SVG design files (available in my free resource library—get the password by filling out the form at the bottom of this page)
How to Make a Faux Stained Glass Window
Faux Stained Glass Window
This faux stained glass project is easy and fun for all ages! We make faux lead lines using a vinyl decal and color our glass with Sharpie permanent pens.
Materials
- One (1) 11" x 14” Double Glass Floating Frame
- Sharpie Permanent Markers
- One (1) 12" x 15” piece of Permanent Vinyl in Black (I used Cricut Premium Vinyl)
- One (1) 12" x 15.5” piece Transfer Tape or Paper (I used Cricut Standard Grip Vinyl Transfer Tape)
- Optional: Krylon Kamar Varnish Spray
- Optional: Krylon UV Resistant Spray
- Design #273 - My free Faux Stained Glass Window design (available in my free resource library/get the password by filling out the form at the bottom of this page)
Tools
- A way to cut your vinyl - I used the amazing Cricut Maker, but you could also use a Cricut Explore or cut it by hand.)
- Cricut StandardGrip Mat 12x24”
- Weeding Tool
- Vinyl Scraper such as Cricut Scraper XL
- Craft Knife such as the Cricut TrueControl Knife
- Cricut Self Healing Cutting Mat
- Paper Towels
- Isopropyl Alcohol 90% or higher
Instructions
STEP 1: GET MY FREE DESIGN FILES
Get Design #273 which are my free Faux Stained Glass SVG designs from my free resource library (get the password to the library by filling out the form at the bottom of this post).
Upload my Faux Stained Glass Window vinyl decal SVG file into Cricut Design Space. If you're not sure how to upload an SVG cut file to Cricut Design Space, watch this helpful video training series I made. If you're on an iPhone or iPad, here's how to download and upload SVG files to the Cricut Design Space app.
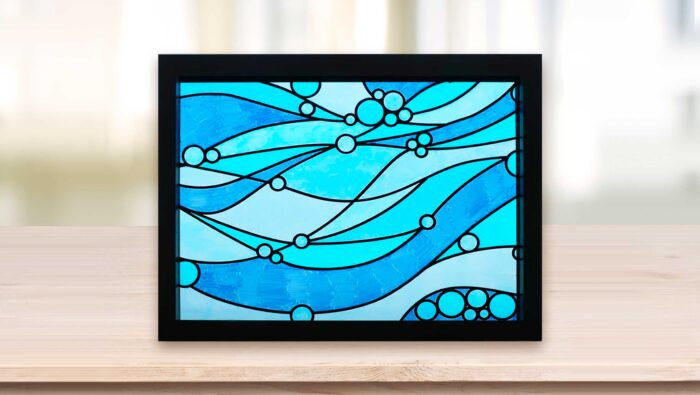
This is what the Wave design looks like in Design Space:
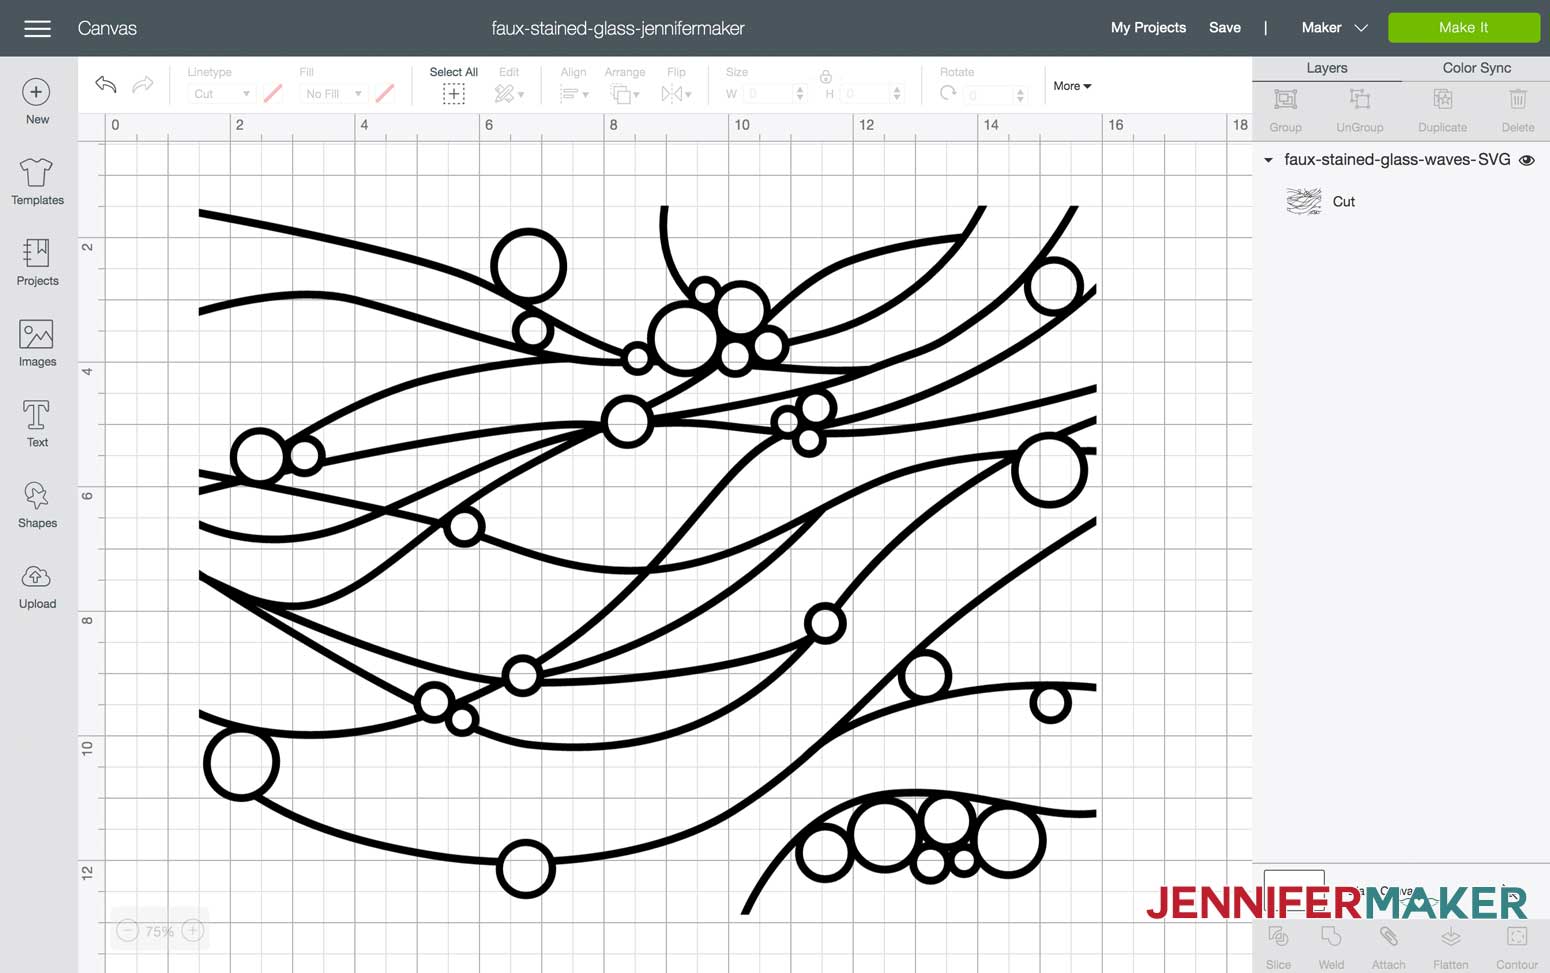
This design is made to fit into an 11" x 14” frame. When you click "Make It,” you will be prompted to select a 12" x 24” mat. Select your material settings matching your vinyl. I used Cricut Premium Permanent Vinyl so selected Premium Vinyl and selected “More Pressure.” Measure and cut your vinyl (you will need at least a 12" x 15” piece) and place it on your StandardGrip cutting mat.
Follow the prompts to load the mat and tools into your Cricut and start your cut.
NOTE: Before unloading your mat, check to make sure the vinyl cut thoroughly. While it’s still loaded in your Cricut, carefully peel up a corner of the vinyl off the carrier sheet. If the cut portion does not stay on the carrier sheet, then you will need to recut it. To do that, press the Cricut start button again, and it will recut the vinyl. Check your vinyl again before unloading it.
STEP 2: PREPARE THE VINYL DECAL
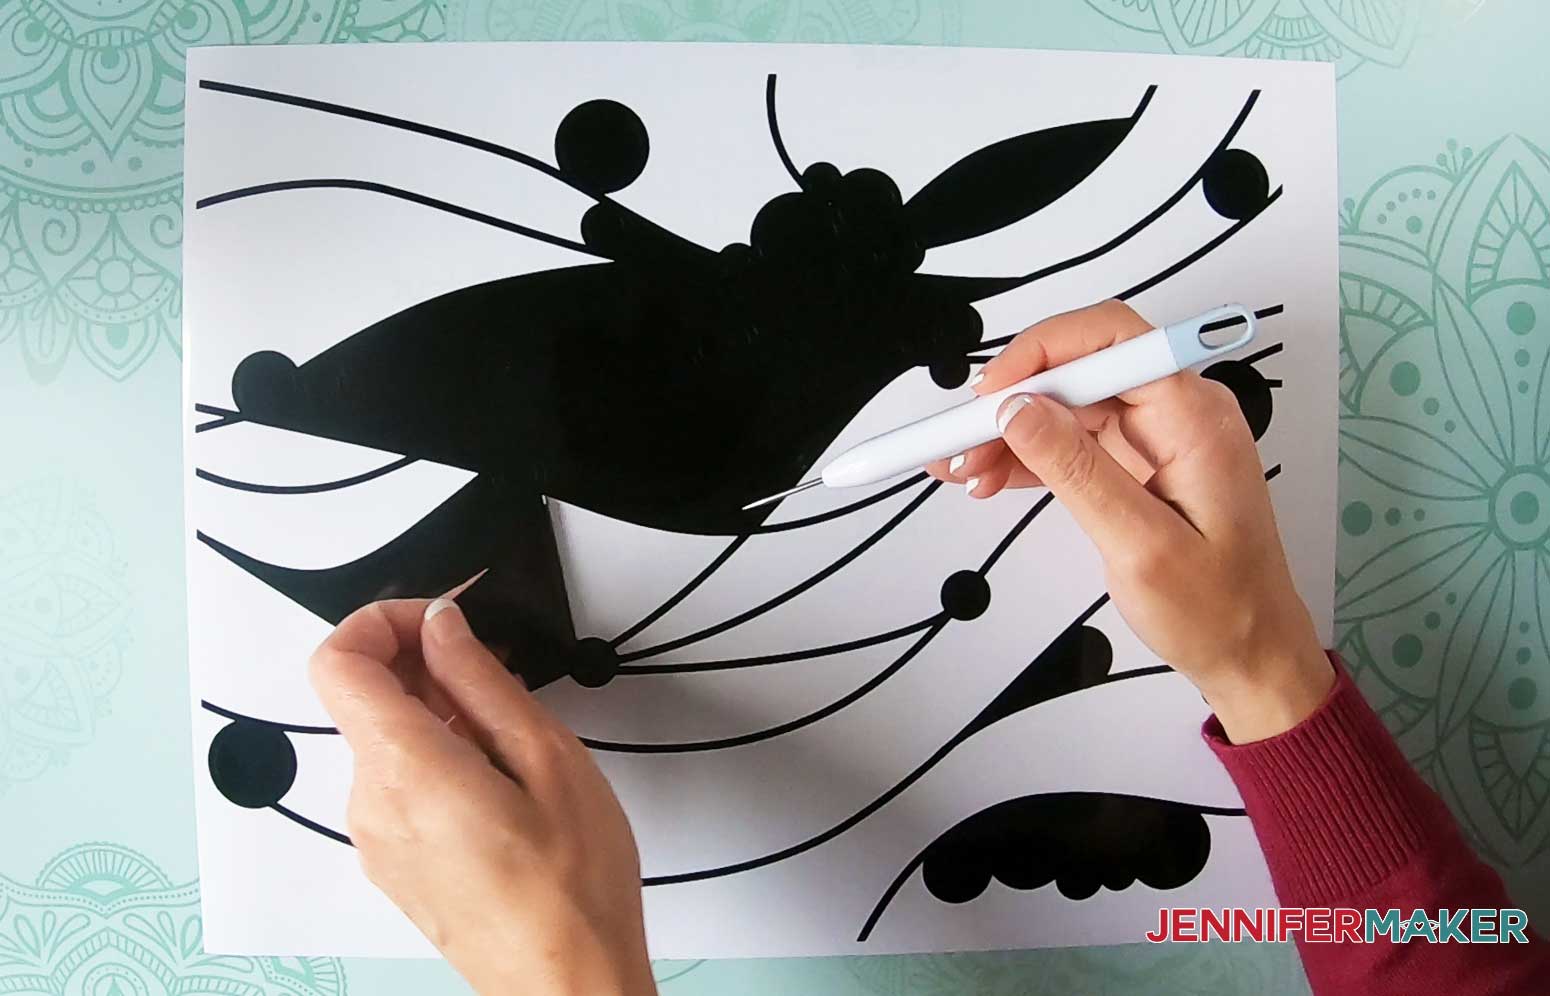
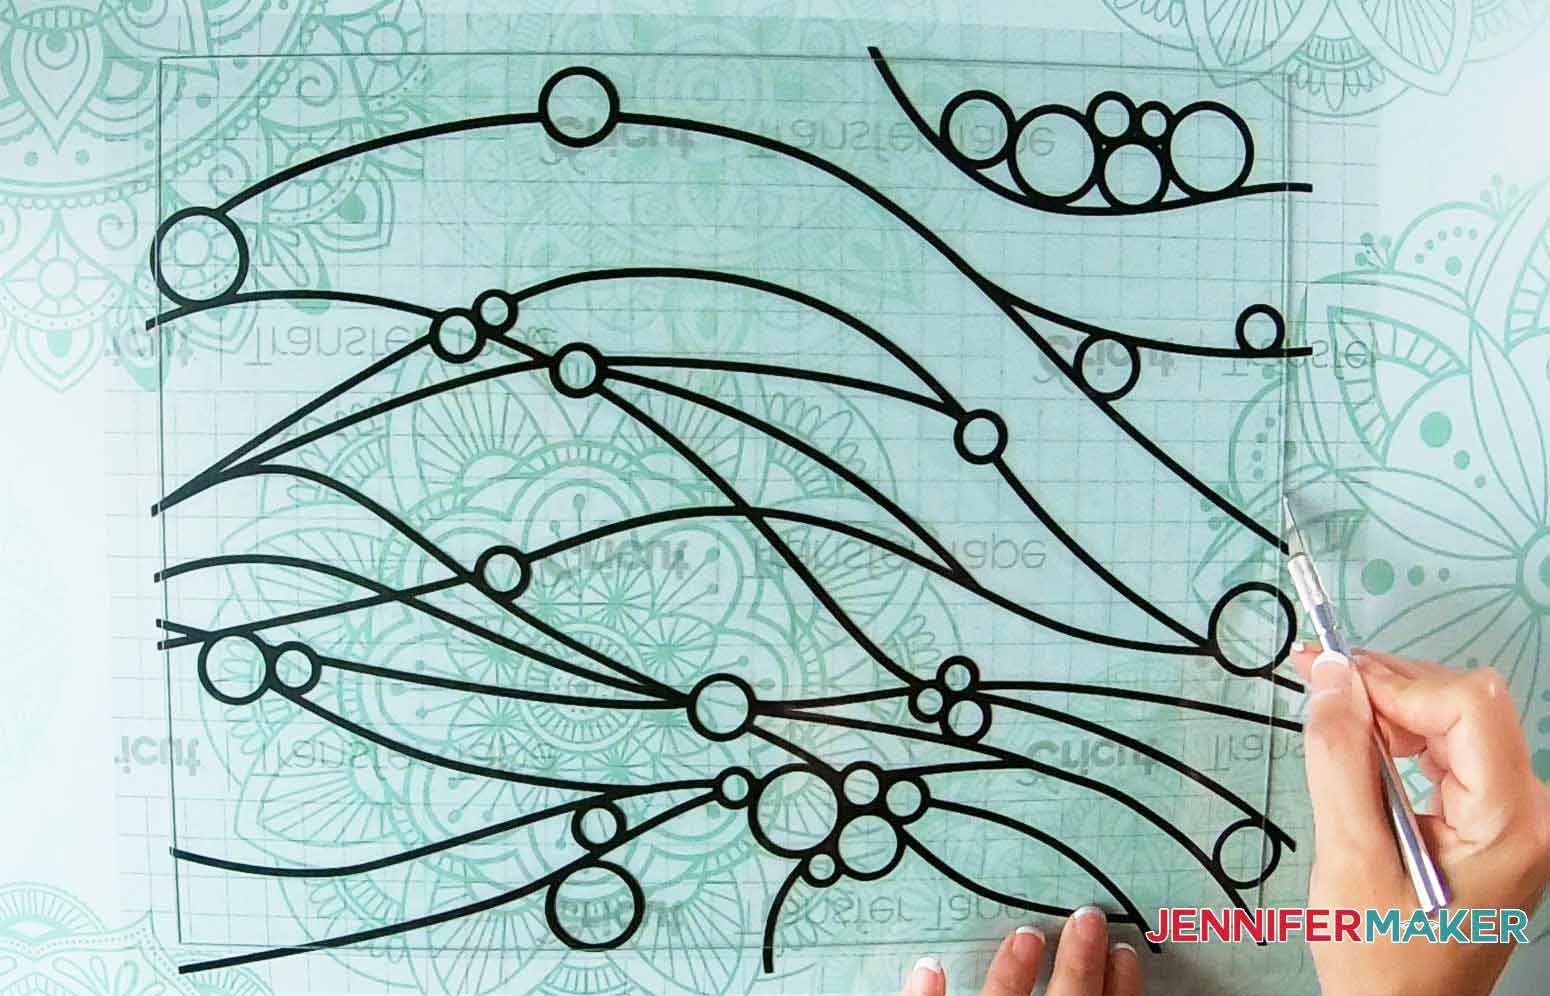
When the vinyl is done cutting, remove it from the mat. Gently weed the design using a weeding tool making sure to leave behind all the parts that will become your faux lead lines.
Carefully align transfer tape over your decal. TIP: I left an extra 1/4” of transfer tape overhanging on the two short sides so I could use them for lining up and applying the vinyl to the glass later.
To apply the tape to the vinyl decal, I carefully lined it up over my vinyl decal. I then removed the paper backing on one of the short sides and stuck the tape adhesive-side down onto the vinyl decal. I slowly pulled back the paper backing while burnishing the tape onto the decal.
![]()
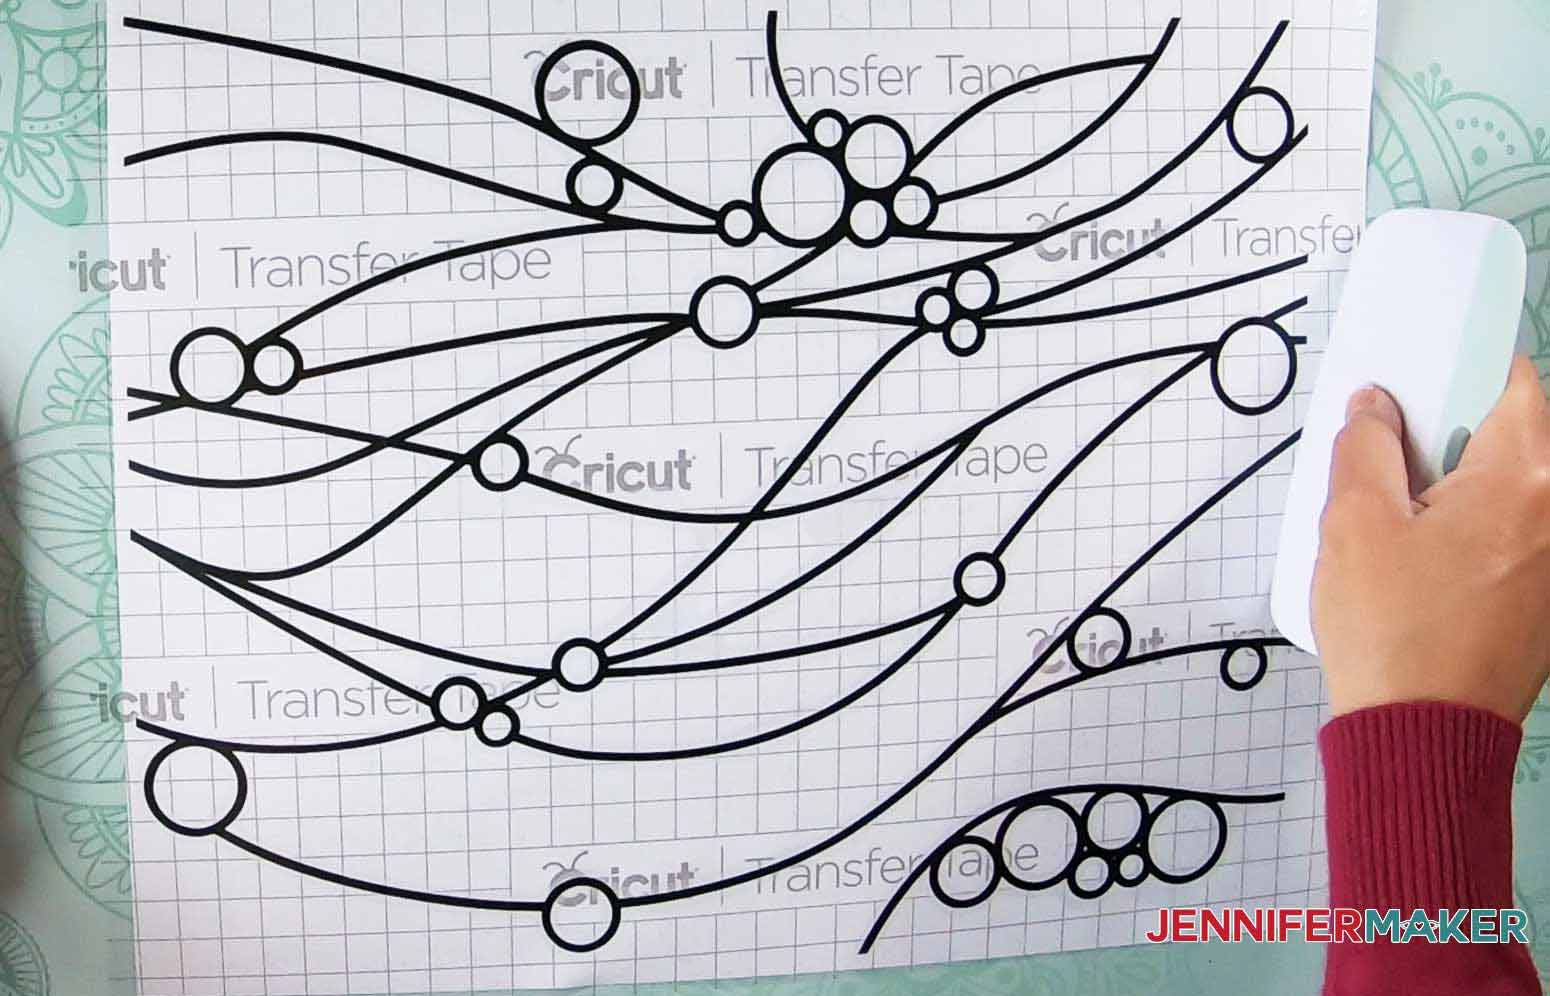
After applying the tape to the vinyl, burnish it well with a vinyl scraper tool, making sure there are no bubbles or creases. Be sure the decal is burnished really well and sticks to the transfer tape.
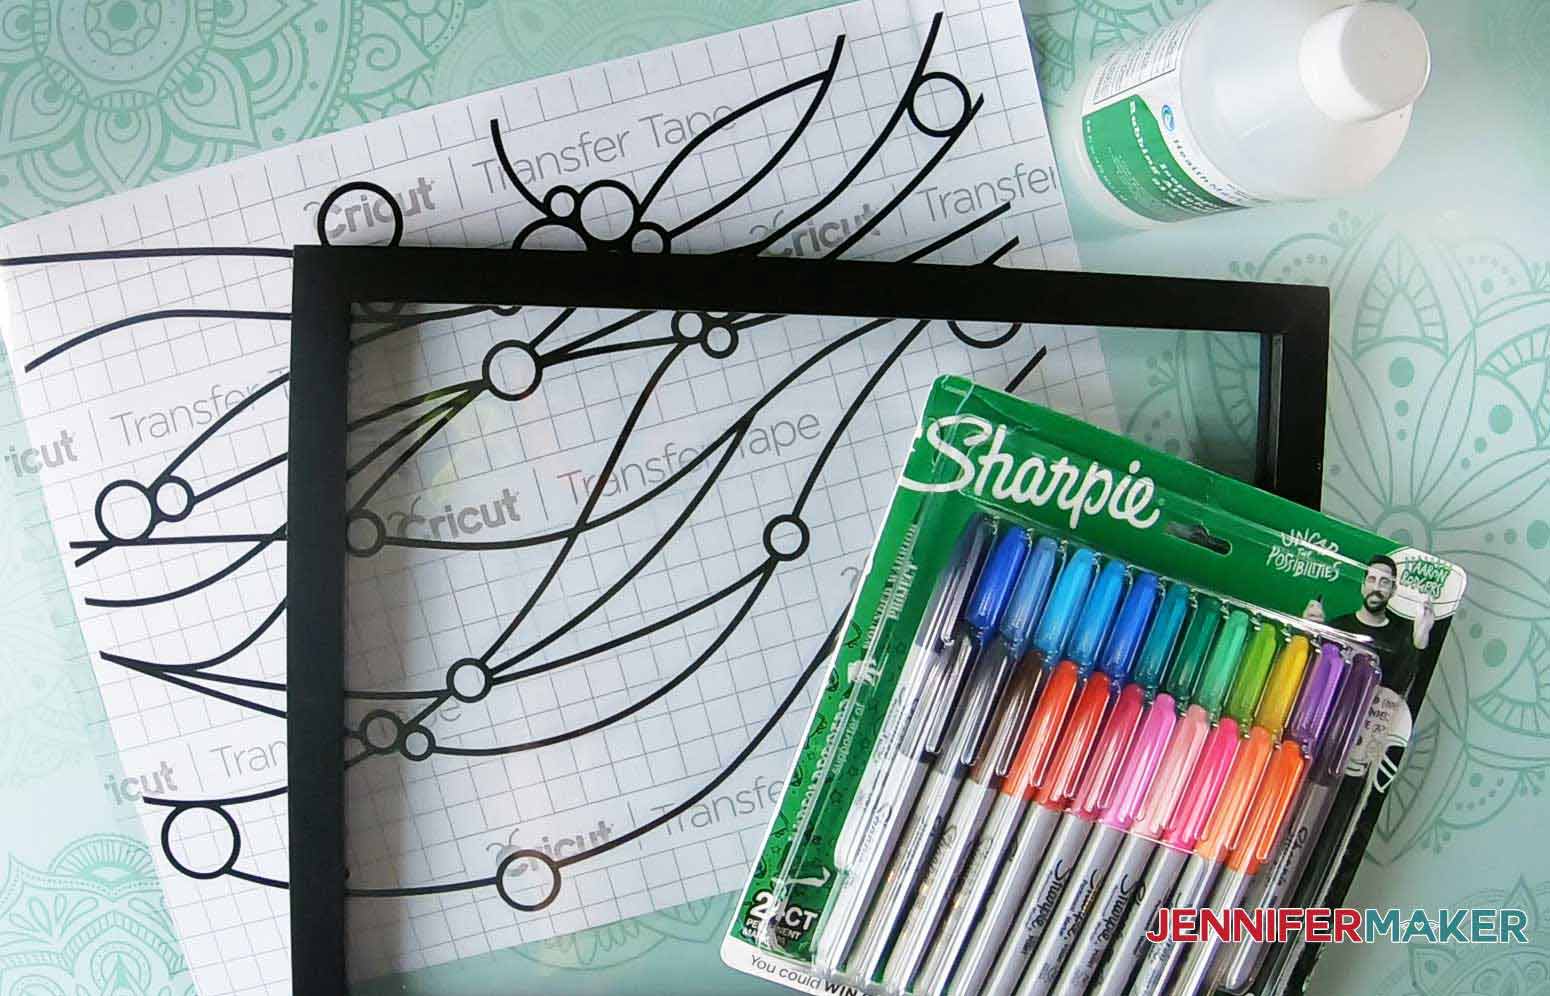
Now we're ready to begin making our faux stained glass! These are all the materials I used to make the faux stained glass window:
STEP 3: PREPARE THE GLASS
Remove the layers of glass from your floating frame. I had two layers of glass.
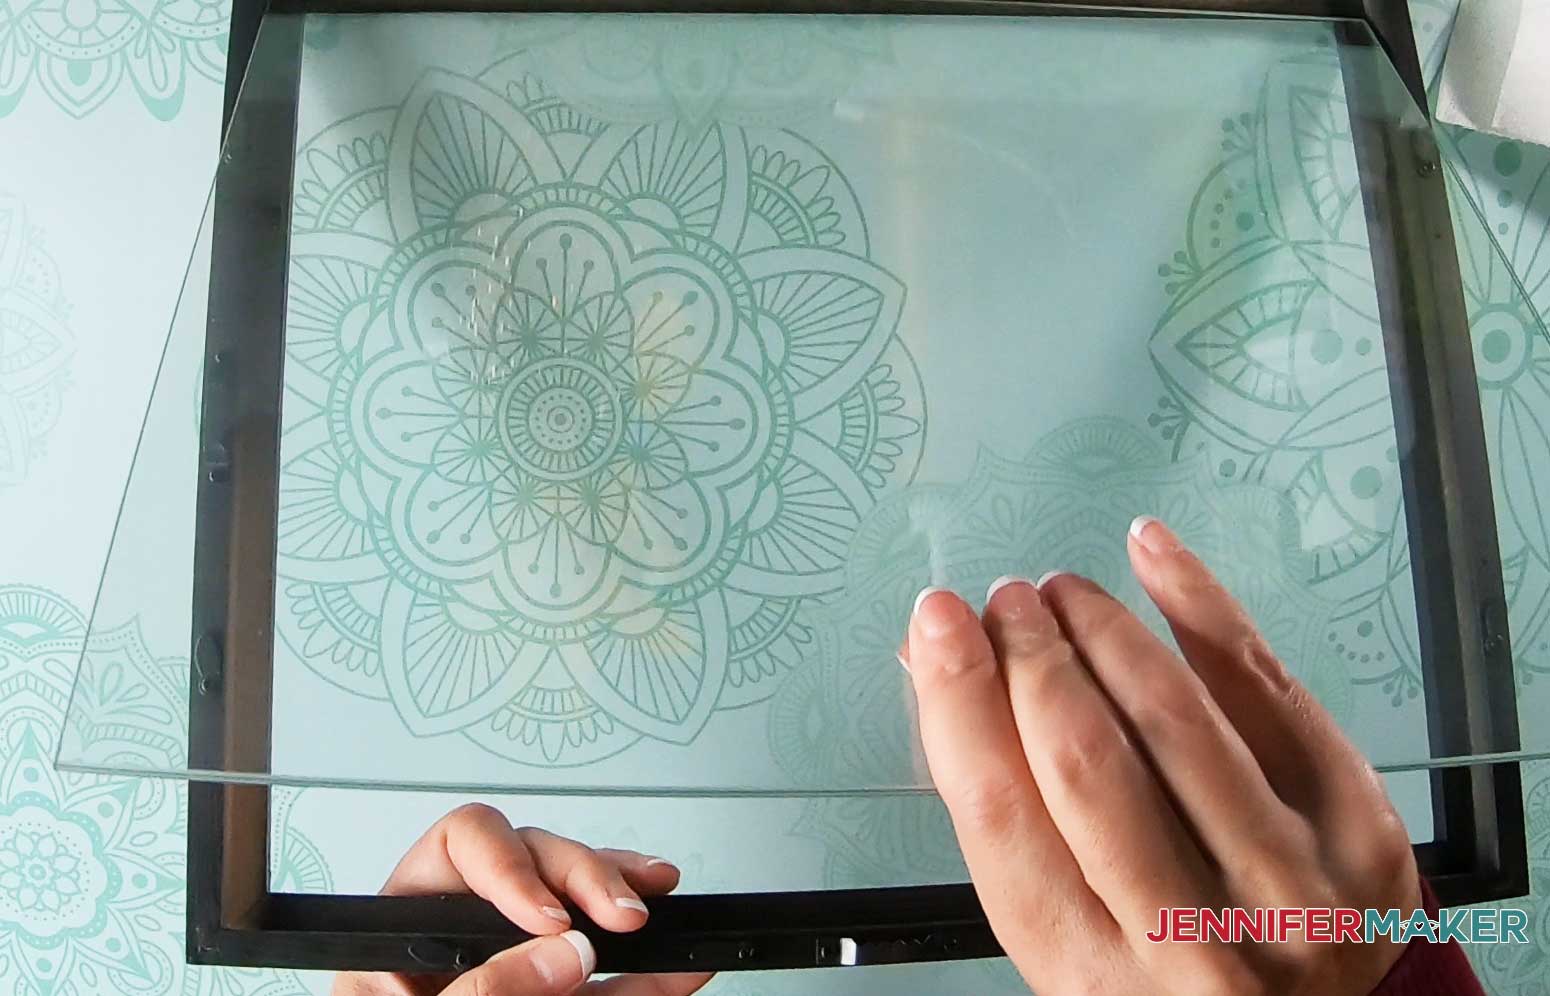
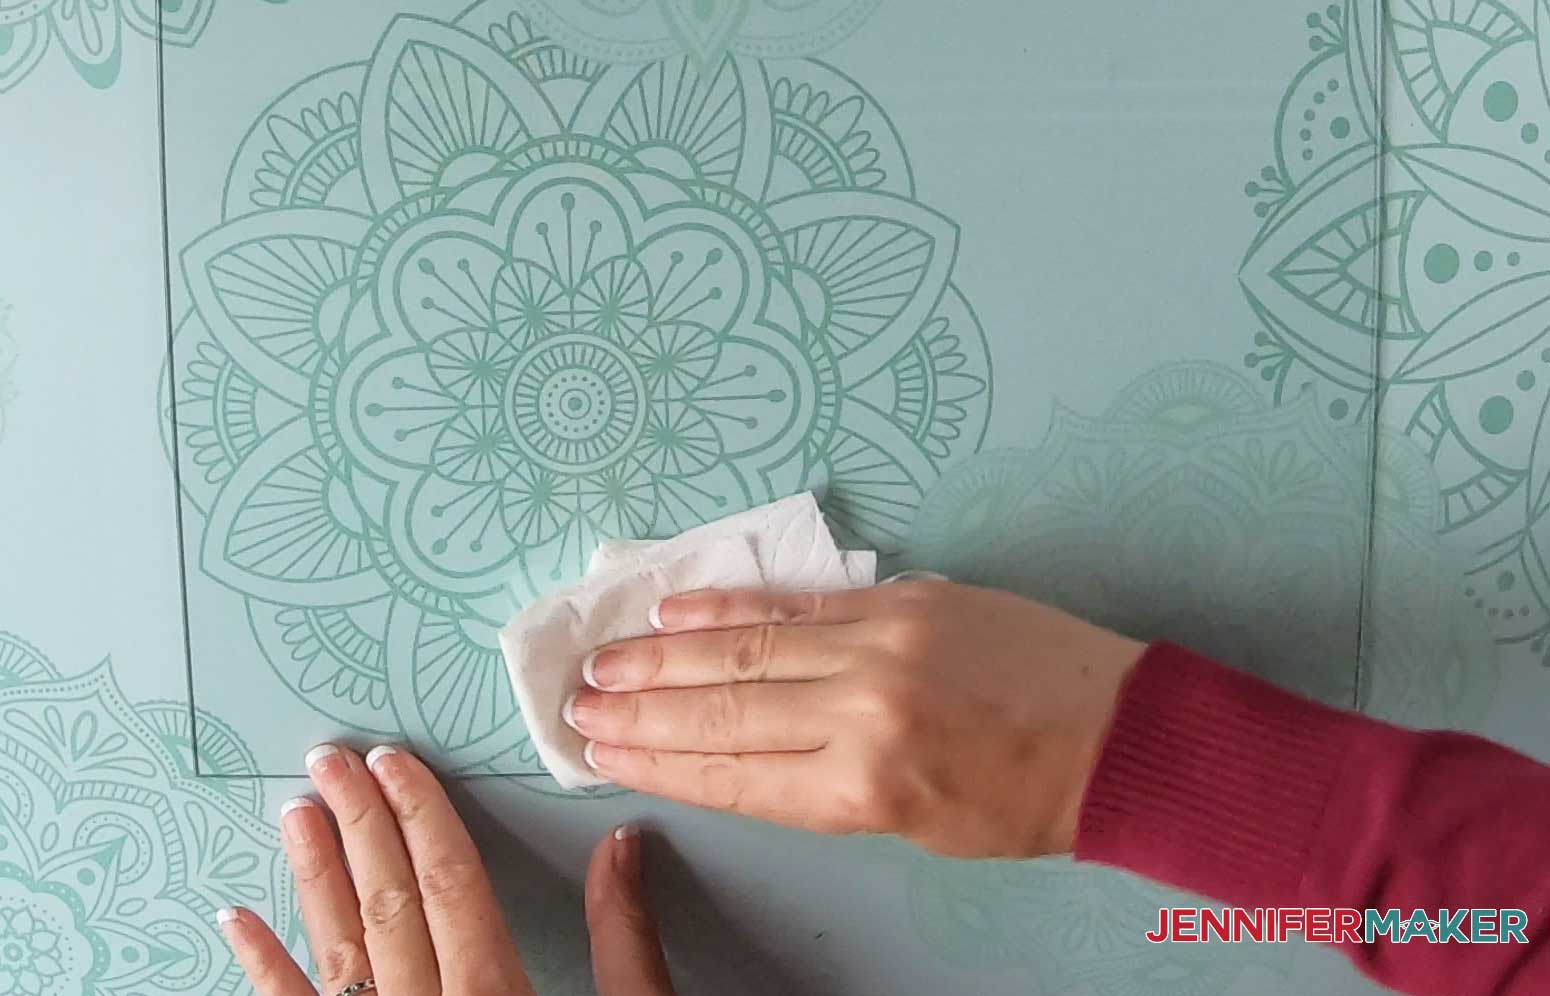
The first thing we want to do is make sure our glass surface is clean and free of debris and oils. Moisten a paper towel with Isopropyl Alcohol and rub both sides of each piece of glass thoroughly and let it dry.
STEP 4: APPLY THE VINYL
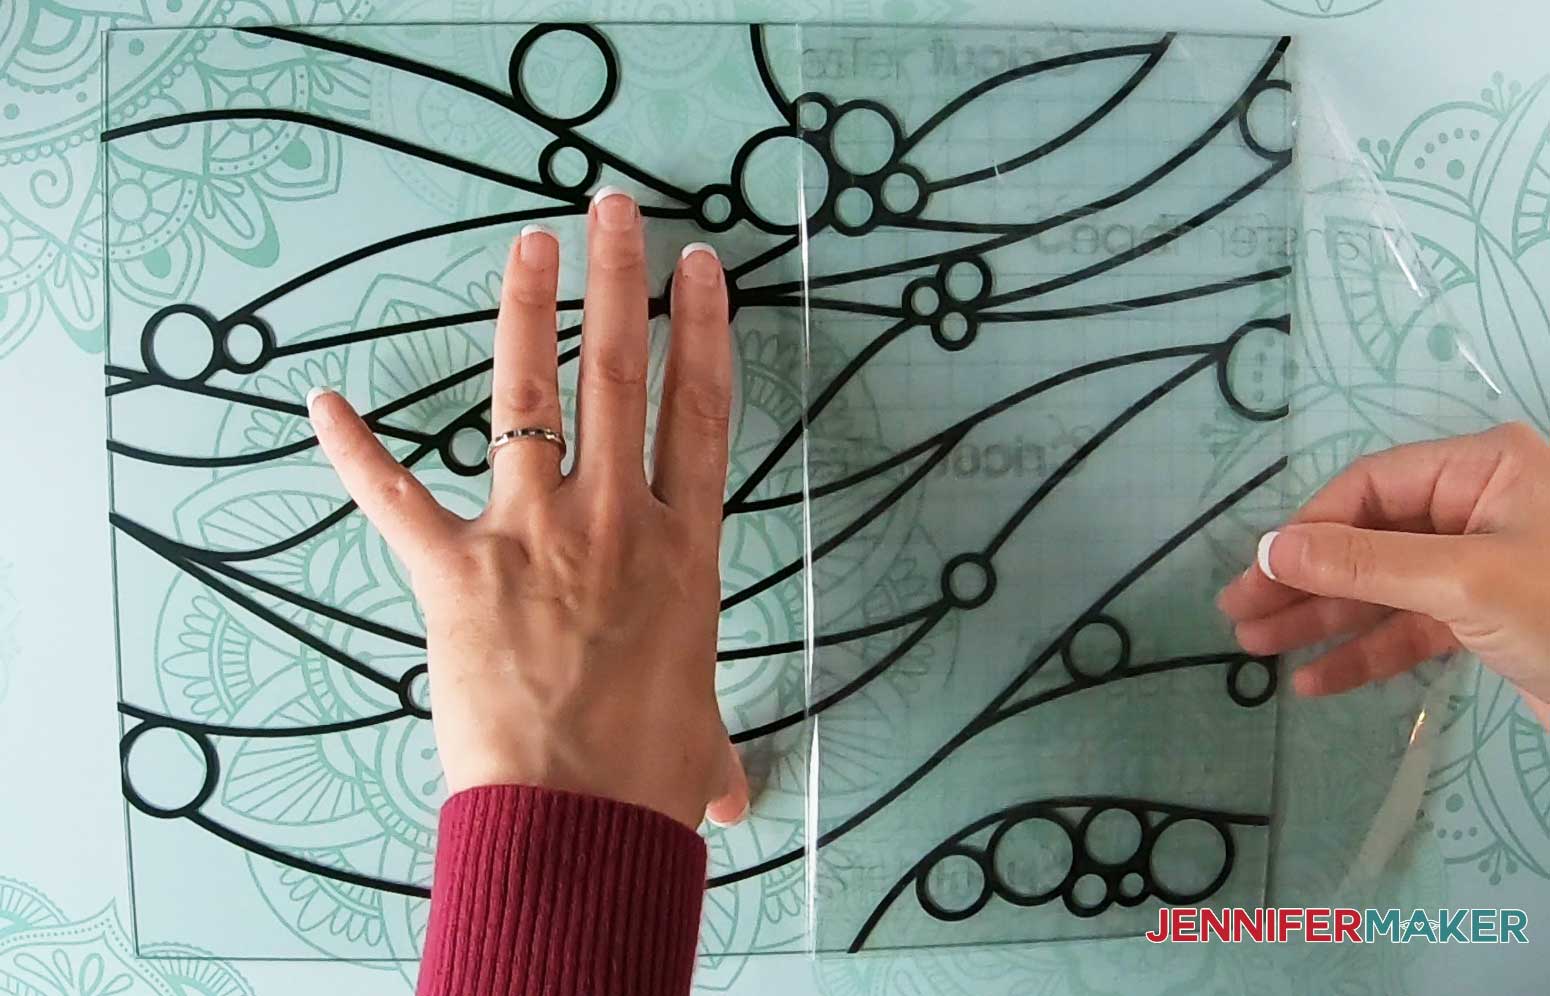
Once your glass is completely dry, line up your vinyl decal over your glass. Remember that the edges of your glass will be hidden by the frame, so keep that in mind when deciding how to line up your decal. Remove the backing from one edge of the transfer tape. If you left a 1/4" overhang of transfer tape along the short edges of your decal, use this extra tape to stick the tape to your work surface. This helps you keep the vinyl aligned while applying it to the glass. Carefully peel back the paper backing while rubbing the decal and transfer tape on top of the glass using a scraper tool. Try to avoid bubbles and creases.
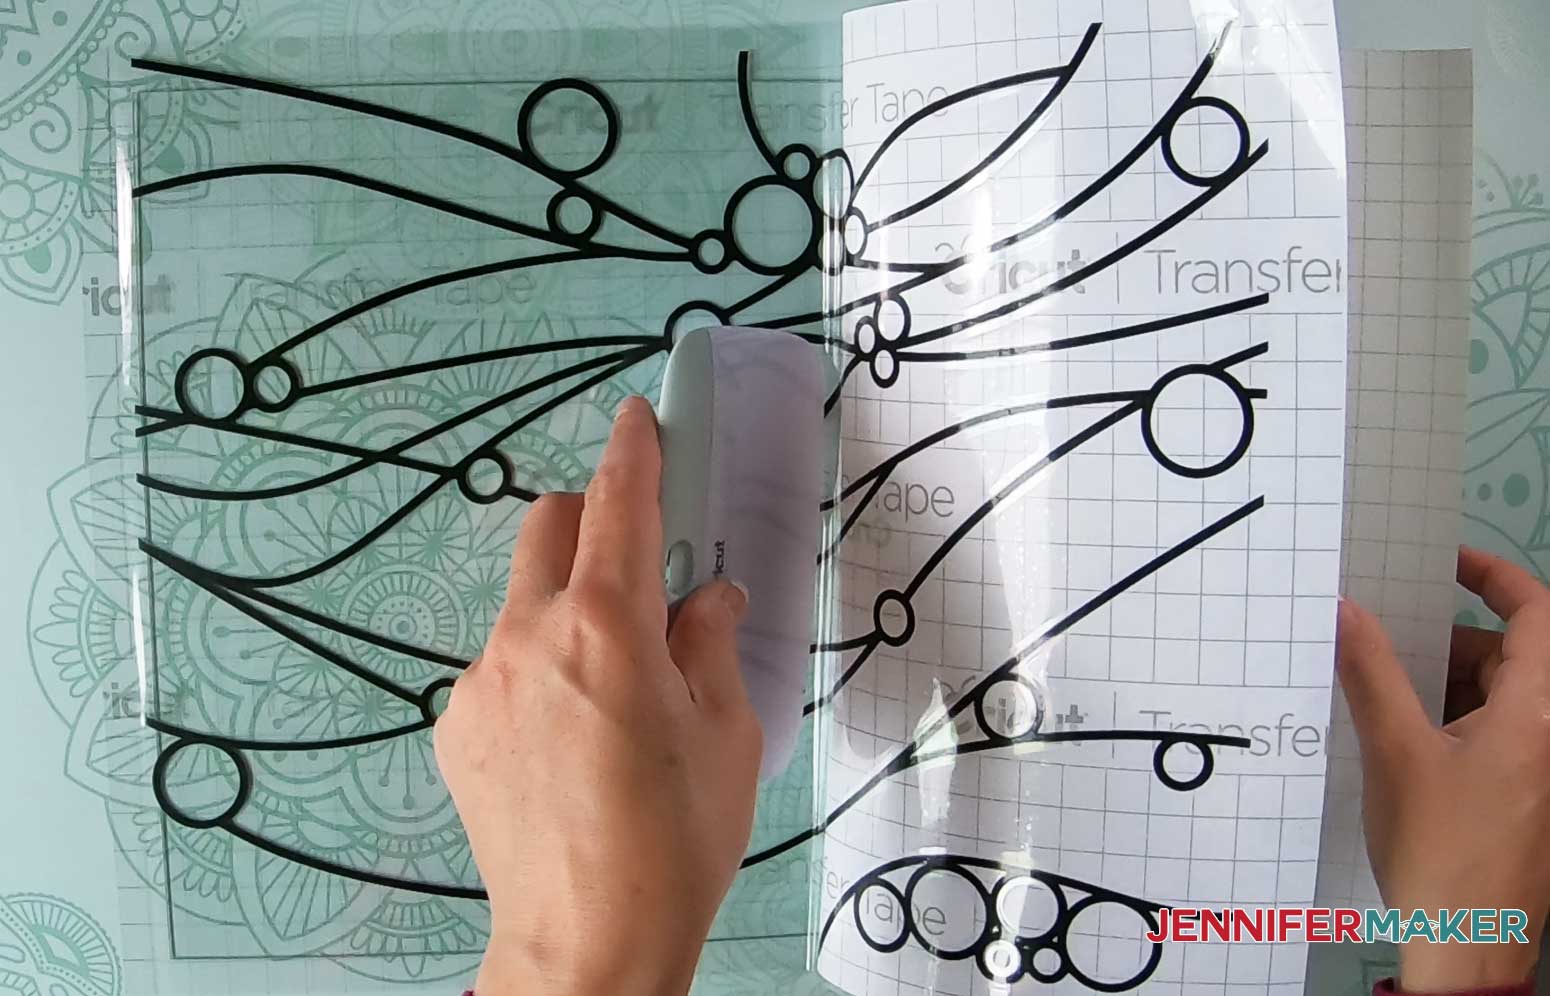
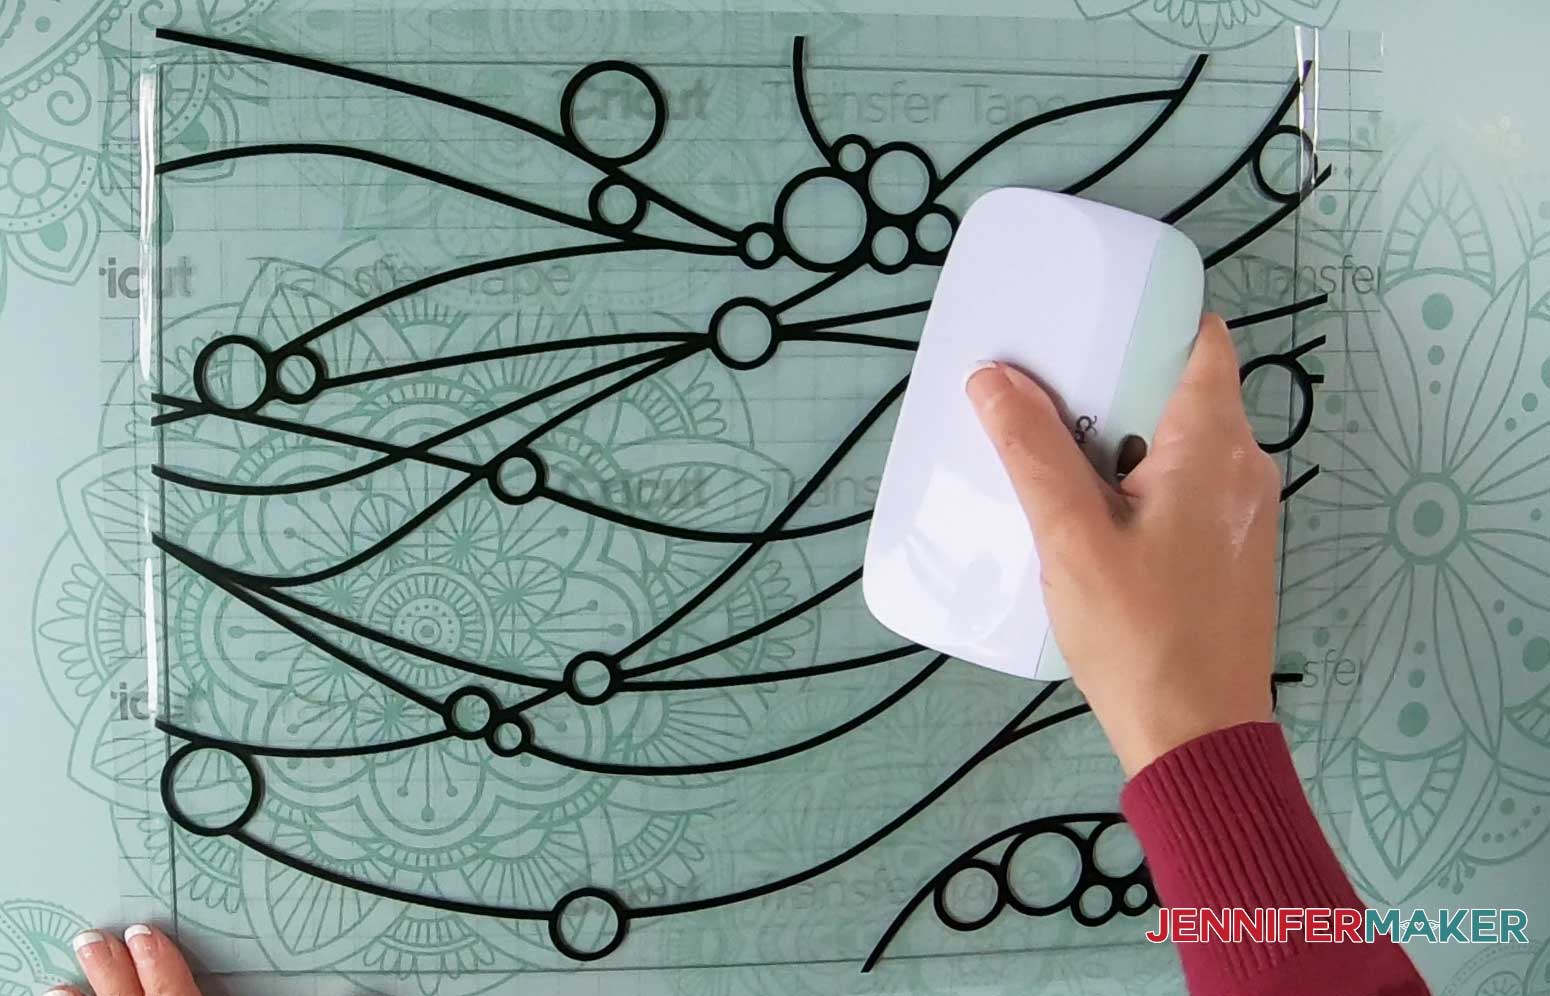
Now, burnish the vinyl and transfer tape onto the glass, making sure it adheres well.
When your vinyl and transfer tape are well adhered to the glass, flip your glass over so the transfer tape is facing downward. Using a self-healing mat and cutting tool, trim the excess vinyl and transfer tape along the edges of the glass.
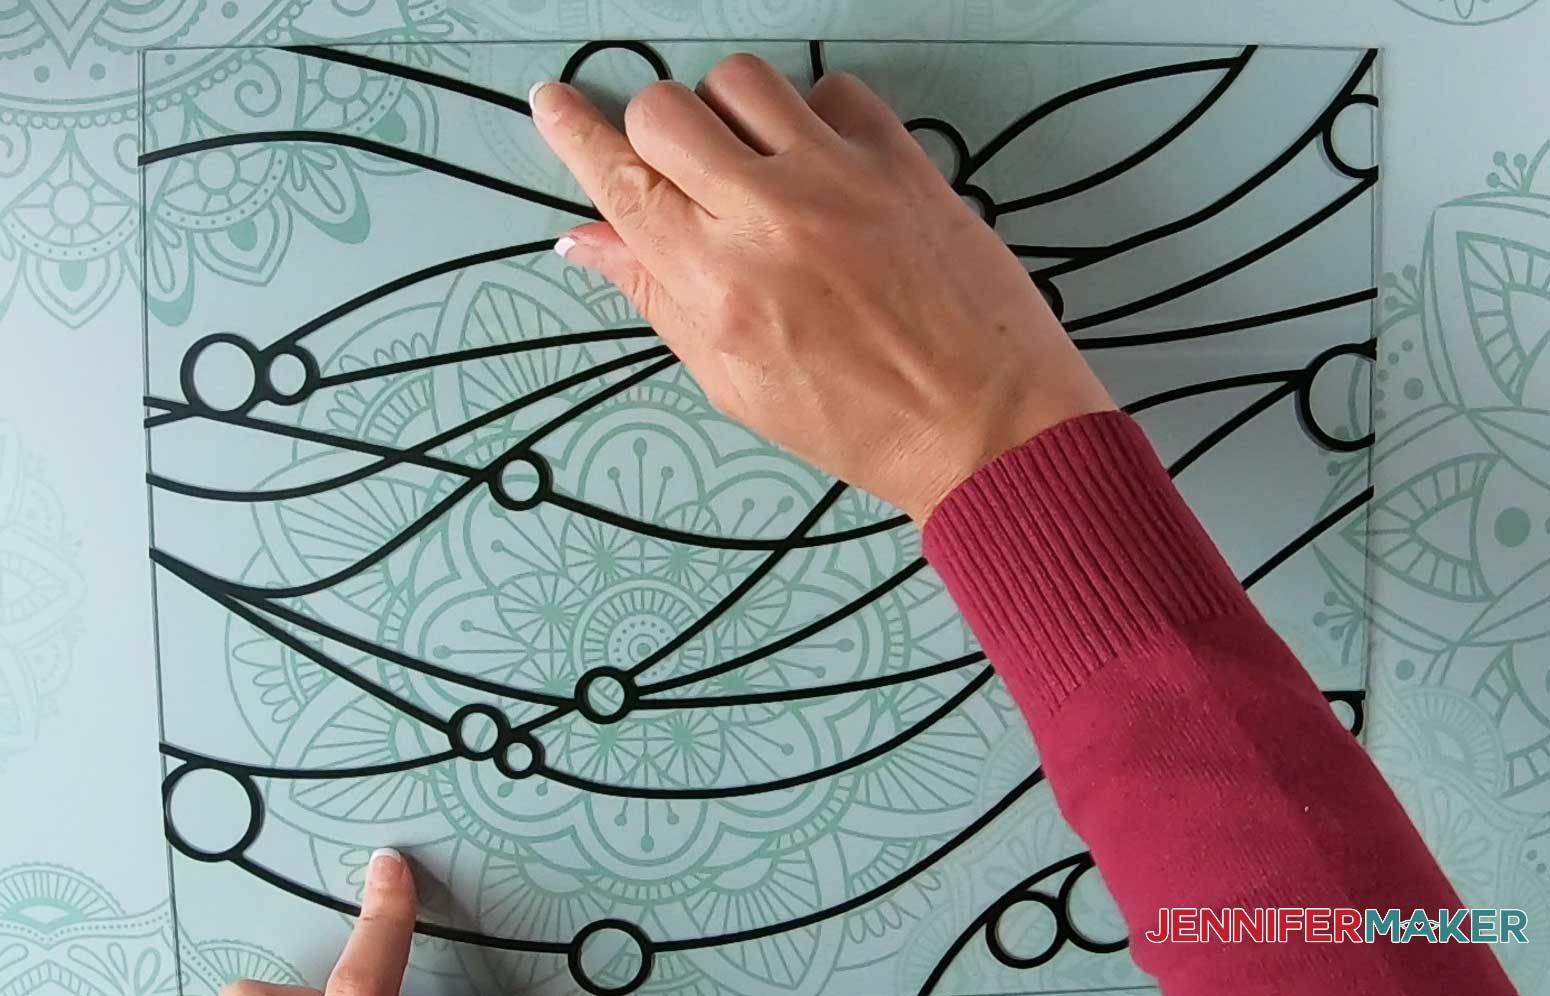
Flip your glass back over and carefully remove the transfer tape by gently peeling it off.
Once the transfer tape is removed, run your fingers over the vinyl again to make sure it's well adhered to the glass.
Now we’re ready to add the color!
STEP 5: COLOR THE GLASS
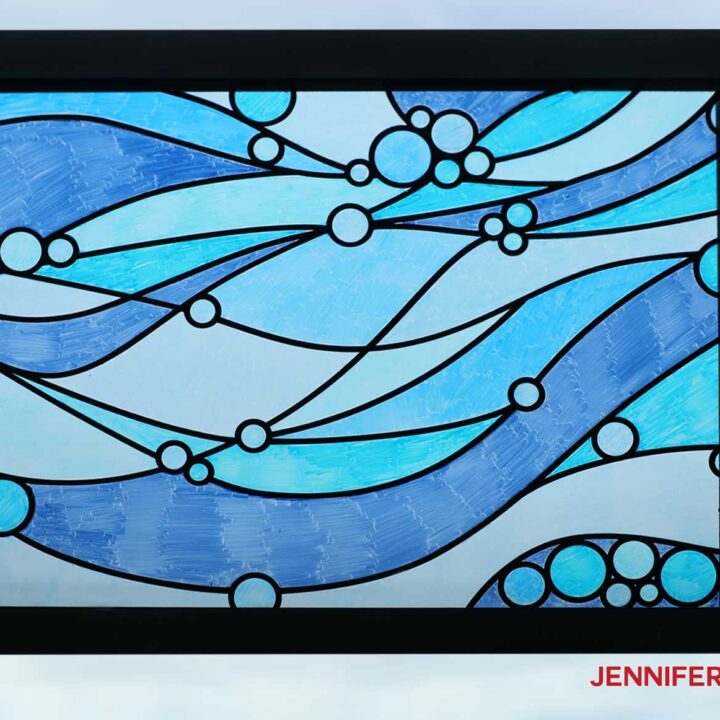
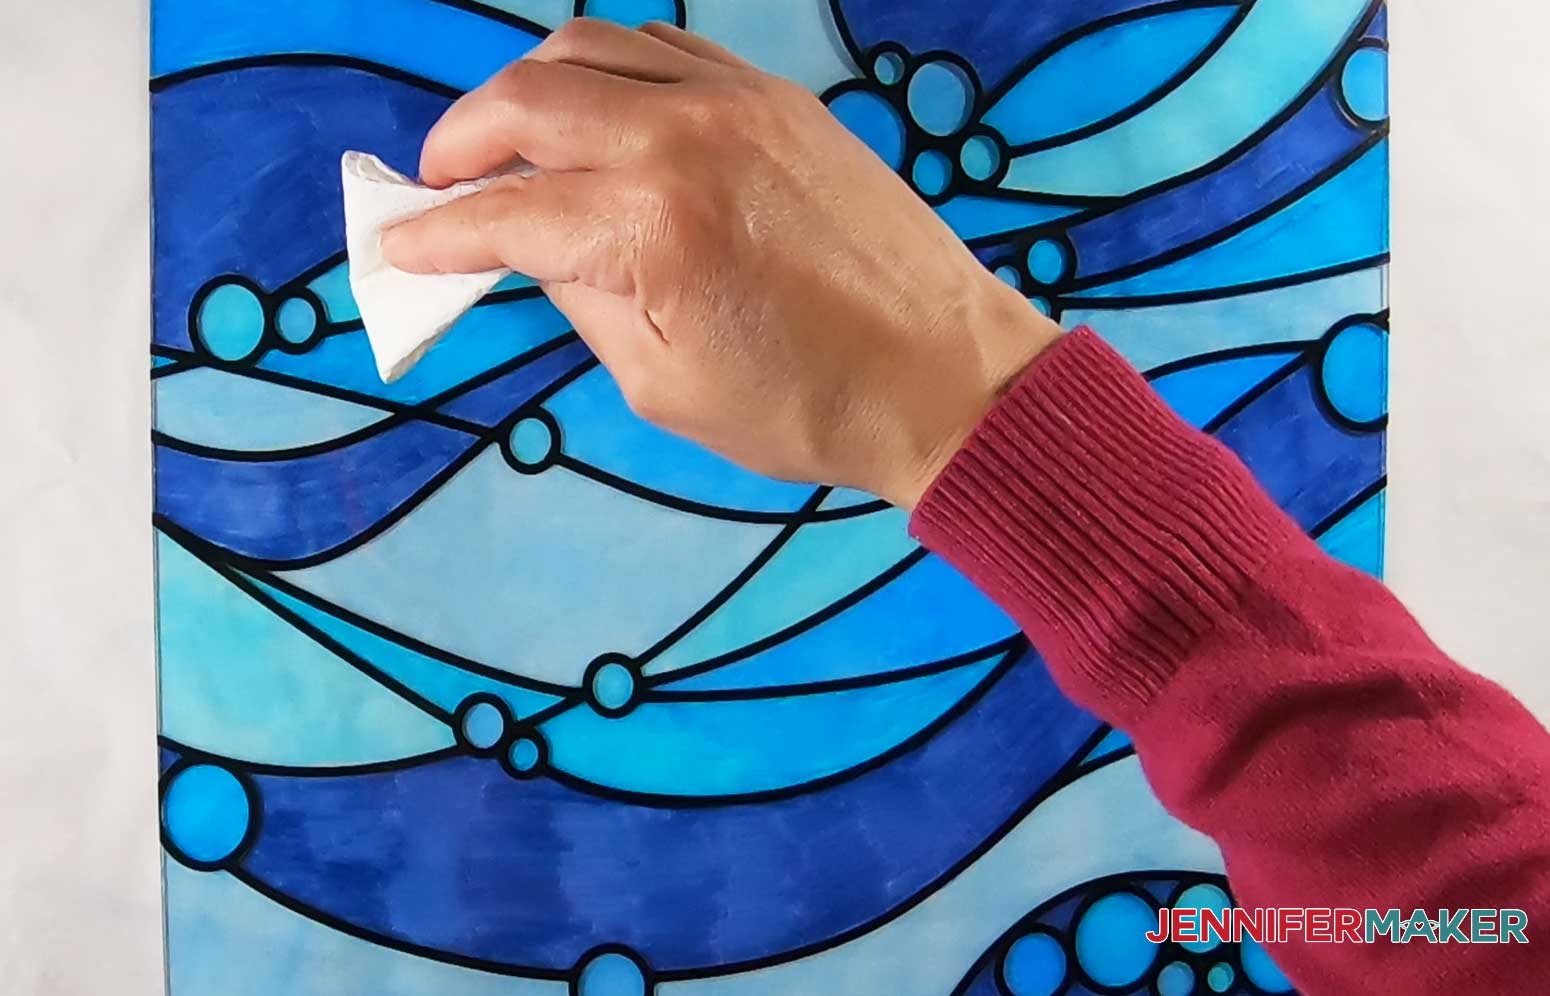
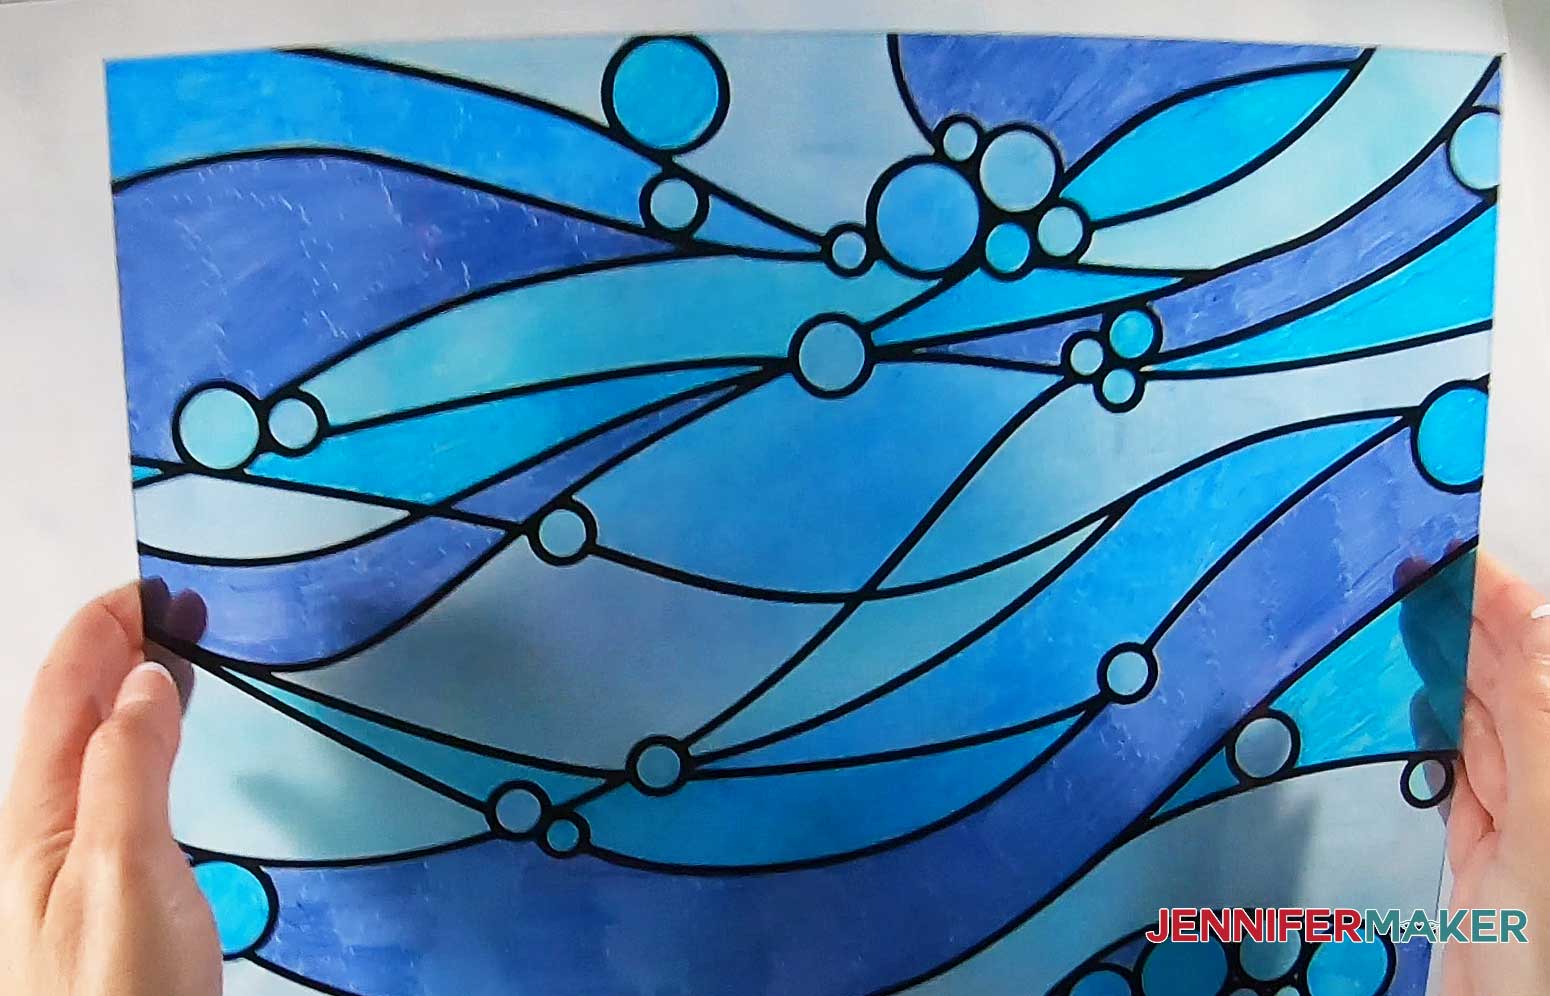
Use Sharpies or any permanent marker to ‘paint’ the glass in between the vinyl faux lead lines. I used a variety of blue hues to color the waves. Your glass will look best if you color the glass using small strokes in small, solid sections. TIP: At this stage, it may help to add a piece of white paper behind your glass so you can see the colors better.
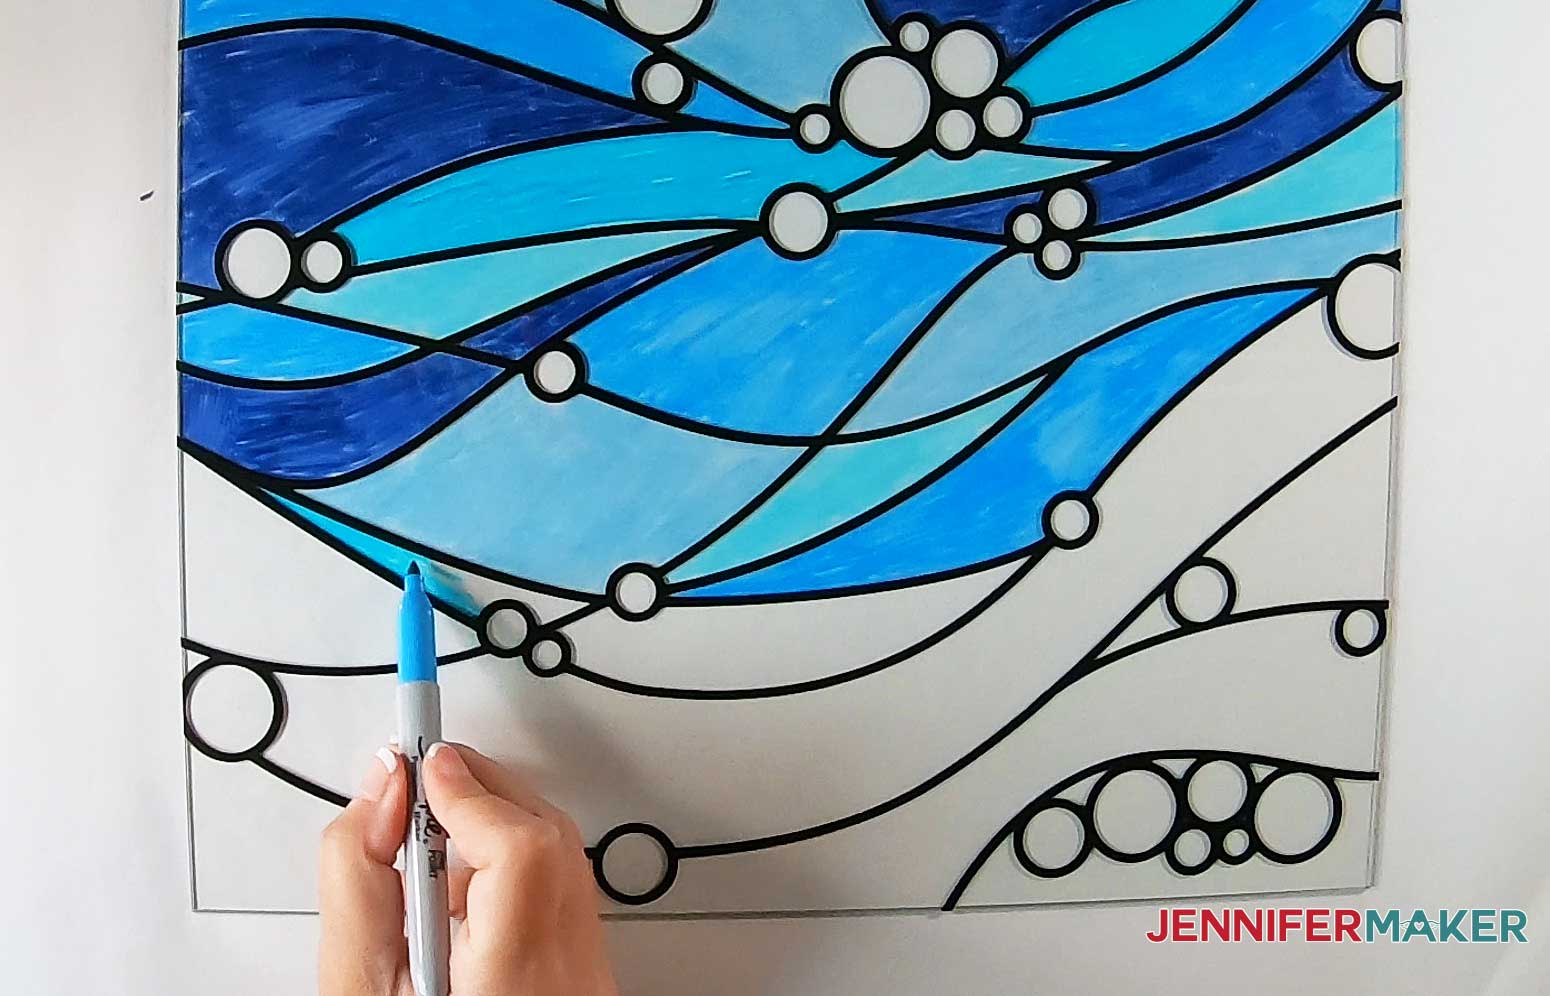
If you mess up or want to change the color of a section, rub the area with a paper towel dabbed with Isopropyl Alcohol. The alcohol will remove the marker and you can start over. In fact, if you mess up completely, you can erase your entire piece of glass and start over!
STEP 6: ASSEMBLE THE FRAME
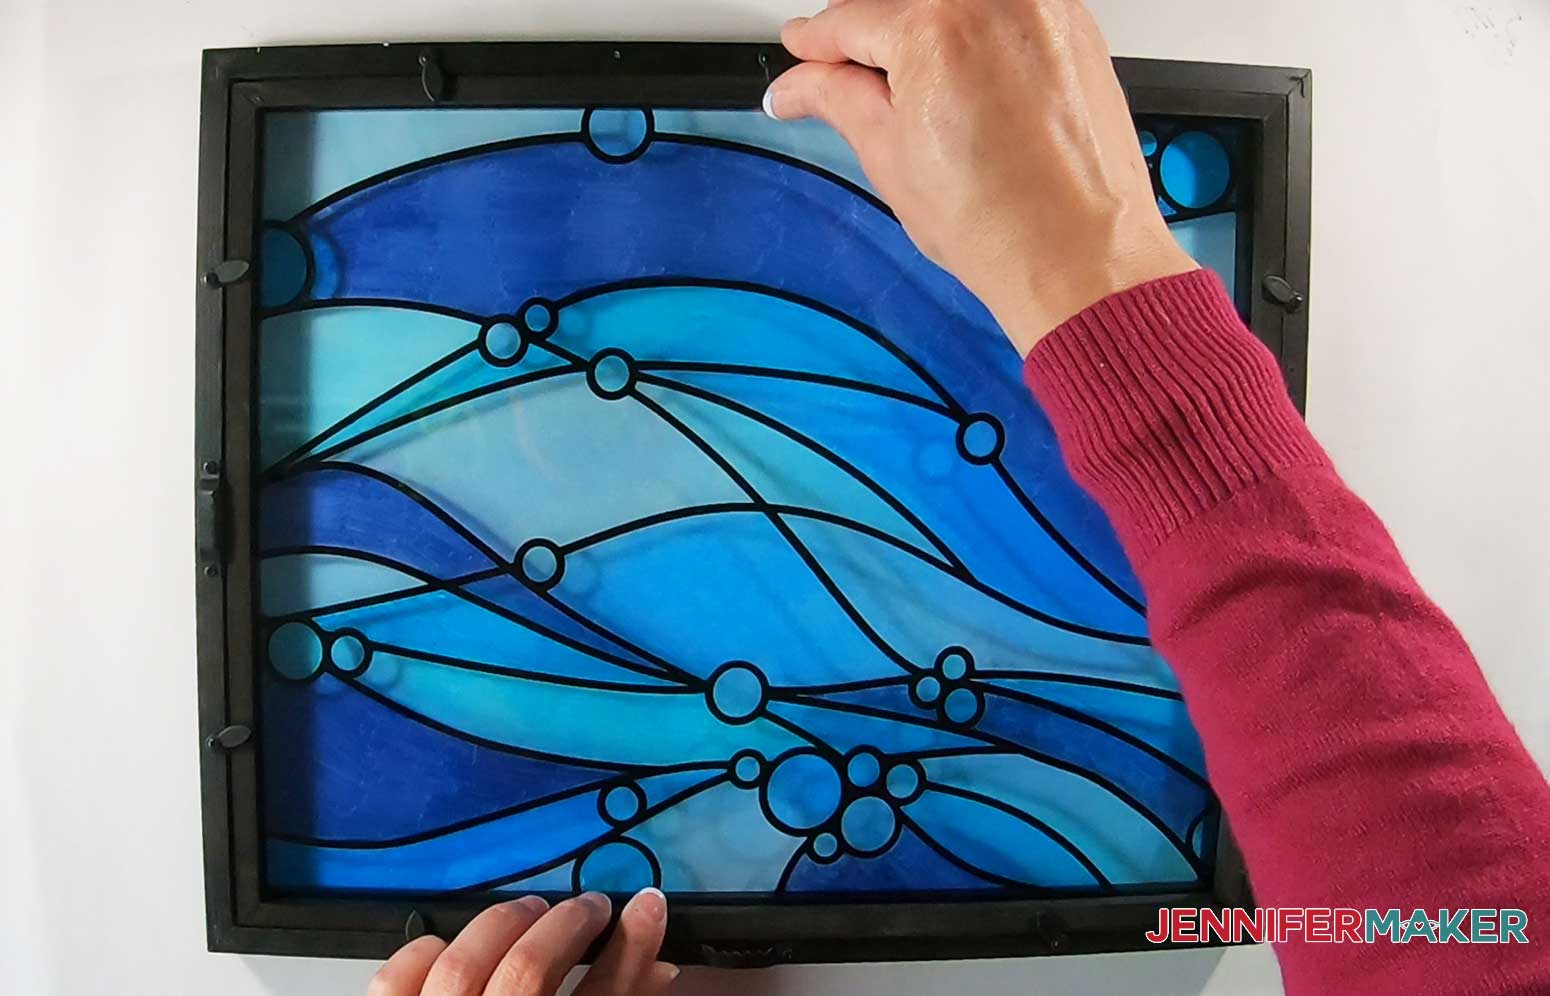
Once you like the way your glass looks, place your second piece of glass over your colored piece, making sure to sandwich your vinyl and colored side in between the pieces of glass. This will protect it from scratches.
Now place both pieces of glass inside the frame and close the tabs to hold them in place.

Clean the outside glass of your frame with alcohol one last time.
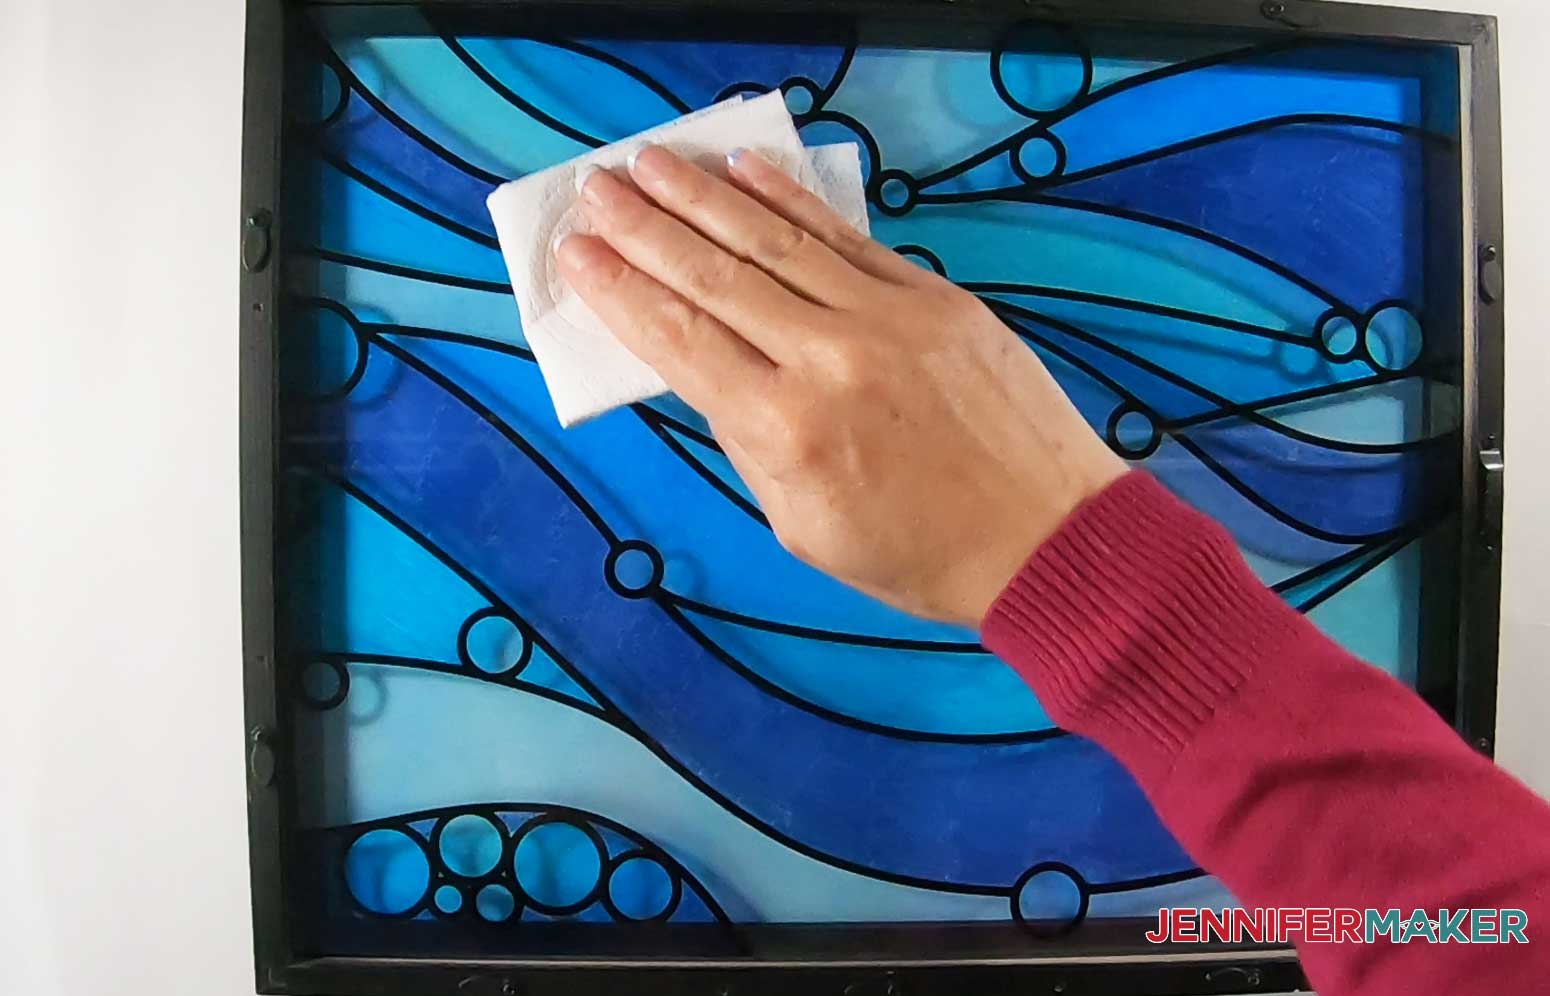
Now you’re done! Hang your faux stained glass frame on a wall or in a window. I personally like the way natural light shines through when I put it in a window.
TIP: If you plan on displaying your faux stained glass frame in a window, it is very important add UV protectant to your piece so the colors don’t fade. But we need to seal the marker inks BEFORE adding the UV spray. If we skip this sealing step before spraying the UV protectant, our beautiful design will smear and run.
So before assembling your frame, go outside or to a well-ventilated area where you can spray the entire colored glass surface. Be sure to add the sealer first and allow it to dry completely. I like to apply two coats (allowing about an hour in between coats) and then let it dry overnight.
Next, spray the colored glass with UV protectant. Let it dry completely and now you’re done!
You may skip this sealing and UV protectant step if your piece will only be subjected to artificial light.
STEP 7: SHOW IT OFF
I’d love to see your finished faux stained glass windows! If you make one, please share a photo of it with me by emailing me at [email protected] or tagging me on social media with #jennifermaker.
Notes
ACKNOWLEDGMENTS
Special thanks to the JenniferMaker Design Fairy Team, specifically Design Fairy Kelly, for helping me design and assemble this stunning faux stained glass project.
Answers to Your Questions About your Faux Stained Glass Window
Q: Would another brand of marker work, or do they have to be permanent type markers?
Yes, other brands of permanent markers will work. They can even be non-permanent, but the results and longevity could vary. Experiment!
Q: Can you use alcohol inks on this project?
Yes, alcohol inks may be used. I’ve done so with excellent results! Just know that they are harder to control. Make sure to burnish the vinyl really well so the inks can’t leak under. Also, any ink that gets on top of the vinyl will be visible and reduces the faux-lead effect. But if you have a steady hand you can carefully clean the vinyl with a q-tip moistened with Isopropyl alcohol at the end.
Q: Do you spray both sides of glass with sealer and UV spray?
You only need to spray the side with the ink with the sealer (to prevent the ink from smudging when spraying with the UV-resistant spray). Whether you apply the UV spray to both sides depends on your glass. If you’re using UV-resistant glass then you only need to spray the side with the ink because the other side is already protected!
Q: Can I make this smaller?
Yes, the design can definitely be scaled down and reduced in size! It is important to note that the faux “lead lines” will also become narrower, though! Keep an eye on them so that they don’t become so narrow it’s difficult to weed or color within the lines.
Get my free SVG files to make a Faux Stained Glass Window
I’d love to see your faux stained glass window. Please share a photo in our Facebook group or tag me on social media with #jennifermaker.
See all of the projects, tutorials, and free designs in The Great Maker 25-Day Gift-Away Challenge!
Love,

Want to remember this? Save this Faux Stained Glass Window tutorial to your favorite Pinterest Board!

could you use a brush or spray of isopropyl alcohol to soften the marker lines?
could this also be done with alcohol ink?
Yes, alcohol inks may be used. I’ve done so with excellent results! Just know that they are harder to control. Make sure to burnish the vinyl really well so the inks can’t leak under. Also, any ink that gets on top of the vinyl will be visible and reduces the faux-lead effect. But if you have a steady hand you can carefully clean the vinyl with a q-tip moistened with Isopropyl alcohol at the end.
I didn’t see an answer to this and I am also curious. Could you use a brush or spray of isopropyl alcohol to soften the marker lines?
Hi AmandaP, I have not tried. If you try, just make sure you are in a well-ventilated area as isopropyl alcohol can be pretty overwhelming.
Could you put the UV protectant on the outside of the glass, between the glass and the sun, instead of on the inside, where you actually stained? Would that keep the staining from fading?
You only need to spray the side with the ink with the sealer (to prevent the ink from smudging when spraying with the UV-resistant spray). Whether you apply the UV spray to both sides depends on your glass. If you’re using UV-resistant glass then you only need to spray the side with the ink because the other side is already protected.
I have a couple of awkward sized windows that I’ve been wanting to faux stain glass on and this would be perfect. However, for resale purposes, I wouldn’t want the vinyl to be permanent and I wouldn’t want to spray anything on the window that would be difficult to remove. Sooo…could I use the removable vinyl and NOT do any of the spray treatments? I’m thinking if it sun fades I could just remove the color with alcohol and redo. Your thoughts?
That sounds like a great idea, Lee! Doing windows would be an amazing project! I would go with the removable vinyl as well. You can still do permanent if you want and it will come off but it would take a little “elbow grease” to remove.
Can I use nail polish instead of sharpie for stain glass?
Yes, you can use nail polish instead!
I love this idea of making a stained glass project. I have tried other faux stained glass and they were messy or tedious. I have to try this one. Thanks Jennifer.
So glad you love it, Amelia!
Are we able to make these and sell at craft fairs?
Hi Sandy! You absolutely can! The only thing I ask is that you credit it back to JenniferMaker in some way. Also, the actual SVG files themselves are not allowed to be sold, just the finished product.