
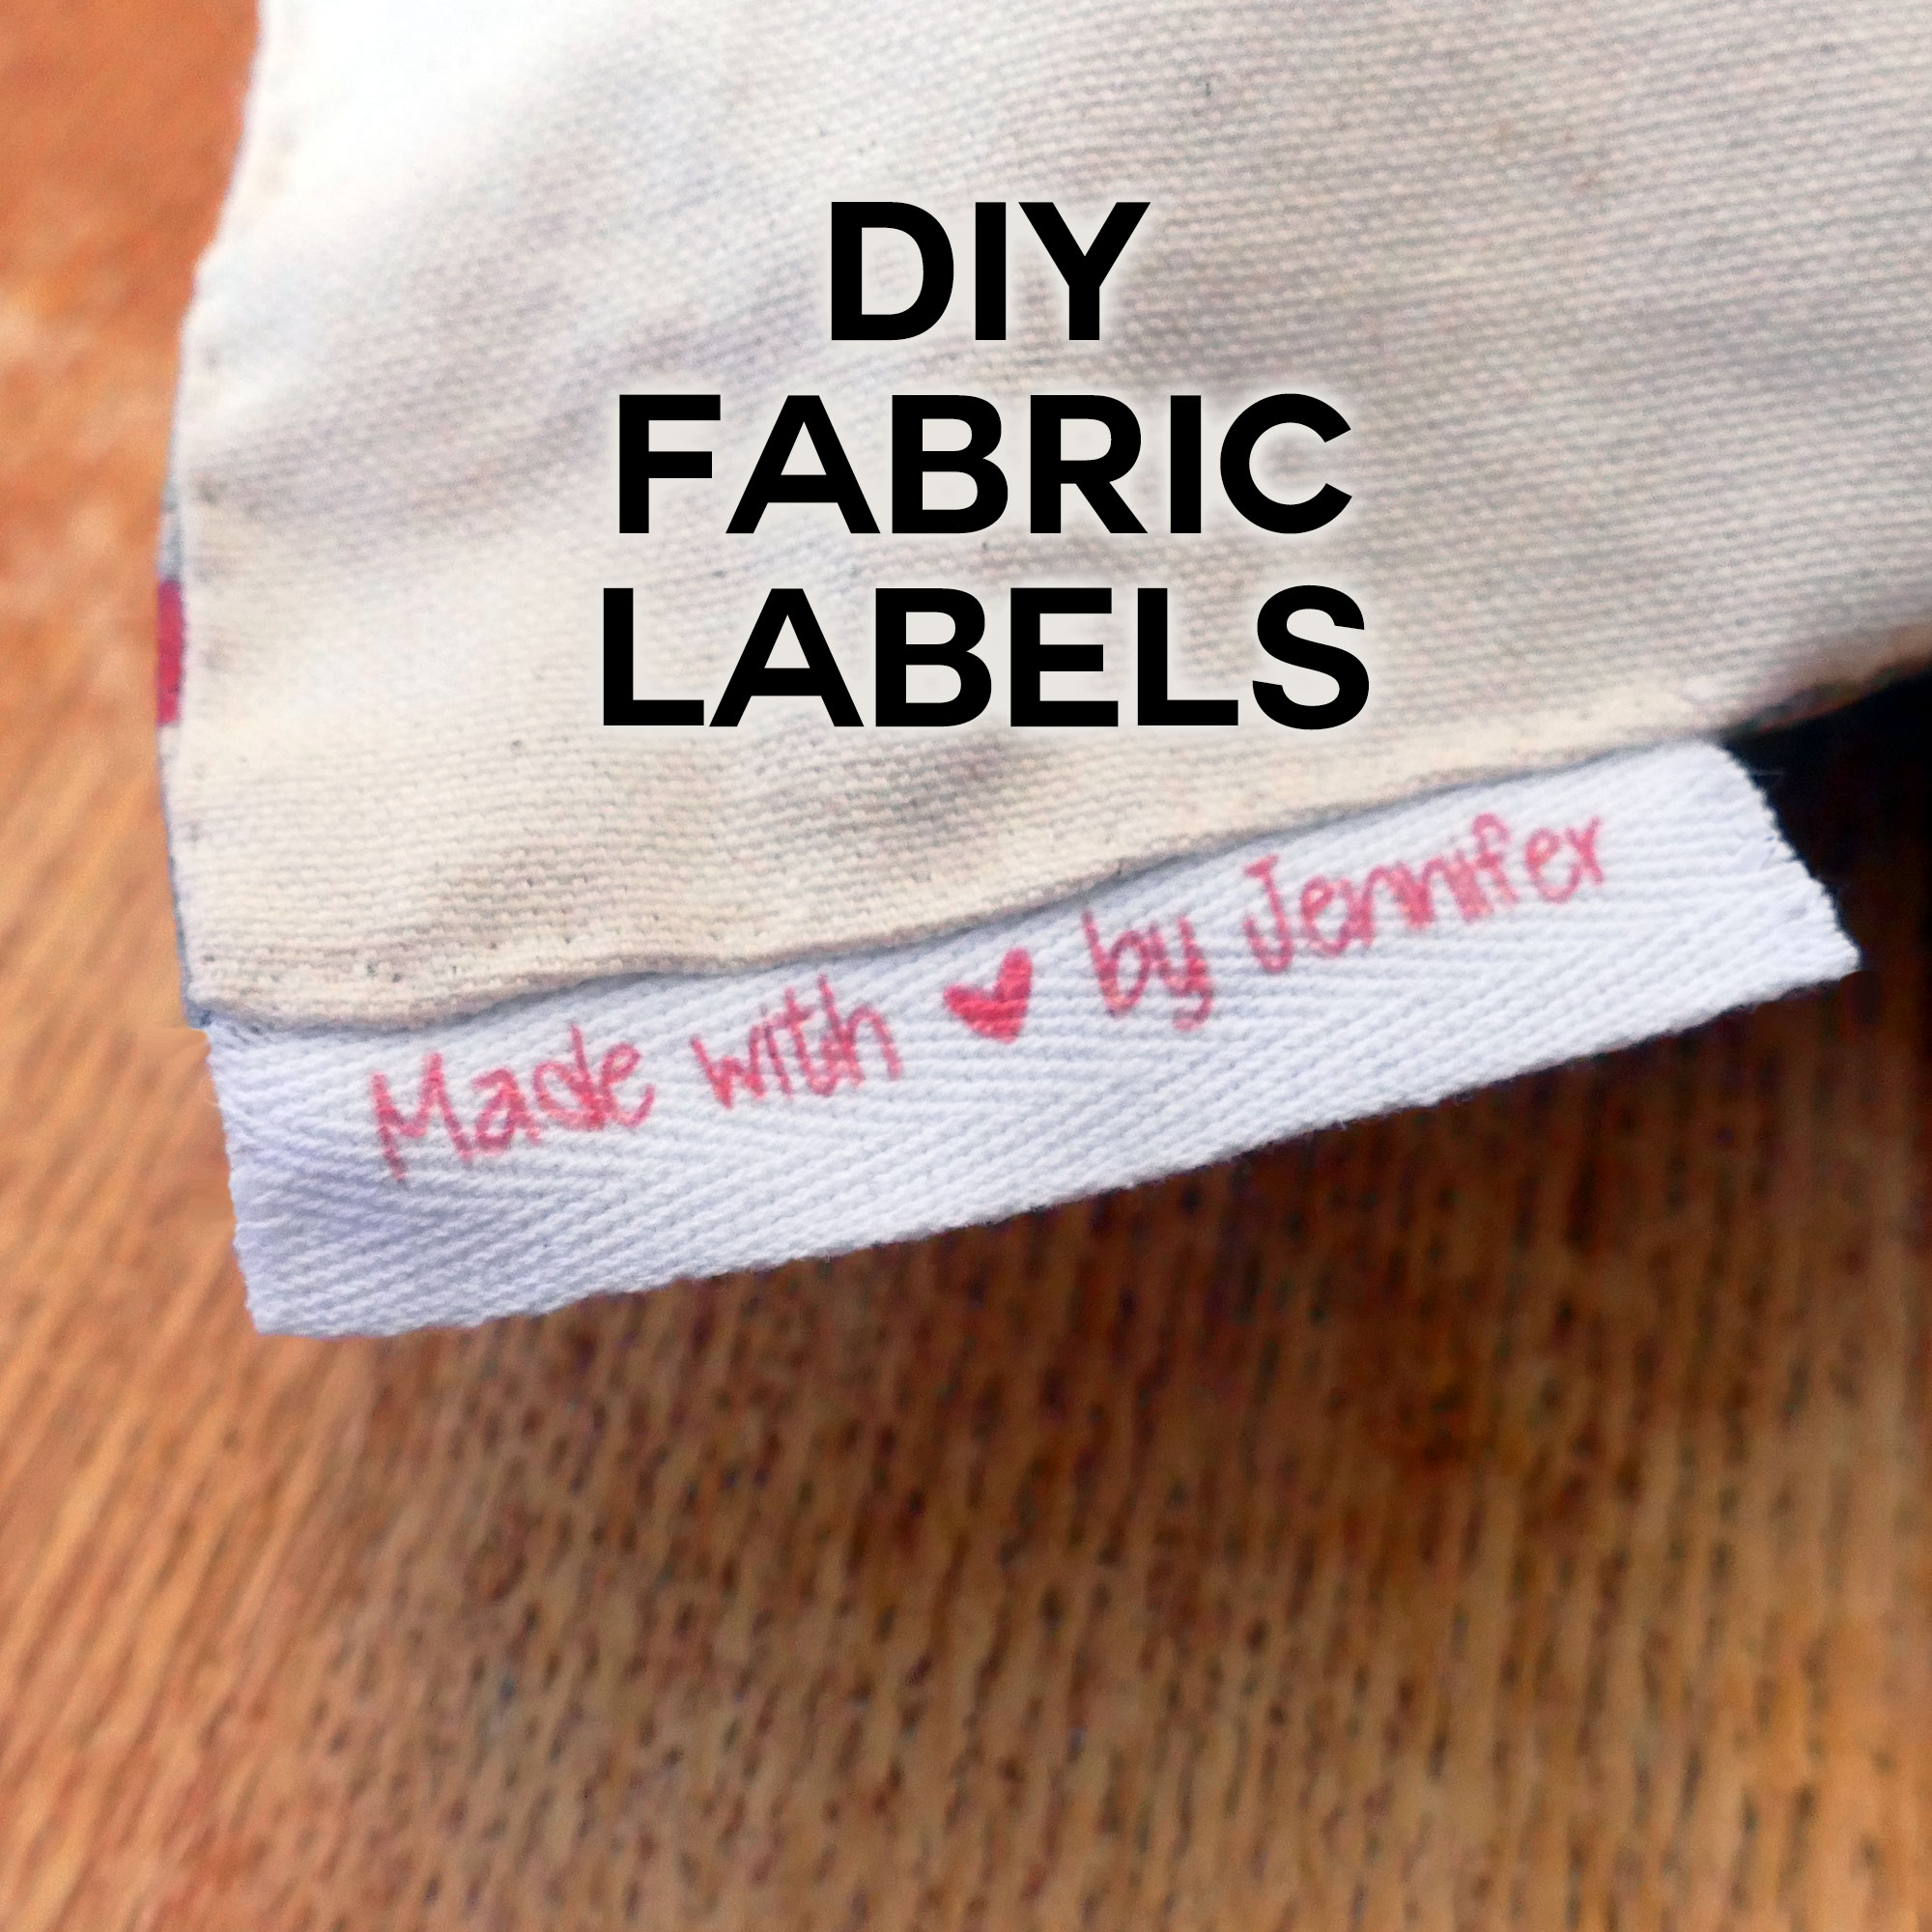
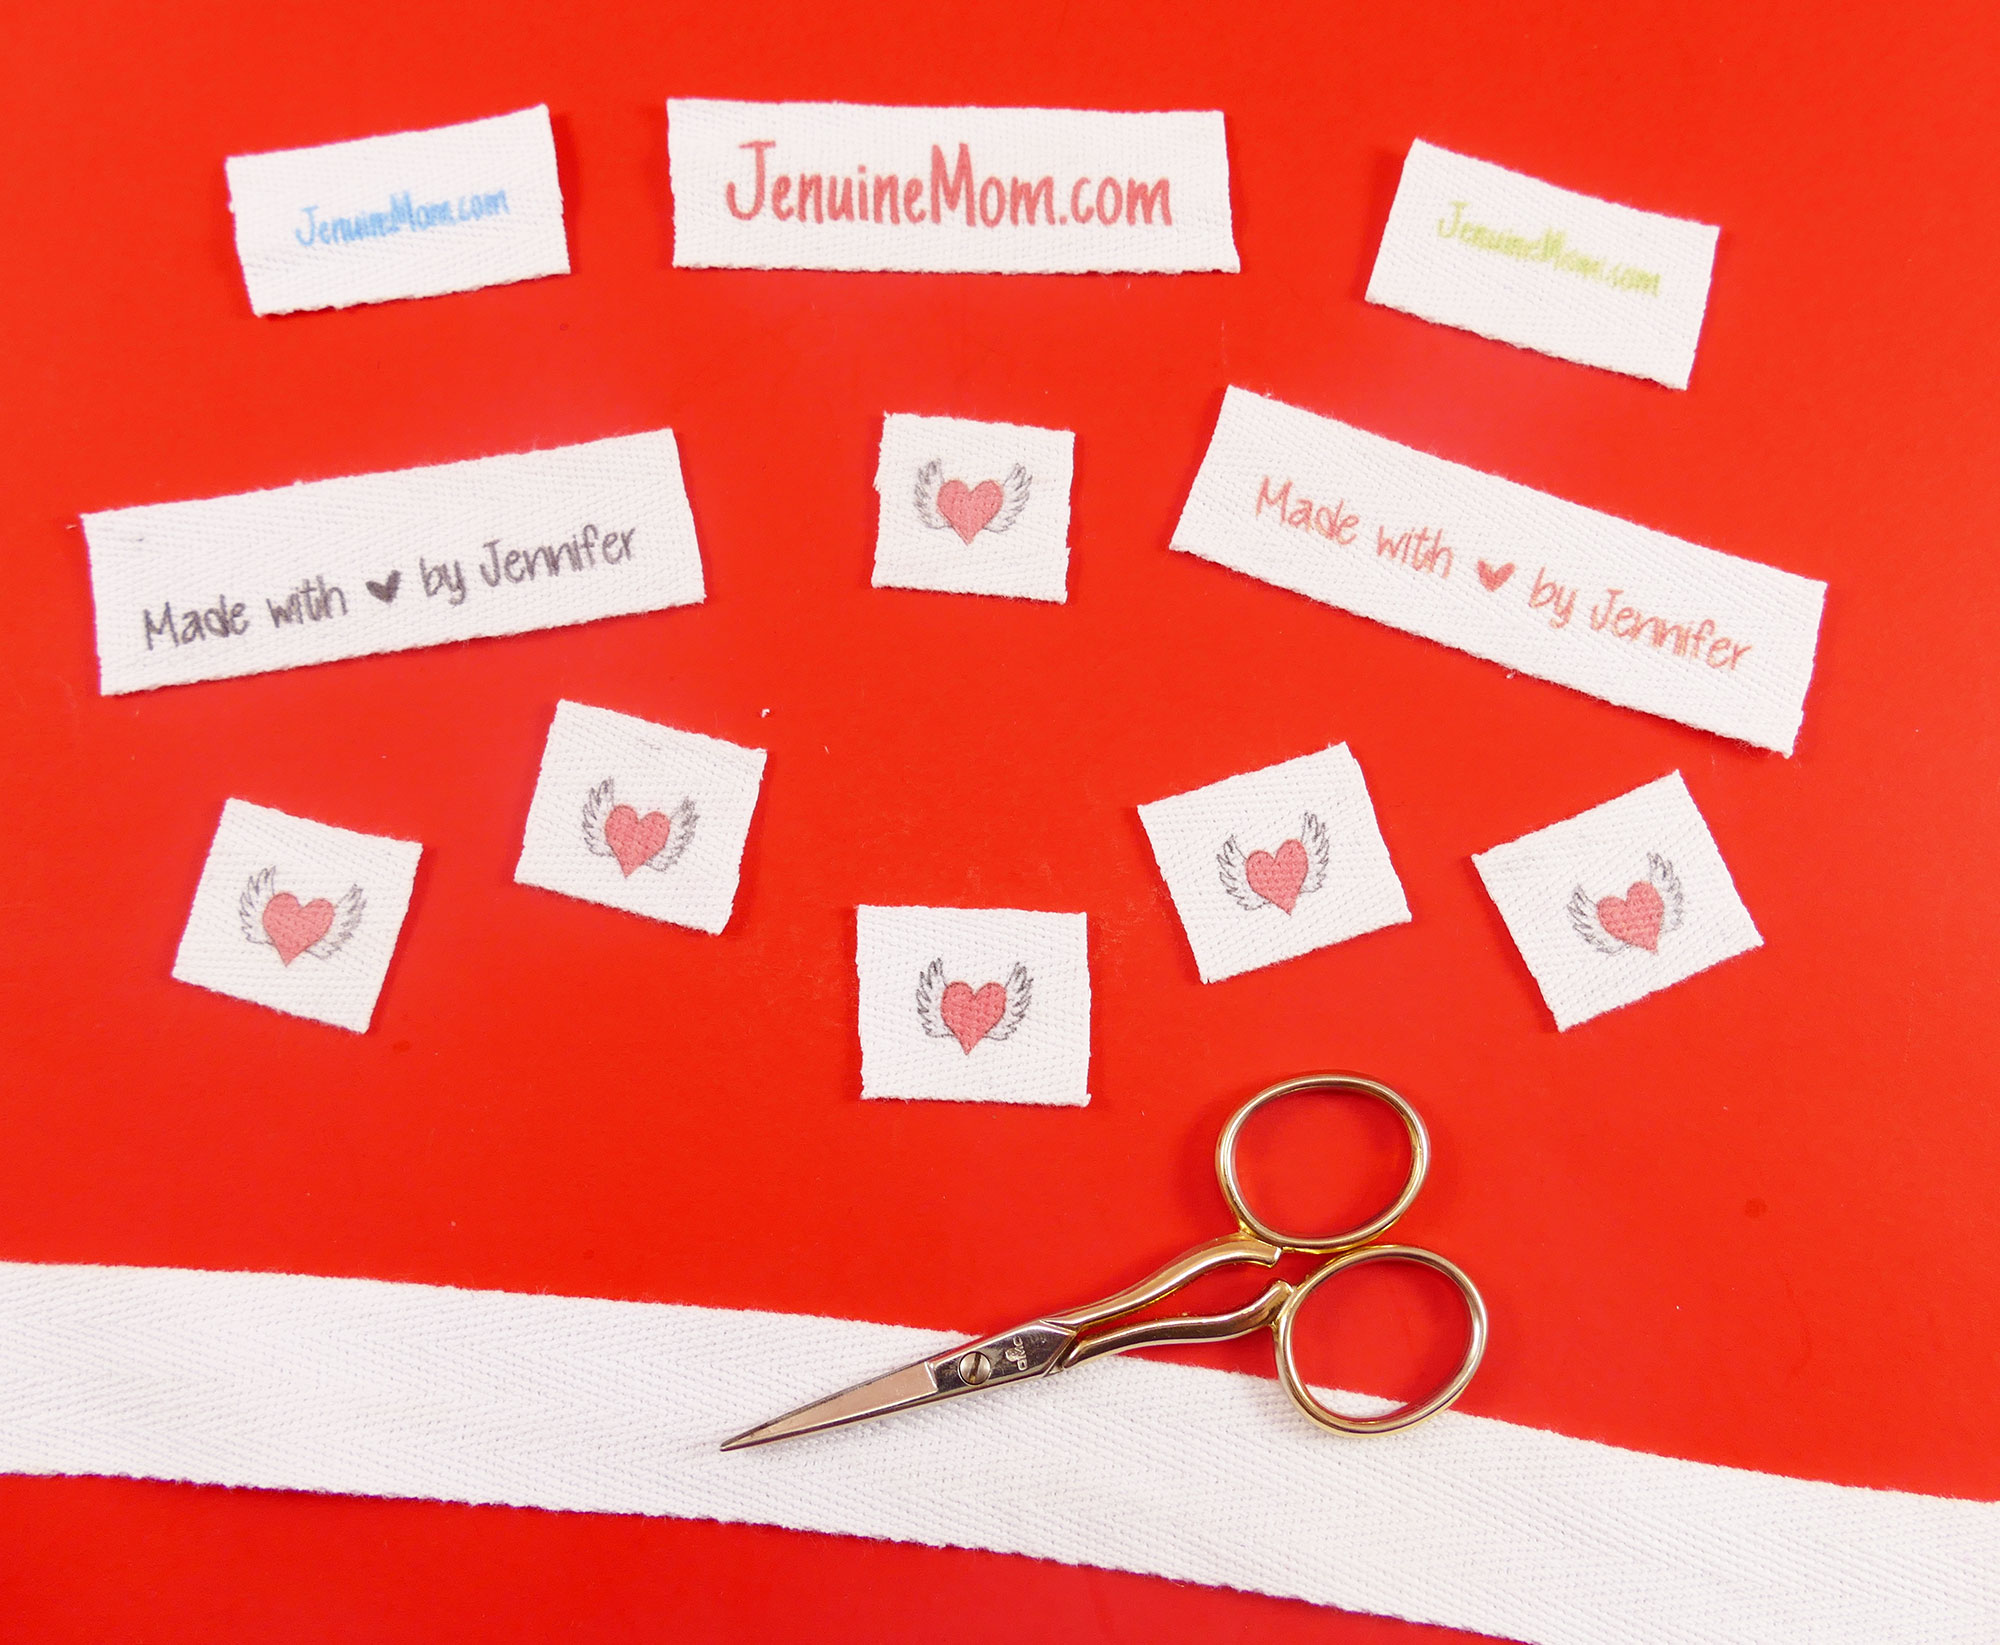
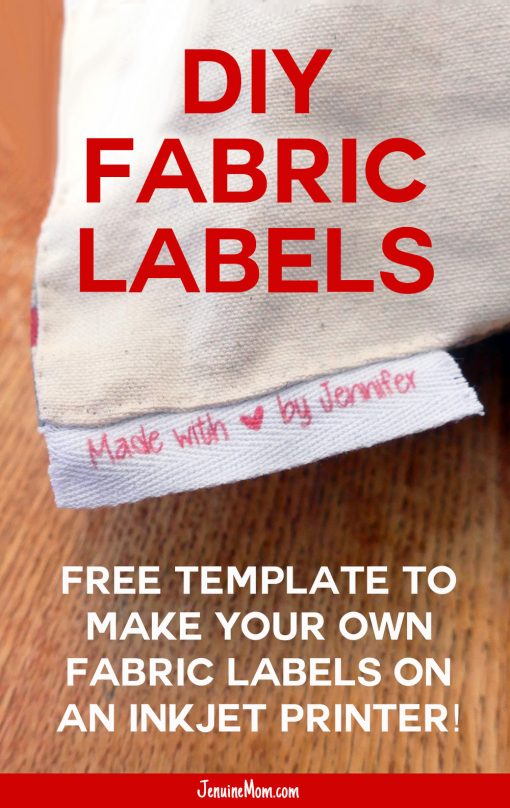
Make your own DIY fabric labels, printed right on twill tape with your inkjet printer! This is the perfect way to personalize a gift or make a brag tag!
The other day I read this quote: “The greatest gift you can give someone is the gift of your time because when you give your time you are giving a portion of your life you can never get back.” This underscores why I love making and gifting handmade gifts! It’s a way of telling someone that I love them so much I want to spend time making them a gift. So it’s pretty natural to want to put a personal tag on it that says, “I made this for you!” (some people call these “brag tags”). But how do you do this? DIY fabric labels to the rescue!
There are a few different ways to create DIY fabric labels:
- Design a pattern, upload it to Spoonflower, and order fabric with it (this will make WAY more tags than I need however, plus I have to wait for it to arrive)
- Print a reverse image to heat transfer paper and iron it on (I don’t happen to have any heat transfer paper right now)
- Soak material in a special solution (Bubble Jet Set), iron on to a piece of wax paper, then print directly on the fabric (I don’t have the ingredients for the Bubble Jet Set)
- Stamp ink onto twill tape (I don’t have stamps nor ink pads)
- Print directly on a 1″ twill tape ribbon with an inkjet printer (I have twill tape and an inkjet — ding ding ding, we have a winner!)
Materials for DIY Fabric Labels on Twill Tape
Here’s what you’ll need to print directly on twill tape:
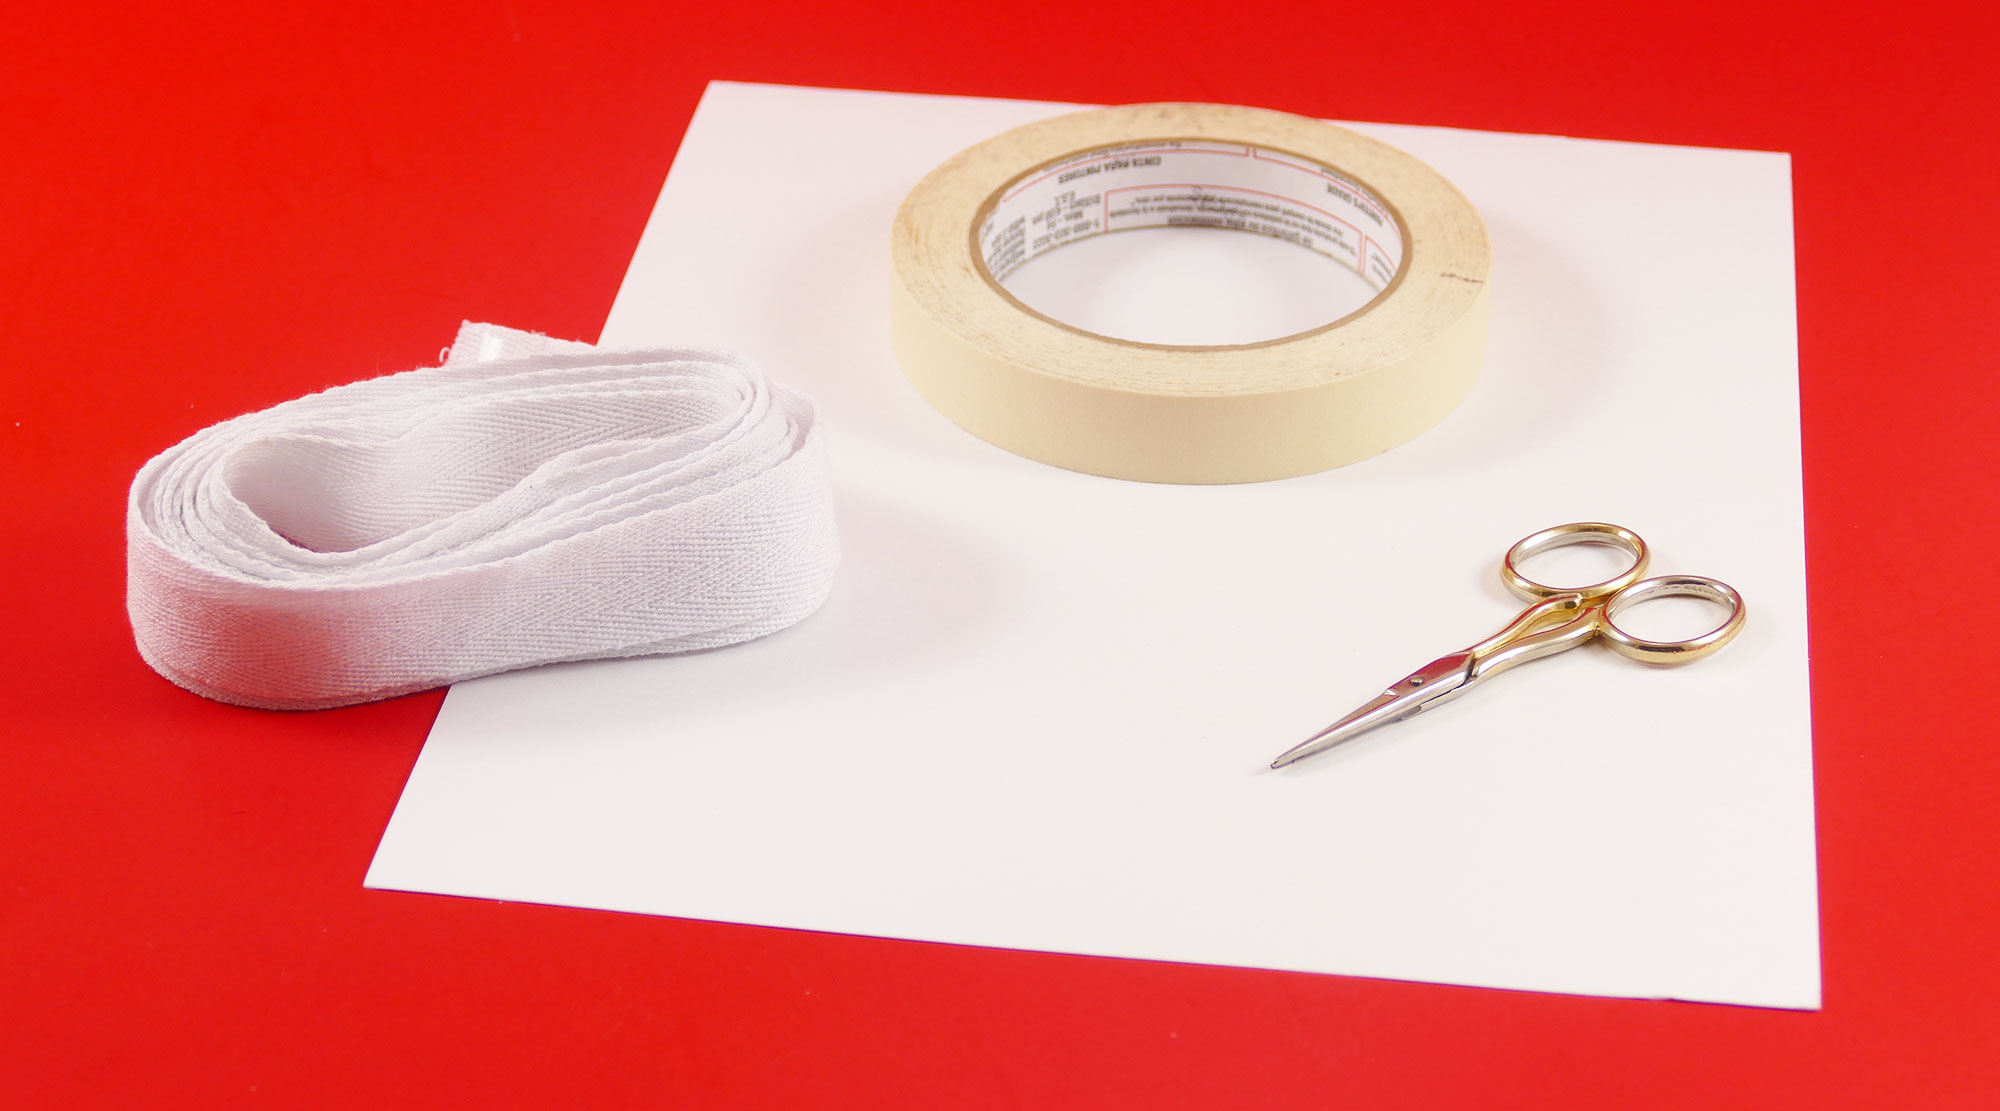
- 1″ wide twill tape (100% cotton) — I usually get mine at Joanns
- Card stock (office supply store)
- Masking tape (office supply store)
- An inkjet printer (laser printers will not work for this)
- Fray-block (or clear nail polish in a pinch)
- Scissors
- DIY Fabric Label Templates (Design #8) (available in my resource library — get the password to it at the bottom of this page)
DIY Fabric Labels Step-by-Step Tutorial
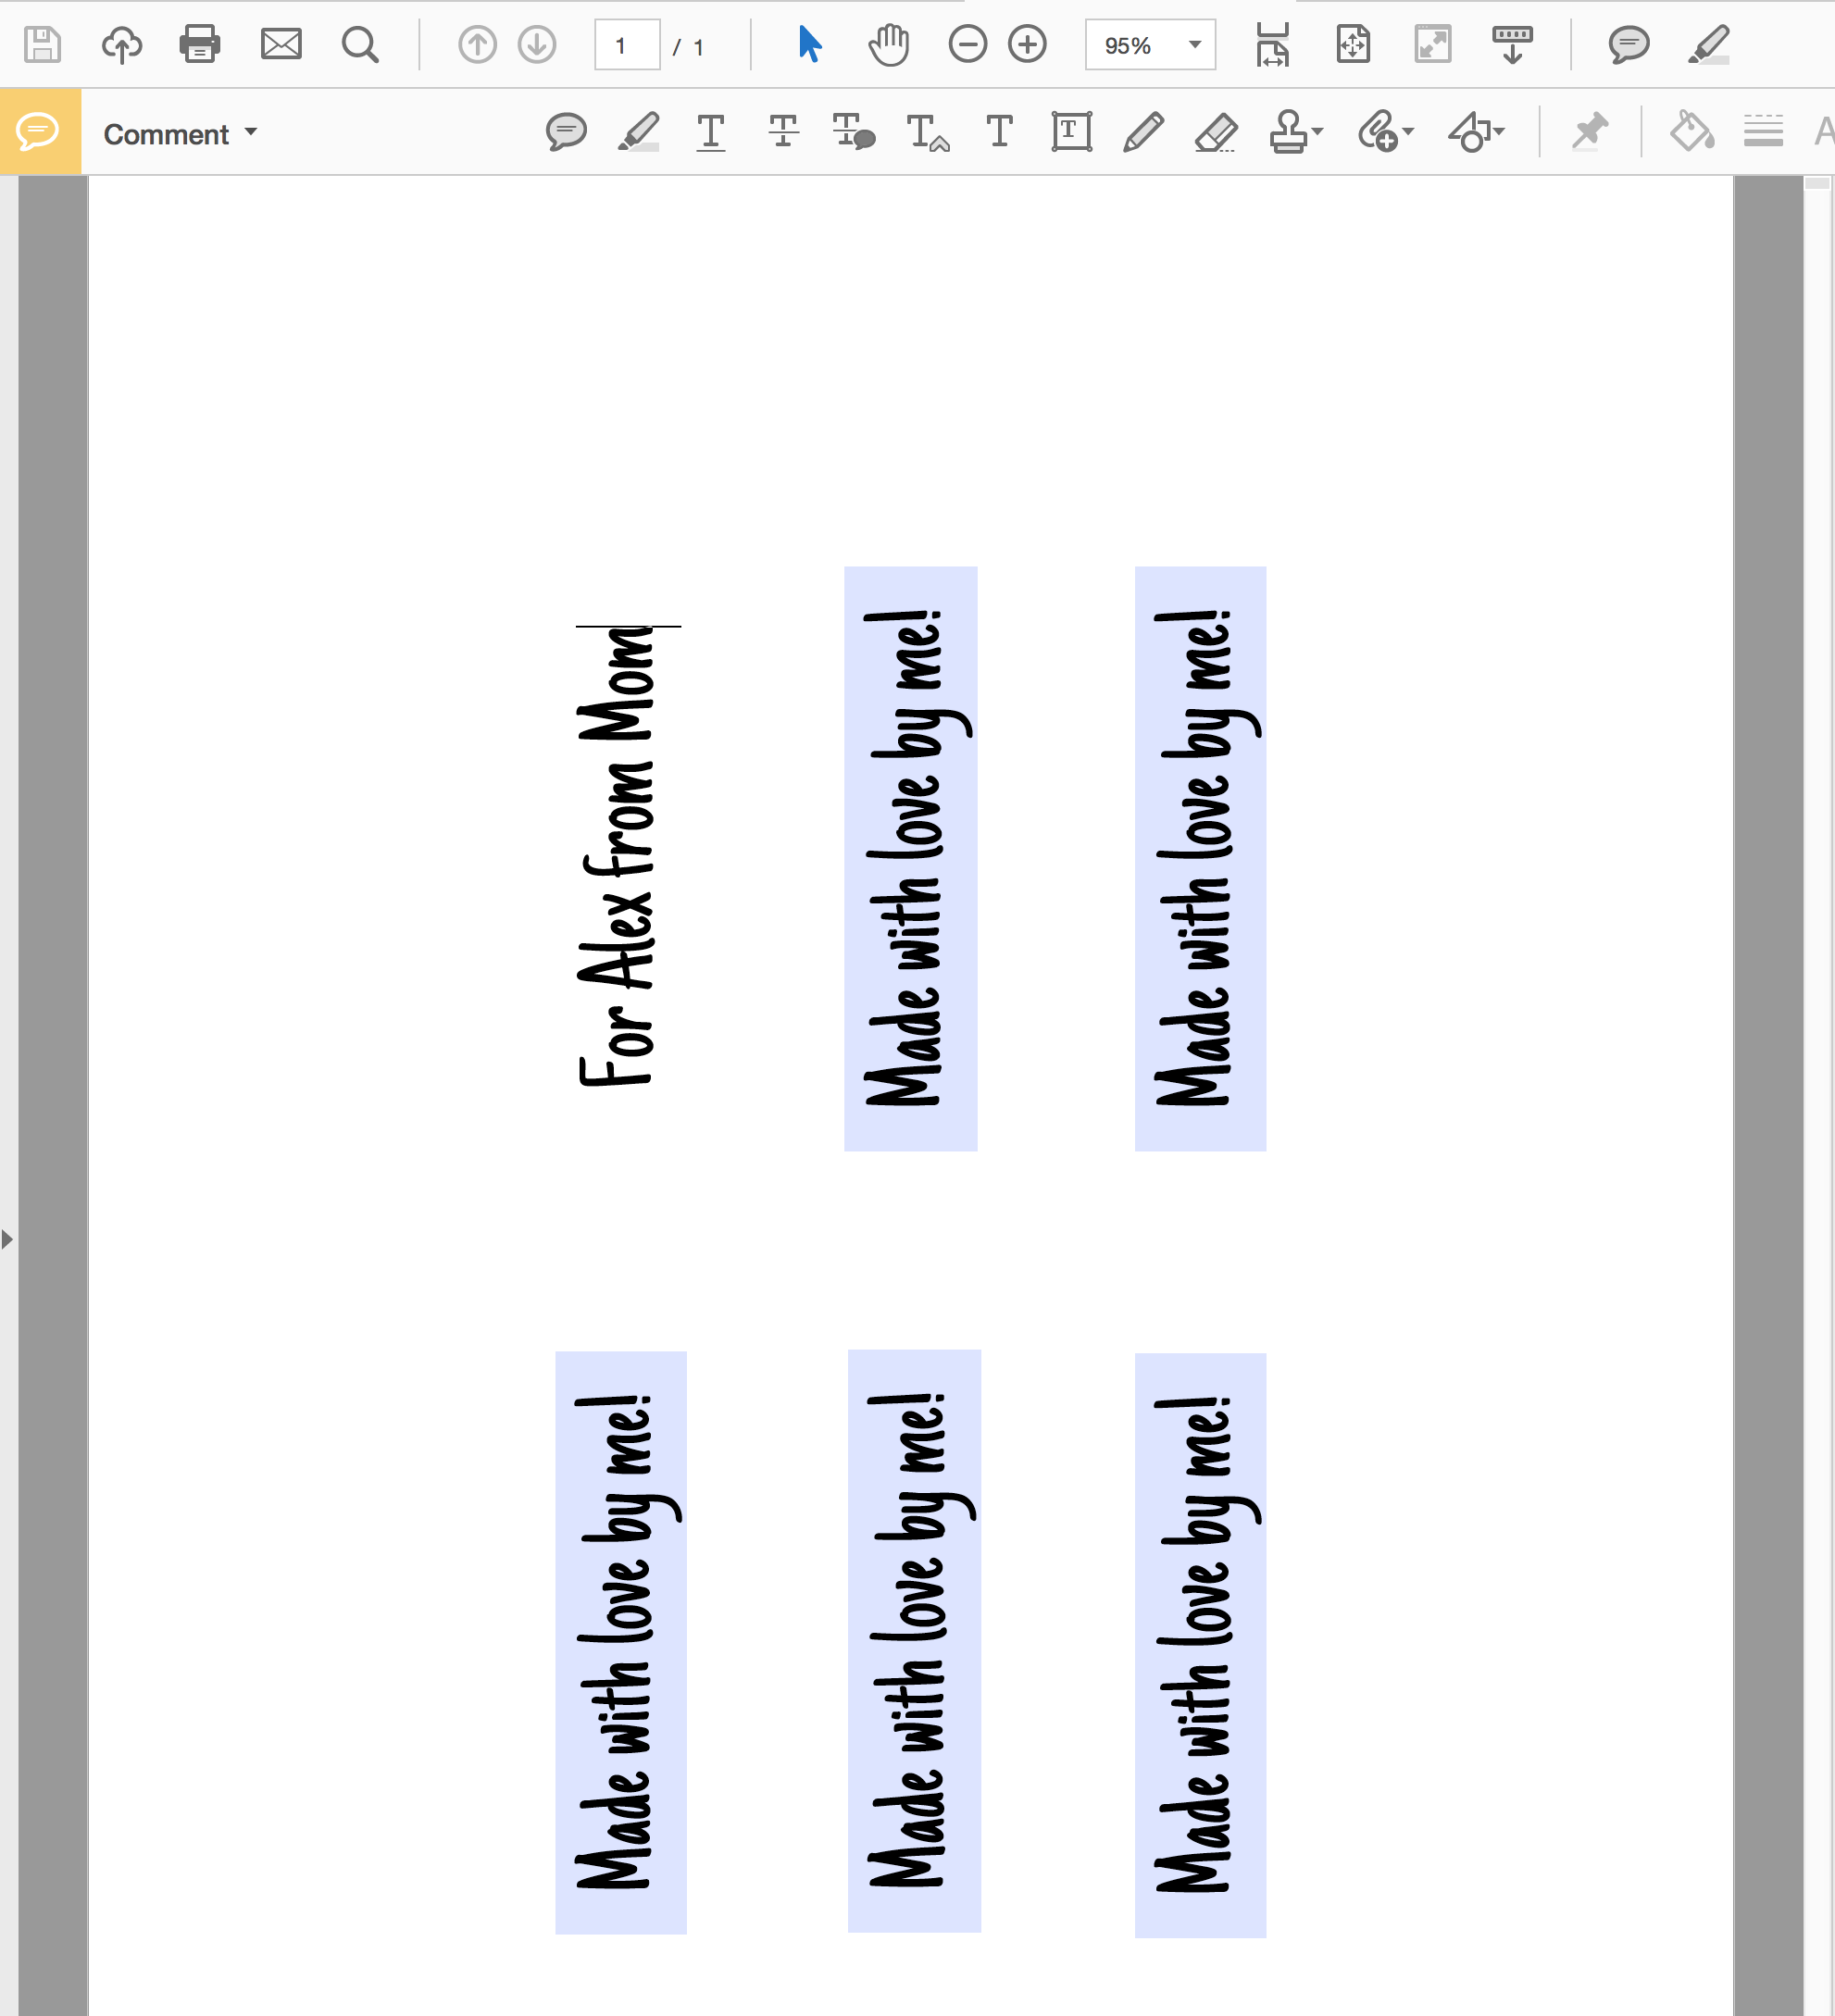
Step 1: Print out the DIY fabric label template (Design #8) onto a piece of card stock — you’ll find it in my resource library (get the password to it by filling out the form at the bottom of this post).
Step 2: Cut out your twill tape to 8″ long strips. (If your twill tape is wrinkled, iron it first.)
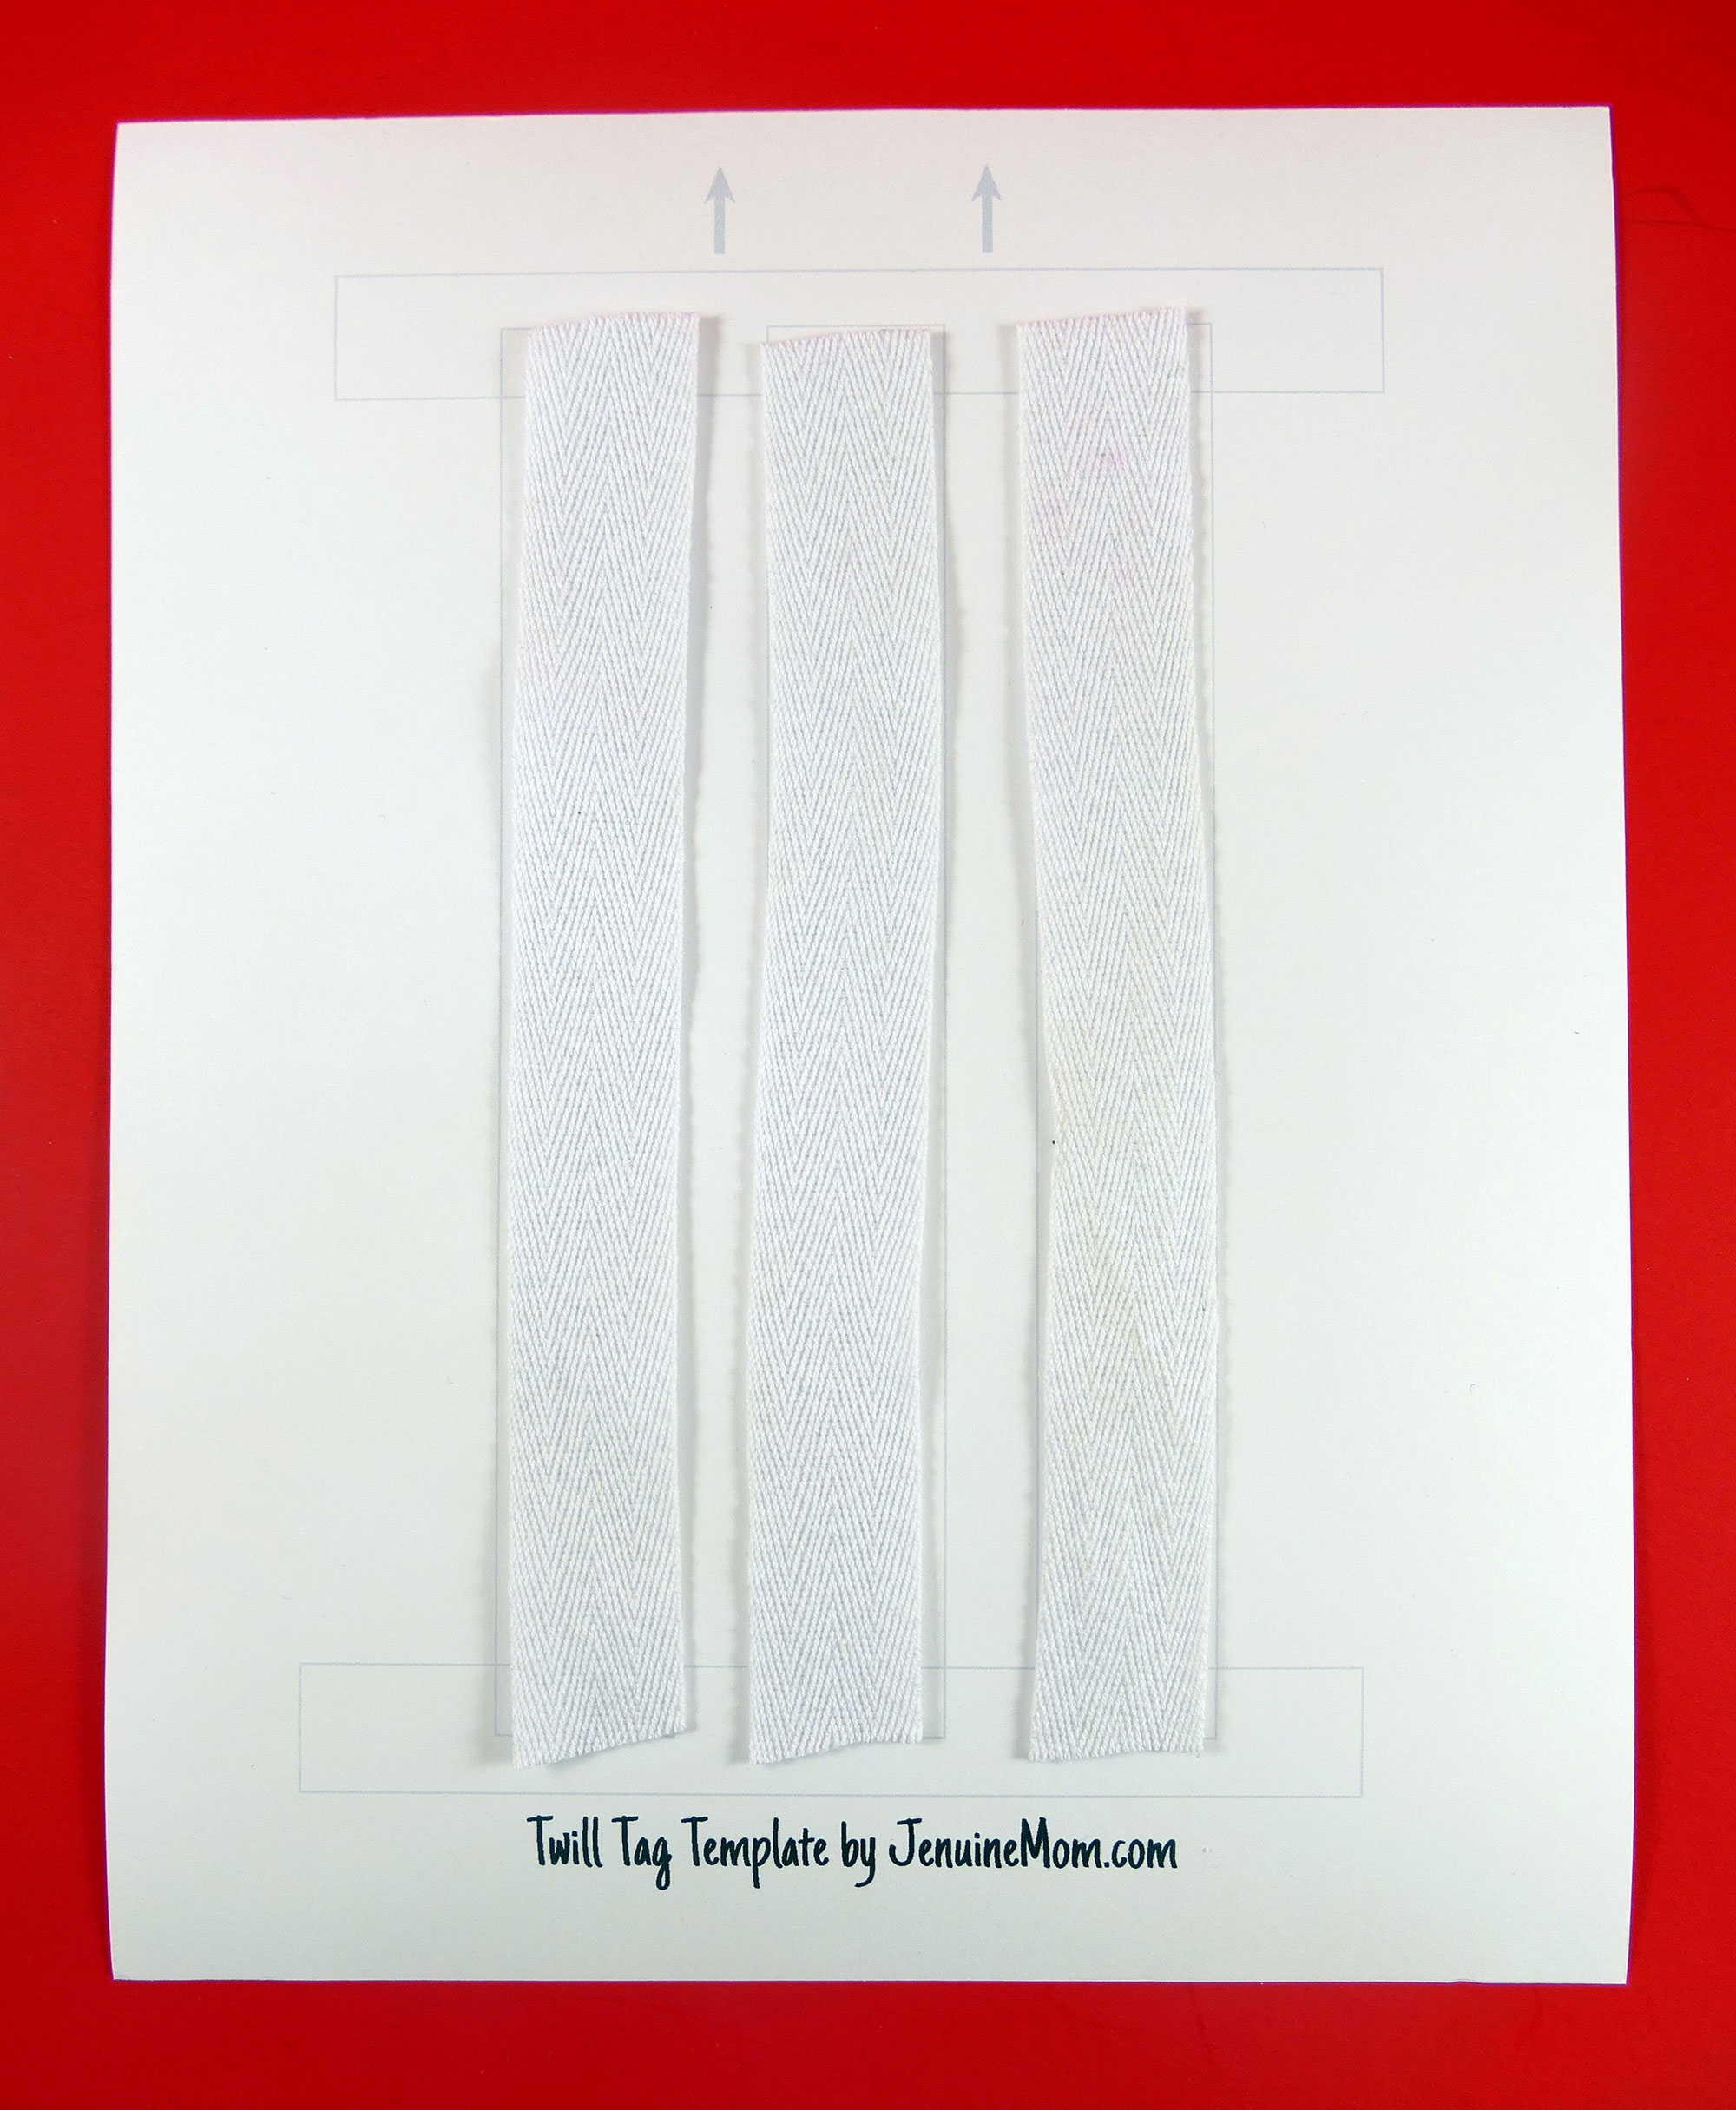
Step 3: Tape your twill tape to the template. Be sure to tape both the top and the bottom. You can also tape once in the middle for added stability while printing, but it’s not always necessary.

Step 4: Enter your label information using the fillable fabric label template.
Step 5: Put your taped twill template into your printer (manual feed, if you have one) and print your label!
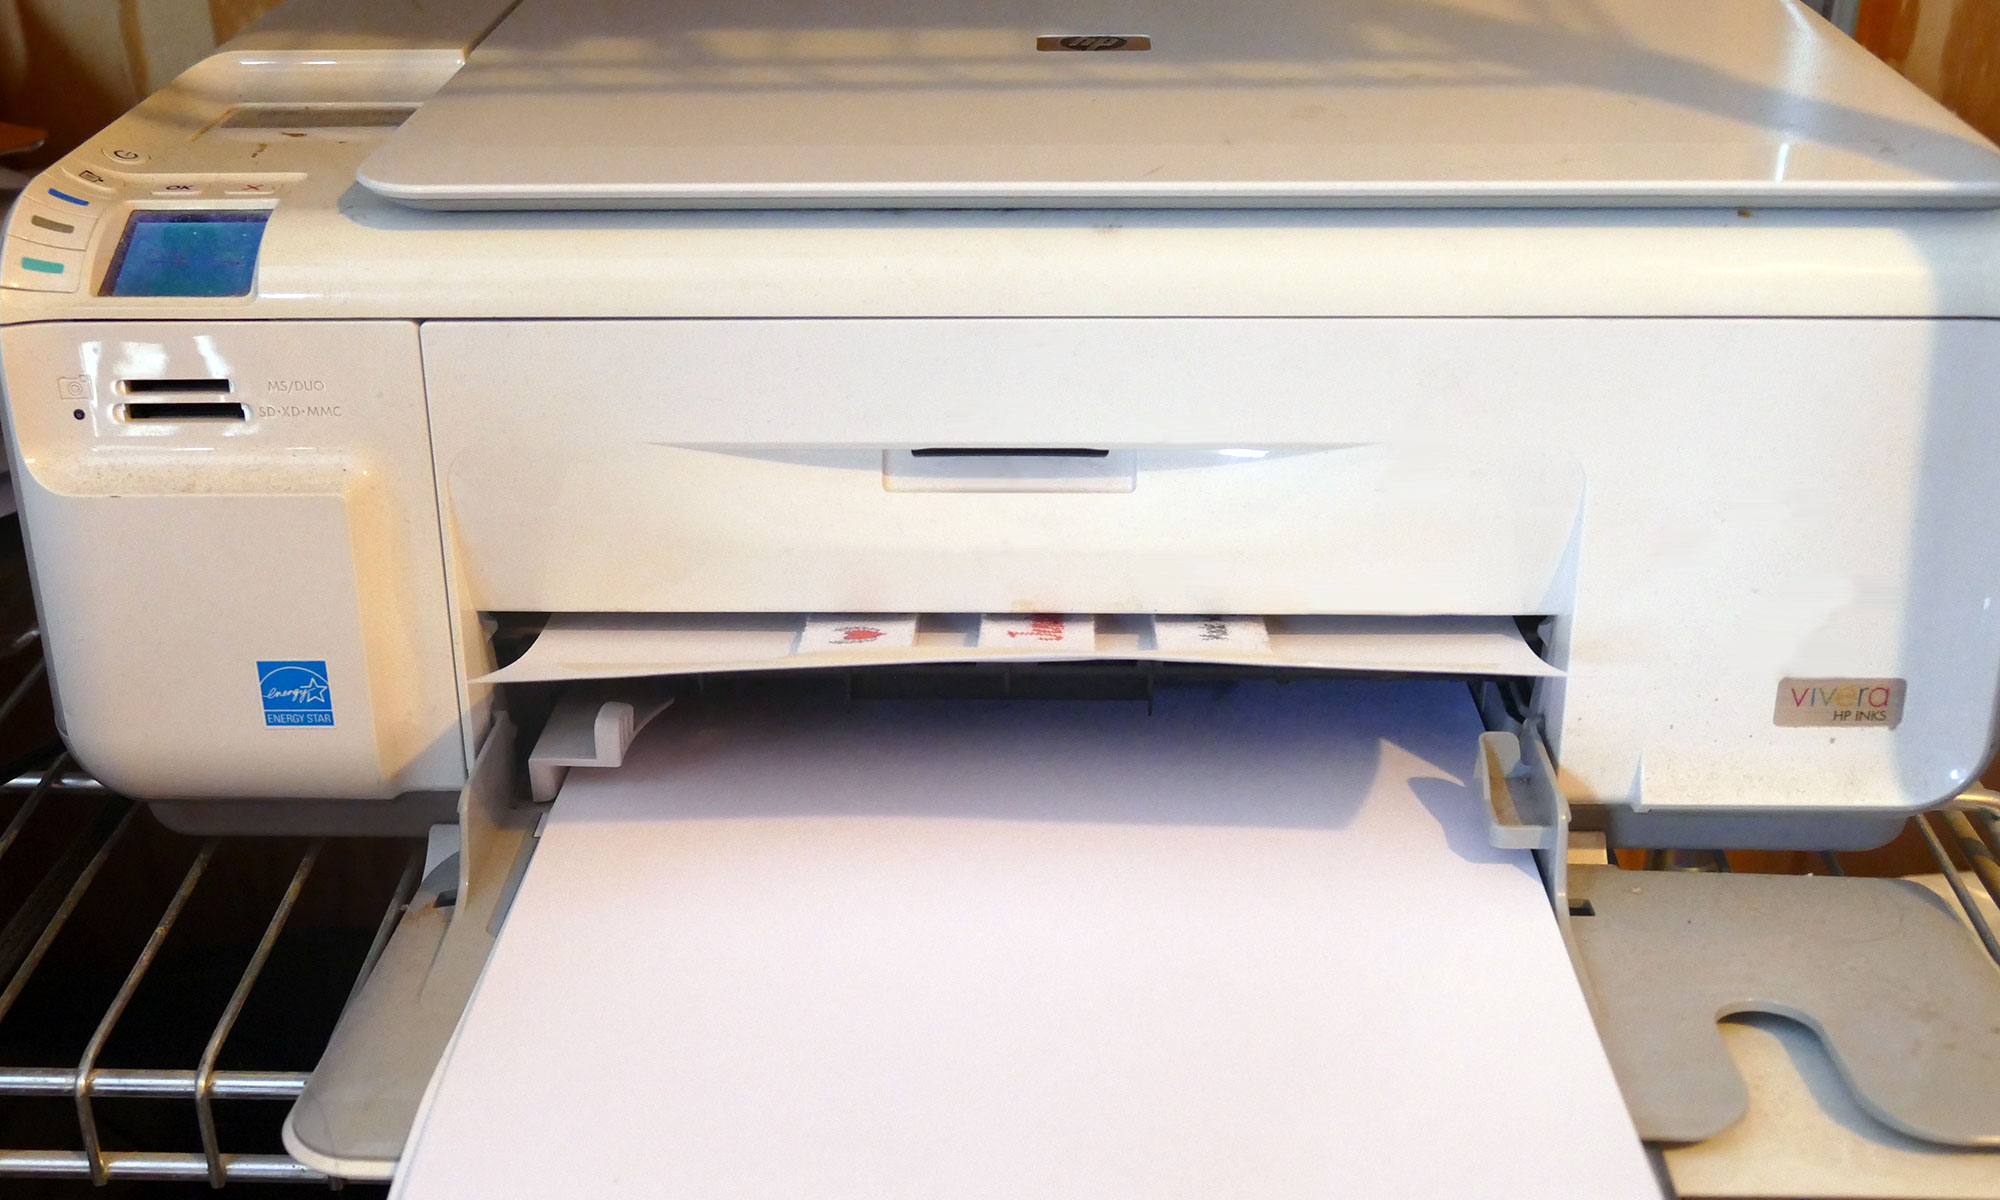
Step 6: Remove the twill strips from the paper and cut to size.
Step 7: Iron to heat set the ink.
Step 8: Put Fray-block (or clear nail polish) along the ends of your twill tape to keep it from fraying.
Step 9: Attach it to your homemade project!

DIY Fabric Label Notes
Resist the temptation to tape the long sides of the twill tape strips — your printer won’t like the long tape edges.
Make sure the tape is pressed down well on the paper before printing. Any edges sticking up can cause jams.
If you have printer jams, try printing on just one twill strip at a time. Or try shorter strips.
If you have issues with uneven printing on your twill strips, try shorter strips so it is less likely to move around while printing.
Want to remember this? Save this DIY Fabric Labels tutorial to your favorite Pinterest board!


Wow, now hat is a good idea! Only I don’t own a printer – bummer. But my neighbour does and I might just ask to give it a go;-) I just started a blog and it’s about crafting, food, travelling, and basically everything I love. I paused for two weeks in order to finish all the self-made Christmas presents for my friends and family. Now I have tons of material to write about. I’d love for you to stop by one day and give me some feedback!
Love, Habiba
You link to the fillable template does not work. It brings up a screenshot. Too bad. I wanted to try this.
Hello, Peggy! It’s not a screenshot, it’s just that the PDF is displaying in your browser. I replaced the link with a Dropbox link — it -should- download to your computer rather than simply display in your browser. Here’s that link: https://dl.dropboxusercontent.com/u/9244695/diy-fabric-label-fillable-template.pdf — let me know if it works!
I saw your cute idea to about making the labels, but you dropbox says error is there a way to get them information still.
I found it in your library, thanks anyway. But another question, once the printed ribbon is done and ironed can it be washed without fading?
Fading can always occur over time, but I do wash mine and so far I’ve had no problems!
Have you ever used double stick tape to keep the twill lined up correctly? Just wondered as it would be on the underside and not interfere with the ink jets.
Hello, Sandy! Alas, the double-stick tape would not keep the rollers from catching on the edge of the twill tape as it goes through the printer. That’s the reason it gets taped down — to avoid jams!
Hi, is this waterproof?
No. Inkjet ink is not waterproof, unfortunately.
Hello, I just crochet my first blanket for someone and i love it but was having a hard time trying to find labels that i could make myself and sew in without buying labels…..You are awesome, Jennifer, thank you so much! The labels were so easy and they compliment my blanket and look professional.
Again, Thank you so much!
Maria (Jazz)