
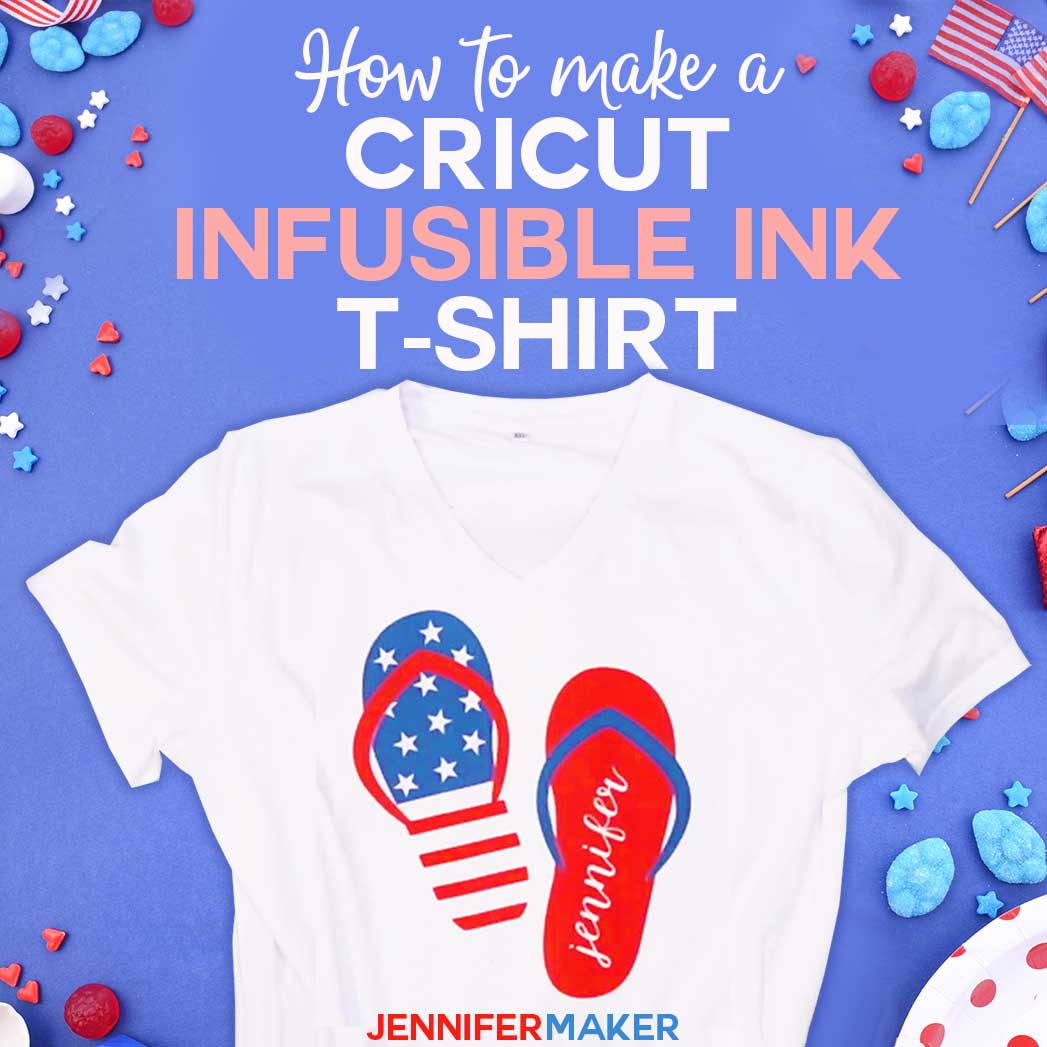
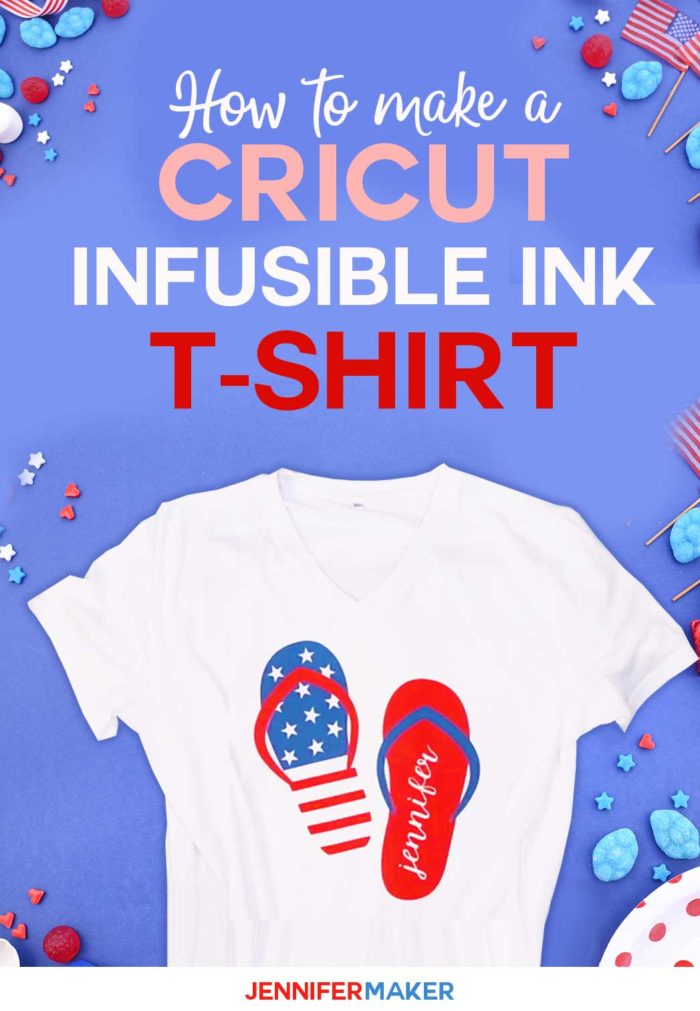
Learn how easy it is to make a personalized Cricut Infusible Ink T-shirt using multiple colors of transfer sheets!
Cricut’s Infusible Ink transfer sheets are a fun and easy way to make professional-looking T-shirts that won’t peel, crack, or flake. You can get really vibrant colors that are permanently infused into the material. AND you can create designs with multiple colors, which is what I want to show you how to do today! Let’s make a fun Cricut Infusible Ink layered T-shirt using Cricut Infusible Ink transfer sheets that we combine together for a personalized look!


Watch the full step-by-step process in my Cricut Infusible Ink tutorial video here:
For this project, you’ll want a Cricut Explore or Maker (either one works fine) and an EasyPress (either an original EasyPress or an EasyPress 2 — and it needs to be big enough to cover your design in one pass). You can also use a heat press, but you can’t use a household iron — it won’t get consistently hot enough across its surface to properly infuse the ink, and it’s not typically big enough for a T-shirt design anyway.
Beyond the machines, you need the Cricut Infusible Ink transfer sheets in the colors or patterns you want to use (I’m using red and blue).

And, you need a DESIGN! I made a flip flip design because I think they are perfect for this two-color T-shirt project. Plus, we can personalize them if we want! So let me show you where to get this design free, how to add your own name to the design, and get it cut out and onto your T-shirt!
So are you ready to make something colorful? Let’s make a Cricut Infusible Ink layered T-shirt together! This post contains some affiliate links for your convenience (which means if you make a purchase after clicking a link I will earn a small commission but it won’t cost you a penny more)! Read my full disclosure policy.
Materials Needed to Make a Cricut Infusible Ink Layered T-Shirt
- Cricut Infusible Ink Transfer Sheets (I used cherry red and navy)
- Cricut Infusible Ink-compatible T-shirt (I used woman’s XXL)
- Cricut EasyPress or Heat Press (I used the original EasyPress)
- Cricut EasyPress pressing mat I used the large and medium sizes)
- StandardGrip mat
- White cardstock
- Butcher paper (provided inside your package of Infusible Ink transfer sheets)
- Scissors and tweezers
- Lint roller
- A way to cut your vinyl (such as a Cricut)
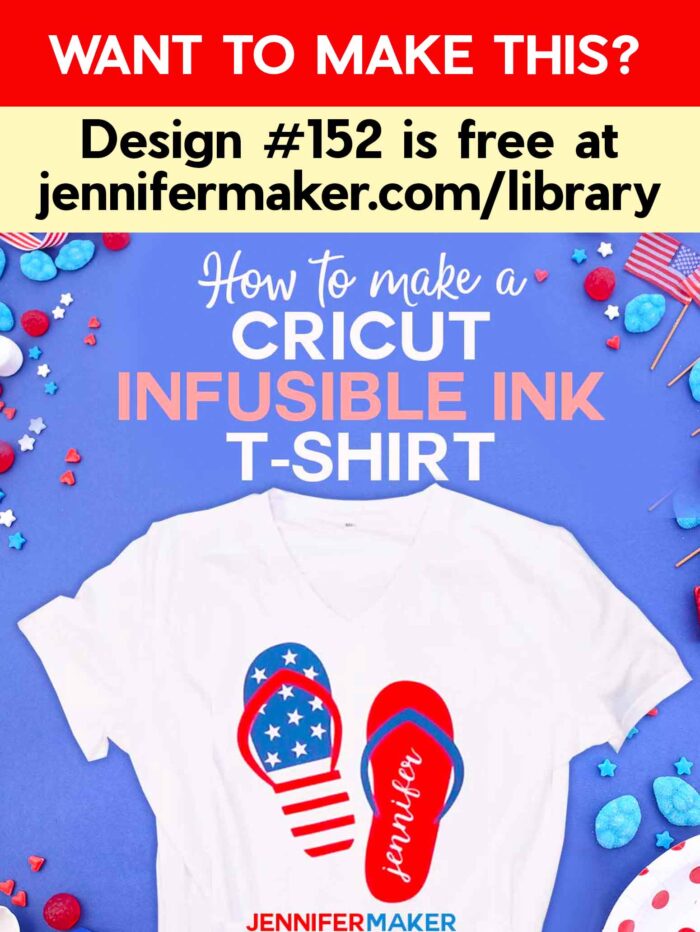
- Design #152 – My free “flip flops” SVG cut file (available in my free resource library—get the password at the bottom of this post)
How to Make a Multi-Color T-Shirt with Cricut Infusible Ink Transfer Sheets
Step 1: Find or Make Your T-Shirt Design
Go to Cricut Design Space, click on New Project, then click on Templates in the upper left corner. Choose “Classic T-Shirt” and pick a style, size and color. The template will help you size your design so it looks good on your T-shirt.

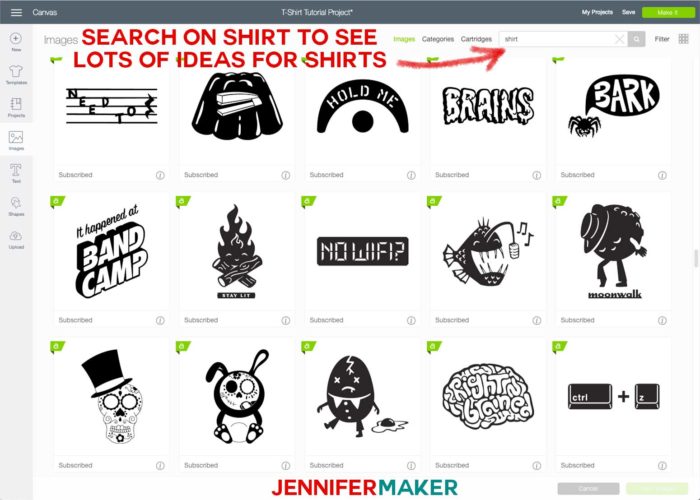
You’ll find many designs for iron-on T-shirts right in Cricut Design Space. Click on Images and browse the Image library for ideas. If you’re a beginner, I recommend you stick with simple, one-color designs that do not have lots of small detail.
If you want to use my free Flip Flops design I used in this tutorial (Design #152), which is ideal for a Cricut Infusible Ink project, you can download the free SVG cut files from my free resource library. It’s available as an SVG for your Cricut. Just upload the file to your design software. If you’re not sure how to upload an SVG cut file to Cricut Design Space, watch this helpful video training series I made.
IMPORTANT NOTE: If you’re not sure how to upload an SVG file to Cricut Design Space, or you’re having issues (such as getting a message that says “unsupported file”), please watch my free training series, SVGs Made Simple. It will help you SO much!
Here’s what my Flip Flops design file looks like uploaded to Cricut Design Space:
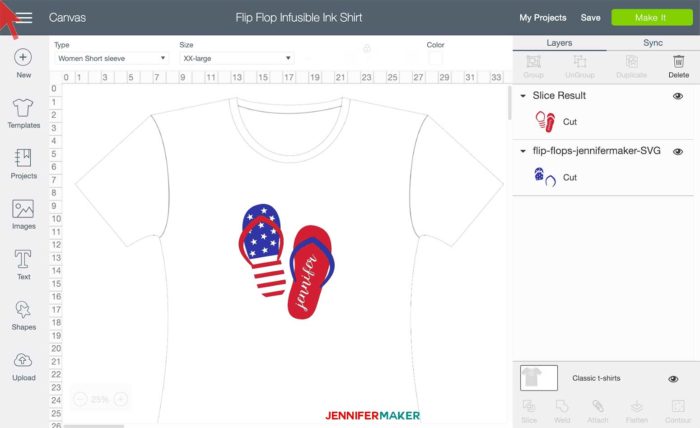
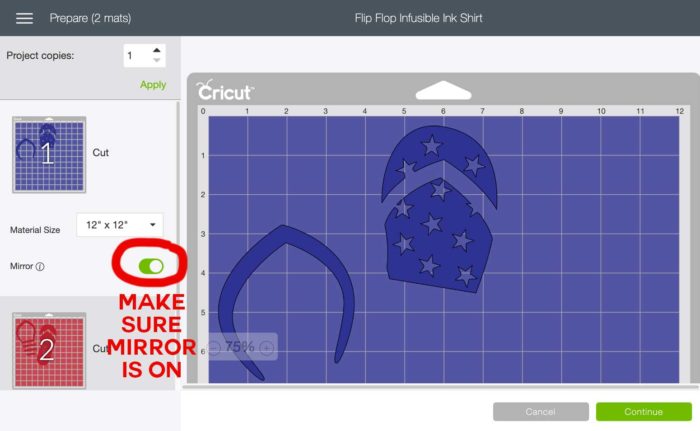
When you are ready, click the green Make It button in the upper right corner. You must then toggle the MIRROR to on (green) — all Infusible Ink designs must be mirrored before cutting!
Step 2: Cut Out Your Design from Cricut Infusible Ink Transfer Sheets
It’s super important you put your Cricut Infusible Ink transfer sheets SHINY SIDE DOWN on your cutting mat. Learn how to tell which side to cut in my tutorial here!
Step 3: Reveal Your Infusible Ink Design (Remove the Negative Areas)
Step 4: Combine Your Infusible Ink Colors on Your Design
Step 5: Apply Your Infusible Ink Design to Your T-Shirt
Here’s a selfie of myself wearing my fun new Infusible Ink shirt!
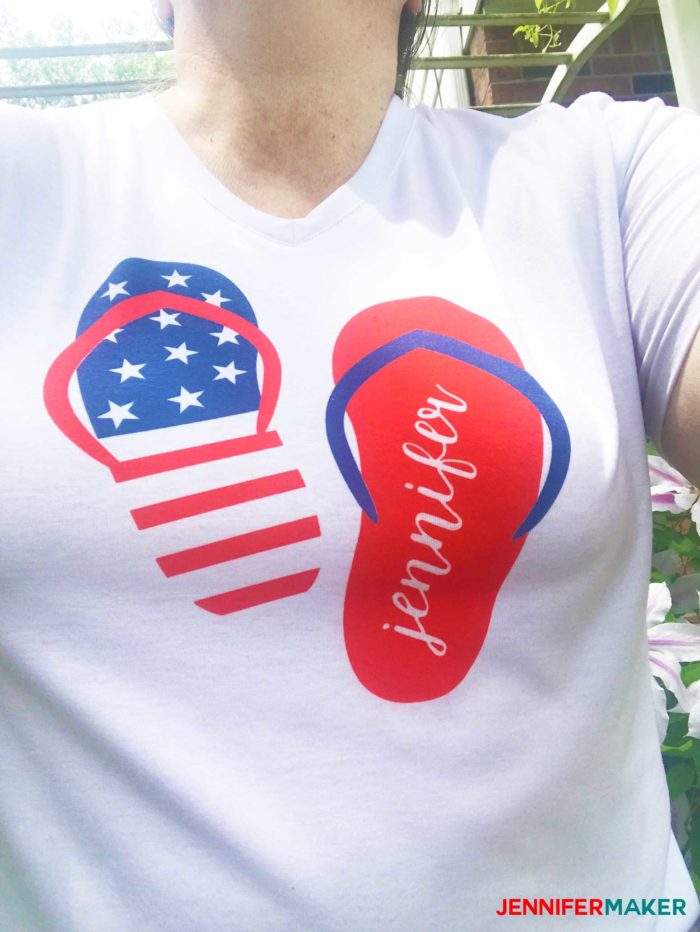
It’s so much like the T-shirts you find in a store — I can’t believe I made this myself!

Get my free “Flip Flops” SVG cut files for your T-shirt
If you make an Infusible Ink shirt with your Cricut, please share a photo in my helpful Cricut Facebook group or tag me on social media with #jennifermaker.
Love,

Want to remember this? Save the Cricut Infusible Ink T-Shirt Tutorial to your favorite Pinterest board!


Jennifer, I love watching your videos….You are the best~! You make it so easy to understand….Thank you for sharing them with us newbies!
I loved this video, the directions were easy to follow. How can I get the font you use for your name?