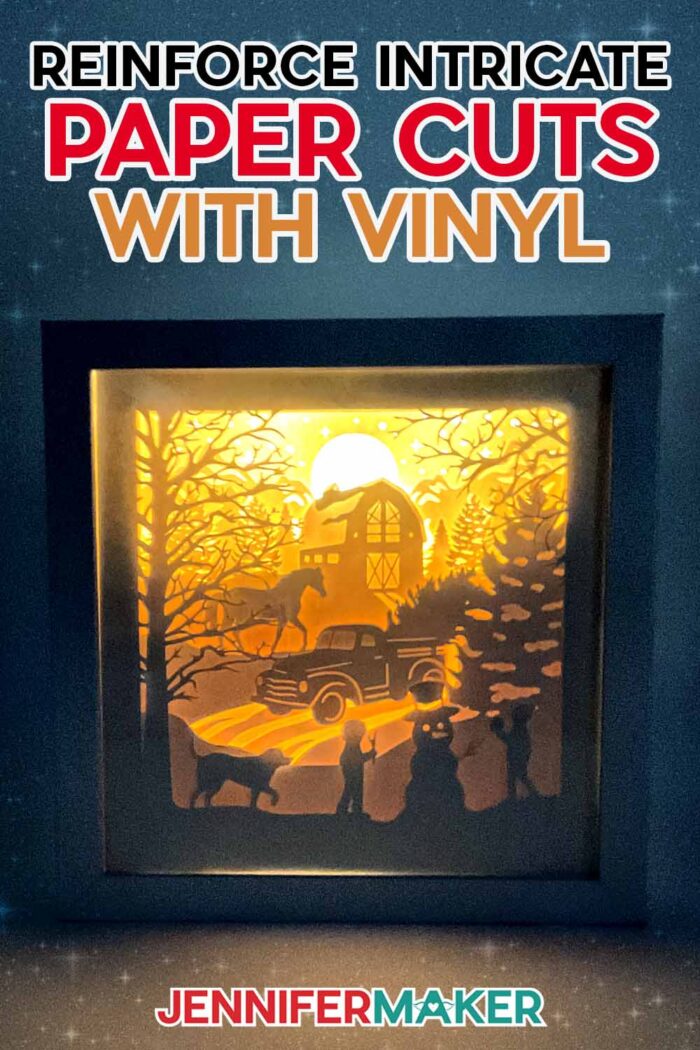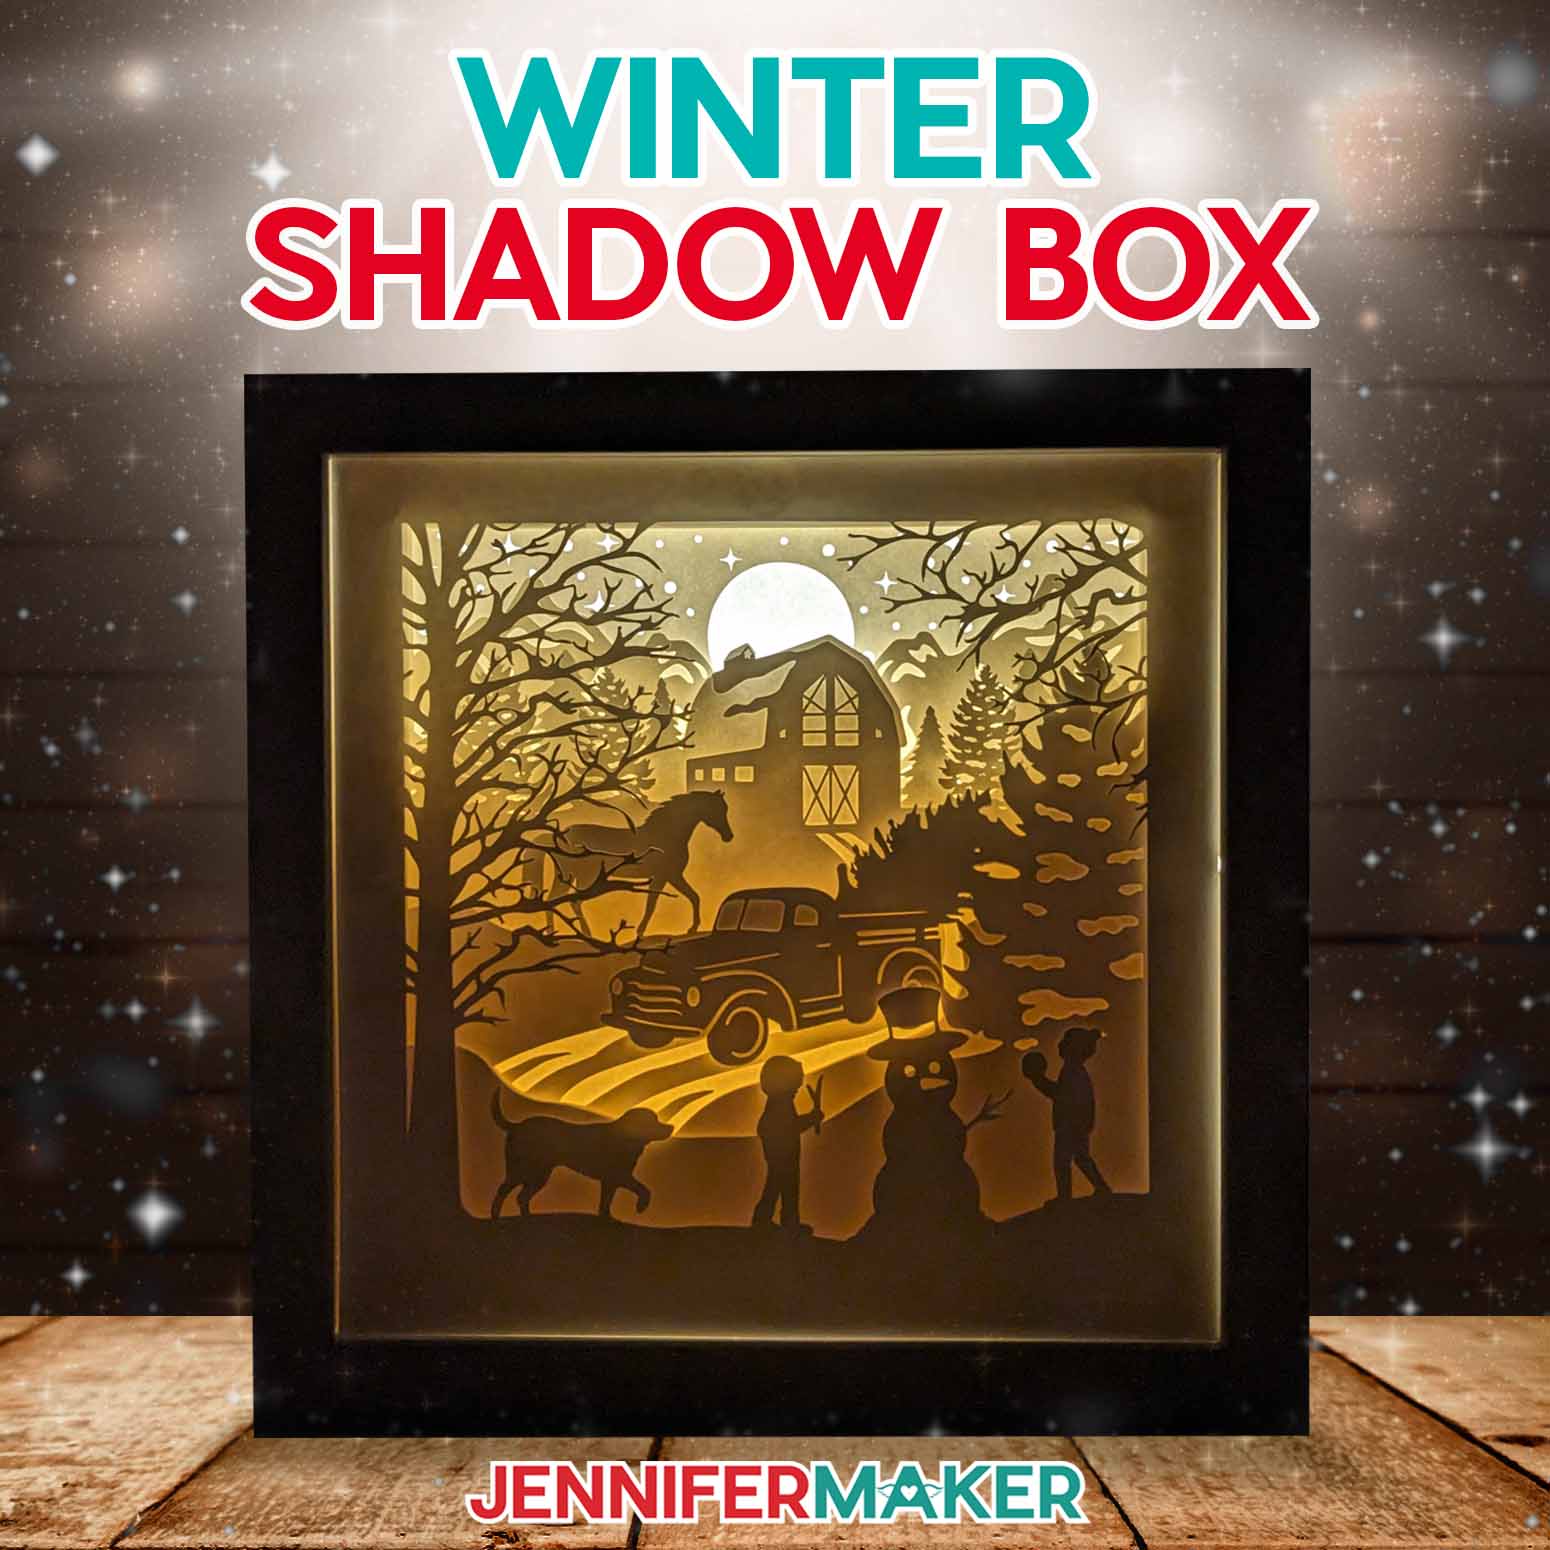
Learn how to make an intricate winter shadow box that lights up!
Shadow boxes are one of our most popular papercrafts, and for good reason. Not only are their glowing layers captivating, they’re the perfect project for crafters of all skill levels. I’ve shared a lot of shadowbox tutorials with you on my blog, but none that are this intricate and this customizable! That’s right — you get to compose your own layers! Now, Cricuts are amazing machines, but they do sometimes have issues with super intricate cuts. So, how did we create such a detailed winter shadow box without tearing the cardstock? I’ll show you how with a neat new method I can’t wait to share!
Want to save this project? Enter your email below and we’ll send the project straight to your inbox.
I’m all about customizing projects, so for this winter shadow box craft, I decided to give you the option to work your Cricut Design Space muscles and build your own unique 3D scene!
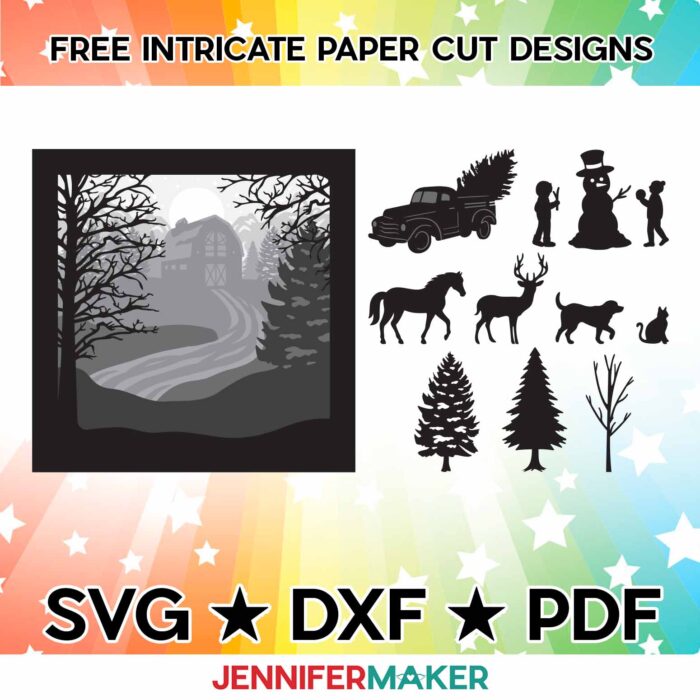
In the zip file download for this tutorial, you’ll find a free SVG file and DXF file — both of which you can cut with a cutting machine. You’ll also find a PDF file you can try to cut by hand — but I would highly recommend using a cutting machine. I’m using the Cricut Maker 3, but you can also use a Maker, Explore, Explore Air 2, Explore 3, or Venture for this project.
Inside the zip folder, you’ll find an SVG cut file that includes a detailed winter scene with eight layers, plus 11 other “a la carte” design elements that I’ll show you how to add to whichever layer(s) you’d like in Cricut Design Space. With this customizability, you can create tons of different designs for a cute, snowy landscape! I’ve also included a reference PDF to help you identify each different layer and element.
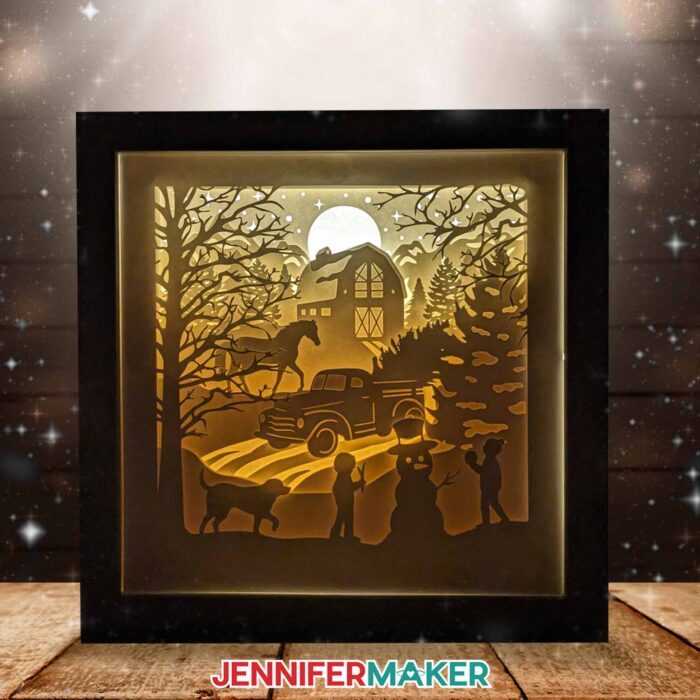
When you add the file to your Canvas in Design Space, you’ll see I’ve used different shades of gray to tell the eight layers apart, but you can cut yours out of all white, or mix it up and use different colors of cardstock! This is your unique design, after all. The dimensions of the design fit nicely into the 8” x 8” shadowbox frame in my materials list, but I’ll show you how to measure your frame to confirm its size.
You can size the shadow box pieces up if you have a bigger frame, just be sure to keep the lock icon closed and size all the layers to 1/8″ shorter than the dimensions of the frame. If your frame is smaller, though, I highly recommend NOT reducing the size of the shadow box file. If you do, the cuts may be just too tiny for your Cricut to handle. This is not a project for the Cricut Joy or Joy Xtra. Instead, I’d recommend purchasing a frame that’s at least 8″ x 8″, or you can make your own using my DIY Cardstock Shadow Box Frame tutorial.
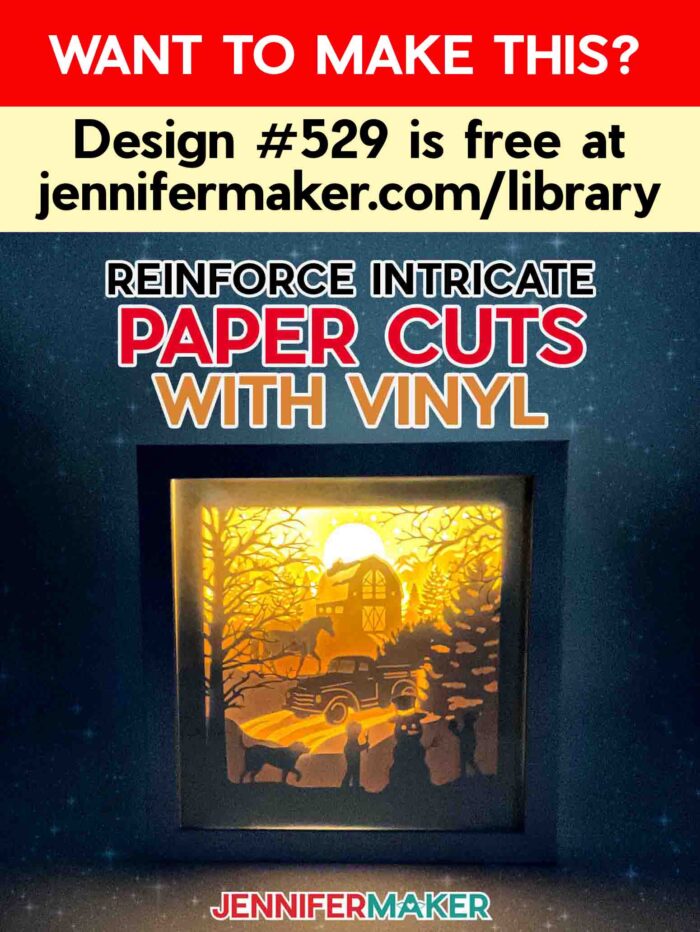
Next comes the fun part — picking the elements you want to include! For my winter shadow box, I’ll use the truck (which are pieces I and J on the reference sheet), the two kids building a snowman (pieces K, L, and M), the horse (piece N), and the dog (piece P).
Once you choose your elements, I’ll walk you through the process of arranging them, then checking them with the other layers to make sure the composition looks good. We’ll move elements around to make sure every element gets its chance to shine, and get our layout just right so every piece is visible (and not hidden behind something else). This part can take some patience, so just take your time!
Next, I’ll guide you through the super important steps of using the Unite, Group, and Weld tools to perfect the custom layers and get them ready to cut without any unpleasant surprises.
In this step, you might catch funny mistakes (like discovering the horse appears to be levitating above the snow), which you can fix before the pieces become attached for good. We’ll also use the Contour tool to make sure there are no tiny holes our Cricut may have a hard time cutting — while it’s our goal to have this be a very intricately cut shadow box, some cuts are just too small and it’s best to just fill those in.
Once you have Layers 1 through 8 in the correct descending order, you’re ready to cut your first layer of your cardstock shadow box!
Cutting the less intricate layers should be a breeze, but the intricate layers 1, 2, 3, and 4 will be quite the endeavor for your Cricut machine. However, I have a secret weapon: Vinyl. Clear (or white) permanent vinyl, to be exact.
Before you think I’m crazy, hear me out. Applying vinyl to the back of the cardstock will make it sturdy enough for your Cricut to cut all these little details and prevent the pieces from tearing when you remove them from the mats. Since the vinyl is on the back of the card stock, it doesn’t change the look of the final product, either! I did a lot of testing for this project, and found that this was by far the best way to achieve really intricate cuts without compromising the cardstock. I’ll show you how to carefully apply the vinyl to the back of the cardstock, and if you are having issues with your vinyl curling and making it difficult for you to adhere it smoothly, I’ll share an easy tip to help.
When it’s time to cut the vinyl-backed cardstock, you’ll place it vinyl-side down on your StandardGrip machine mat. I’ll share my tips and tricks for making sure the vinyl-backed cardstock is positioned perfectly for the best cut — even if you had some wrinkles or bubbles appear during application.
Before removing the mat after cutting, always check to see that the cuts went all the way through both layers. Since it’s so thick and the two materials cut a bit differently, the layers may not cut through completely the first time, and that’s totally ok! If this is the case, just leave the mat in the machine and run it through a second cut. This should do the trick.
When removing the cut layers from the mat, I found it easier to peel away the excess material around the cut area first. You’ll notice that the vinyl makes many of the inner pieces “stick” in place. You can use a weeding tool to poke these out.
After all of the layers are cut, I’ll walk you through how to layer them and then add them to your shadow box frame. We’ll use a combination of small and bigger 3D glue dots to create a sense of depth between the different layers.
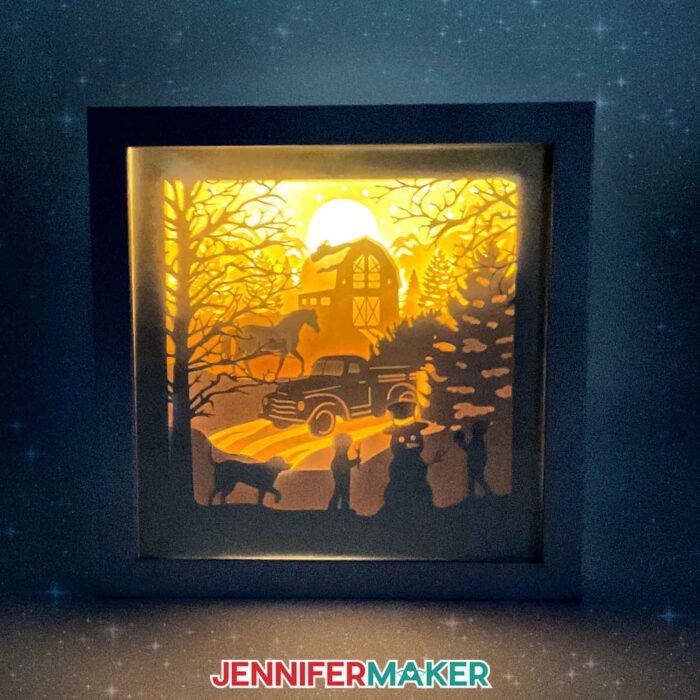
Why do we need depth between the layers? Well, it creates more of a visual interest, I think — plus, it allows the light to shine through, illuminating each separate layer in its own beautiful way!
If you’ve made light-up shadowboxes before, you’ll know that I typically place lights around the edges. That technique didn’t work as well this time, though — I think because there are so many layers, and we also have the added vinyl to consider. When the lights were around the edges, it looked much dimmer in the middle — but brighter along the sides. The layers didn’t look as defined, and the light leakage at the edges didn’t look great at all.
Instead, I’ll show you what I did to get these absolutely gorgeous results! I’ll also show you how to use foam tape to position the wooden insert in the back so the front looks evenly lit when the lights are on.
Once your winter shadow box has lights and is fully assembled, step back and marvel at the incredible piece of custom art you just made! Set it on a table or shelf and hide the battery pack behind the frame to display it. Or, you can secure the battery pack to the top or side with some glue dots and hang your shadow box on a wall for an illuminated piece of seasonal or holiday decor. What a beautiful, glowing way to light up the dark winter months!
Here’s a supply list of what you need to make a cardstock tabletop Christmas tree! This post contains some affiliate links for your convenience (which means if you make a purchase after clicking a link I will earn a small commission but it won’t cost you a penny more)! Read my full disclosure policy.
Materials and Tools to Make a Winter Shadow Box
View my Amazon shopping list with the exact items we used to make this project
- Eight (8) Sheets of 8.5″ x 11″ or 12″ x 12″ 65 lb. White Cardstock
- Four (4) 8″ x 8″ Pieces of Clear or White Permanent Vinyl
- One (1) 8″ x 8″ Shadow Box Frame
- One (1) Strand of 9.8’ LED Strip Lights -AND- Three (3) AA Batteries
- 3D 1/2″ Zots Glue Dots
- Small 3/16″ Zots Glue Dots
- Double-Sided Adhesive Foam Tape (I used the 0.35″ width from this pack)
- A way to cut your cardstock – I’m using the Cricut Maker 3, but you can also use the Cricut Maker, a Cricut Explore Series machine, or the Cricut Venture
- Cricut Green StandardGrip Machine Mat 12″ x 12″
- Brayer
- Spatula
- Weeding Tool
- XL Scraper
- Scissors
- Tweezers
- Craft Knife (to cut a notch in the corner of your shadow box frame) -AND- Self-Healing Cutting Mat
- Clear Scotch Tape (optional, to hold the assembled layers in place inside the frame)
- Butcher Paper (optional, to keep your cardstock layers clean)
- Measuring Tape (optional, to measure the size of your shadow box frame)
- Isopropyl Alcohol (optional, to clean your shadow box glass) -AND- Lint-Free Cloth
- Design #529 – (My free SVG/PDF/DXF design files are available in my free resource library (get the password by filling out the form at the bottom of this page)
How to Make Your Own Light-Up Winter Shadow Box
The detailed step-by-step assembly video on how make a winter shadow box debuted during Maker Academy Weekend 2023, held online November 1-5, 2023. Get an on-demand pass to watch all 30+ workshops, each with a printable handbook, transcript, audio file, design files, and support with a VIP pass below:

Answers to Your Questions About How to Make Your Own Winter Shadow Box
Q: How do you make a Cricut shadow box?
A: Follow the steps in this post or my video tutorial, or any of my other shadow box tutorials! I have lots, and all of them were cut with my Cricut cutting machines. I have lot of tutorials in varying degrees of complexity, so there’s something for everyone!
Q: What items do you need to make a shadow box?
A: I have links to every single one of these tools and supplies in my materials list. Each shadow box tutorial may have a slightly different set of materials, but for my winter shadow box you’ll need a cutting machine, a StandardGrip machine mat, eight sheets of 12″ x 12″ white cardstock, four 8″ x 8″ pieces of clear permanent vinyl, an 8″ x 8″ shadow box frame, a strand of LED strip lights with three AA batteries, 1/2″ Zots glue dots, 3/16″ Zots glue dots, double-sided adhesive foam tape, a brayer, spatula, weeding tool, scissors, extra-large scraper tool, tweezers, a craft knife, and a self-healing cutting mat. Optionally, you may want to have clear Scotch tape, butcher paper a measuring tape, some isopropyl alcohol and a lint-free cloth. And of course, you’ll need a shadow box SVG cut file!
Q: What kind of paper do you use for a shadow box?
A: I find that 65 lb. white cardstock is my favorite to use for shadow boxes because it’s a decent weight and holds up pretty well to more intricate cuts (adding clear vinyl helps even more), but also lets some light through which is super important for light-up shadowboxes!
Q: What kind of glue do you use on shadow boxes?
A: For shadow boxes, I typically don’t use liquid glue. But, what do you put between layers in a shadow box? I use glue dots! They’re much less messy than craft glue or hot glue, plus they add some wonderful dimension and separation of the shadow box layers.
Q: Are there other shadow box projects I can make?
A: I have lots of great shadow box tutorials on my blog, like my custom shadow box, paper flower shadow box, easy Christmas shadow box, farm shadow box, deer and “SNOW” winter shadow boxes, Easter truck shadow box, swing paper art shadow box, and snowflake mandala shadow box.
Get my free SVG files to create a winter shadow box!
Get FREE access to this design and ALL of my SVG cut files!

Subscribe (free!) to my newsletter with updates and tips PLUS get instant access to my resource library with this file and all of my other free files, printables, and patterns! Once subscribed, I will send you a newsletter with details about my new free and helpful files each week.
Enter my free resource library for my latest files, printables, and patterns! Password is 'craft' -- please copy and paste that in at the link above. Thanks for being a subscriber!!
I SO hope you’ll make a winter shadow box of your own! Please share a photo of your shadowbox in our Facebook group or tag me on social media with #jennifermaker.
Love,

Want to remember this? Save this winter shadow box tutorial to your favorite Pinterest Board!