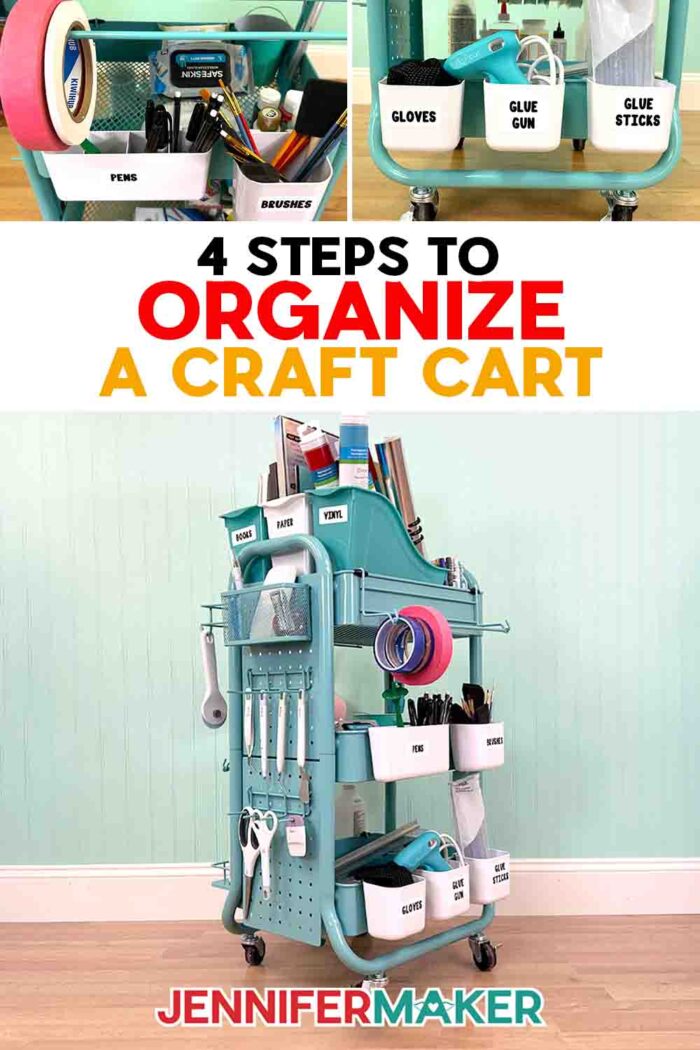
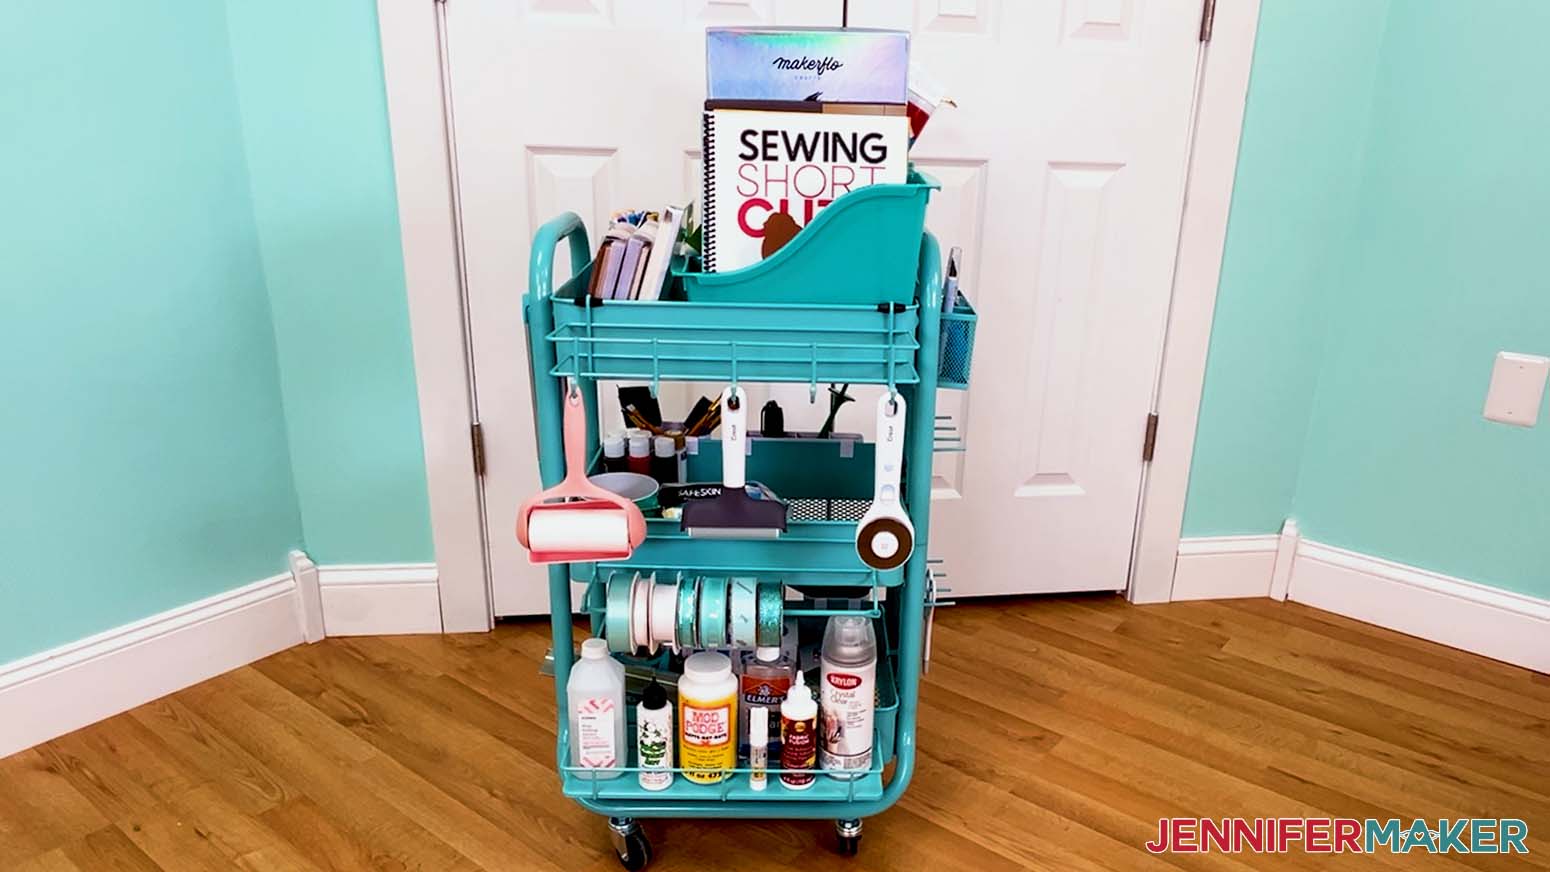
Learn how to organize a craft cart (or any space) using my PACT system!
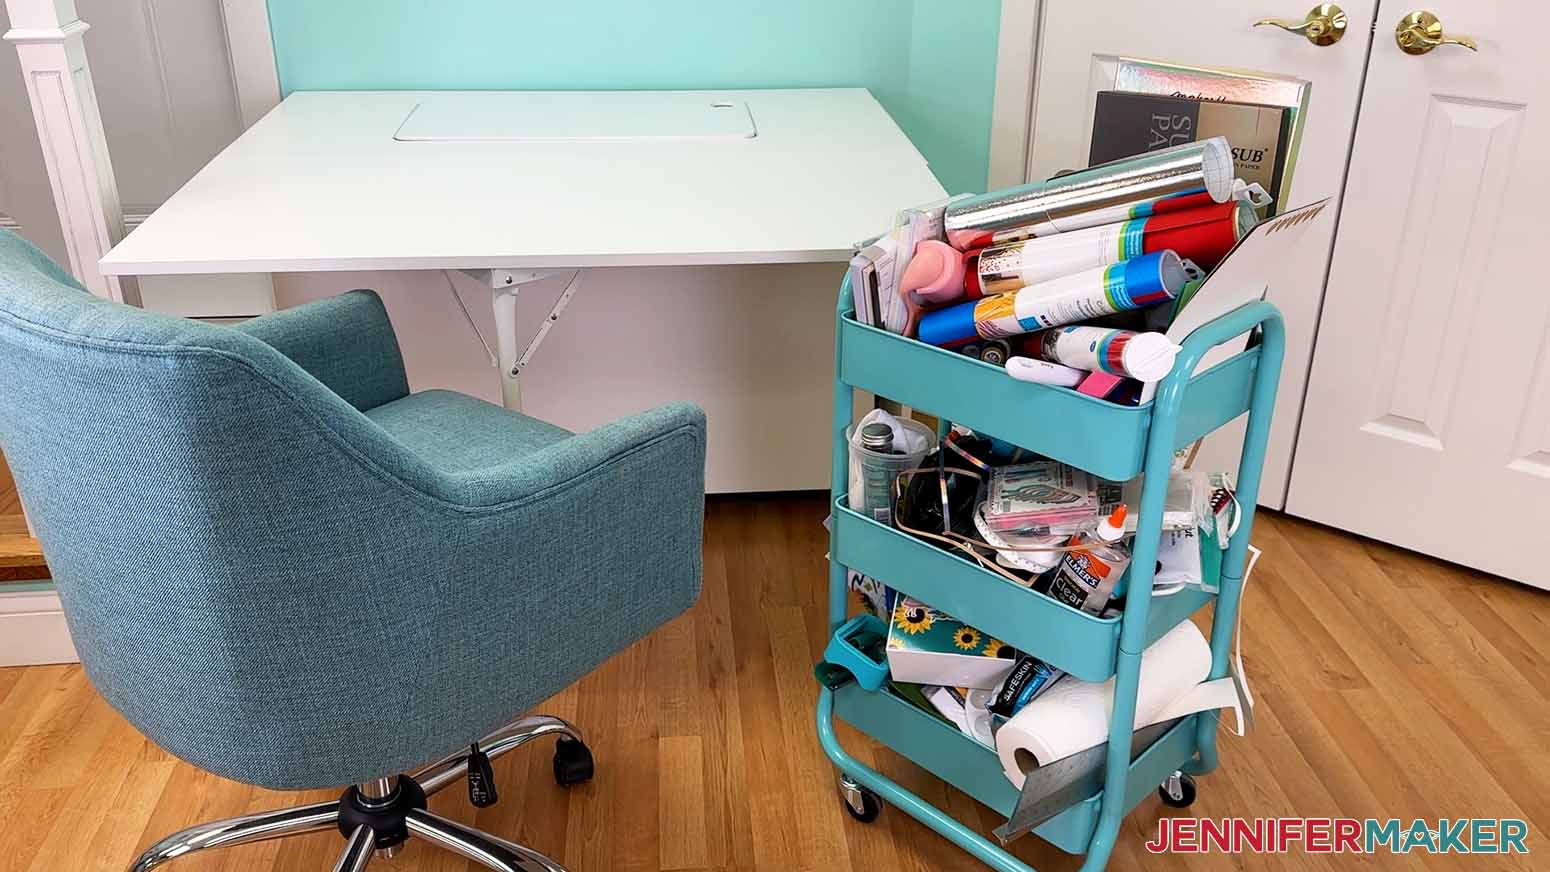
If you ever look at your craft cart and think, “How did it get like this?” you are in good company. Stuff piles up fast when you’re busy making things! That’s why I love my simple PACT system. It stands for Purge, Assess, Contain, and Tag. In the video, I’ll show you how to organize a craft cart because it’s easy to see the steps in action. But PACT works for any crafting area. You can use it on a whole room, one shelf, a drawer, a desktop, a section of a table, a craft case, or even one messy art supplies bin that needs a reset.
Watch the full step-by-step tutorial on how to organize a craft cart:

The PACT System is so easy to follow, you can use it anywhere with just four steps! If your supplies are mobile, move where you’ll have ample space to spread out.
1. PURGE
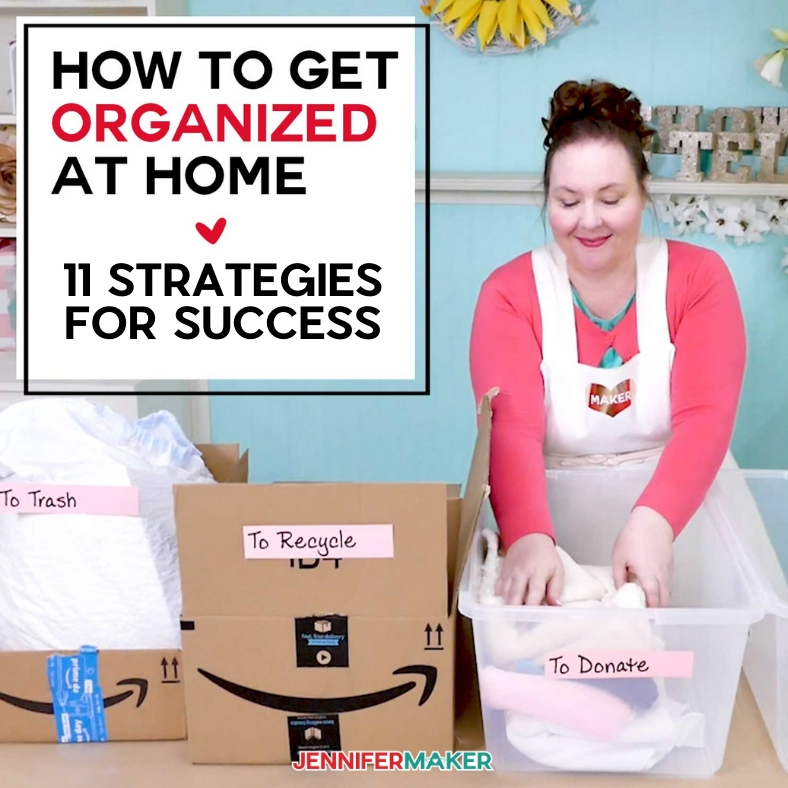
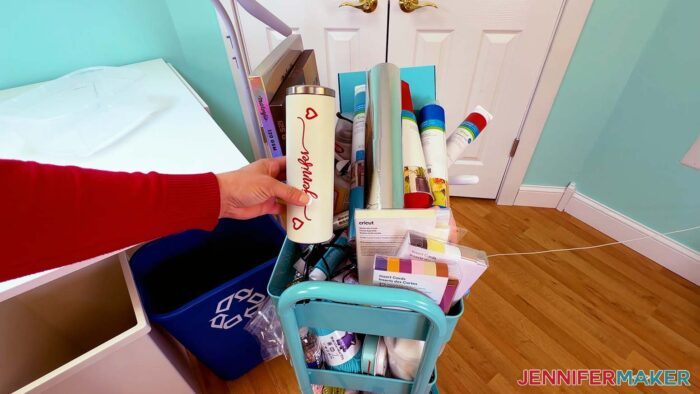
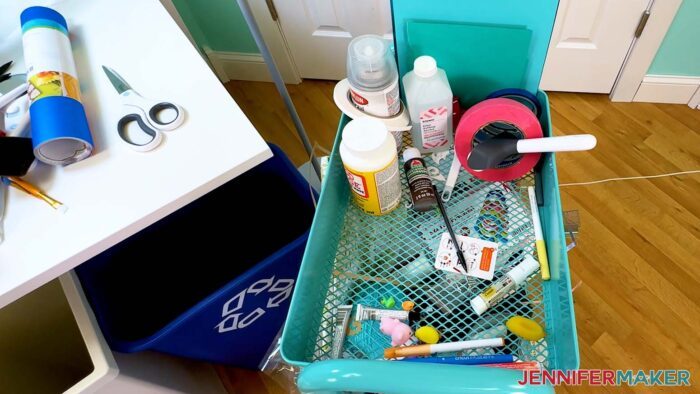
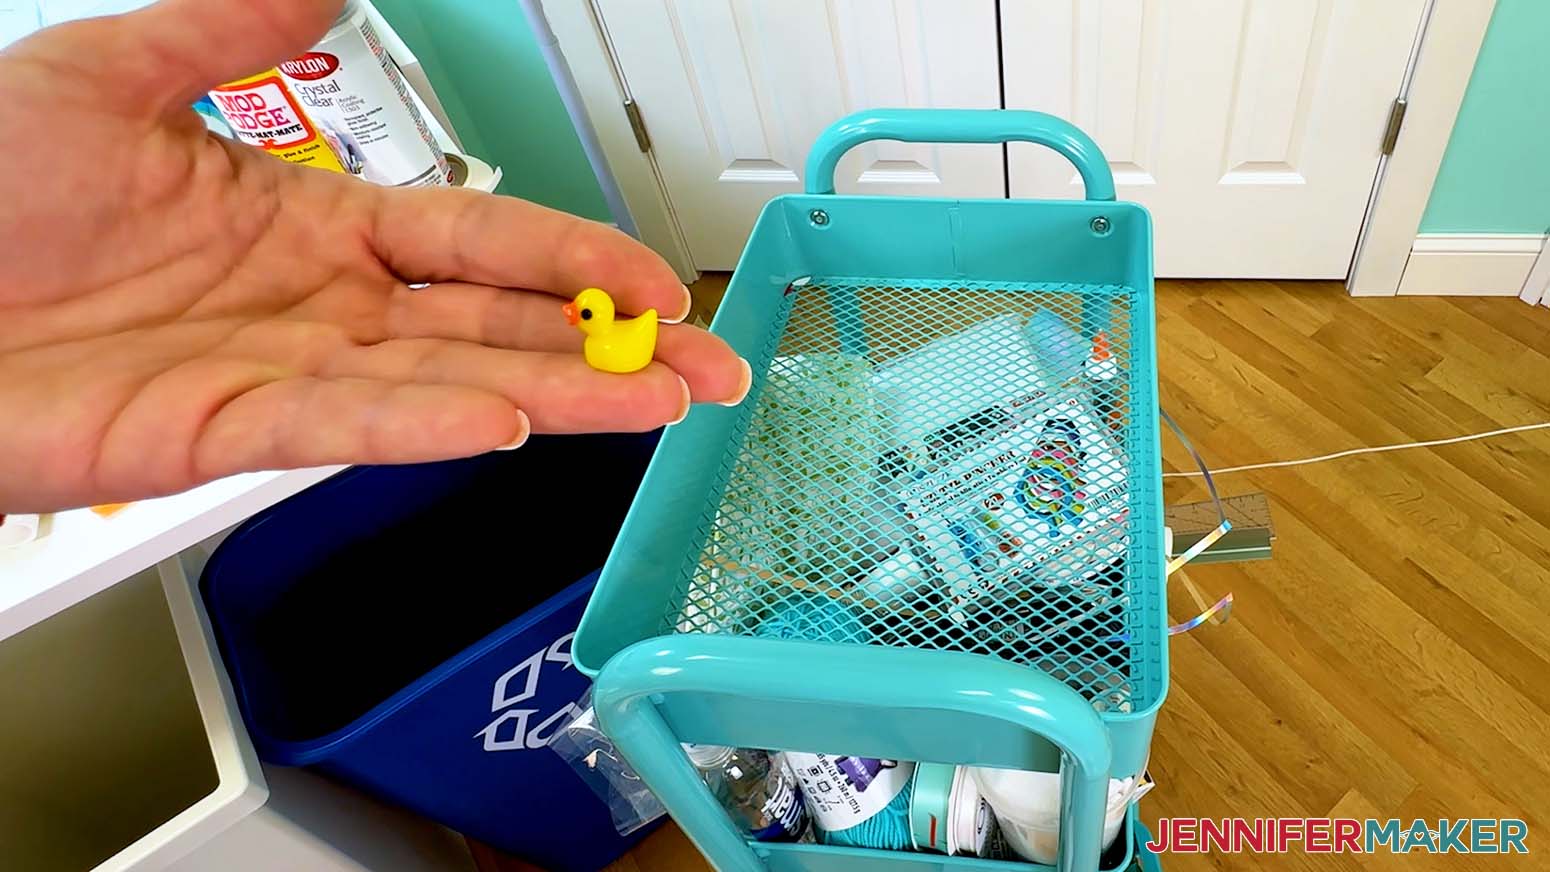
Start small and make it easy on yourself. Pick one area, like one tier of a cart, one drawer, or one section of your desk. Toss the obvious trash first. Then make an “OYNCS” pile, which stands for “Out, You Not Crafty Stuff!” Put anything that does not belong in that area into one bin or basket (like the tumbler that was hiding in my cart) to address later. This keeps you from wandering off to put things away and losing your momentum.
2. ASSESS
Then, group your remaining items by category. Put vinyl with vinyl, pens with pens, tools with tools, adhesives together, and so on. This helps you spot duplicates, dried-up supplies like old glue sticks and stamp pads, and the things you never actually reach for.
Pick up each item and ask yourself:
“Do I use this often?”
“Does it belong in this space?”
“Will I use it within the next year?”
If you answer “no” to any of the above, the item needs to get out of the cart! I found an extra pair of scissors that would be much more useful in the office, so out they went!
3. CONTAIN
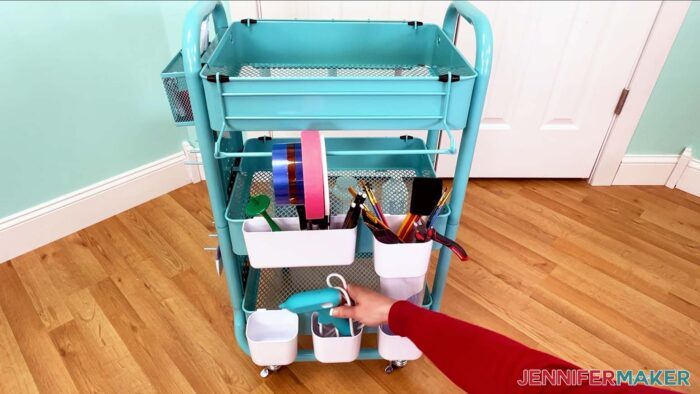
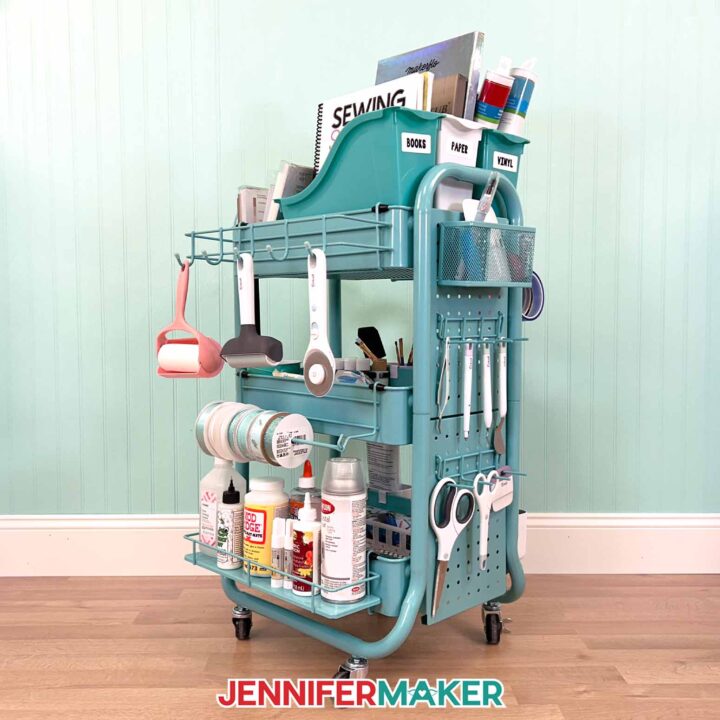
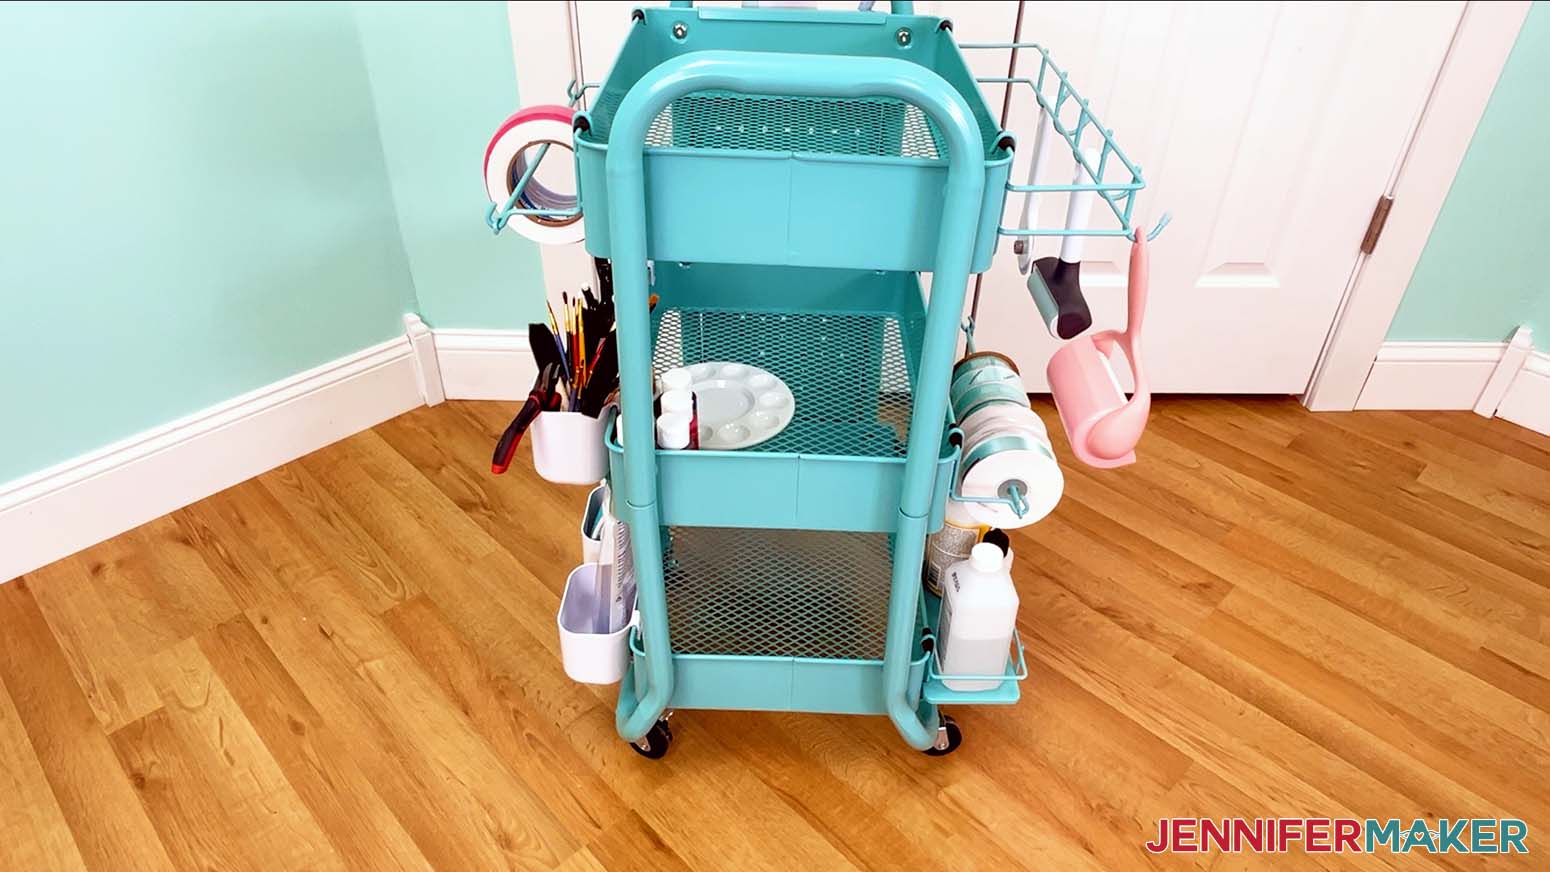
Contain doesn’t mean you need to buy a bunch of new containers. It means every category gets a clear home that fits how you craft. An art cart might use cups, caddies, and bins. A desk might use trays and drawer dividers. A room might use shelves and zones.
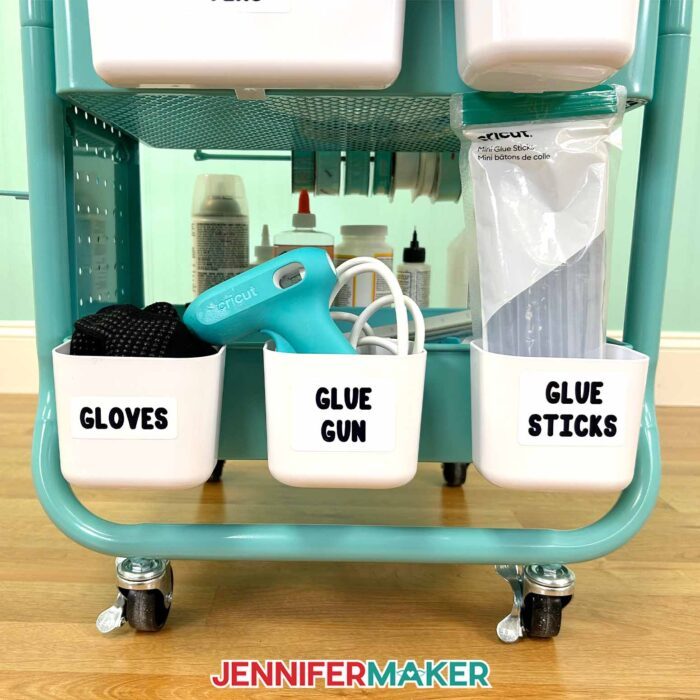
Keep the craft supplies you use most at easy access, like on the top shelf of your rolling cart. Store heavy or bulky items lower or deeper so your space stays easy to use. I don’t use my glue gun all that often, so it can go low on the cart. But putting it in a hanging bin near the glue sticks makes it still easy to use.
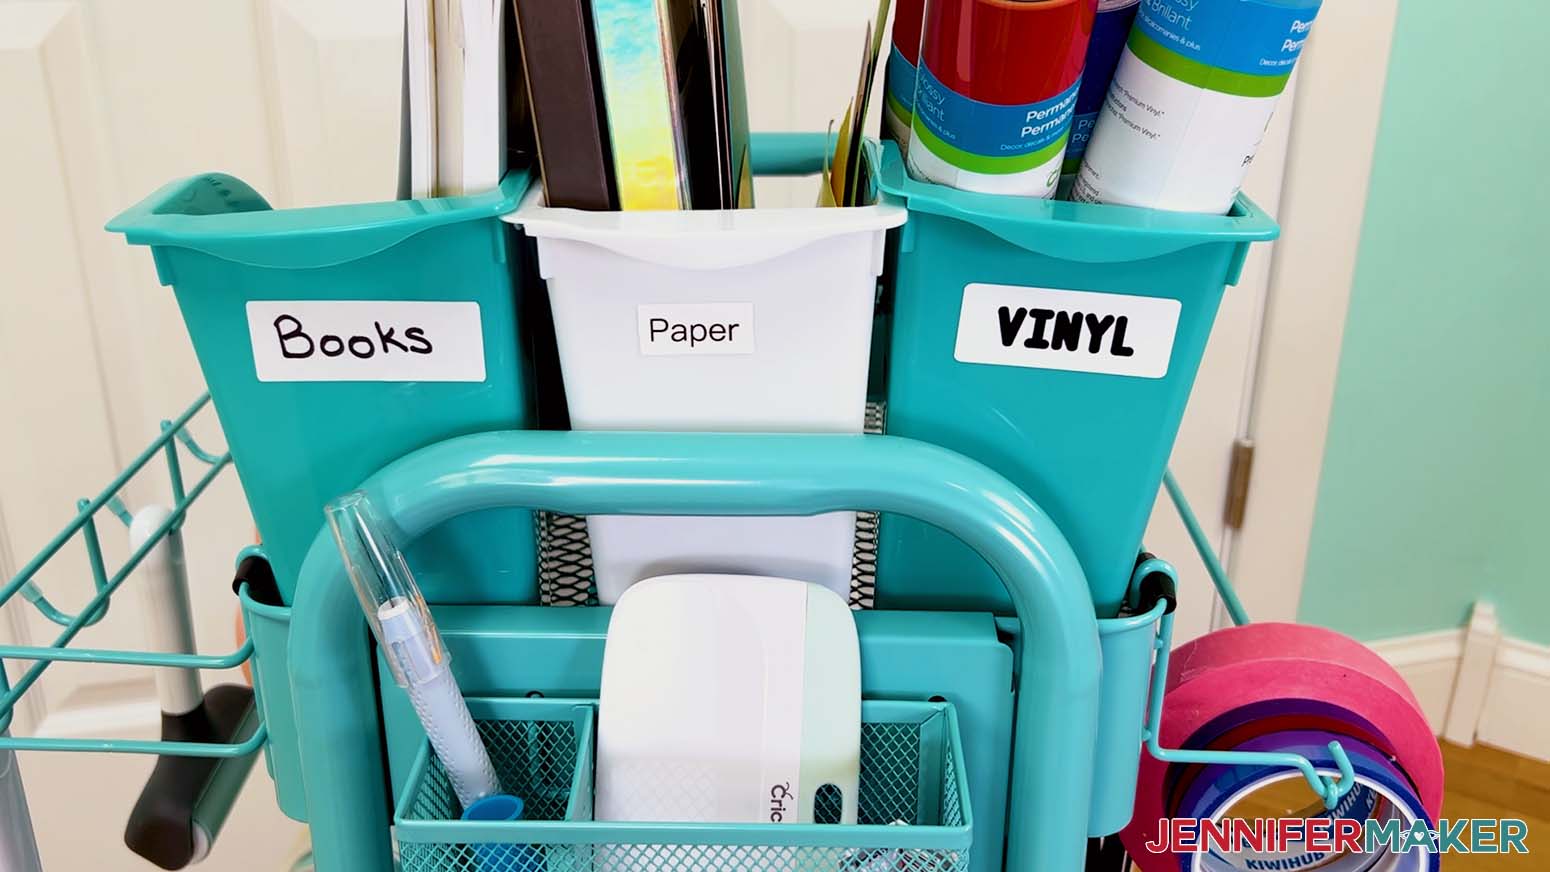
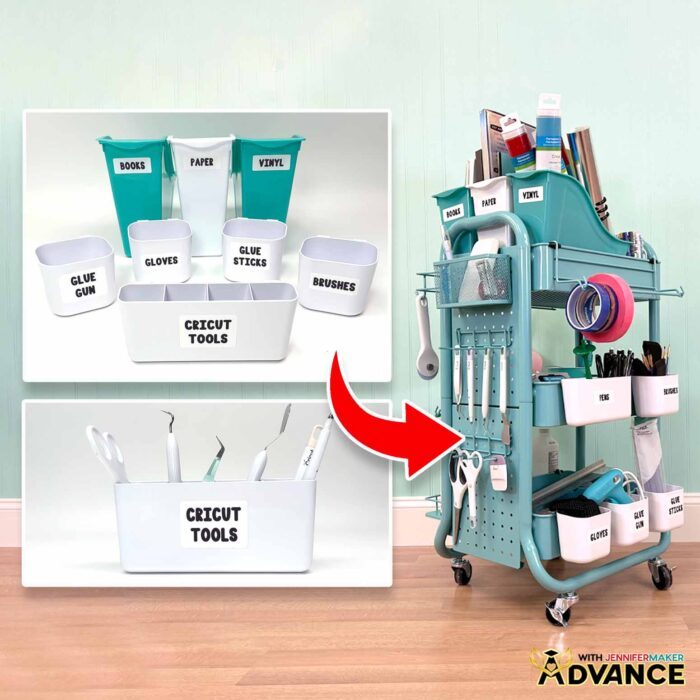
4. TAG
Labels are the step that makes the system stick. When everything has a name, everything has a home. Cleanup gets faster because you don’t have to think: you just put things back. You can handwrite labels, purchase them, or make your own, whatever works best for you. If you have a Cricut, I can show you how to make filled in labels in my Advance program! Click here to learn more about the Advance program!
So while I’m showing you how to organize a craft cart in the video, you’re really learning a repeatable way to organize any craft space you have, and keep it organized so you can get back to making. Once you know the PACT system, you can use it anytime your space and art materials start to feel chaotic. You don’t need a full day to reorganize your whole craft life. You can PACT one small area and feel better immediately. It’s one of the best ways to stay in control and creative!
Do you want to learn how to organize a craft cart? Let me show you the perfect solution! This post contains some affiliate links for your convenience (which means if you make a purchase after clicking a link I will earn a small commission but it won’t cost you a penny more)! Read my full disclosure policy.
Materials To Organize a Craft Cart
View my Amazon shopping list with the items I used and some alternatives.
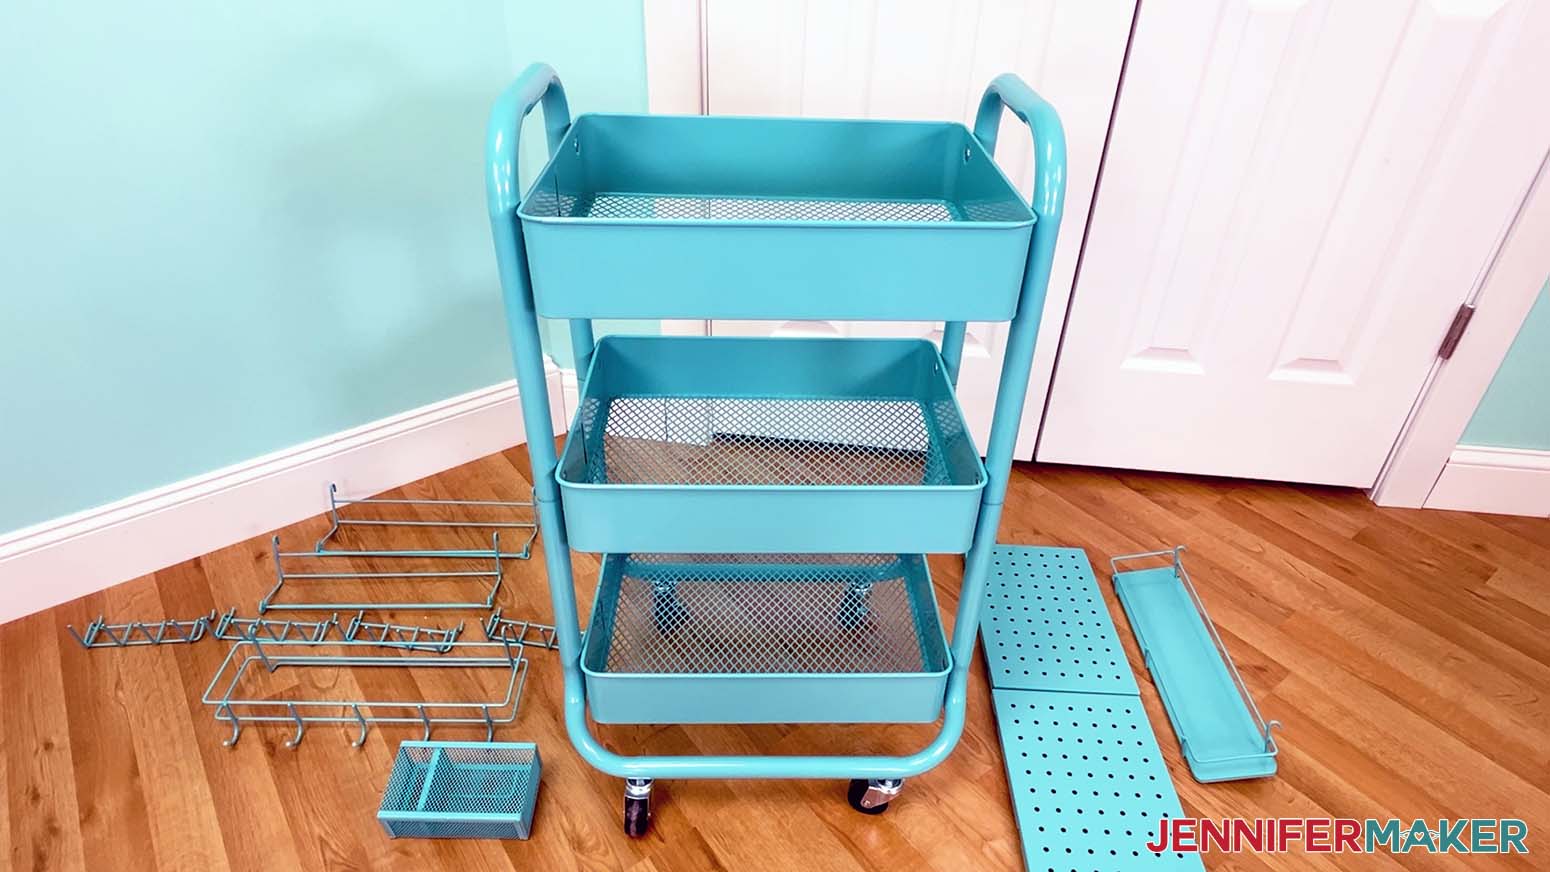
- Craft cart with organizing accessories OR
- A cart with hooks craft cart OR
- A plain craft cart AND
- Cart organizing cups
- Hanging organizers
- Recycling bin
- Cleaning wipes
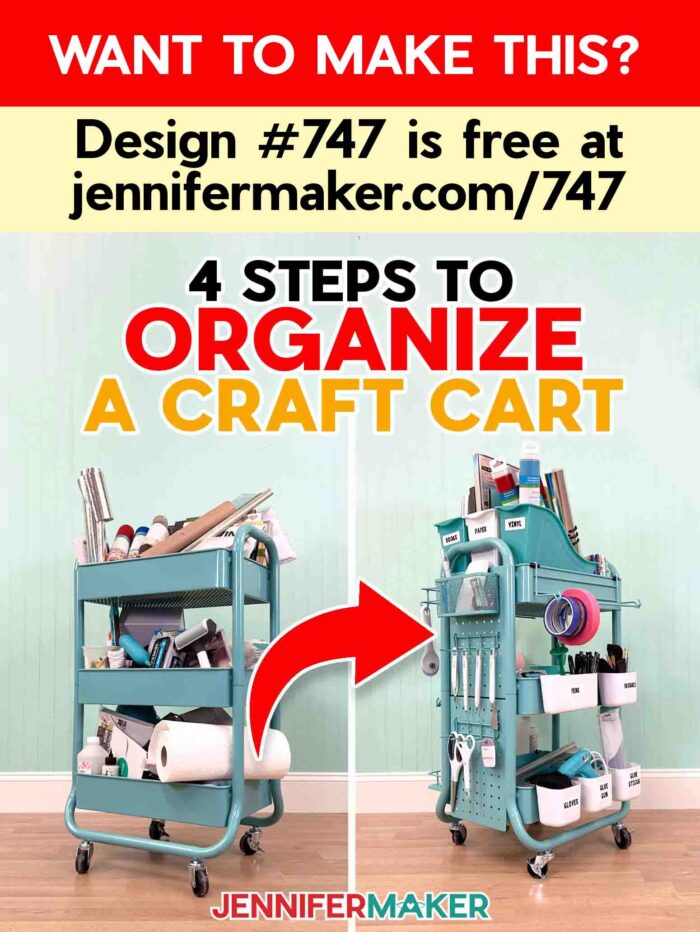
- Design #747 (My free PACT system cheat sheet is available in my free library – get the password by filling out the form at the bottom of this page)
How To Organize A Craft Cart
Organize A Craft Cart Using The PACT System
Learn how to use my PACT system to organize any space!
Tools
Instructions
Need to get control of your craft materials? Try my PACT process. That stands for Purge, Assess, Contain, and Tag. I'll demonstrate the steps on my craft cart, but you can apply them to any area, from a toolbox to a full room!
OPTIONAL: GET MY FREE PACT CHEAT SHEET
First, download my PACT System cheat sheet from my free library – look for Design #747. Alternatively, you can use the Save This Project form near the top of this post and the design link will be emailed to you.
TIP: If you’re not sure how to download Zip files, go to jennifermaker.com/svgs.
STEP 1: PURGE
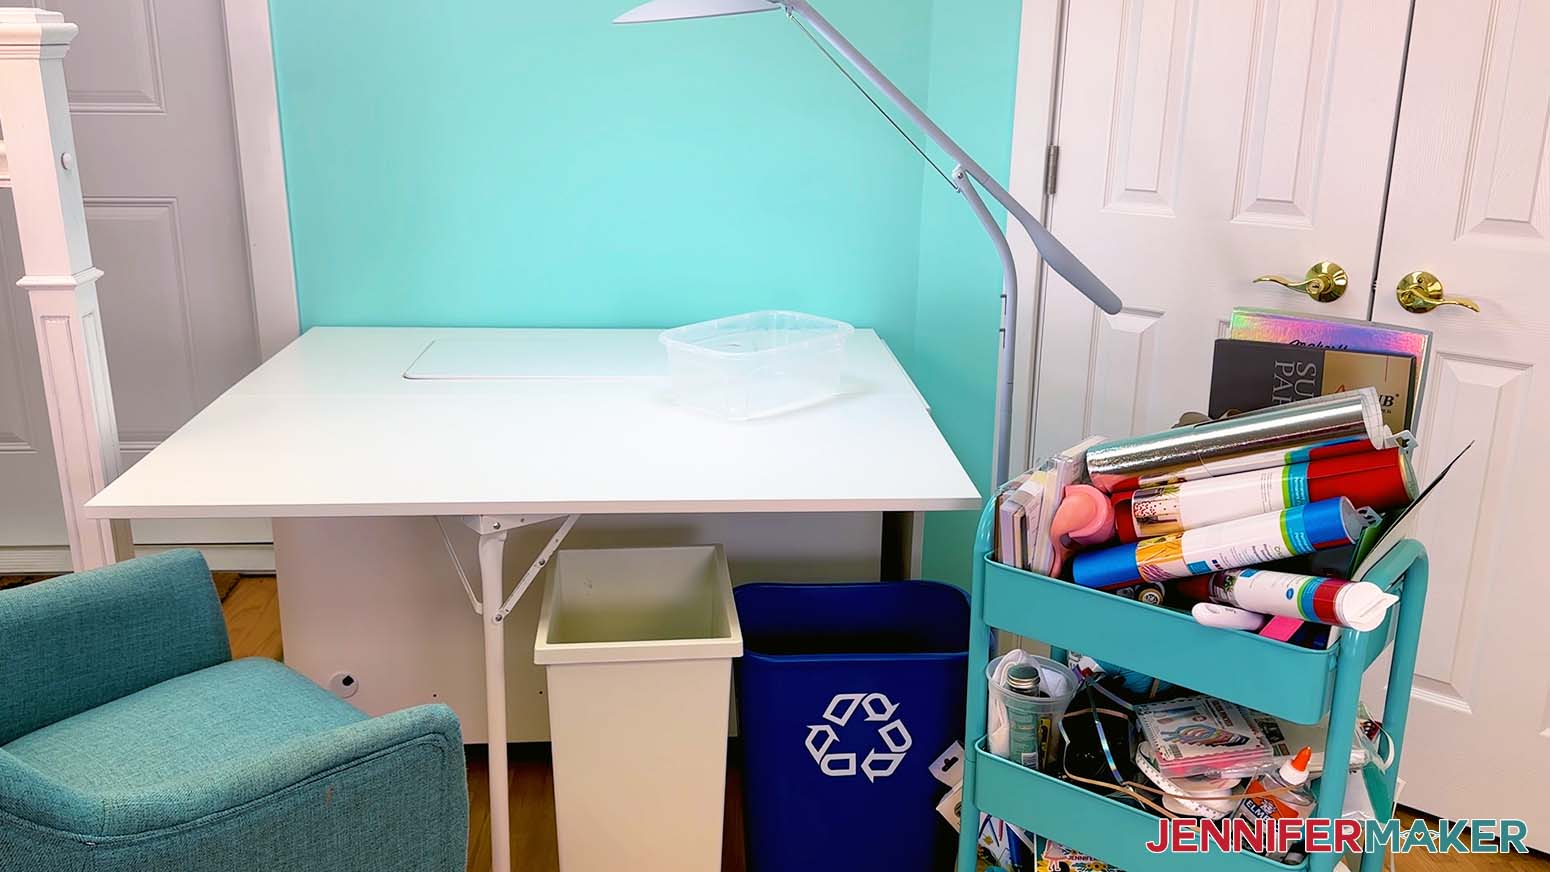
- Move your cart somewhere with space to spread out.

- Gather a trash bag, recycling box, and a bin for items that don’t belong (called the OYNCS bin—"Out, You Not Crafty Stuff!").
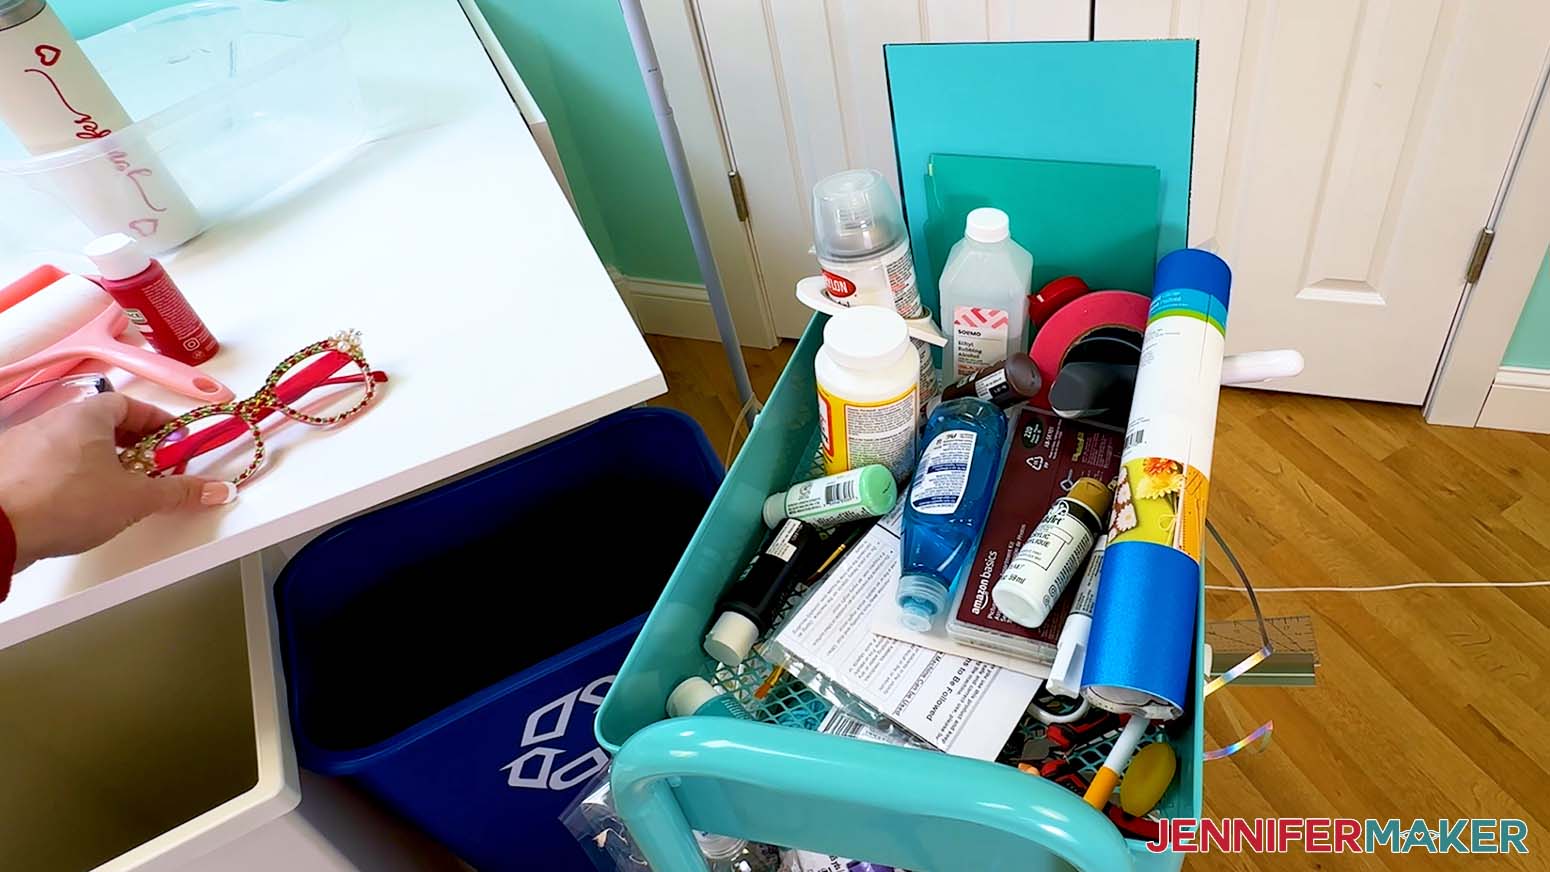
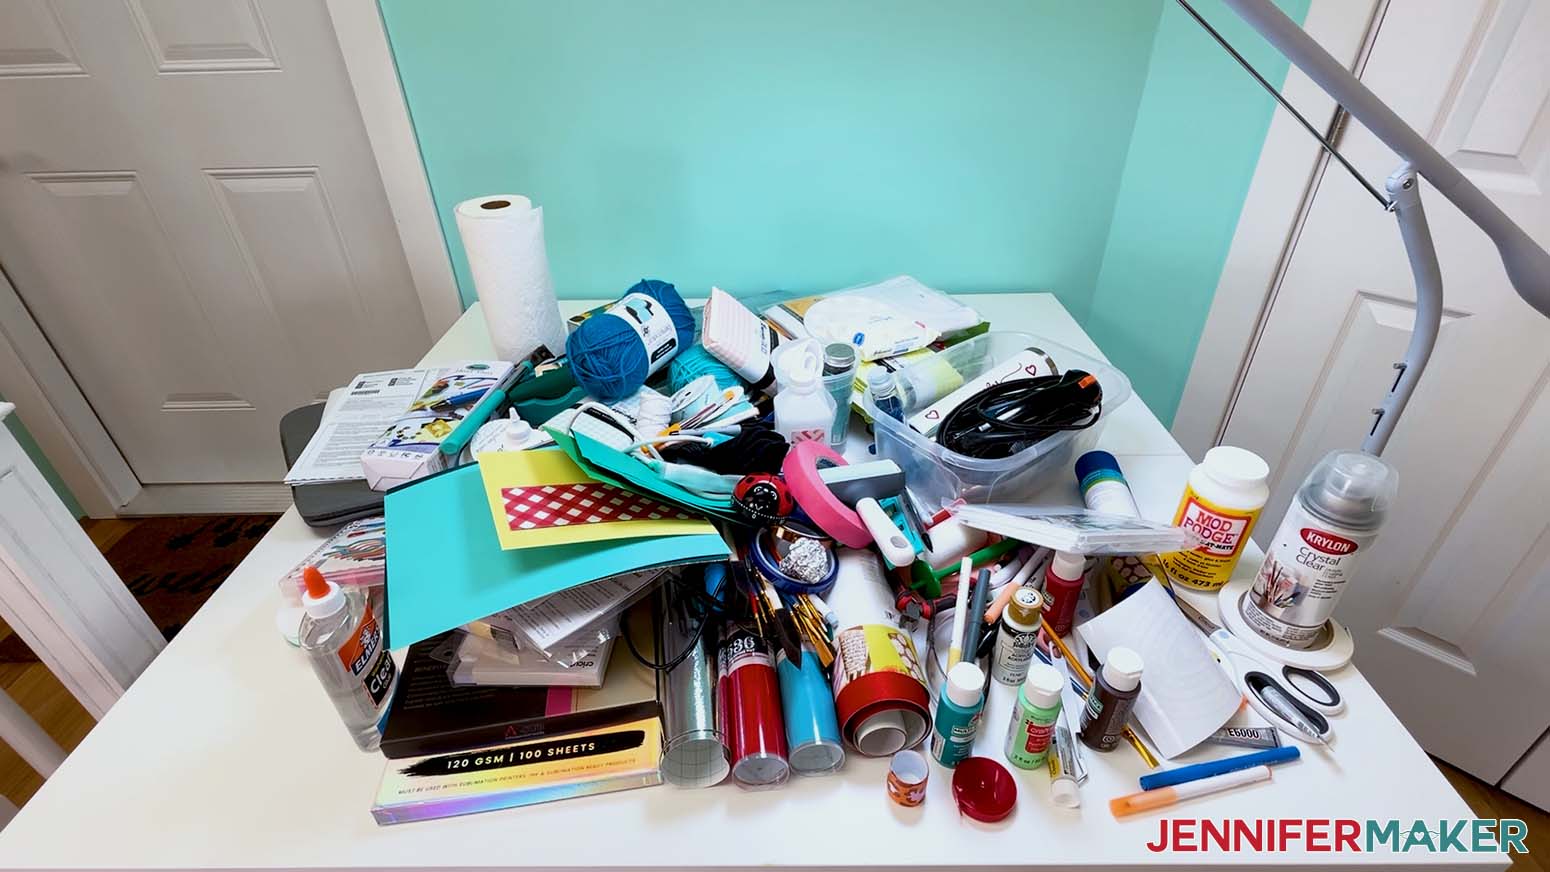
- Take a good look and see what you're starting with, then start small for some quick wins by removing obvious trash, like anything broken.
- When you find an item that doesn't belong in the cart, put it in the OYNCS bin.
TIP: I use this bin instead of putting items in the correct spots to stay on task. If you get up every time you need to rehome an item, it's much easier to get distracted and lose momentum. - Remove one tier's worth of items, asking yourself: “Does it belong here?” “Is it trash or OYNCS?”
TIP: Once you've got the process down, you can empty the entire cart or work in manageable batches. - Keep tossing trash or relocating OYNCS items until you have what you think needs to go back in the cart.
NOTE: We're not done narrowing down items, but this is a start! - Take a break, grab a snack, or give yourself a pat on the back to celebrate your progress!
STEP 2: ASSESS
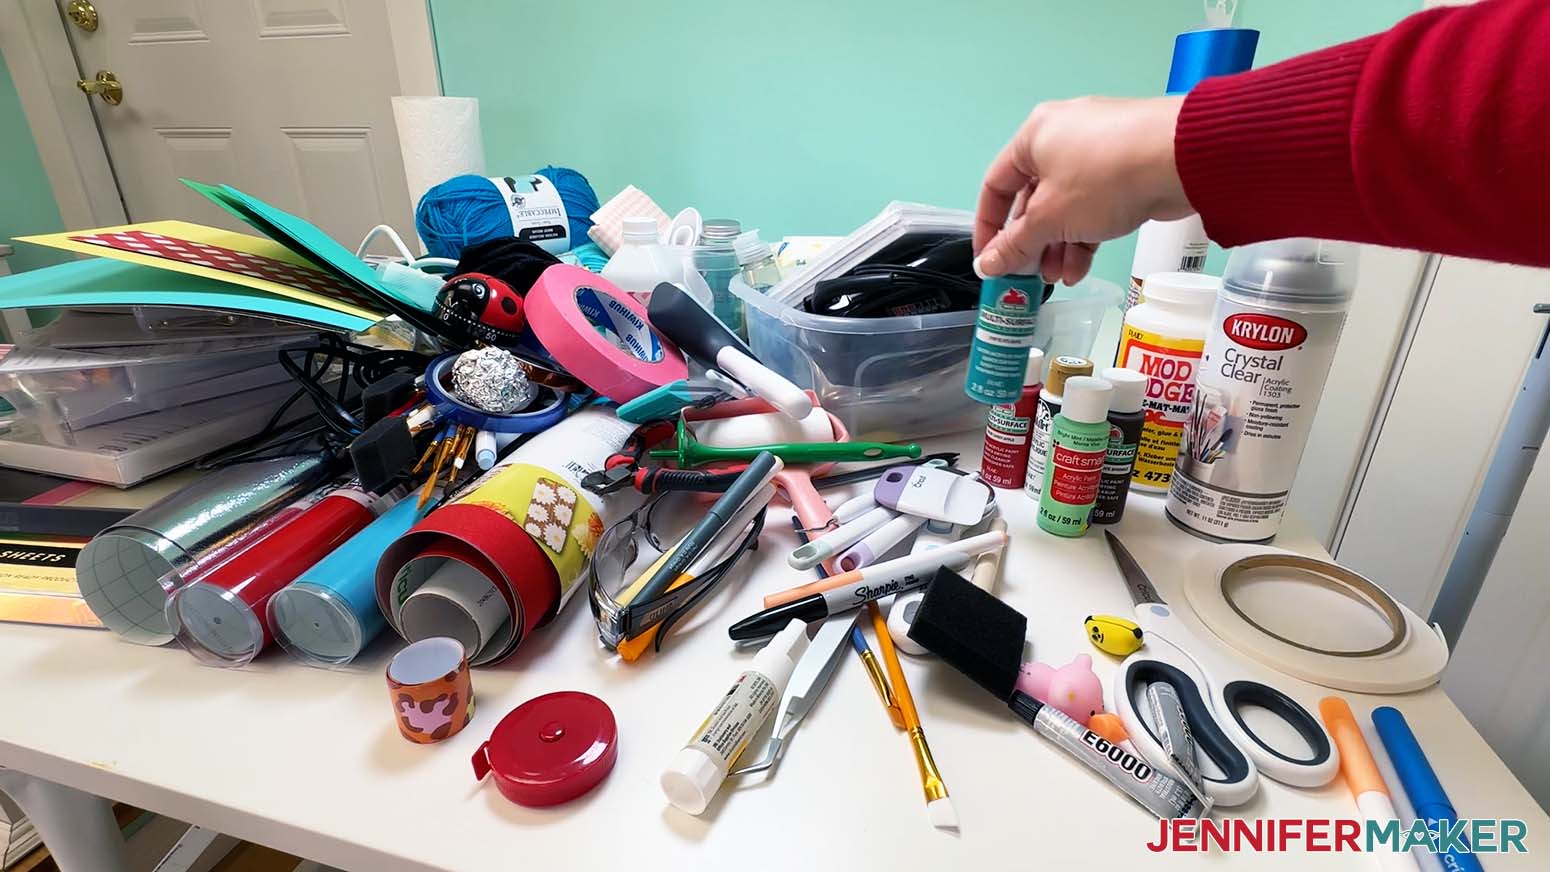
- Group like items by category: paints with paints, cardstock with cardstock, etc.
- Notice duplicates, items that take too much space, or aren’t used and set them aside.
- Check pens, paints, and tools, tossing or replacing old ones.
- Ask the hard questions:
“Do I really need this?”
“Does it belong in my craft space?”
“Will I use it within a year?”
If the answer to any is no, it’s time to donate, store elsewhere, or discard that item.
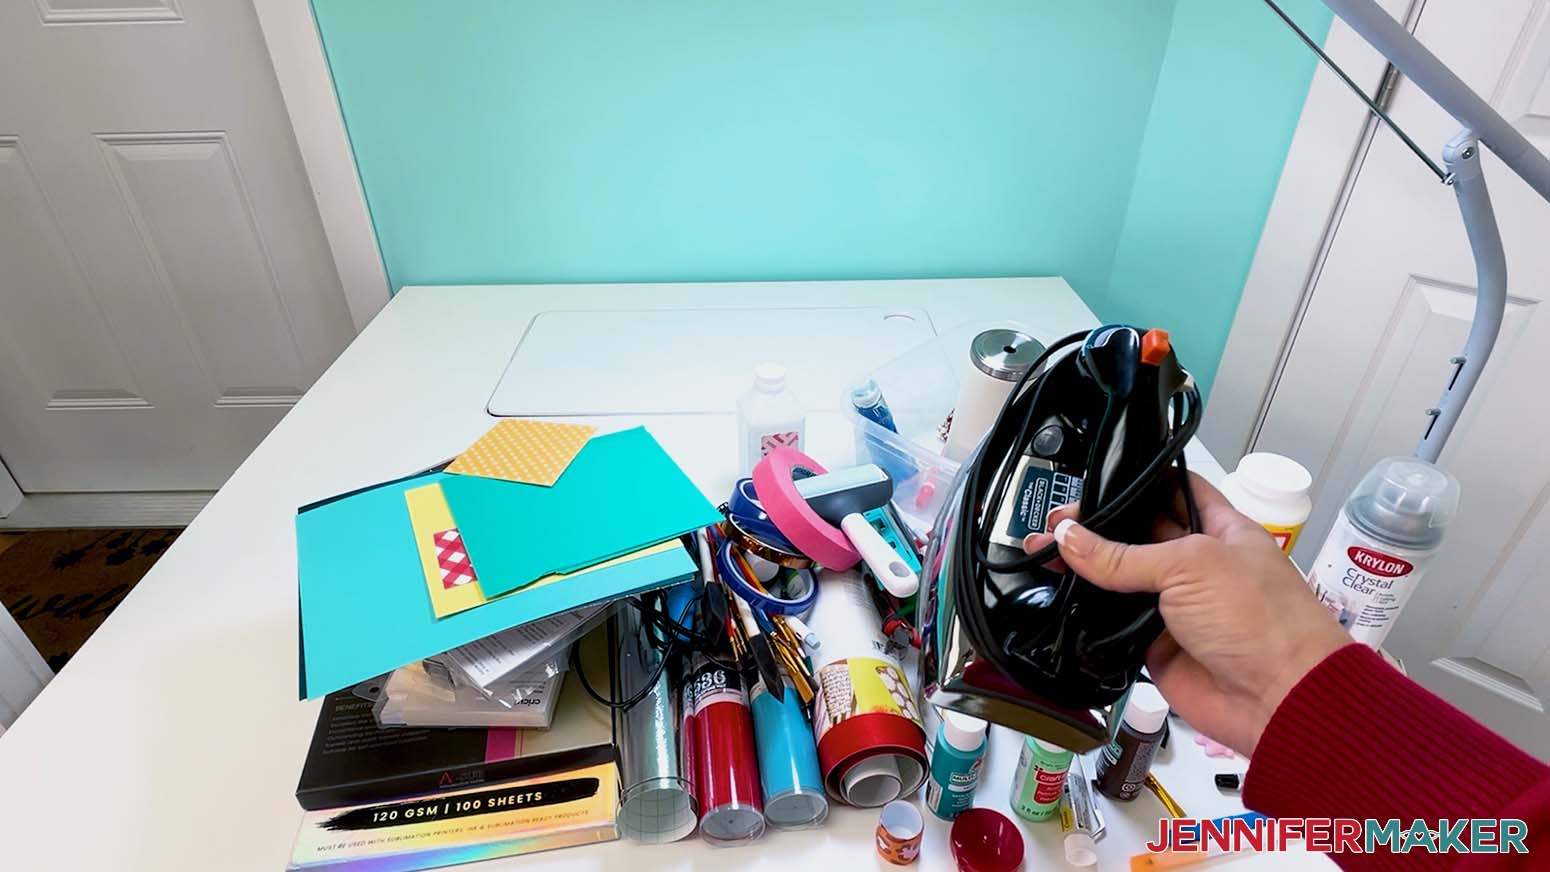
NOTE: I realized I don't use my iron for crafting very often and it takes up a lot of space in the cart, so I rehomed it to the laundry area. - Make bins for "Donate," "Relocate," and "Undecided" items to work on after your cart is finished.

STEP 3: CONTAIN
- Clean the cart and give it a wipe down to enjoy the clean slate you're starting over with.
- Plan your layout by thinking about what crafts you do most.
- Group materials you use together often.
- Decide if you want to organize by technique or frequency of use.
- Add bins, dividers, or pegboards to help with organization.
- Reload the cart by placing heavy items on the bottom, medium in the middle, and light or frequently used items on top.
TIP: Take your time. Be willing to rearrange as you go


STEP 4: TAG
- Use handwritten tags, a label maker, or your Cricut to create labels for bins and areas so it's easier to find and put back your supplies.
BONUS: STAY TIDY AND CELEBRATE
- Do a quick 2-minute tidy before and after each craft session to remove trash, rehome stray items, and reset your space.
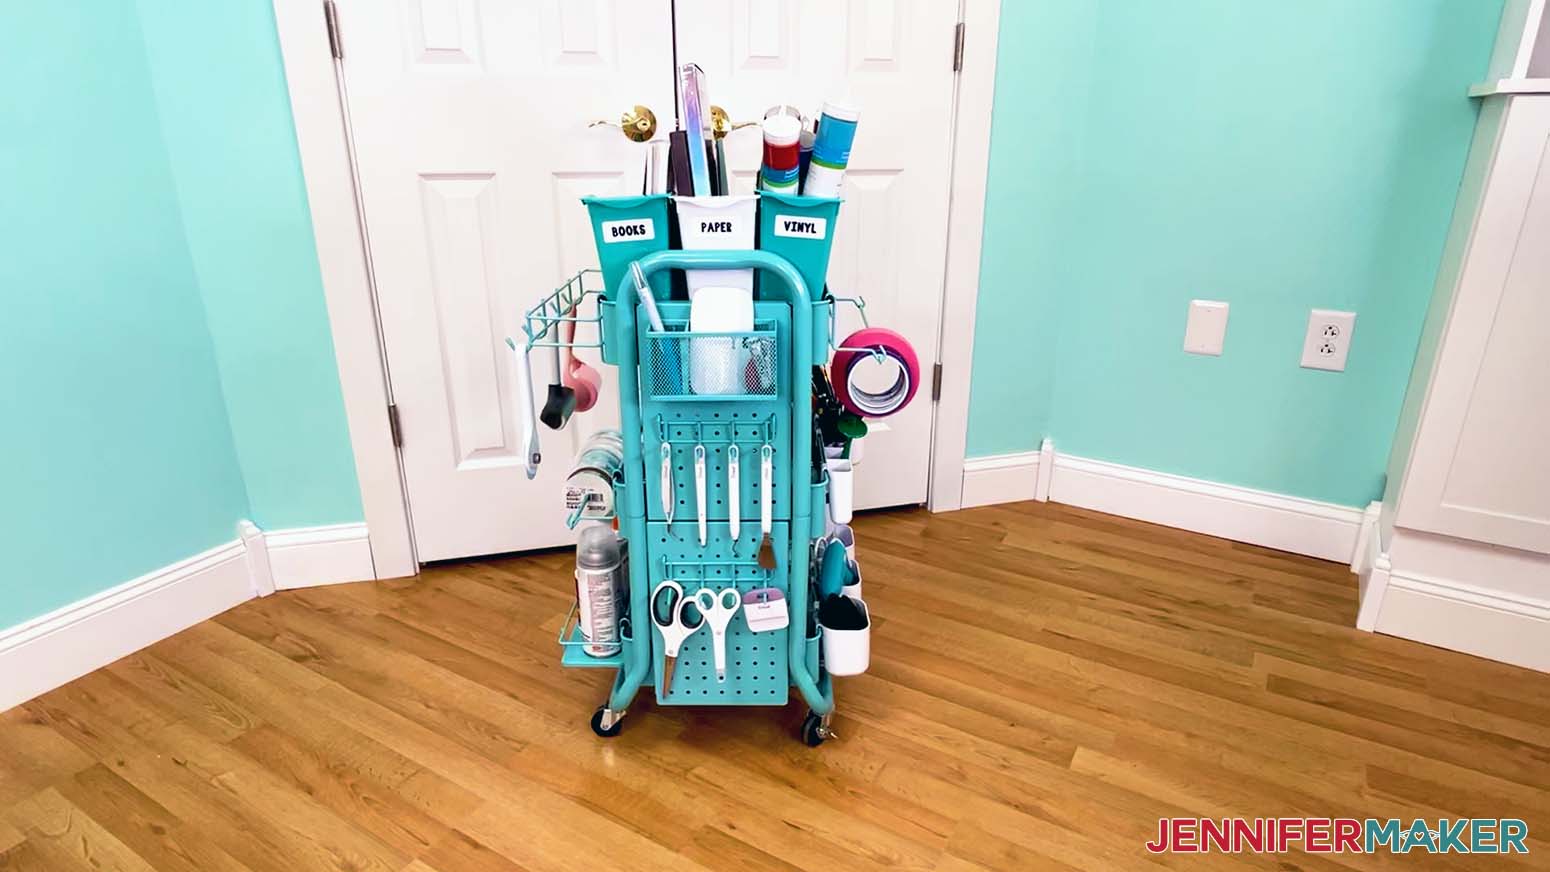
- Enjoy your organized cart that is so much easier to use!
Answers to Your Questions About How To Organize A Craft Cart
Q: Is there a way to create custom labels for my cart?
A: You can learn how to create your own customized label designs in my ADVANCE program. Learn more about ADVANCE here!
Q: Do you have tips on how to organize a craft cart with drawers?
A: Yes! I recommend using my Purge, Assess, Contain, and Tag (PACT) system to organize your craft cart drawers. It’s also a great option to organize other small spaces and even entire rooms!
Get my free cheat sheet to help organize a craft cart!
(If you do not see the signup form above, click here.)
I absolutely love seeing how you organize your craft spaces! Once you’ve applied the PACT system to your area, inspire others and share a photo of your results in our Craft Room Organization Facebook group or tag me on social media with #jennifermaker.
Love,

Want to remember this? Save this tutorial on How To Organize A Craft Cart to your favorite Pinterest Board!