
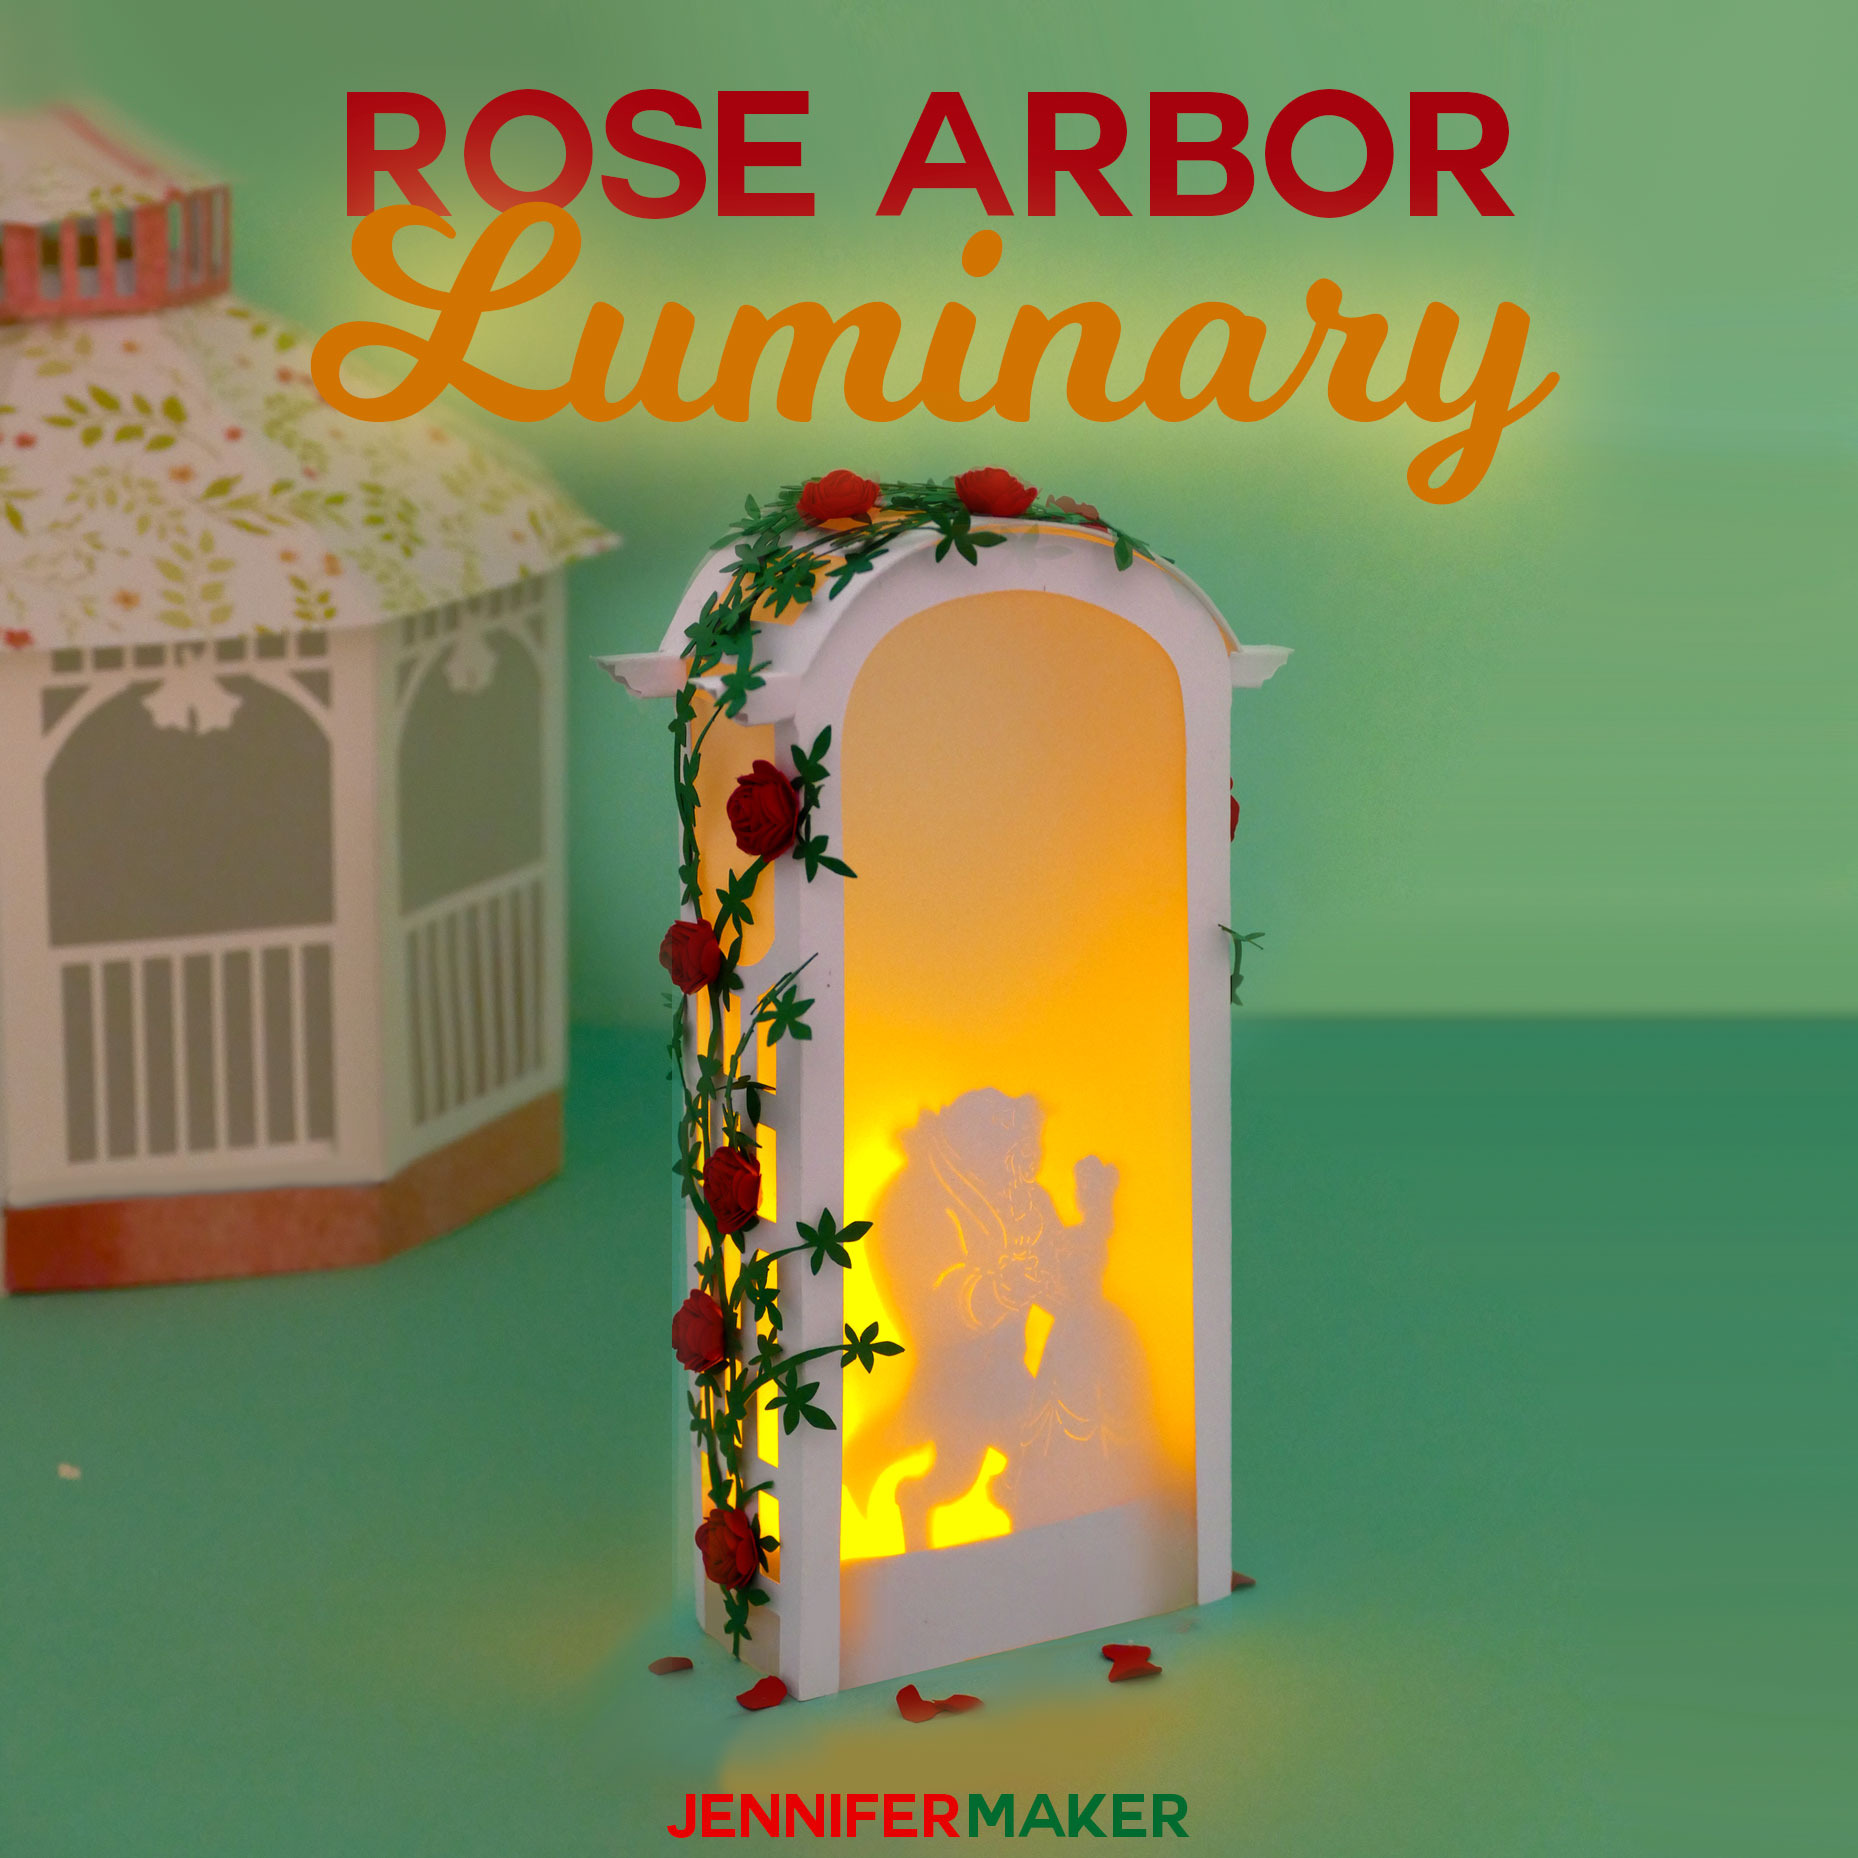
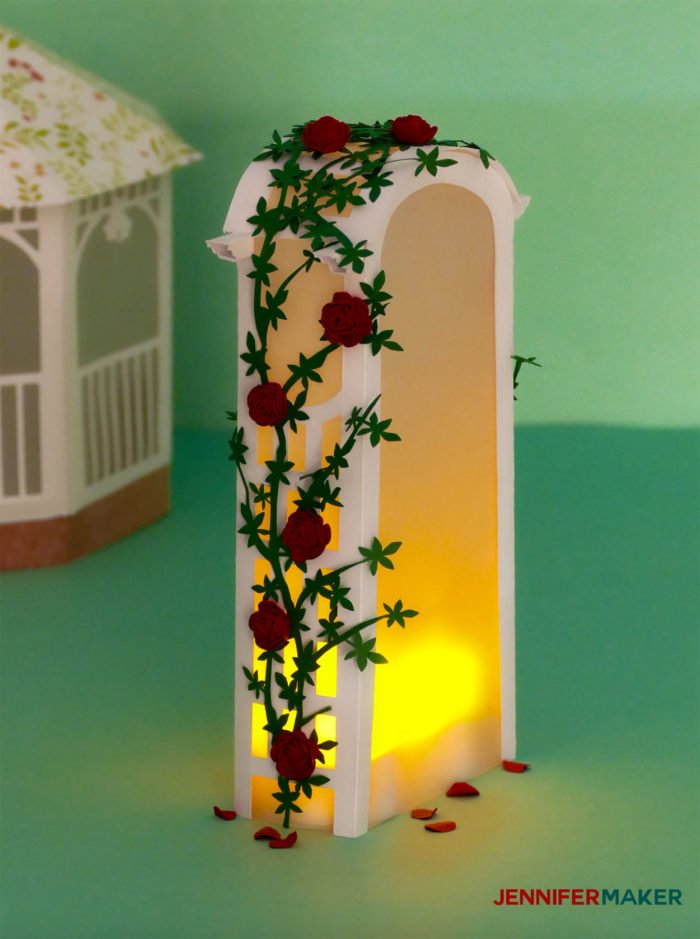
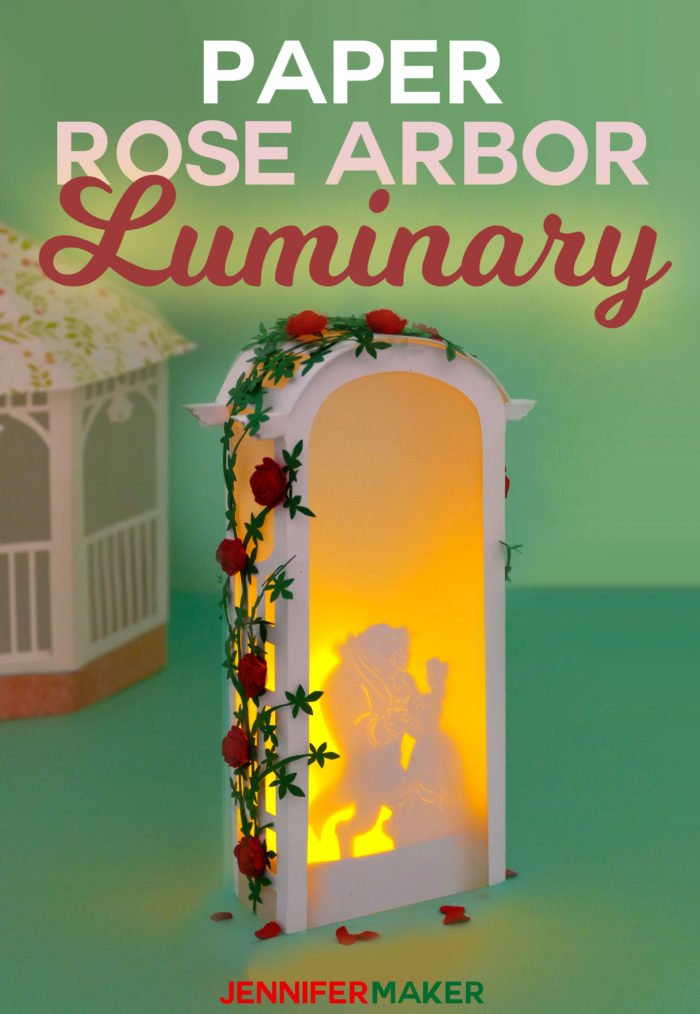
Make this beautiful paper rose arbor that is also a pretty luminary. This paper lantern would be perfect for a wedding, romantic centerpiece, or even just a little farmhouse decor.
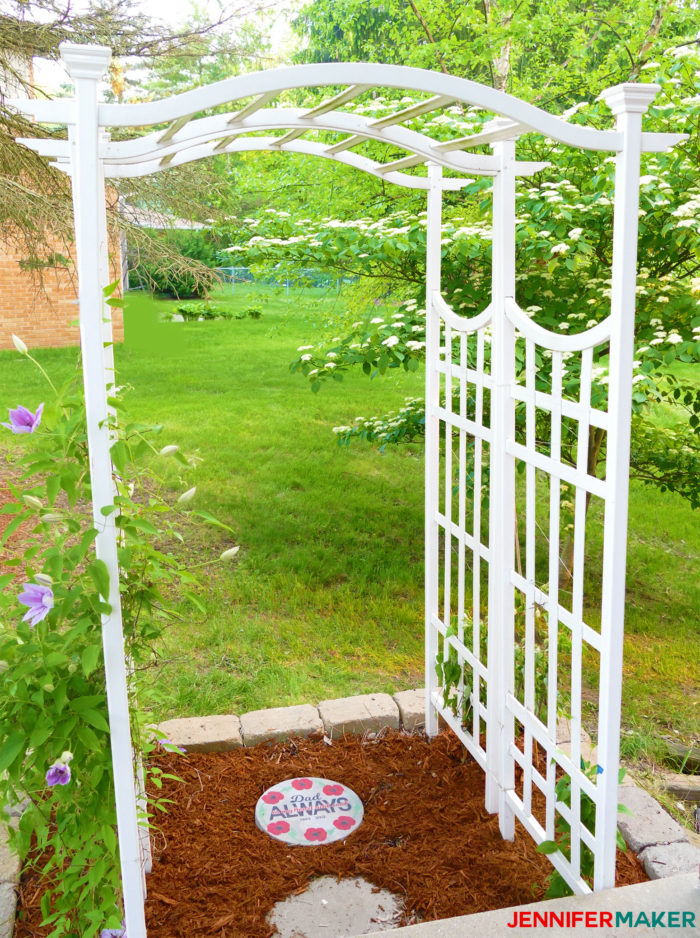
A few years ago we built a pretty arbor on the side of our house. It’s where I put the stenciled stepping stone I made in my father’s memory, and it’s right next to the DIY retaining wall in our front yard. For those not familiar with this term, an arbor is a shady garden alcove with sides and a roof formed by trees or climbing plants trained over a wooden framework. I love my arbor — it’s so pretty and peaceful! So I decided to immortalize this arbor by turning it into a paper rose arbor luminary so EVERYONE can have an arbor!
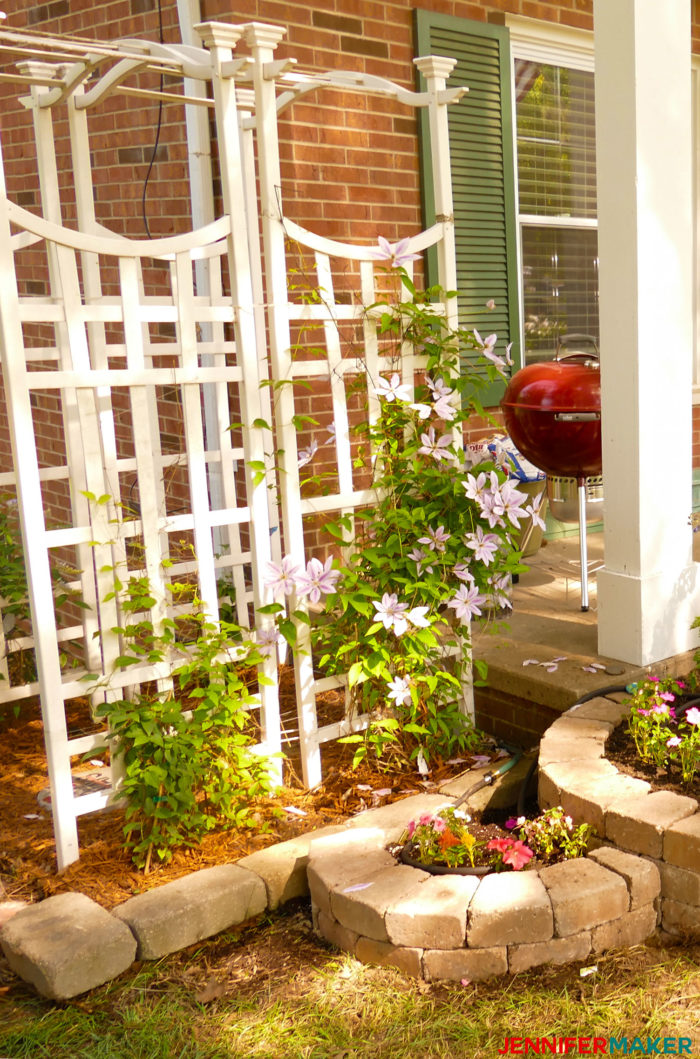
Here is my REAL arbor… (yes, I put two arbors next to one another because I wanted a larger space).
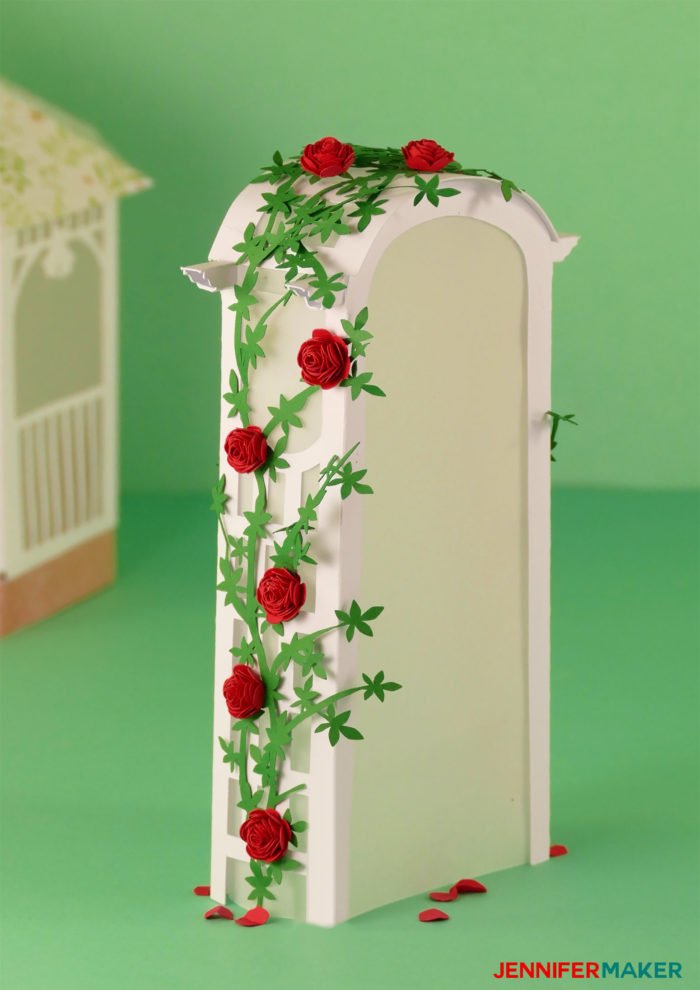
And here is my paper rose arbor…
Here’s what the paper rose arbor luminary looks like with the lights on inside…
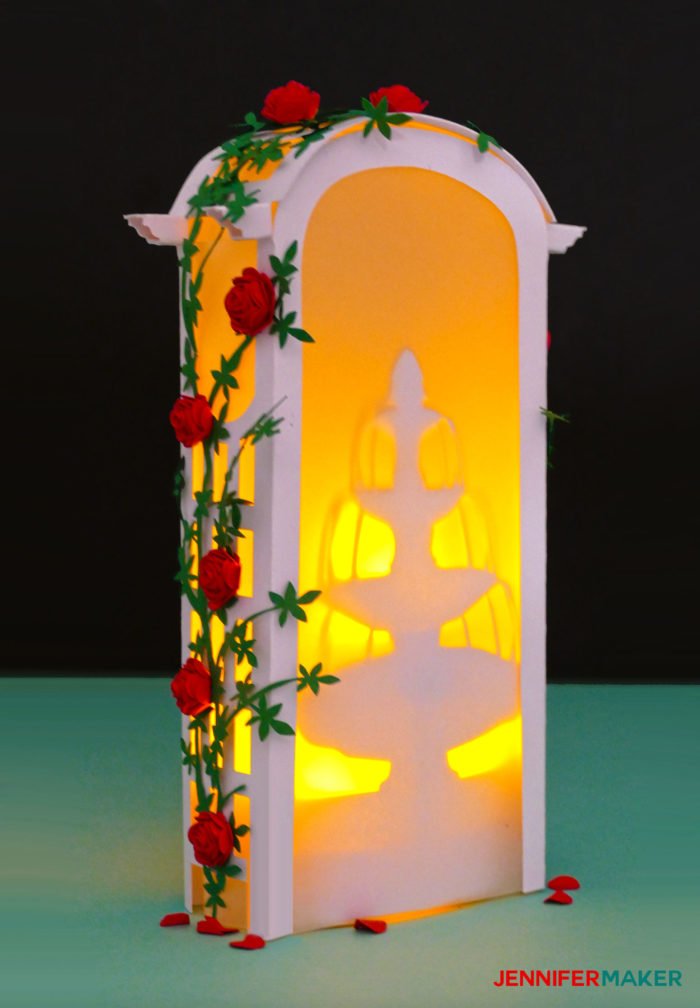
And, of course, that big open space inside the arbor is perfect for decorating. So what I’ve done is make some alternate versions with silhouettes under the arbor’s arch — an old couple sitting on a bench, some lovebirds, and a water fountain. Here’s the fountain silhouette:
My readers also suggested a Beauty and the Beast silhouette! I think this is a lovely idea, but I can’t provide the silhouette as that is copyrighted. There used to be a perfect silhouette of Beauty & the Beast for purchase in Cricut Design Space (but is no longer available – sorry!). So here’s what the paper rose arbor looks like with that royal Disney couple:

Even though I cannot provide a free SVG file for the Beauty & the Beast silhouette, I did prepare the Beauty & the Beast silhouette for you in Cricut Design Space, all ready to cut — you’ll find a link to it with the other variations when you complete the puzzle! Puzzle, you say? Read on to learn how the puzzle works…
Like all of my luminaries and lanterns in my “Make the Light” project, this DIY rose paper arbor contains a puzzle. If you solve it successfully, you’ll unlock the extra design variations for the paper arbor. So to get this deluxe version, download the basic version from my resource library, upload it to your favorite design software (such as Cricut Design Space), and look carefully at the design. Count how many RECTANGLES you see, big and little (and on all layers. Type your answer as a number (not a word) at this page: Rose Arbor Luminary Access
>> Enter the Luminary’s Secret “Password” at This Page <<
So let me show you how to make a paper rose arbor luminary. This post contains some affiliate links for your convenience (which means if you make a purchase after clicking a link I will earn a small commission but it won’t cost you a penny more)! Read my full disclosure policy.
Materials for the Paper Rose Arbor Luminary
- Two sheets of white 8.5″ x 11″ 65lb., 110 lb. or Kraft cardstock
- One sheet of green 8.5″ x 11″ 65 lb. cardstock
- Two sheets of 8.5″ x 11″ vellum
- Tacky glue
- Cricut LightGrip Mat
- Cricut StandardGrip Mat
- Cricut Fine-Point Blade
- (Optional) Bone folder
- (Optional) Pointy tool for hard-to-reach places
- (Optional) Miniature paper roses (about 24)
- (Optional) Beauty & the Beast silhouette (no longer available for purchase from Cricut — sorry!)
- LED tealights to put inside your lantern
- (Optional) Tape to keep your tealights together
- A way to cut your paper (I used a Cricut)
- Design #106 – My free SVG/DXF cut file/pattern (available in my free resource library—get the password at the bottom of this post)
How to Make Your Paper Rose Arbor Luminary
Step 1: Get my Free Paper Rose Arbor Luminary SVG File
Download the paper rose arbor pattern (Design #106) for this project from my free resource library. (Get the password to the library in the form at the bottom of this post).
Step 2: Prepare Your Paper Rose Arbor Design File for Cutting
First, upload the paper rose arbor SVG file to Cricut Design Space and place it on your canvas.
If you’re not sure how to upload an SVG cut file to Cricut Design Space, watch this helpful video training series I made. If you’re on an iPhone or iPad, here’s how to upload SVG files to the Cricut Design Space app.
There are several layers of lines that need to be converted to score lines. So either convert those or remove those layers entirely. If you convert them to score lines, you also need to attach them to their respective layers. Here’s what it looks like when everything is attached properly. (Tip: Click on this image to see it at a larger size.)
Need help with the scoring lines? Check out my tutorial on Cricut Scoring, Grouping, and Attaching!

Step 3: Cut out your Paper Rose Arbor Design
For the cardstock cuts, I used Medium Cardstock with More pressure using my fine-point blade and the green StandardGrip Cutting Mat.
For the vellum, I used the Blue LightGrip Mat.
(If you have any issues cutting, check out my Cutting Problems Guide because it tells you all the tips I use to get clean cuts consistently http://jennifermaker.com/blade-tips)
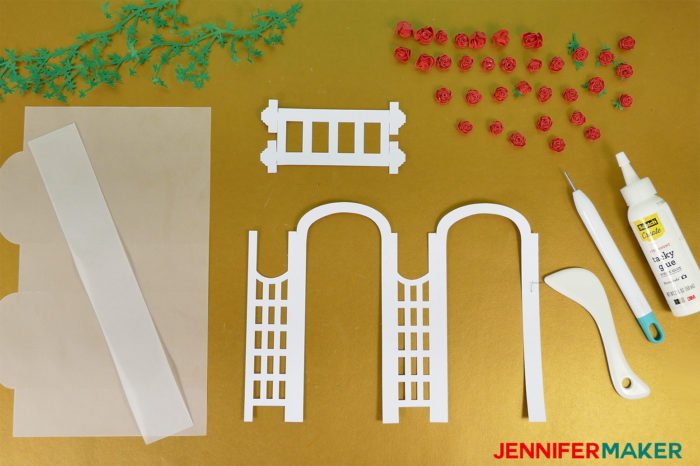
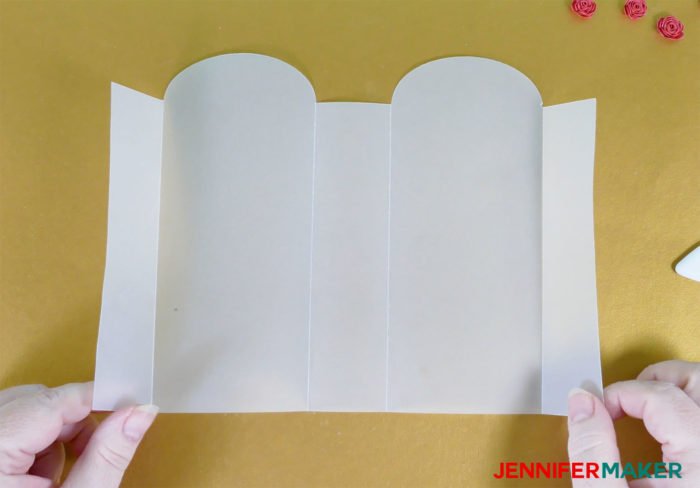
Here’s what your pieces will look like cut out:
Step 4: Assemble Your Paper Rose Arbor Luminary
Start by folding your vellum. The vellum will diffuse the light and give your luminary a nice glow.
Here is the folded vellum:
Glue along one side (outer edges only) as shown below.

Fold the vellum in half so one end covers the glued end. Allow to dry.
Square up the vellum and you’ll have something that looks like this. This is your luminary insert.
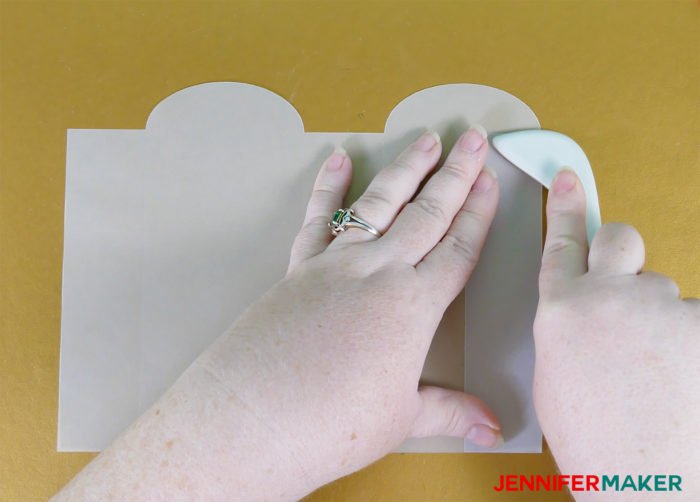
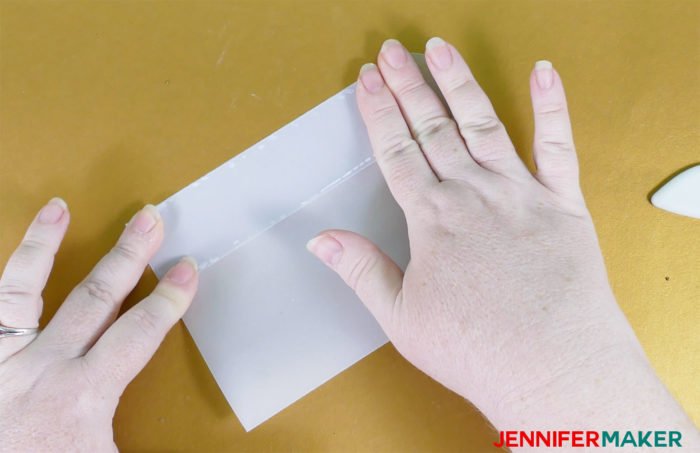
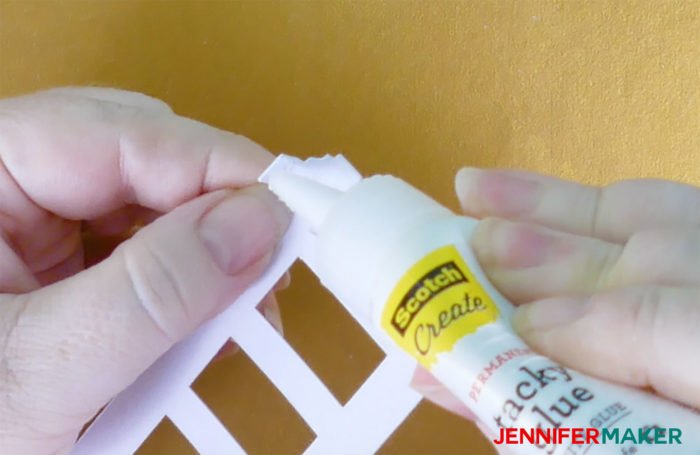
Now fold the frame of the paper arbor.
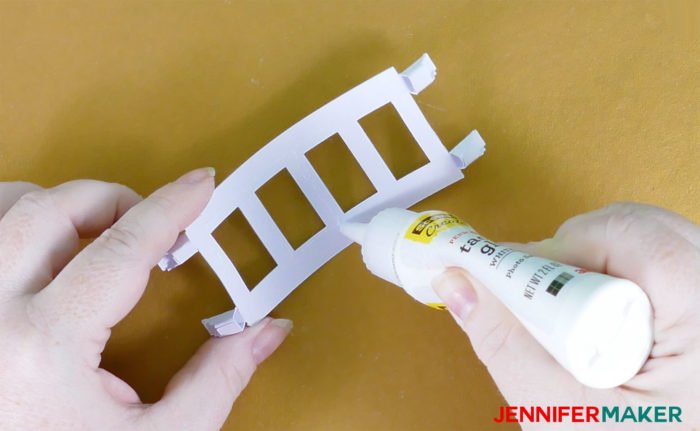
Glue one end of the paper arbor.
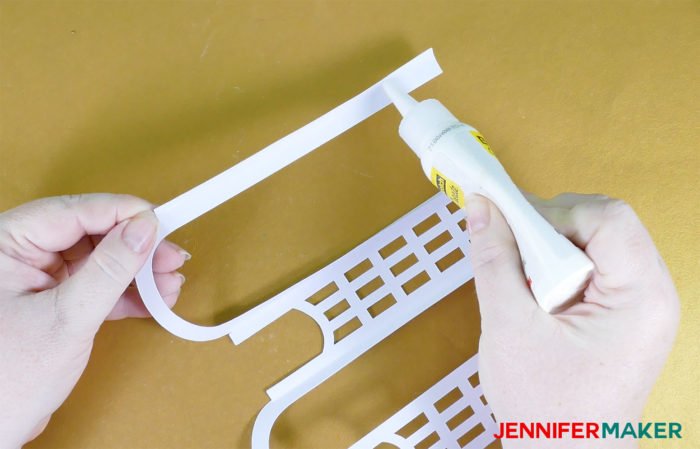
Fold the paper arbor in half so one end is over the glued end.
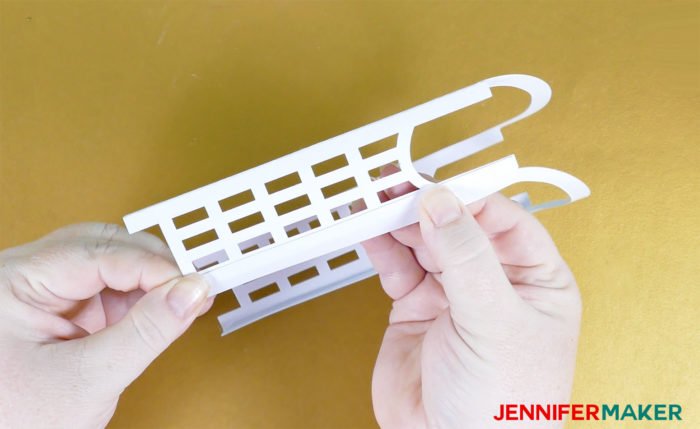
Square up your paper arbor so it looks like it should!
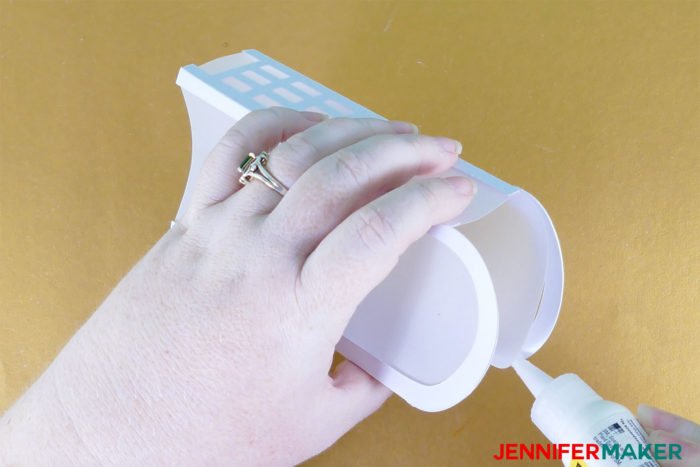
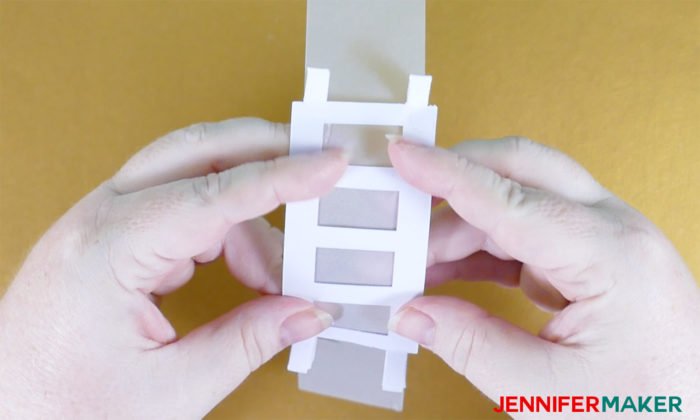
Slide your vellum insert into your paper arbor.
Glue the top edges of the vellum insert to the top of the paper arbor frame on both sides.
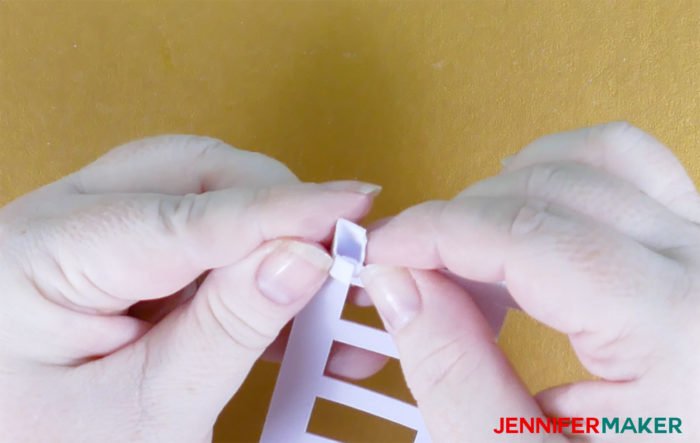
Now, fold the top of the arbor. I designed this so you could fold each of the four points to look like they were more or less solid.
Once each end is folded, put a little glue on one side.
Glue the ends of the points together so they look like this.
Bend your top into a curve then push the points up a bit, like I’m doing here.

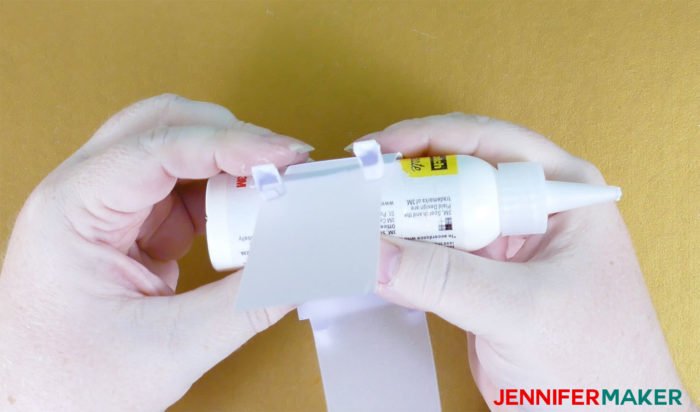
Now, put some glue on the paper top — I put my glue on all four sides, plus the bars in the middle. (No glue goes on the points.)
Center the strip of vellum on the glued side of the top, preserving the curve.
To make sure the paper top dries with the curve, wrap it around your glue bottle (or something similar) and press and hold.
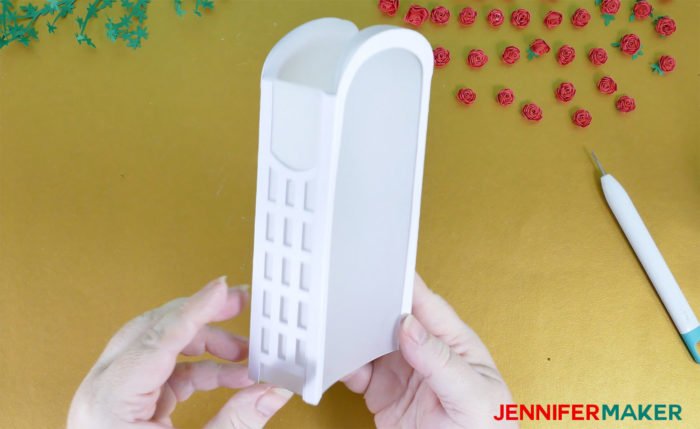
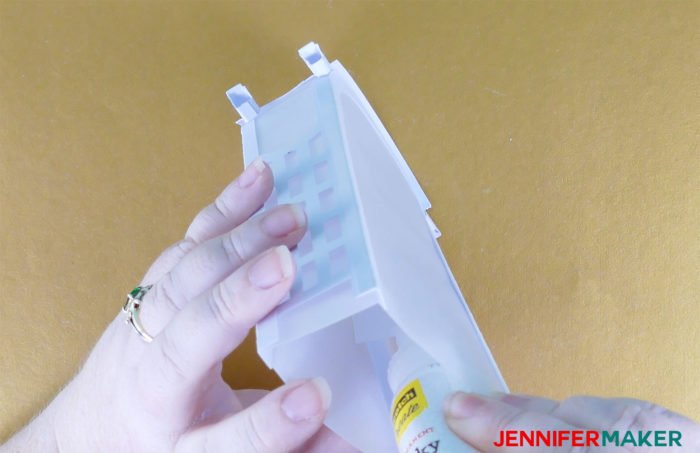
Slide the top into the paper arbor — the vellum sides that hang down go INSIDE the arbor.

Glue the vellum sides to the arbor itself to keep it in place.
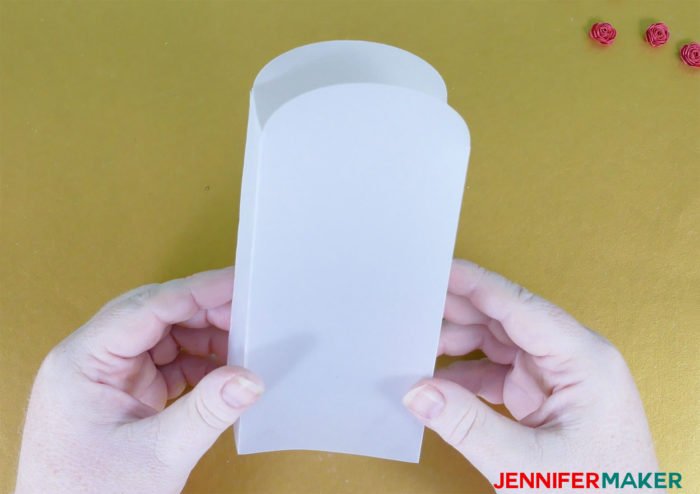
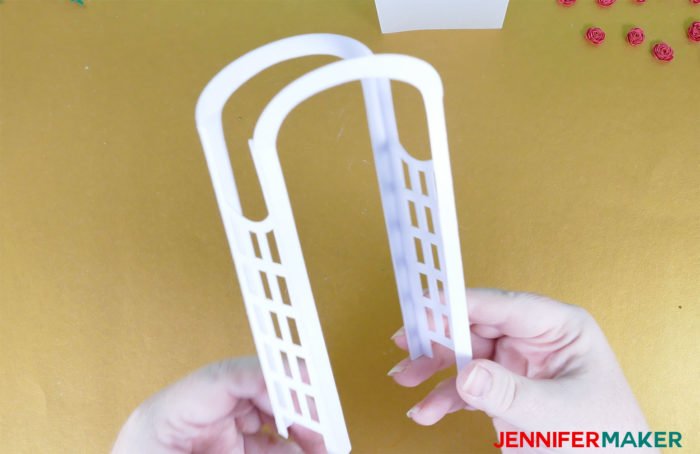
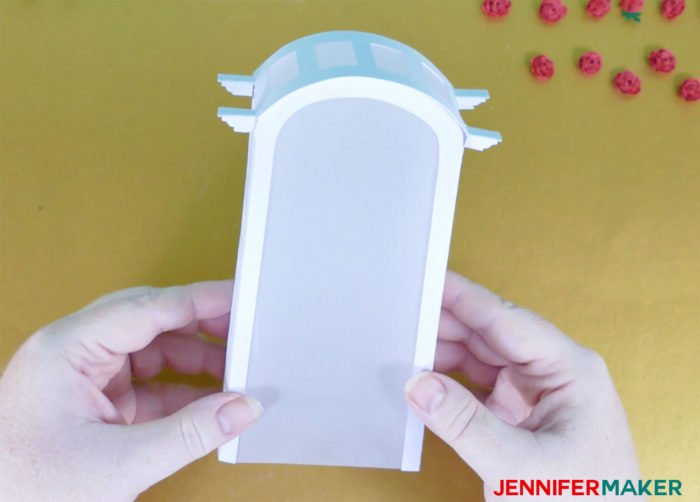
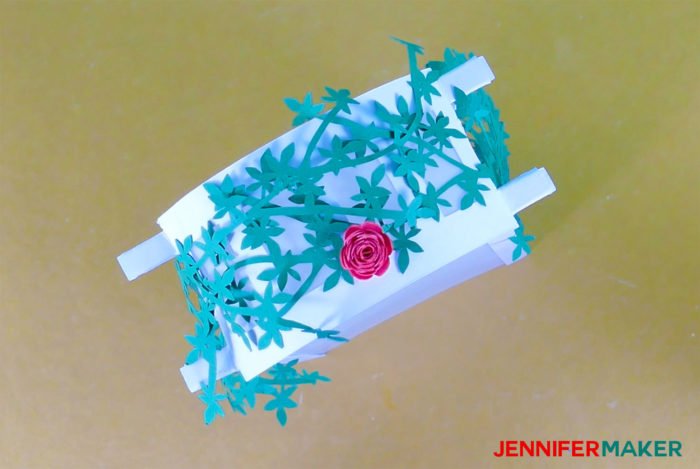
Here’s the completed paper arbor!
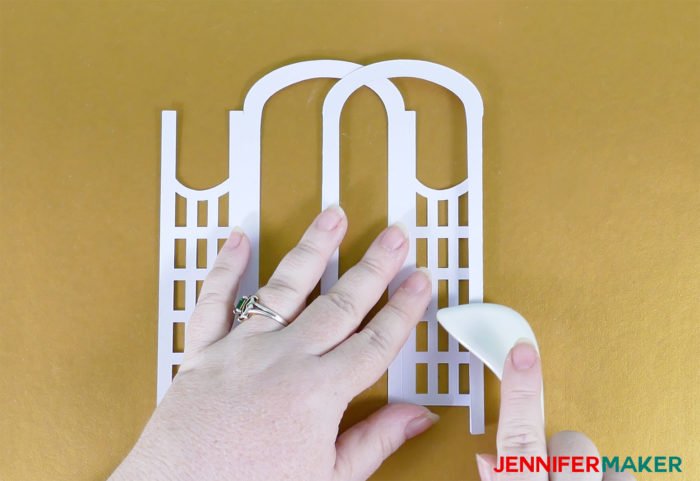
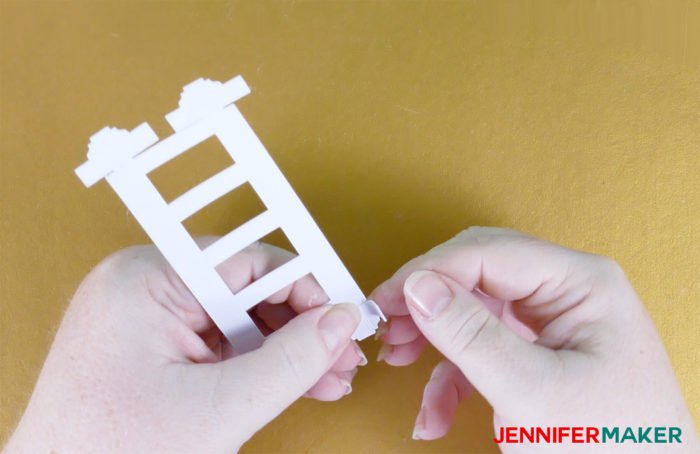
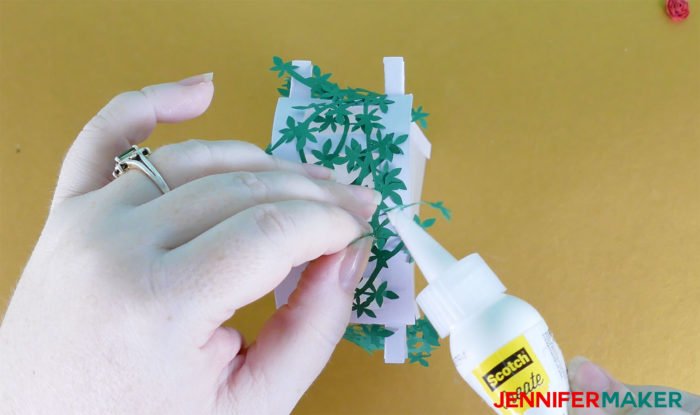
Glue your paper rose vines to the sides of your arbor. The little stem goes at the base.
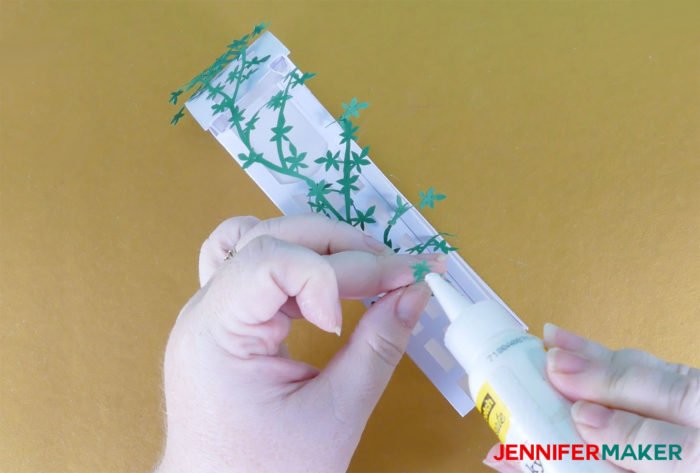
Also, glue the tops of the paper vines to the top of your paper arbor.
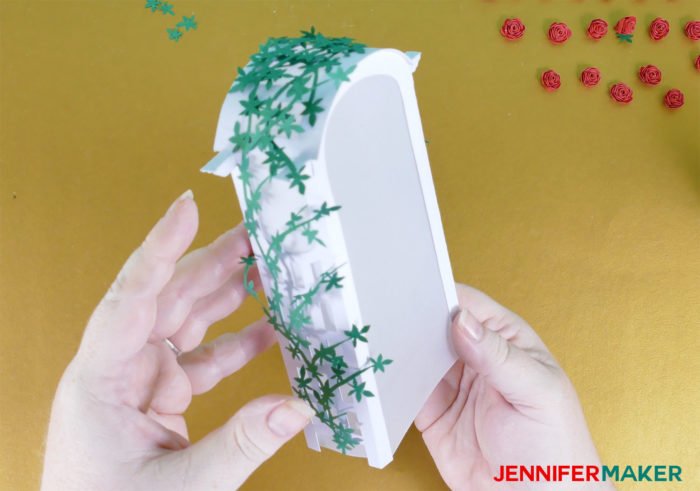
Here’s the paper arbor with its paper vines.
If you want to add roses, make them using the tutorial at Make Miniature Paper Roses. Glue the bottoms of each blossom.
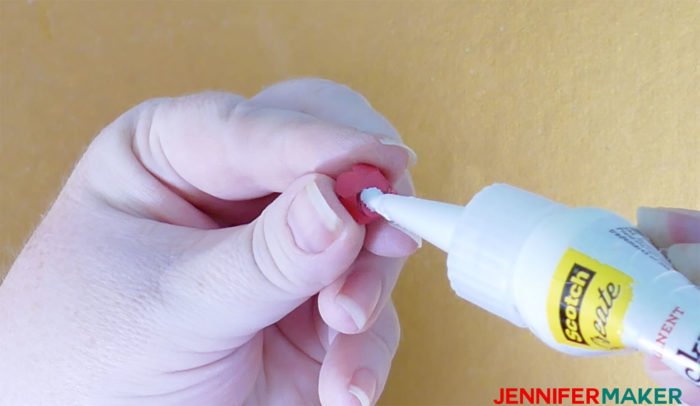
Place the paper roses onto the paper vines. Press and hold so the glue dries in contact with the vine and arbor.
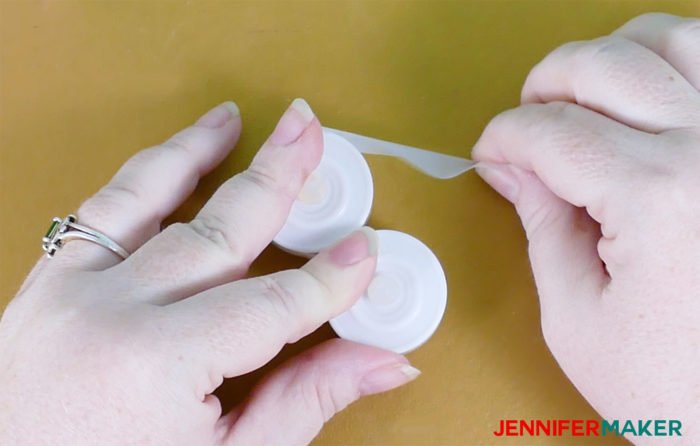
Once your paper rose arbor is ready to go, you can make it into a luminary by taping two LED tealights together like this.
Now just turn on your tealights, put them inside your arbor, and dim the lights!
Isn’t it pretty?
If you want to put the silhouettes inside, scroll up to see how to solve the puzzle and get those extra SVG files. To use those silhouettes, just wrap them around the two LED tealights and tape them secured.
Get my free cut files for the Paper Rose Arbor Lantern
I’d love to see YOUR Paper Rose Arbor Lantern! Please share a photo in our Facebook group or tag me on social media with #jennifermaker.
Love,

If you’re eager to make more luminaries and lanterns today, check out these fun projects!


Want to remember this? Save this Paper Rose Arbor to your favorite Pinterest board!


You are so very talented!
Okay… I like this one! I may just have to try this. Been thinking of actually creating some paper flowers for my craft space… so I may start there first. I haven’t done paper crafting in a while, but you have me wanting to start!
I love this arbor… am going to try and get it made soon.
Thank you, Diana!
I have a question I am using my Cricut and your SVG for the Rose Arber when I tell it to make it it has extra cuts on a sperate paper is it supposed to? what am I doing wrong.
Hi Heather! Please see step 2 in the tutorial, I do mention here that there are some lines you will need to change from cut to score and then re-attach to their layers. Hope this helps!
You are so creative. This is such a beautiful idea. Thanks for the tutorial.
Made this. My first project like this. Is a little crooked need to line up little neater when I glue together. Question. What type of glue do you recommend that may be fast drying. And do you have a link for purchasing the vellum. Thanks and you are great. Learning a lot from you.
I am having trouble with finding the answer to the puzzle. I don’t understand the part about all the layers? Could I get a hint?
One hint is that the number may be larger than you think, Kristen! Another is that it’s easiest to count the rectangles by turning off all the layers (click on the “eye” icon in the upper right of the individual layer on the “Layers Panel” on Design Space), then turning them back on one by one and counting the rectangles you see! If you are still having trouble figuring out how to do that, please check in with our Facebook group, Cricut Crafters and Makers, for more help! 🙂