
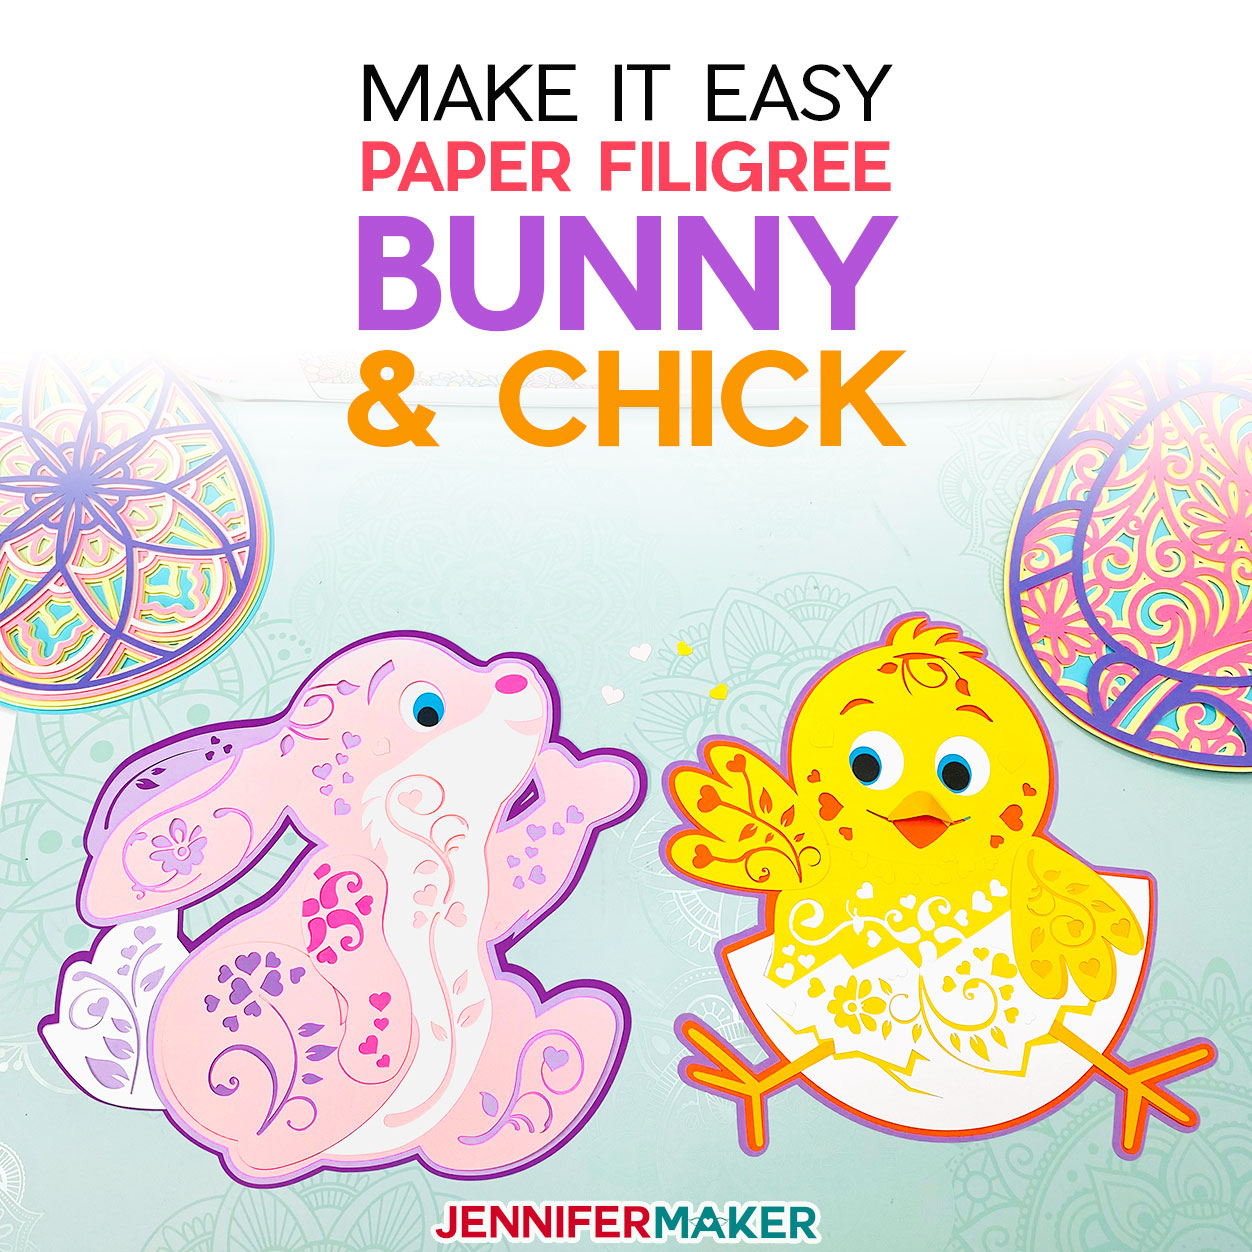
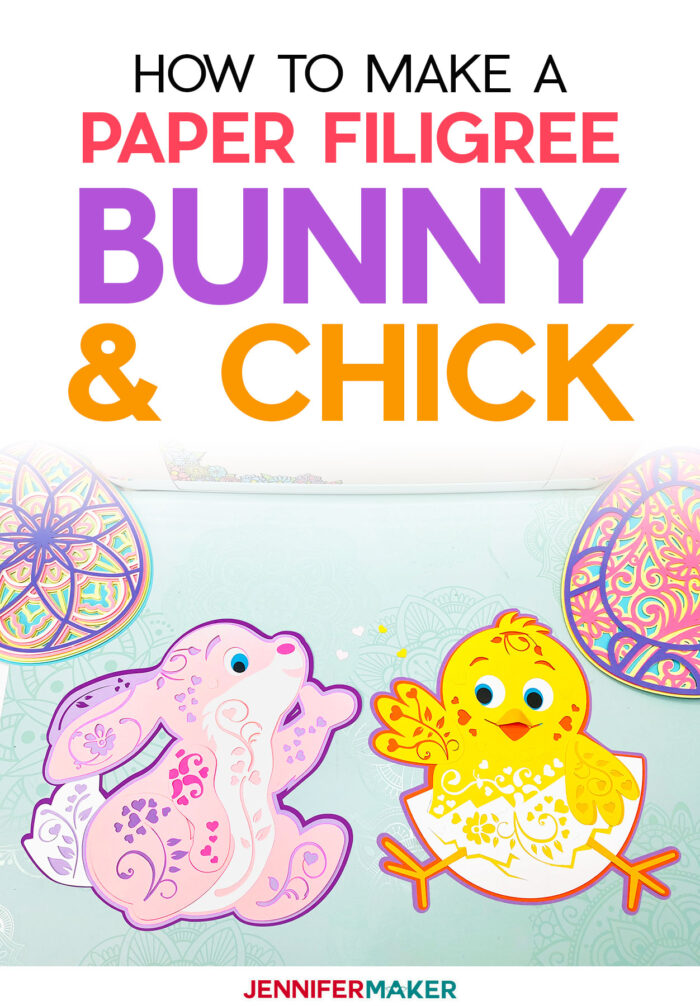
Learn how to make an easy 3D layered Easter Bunny and Spring Chick with my simple pattern and tutorial!
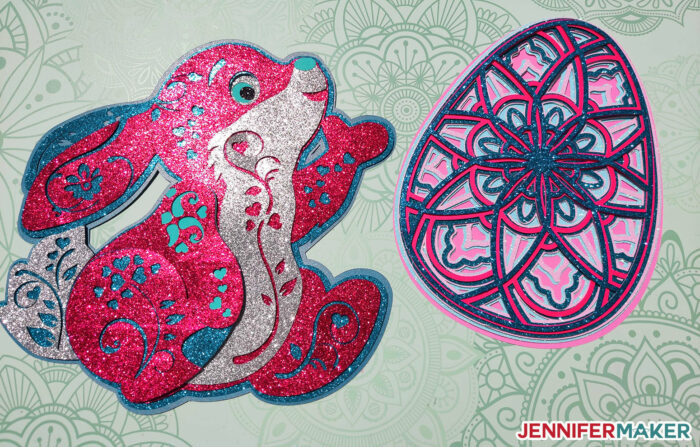
Yesterday I showed you how to make paper Easter Eggs, specifically a 3D layered mandala-style designs in the shape of an Easter egg, as well as a filigree paper Easter Egg. They’re super cute and so easy, but I realized they needed an Easter bunny to go with them. And once I made the bunny, I decided he needed a friend: a spring chick! So I’m happy to share with you two more spring friends — a paper bunny & chick, made in the same 3D layered filigree “mandala” style that is so popular right now. These 3D layered paper bunny & chick designs are part of our MAKE IT EASY Craftalong Challenge, filled with fun and EASY daily themed projects for your Cricut!
Want to save this project? Enter your email below and we’ll send the project straight to your inbox.

Watch Jennifer assemble this paper bunny and spring chick live at this link:
You can make the 3D layered cardstock designs big and detailed, or small and simple. The paper bunny and chicken shown in this tutorial are 11″ tall.
The main craft supply you need for this paper bunny and chick is basic 12″ x 12″ cardstock. You can get packs of pastel or primary colors at places like Michaels.
You’ll also want a way to keep the layers of cardstock together, like glue or spray adhesive.
If you want to get the 3D look, use spacers between the layers — you can use foam mounting tape, pre-cut adhesive foam circles or squares, or just bits of cut cardboard, craft foam, or layered cardstock.
We’ve designed two spring friends for you to cut and assemble, and they’re both very easy!
Here’s the paper bunny in pinks and purples, but you can use any colors you want — that’s part of the fun of making it yourself:

To inspire you, here’s the paper bunny in all pink:

You can also bling out your bunny with glitter!
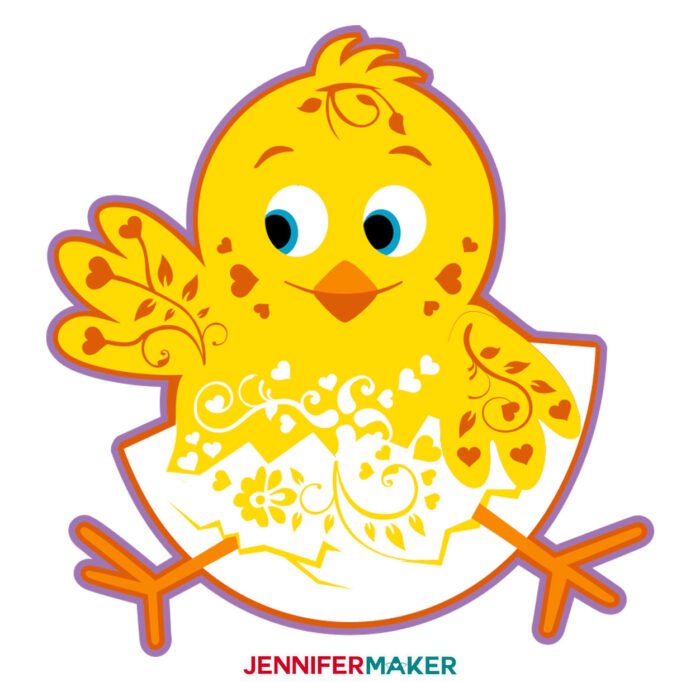
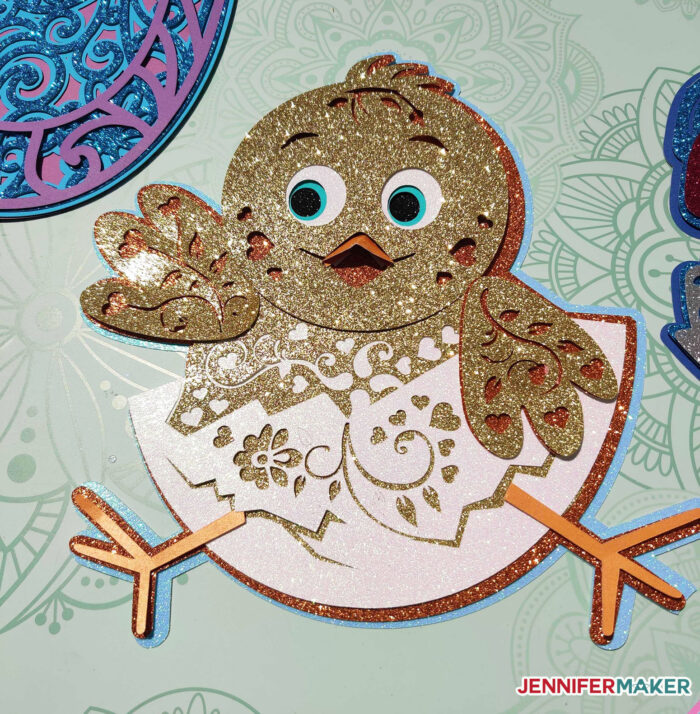
And here is the spring chick in yellows and oranges:
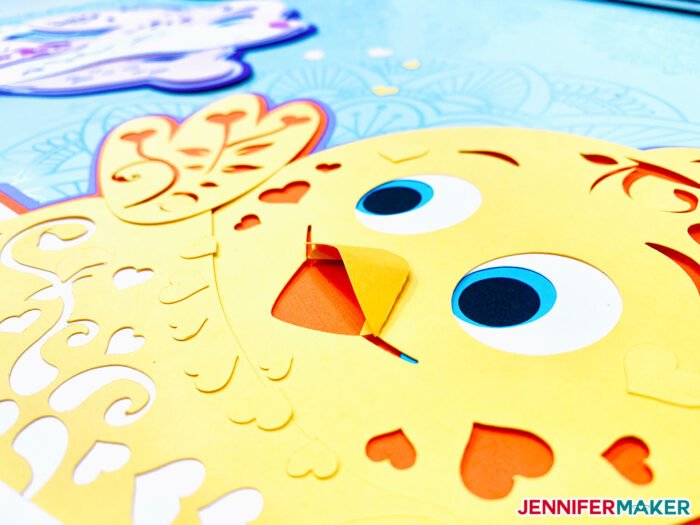
The chick’s beak can either go under the top layer, or you can make it a 3D beak that sticks out by folding under the perforated tabs, gently bending the beak, and gluing in place:
You can bling out your baby chick, too. This chick is golden!
What colors will YOU choose for your paper bunny & chick?
Let me show you how easy it is to make this 3D layered paper bunny and chick! This post contains some affiliate links for your convenience (which means if you make a purchase after clicking a link I will earn a small commission but it won’t cost you a penny more)! Read my full disclosure policy.
Materials to Make a 3D Layered Paper Easter Bunny and Spring Chick
View my Amazon shopping list with the exact items we used to make this project!
- 65 – 80 lb. 12″ x 12″ Cardstock, poster board, Kraft board, or chipboard (like a cereal box) — get creative! (you’ll need about 7 sheets of each for each animal, but if you make them both together it’s only 11 sheets)
- (Optional) Foam spacers (like small foam circles, double-sided foam mounting tape or small pieces of cardboard)
- XL Scraper (or a plastic store loyalty card)
- A cutting mat for your Cricut (green or blue works, just make sure it’s sticky!)
- (Optional) Scissors to cut your foam mounting tape
- A ruler (helpful for lining things up)
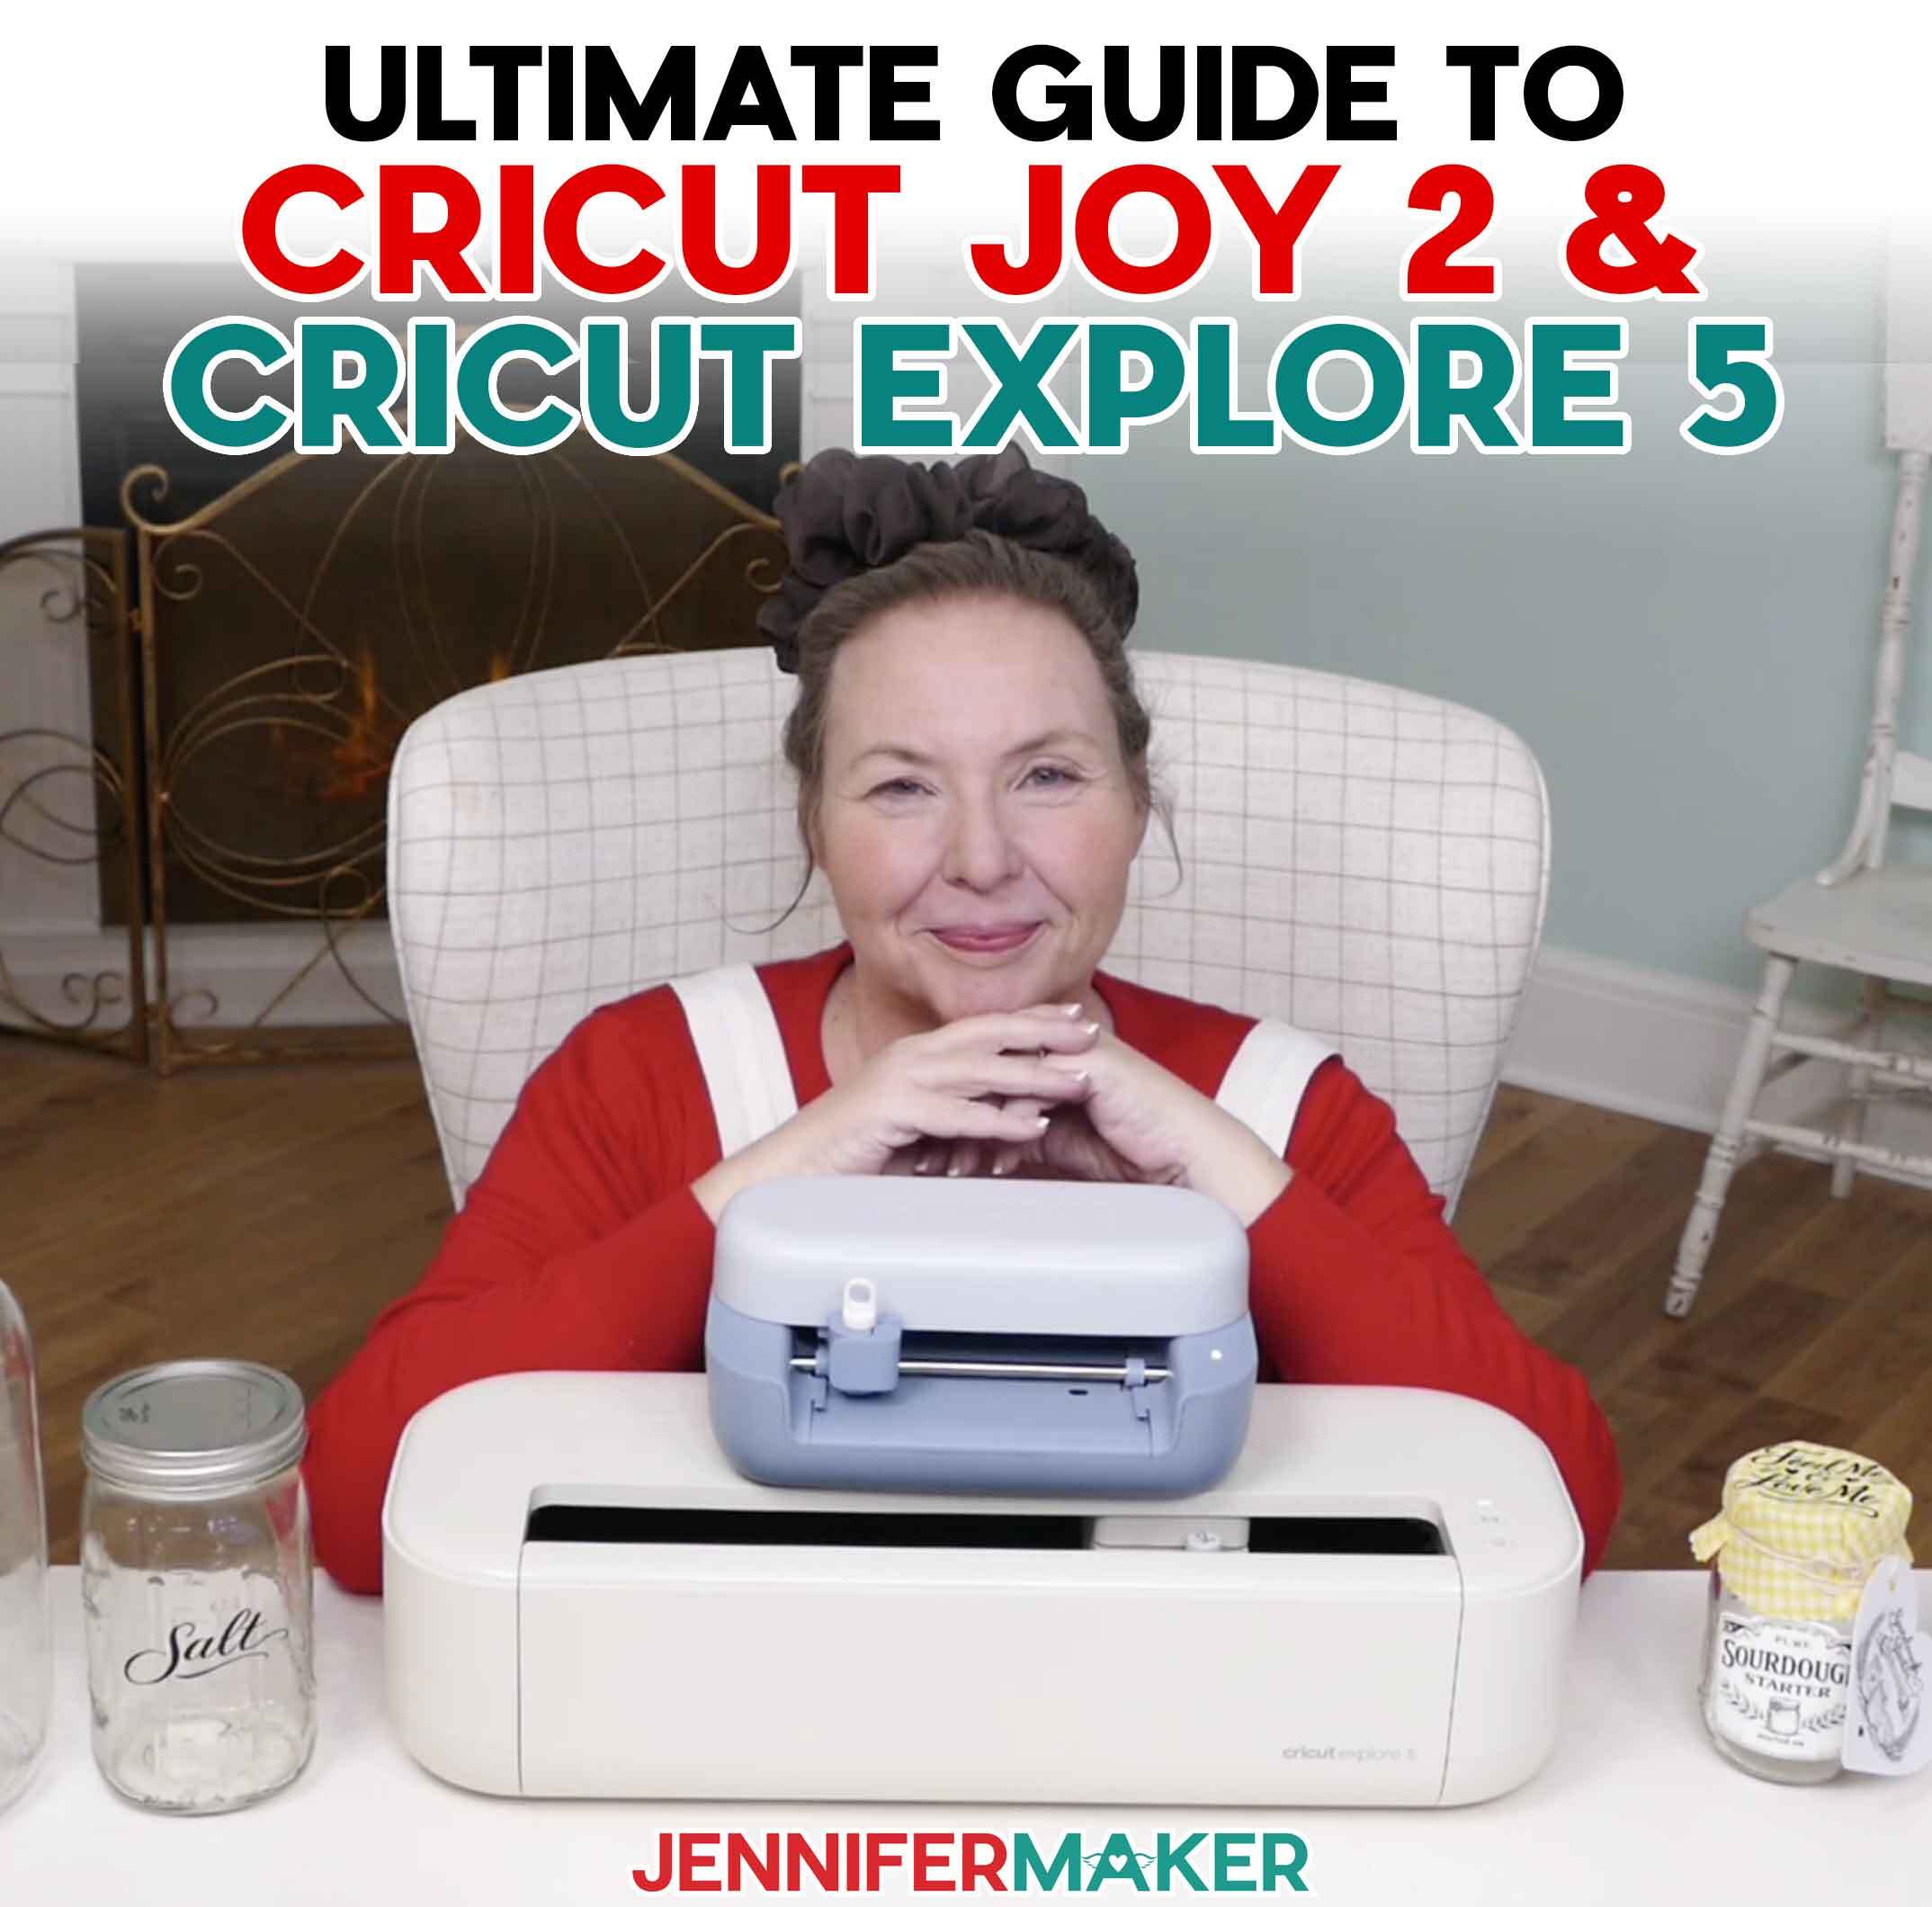
- A way to cut your layers (I used the Cricut Joy and Cricut Maker cutting machine but they can also be cut on a Cricut Explore)
- Design #207 – My free SVG design files (available in my free resource library—get the password by filling out the form at the bottom of this page)
Layer Order for the Paper Easter Bunny and Spring Chick
Watch Jennifer assemble this paper bunny and spring chick at this link:
Get my free SVG files to make your own 3D multi-layered filigree paper Easter bunny & spring chick!
I’d love to see YOUR paper bunny and paper chick in all their lovely layers! Please share a photo in our Facebook group or tag me on social media with #jennifermaker.
This project is a part of our MAKE IT EASY Craftalong Challenge with fun and EASY projects you can do to learn how to use your Cricut! You can share your photos in our daily challenge theme thread here!
Love,

Want to remember this? Save this Paper Bunny & Chick Layered Filigree tutorial to your favorite Pinterest Board

These were so much fun to make!
Love the designs! There are so many great ones to do. You are so awesome! Thank you for giving so much of your time!
I’m taking my bunny and chick to a senior building for to hang in the lobby,,,They are both just so cute and makes everyone smile when they see these,,Thanks Jennifer for helping keep my sanity thru this time…Stay safe.
Bonnie
Thank you, Bonnie. I’m so glad to hear that the bunny and chick could brighten their day!
My grandchildren loved these bunnies. I put a hanger on the back and my daughter hung them in the windows. Thanks for this project and the video was excellent too. Question…are you able to rearrange the mats prior to cutting.
Wonderful, Aimee! I’m so happy to hear your grandchildren loved them.
Yes, you can rearrange your mats prior to cutting.
You can move objects from one mat to a different one on the mat preview screen by clicking on the three dots that appear in the top left corner of the design when you hover over the design. Then you can choose to “Move Object” to a new mat.
This is our project for today! My grandchildren are going to love this for sure! Entertaining from a distance is sometimes tough but with your instructions and video, we can all do this together!