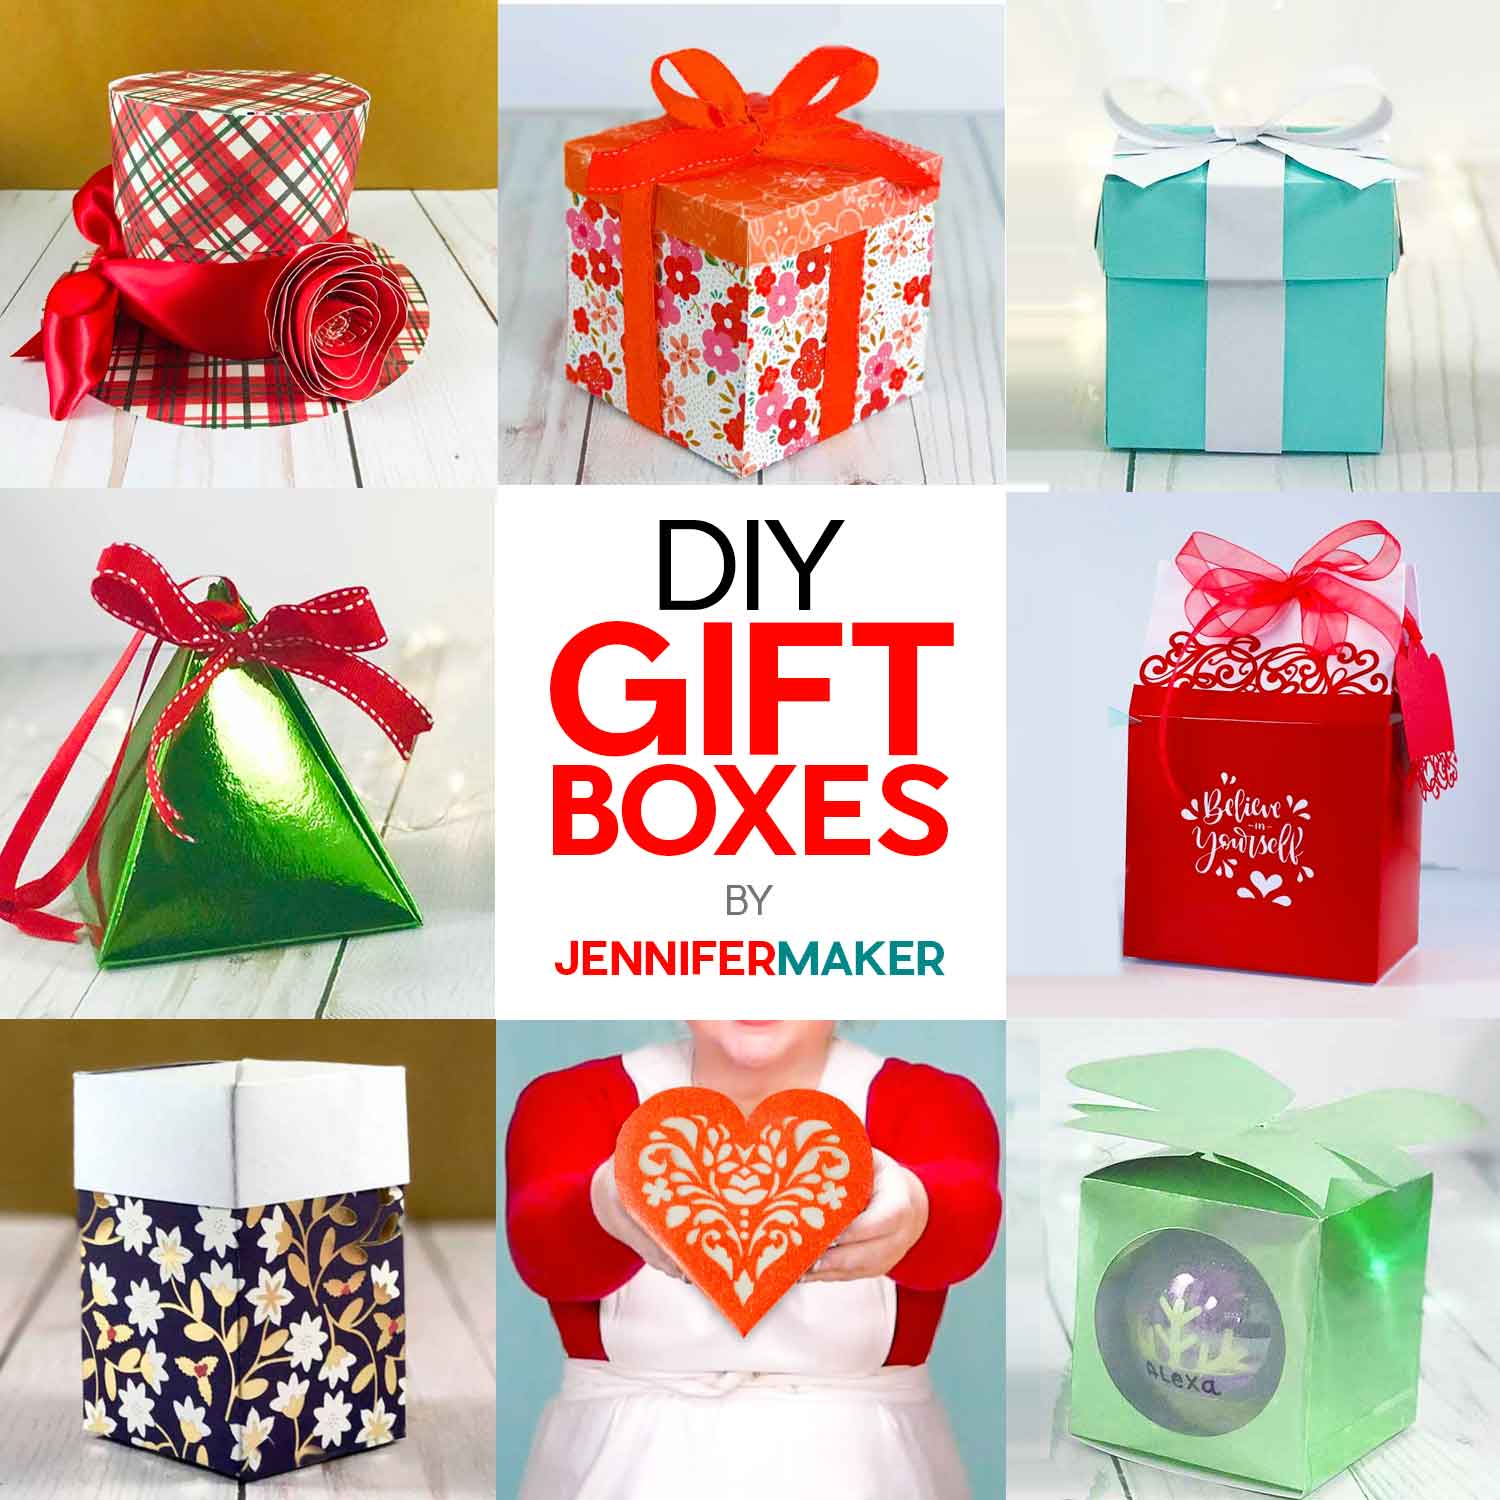
Learn how to make these cute gift box template ideas which can be a fun and unique way to give a small gift!
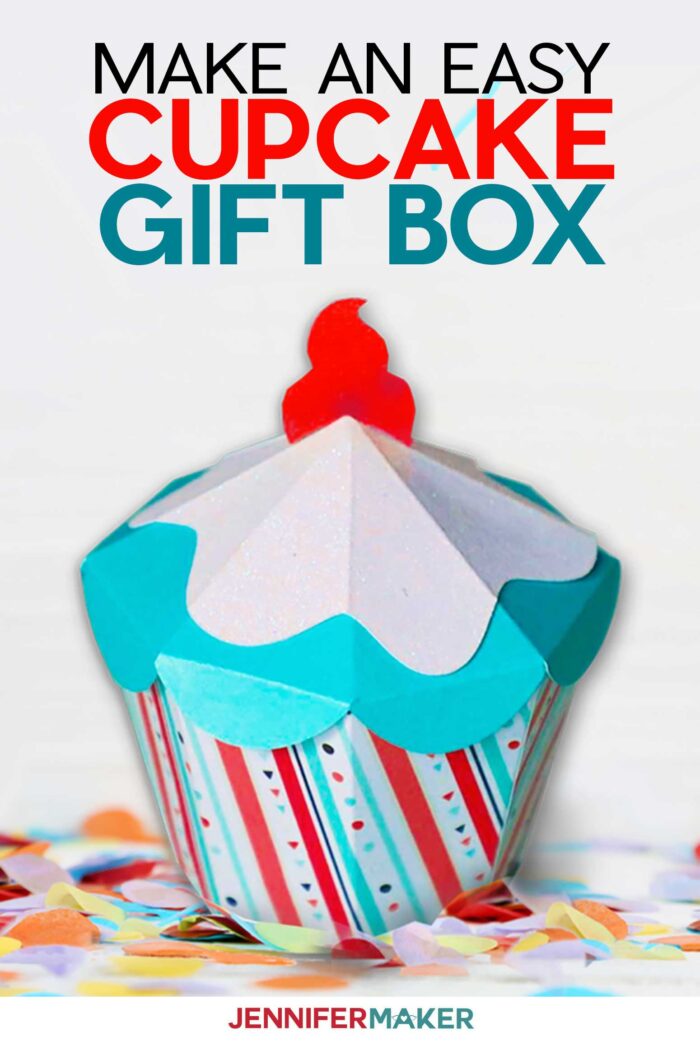
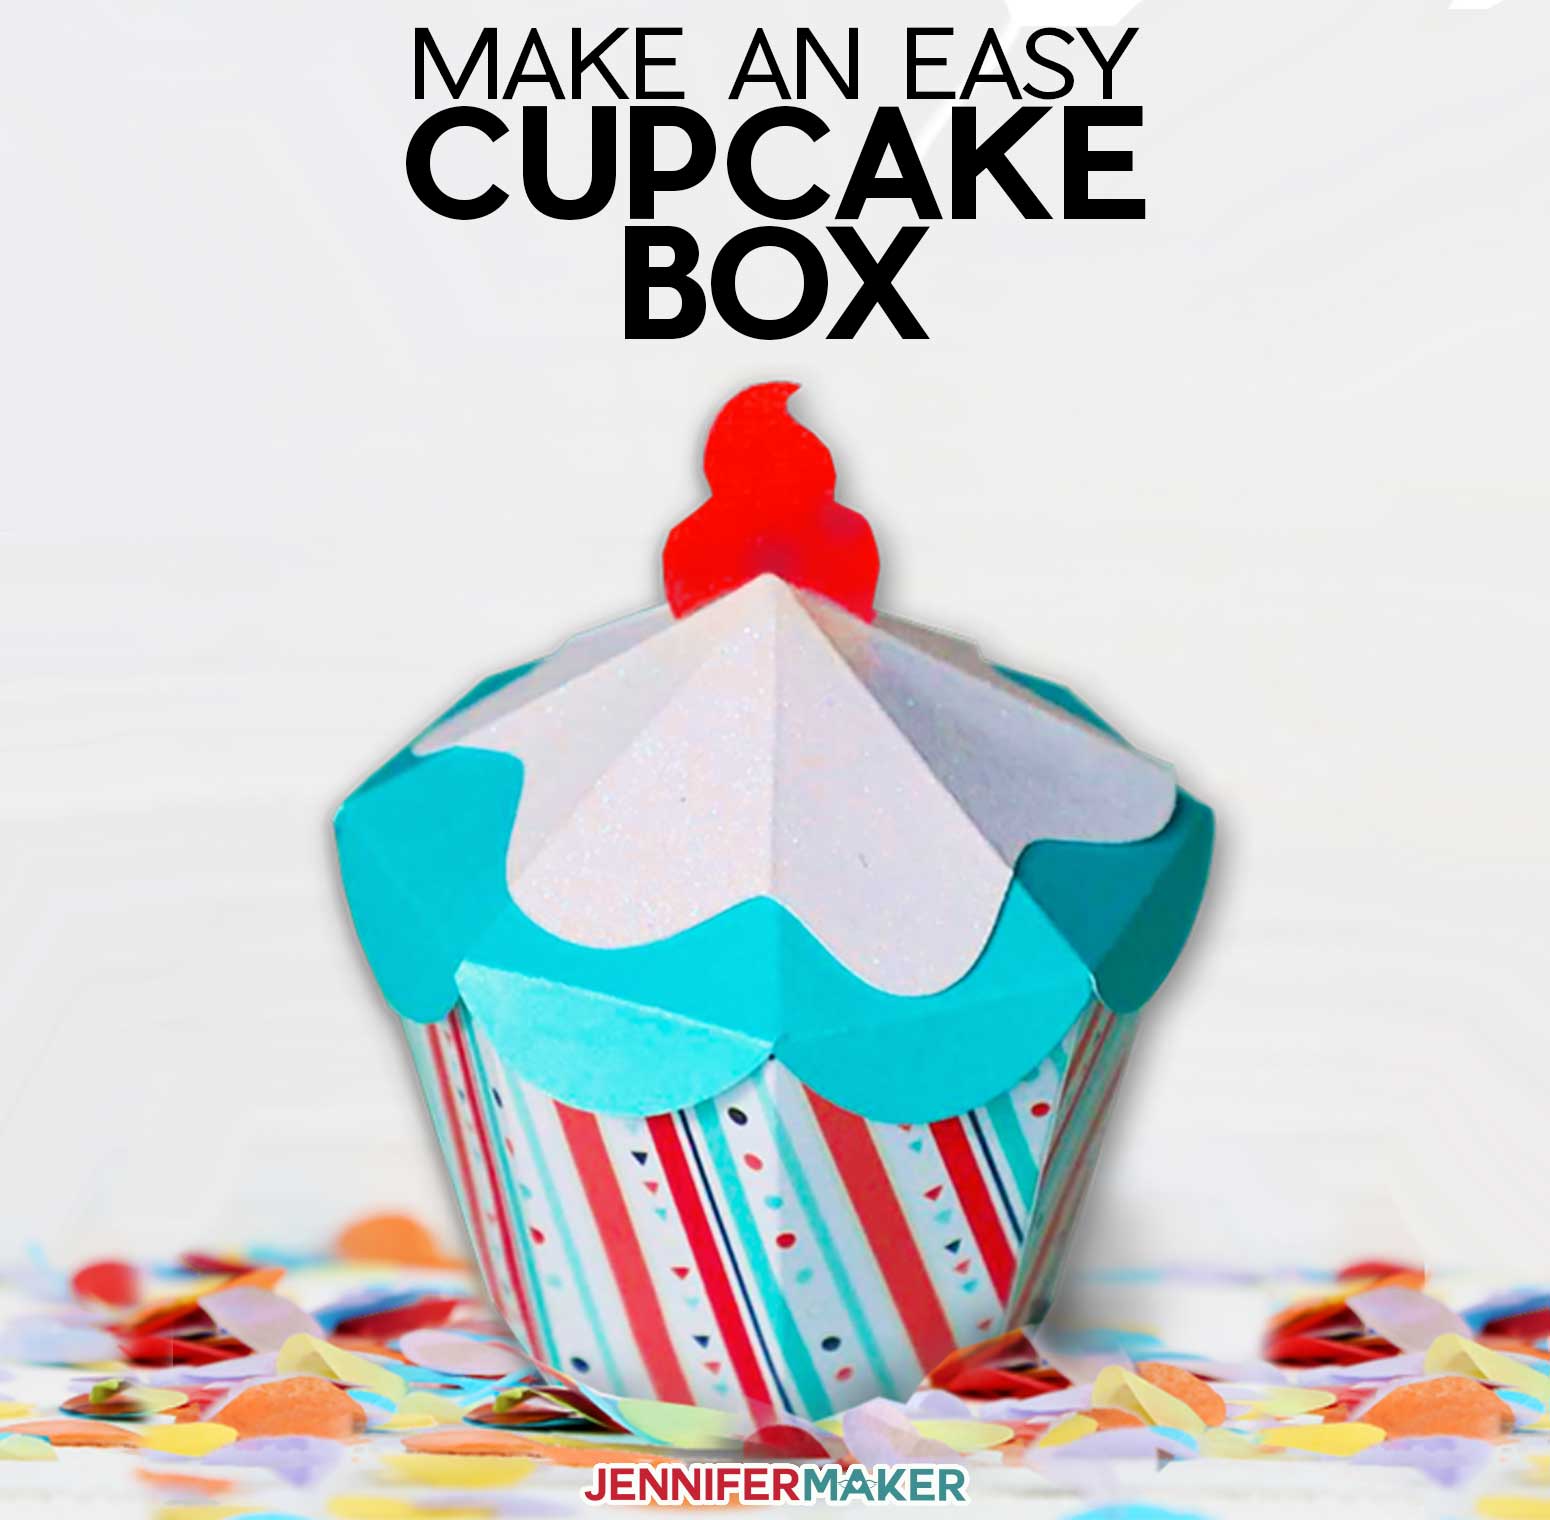
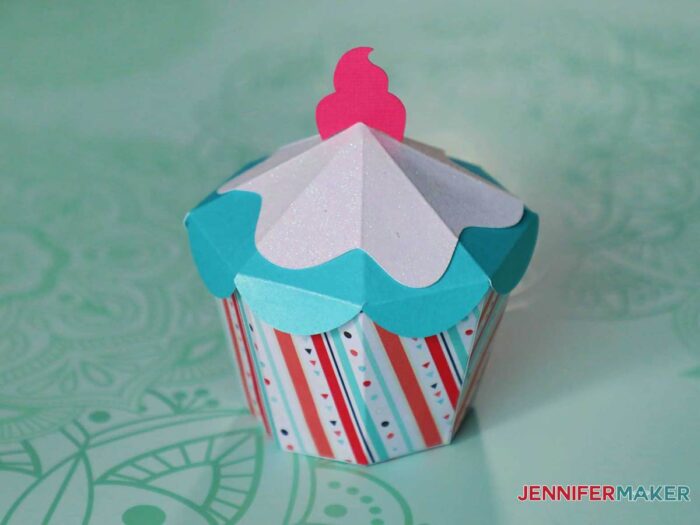
If you loved the ice cream treat box, you’re going adore this fun cupcake-shaped gift box! This gift box holds party favors, trinkets, or even a real cupcake! I’ve made SO many gift boxes over the years, and I can’t believe it’s taken me this long to create a cupcake gift box. You can customize your paper to coordinate with any party theme, making it a great way to distribute party favors. This is a fun and easy 3D paper craft, great for beginners!

Making this cupcake box requires the same materials that you will need for the ice cream treat box, and they go great together!
You will need two pieces of 12″ x 12″ double-sided paper for the cupcake, one piece of glitter cardstock for the frosting only if you want a sparkly look to your frosting, and one piece of pearl paper.
For adhesive, I used tacky glue because it dries quickly and I find it the easiest to manipulate when working with paper crafts. I found the tacky glue to work well with my glitter paper as well on this gift card template box.
Just like with the ice cream treat box, I used my Cricut cutting machine to cut out all my pieces.
Let me show you how easy it is to make a cupcake gift box! This post contains some affiliate links for your convenience (which means if you make a purchase after clicking a link I will earn a small commission but it won’t cost you a penny more)! Read my full disclosure policy.
Materials to Make a Cupcake Card Box Template
- Double-sided 12″ x 12″ 65 lb. or 80 lb. cardstock
- Pearl Paper
- Glitter Cardstock
- Tacky glue (I used Aleene’s Tacky Glue)
- Cricut LightGrip Mat 12×12
- Scoring Stylus or Scoring Wheel (for Cricut Maker)
- A way to cut your paper (I used the Cricut Maker cutting machine but they can also be cut on a Cricut Explore).
- Design #313 – (My free SVG/PDF/DXF design files are available in my free resource library – get the password by filling out the form at the bottom of this page)
How to Make a Cupcake Card Box
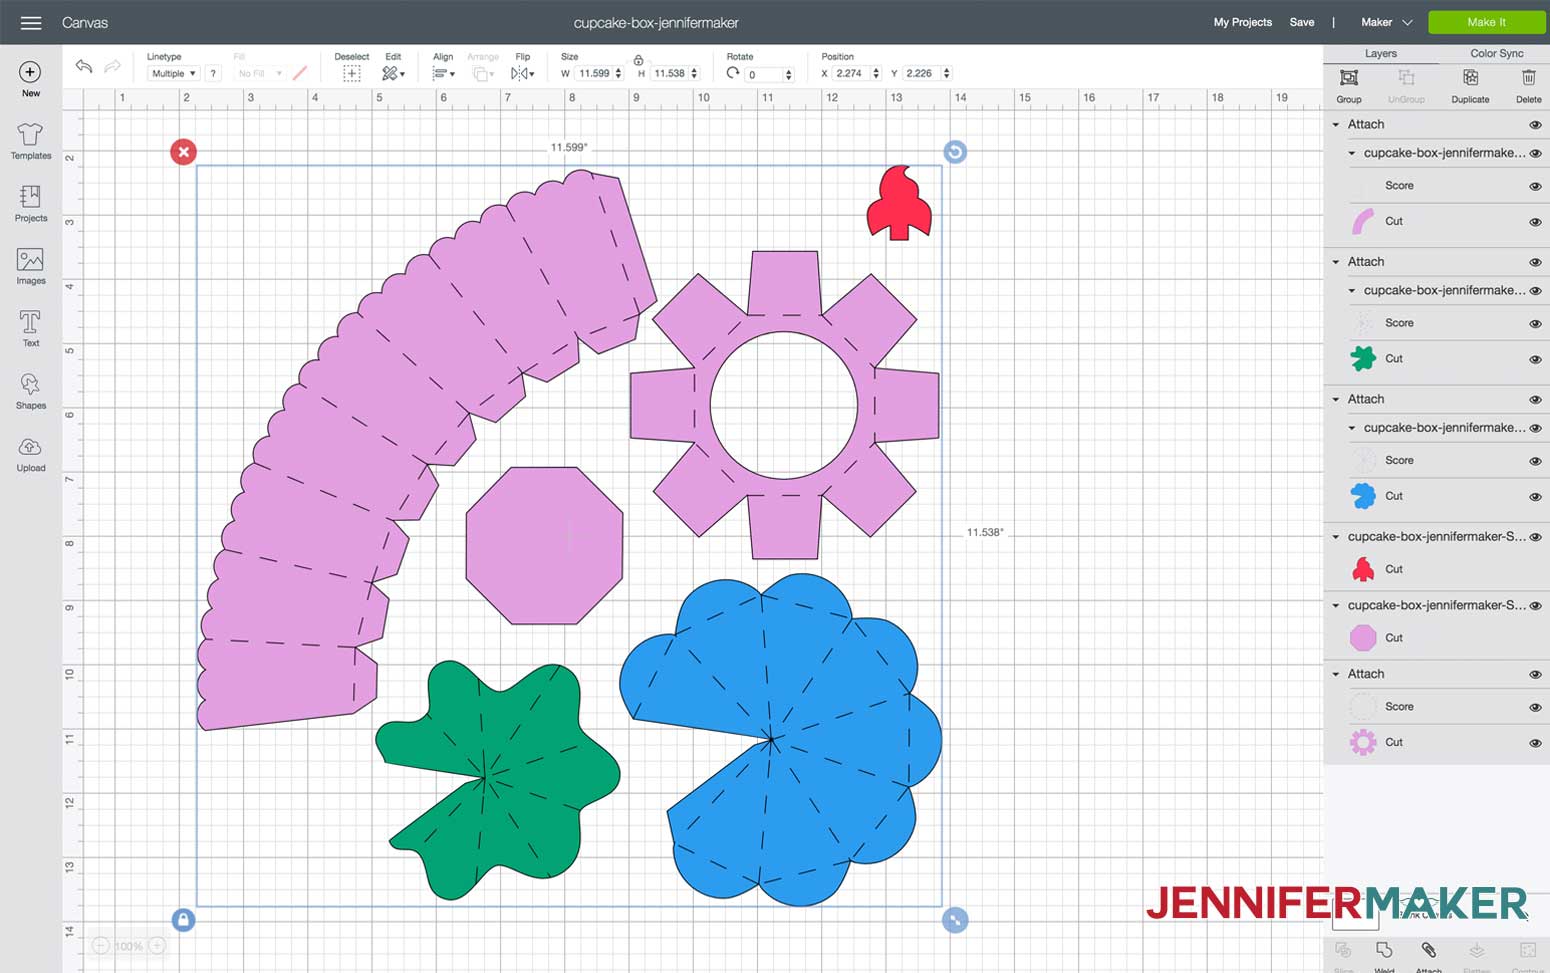
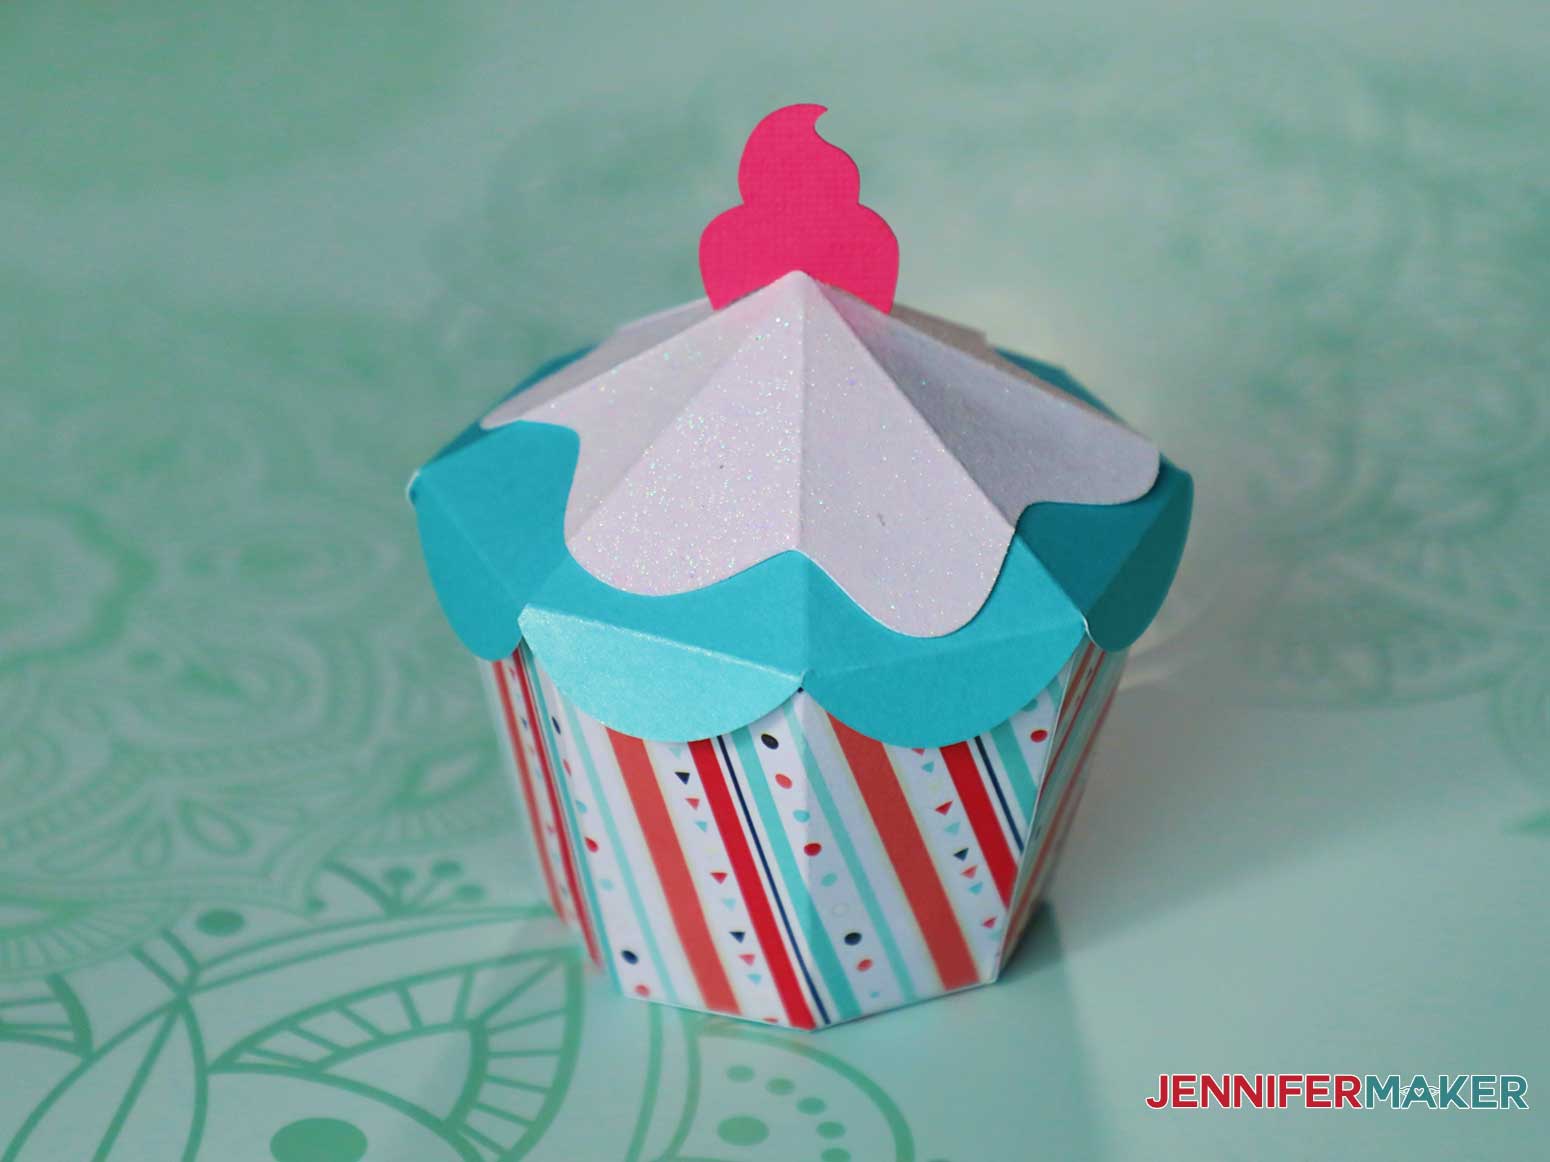
This adorable cupcake-shaped gift box holds party favors, trinkets, or even a real cupcake! Upload my cupcake box SVG file (design #313) into Cricut Design Space. If you're not sure how to upload an SVG cut file to Cricut Design Space, watch this helpful video training series I made. If you're on an iPhone or iPad, here's how to download and upload SVG files to the Cricut Design Space app. This is what the files look like in Design Space when you’re ready to cut: July 2024 Update: Note that score lines are NOT pre-attached, so you’ll need to set and attach them. View this guide to learn how to set score lines. Click "Make It" and you will be prompted to select your material settings and place your paper on your cutting mat. Follow the prompts to load the mat and tools into your Cricut. Once your main pieces are ready, begin folding them along the score lines. Everything gets folded IN. Align the icing layer on top of the lid along the folds. Be sure to line up the slits. Glue the two pieces together. Tuck the tab of the topper piece into the slit on the top of the lid. This is what the lid will look like when it’s assembled: Now let's assemble the cupcake bottom. First, fold the sides and bottom tabs on the score lines as shown below. This is what the base will look like when assembled: If you plan to use the box to hold a cupcake, you’ll want to cut and fold the optional cupcake holder. First, fold the holder on each of the score lines. Next, glue and insert the holder into the cupcake bottom like this: Now your homemade cupcake will be cradled inside the box. This is what the assembled cupcake box looks like: You may want to further decorate your box by gluing on beads, ribbon or other fun items. Get creative! As an Amazon Associate and member of other affiliate programs, I earn from qualifying purchases.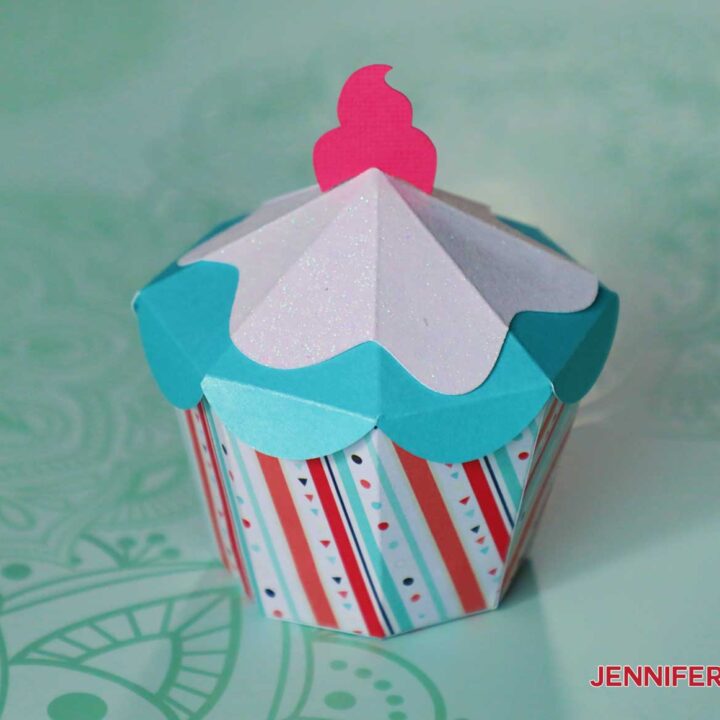
Cupcake Box
Materials
Tools
Instructions
STEP 1: GET MY FREE DESIGN FILES
Adjust the size if needed. Right now, the cupcake box is the perfect size to hold party favors or a single homemade cupcake. Once you have the size adjusted to your measurements, you are ready to prepare the file for scoring and cutting.
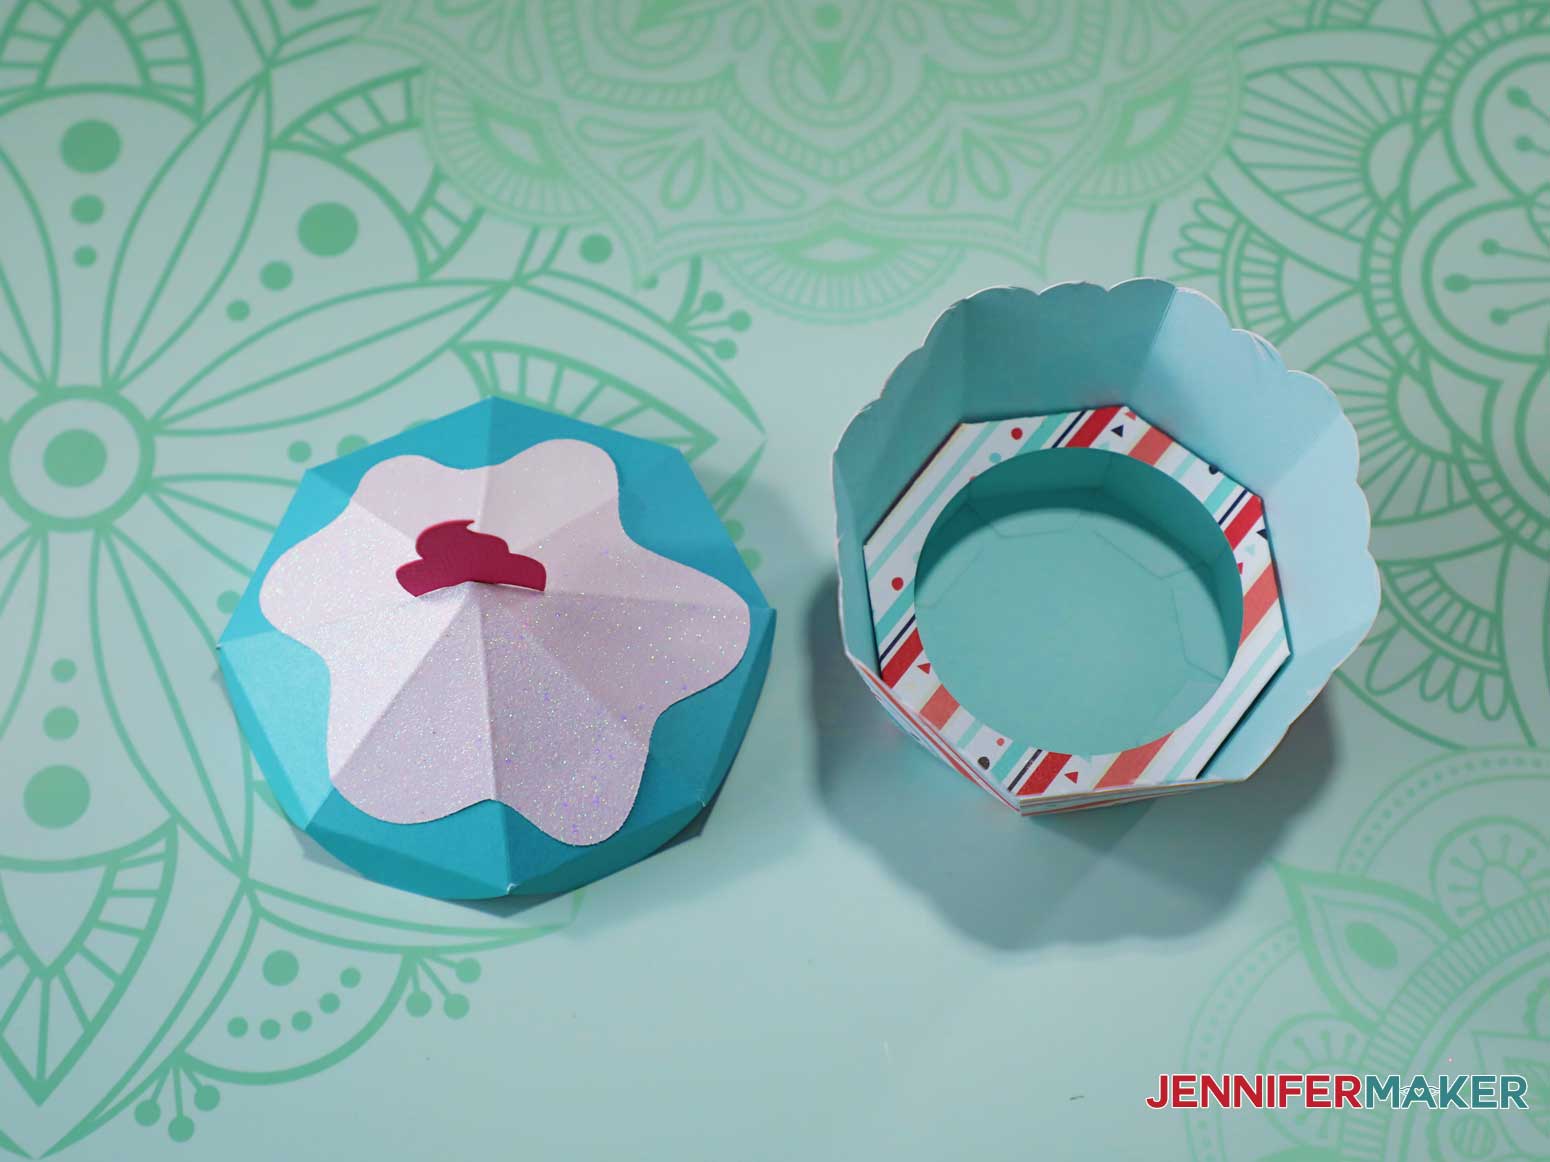
Gently remove each layer from the mat. These are the pieces you’ll have when you’re done cutting:
STEP 2: ASSEMBLE THE LID
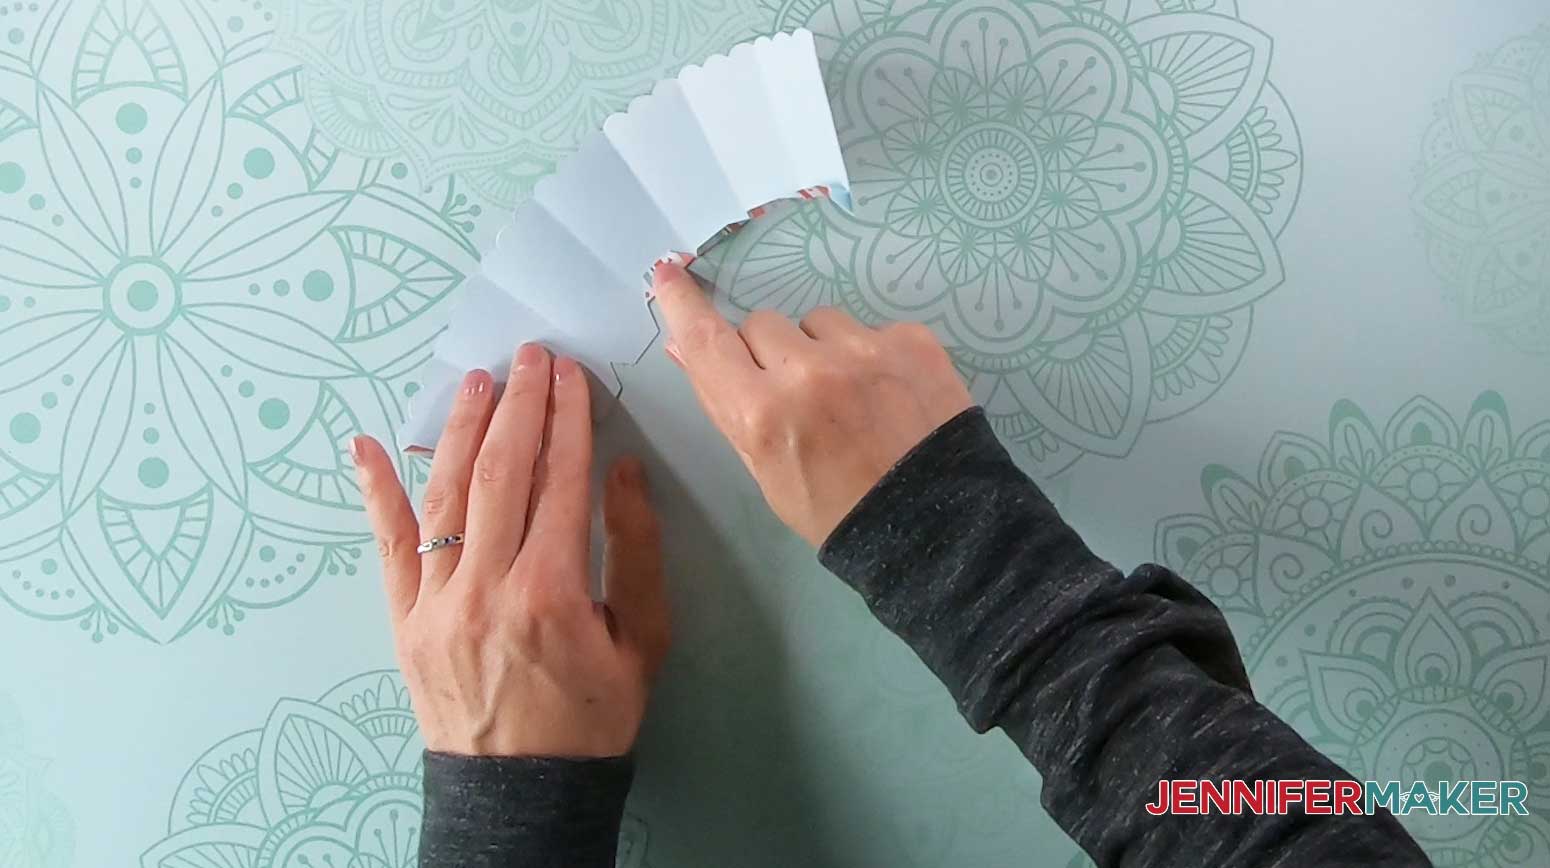
The main lid is folded along the score lines to create a cone shape. Then the rounded ends are folded down.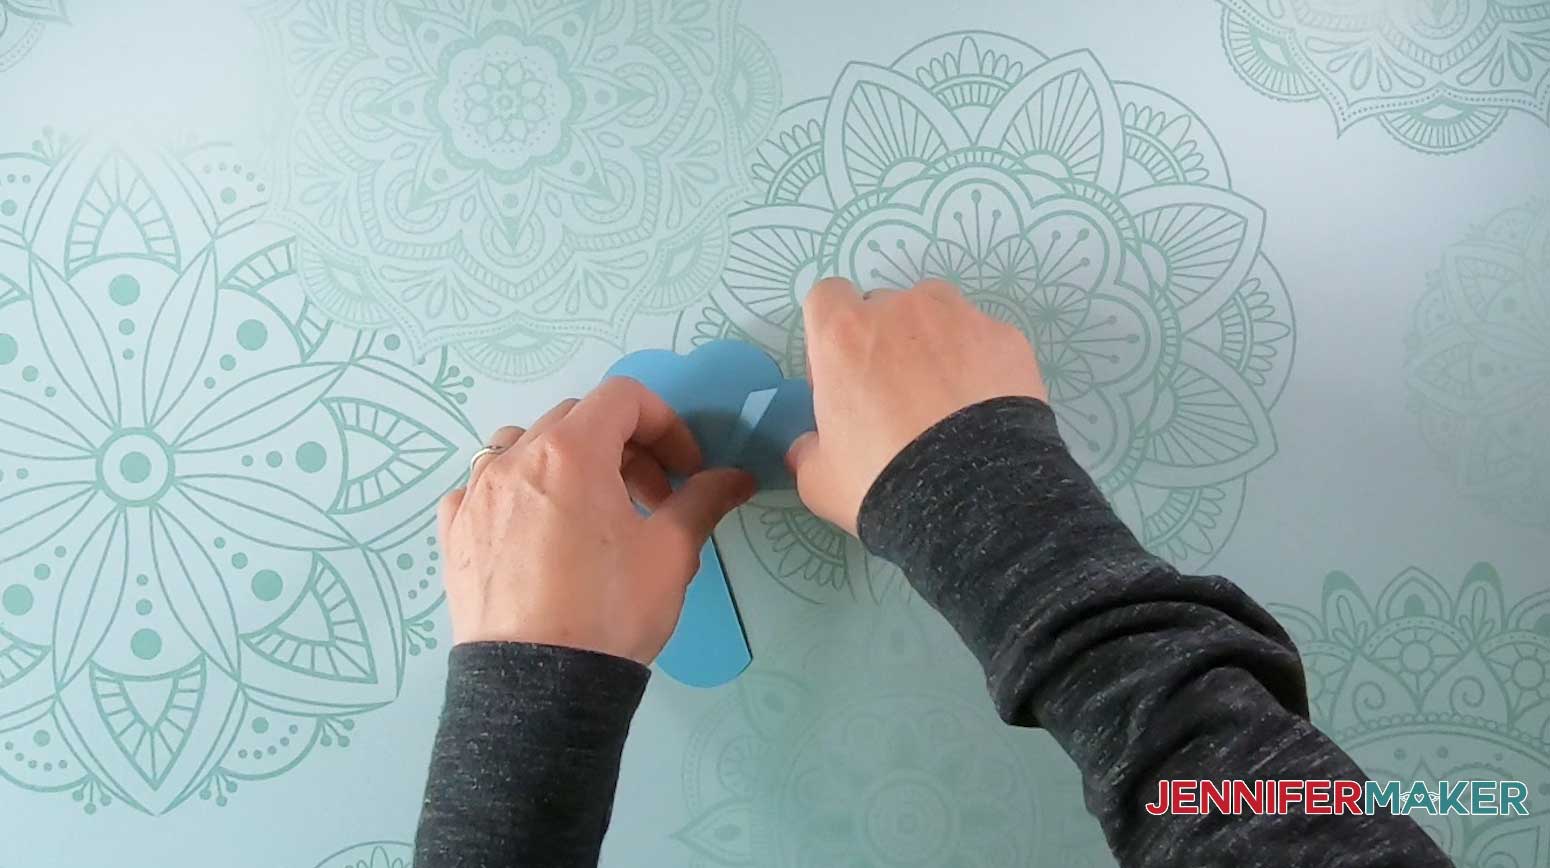
Apply glue to the tab and glue the lid closed to complete the cone shape.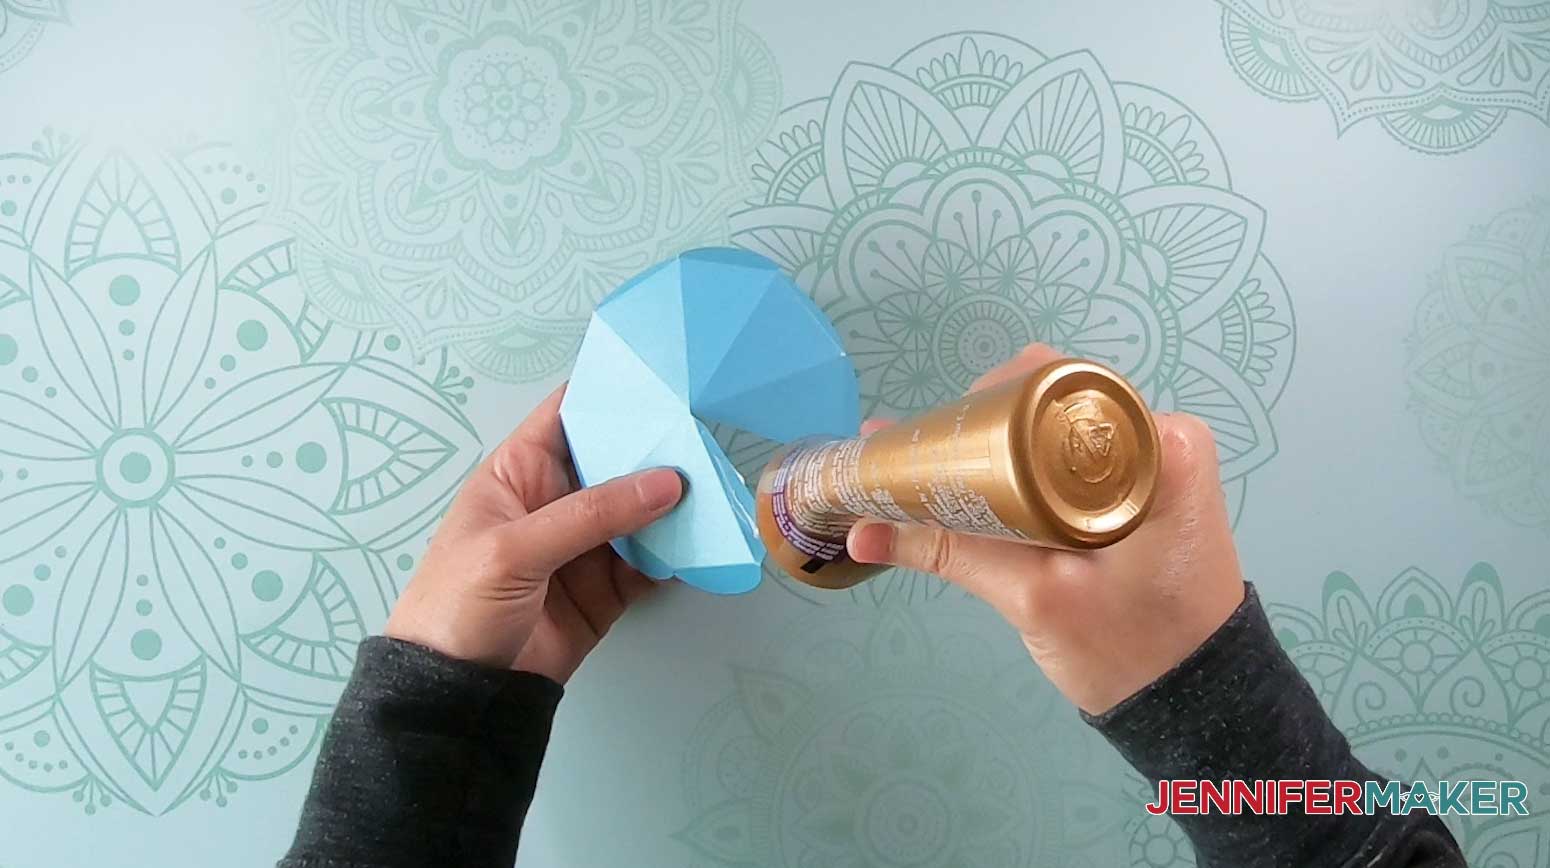
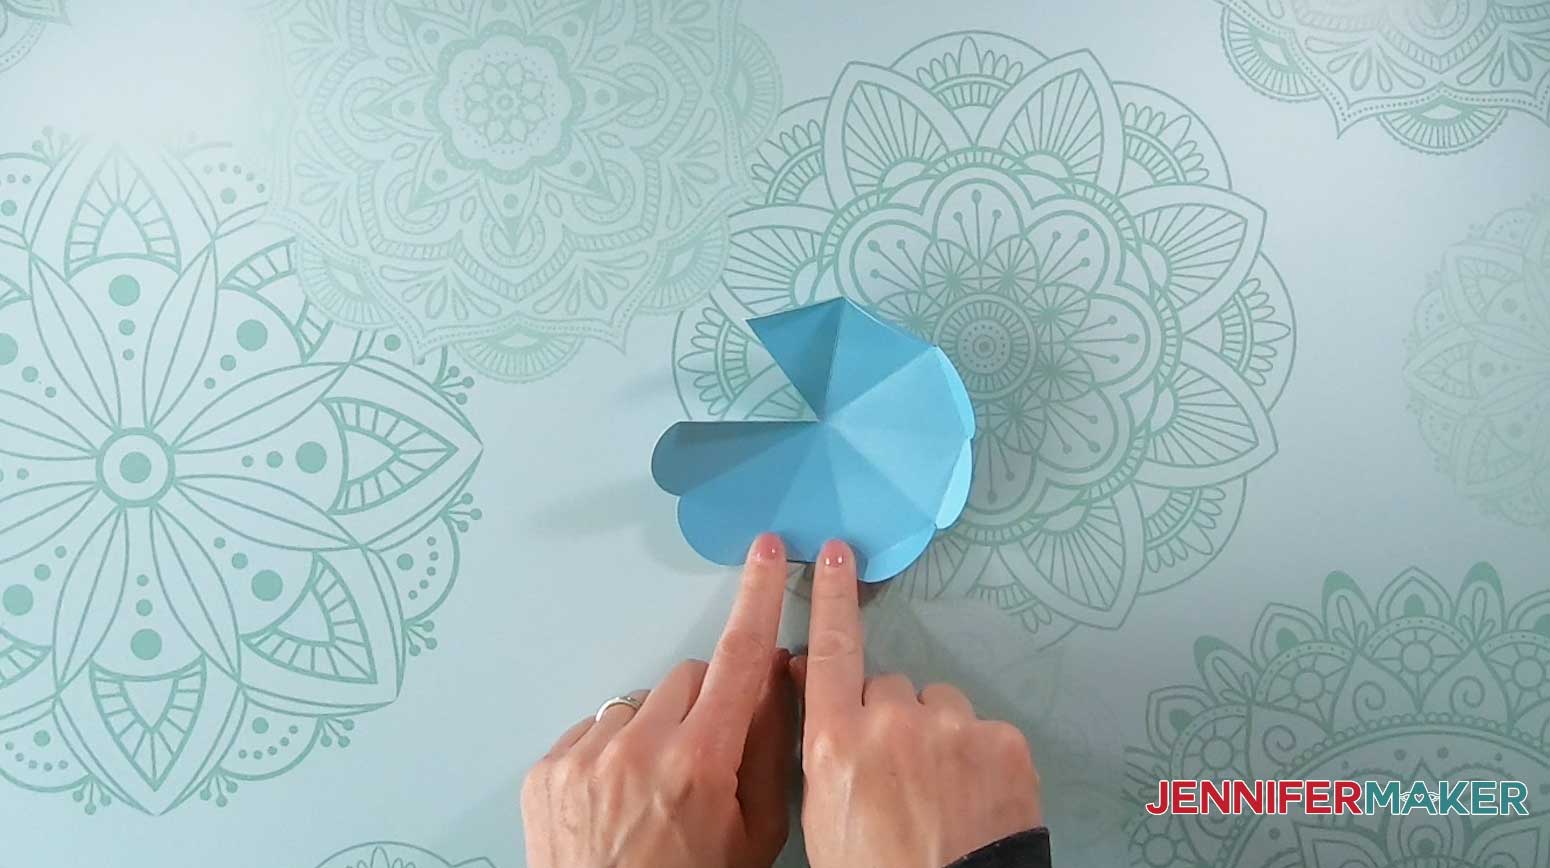
The cupcake icing layer is folded along the score lines to create a cone shape.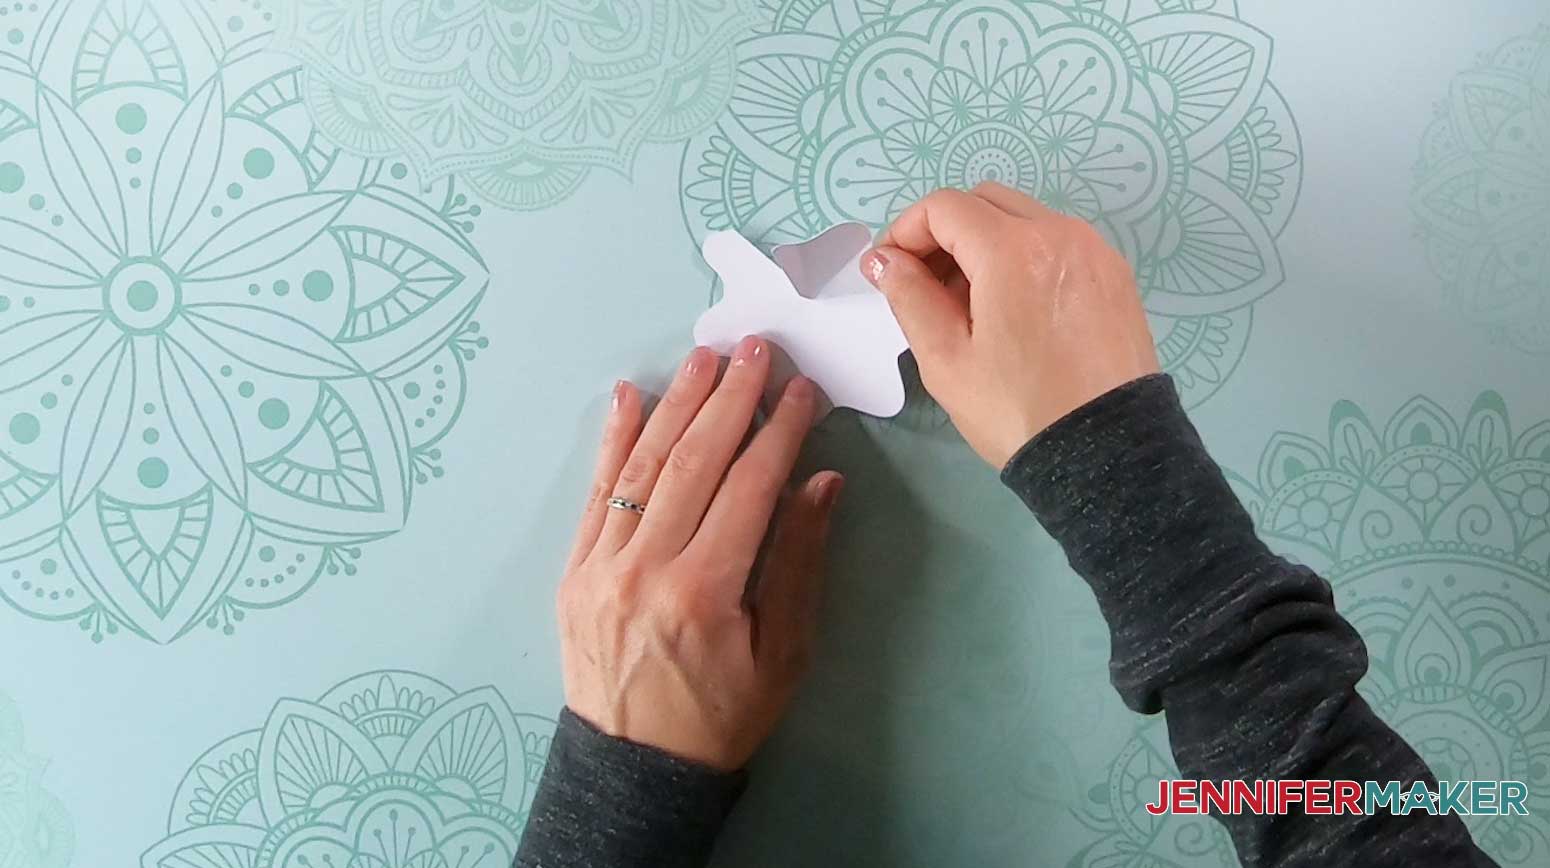
Apply glue to the tab and glue the icing layer closed to complete the cone shape.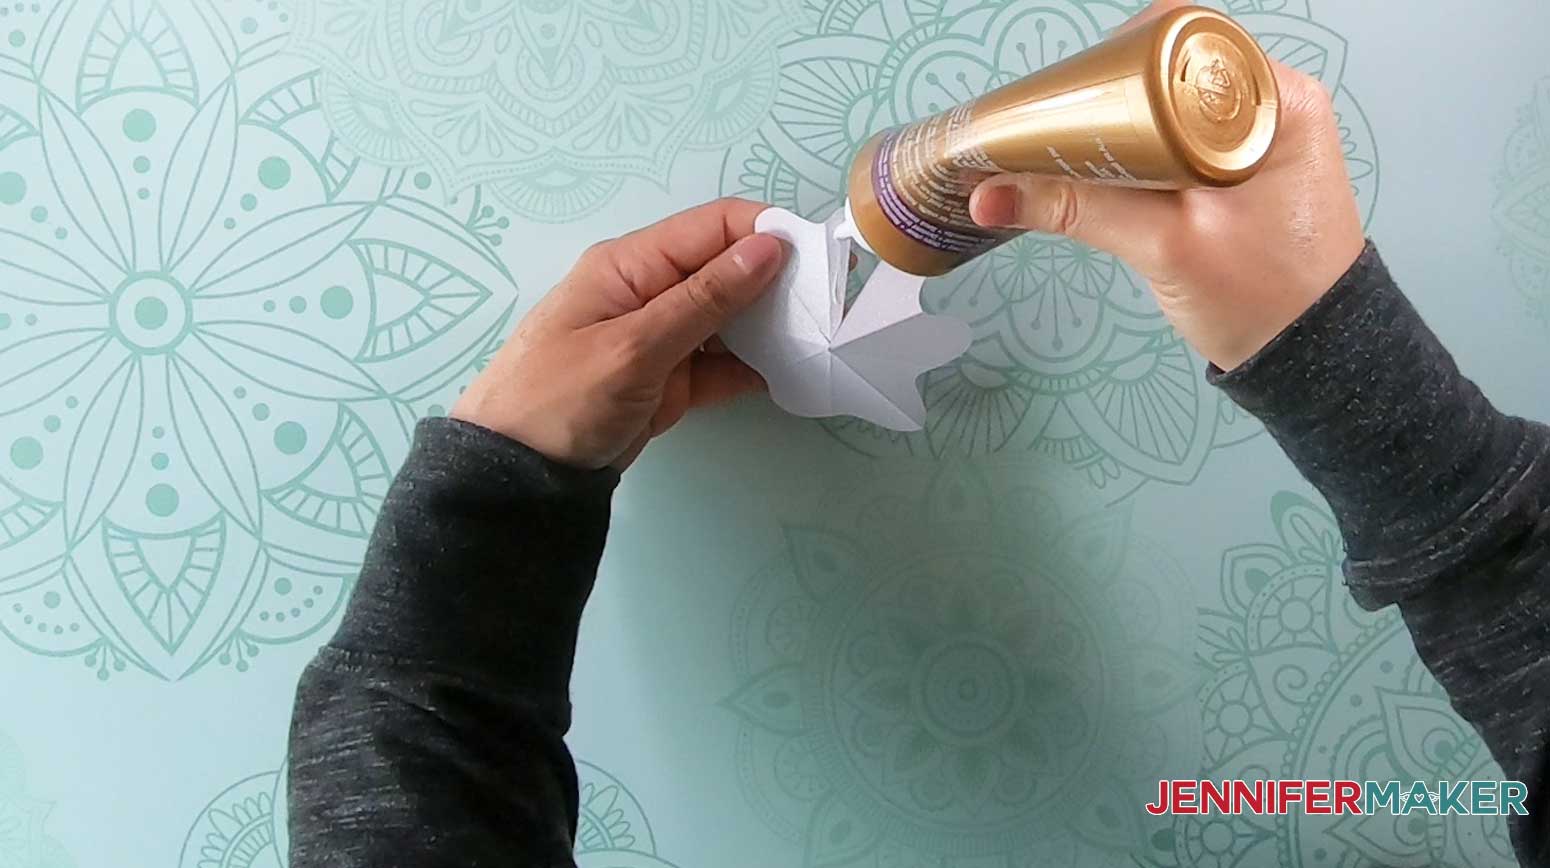

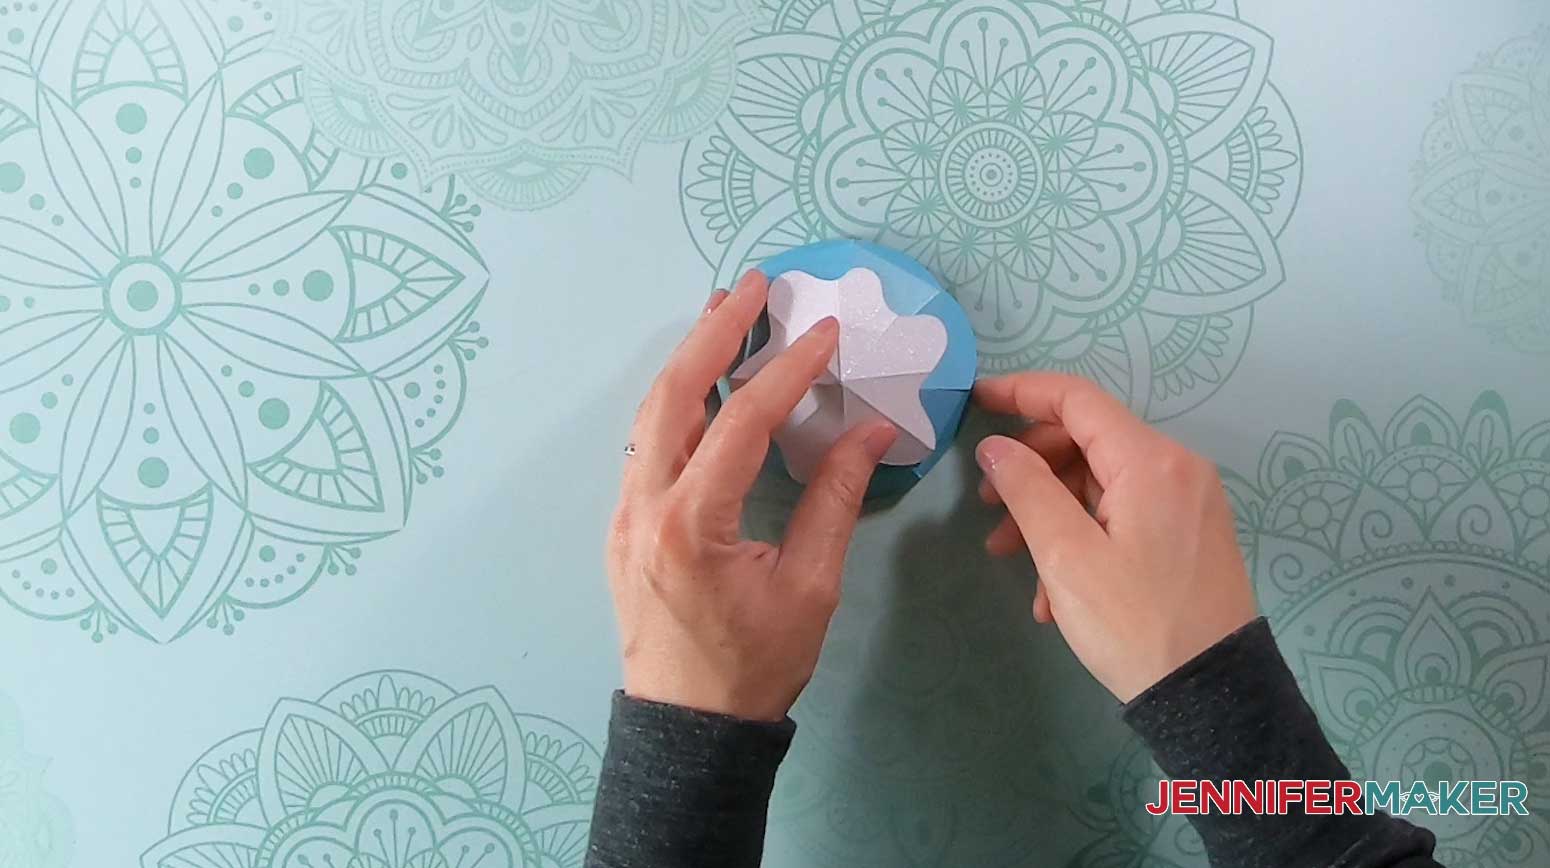
Apply glue to the bottom of the icing layer.


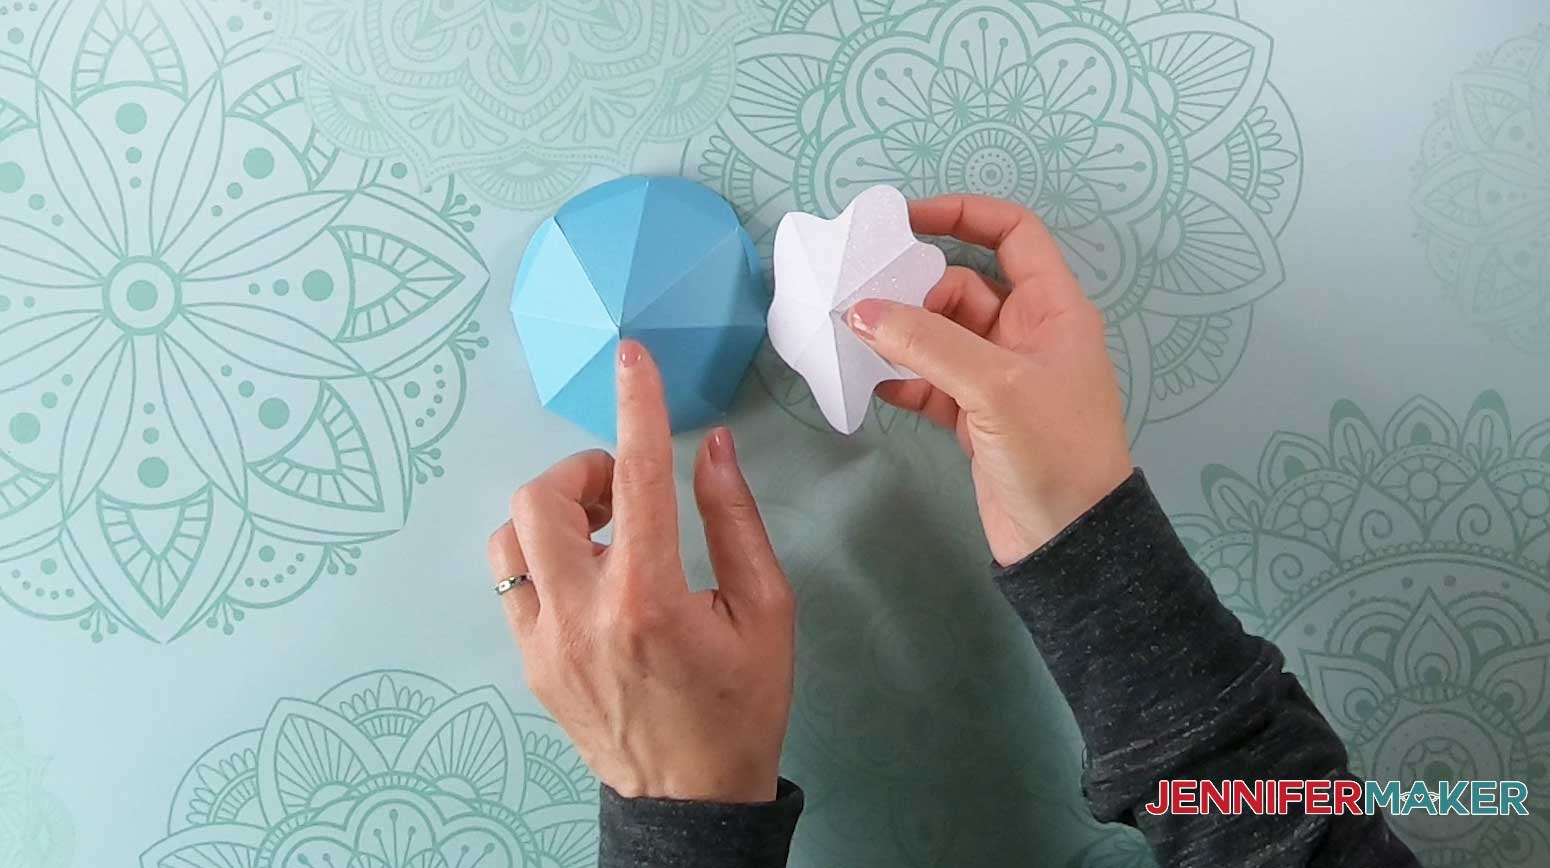
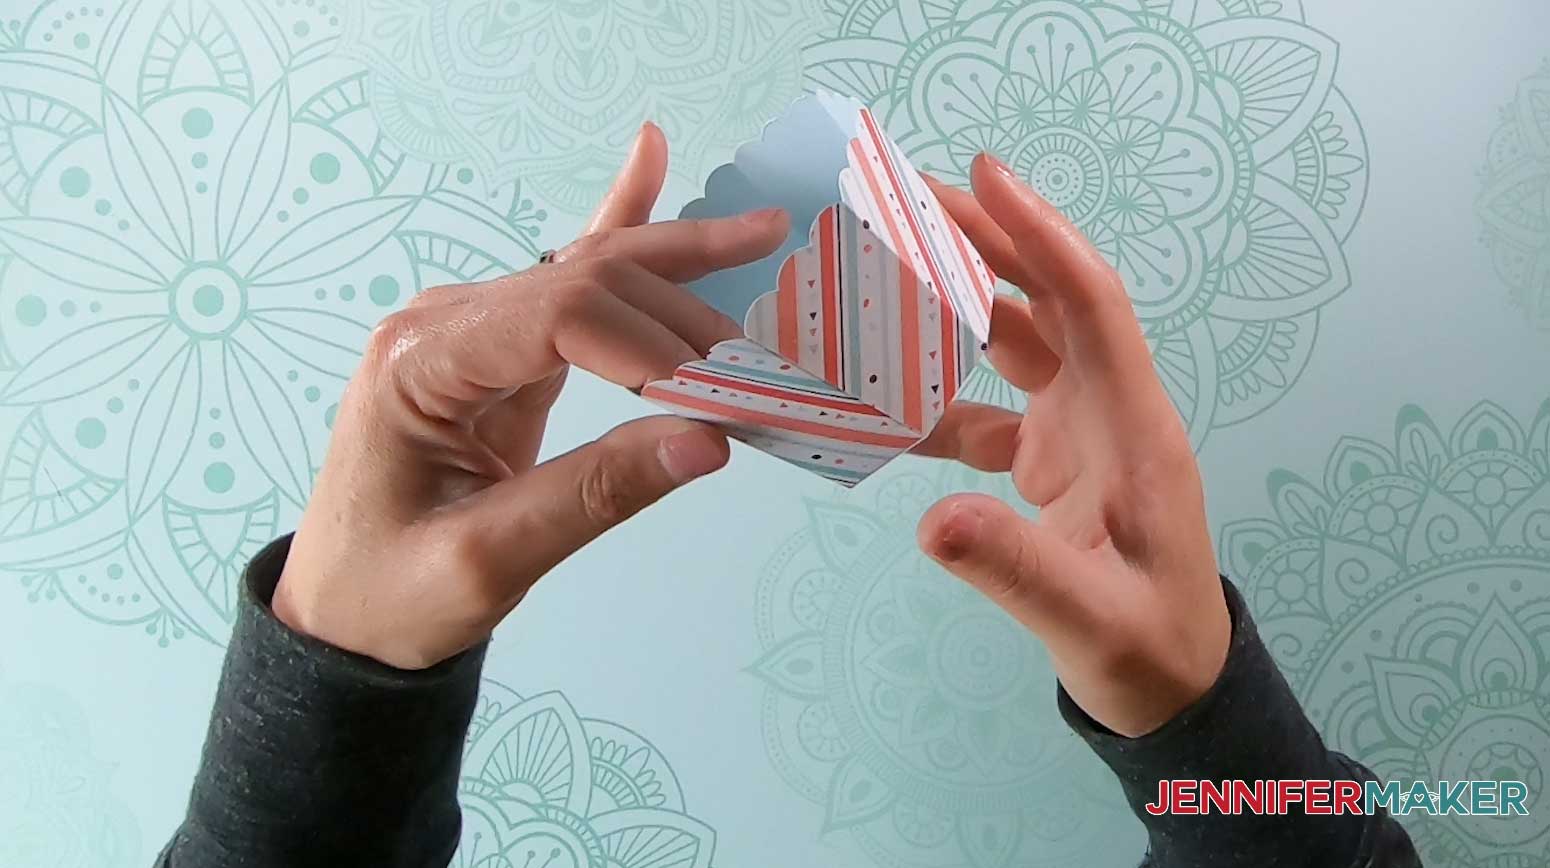
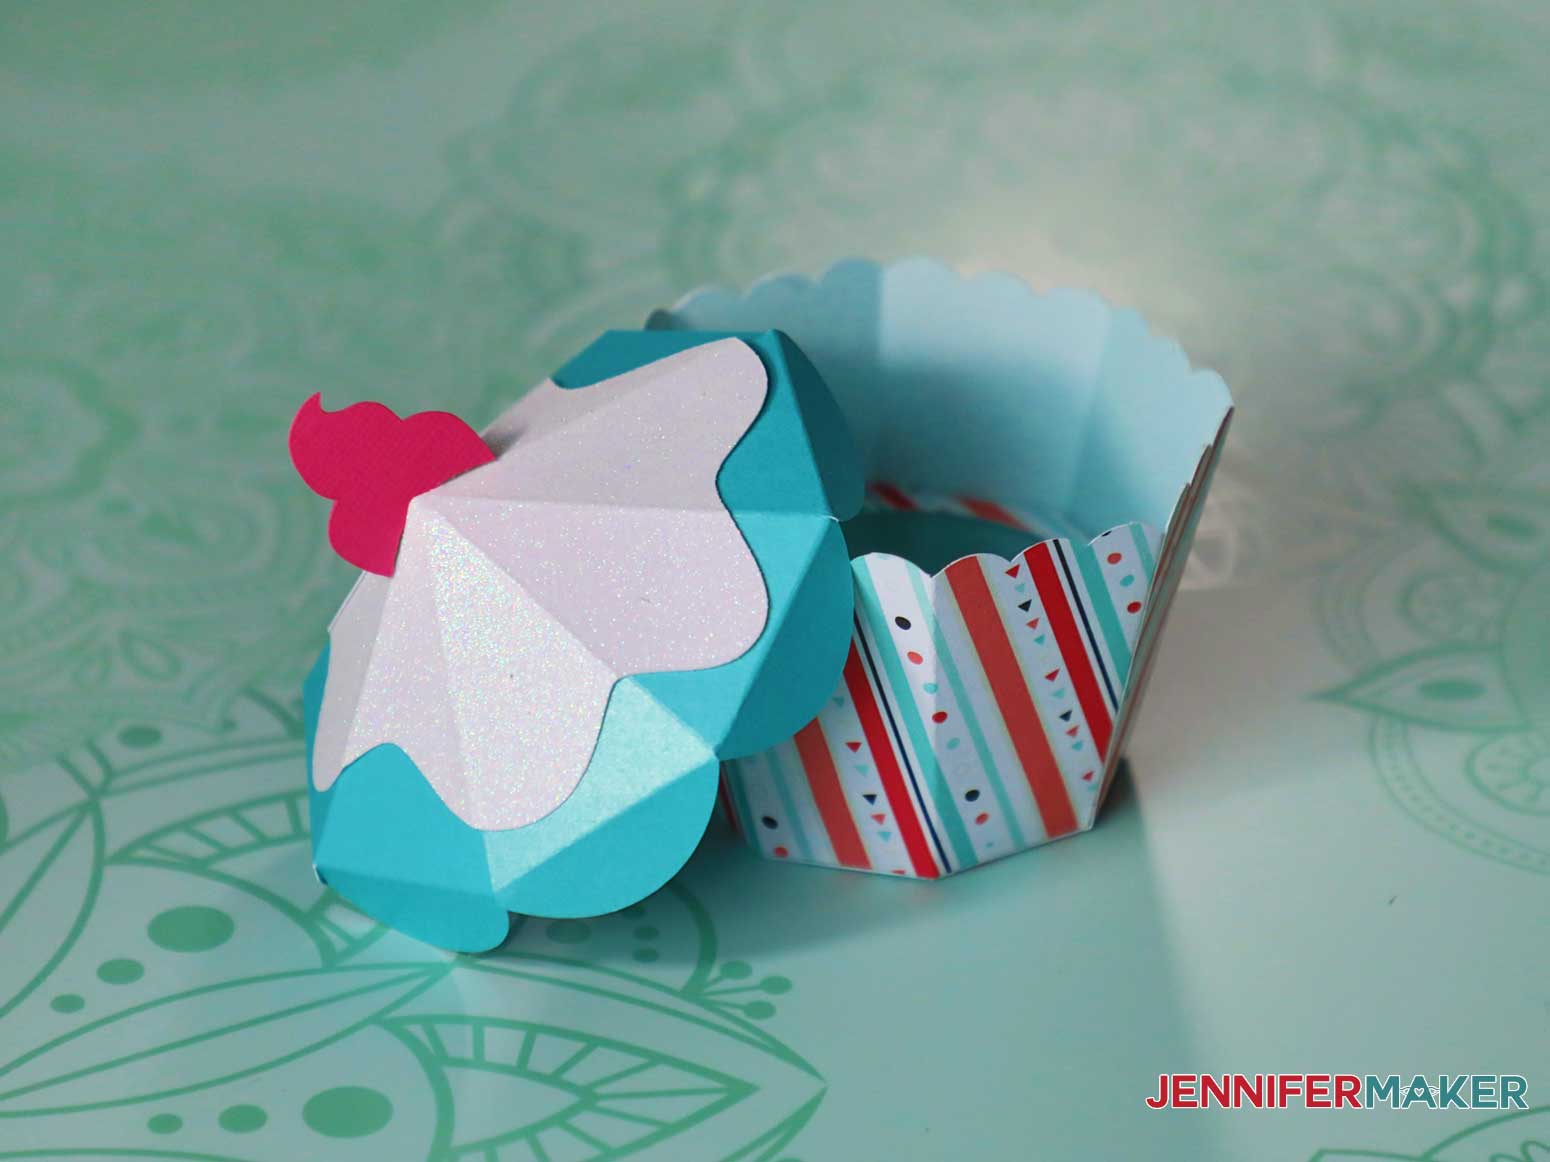
STEP 3: ASSEMBLE THE BOTTOM

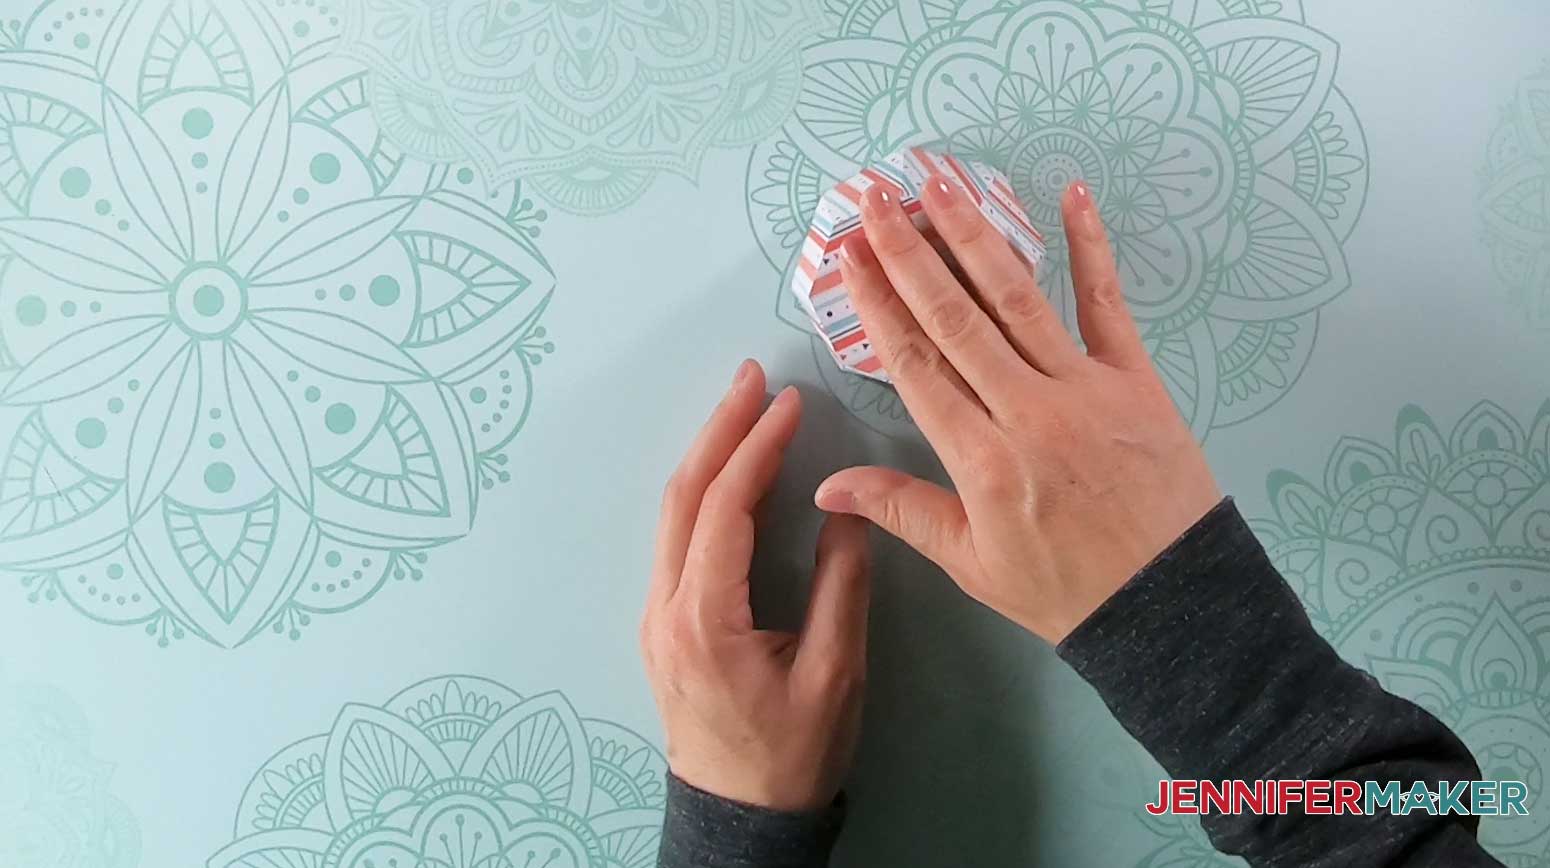
Glue the sides together by applying glue to the side tab and holding it in place until the glue sets.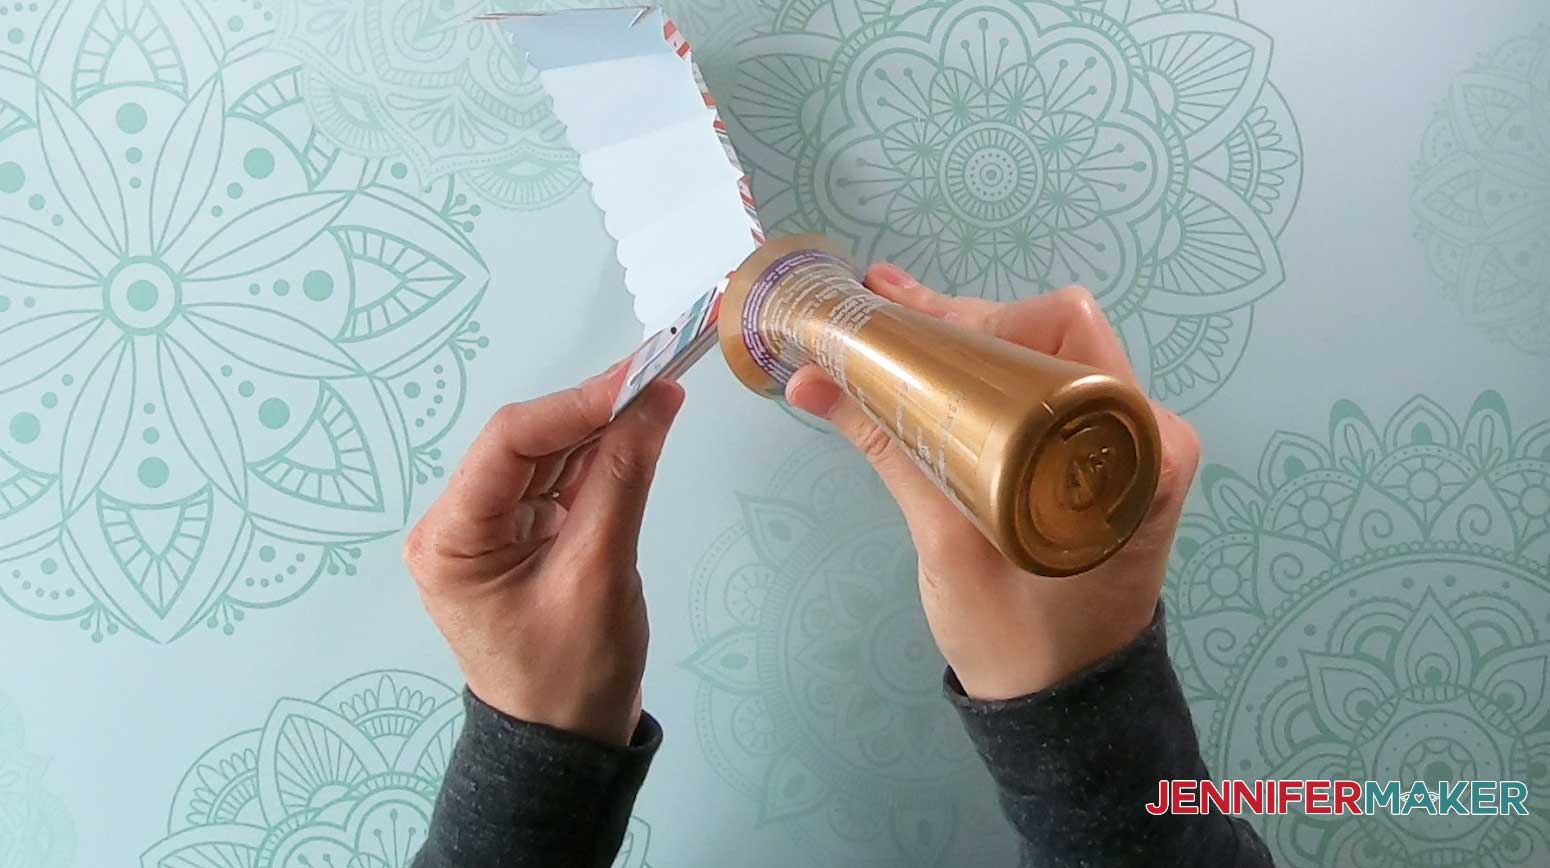

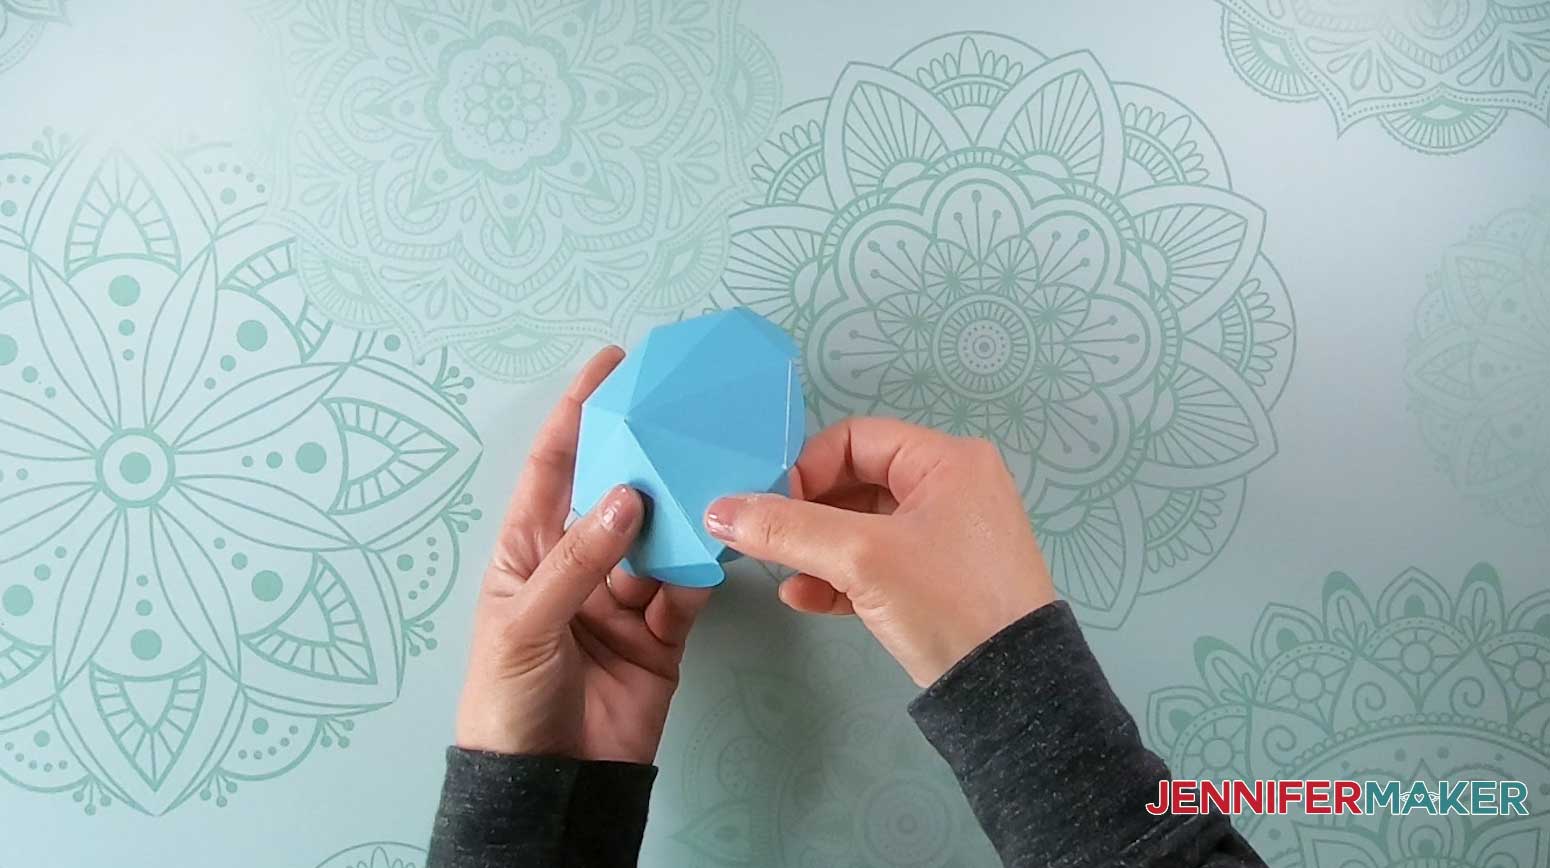
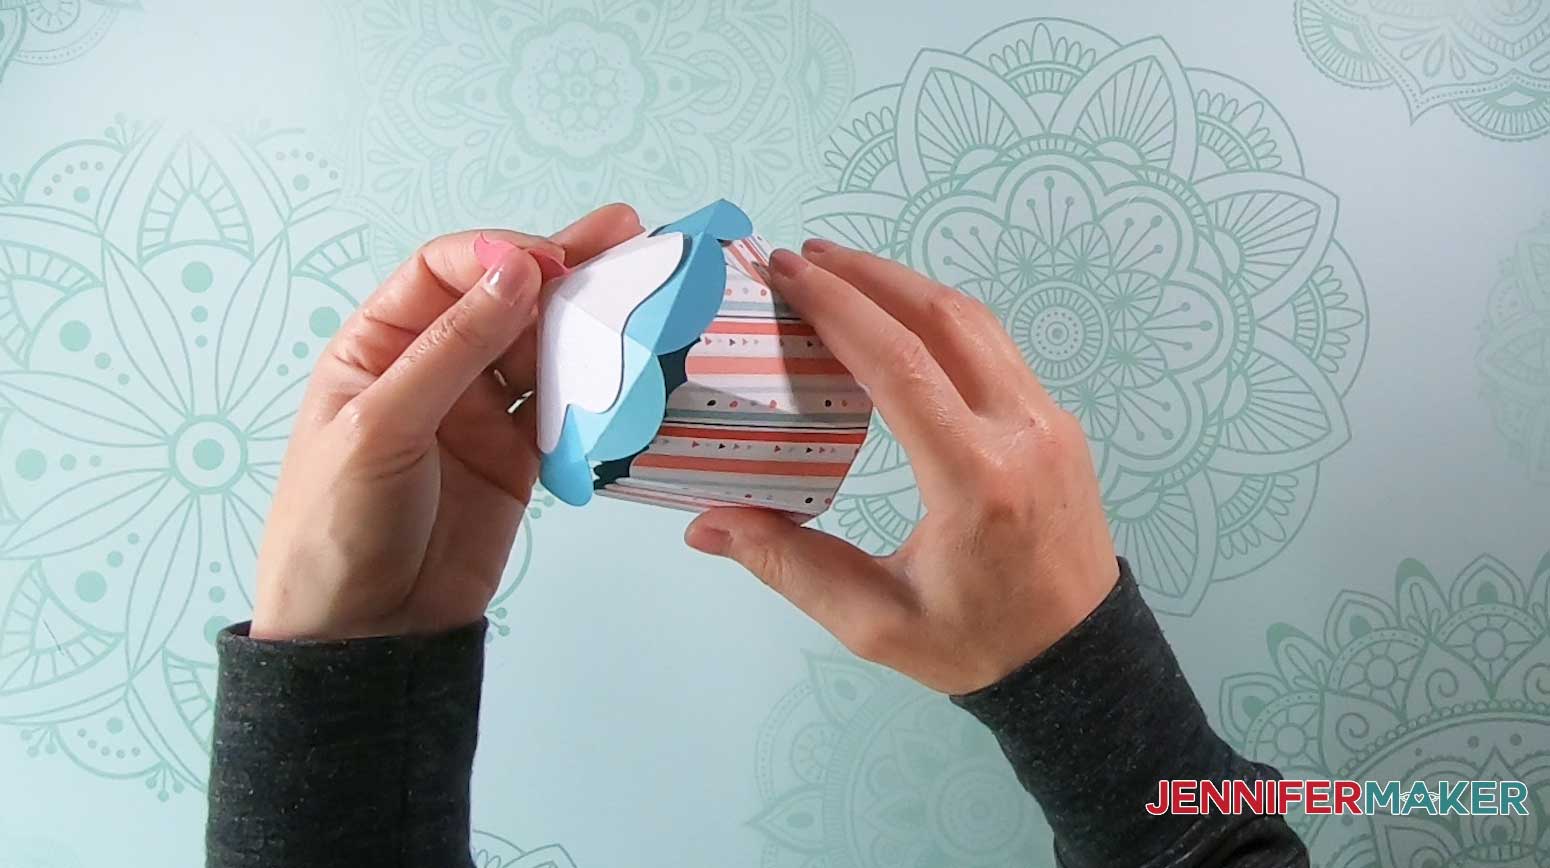
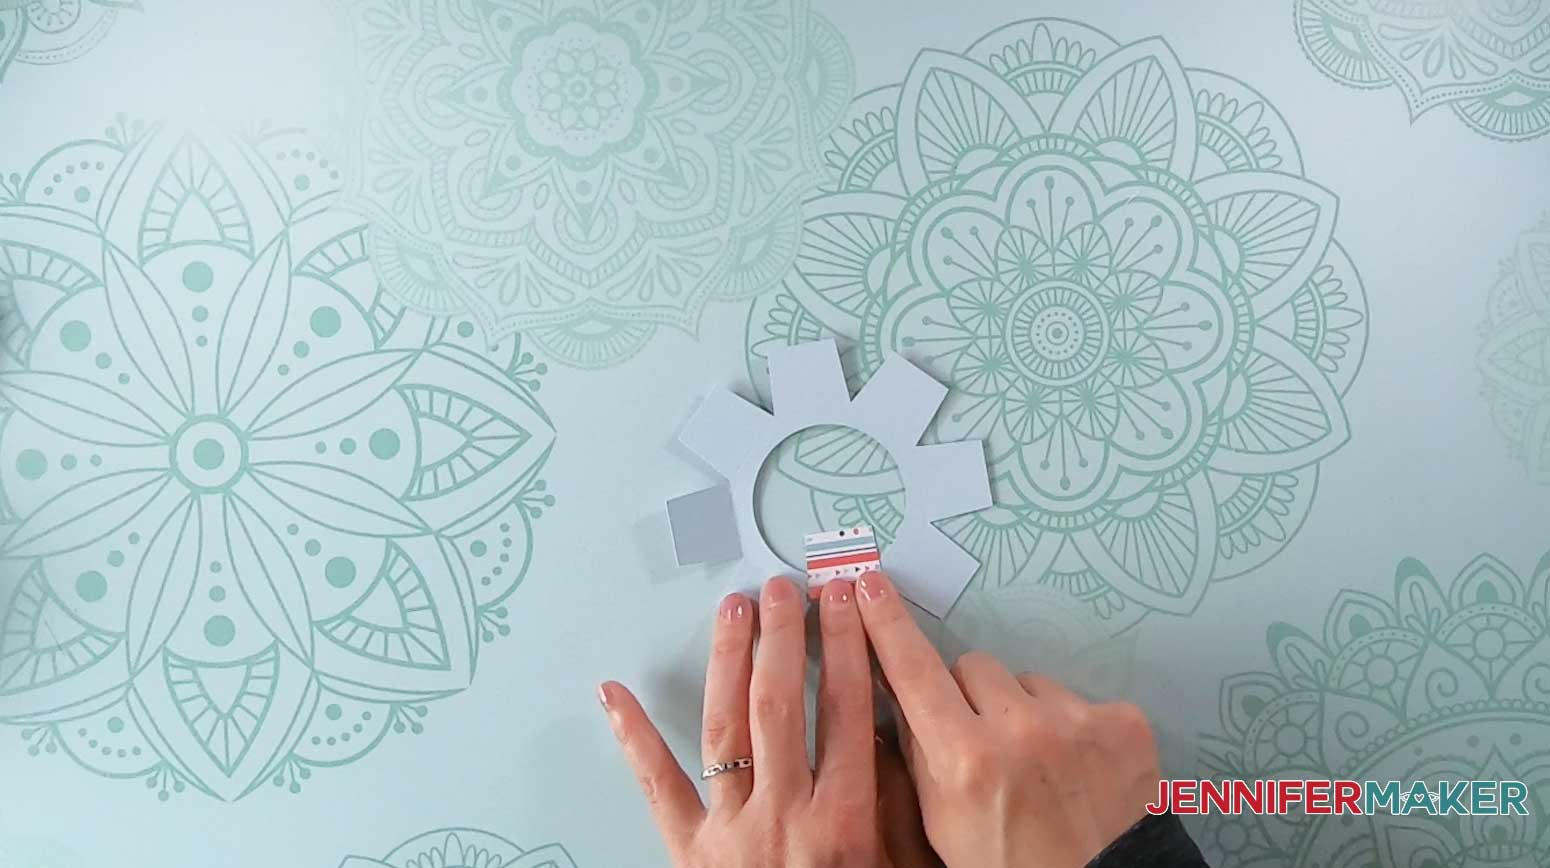
Now, it’s time to attach the base. Apply glue to the bottom tabs.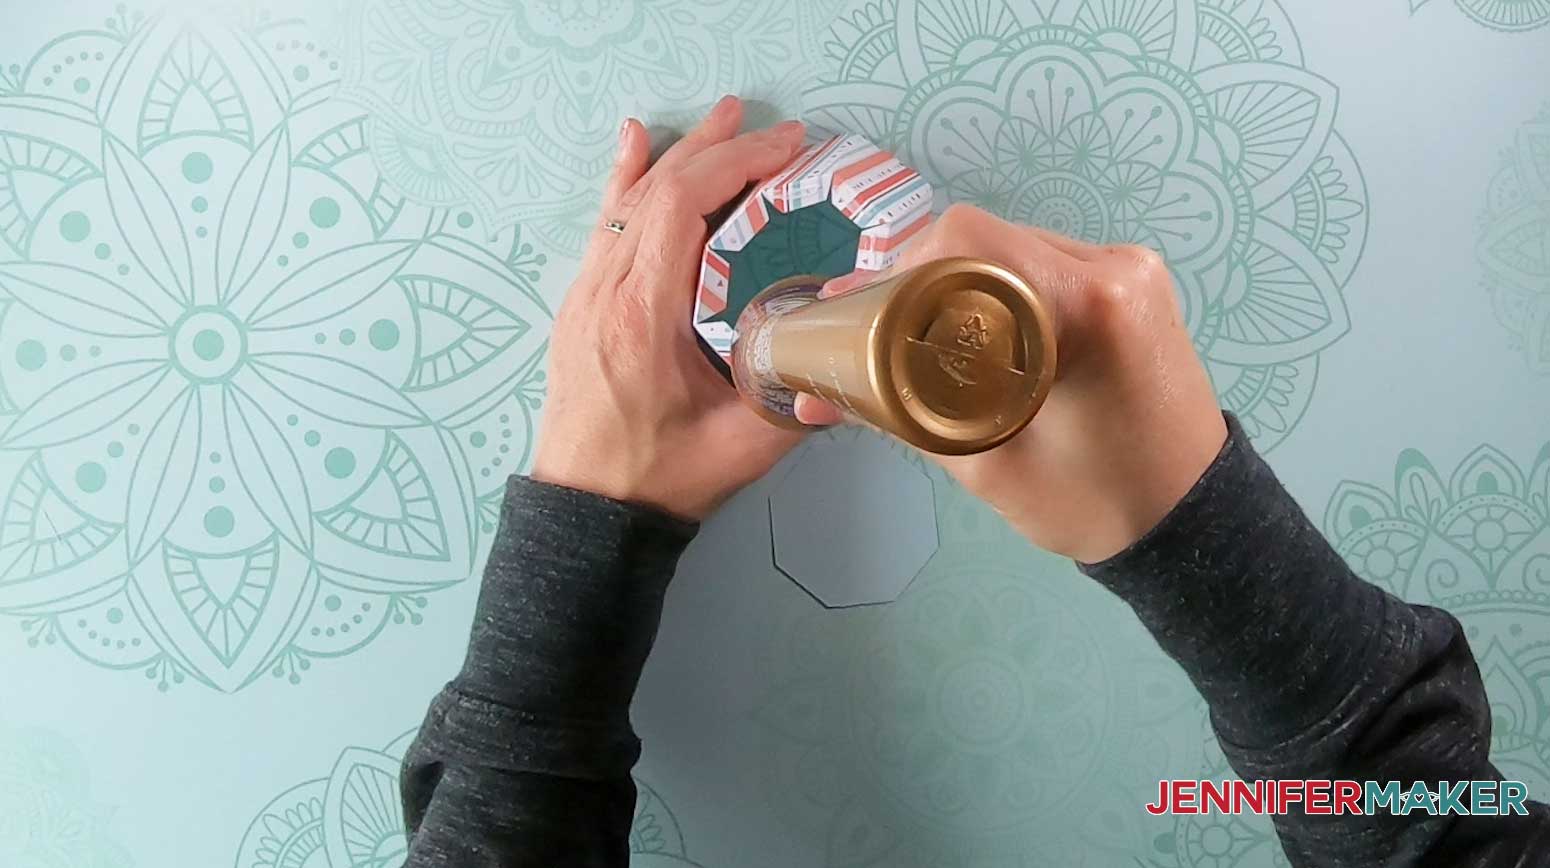
Press the tabs onto the base, taking care to line up each tab to an edge of the octagon base.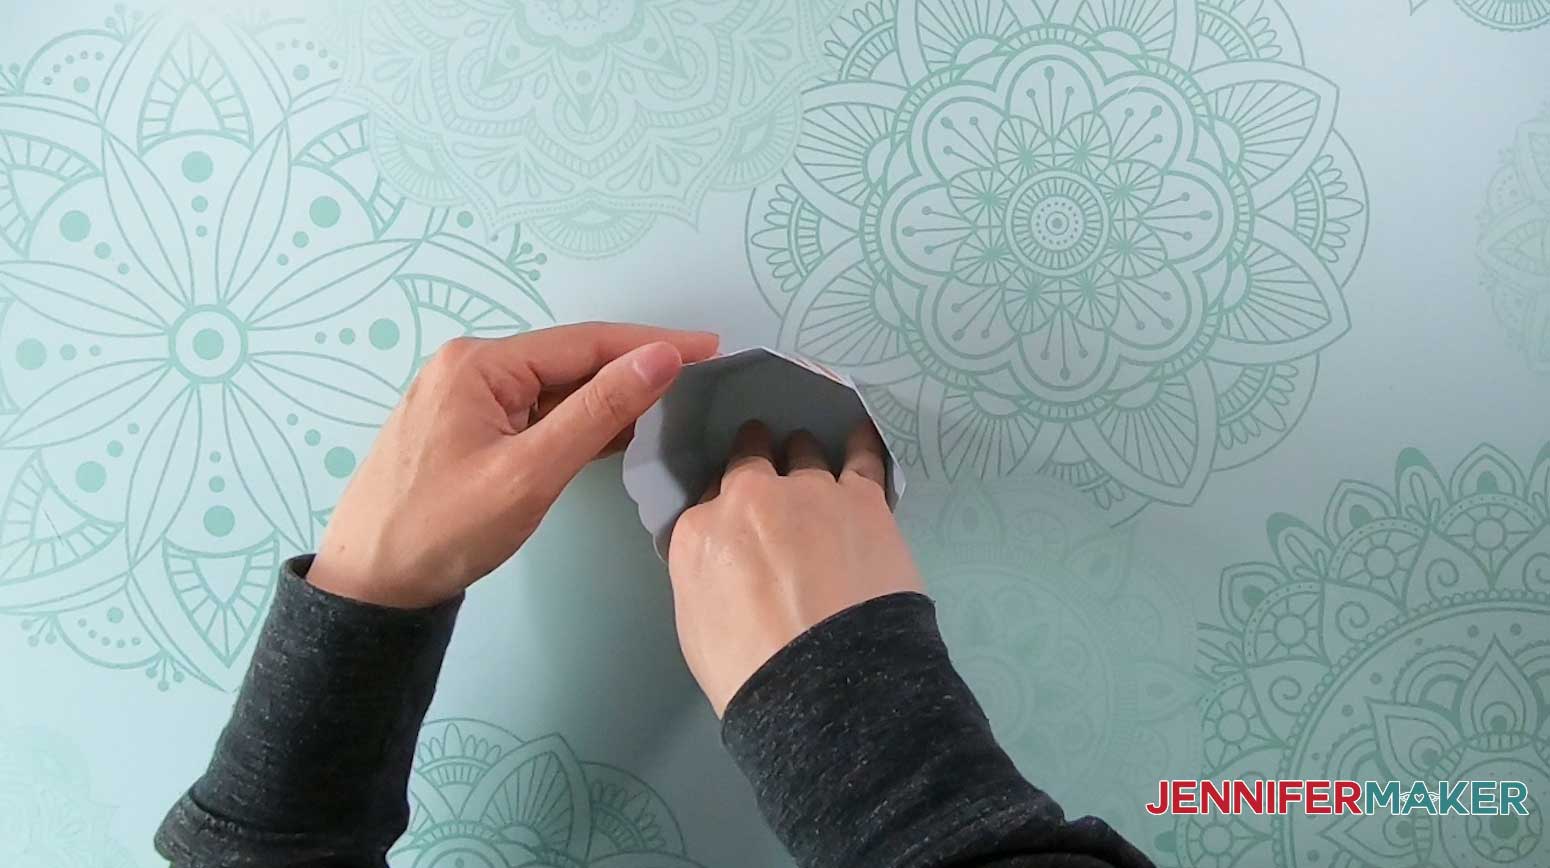
STEP 4: ADD THE OPTIONAL CUPCAKE HOLDER

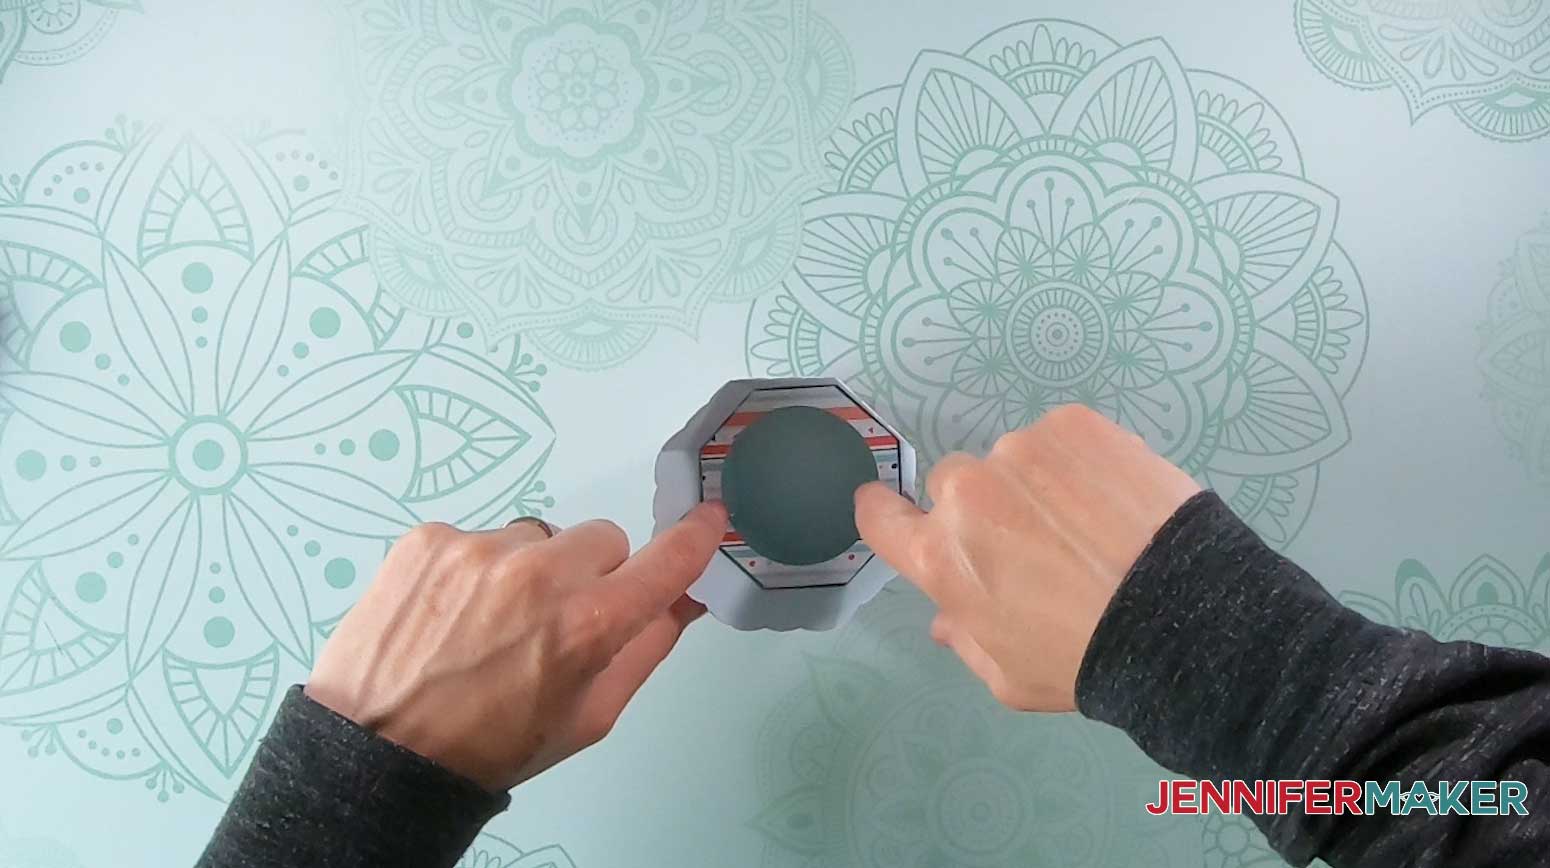
STEP 5: EMBELLISH THE BOX
Recommended Products
Answers to Your Questions About How to Make the Cupcake Gift Box
Q: Can I put cupcakes in this gift box?
Yes! There’s an optional cupcake holder you can add to the bottom of the box to hold your cupcake securely inside.
Q: What kind of cardstock can I use?
I used 80 lb. cardstock for my cupcake box, but you can use 65 lb. or 110 lb. too. If you choose to make your box smaller, you can use 8 1/2 x 11 paper.
Q: Can I use the Cricut Joy?
This box can be adjusted in size, but you will not be able to fit a gift card inside. It can still hold a very small trinket if cut it on the Cricut Joy.
Get my free SVG files to make your own Cupcake Gift Box
I’d love to see YOUR cupcake gift boxes! Please share a photo in our Facebook group or tag me on social media with #jennifermaker.
Love,

Want to remember this? Save this Cupcake Gift Box Tutorial to your favorite Pinterest Board!