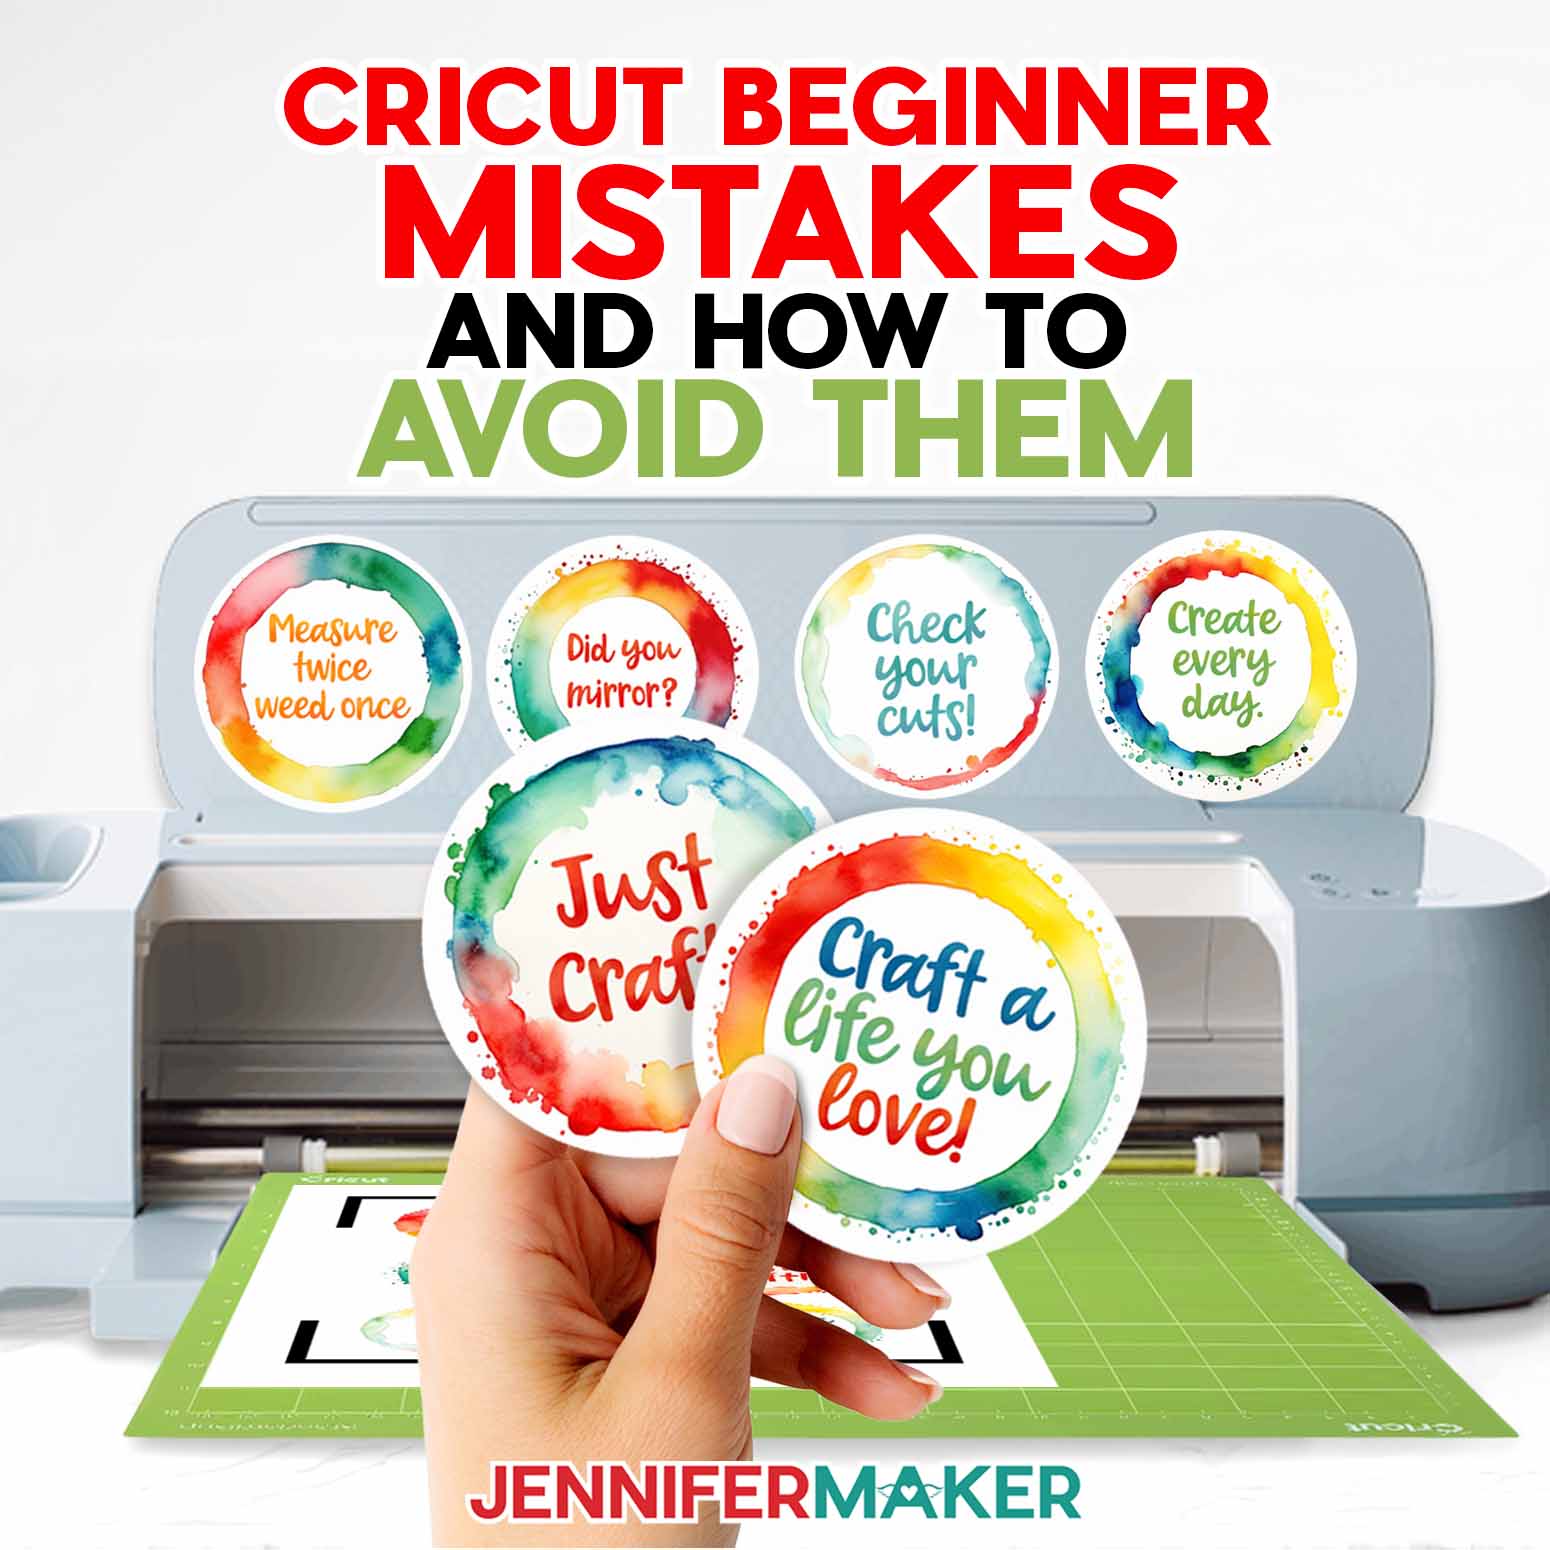
Learn how to make custom stickers with reminders to avoid crafting mistakes!
There is a lot to keep track of when it comes to Cricut crafting. Design Space tools, material settings, all the little things we learn by trial and error, and much more! So, today I’ll share some of my best Cricut for beginners tips, or ways to avoid bad habits. And we’ll make Print then Cut stickers with reminders and words of encouragement to help!
Watch the full step-by-step video with tips and a tutorial to make the reminder stickers:

Whether you’re making your first project with a new Cricut machine or have advanced to making your own designs, it’s always good to learn (or review) the basics. My video will show you several tips and ways to make your crafting go more smoothly, whether you’re a Cricut newbie or a Cricut expert!If you are a beginner I recommend also checking out my Cricut Kickoff to walk through how to unpack and get started with your Cricut!

I’ll share the tips while making stickers, but you can apply several of these ideas to heat transfer vinyl, cardstock, and many different materials. I love easy Cricut projects where you get to learn skills to use in the future! If you need help learning how to upload your own files into Design Space check out my course on SVGs. Then, you’ll be on your way to making your own easy projects, like the set of cute crafting reminder stickers I’m sharing.
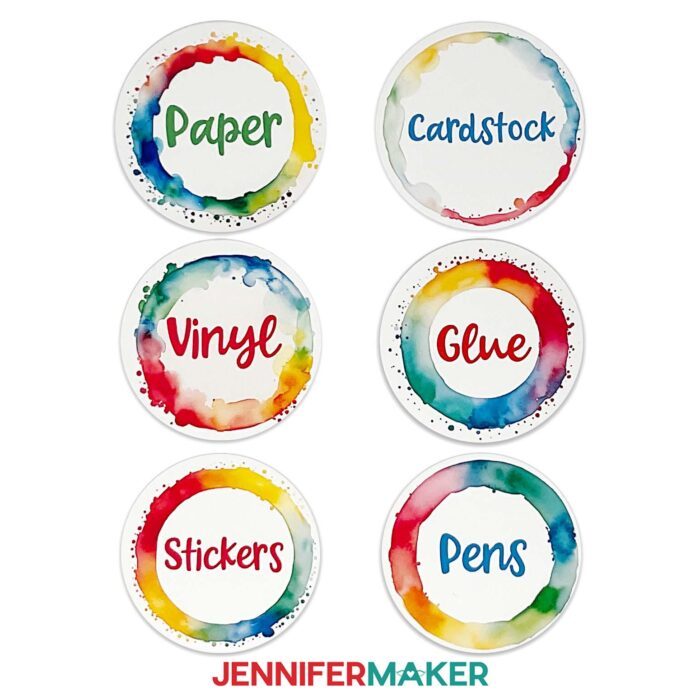
You can even use the steps to make stickers for organizing. Letting your materials and tools become disorganized is a mistake that’s definitely good to avoid. That just makes it easier to damage your supplies or purchase duplicates, which just takes more time, space, and money. Stay organized so you can focus on learning!
I’m using a Cricut Maker 3 to make my stickers, but you can use different machines that have Print then Cut capability and work with SVG files. So, a Cricut Explore Air, all the way to a Venture! The Cricut Joy Xtra can make these, but not the original Joy since it doesn’t have the Print then Cut feature. If you haven’t used Print then Cut before, or if it’s been a while, I recommend calibrating your machine first (instructions are at 9:00 in the video!).
There are still plenty of good tips to help if avoid Cricut beginner mistakes if your new machine is a Joy. You can use many of the tips on projects from my big list of Joy-compatible designs!

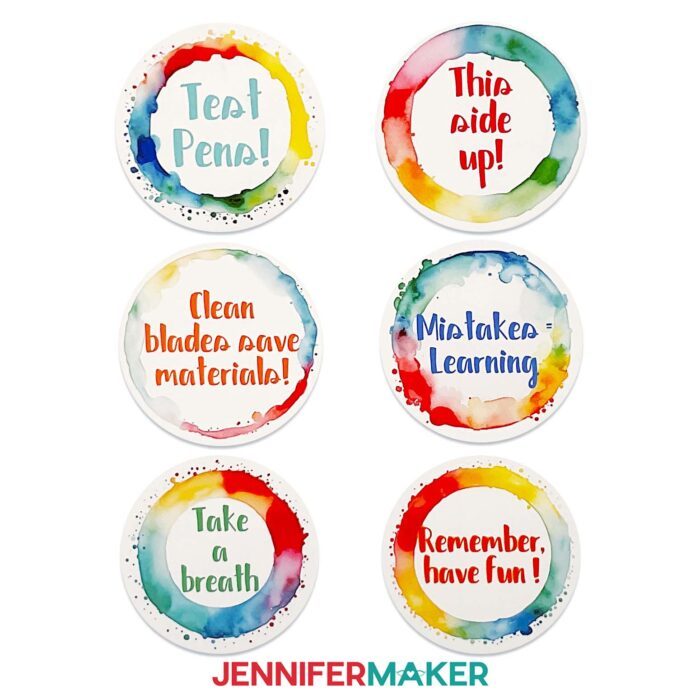
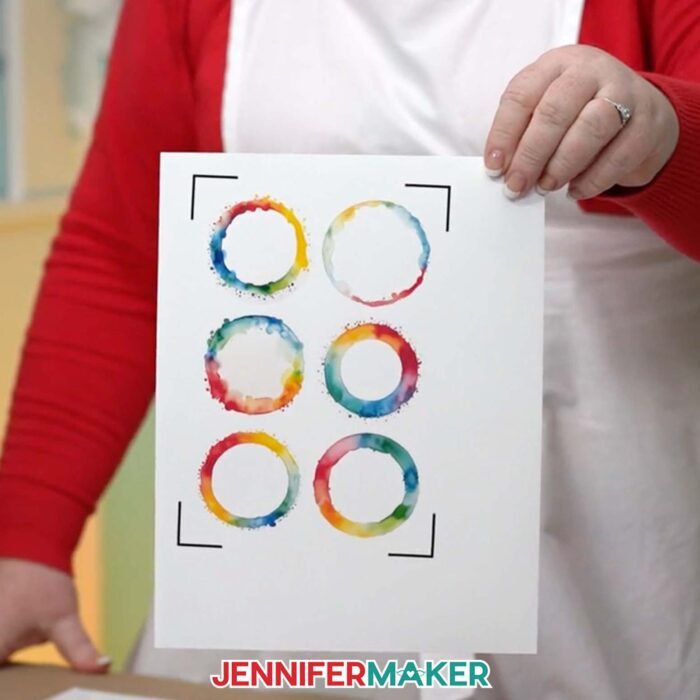
You can use my blank stickers with watercolor frames to make your own versions, too! I’ll show you how to add text and Flatten it to the design to work perfectly with Print then Cut. I made them using an AI generator and then edited them to work perfectly for these stickers, but I’d love for you to use them, too!
Then, we’ll find the right settings to make kiss cuts so the stickers stay on one sheet!
These stickers are gentle, so a great place to put the reminders is right on your machine! That way, your reminders and encouragements are always with you during crafting while you make even more great beginner projects! 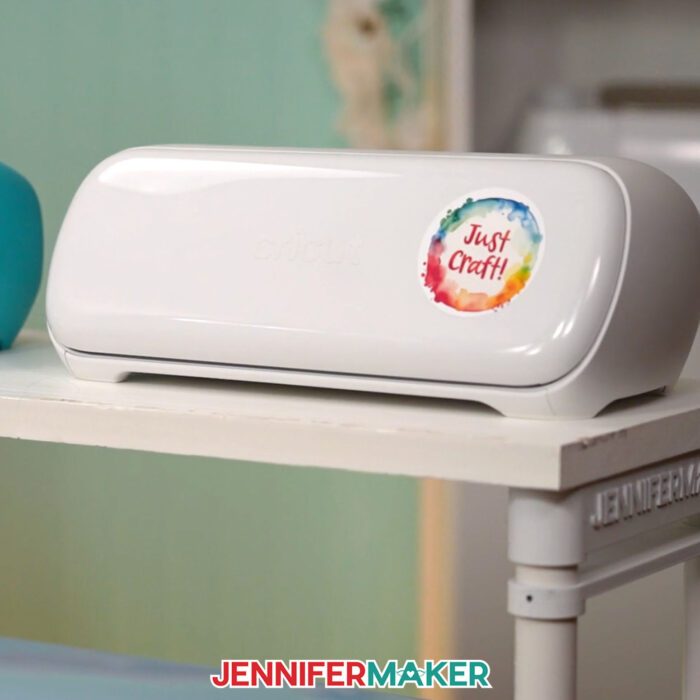
I prepared my PNG image choices in Cricut Design Space and printed them on white printable vinyl with a color printer so all the different colors show. A green StandardGrip machine mat works well for cutting stickers like these. And then you just need a brayer and my free images from the free resource library! Then, follow the steps in my video or the written tutorial below to get started.
Let me show you how to make reminder stickers to help you avoid some Cricut beginner mistakes! This post contains some affiliate links for your convenience (which means if you make a purchase after clicking a link I will earn a small commission but it won’t cost you a penny more, there is no additional cost)! Read my full disclosure policy.
Materials to Make Reminder Stickers
View my Amazon shopping list with the exact items we used to make this project
- Cricut Printable Vinyl in white
- Color Printer – I’m using my Epson EcoTank ET-2800
- A way to cut your stickers – I’m using the Cricut Maker 3, but you can also use the Cricut Maker, a Cricut Explore Series machine, or the Cricut Venture – use your fine point blade!
- Cricut Green StandardGrip Cutting Mat
- Brayer
- Design #567 (My free SVG/PDF/DXF design files are available in my free resource library – get the password by filling out the form at the bottom of this page)

How to Make Your Own Reminder Stickers
Cricut for Beginners Reminder Stickers
Learn how to make cute reminder stickers!
Materials
Tools
Instructions
STEP 1: GET DESIGN
First, download my Cricut for Beginners Reminder Sticker designs from my free library -- look for Design #567. Alternatively, you can use the Save This Project form near the top of this post and the design link will be emailed to you.
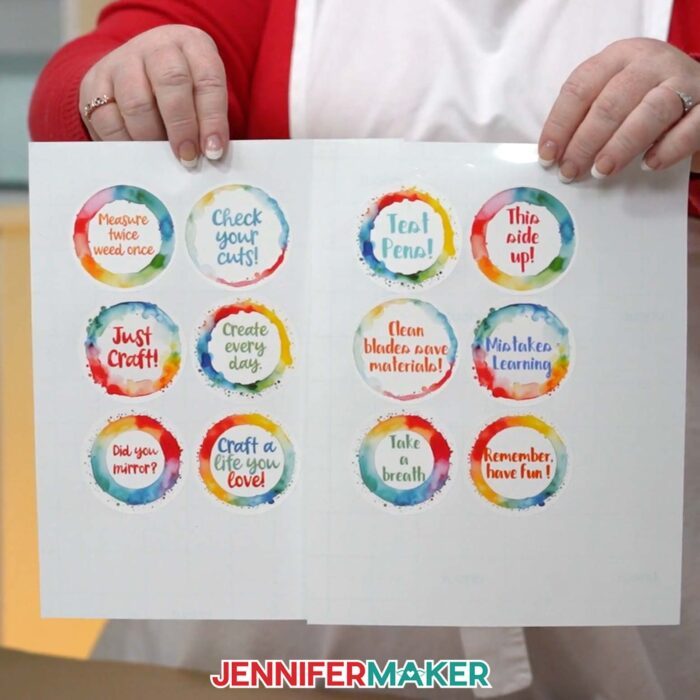
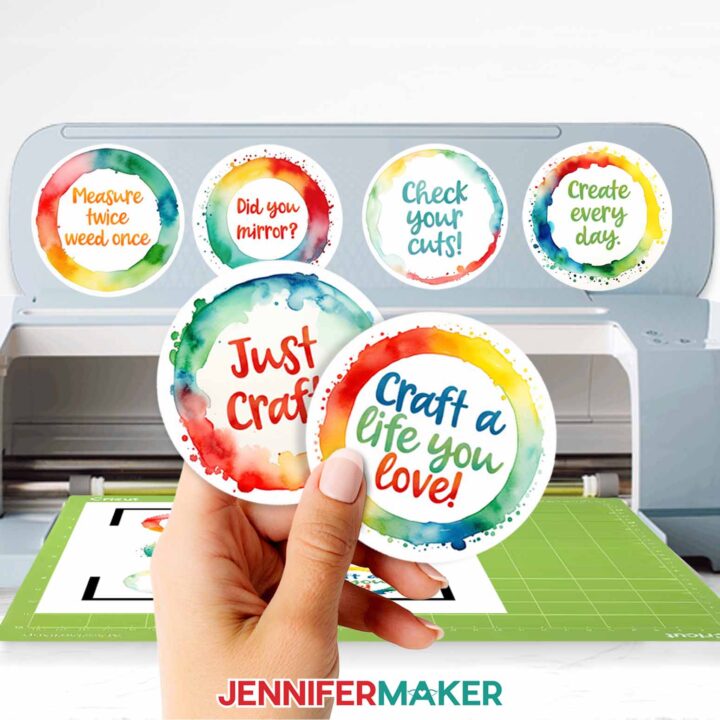
There is a collection of six stickers you can make with Cricut's Print then Cut feature.
I cut my vinyl with a Cricut Maker 3, but you can use an original Maker, an Explore series machine, a Cricut Venture, or any cutting machine that works with cut files and has a Print then Cut capability
TIP: If you’re not sure how to download, unzip, upload SVGs, go to jennifermaker.com/svgs to learn how to unzip and upload SVG files.
NOTE: If you haven't used Print then Cut before or in a while, calibrate your printer and Cricut to get the best results. Instructions are at 9:00 in the video!
STEP 2: PREPARE YOUR STICKER DESIGNS
1. Open Cricut Design Space and click “New Project.”
2. Click “Upload” and then “Upload Image.”
3. Click “Browse.”
4. Select the sticker PNG file you want to make.
5. On the next screen, click “Upload.”
6. On the Upload Image screen, select “Complex” and click “Continue.”
7. No changes are needed on the next screen. Click “Apply & Continue.”
8. On the next screen, select “Print Then Cut Image” and click “Upload.”
9. Repeat steps 1-8 for the other sticker designs you want to make.
10. Find your designs in Recent Uploads and click each one to select it.
11. Click “Add to Canvas.”
NOTE: You may see a low-resolution warning even after resizing your images, and that’s OK. They will print just fine at the size needed for this project. However, I don’t recommend enlarging these images for larger projects.
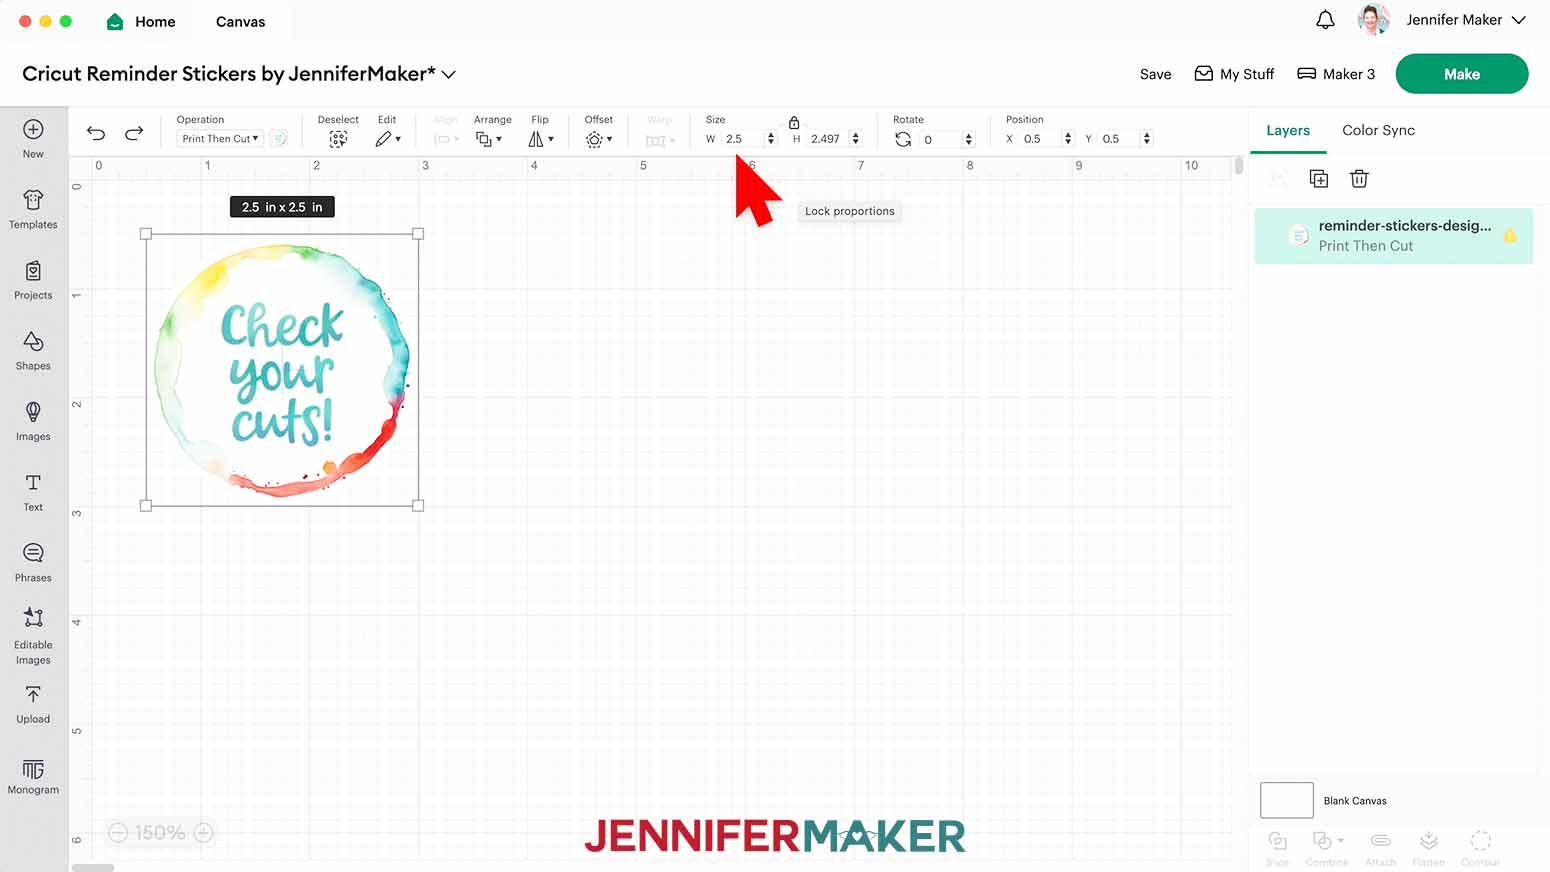
12. If needed, one at a time, select a sticker, keep the lock icon closed, and resize the shape by changing the number in the Size fields. I made mine 2.5" in diameter.
13. To make custom stickers, use the same upload steps to add a sticker frame to your Canvas.
14. Select the sticker to check the size and adjust it if needed.
15. Click the Text icon and type your message.
16. If you want to change the style, click “Font.”
17. Click the Filters icon, and check “Free,” “Handwritten” and “Kerned” (to find options with letter spacing that doesn't need adjustment) and select an option. I used Karley. 
18. Click the color box to change the text's color.
19. To use a non-standard color, click Advanced and move the slider and circle until you find the perfect one. 
20. Click and drag a corner of the text box in toward the middle so at least the first word fits within the frame.
21. Double-click the text box to edit it, then put your cursor to the right of “Test” and hit Return or Enter to move the next word to a new line.
22. Drag it over into position on the frame.
23. If there’s a lot of space between your lines and the letters hit the frame, click the down arrow near Line Spacing to bring the lines closer together. 
24. Hold your Shift key and select both the text and sticker layers in the Layers Panel.
25. Under the Align menu, select “Center.”
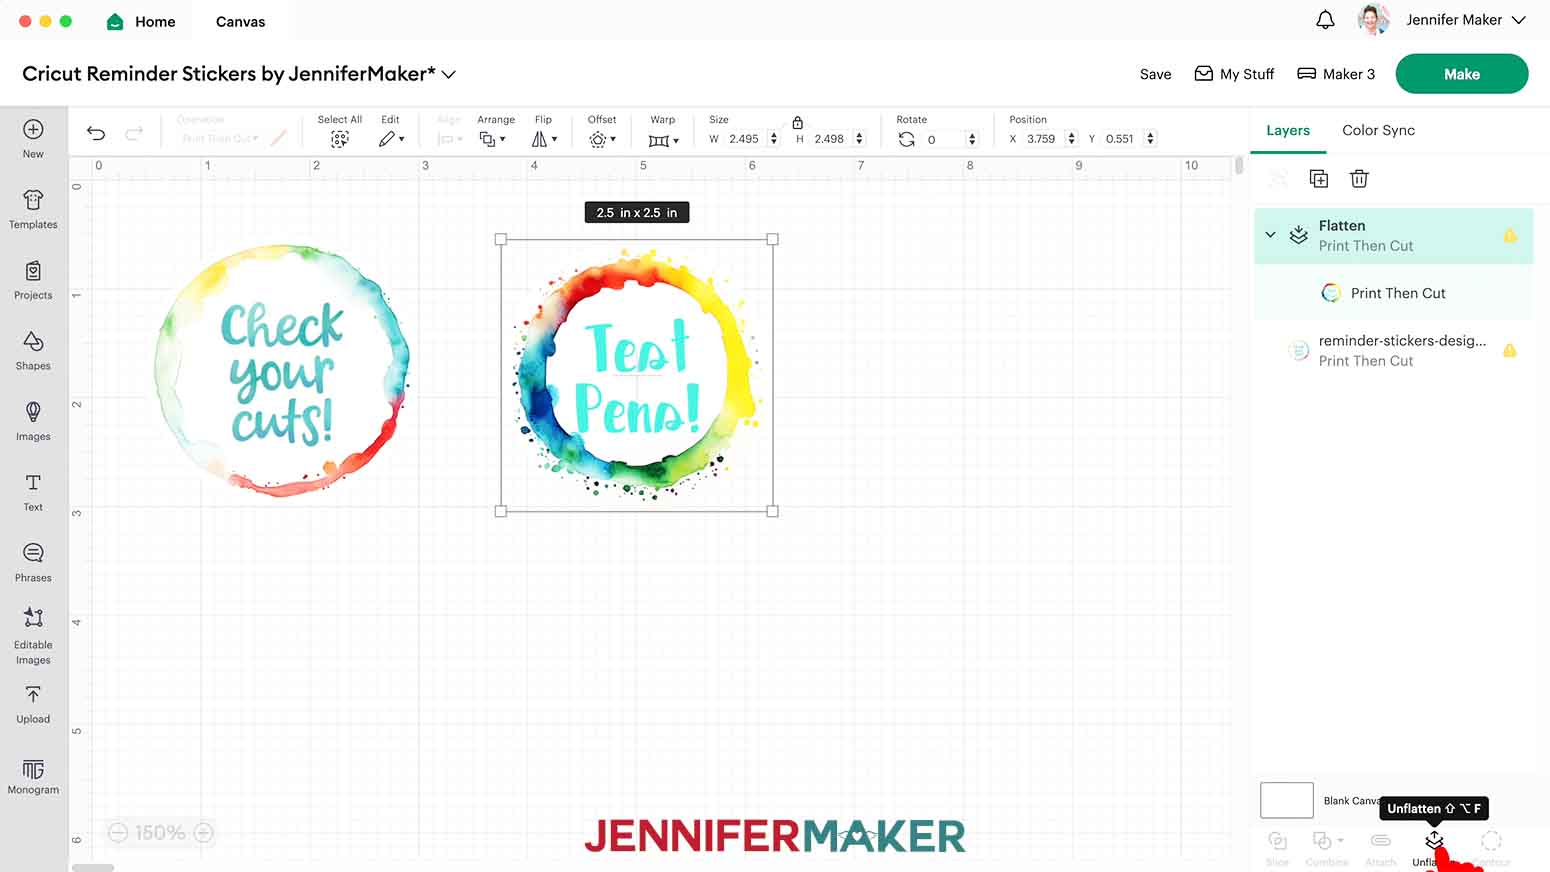
26. To use Print then Cut, select the sticker and text, then select “Flatten” to turn them into a single printable image. ![]()
TIP: To make more custom stickers, use the same steps to put more frames on the Canvas and add your text. Remember to Flatten the stickers with their text!
STEP 3: PRINT AND CUT YOUR STICKER DESIGNS
PREPARING
1. Make sure the correct machine is selected above your Canvas.
2. Click “Make.”
3. If prompted, click “On Mat,” choose your mat size, and click “Confirm.”
4. On the Prepare Screen, make sure the Material Size is set to 8.5” x 11” to match the printable vinyl sheet.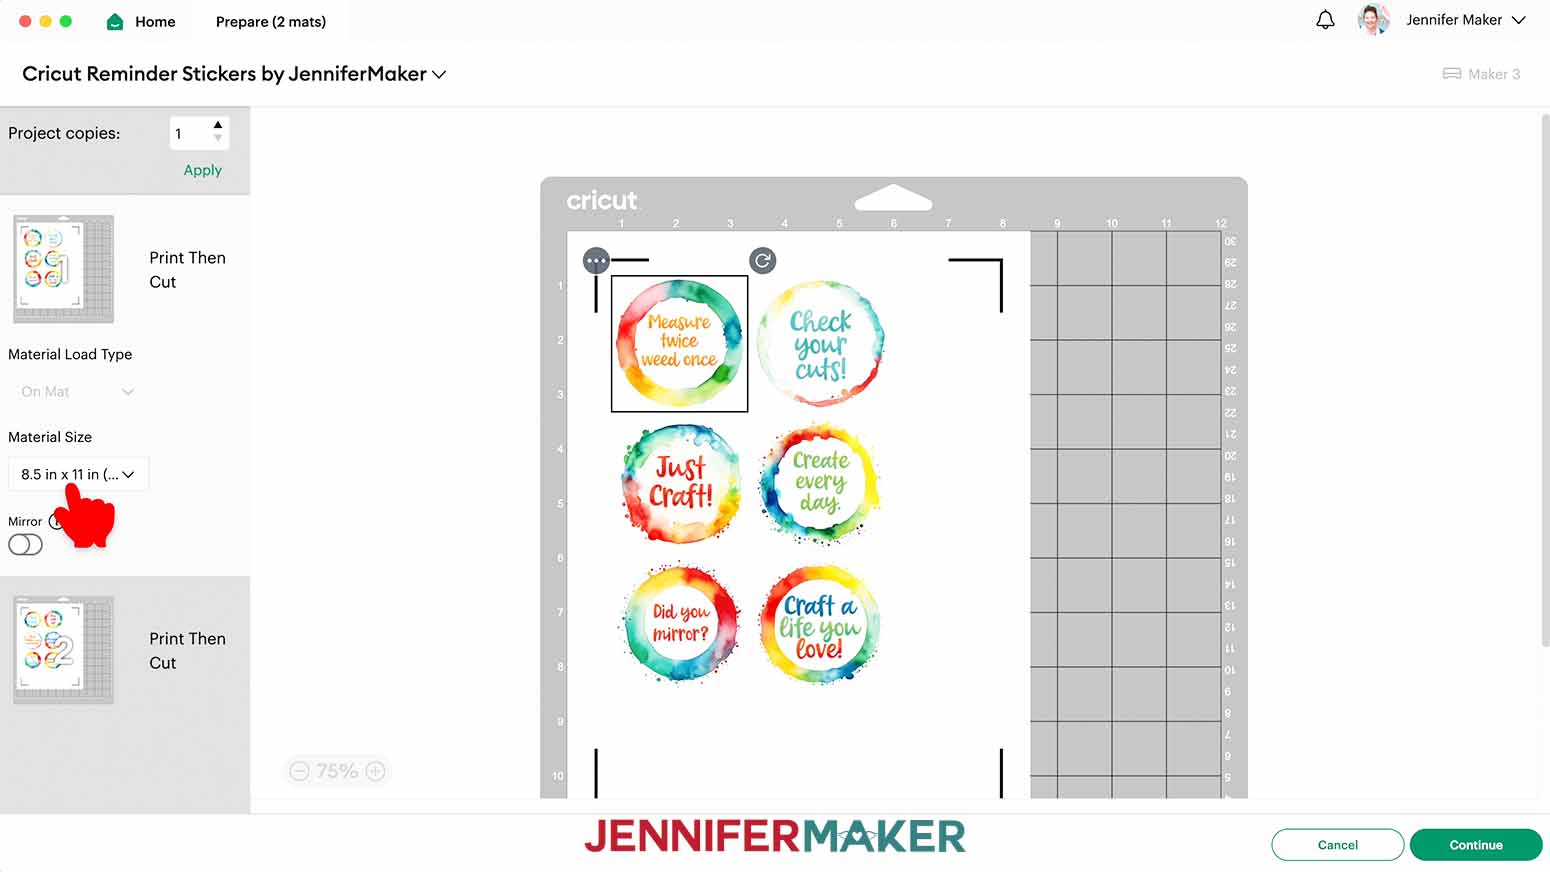
5. Click “Continue.”
PRINTING
1. On the Make Screen, click “Send to Printer.”
2. Select your printer from the Printer dropdown.
3. Have “Add Bleed” off since we don't need to add ink to the edges as a buffer.
4. Toggle “Use System Dialog” on to have more control of your printer.
5. Click “Print.”
NOTE: You may need to minimize or move your Design Space window to see the print dialog window.
6. All Print Dialog windows can vary depending on your computer, printer, and materials, but set the Media to an option similar to “Premium Photo Matte” and the Quality to the “Best” option available.
7. Make sure the material is loaded correctly in your printer.
8. Click “Print.”
9. Let the printed designs dry to avoid smudges during cutting.
CUTTING
1. Place the printed designs face up, with the top and left edges aligned along the guide, on a green StandardGrip machine mat.
TIP: The black marks will help your Cricut make the cuts around each sticker in the correct place, but don't worry, you can trim them away from your sticker sheet later.

2. Use a brayer to secure the print to the mat.
3. Select the “Printable Vinyl” setting with “Less” Pressure to make kiss cuts just through the vinyl, not the backing sheet.
4. Make sure the Fine-Point Blade is clean and in the clamp
4. Load the mat into your Cricut so it matches the screen.
5. Press the flashing button to begin cutting.
6. Unload the mat, flip it over onto your work surface, and gently roll the stickers off of the mat.
7. Enjoy your new stickers!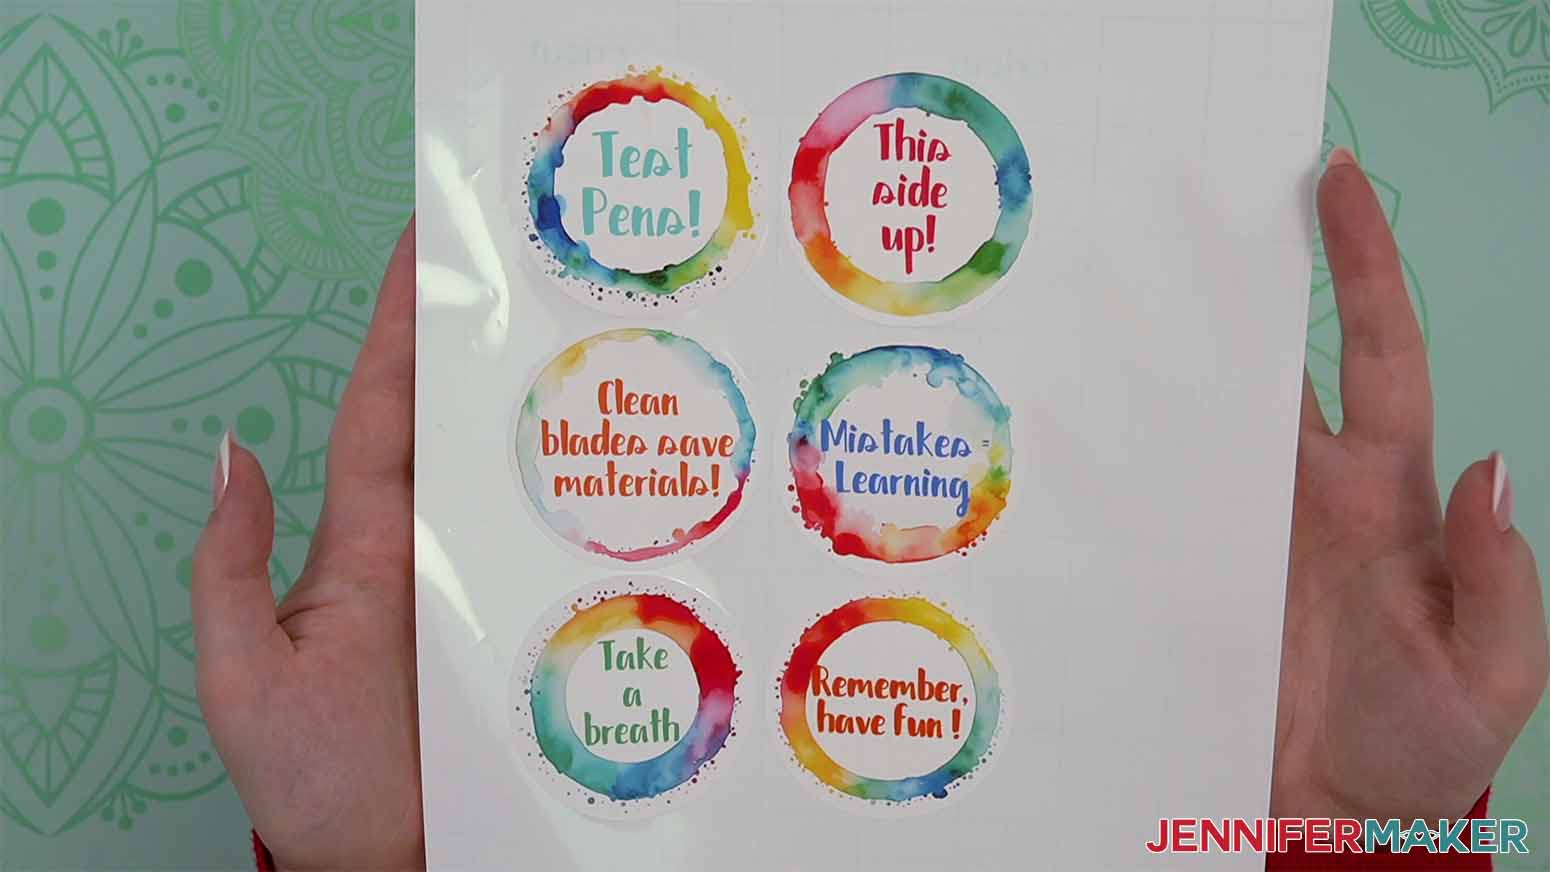
Notes
Typeface: Forever Grateful
Answers to Your Questions About Making Reminder Stickers
Q: Can I cut this project on a Cricut Joy?
A: No, the stickers require the Print then Cut feature, but you can use a Cricut Joy Xtra. You can use some of my simple Joy projects to make similar reminders though using cut adhesive vinyl or by drawing on sticker vinyl!
Q: My stickers keep cutting wrong. What can I do?
A: Be sure you’re using a clean and sticky machine mat, good-quality sticker vinyl, and a clean blade. See my Cricut Cutting Problems post for all the tips I use to get clean cuts every time. There’s also help info on my Ultimate Guide to Vinyl!
Q: What should I buy as a beginner with Cricut?
A: Start simple, and don’t over buy materials and tools right away! If you have a Maker or Explore, I’ve put together some of my most-used items in a simple list for you to check. And I have one for the Joy, too! And if you plan to work with HTV (heat transfer vinyl or iron-on vinyl) I have lots of tips on the newer Cricut EasyPress options!
Q: What is the first thing to make with a Cricut?
A: I think either a simple cardstock item or basic vinyl project is the way to go for your first Cricut project! There are so many things Cricut can make, but the first step is to start simple, so don’t jump right into Infusible Ink or projects that need the knife blade.
Q: What should I know about Cricut before buying one?
A: Before you buy a Cricut or other cutting machine, think about the kinds of projects you want to make, the space you have, and your budget. I have lots of information in my blog post to help you pick the right Cricut!
Q: Is it hard to learn to use a Cricut?
A: I wouldn’t say it’s hard, but there is a lot to learn. I would love for you to join me in Cricut Kickoff, where we’ll go from unboxing to our first projects using simple steps to help you get crafting confidently! I also have hundreds of Youtube videos on my channel with years of free projects, tips, and tutorials for you to learn from! I love providing these free resources.
Q: How do I keep my Cricut supplies organized?
A: First, I recommend keeping track of your tools and materials to avoid duplicate purchases that take more space and organizing. And, take some time after every project to clean up your crafting area, so you’re not stressed about the mess or missing an important item the next time you feel creative. If you want tons of helpful tips, I’ve put all my favorites (including lots of helpful worksheets and references) in my Craft Room Organization Challenge. I’ll help you get it all settled in 30 days with just a little work each day!
Q. Do I have to use a Cricut?
A: No! My capable design staff and I always include several versions of each digital item. If you have a Silhouette Cameo, which uses Silhouette Studio, you can use the DXF cut files in Silhouette Basic Edition. If you have upgraded to Silhouette Designer Edition, Designer Edition Plus, or Business, you can use the SVG files. If you don’t have a cutting machine, you can print and then cut out my digital download PDF files, too and then use scissors or a craft knife to cut out your pieces. The ZIP file in my resource library includes these file types and more!
Q: Do you need a computer for a Cricut?
A: No, you can use your mobile devices to control any Cricut other than the Venture. Most of my tutorials use the desktop version of Cricut Design Space, but you can still apply the tips when working in the apps for Apple iOS or Android if you don’t have a laptop computer.
Q. Are your free SVGs just for personal use or also commercial use?
A: Yes, you can sell completed projects using these designs (with limits), but do not sell the digital files. Click here to learn more about our licenses and what you can and cannot do with our designs. If you use them, please share photos with us! We love supporting small businesses!
Get my free SVG file collection to create your own reminder stickers!
I love seeing what you make with my designs and how you use them! Please share a photo of your stickers in our Facebook group or tag me on social media with #jennifermaker.
Love,

Want to remember this? Save this post on Cricut Beginner Mistakes and How to Avoid Them to your favorite Pinterest Board!