
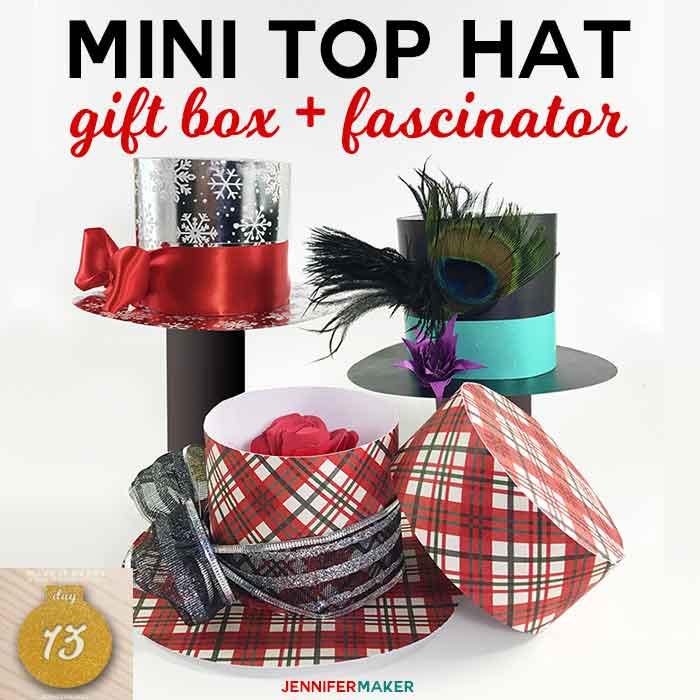
 I have my sweet sister to thank for these fun mini top hats! Last night she texted me with an idea for a mini top hat gift box and asked if I knew of a pattern. I did not, so rather than leave her empty-handed, I made one for her. It turned out super cute! So today I made an alternate version that you could wear at a jaunty angle on your head — a mini top hat fascinator. So Day 13’s gift in my MAKE IT MERRY: 25 Days of Maker Projects Christmas are these cute paper Mini Top Hats!
These mini top hats are perfect for the new year. Put a special gift inside the gift box version and then wear the fascinator version to a party! They only need one sheet of cardstock to make, too.
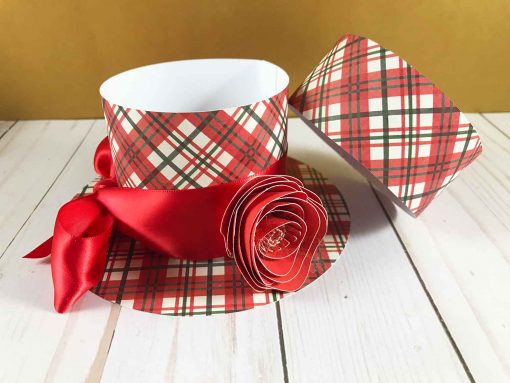
Here’s the Mini Top Hat Gift Box:

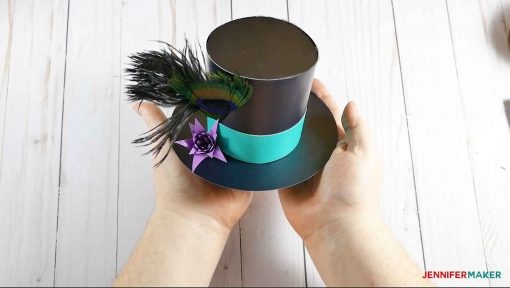
And here’s the Mini Top Hat Fascinator:

Want to make a Mini Top Hat, too? Let me show you how! This post contains some affiliate links for your convenience (which means if you make a purchase after clicking a link I will earn a small commission but it won’t cost you a penny more)! Read my full disclosure policy.
Materials for the Mini Top Hat
- 65 lb. or heavier cardstock, 12″ x 12″ (avoid glitter and metallic cardstock if possible because they are hard to glue, foil is okay)
- Decorations, such as ribbon, feathers, and paper flowers
- Tacky glue
- Headband, hair clip, or bobby pins (for the fascinator)
- A way to cut the cardstock (I used a Cricut )
- Design #76 – My free SVG cut file (available in my free resource library—get the password at the bottom of this post)
How to Make Your Mini Top Hat Gift Box
First, download Design #76 which are my free SVG cut files or PDF from my free resource library. If you’re going to cut it on your cutting machine, upload the file to your design software.
Tip: If you’re not sure how to upload an SVG cut file to Cricut Design Space, watch this helpful video training series I made. If you’re on an iPhone or iPad, here’s how to download and upload SVG files to the Cricut Design Space app.
Cut out your card stock.
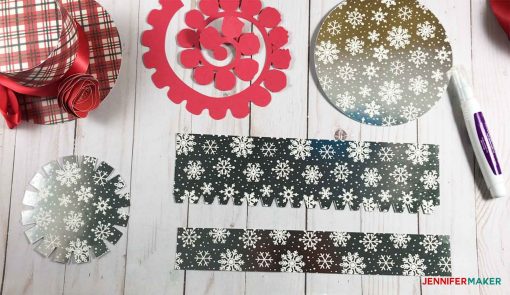
Fold in the tabs on the circle (this is the top of your mini top hat).
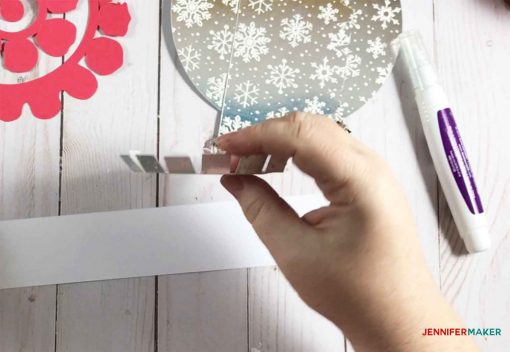
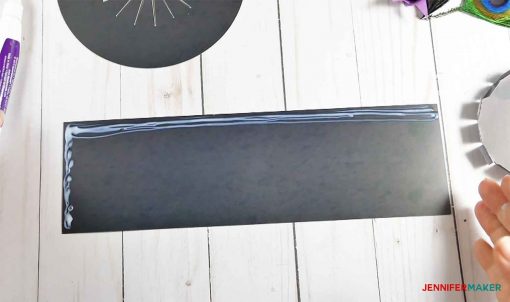
Put a line of glue on your smaller rectangle strip– it goes along one short side and one long side.
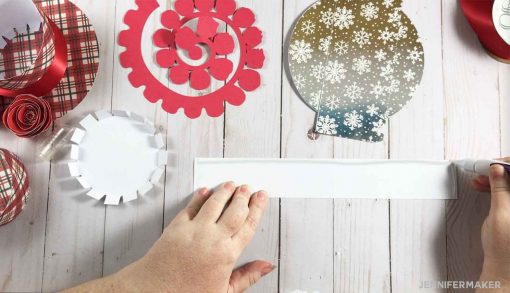
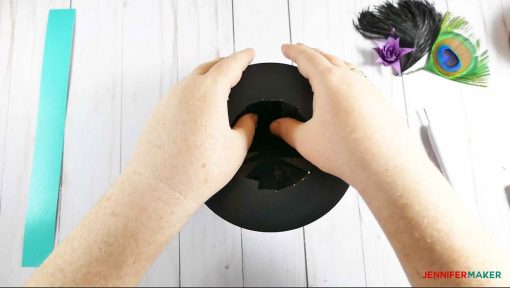
Glue the strip to the tabs. I find it is easiest if I put the circle with tabs face down on my surface, wrap the glued edge of the rectangle around it until it meets and just overlaps. I then press on the tabs with my finger or a tool to make sure they are making contact with the glue.
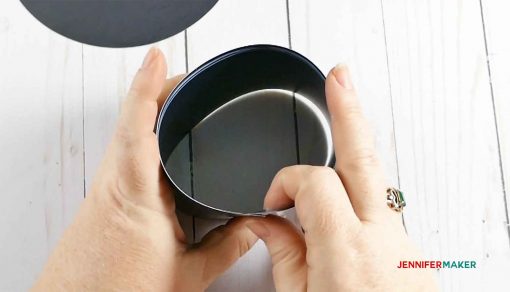
This is the lid to your mini top hat gift box.
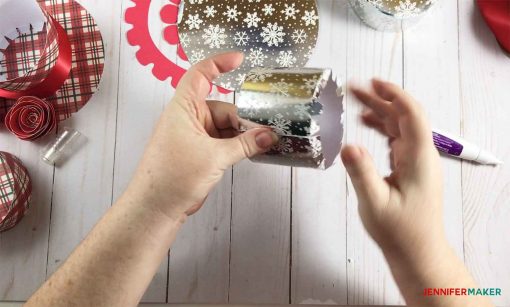
Now fold in the tabs on the larger rectangle strip.
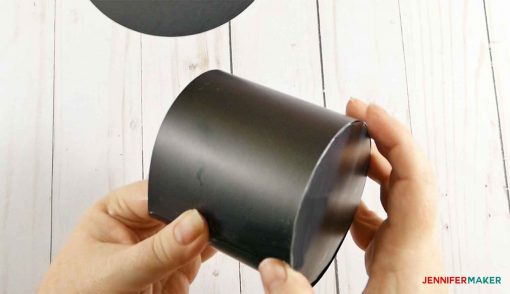
Glue the edge of the strip to itself to create a kind of tube.
Glue the bottom tabs and place the tube exactly in the center of your large circle. Press down the tabs to make sure they make contact with the circle (hat brim).
Tip: Before the glue sets, make sure the lid can fit over the tube easily.
Tie a ribbon around the hat and/or decorate in any way you like!

How to Make Your Mini Top Hat Fascinator
Download my free SVG cut files or PDF from my free resource library. If you’re going to cut it on your cutting machine, upload the file to your design software.
Tip: If you’re not sure how to upload an SVG cut file to Cricut Design Space, watch this helpful video training series I made. If you’re on an iPhone or iPad, here’s how to download and upload SVG files to the Cricut Design Space app.
Cut out your card stock.
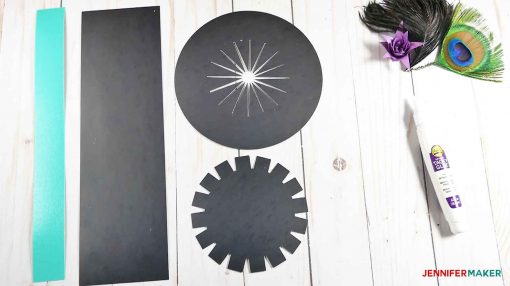
Fold in the tabs on the circle (this will be the top of your mini top hat).
Put a link of glue on your smaller rectangle strip– it goes along one short side and one long side.
Glue the strip to the tabs. I find it is easiest if I put the circle with tabs face down on my surface, wrap the glued edge of the rectangle around it until it meets and just overlaps. I then press on the tabs with my finger or a tool to make sure they are making contact with the glue. This is the lid to your mini top hat gift box.
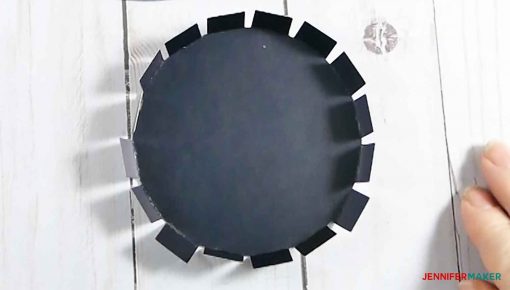
Next, fold in the pointy bits on the large circle (brim).
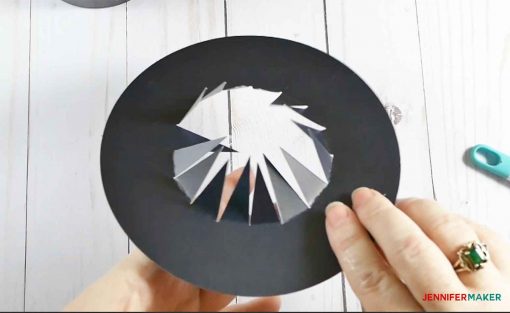
Center the brim on the top of the top of the hat. Glue at least four of the pointy bits to the inside of the hat. (You don’t have to glue them all, plus you will want to keep some unglued so you can attach a headband or bobby pins).
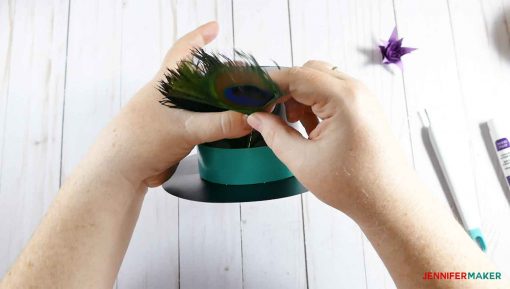
Glue on a hatband, feathers, flowers, ribbons, or whatever decorations you wish.
If you are using a headband, glue it to the top of the headband at an angle.
Get my free cut files for the Mini Top Hat Gift Box and Fascinator
I think the fascinator would be great fun to wear on New Year’s Eve! Or make themed versions for virtually any holiday—the possibilities are endless. I’d love to see your project! If you make one, please share a photo in our Facebook group, email it to me at [email protected], or tag me on social media with #jennifermaker.
Come back tomorrow to open the Day 14 gift of my MAKE IT MERRY: 25 Days of Maker Projects Christmas! You can be notified of when there is a new gift ready to open on my blog, just fill out this form!
Love,

Want to remember this? Save the Mini Top Hat to your favorite Pinterest board!


This is a gorgeous file and it could be a lovely favour box for men instead of the usual tuxedo.
Thank you so much.
Thank you so much. I’ve been following you since I got my cricut and love your voice and instructions channel’s, don’t know why it took me so long to join this area. I thank you so much for all I’ve learn and still learning?.