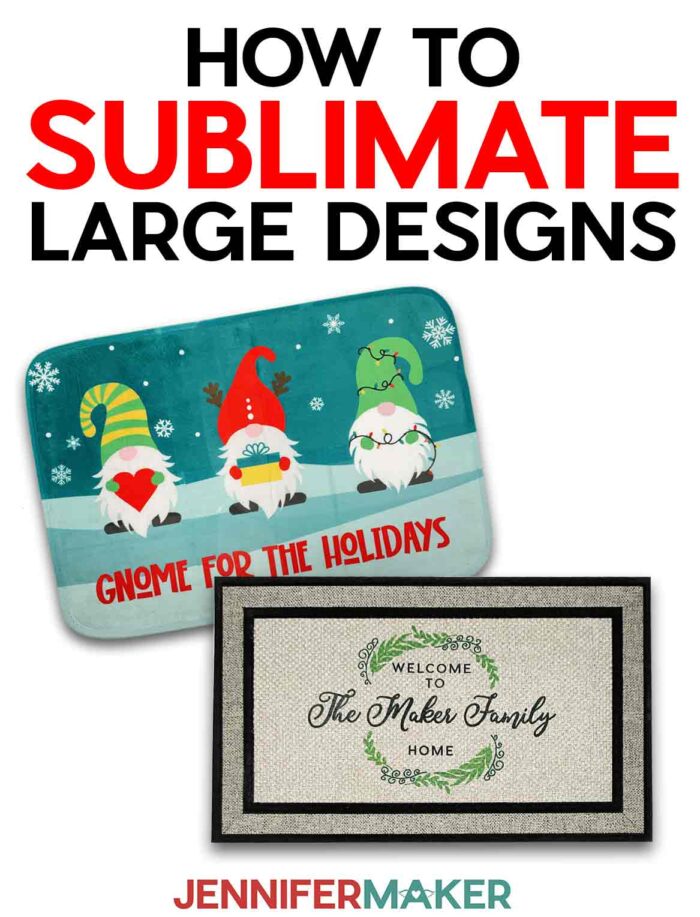
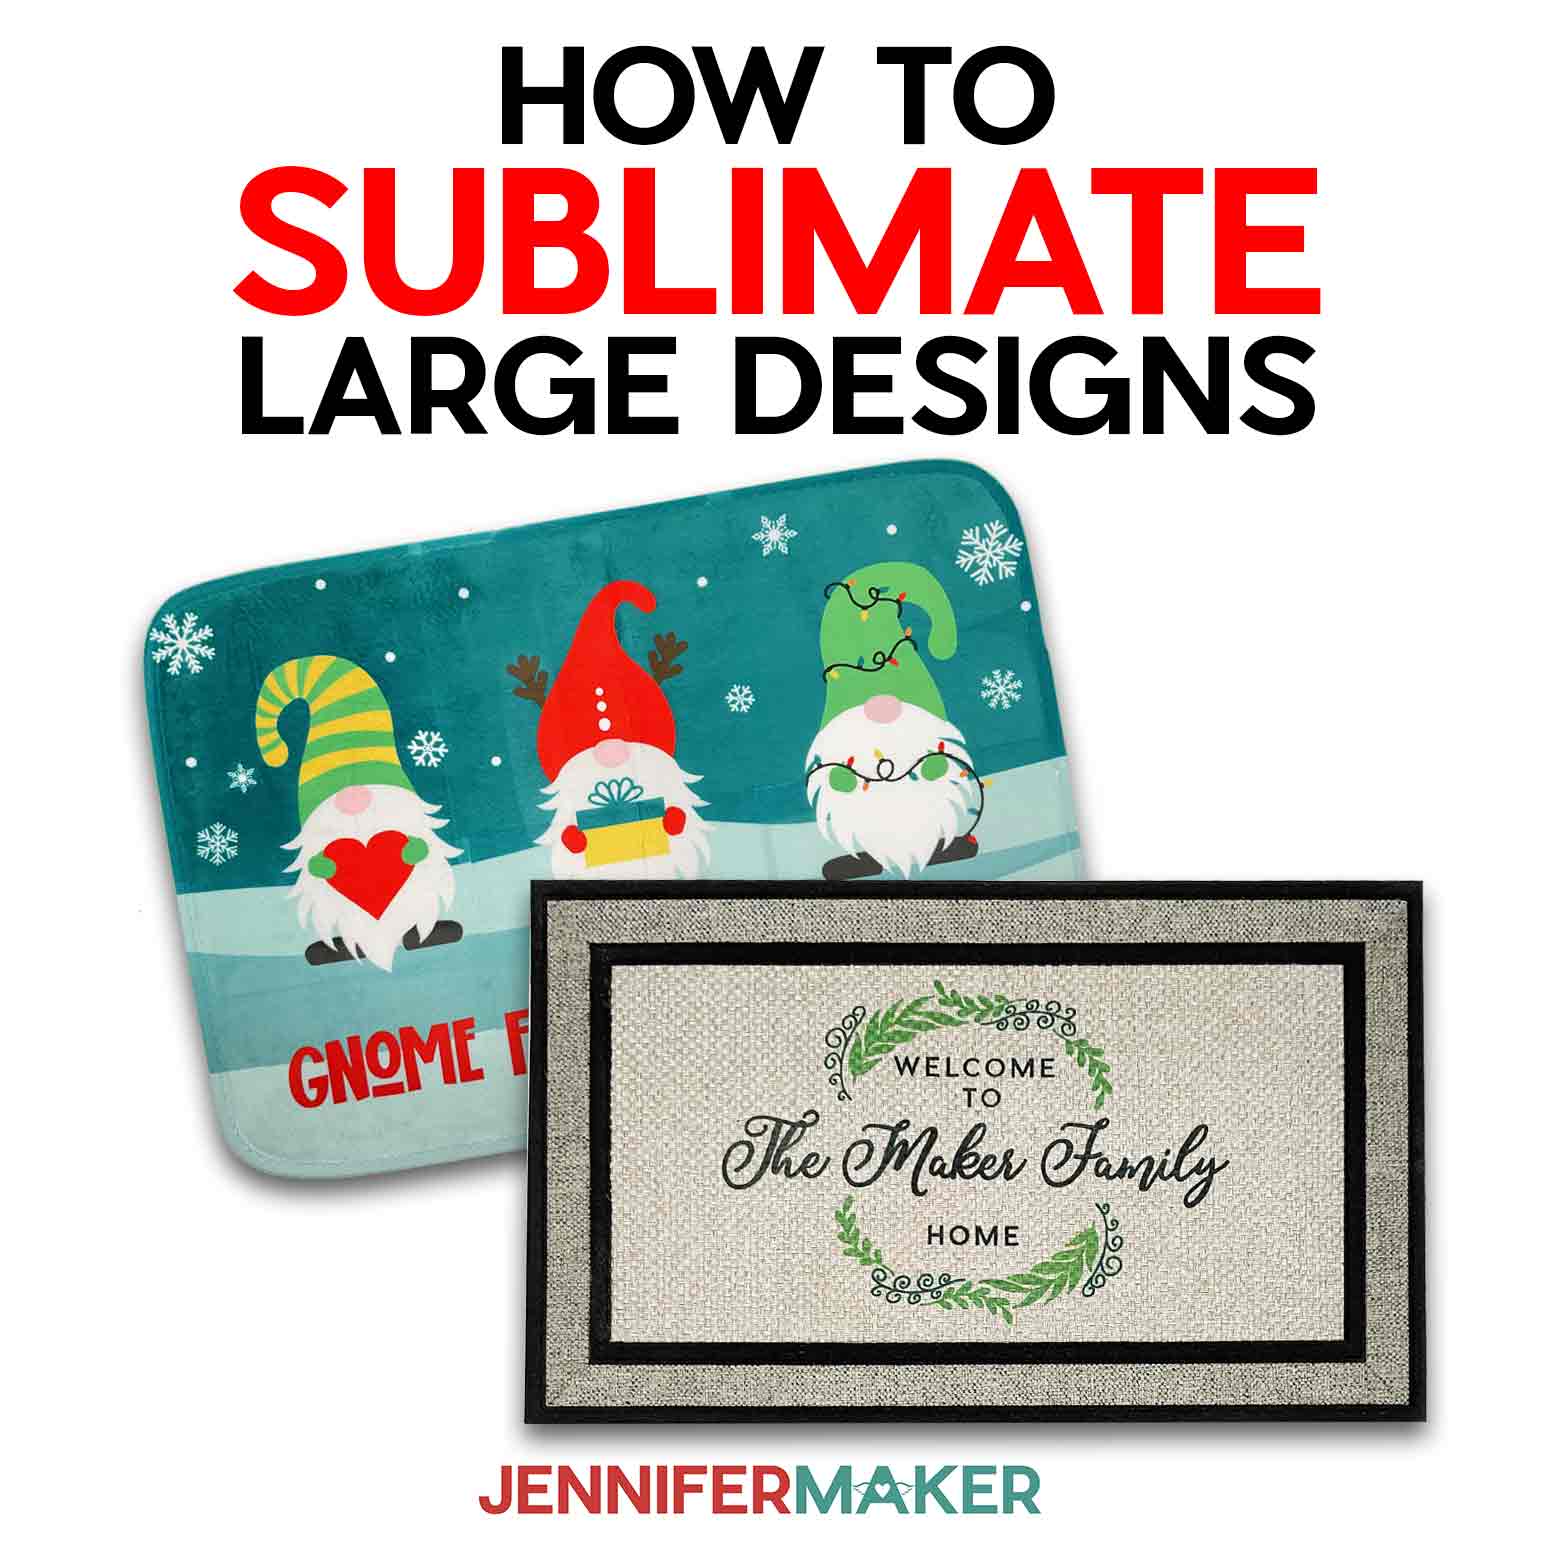
Learn how to sublimate large designs on big things like doormats!
Sublimation is the best way to add high quality, colorful images on to so many items! But what if you want to decorate a blank bigger than your sublimation printer can create? I have the answer for how to sublimate large designs! Let’s see how to easily prepare, print, and sublimate my free designs to make a sublimation doormat for Day 3 of the Merry Maker Mingle!
Watch the full step-by-step tutorial on how to sublimate large designs:

 What is the Merry Maker Mingle? This is an annual tradition here at JenniferMaker! Every day for the first 25 days of December, we gift you with a brand new project, design, tutorial, and video for something YOU asked us to make. On top of that, we host a giveaway with 25 days of prizes. Some of the amazing prizes are Cricut cutting machines, sewing machines, gift cards, and beautiful print editions of our popular Cricut Coach Playbook. You can even earn bonus entries for sharing photos of the daily projects! Click here to learn more about the Merry Maker Mingle!
There are three secrets to working with a large image like those needed for a sublimation doormat: print tiling, careful design alignment, and heating in sections.
I’ll show you how to print your sublimation images larger than normal paper using the free version of Adobe Acrobat Reader. It’s the best way to cover a sublimation doormat.
If you’d like to customize a design, I’ll show you how with a free Google account. That’s right, you don’t need a fancy design program to learn how to sublimate large designs. Once you understand the process, you can create your own designs easily!
The first thing to determine for a sublimation doormat project is which mat you want to decorate. I tested several options and will show you all the results in the video! Stay tuned to the end to see my pick for the best sublimation doormat blank.
You can use an EasyPress, traditional heat press machines, or a Cricut Autopress, which is my favorite heat press machine. You usually cannot use a household iron because sublimation ink activates at 350°F (175°C) and irons don’t get hot enough.
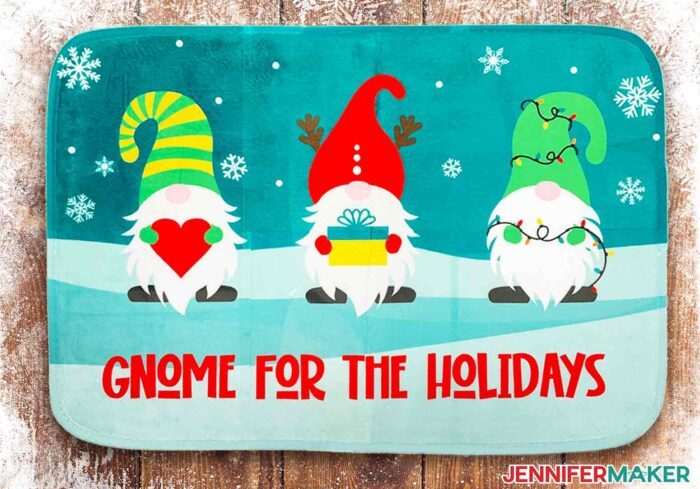
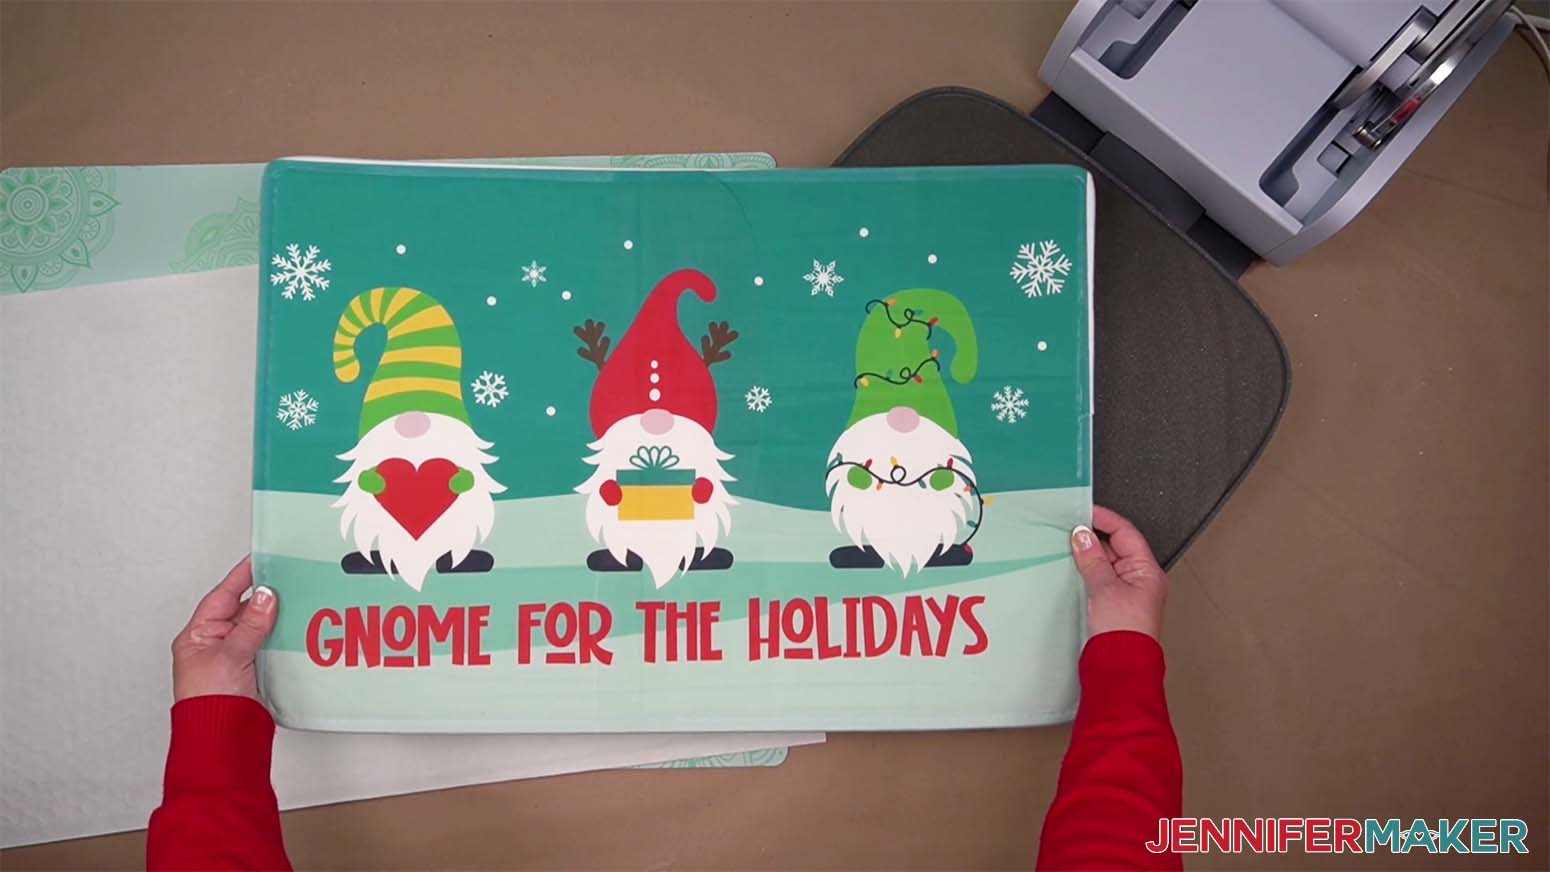
I found the EasyPress best for the doormats since I could easily move the heat source around. When I used my Autopress, I had to support the sublimation doormat on a piece of heavy cardboard and move it around to press the different areas. Either way will work, luckily! Just use lots of heat resistant tape to keep your sublimation transfers in place and avoid ghosting. It’s especially important for full coverage sublimation doormats like my festive gnome design!
You will need a sublimation printer with compatible ink and sublimation transfer paper, and a laptop or desktop computer to make your sublimation doormat. I used my Epson printer, but you can find information on several printers in my Best Sublimation Printer to Buy in 2022 post. You can see my recommendations for the best results in my Sublimation for Beginners Ultimate Guide.
Good ventilation is important any time you use a sublimation process. Have your windows open and a fan going to help the fume from sublimation dyes dissipate quickly. And don’t breathe in very close to the project while it’s still warm.
Excited for more big sublimation projects? Me too! I have tons of sublimation projects for you and more on the way!
Ready to learn how to sublimate large designs? You’re going to love it! This post contains some affiliate links for your convenience (which means if you make a purchase after clicking a link I will earn a small commission but it won’t cost you a penny more)! Read my full disclosure policy.
Materials to Sublimate Large Designs on Doormats
View my Amazon shopping list with the exact items we used to make this project!
I tested several sublimation doormat options:
- White Sublimation Doormat 26″ x 16″
- Polyester Rubber Backed Doormat 30″ x 18″
- Sublimation Doormat with Blank Inserts 30 x 18″
- Rubber Backed Sublimation Doormat 30 x 18″
- Entryway Doormat 29.5 x 17”
Whichever you pick, you will need:
- Sublimation Printer – I used my Epson ET-4700 with Hippoo ink with the relevant ICC profile
- Sublimation Paper
- Heat Resistant Tape
- Heat Press like an EasyPress and Pressing Mats or an Autopress and thick cardboard or thin plywood
- Cricut Portable Trimmer
- Adobe Acrobat Reader – a free program to print your design using the tiling technique I’ll share
- Google Account – if you want to customize a design
- Measuring Tape
- Lint Roller
- Butcher Paper (not parchment paper)
- Ventilation – I used this Fan
- Design #442 (My free PDF/PNG design files are available in my free resource library – get the password by filling out the form at the bottom of this page)
How to Sublimate Large Designs on Doormats
How to Sublimate Large Designs
Learn how to sublimate large designs on doormats!
Materials
- White Sublimation Doormat 26 x 16" -OR-
- Polyester Rubber Backed Doormat 30 x 18" -OR-
- Sublimation Doormat with Blank Inserts 30 x 18" -OR-
- Rubber Backed Sublimation Doormat 30 x 18" -OR-
- Entryway Doormat 29.5 x 17”
- Sublimation Paper
- Heat Resistant Tape
- Design #442 (My free PDF/PNG design files are available in my free resource library - get the password by filling out the form at the bottom of this page)
- Butcher Paper
Tools
- Sublimation Printer
- Heat Press like an EasyPres
- Cricut Portable Trimmer
- Adobe Acrobat Reader
- Measuring Tape
- Lint Roller
- Ventilation - I used this Fan
- Pressing Mat
- Google account
Instructions
STEP 1: GET OR PREPARE A SUBLIMATION DESIGN
You can use any of my Sublimation Doormat design files from my resource library, Design #442. You can also make your own design.
Download the files and pick your design. There are three designs.
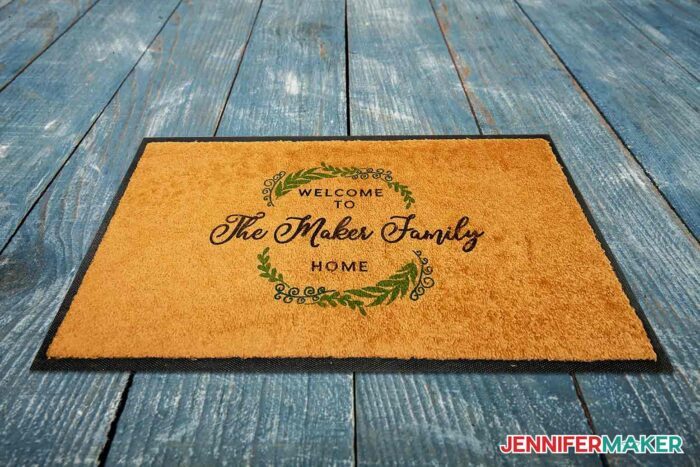
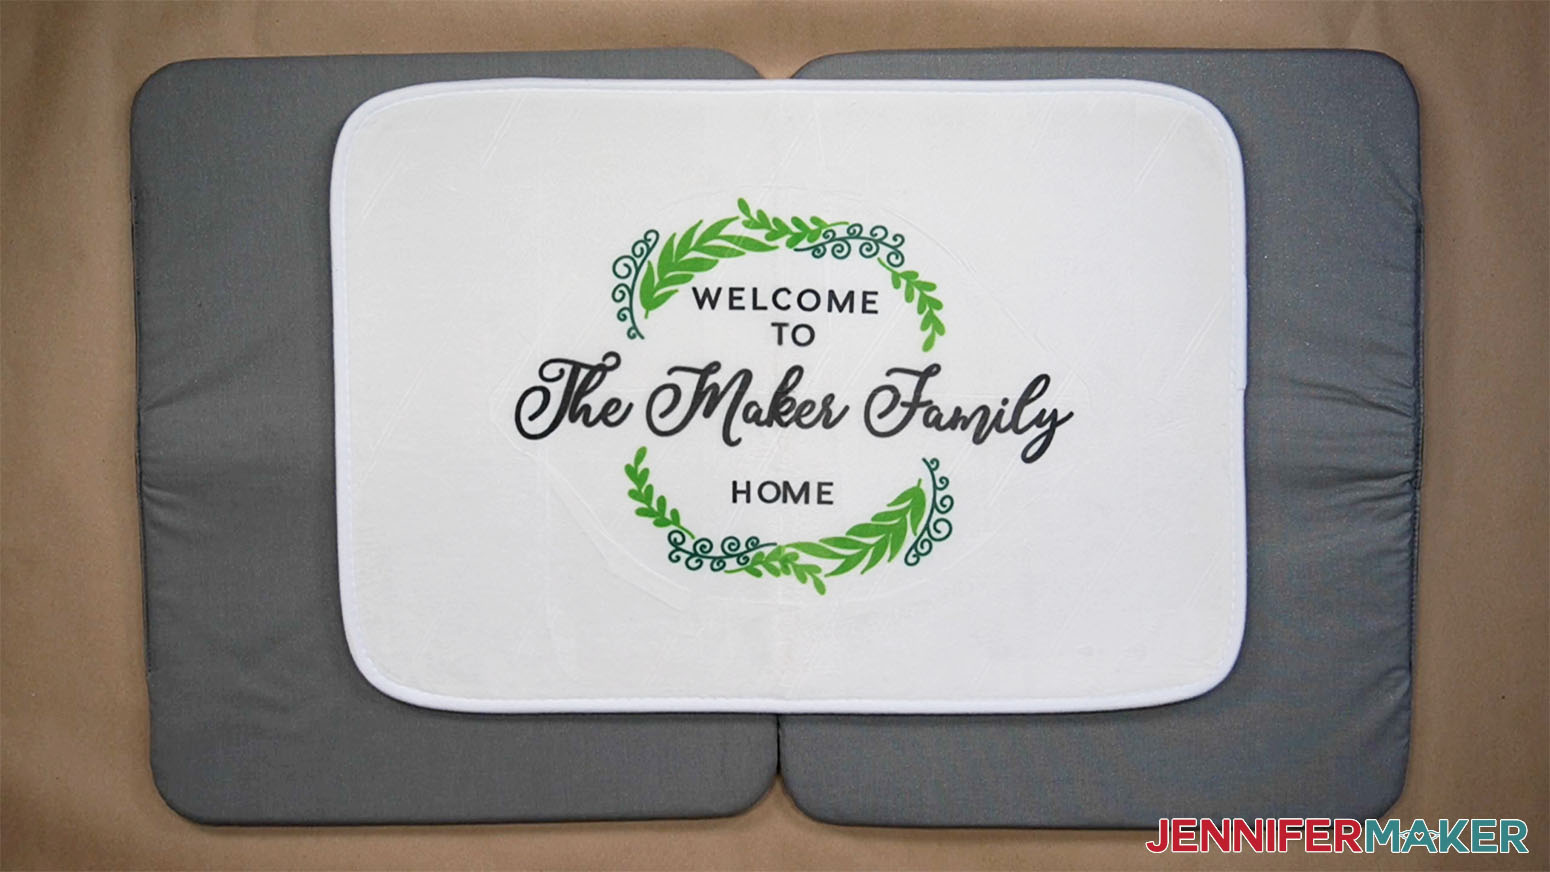
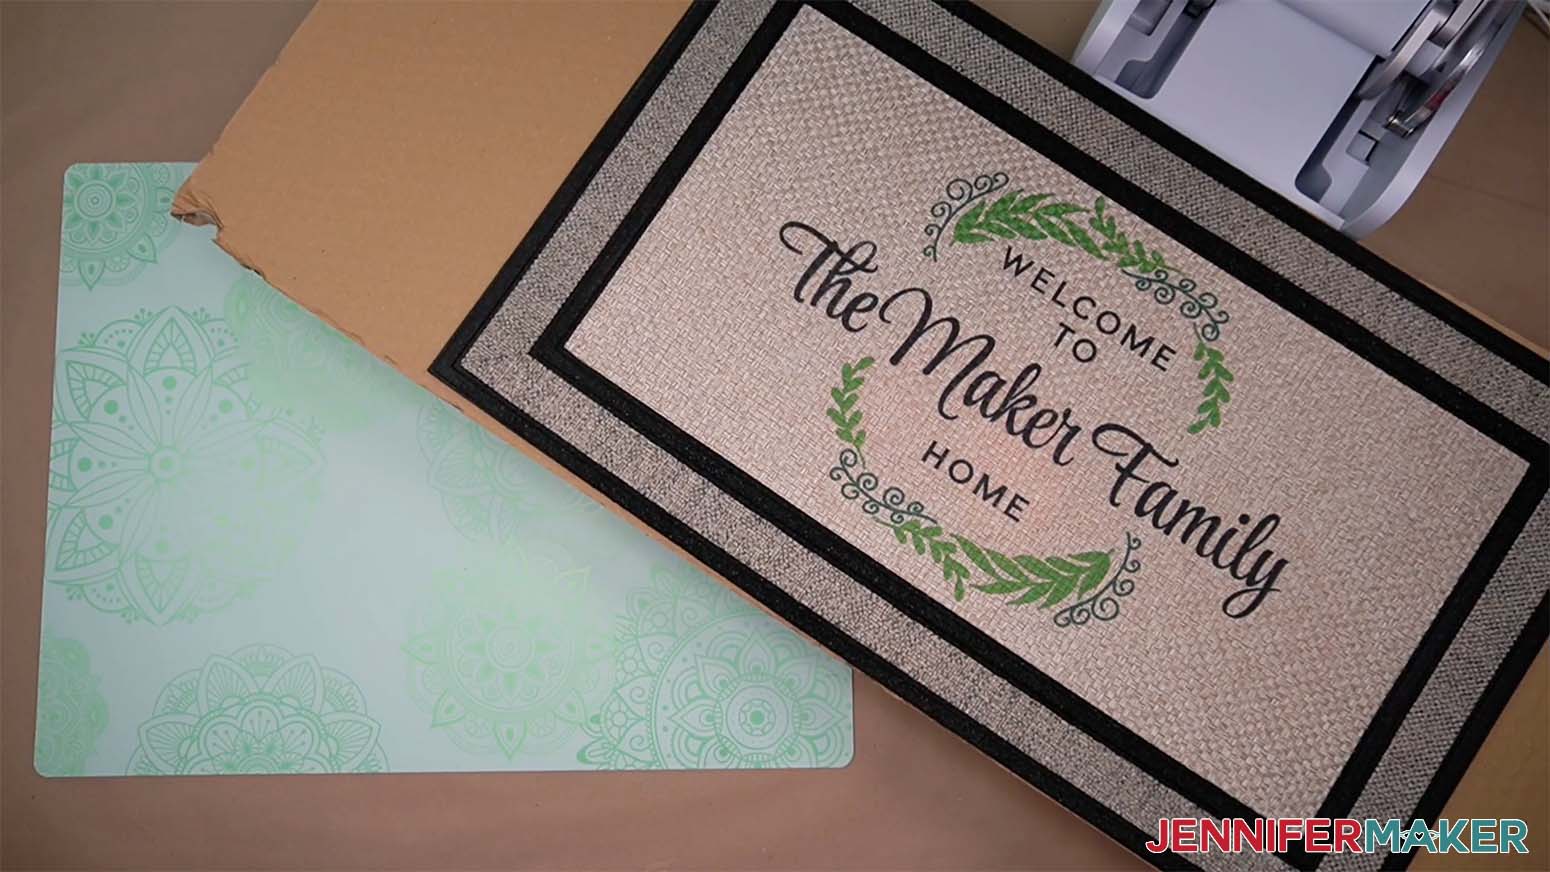
The Family home wreath design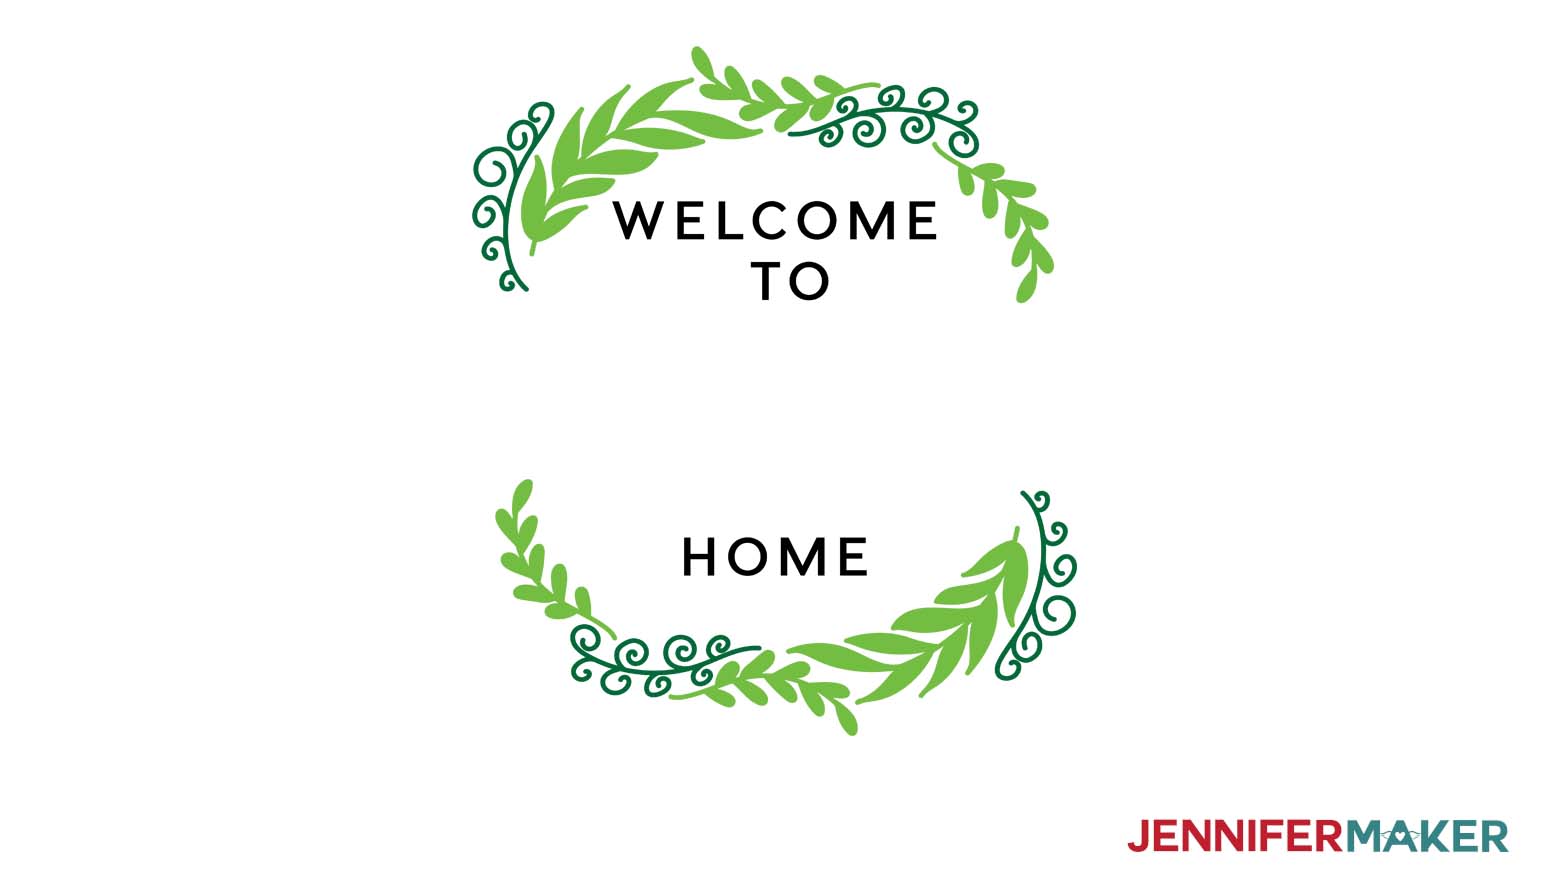
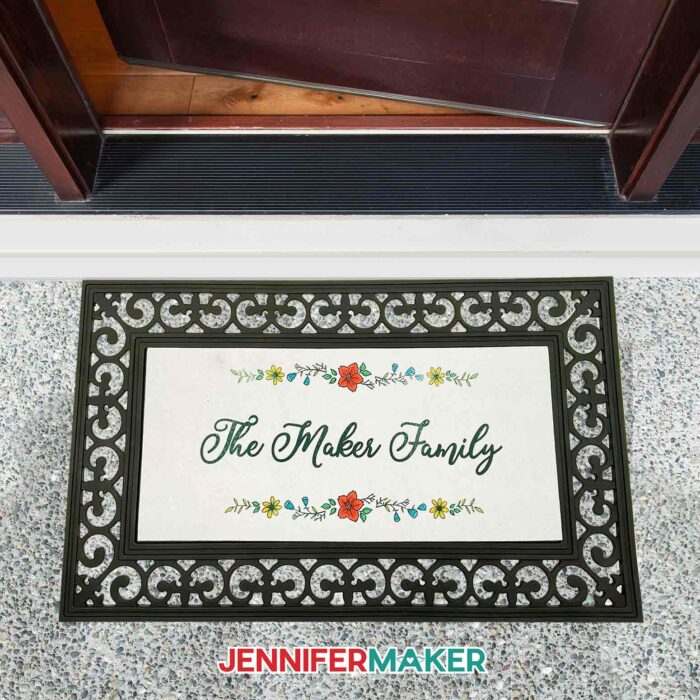
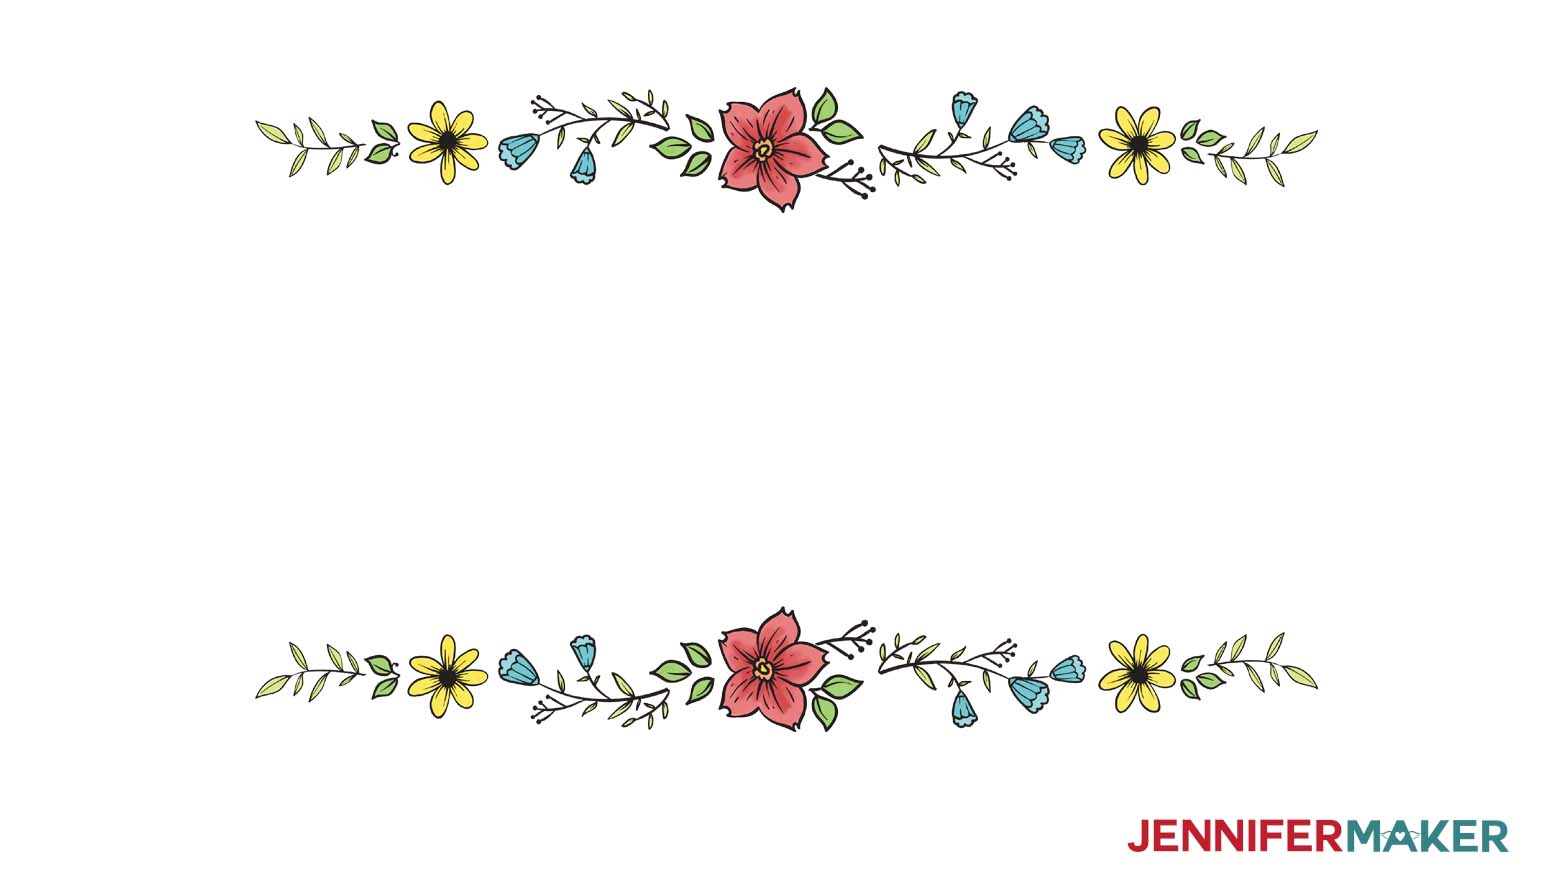
The Flower border design
The Gnome for the Holidays design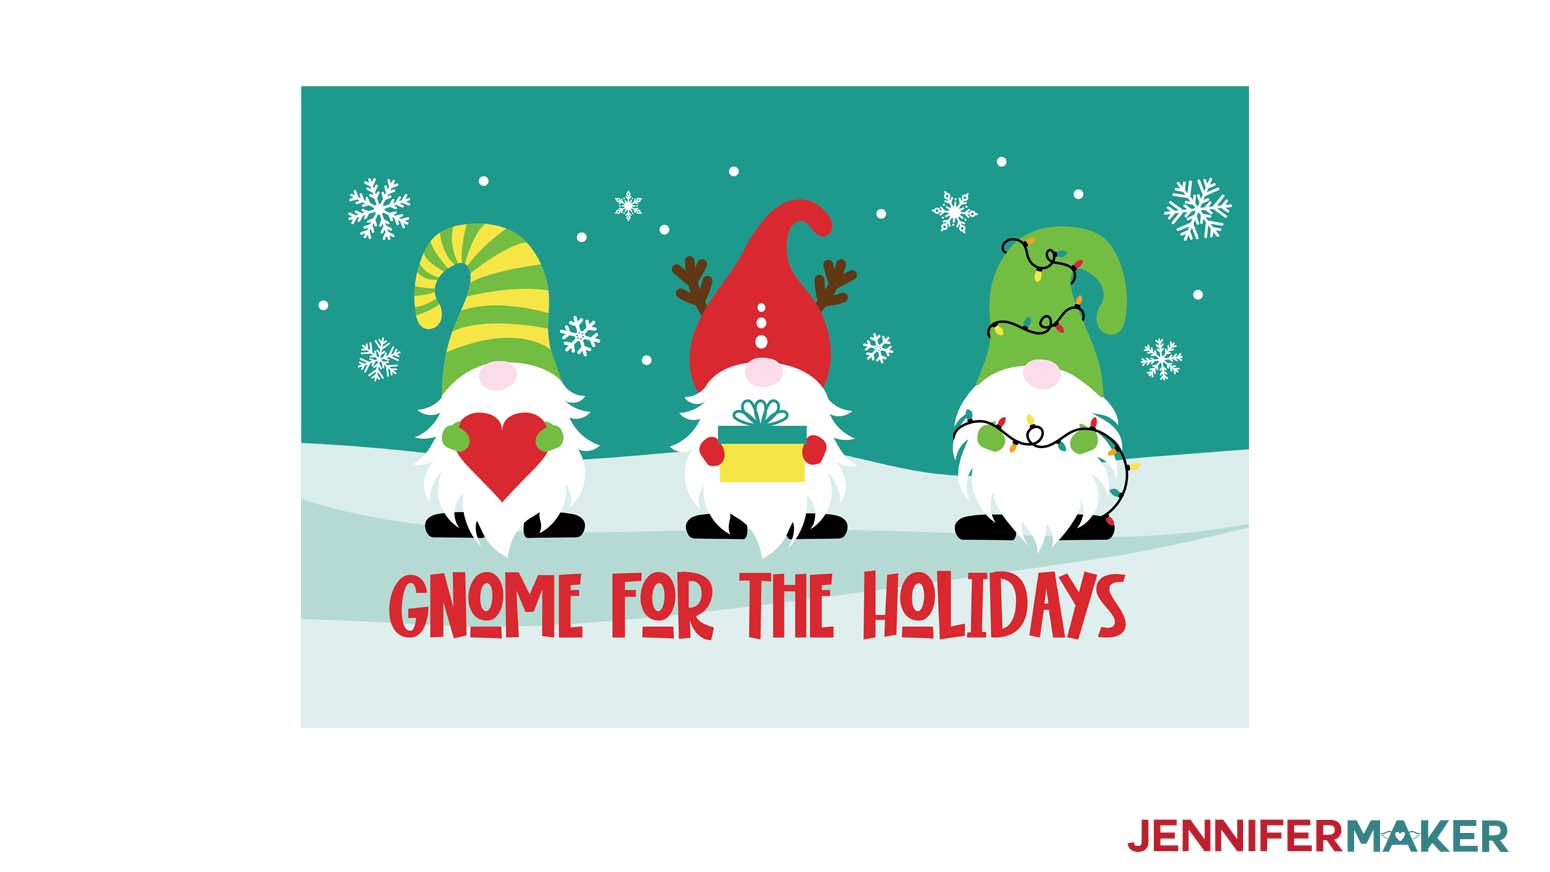
Today, I’m going to make the wreath design and press it on a 30 x 18" rubber backed sublimation doormat, but you can use these steps for any of the options in the collection.
PERSONALIZATION
If you would like to personalize one of the blank doormat designs follow these steps.
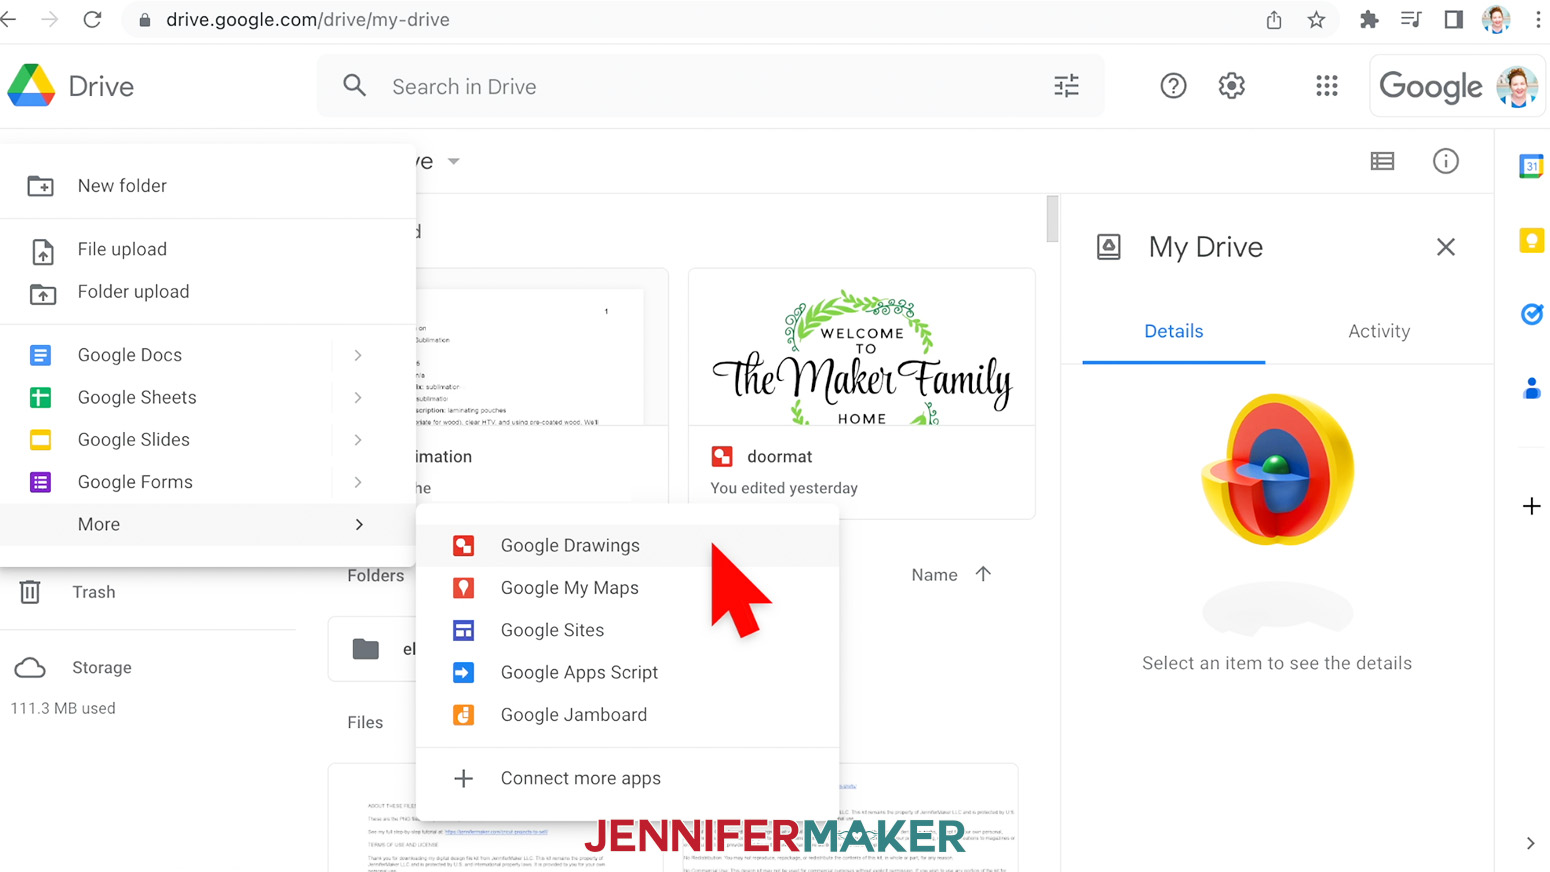
Open Google Drive and in the upper left corner click on New, go to More and select Google drawings.
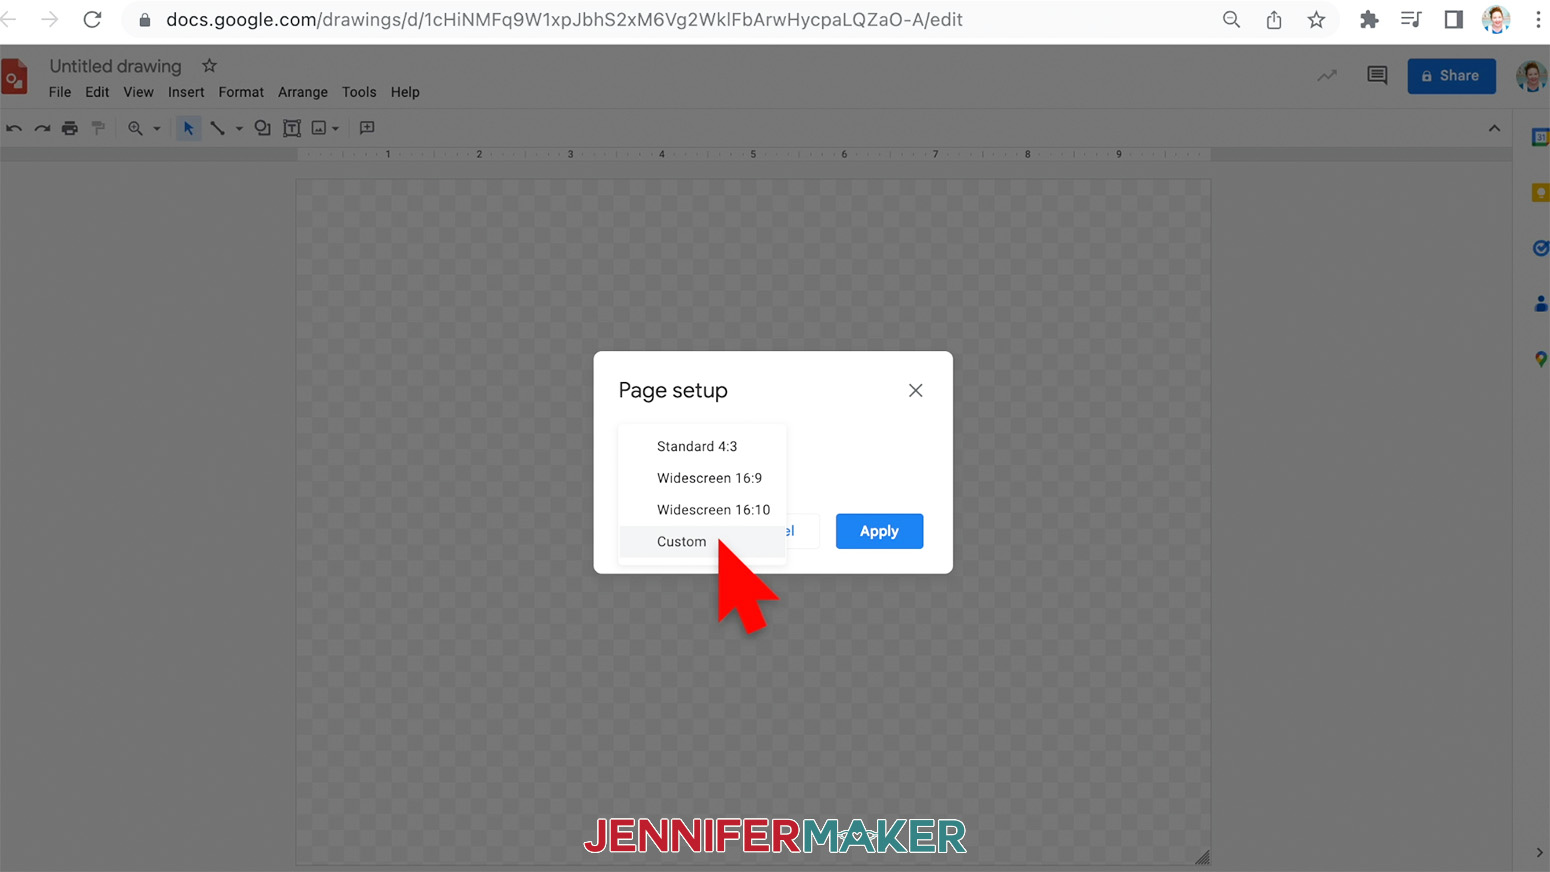
Once Google Drawings is open, select Page Setup under the File menu. In the Page Setup dialog box, select custom and input your mat dimensions. My mat is 24 x 18", click Apply.
Next, under the Insert menu, select Image and Upload from computer. Find your file and click Open.
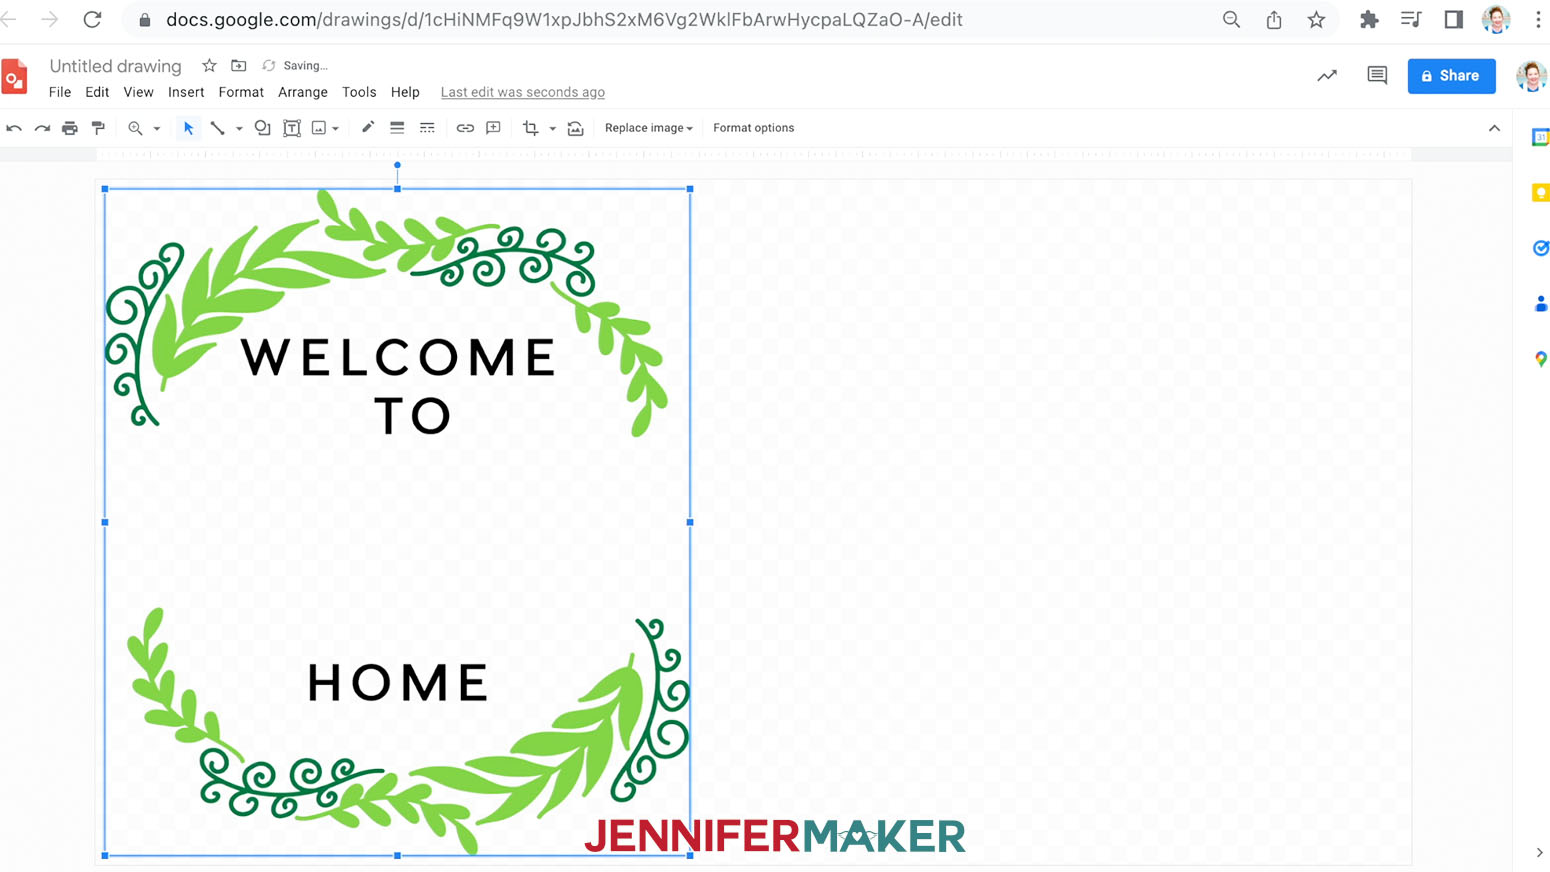
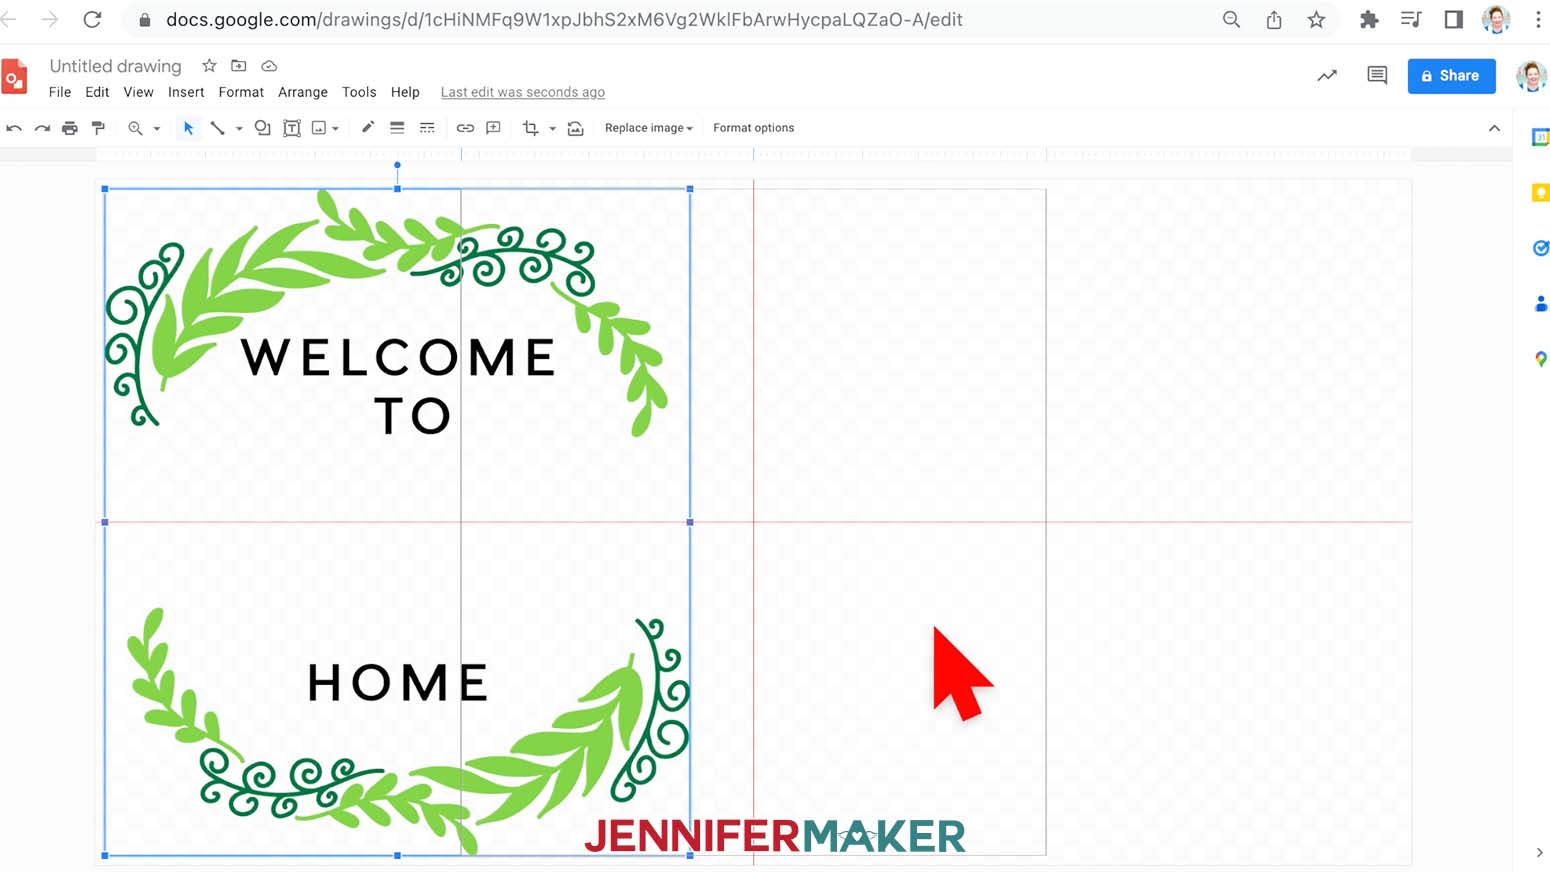
Here's what my image looks like in Google Drawings. You can move the image anywhere on the page. I will center my image. A thin red line appears when your image is centered.
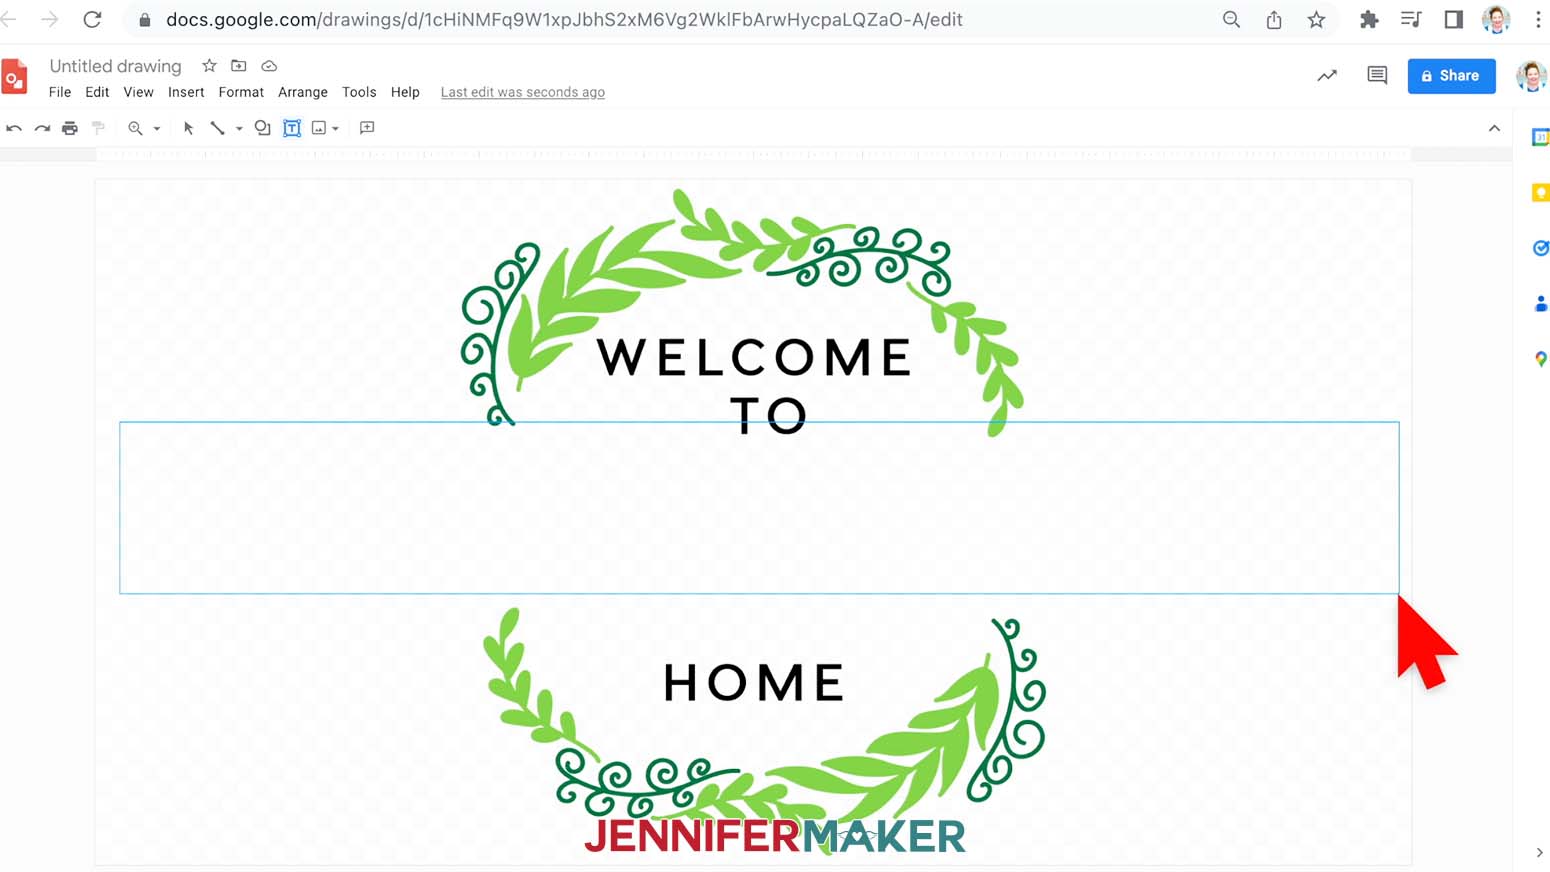
Now we need to add text. Go to the Insert menu and select Text Box. Draw a rectangle over the wreath.
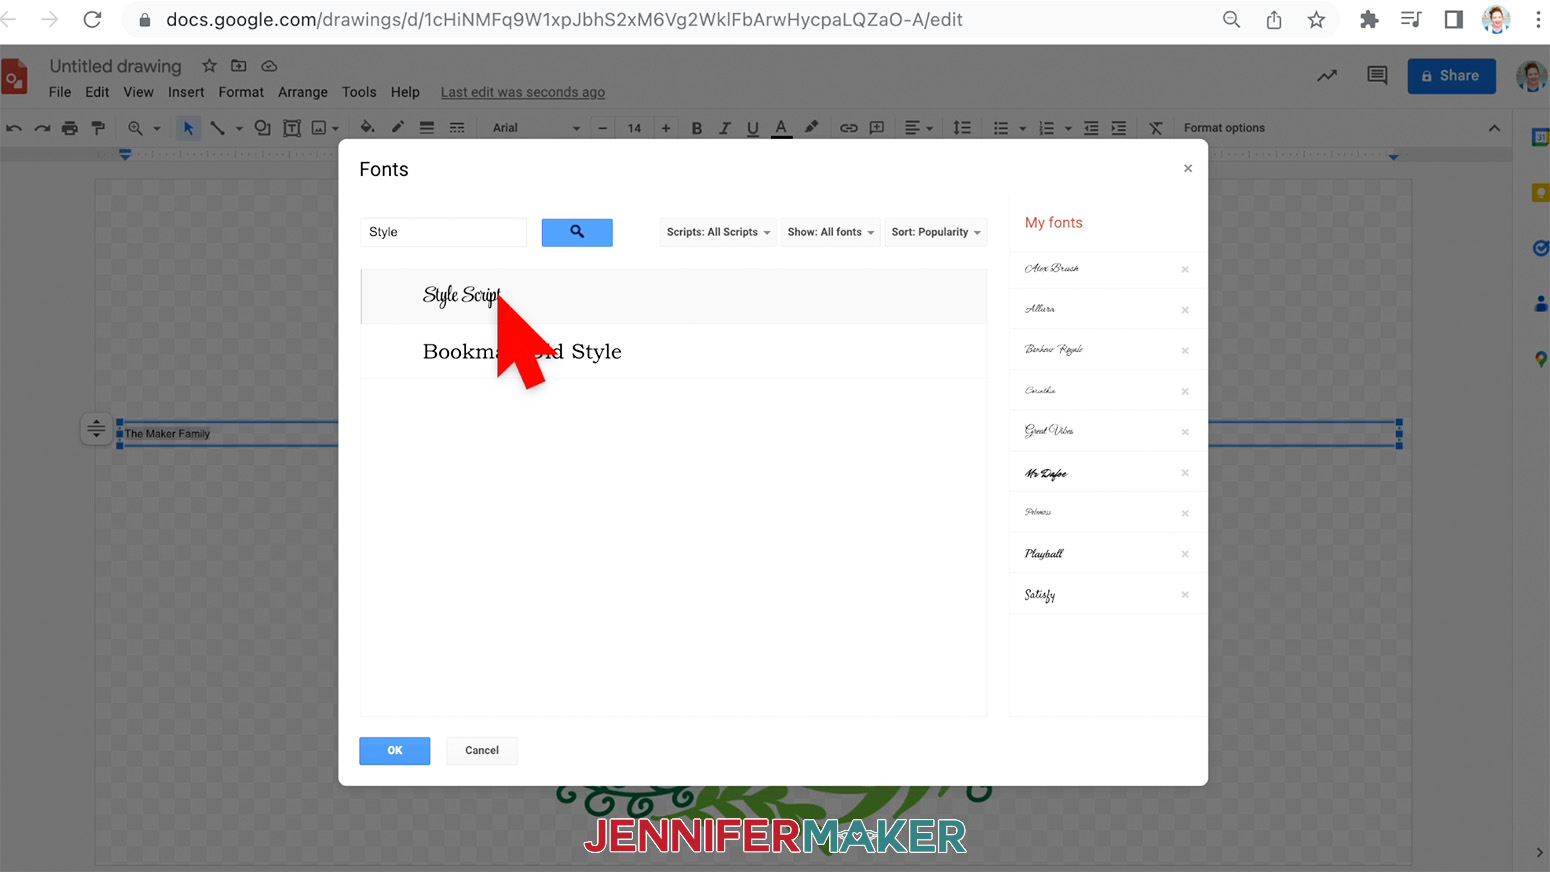
Type in your family name and select/highlight the text. You can now change the size and font. In the toolbar, look for the Font box, it should say Arial. You can use any of the typefaces listed or select More Fonts and browse Google's collection - these are all free to use. I will select Style Script.
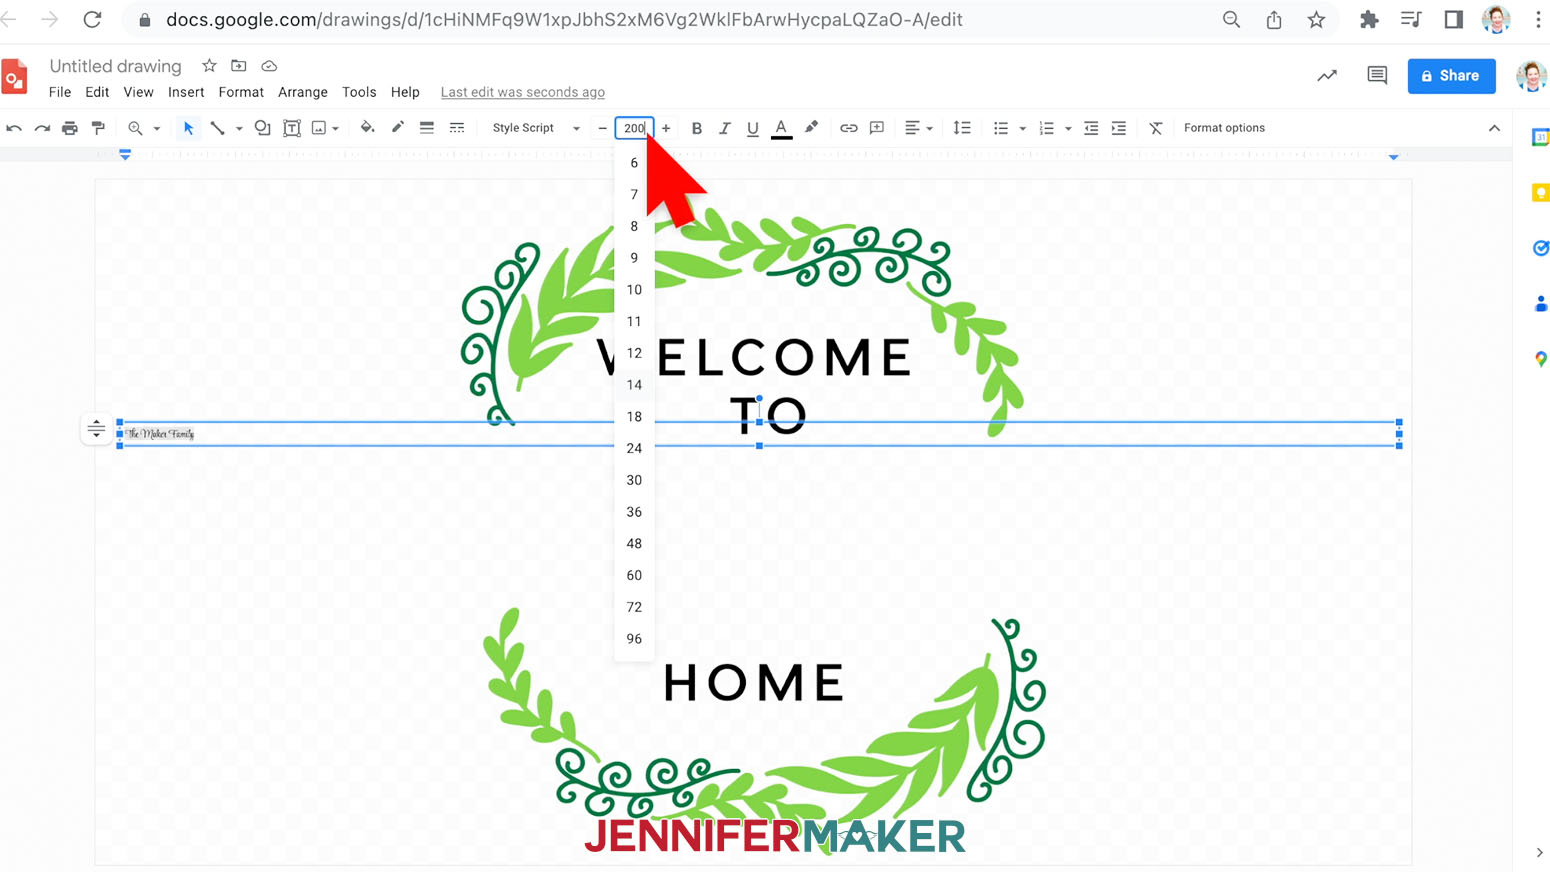
The box just to the right is the Font Size, I found that 200 was a good size for my name, you may find you like yours bigger or smaller.
You can also center the text by using Align found in the toolbar.
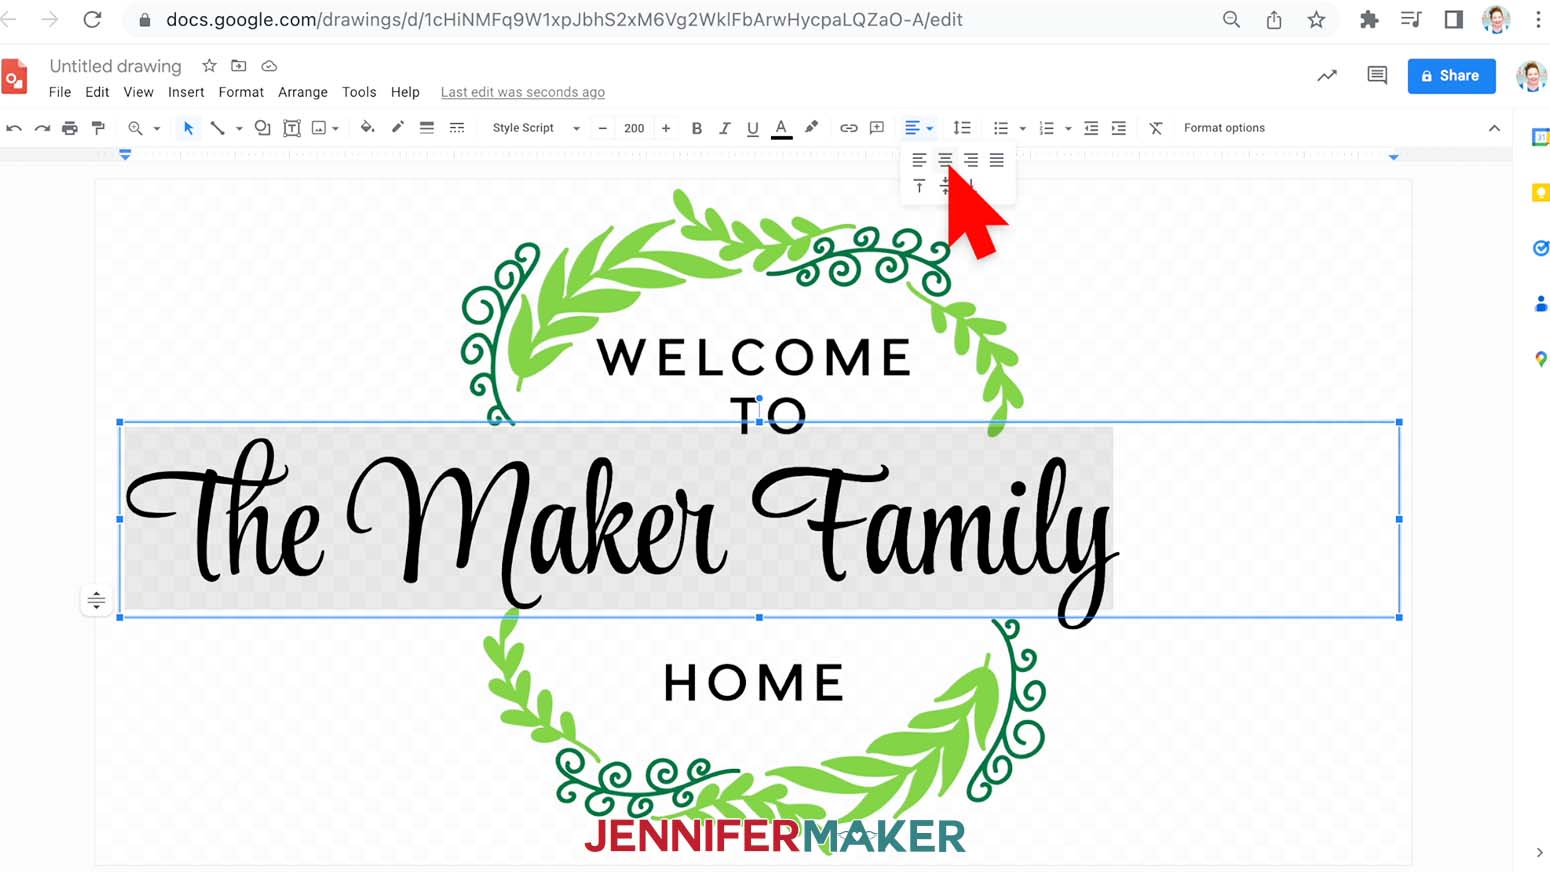
Move the text and position the text to your liking.
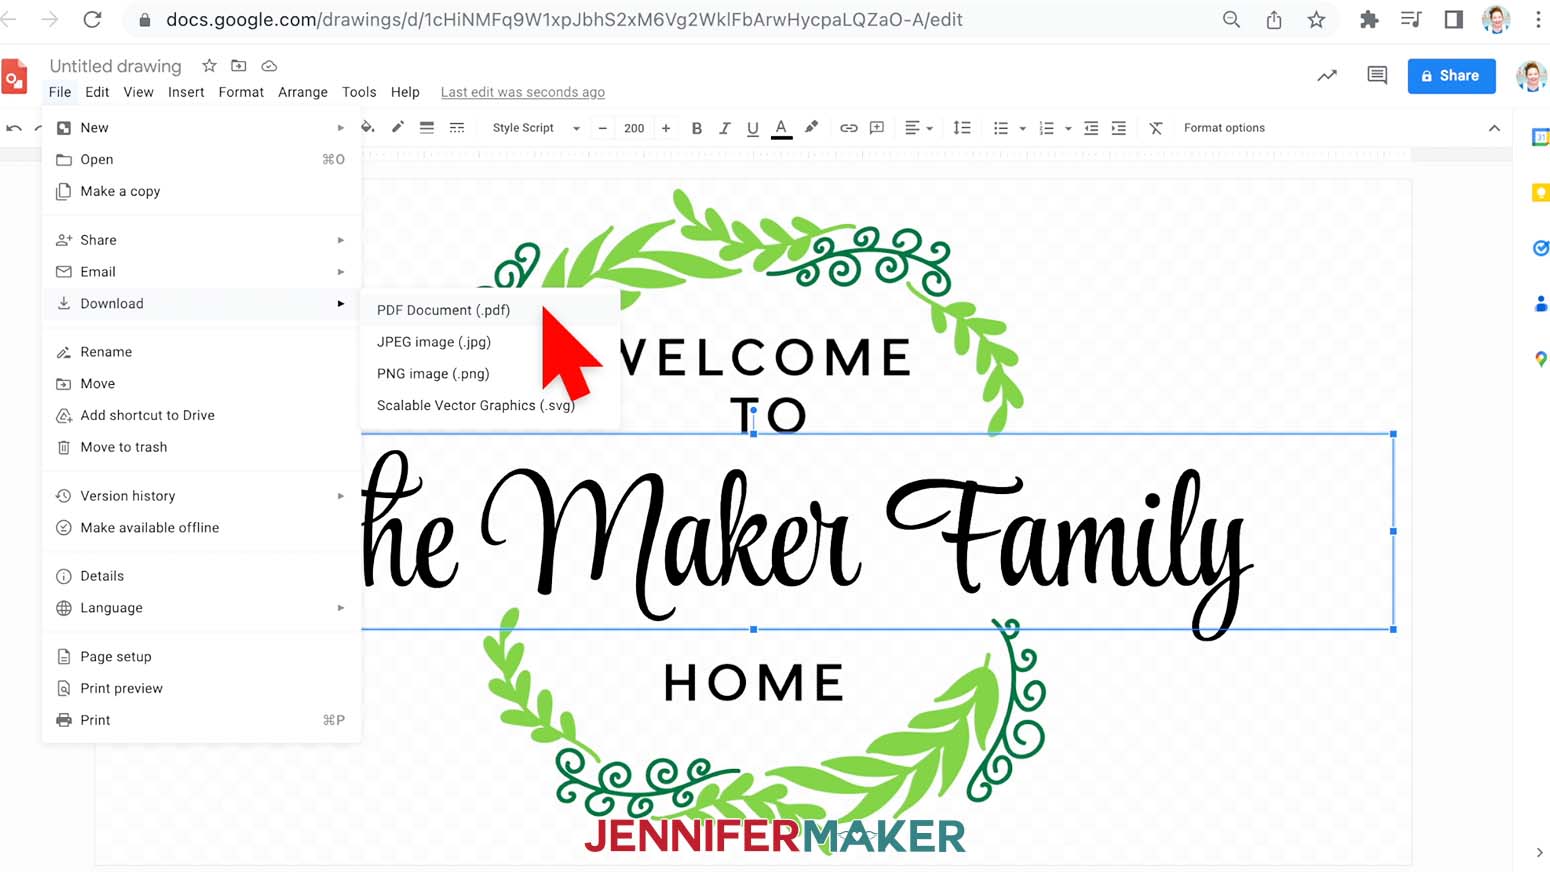
To save the file to your computer, go to the File menu and select Download. Be sure to download the file as a PDF.
STEP 2: PRINT YOUR SUBLIMATION DESIGN
Download the free version on Adobe Acrobat Reader.
Open the sublimate-large-designs-on-doormat-wreath-jennifermaker-PDF.pdf.
Select print from the file menu. In the print dialog box select Poster, set the Overlap to 0.2, and check the Cut Marks box. Using the Poster setting will print multiple 8 1/2 x 11" sheets of paper, for this design it will print out four sheets of paper.
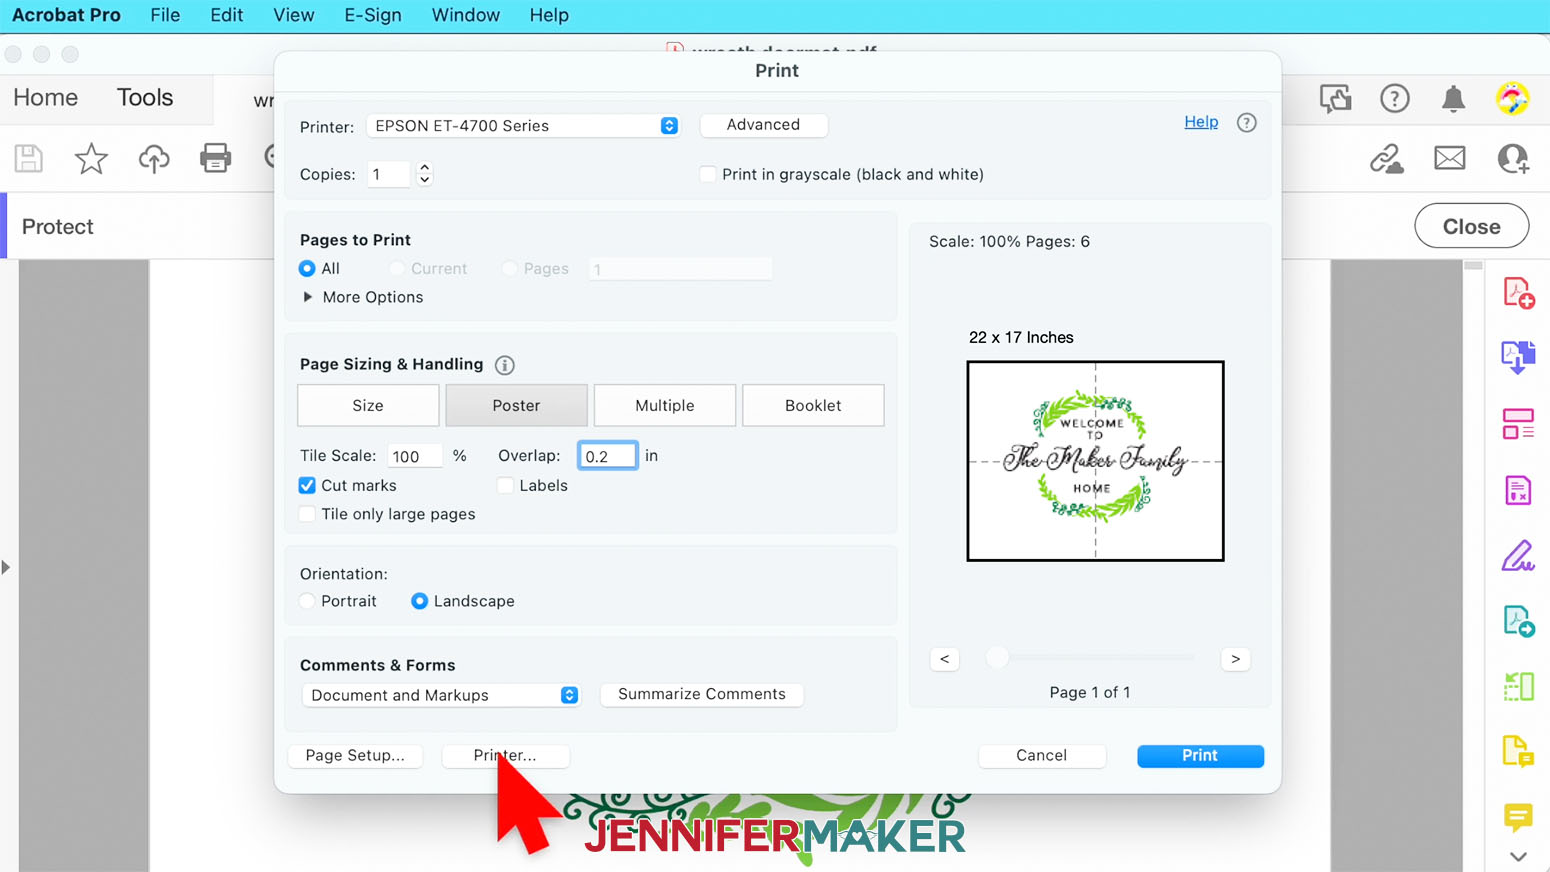
Next, click the Printer button in the lower left corner. This lets you set up for sublimation printing. Under Layout make sure Flip Horizontally is checked. For Colormatching, click ColorSync and select your ICC profile. And lastly for Print Settings select Presentation Paper Matte and High Quality.
Make sure you have sublimation paper loaded correctly into your printer and click Print.
STEP 3: PREPARE YOUR PRINT FOR SUBLIMATION
Tiling your pages
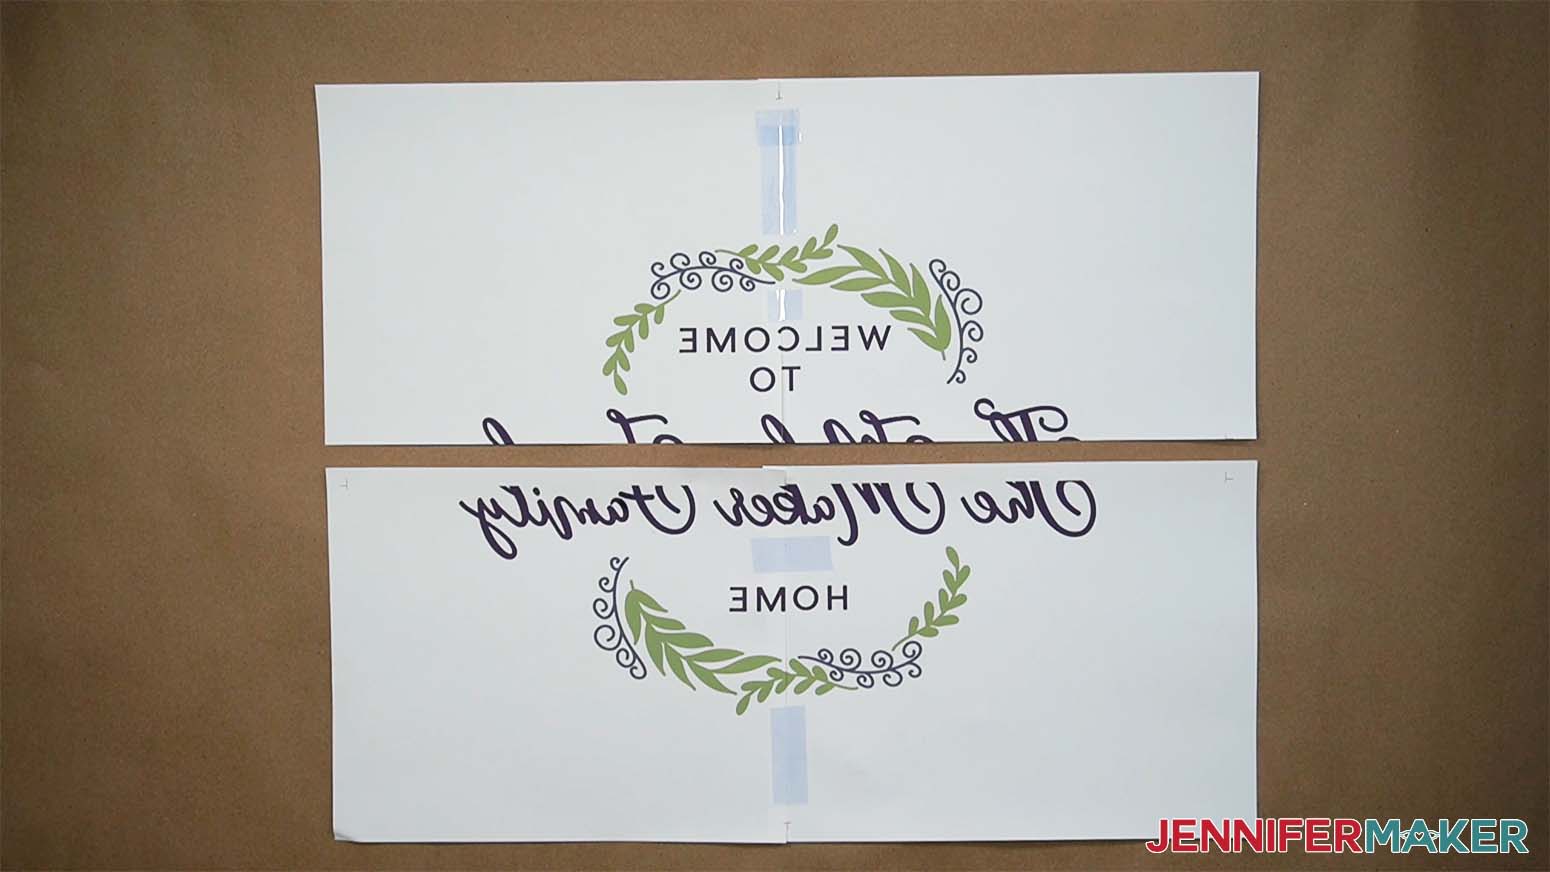
Let's first layout out the pages and take a look at them. You should notice the Cut Marks, they look like two corners with a straight line in the middle. We are going to trim on the middle straight line, but not all the pages. If we start with the upper left page tile we're going to number our pages 1 - 4 going clockwise.
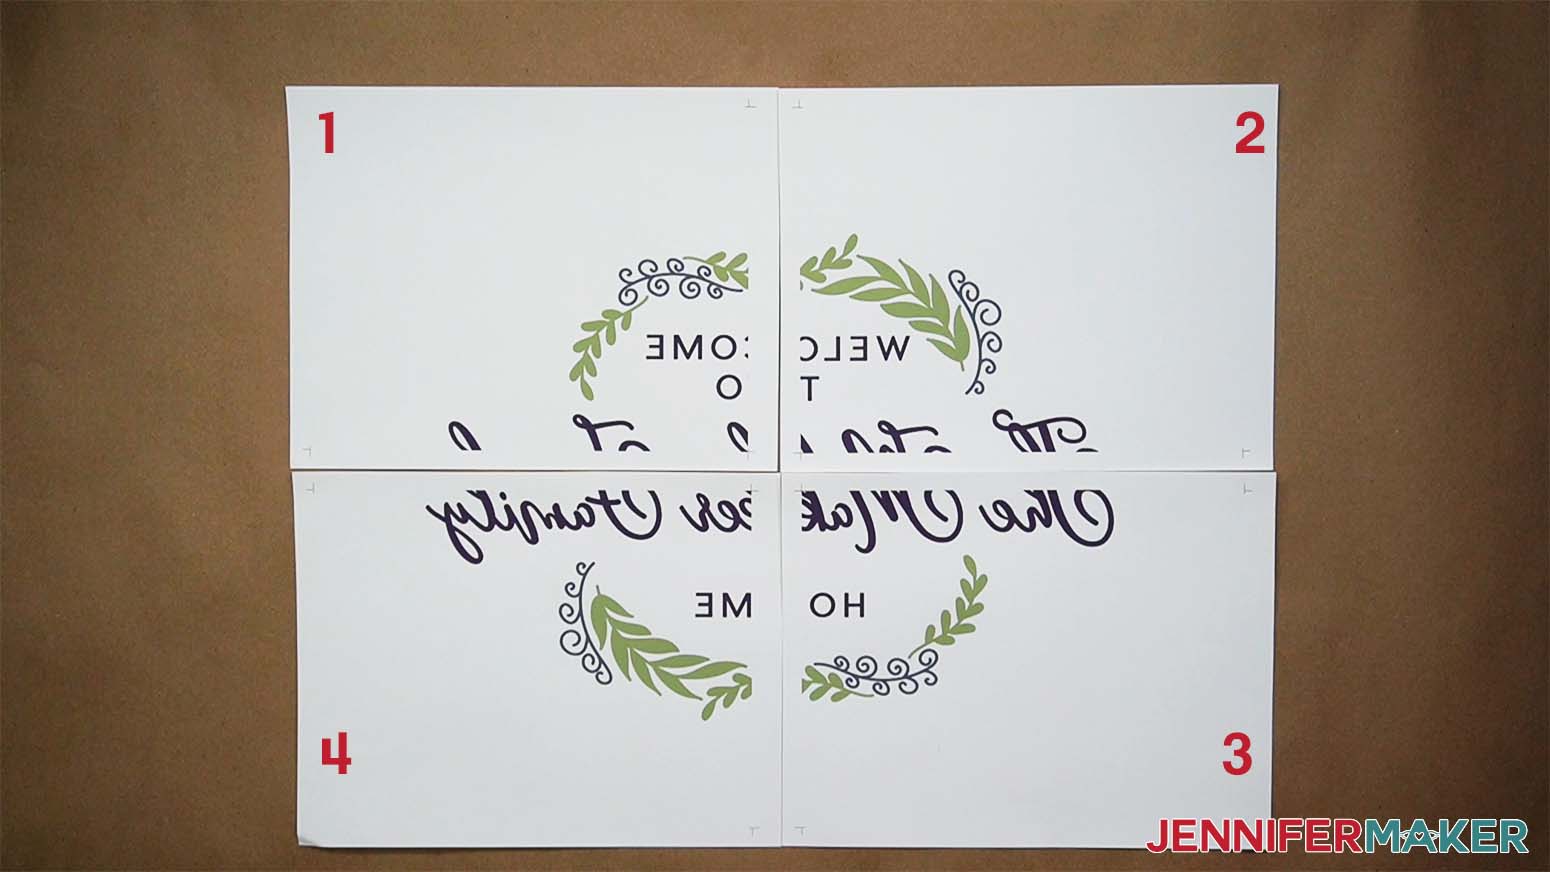
Take panel 1 and trim both the long and short edge of the paper. Panel 2 trim just the long edge. Do not trim the short edge of panel 2, we need to be able to overlap the short side of panel 1 to match the design shapes. Lastly, trim the short edge of panel 4.
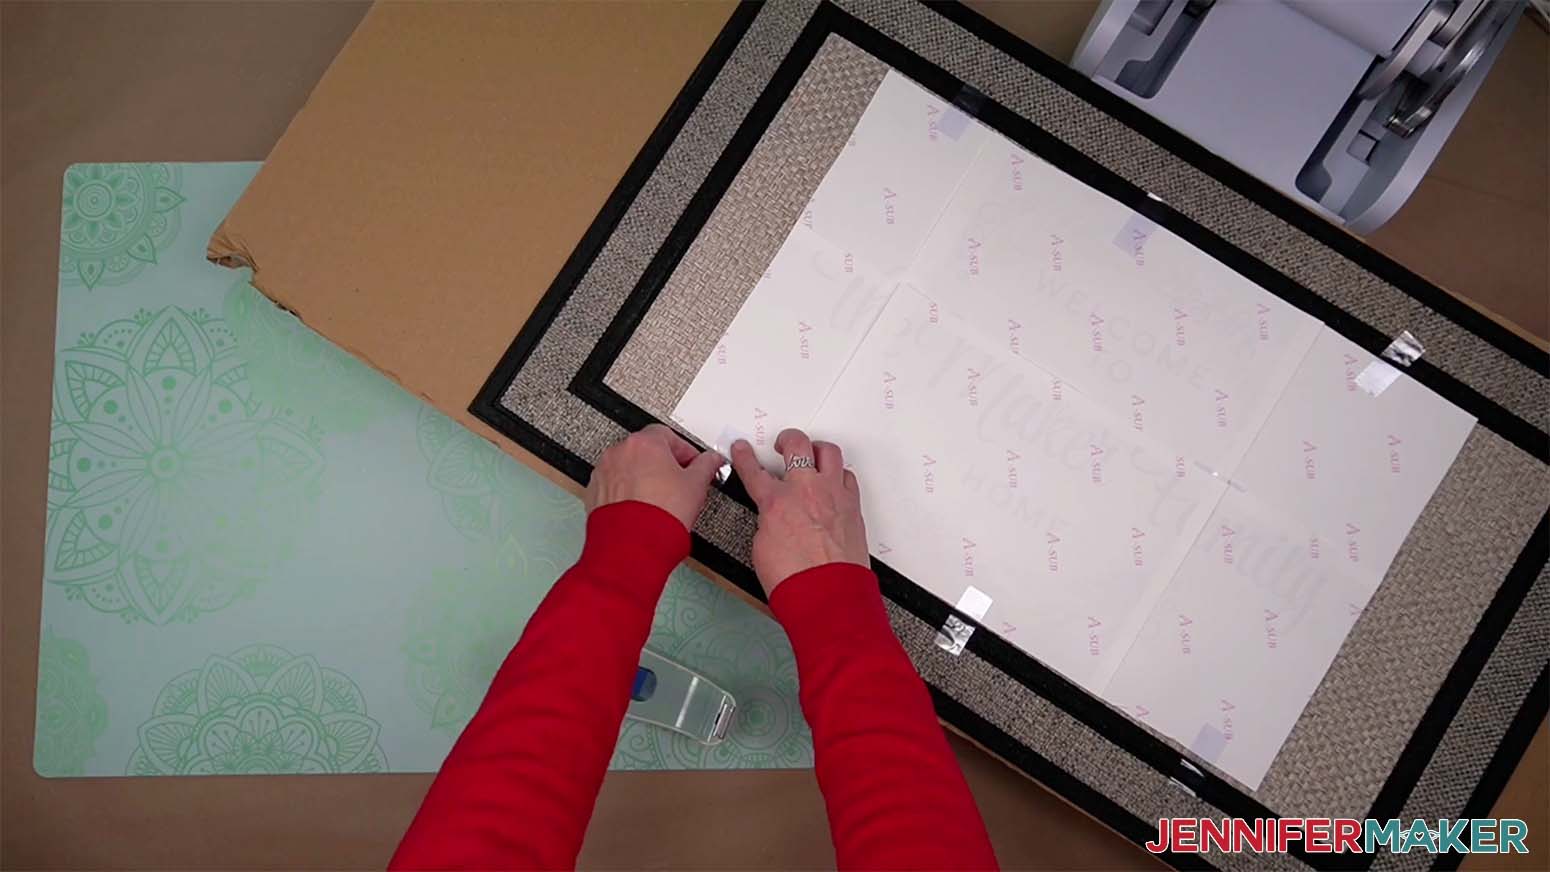
Using heat resistant tape, place panel 1 on top of panel 2 lining up the design. This takes some patience so take your time! Be careful not to tape over any sublimation ink.
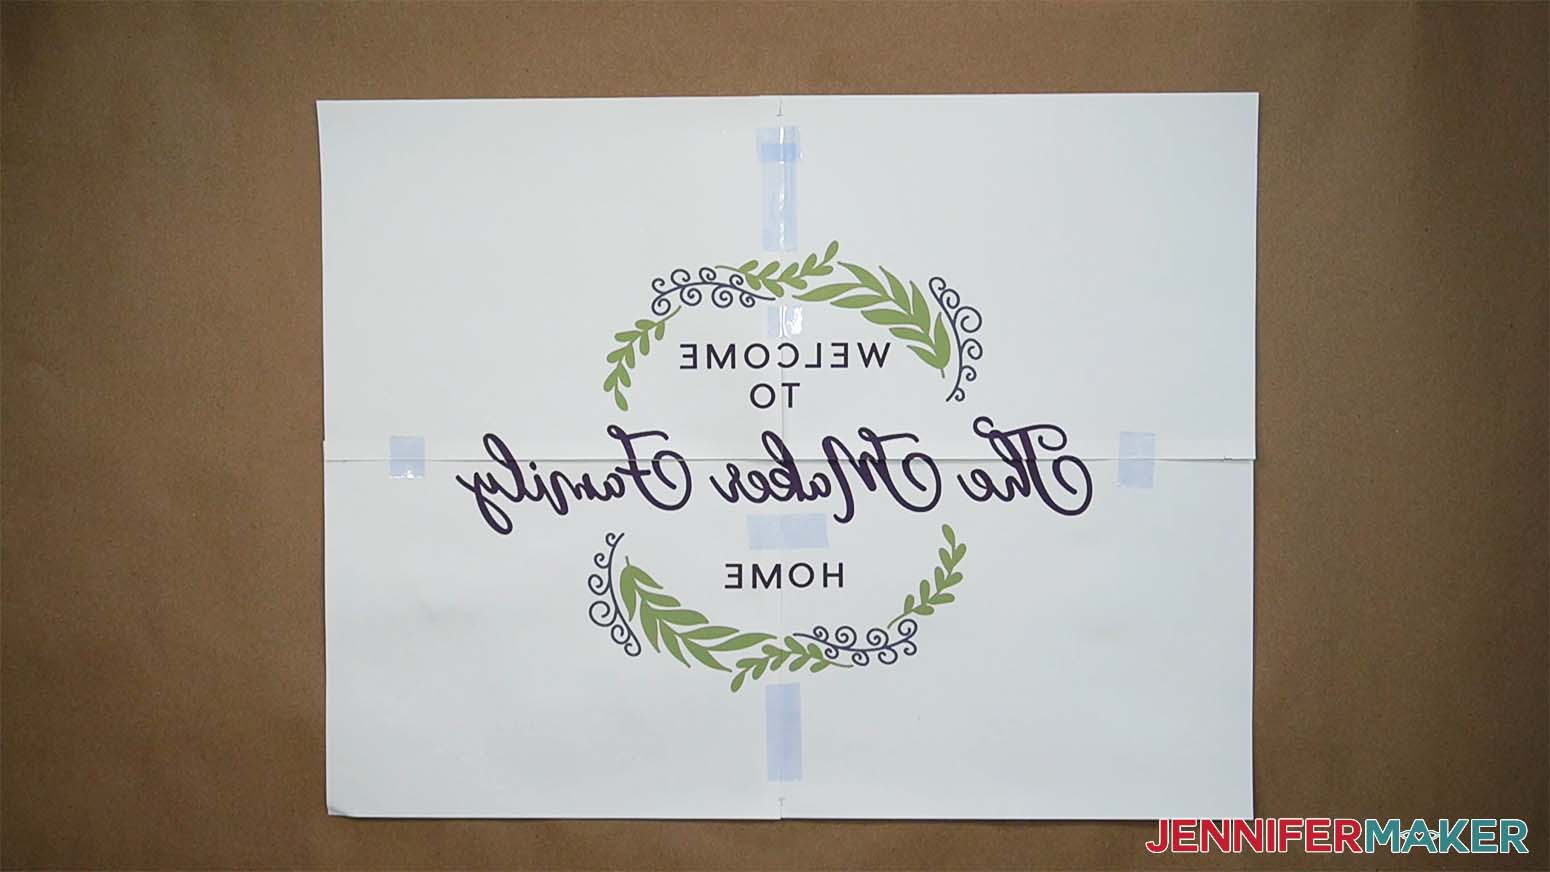
Do the same for panels 3 and 4 by placing panel 4 on top of panel 3.
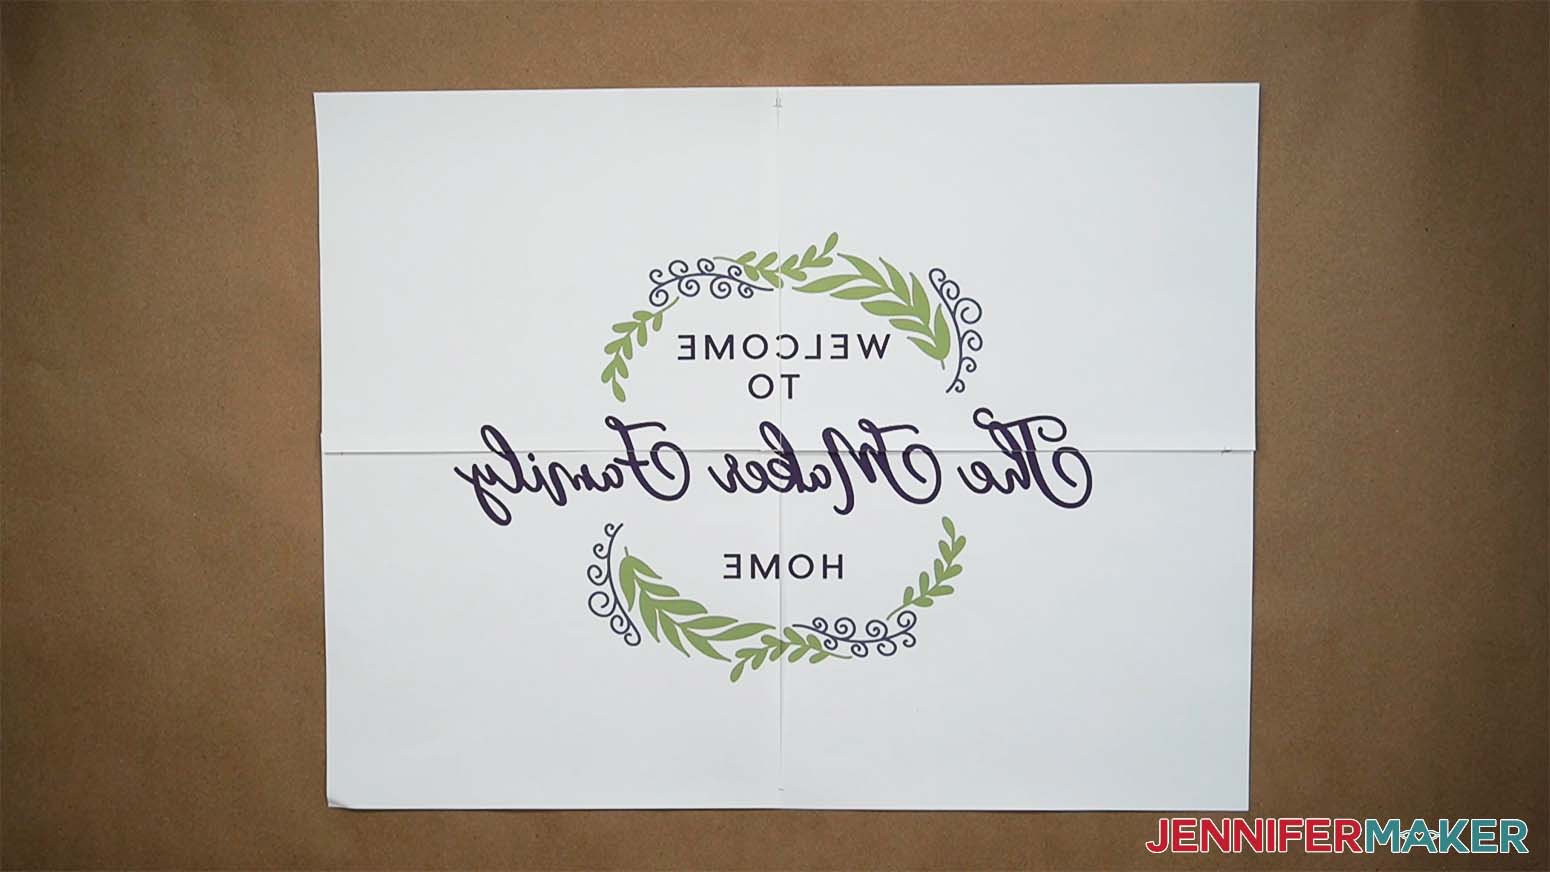
Next tape the top to the bottom. Again, use patience when lining everything up.
Trim the excess paper. This will make it easier to place on the doormat as well as get rid of the cut marks - we don't want to sublimate those!
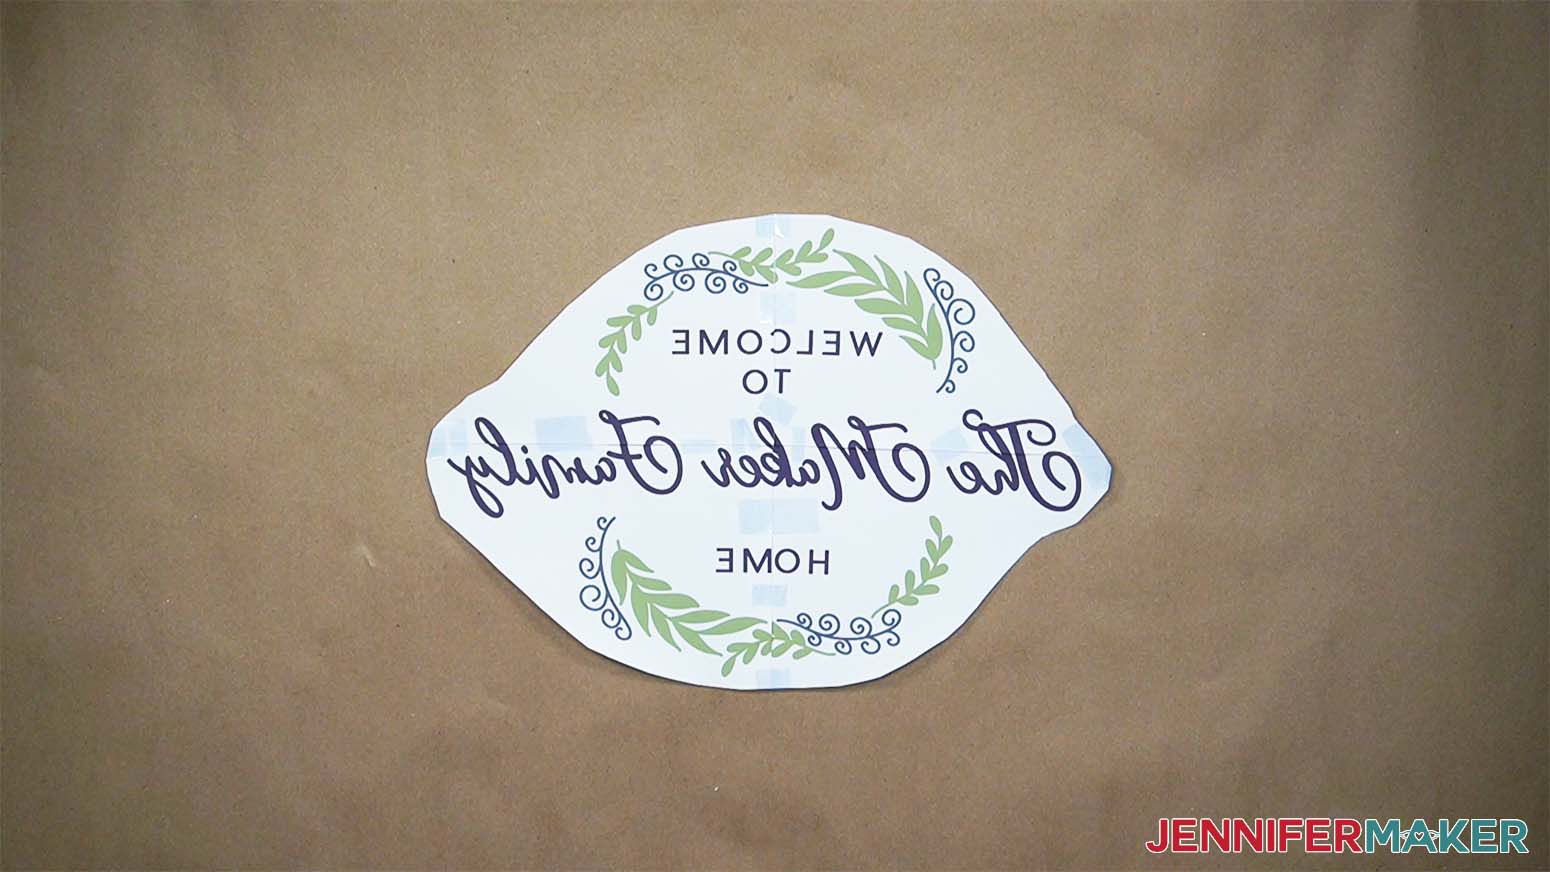
NOTE: Be careful not to tape over any sublimation ink. If you have a full coverage design, you can add small amounts of tape to the back to keep it together without shifting, but be aware that it adds another layer and sometimes leaves an impression mark, so avoid it if possible or only use a little bit. Try to tape in non-ink areas only if possible.
STEP 4: PRESS YOUR SUBLIMATION PRINT
Before you start, open a window or set up a fan to improve your ventilation. Since we’re heating up rubber and sublimation dye, you don’t want to breathe in any of the fumes!
EASY PRESS METHOD
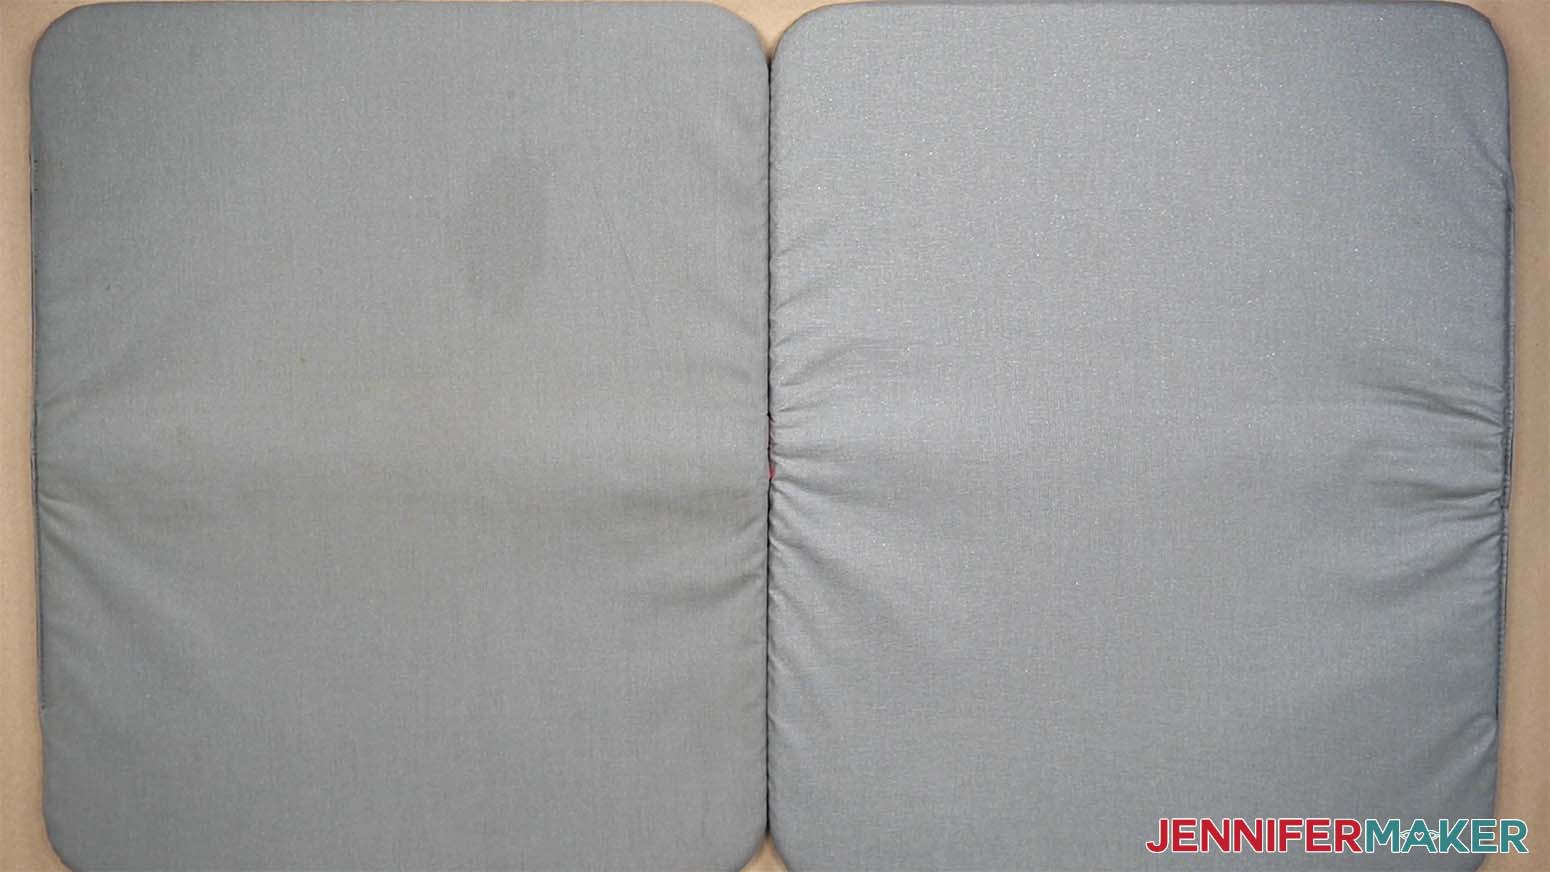
Place a heat resistant mat on a flat surface. I used two Cricut Heat resistant mats next to one another to provide an even surface.
Place your doormat or other large mat on top of the heat resistant mat and lint roll to remove any tiny bits that might be left behind.
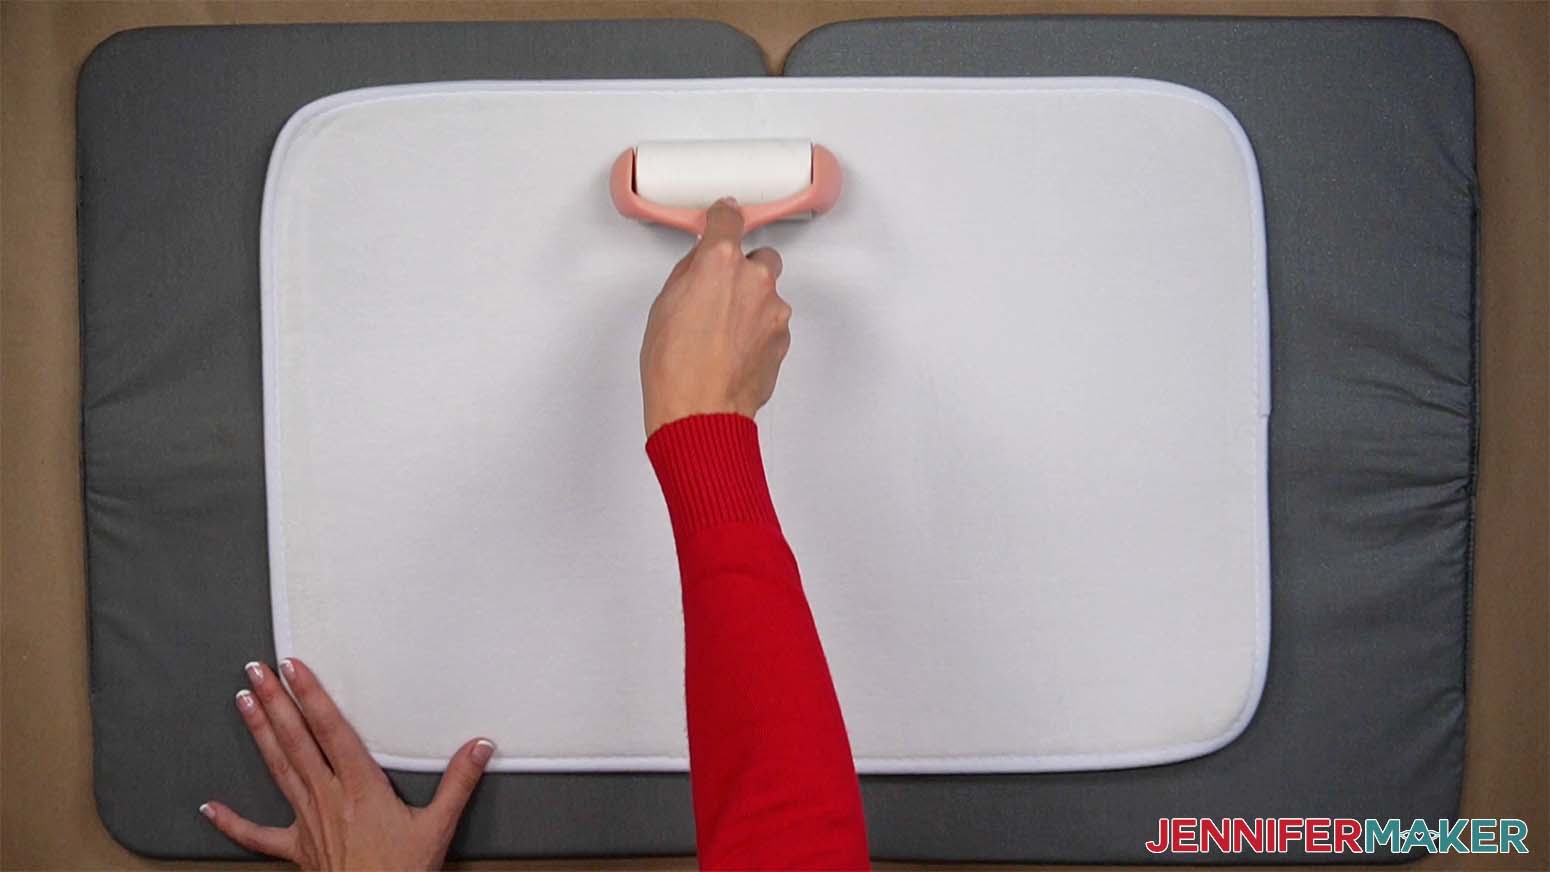
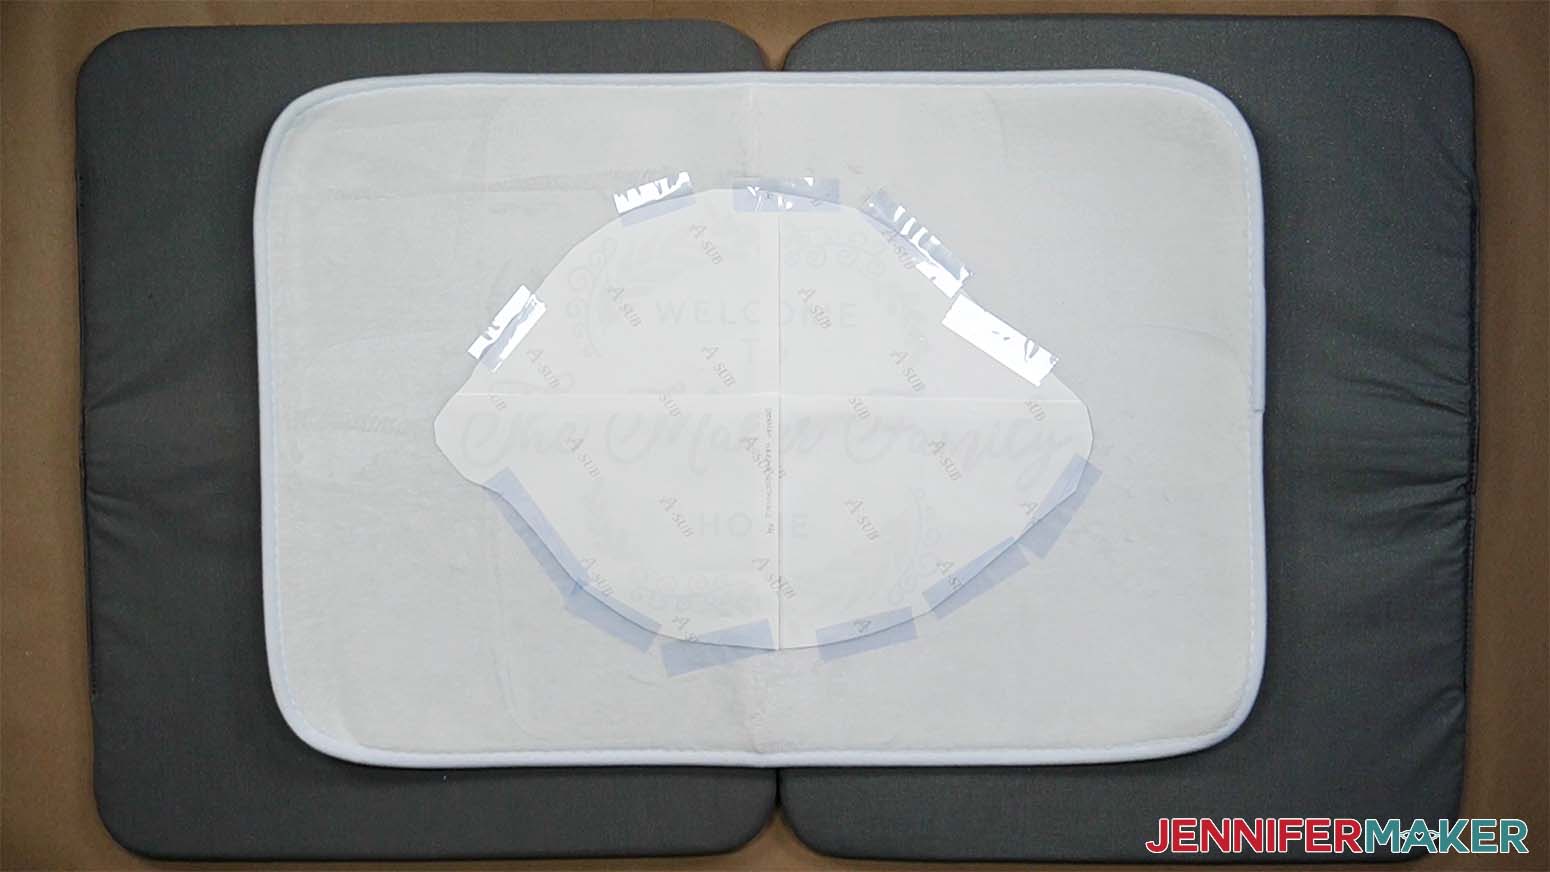
Place your design face down, and secure it with tape. In the case of larger projects, you want to use more tape than normal to ensure that your design does not lift during the heating process anymore than necessary.
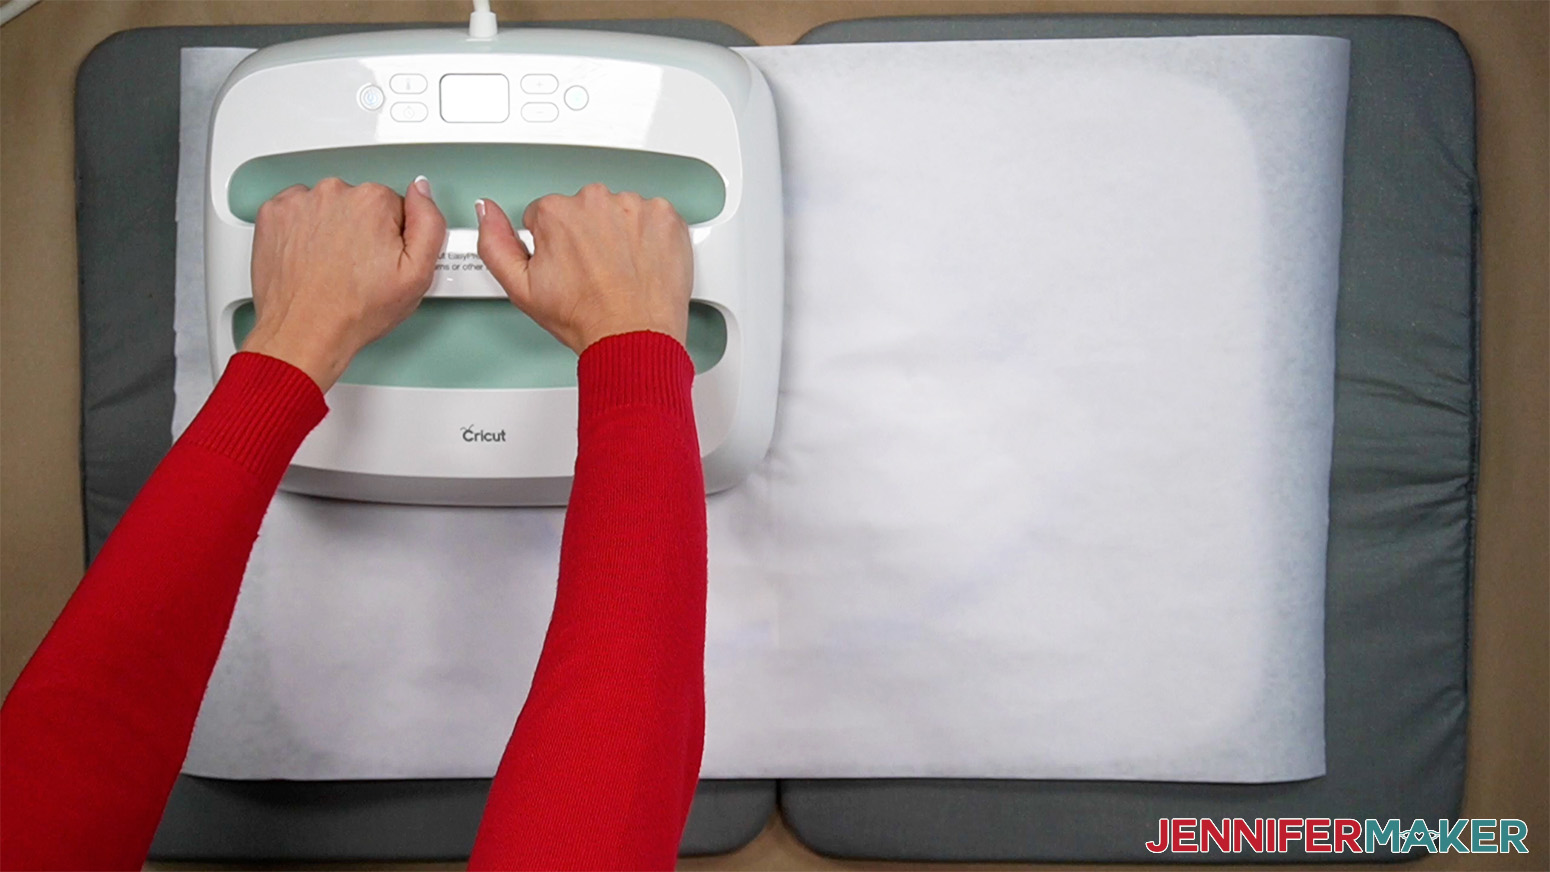
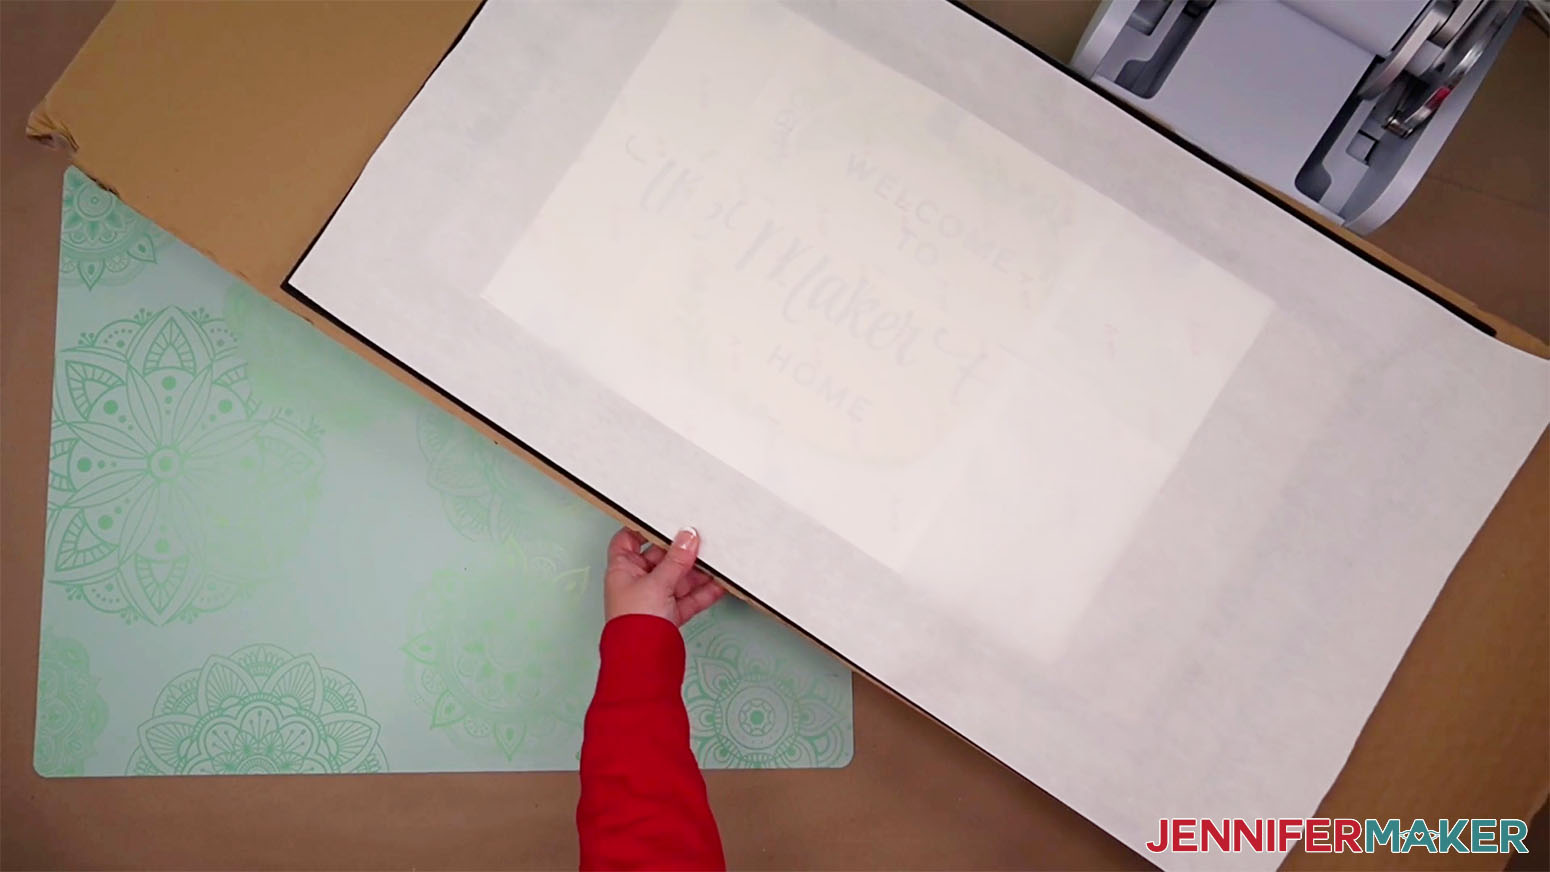
Once your design is secure, cover the entire design and mat with butcher paper.

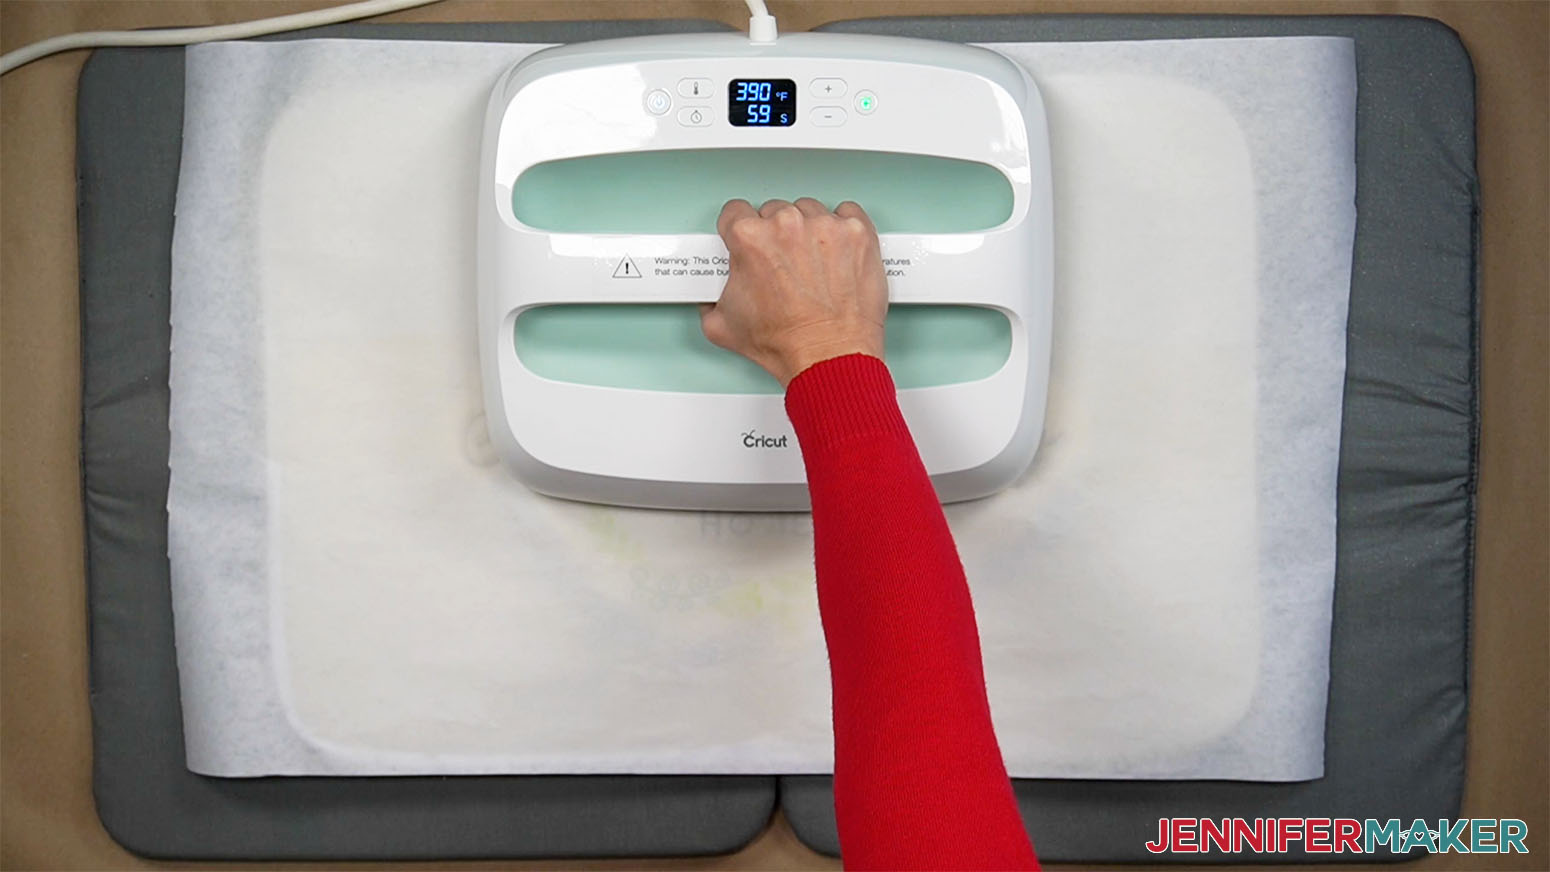
Heat your press to 390°.
Referring to how we tiled out design together, we are going to iron in a similar fashion. Starting with the top left corner, place your Cricut Easy Press on top of the design for 70 seconds.
When the timer goes off, lift the heat press straight up and place down on the top right corner and press for another 70 seconds. Repeat this process with the lower right corner, then the lower left corner. After the four corners have been pressed, place the Easy Press in the top center of the doormat and press for 70 seconds. Do it again for the lower center as well.
You will have pressed the mat six times in total.
Once the last section has been pressed, let the it cool before removing the paper. You want to make sure the sublimation process has completed.
AUTOPRESS METHOD
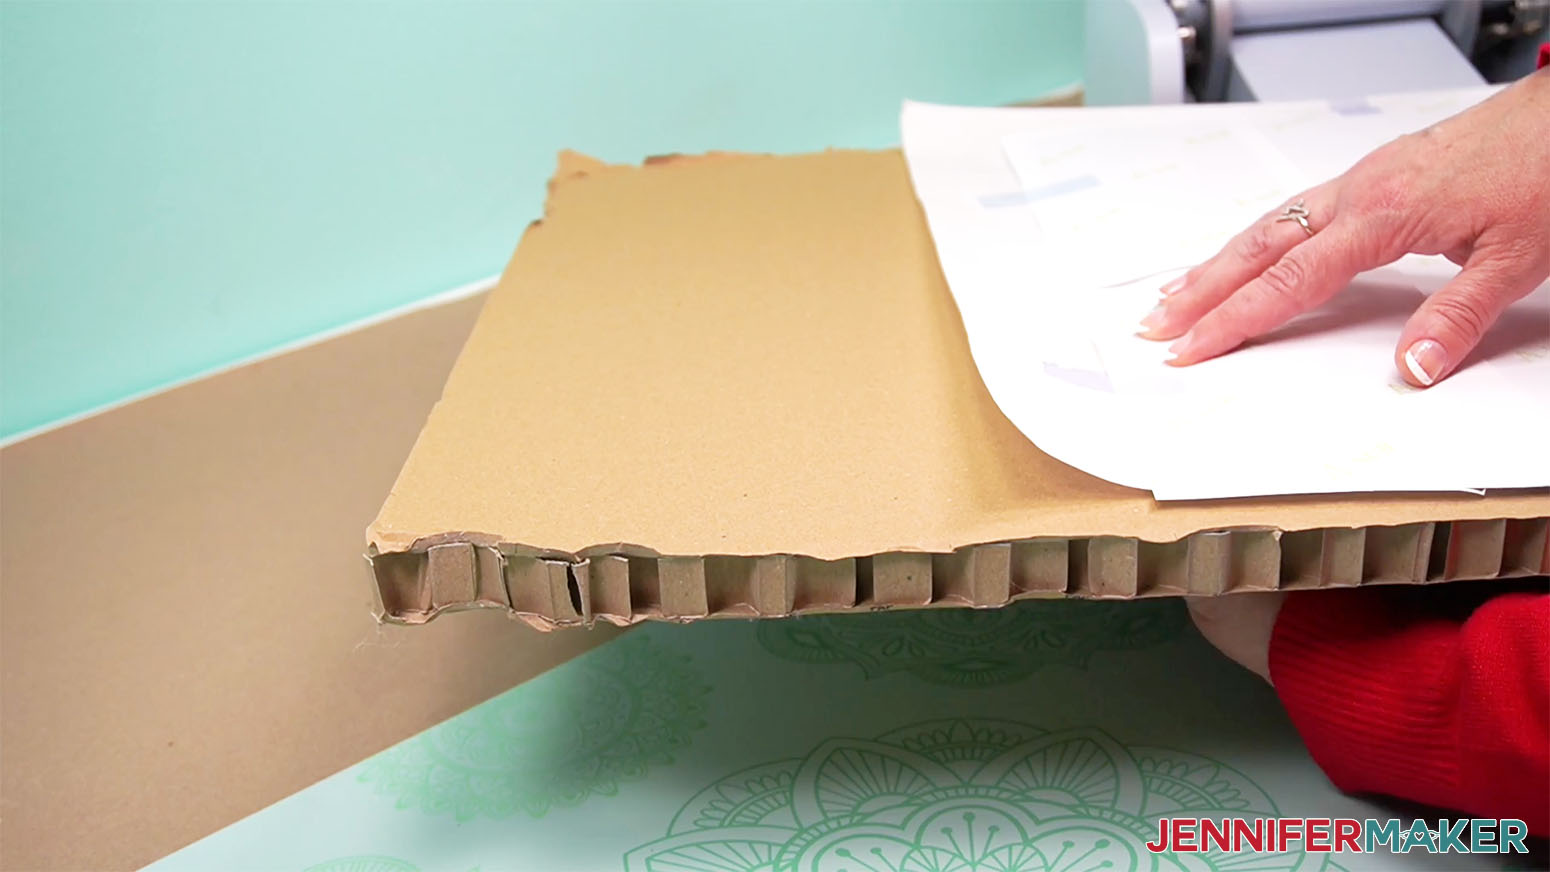
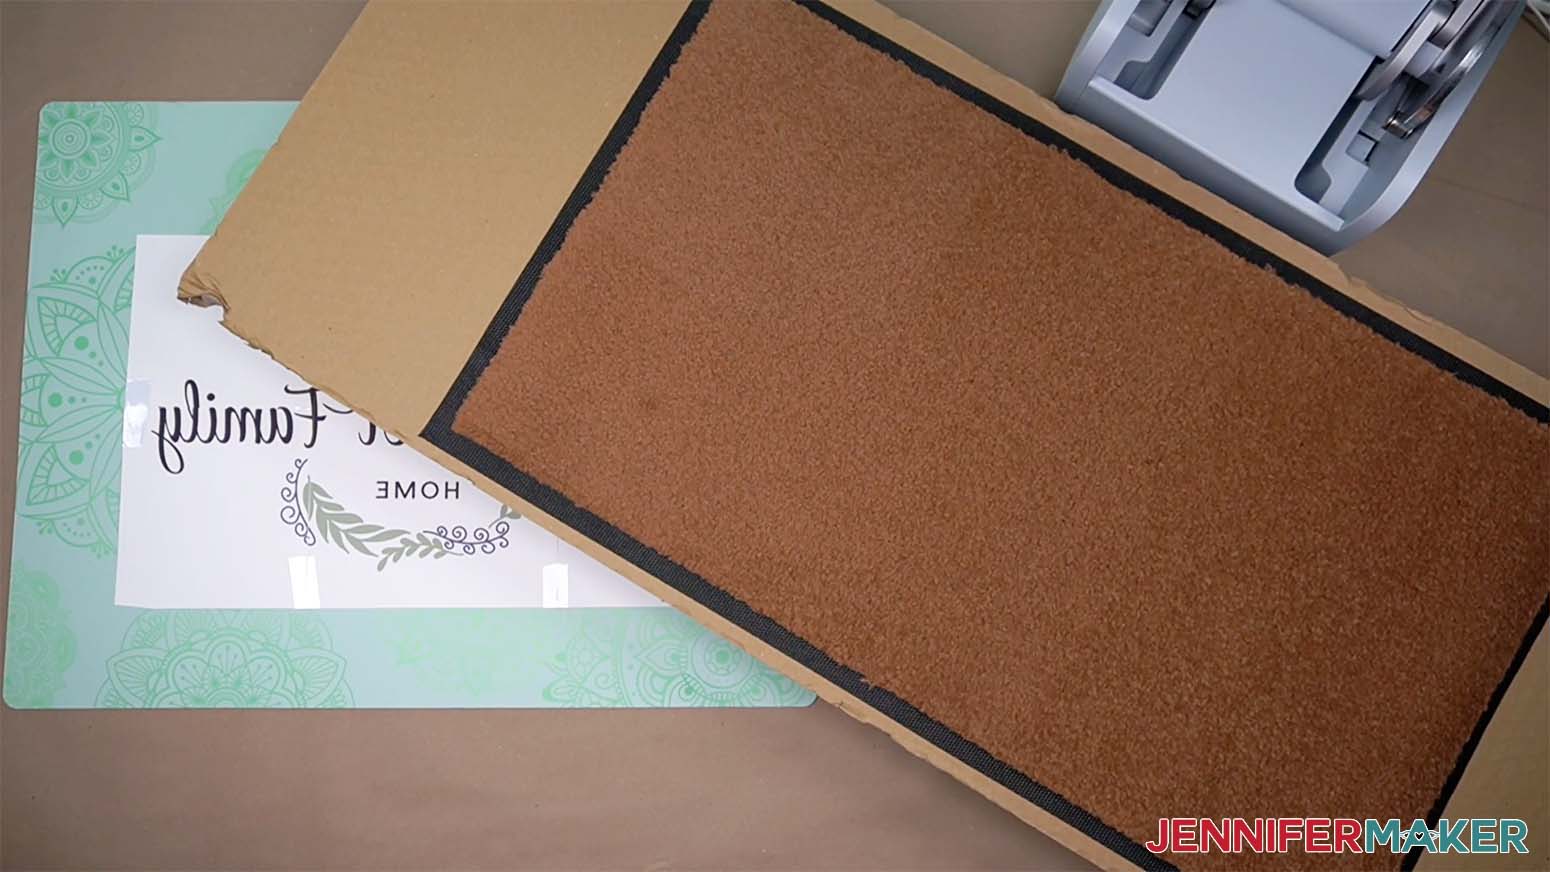
Since the doormat and print are so large, I recommend finding a thin piece of plywood or sturdy cardboard to place the doormat on. This will make pressing your print a lot easier and reduces the risk of the print shifting when you move the doormat.
Since we’re heating up rubber and sublimation dye, open a window or set up a fan to improve your ventilation. You don’t want to breathe in the fumes!
Heat your press to 390°.
Lint roll the doormat to remove any debris.
Pre-heat the doormat to remove any moisture. I'm using my Cricut Autopress and found that I needed to move the doormat and pre-heat it in sections.
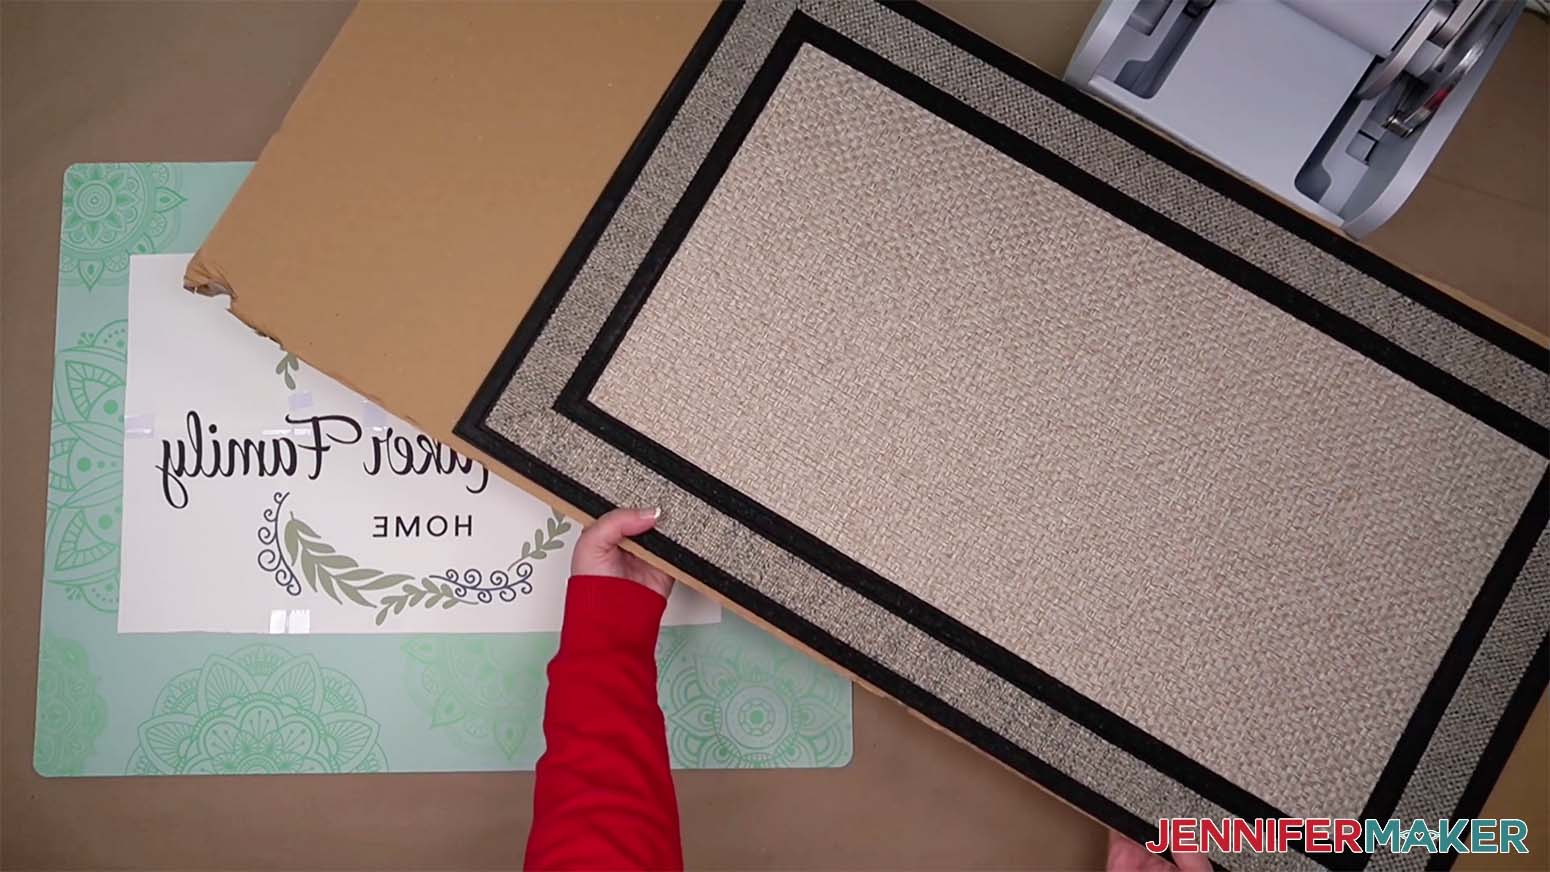
Using a measuring tape find the center of your doormat and the center of your print.

Place the print face down on the doormat and secure with heat resistant tape.
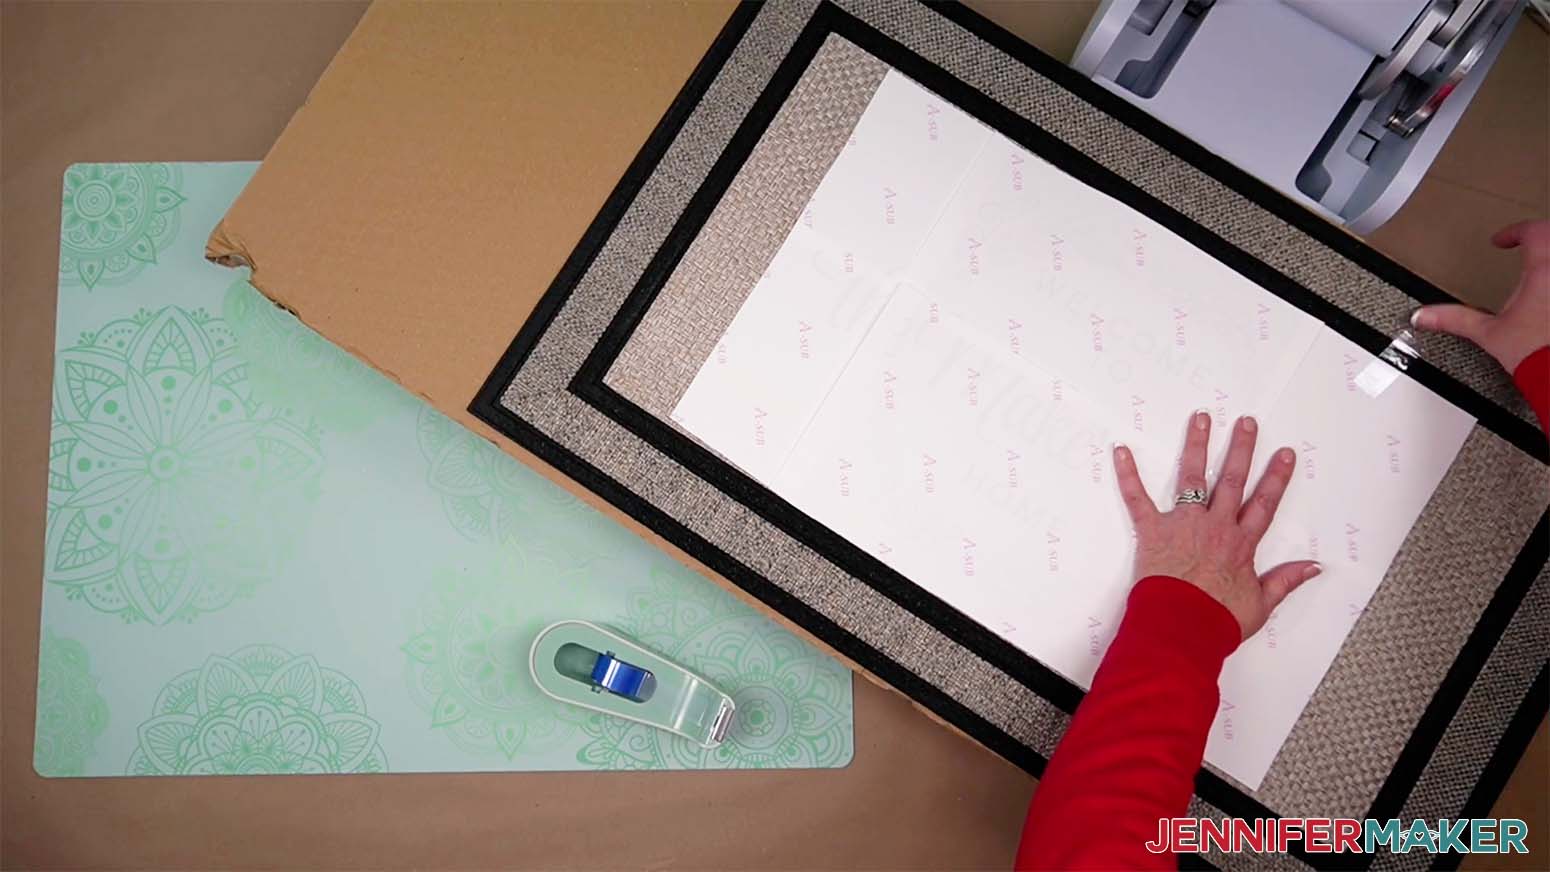
We will need to press the doormat in sections. It is a little tricky but not as hard as you think. Starting at the top left of the design, position the doormat on the press base trying to get as much of the design as you can under the heating element. You might want to feel underneath the press base with one hand while keeping the other hand on the design to get a feel of where your design is positioned.
Place a clean sheet of butcher paper over the design and press for 70 seconds at 390°.
When the first press is completed, shift the design to the left and overlap the design slightly to make sure you do not miss pressing every part of the design.
Repeat shifting the doormat until the entire design has been pressed.
VARIATIONS
I tried a variety of different mats and some are made just for sublimation.
White Sublimation Doormat
The white sublimation mat is one the best options that I tried. The fuzziness and slight squishiness seem to be more forgiving if you are trying to do a design that covers the entire mat.
Heat your press to 375°.
Use a lint roller to remove any debris and preheat the mat for 10 seconds to remove any moisture.
Secure your print with heat resistant tape and press each section for 35 seconds.
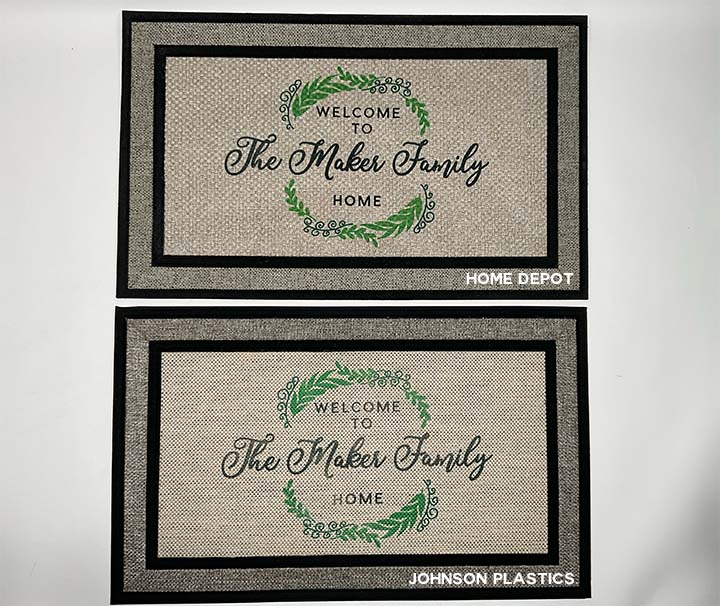
Rubber Backed Doormat
This doormat is very popular to sublimate on! I tried sublimating on a Home Depot mat as well as a similar looking mat made for sublimation. They look very similar to each other.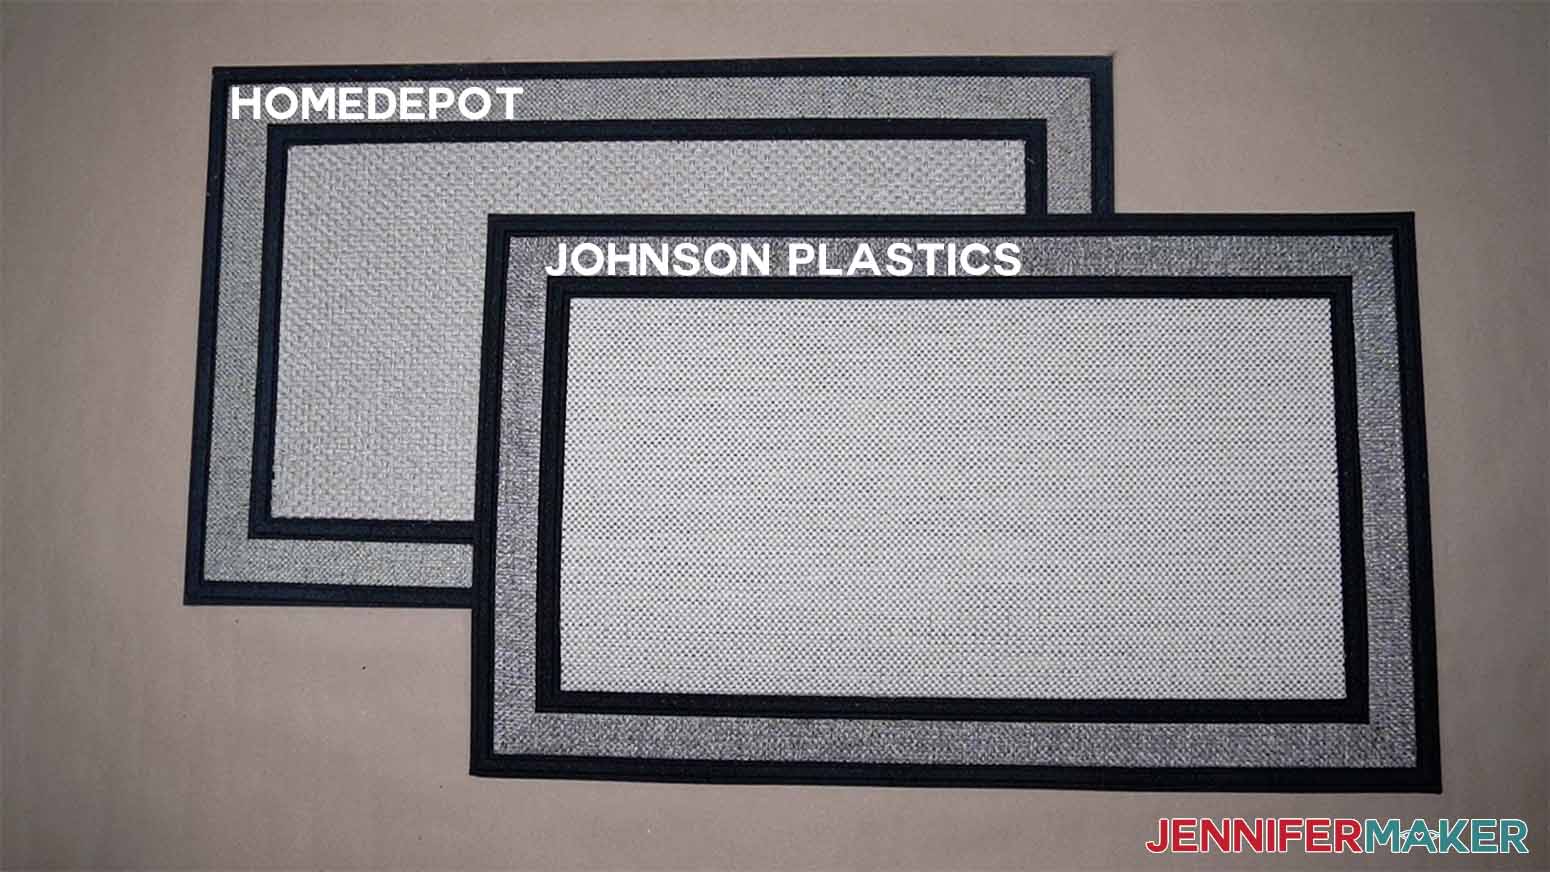
Heat your press to 390°.
Use a lint roller to remove any debris and preheat the mat for 10 seconds to remove any moisture.
Secure your print with heat resistant tape and press each section for 70 seconds.
Here's the Home Depot mat
And here's the result of the sublimation mat. I found that the results are very similar.
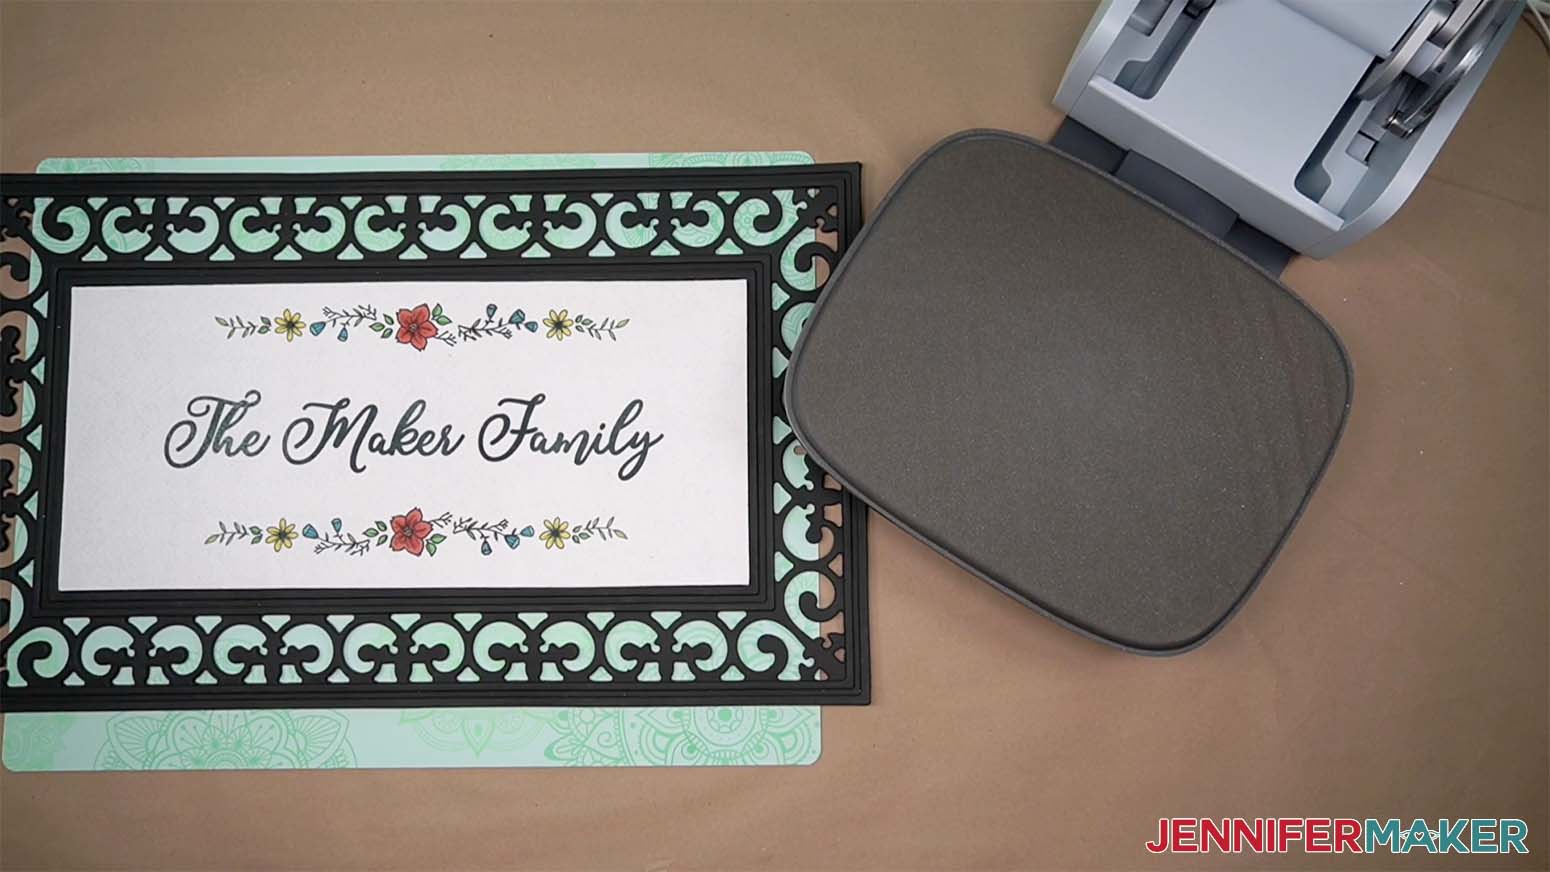
Etsy Mat with Insert
Another option is this cute doormat that comes with changeable inserts.
![]()
Heat your press to 380°.
Use a lint roller to remove any debris and preheat the mat for 10 seconds to remove any moisture.
Secure your print with heat resistant tape and press each section for 70 seconds.
Entryway Doormat
Lastly, I tried a polyester entryway doormat. These doormats are a little darker than the other mats, so choose your designs carefully. A design that has lighter, pastel colors might not show up as well on these mats.
Heat your press to 380°.
Use a lint roller to remove any debris and preheat the mat for 10 seconds to remove any moisture.
Secure your print with heat resistant tape and press each section for 70 seconds.

STEP 5: SHOW IT OFF!
I'll report back on how each doormat holds up!
Notes
Typefaces used: Wonderful Display, Biosha Script, Pier Sans.
Alternates: Nortch, Goldie Rainbow, Okine Sans.
Questions About How to Sublimate Large Designs:
Q: How do I print larger sublimation designs?
A: If you have a standard size sublimation printer like I do, the best approach is tiling your big design during printing and then taping the design’s pieces together to make it the full size before applying it to the sublimation doormat. And you don’t need expensive design software, I’ll show you how to use free programs!
Q: How do you sublimate a design bigger than a heat press?
A: If you’re using an EasyPress or other handheld heat source, leave the design in place and press the design in sections, just like the tiling process during printing. If you’re using an Autopress or other stationary press, use a thick piece or cardboard or thin plywood to support the sublimation doormat, then move it to press the design’s sections.
Q: How big can a sublimation printer print?
A: While some sublimation printers work with larger papers, most use standard letter size, or 8.5″ x 11″ materials. But with the method I teach you in this tutorial, you can effectively print as big as you want!
Q: What size should an image be for sublimation?
A: Since sublimation is a great way to create details, colorful designs, the image should be high resolution and large enough to avoid getting blurry when you resize it to fit your sublimation blanks.
Q: Where can I find images to create my own full color printed designs?
In addition to my free resource library, check out Cricut Design Space, Adobe Photoshop, Design Bundles, Silhouette Studio software, Creative Fabrica, Creative Market, Font Bundles, and other online marketplaces for ready-made designs and assets to make your own files for your sublimation doormat.
Q: How long will my sublimation project last?
A: There are many variables, but if you use mostly polyester fabrics and follow my tips, your sublimation project should last a long time!
Q: Is sublimation better than vinyl?
A: It all depends on your preferences and goals! Dye sublimation is fast, flexible, and permanent, but it requires some extra equipment that heat transfer vinyl doesn’t. It’s comparable to Infusible Ink, but more customizable.
Q: Can I use a sublimation printer for regular prints, too?
A: No, a sublimation printer (whether purpose-built or converted) only prints in sublimation ink. And you cannot really switch a converted printer back to being an inkjet printer without a LOT of effort and wasted ink.
Q: What kind of paper do I use?
A: While some people will use just regular laser paper, I really recommend you use special sublimation paper for the best and most vibrant results and ink transfer. I used A-SUB paper during my tests.
Q: What kind of ink do I use?
A: You must use special sublimation ink to do a sublimation shirt. I used Hiipoo Ink for these tests.
Q: How do I test my sublimation prints for vibrancy and color?
A: Use my free subliflower design to see how your colors look! It’s Design #385 in my resource library!
Q: How do I learn sublimation for beginners?
A: Join Sublimation Startup for a logical, step-by-step guide to getting setup for success with sublimation! You can ask questions and feel confident that you’ll get help! The Sublimation Startup mini-course is also great for those who enjoy learning from Jennifer Maker’s easy-to-understand, calm, and clear method of teaching. This is a no-fluff, no-mess, no-distraction workshop … it’s like sitting down with Jennifer in her craft room to learn directly from her! We work in logical steps to build your understanding and confidence with sublimation, and then provide support to keep helping you as you continue on your journey! Register now!
Get my Large Sublimation Doormat Designs (and many more) for free!
I also have a group just for sublimation crafting where you can get help and tips from other crafters who love to sublimate, too! Come join us at jennifermaker.com/sublimationgroup to ask questions, share ideas, and get inspired!!
I can’t wait to see your sublimation doormat projects! Watch for more sublimation tutorials and please ask any questions you have in our Facebook group or tag me on social media with #jennifermaker.
Love,

Want to remember this? Save the How to Sublimate Large Designs tutorial to your favorite Pinterest Board.