
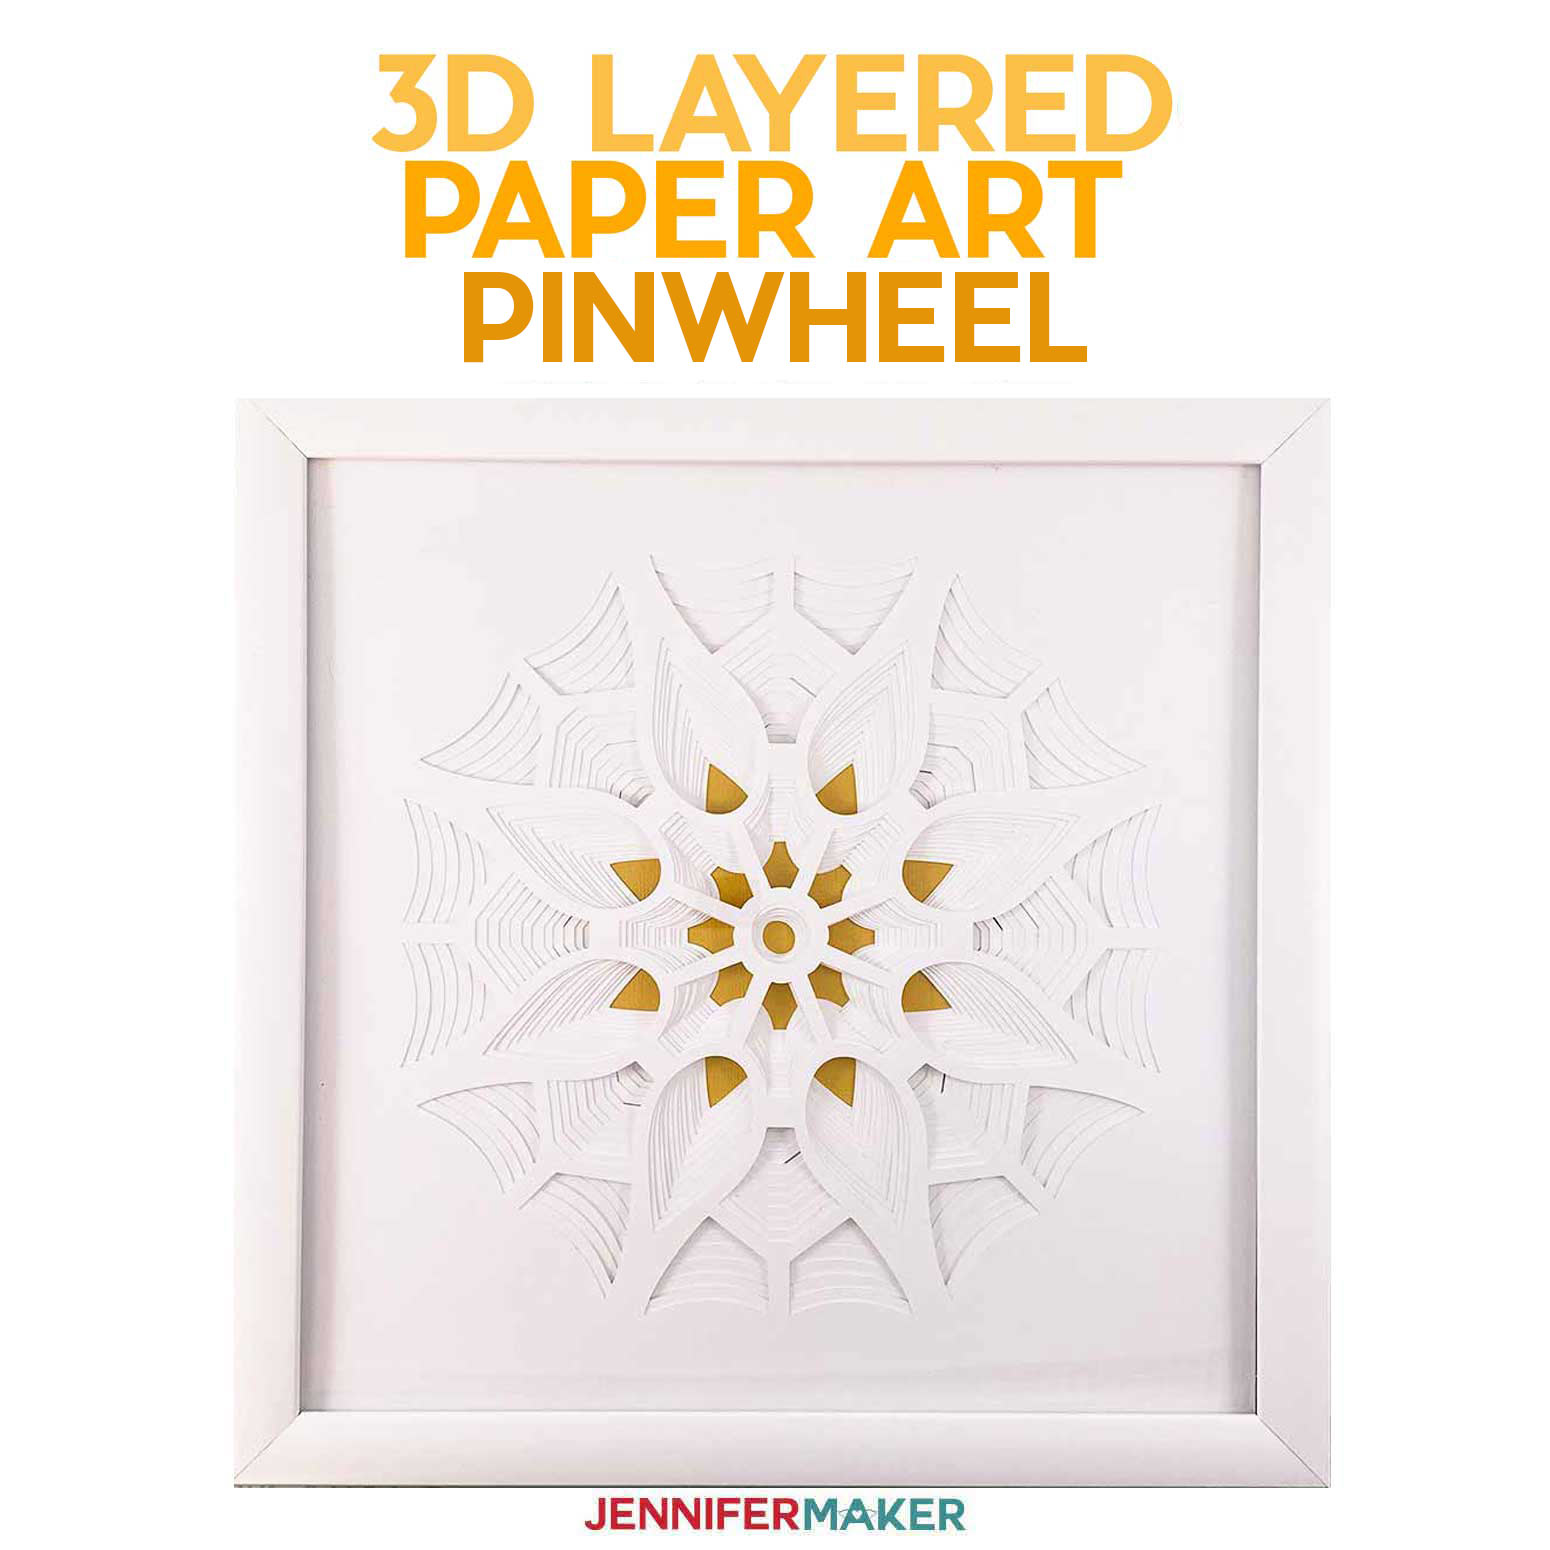
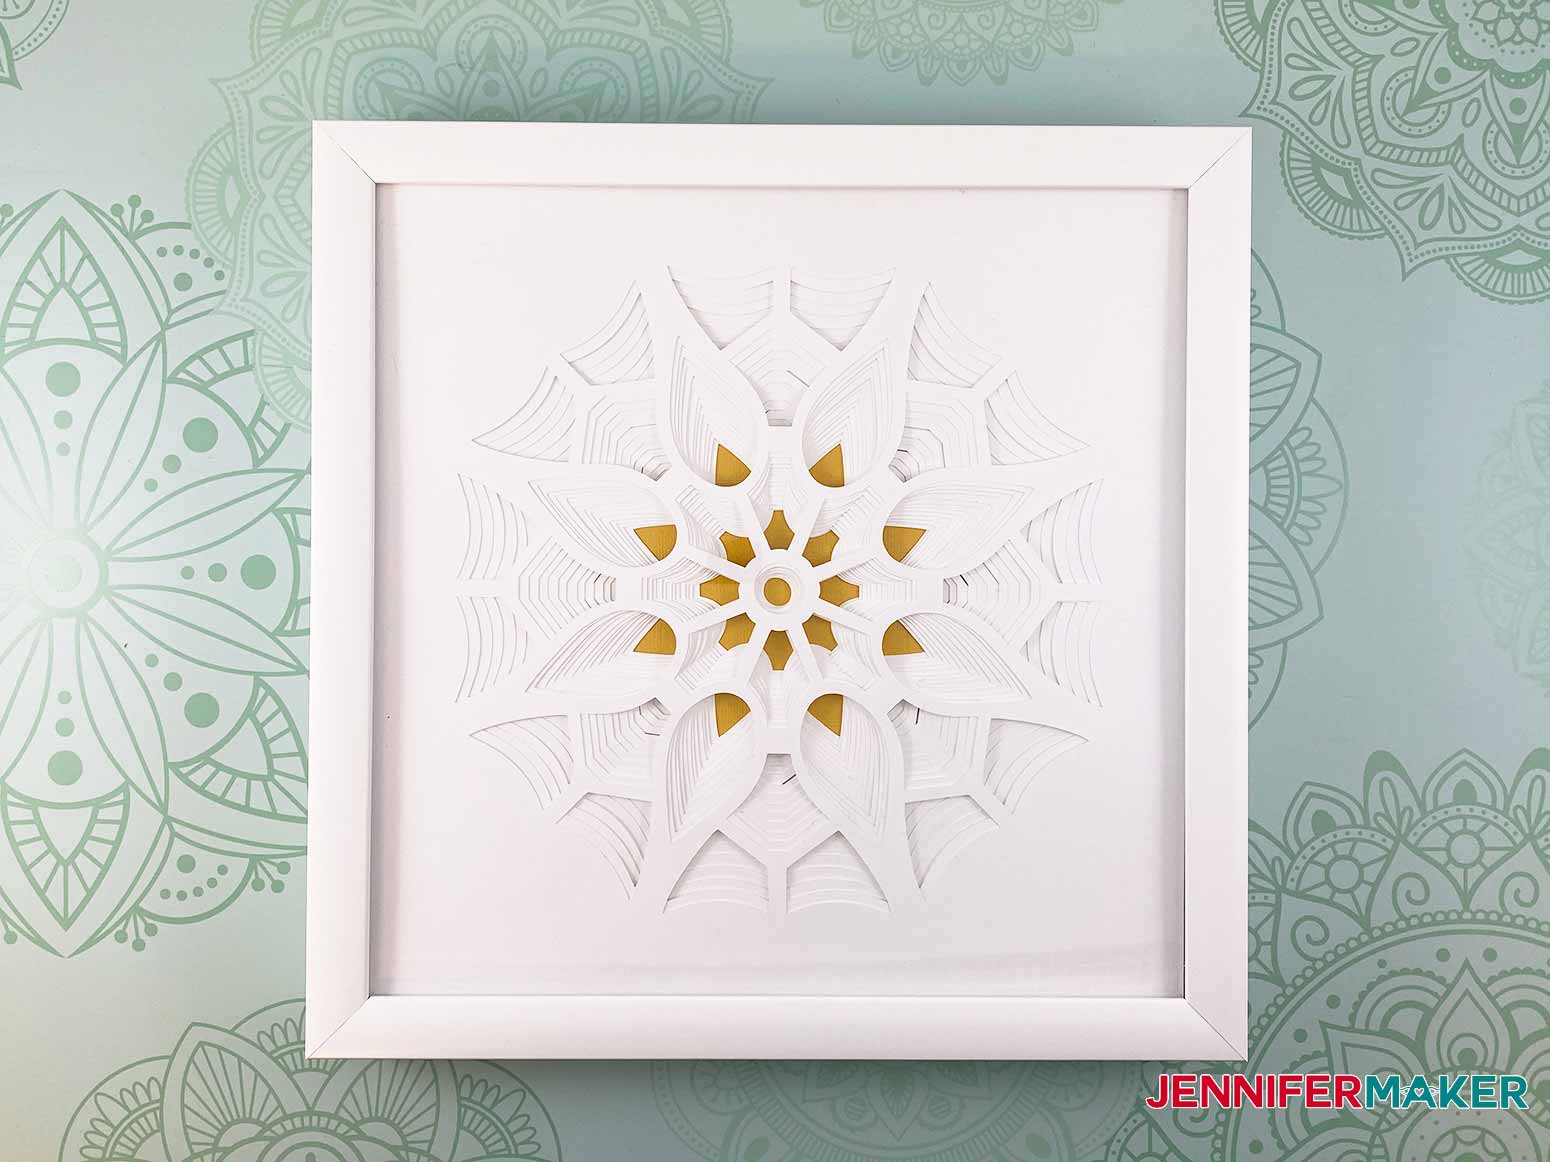
Learn how to make this amazing 3D layered paper art design with my easy step-by-step tutorial!
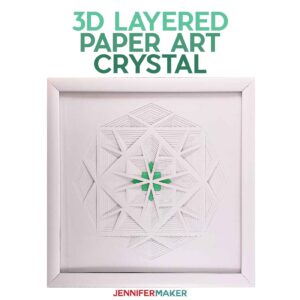
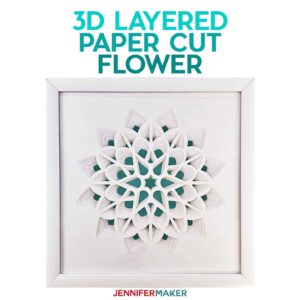
Today we’re sharing the third in our series of four different FREE 3D layered paper art patterns for you to create. These elegant 3D layered paper art designs are easy to make and only require a few different supplies. SO many of you have already created the first two designs, our 3D layered paper cut flower and our 3D layered cut art crystal, and I know you’re going to love this one, too — we call it The Pinwheel!

Like the first two designs in this series, to make our 3D layered paper art pinwheel you need 14 sheets of 12″ x 12″ cardstock. I have used 13 sheets of white and 1 sheet of a contrasting color, but many people have used opted to use beautiful colors of cardstock. You can take a look in our Cricut Crafters & Makers Facebook group to see how this project looks with different colors of cardstock. You can use shades of one color to produce a gradient effect or alternate the colors. It’s amazing how you can change the look of the project by simply changing the color of the paper.
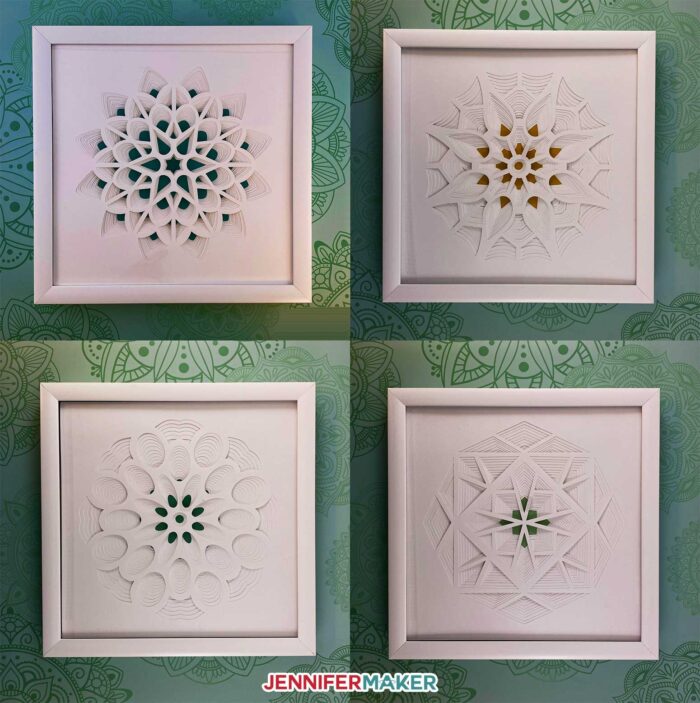
Here is a look at all four of the layered art designs in frames:
Today we’re releasing the beautiful pinwheel 3D layered paper art design.

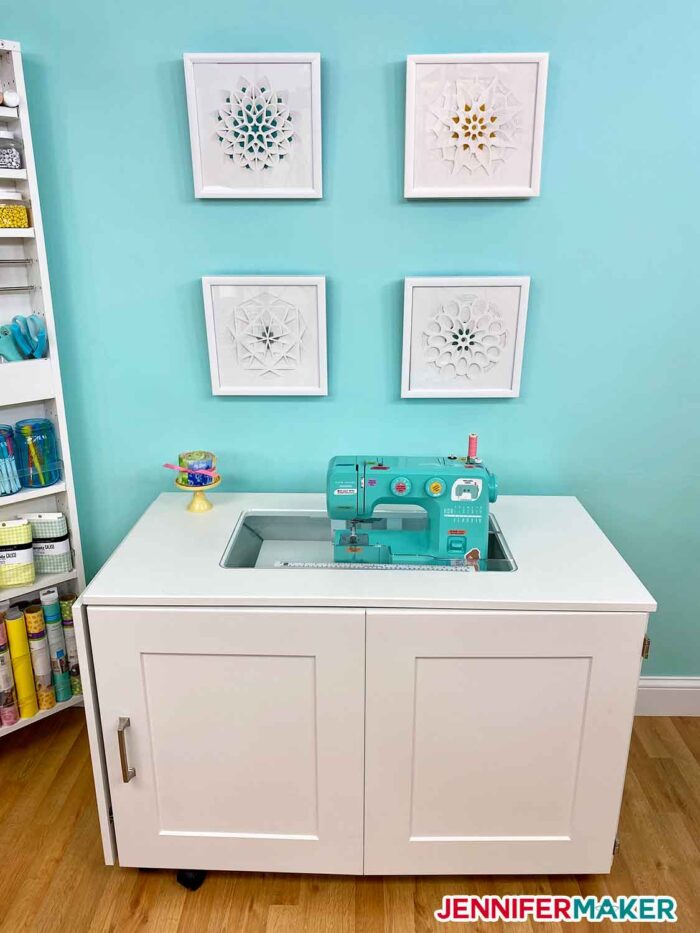
I have all four of the 3D Layered Paper Art framed. I love the white with the pop of color!
Let me show you how easy it is to make this 3D layered paper art pinwheel design! This post contains some affiliate links for your convenience (which means if you make a purchase after clicking a link I will earn a small commission but it won’t cost you a penny more)! Read my full disclosure policy.
Materials to Make a 3D Layered Paper Art Pinwheel
View my Amazon shopping list with the exact items we used to make this project!
- 80 lb. 12″ x 12″ cardstock, 14 sheets (I used 13 white and 1 green, but you can use any colors you wish!)
- Foam core (2 pieces of 10″ x 10″)
- 12″x12″ Shadowbox Frame
- XL Scraper (or a plastic store loyalty card)
- A cutting mat for your Cricut (green or blue works, just make sure it’s sticky!)
- Scissors to cut your foam core or foam mounting tape
- A ruler (helpful for lining things up)
- A way to cut your layers (I used the Cricut Maker cutting machine but they can also be cut on a Cricut Explore — you can even do a Cricut Joy if you resize things down)
- Design #231 (My free SVG design file for this tutorial available in my free resource library—get the password by filling out the form at the bottom of this page)
How to Make a 3D Layered Paper Art Pinwheel
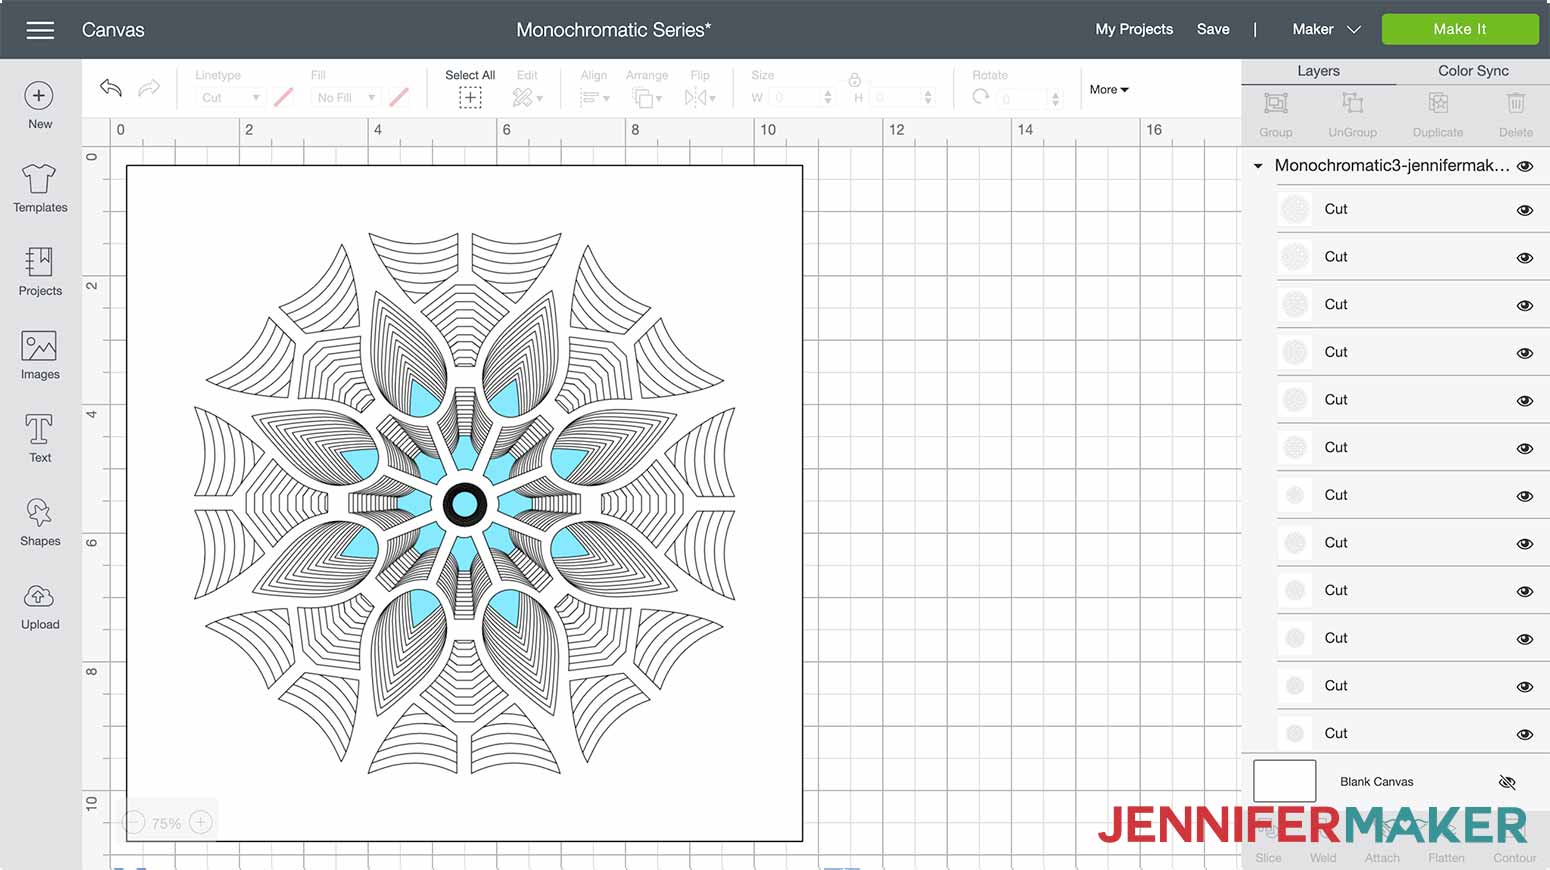
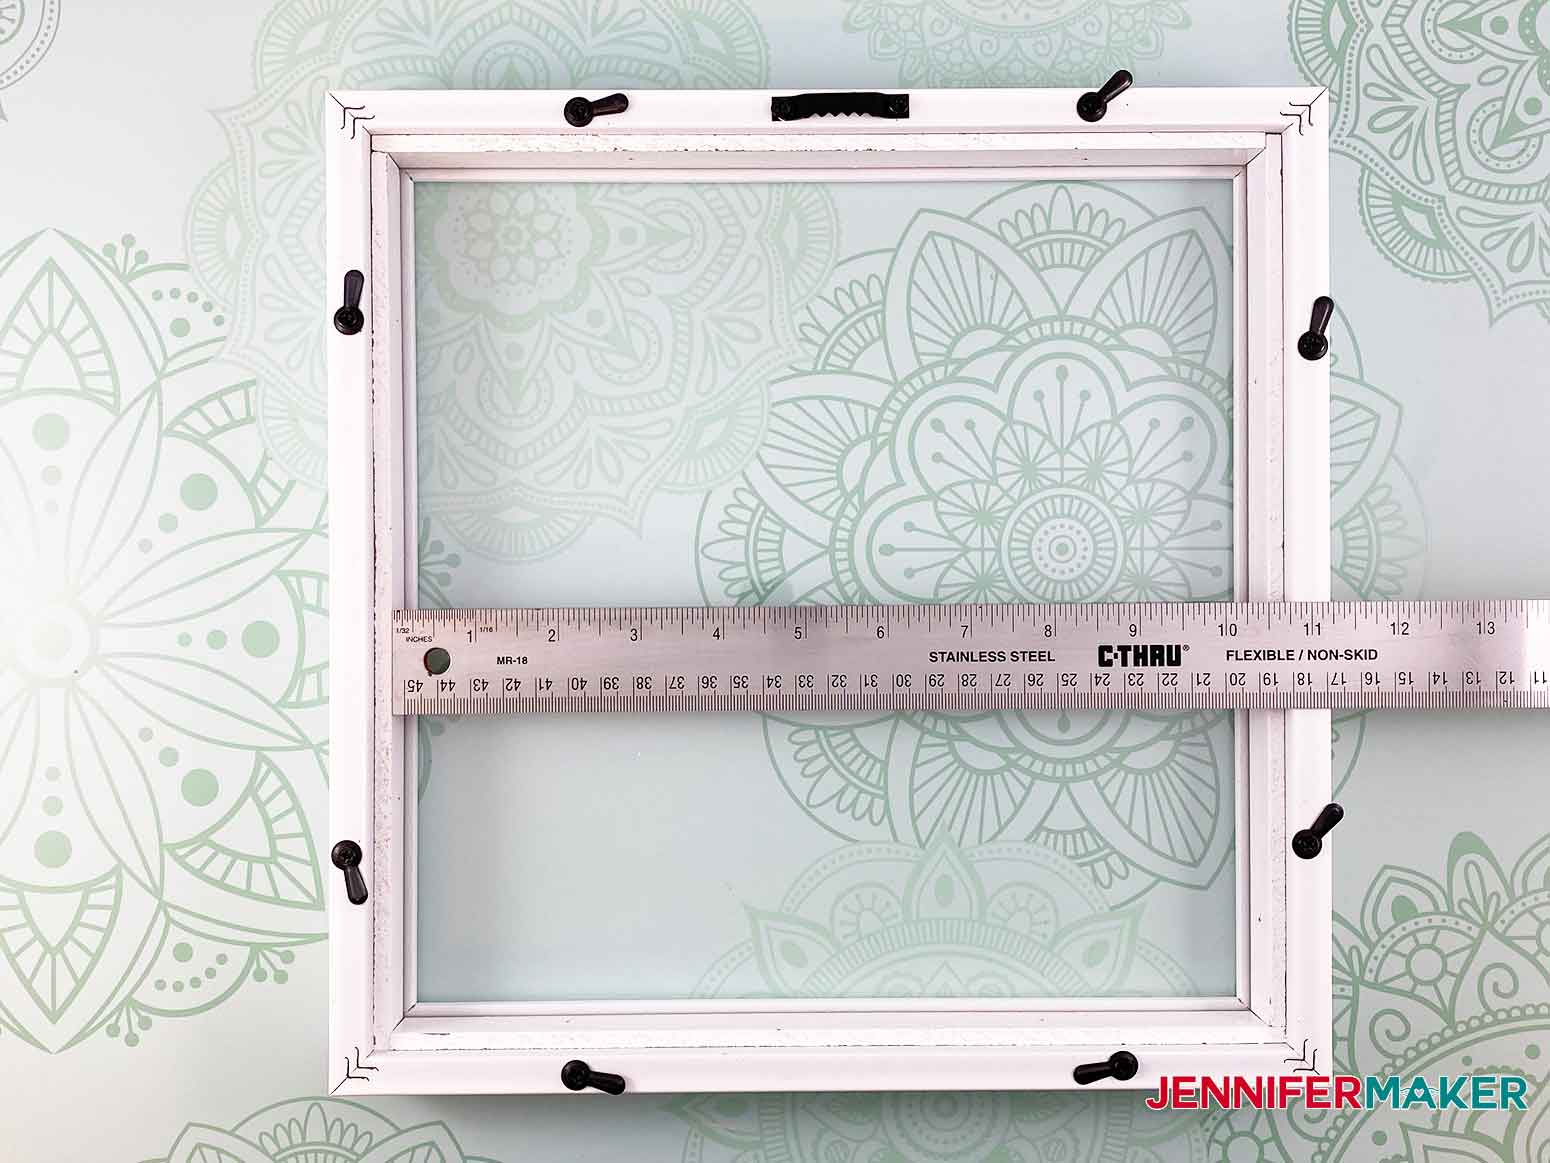
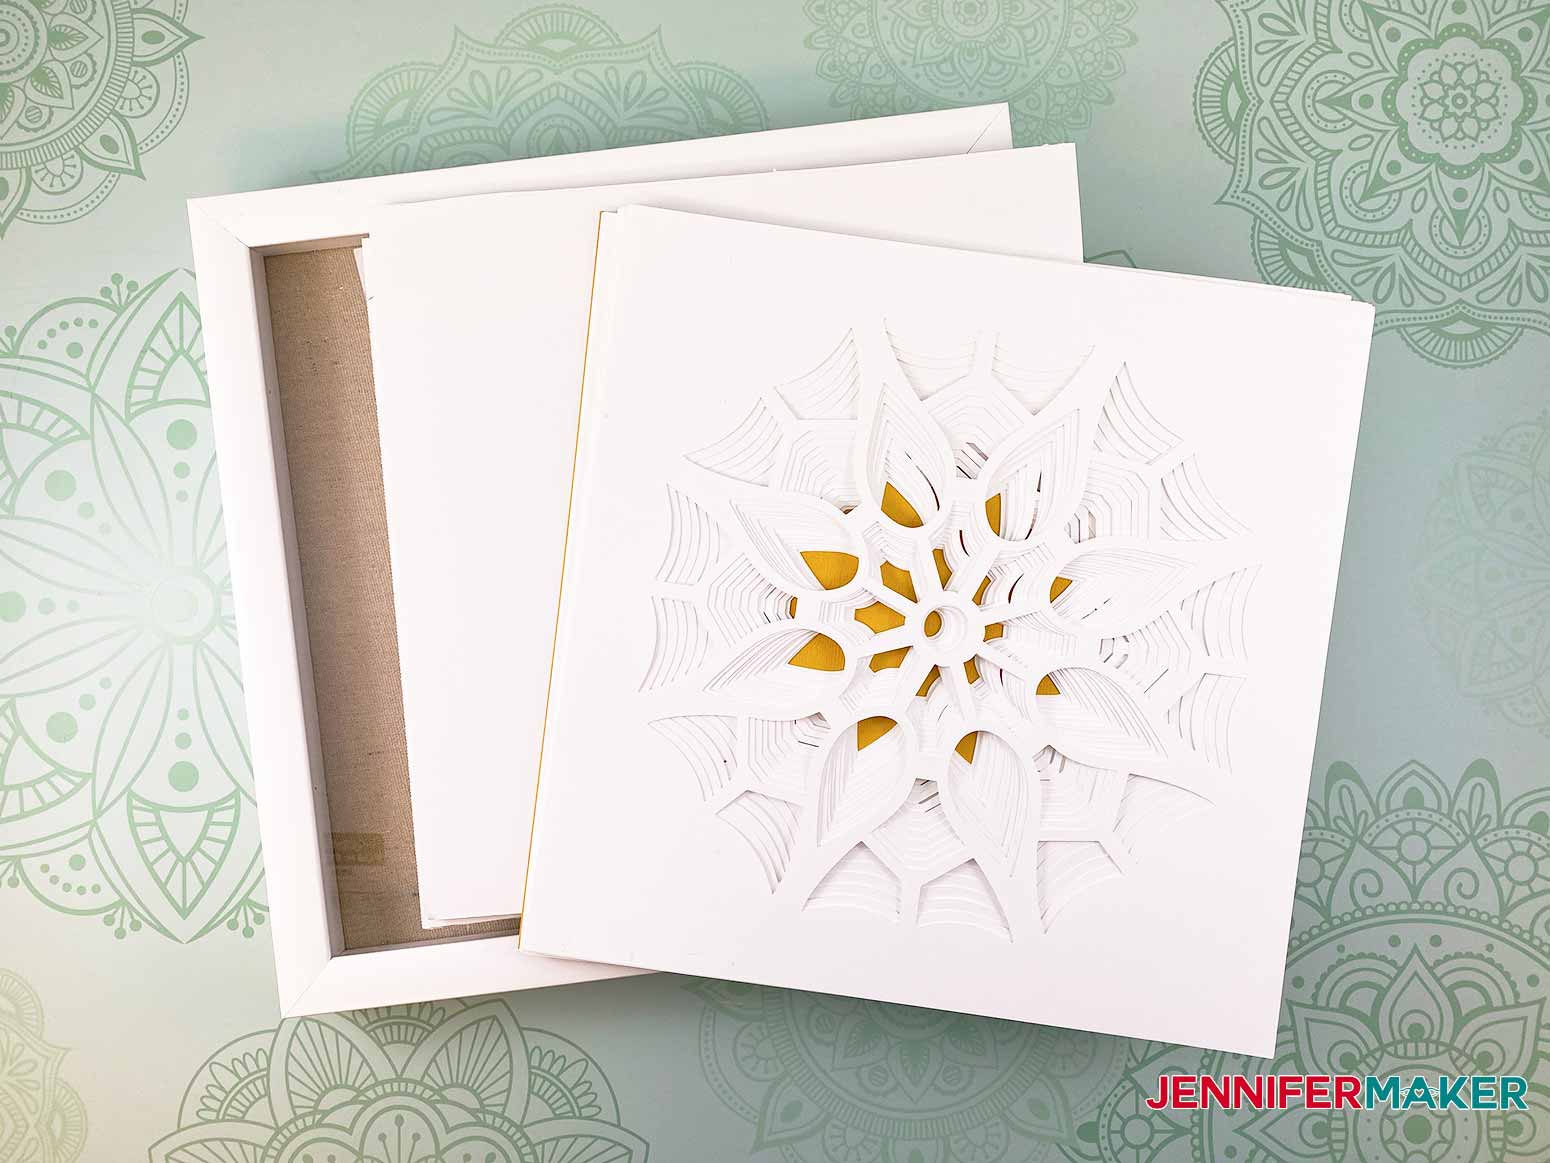
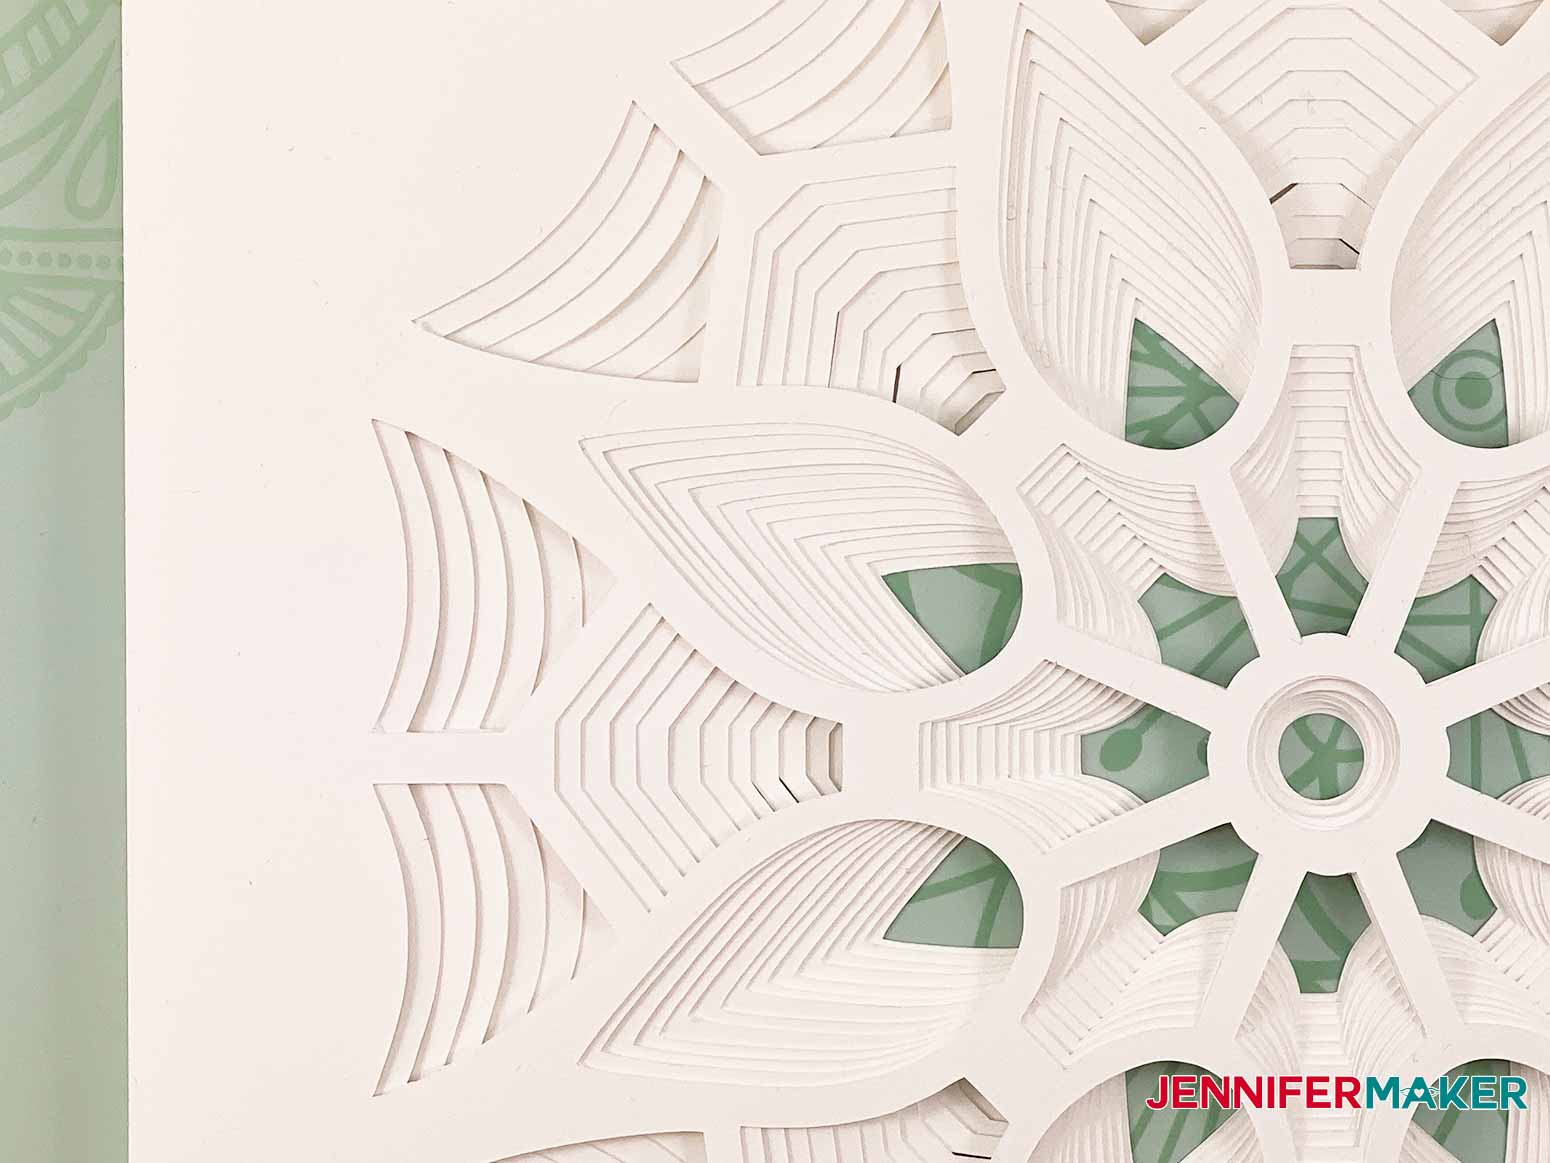
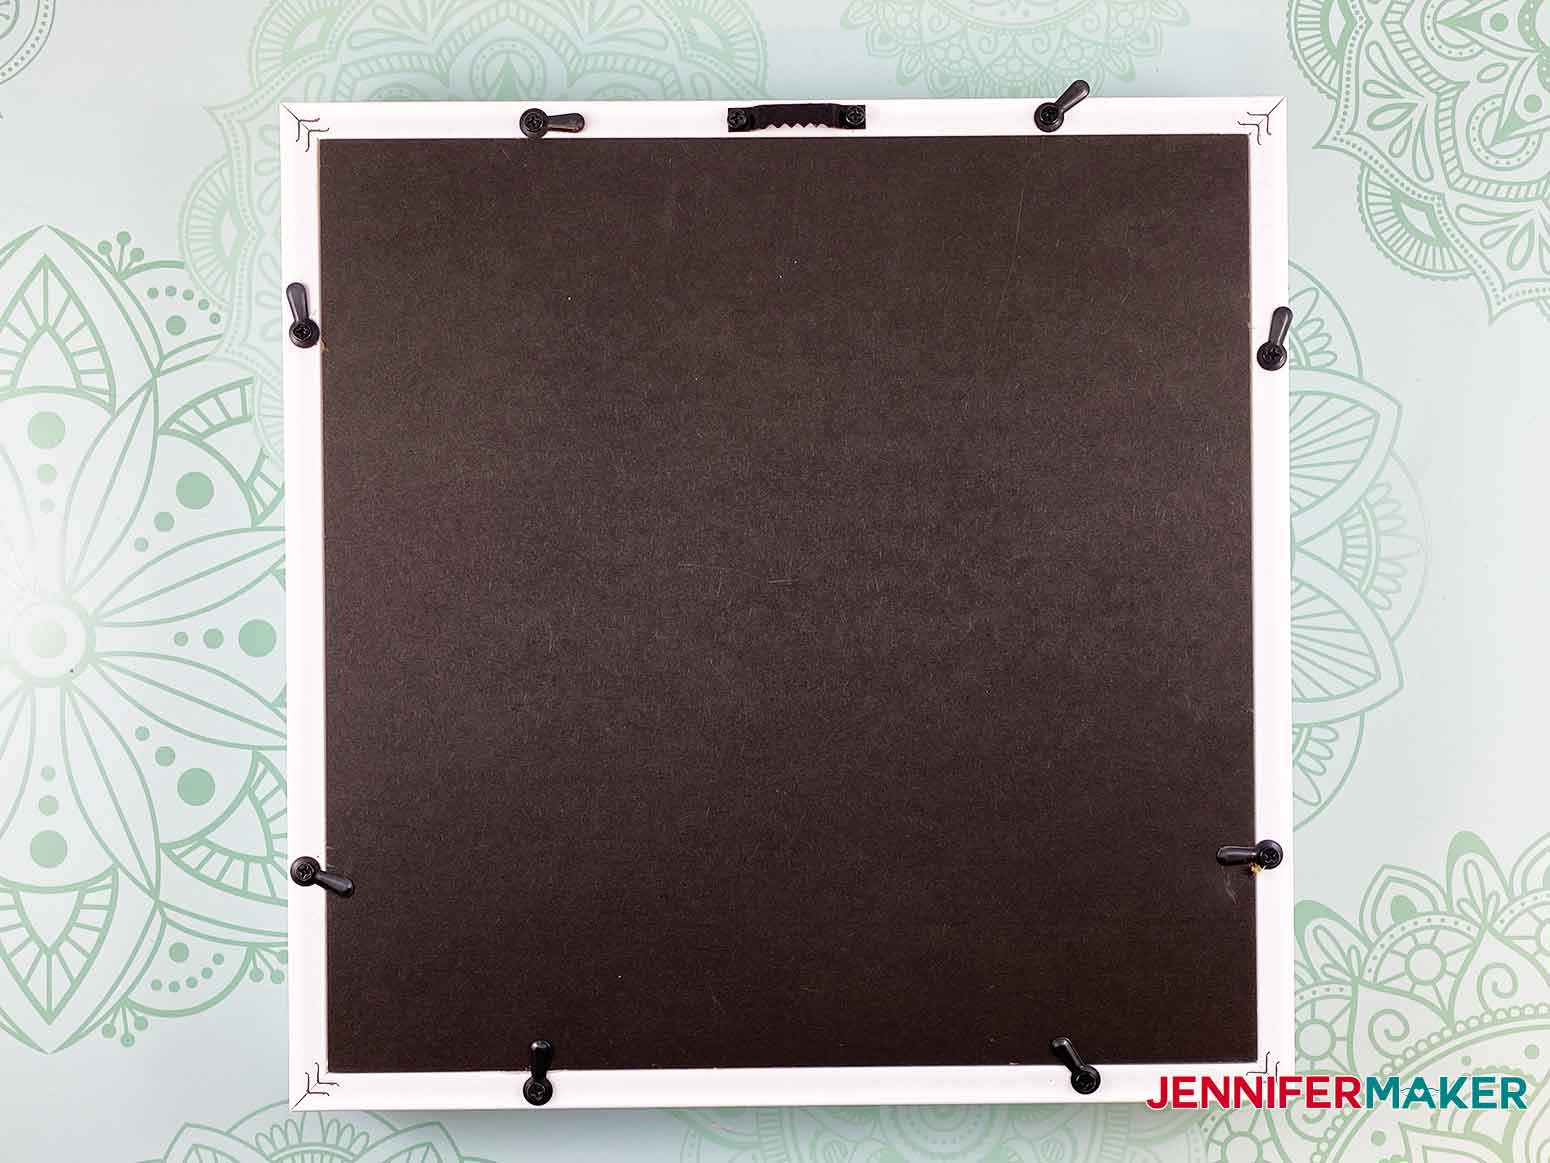
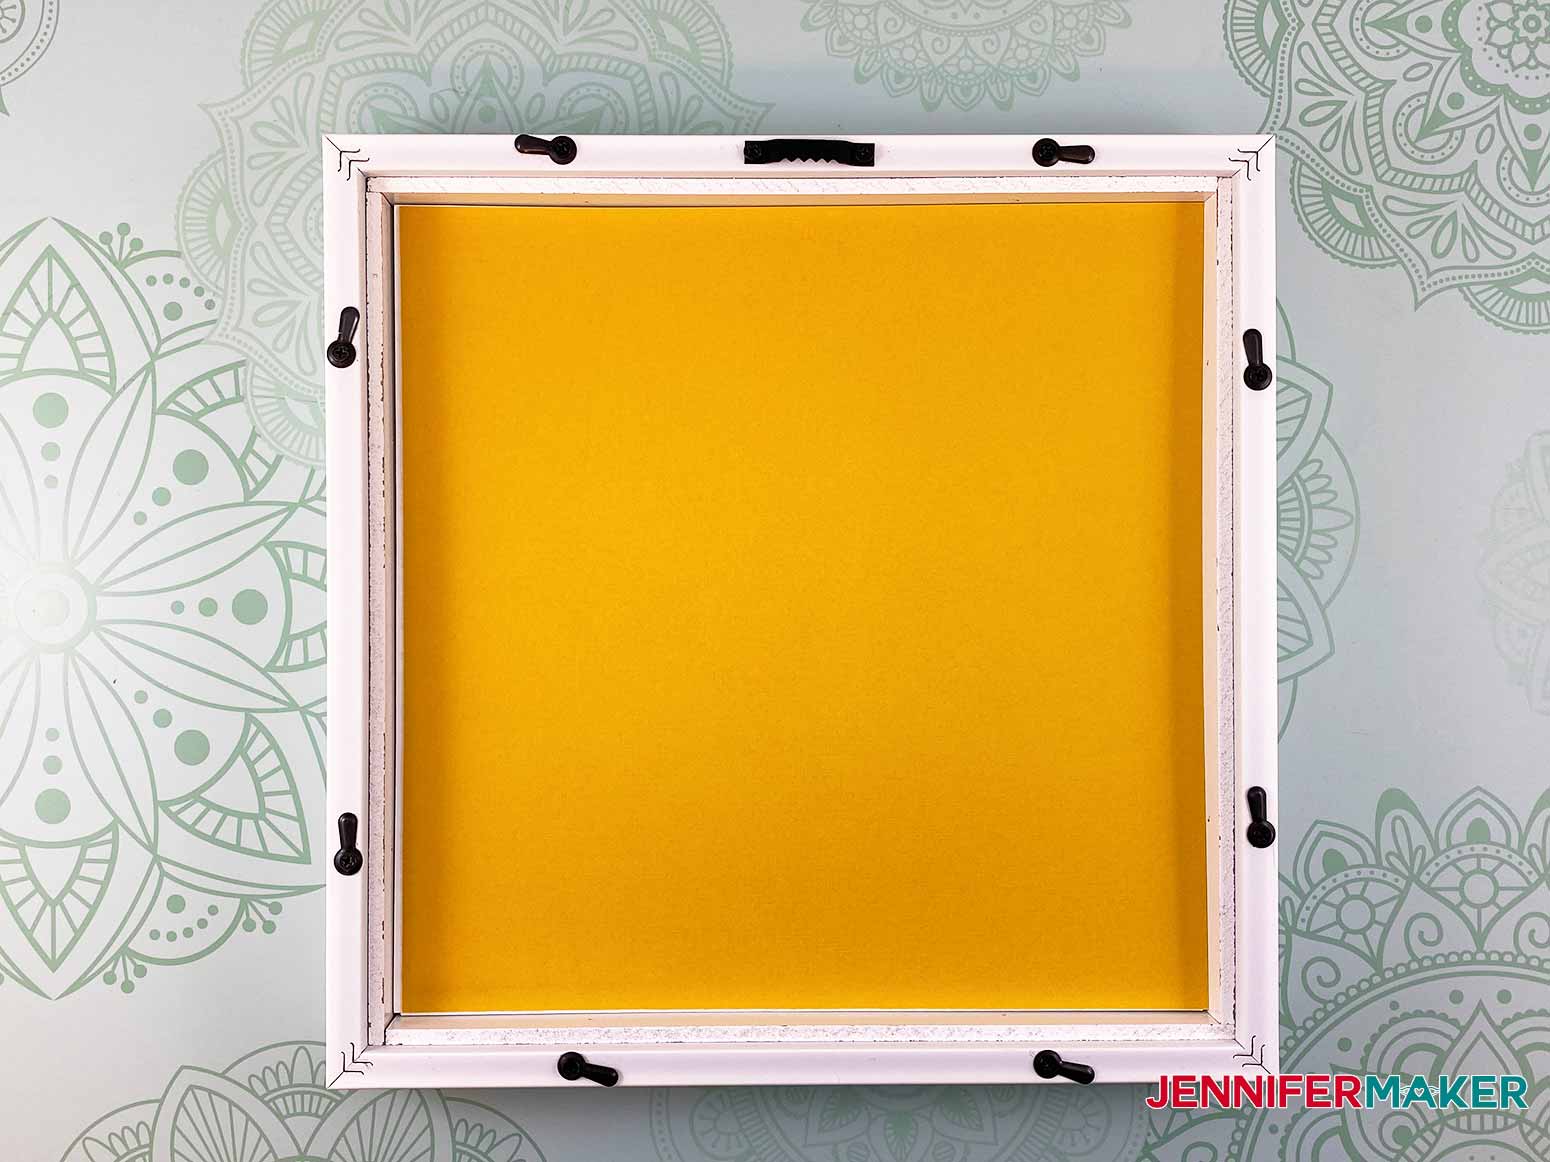
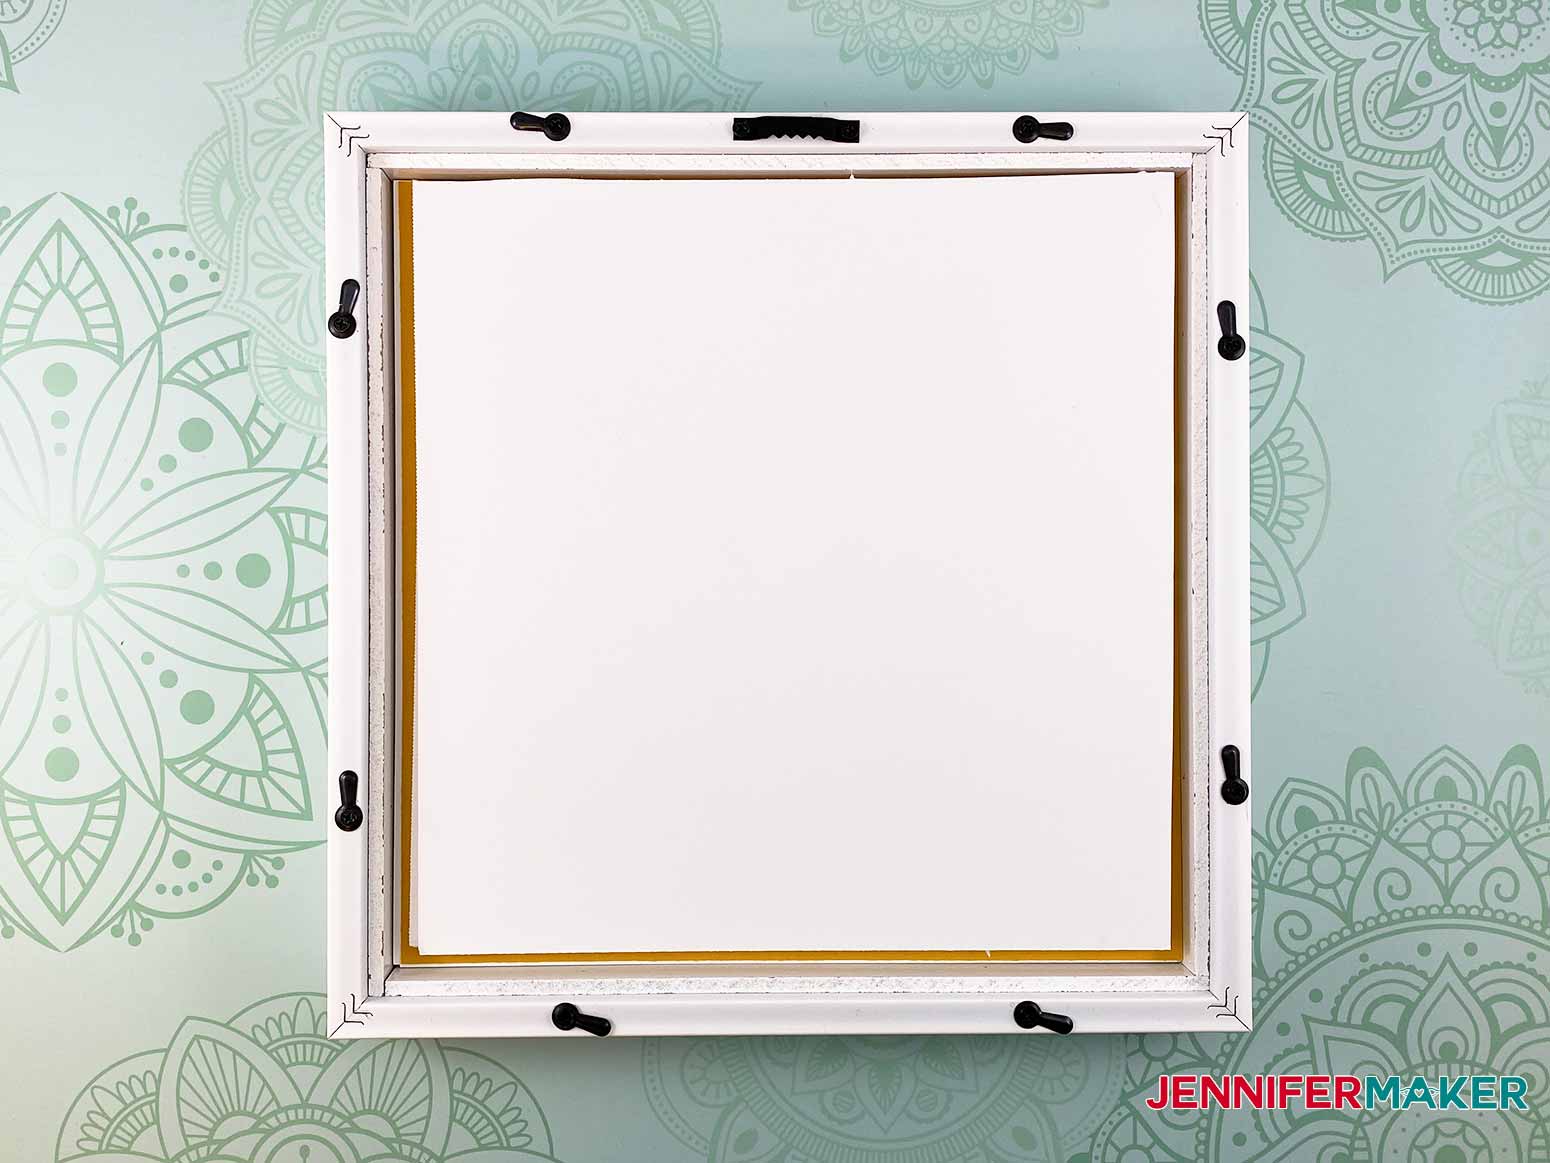
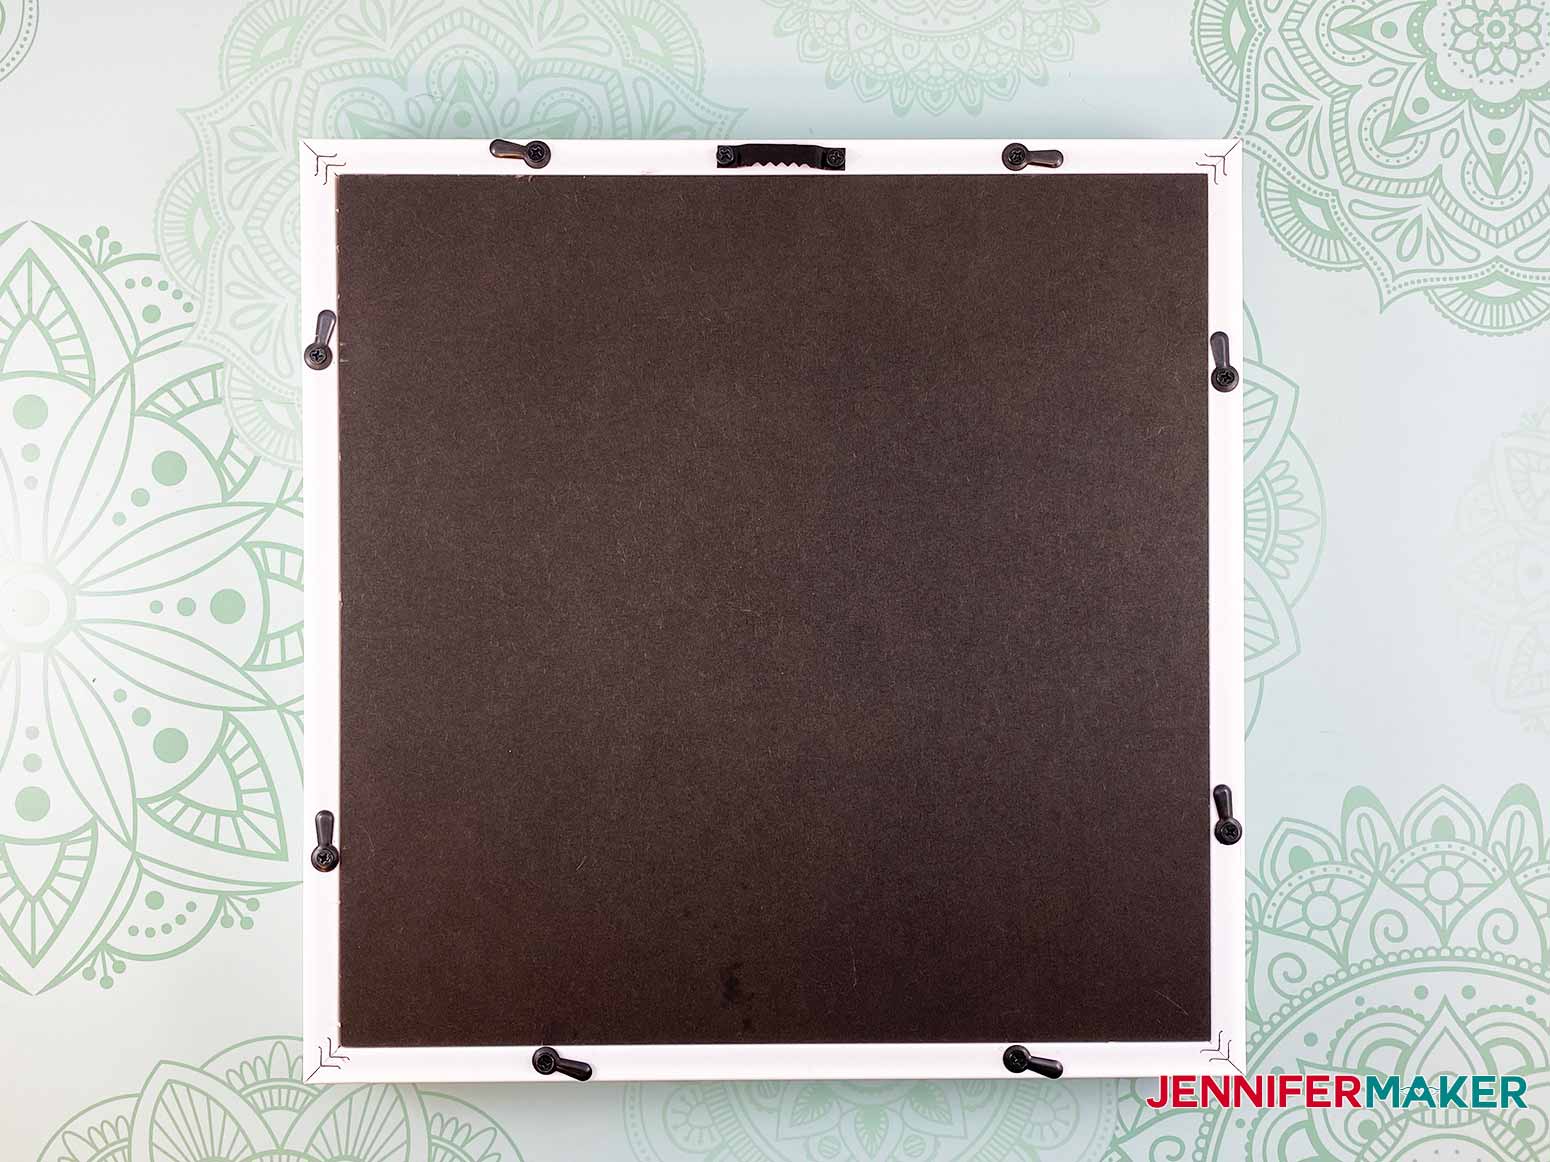
This tutorial is going to show you how to make the third design in my monochromatic 3D layered paper framed art series. First, get Design #231 which is the free SVG file for this tutorial. You can download my free monochromatic 3D layered paper art SVG/DXF/PDF from my free resource library. If you're going to cut it on your cutting machine, upload the file to your design software. This is what my "pinwheel" file looks like in Design Space. Tip: If you're not sure how to upload an SVG cut file to Cricut Design Space, watch this helpful video training series I made. If you're on an iPhone or iPad, here's how to download and upload SVG files to the Cricut Design Space app. This design contains 13 layers for the design plus one contrasting cardstock layer for the back. Each of the 13 layers takes approximately 5 minutes to cut. Measure the inside space of your frame and adjust the measurements of the design file to fit. The file is sized 10.5" x 10.5" which fits my shadowbox frame perfectly. Cut each layer of the design. I found it is helpful to put the finished layers in order as they are cut. I used my extra large scraper to remove paper pieces left on my mat from cutting the design. Once all layers are cut gather your supplies for assembly. Make sure the cut cardstock layers are placed in the correct orientation. This is what your cut layers should look like with proper orientation. Open the back of your frame. Insert the cardstock layers into the frame. Add the one contrast layer of cardstock. Add two layers of foamcore cut slightly smaller than the inside of your frame to fill up the empty space so the cardstock does not slide around. If you are not using the same frame I am, make sure you add enough foamcore so that the stacked layers do not move inside the frame. Place the back on the frame. You are now ready to hang your beautiful piece of artwork. This is what the monochromatic framed pinwheel art looks like completely assembled. Special thanks to the JenniferMaker Design Fairy Team, specifically Design Fairy Caitlin, for helping me design and assemble this beautiful paper cut pinwheel design.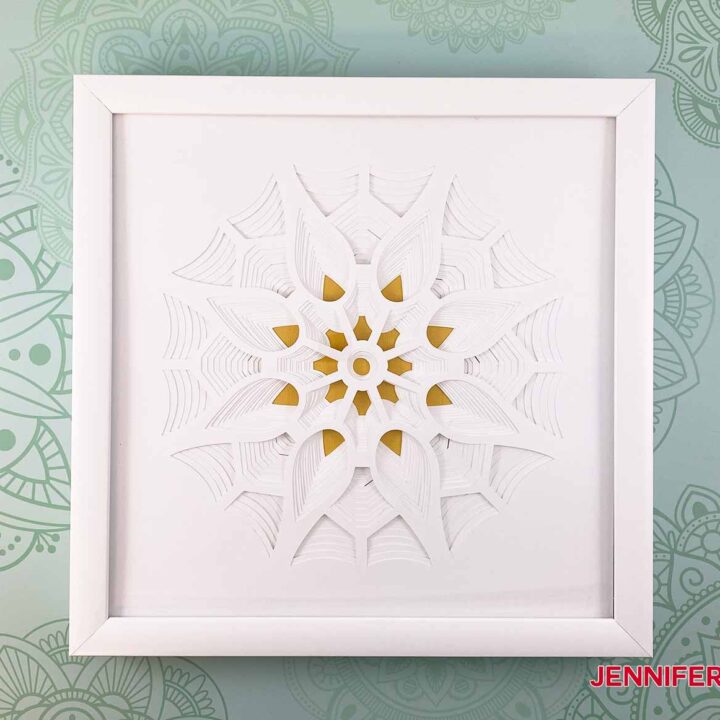
3D Layered Paper Art Pinwheel (Series 3 of 4)
Materials
Tools
Instructions
STEP 1: Get my 3D Layered Paper Art Design
STEP 2: Cut the Design from Cardstock
STEP 3: Assemble the Paper Cut Design

STEP 4: Show it Off
Notes
ACKNOWLEDGMENTS
Answers to Your Questions About Making 3D Layered Paper Cut Designs
Q: Can I cut this design on my Cricut Joy?
A: Yes, it should be able to make it if you reduce it down in size once you upload it to Design Space. Just make sure it is under 4.25″ wide. If you’re unclear on how to resize SVG designs, please see my resizing tutorial.
Q: How do I resize this in Design Space to fit my frame?
A: I have a blog post that explains How to Resize SVG Files in Cricut Design Space.
Q: Do I need to use spacers between the layers?
A: You don’t have to use any spacers between the layers. There are so many layers that the project has a 3D look even without additional spacers.
Q: How do I keep the layers in place inside the frame?
A: I recommend using foam core underneath the last year to keep the design in place inside your frame.
Q: If I don’t use a frame, how do I keep the layers together?
A: If you aren’t using a frame I suggest using spray adhesive on the back of each layer to attach them.
Q: Can you use 65 lb cardstock? Or a different weight of cardstock?
A: Yes, you can. Just make sure you choose the appropriate setting for your material.
Q: Can I cut this on a Silhouette?
A: Yes, you can. You need to ungroup and separate all the layers. In Silhouette Studio select the object, go to the Object menu and choose ungroup.
Q: My blade gets dull while I’m cutting, is there anything I can do?
A: Your blade might not be getting dull, it might need to be cleaned. Take a look at my Cricut Blade Cutting Tips post for troubleshooting help. Here’s a video that shows how I clean my blade to keep it cutting nicely:
Get my free SVG files to make your own 3D Layered Paper Art Pinwheel!
I cannot wait to see your 3D layered paper art design! Please share a photo in our Facebook group or tag me on social media with #jennifermaker. Here are our other two designs that we’ve already released.
Love,

Want to remember this? Save this 3D Layered Paper Art Pinwheel tutorial to your favorite Pinterest Board


Oops! I forgot to include in my previous comment. Thank you very much for the designs! I have made all 3 so far.
Good morning. I made a mandala that cut to 10.5 and lay a 12 x 12 behind It. Why is my cut Mandala smaller than the 12 x 12 back piece.
10.5″ is the correct size for the cut design, as noted in the tutorial. If you’d prefer it to be a different size, you can resize it before you cut it.
There is a problem with layer 7 in the SVG, it is missing the outermost part of the pattern.
never mind – once I cut all the layers it looked just right. Sorry, I spoke too soon.
Will you be making any more of these types of designs? I have made all four in multiple color combinations.
I definitely want to make more! To help me remember, it would be very helpful if you could put in a project request!
Hi there, have successfully downloaded the mandala flower project (from the set of 4 for shadow boxes), but having difficulty downloading the other 3 (pinwheel – 231, etc), been trying for a week now without any luck. Also, I keep getting emails asking me to confirm my subscription, which I have done many times now. I would be grateful if you please advise direct to my email address. Many thanks. Jayne
We just double-checked all those SVGs, Jayne, and they are downloading fine for us! If you would email our Maker Experience team at “[email protected]” they will be able to help you straighten everything out! 🙂