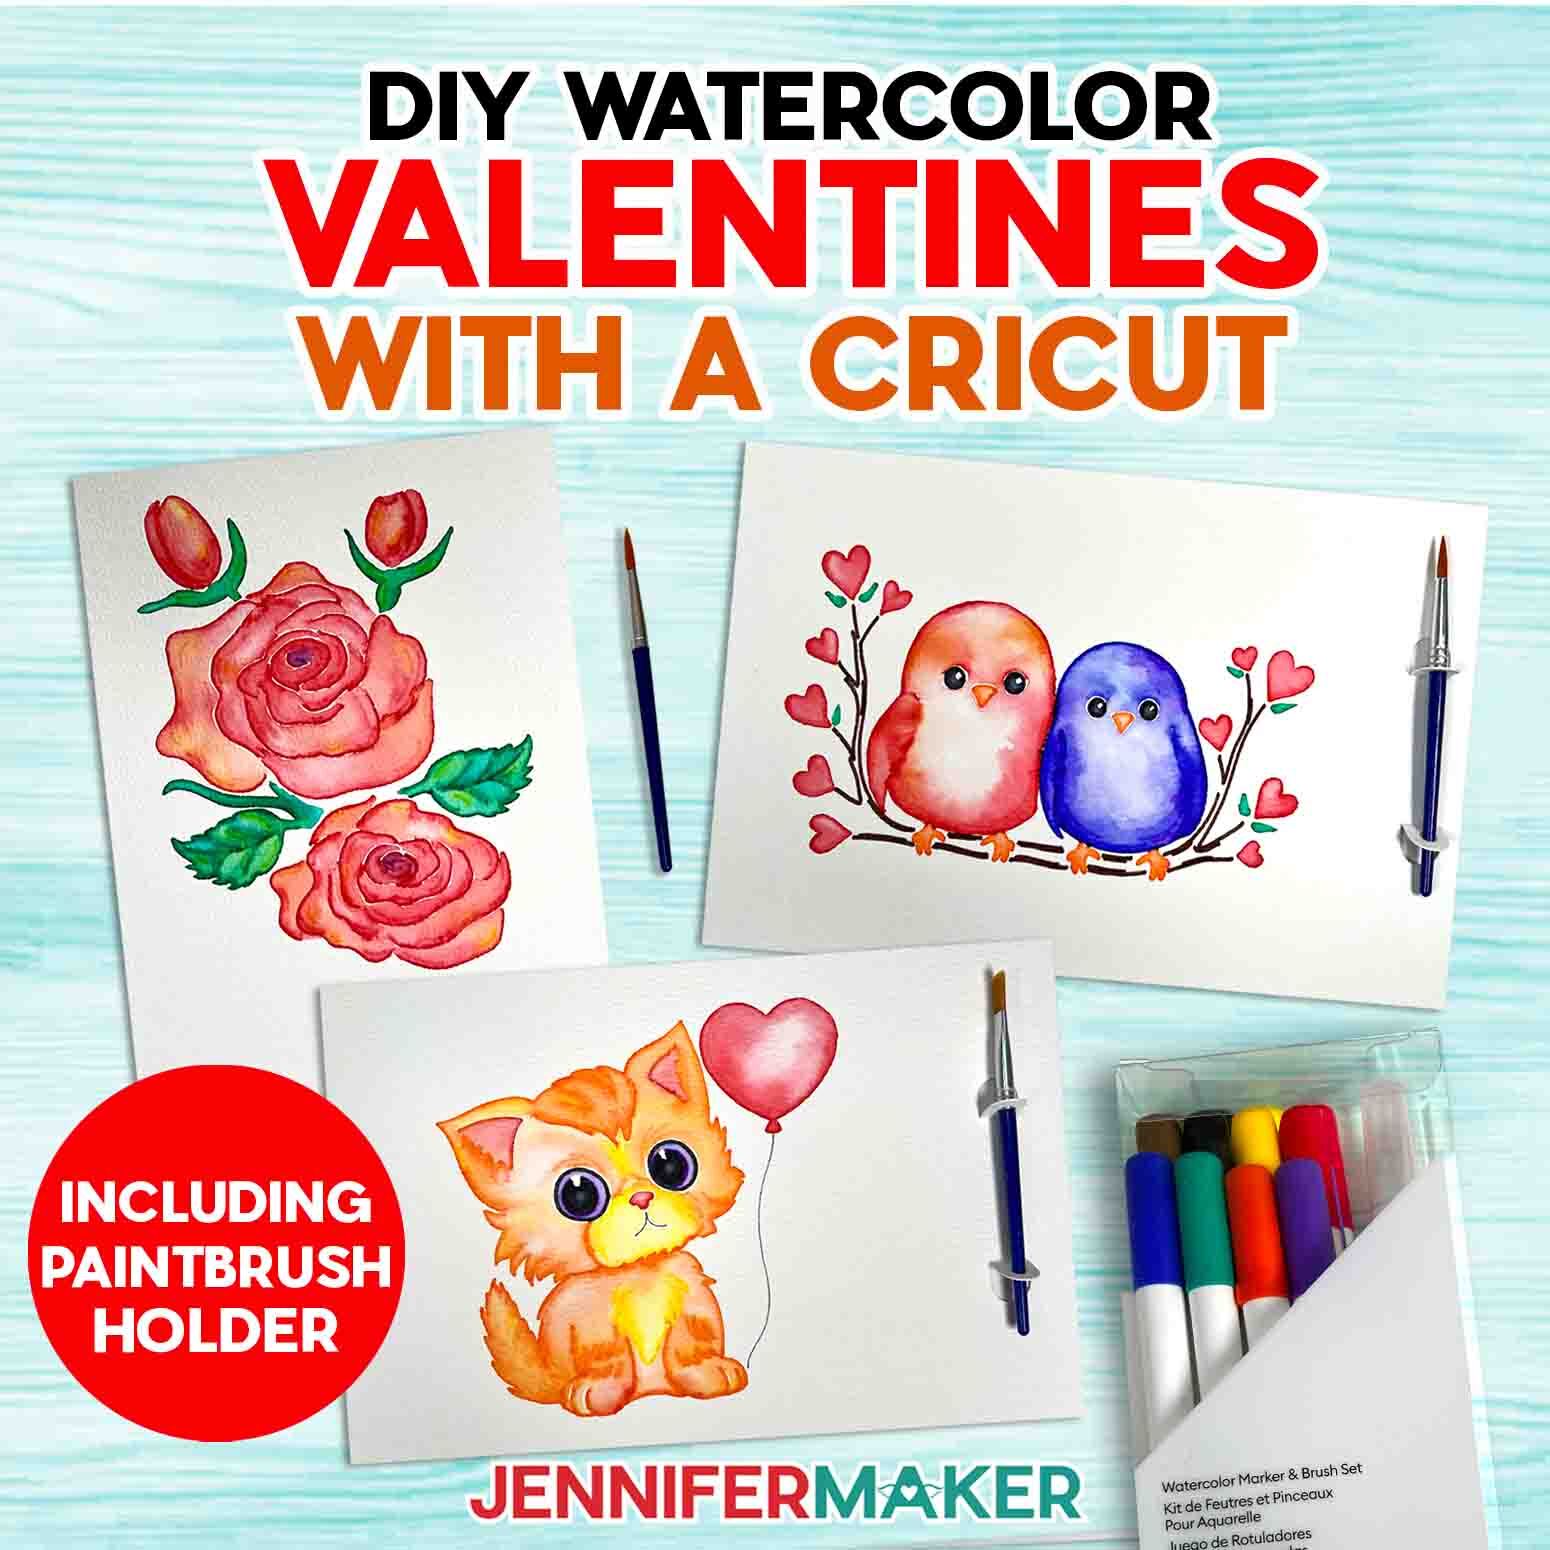
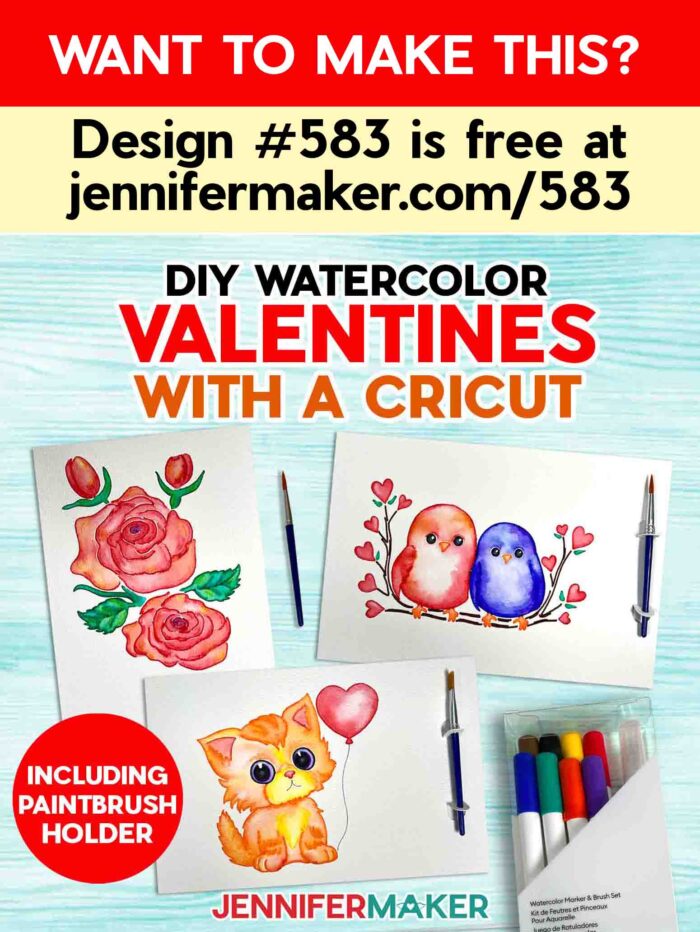
Learn how to make watercolor valentines to brighten anyone’s day year round, especially your own!
I love that Cricut cutting machines do more than just cutting! They can even help you explore new techniques. For example, I know a LOT of people would love to be able to paint with watercolors, but learning how to control them can be intimidating! And if you struggle with sketching creative ideas, even getting started is daunting. But what if the machine could draw the watercolor design right on paper to help you start? Then you can focus on adding water and your brush technique to build confidence! Well I have a new set of watercolor valentines for you make with a Cricut whether you’re a beginner or a seasoned artist! They even have a special feature that makes these a great DIY gift for other creative people in your life!

My new watercolor valentines files use the same techniques as my earlier bird and animal designs. I am a firm believer in “You can’t do art wrong.” That is why I love all of these watercolor designs. Having the design drawn by a Cricut helps you make beautiful artwork quickly without stressing about composition and color placement. You can learn more about those as you go. And you get a stunning result, no matter what, because you’re making art. And as one of my favorite painters and educators, Bob Ross, always said, it’s never a mistake it’s a “happy accident.”
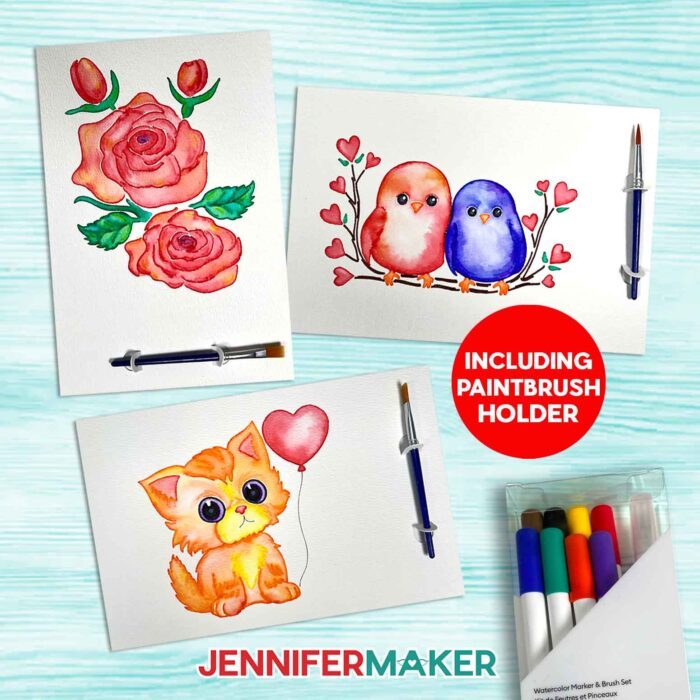
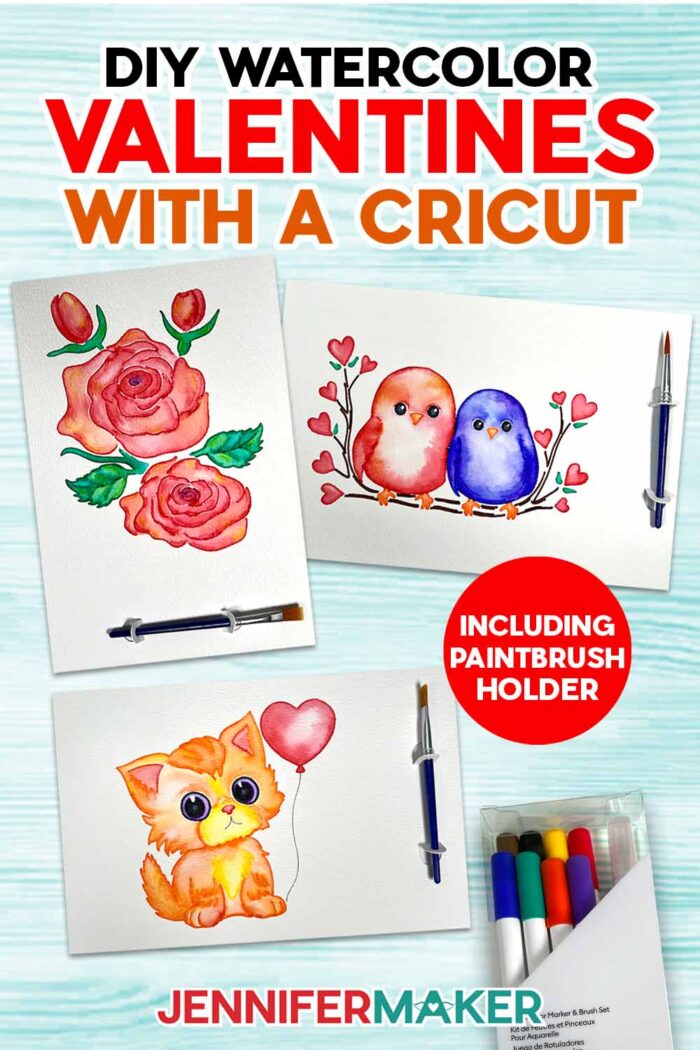
A lot of people have asked if you can make the watercolor marker designs ahead of time and point them later with water. And yes, you absolutely can! That makes them a great gift, especially if you add the optional paintbrush holder, which you Cricut can cut right on the watercolor valentines! Slip in a small paintbrush (the ones on my material list fit perfectly) and the simple gift is ready!
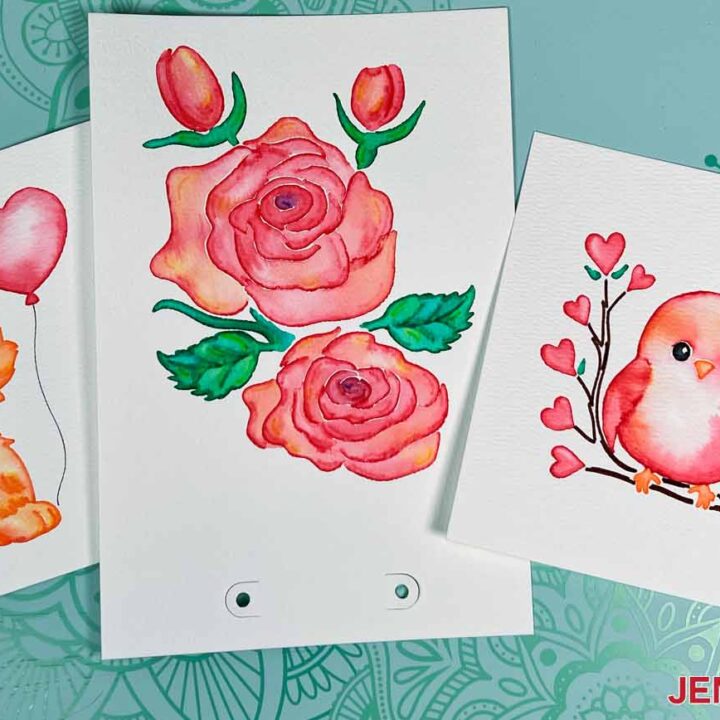
You can pick the perfect design for the person you’re thinking of.

My cute orange kitten with a heart balloon would be perfect for an animal lover or kids.
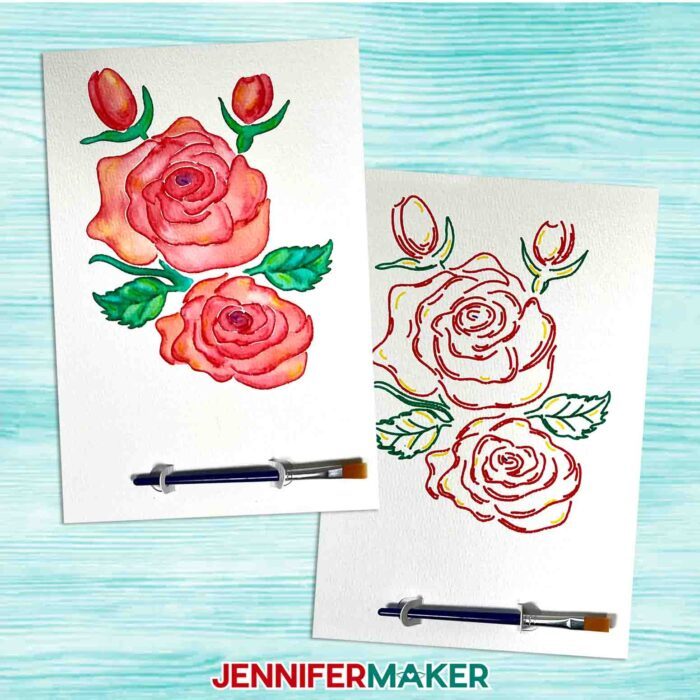
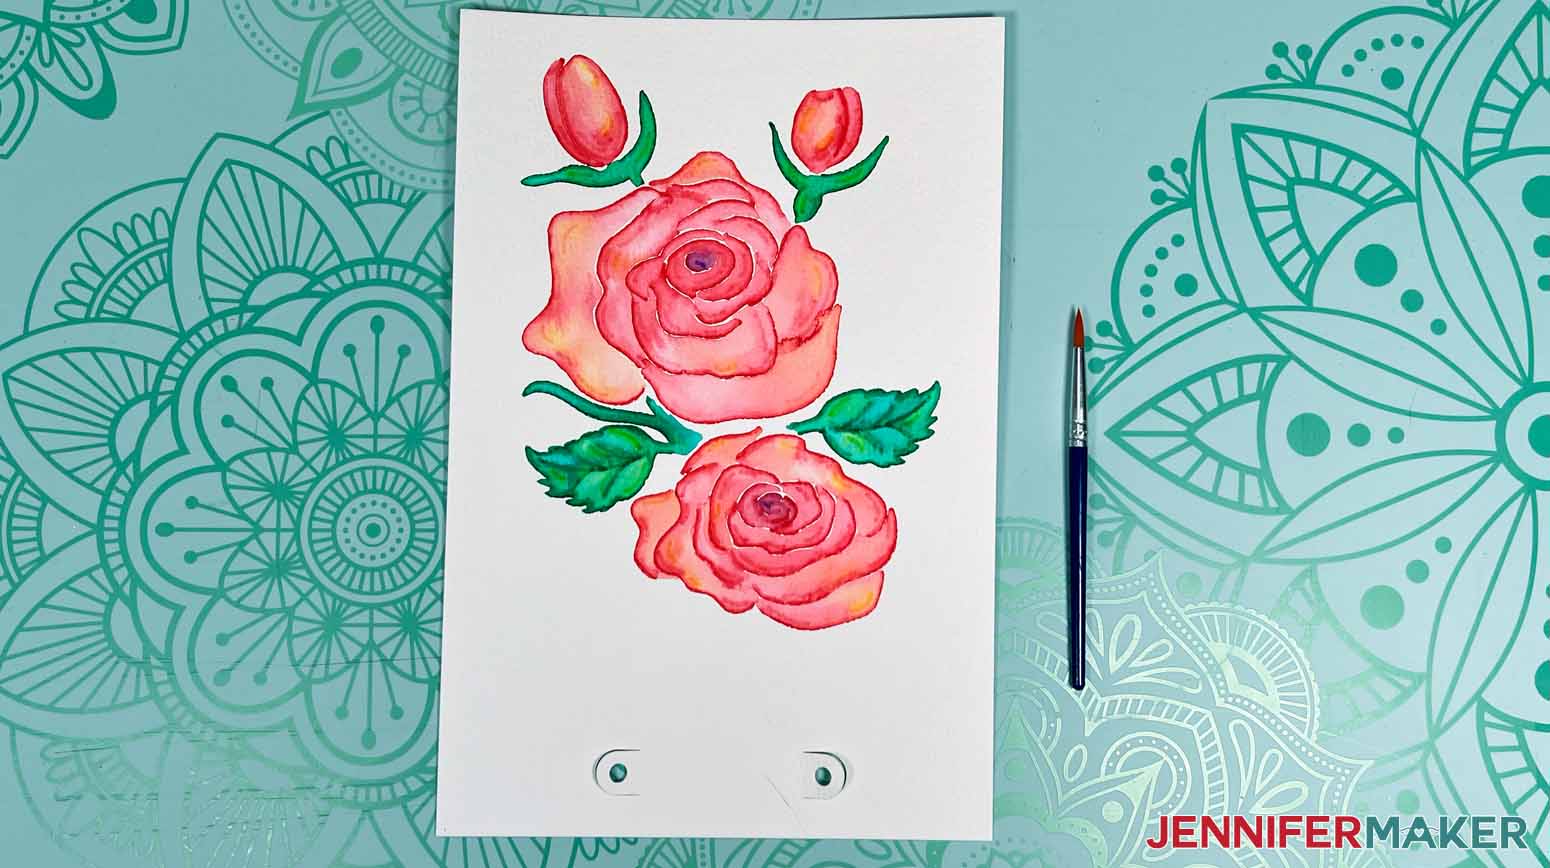
The small rose bouquet proves flowers aren’t just for romance.
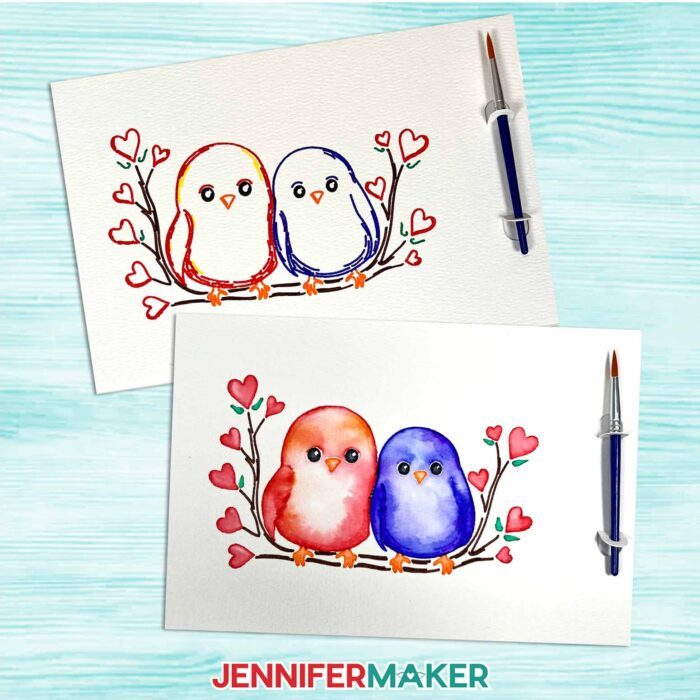
Or draw my bird pair for your favorite person!
But the first thing to do is practice before jumping right into hand-painted cards, especially if these are new art supplies for you!
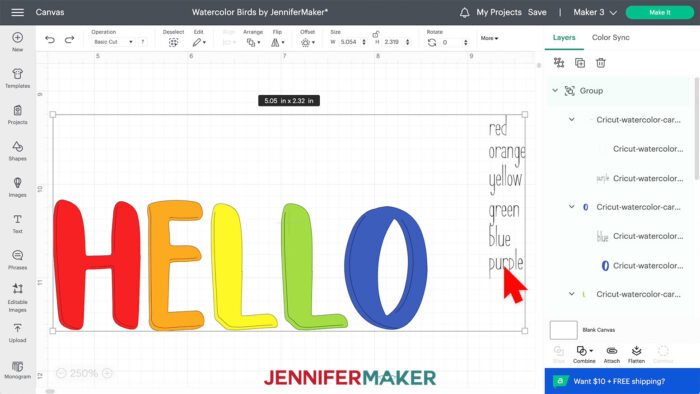
My original Cricut watercolor tutorial with animals includes a practice “HELLO” SVG so you can learn how to control the marker order and avoid mixing colors before you’re ready. The original tutorial has steps to make a few Hello designs before jumping in to the illustrations.
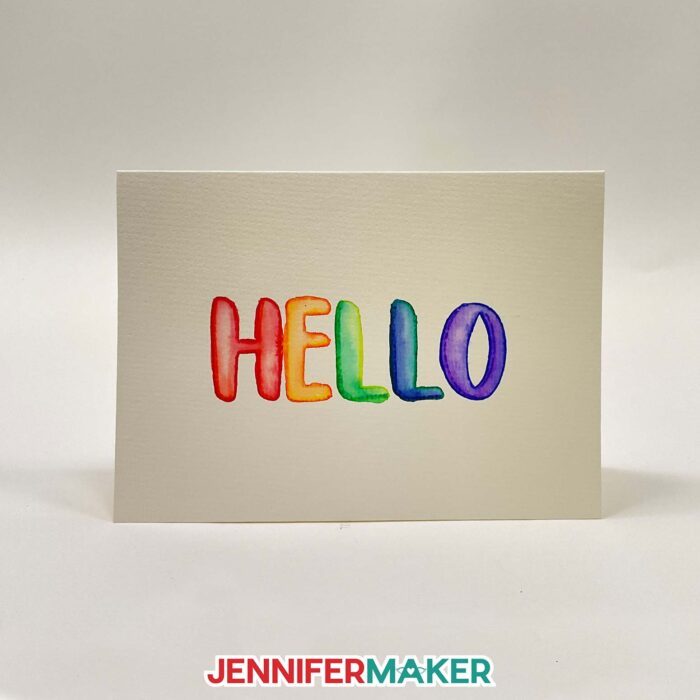
You can turn this simple design…
… into your own watercolor cards!
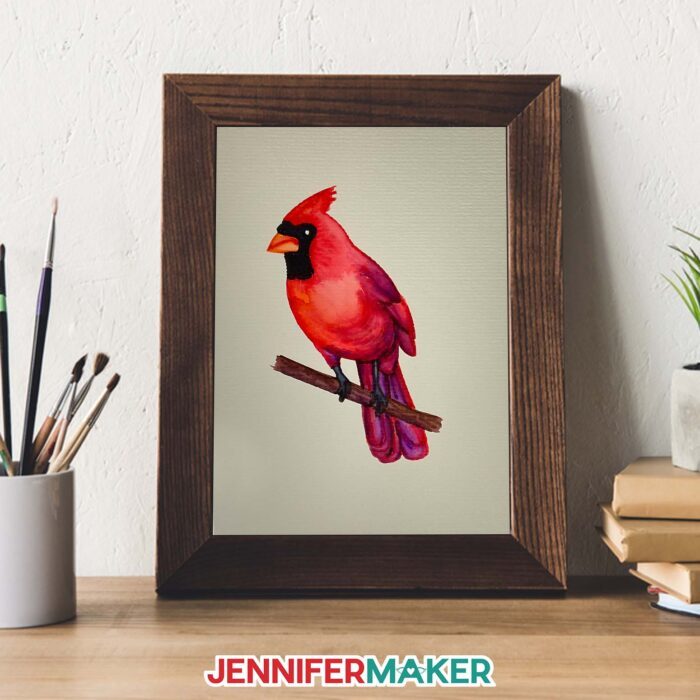
You can use the same steps to make my watercolor Valentines! And even though they have hearts and I’m calling them valentines, you can use these designs in so many different ways. Simply framing your painting will protect your work, like this cardinal from my first set of Cricut watercolor marker designs.
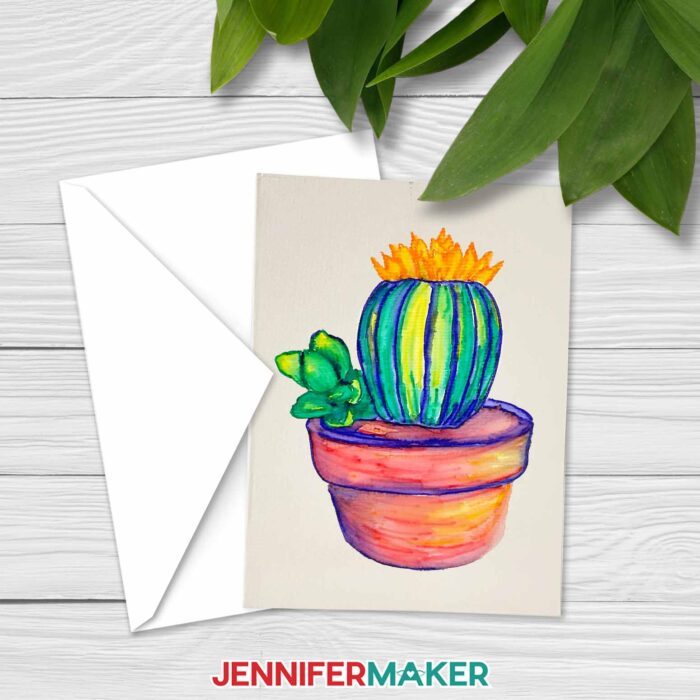
Or use your Cricut to add the design on cards, so you can share sweet notes like this cactus from the second watercolor design collection.
And remember, anyone could use a handmade card! So if you want to share these and other card projects but don’t have someone in mind there are many places to donate them. Bearly Art (makers of my favorite glue!) have a card drive for kids in foster care that starts accepting donations in March, so you have time to get creative! Or watch for the next time a card donation opportunity comes up.
Please, always be sure to check if the donation program has requirements or limitations and respect them while making your cards. For example Bearly’s helpful guidelines note the cards are for all ages, will be handsorted, and must include envelopes suitable for snail mail (we don’t want to leave anyone with undeliverable packages!), so I don’t recommend including the paintbrush and its holder. You can make someone’s day by sharing versions of these watercolor valentines or the many other card designs in my free library!

If you’re planning ahead, you can even get a head start on some fall watercolor cards!
Let me show you how easy it is to make watercolor Valentines! This post contains some affiliate links for your convenience (which means if you make a purchase after clicking a link I will earn a small commission but it won’t cost you a penny more)! Read my full disclosure policy.
Materials to Make Watercolor Valentines
View my Amazon shopping list with the exact items we used to make the original project.
- Cricut Watercolor Markers and included Water Brush Pen -OR-
- Cricut Watercolor Markers and included Water Brush Pen for Joy and Joy Xtra machines
- 6” 9” piece of Watercolor Paper -OR-
- Cricut 4.75″ x 6.6″ Watercolor Paper Blank Cards -OR-
- Piece of high quality Watercolor Paper
- Mini paintbrush (optional if you want to gift an unpainted version for a friend to color)
- Black Fine Point Pen – for ht design details
- Paper Towels
- A method to draw your design – I used the amazing Cricut Maker 3 but you can also use the original Maker an Explore, Venture, Joy Xtra, or a Joy, just make sure you use the matching markers!
- StandardGrip Green Machine Mat, 12″ x 12″
- Brayer
- Cotton Swabs – Optional, for shading
- Bowl of clean water
- Design #583 – My free Watercolor Valentines SVGs (available in my free resource library—get the password at the bottom of this post)
How to Make Your Own Watercolor Valentines
Watercolor Valentines
Learn how to draw your own watercolor valentines or make DIY versions to share with others!
Materials
- Cricut Watercolor Markers and included Water Brush Pen for Explores, Makers, or Venture machines -OR-
- Cricut Watercolor Markers and included Water Brush Pen for Joy and Joy Xtra machines
- Black Fine Point Pen – for kitten design details
- 6” 9” piece of Watercolor Paper
- Mini paintbrush (optional if you want to give as a gift)
- Design #583 – My free Watercolor Valentines SVGs (available in my free resource library—get the password at the bottom of this post)
Tools
Instructions
STEP 1: GET MY FREE WATERCOLOR VALENTINES DESIGNS
First, download my Watercolor Plants designs from my free library – look for Design #583. Alternatively, you can use the Save This Project form near the top of this post and the design link will be emailed to you.
There are SVG and DXF files for use with cutting machines, or PDF versions of each design that you can print and trace for a different approach. But I’ll show you how to use the SVGs with a Cricut cutting machine.
In the SVG folder, there are three different designs for you to choose from: a pair of birds, a kitten with a balloon, and roses. There is also an optional paintbrush holder SVG, which you can add to a design and make it into a DIY project to gift. It’s sized to fit the mini brushes in the material list.
If you haven’t used the watercolor markers before or would like to practice, I suggest starting with the warm-up design from my original tutorial. Upload the file you want to your software and add it to the Canvas. If you want to add the paintbrush holder, upload and add it, too.
If you’re not sure how to upload, go to jennifermaker.com/svgs to learn how to unzip and upload SVG files.
STEP 2: PREPARE AND DRAW YOUR WATERCOLOR VALENTINES DESIGN
CRICUT DESIGN SPACE
- Open Cricut Design Space.
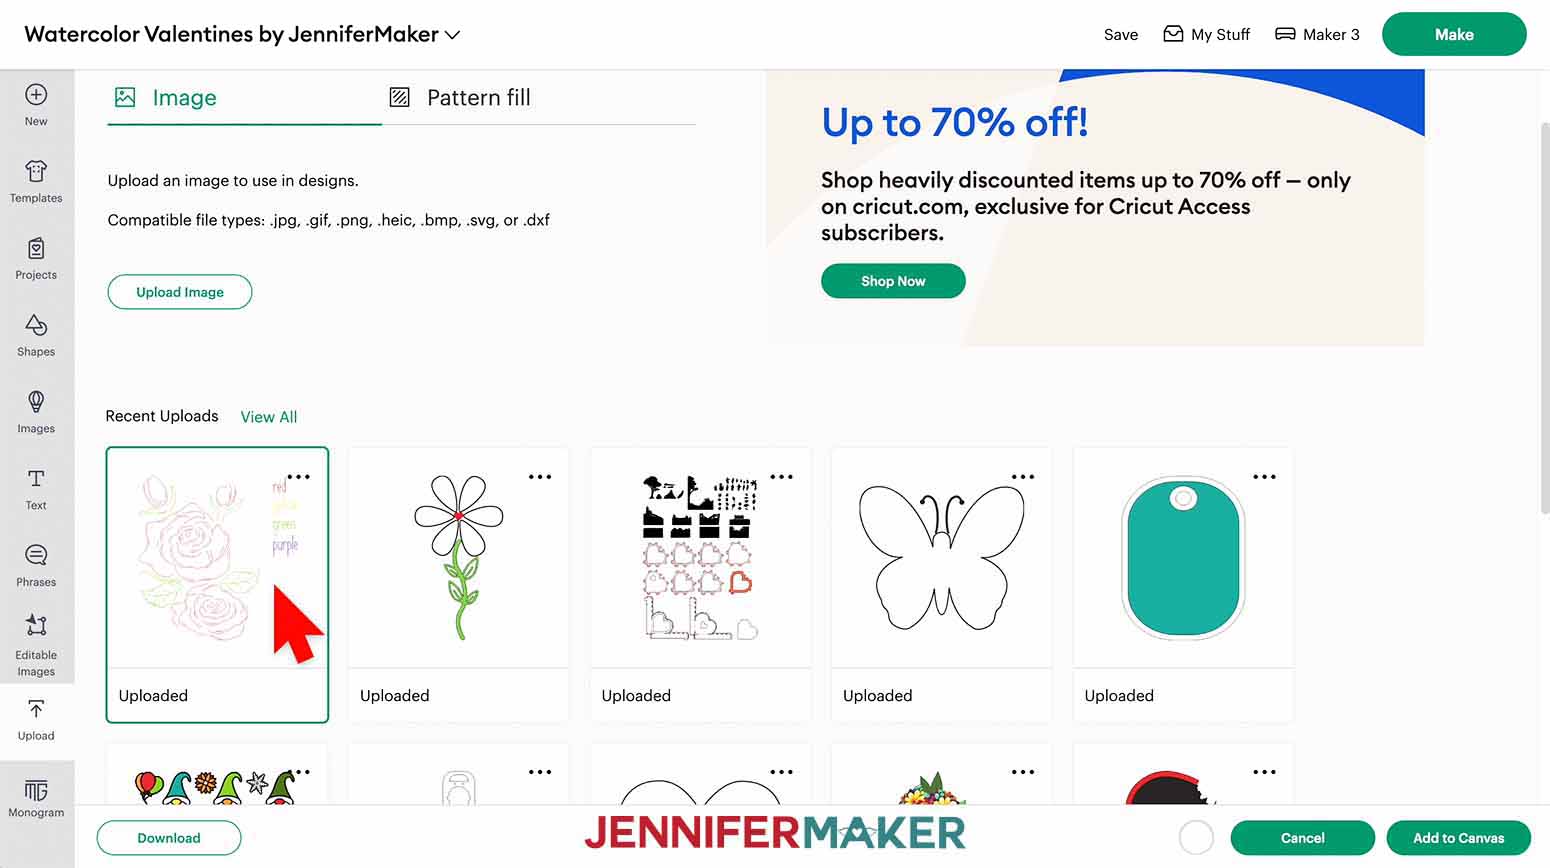
- Click “Upload.”
- Click “Browse.”
- Select the SVG file you want to make. I’ll use the roses.
- Click “Upload.”
- Select your design in “Recent Uploads” and add it to the Canvas.

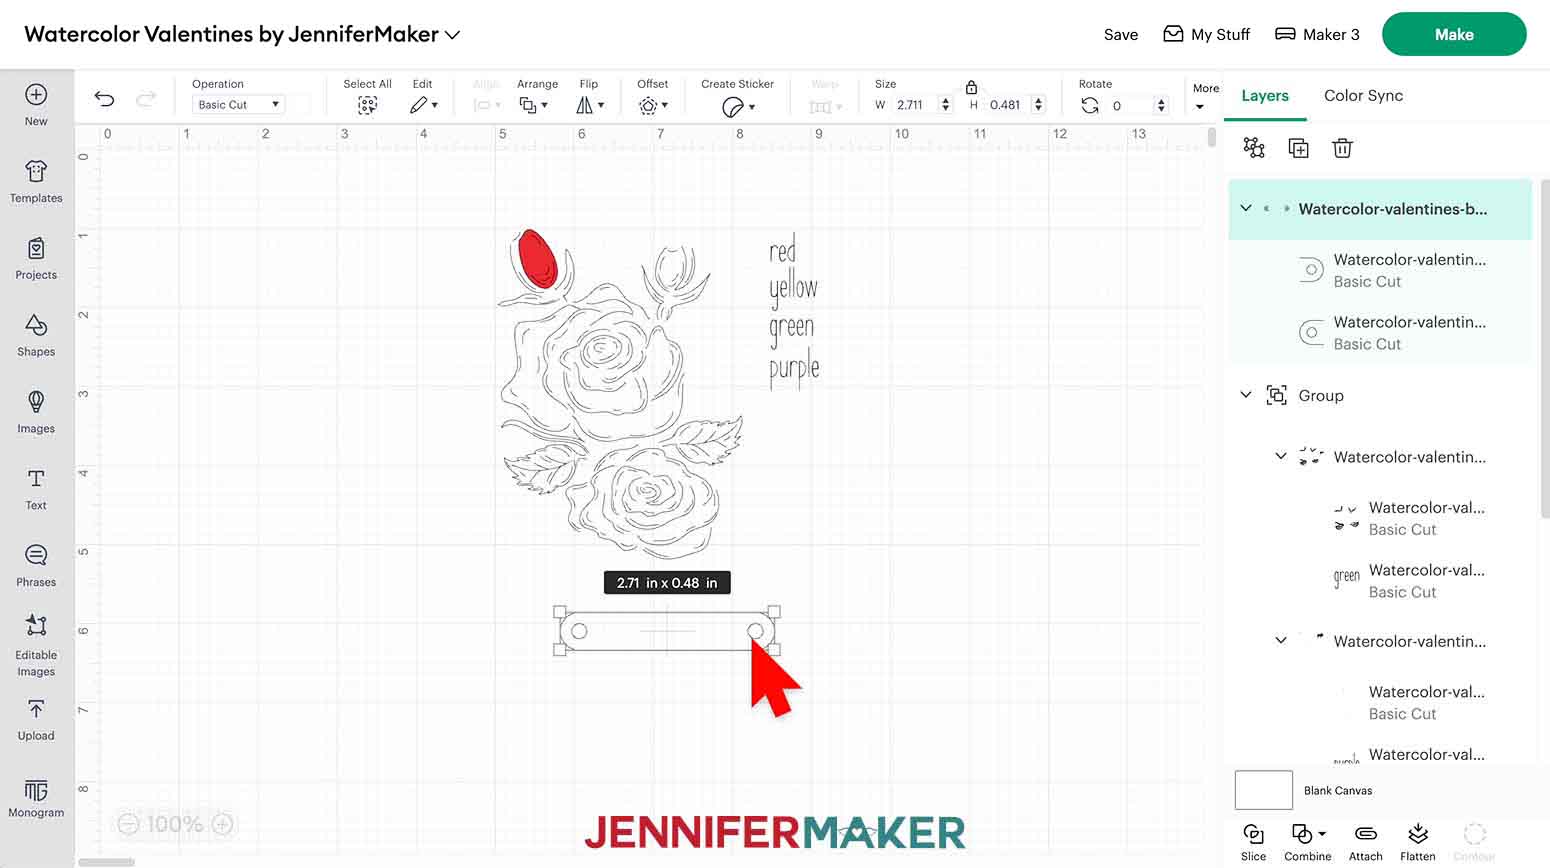
- Use Steps 2-6 to upload the paintbrush holder if you want to add it to the design.
- The main illustration layers are grouped with color names, which we’ll use to set the colors correctly.
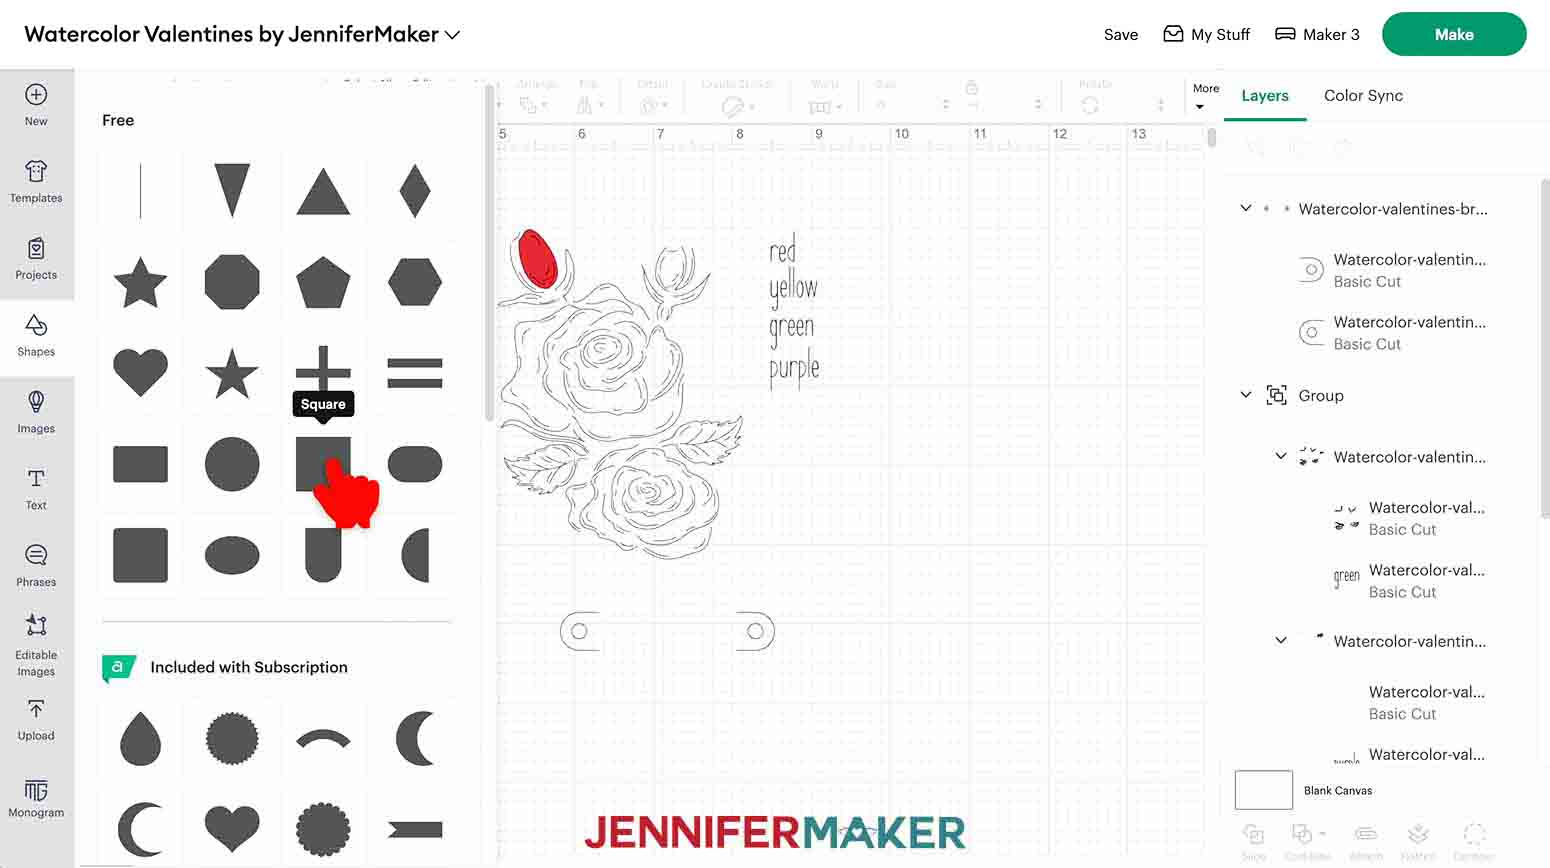
- To start resizing the design to fit your paper size click “Shapes” and select a free shape matching the paper to add it to the Canvas.
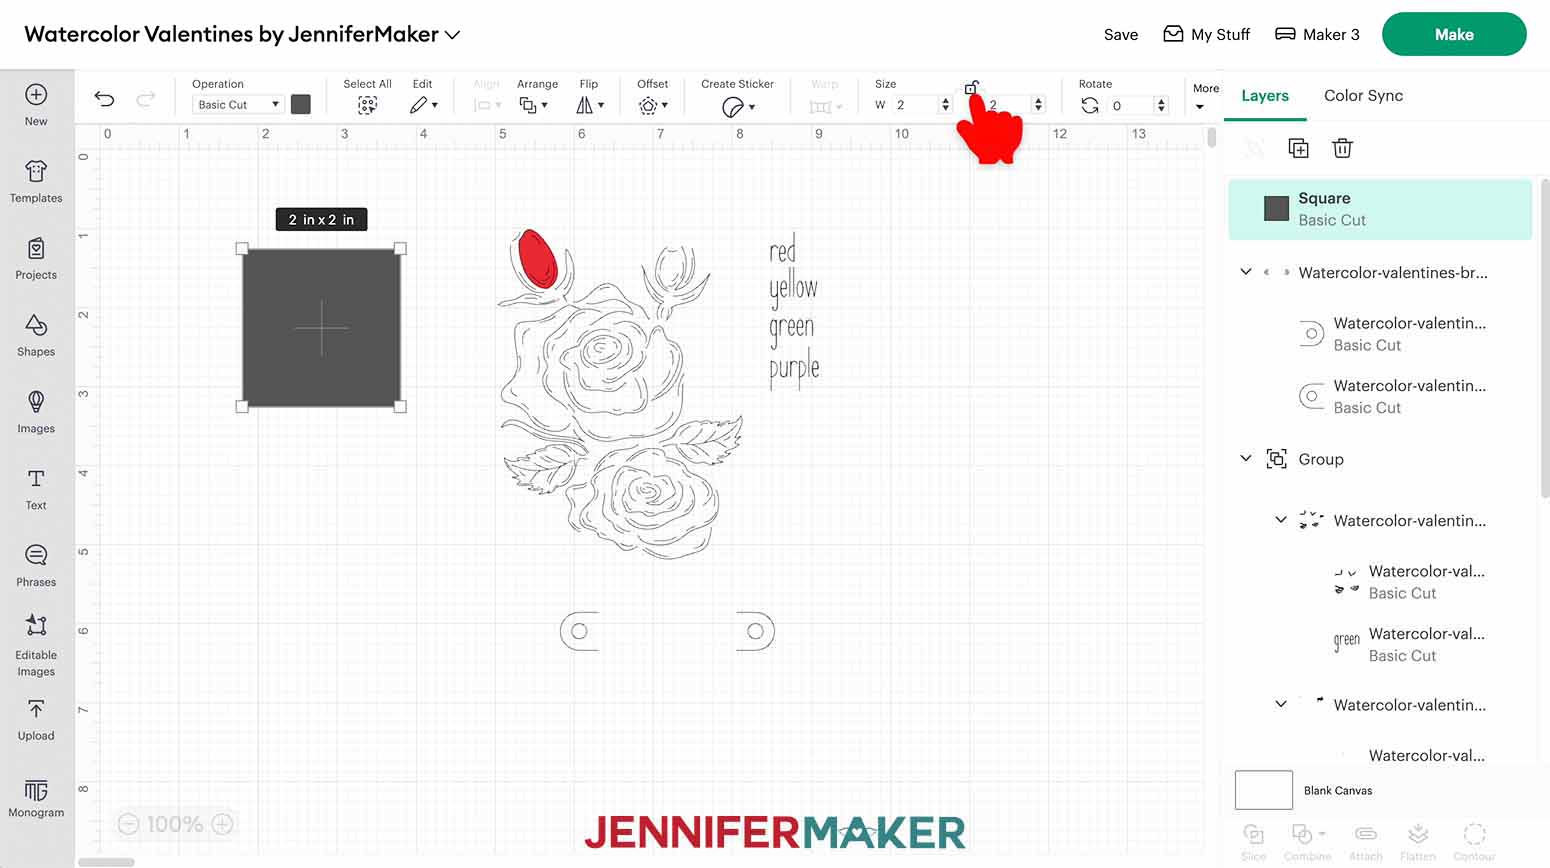
- If you’re using rectangular paper like me, click the Lock icon to unlock the Layer’s proportions so you can make the square into the right shape.
- Then change the “W” (width) and “H” (height) fields to match your paper in the orientation you want to use. I’ll make mine 6” wide and 9” tall.
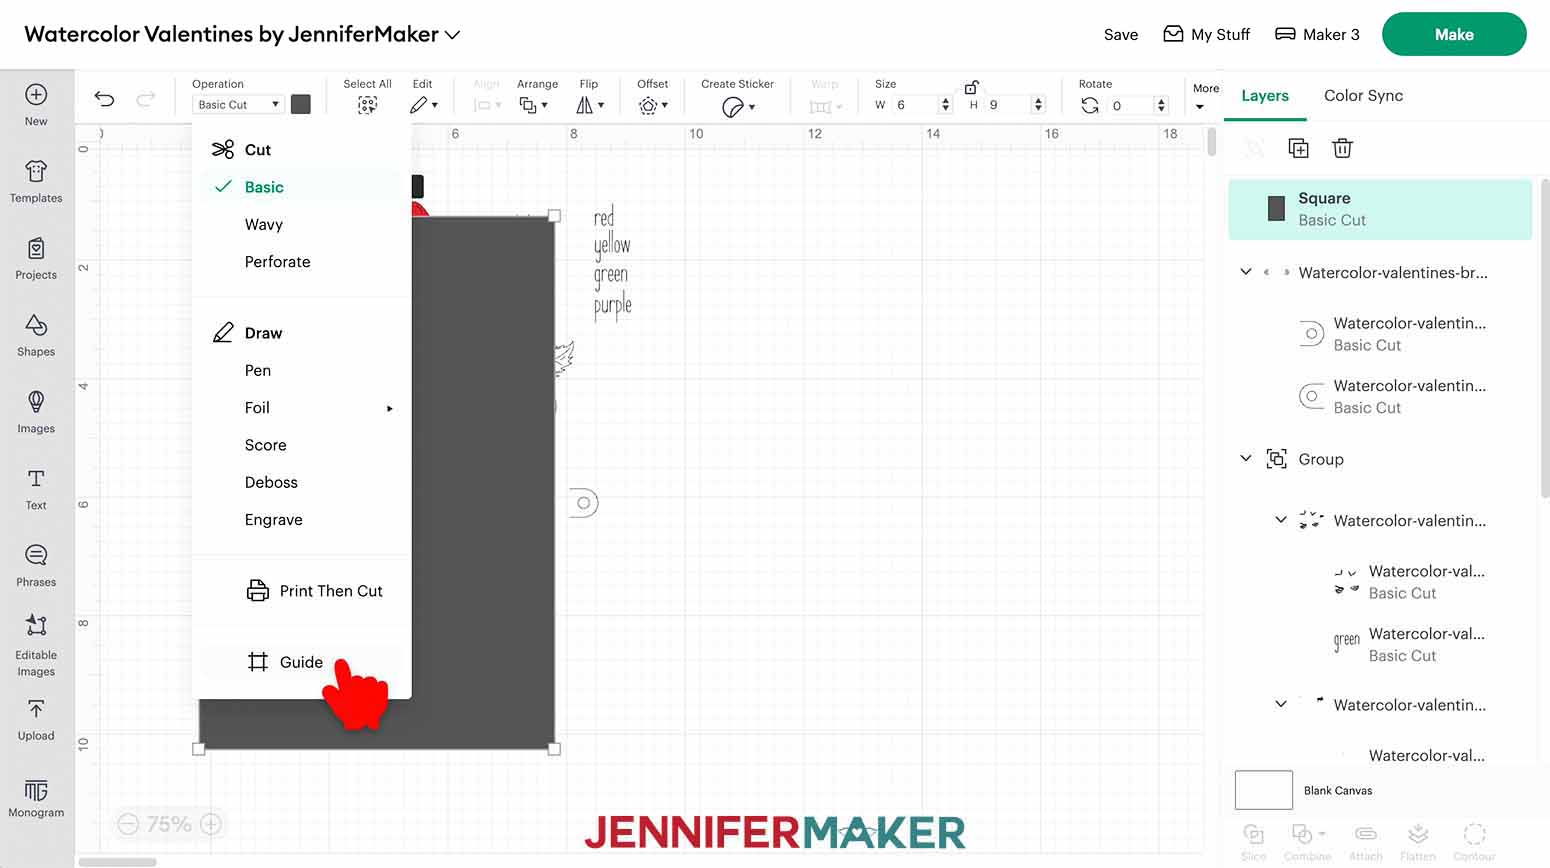
- Click “Operation” and change the shape to “Guide” so it is see-through and won’t be part of the final design.
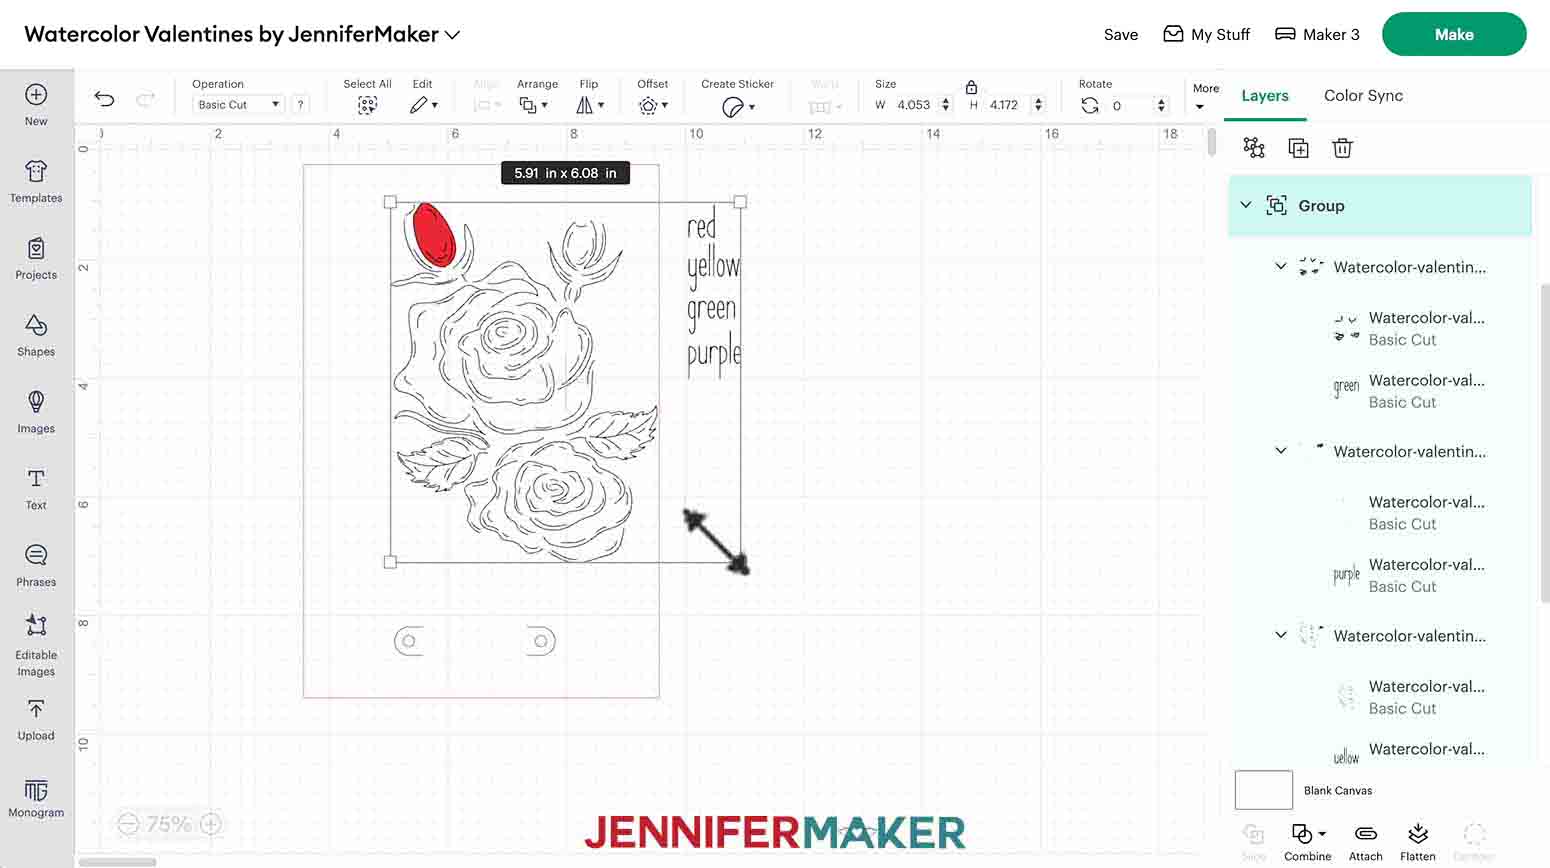
- Move the design layers into the shape and position it how you want, then keep the Lock icon closed and resize the illustration to fit.
NOTE: If you’re including the paintbrush holder, move it into the guide and leave space between it and the design so that it can be cut off later.
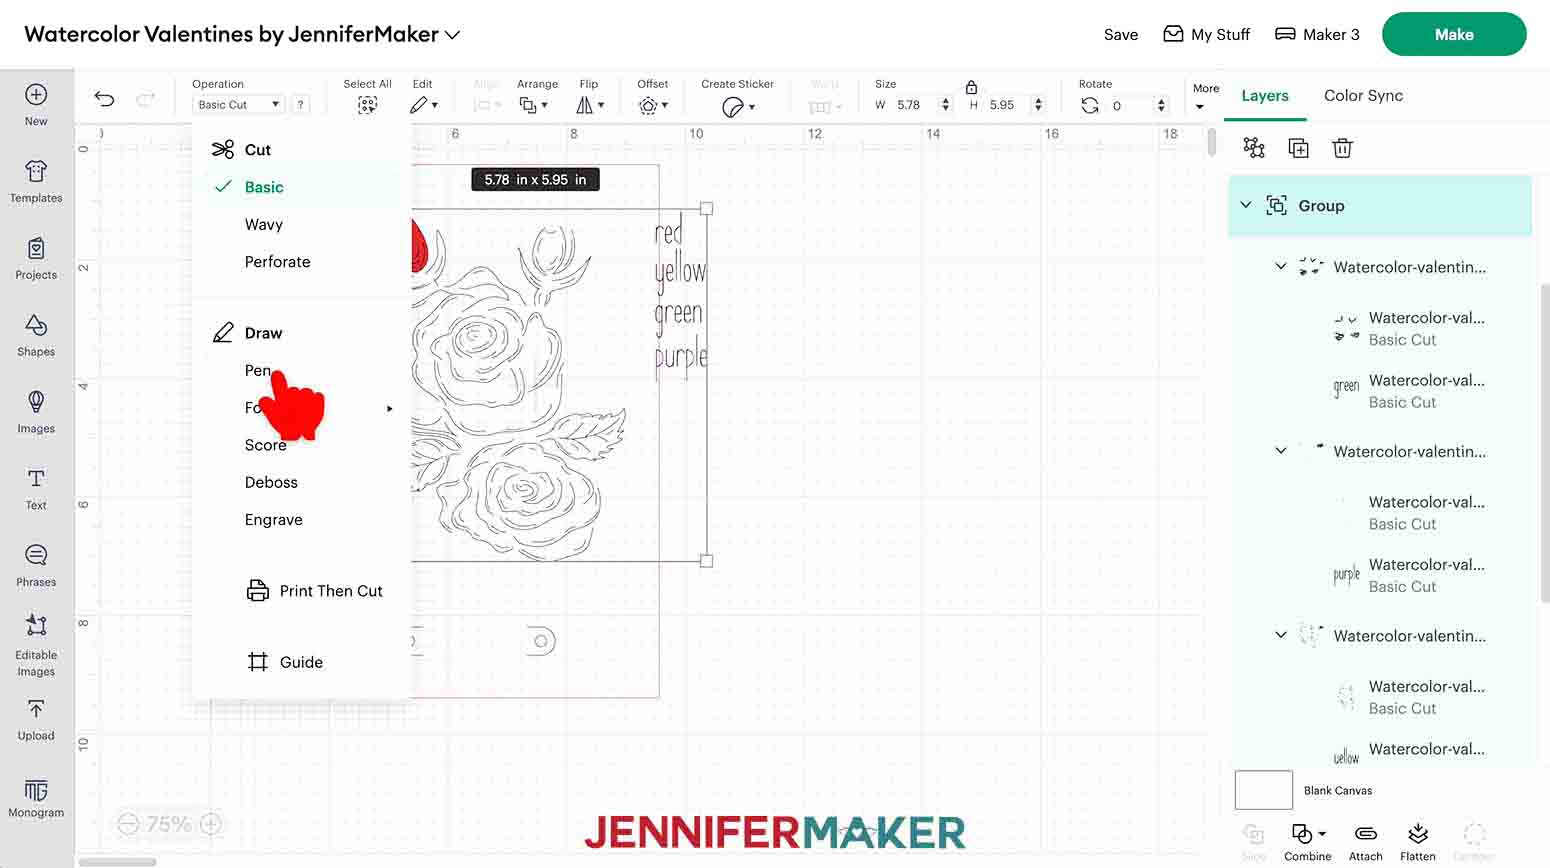
TIP: The color names won’t be part of the final design, so ignore them while picturing how your design will look. - With the grouped design Layers selected, click the Operation menu and select “Pen,” which will change them to “Draw” in the Layers Panel.
- Click on the color box next to the "Operation" menu and select "M-Marker (1mm)" because that’s the size for the watercolor markers.
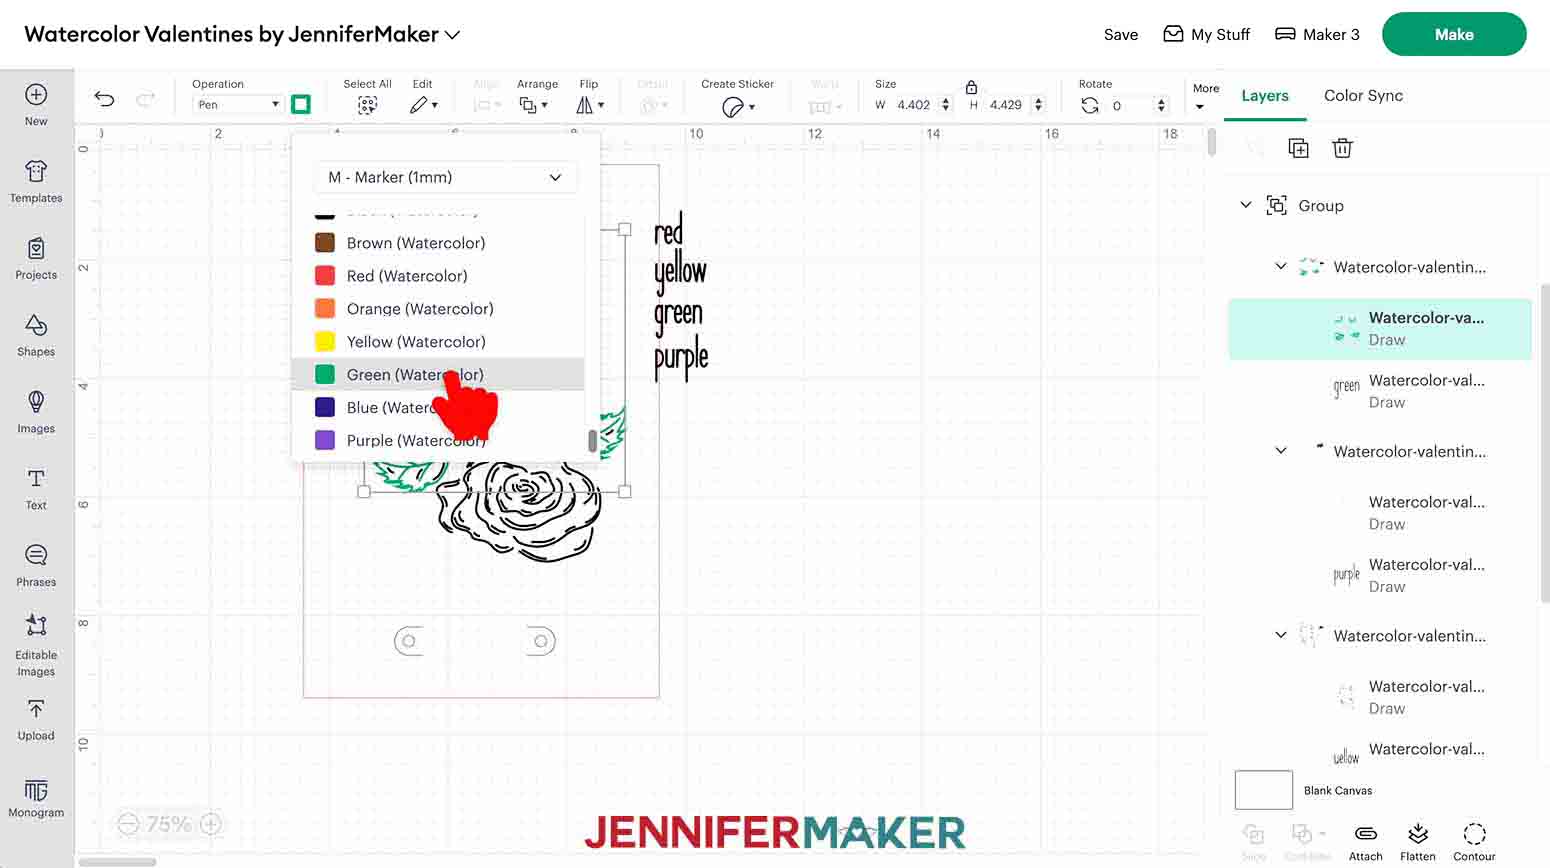
- Select the first group of “Draw” Layers in the Layers Panel. The upper Layer includes the design’s marker strokes, and the lower Layer is the color they should be.
- Click on the color box next to the "Operation" menu. Scroll through the dropdown menu to reach the “Watercolor” options and click "Green (Watercolor)."
- The Layers will turn green and get thicker on the Canvas.
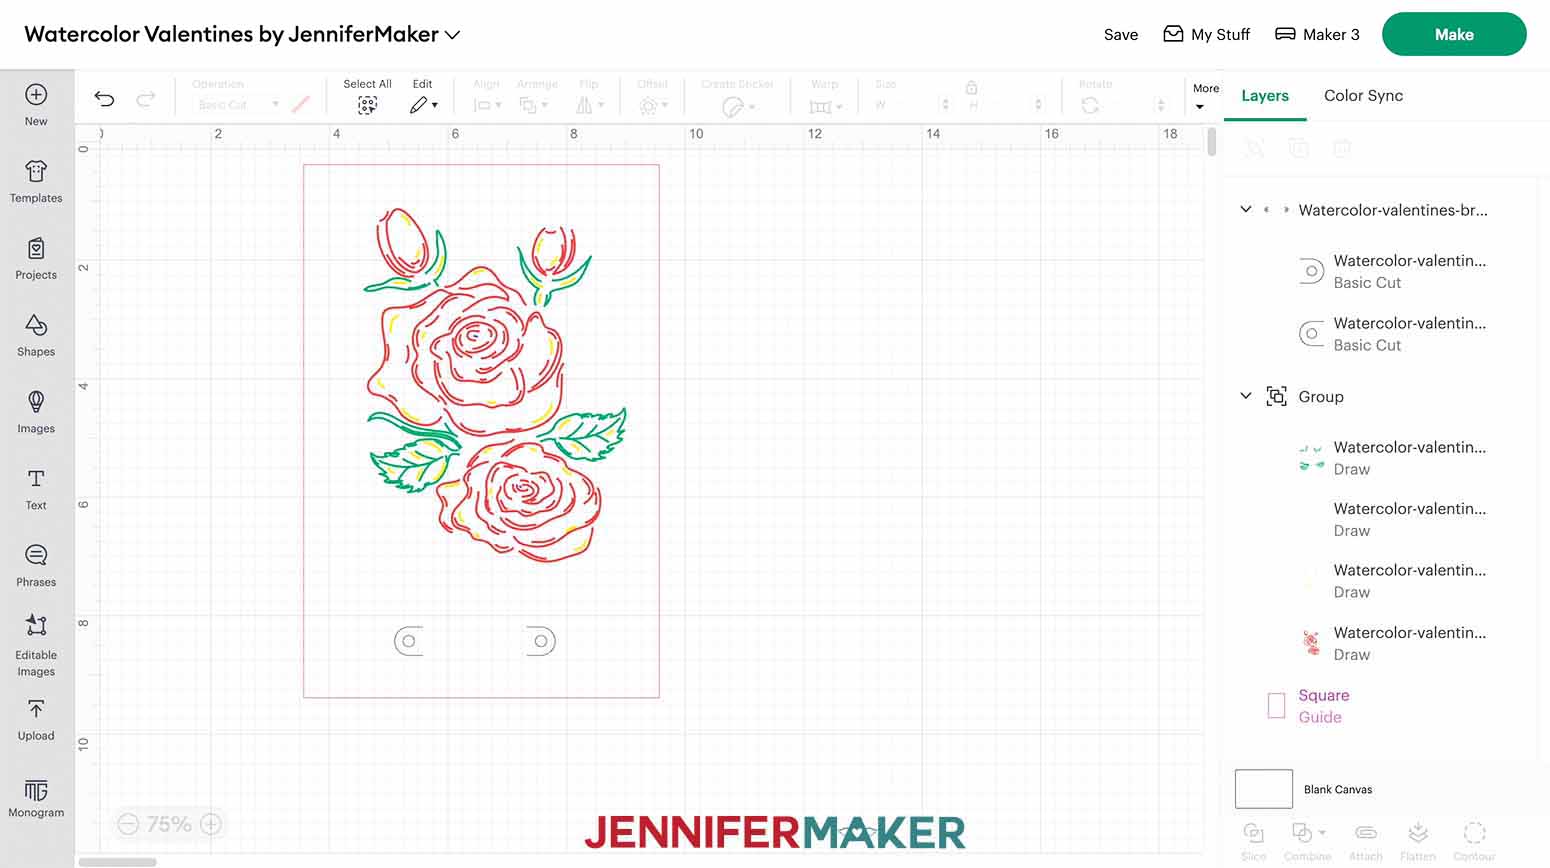
- Select and delete the layer that shows the word "green" in the Layers Panel.
- Use Steps 16-19 to change the rest of the layers to the correct Watercolor colors and delete their color name Layers. Now everything is prepared and correctly laid out to fit your paper.
- Click the eye icon in the Guide’s Layer to hide it.
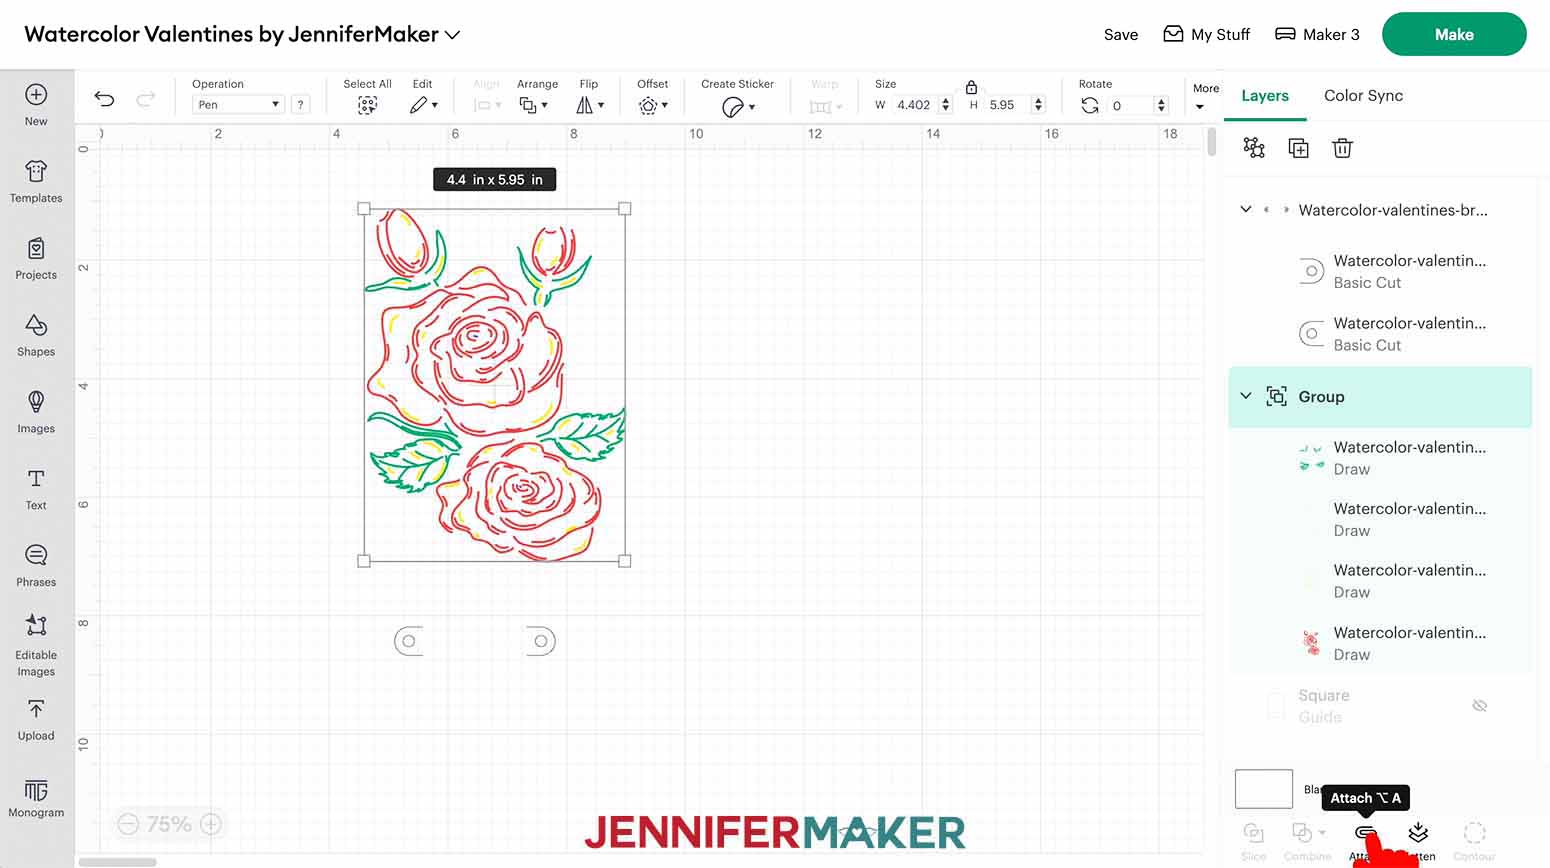
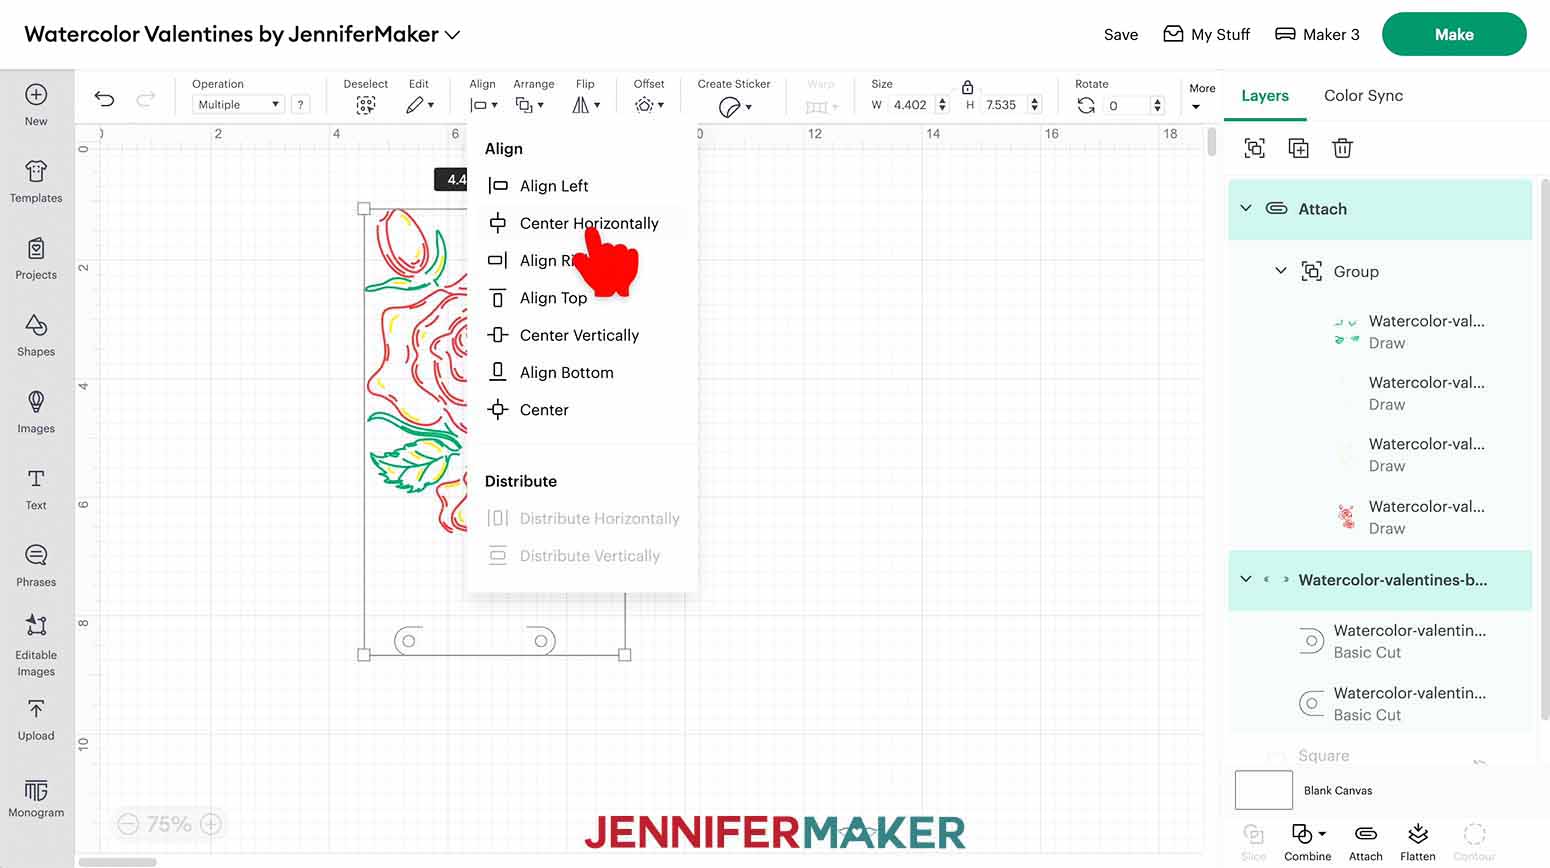
- Select the “Draw” Layers and click “Attach” to keep them in the same spots relative to each other.
- Select the attached Draw layers and the paintbrush holder, then click “Align” and “Center Horizontally.” so they’ll look nicer together on the page.
NOTE: Don’t move the paintbrush holder very far or it could go off the paper. - Click “Attach.”
- Your design is ready!
- Make sure the correct machine is selected and then click "Make it".
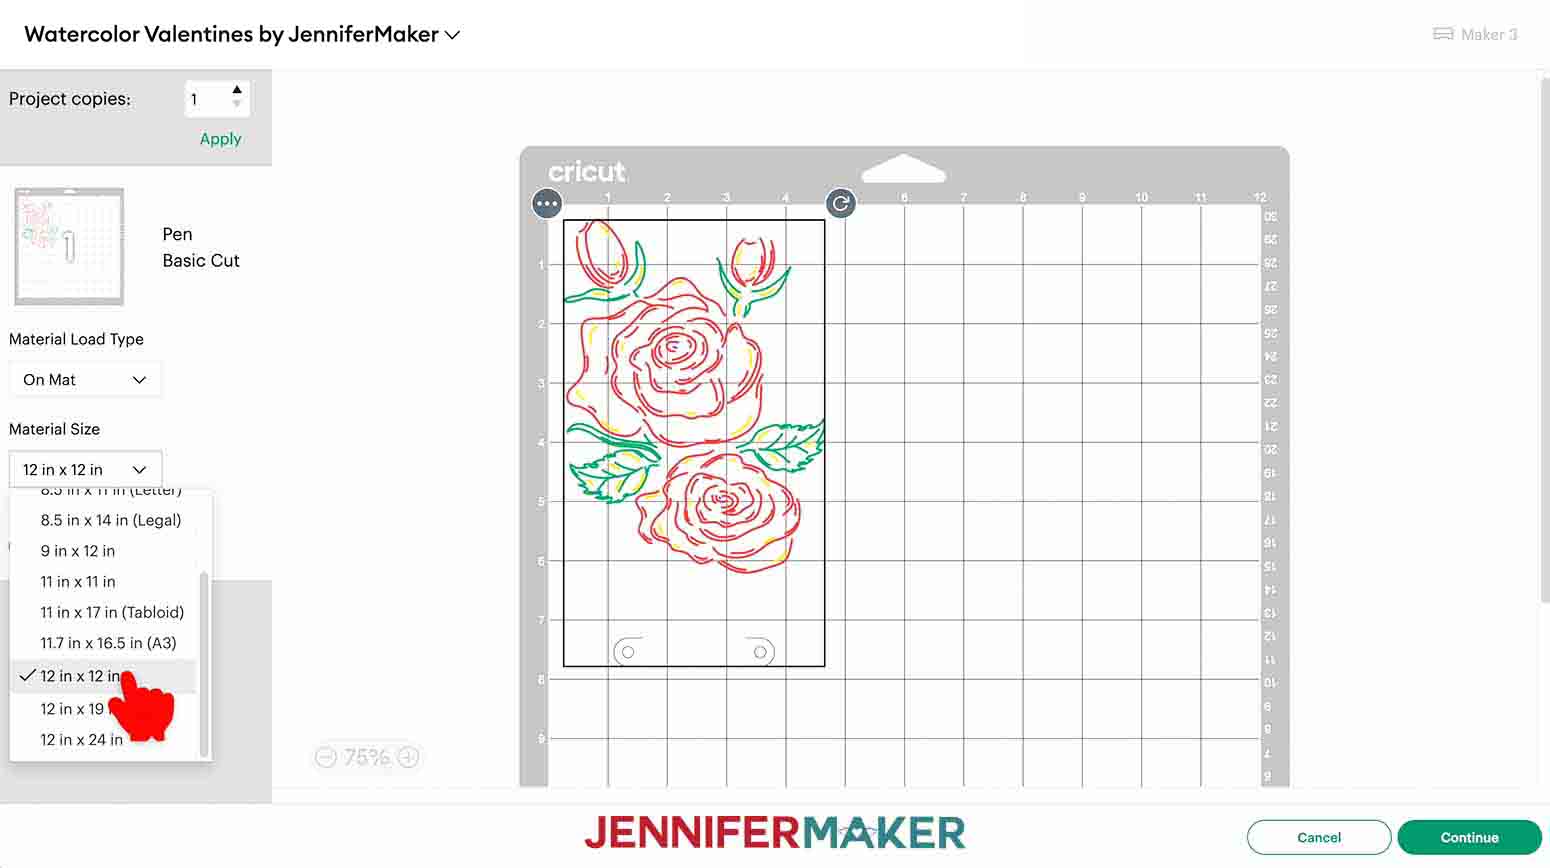
- If prompted, click “On Mat,” choose your mat size, and click “Confirm.”
- We're using smaller paper, but leave the Material Size at "12" x 12". We'll just place it strategically on the mat.
- We'll use the Prepare screen to correctly place the watercolor paper on a 12" x 12" Green StandardGrip Machine Mat. Since the design is taller than it is wide, we'll place the paper in portrait orientation.
TIP: If you’re adding a design to a card, see my original watercolor card tutorial to place the card so it draws on the front. - Hold the paper so the surface you want to paint is face up and it’s correctly oriented.
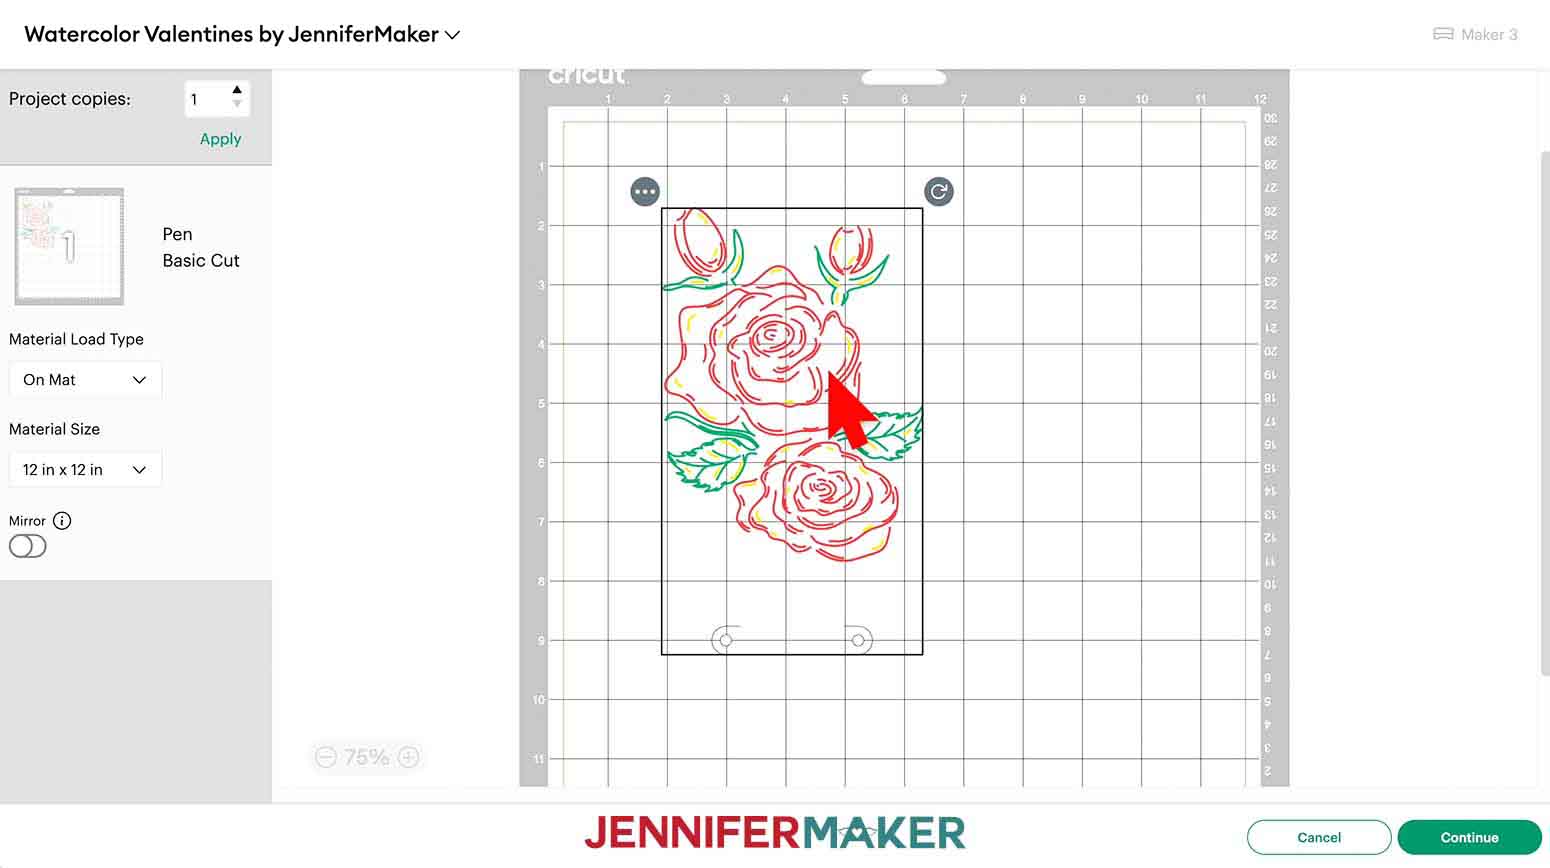
- Note the area the material covers on the mat. My 6” x 9” paper covers from 1” to 7” horizontally and 1” to 10” vertically.
- Press it down with the brayer.
- Back in Design Space, click and drag the image to the mat area where you put your paper. Roughly center it if you like, but make sure the design and paintbrush holder (if you’re adding it) remain within the dimensions covered on the mat.
- Click “Continue.”
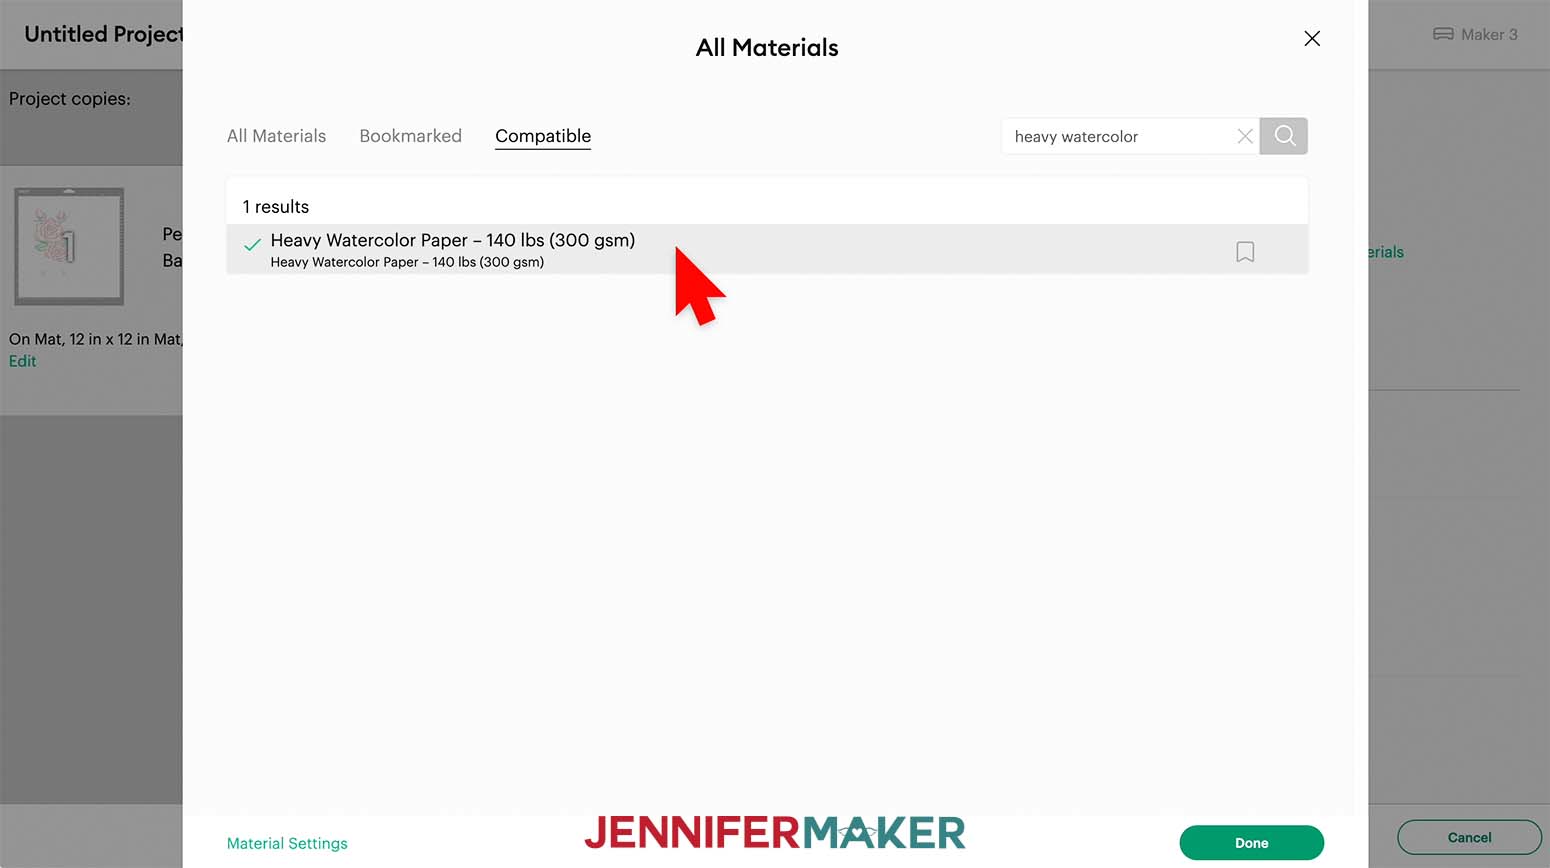
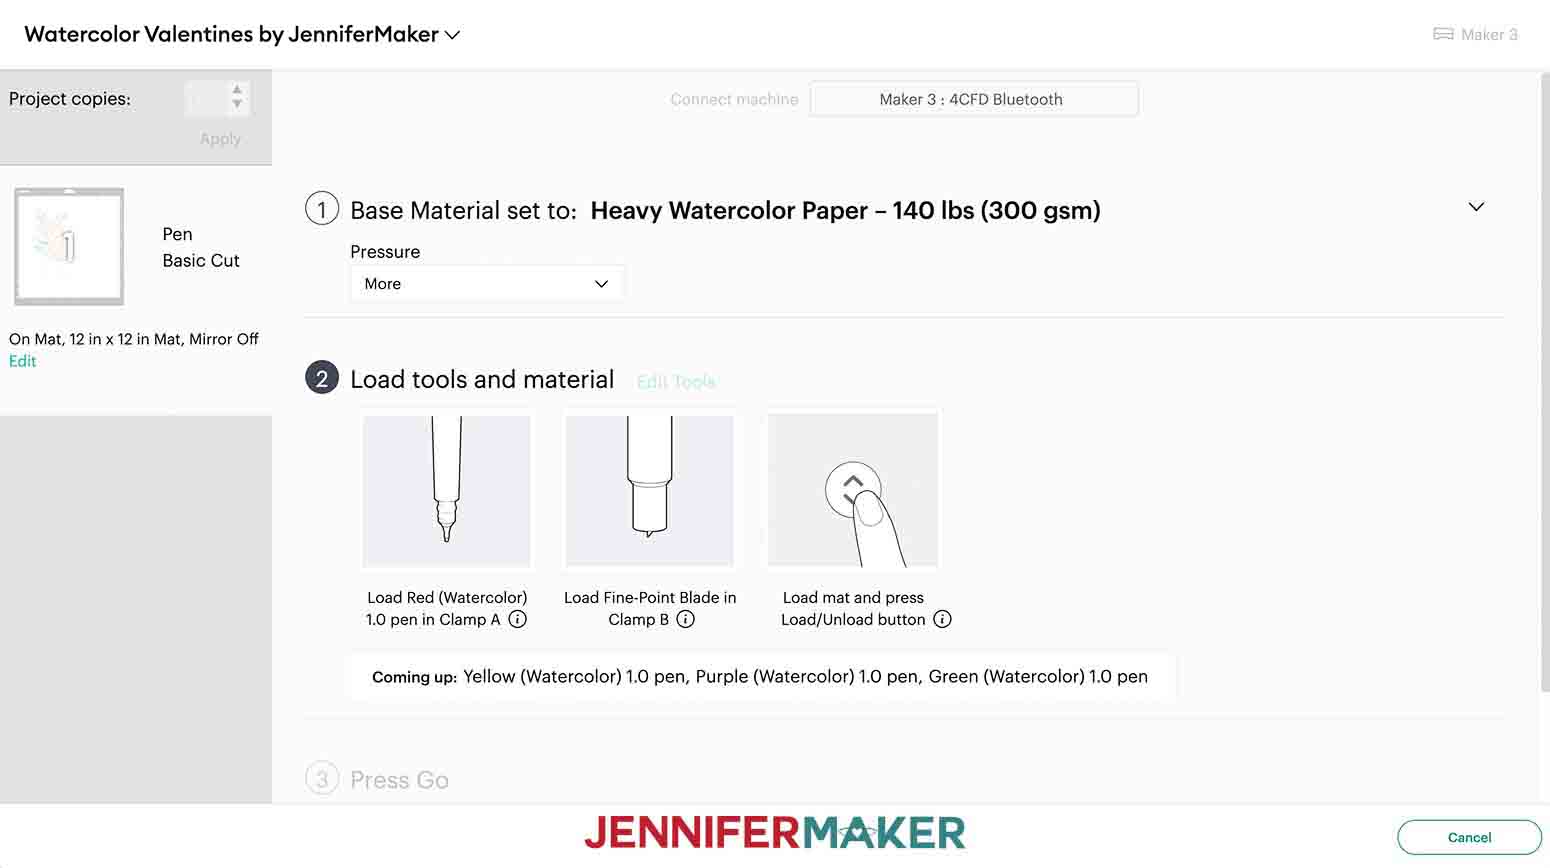
- Set your base material to "Heavy Watercolor Paper - 140lbs (300 gsm)" with “More” Pressure.
- Load the first watercolor marker into the clamp following the prompt on the screen.
- Load your mat, making sure the paper orientation and placement matches the screen.
- Press the flashing button to begin drawing. The Cricut will pause and prompt you to swap the colors of the markers when it's ready.
- When the image is complete, unload the mat, flip it over, and roll it back to release the paper without curling.


STEP 3: PAINT OR GIFT YOUR WATERCOLOR VALENTINES DESIGN
- If you want to paint the design yourself, follow the watercolor preparation and painting steps from my original tutorial and have fun!
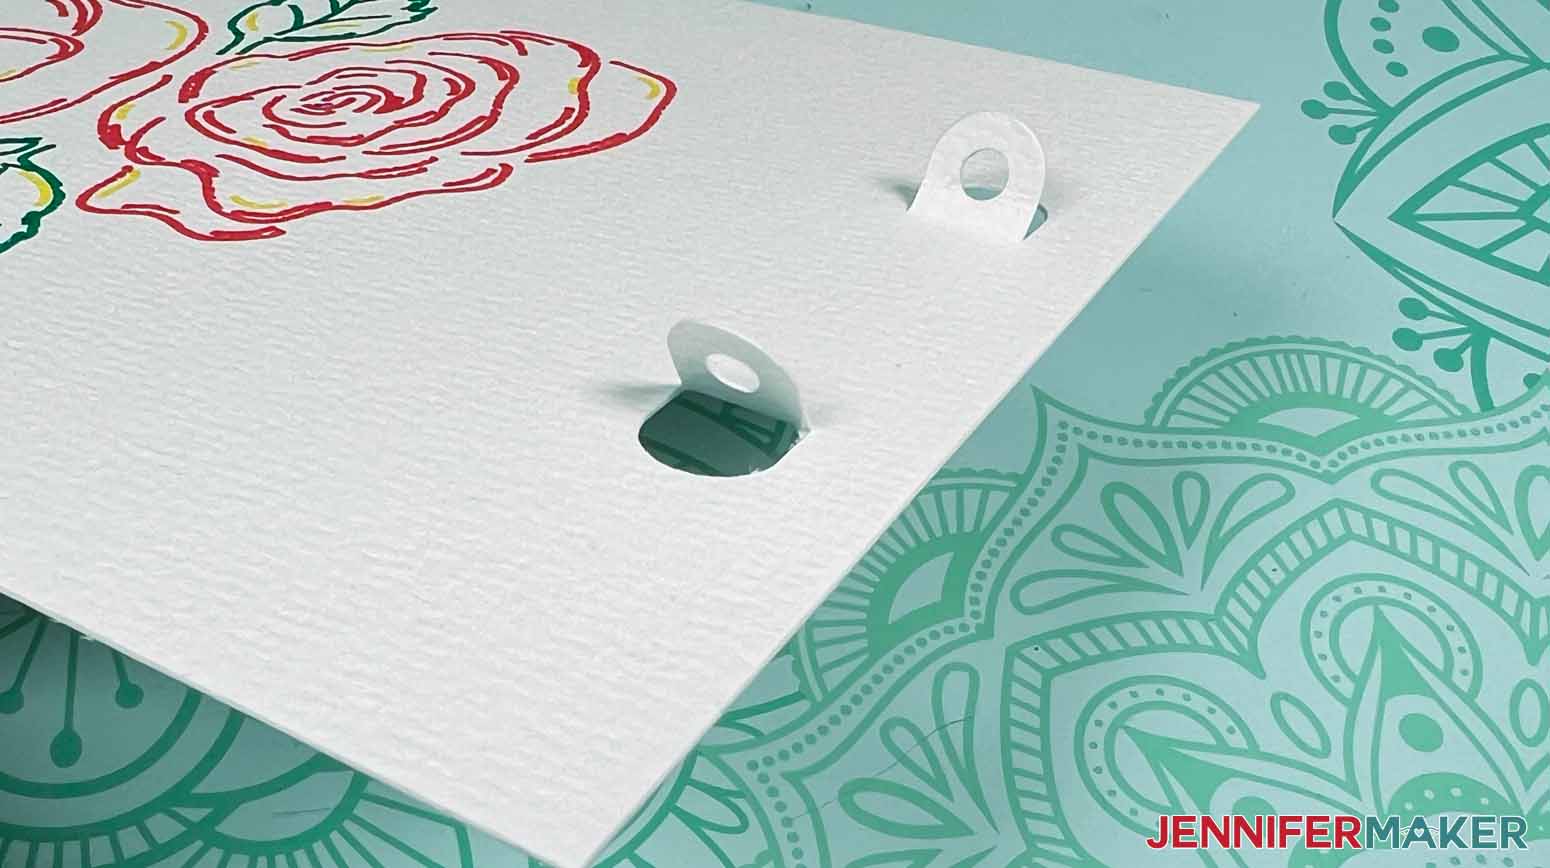
- If you’re gifting the design to someone to main on their own, gently lift the paintbrush holder tabs to crease them so they stay up.
- Slide your paintbrush into the holder. The option in my materials list includes both round and flat paintbrushes. I found the round one easier to use, especially on the detailed sections. The flat brush is good for larger areas and washes, though!
- Remember to share the link to my watercolor painting tutorial with the recipient!
TIP: The mini paintbrush works very well, just encourage them to gently remove it from the holder to avoid tearing the design. Then they can use a bowl of water to recreate the tutorial steps with the wet brush instead of the Cricut waterbrush. - When the painting is complete and dry, they can simply cut away the holder section and the DIY watercolor valentines painting is complete!
STEP 4: SHOW IT OFF!
Frame individual watercolors as eye-catching home décor or give cards as gifts to family and friends.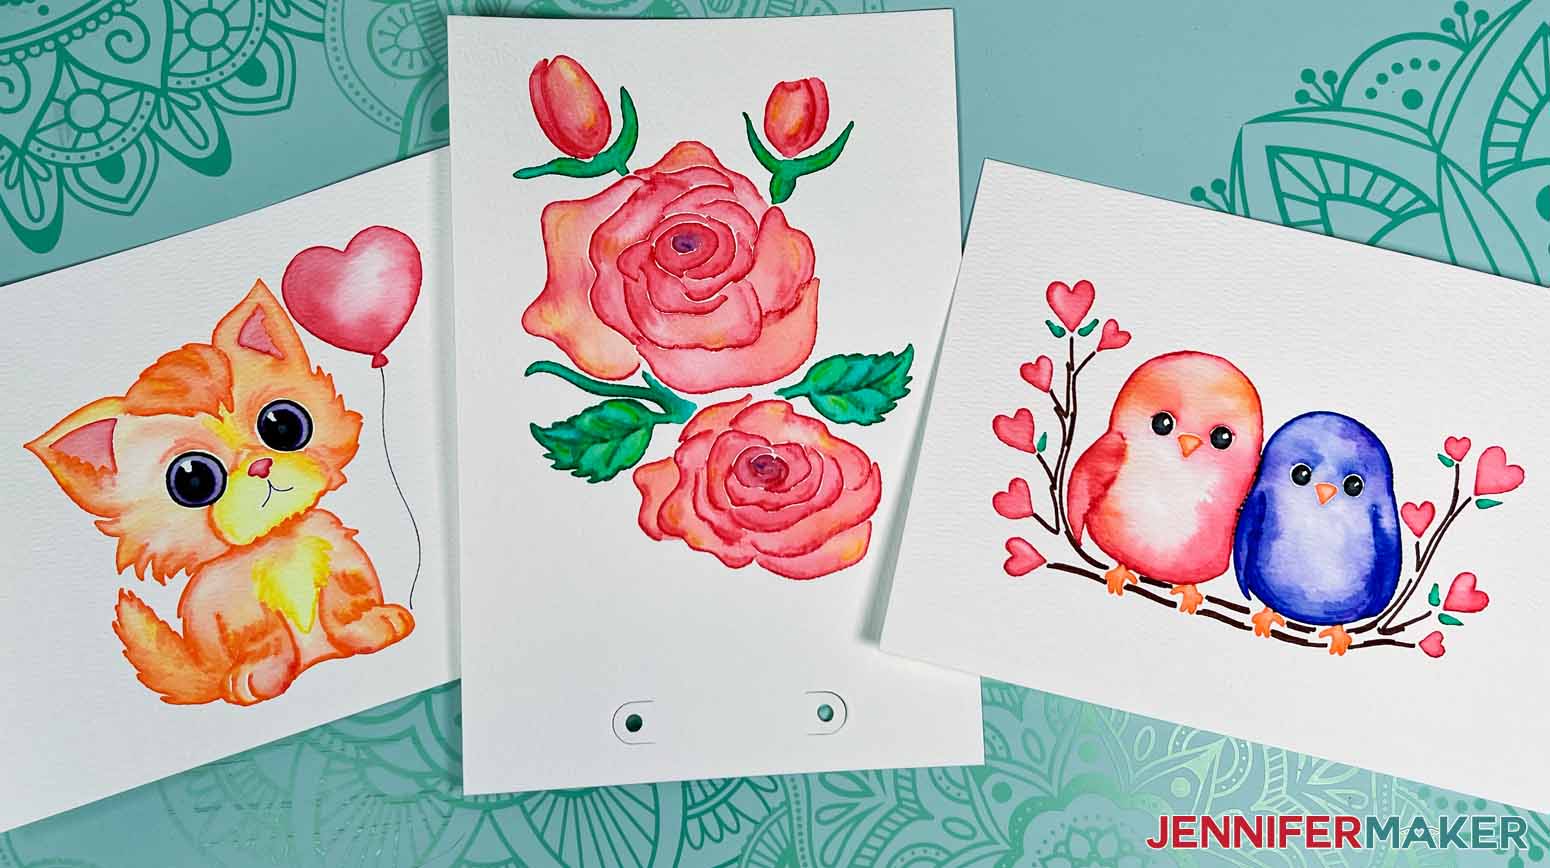
Answers to Your Questions About Making Watercolor Valentines
Q: How do you make a watercolor card?
A: If you don’t want to use pre-made blank cards, you can simply fold a piece of watercolor paper to the size you want!
Q: What paper is used for watercolor cards?
A: Watercolor paper is used for cards that use this type of paint because it holds up to plain water
Q: Can cardstock handle watercolor?
A: You can always combine craft supplies however you like, but the results might not be perfect! Using watercolor paper is a better way to make your watercolor valentines.
Q: Do I need to paint the designs right away?
A: No, you can create the designs and save them for later. And if you include the optional paintbrush holder and add a brush, a friend can paint it!
Q: Do I ink before or after watercolor?
A: If you’re using a permanent pen or marker on homemade cards, you can ink before or after painting. I used a pen with water-based inks before adding the water, so was extra careful to keep the thin pen lines dry!
Q: Is it OK to use watercolor on normal paper?
A: Sure, but the paper will get waterlogged and the watercolor paints won’t blend nicely. It’s always fun to experiment, though, so try something like white cardstock!
Q: How do you watercolor a Valentines card?
A: If you have a Cricut, you can prepare an image in Cricut Design Space and have the machine draw it right on the paper for your Valentine’s Day ideas!
Q: Can I cut this project on a Cricut Joy?
A: Yes, there are watercolor markers available for the Cricut Joy! You will need to shrink the designs, which may create a different look. See our Resizing Guide for more details. You can make the designs in all different sizes!
Q. Are your free SVGs just for personal use or also commercial use?
A: Yes, you can sell completed watercolor valentines using these designs, we only ask that you give credit to JenniferMaker.com and do not sell the digital files. If you use them, please share photos with us! We love supporting your small business!
Get my free SVG files to create watercolor valentines!
I love seeing what you make with my designs and how you use them! Please share a photo of your watercolor valentines in our Facebook group or tag me on social media with #jennifermaker.
Love,

Want to remember this? Save this Watercolor Valentines Tutorial to your favorite Pinterest Board!