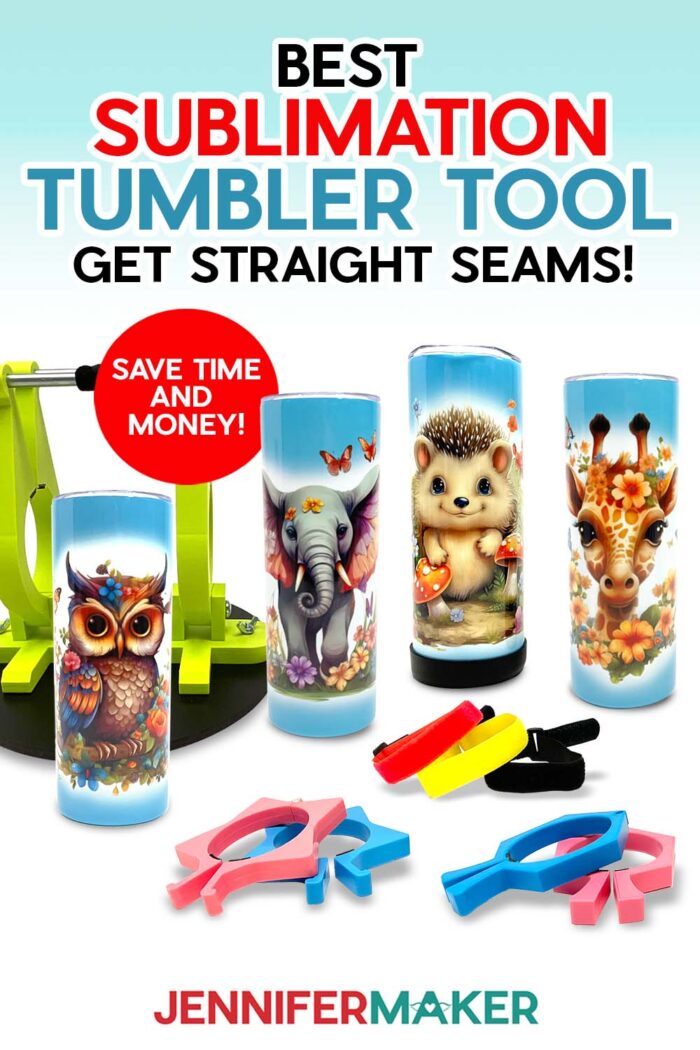
Learn which sublimation tumbler tools work and how to use them!
Do you struggle to make seamless sublimation tumblers? I do, too! There are lots of challenges in sublimating a perfect tumbler, like sizing and printing your design, aligning it, securing the seam straight, removing air pockets, and perfecting your sublimation process time and temperature. I have tutorials to help with most of these challenges, but sometimes we need an extra hand, especially while taping the seam line. So, I’ve tested several sublimation tumbler tools that say they’ll get you the best results to see which are worth your money. 2026 Update: Some these items aren’t currently available, but I’ve added similar alternatives you can try!

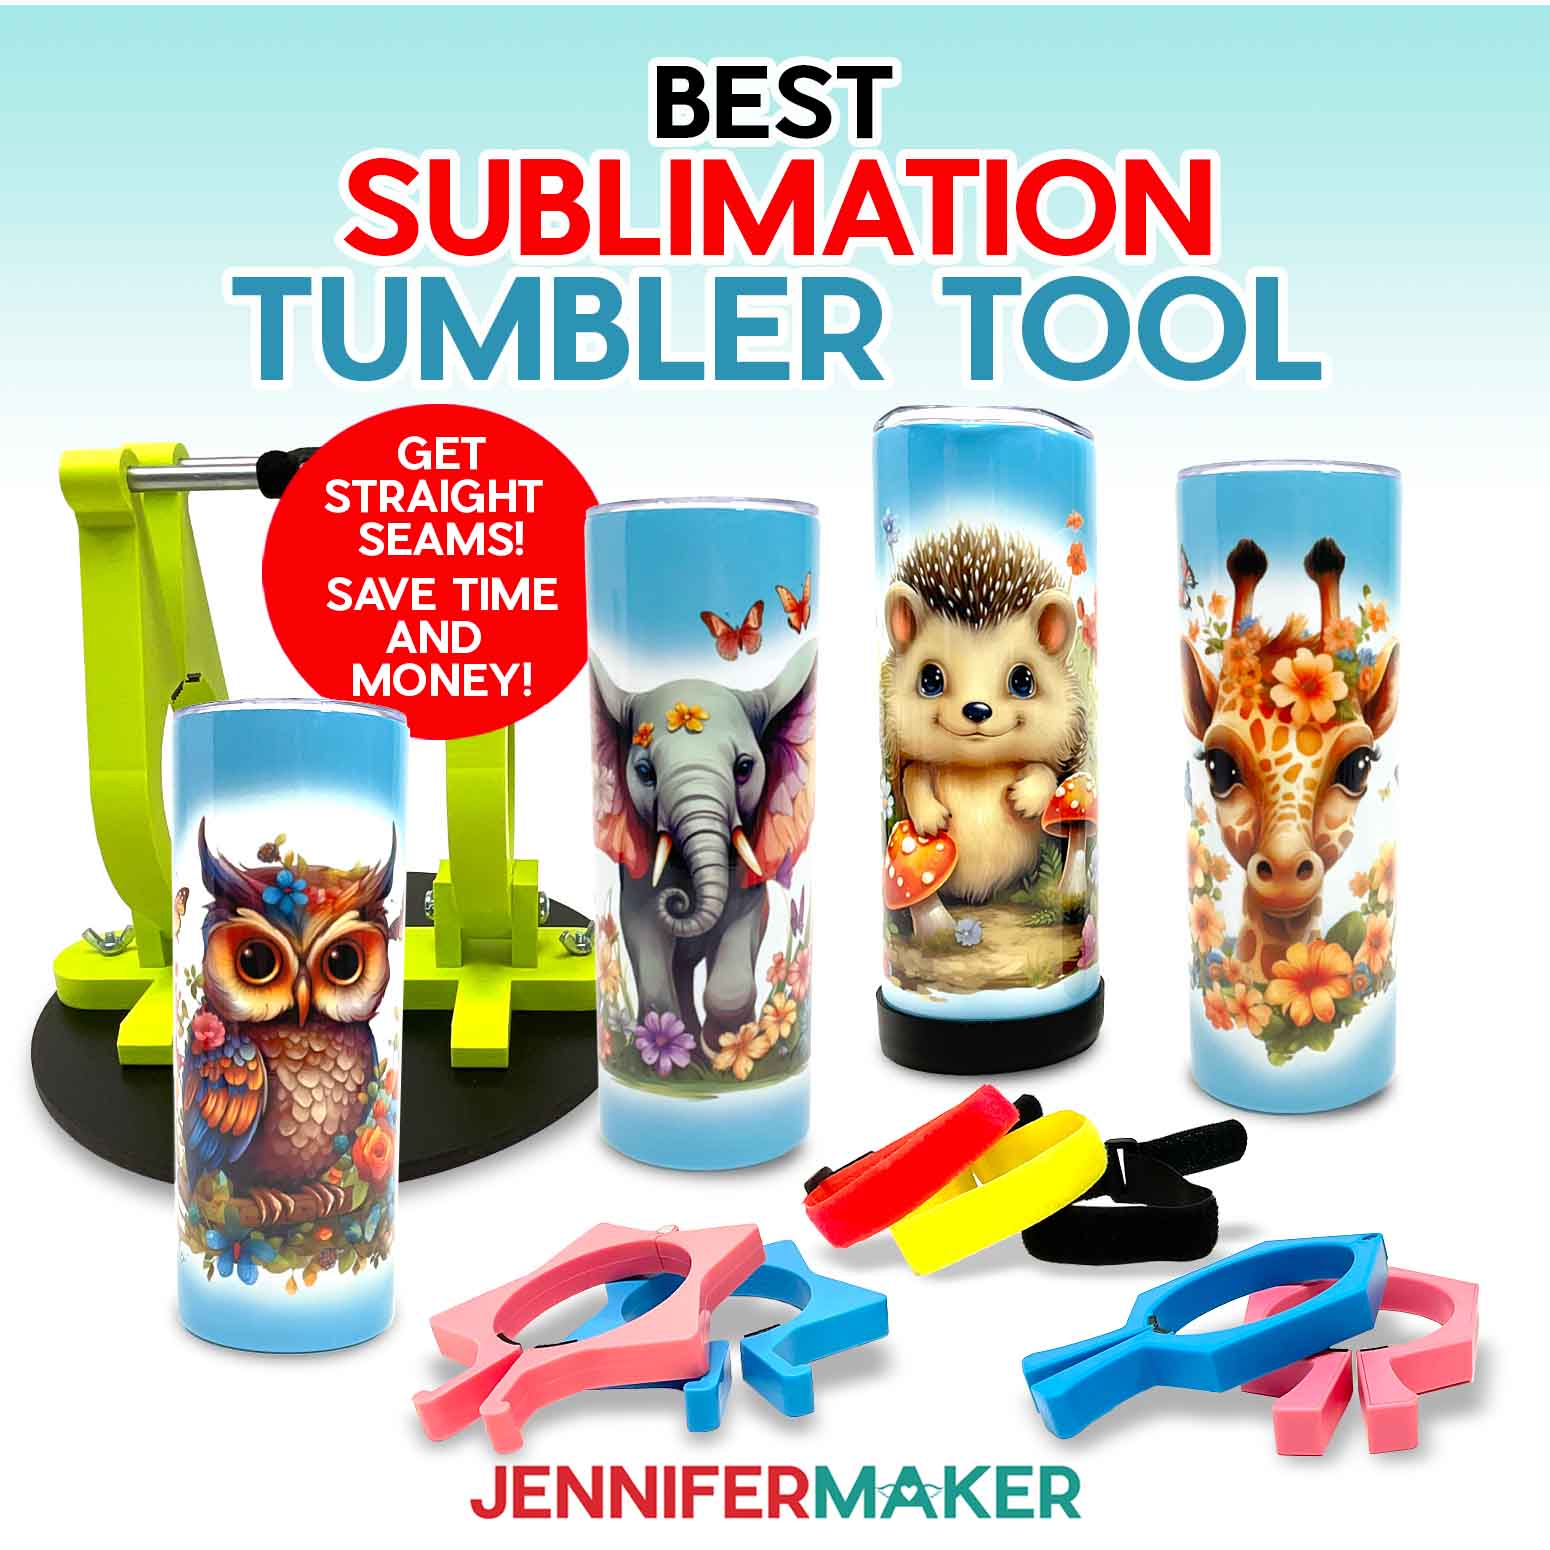
Sublimating tumblers has some challenges, especially blending the seam and getting an even transfer on the entire curved surface. There are LOTS of companies selling gadgets and tools to solve your problems, but do they work? Is there a perfect tool for the perfect seam? Here are my testing results for several items, but seeing them in action really helps! And don’t forget to get me free designs for your projects! I made the cute animals with AI art generation and image editing software and hope you like them!
Ready to learn more about sublimation tumbler tools and getting better wraps? This post contains some affiliate links for your convenience (which means if you make a purchase after clicking a link I will earn a small commission but it won’t cost you a penny more)! Read my full disclosure policy.
Star Pinchers
Star-shaped plastic pinchers are like special clamps that you open and put around the tumbler once the paper is in place. Then, you can use both hands to tape the seam! Plus, I love stars and cute craft supplies!
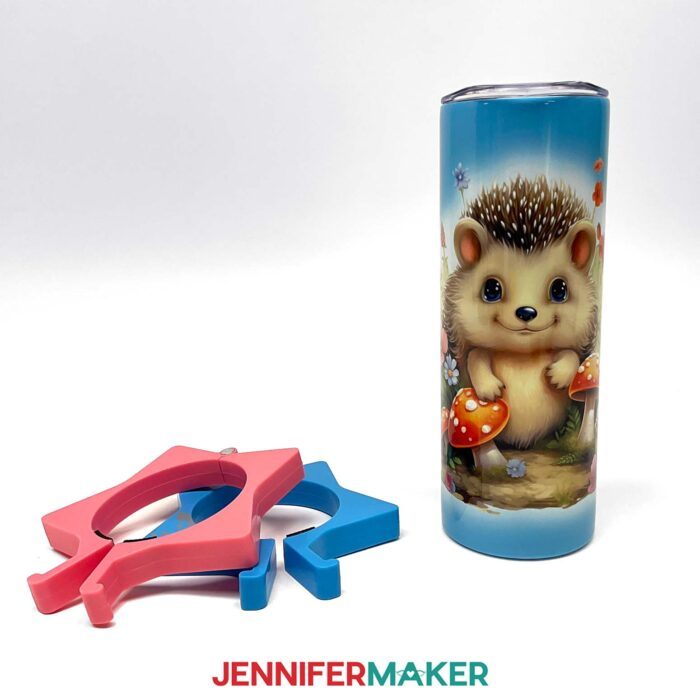
As an added benefit, the star points act like a stand! So you can balance the tumbler on your work table for easier seam access.

Square Pinchers
These square pinchers are compact, so storage is really easy, and a set is usually under $10. They help keep the printed sublimation design in position while you tape the seam like the stars, but I didn’t love them quite as much. The clamps don’t open quite as far, and I missed the ability to balance the project on the points!

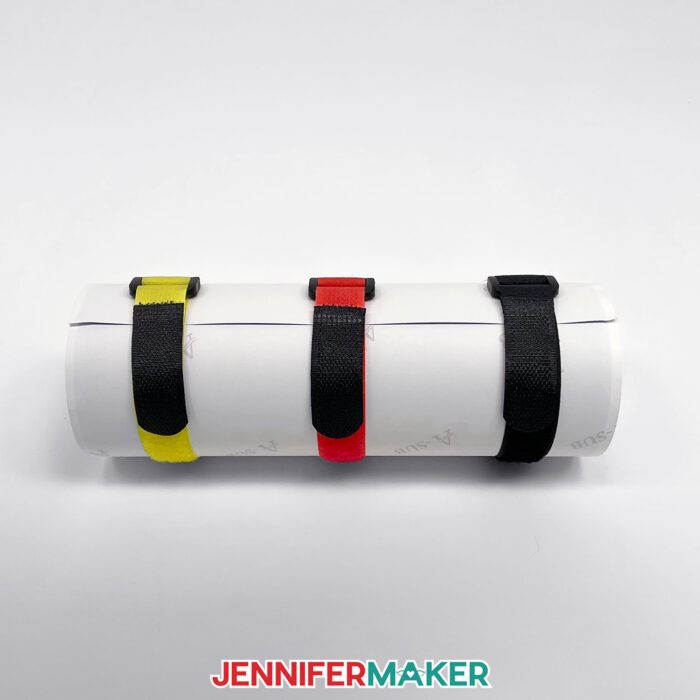
Hook And Loop Straps
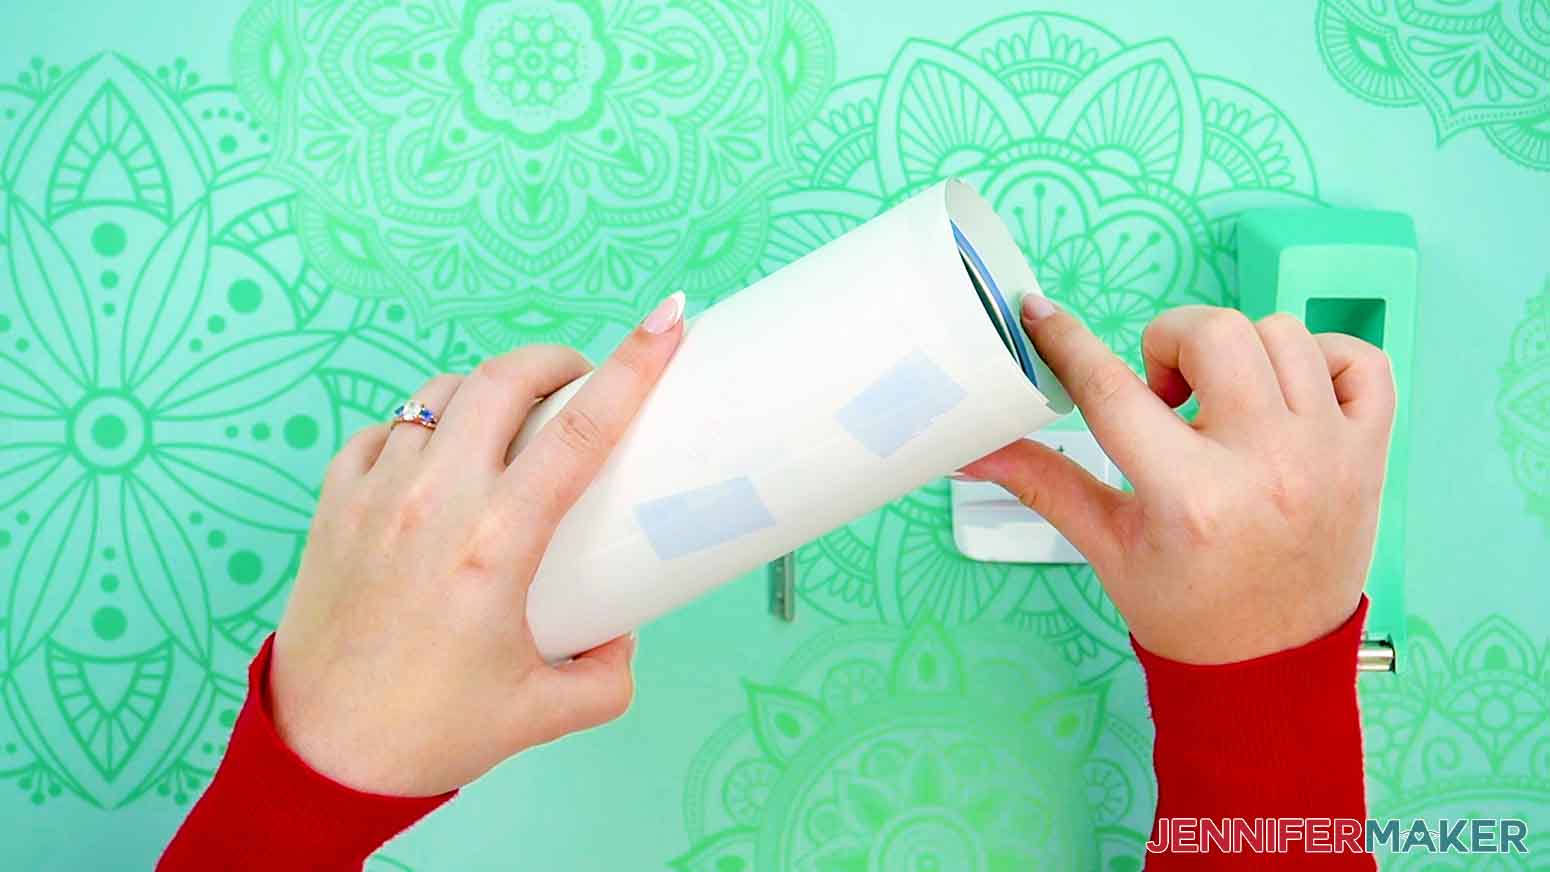
They might be really big cable wraps, but these loop straps did help! These are the most compact tools I tried and the least expensive. Update: These have become difficult to find, so I recommend using silicone bands instead.

I had the best results using three hook and loop pinchers at a time. That might sound difficult to get even, but the cinching mechanism is manageable with one hand, so it’s easier than you’d think! I have heard that there are some versions with a grippy surface on the inside, but mine were plain. I think that would make these even better.
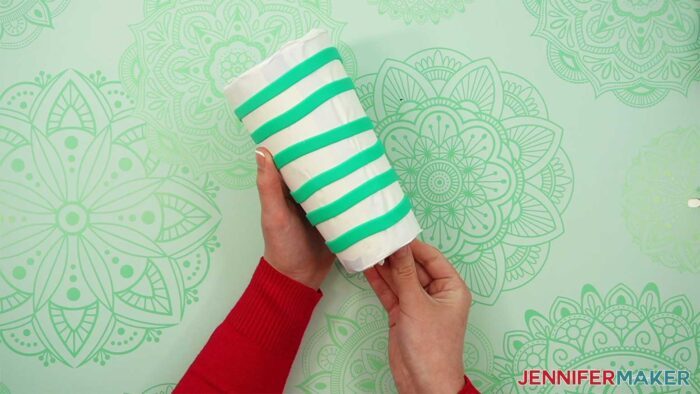
Silicone Bands
I’ve used silicone bands on sublimation tumblers before with mixed results. They’re one of the only tools that works on both straight and tapered tumblers, so they’re worth trying out if you go beyond skinny tumblers. It can be tricky to position the bands without bunching up the design paper, so take extra care smoothing it out.
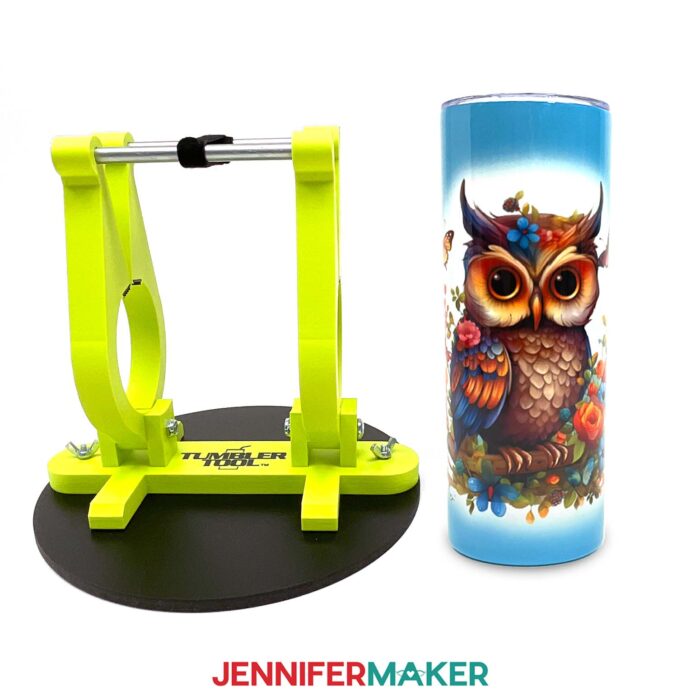
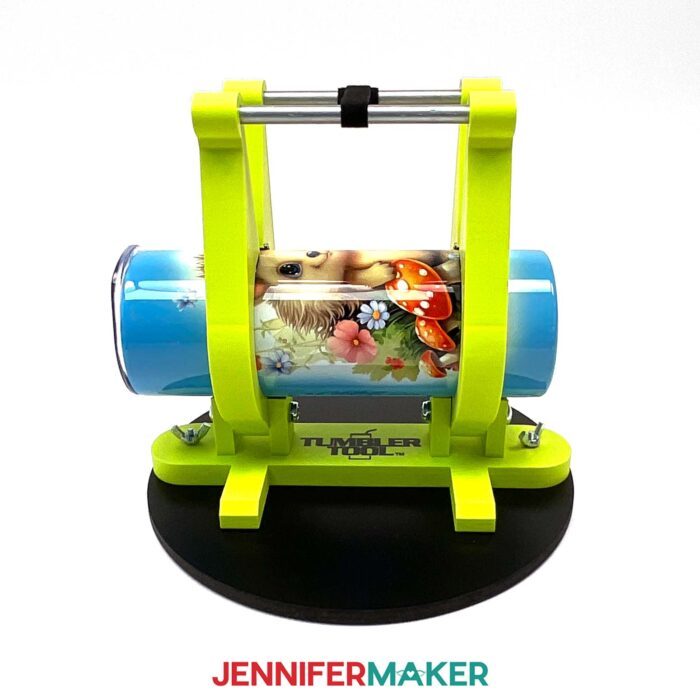
Tumbler Tool
The Tumbler Tool is like having extra hands when holding and taping a sublimation tumbler! The hook and loop strap to close the top is especially helpful if you have small hands. Update: The Tumbler Tool has been discontinued, so I recommend trying the Pinch Perfect Trident tumbler clamp instead.
It does take practice and is pretty bulky, so it might not be the best option if you have a small work area or need to store everything away often. Plus, it’s pricey. But if you sublimate a lot of tumblers, It’s worth the investment!
Bonus Sublimation Tool Tests
While all these tools will help improve your seams with practice, they can’t guarantee a perfect seam because there are too many variable in sublimation. So, I found a few more items that will help!
Loop Measuring Tape
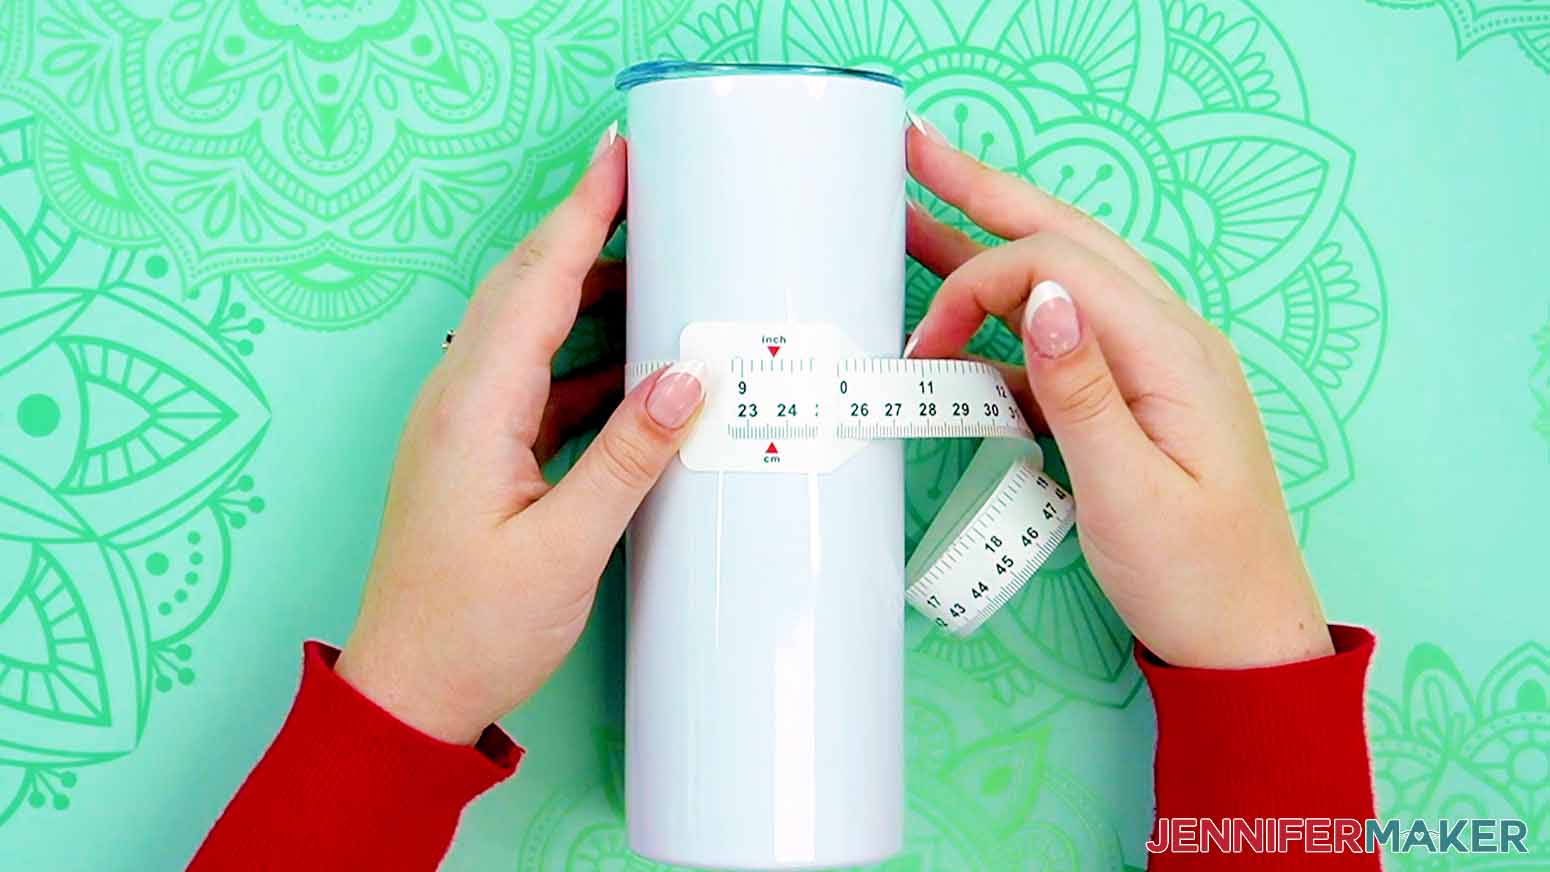
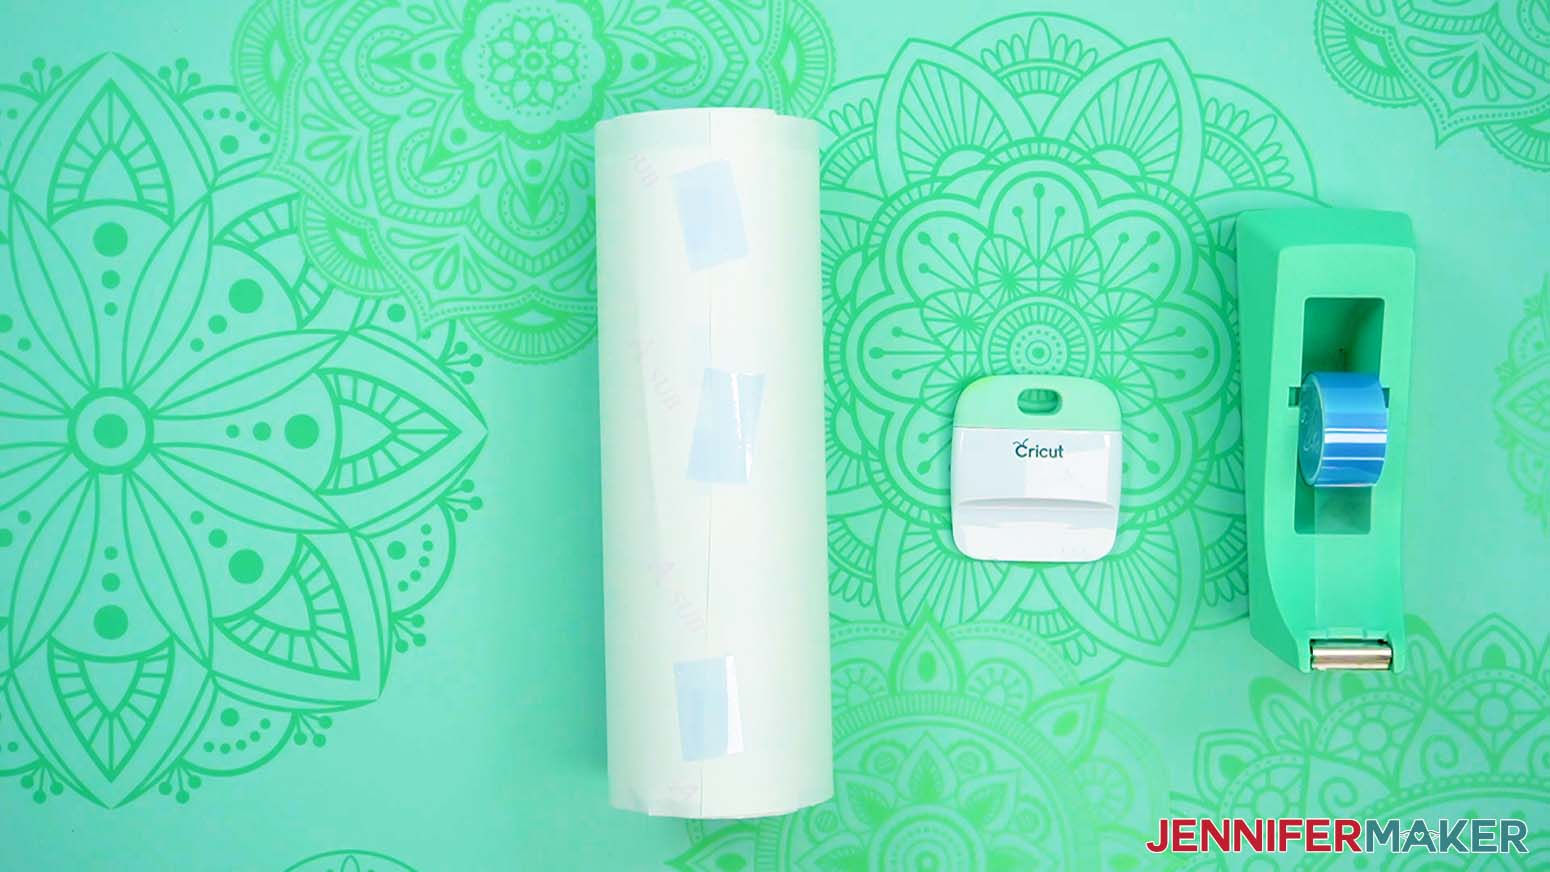
Getting your design’s size is really important, so you can control the seam overlap, avoiding white spots and darker areas with extra ink. But, easuring the tumbler’s circumference is difficult with a normal measuring tape, especially since you need it super snug. This round tape with a cinching tab is a game-changer!

Tumbler Cradle
Tumbler cradles don’t keep paper in position during taping, but they are helpful to hold your tumbler for measuring, cleaning, or other types of crafts. It fits both straight and tapered tumblers, so it’s less limited than some tools. Plus, the tumbler holder fits other items like stainless steel tumblers. No more rolling cups while you add vinyl, glitter, or different materials!
Tumbler Boots
These Tumbler Boots are super simple to use and easily hide imperfections at the bottom. That’s where I have the most trouble! Plus, they protect the tumbler’s base, make it harder to tip the cup, and are just kinda cute!
Materials And Tools to Test Tumbler Tools
I tested these sublimation tumbler tools:
I used these supplies to test the tools:
- 20 oz. Straight Side Sublimation Skinny Tumblers -OR-
- 19 oz. Sublimation Tapered Tumbler
- 8.5″ x 11″ A-SUB 105g Sublimation Paper -OR-
- 8.5″ x 14″ A-SUB 105g Sublimation Transfer Paper
- Looped Tape Measure
- Sublimation Printer – I used a converted Epson EcoTank ET-4700 Inkjet Printer
- Sublimation Ink
- Convection Oven – do not use it for food, just crafting!
- Oven Thermometer
- Fan for Ventilation
- Heat Resistant Gloves
- Heat Resistant Tape
- Silicone Pressing Mat
- Butcher Paper
- Scissors -OR-
- Paper Trimmer
- Scraper
- Isopropyl Alcohol -AND-
- Coffee Filters or lint-free cloths
- Cooling Rack
- Design #540 – my free PNGs available in my free resource library – get the password by filling out the form at the bottom of this page!
How to Test Tumbler Tools
Sublimation Tumbler Tools
Learn how to use sublimation tumbler tools to more easily prepare your sublimation tumblers for a successful press!
Materials
- One (1) 20 oz. Straight Side Sublimation Tumbler -OR-
- One (1) 19 oz. Sublimation Tapered Tumbler
- One (1) Sheet of A-SUB 120g Sublimation Paper 8.5" x 11" -OR-
- One (1) Sheet of A-SUB 125g Sublimation Paper 8.5" x 14"
- Design #540 (My free PNG design files available in my free resource library - get the password by filling out the form at the bottom of this page)
Tools
- Looped Tape Measure
- Tumbler Clamp -OR-
- Star Pinchers -OR-
- Square Pinchers -
- OPTIONAL: Silicone Bands
- OPTIONAL: Tumbler Cradle
- OPTIONAL: Tumbler Boots
- Sublimation Printer - I used a converted Epson EcoTank ET-4700 Inkjet Printer
- Sublimation Ink
- Convection Oven
- Oven Thermometer
- Fan for Ventilation
- Heat Resistant Gloves
- Heat Resistant Tape
- Silicone Pressing Mat
- Butcher Paper
- Scissors -OR-
- Paper Trimmer
- Scraper
- Isopropyl Alcohol -AND-
- Coffee Filters
- Cooling Rack
Instructions
NOTE: I’ve tested tools that claim to make sublimating tumblers easier with these designs. There are steps and results for tools that work with either straight or tapered tumblers, so please make sure you’re following directions that match your project!
STEP 1: GET MY FREE SUBLIMATION TUMBLER TOOLS DESIGNS
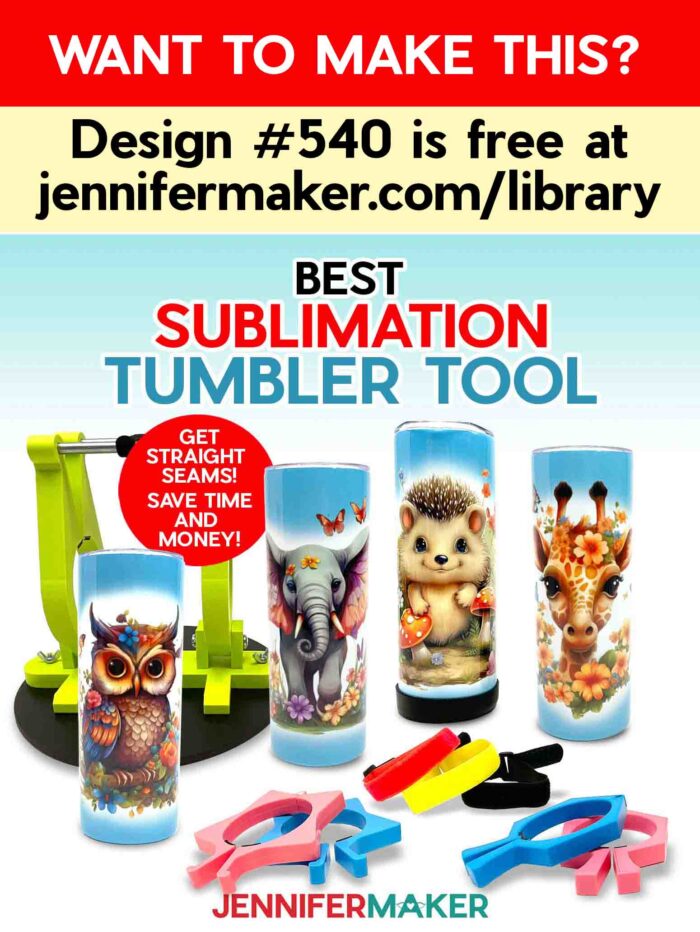
First, download my Sublimation Tumbler Tools designs from my free library – look for Design #540. Alternatively, you can use the Save This Project form near the top of this post and the design link will be emailed to you.
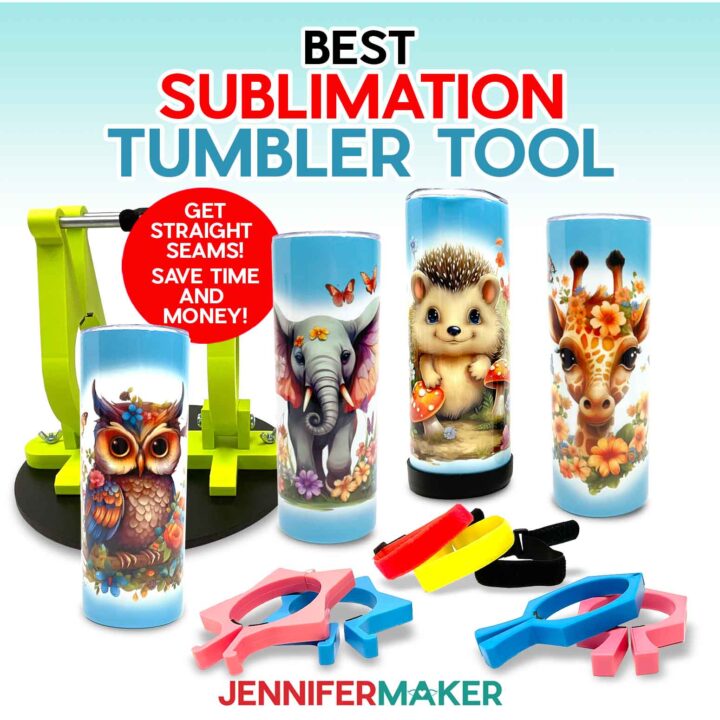
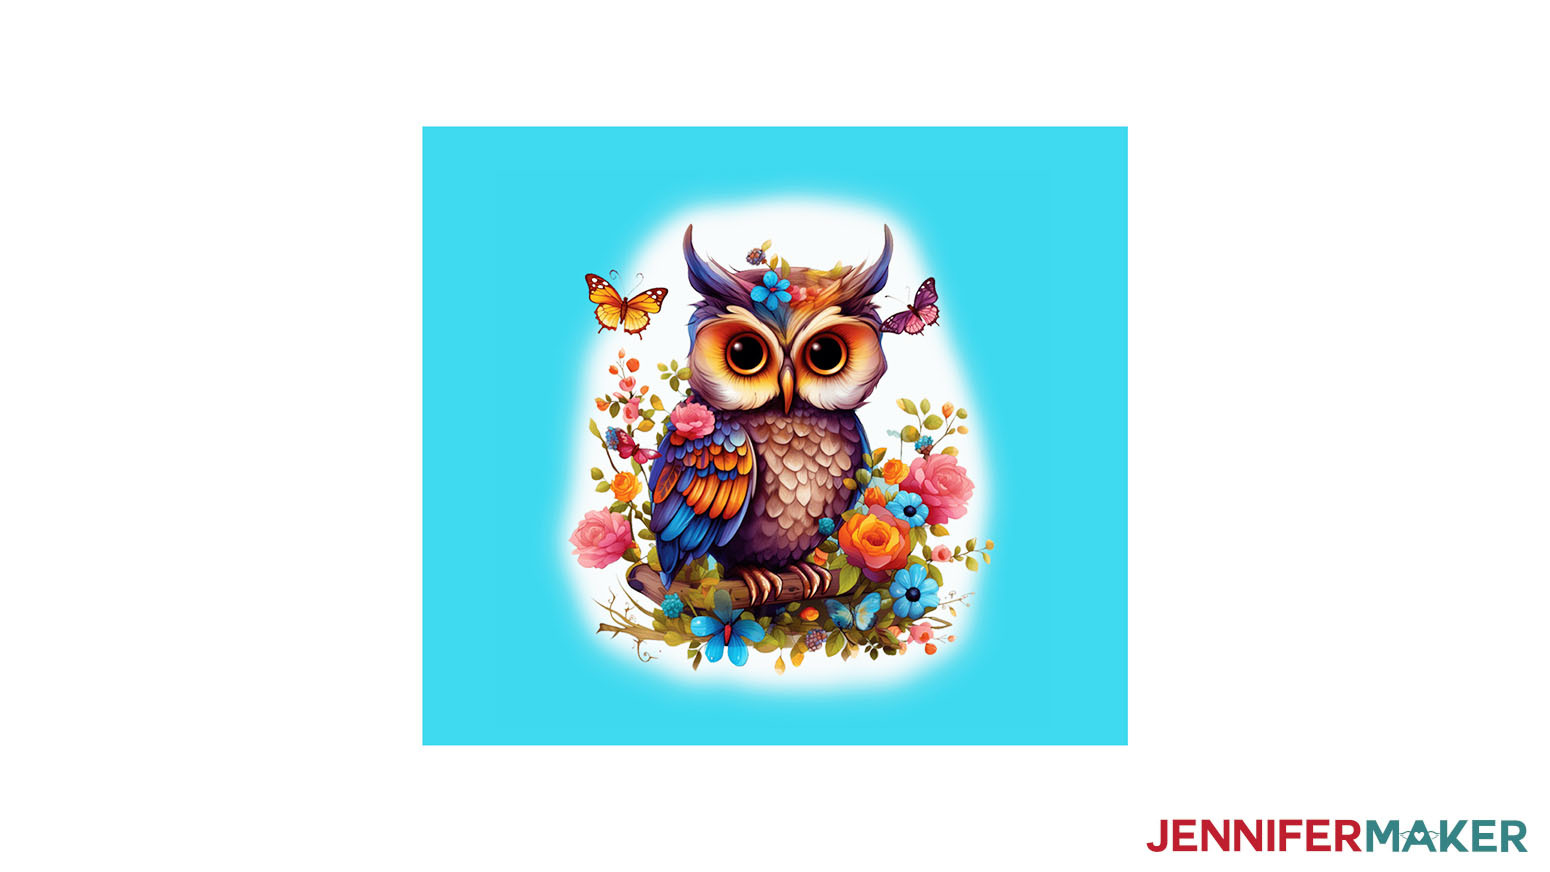
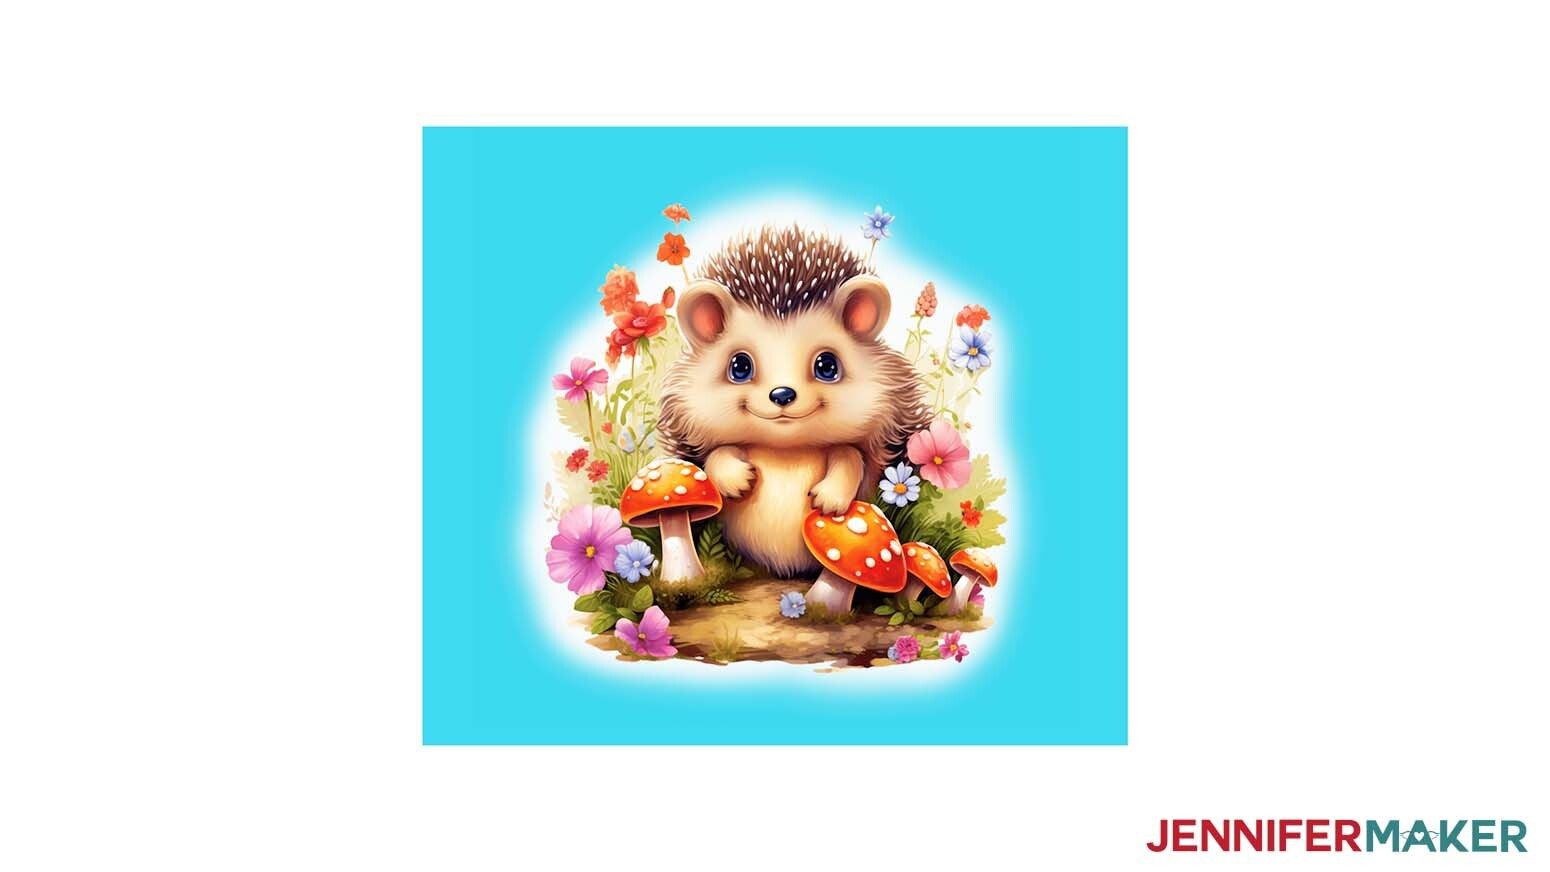
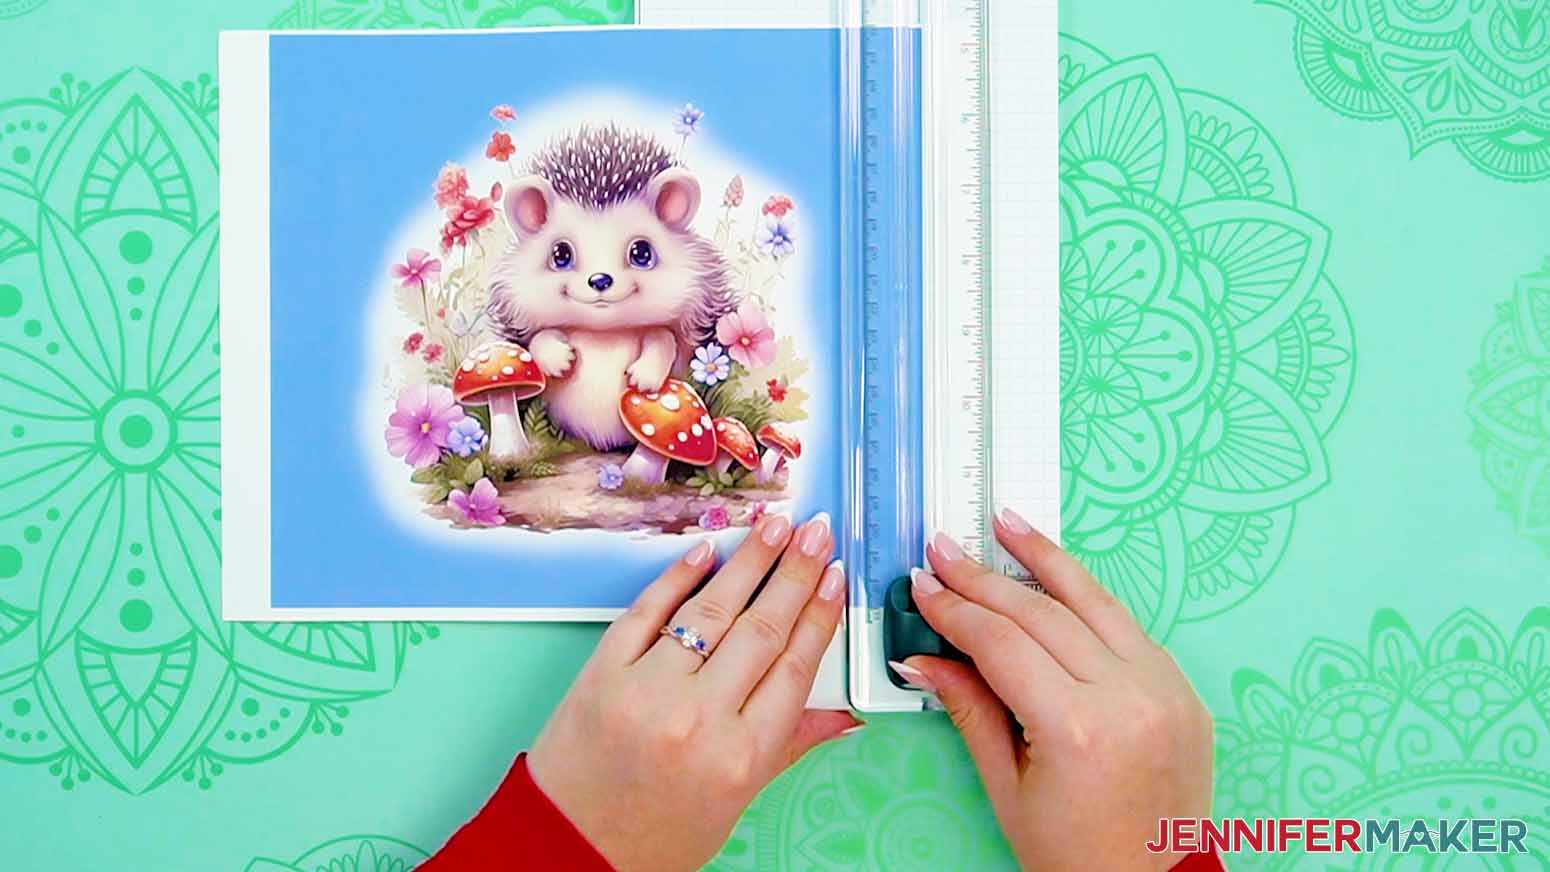
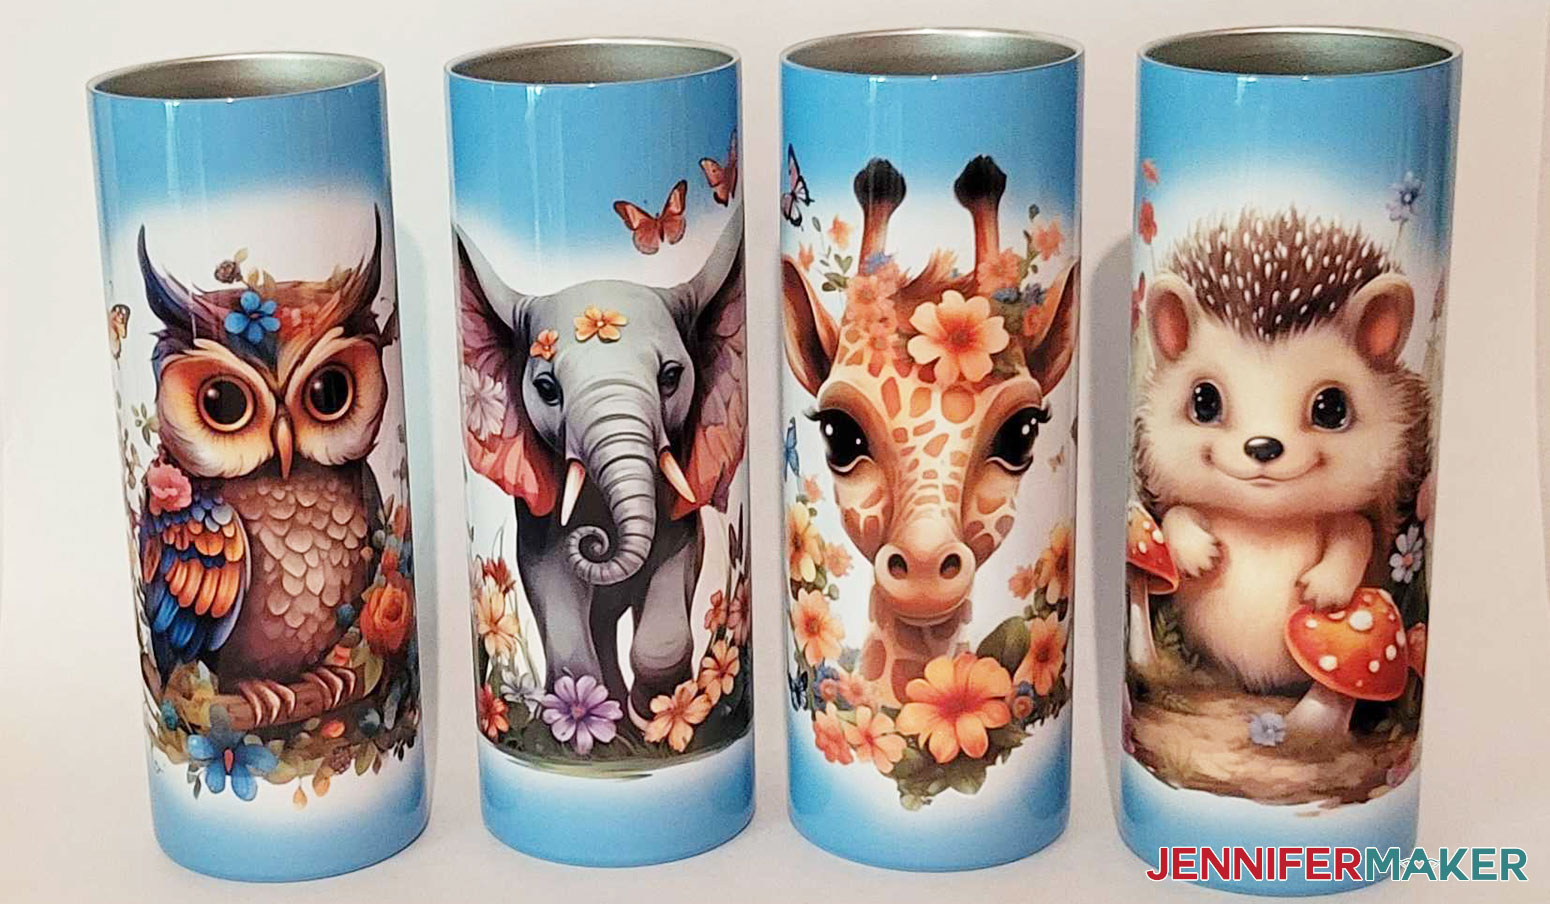
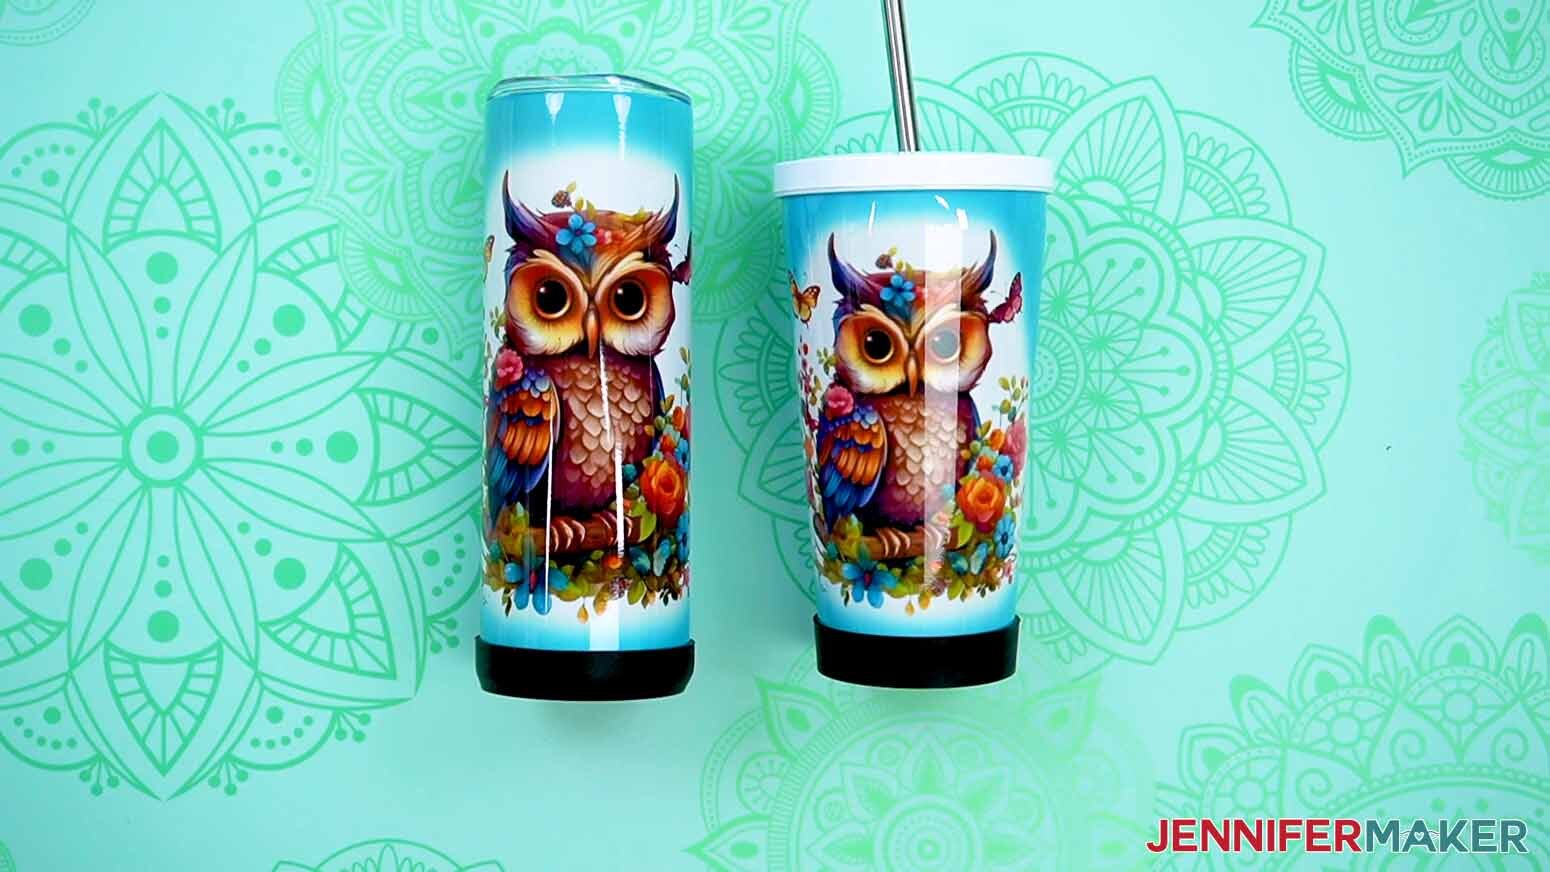
There are four designs to choose from: an owl, a hedgehog, a giraffe, and an elephant.
I used an AI art generator to create the designs, then made them even more fantastic with image editing software. If you want to learn more about the process, check out my workshop on creating and using AI-generated art in your crafts.
The images are also available in two different sizes - one for square-shaped for straight tumblers, and one with a large rectangular background suitable for use with tapered tumbler templates.


STEP 2: PREPARE AND PRINT YOUR TUMBLER WRAP
NOTE: For full steps in printing sublimation designs, check out my tutorial How To Print Sublimation Designs From Google Docs.
NOTE: Tapered tumblers require special templates and extra steps to make sure the wrap fully covers the tumbler. See my Tapered Tumblers project for details. The three sublimation tumbler tools tested below work best for straight tumblers.
1. Measure your tumbler using the looped tape measure. (Make sure the edges of the tape aren’t skewed and wrap it around the tumbler in a level line.)
2. Print your tumbler wrap so the size is approximately 1/8 - 1/4” taller than the tumbler and has a slight overlap at the seam of 1/16 - 1/8”. I printed my tumbler design at 9.4” x 8.25” for use with the 20 oz. straight tumbler from my materials list.
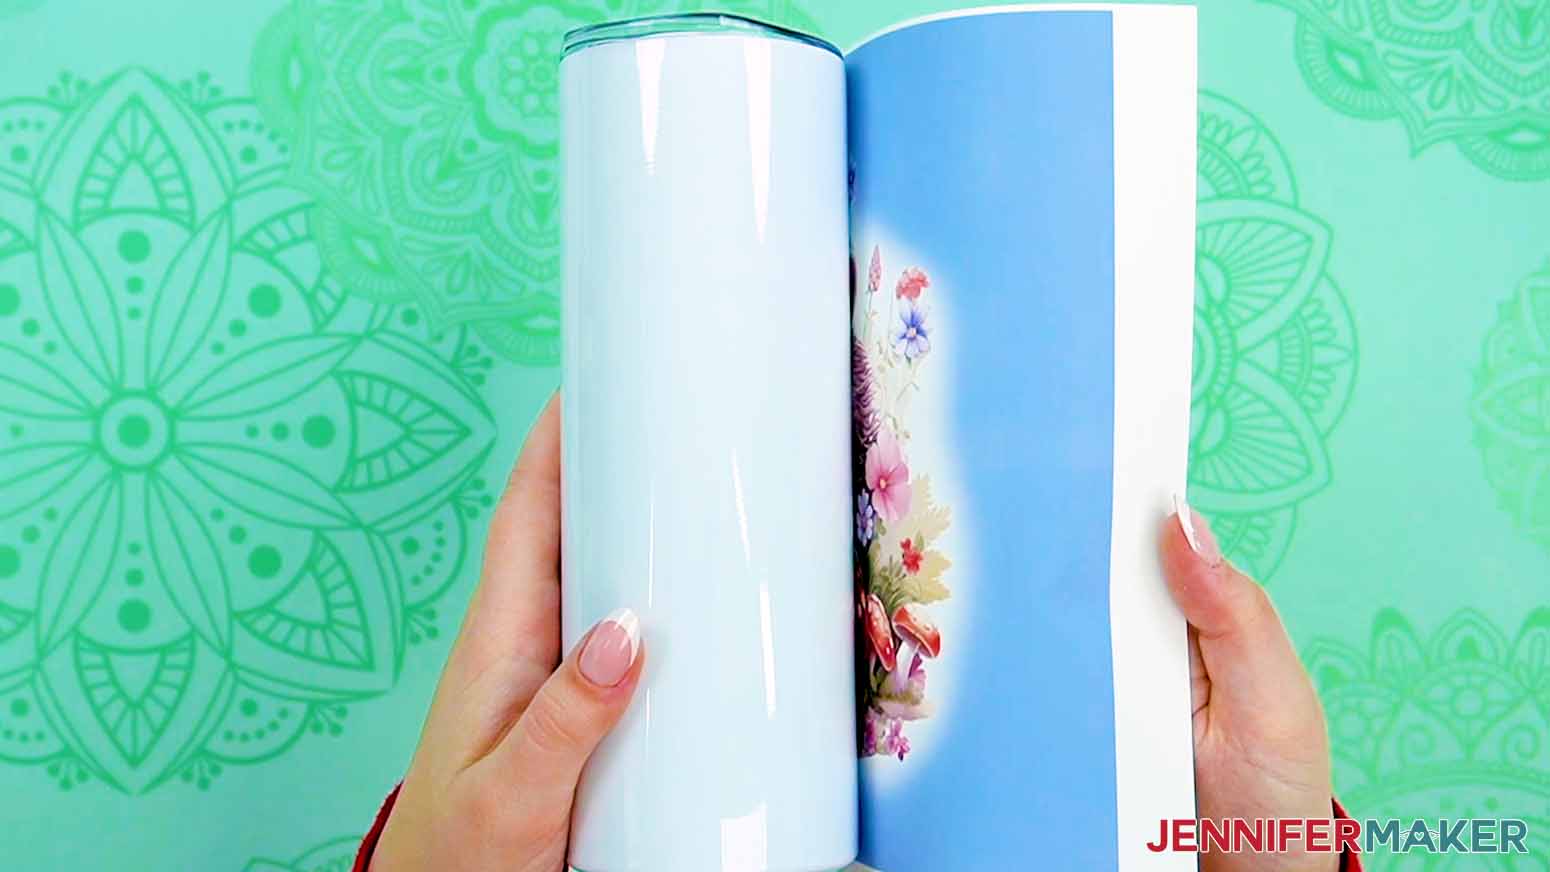
TIP: The smaller the overlap, the smaller the visible seam will be after applying the wrap. Be careful, however, to make sure the sublimation paper edges are touching each other AND the tumbler surface to avoid white lines at the seam edge.
STEP 3: PREPARE YOUR PRINT AND TUMBLER FOR SUBLIMATION
FOR STRAIGHT TUMBLERS
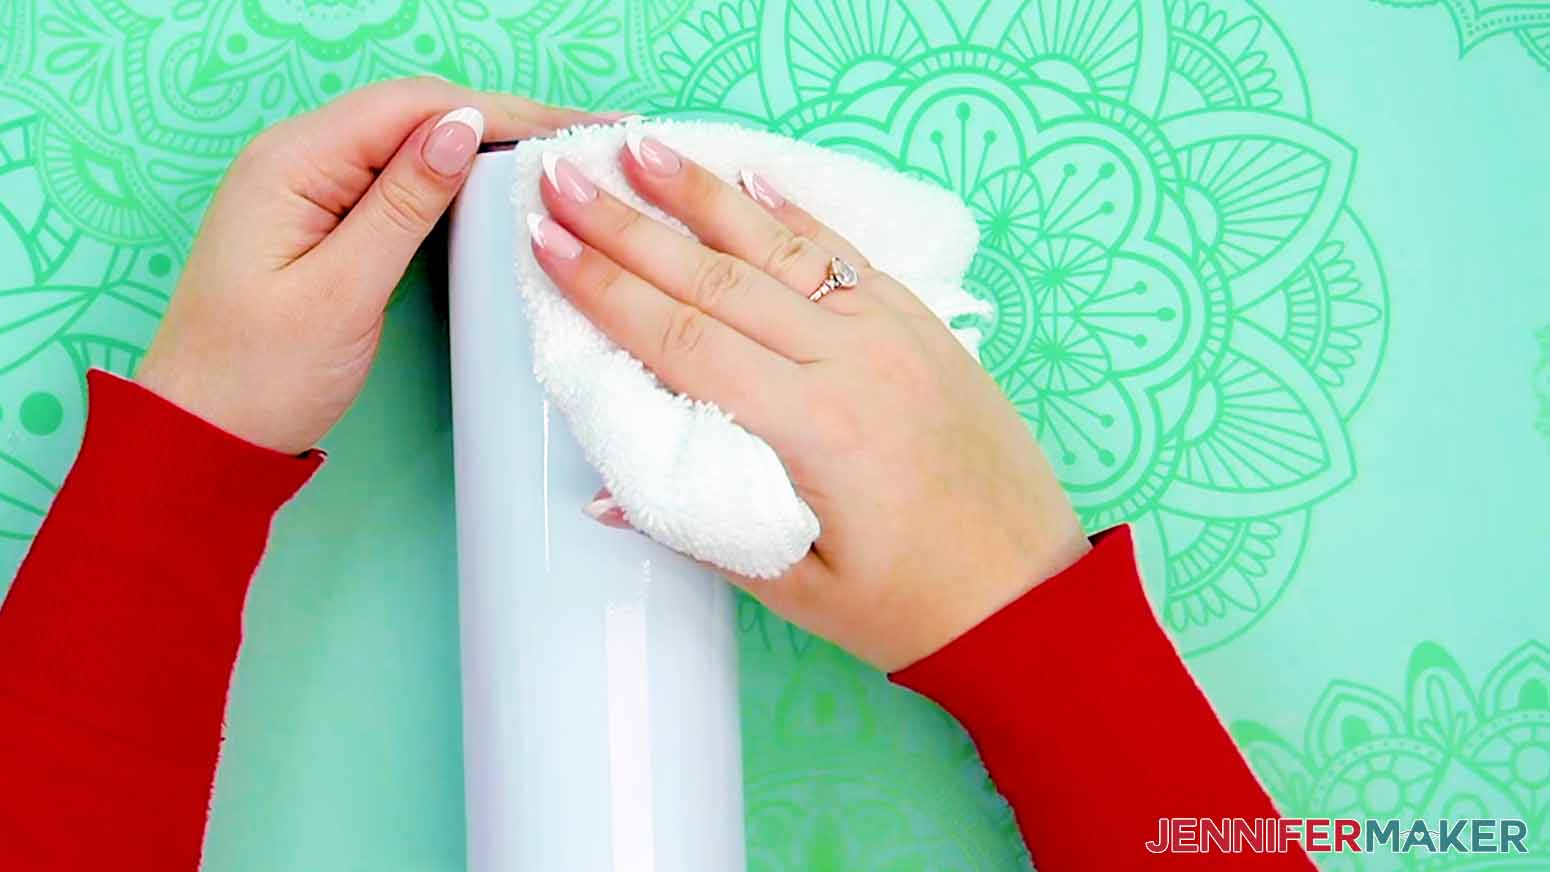
1. Use a lint free cloth or a coffee filter with some rubbing alcohol to clean the tumbler for a better transfer.
2. Trim the design so there is no white paper showing on any of the sides. (Use a trimmer for perfectly straight lines.)
3. Choose a gadget for wrapping the design tightly around the tumbler and holding it in place while you apply heat resistant tape.
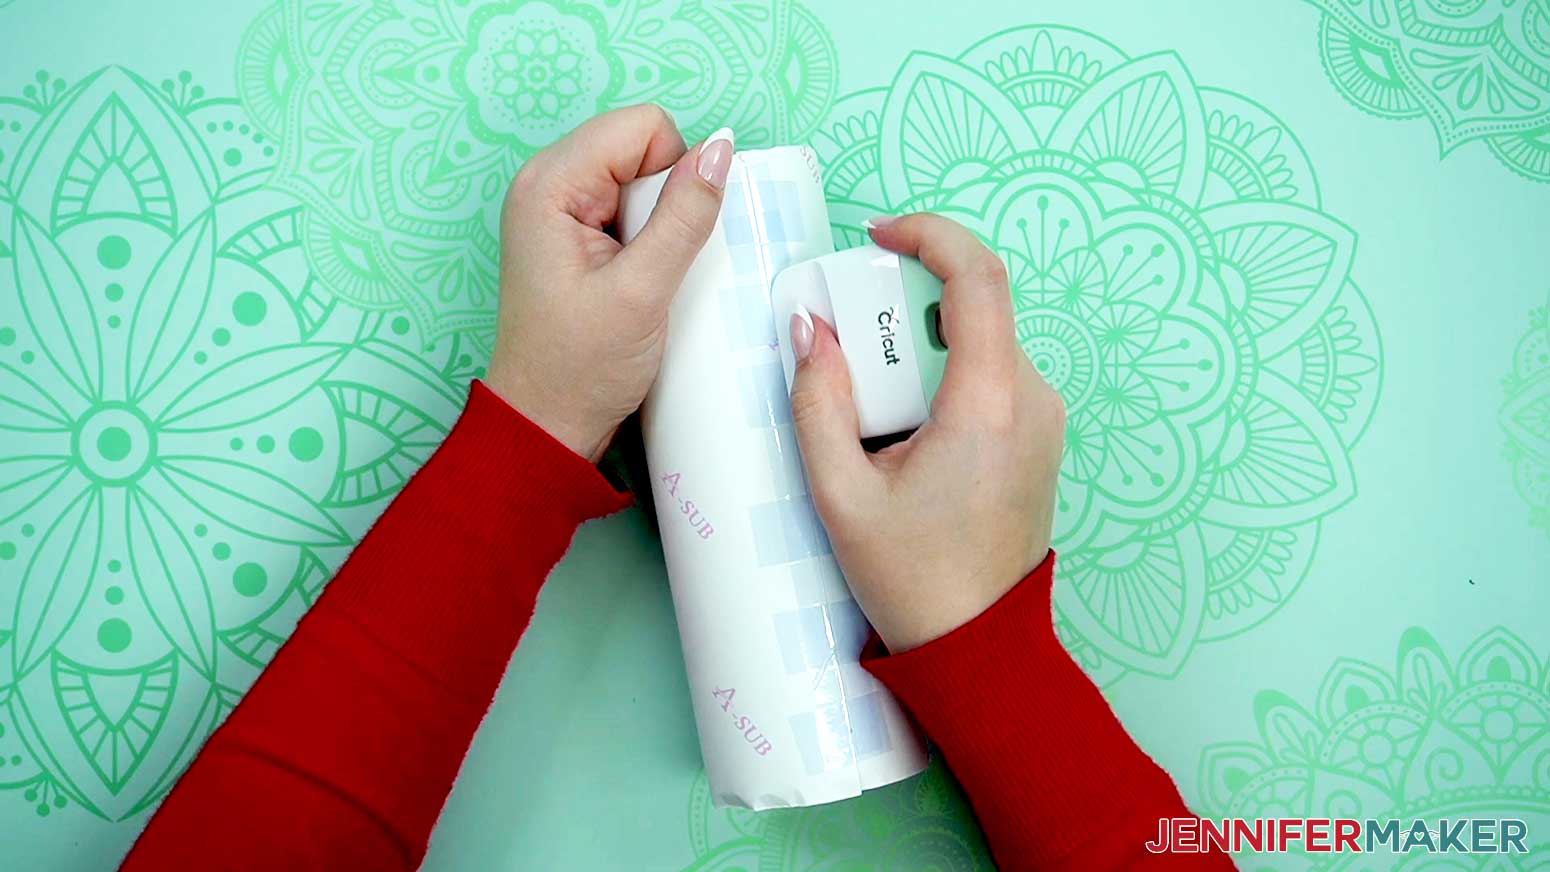
Tool Test 1: Tumbler Tool
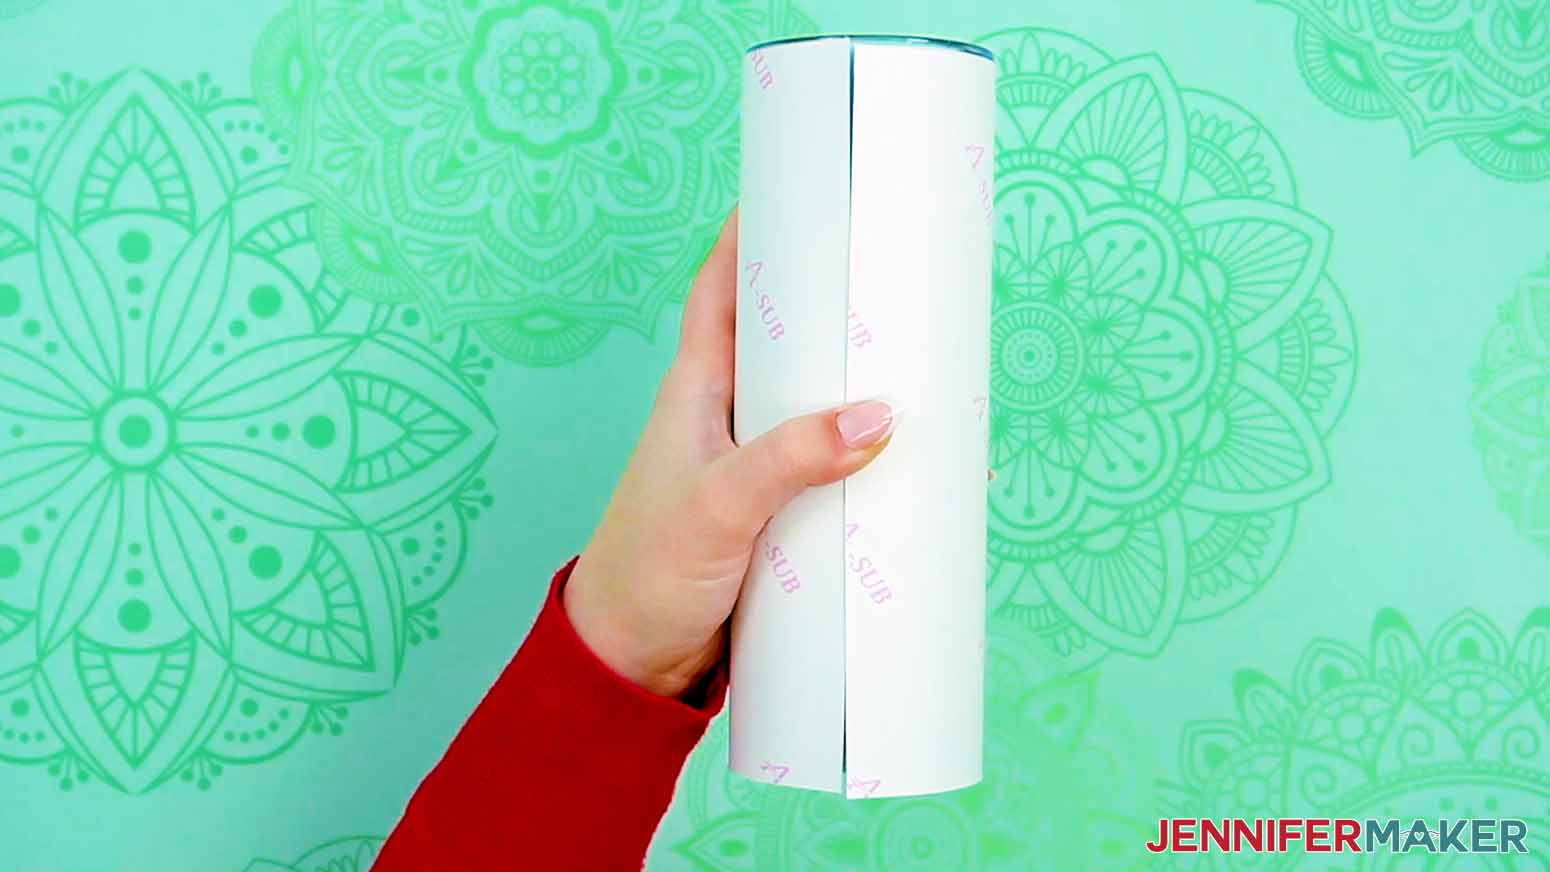
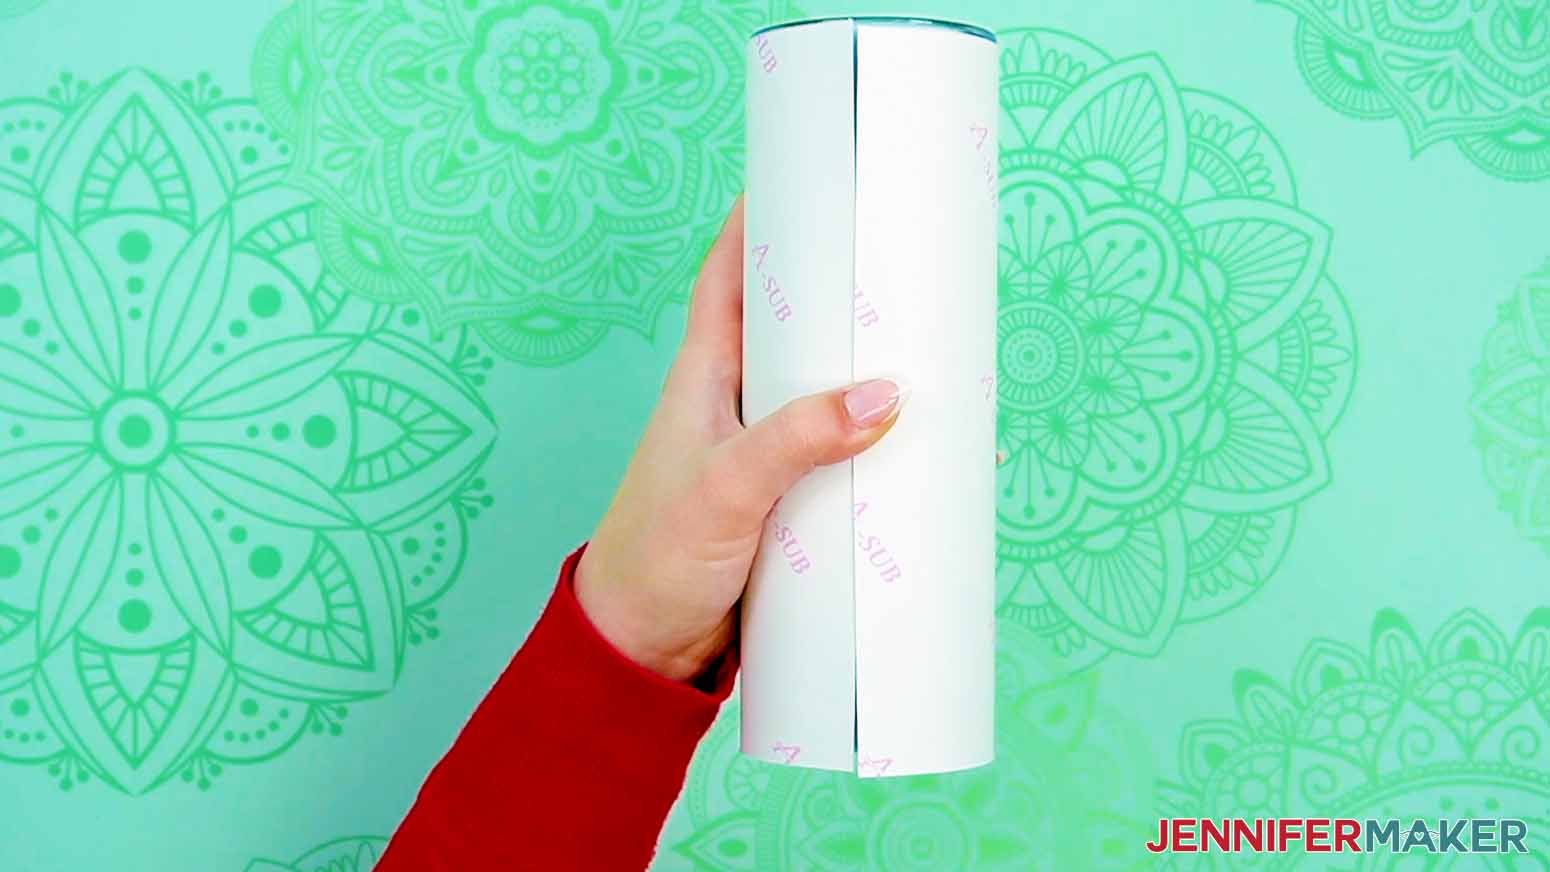
1. Wrap the trimmed design around the tumbler, making sure to line up the top and bottom edges
2. Place the wrapped tumbler, with the seam on top, horizontally in the center cradle of the Tumbler Tool.
3. While holding the tumbler in place with one hand, pull up each of the arms of the Tumbler Tool with the other hand so the wrap and tumbler are pinched between the grips of the arms.
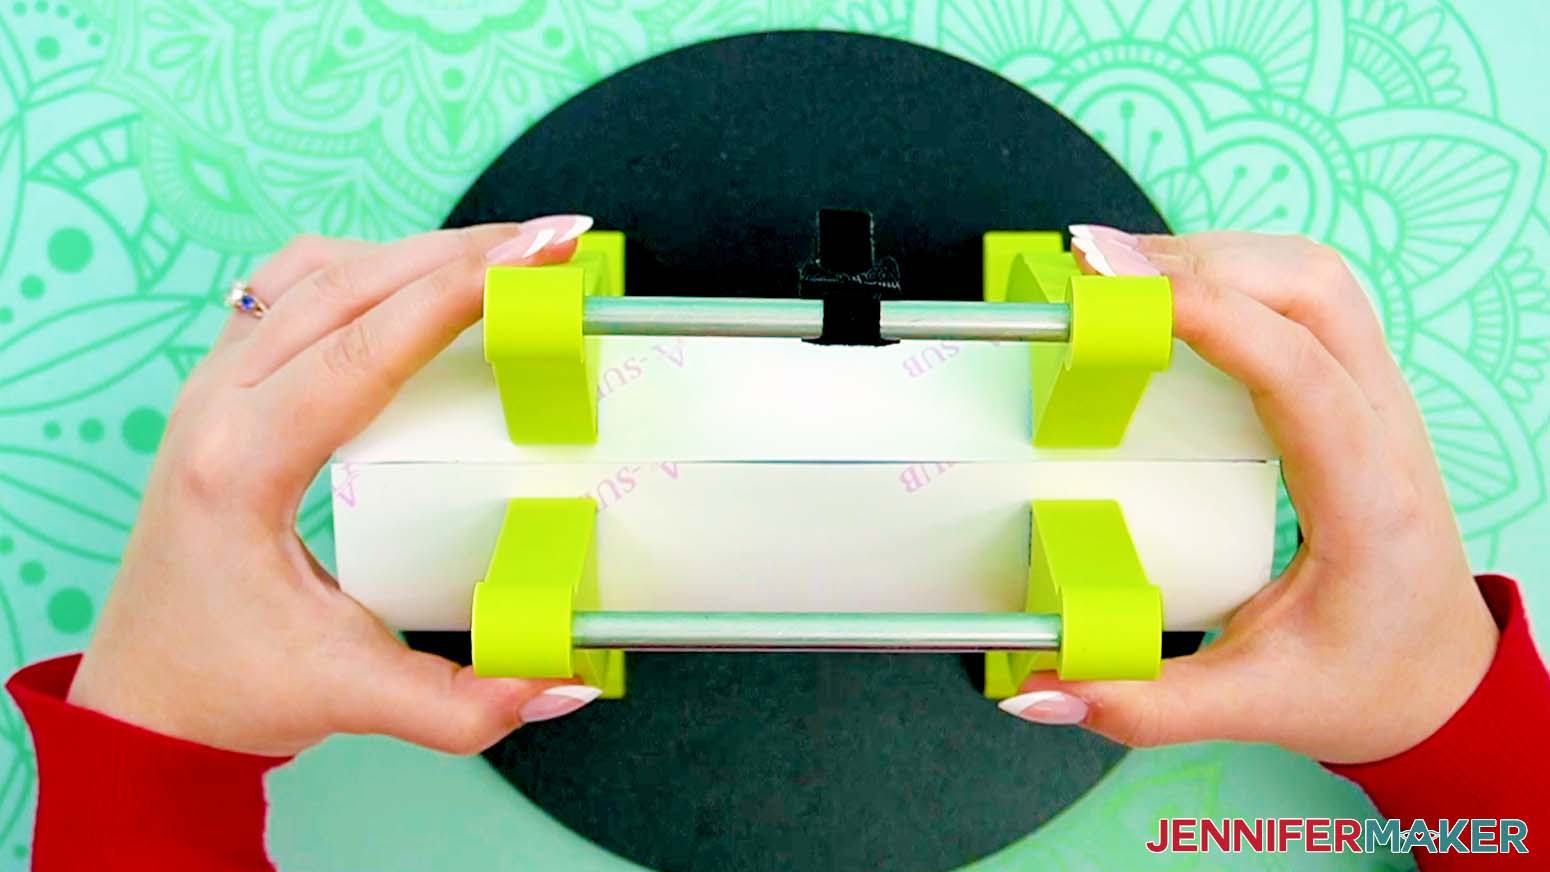
4. Adjust the position of the tumbler, if needed, so the seam is on top again after closing the arms tightly.
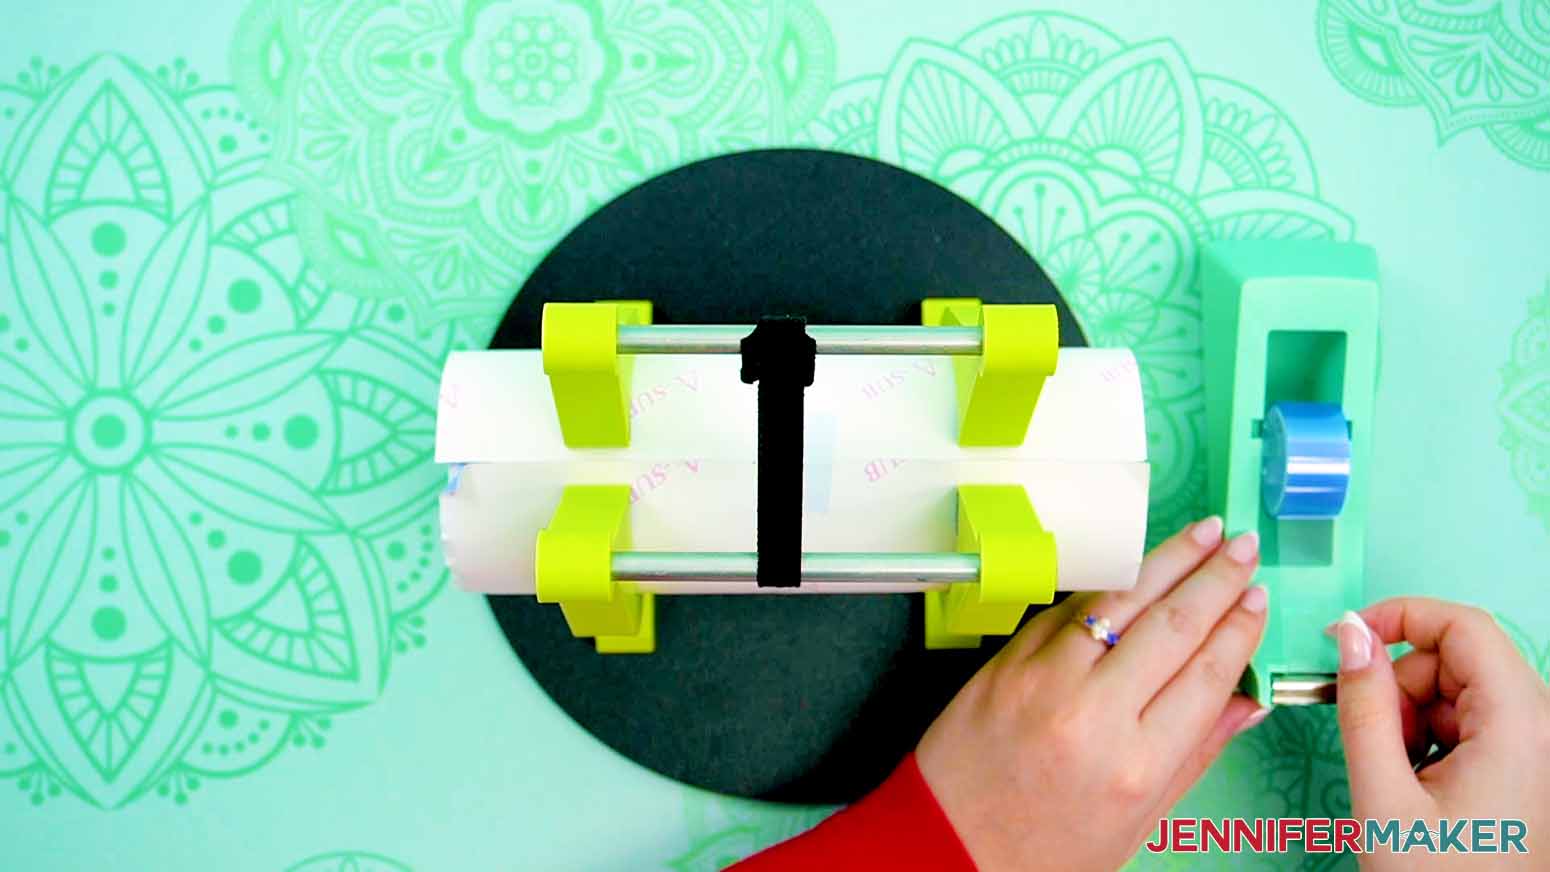
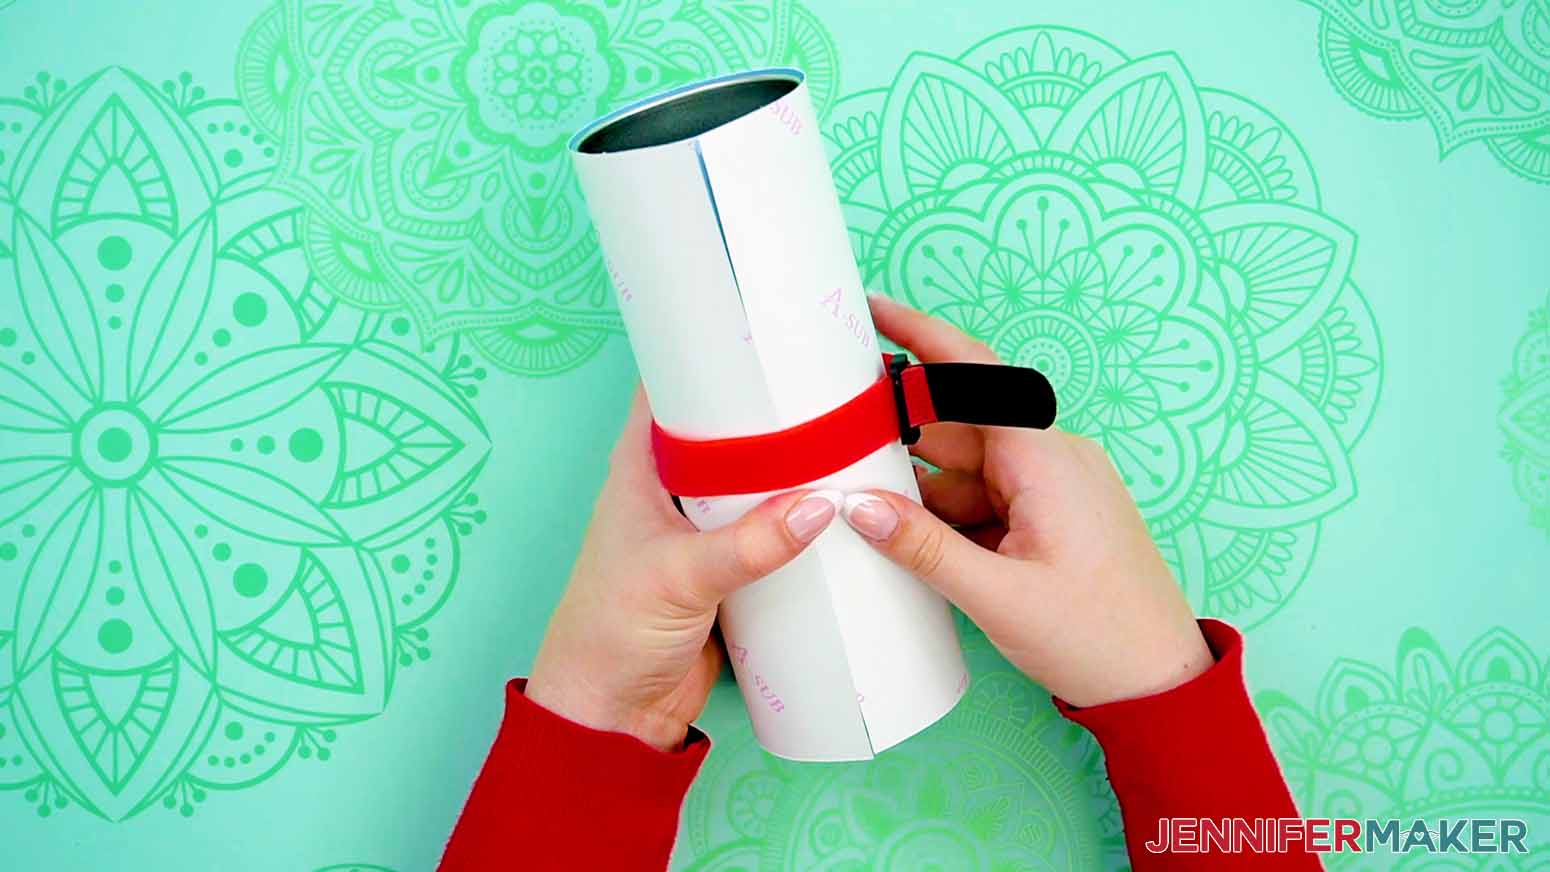
5. Loop the hook and loop strap attached to one Tumbler Tool arm through the handle of the opposite arm to hold both arms together.
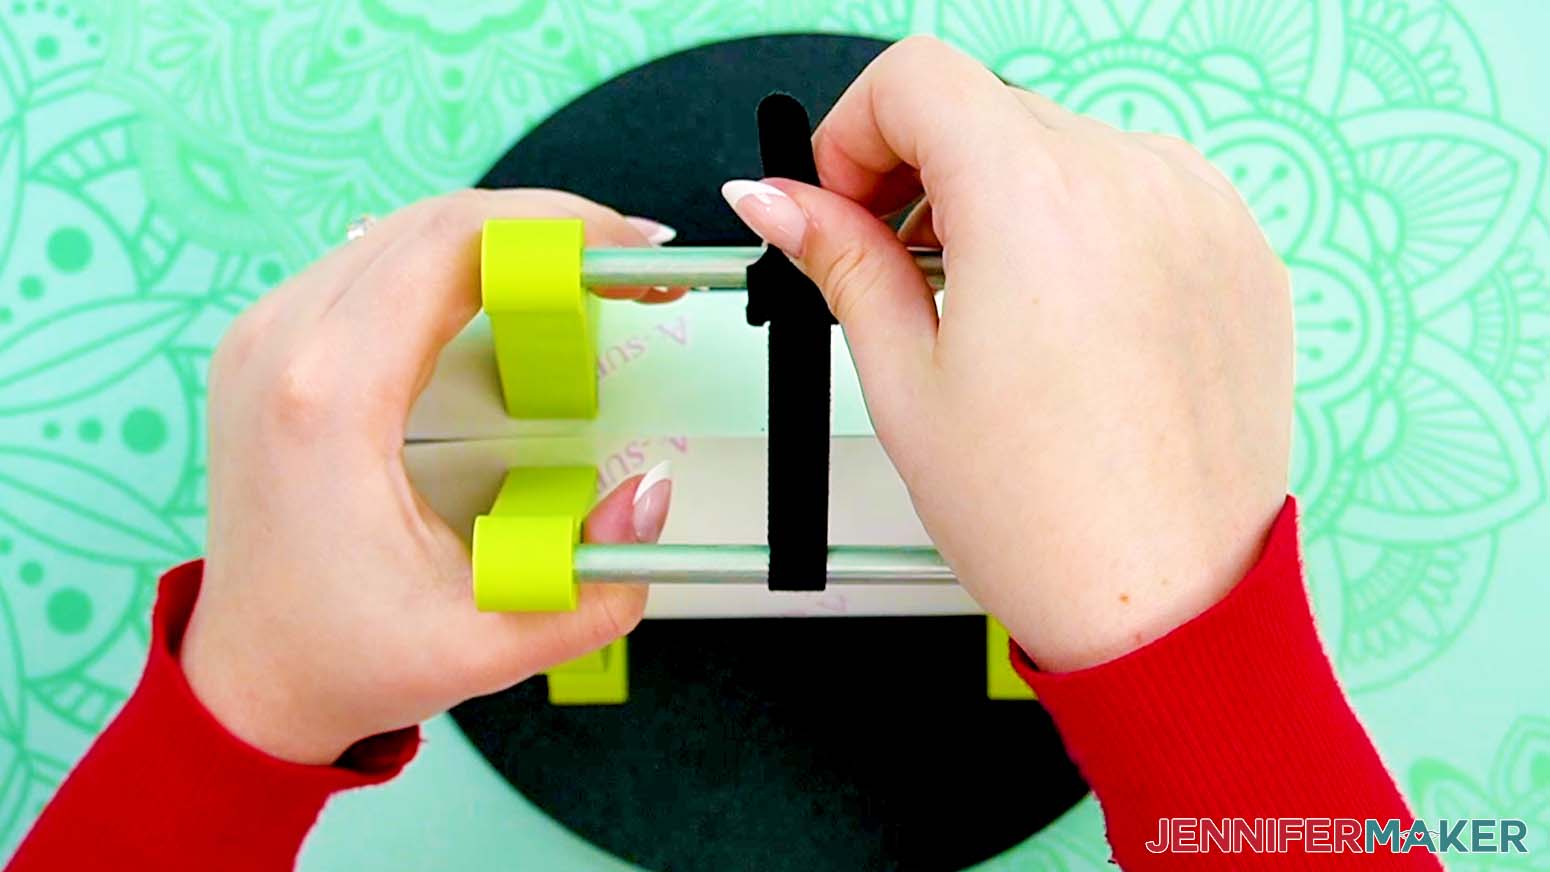
6. Apply heat resistant tape across the center of the wrap design to close the seam.
7. Continue to apply several pieces of heat resistant tape horizontally across the entire length of the seam.

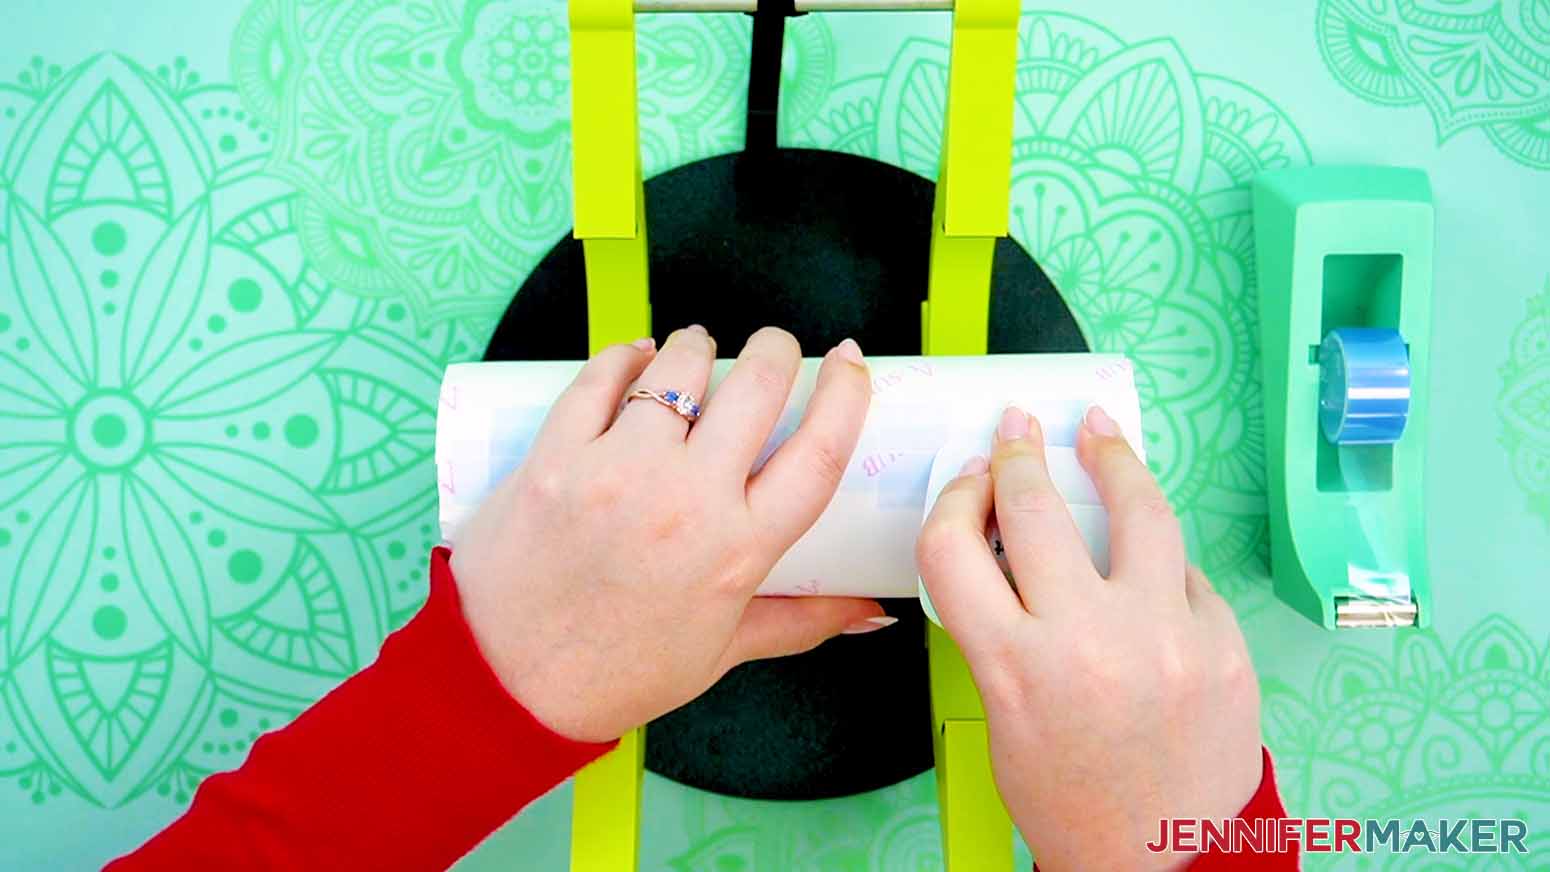
8. Open the arms of the Tumbler Tool, then apply one long piece of heat resistant tape vertically down the center of the tumbler, covering the seam completely.

9. Use a scraper to press down on the seam to make sure it is tight and there are no air pockets.
10. Wrap the tumbler in a piece of butcher paper and secure it with heat resistant tape.
11. Do not tape the top or bottom edges of the tumbler, but instead make sure the edges of the wrap and butcher paper extend past the ends by approximately 1/8 - 1/4”.
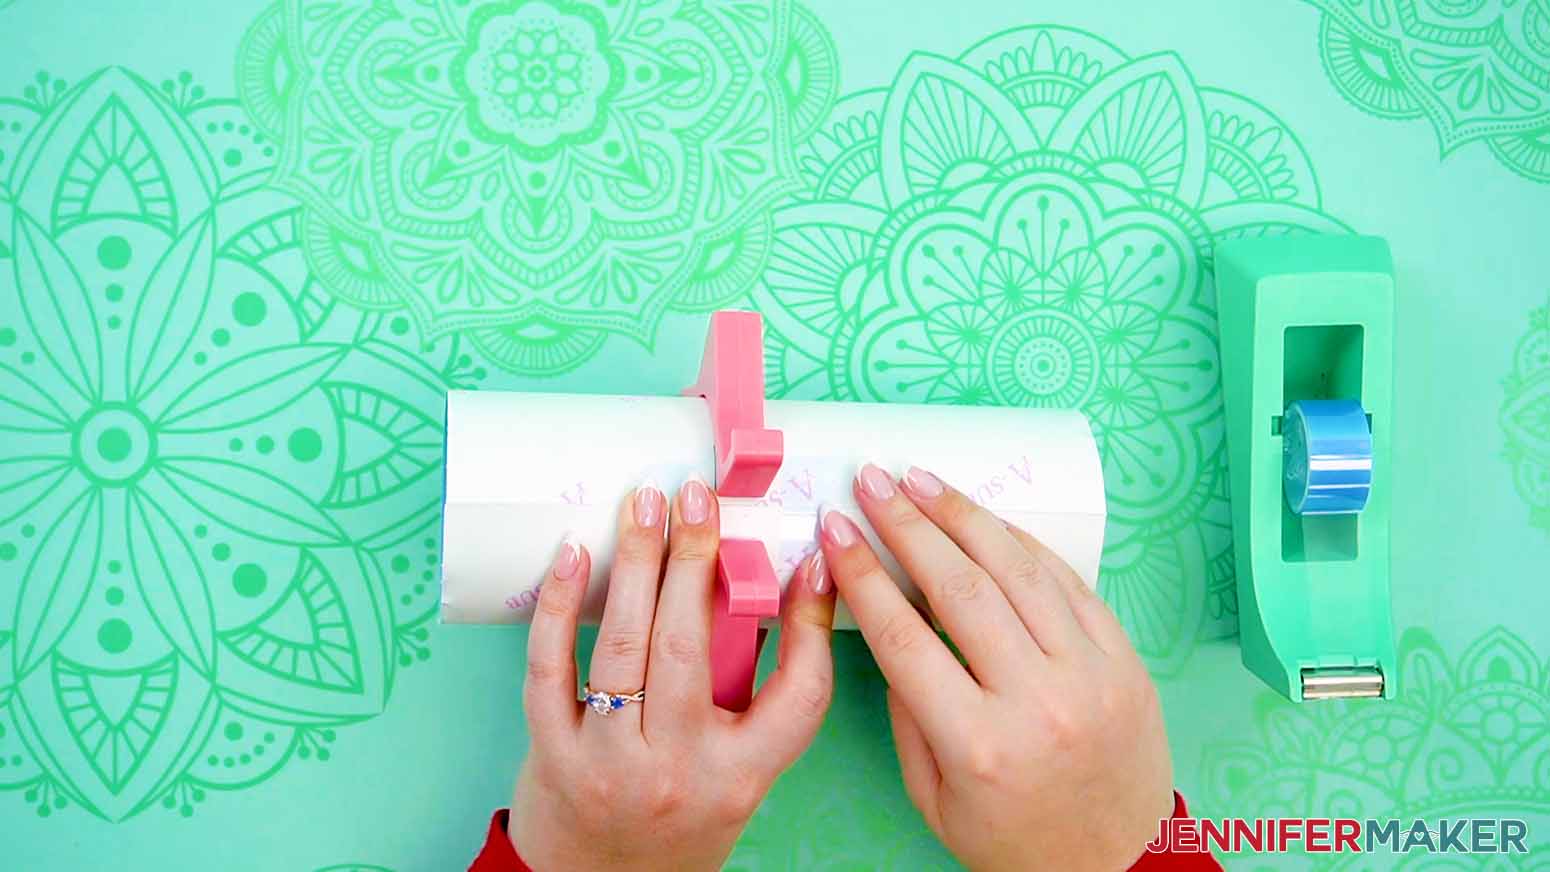
Tool Test 2: Square or Star Shaped Pinchers
NOTE: The square shaped pinchers are smaller in overall size than the star shaped pinchers and will sit differently on the work surface while holding the tumblers. They are used in the same manner, but you may notice you have a preference for one size or shape over the other. For ease of use, I preferred the larger size and the overall shape of the star pinchers.
1. Wrap the trimmed design around the tumbler, making sure to line up the top and bottom edges
2. Place the wrapped tumbler inside the pincher tool, while making sure the seam is facing out, and the tool is centered on the tumbler.
3. Hold the tumbler in one hand while pinching the tool closed with the other.
4. With the pincher holding the wrap closed in the center of the tumbler, place heat resistant tape horizontally across the seam on either side of the pincher.
5. Continue to apply several pieces of heat resistant tape horizontally across the entire length of the seam.
6. Remove the tumbler from the pincher, then apply one long piece of heat resistant tape vertically down the center of the tumbler, covering the seam completely.
7. Use a scraper to press down on the seam to make sure it is tight and there are no air pockets.
8. Wrap the tumbler in a piece of butcher paper and secure it with heat resistant tape.
9. Do not tape the top or bottom edges of the tumbler, but instead make sure the edges of the wrap and butcher paper extend past the ends by approximately 1/8 - 1/4”.
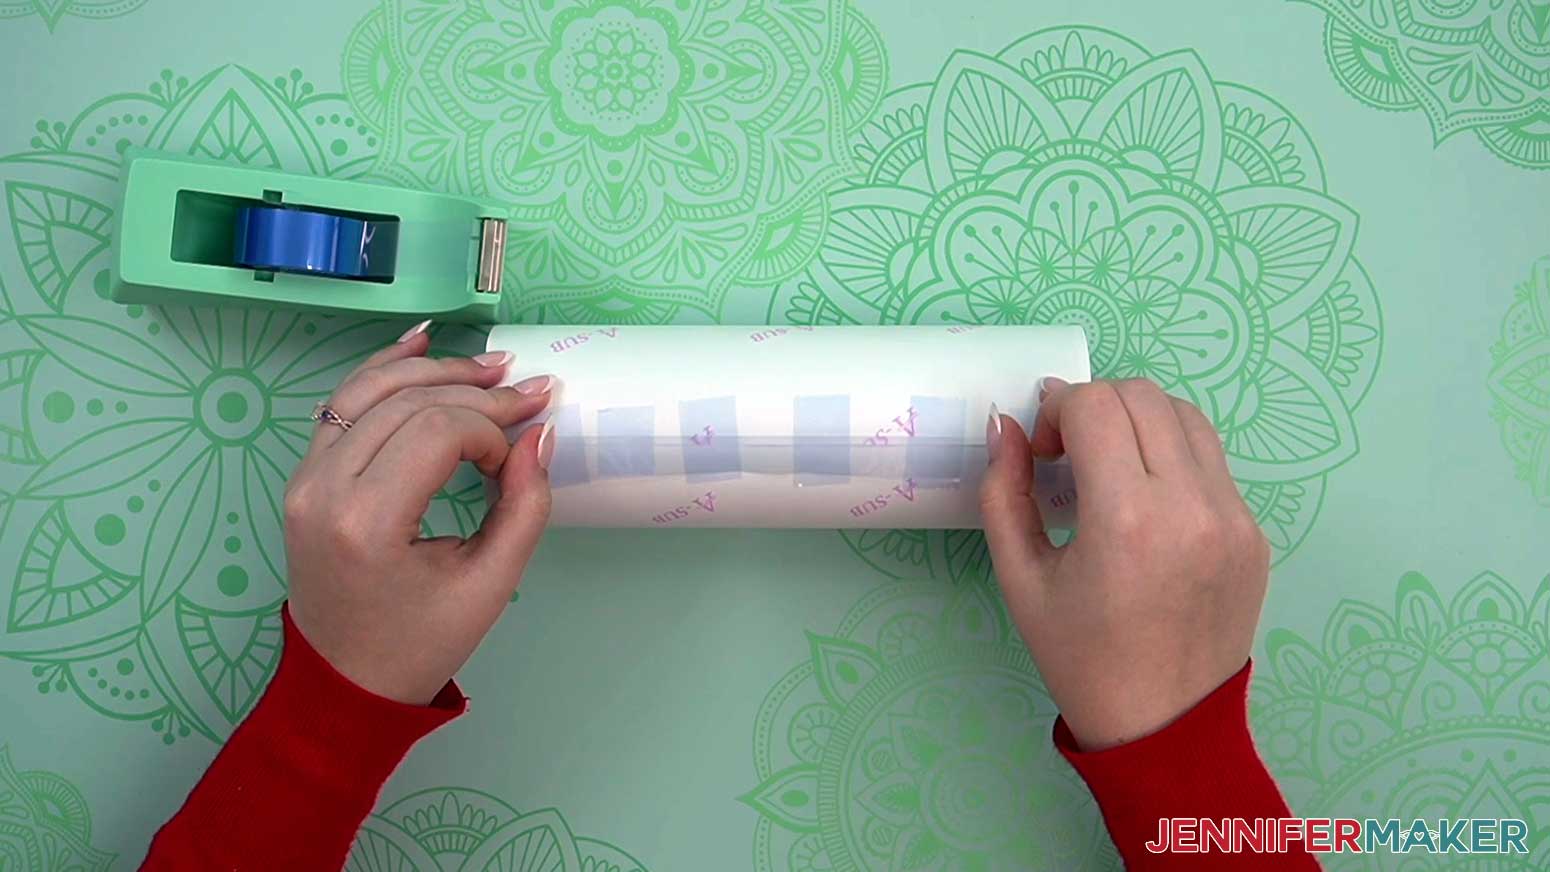
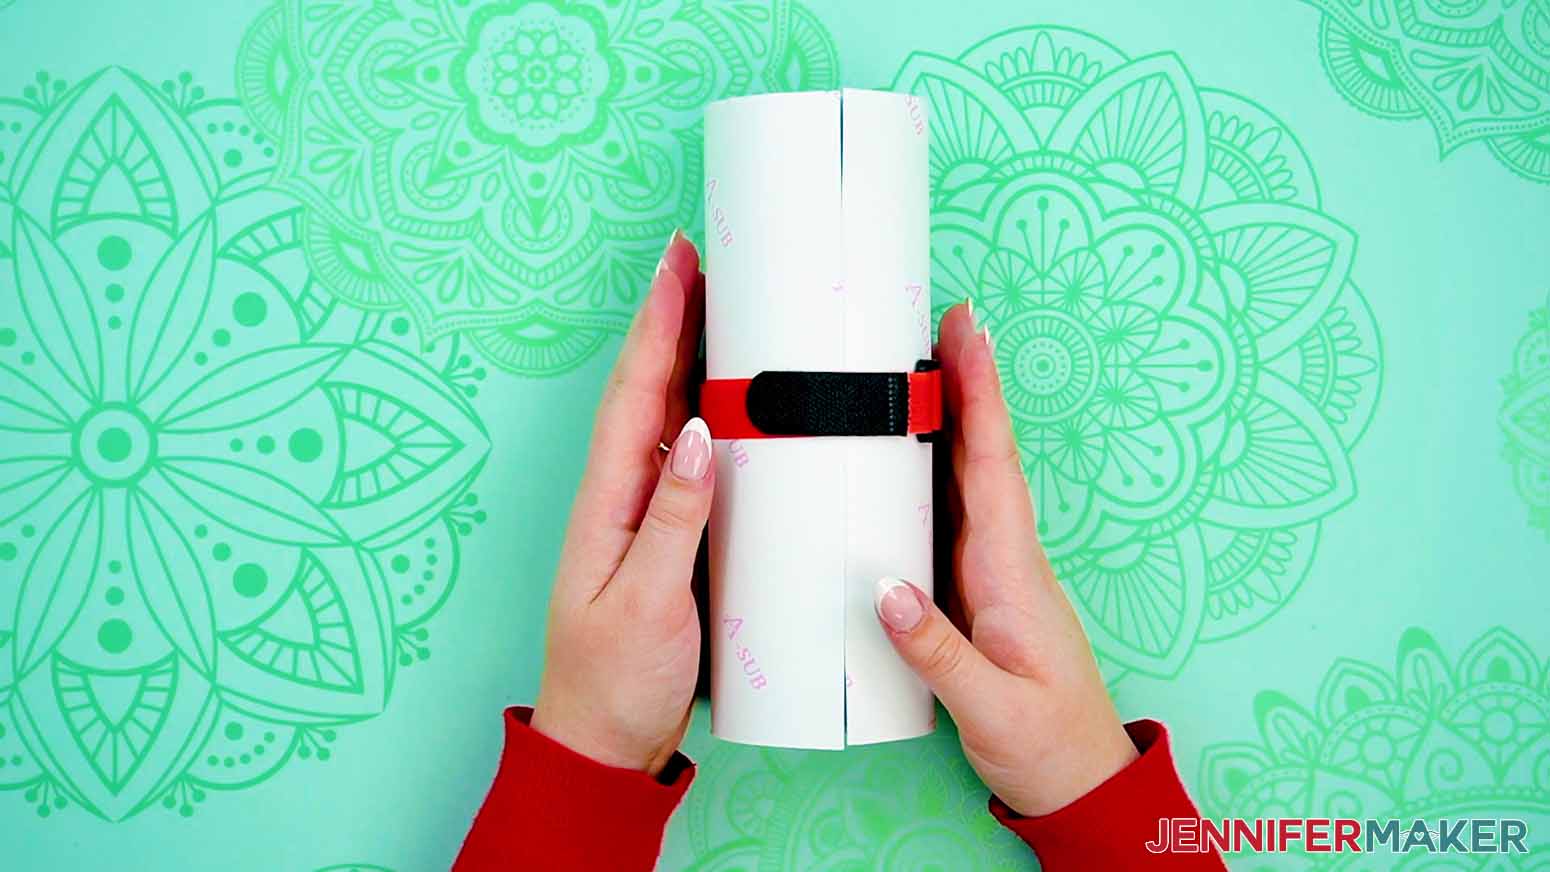
Tool Test 3: Hook and Loop Straps
1. Wrap the trimmed design around the tumbler, making sure to line up the top and bottom edges
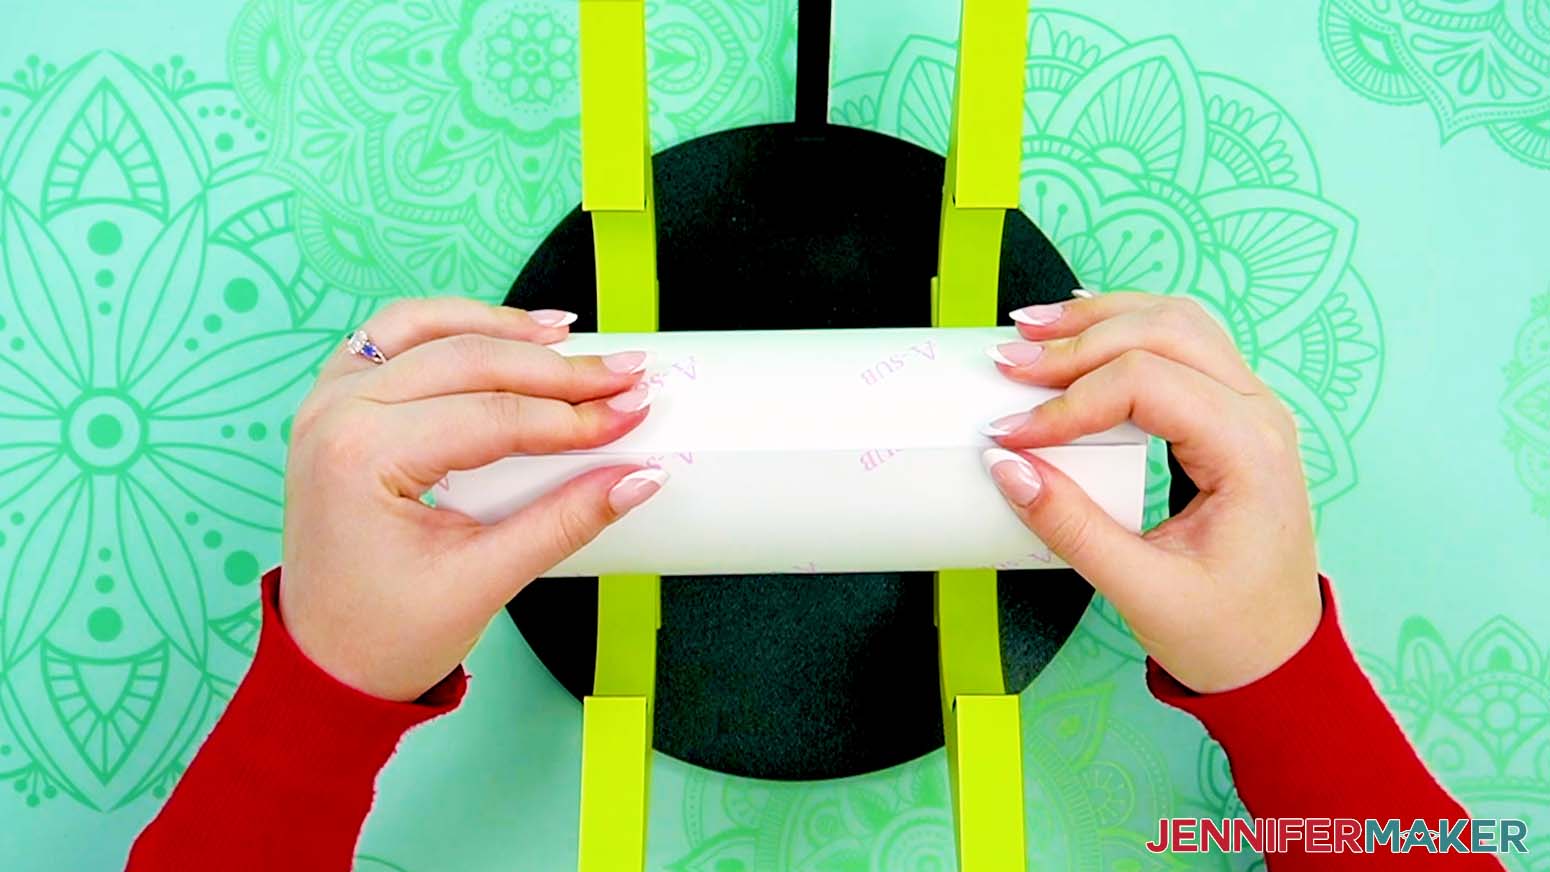
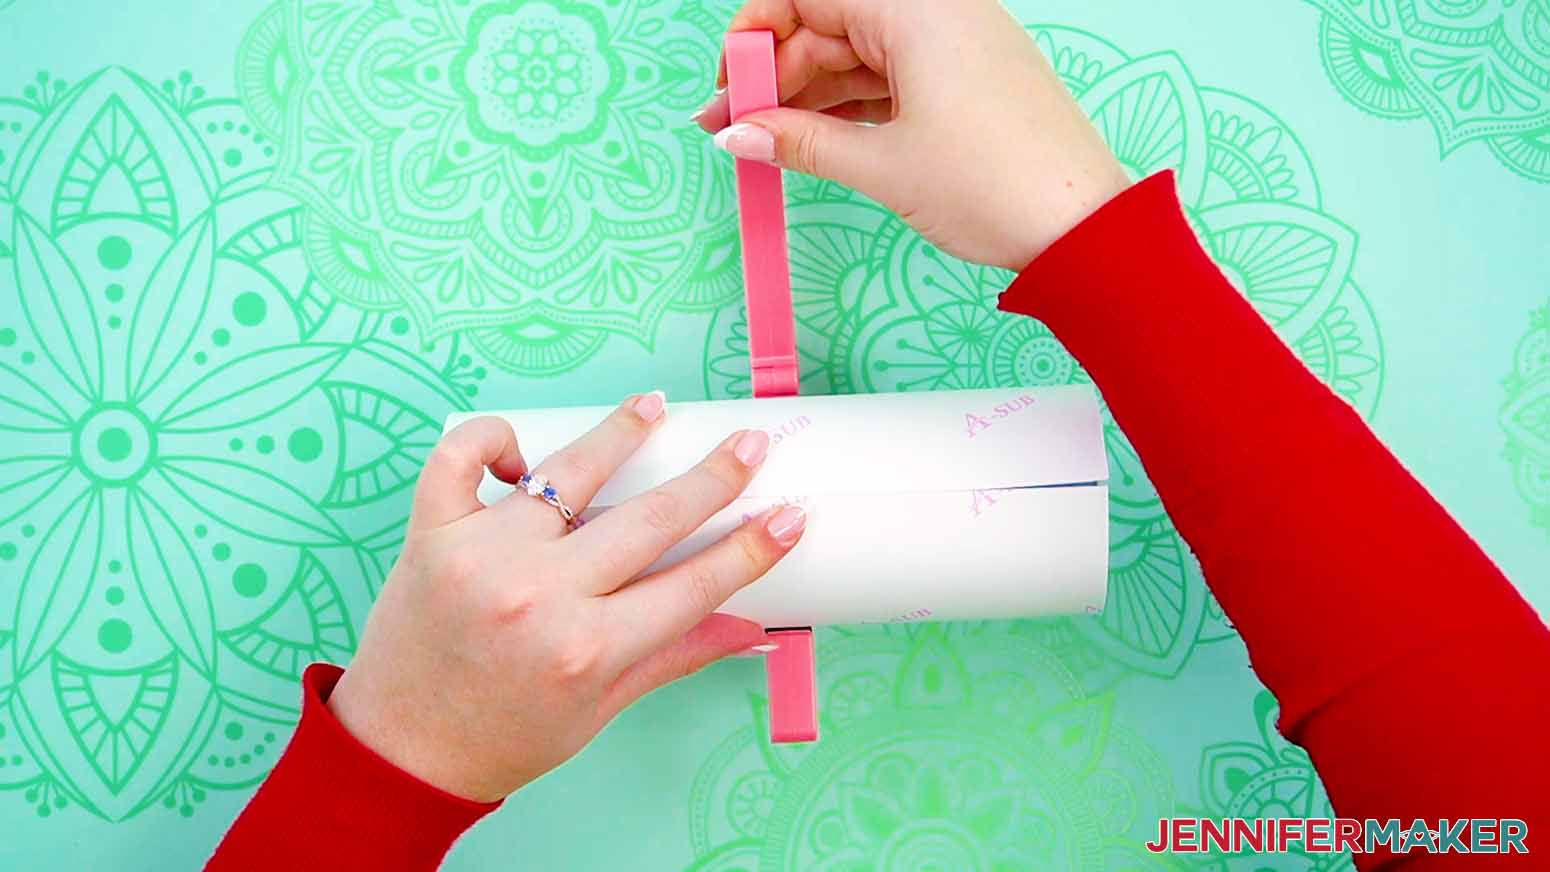
2. Slide one looped strapped over the end of the tumbler and up to the center.
3. Tightly close the looped strap around the center of the tumbler to close the wrap together.
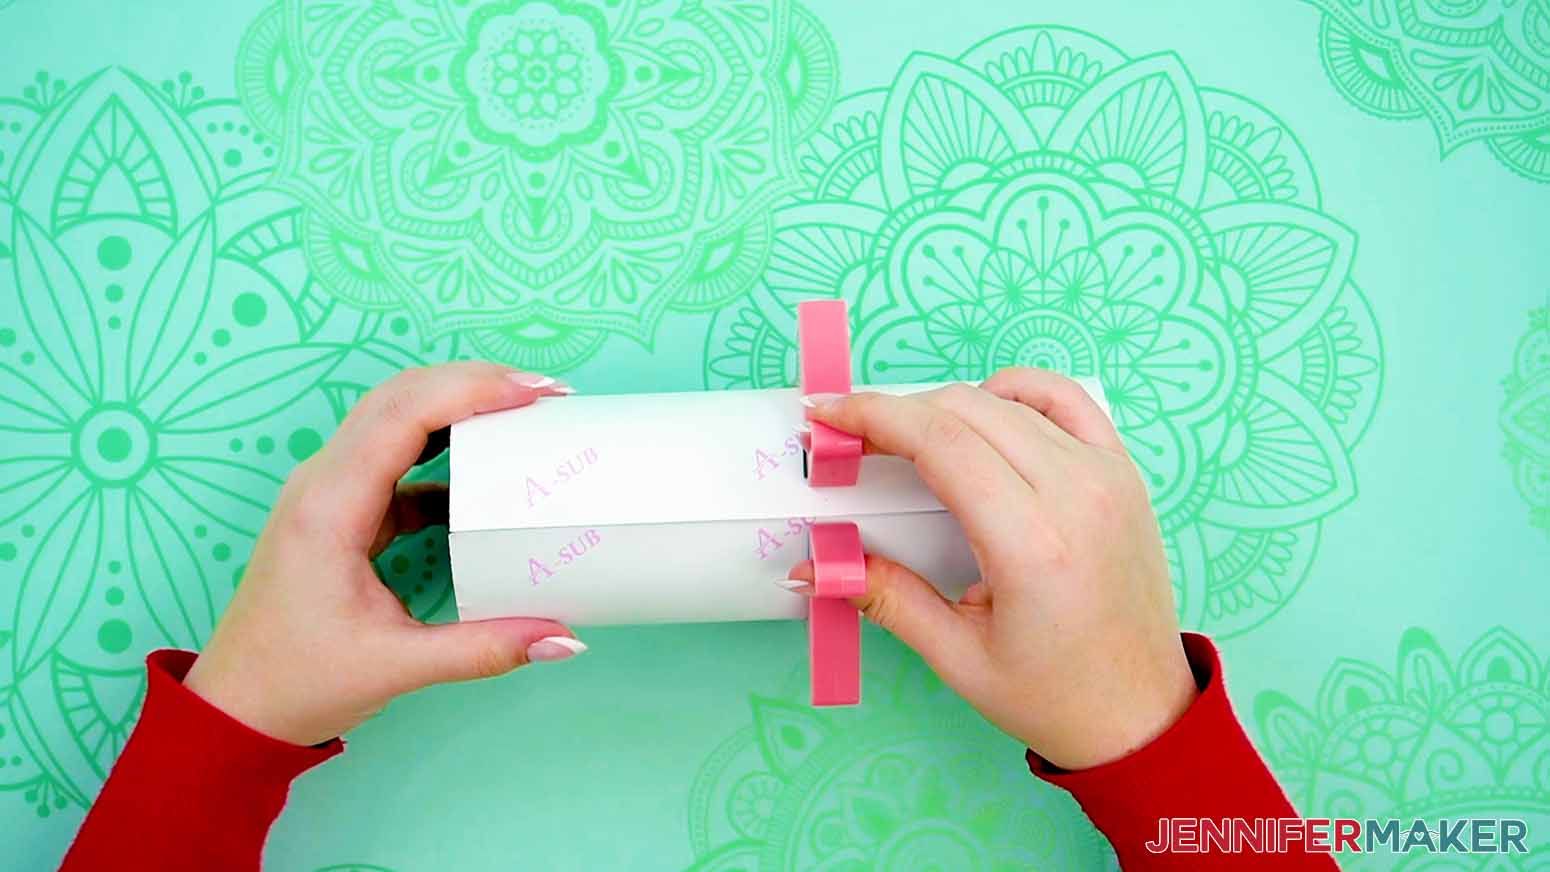
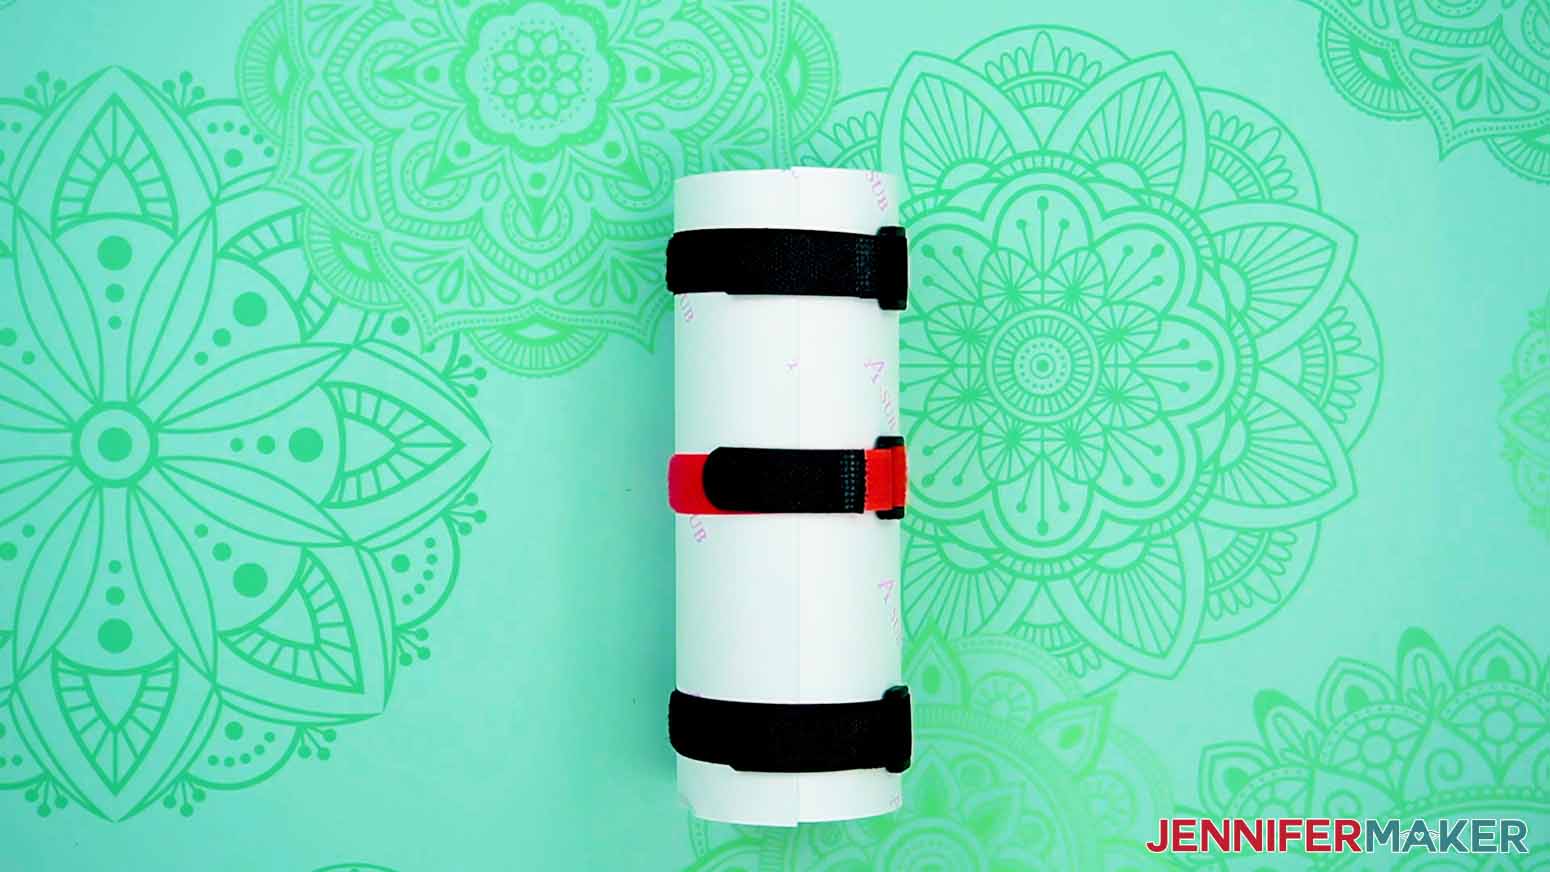
4. Apply one more looped strap in the same manner on either side of the center strap, for a total of three holding the wrap closed
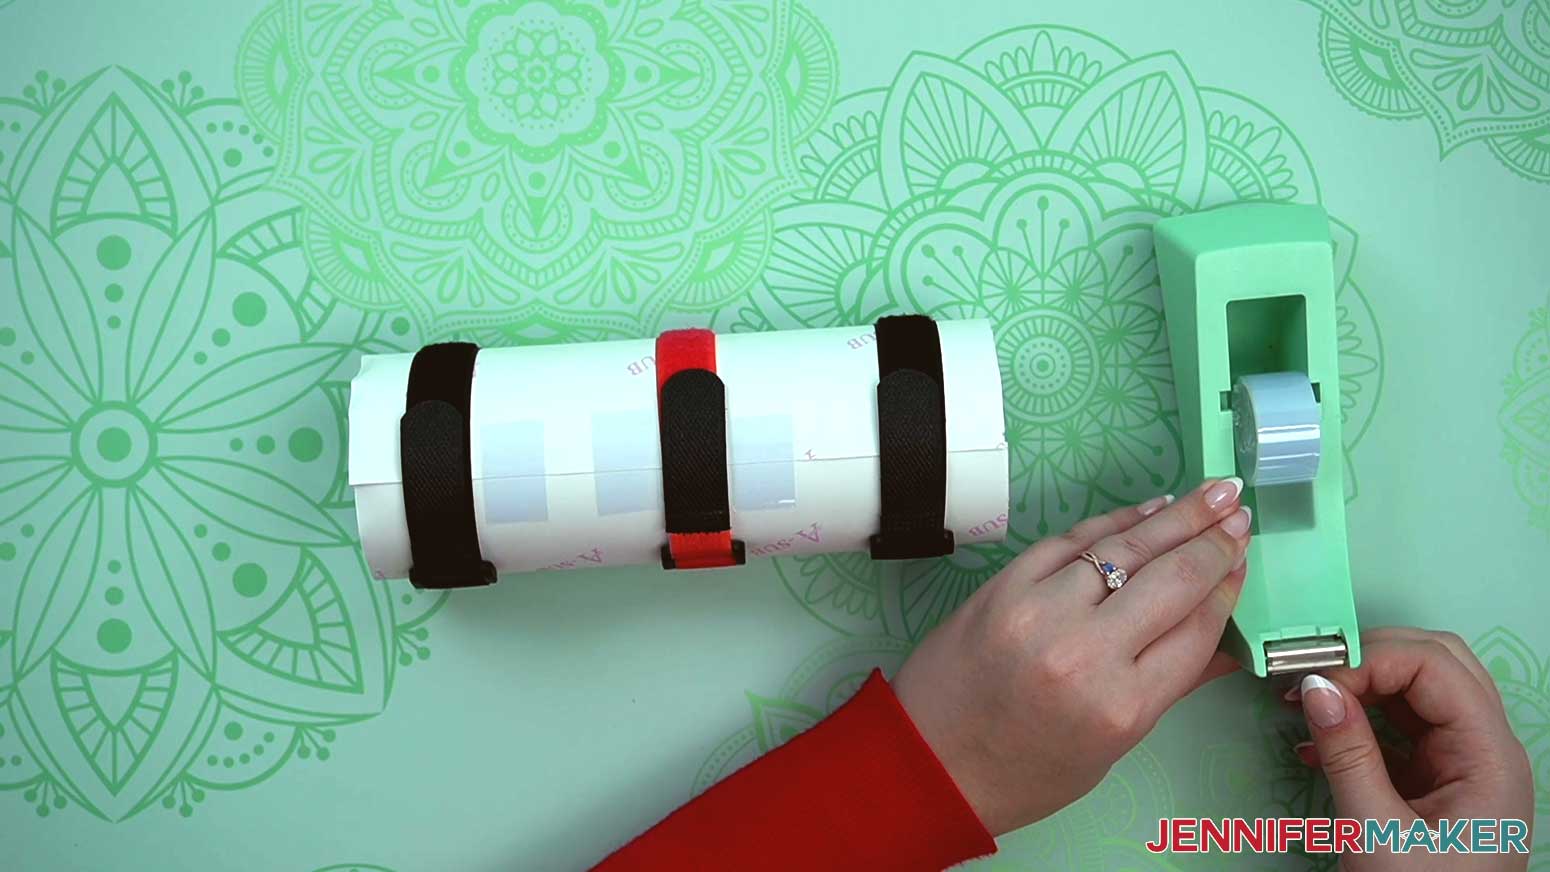
5. Leave the straps in place while applying pieces of heat resistant tape horizontally across the entire seam, attaching from the center outward while avoiding the straps.
6. Remove the three straps from the tumbler, then apply one long piece of heat resistant tape vertically down the center of the tumbler, covering the seam completely.
7. Use a scraper to press down on the seam to make sure it is tight and there are no air pockets.
8. Wrap the tumbler in a piece of butcher paper and secure it with heat resistant tape.
9. Do not tape the top or bottom edges of the tumbler, but instead make sure the edges of the wrap and butcher paper extend past the ends by approximately 1/8 - 1/4”.
OPTIONAL PREPARATION GADGETS
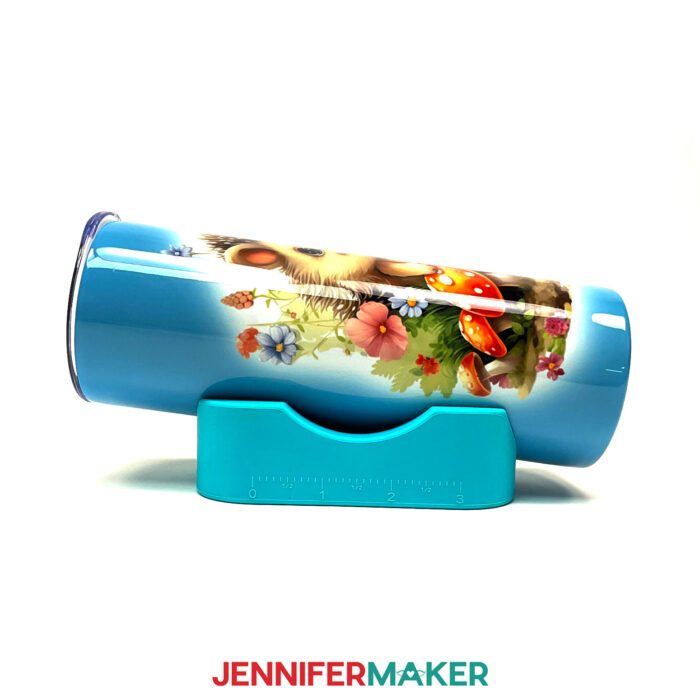
CUP CRADLE FOR STRAIGHT OR TAPERED TUMBLERS
While this gadget doesn’t hold the wrap edges together for you, it will keep the tumbler from rolling away! It works well for both straight and tapered tumblers and can be used for holding the tumblers while applying sublimation wraps, vinyl, glitter, resin, or heat.

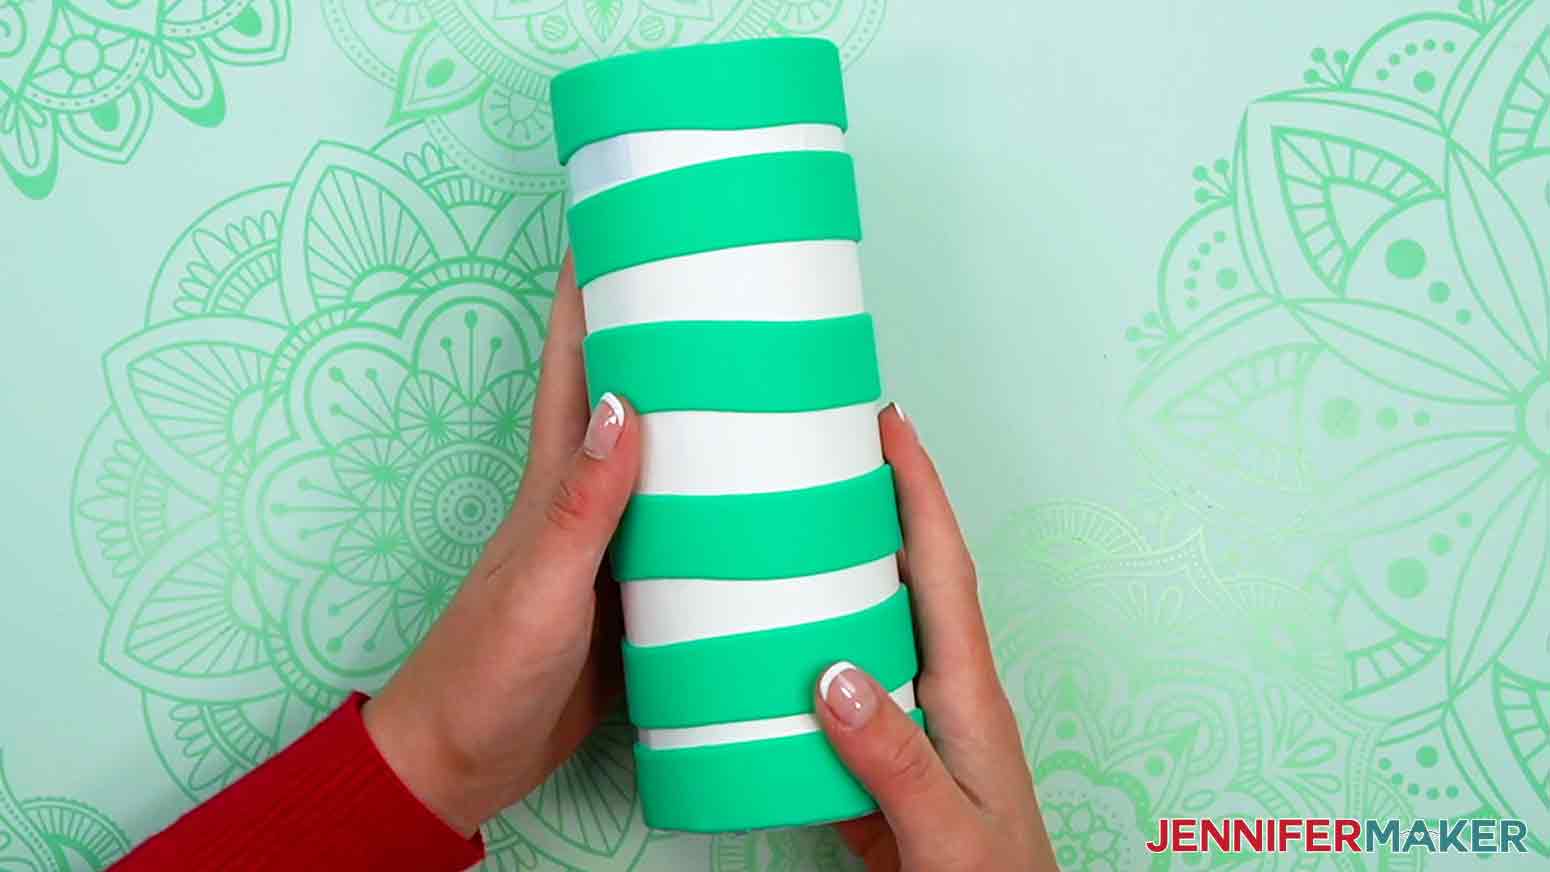
SILICONE BANDS FOR STRAIGHT TUMBLERS
After applying heat resistant tape and wrapping the tumbler in butcher paper, silicone bands can be added to the tumbler to help hold the sublimation print tightly to the tumbler during the baking process. They can be difficult to stretch and apply over the tumblers but help to provide a nice clear print.
STEP 4: SUBLIMATE YOUR TUMBLER
NOTE: There are several different ways to press sublimation tumblers, as I listed in this previous sublimation tumbler project. I typically tape down my edges prior to pressing, but using the tumbler tools with the following method worked best to get edges free of ghosting.
1. Heat a convection oven, using a thermometer to ensure the correct temperature is reached. Using my Sublimation Cookbook as my guide, I heated my oven to 375° Fahrenheit (190° Celsius).
SAFETY NOTE: Turn on a fan or open a window prior to baking, and make sure to use heat resistant gloves when handling the hot tumblers.
2. Place a silicone baking mat onto the wire tray in the middle tray location of the oven

3. Set the prepared tumbler horizontally onto the silicone baking mat
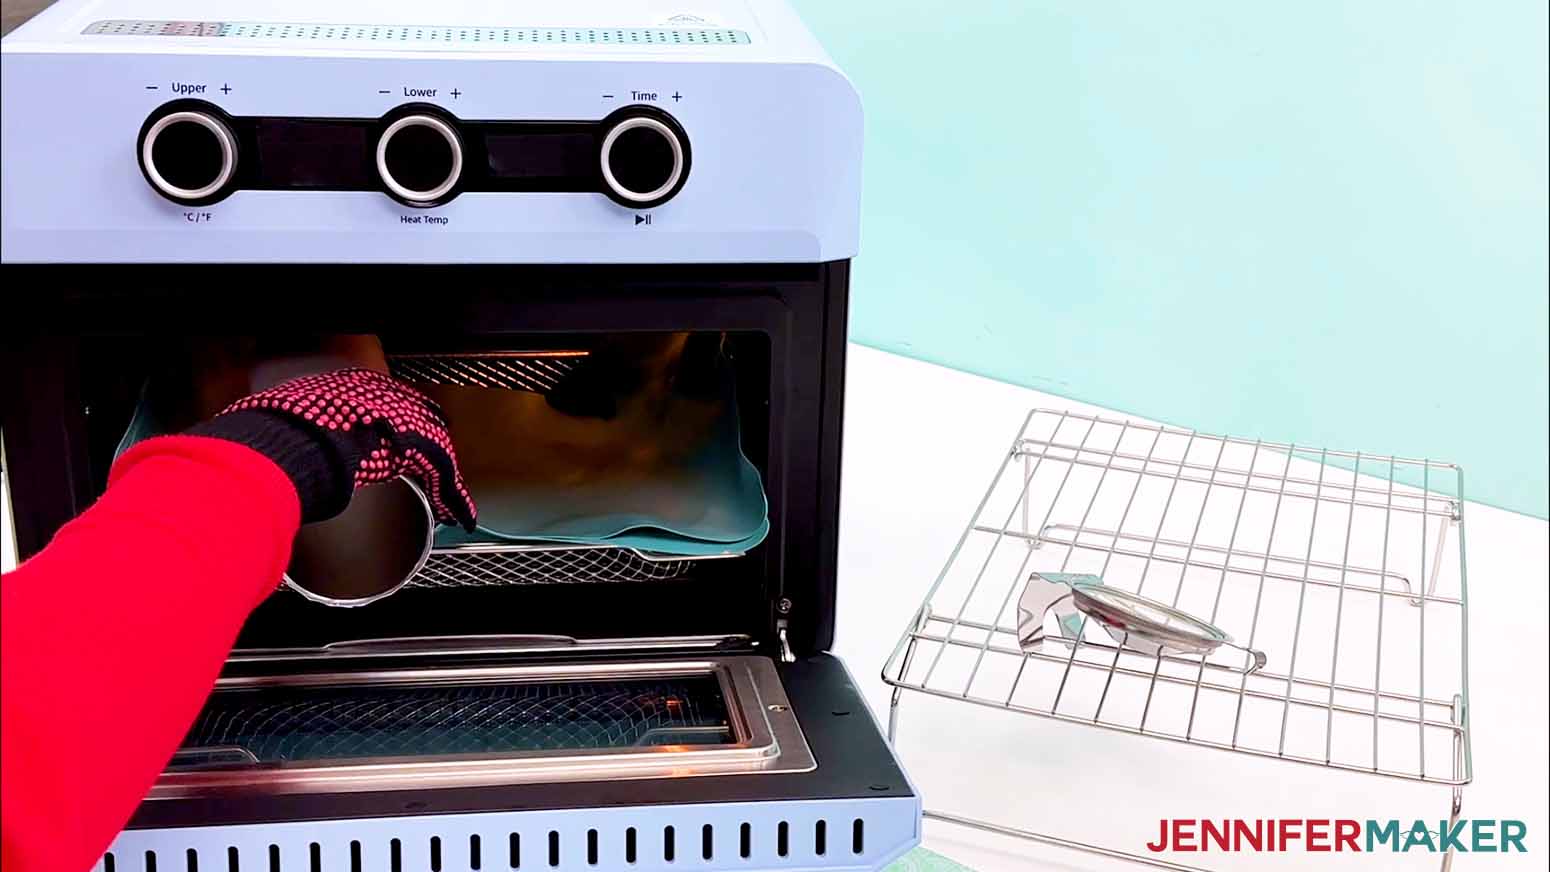
4. Bake the tumbler for six minutes, rotating a quarter turn every 1.5 minutes
5. Remove the tumbler from the oven and allow to cool on a cooling rack for 1-2 minutes
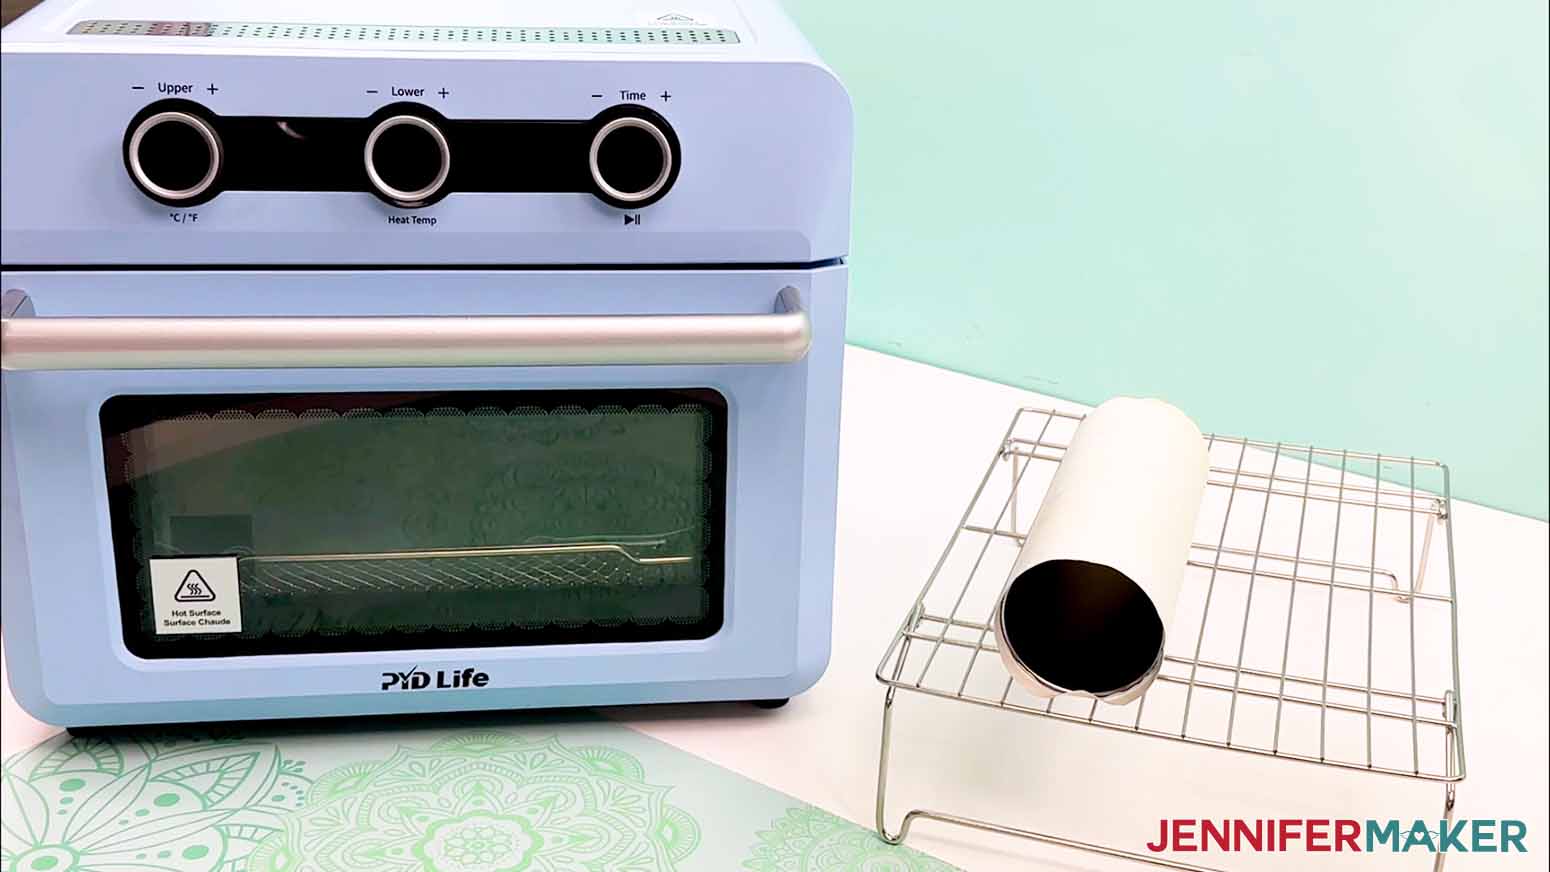
6. While the tumbler is still warm, carefully peel away the butcher paper and sublimation paper to reveal your completed tumbler
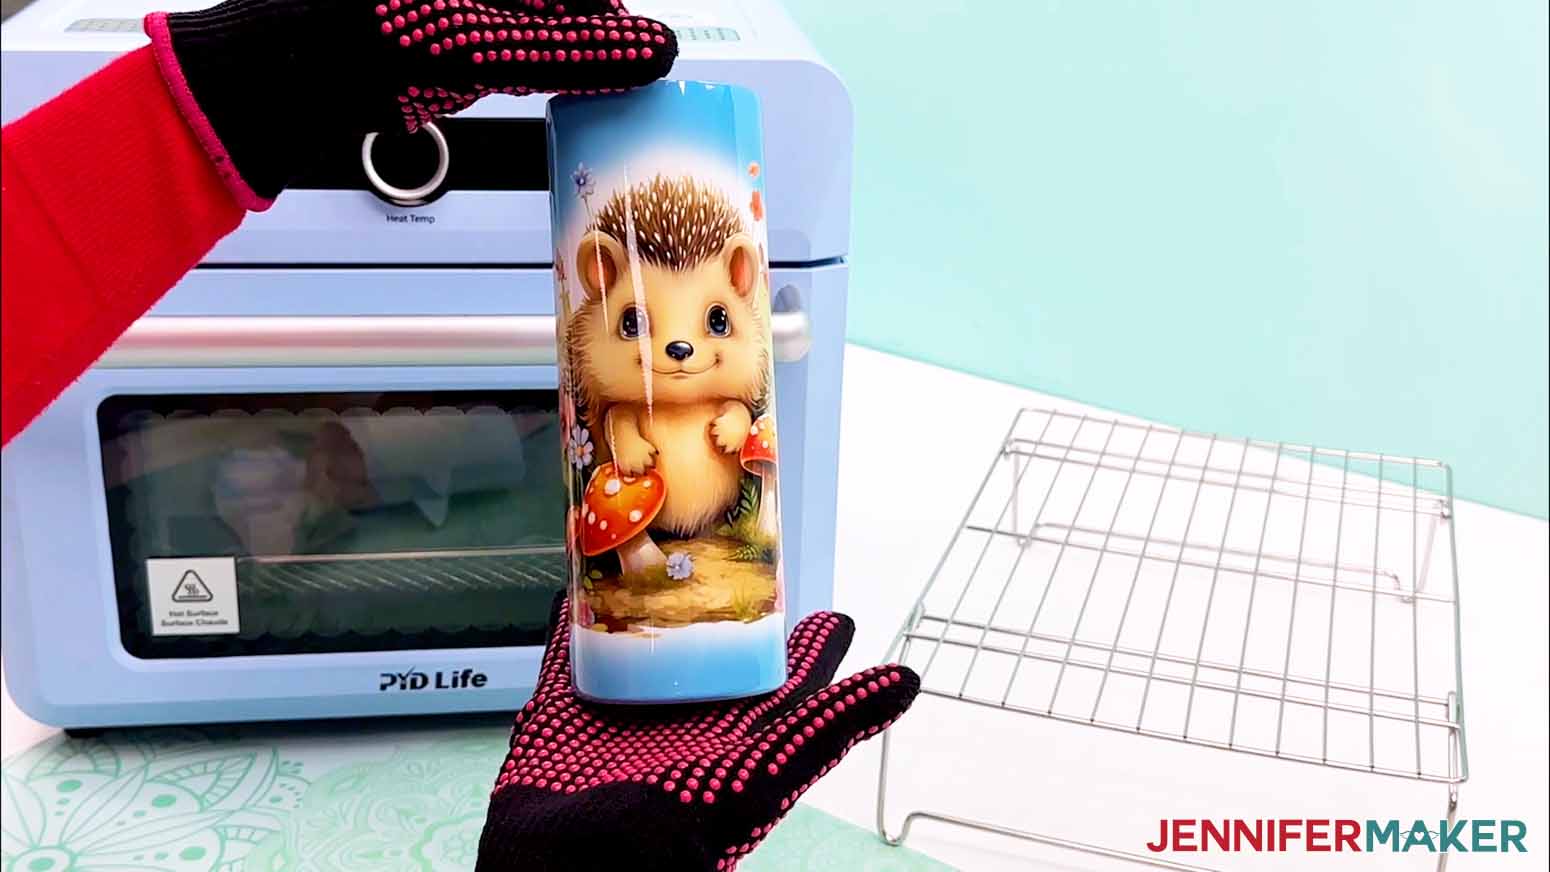
STEP 5: SHOW IT OFF
Your complete tumbler is ready to be used, given as a gift, and enjoyed for years to come!
BONUS FINISHING GADGET
TUMBLER BOOTS FOR STRAIGHT OR TAPERED TUMBLERS
Tumbler boots are perfect for covering not quite perfect bottom edges and making the tumbler non-skid! They work well for both the straight and tapered tumblers listed for this project.
The boots are applied by sliding the tumbler into the top opening of the boot. Tumblers with narrow bottoms will slide in easily, but the boot may not want to slide on all the way at first if the tumbler has a wider bottom. If this happens, place the boot on a solid surface and press the tumbler down into the boot until it sits fully into the bottom of the boot.
Tumbler boots can be easily removed to wash both the tumbler boot and tumbler by grasping the upper edge of the boot and carefully pulling it away from the bottom of the tumbler.
The boots do cover up a fair amount of bottom, so make sure important parts of your design aren’t going to be covered if you intend to use them.
Notes
Size
20 oz. Straight Side Sublimation Tumbler 2.83" x 8.1"
19 oz. Sublimation Tapered Tumbler: 11.5" at the top, 8.75" at the bottom, and 7" tall
Care Instructions:
Hand wash with warm water and mild soap. Allow to air dry.
Answers to Your Questions About Using Sublimation Tumbler Tools For Better Transfers
Q: What equipment do I need to make sublimation tumblers?
A: You’ll need blank tumblers, a sublimation printer (see my recommendations for the best sublimation printers!), sublimation paper and ink, heat resistant tape, scissors, white butcher paper, and a heat implement, like a craft-purposed convection oven.
Q: How long does it take to sublimate a 20 oz tumbler?
A: Determining the best temperature and time to sublimate tumblers depends on your heat source. If you’re using a craft-purposed convection oven like me, I recommend you sublimate your tumbler at 375°F (190°C) for 6 minutes. If you’re using a craft-purposed air fryer, I recommend 385°F (196°C), also for 6 minutes. If you’re using a tumbler press, I recommend sublimating at 360°F (182°C) for 100 seconds, using medium pressure (around 40 psi). These times and temperature recommendations are based on my experience, and I encourage you to do tests on your own tumblers to see what works best for you!
Q: What accessories do you need for sublimation printing?
A: The best accessories depend on the sublimation project you’re doing, but generally you’ll need sublimation paper and ink, heat resistant tape, and blowout paper.
Q: Can I use an air fryer to sublimate tumblers?
A: Yes, as long as you only use the air fryer for sublimation, the appliance will work for tumblers. Do not use your crafting air fryer for food! Excess sublimation ink will get on the appliance’s inside and is not food-safe.
Q: How do you fix sublimation mistakes?
A: You can try removing or covering sublimation mistakes with a new design or a vinyl decal. Or if your mistake is at the very bottom, use a tumbler boot to cover part of the sublimated designs!
Q. How do I care for a sublimated tumbler?
A. Simply hand-wash it with dish soap and warm water and a gentle sponge, then leave it to air dry or wipe it dry with a clean, soft cloth. Follow these care instructions and it should hold up indefinitely. The same applies for sublimation mugs, cutting boards, or anything else that you’ve sublimated that may need cleaning after use.
Get my free PNG files to test out sublimation tumbler tools!
(If you do not see the signup form above, click here.)
I’d love to see YOUR sublimated tumbler and hear what you think of these tools! Please share a photo in our Facebook group or tag me on social media with #jennifermaker.
Love,

Want to remember this? Save this post on the Best Sublimation Tumbler Tools to your favorite Pinterest Board!