Learn how to engrave acrylic with a Cricut Maker 4, Maker 3, or original Maker!
Did you know that you can engrave a bunch of different materials on a Cricut Maker, Maker 3, or Maker 4? From leather to metal, there are so many possibilities for creating customized engraved projects. And who knew you could make professional-looking engraved items right at home? One of my favorite engraving projects to make with my Cricut Maker series machines are made from acrylic, because the design looks amazing when light shines through! So…want to learn how to engrave with Cricut Maker cutting machines, and create engraved night lights with me?

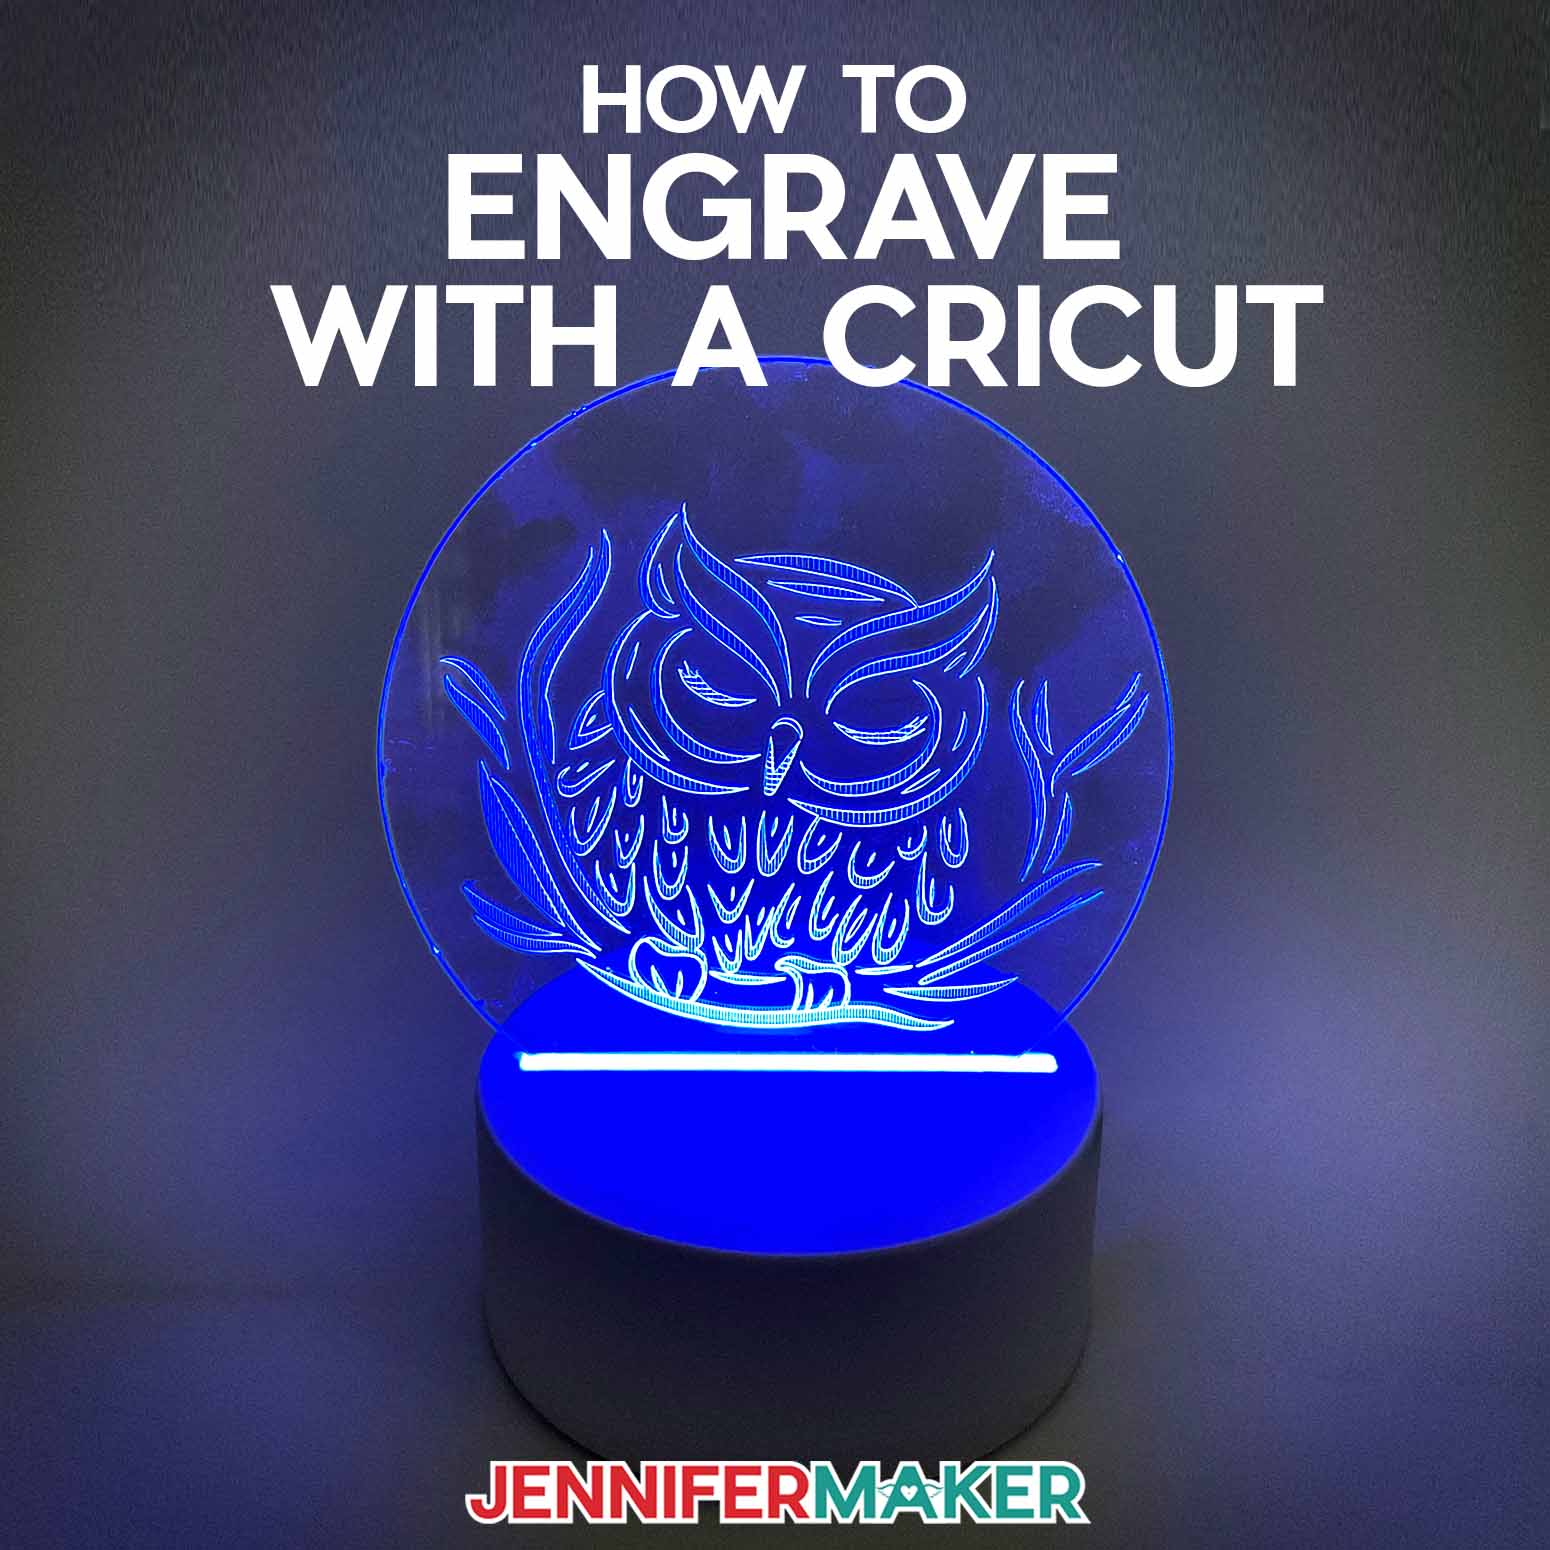
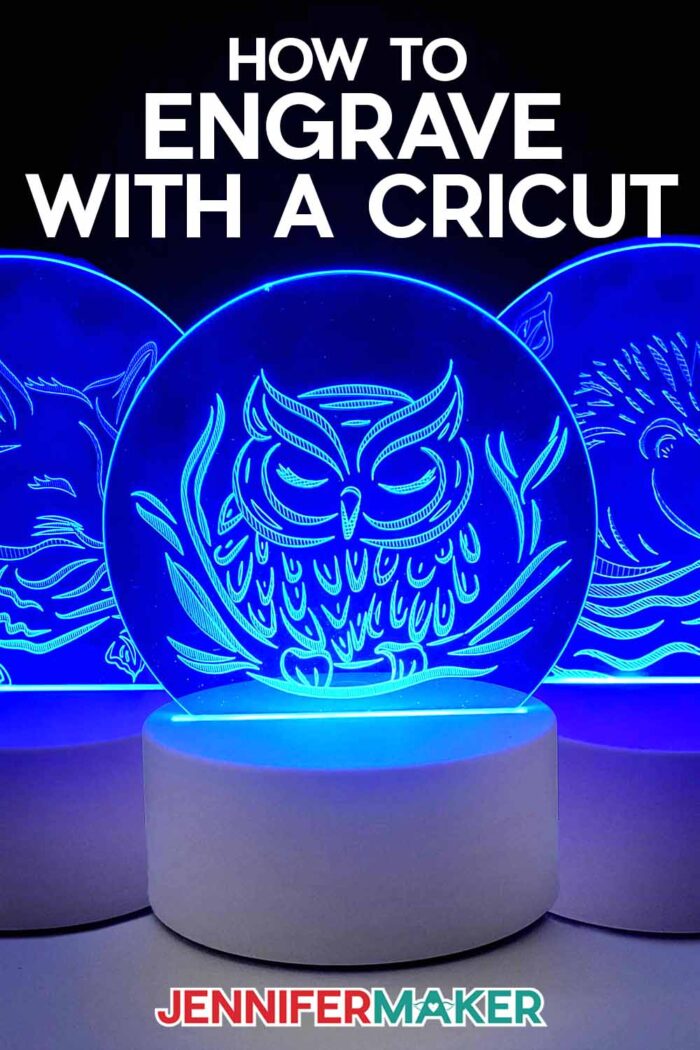
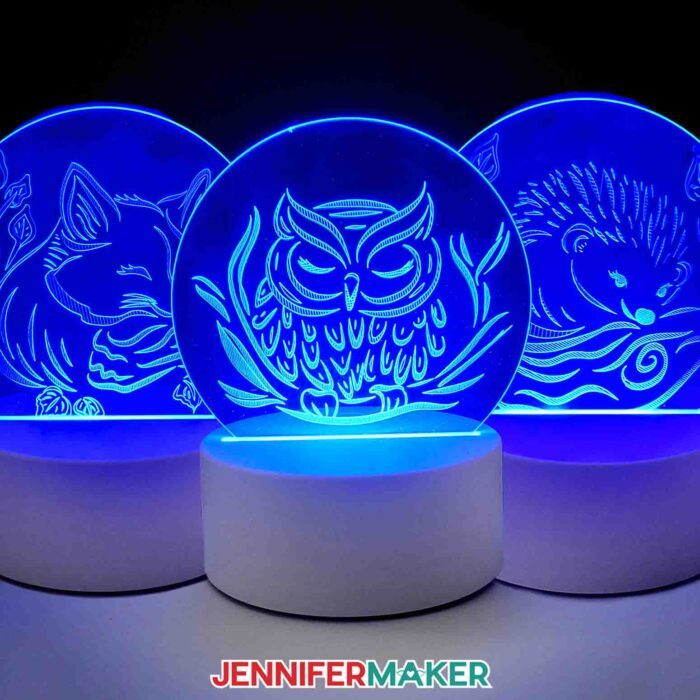
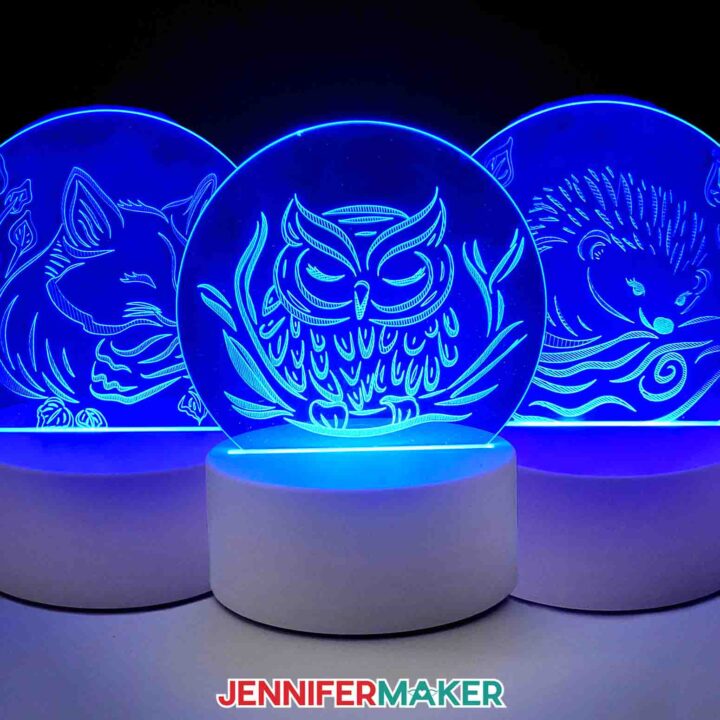
You all loved my last set of engraved acrylic nightlight designs, so I wanted to create some more for you to engrave and enjoy! This time, I’ve created some adorable woodland friends to engrave on acrylic: a bunny, a fox, an owl, and a hedgehog! These — and other engraving projects — are a lot of fun to make, and they’re a super easy way to make a lasting impression, whether you’re gifting or keeping your engraved creation!
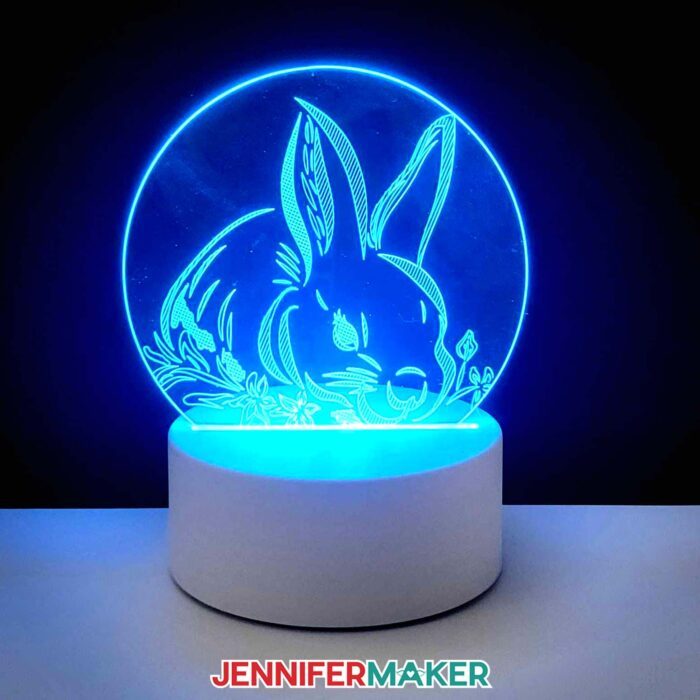
The first step I’ll show you is how to prepare your engraving design. I’ve got an SVG file filled with four super cute, nature-inspired animal designs to share with you. I’ll even show you how to add a name or other personalized text to your engraved night light. You can use a writing font like me, or use a thicker font and fill in the letters using my letter-filling tutorial and hatch fill patterns. Wouldn’t engraving one of your favorite quotes be a fun way to practice affirmations or inspire a great day?
The list of materials and tools for this project is pretty small, which sure can be nice sometimes! Like I said before, you’ll need an original Cricut Maker, Maker 3, or Maker 4 cutting machine. The Cricut Maker machines are currently the only models of Cricut machine that have engraving capabilities. You cannot engrave using the Joy, Joy Xtra, Explore Air 2, Explore 3, or Venture machines.
In order to learn how to engrave with Cricut Maker 3, 4, or original machines, one of the new tools you may not have (but need) is the Cricut Engraving tool. The engraving tip fits into the QuickSwap housing, which only works with the collection of Cricut Maker machines.
You’ll also need a purple StrongGrip mat, painter’s tape, and a soft cloth to clean the little acrylic bits and pieces off your project and Cricut, And lastly, you’ll need an acrylic nightlight base and a 2 mm thick acrylic blank to fit it, of course! Always measure the width of your blank before putting it in your Cricut, even if the packaging says it with work with the cutting machine. If the acrylic is thicker than 2 millimeters, it could catch on the roller bar and damage the machine!
And that’s it! You’re almost ready to get started. With this tutorial, you’ll learn how to engrave with a Cricut Maker 4, Maker 3, or original Maker in no time. But, there’s an important thing to keep in mind — while this project is pretty simple, without a ton of materials or tools, you’ll want to block off plenty of time. Each design can take up to 30 minutes to engrave, and it’s best to stay close by to watch for trouble!
The engraving process can take quite a long time, and if your computer goes to sleep or there’s an issue, your project could be damaged. So turn off any auto-sleep or screensaver settings, get comfortable, and hang out near your Cricut and your computer for the entire process while you’re engraving projects.
I can’t wait to show you how to get professional-looking results on your engraved acrylic nightlights and other projects! It’s such an eye-catching effect, and you might just run out of outlets lighting up your home with your beautiful engraved designs!
Ready to learn how to engrave with Cricut Maker series machines? This post contains some affiliate links for your convenience (which means if you make a purchase after clicking a link I will earn a small commission but it won’t cost you a penny more)! Read my full disclosure policy.
Materials And Tools to Learn How to Engrave with a Cricut Maker 4, Maker 3, or Original Maker
See the complete Amazon shopping list here!
-
4.5” Round Acrylic Disc, 2 mm or thinner (another disk option)
-
LED Light Base (4-pack that uses AAA batteries) -Or- LED Light Base (2-pack that uses AA batteries) NOTE: The disks that come with the bases are 4 mm thick and do not fit in the Cricut.
- Batteries if you want to make a wireless night light as they are not included
-
A Cricut Maker 4, Maker 3, or original Maker to engrave your acrylic
- Cricut Engraving Tip with Housing (note: If you have a Cricut Explore that is out of warranty, you can try this etching/engraving tool)
- Cricut Purple StrongGrip Machine Mat 12” x 12”
- Painter’s Tape
- Ruler
- Soft Cloth
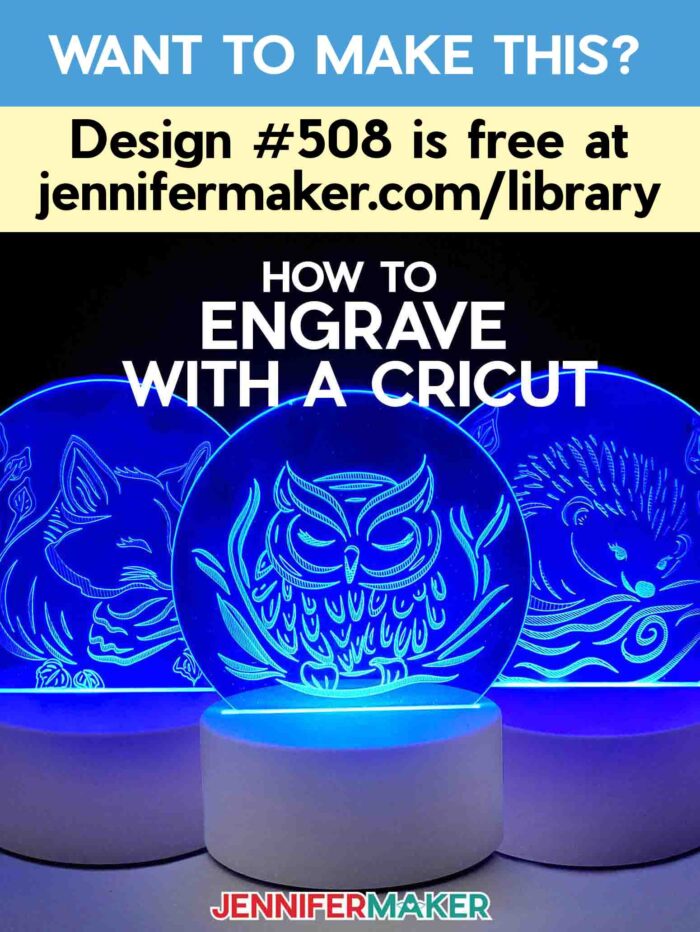
- Design #508 (My free engraving SVG design files are available in my free resource library – get the password by filling out the form at the bottom of this page)
How to Engrave with Cricut Maker 4, Maker 3, or Original Maker!
How To Engrave With Cricut Maker
Learn how to engrave with Cricut Maker to make custom acrylic nightlights!
Materials
- 4.5” Round Acrylic Disc, 2mm Thick - first option
- 4.5” Round Acrylic Disc, 2mm Thick - alternative option
- LED Light Base -Or-
- alternative LED Light Base NOTE: The acrylic disks that come with the bases are 4 mm thick and will not work with a Cricut.
- Batteries if you want a wireless night light
- Design #508 (My free SVG/DXF/PDF design files are available in my free resource library – get the password by filling out the form at the bottom of this page)
Tools
Instructions
STEP 1: GET MY FREE ENGRAVED ACRYLIC NIGHTLIGHT DESIGNS
First, download my Engraved Nightlight designs from my free library – look for Design #508. Alternatively, you can use the Save This Project form near the top of this post and the design link will be emailed to you.
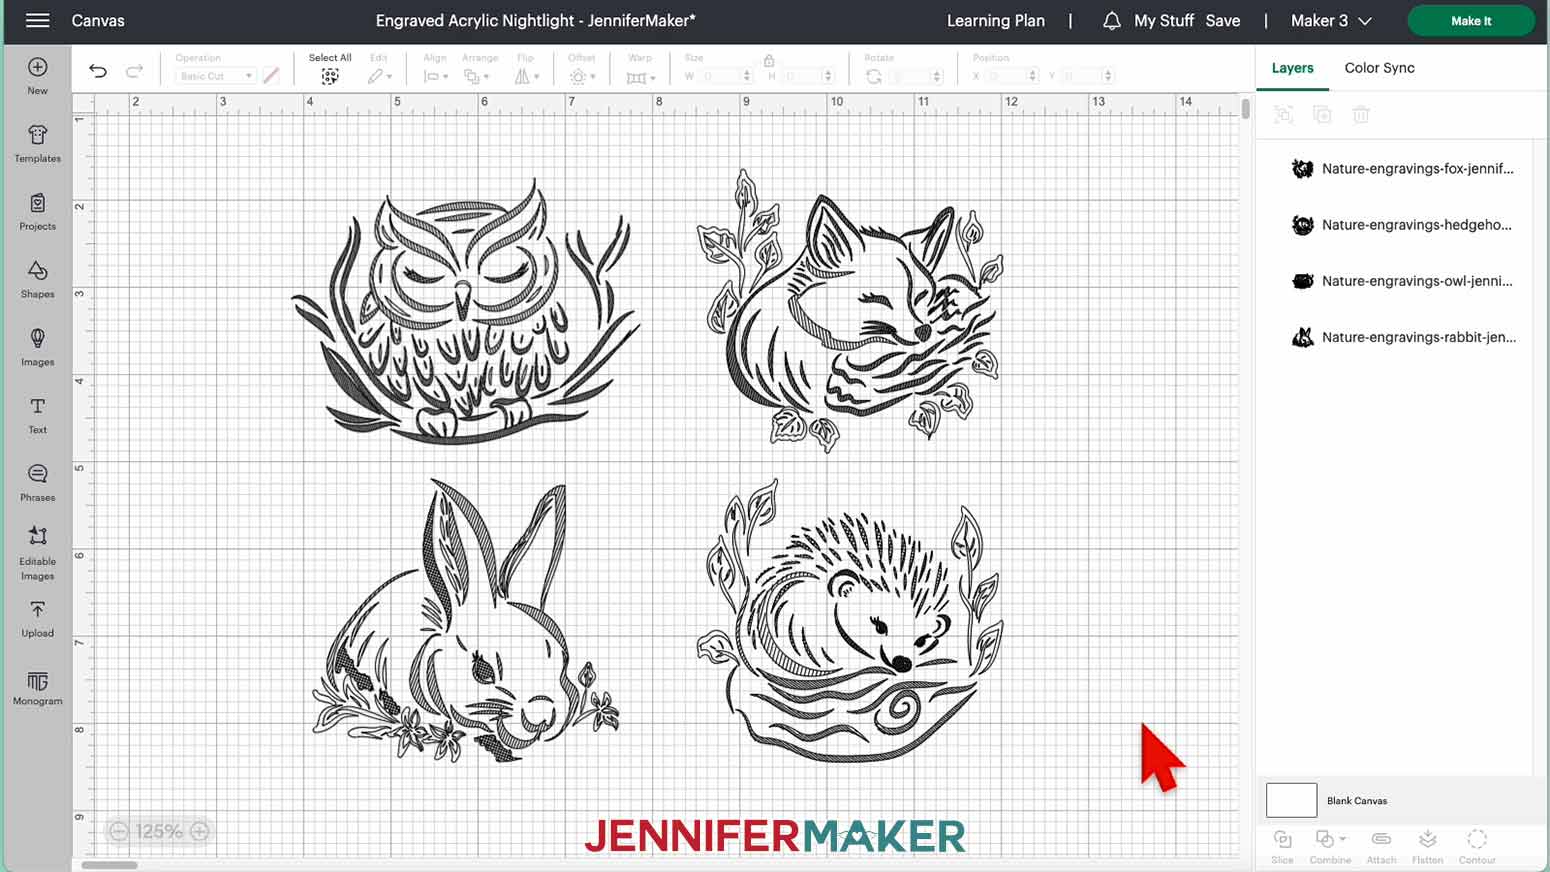
There are four different designs for you to choose from: a fox, a hedgehog, an owl, and a rabbit. There’s also a file with a set of lines for filling in text.
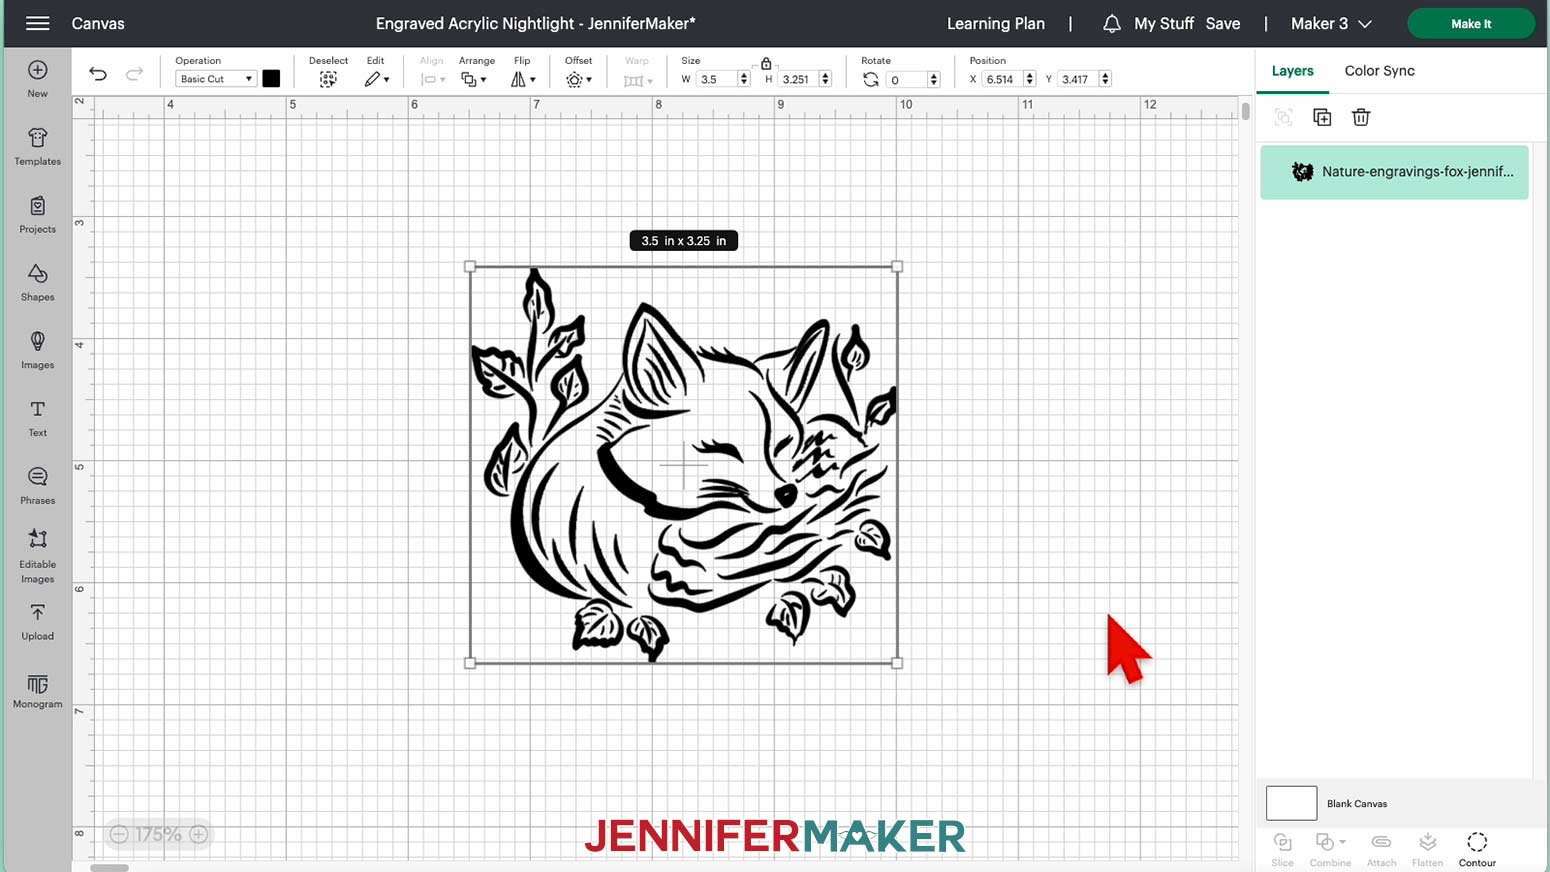
Today, I'm going to make the fox design, but you can follow the same steps for any of them. I'll also show you how to add a name! Add the image to your Canvas and let's start!
STEP 2: PREPARE THE FILE
CRICUT DESIGN SPACE
1. Open Cricut Design Space
2. Click “Upload”
3. Click “Browse”
4. Select SVG file
5. Click the green “Upload” button
6. Select your design in “Recent Uploads” and add it to the Canvas
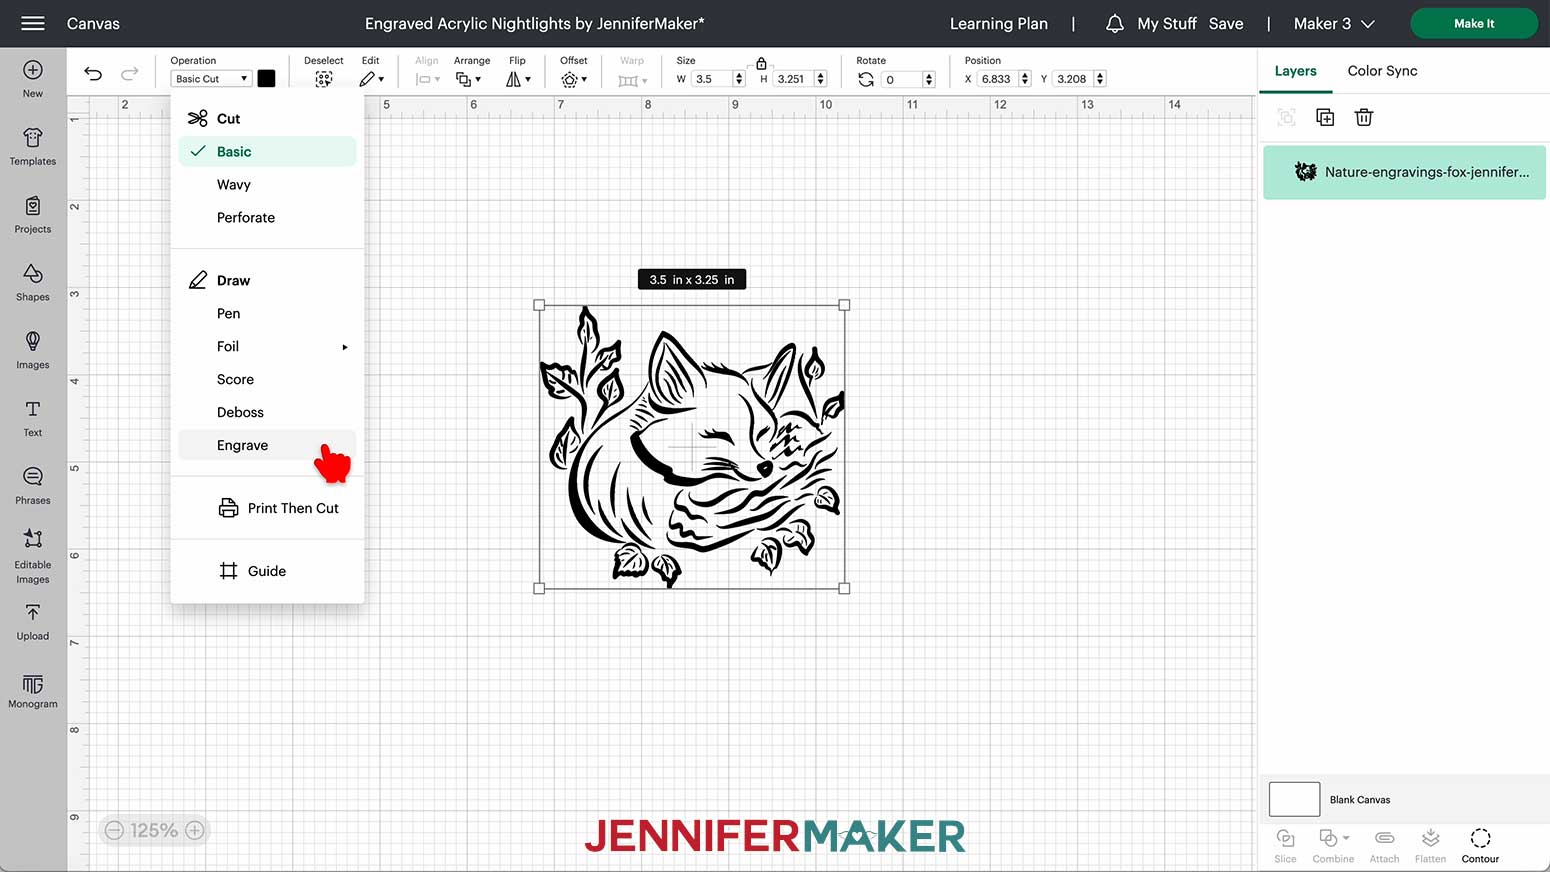
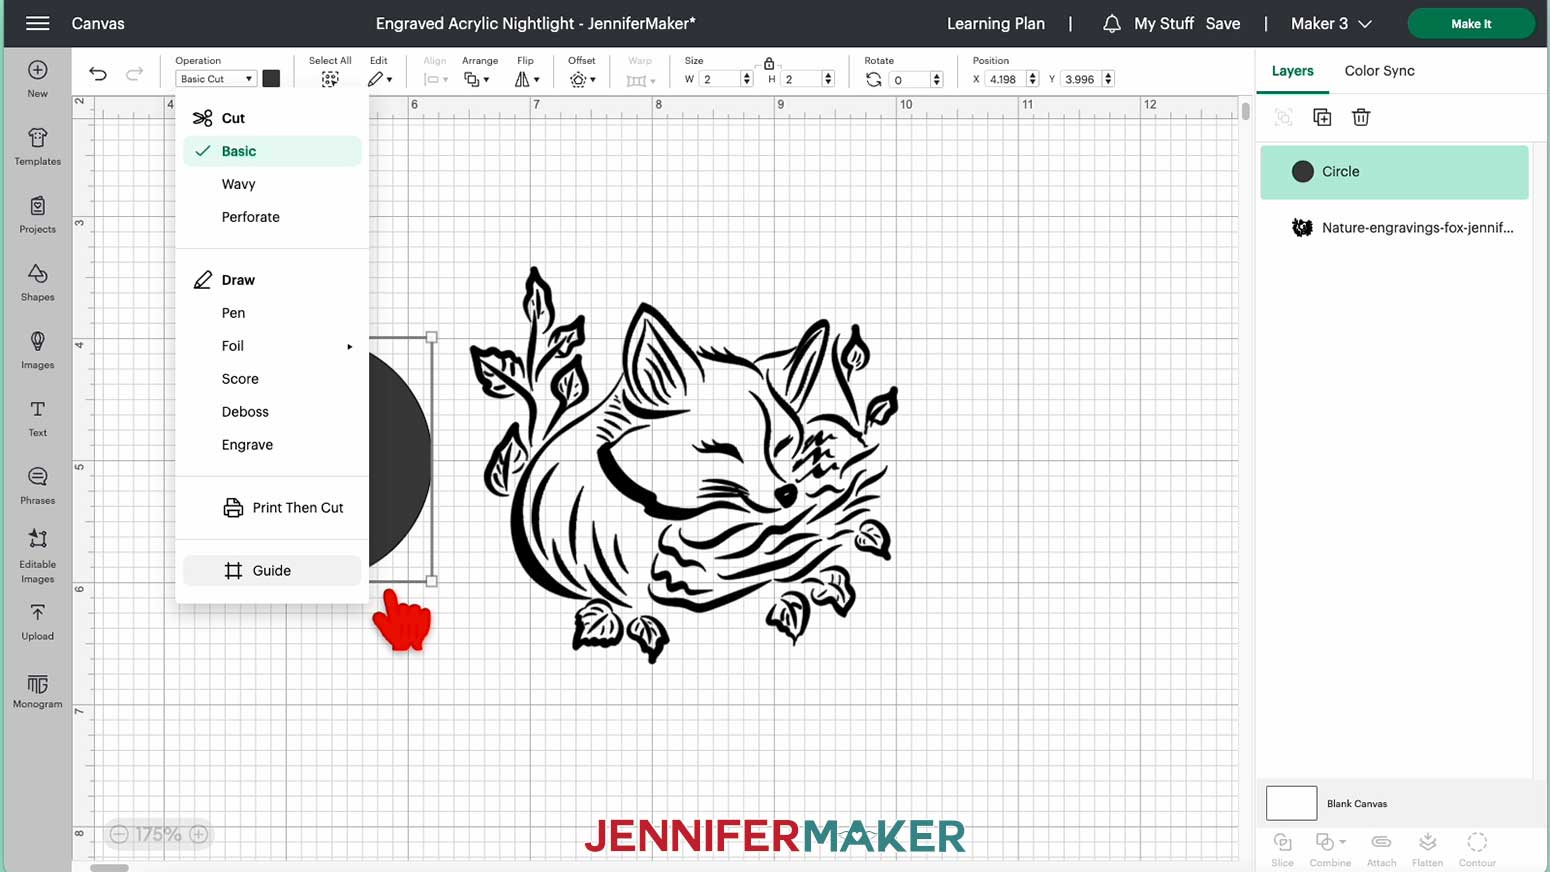
7. With the design selected, click the Operation menu and select “Engrave”
8. Select the correct machine in Design Space and click “Make It”
9. If prompted, click “On Mat,” “12 in x 12 in,” and “Confirm”
10. On the Prepare screen, leave “Mirror” turned off
11. Center the image on the mat at the 6" horizontal and vertical marks
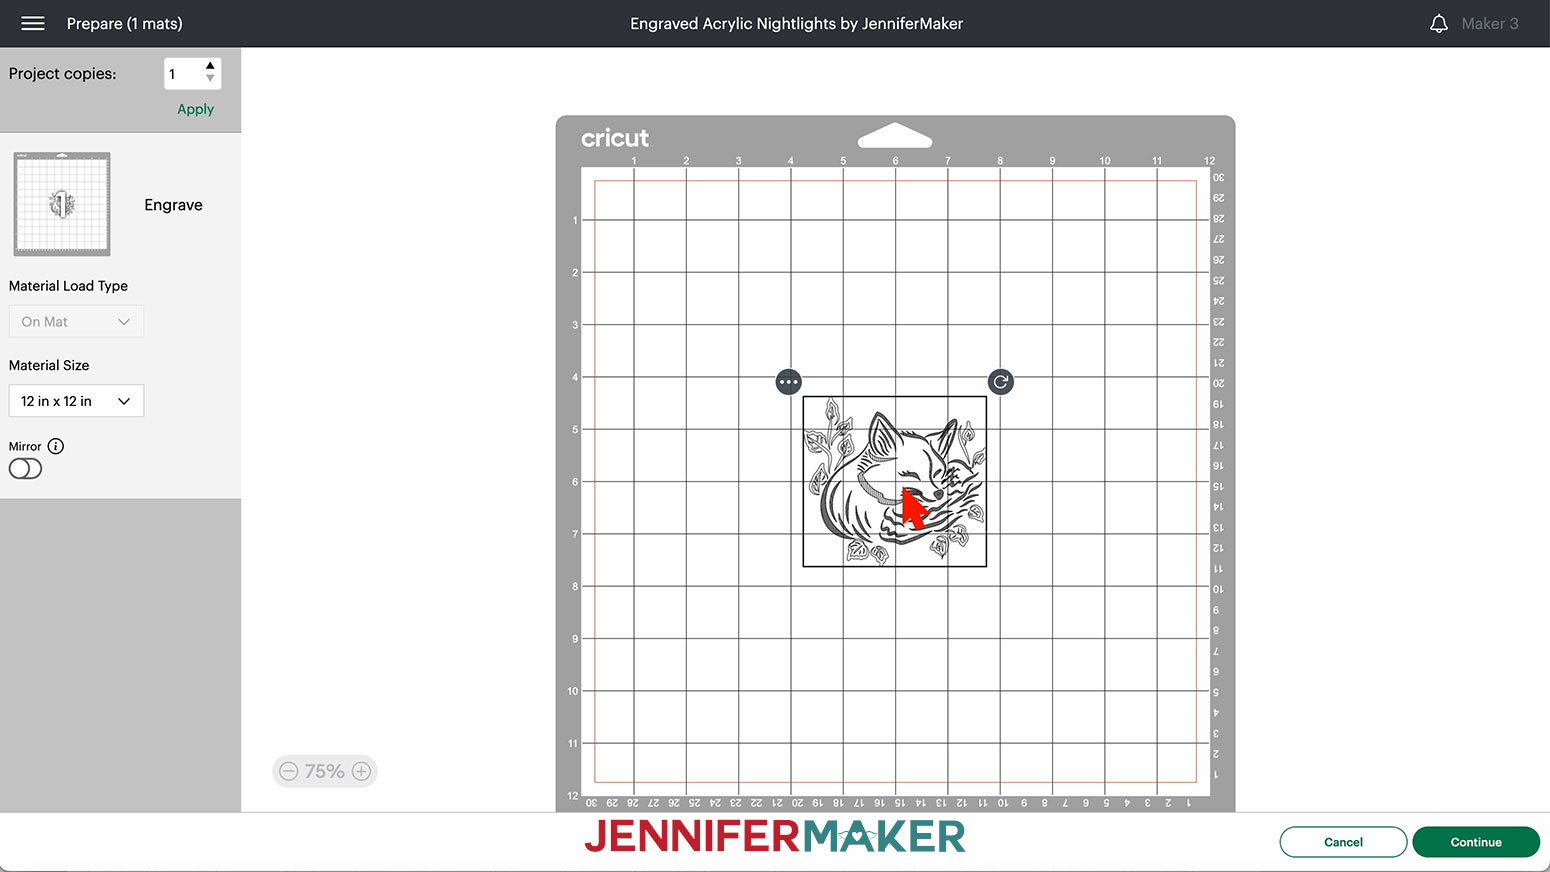
12. Click “Continue”
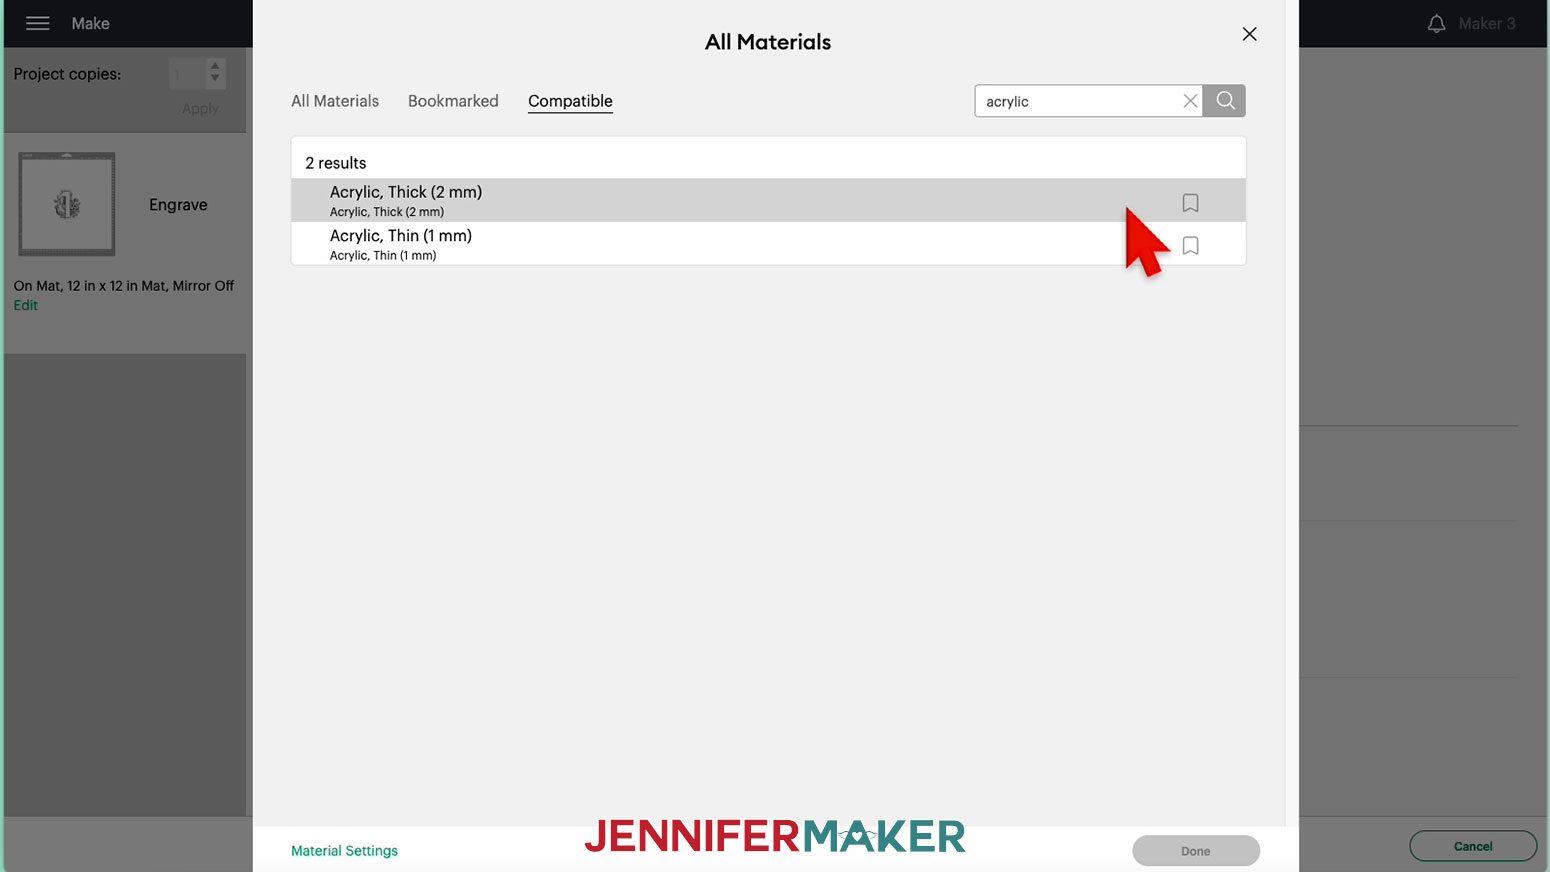
13. On the Make screen, click “Browse All Materials” and search for “Acrylic,”
14. Select “Acrylic, Thick (2 mm)”
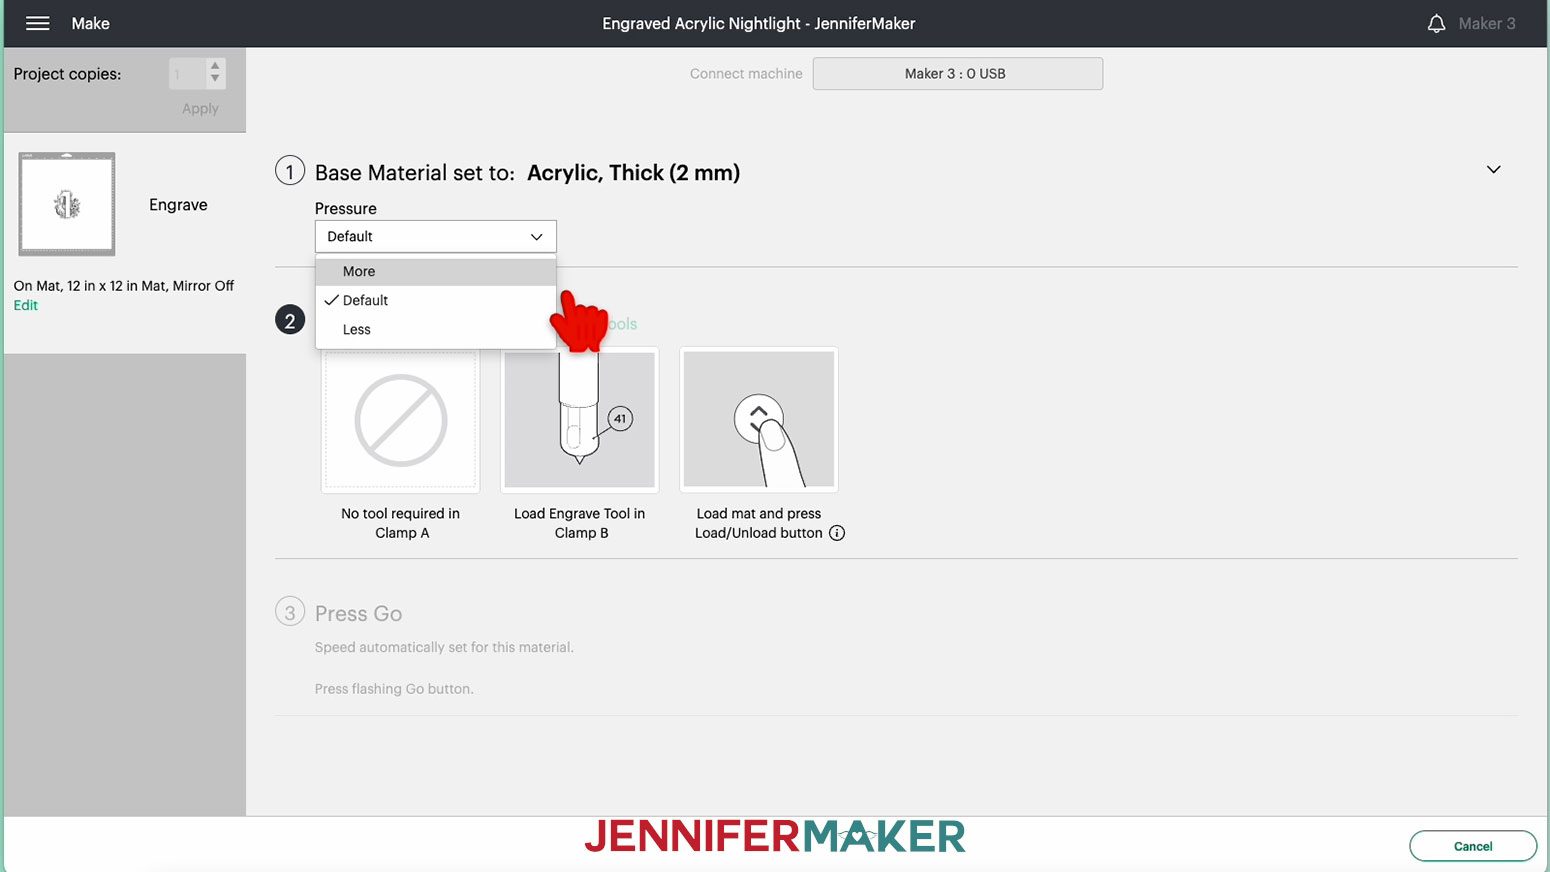
15. Select “More” under Pressure
STEP 3: ENGRAVING
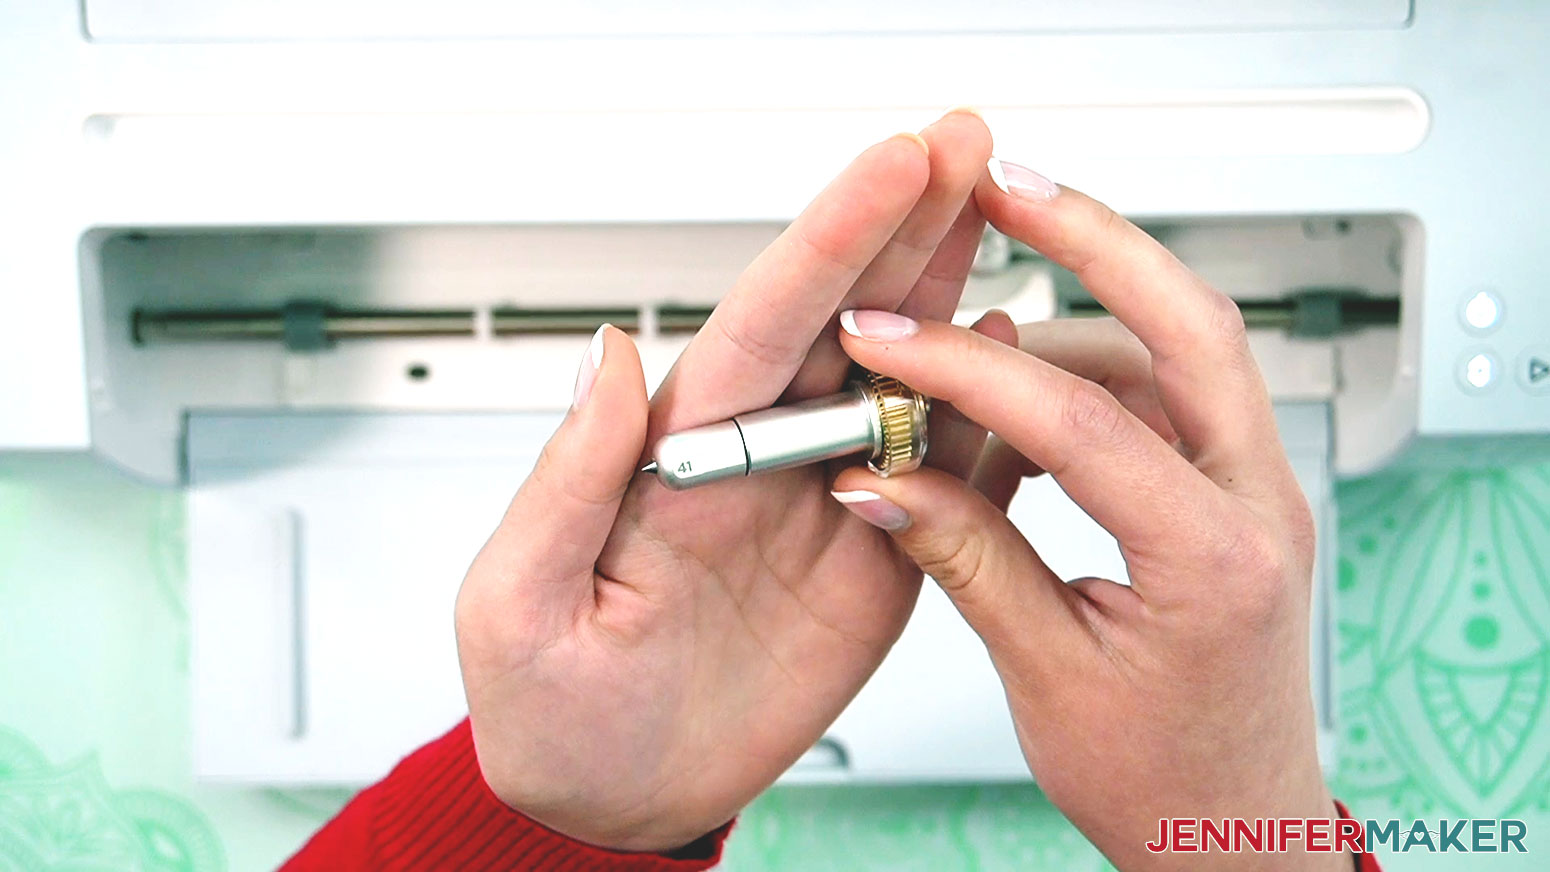
1. Load the Engraving Tip in Clamp B
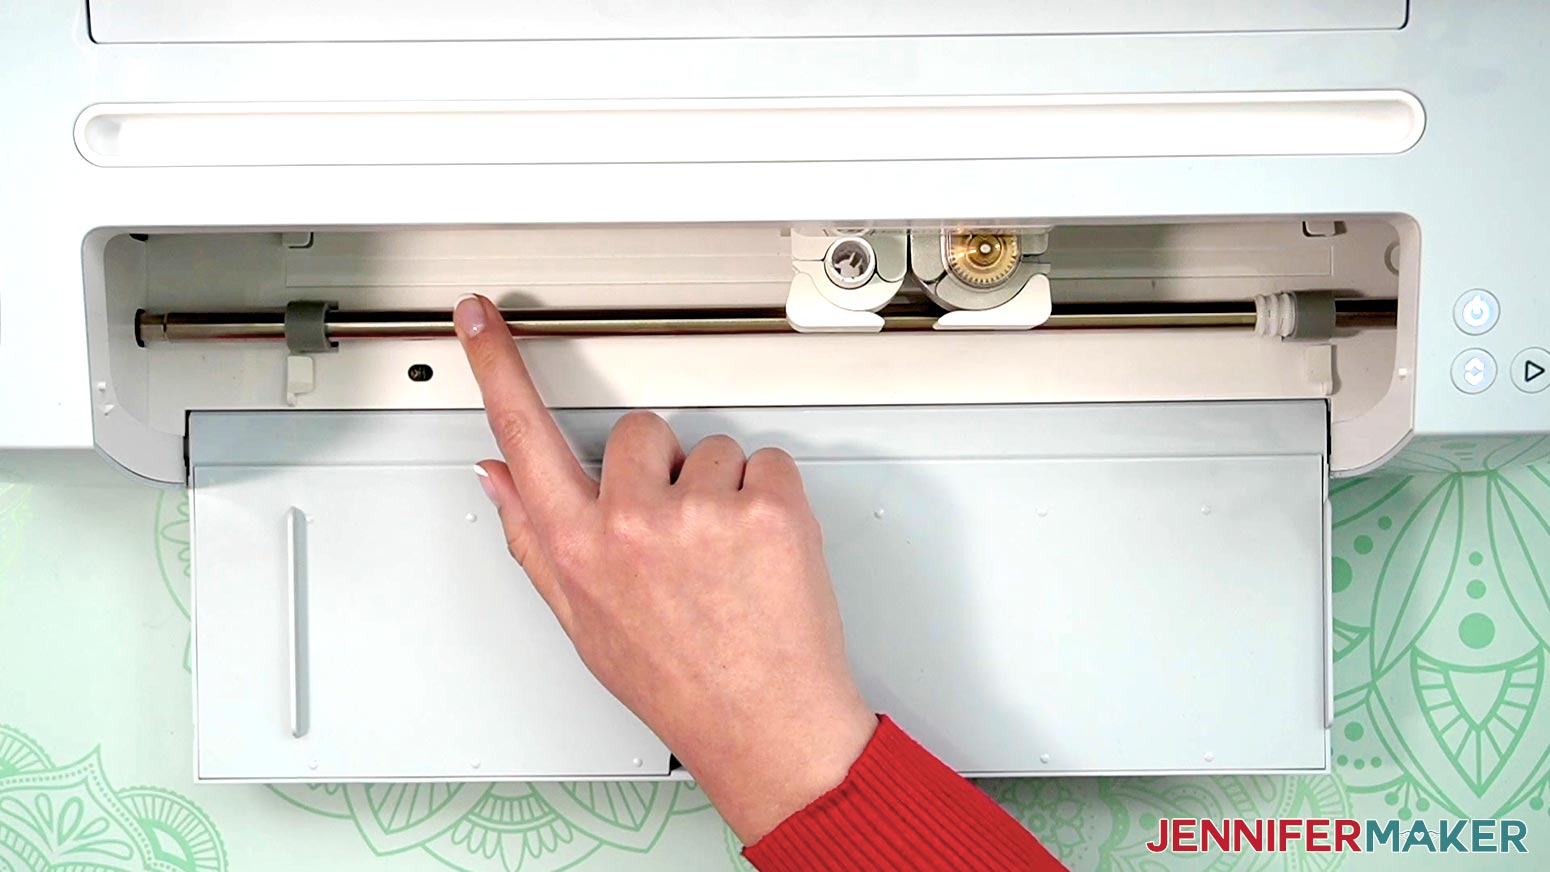
2. Move the four white star wheels all the way to the right
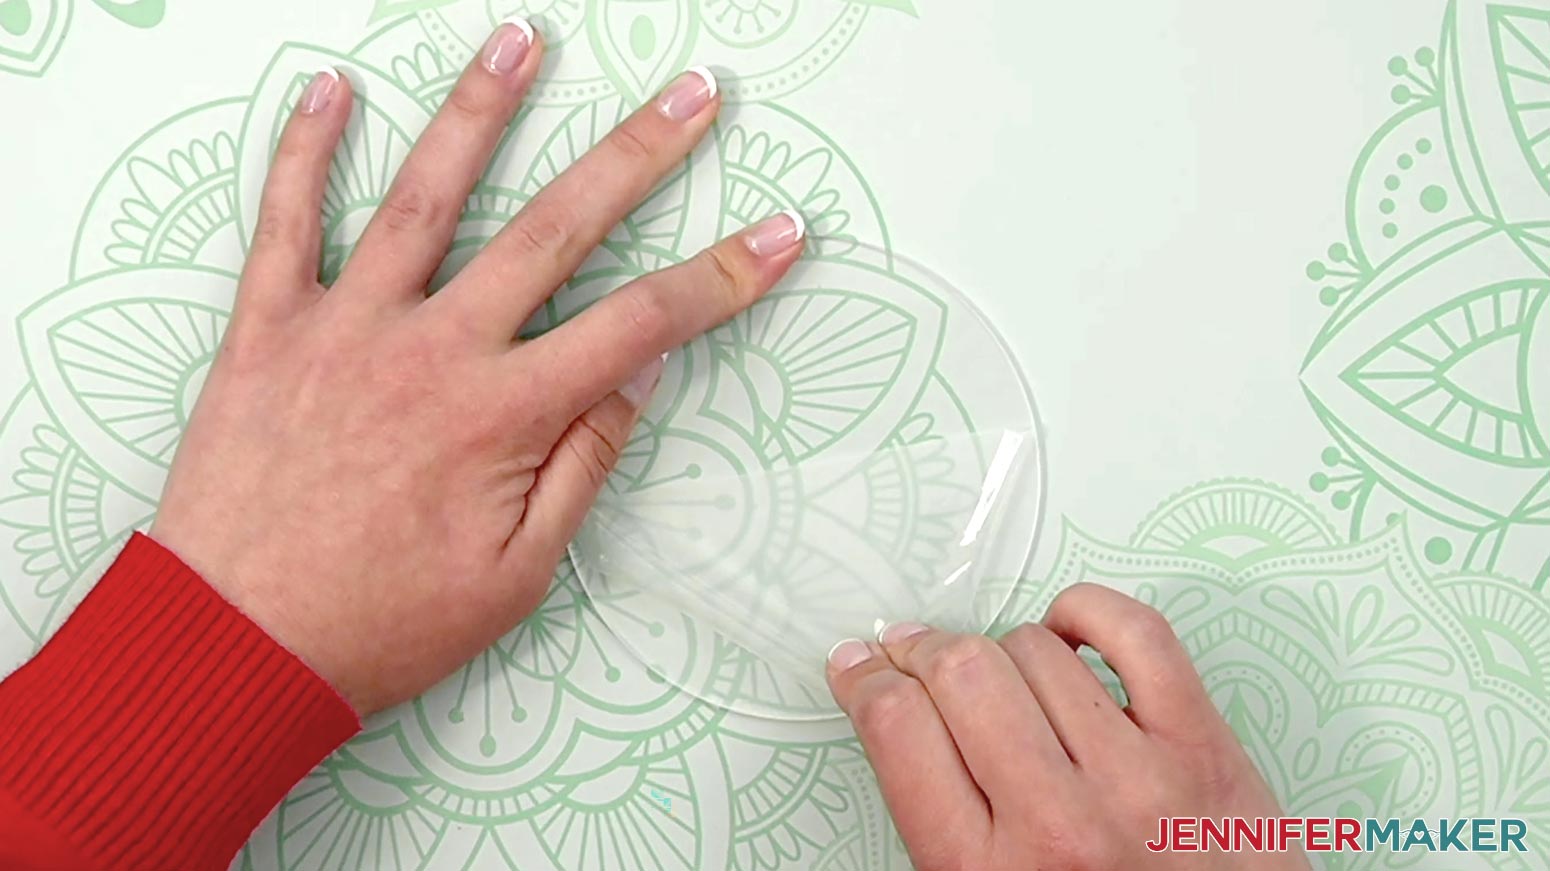
3. Remove the clear protective cover from only one side of the acrylic disc
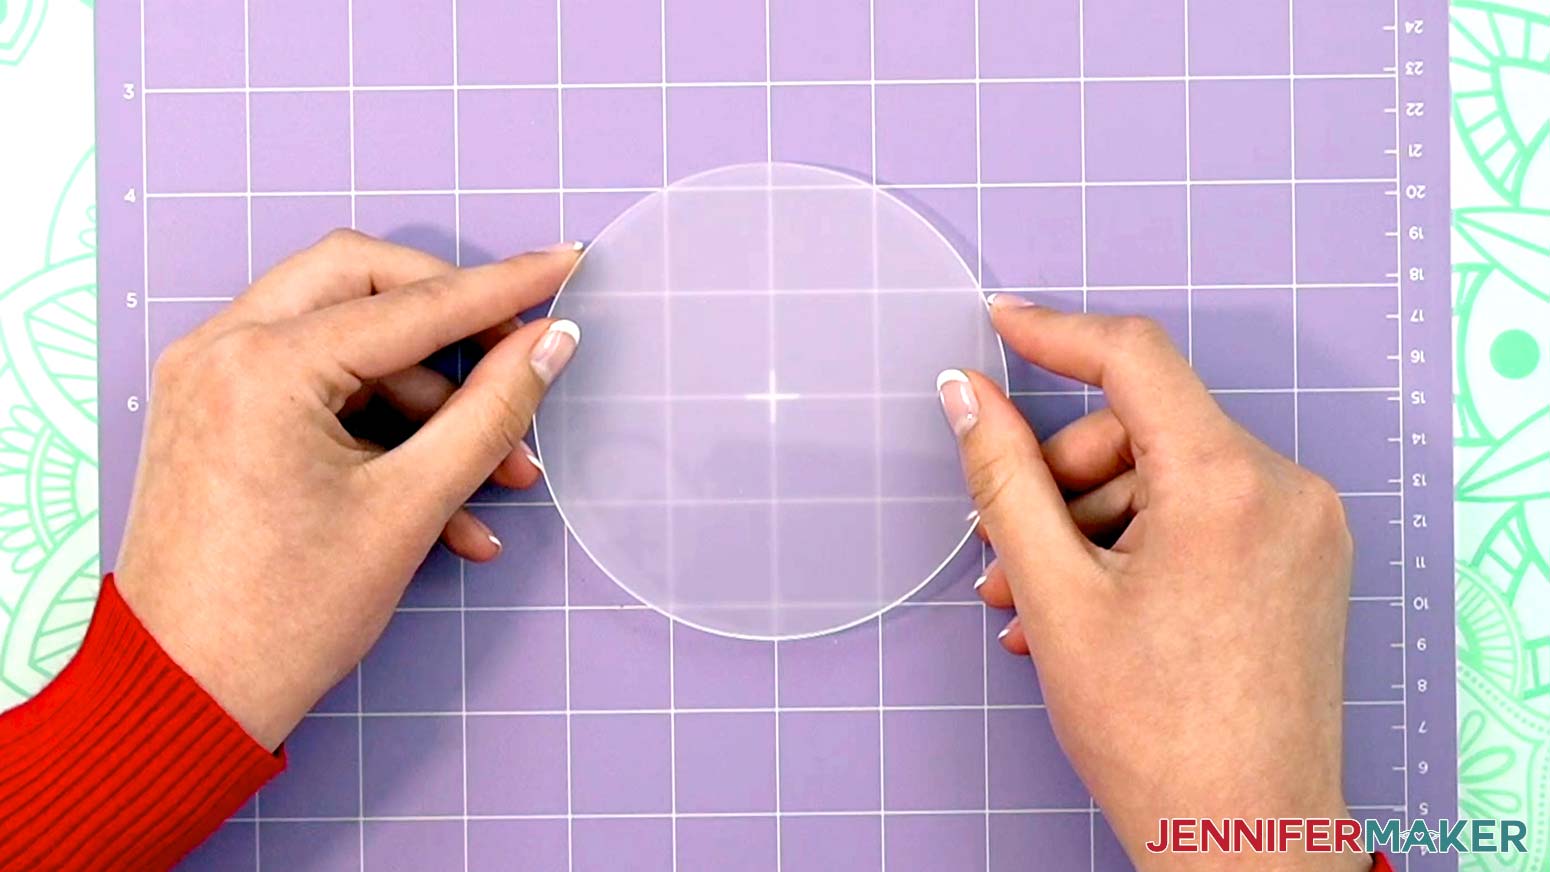
4. Center the disk on the Cricut StrongGrip machine mat, uncovered side up, using the cross in the center of the mat as the centering guide
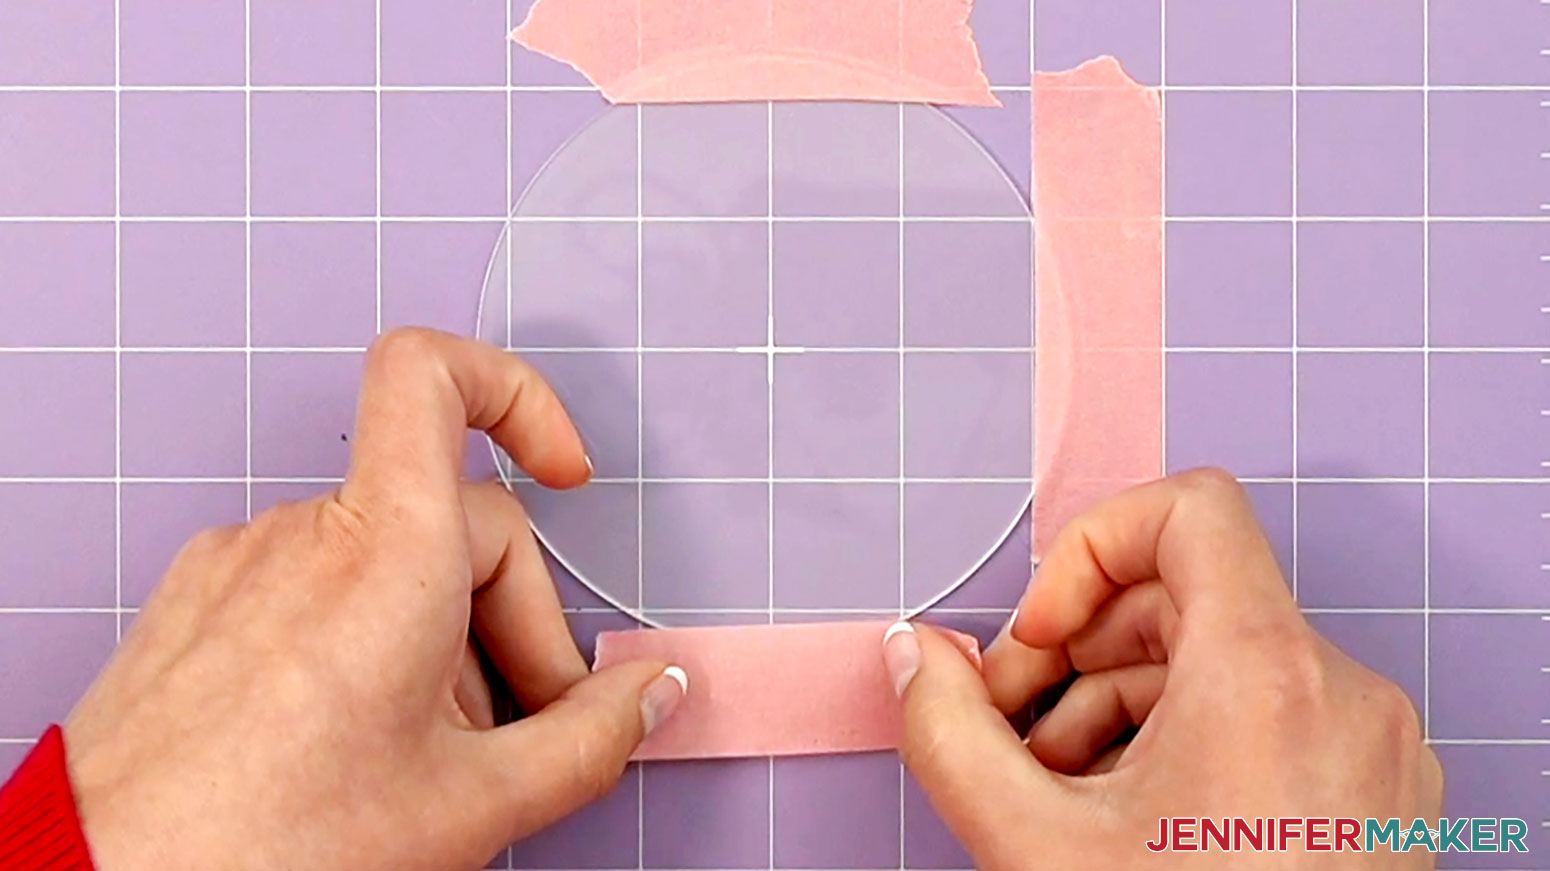
5. Tape around the disc's edges using painter's tape
6. Load the prepared machine mat
7. Press the flashing Go button
8. When it has finished engraving, unload the machine mat and remove the acrylic disc
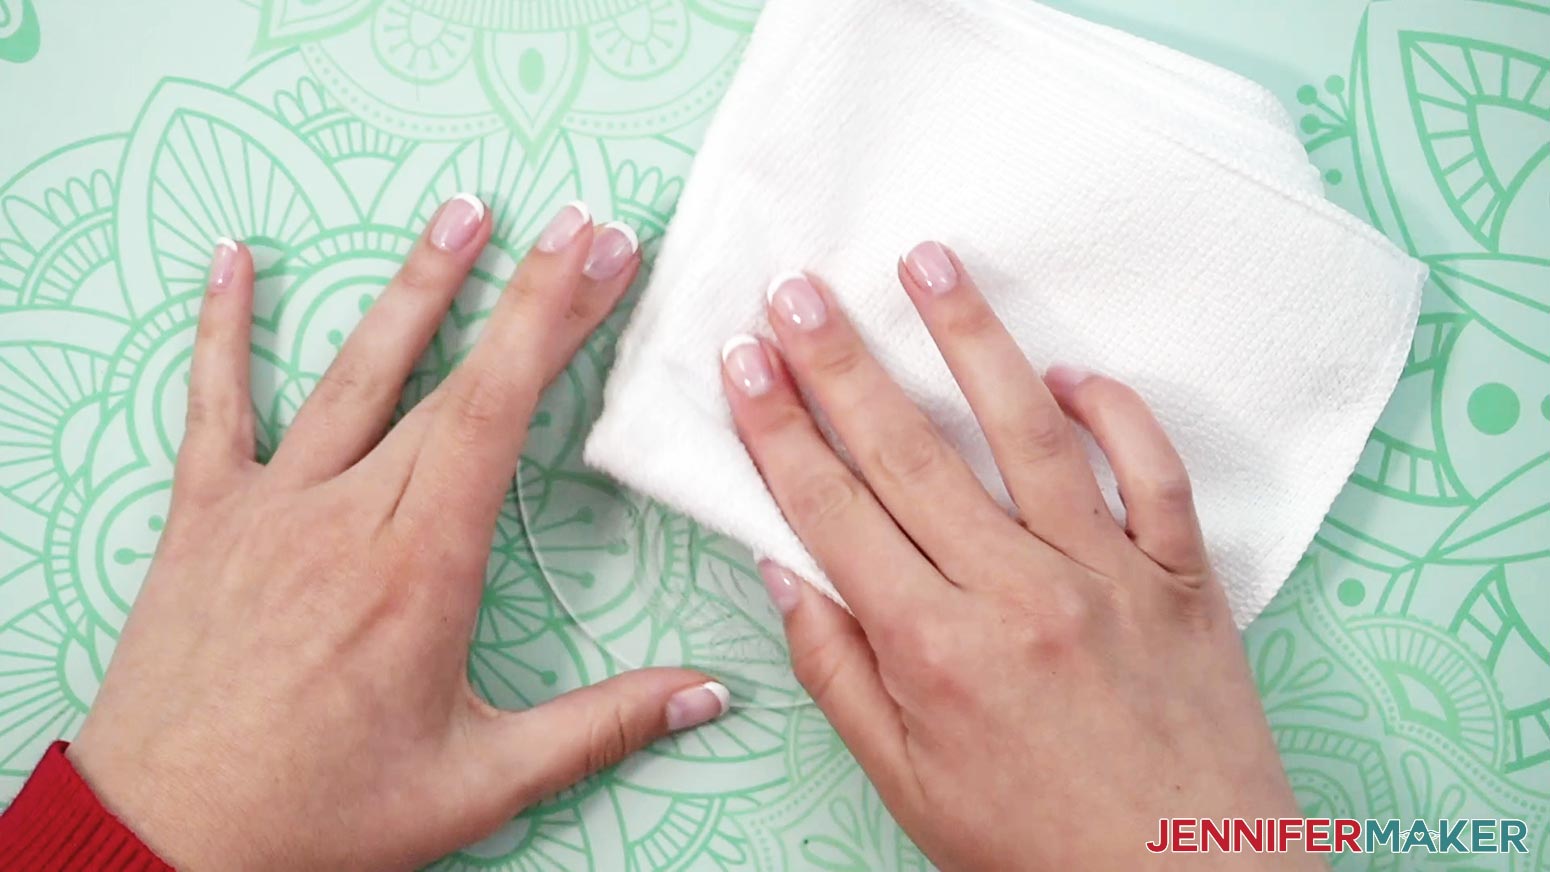
9. Wipe the acrylic engraving debris from the top of the disc into the trash using a soft cloth
10. Remove the Engraving Tip from the Cricut and clean the debris from its sharp end
11. Remove the protective film from the back of the acrylic disc
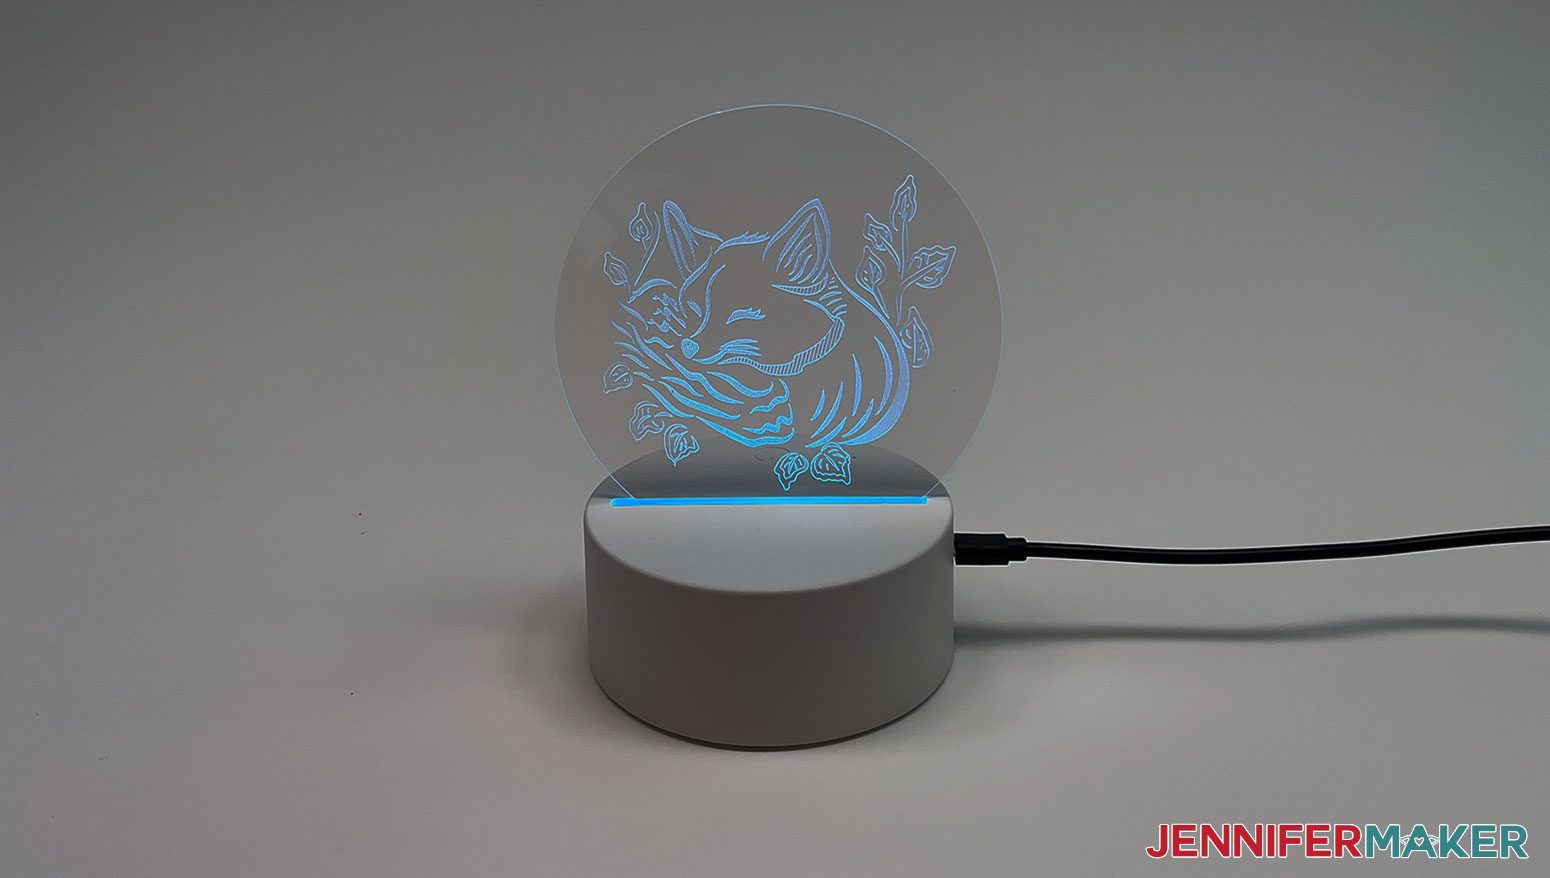
12. Display in the LED base
(OPTIONAL) STEP 4: ADD A NAME
1. Upload a design to the Canvas using the Cricut Design Space steps 1-7 above
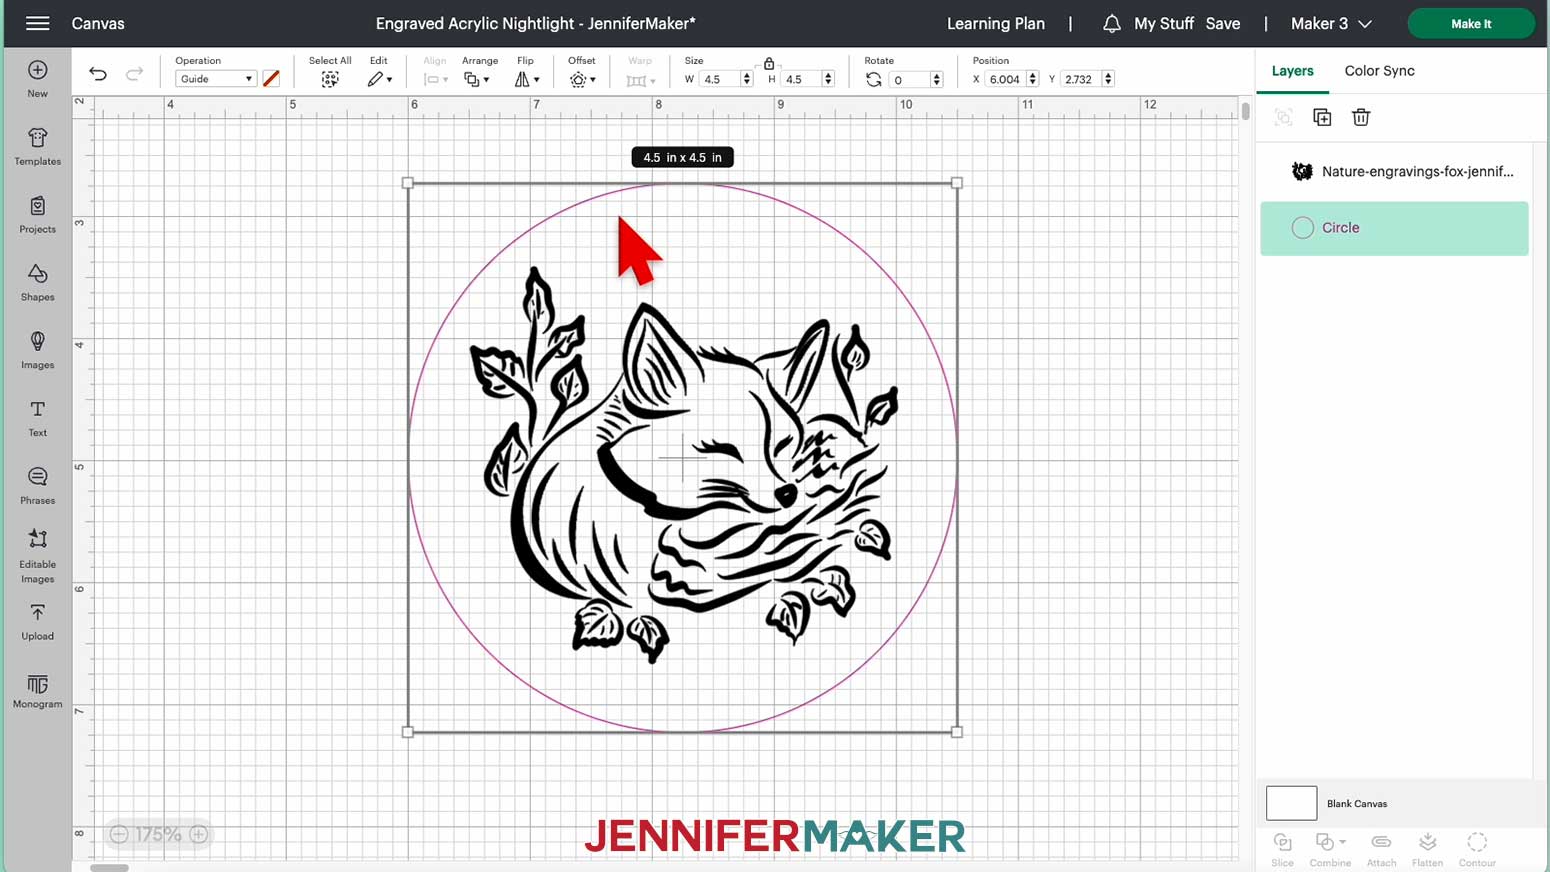
2. Add a circle to the Canvas from the Free Shapes menu
3. With the circle selected, click the “Operation” menu and select “Guide”
4. Change the size of the circle guide to match the acrylic disc size of 4.5 inches by typing 4.5 in the “W” field, making sure to keep the lock icon closed
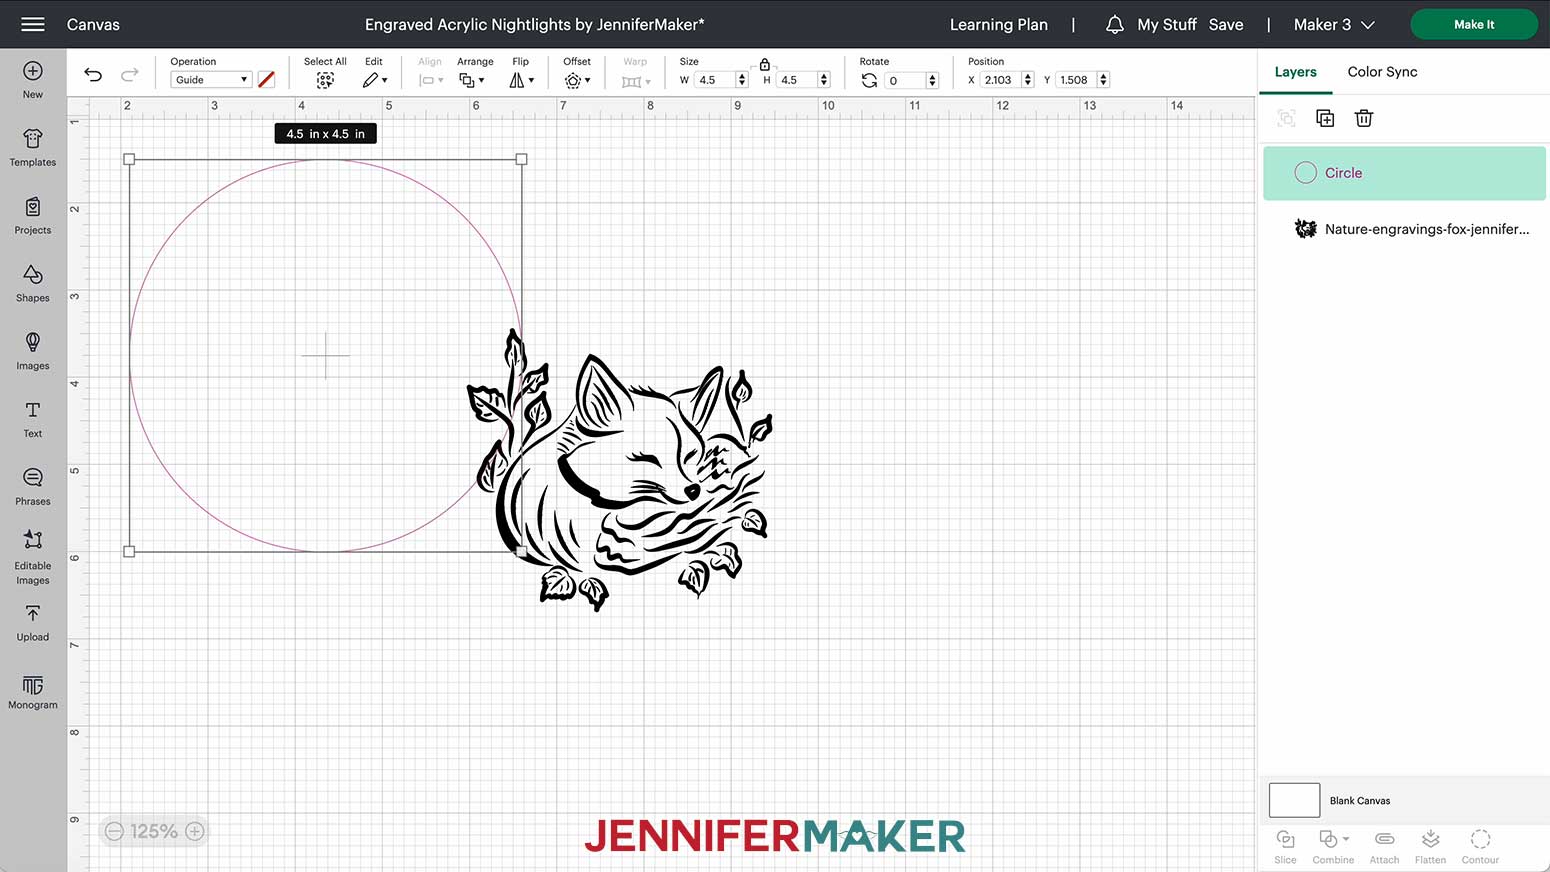
5. Click “Arrange” and “Send To Back”
6. Center the design inside the guide circle
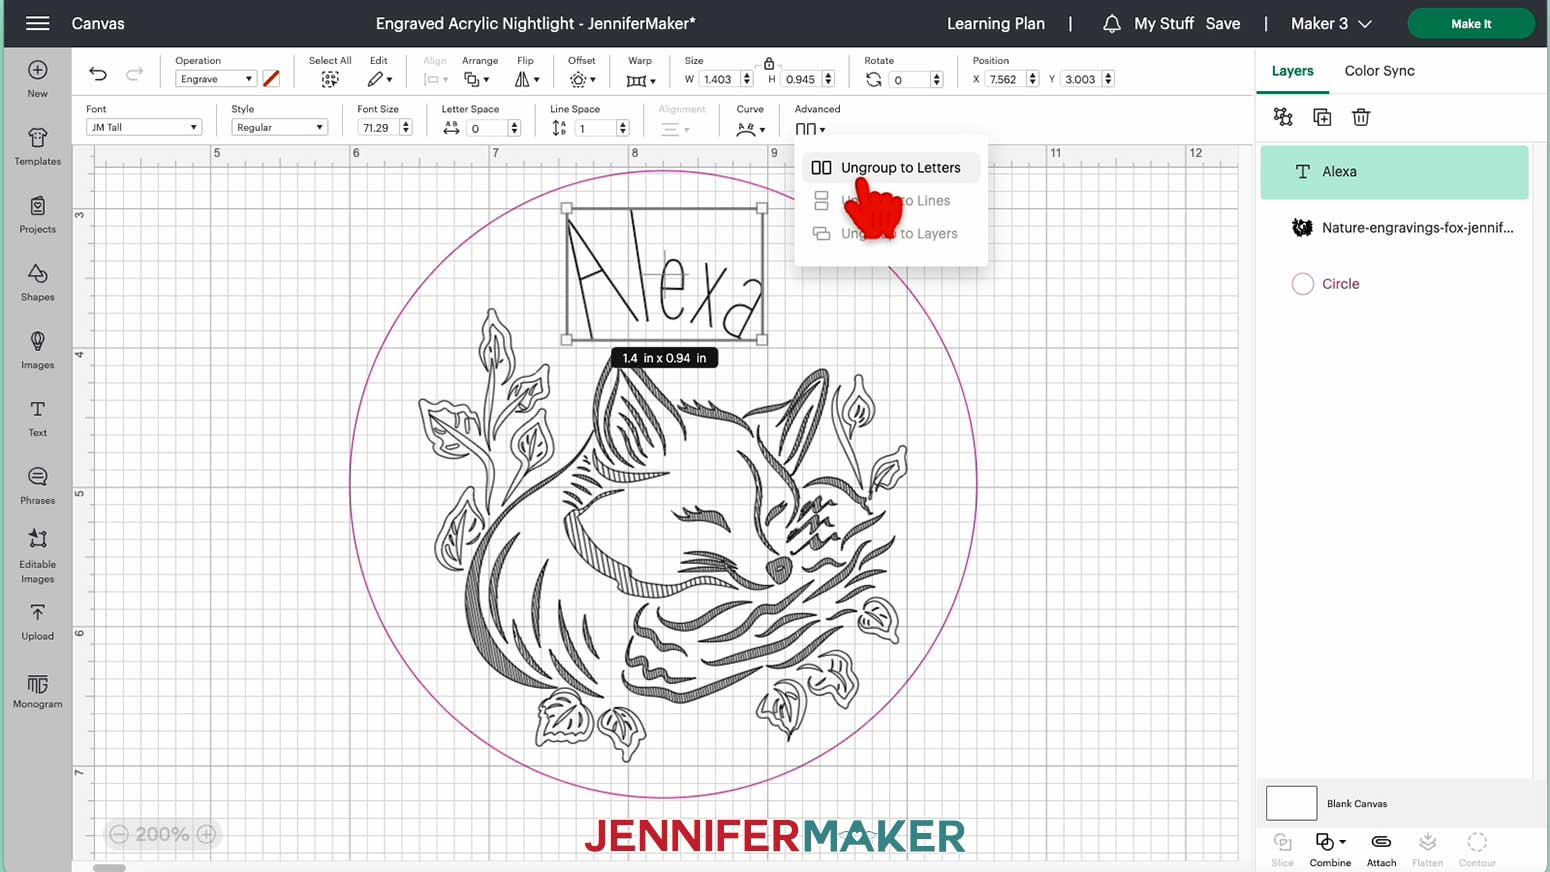
7. Click “Text” and type the name or word you want to use. I will use “Alexa” for my engraving.
8. With the name or word selected, choose a font from the “Font” menu.
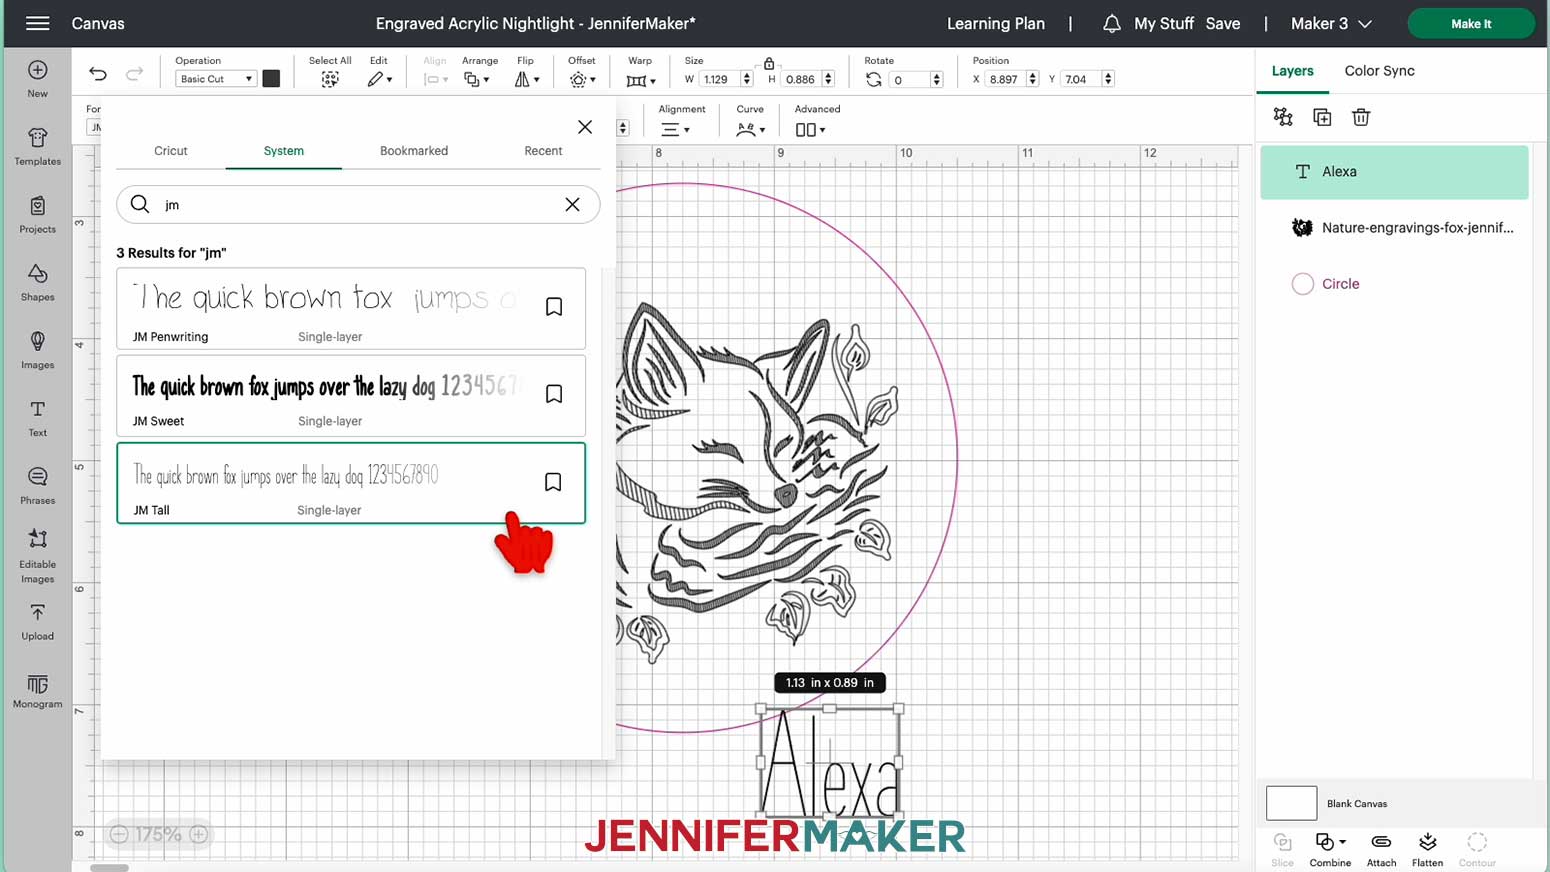
NOTE: I'll use JM Tall, which you can download for free from my library.
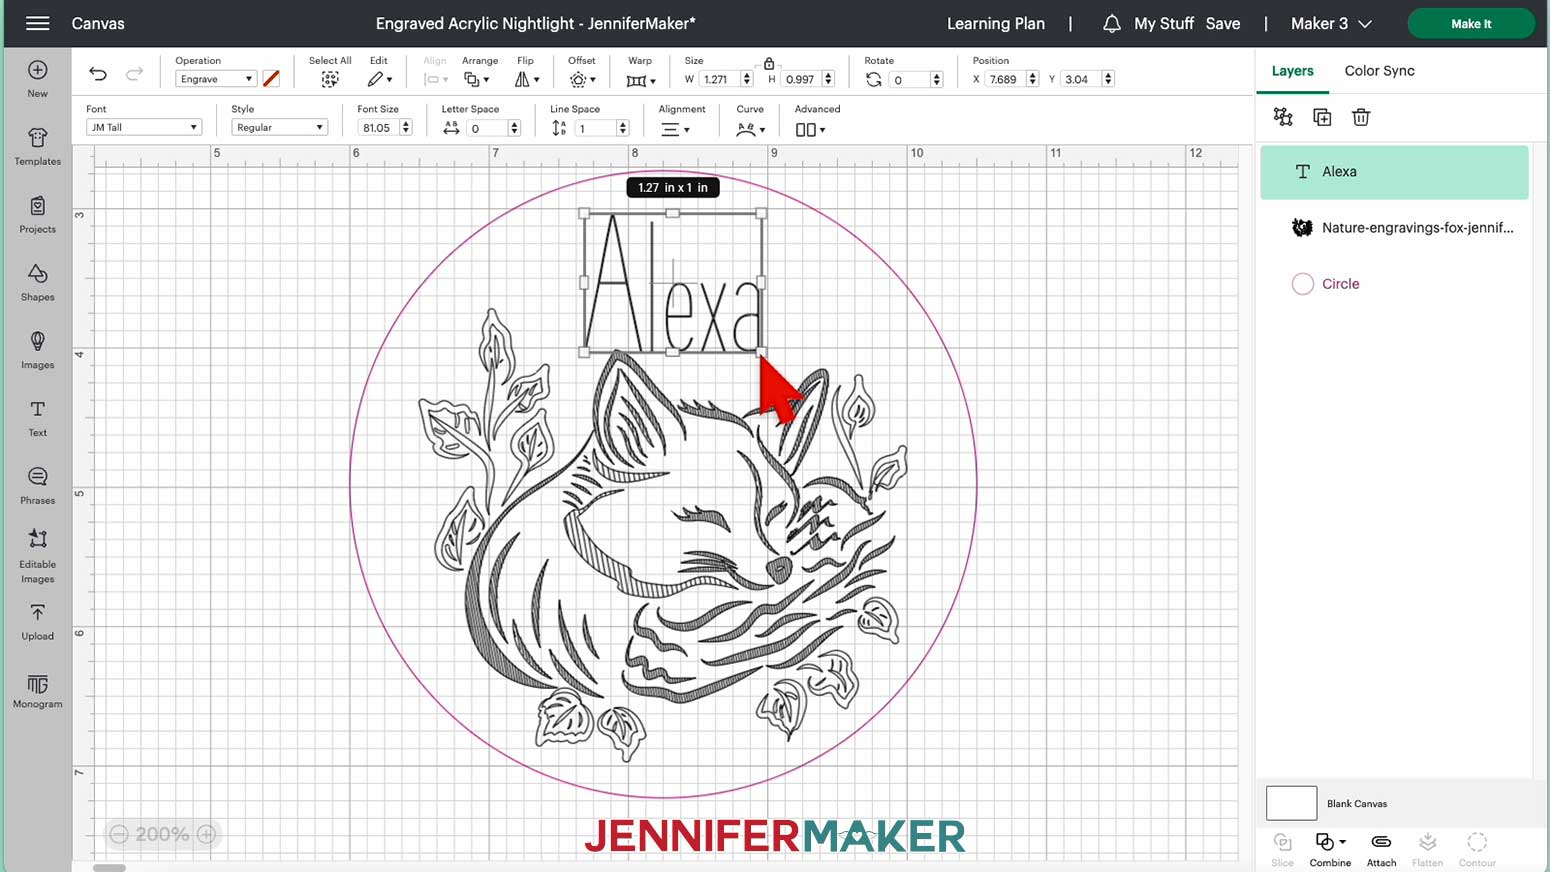
9. Click “Operation” then “Engrave” to see how it will look when engraved.
10. Resize the letters to fit into the guide space above the design by clicking on the corner of the text box and dragging it to smaller or larger sizes
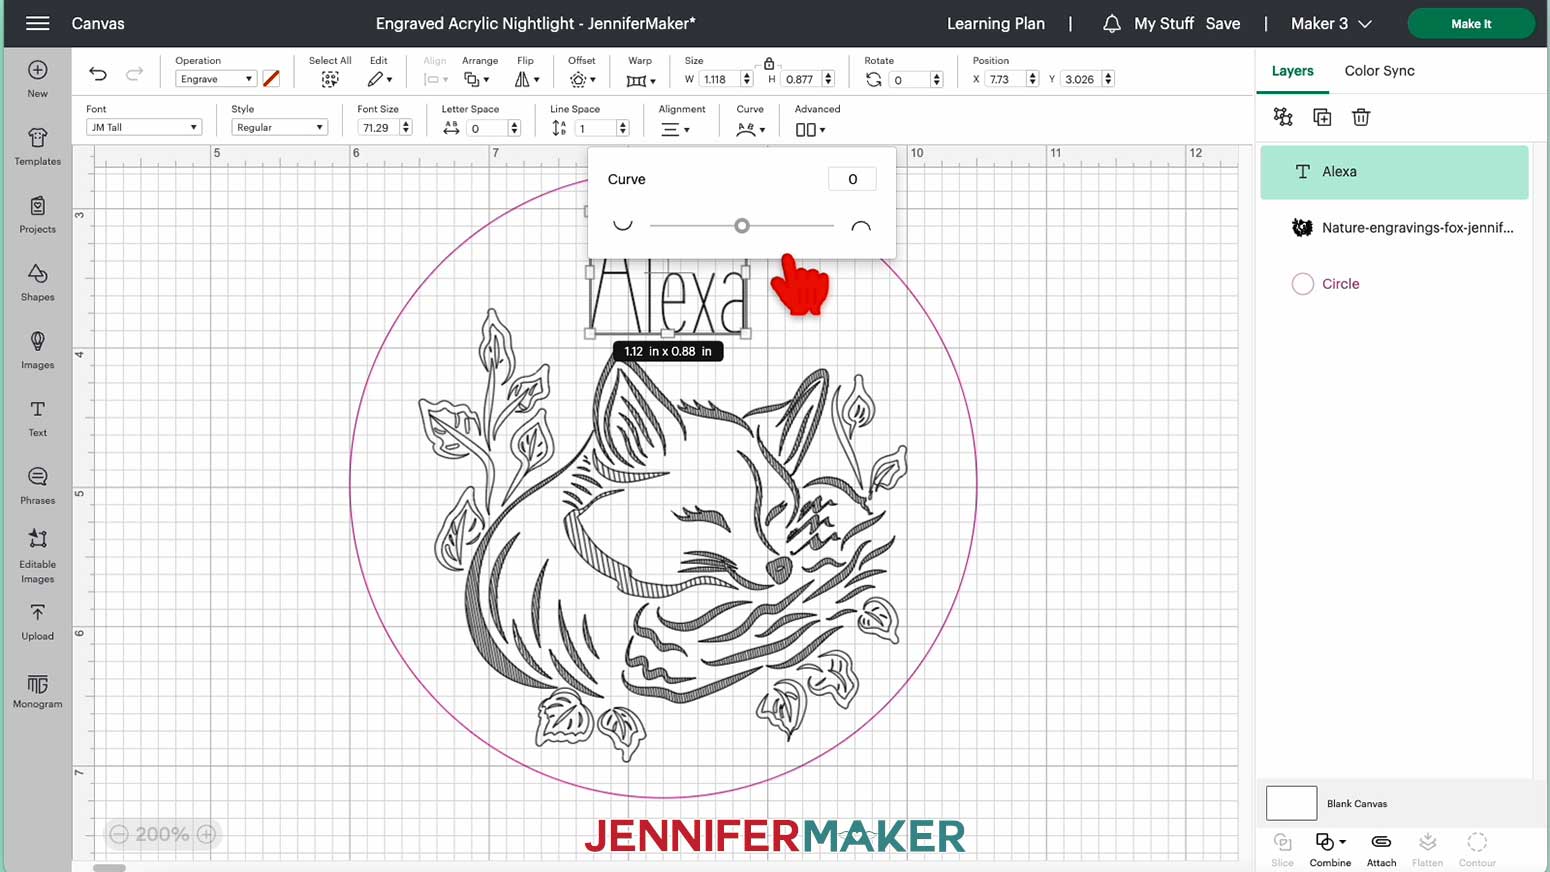
11. Curve the word slightly by clicking the “Curve” menu and moving the slider back and forth until you’re happy with how it looks
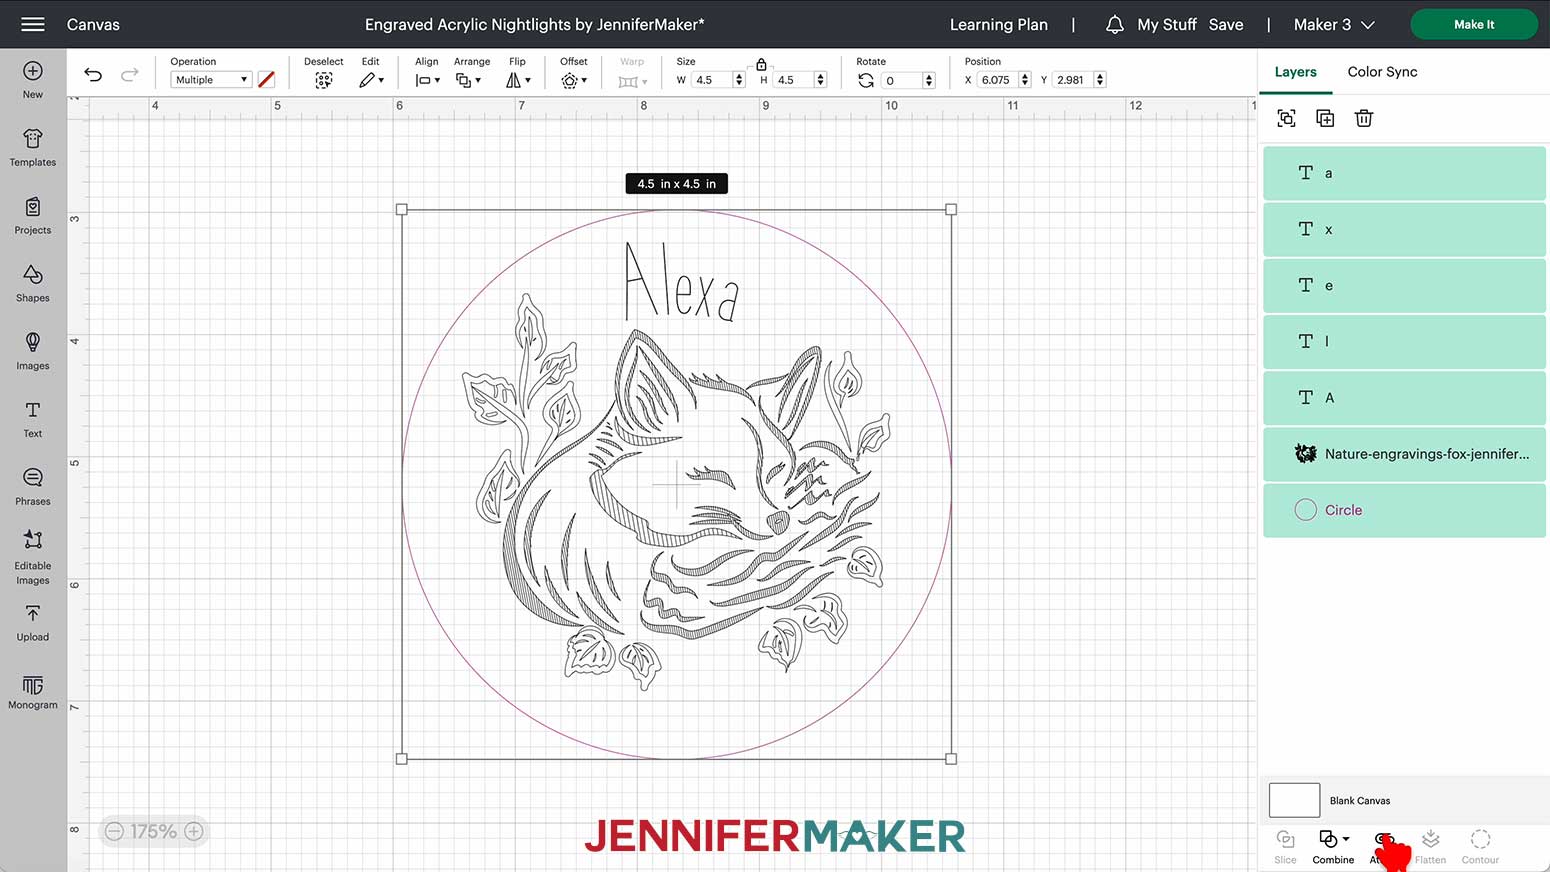
12. If the letters are too far apart from each other, or need to be stacked vertically, click “Advanced” then “Ungroup To Letters” to move the individual letters into place
13. Fill in the font, if necessary.
TIP: See my instructions for How To Make Cricut Fill In Letters!
14. Click “Select All,” then “Attach”
15. Follow from line 8 in STEP 2: PREPARE THE FILE above to finish the engraving
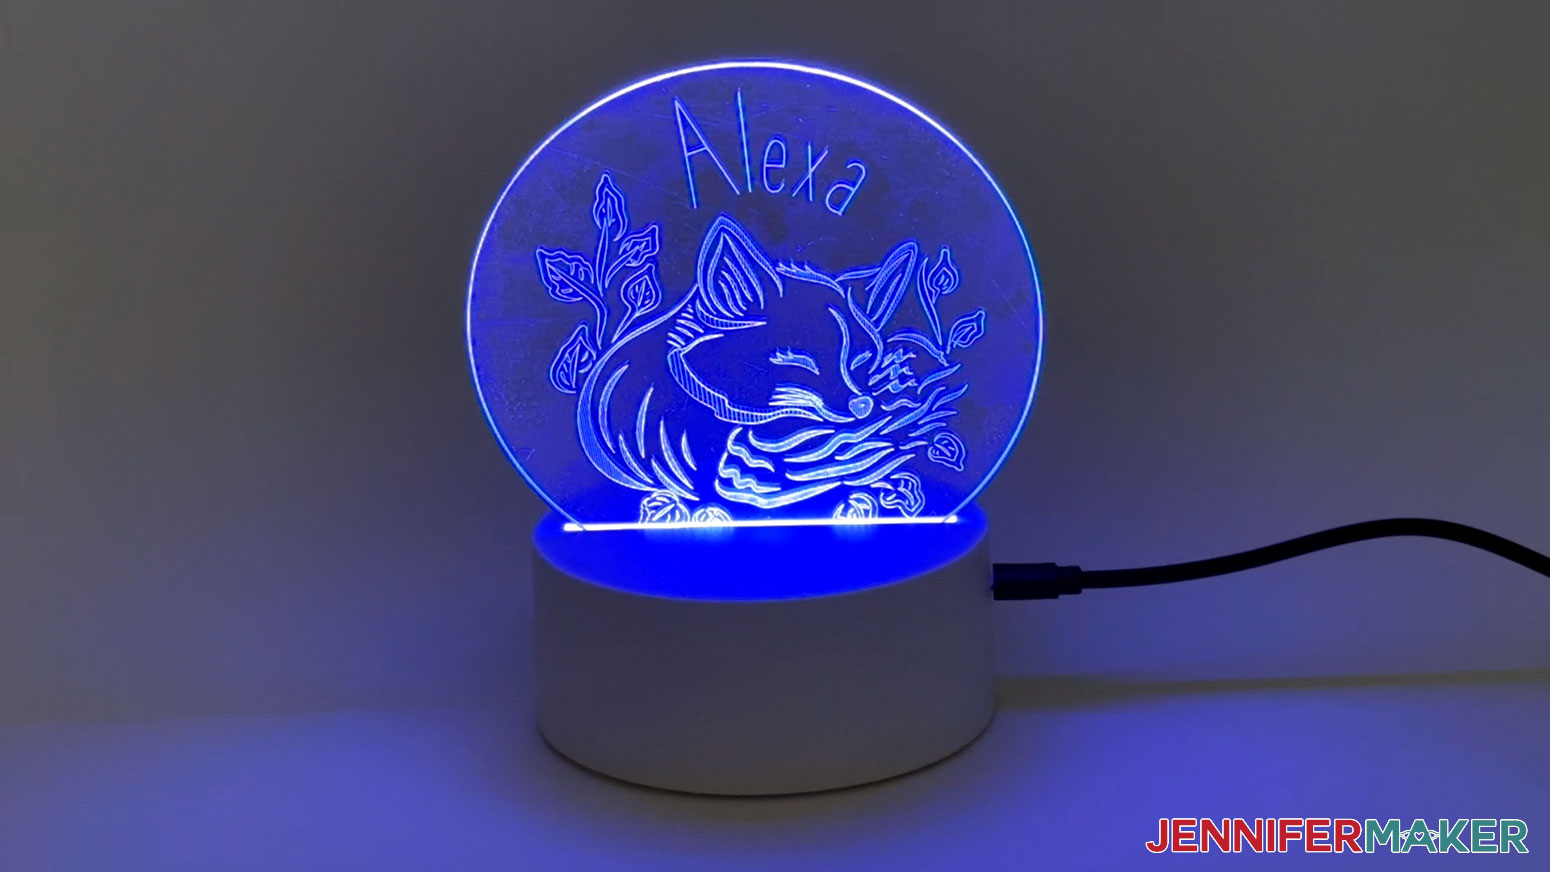
STEP 5: SHOW IT OFF!
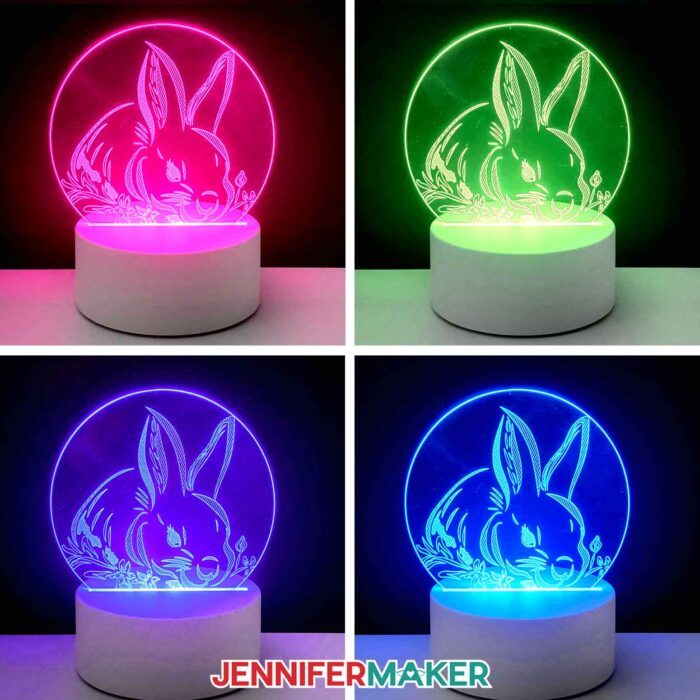
To finish the Engraved Acrylic Nightlight, place the disc in the slot on top of the LED base. You can have either the engraved side out or facing the wall, but keep in mind to mirror your text in Design Space if you prefer to have the smooth side out and the engraving facing the wall. Make sure your base has fresh batteries or plug it in to enjoy your work!
Notes
Care Instructions: Dust occasionally with a soft cloth
Typeface: JM Tall
Image Sizes:
Fox 3.5" x 3.25"
Hedgehog 3.5" x 3.25"
Owl 4" x 3.06"
Rabbit 3.5" x 3.25"
Answers to Your Questions About How to Engrave with Cricut Maker Machines
Q: Can you engrave with the Cricut Maker?
A: Currently, the Cricut Maker, Maker 3, and Maker 4 are the only machines officially able to engrave a wide variety of materials like acrylic, plastic, paper, leather, and even some soft metals. The other Cricut machines do not have officially-supported engraving capabilities. If your Cricut Explore is out of warranty, however, you can consider experimenting with a third-party etching/engraving tool — we have not used it ourselves, and this tutorial does not cover it, but others report success with it. Do not experiment with it if your machine is not out of warranty of if you’re at all concerned how it might impact it.
Q: How do I get the engrave option on my Cricut Maker?
A: In order to engrave on your Cricut, first you need to make sure you have a Maker, Maker 3, or Maker 4 model. Next, you’ll need a QuickSwap Housing and the Cricut Engraving Tip. This housing and tip only fit the Maker series machines.
Q: How do you engrave on acrylic with Cricut Maker?
A: Learning how to engrave with a Cricut Maker 4, Maker 3, or original Maker is easy when you follow my tutorial! I walk you through each and every step in my video, so you can make super cute nightlights and other engraved acrylic projects!
Q: How do you engrave metal with a Cricut Maker?
A: I’ve had a lot of success engraving aluminum blanks, as well as copper, stainless steel, and pewter engraving blanks. Just make sure your metal blanks are less than 2 mm thick so it fits in your Cricut Maker series machine! Check out my tutorial on how to engrave aluminum cookie spatulas to learn how to engrave metal with a Cricut Maker 4, Maker 3, or original Maker. Folks in our crafting community have made amazing engraved metal projects like jewelry, dog tags, pet ID tags, so get creative and try new ideas! Just remember to check that the blank will fit under the silver roller bar to avoid damaging your Cricut.
Q: Can Cricut engrave jewelry?
A: Absolutely! The Cricut Maker, Maker 3, and Maker 4 can engrave 2 mm or thinner acrylic, aluminum, stainless steel, copper, pewter, leather, and acetate. Thicker materials won’t fit under the roller bar in your Cricut, or they might even damage it — so always measure your blank. There are many jewelry elements made of these materials, so have fun and be sure to share your gorgeous jewelry projects in my Facebook group!
Q: Can I engrave on a Cricut Explore cutting machine?
A: While I have not personally tried it, others have tried it and report success. You can get an unofficial third-party etching/engraving tool BUT do not experiment with it if your machine is not out of warranty (as it will void your warranty) of if you’re at all concerned how it might impact it. It doesn’t etch/engrave as deeply as the official Cricut Maker tool, but it might be a way to get something very close to it on an Explore.
Get my free animal SVG files to learn how to engrave with Cricut Maker machines!
I’d love to see YOUR beautiful acrylic nightlights and other projects you can learn how to engrave with Cricut Maker, Maker 3, or Maker 4! Please share a photo in our Facebook group or tag me on social media with #jennifermaker.
Love,

Want to remember this? Save this tutorial on How to Engrave with Cricut Maker 4, Maker 3, or Original Maker to your favorite Pinterest Board!