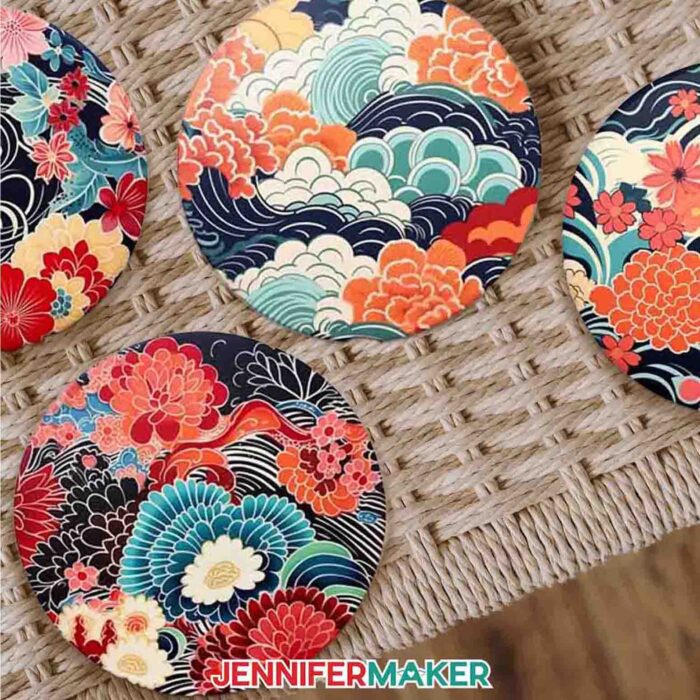
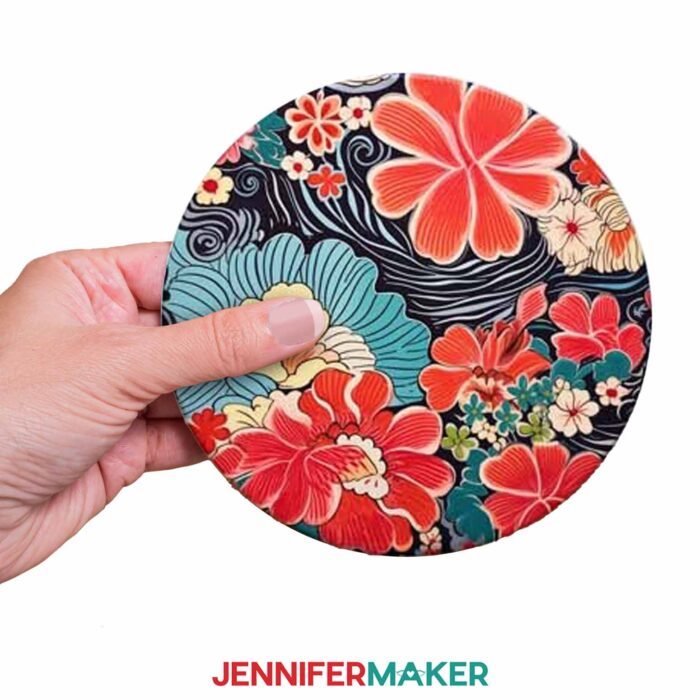
Learn how to make sublimation coasters with amazing AI art!
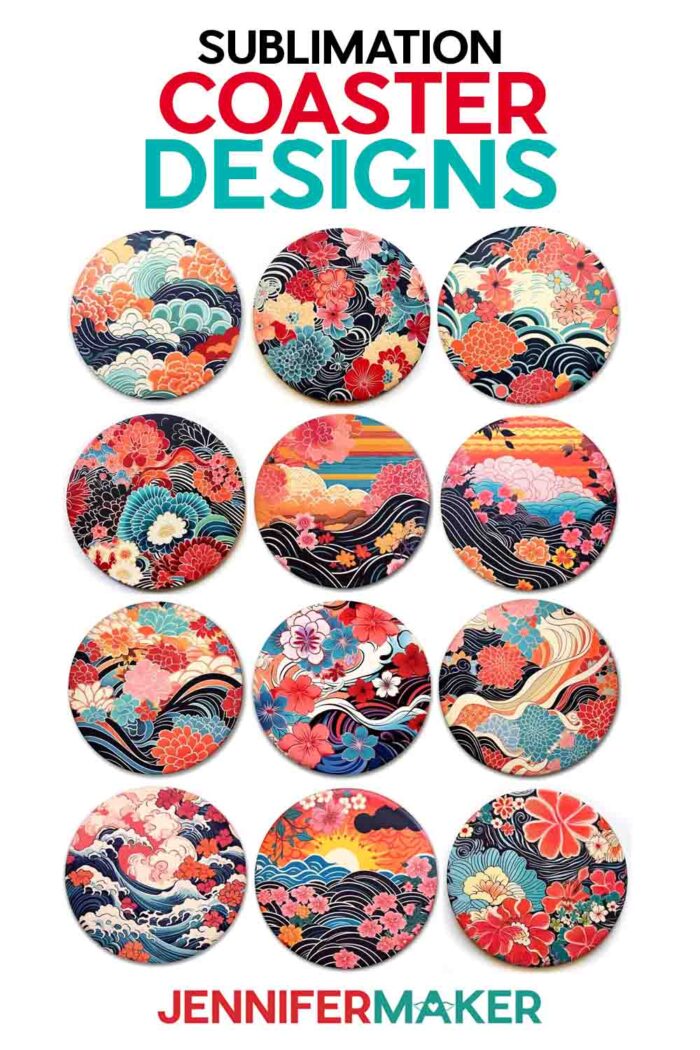
Looking for a fast and simple sublimation project? Maybe you’re a beginner, or just want a quick and easy gift? A while back, I shared a tutorial on how to apply infusible ink to ceramic coasters. They turned out great, and were so easy to make! Since then, many have asked me to share some fun new sublimation designs they could apply to coasters, too! I’ve been on a total AI art kick lately, and can’t wait to share this set of gorgeous new images with you. Let’s make some sublimation coasters!


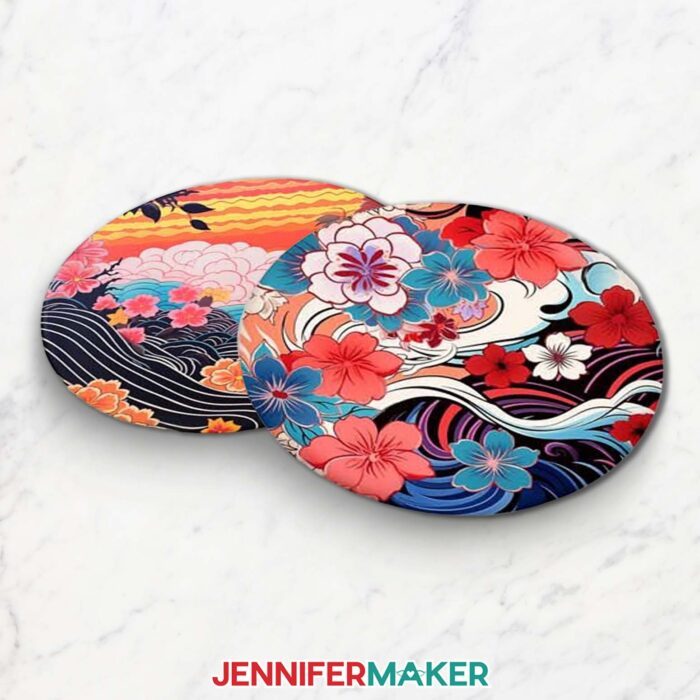
Coasters are a fabulous project for sublimation crafters of all skill levels, from beginners to the more experienced. I’ve got a brand new coordinating set of twelve Japanese art-inspired sublimation coaster designs for you to try, and you can find the link to the coaster blanks and other supplies in the materials list in this tutorial!
Want to create your own AI art designs, but not sure where to start? What is AI, anyway?
AI stands for “artificial intelligence” and “AI Art” is any form of digital art created or enhanced with AI tools. My AI Art Workshop will help you learn the complete step-by-step process to create your own custom AI generated art. You can then apply your AI Art designs to your own sublimation and Print Then Cut projects that are sure to amaze and impress!
So, what’s the difference between infusible ink and sublimation? Dye sublimation is a super popular method of transferring images to a material using high heat. To sublimate, first you print an image onto sublimation paper using a sublimation printer filled with the right kind of ink — you guessed it, sublimation ink. Then the printed image is applied to the blank item at a high temperature from a heat press. The heat causes the ink to enter a gaseous state, where it is then infused or sublimated into the material.
The sublimation process creates a beautiful, vibrant, and long-lasting result. But in order for a surface to be sublimatable, it needs to be made from or coated with a polymer material or polyester. So while you may find cheap, plain coasters from your craft store or online, they’re not necessarily suitable for sublimation. How can you tell? Look for coasters (and other items) marketed as “sublimation blanks.” If it’s sold as a “sublimation blank,” it can be sublimated with sublimation ink or infusible ink.
If this sounds a lot like infusible ink, you’re not wrong! Infusible ink is essentially sublimation ink in an already-printed, cuttable form. It comes in a wide range of colors and patterns, and is a great material especially if you’re not ready to invest in a sublimation printer. But if you want custom designs, printing them yourself with a sublimation printer and the right ink is the way to go.
Want to learn more about sublimation printers, sublimation ink, and how to get started with sublimation? Check out my Sublimation Startup course to get prepared, learn how to design sublimation projects, and make a fun project with me!
To create these awesome sublimation coasters, first you’ll need to download the files and prepare them in Google Docs. Check out my tutorial on how to print sublimation designs from Google Docs for a refresher, or to learn how. Be sure to measure your coasters, then size and print your designs slightly larger so they go from edge to edge of the coaster.
When you’re ready to press your sublimation coasters, set your Cricut EasyPress or Autopress to 400°F (or 204°C). Reference my Sublimation Cookbook for details like temperatures and pressing times if you’re using different materials or tools.

Use a lint roller to remove dust and lint from the surface of the coasters, then lay the printed and trimmed sublimation paper design face down on each coaster. Use heat-resistant tape around the edges to attach the paper tightly in place on each coaster.
Just like infusible ink, sublimation ink produces strong fumes when it’s heated. Proper ventilation is key to sublimating safely. Open a window and turn on a fan to diffuse the fumes.
Place a piece of white cardstock on your pressing mat. Then place your coasters with the printed paper side down onto the cardstock. You can press multiple coasters at the same time, but try not to crowd them together too much, or place them too close to the edges of where your heat press will cover.
Set the timer for 240 seconds if you’re using an EasyPress, or 200 seconds if you’re using an Autopress. If you’re using a different kind of press, I recommend you consult my Sublimation Cookbook for correct pressing times.
Next, lay a piece of butcher paper on top of the coaster, and when it comes to temperature, close or lower the press. If you’re using the EasyPress, there’s no need to apply pressure. If you’re using the Autopress, the pressure will be automatic.
Once the pressing time is up, remove the butcher paper and let the coasters cool for at least 15 minutes. Then remove the tape and sublimation paper and enjoy your beautiful new coasters!
I have a group just for sublimation crafting where you can get help and tips from other crafters who love to sublimate! Come join us at jennifermaker.com/sublimationgroup to ask questions, share ideas, and get inspired!
Ready to learn how to make sublimation coasters? This post contains some affiliate links for your convenience (which means if you make a purchase after clicking a link I will earn a small commission but it won’t cost you a penny more)! Read my full disclosure policy.
Materials And Tools to Make Sublimation Coasters
See my full and complete Amazon shopping list for the exact items used in this project!
- Ceramic Coasters for Sublimation -OR- Ceramic Car Coasters for Sublimation
- Sublimation Printer and Sublimation Ink
- A heat source, like a Cricut Autopress -OR- EasyPress
- Heat resistant pressing mat
- Heat resistant tape
- 1 piece of white cardstock
- Butcher paper
- Paper Trimmer or scissors
- Brayer
- Lint roller
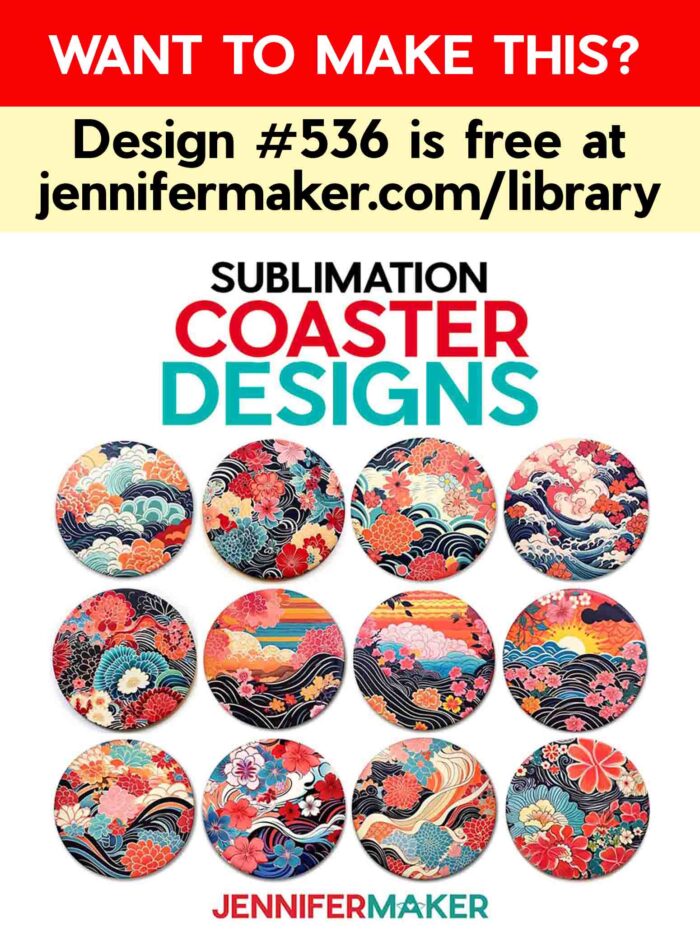
- Design #536 – My free SVG/DXF/PDF design files are available in my free resource library – get the password by filling out the form at the bottom of this page
Answers to Your Questions About How to Make Sublimation Coasters with AI Designs
Q: How do you sublimate coasters?
A: This blog gives a quick rundown of the steps, but if you need help be sure to check out my Sublimation Cookbook and Sublimation Startup course!
Q. Can you sublimate on Cricut infusible ink coasters?
A: Yes! Infusible ink coasters and other items marketed as “infusible ink blanks” are also suitable for sublimation, and vice versa. Items labeled as “sublimation blanks” can be used with infusible ink. It’s the same process, just a slightly different material.
Q: How long do you heat press a coaster?
A: If you’re using a Cricut EasyPress, press for 240 seconds. If you’re using an Autopress, 200 seconds will suffice.
Q: What temperature do you sublimate ceramic coasters?
A: For any heat press, press your sublimation coasters at 400°F (or 204°C).
Q. How to I clean sublimated coasters?
A. To clean your coasters, use warm water and a mild dish soap, or glass cleaner. Do not use steel wool, scrubbing pads, or wash them in the dishwasher, as it may damage or lighten the sublimation transfers over time.
Q: Is there a difference between sublimation and infusible ink?
A: Though they do have some differences, sublimation and infusible ink are virtually the same thing. While sublimation involves printing a design with a sublimation printer (and sublimation ink) onto sublimation paper, infusible ink transfer sheets come with the ink already applied to them. They both follow the same application process, temperatures, and press times.
Q. Can you put vinyl on sublimation coasters?
A. Yes — if it’s a smooth, non-porous surface, you can apply permanent vinyl to it. However, sublimation blanks tend to be a tad pricier than their non-sublimatable counterparts. If ceramic sublimation blanks are the only ceramic coasters you can find, feel free to use them, but you may find cheaper alternatives by looking for plain ceramic coasters that aren’t meant for sublimation.
Q. Do you need a sublimation printer for infusible ink?
A. Nope! Infusible ink transfer sheets come already-printed and ready to be sublimated onto a blank. They’re great for if you want a certain color or pattern available in the infusible ink sheets. If you want a custom pattern or image, sublimation is the way to go.
Get my free PNG files for sublimation coasters!
(If you do not see the signup form above, click here.)
I’d love to see YOUR beautiful sublimation coasters! Please share a photo in our Facebook group or tag me on social media with #jennifermaker.
Love,

Want to remember this? Save this tutorial on How to Make Dye Sublimation Coasters to your favorite Pinterest Board!