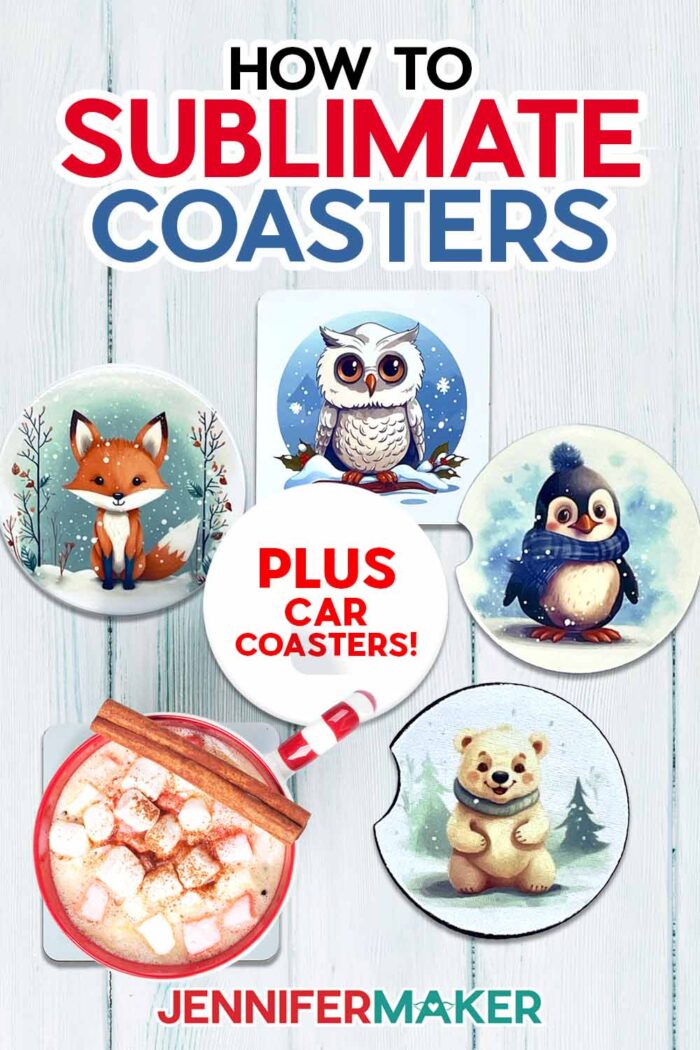
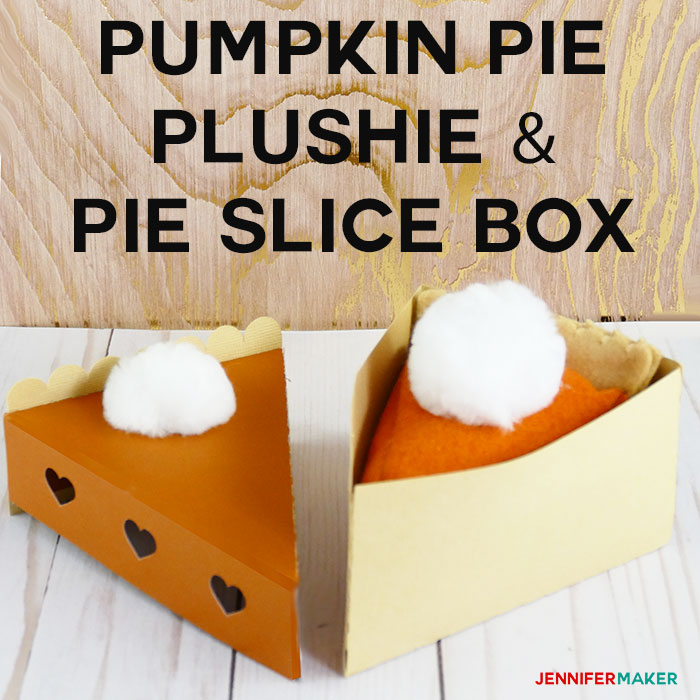
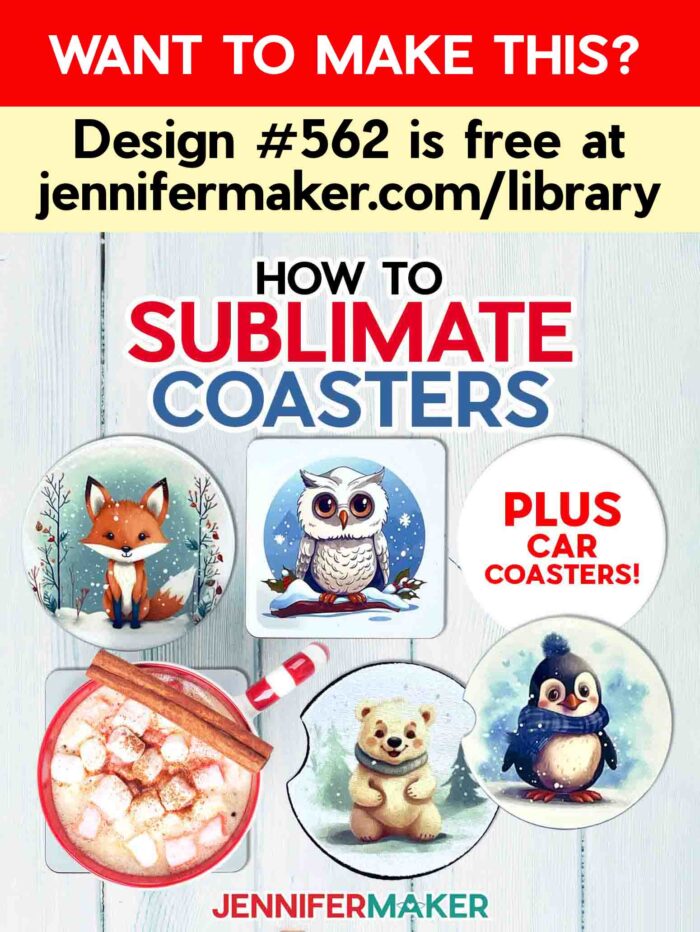
Learn how to sublimate coasters with my free designs!
Coasters are functional, but they can also be fun! And once you learn how to sublimate coasters, you’ll never be stuck with boring ones again. I’m going to test four different kinds of sublimation coasters, put them through some tests, and share which I like best. You can us my free winter animal designs, or prepare your own images using my tutorial.
Want to save this project? Enter your email below and we’ll send the project straight to your inbox.
Watch the full step-by-step tutorial on how to sublimate coasters:

I love testing out new materials and techniques for you, so gathering details on how to sublimate coasters was so much fun! Plus, the results are useful AND cute!
There are a lot of coaster sublimation blanks available, so I decided to test four popular styles. The preparation steps, temperatures and press time varied, so watch my video or see the written tutorial for the complete steps for each!
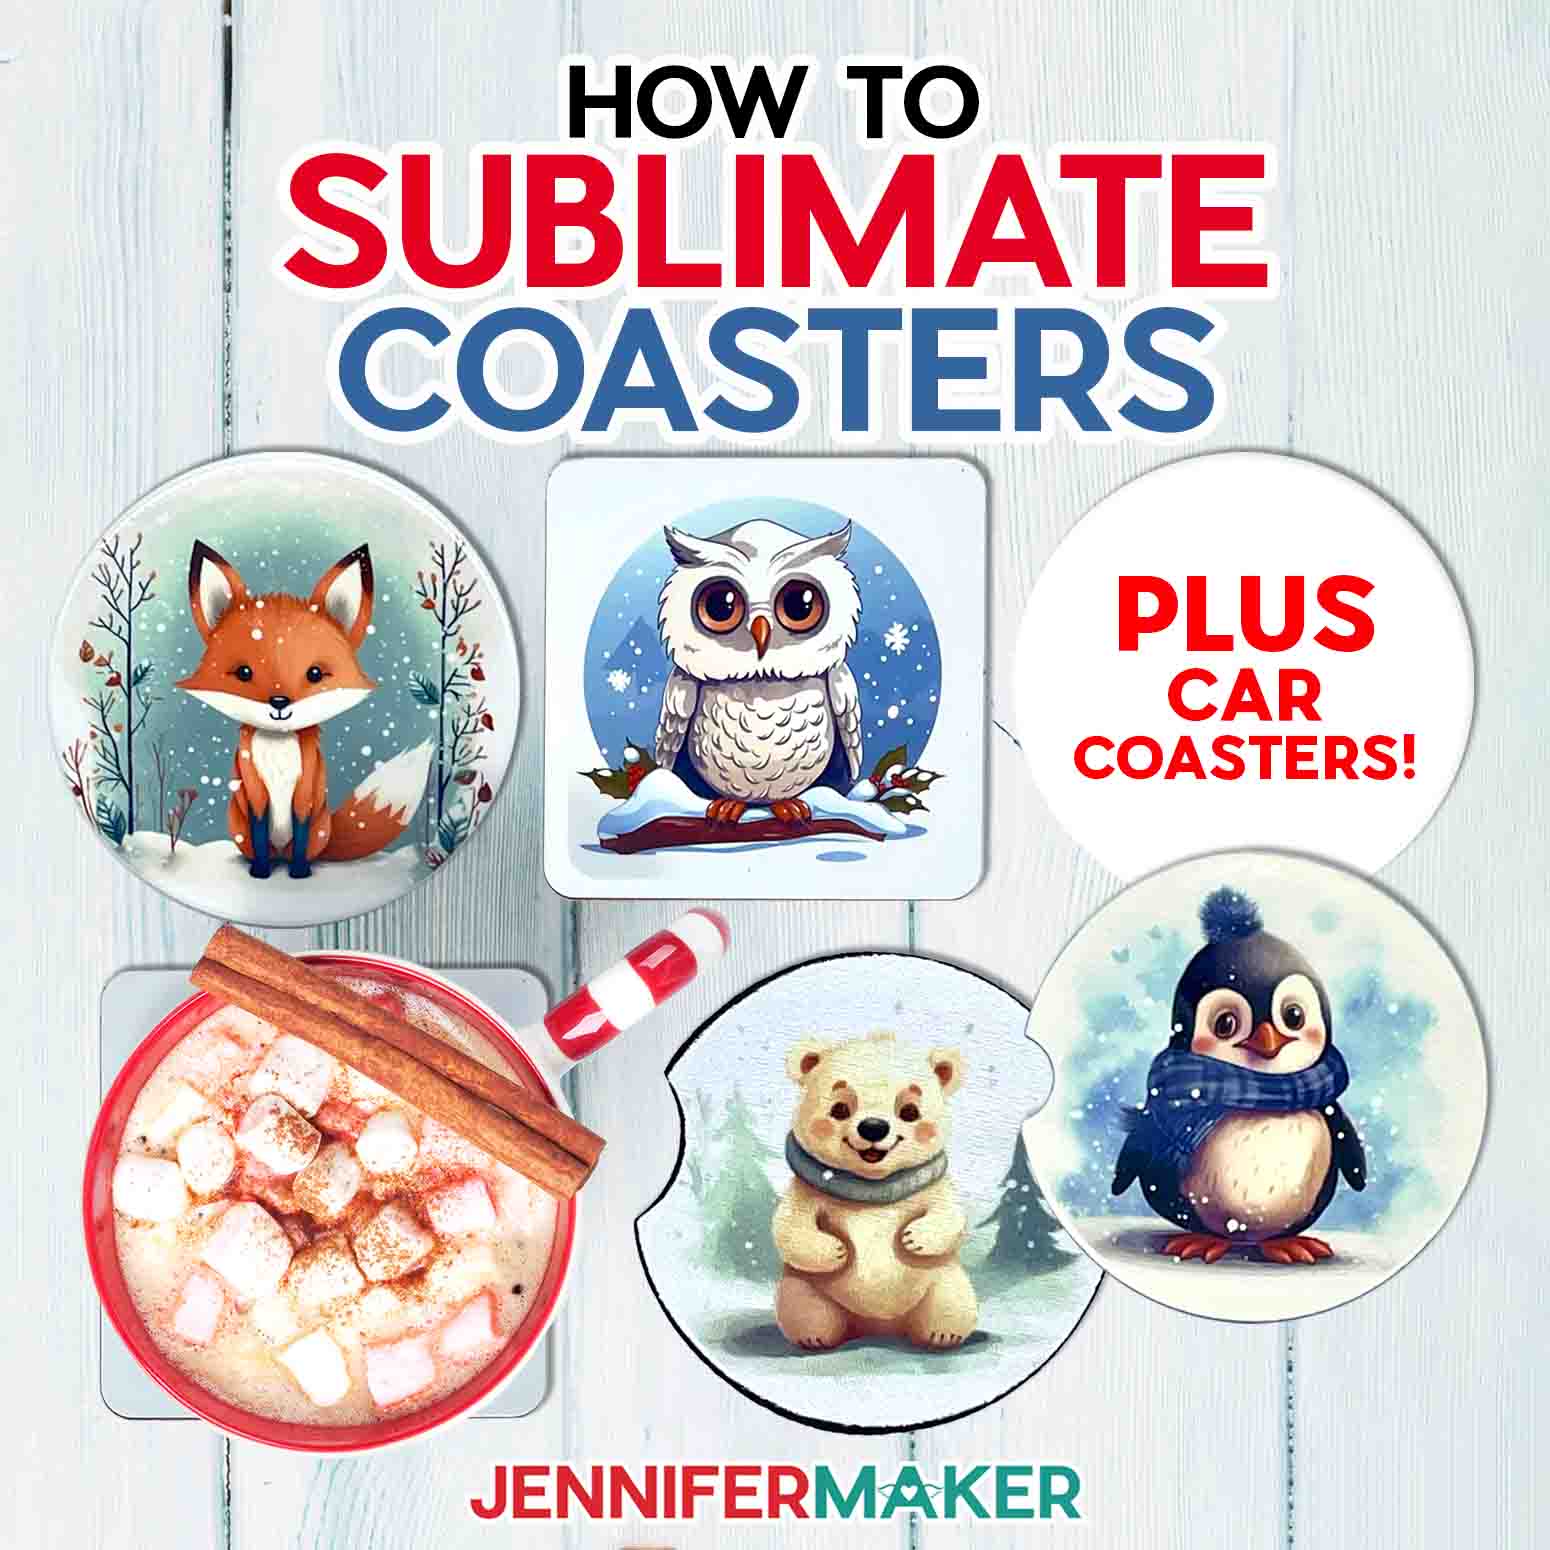
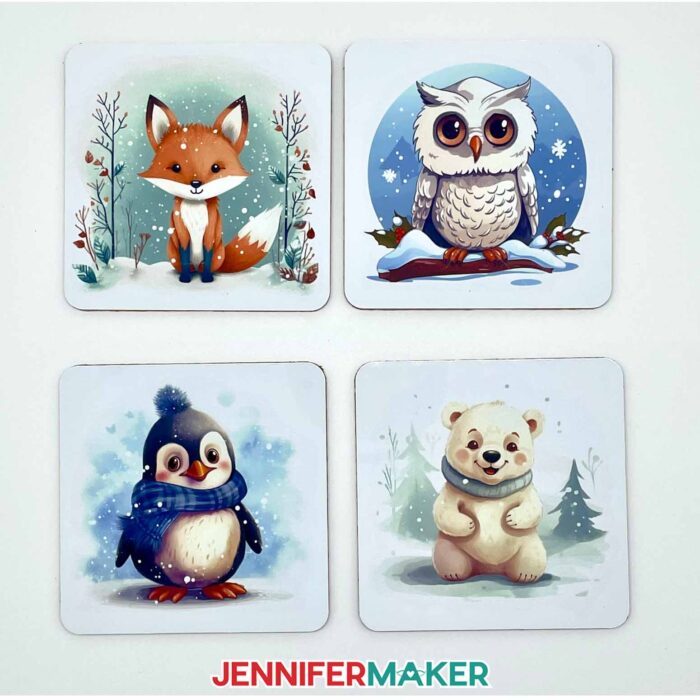
I created these cute winter animal designs with the help of an AI image generator and some image editing. We’ll use Cricut Design Space to prepare them for each coaster blank. Then I’ll show you how to print them using a sublimation printer, cut the designs using Cricut’s Print then Cut feature, and the steps to sublimate each kind! Here are some results without filters so you can see how they each look after being exposed to water, coffee, and sun! I cleaned them off, but this gives you an idea of how they’ll hold up to daily life.
I liked working with these neoprene car coasters, which are black but have a white sublimation coating on top so the sublimation transfers look correct.

MDF car coasters, which also have a sublimation surface on top, are also called hardboard coasters. They’re don’t bend like the neoprene ones, so make sure to order the size that fits your car’s cupholders!
Cricut’s square coasters are marketed for use with Infusible Ink sheets or markers. But since that’s a form of sublimation, they should probably work! This square coaster set comes with cork backing attached, so keep that in mind while pressing.
And Cricut’s round ceramic coasters, which are also intended for Infusible Ink, work very differently. There are other ceramic sublimation coasters available, but I wanted to see if these will work!

So, let’s learn how to sublimate coasters and see which kind hold up to use the best!
Let me show you how easy it is to sublimate coasters! This post contains some affiliate links for your convenience (which means if you make a purchase after clicking a link I will earn a small commission but it won’t cost you a penny more, there is no additional cost)! Read my full disclosure policy.
Materials to Sublimate Coasters
See my shopping list with these items!
- MDF Sublimation Coasters -OR-
- Neoprene Sublimation Costers -OR-
- Cricut Square Infusible Ink Coasters -OR-
- Cricut Round Coaster Ceramic Infusible Ink Coasters
- 8.5” x 11” A-Sub Sublimation Paper
- 12” x 12” White Cardstock (to protect tools and materials from extra sublimation ink)
- White Butcher Paper
- Sublimation Printer or Printer Converted for Sublimation
- High quality sublimation ink compatible with your printer
- A way to cut your sublimation prints – I’m using the Cricut Maker 3 but you can also use the original Maker, an Explore series machine, the Venture or Joy Xtra, or cut them with scissors
- Heat Press – I used my EasyPress, but you can also use an Autopress or a traditional heat press
- Cricut EasyPress Mat
- Cricut Blue LightGrip Machine Mat, 12″ x 12″
- Proper ventilation during the sublimation process – I like to use this fan
- Heat Resistant Tape
- Brayer
- Lint Roller
- Measuring Tape
- Design #562 – My free PNG/PDF design files are available in my free resource library – get the password by filling out the form at the bottom of this page
How to Sublimate Coasters

How to Sublimate Coasters
Learn how to sublimate coasters with cute winter designs!
Materials
- Four (4) MDF Sublimation Coasters
- Four (4) Neoprene Sublimation Costers
- One (1) 4-Pack of Cricut Square Infusible Ink Coasters
- One (1) 4-Pack of Cricut Round Ceramic Infusible Ink Coasters
- One (1) Sheet of 8.5” x 11” A-Sub Sublimation Paper
- One (1) Sheet of 12” x 12” White Cardstock (for Sublimation)
- White Butcher Paper
- Design #562 (My free PNG/PDF design files are available in my free resource library – get the password by filling out the form at the bottom of this page)
Tools
- Sublimation Printer or Printer Converted for Sublimation
- Sublimation Ink
- A way to cut your sublimation print - I’m using the Cricut Maker 3 but you can also use the original Maker, an Explore series machine, the Venture or Joy Xtra.
- Heat Press - I used my EasyPress, but you can also use an Autopress or a traditional heat press
- Cricut EasyPress Mat
- Cricut Blue LightGrip Machine Mat, 12" x 12"
- Proper Ventilation - I like to use this fan
- Heat Resistant Tape
- Brayer
- Lint Roller
- Measuring Tape
- Heat Resistant Gloves
- Isopropyl Alcohol (for cleaning ceramic blanks)
- Lint Free Cloth (for cleaning ceramic blanks)
Instructions
STEP 1: GET MY FREE HOW TO SUBLIMATE COASTERS DESIGNS
First, download my Vacation Sublimation designs from my free library – look for Design #562. Alternatively, you can use the Save This Project form near the top of this post and the design link will be emailed to you.
TIP: If you’re not sure how to upload, go to jennifermaker.com/svgs to learn how to unzip and upload SVG files.
There are four cute winter animal designs in the PNG folder. I will demonstrate how to resize the designs for a 2.5” MDF coaster with the owl PNG, but you can choose to make whichever designs and coasters you’d like.
I’m using Design Space’s Print Then Cut feature with my Cricut Maker 3 to print and cut these designs, but you can also use a regular Maker, an Explore series machine, Cricut Venture, Cricut Joy Xtra, or another cutting machine that works with Print Then Cut.
STEP 2: PREPARE YOUR DESIGNS
If you have not recently used your Cricut’s Print Then Cut feature, you may want to calibrate your machine for the most precise cuts. If you aren’t sure how to calibrate for Print Then Cut, check out this helpful video.
1. Open Cricut Design Space and click “New Project.”
2. Click “Upload” and then “Upload Image”
3. Click “Browse”
4. Select the owl PNG file.
5. On the next screen, click “Upload”
6. On the Upload Image screen, select “Complex” and click “Continue”
7. No changes are needed on the next screen. Click “Apply & Continue.”
8. On the next screen, select “Print Then Cut Image” and click “Upload”
9. Repeat steps 1-8 for the other three coaster designs.
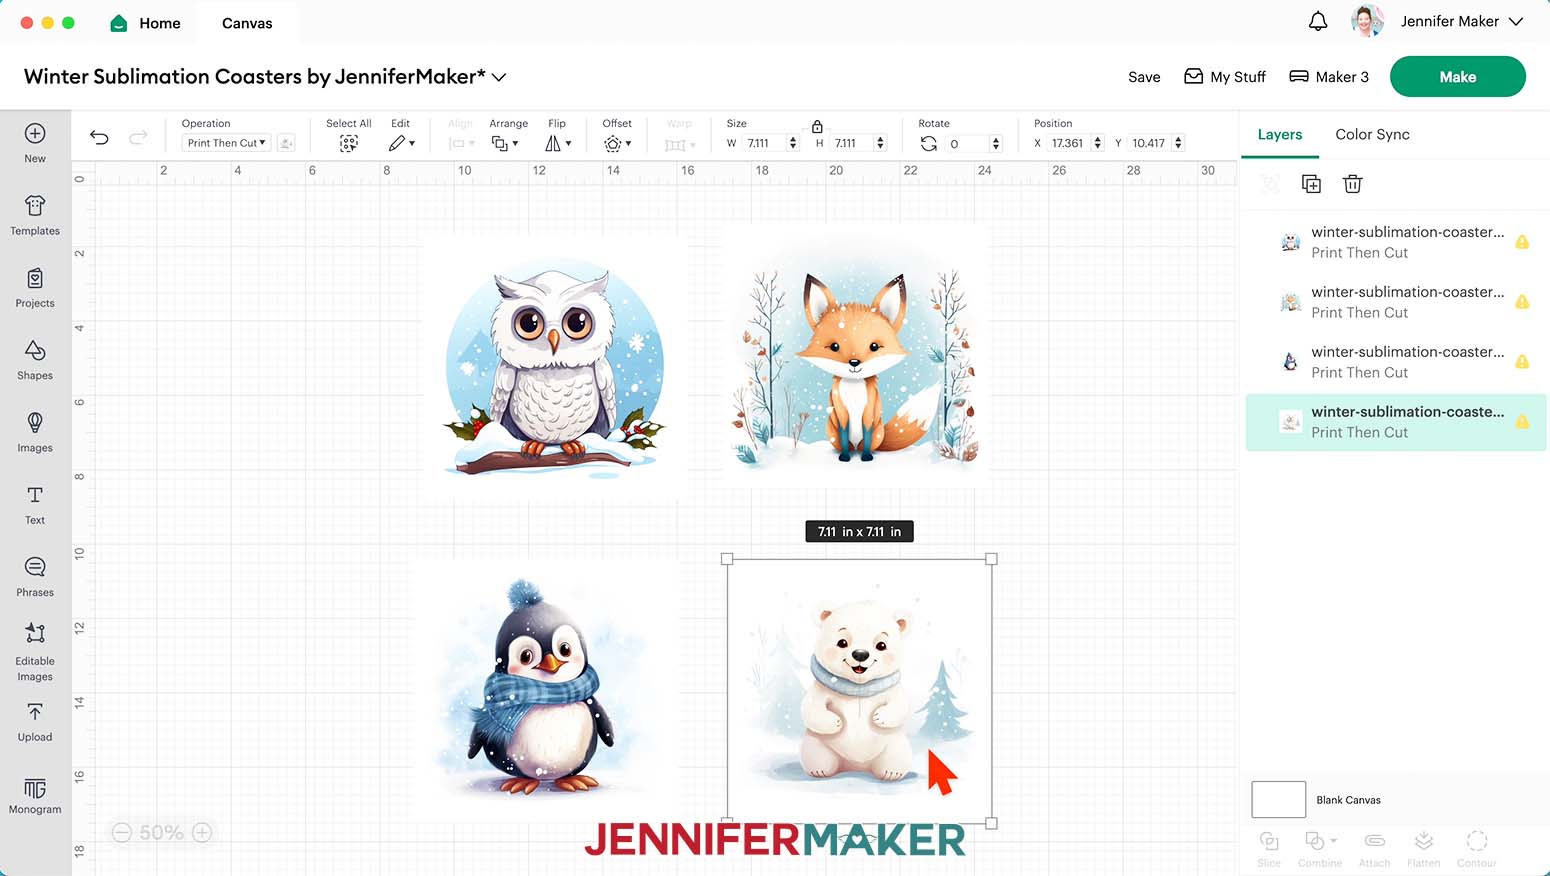
10. Find your designs in Recent Uploads and click each one to select it.
11. Click “Add to Canvas.”
NOTE: You may see a low-resolution warning even after resizing your images, and that’s OK. They will print just fine at the size needed for this project. However, I don’t recommend enlarging these images for larger projects.
12. Click Shapes and select the Circle.
NOTE: If you are making a square-shaped coaster, you only need to resize the image to the size of the coaster since the images are already square-shaped. Once resized to fit your square blank, skip ahead to “Step 3: Print and Cut Your Coaster Designs” below.
13. With the circle selected, click in the Size Menu to change the Width (W) and Height (H) to 2.5”. Press Enter.
NOTE: If you are using the same blanks as me, this is the size for the MDF sublimation coaster. If you are using something different, measure your blank and enter the dimensions accordingly.
14. With the circle still selected, click on the Operation menu and select “Guide.” 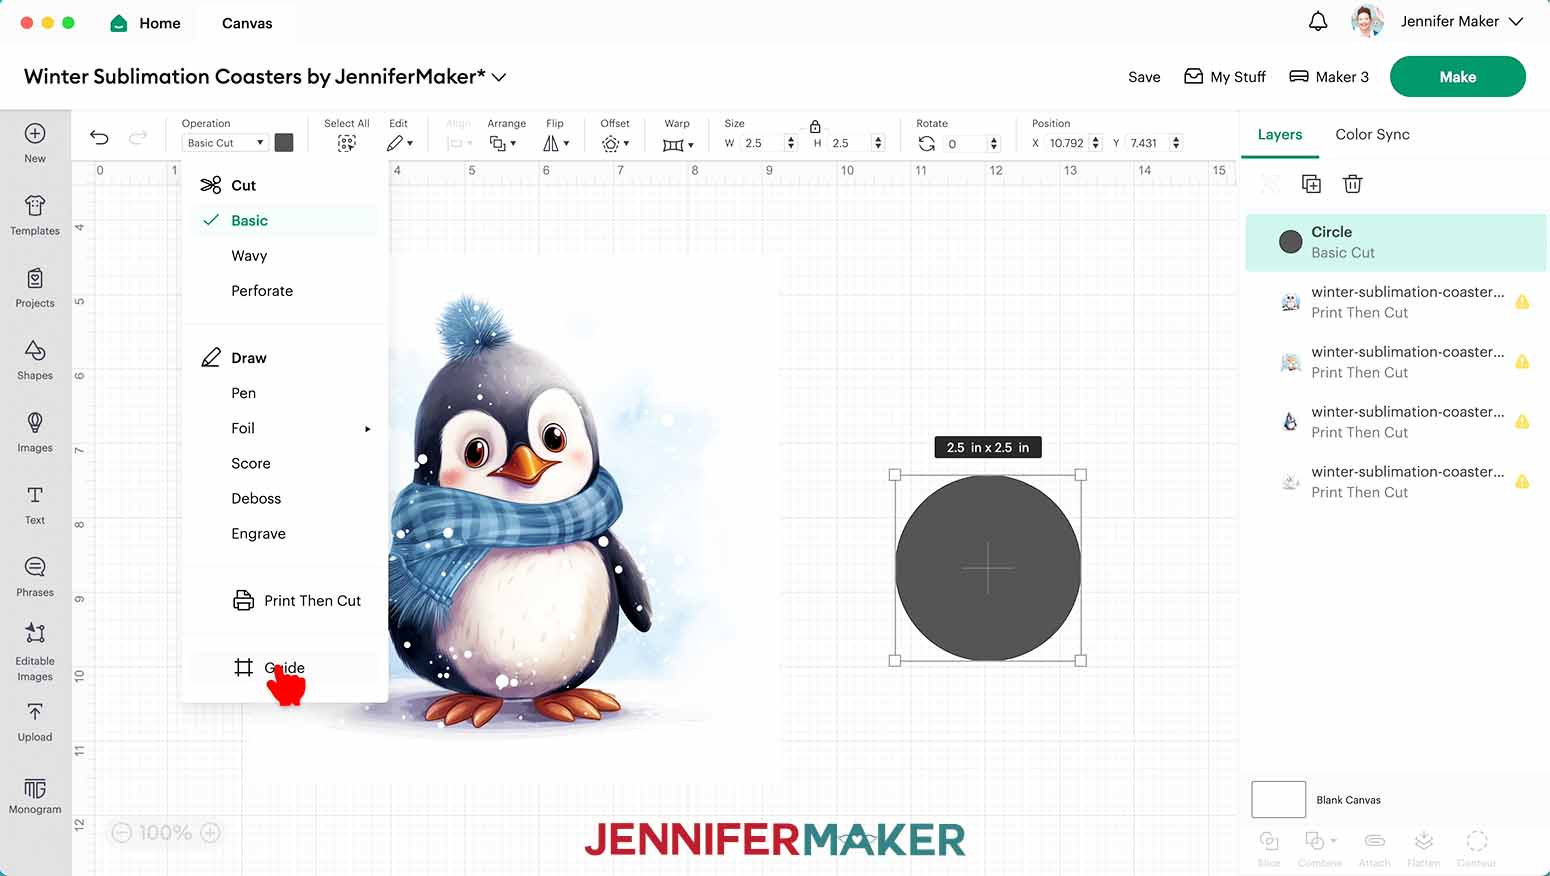
15. Select the image and change the size to 2.5” for both the width and height.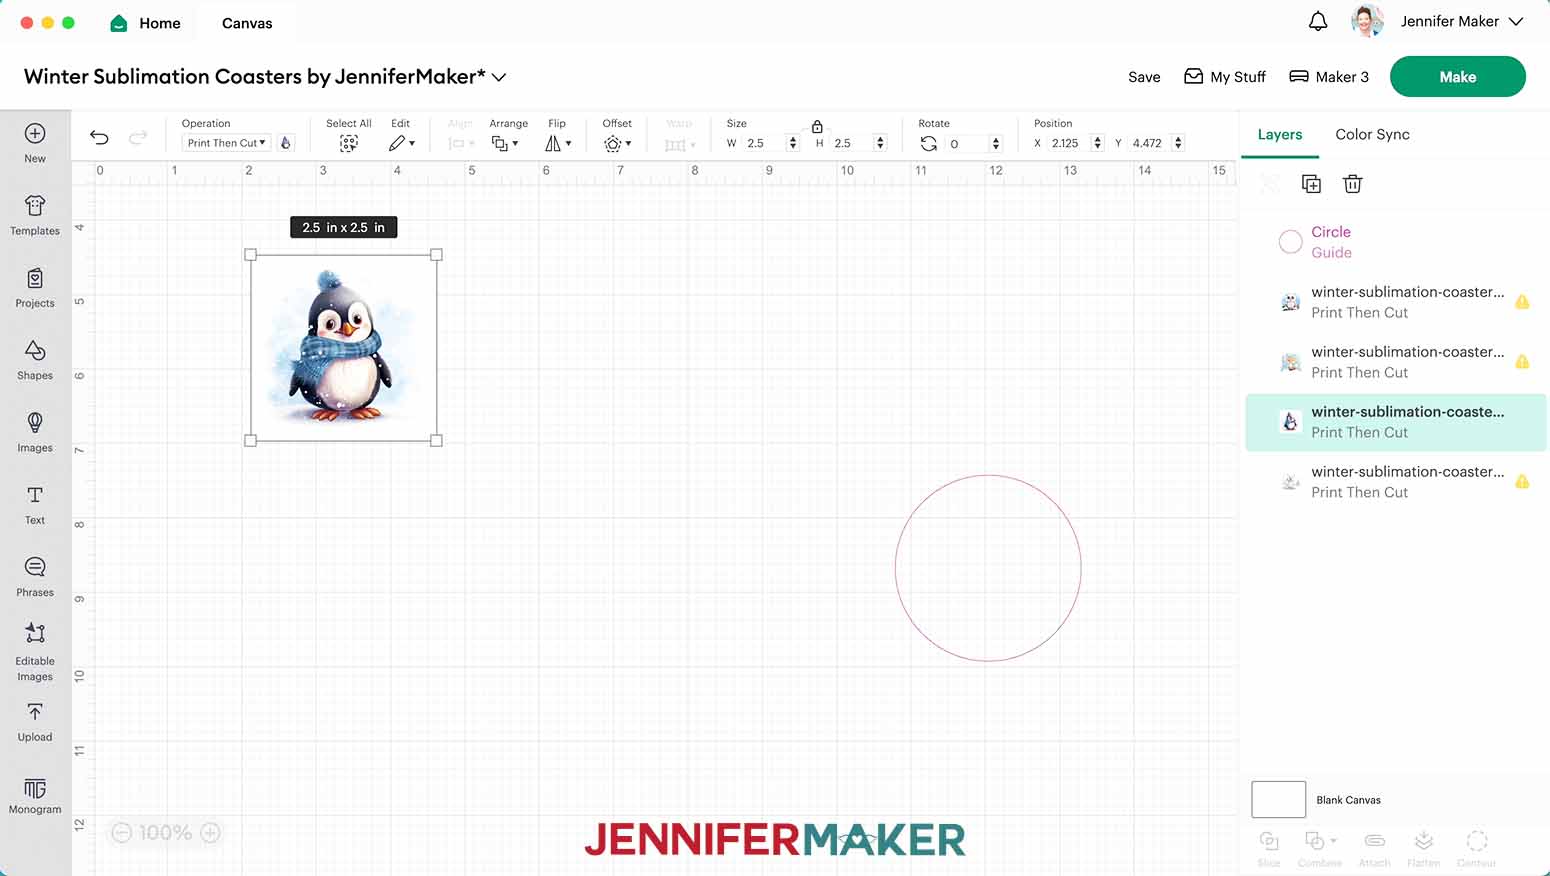
16. Move the image and the guide to a blank area on the canvas.
17. Drag your mouse over the guide circle and the image. Click “Align” and “Center.”
18. With both layers still selected, click “Slice.” 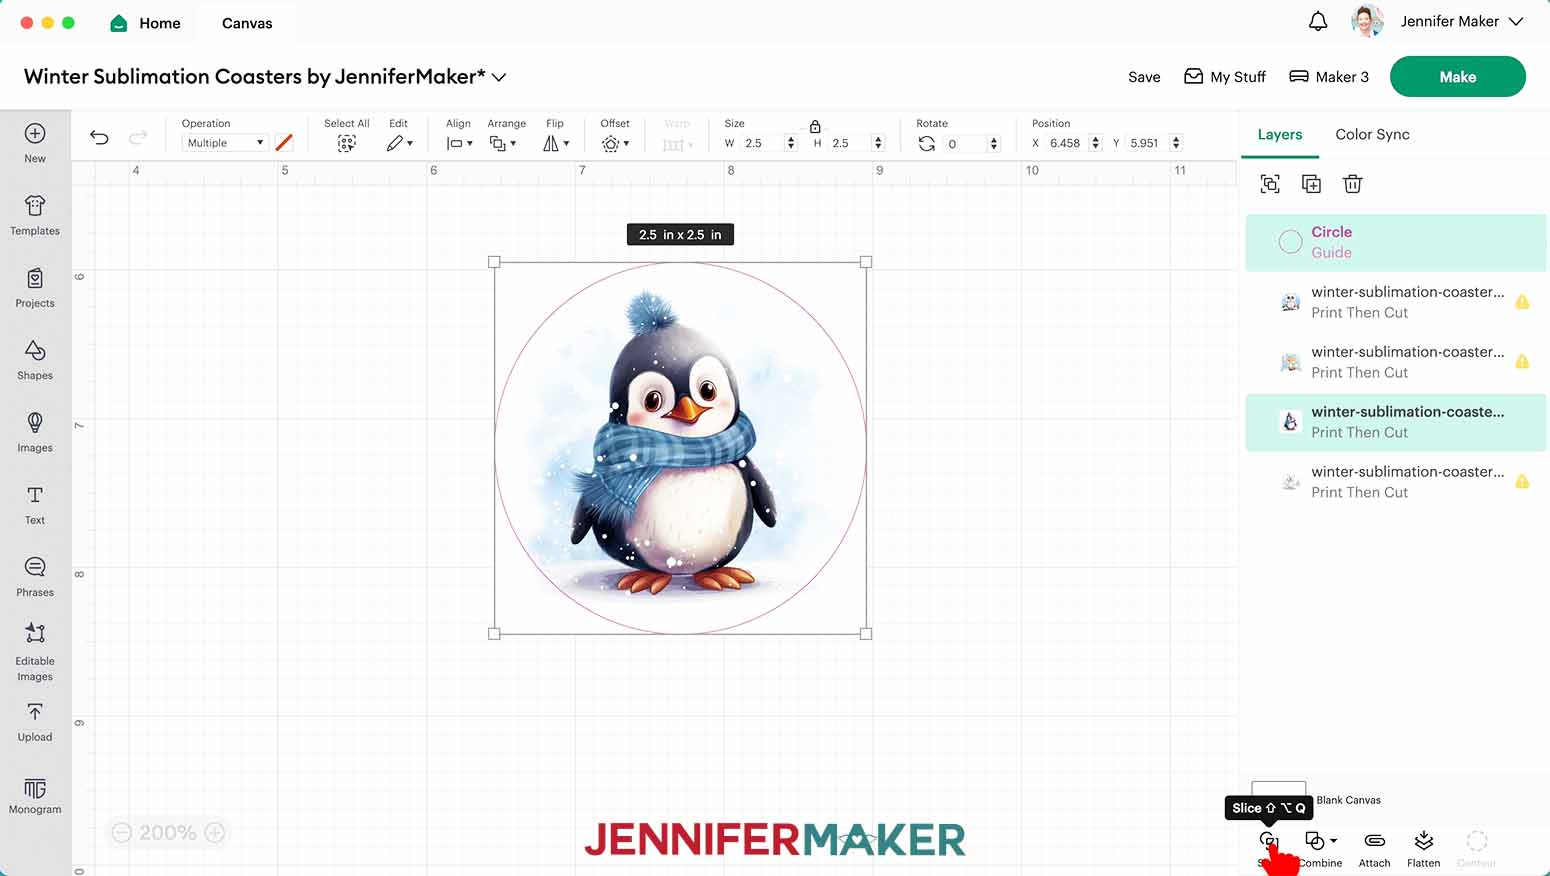
19. Drag the guide circle out of the way and delete the layer that has the corner edges from the image.
20. Repeat steps 15-19 for the other three designs.
21. Select the guide circle and delete it.
STEP 3: PRINT AND CUT YOUR COASTER DESIGNS
PREPARING
1. Make sure the correct machine is selected
2.. Click “Make”
3. If prompted, click “On Mat,” choose your mat size, and click “Confirm.”
4. On the Prepare Screen, make sure your Print Then Cut mat’s paper size is set to 8.5” x 11”
5. Turn on the “Mirror” toggle.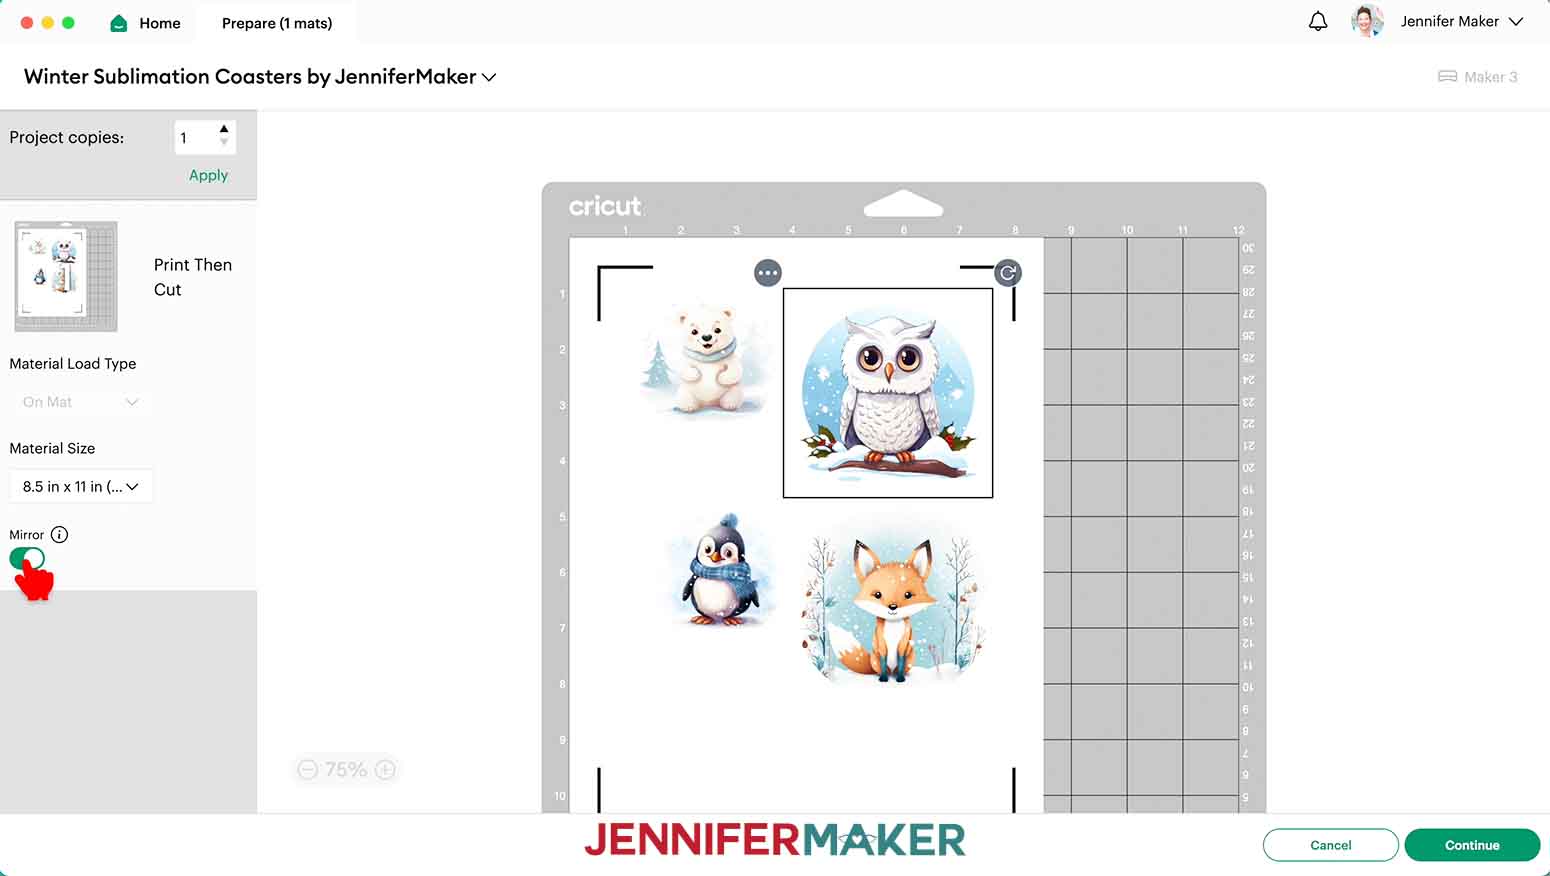
6. Click “Continue.”
PRINTING
1. On the Make Screen, click “Send to Printer.”
2. Select your sublimation printer from the Printer dropdown.
3. Toggle “Add Bleed” on
4. Toggle “Use System Dialog” on.
5. Click “Print”
NOTE: You may need to minimize or move your Design Space window to see the print dialog window. 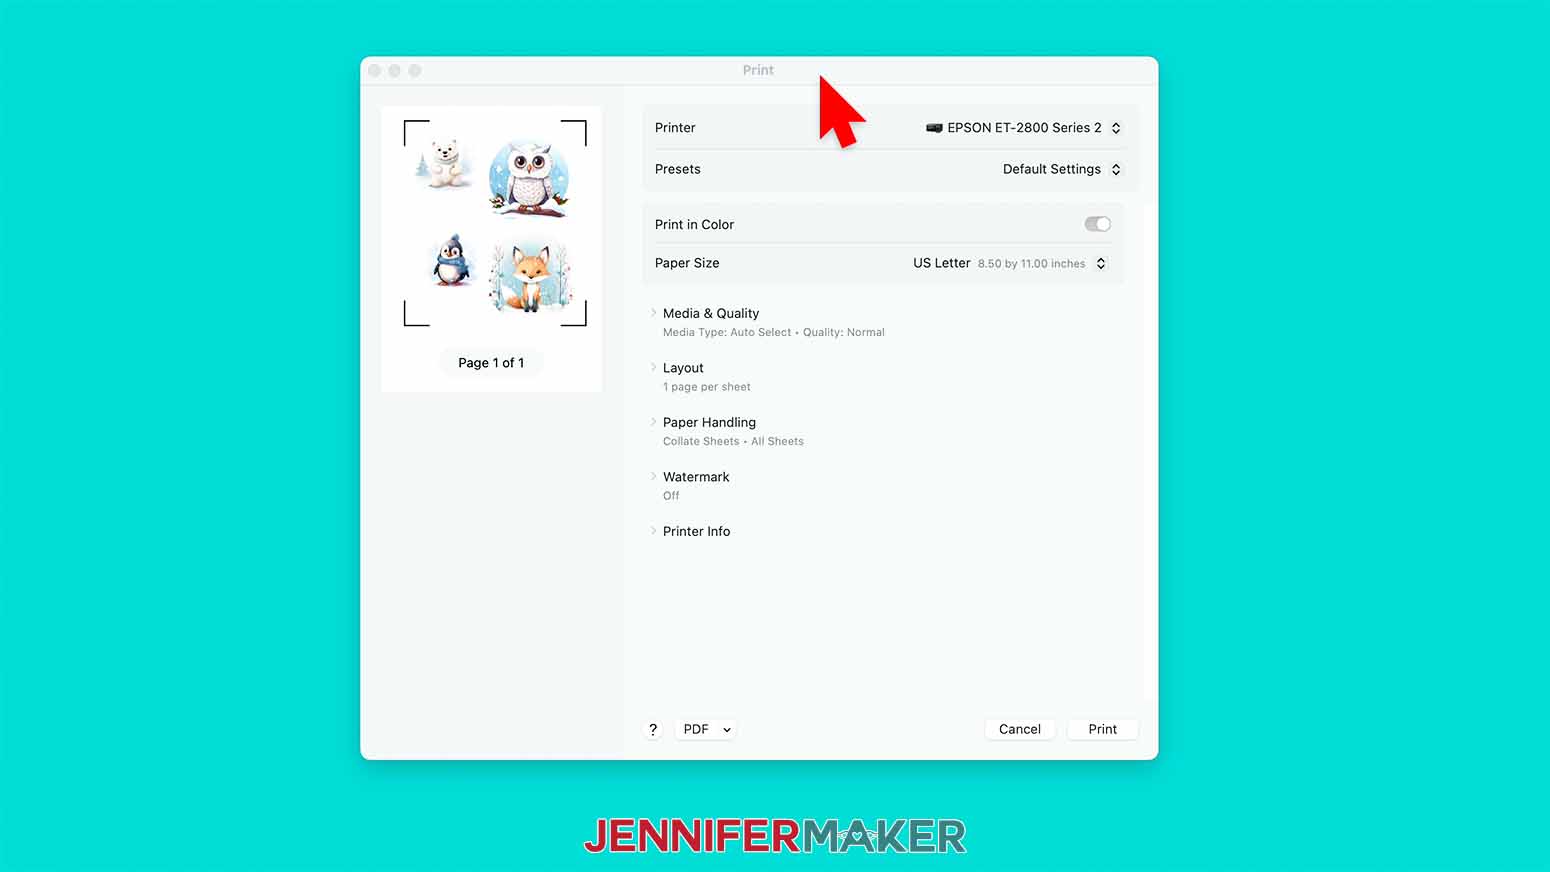
6. Set the Media to “Premium Photo Matte” and the Quality to “Best.” “Flip Horizontally” should be unchecked. 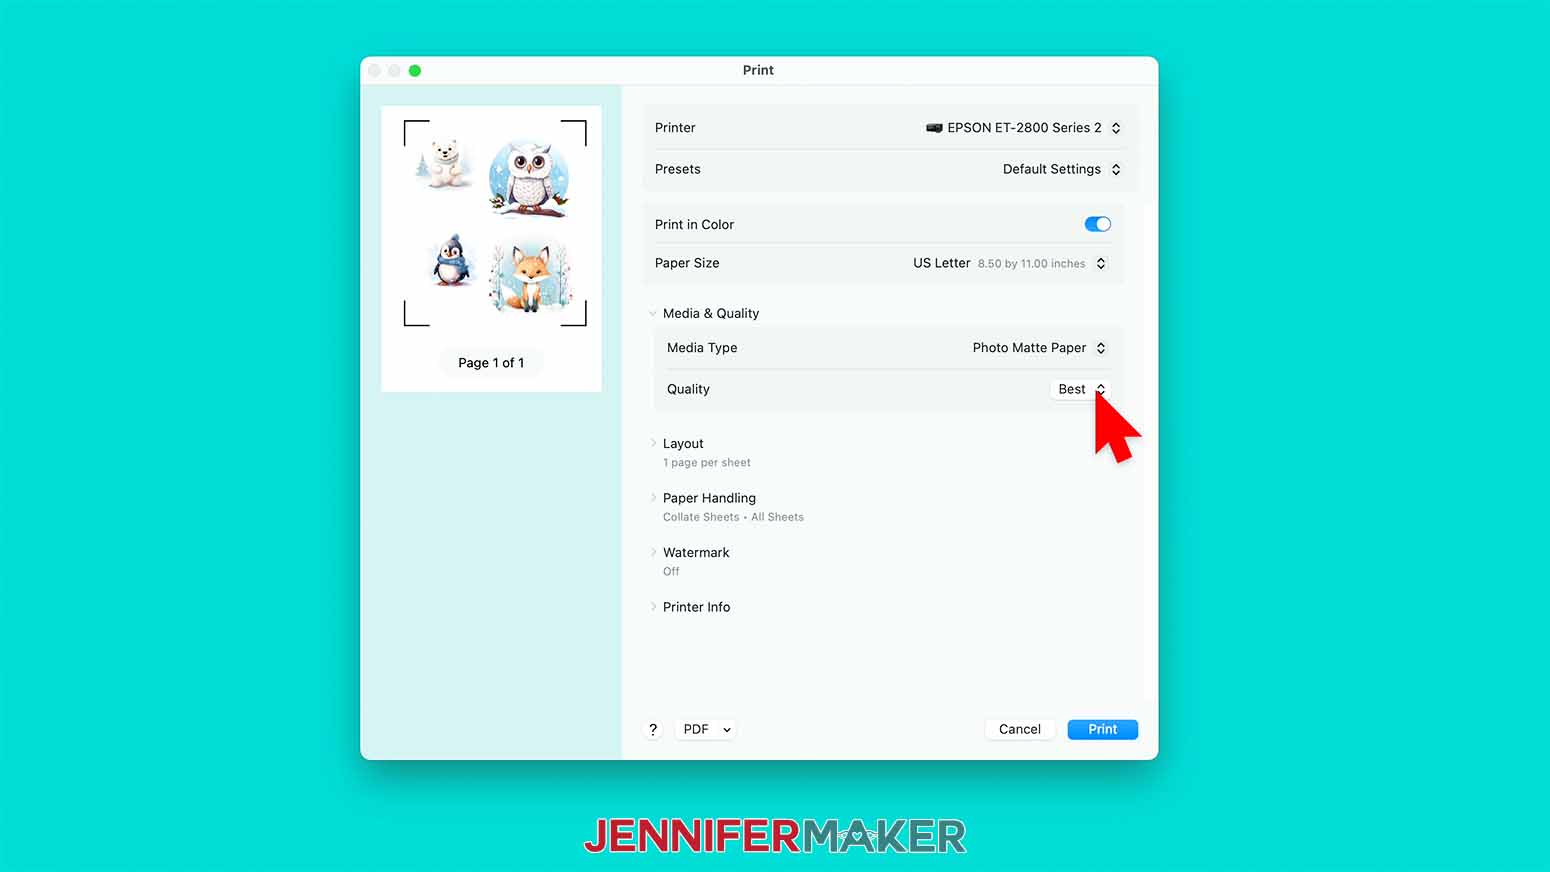
7. Make sure the sublimation paper is loaded correctly
8. Click “Print”
CUTTING
1. Place the printed sublimation designs face up, with the top and left edges aligned along the guide, on a blue LightGrip machine mat.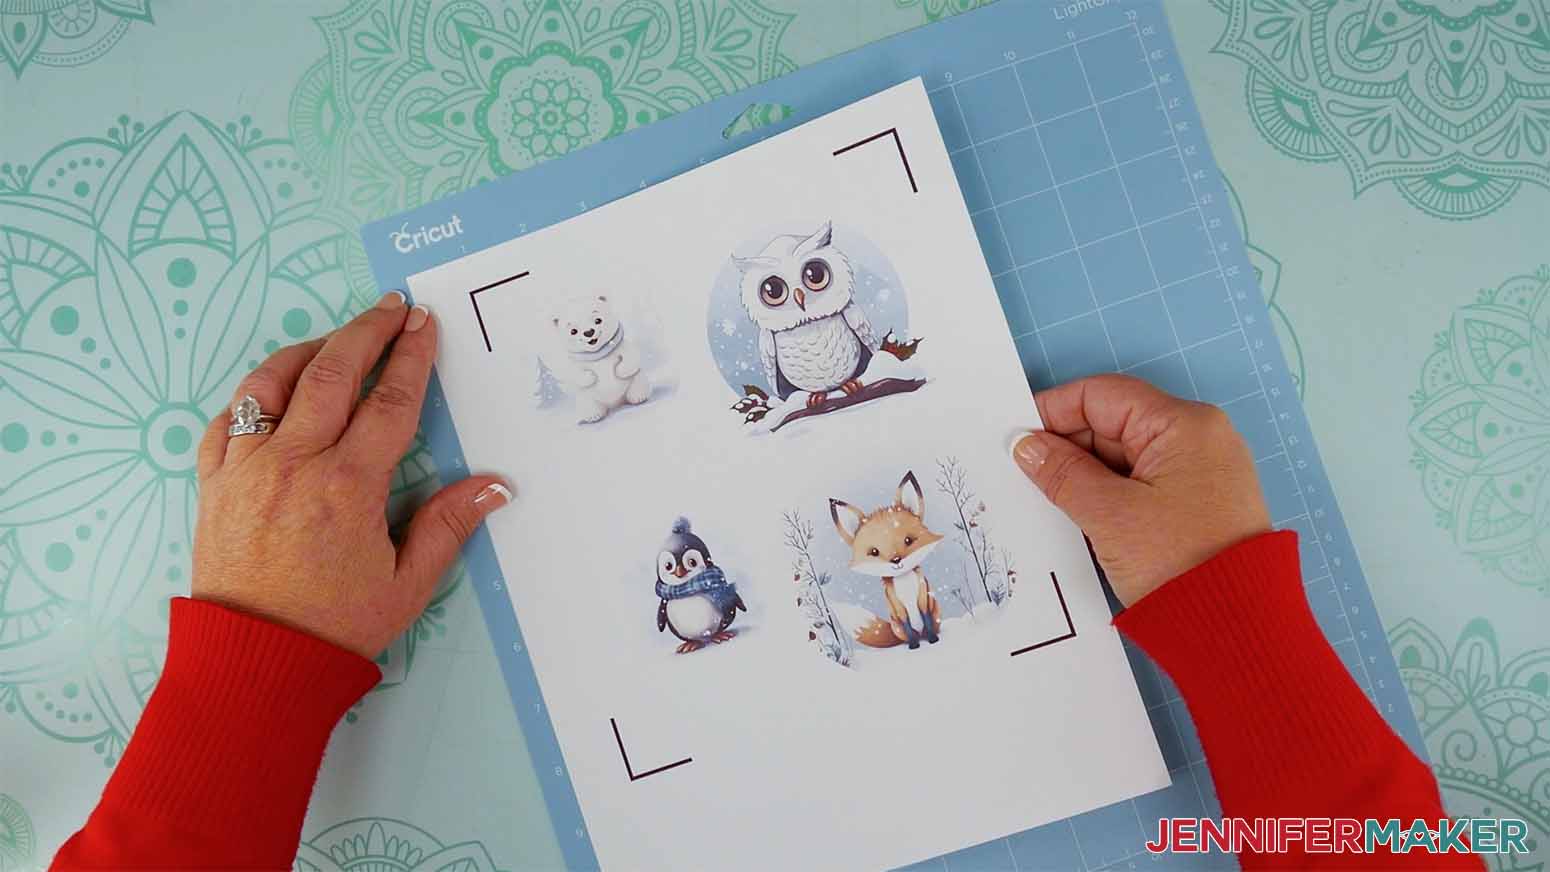
2. Put a piece of copy paper on top of the sublimation print and use a brayer to secure the print to the mat.
3. Select the “Light Cardstock - 65 lb” setting with “Default” Pressure.
4. Load the mat into your Cricut and make sure the Fine-Point Blade is clean and in the clamp.
5. Press the flashing button to begin cutting.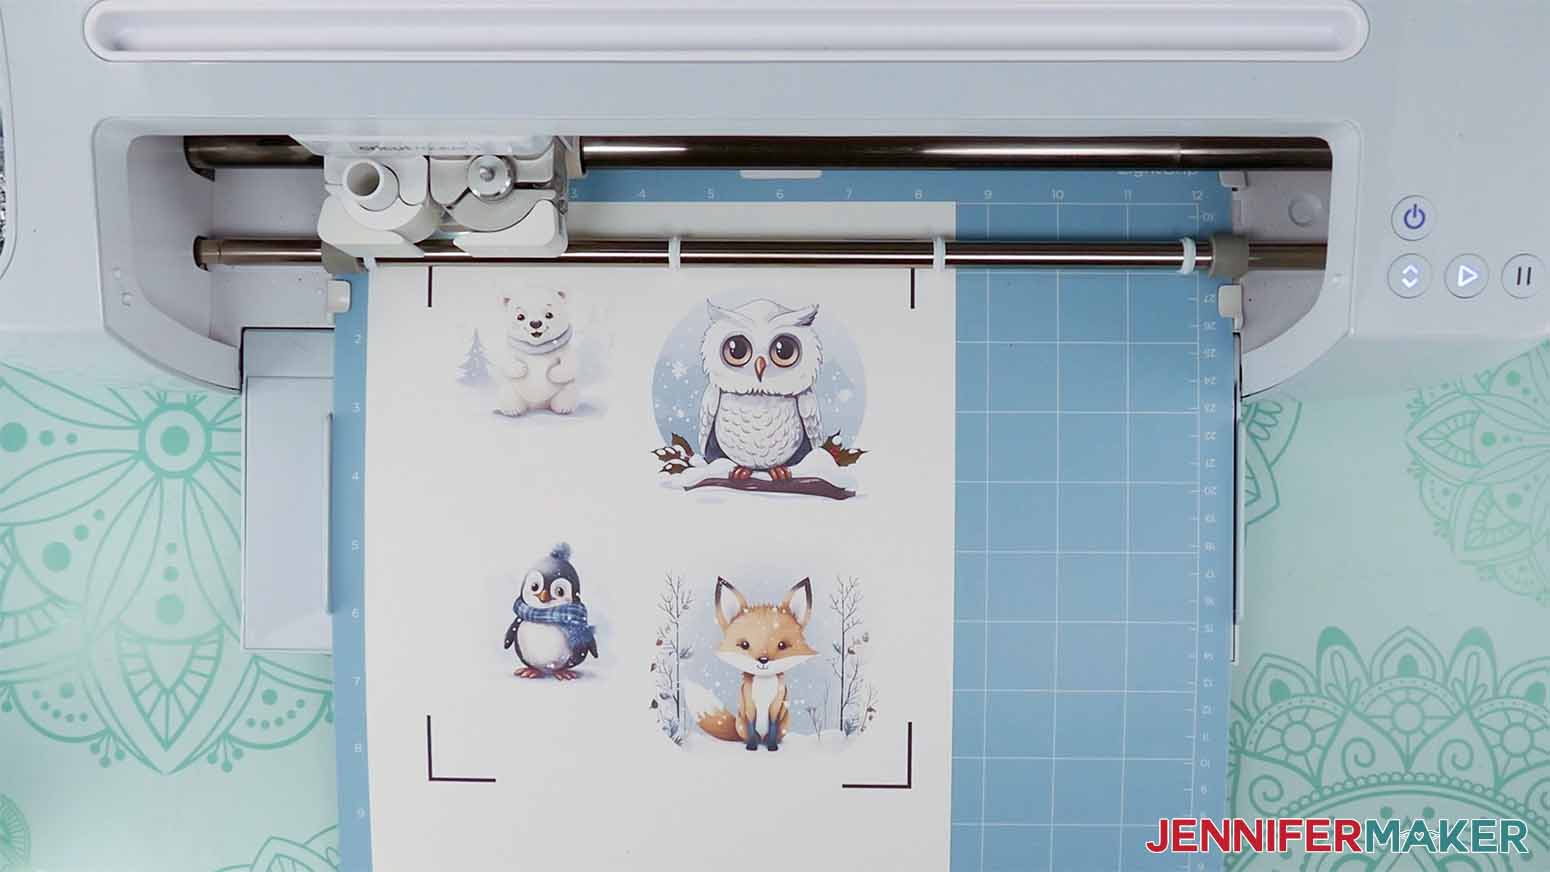
6. Unload the mat, flip it over onto your work surface, and gently roll the coaster designs off of the mat.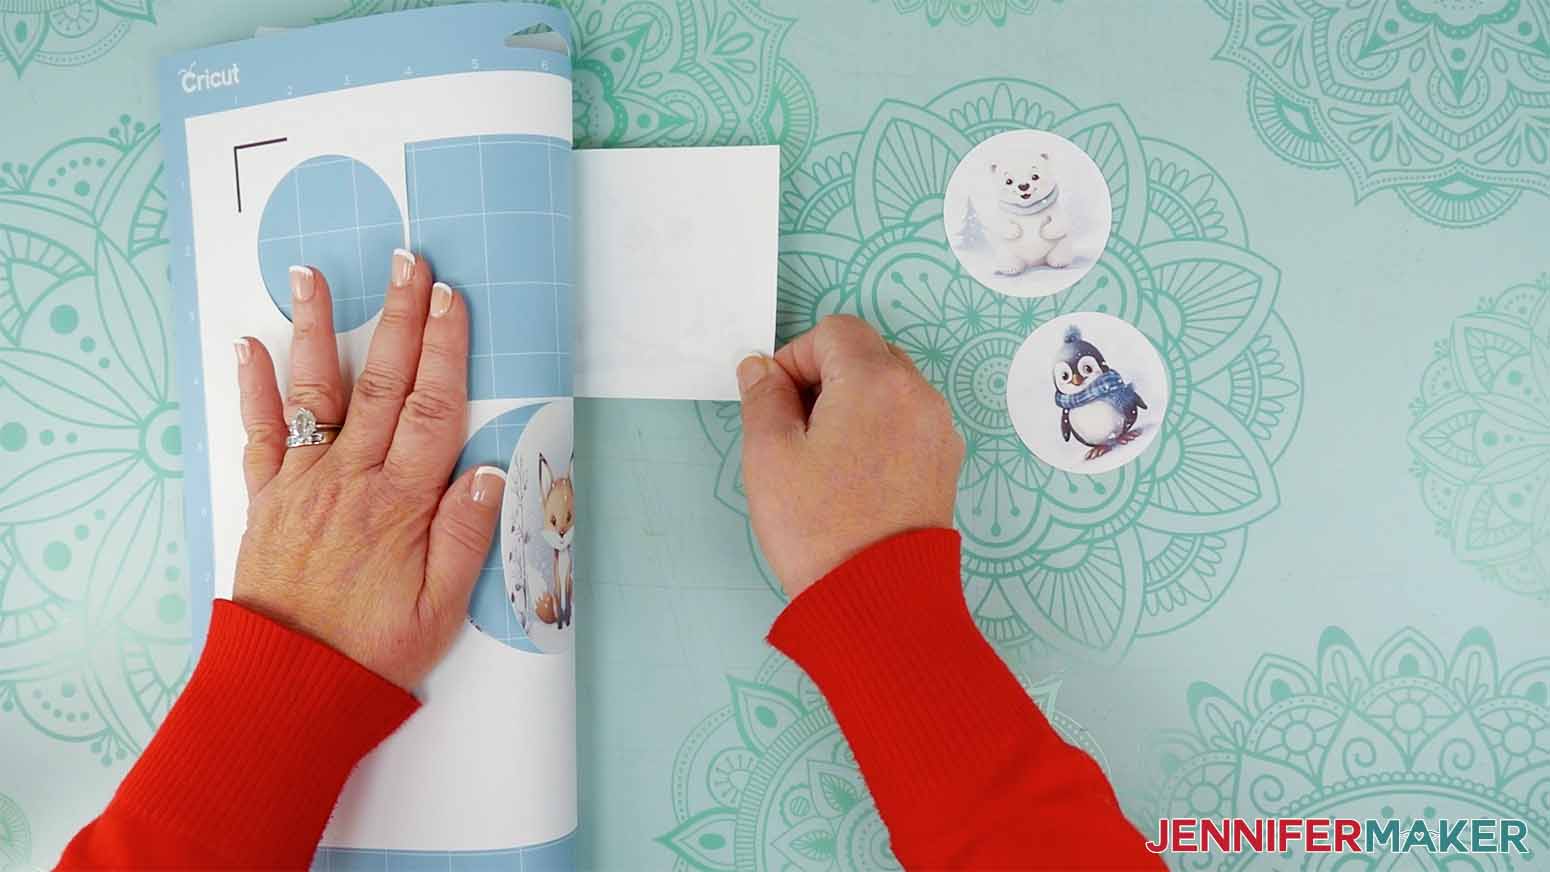
STEP 4: SUBLIMATE YOUR WINTER COASTERS
Before you begin, make sure you are in a well-ventilated area with a fan on or a window open.
NOTE: If you are using a different heat press, refer to the Sublimation Cookbook for times and temperatures.
PROJECT 1: MDF COASTERS
1. Turn on the EasyPress and set the temperature to 390° Fahrenheit (198° Celsius) and set the time to 50 seconds.
2. If your coaster has a protective film, remember to take it off.
3. Use a lint roller on the coasters to remove any dust or debris.
4. Cover the MDF coaster blank with a sheet of white cardstock.
5. Preheat the coaster for five seconds to remove excess moisture.
6. Put a sheet of white cardstock on the pressing pad.
7. Place the sublimation print face down on the coaster and align the edges.
NOTE: Be sure that any important parts of your design are not over the cutout of the coaster. I found it best to keep the cutout to the left or right of the design.
8. Place heat-resistant tape on all edges of the sublimation print to hold it in place on the coaster.
make-sublimation-coasters-add-tape
9. Place the taped coaster on top of the cardstock and pressing pad with the coaster facing up and the design facing down.
10. Place a piece of plain white butcher paper on top of the stack.
11. Press at 390° Fahrenheit for 50 seconds with medium pressure.
12. When the time is up, remove the press by lifting it straight up.
13. Allow the coaster to cool for a couple minutes and then remove the blowout paper, tape, and printed sheet to reveal the design.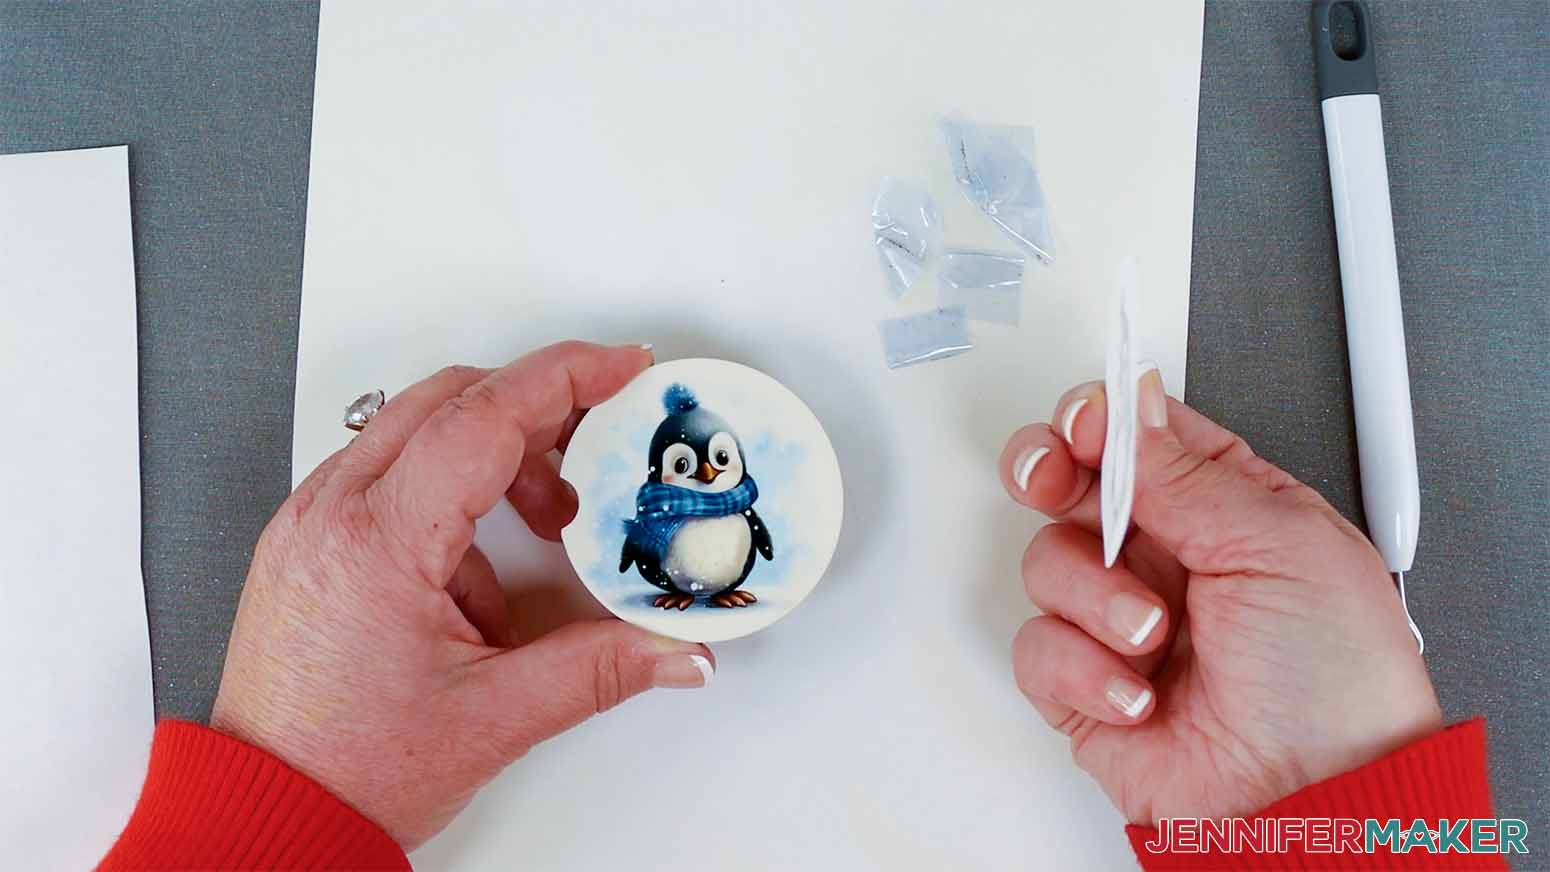
PROJECT 2: NEOPRENE COASTERS
1. Turn on the EasyPress and set the temperature to 385° Fahrenheit (196° Celsius) and set the time to 40 seconds.
2. Use a lint roller on the coasters to remove any dust or debris.
3. Cover the neoprene coaster blank with a sheet of white cardstock.
4. Preheat the coaster for ten seconds to remove excess moisture.
5. Put a sheet of white cardstock on the pressing pad.
6. Place the sublimation print face down on the coaster and align the edges. Place heat-resistant tape on all edges of the sublimation print to hold it in place on the coaster. 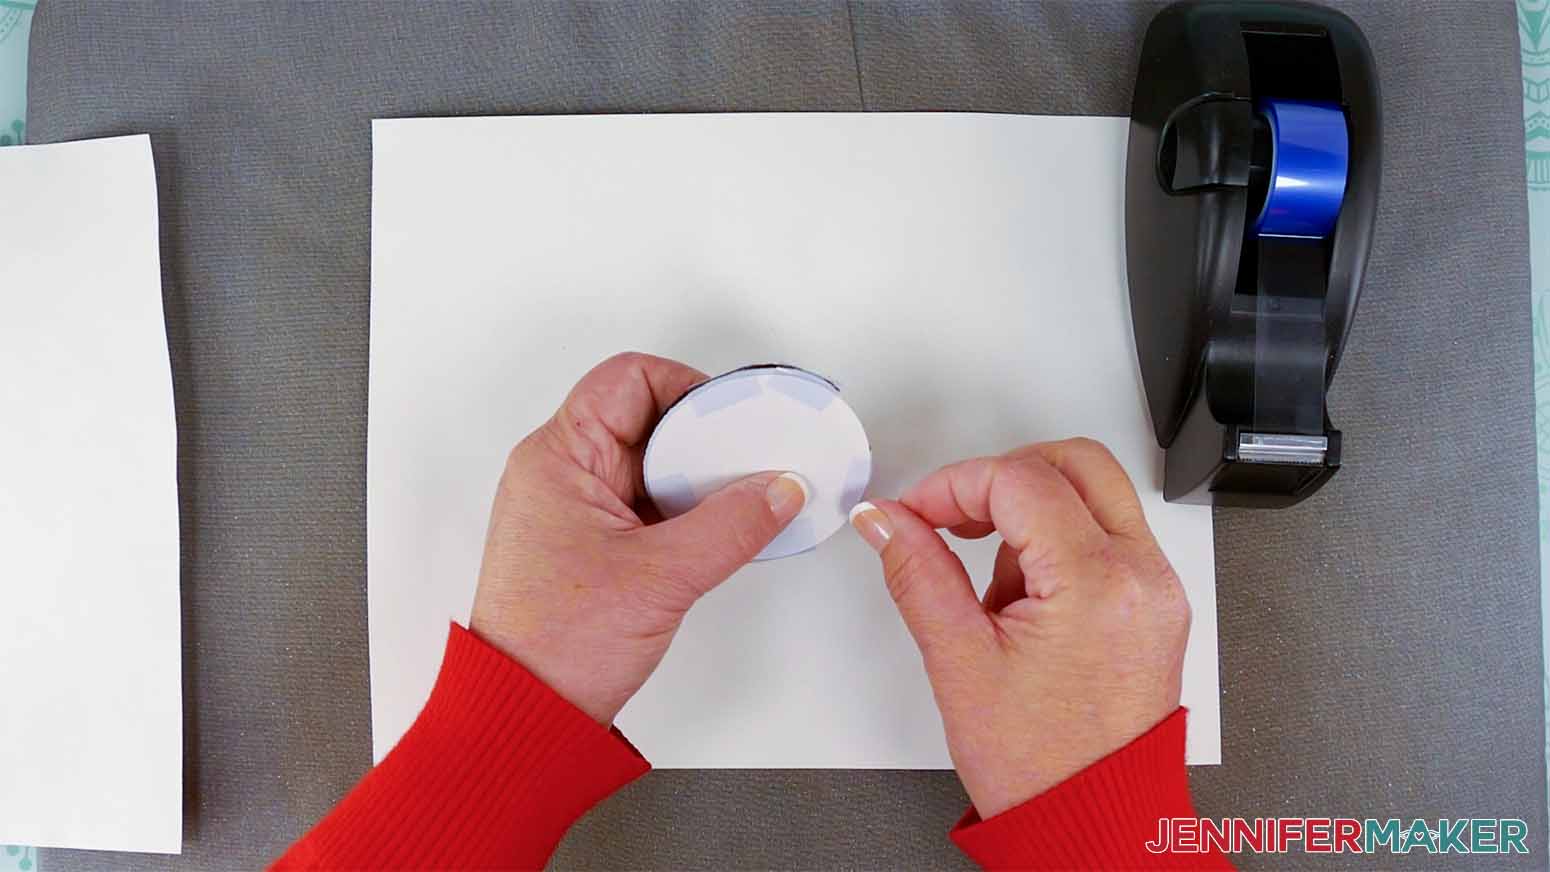
7. Place the taped coaster on top of the cardstock and pressing pad with the coaster facing up and the design facing down.
8. Place a piece of plain white butcher paper on top of the stack.
9. Press at 385° Fahrenheit for 40 seconds with light pressure.
10. When the time is up, remove the press by lifting it straight up.
11. Allow the coaster to cool for a couple minutes and then remove the blowout paper, tape, and printed sheet to reveal the design.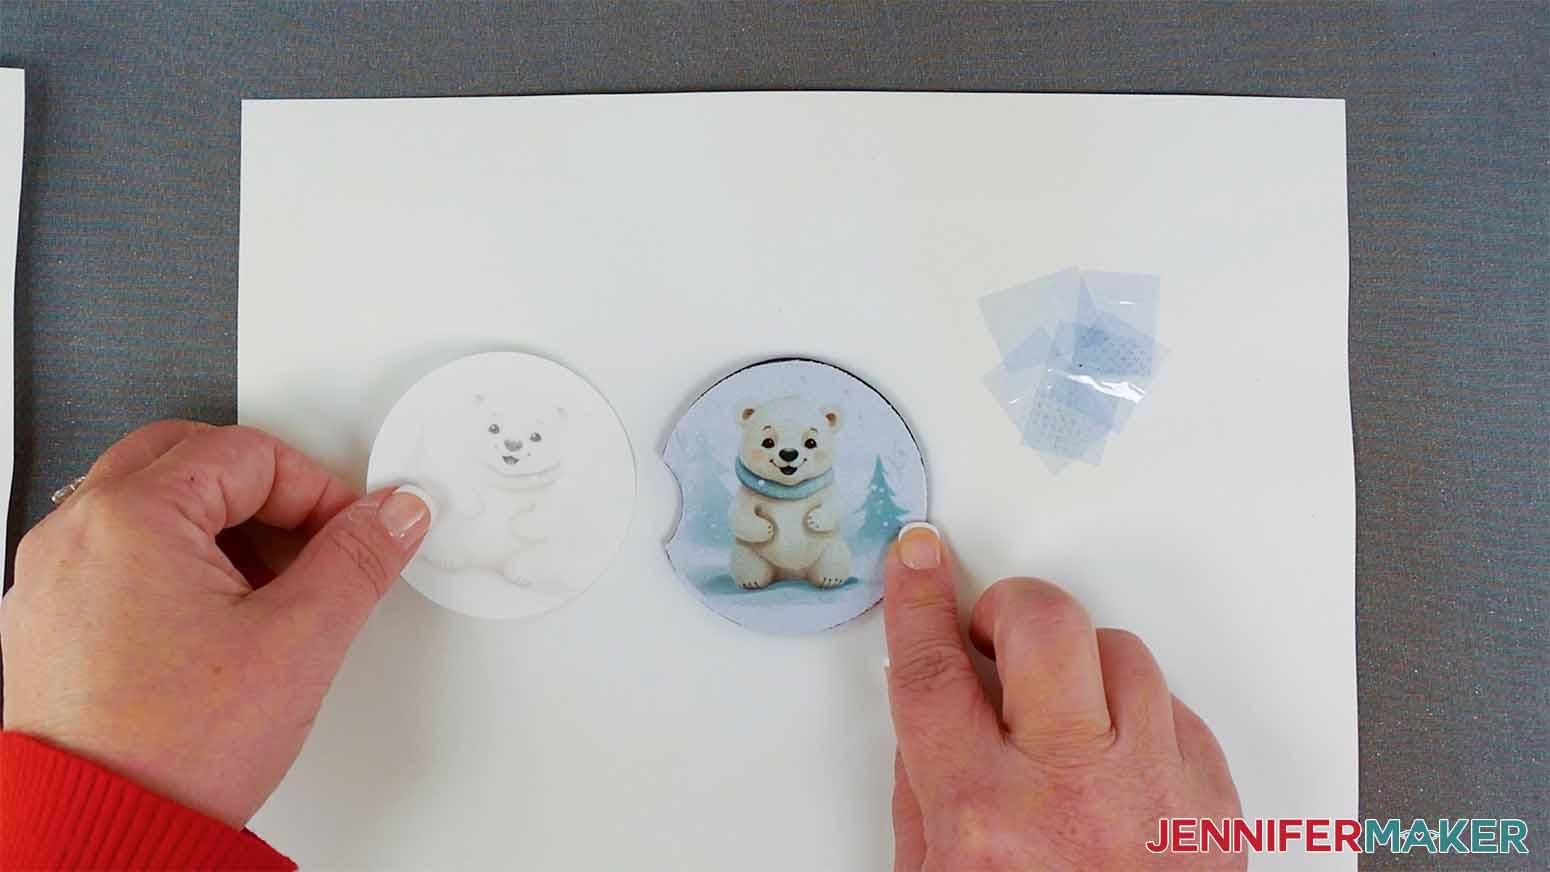
PROJECT 3: CRICUT SQUARE COASTERS
1. Turn on the EasyPress and Set the temperature to 400° Fahrenheit (204° Celcius) and set the time to 60 seconds.
2. Use a lint roller on the coasters to remove any dust or debris.
3. The Cricut Square Coasters do not need to be preheated.
4. Put a sheet of white cardstock on the pressing pad.
5. Place the sublimation print face down on the coaster and align the edges.
6. Place heat-resistant tape on all edges of the sublimation print to hold it in place on the coaster.

7. Place the taped coaster on top of the cardstock and pressing pad with the coaster facing up and the design facing down.
8. Place a piece of plain white butcher paper on top of the stack.
9. Press at 400° Fahrenheit for 60 seconds with no pressure.
10. When the time is up, remove the press by lifting it straight up.
11. Allow the coaster to cool for a couple minutes and then remove the blowout paper, tape, and printed sheet to reveal the design.
PROJECT 4: CRICUT CERAMIC ROUND COASTERS
1. Turn on the EasyPress and set the temperature to 400° Fahrenheit (204° Celcius) and set the time to 240 seconds.
2. Use a lint roller on the coasters to remove any dust or debris.
3. The Cricut Ceramic Round Coasters do not need to be preheated.
4. Put a sheet of white cardstock on the pressing pad.
5. Place the sublimation print face down on the coaster and align the edges. Place heat-resistant tape on all edges of the sublimation print to hold it in place on the coaster.
6. Place the taped coaster on top of the cardstock and pressing pad with the coaster facing DOWN and the design facing UP.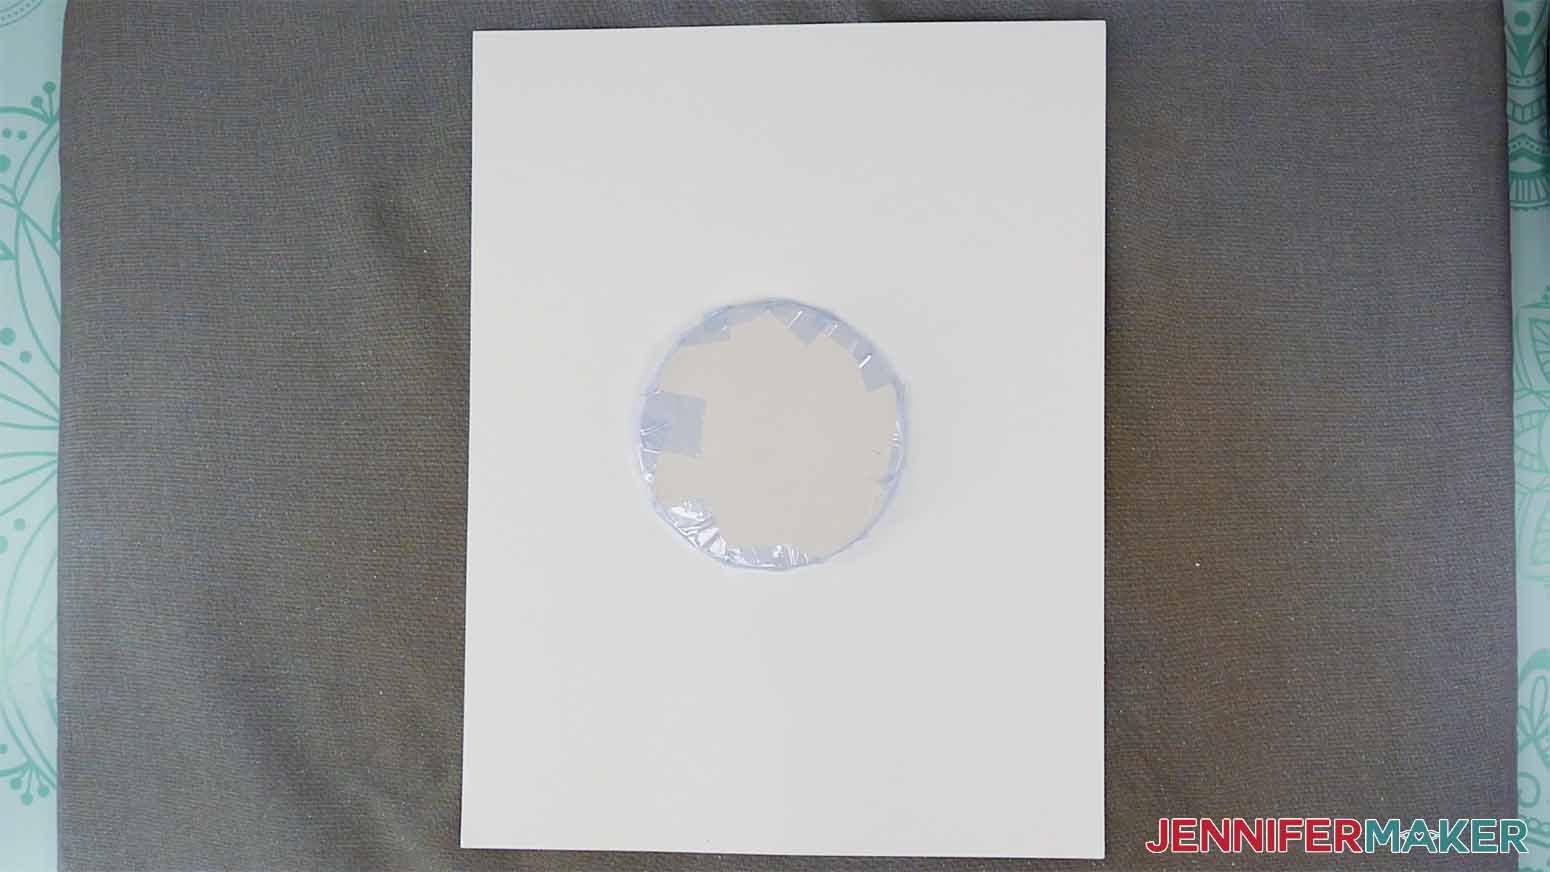
IMPORTANT: These coasters are pressed in the opposite direction of the other coasters above.
7. Place a piece of plain white butcher paper on top of the stack.
8. Press at 400° Fahrenheit for 240 seconds with light pressure.
9. When the time is up, remove the press by lifting it straight up.
10. Allow the coaster to cool for at least 10 minutes and then remove the blowout paper, tape, and printed sheet to reveal the design.
STEP 5: SHOW IT OFF
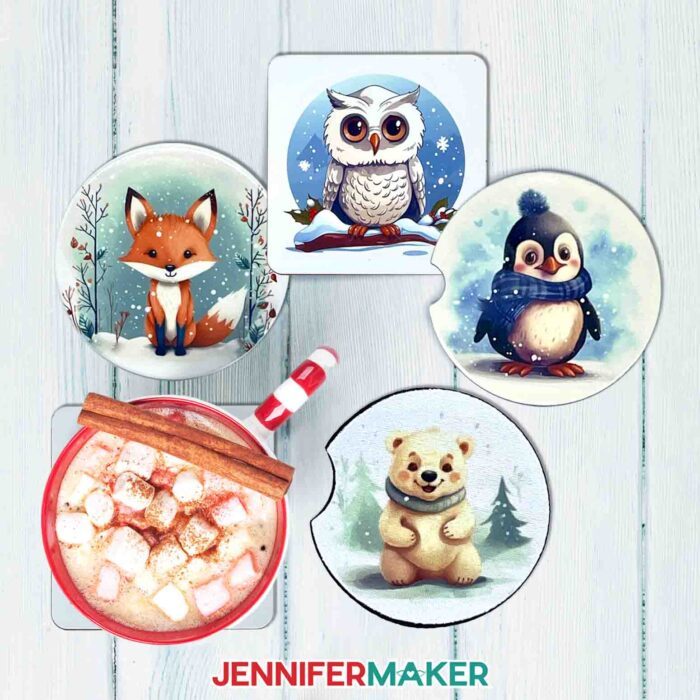
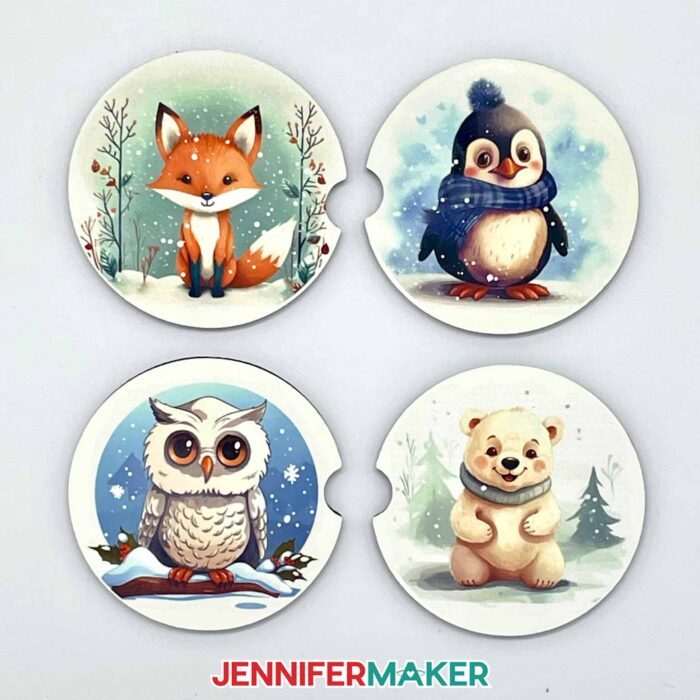
Here are what my sublimated winter coasters look like! 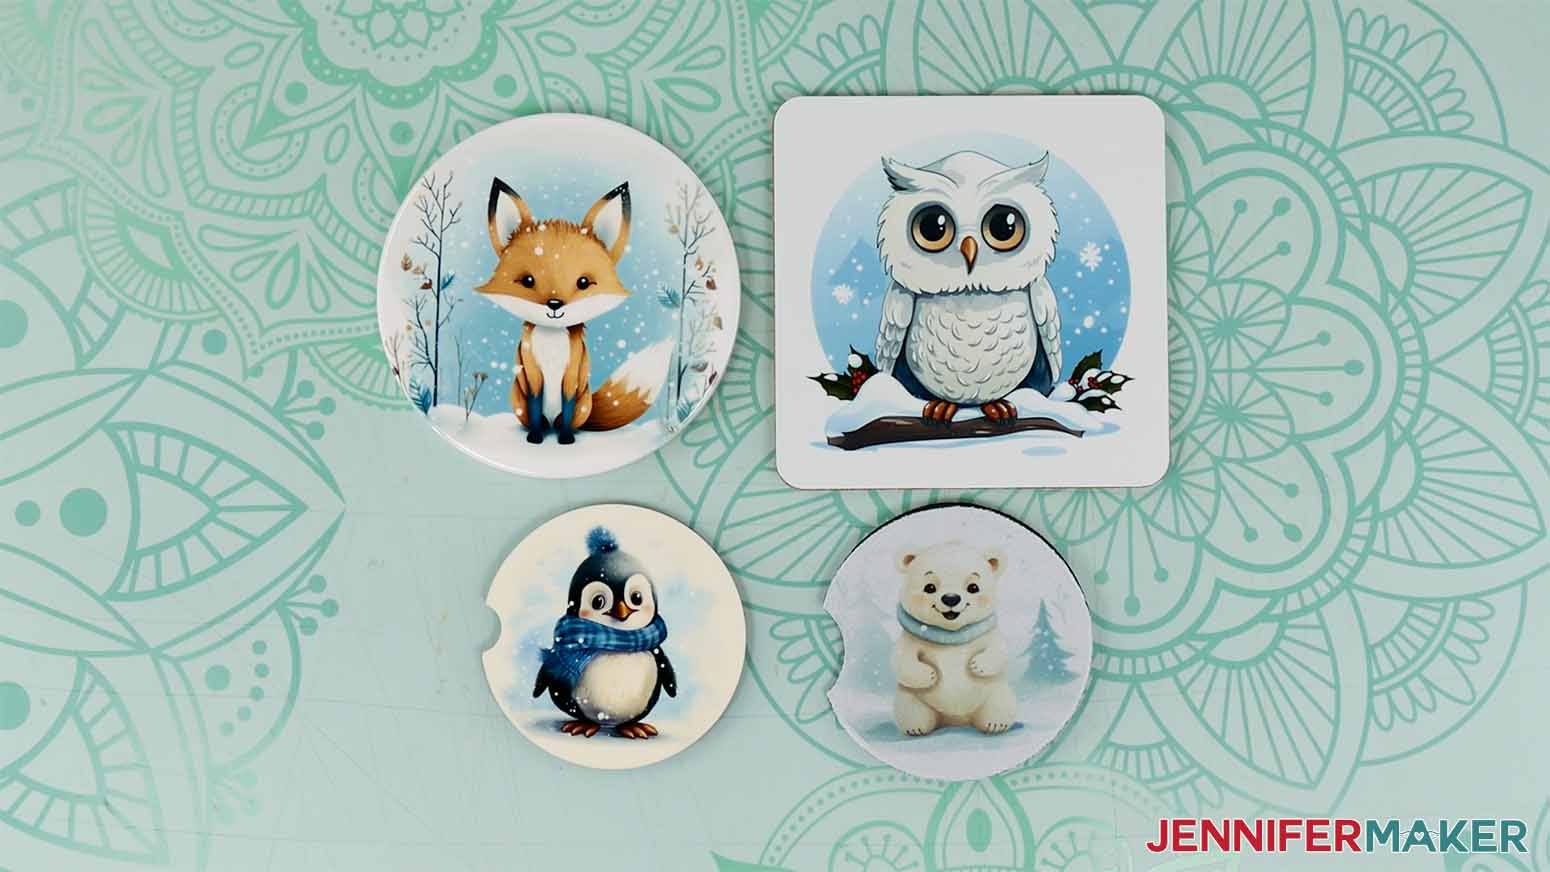
We put the coasters to the test and left some with water, some with coffee, and some sitting in the sun. They all held up to the different elements. The neoprene coasters needed a little dish soap to remove the coffee but came clean after they’d been sitting for over 3 days.
Notes
Finished Sizes: MDF coasters are 2.5”, neoprene coasters are 2.6”, the square Cricut coasters are 3.75”, and the round Cricut ceramic coasters are 3.6”.
Care instructions: All of the coasters wipe clean with a damp towel. The neoprene coasters may need a dab of dish soap and warm water for darker stains.
Answers to Your Questions About How to Sublimate Coasters
Q: How do I sublimate coasters?
A: The process can vary depending on the type of coaster you’re using, so always check for manufacturer’s instructions. I also have settings for several types in my Sublimation Cookbook.
Q: Can you sublimate on Cricut infusible ink coasters?
A: Yes, using my sublimation dye transfers worked very well on the Cricut Infusible Ink Coasters!
Q: What temperature do you sublimate coasters?
A: The best temperature (and it’s definitely a high temperature!) to sublimate coasters depends on the blank’s material and your heat press. Always check the manufacturer’s instructions for details, but I also have additional details in my Sublimation Cookbook.
Q: How long do you sublimate ceramic coasters?
A: The press time varies depending on your material and tools, but the ceramic sublimation blanks took the longest at 240 seconds.
Get my free PNG files to sublimate coasters!
(If you do not see the signup form above, click here.)
I love seeing what you make with my designs and how you use them! Please share a photo of your sublimated coasters in our Facebook group or tag me on social media with #jennifermaker.
Love,

Want to remember this? Save this How to Sublimate Coasters Tutorial to your favorite Pinterest Board!