
Create an easy personalized Subway Art sign as home decor or for a unique gift! This is an easy project that lets you have fun with fonts!
All those fun fonts you installed with my font tutorial can be used to create Personalized Subway Art. If you’re not familiar with the term “Subway Art,” (this was a new one for me too), it’s basically just a sign made with different font styles, sizes, and/or colors. You’ve seen them around! So let me show you how to make a DIY subway art sign yourself!
You can watch my DIY Subway Art Sign video here:
Many thanks to the readers and viewers who requested I create a Subway Art or Typography Art sign (Marie A., Cindy E., Lucy D., Aurora M., Judith S., and Christina S.). The challenge is now closed. However, you can see all of our projects for the Challenge here and see who won our awesome prizes, including a Cricut Maker!
Key concepts taught in the video tutorial include how to download fonts, how to unzip files, how to install fonts on Windows, Mac, and iOS, how to set fonts in Cricut Design Space, how to use letter spacing to make words look good, and how to weld words.
Let’s make some subway art signs! This post contains some affiliate links for your convenience (which means if you make a purchase after clicking a link I will earn a small commission but it won’t cost you a penny more)! Read my full disclosure policy.
Materials for Making DIY Subway Art Signs
- A pre-stretched canvas or board
- Acrylic paint
- Adhesive vinyl
- (Optional) Fonts such as Allspice, Couture, Brusher, Money Penny, American Typewriter, Arial Black, Newfrench, Impact, Happy Camper, Phosphate, Cheddar Jack, Savoye LET, Maker Felt, Black Django, Milkshake, Mishelle script, Bodoni Ornaments (these are the ones I used)
- A way to cut your vinyl (I used the amazing Cricut)
How to Make DIY Subway Art Signs
First, paint your canvas or board and allow to dry. I painted my canvas with simple white acrylic paint. The paint will give your vinyl a smoother surface to stick onto and help it stay in place.
Tip: If you use a board, be sure to sand it first for the smoothest possible surface for your vinyl
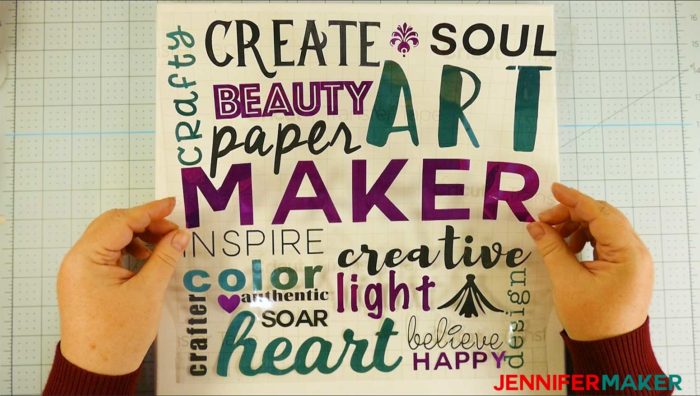
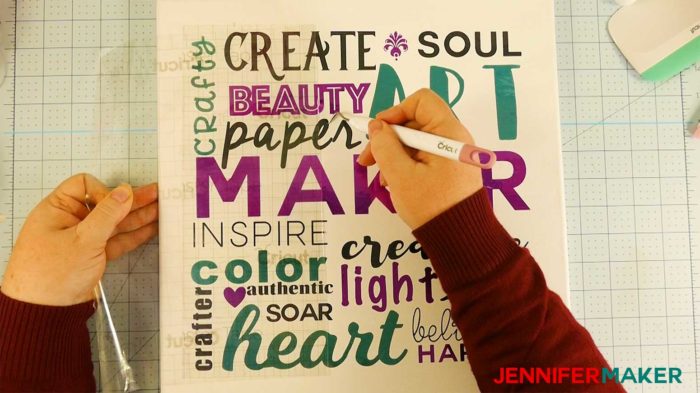
Next, go to Cricut Design Space or your favorite design software, create a canvas that matches the size of your canvas or board, and begin designing. I recommend you type a central name or word in large letters to serve as your focal point (like “MAKER” in mine) and then fill in the surrounding spaces with other words and symbols. I recommend you pick fonts that are fairly bold so they will show up on your Subway Art sign.
Tip: Be sure to give your words and symbols a little white space to help with weeding and placement later.
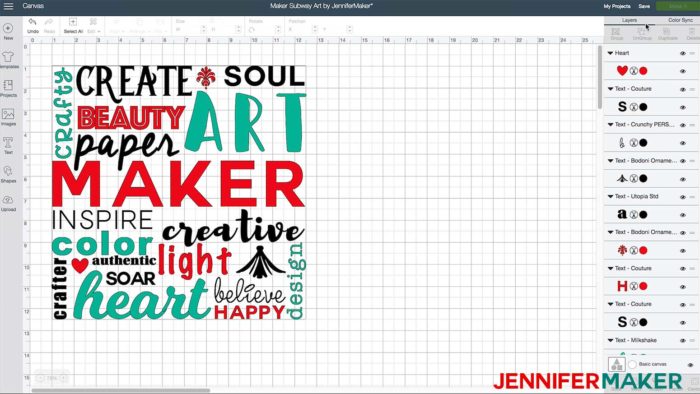
It’s important if you include any cursive words with the letters touching that you weld those words. Also, if you use multiple colors as I have here, be sure to attach all elements of the same color together so they stay in the proper locations when you cut them out.
These are the fonts I used: Allspice, Couture, Brusher, Money Penny, American Typewriter, Arial Black, Newfrench, Impact, Happy Camper, Phosphate, Cheddar Jack, Savoye LET, Maker Felt, Black Django, Milkshake, Mishelle script, and Bodoni Ornaments,
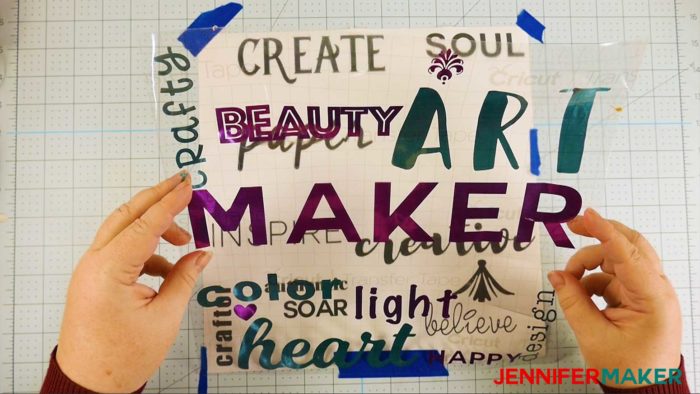
After you cut out your vinyl, carefully weed it:
After weeding, remove the backing from the vinyl:
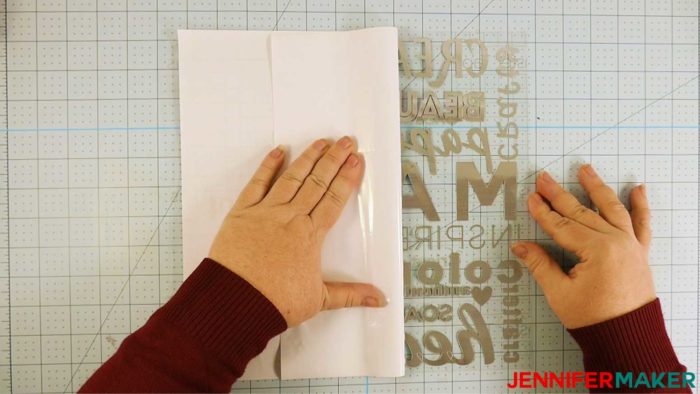
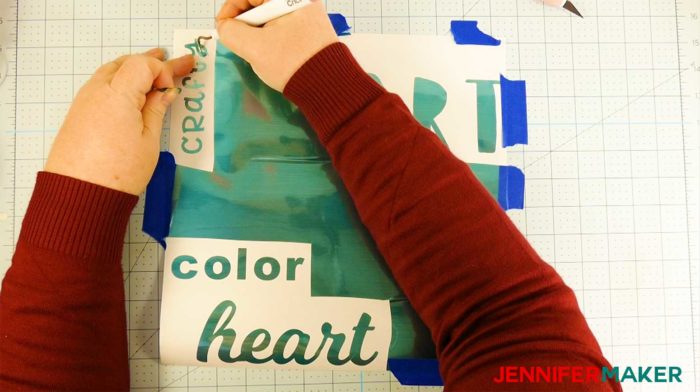
Once all layers of vinyl are cut out, layer each layer of vinyl carefully over the top using just one sheet of transfer tape:
When you have all layers of vinyl positioned on your transfer tape, carefully place it on your canvas:
Turn your canvas over and press down hard from the back to get your vinyl to stick. If you have a scraper, use it!
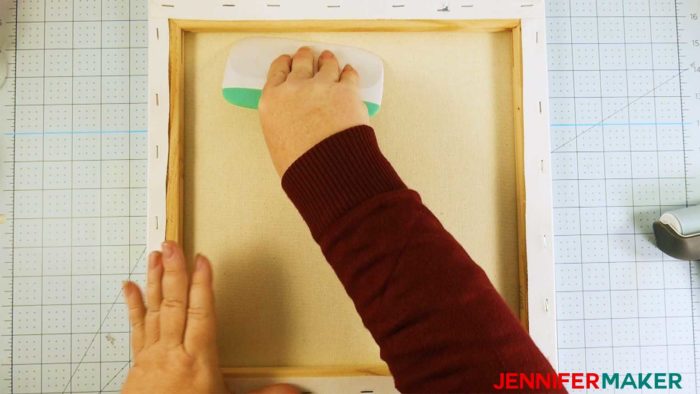
Remove your transfer tape slowly. If you have issues with your vinyl not sticking to your canvas as you remove the transfer tape, using your weeding tool to help it into place.
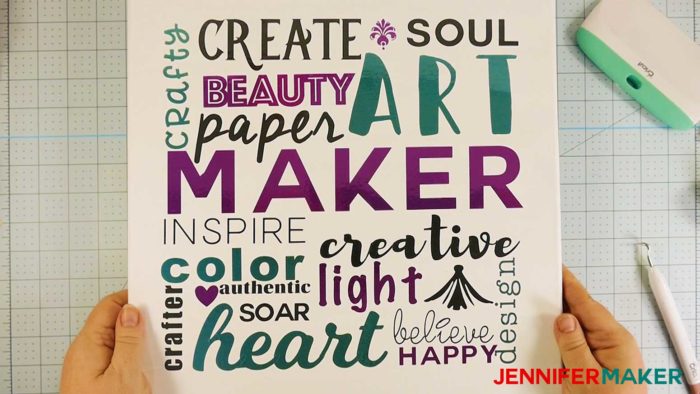
Your DIY subway art sign is finished!! Hang on the wall and enjoy!
Get Access to My Free SVG Cut Files for all of my Designs
If you create a Subway Art sign, please share a photo in our Facebook group or tag me on social media with #makershowandtell.
See all of the projects, tutorials, and free designs in The Great Maker Show and Tell Challenge! There is one for each day of the 25 Days of Christmas! This is my gift to you for the tremendous support, enthusiasm, and love you’ve shown to me and my little blog over the past two years. To “open” a gift, hover over the day’s image and click the download icon.
[ess_grid alias=”25days2″]
Love,

Want to remember this? Save the DIY Subway Art Sign Tutorial to Your Favorite DIY Pinterest Board!


Hi
I’m in the process of making one of these signs, but when I want to choose colors for the different words, I get problems. I don’t get the little circle next to the text, like you do. I’ve looked through the internet for an answer and think my DS is a newer version then the one you have in your tutorial. I’ve tried deselecting and then giving the words colors, but after doing that and selecting all and attaching, it all turns into one color again..
What to do? I’m pretty new in the Cricut world.
Susanne
Denmark