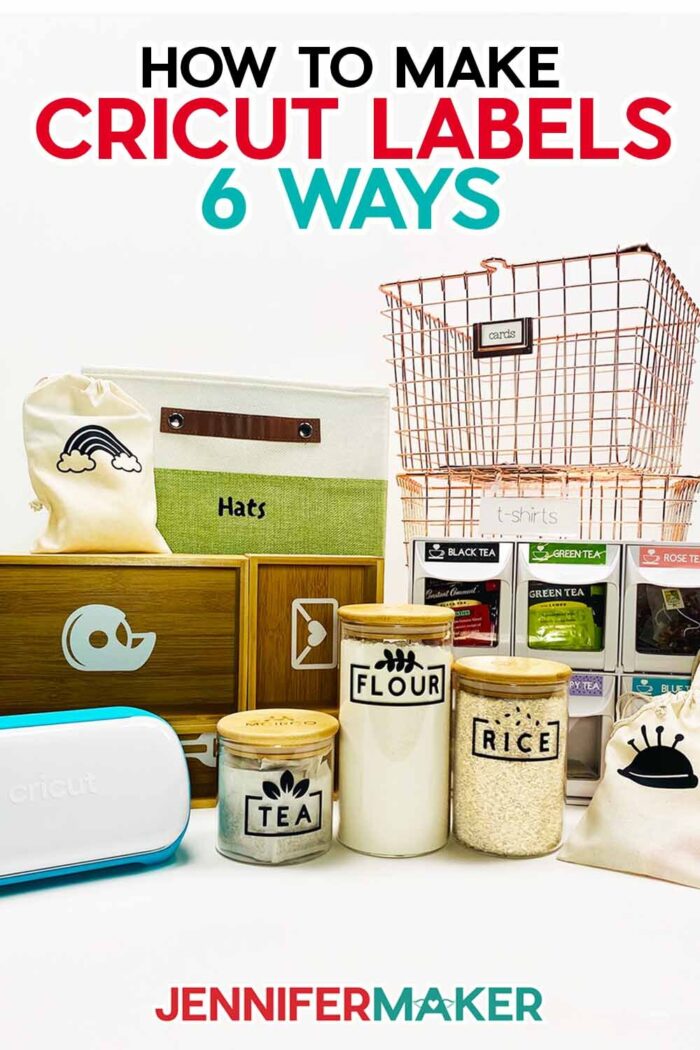
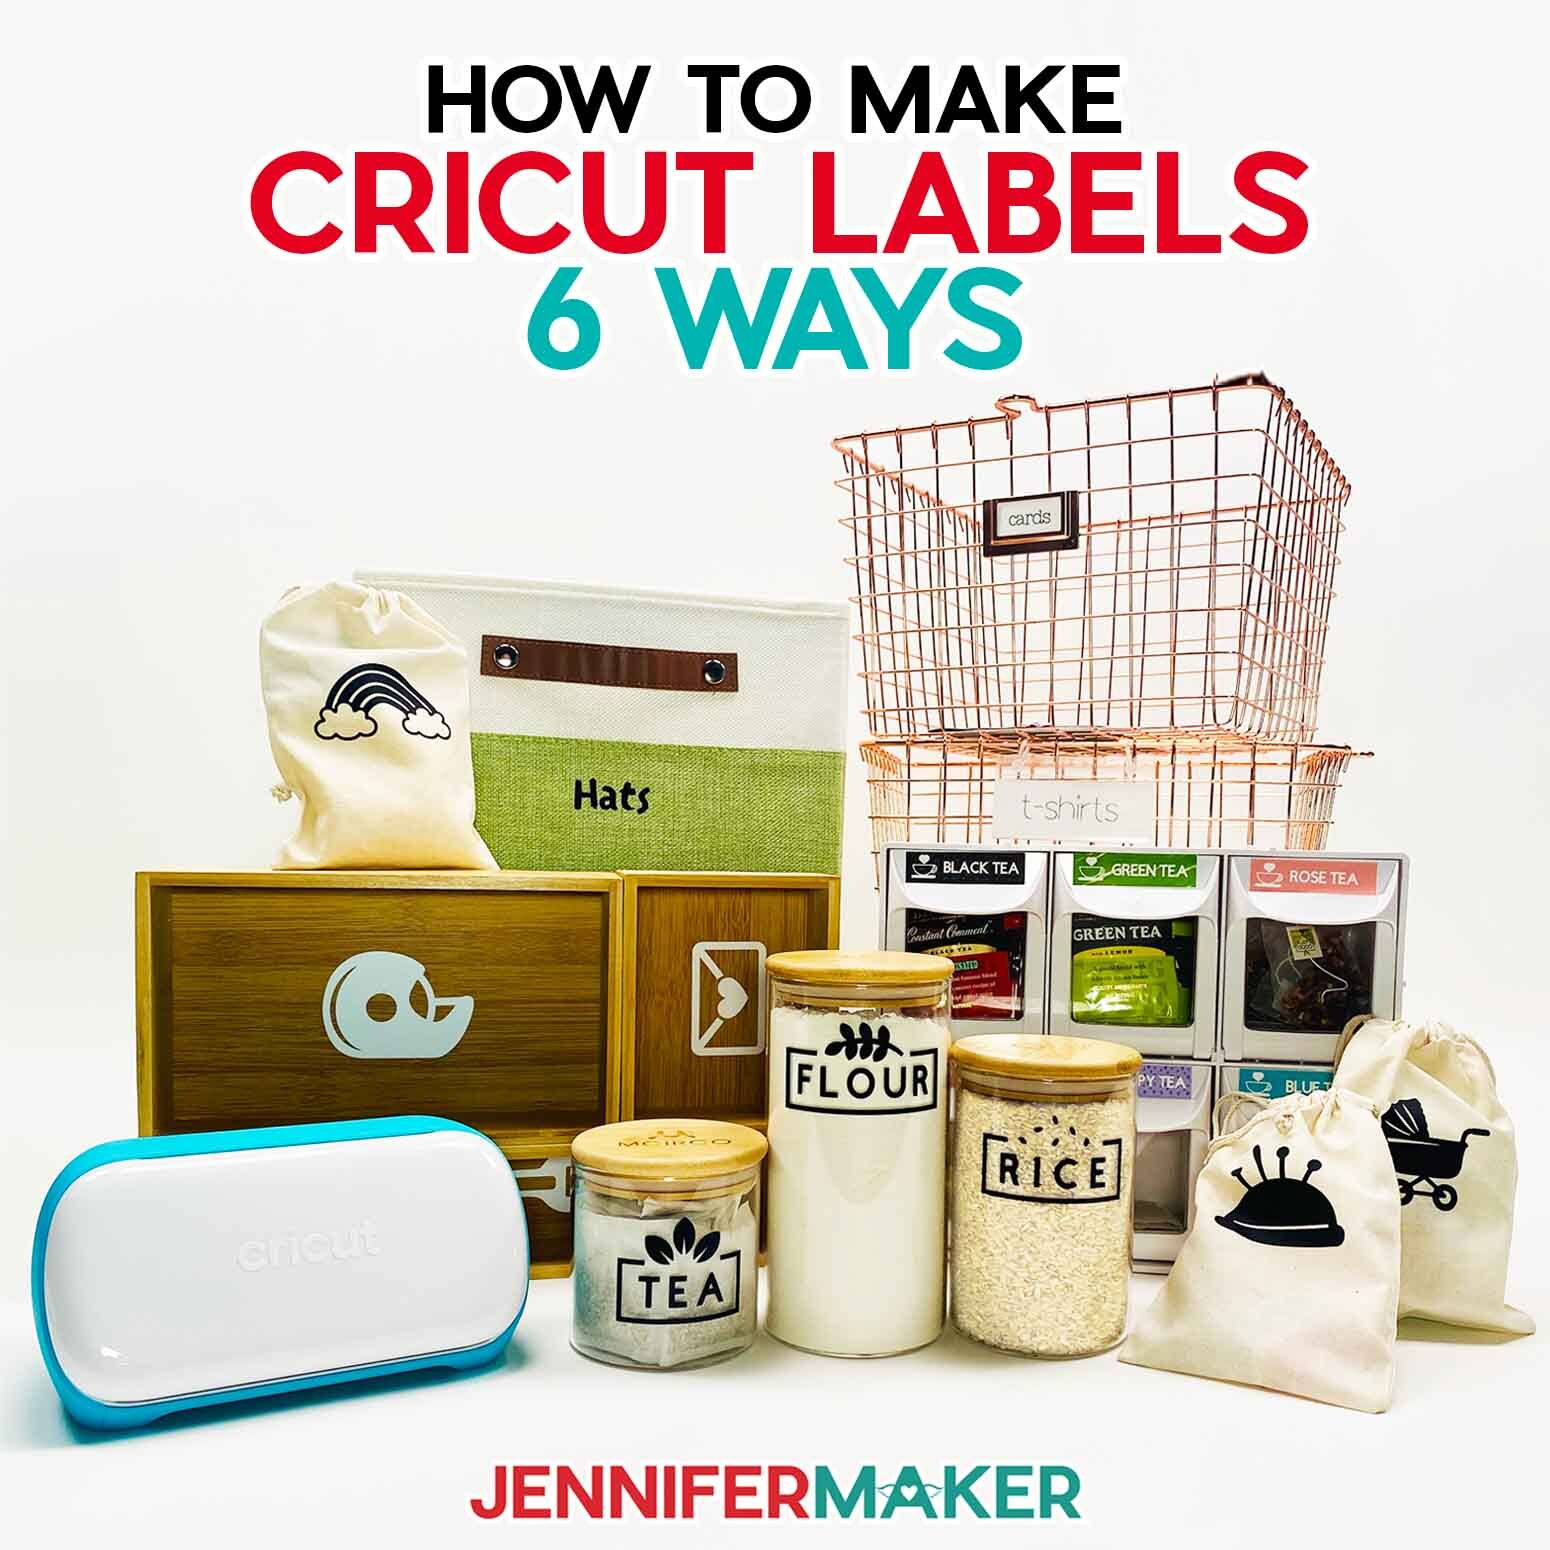
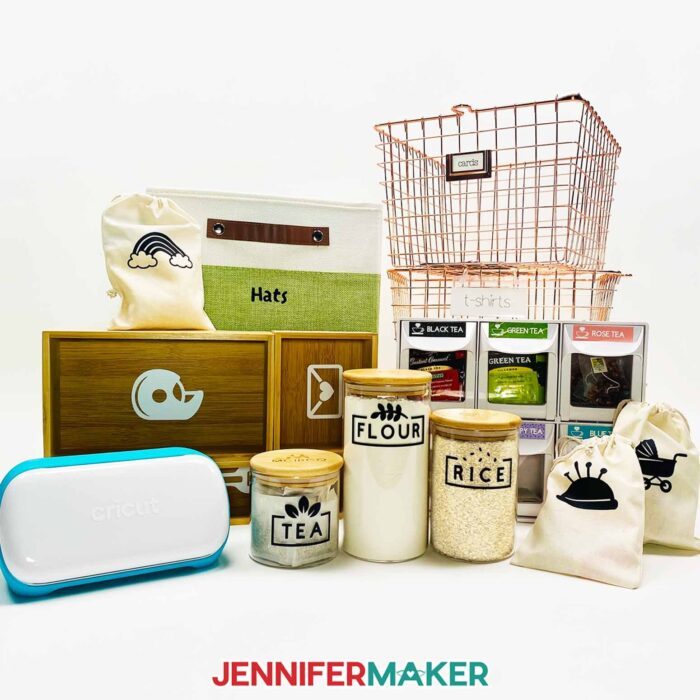
Learn how to use simple steps and materials to make Cricut labels for everything!
Labels are a great way to keep everything organized. And with a cutting machine, you can make custom Cricut labels for every drawer, collection, or basket you own! With so many different materials available, you can add written or picture-based labels to all kinds of surfaces, both permanent and temporary to switch up your style. Cricut labels are my favorite way to organize with a personal touch, and I’ve put together a collection of free templates and designs to help you start making your own!
Want to save a link to this project? Enter your email below and we’ll send the project link straight to your inbox.
See the full step-by-step video tutorial on how to make custom Cricut labels:

These custom labels are so simple, but have nearly endless uses. You might decide to label things all over your house or office! I made most of these labels on a Cricut Joy machine. Since the little machine is portable, you can bring it right to the item you’re labeling!
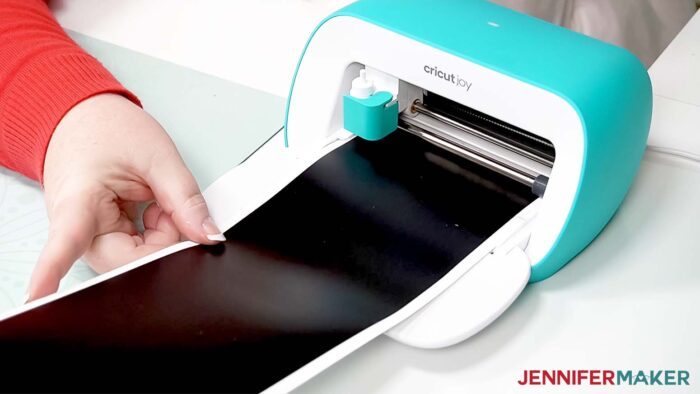
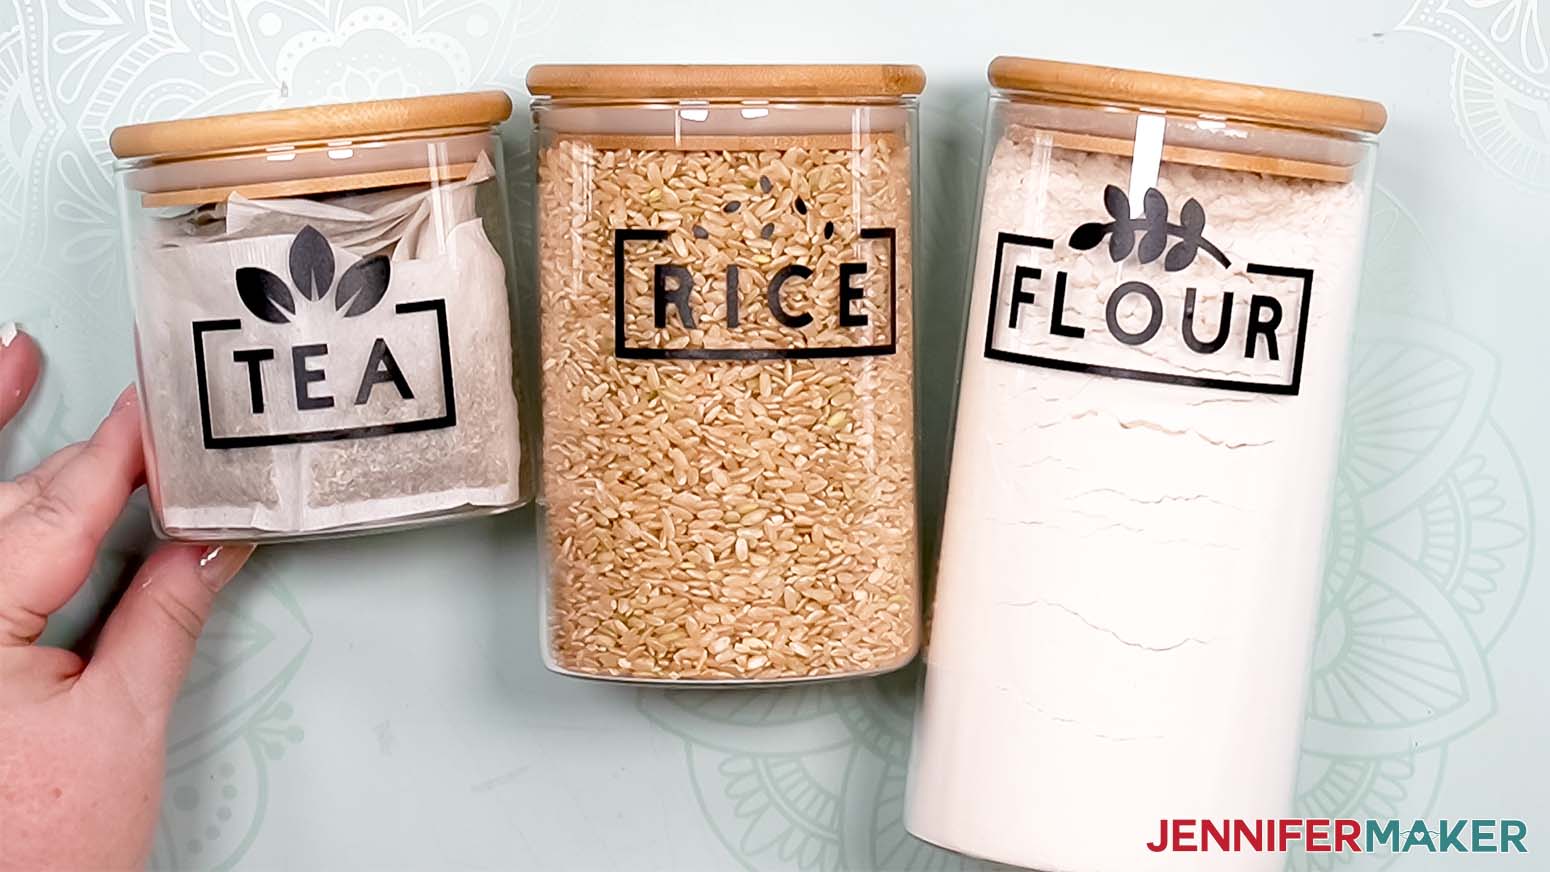
Even better, use Cricut’s Smart Materials (cuttable sheets of vinyl or cardstock with extra strong carrier sheets) and you don’t need to worry about machine mats, either. Just edit the designs using my free templates and designs in Cricut Design Space then load, cut, draw, weed, and apply! That’s how I made these easy DIY pantry labels with removable vinyl.

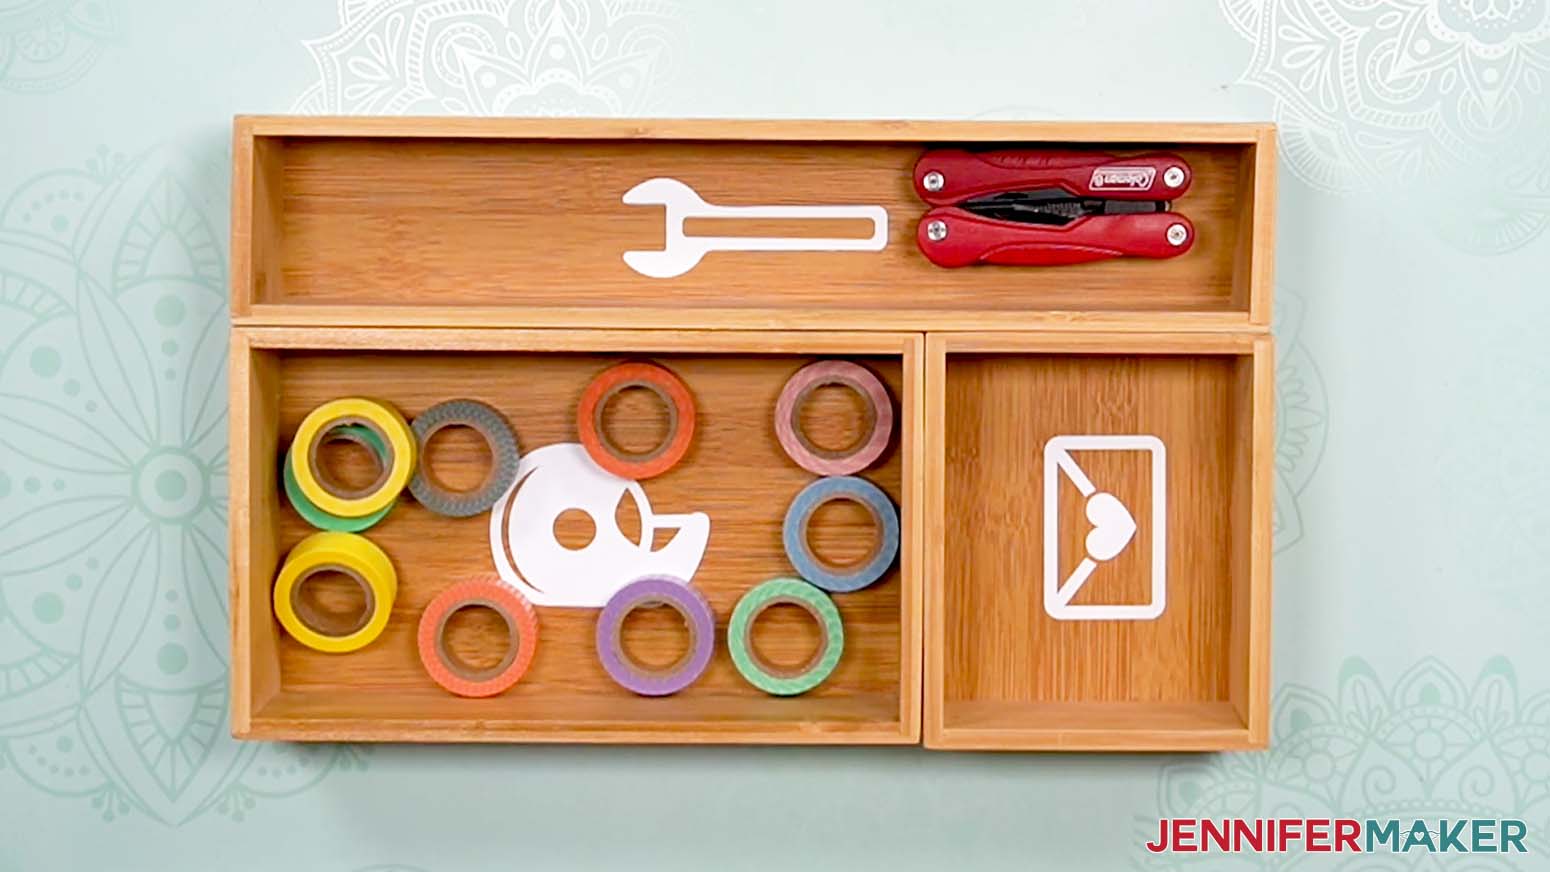
And how I added removable vinyl icon labels to bamboo drawer dividers. The beauty of removable vinyl is you can update your organization options easily. Just remove the old vinyl with a weeding tool, wipe the surface with rubbing alcohol, then apply a new label. Your Cricut labels can adjust to your storage preferences any time.

The Joy can also cut heat transfer vinyl with ease, so you can add permanent labels to many items. Just remember to Mirror your cuts and follow my tips for heat pressing the results with ease.

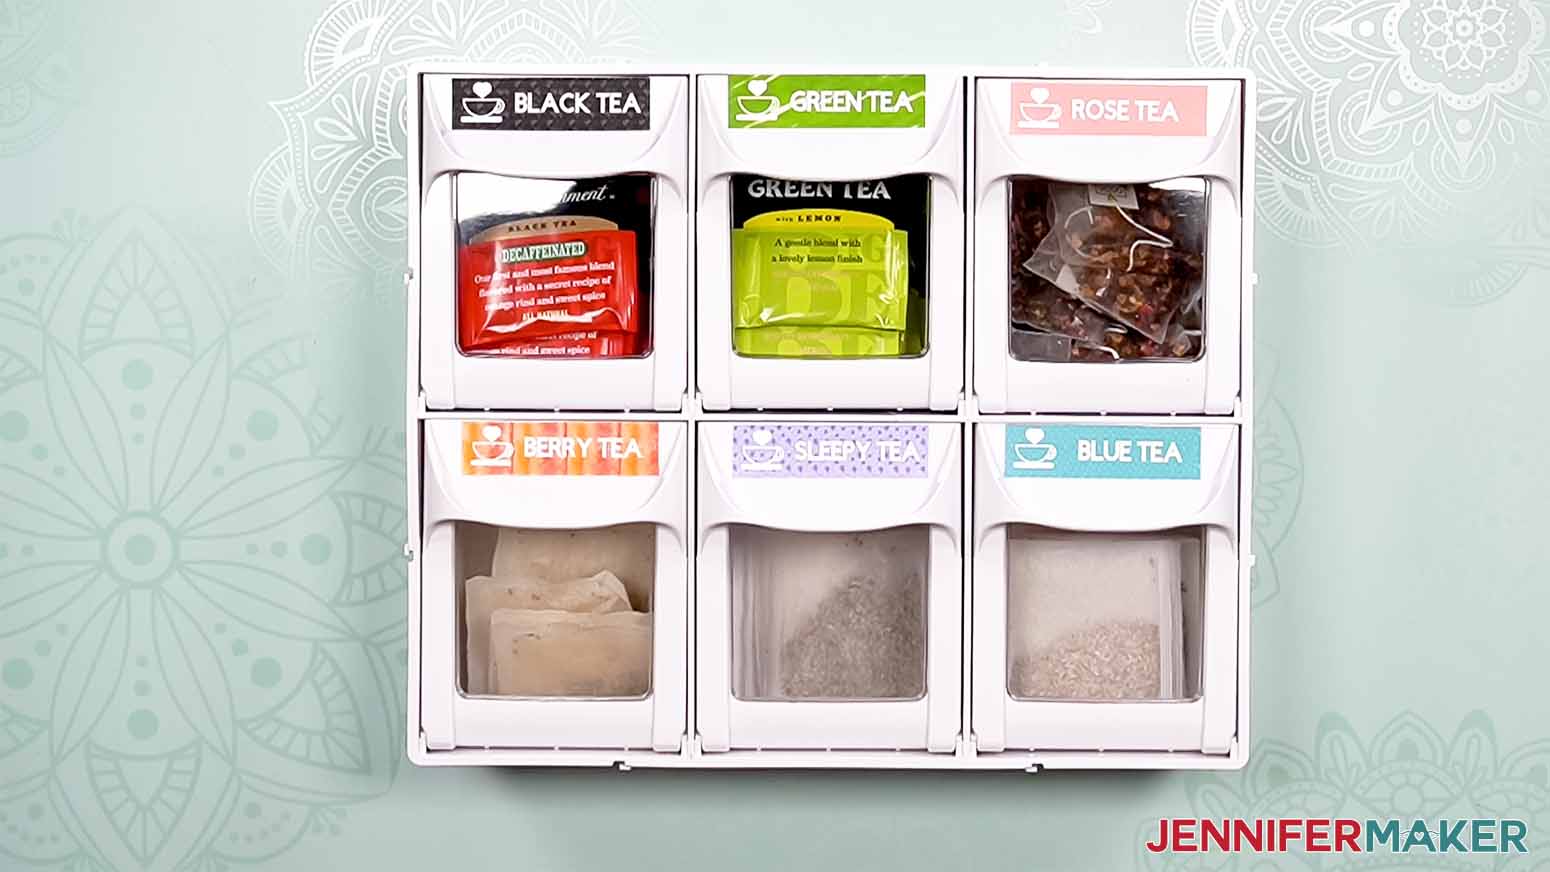
However, to make a Print Then Cut Cricut label project, you will need a machine with that feature, like a Cricut Maker or Explore. It’s totally worth it to make custom sticker labels for collections on display in humid areas, like my plastic bins for tea. This is definitely the way to go if you need labels with many different colors and a precise label size.

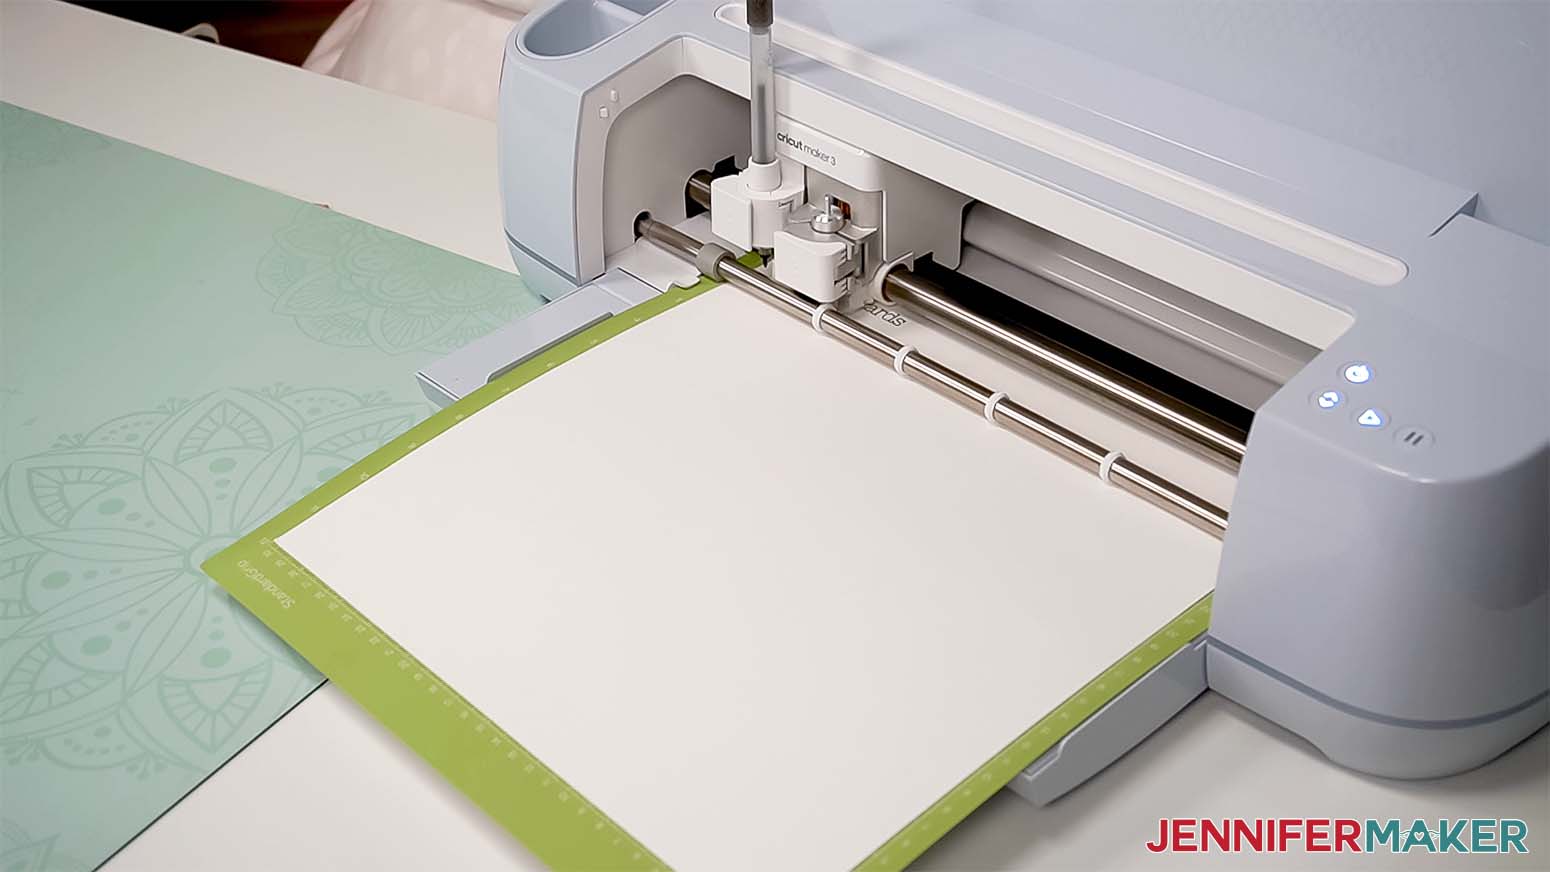
I used a green StandardGrip machine mat when cutting my printable vinyl sticker labels and updating cardstock labels using Cricut pens. The Joy can write, too, just be sure to pick compatible craft supplies because the different size machines use different pens.

Now, check out my step-by-step instructions for each project and then you can apply the techniques to your own versions!
Ready to make your own Cricut labels? This post contains some affiliate links for your convenience (which means if you make a purchase after clicking a link I will earn a small commission but it won’t cost you a penny more)! Read my full disclosure policy.
Materials And Tools to Make Labels With A Cricut
- A method to make your labels – I used the amazing Cricut Joy for most, but you can also use the Cricut Maker series machine, Cricut Explore series, Cricut Joy 2, Cricut Joy Xtra, and Cricut Venture.
- Green StandardGrip 12″ x 12″ Machine Mat if using full-size Cricut cutting machine
- Smart Iron-on Vinyl – I used vinyl sized for the Cricut Joy
- Smart Removable Vinyl – I used Black and White sized for the Cricut Joy
- White 12″ x 12″ 65 lb cardstock
- StandardGrip Transfer Tape
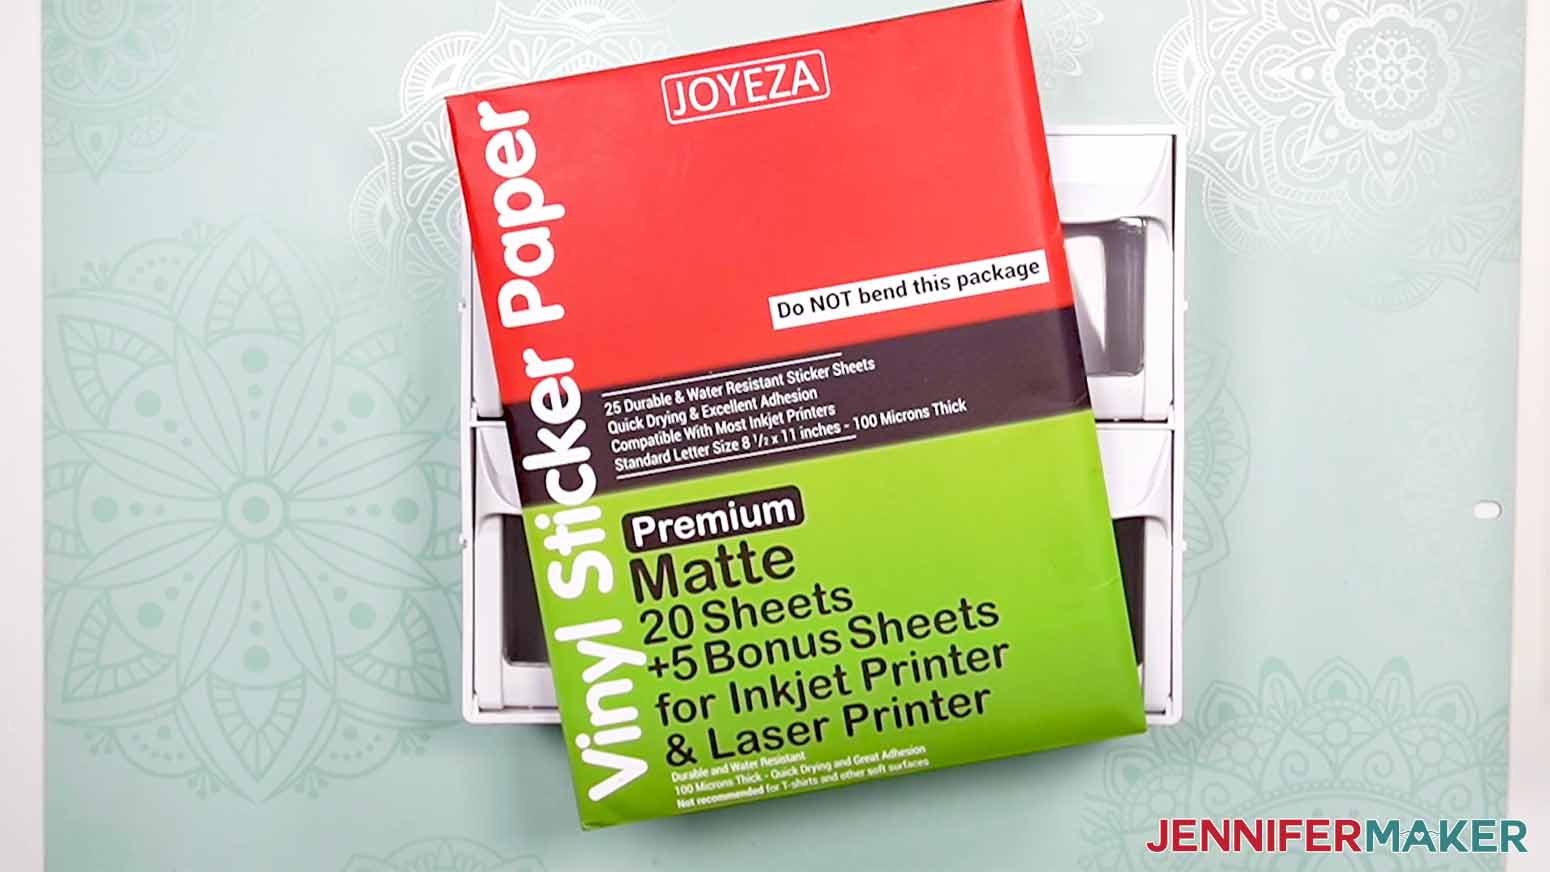
- Printable Vinyl Sticker Sheets, 8.5″ x 11″
- Color Printer – for Print Then Cut Labels
- Parchment paper
- Heat Press – I used my Cricut EasyPress Mini and EasyPress
- Pressing mat
- Heat Resistant Tape
- Cricut Pen
- Weeding Tool
- Small Scraper Tool
- Scissors
- Ruler
- Lint Roller
- Isopropyl Alcohol and Lint-Free Cloth or Coffee Filter to clean your surfaces
- Timer
- Brayer
- Cotton Drawstring Bags
- Bamboo Drawer Dividers
- Tilt Storage Bins
- Glass Pantry Containers
- Wire Basket
- Fabric Storage Cubes
- Hanging Label Set
- My free Designs, available for free in Cricut Design by following this link!
How to Make Labels With A Cricut

How to Make Cricut Labels Six Different Ways
Make custom Cricut labels using different kinds of vinyl and cardstock!
Materials
- White 12" x 12" 65 lb cardstock
- Smart Iron-on Vinyl - I used Black sized for the Cricut Joy
- Smart Removable Vinyl - I used Black and White sized for the Cricut Joy
- StandardGrip Transfer Tape
- Parchment paper
- Printable Vinyl Sticker Sheets, 8.5" x 11"
- Cotton Drawstring Bags
- Bamboo Drawer Dividers
- Tilt Storage Bins
- Glass Pantry Containers
- Wire Basket
- Hanging Label Set
- Fabric Storage Cubes
- My free designs, available in Cricut Design Space at this link!
Tools
- A method to cut your labels – I used the amazing Cricut Joy and Cricut Maker
- Color Printer - for Print Then Cut Labels
- Green StandardGrip Machine Mat, 12" x 12"
- Scissors
- Weeding Tool
- Scraper
- Cricut Pen
- Heat resistant tape
- Heat Press - I used my Cricut EasyPress Mini-OR-
- EasyPress 2
- Pressing mat
- Ruler
- Lint Roller
- Rubbing Alcohol
- Lint-free cloth
- Timer
- Brayer
Instructions
STEP 1: GET MY FREE DESIGNS
First get my free designs and templates, available in Cricut Design Space by filling in this form. When the link opens the software, click "Edit a Copy."
I made these templates and designs using free Design Space elements, so they should all be available for your use. Sometimes access changes, though. If that happens, just use my original ideas for inspiration in creating your own versions!
STEP 2: MAKE YOUR LABEL PROJECTS
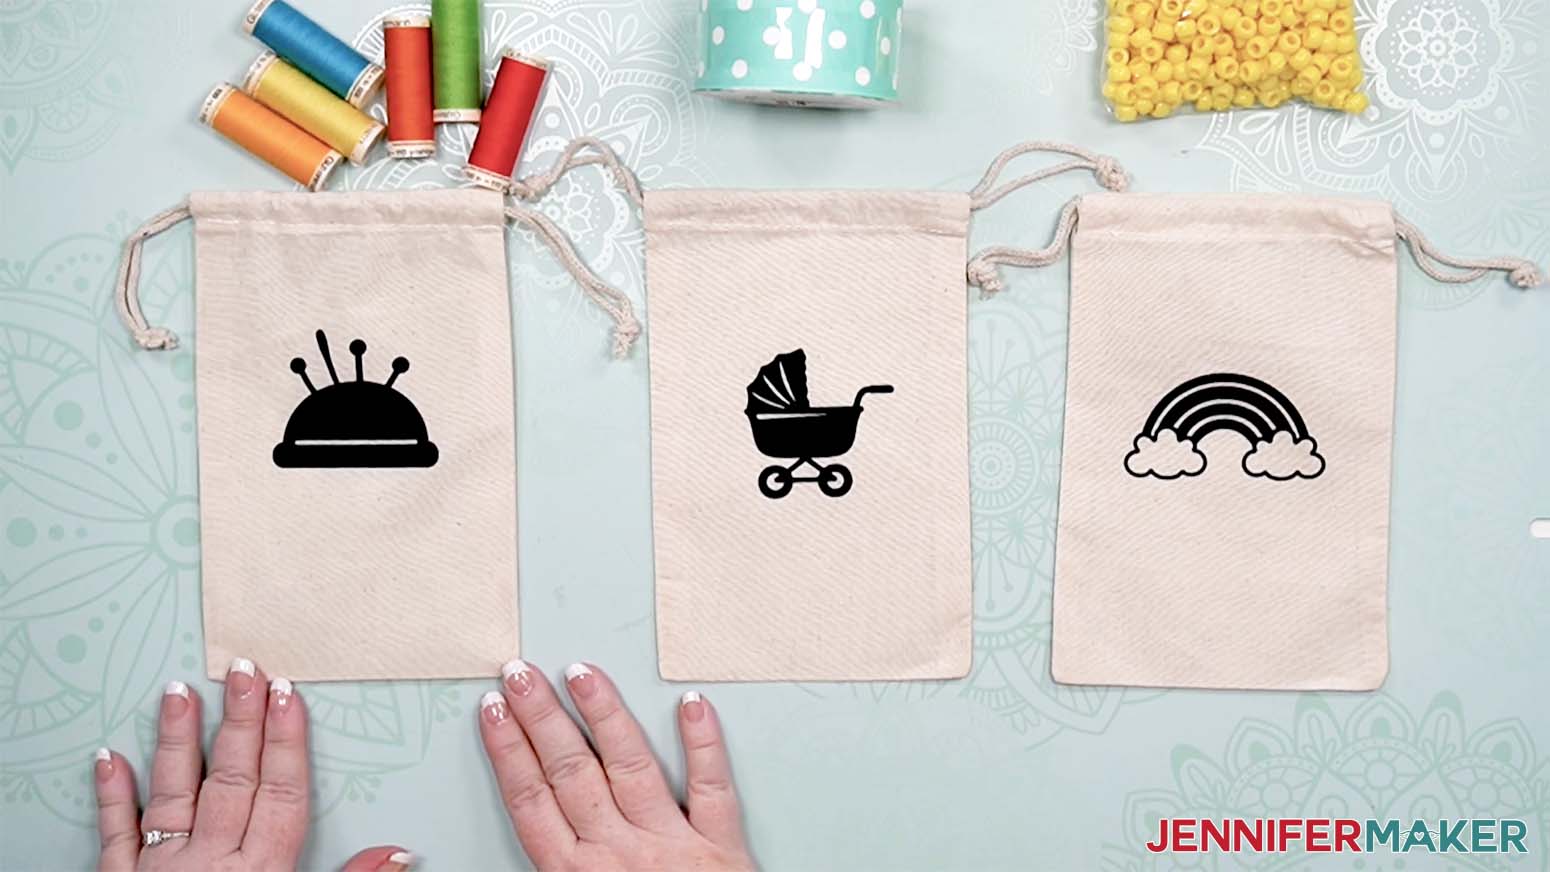
Project 1: HTV Labels for Cotton Drawstring Bags
For more details on working with iron-on vinyl, see my beginner HTV T-shirt tutorial.
Prepare Your Design
1. Measure your item's usable design area.

2. Open a new Canvas in Cricut Design Space.
3. To make a template matching the item, click "Shapes."
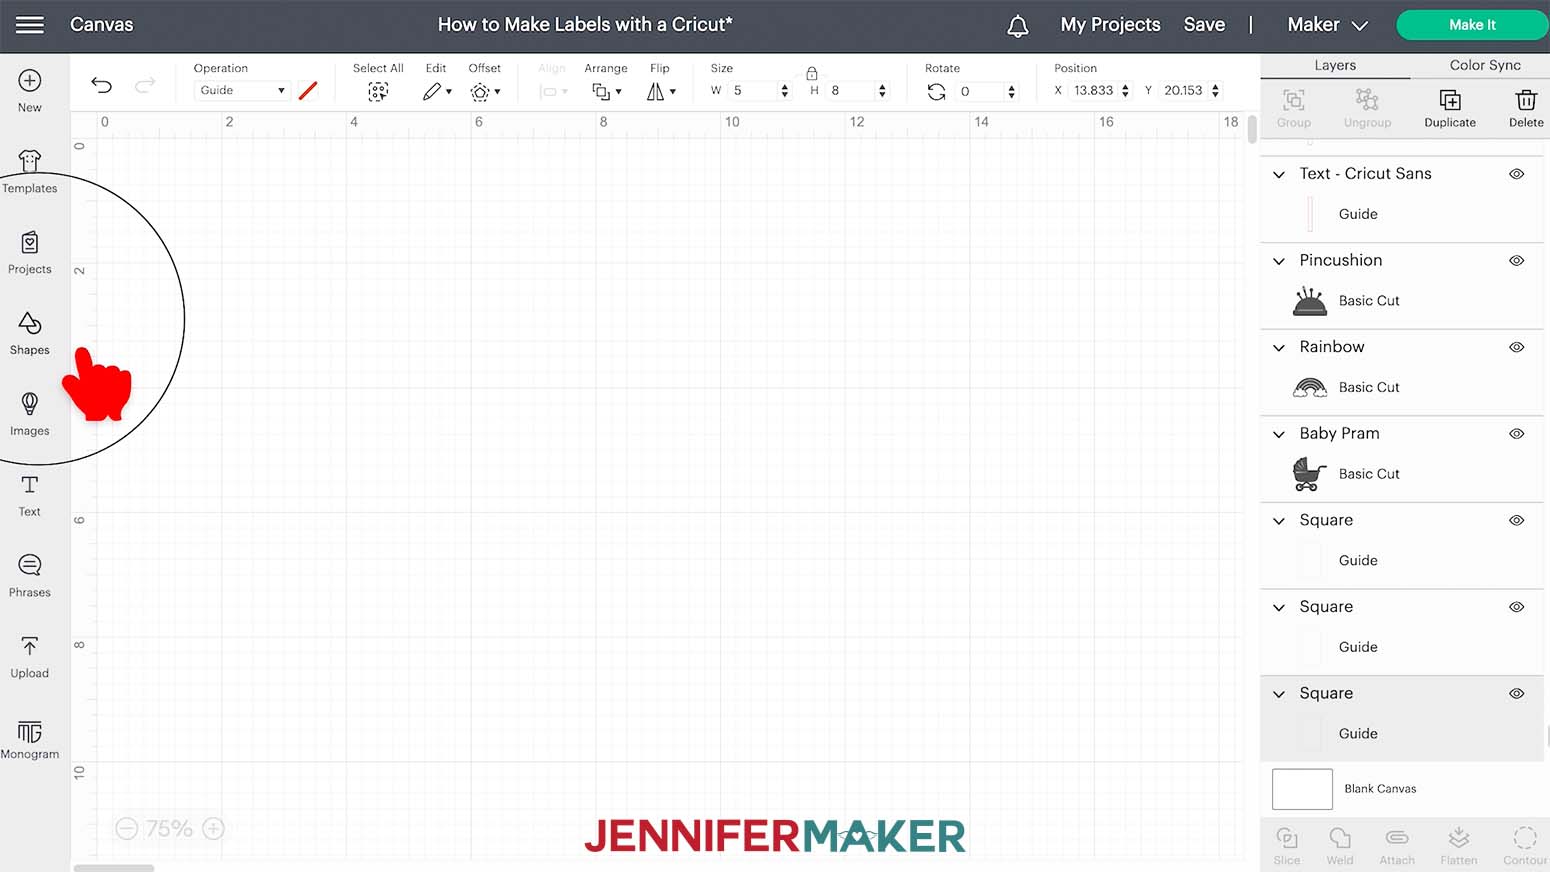
4. Click the shape that matches your item.
5. Open the Lock icon near the Size boxes.
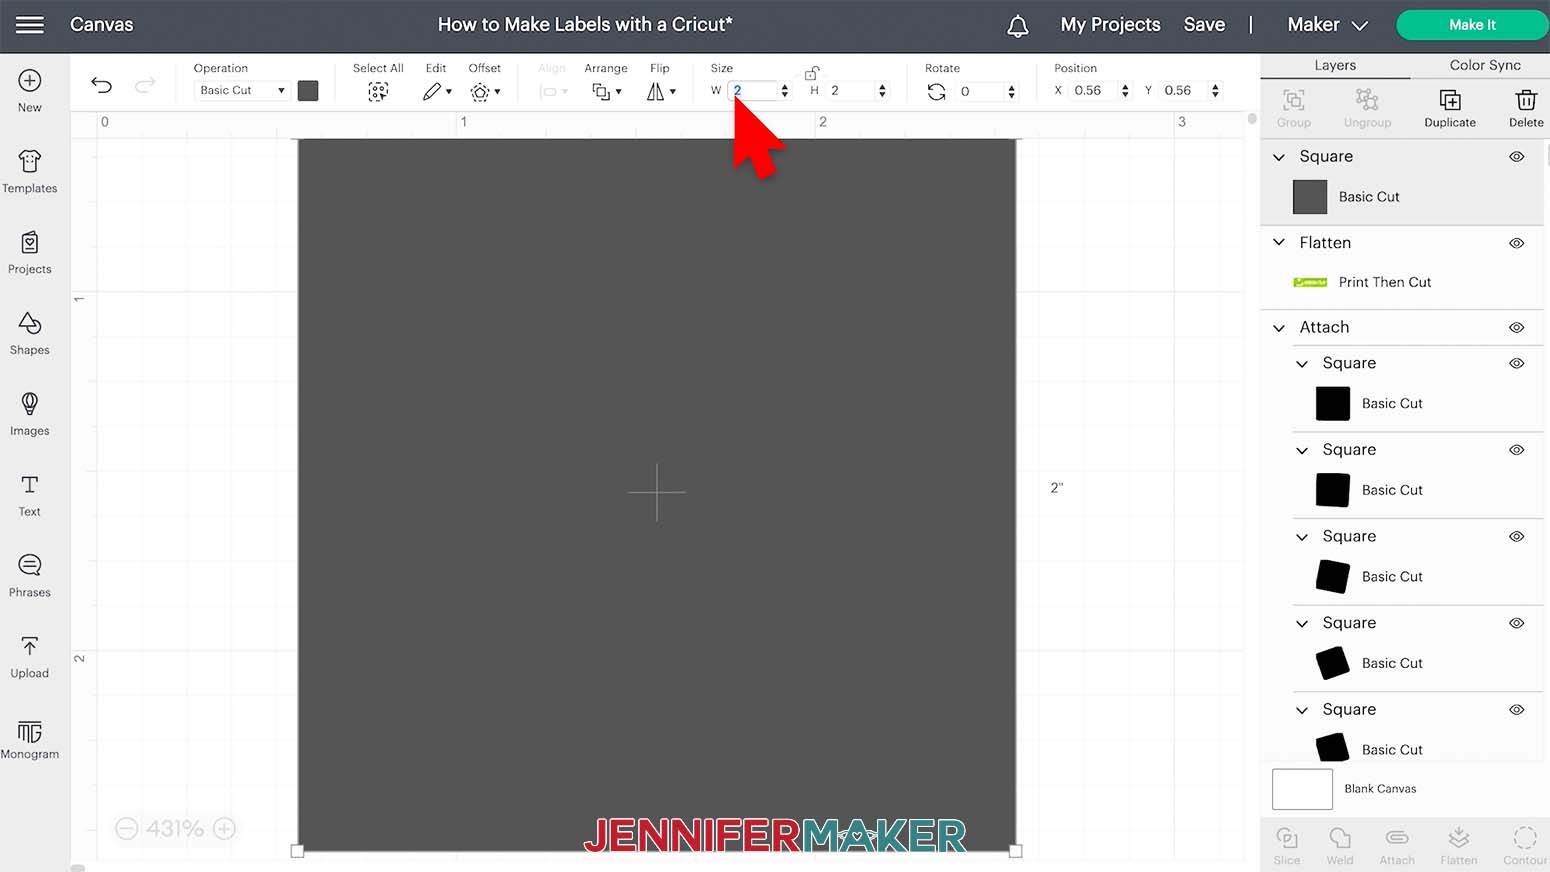
6. Resize the shape to match your bag.
7. Click the "Operation" drop-down.
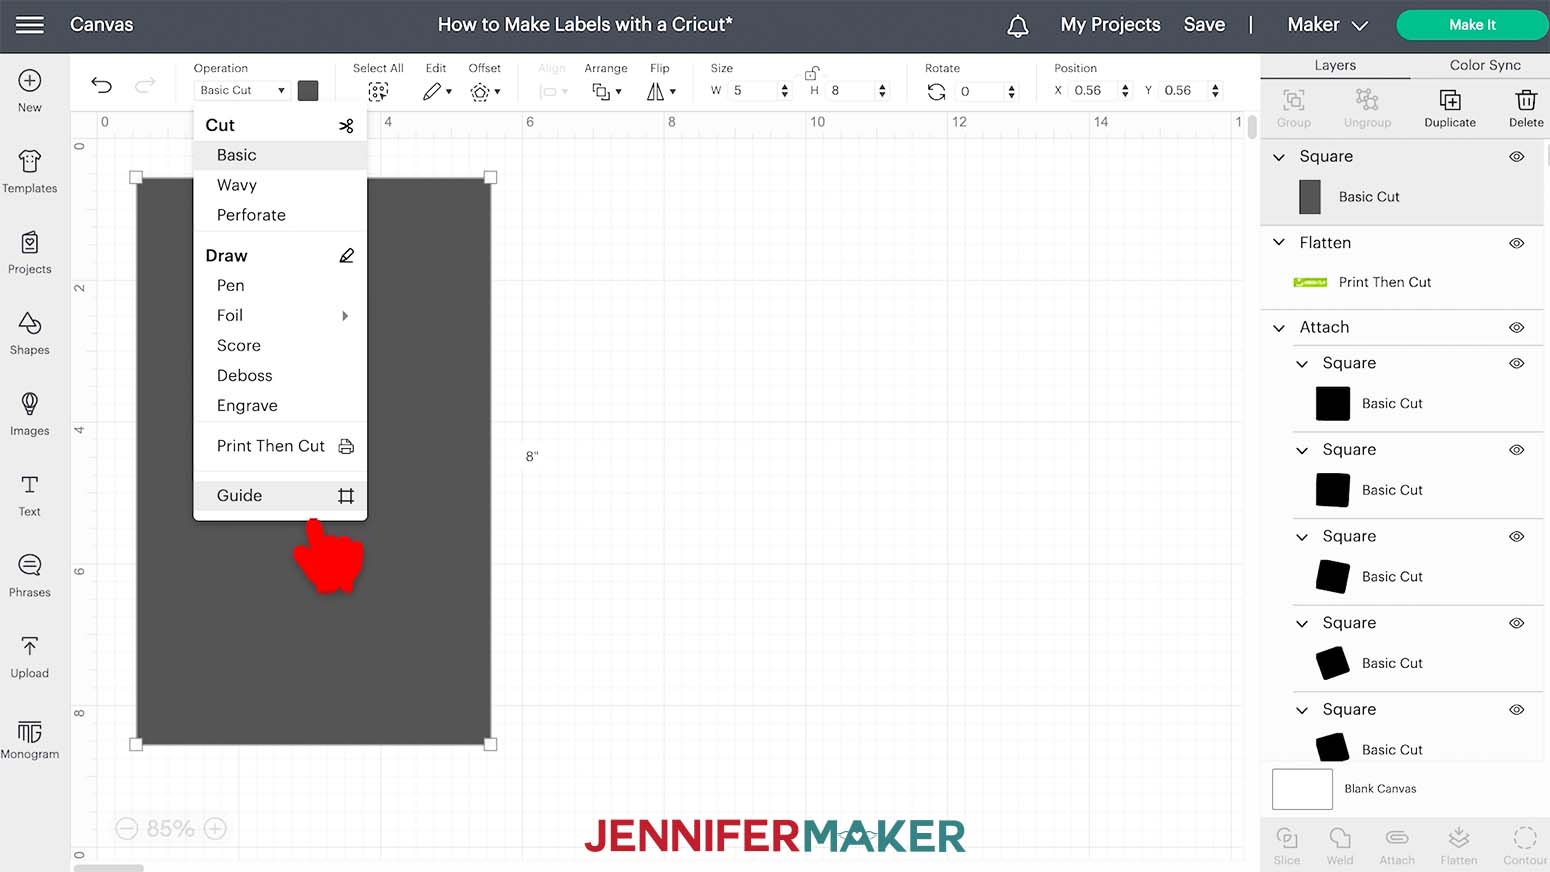
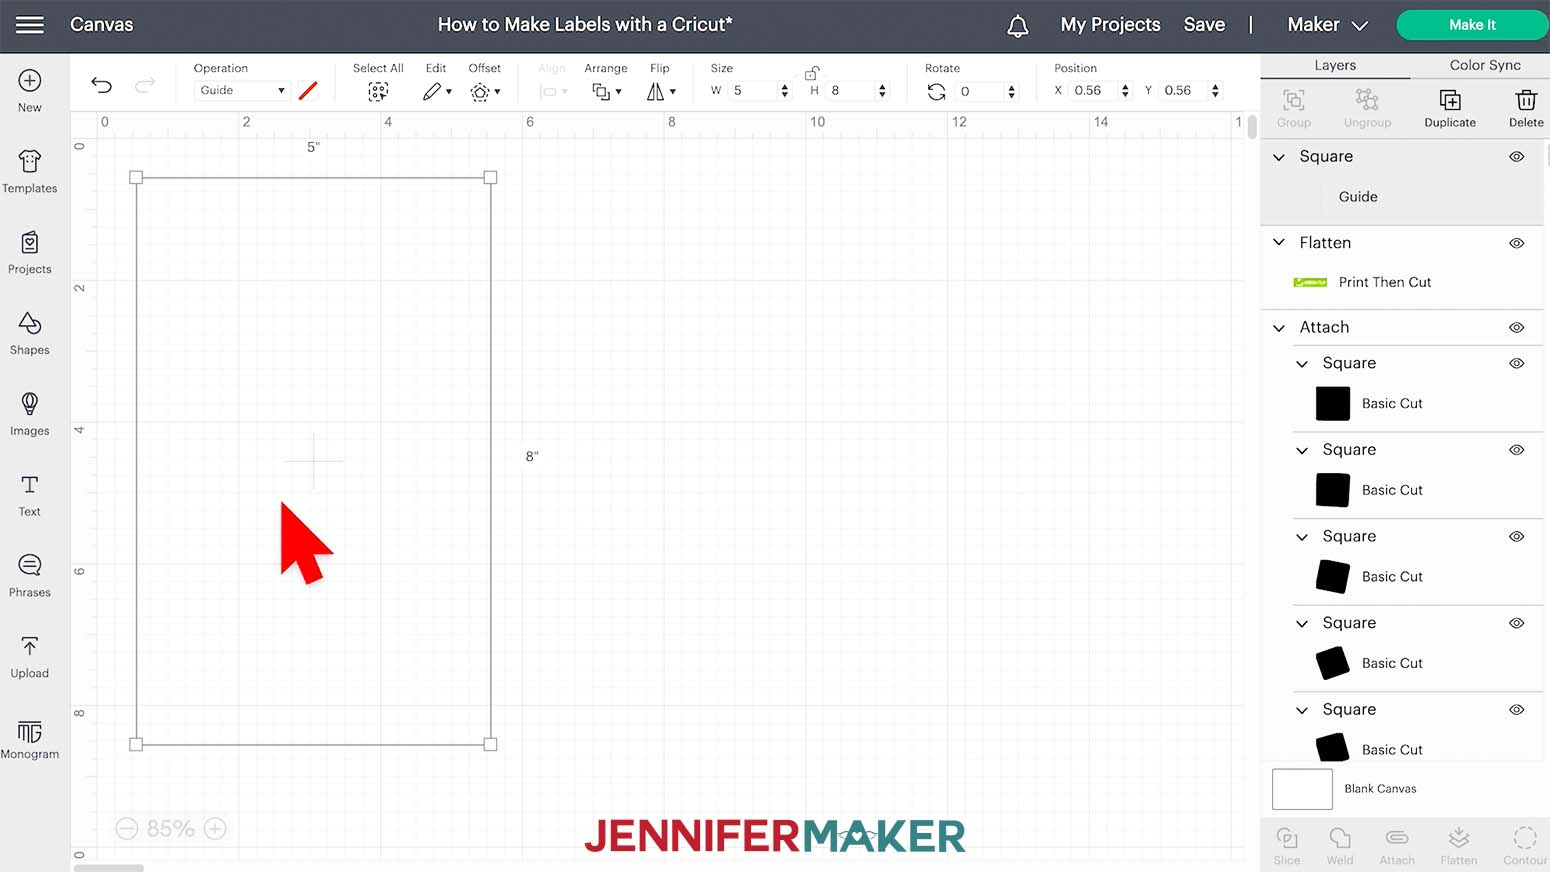
8. Select "Guide." NOTE: "Guide" layers are for planning only and are not sent to the Cricut.
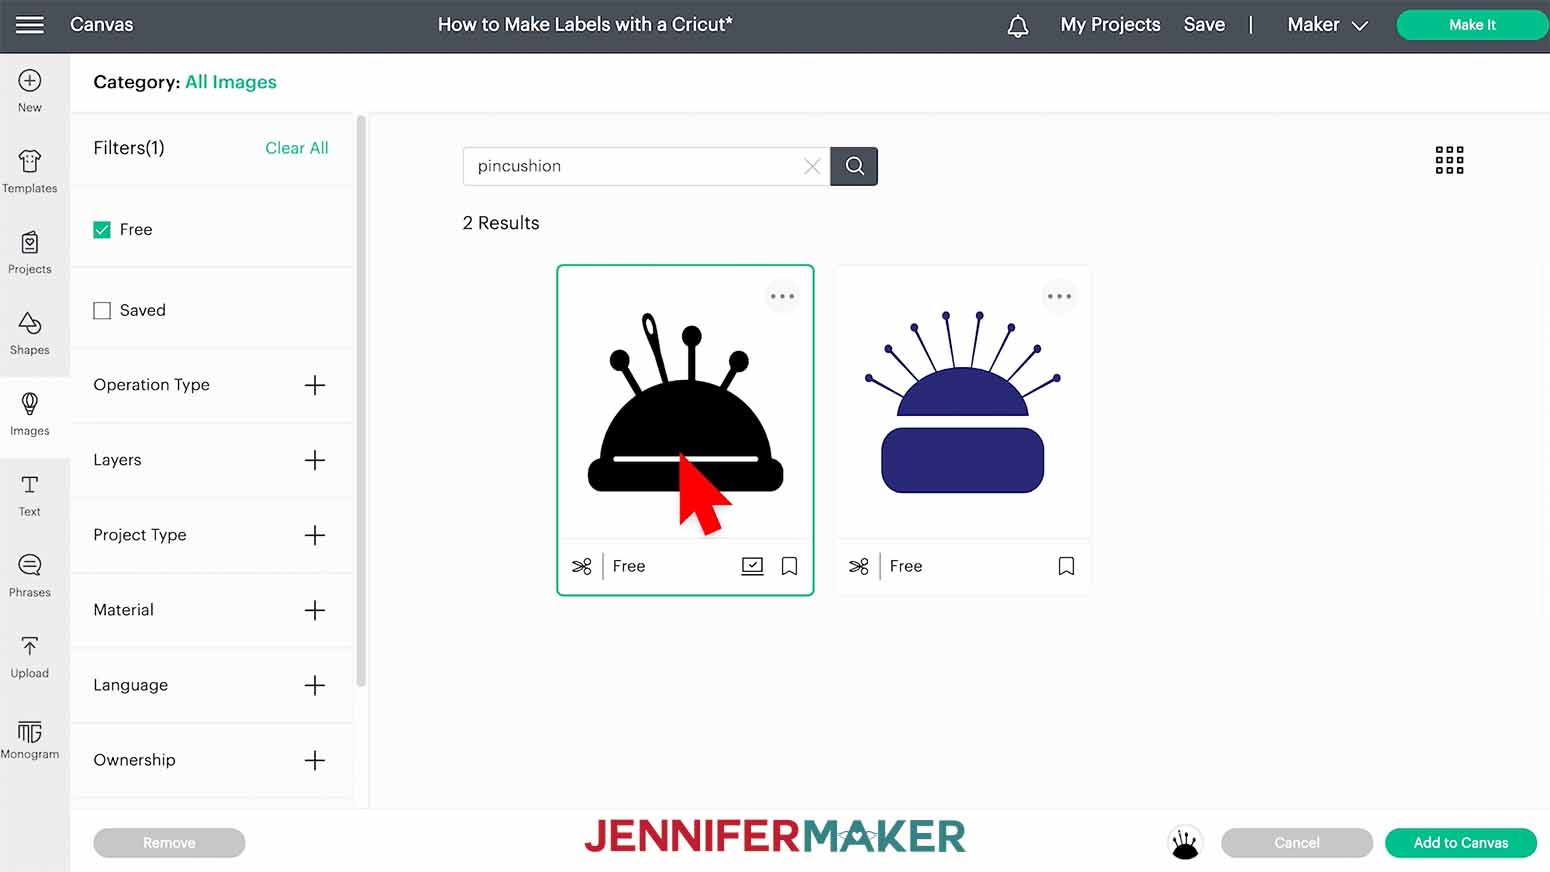
9. To find an icon for your decal, click "Images."
10. Search for the image you want.
1.1. Click the box for "Free" under "Filters."
12. Select the icon you want.
13. Click "Add to Canvas."
14. Drag the icon onto the template.
15. Resize the design to fit.
![]()
Cut Your Iron-On Vinyl
1. Select your machine. I used a Joy.
2. Click "Make It."
3. Toggle on "Mirror" to cut the iron-on vinyl correctly.
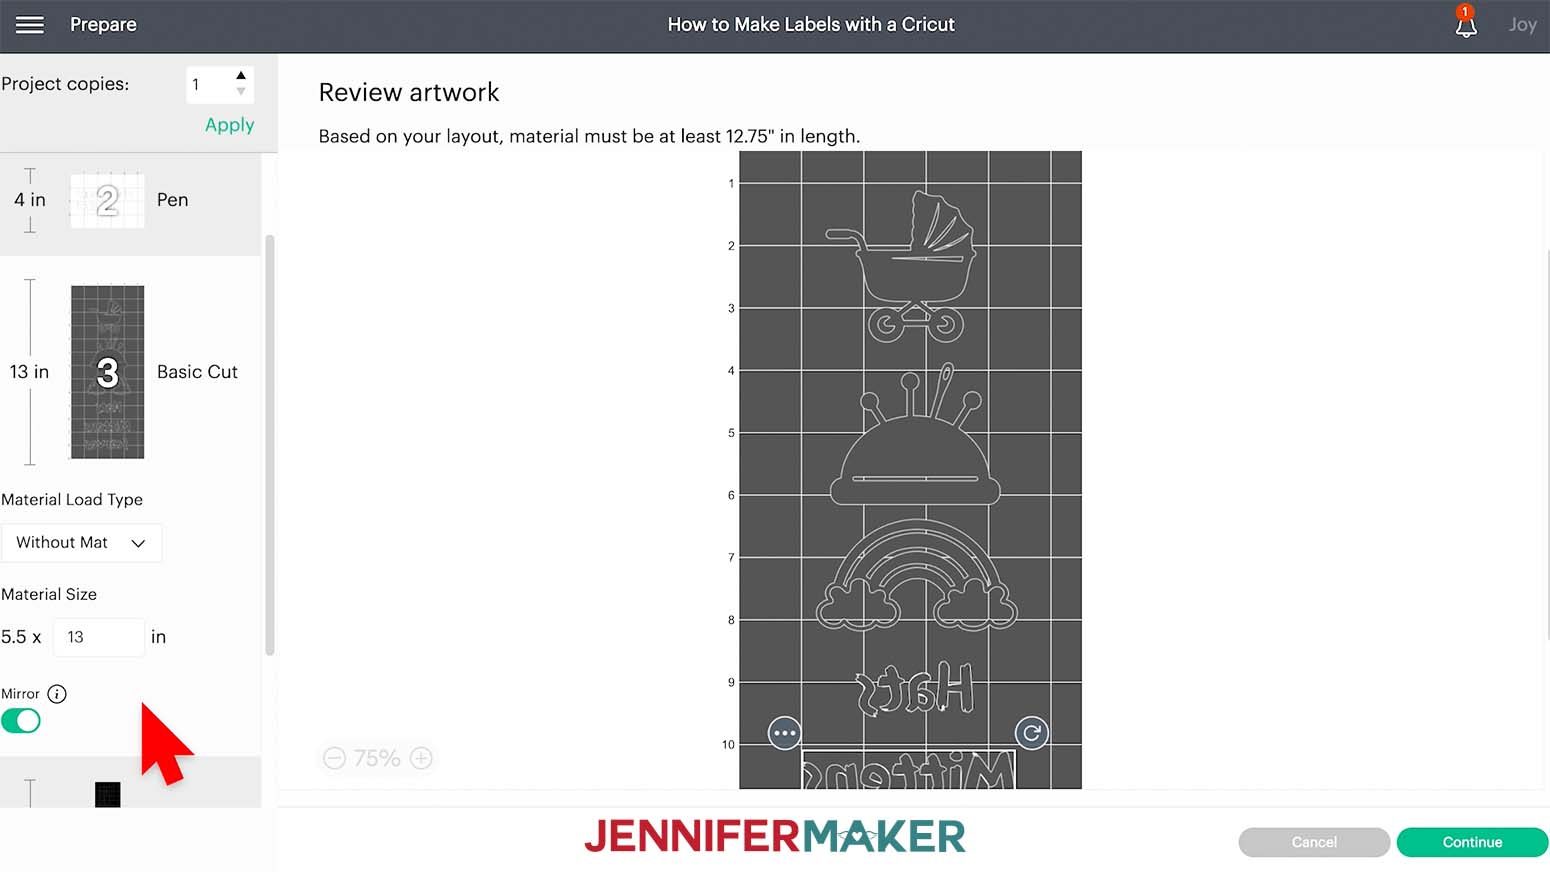
4. For Smart Iron-on Vinyl, select "Without Mat" or "With Mat" for traditional vinyl.
5. Click "Continue."
6. Select your "Base Material." I used Smart Iron-on Vinyl."
7. Load your material.
8. Cut the design.

9. Unload the material.
10. Weed the excess vinyl and any parts inside the design using a weeding tool.

Transfer Your Decal
1. Preheat your heat press to 315 ℉ (157 ℃).
2. Put the bag flat on a pressing mat with the strings out of the way.
3. Lint roll to remove any debris.
4. Preheat the bag for 5 seconds.
5. Center the decal on the bag, shiny side up.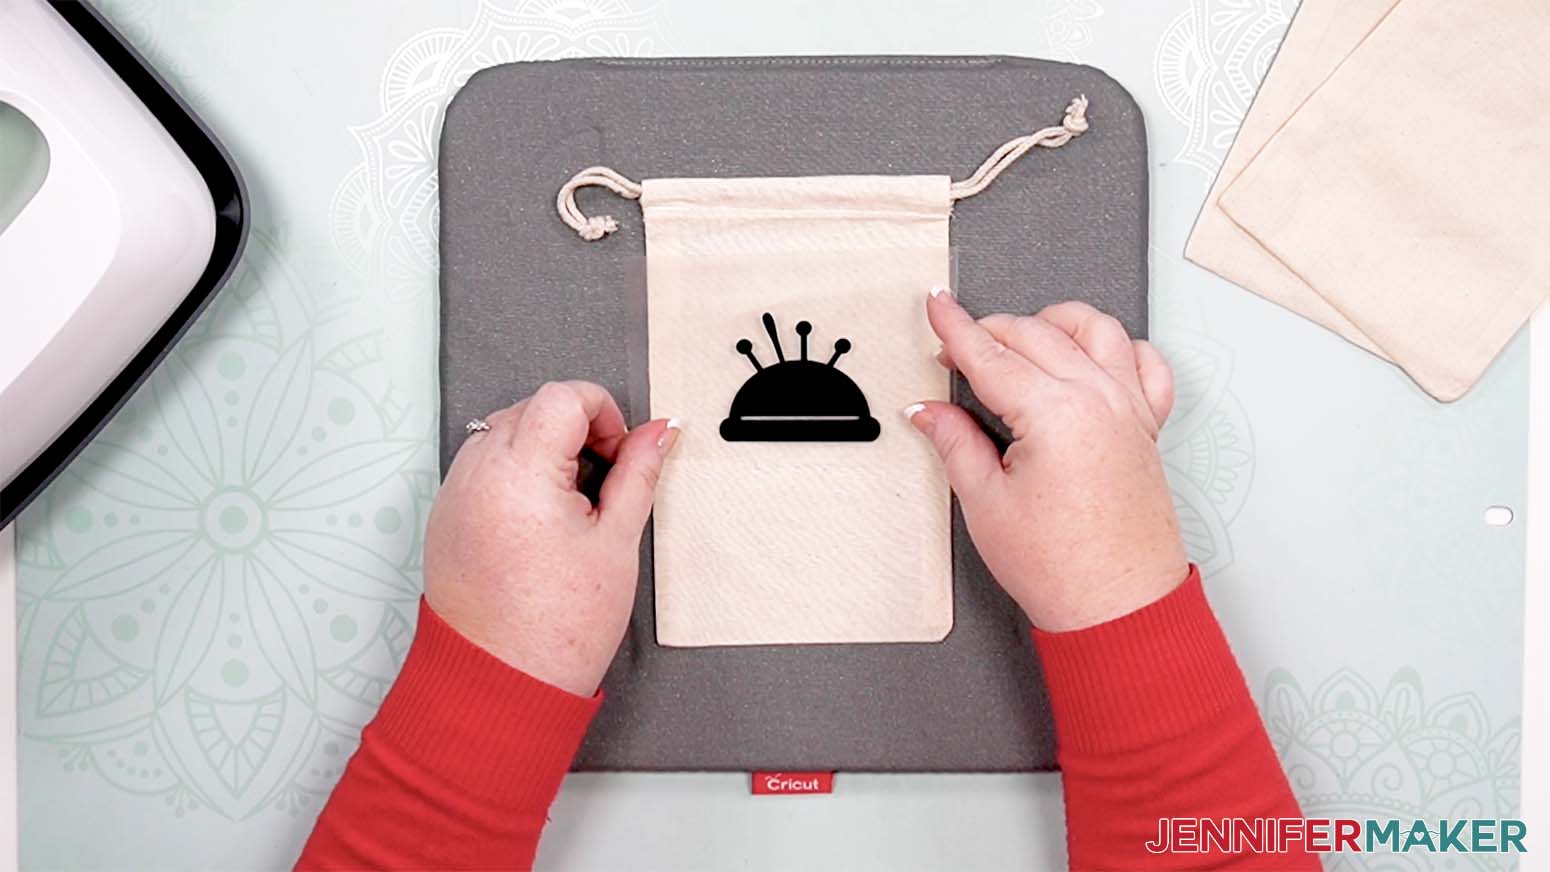
6. Press for 30 seconds.
7. Flip the bag over and press for 15 seconds.
8. When the clear liner is cool to the touch, peel it away from the project.
Project 2: HTV Labels for Polyester Cube Organizers
Prepare Your Label Design
1. Open the free project in Cricut Design Space.
2. Find the "Guide" templates for the fabric cubes.
3. To make a label, click the "Text" icon.
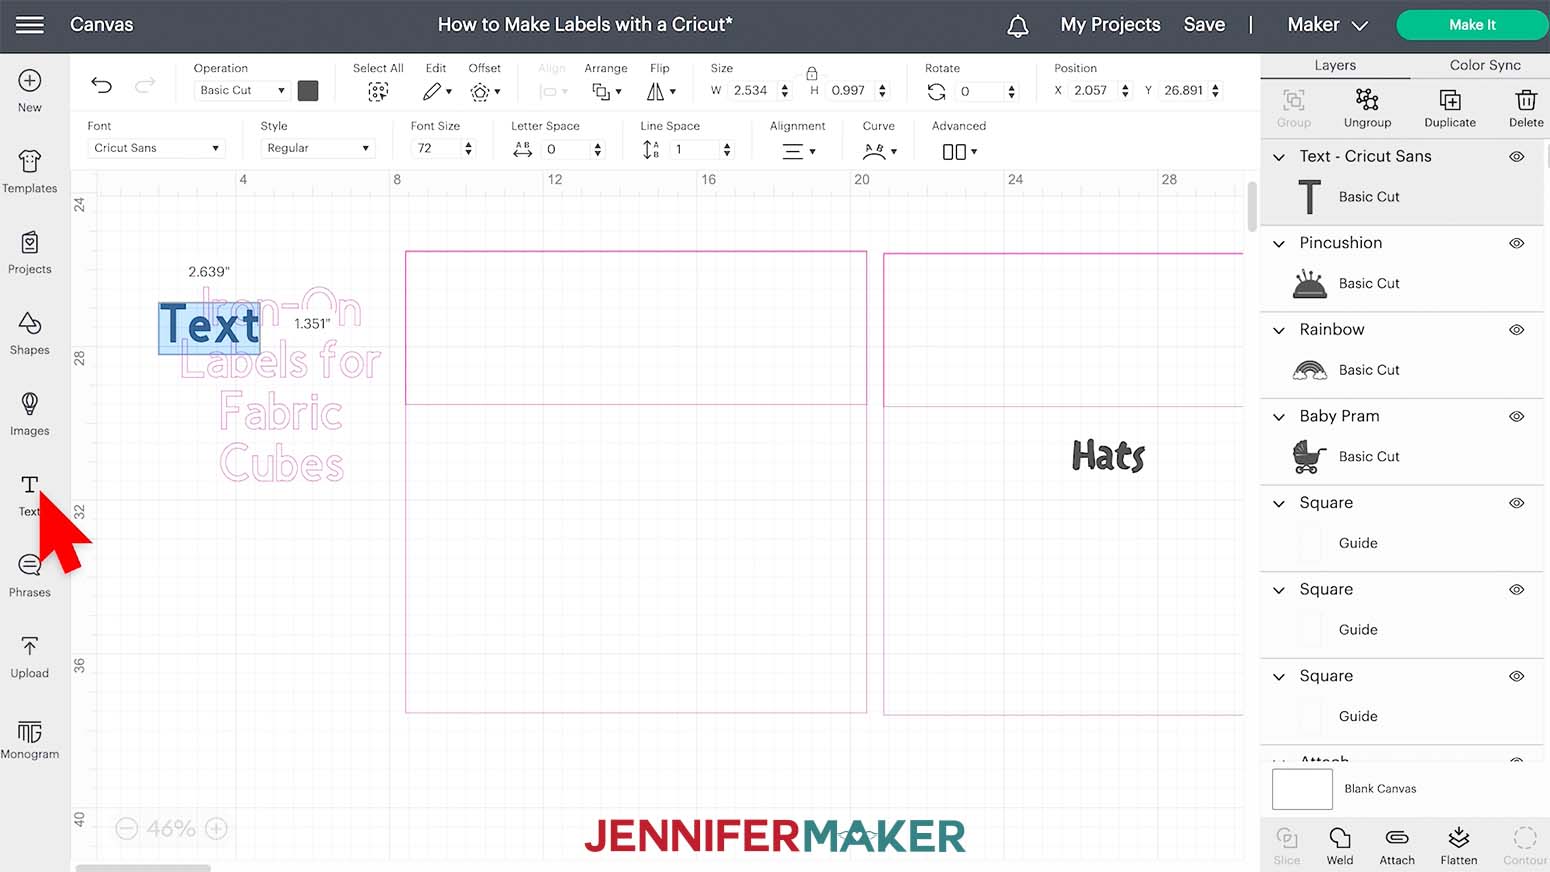
4. Type your label name.
5. Drag it on to the template.
6. Click the "Font" menu.
7. Pick a font that is easy to read. I used Teebrush.
8. Resize the label to fit the shape.
Cut Your Iron-On Vinyl Label
1. Select your machine. I used a Joy.
2. Click "Make It."
3. Toggle on "Mirror" to cut the iron-on vinyl correctly.
4. For Smart Iron-on Vinyl, select "Without Mat" or "With Mat" for traditional vinyl.
5. Click "Continue."
6. Select your "Base Material." I used Smart Iron-on Vinyl."
7. Load your material.
8. Cut the design.
9. Unload the material.
10. Weed the excess vinyl and any parts inside the design using a weeding tool.
Transfer Your Label
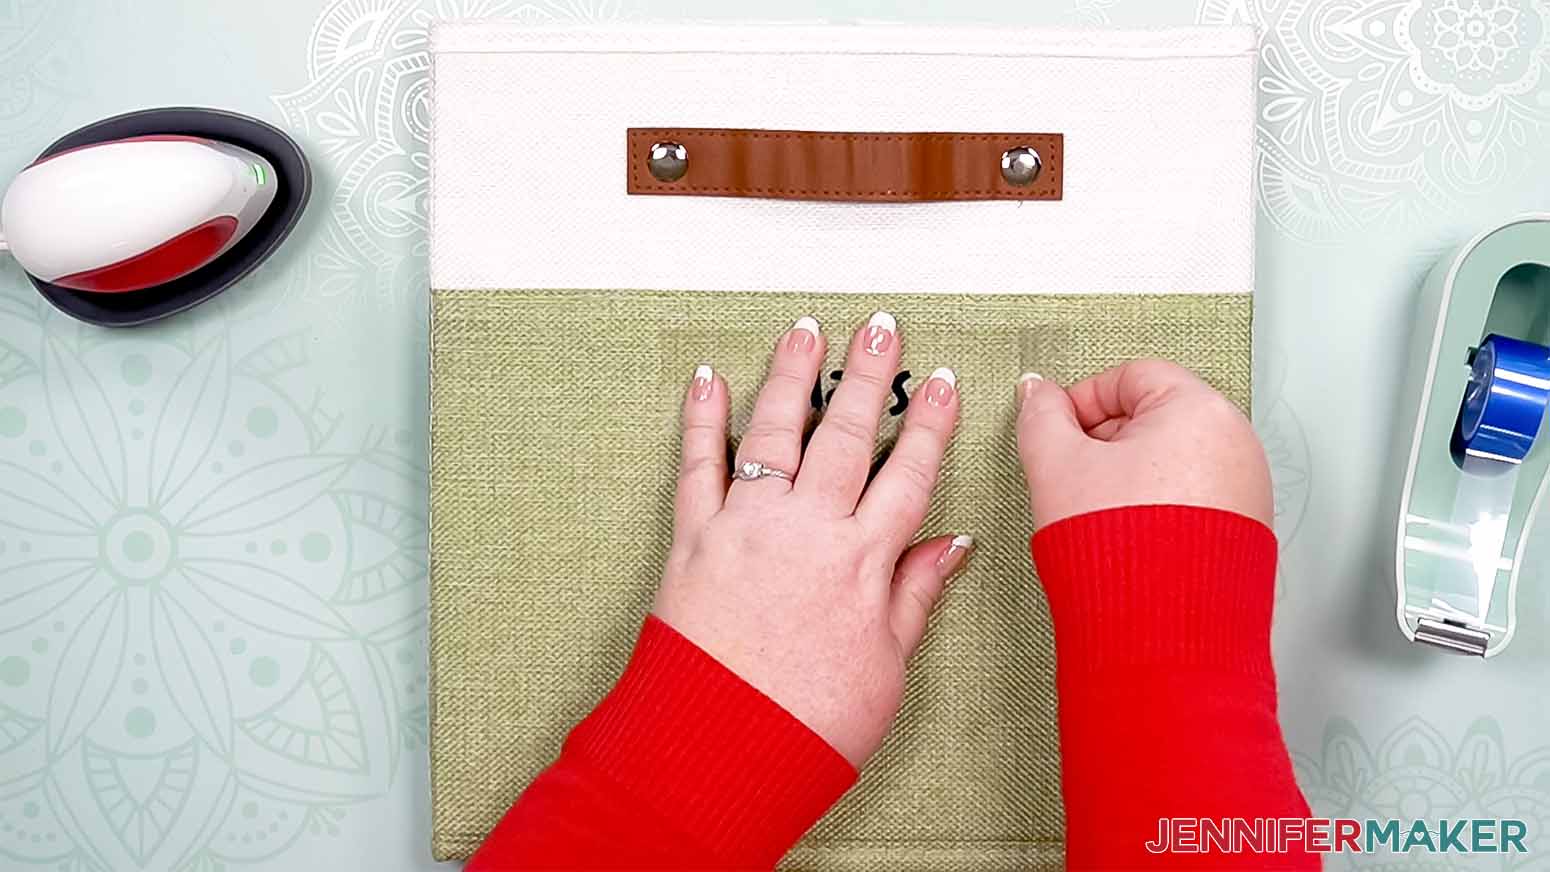
1. Preheat your EasyPress Mini to Medium.
2. Place the flattened cube on a pressing mat.
3. Lint roll to remove any debris.
4. Put parchment paper on the design area to protect your press.
5. Preheat the design area for 5 seconds.
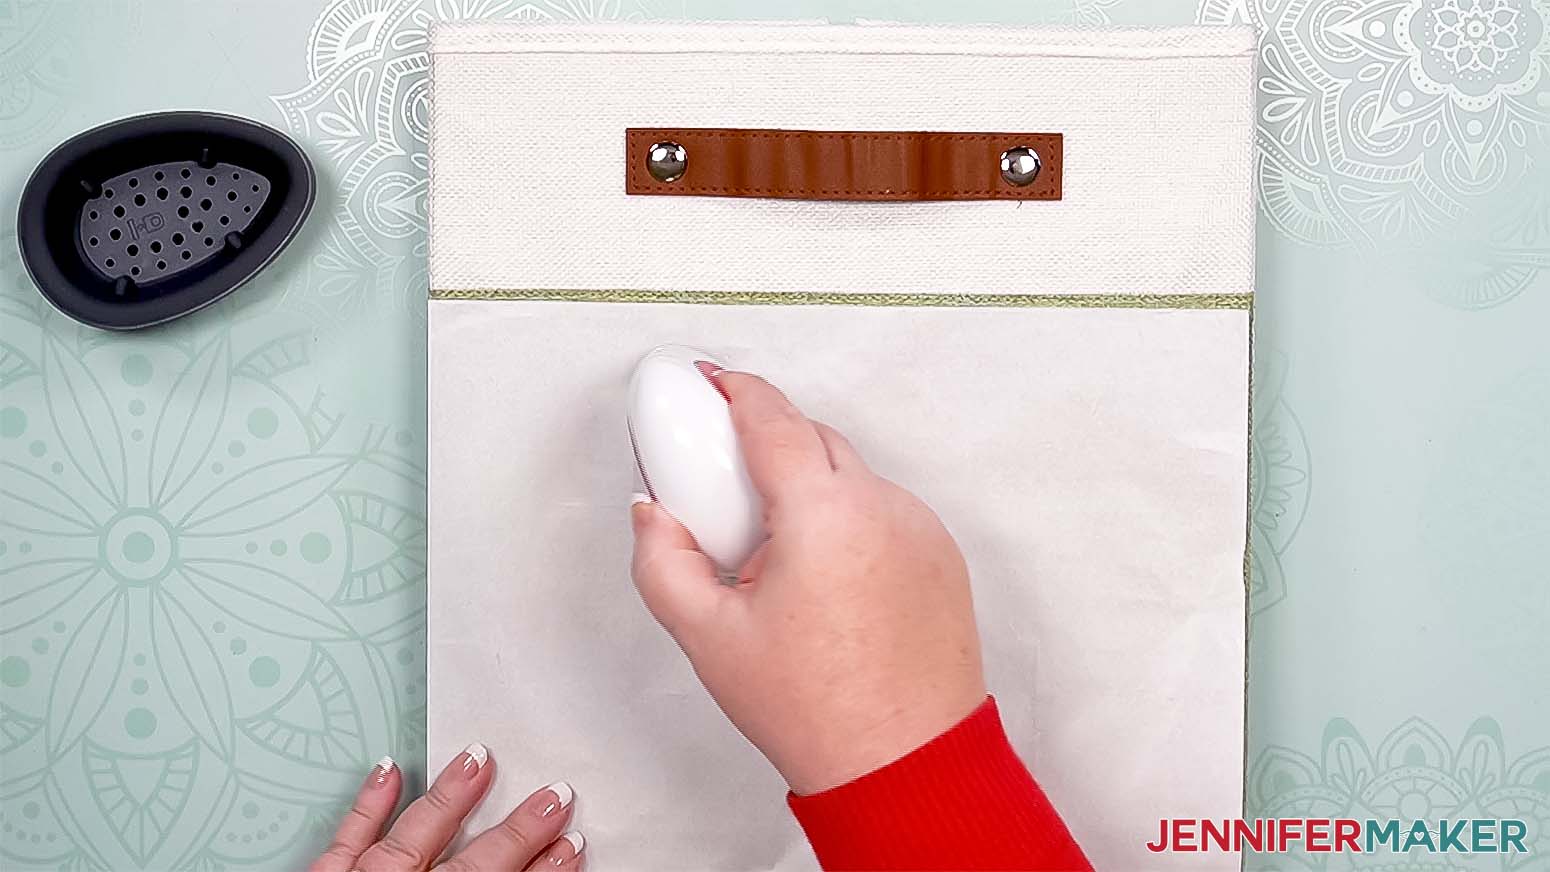
6. Remove the parchment paper.
7. Center the decal on the cube, shiny side up.
8. Add heat resistant tape to the carrier sheet's edges.
9. Replace the parchment paper.
10. Press for 25 seconds, keeping the press in motion to cover the whole design without overheating the fabric.
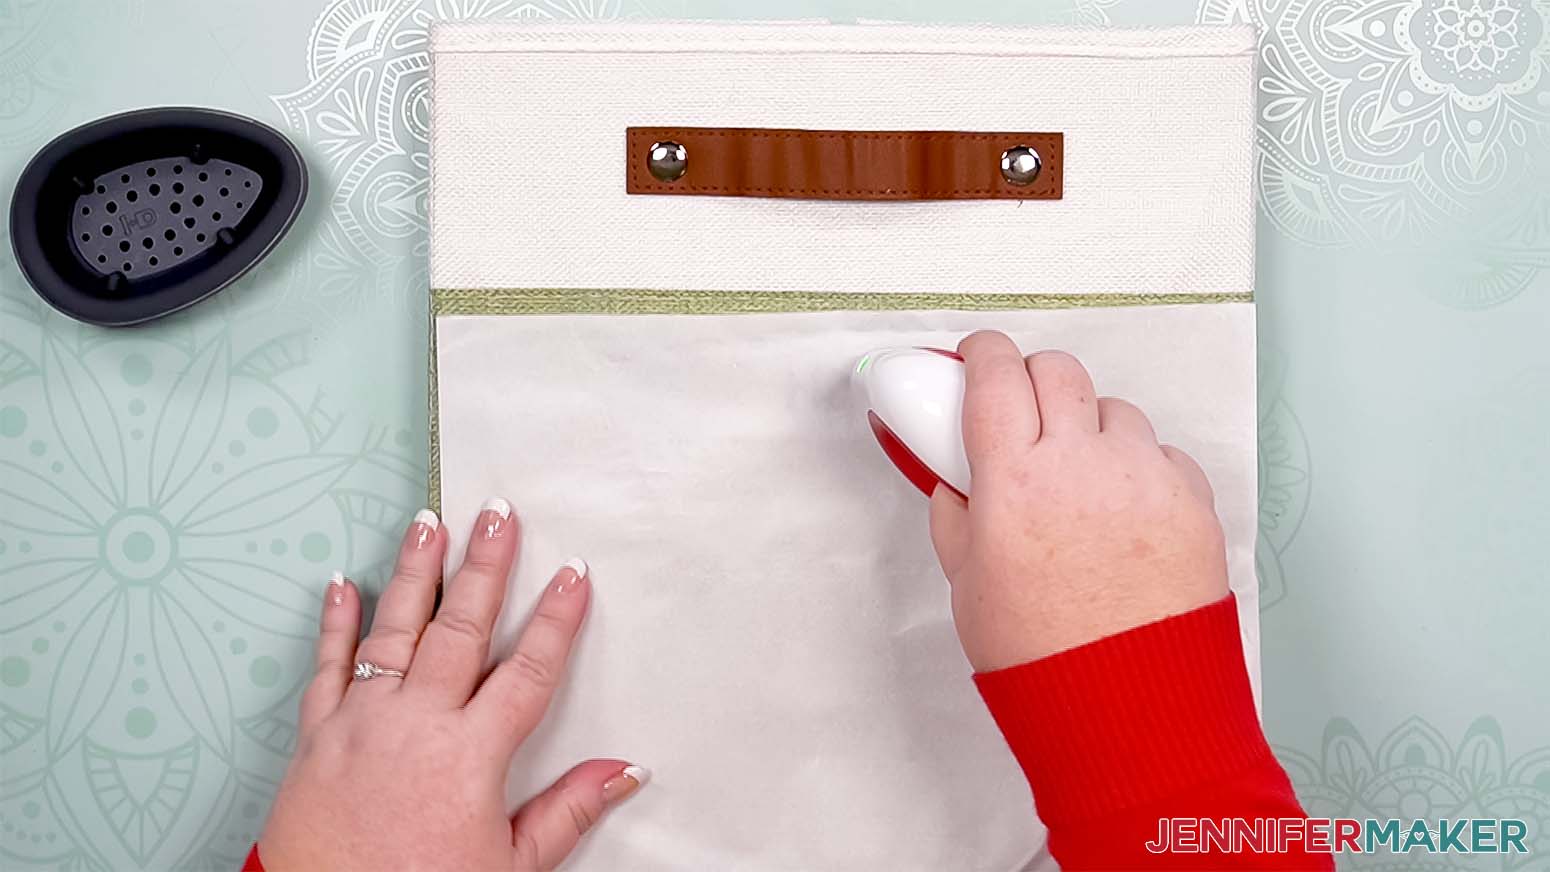
11. Remove the parchment paper.
12. When the liner is cool to the touch, remove it and the tape.

Project 3: Removable Vinyl Labels for Glass Jars
Prepare Your Label Design
1. Open the free project in Cricut Design Space.
2. Find the "Guide" templates for the pantry containers. 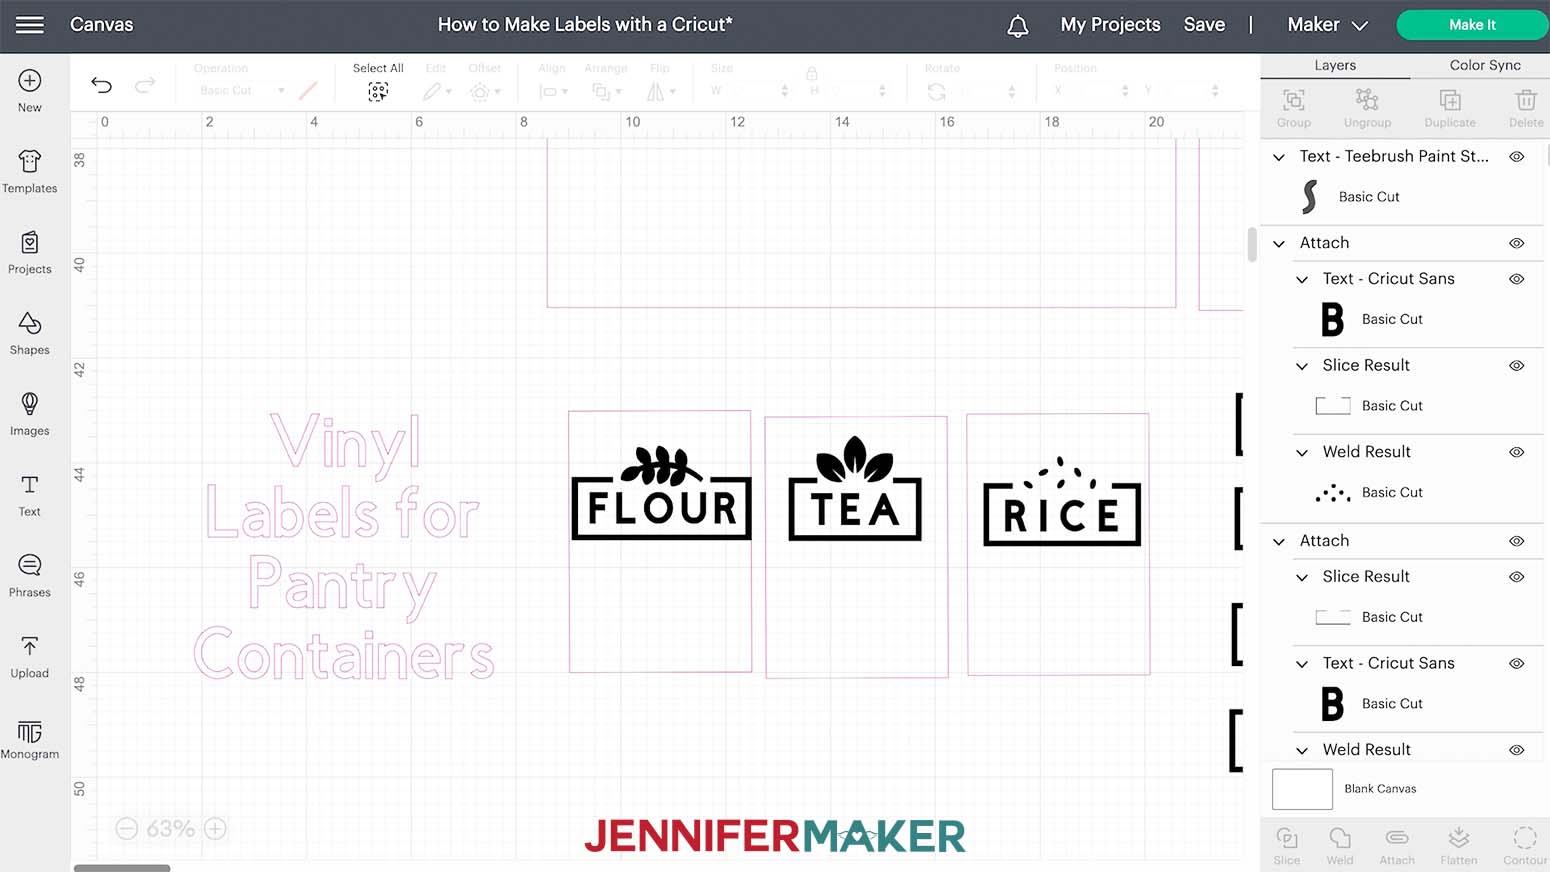
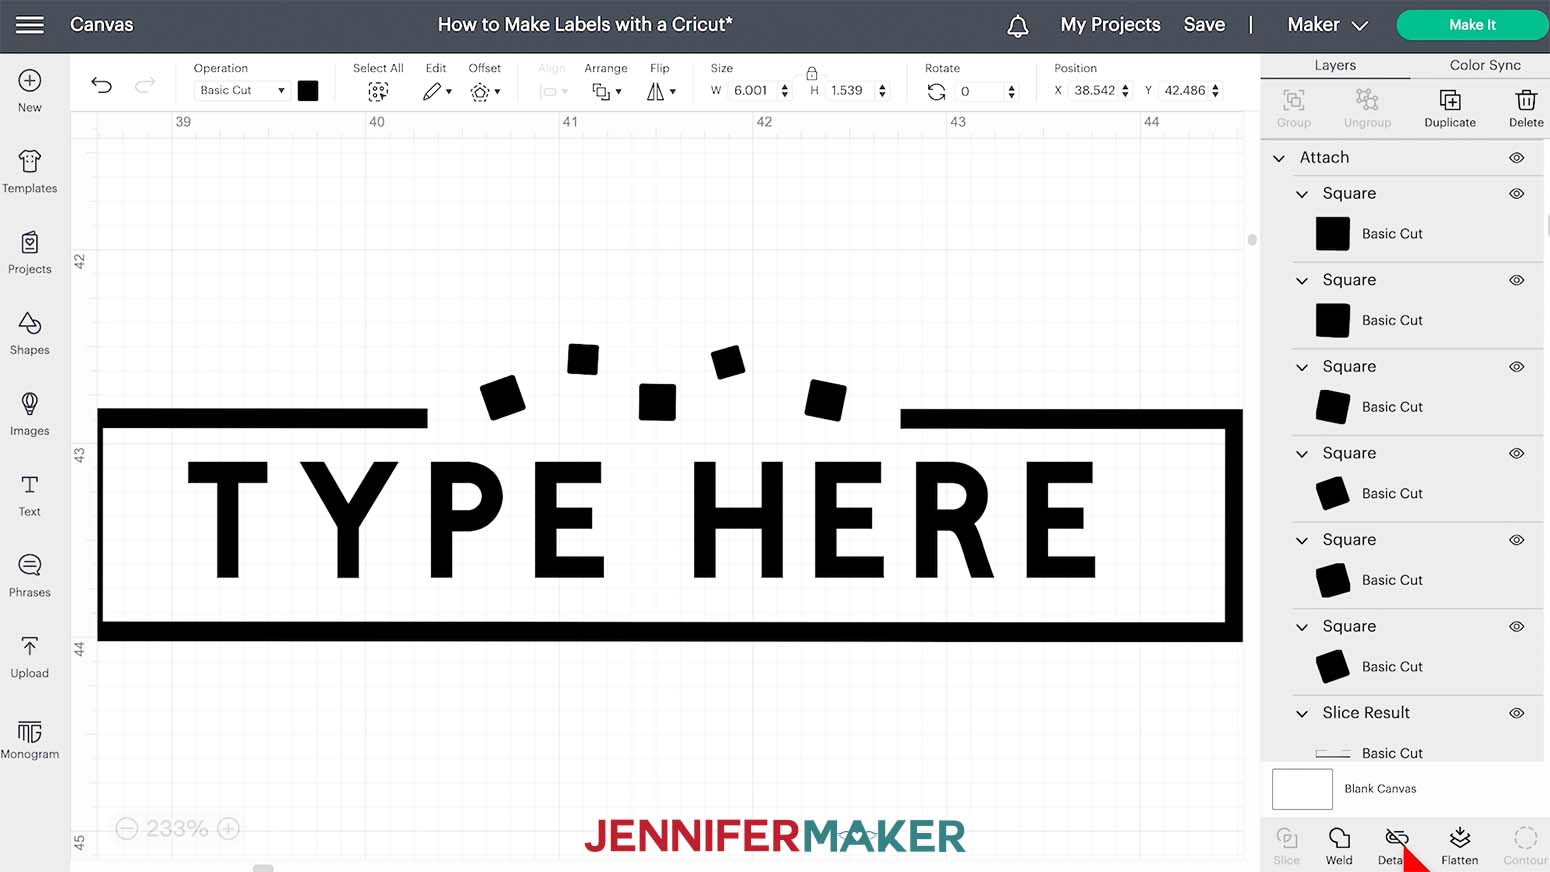
3. To make a custom label, select the "Type Here" design.
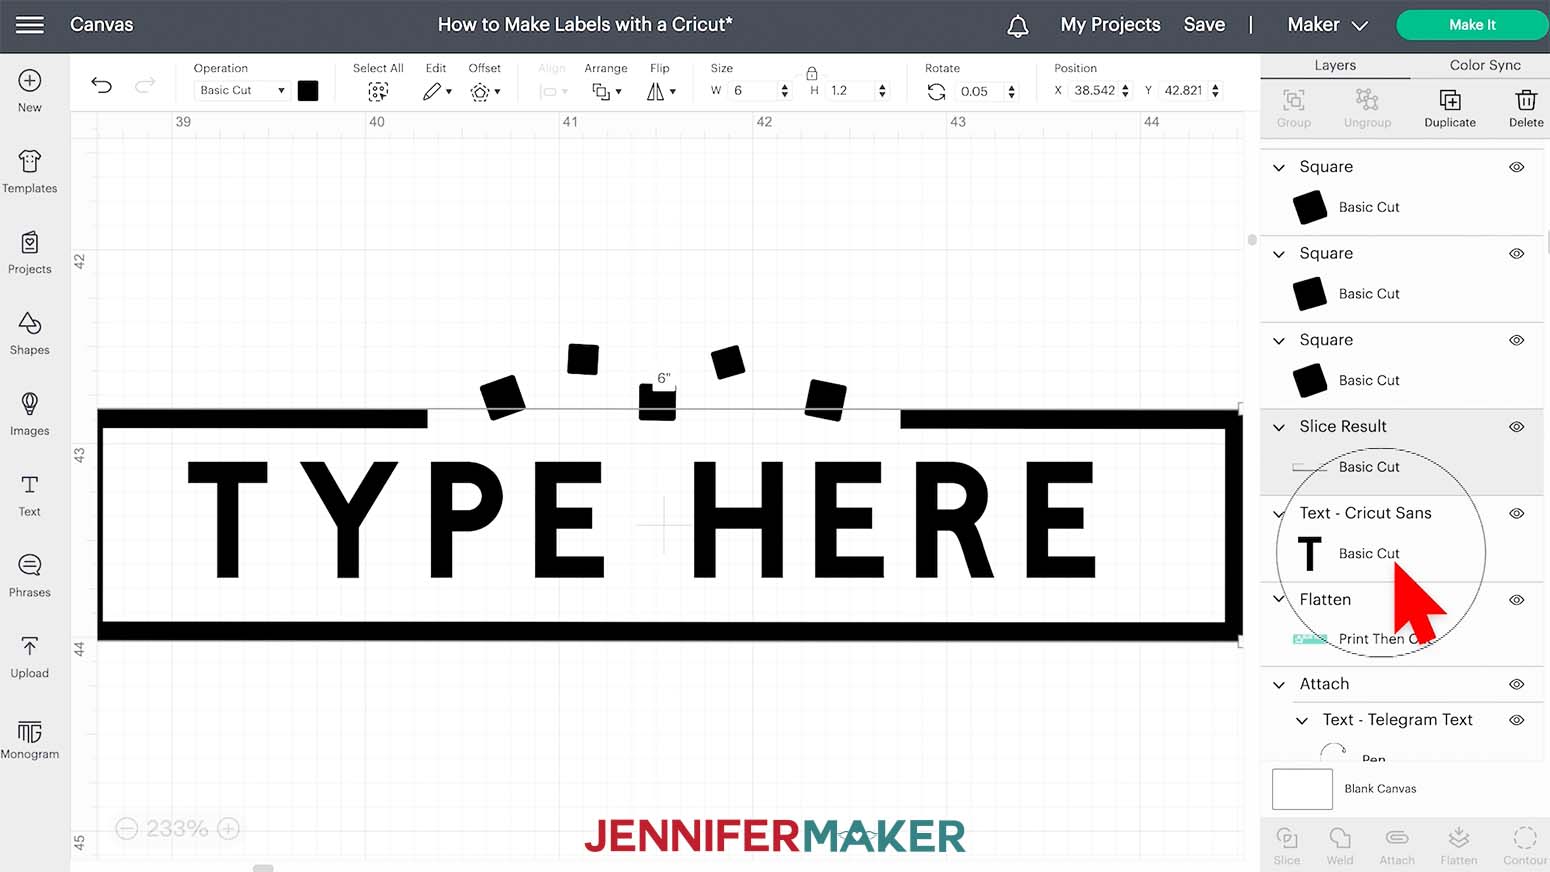
4. Click "Detach."
5. Right-click the "Text" layer and select "Edit Text."
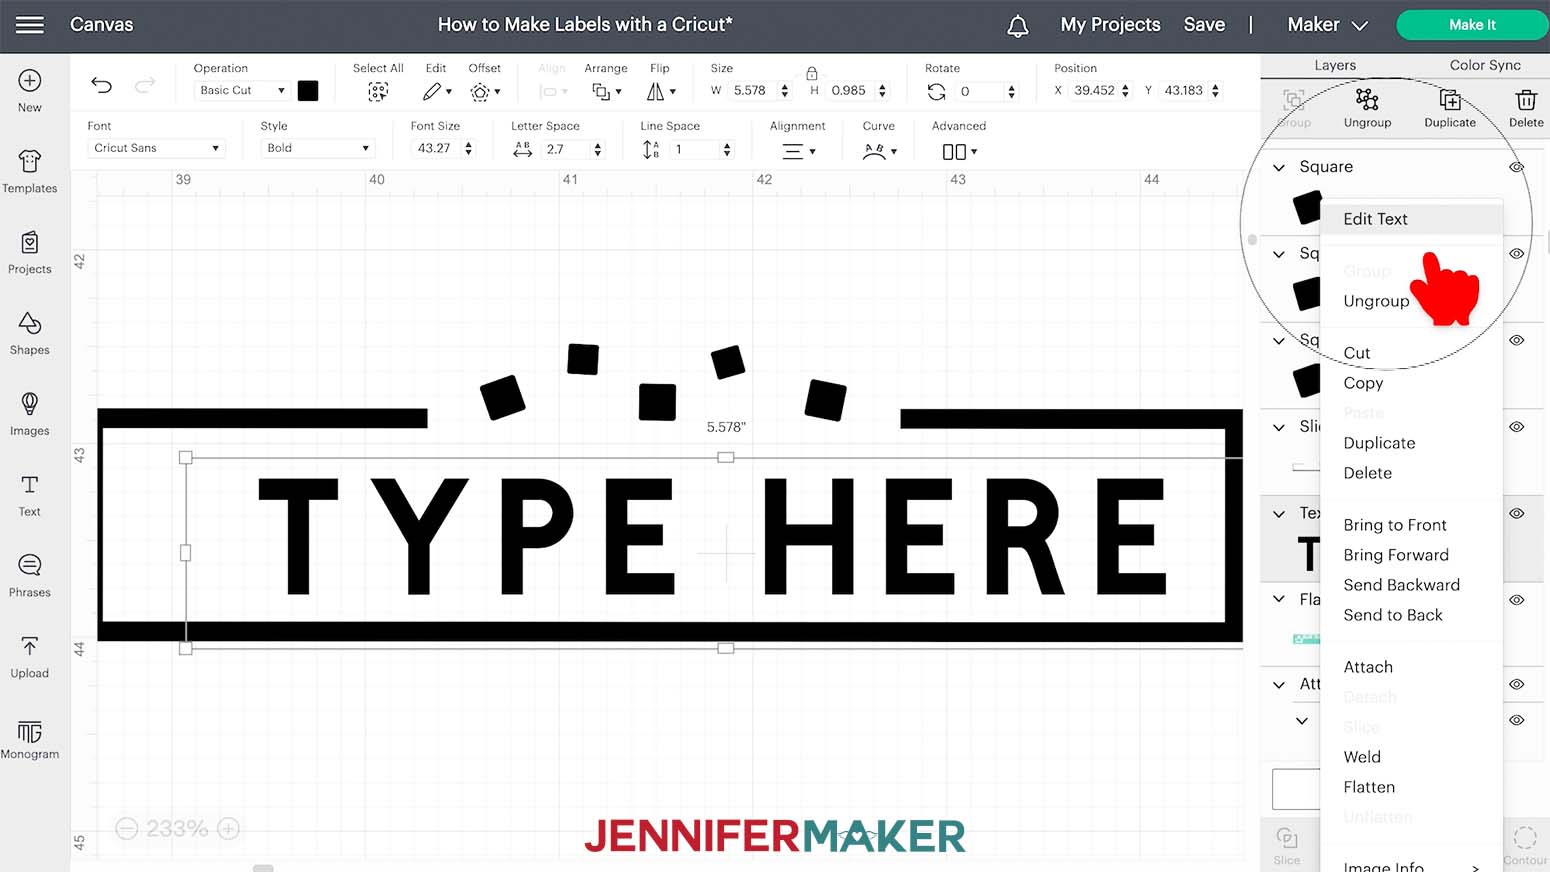
6. Type the new label.
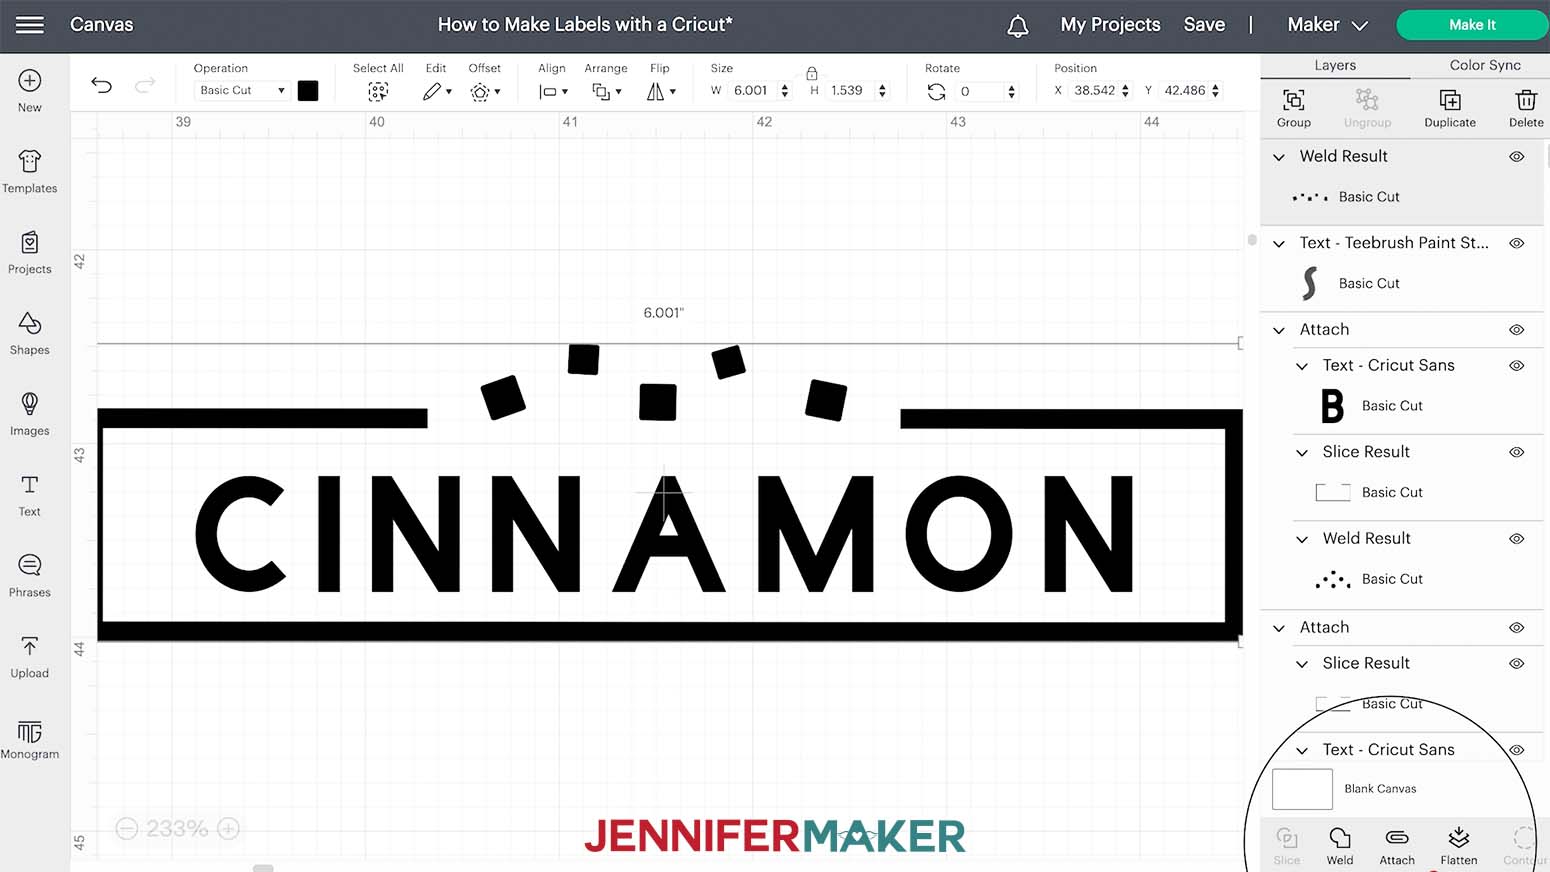
7. Resize the label to fit.
8.. Select all parts of the label.
9. Click "Attach."
Cut Your Removable Vinyl Labels
1. Select your machine. I used a Joy.
2. Click "Make It."
3. Leave "Mirror" off to cut the removable adhesive vinyl correctly.
4. For Smart Iron-on Vinyl, select "Without Mat" or "With Mat" for traditional vinyl.
5. Click "Continue."
6. Select your "Base Material." I used "Smart Permanent Vinyl."
7. Load your material.

8. Cut the design.
9. Unload the material.
10. Cut the extra vinyl away from the design.
11. Weed the excess vinyl and any parts inside the design using a weeding tool.
Transfer Your Vinyl Label
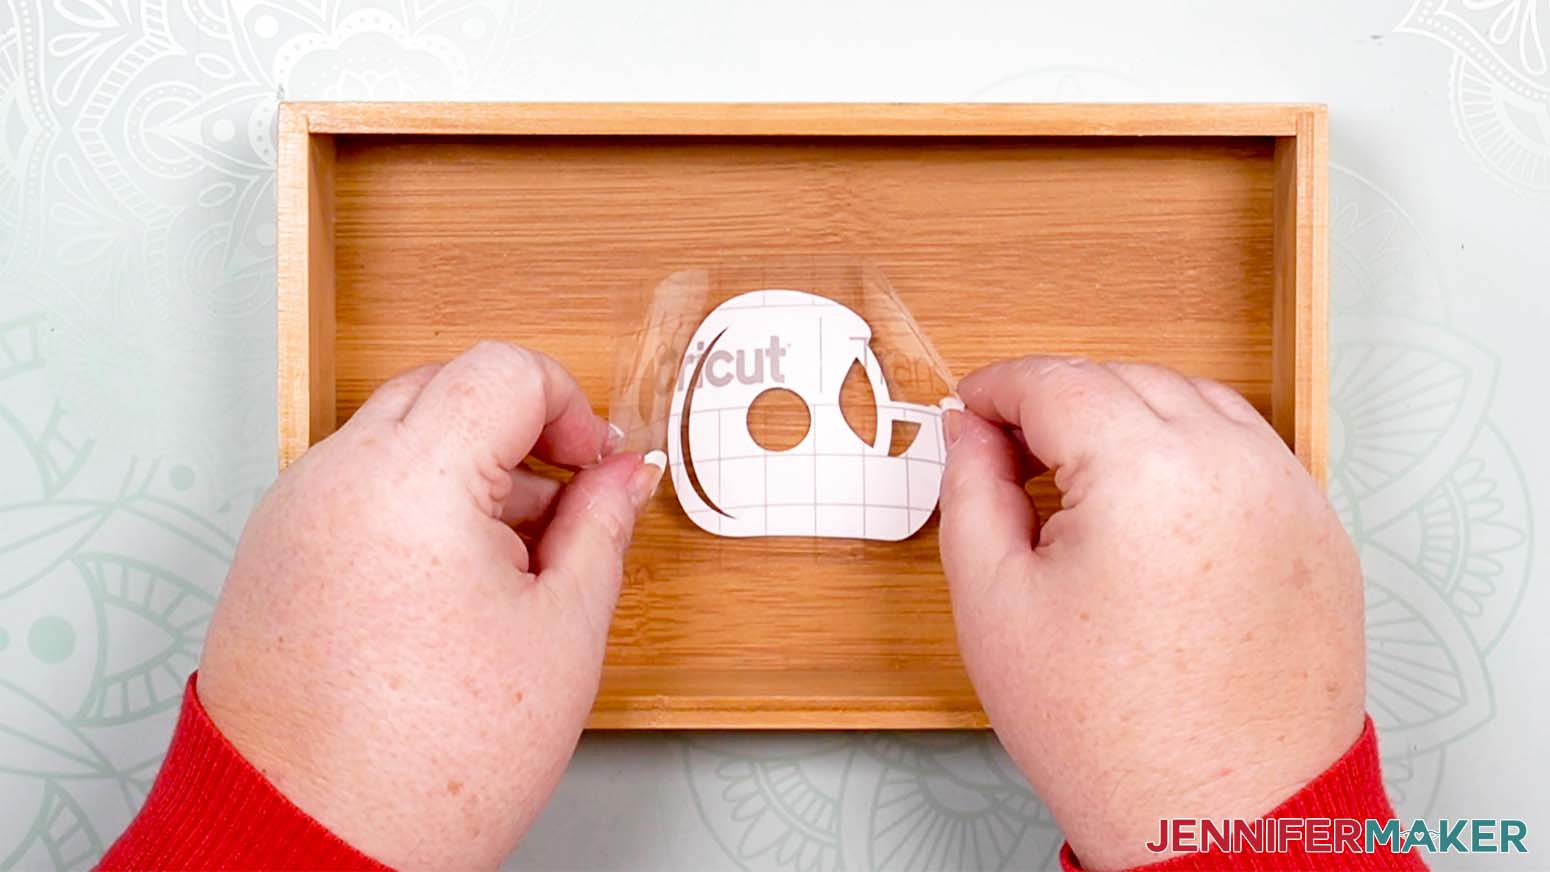
1. Cut a piece of StandardGrip Transfer Tape slightly larger than the decal.
2. Remove the tape's backing.
3. Hold the transfer tape sticky side down over the decal.
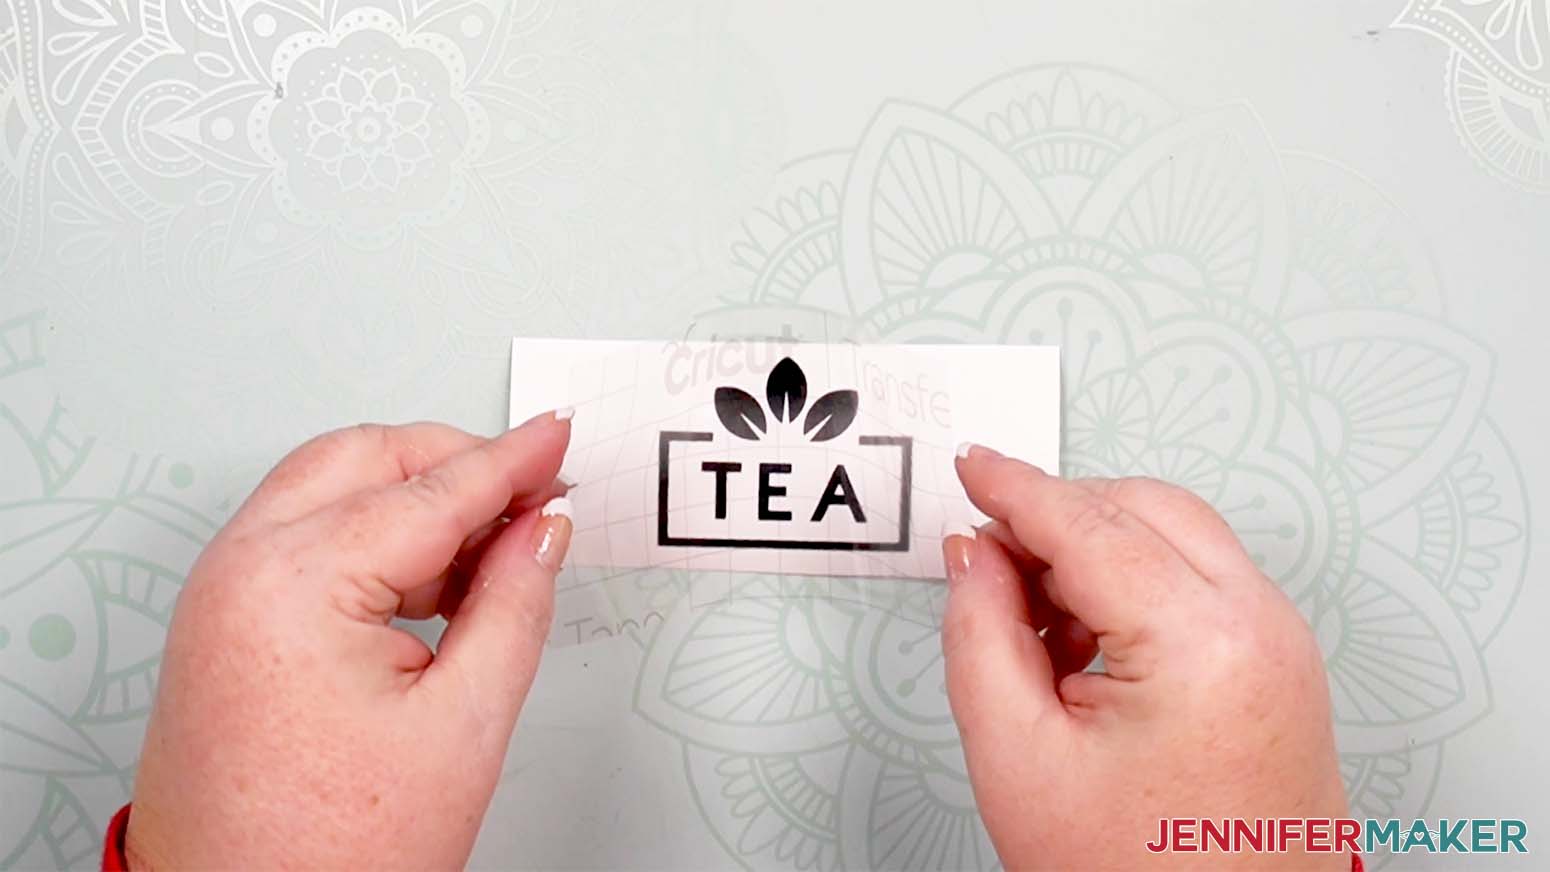
4. Curl up the tape's side to look like a taco.
5. Lower the center onto the decal's middle.
6. Smooth the sides down.
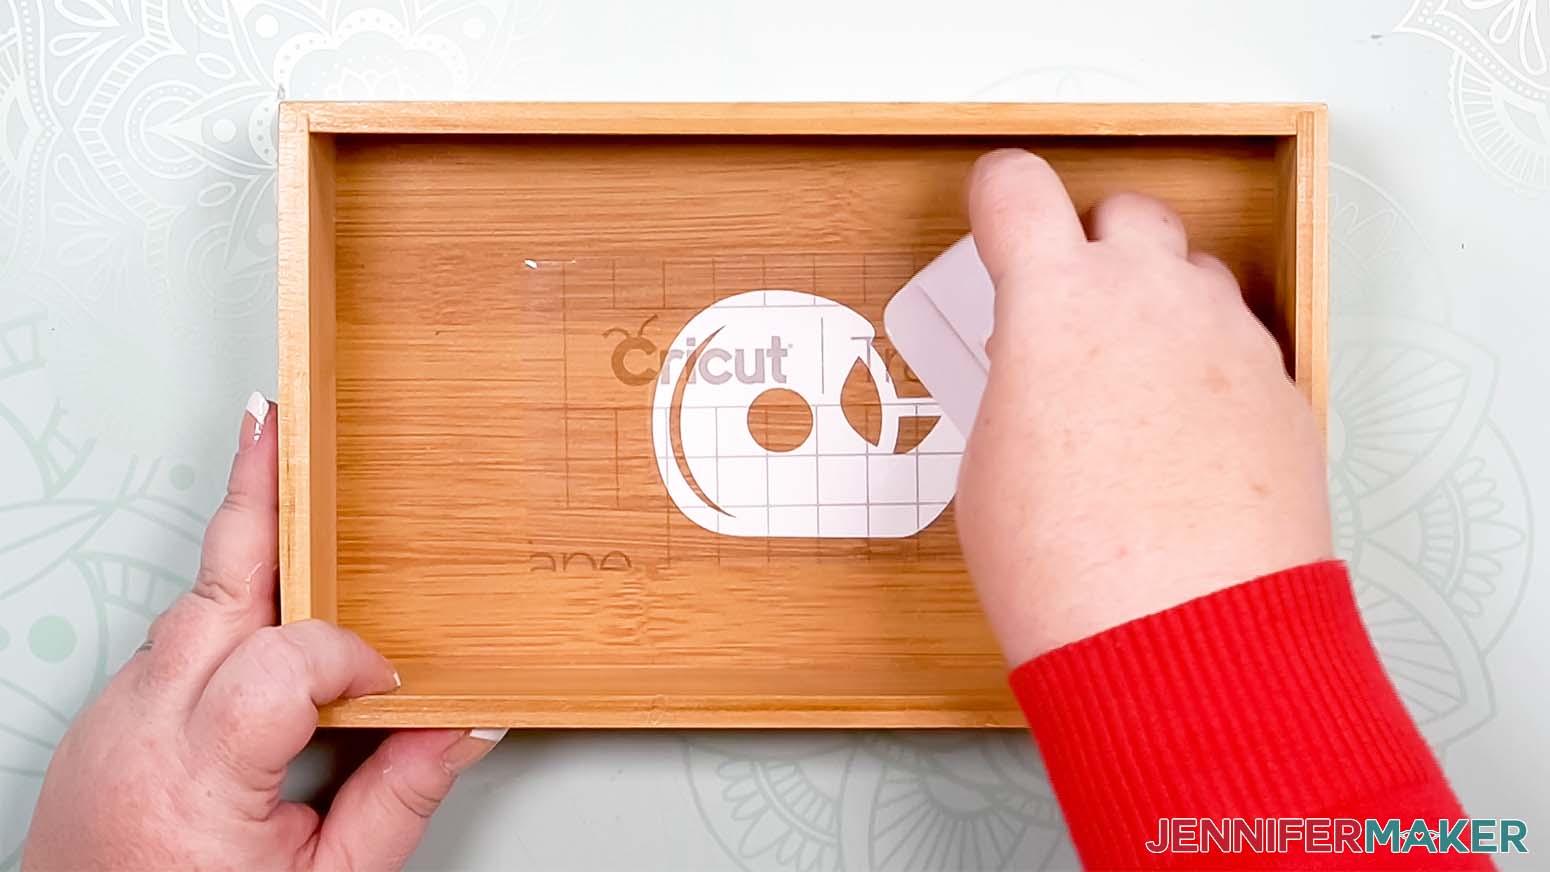
7. Burnish from the front and back with a scraper.
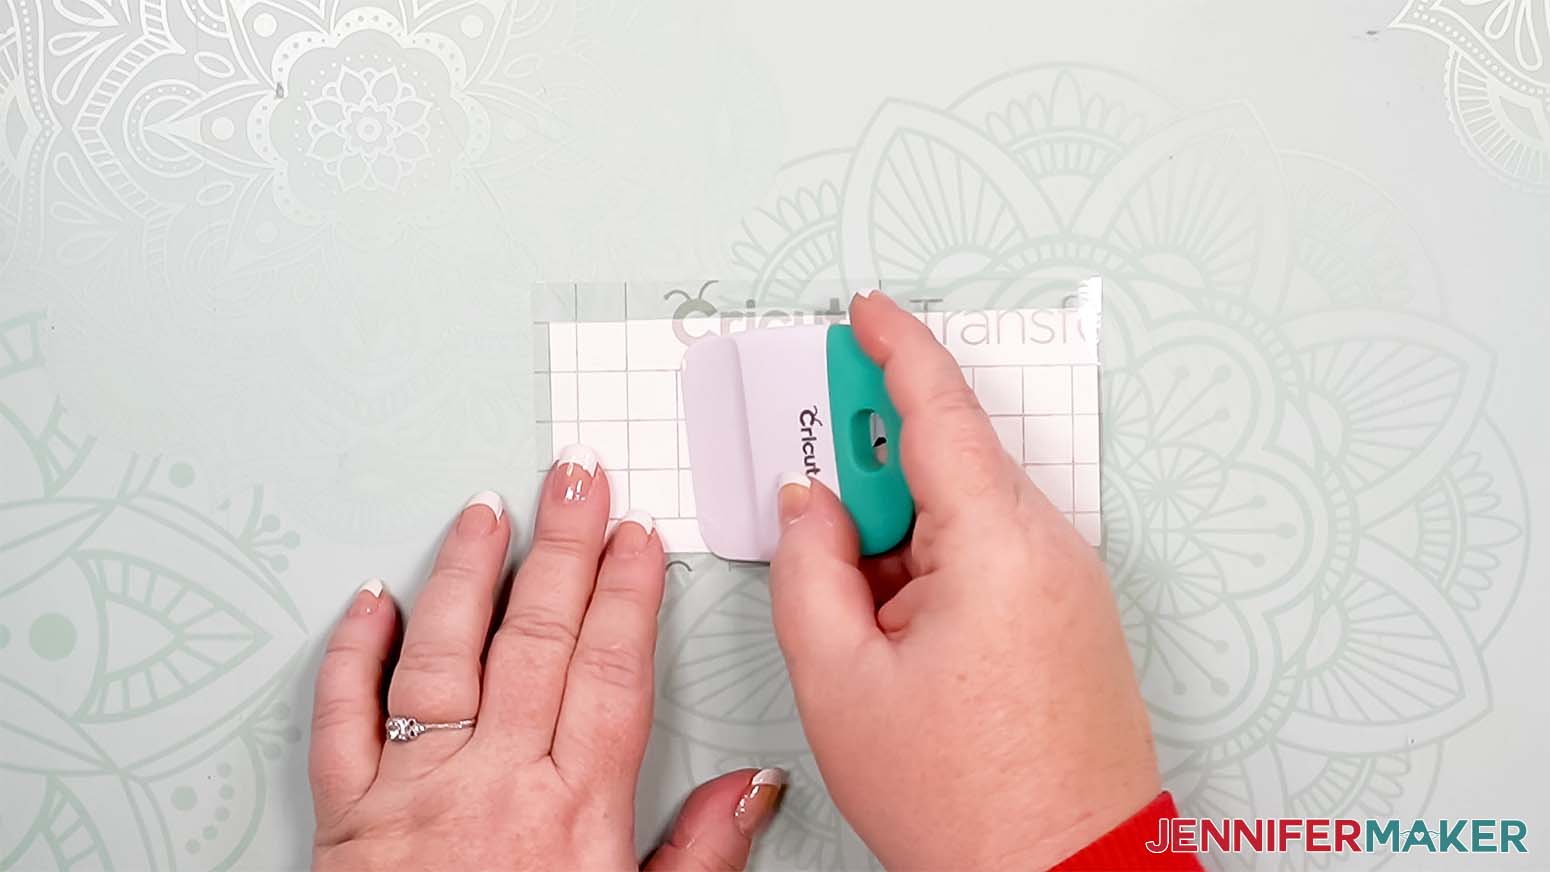
8. Put the jar on its side with the design area facing up.
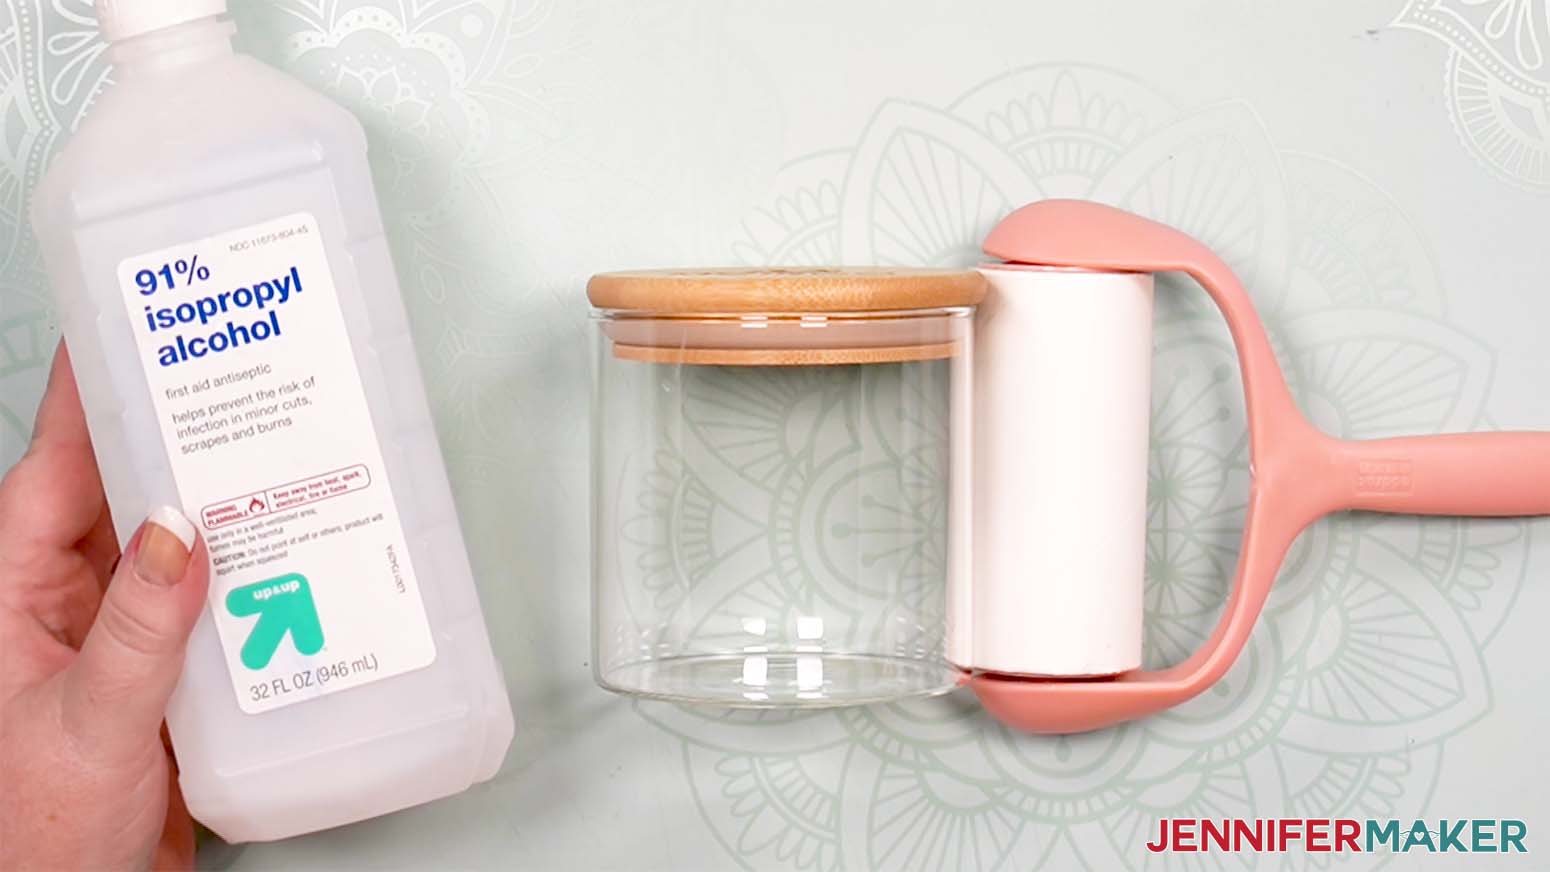
9. Clean the glass with rubbing alcohol and a lint-free cloth or coffee filter.
10. Place a lint roller to the side to stick to the jar and work surface to keep it from rolling.
Remove the decal from its backing paper with the transfer tape.
Hold the decal sticky side down over the design area.
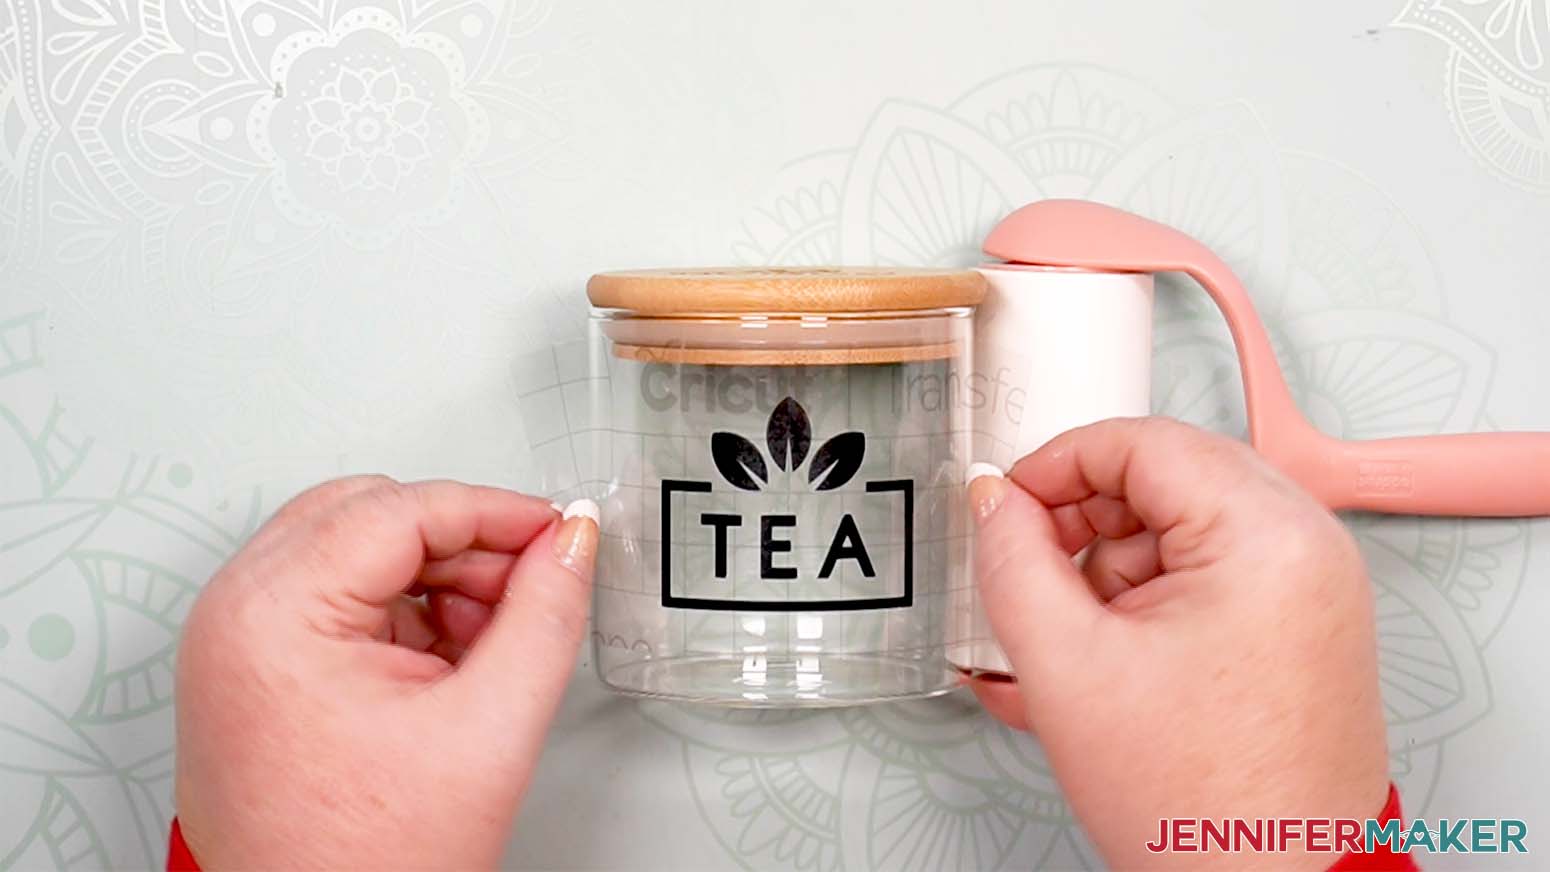
Make sure it's straight.
Lower the center then let the sides smooth down.
Burnish with a scraper.
Remove the transfer tape.
Project 4: Removable Vinyl Labels for Bamboo Drawer Organizers
Prepare Your Design
1. Measure your item's usable design area.
2. Open a new Canvas in Cricut Design Space.
3. To make a template matching the item, click "Shapes."
4. Click the shape that matches your usable area.
5. Open the Lock icon near the Size boxes.
6. Resize the shape to match your usable area.
7. Click the "Operation" drop-down.
8. Select "Guide." NOTE: "Guide" layers are for planning only and are not sent to the Cricut.
9. To find an icon for your decal, click "Images."
10. Search for the image you want.
11. Click the box for "Free" under "Filters."
12. Select the icon you want.
13. Click "Add to Canvas."
14. Drag the icon onto the template.
15. Resize the design to fit.
Cut Your Removable Vinyl Cricut Labels
1. Select your machine. I used a Joy.
2. Click "Make It."
3. Leave "Mirror" off to cut the removable adhesive vinyl correctly.
4. For Smart Iron-on Vinyl, select "Without Mat" or "With Mat" for traditional vinyl.
5. Click "Continue."
6. Select your "Base Material." I used "Smart Permanent Vinyl."
7. Load your material.
8. Cut the design.
9. Unload the material.
10. Cut the extra vinyl away from the design.
11. Weed the excess vinyl and any parts inside the design using a weeding tool.
Transfer Your Decal
1. Cut a piece of StandardGrip Transfer Tape slightly larger than the decal.
2. Remove the tape's backing.
3. Hold the transfer tape sticky side down over the decal.
4. Curl up the tape's side to look like a taco.
5. Lower the center onto the decal's middle.
6. Smooth the sides down.
7. Burnish from the front and back with a scraper.
8. Put the drawer divider face up.
9. Remove the decal from its backing paper with the transfer tape.
10. Hold the decal sticky side down over the design area.
11. Make sure it's straight.
12. Lower the center then let the sides smooth down.
13. Burnish with a scraper extra well to help the vinyl stick to the wood's texture.
14. Remove the transfer tape.
Project 5: Printable Vinyl Labels for Plastic Tilt Bins Using Print then Cut
For details on using Print then Cut and printable vinyl sticker paper, see my tutorial on How to Use Printable Vinyl With Cricut.
Prepare Your Design
1. Measure your item's usable design area.
2. Open a new Canvas in Cricut Design Space.
3. To make a template matching the item, click "Shapes."
4. Click the shape that matches your usable area.
5. Open the Lock icon near the Size boxes.
6. Resize the shape to match your usable area.
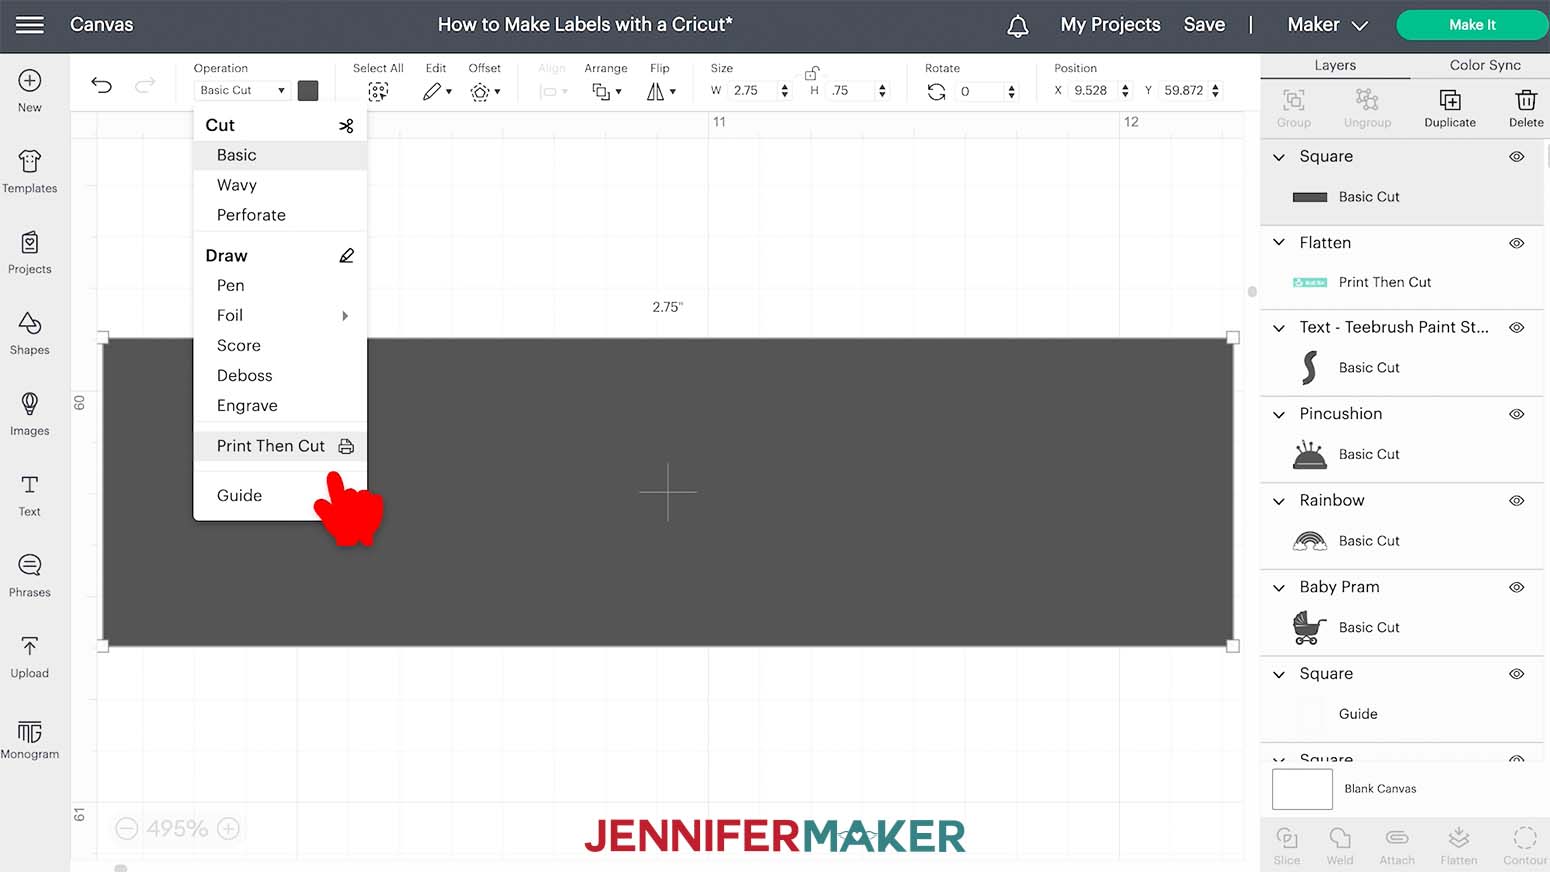
7. Click the "Operation" drop-down.
8. Select "Print then Cut."
9. Click the Color Box
10. Under "Print Type," select "Pattern."
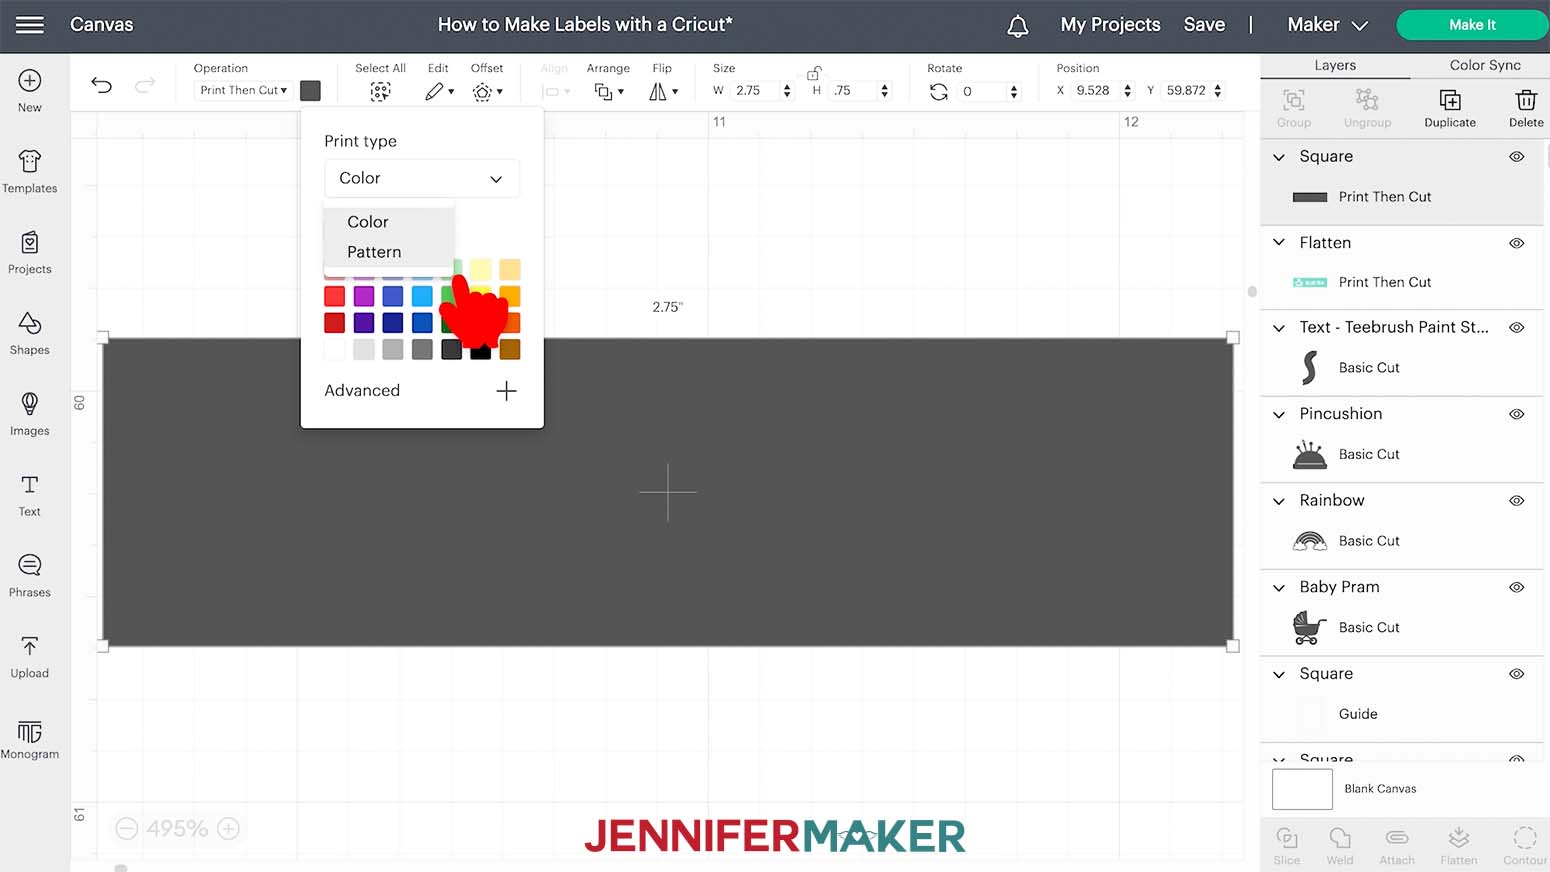
11. Select a pattern you like.
12. Click the "Text" icon.
13. Type your label name.
14. Drag it on to the patterned shape.
15. Resize the label to fit the shape.
16. To find an icon for your decal, click "Images."
17. Search for the image you want.
18. Click the box for "Free" under "Filters."
19. Select the icon you want.
20. Click "Add to Canvas."
21. Drag the icon onto the label.
22. Resize the icon to fit.
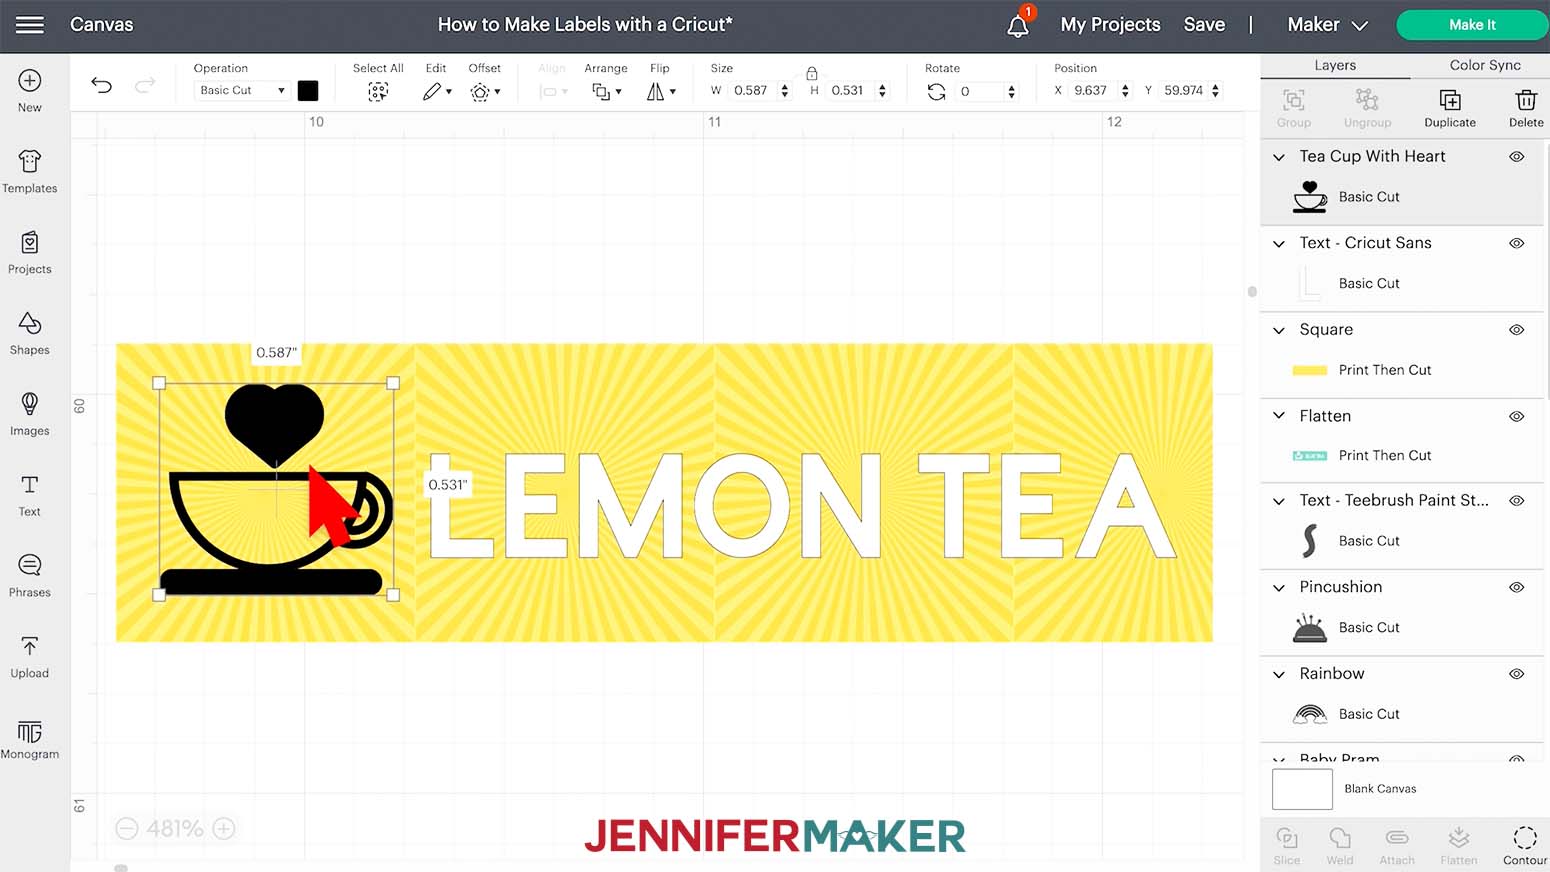
23. Use the color box to change the Text and Icon colors.
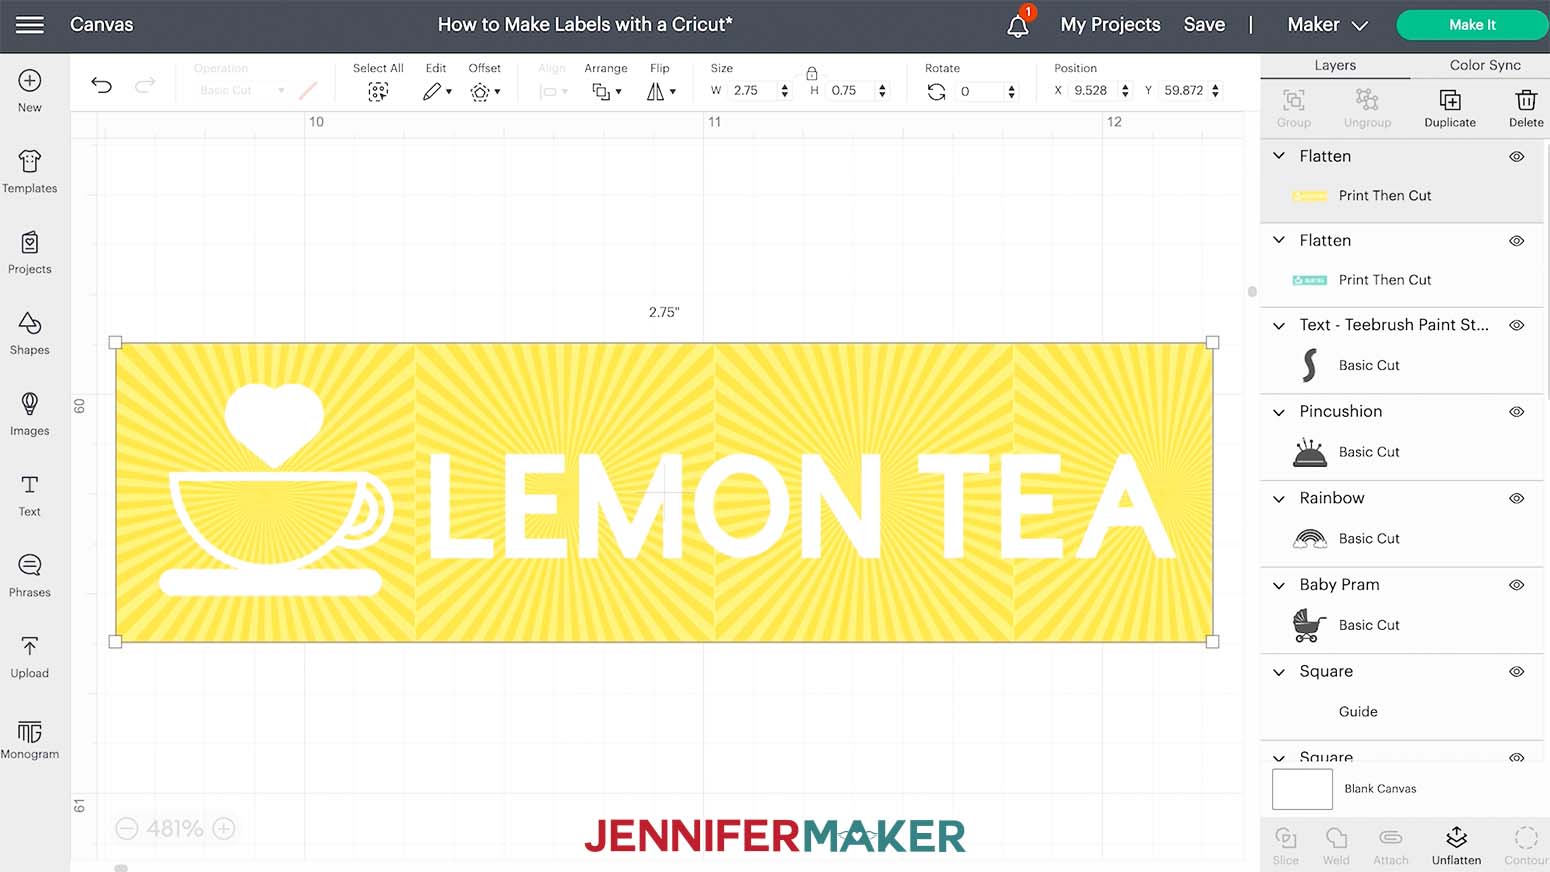
24. Select the shape, text, and icon.
25. Click "Flatten" to make them into a Print then Cut design.
Print Then Cut Your Vinyl Stickers
Follow my Printable Vinyl Sticker tutorial to print and cut your stickers.
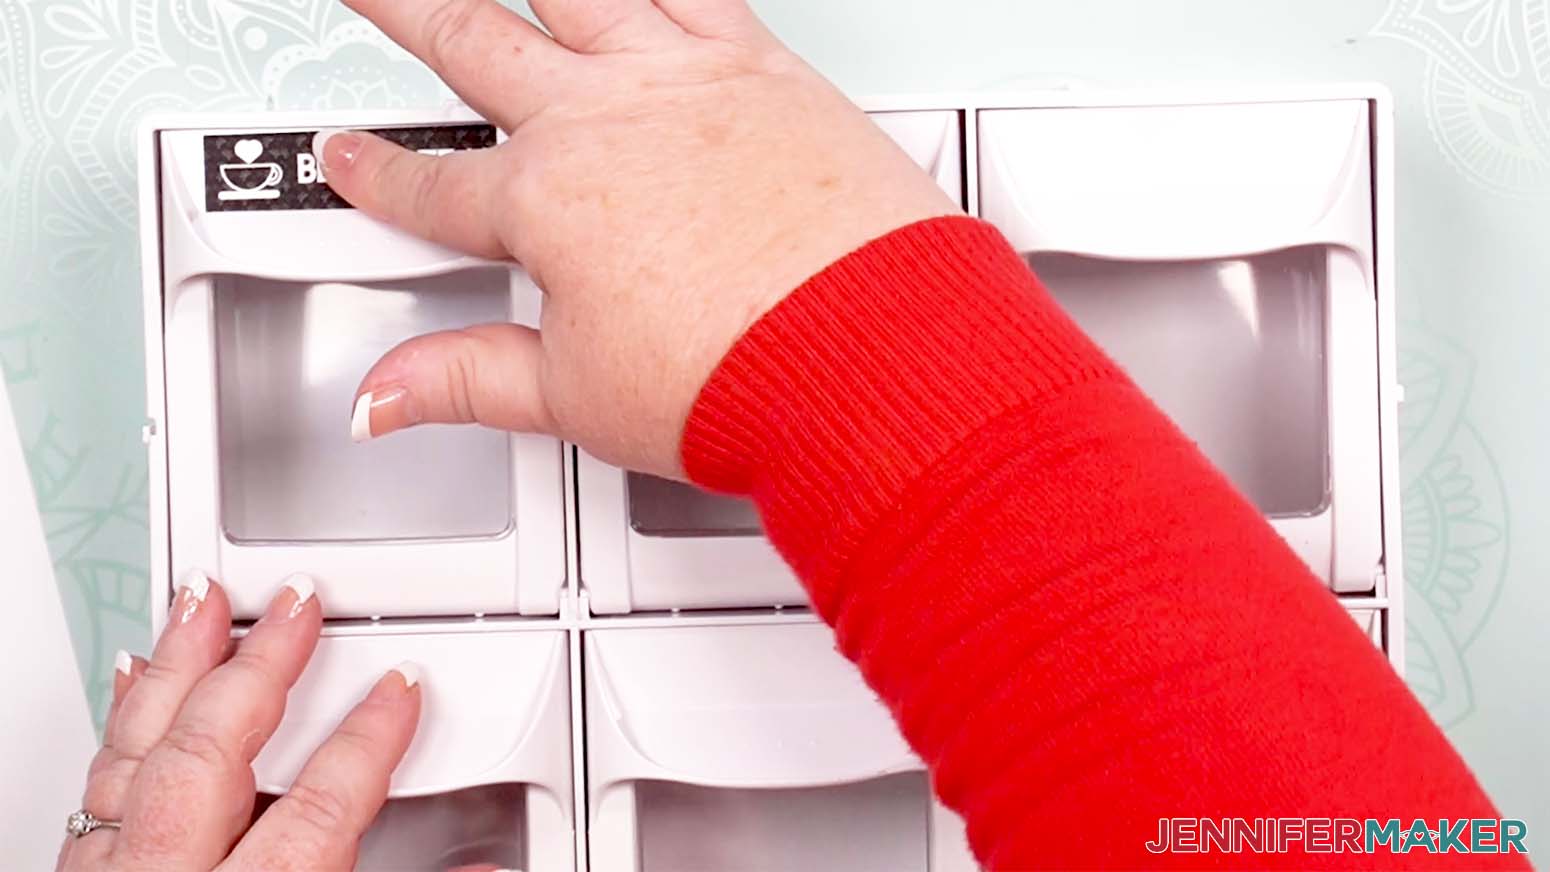
Transfer Your Vinyl Sticker Label
1. Clean the design area with rubbing alcohol and a lint-free cloth or coffee filter.
2. Peel up a sticker.
3. Place the sticker on the design area and smooth it down.
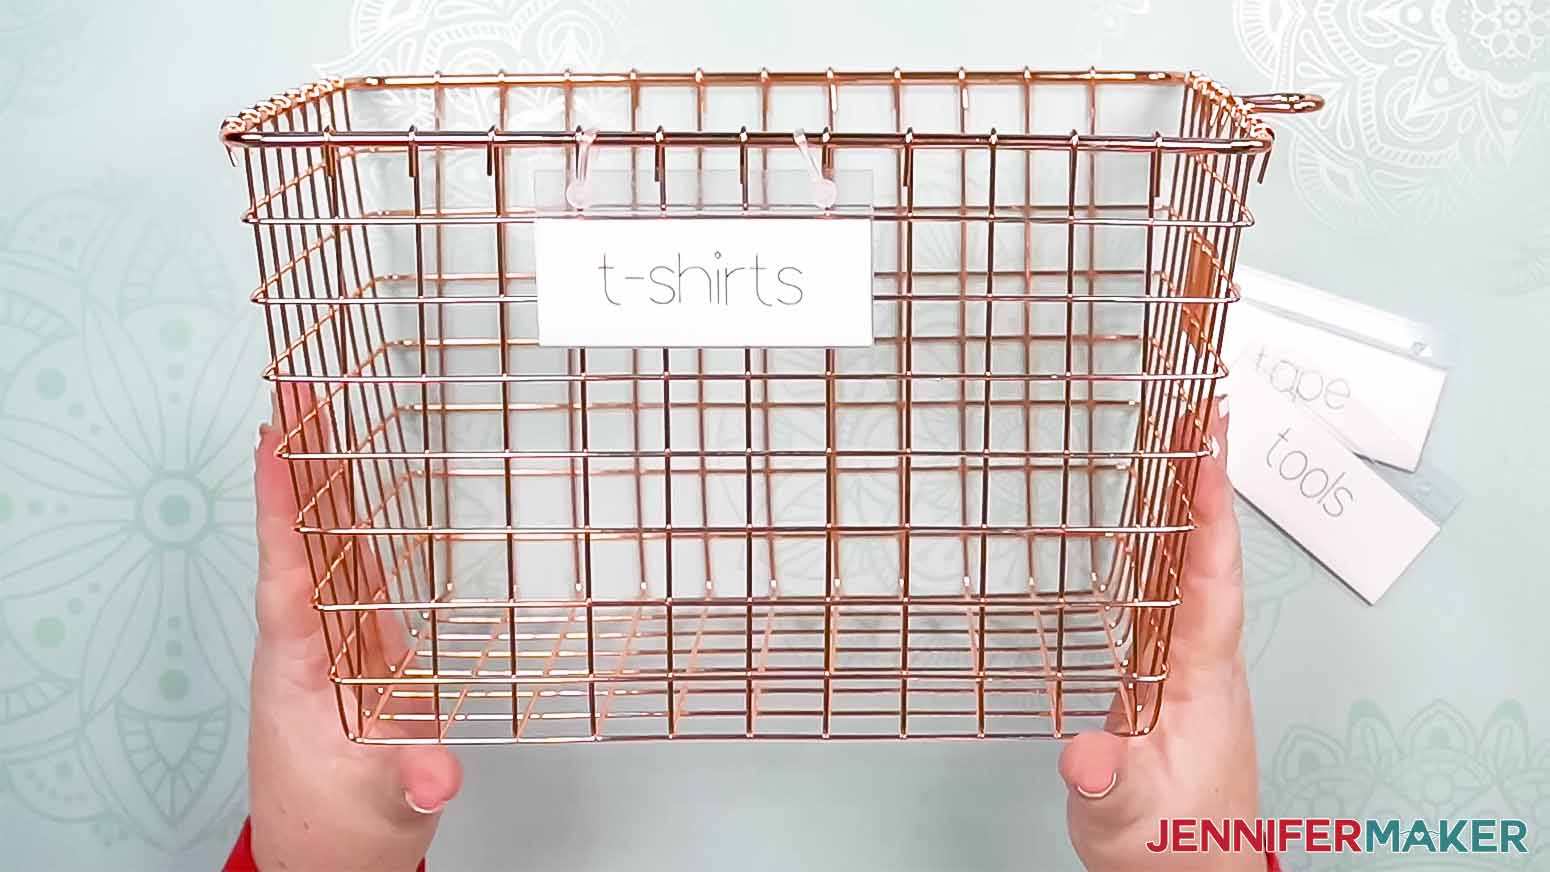
Project 6: Cricut Pen Labels for Cardstock
For more details on using Cricut pens to write, see my tutorial on How to Make Cards and Envelops.
Prepare Your Design To Cut Your Own Cardstock
1. Measure the label slot.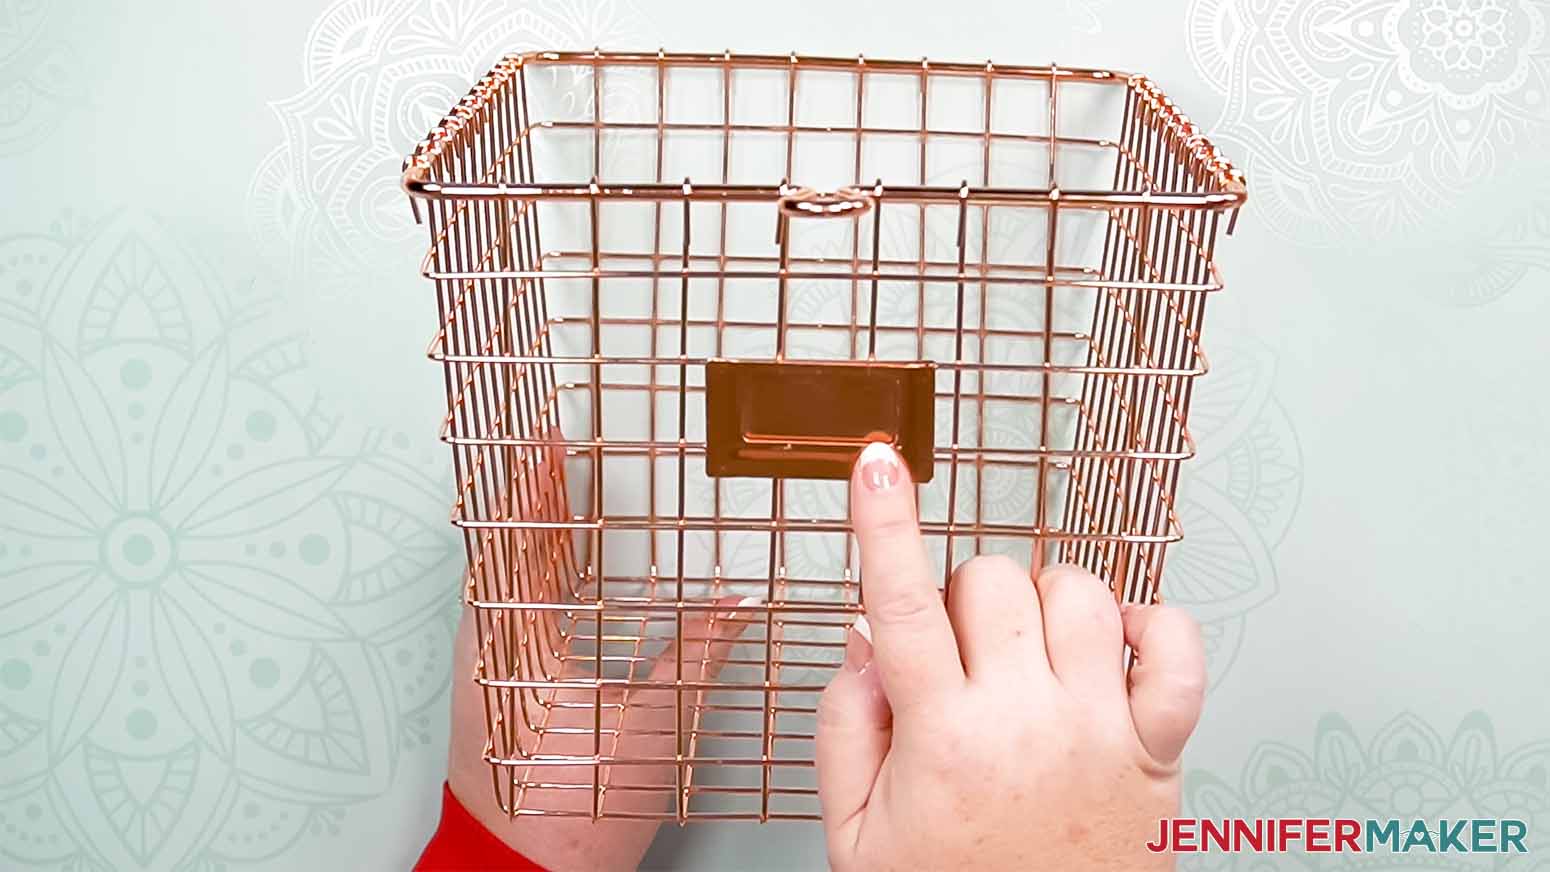
2. Open the free project in Cricut Design Space.
3.. Find the "Guide" templates for the written labels.
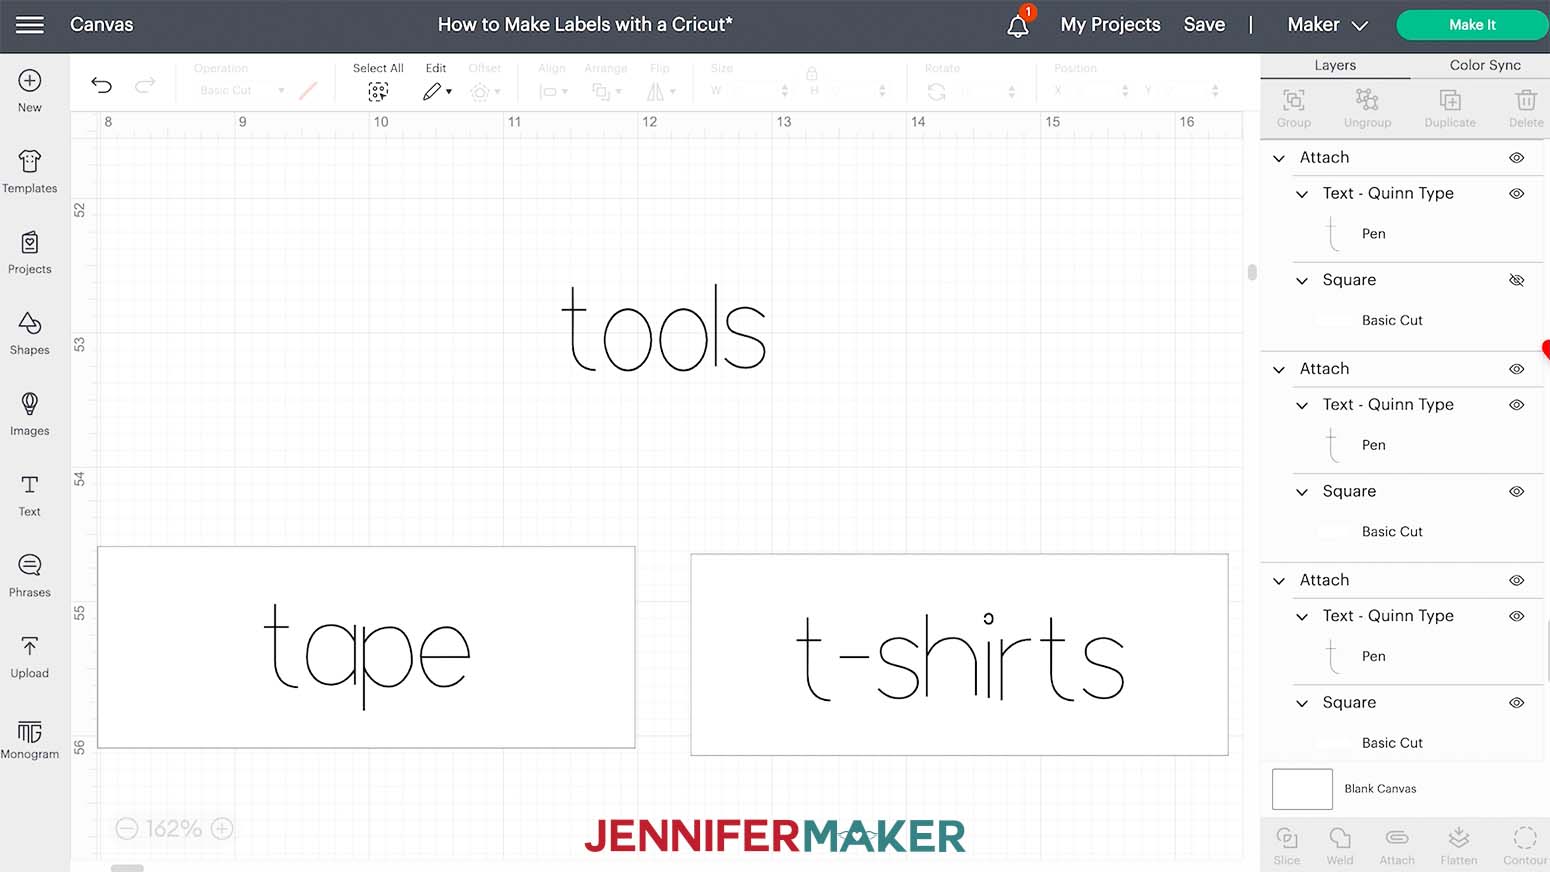
4. To make a custom label, click the "Text" icon.
4. Type the label.
5. Position the label on an empty shape.
6. Resize it to fit.
7. Click the "Font" menu.
8. Use the "Filter" to select "Writing" and "Free."
9. Pick a "Writing" font.
10. Change the "Operation" to "Pen" under "Draw."
11. Select the shape and text layers.
12. Click "Align" and "Center."

13. Click "Attach."
Draw And Cut Your Cardstock Labels
Follow my tutorial on How to Write on Cards and Envelops to make your written labels using a Cricut Maker or Explore family machine.
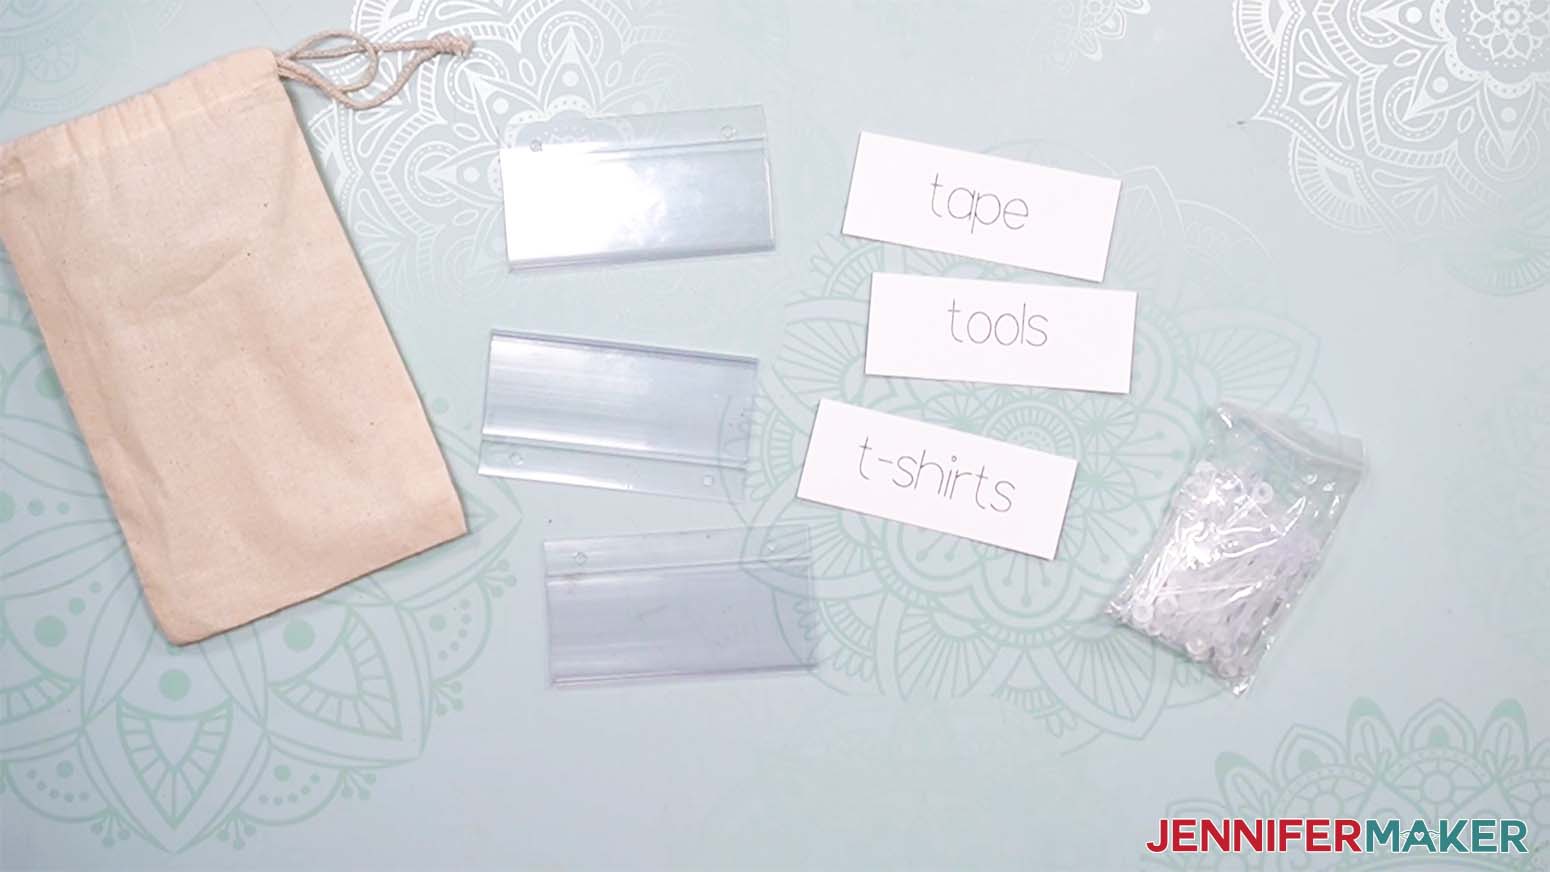
Prepare Your Design To Write On Pre-cut Cardstock
1. Measure the provided paper labels.
2. Open the free project in Cricut Design Space.
3. Find the "Guide" templates for the written labels.
4. Resize the shape and text to fit your measurement if needed.
5. In the Layers Panel, click the eye icons to hide the cardstock shapes.
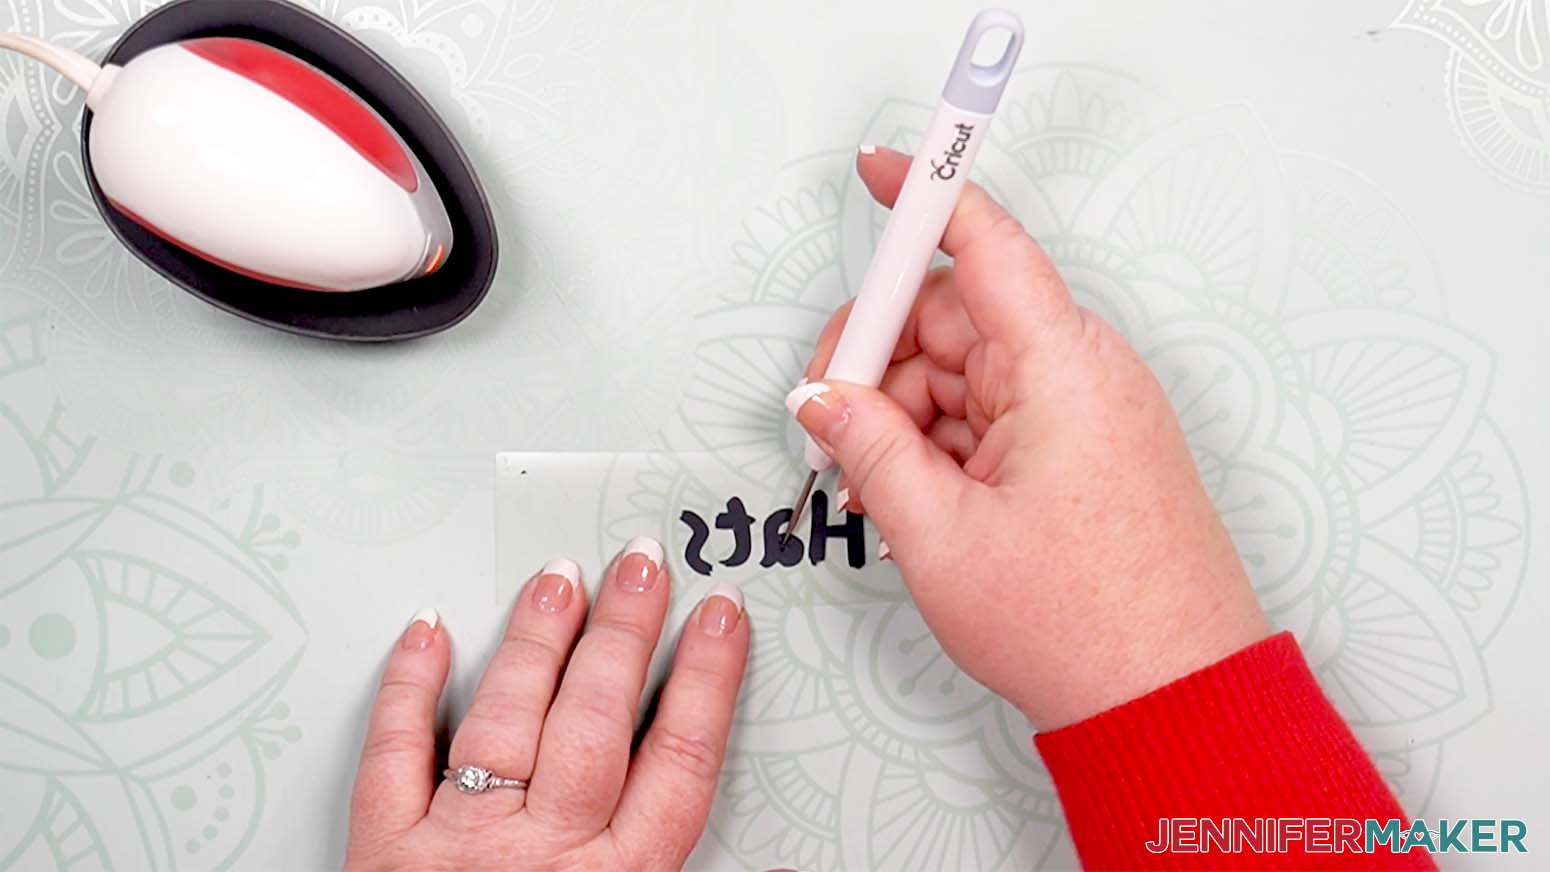
Draw On Your Cardstock Labels
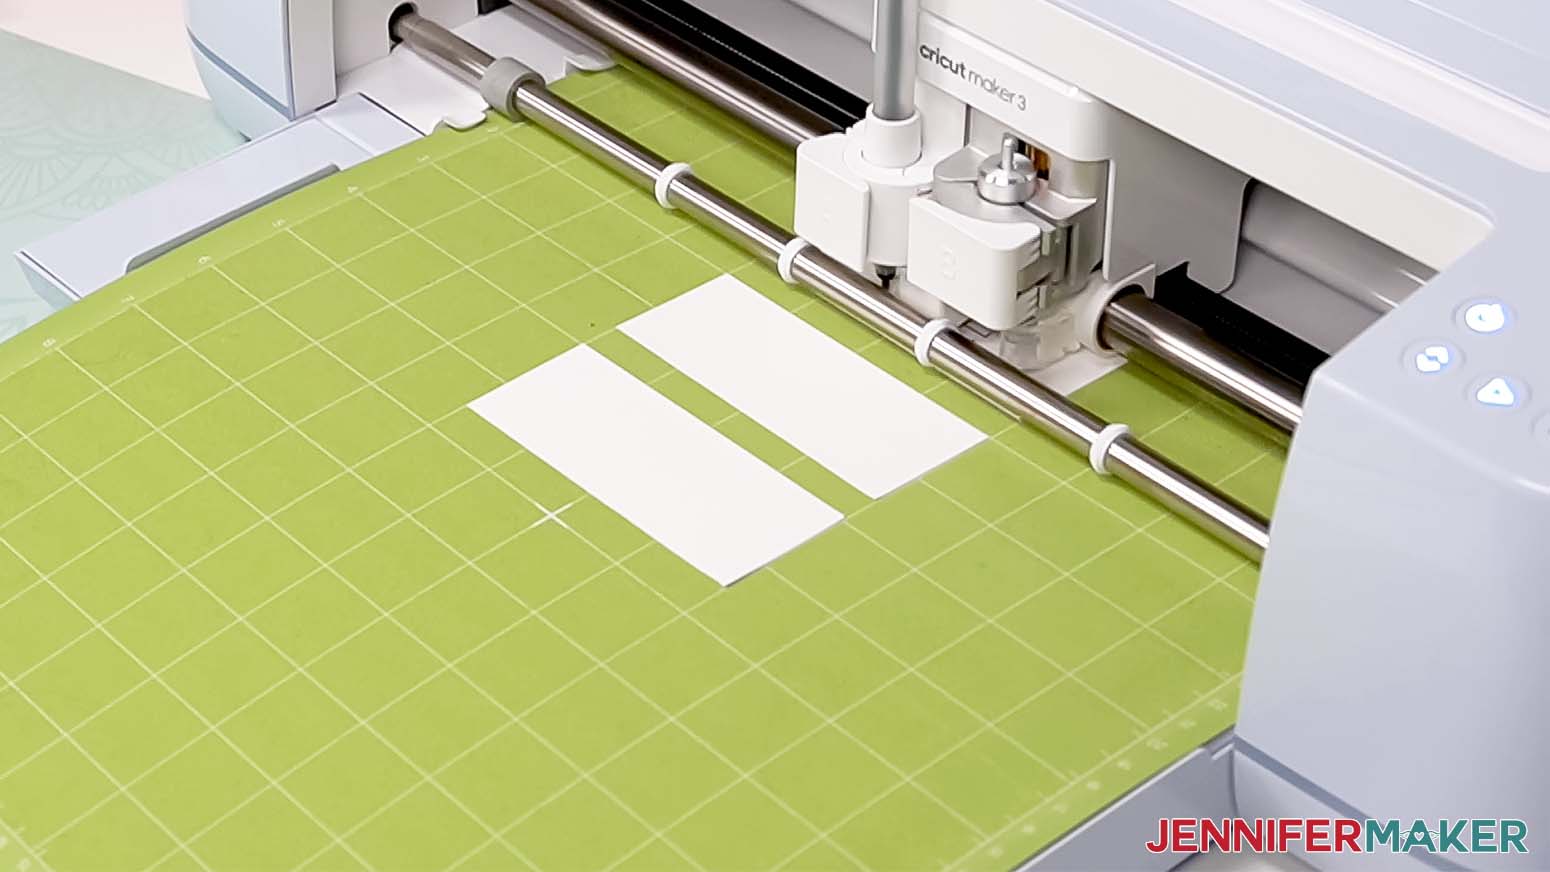
1. Make sure the correct machine is selected.
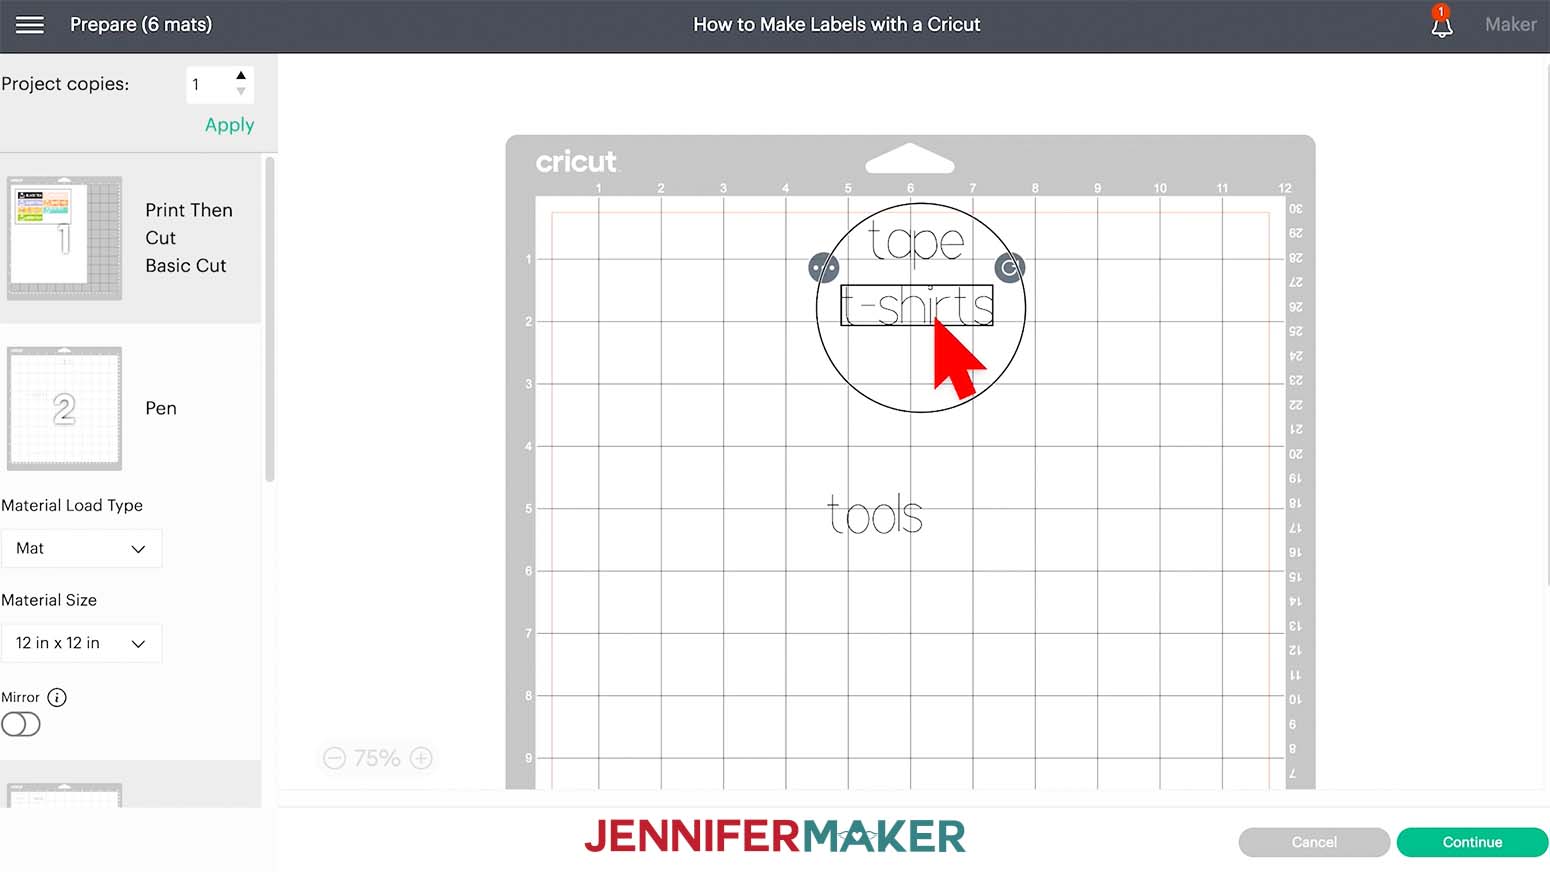
2. Click "Make It."
3. On the Prepare screen, find the mat with just writing.
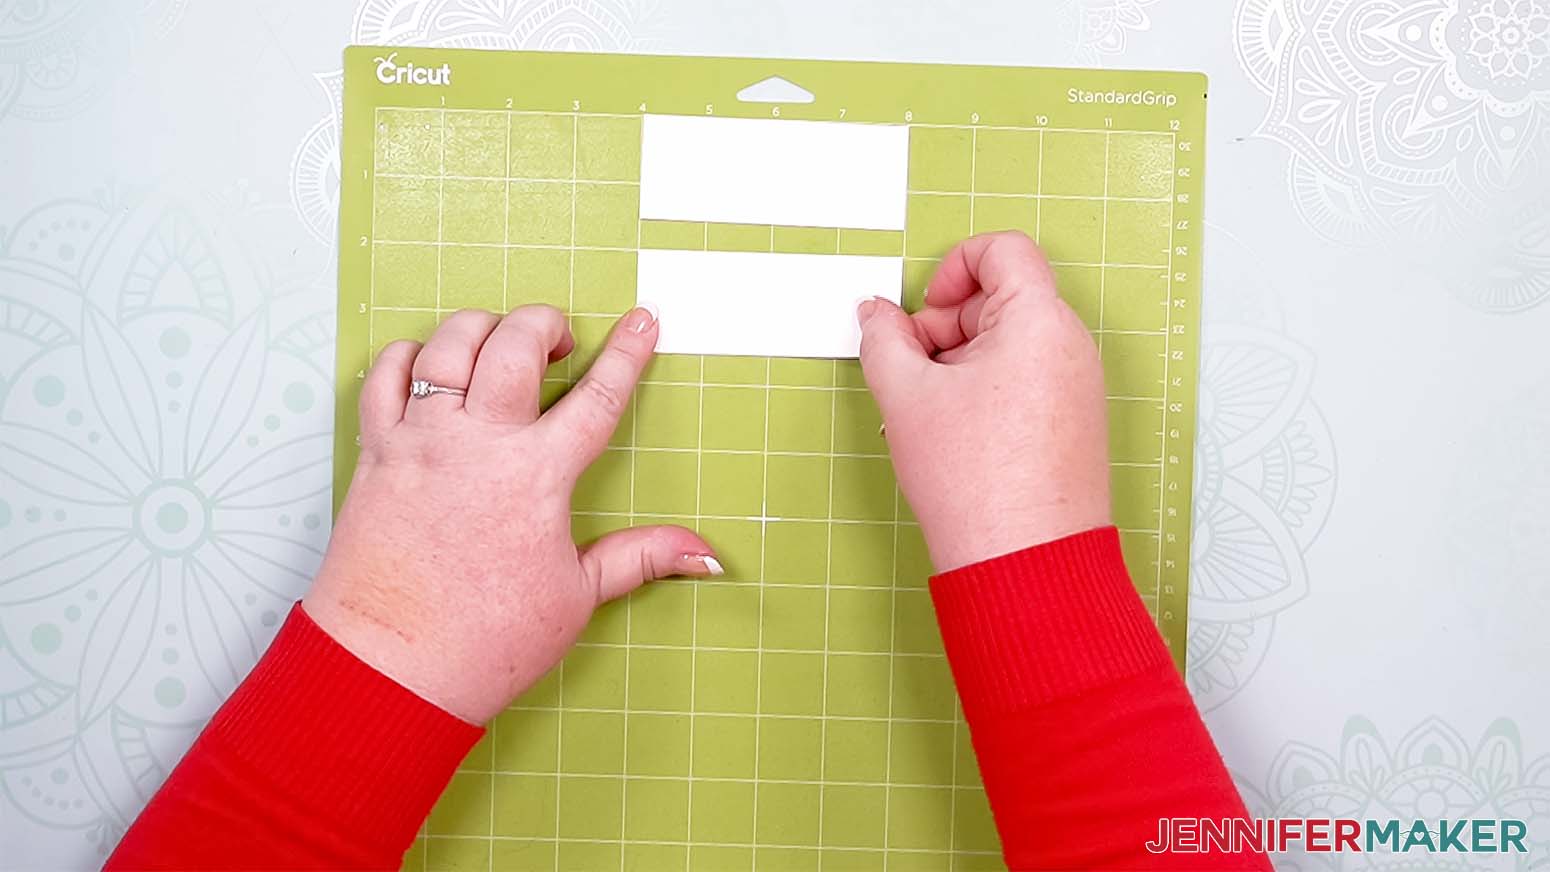
4. Click and drag each label word to center it on the 6” vertical grid line and line up the bottom of the letters with a horizontal line.
5. Place the pre-cut labels on a green StandardGrip machine mat in the same spots.
6. Follow my tutorial on How to Make Cards and Envelops to finish.
7. Slip the labels into the holders.
STEP 3: SHOW THEM OFF!
Notes
Typefaces used:
Cricut Sans
Teebrush
Recommended Products
As an Amazon Associate and member of other affiliate programs, I earn from qualifying purchases.

Answers to Your Questions About How to Make Cricut Labels
Q: Can you make labels on a Cricut?
A: Yes, it’s very easy to make labels with a Cricut, in fact they make a great first project. You can use any of the machines including a Cricut Explore Air.
Q: What Cricut materials do I need to make labels?
A: All you really need to make labels is some adhesive vinyl, a cutting mat, your machine, and standard Cricut tools like a piece of transfer tape, a weeding tool, and scraper. And of course, your item as a blank canvas to label!
Q: What is the best Cricut for labeling?
A: The best Cricut machine is the one within your budget that has the features you need. If you’re just starting, the Cricut Joy is the perfect place to start because it’s less expensive than a full-size Cricut and very portable.
Q: Can a Cricut make vinyl labels?
A: Yes, you can cut vinyl designs to make labels with a Cricut. There are so many different options and colors to pick from!
Q: Can Cricut print and cut labels?
A: With the help of a printer, yes! After preparing a Print Then Cut image in Cricut Design Space, follow the steps to print it using your color printer. Then, put it on a machine mat and the Cricut will cut the labels out for you perfectly.
Q: Does Cricut print sticker labels?
A: Cricut doesn’t print projects, you will need a printer for that step.
Q: Is Cricut worth it for labels?
A: In my opinion, YES! You can save lots of time and money by making a quick set of custom labels for any need.
Get my free templates and designs to make Cricut labels!
Now that you know how to make labels, I’d love to see YOUR awesome organization projects. Please share them with me! You can post a photo in our Facebook group or tag me on social media with #jennifermaker.
Love,

Want to remember this? Save this tutorial on How to Make Cricut Labels to your favorite Pinterest Board!