
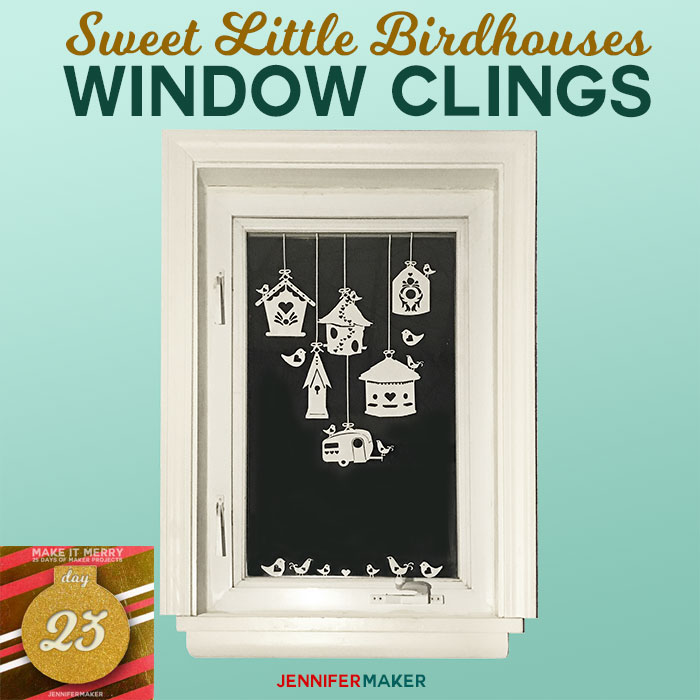
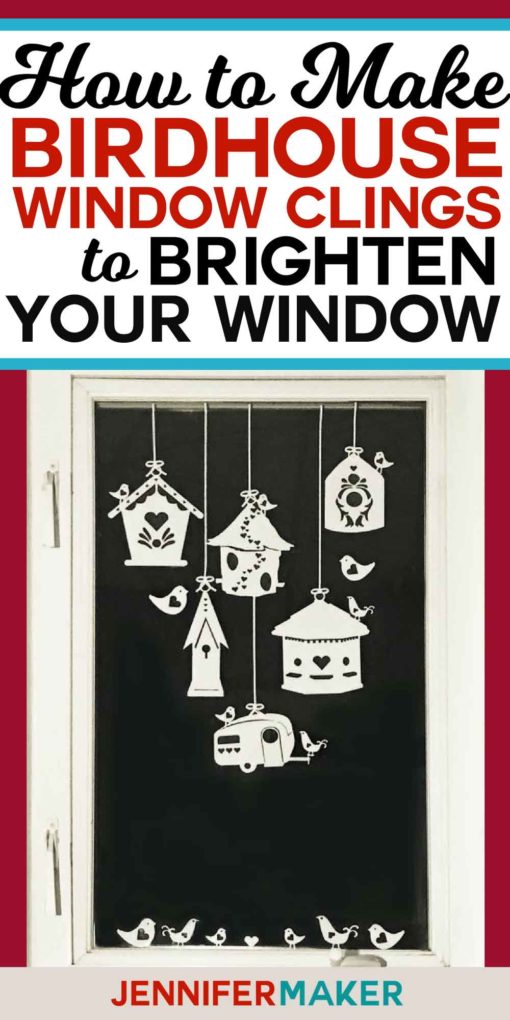
 The evenings come so early this time of the year, and I’m starting to miss the birds and birdsong. Spring will be here soon enough, so I made myself a reminder for when I start to forget. For Day 23 of the MAKE IT MERRY: 25 Days of Maker Projects, I’ve designed a set of hanging birdhouse window clings, complete with little birds.
I drew each of these birdhouses by hand in my illustration software. I made a variety of styles of birdhouses—everything from a fancy birdhouse to a fairy birdhouse to a little camper birdhouse. Each one has a heart incorporated into it somewhere, as do each of the birds.
I love this window cling vinyl! So easy to cut and decorate with. Now I want to make window clings for all my windows!
Let me show you how to make these birdhouse window clings! This post contains some affiliate links for your convenience (which means if you make a purchase after clicking a link I will earn a small commission but it won’t cost you a penny more)! Read my full disclosure policy.
Materials for the Birdhouse Window Clings
- White window cling vinyl
- A way to cut your vinyl (I used a Cricut)
- Design #86 – My free SVG cut files/patterns (available in my free resource library—get the password at the bottom of this post)
How to Make Your Birdhouse Window Clings
First, download the cut files (Design #86) for this project from my free resource library. If you’re going to cut it out on your cutting machine, upload the file to your design software. If you’re not sure how to upload an SVG cut file to Cricut Design Space, watch this helpful video training series I made.
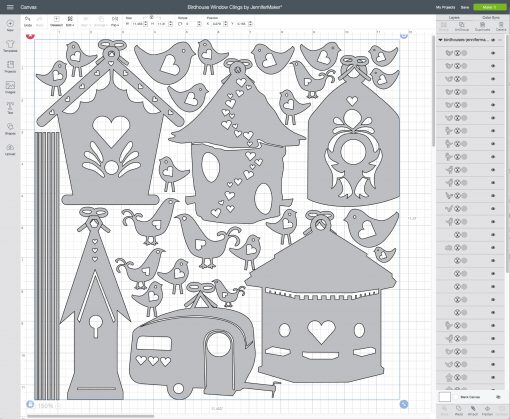
Tip: If you want everything to fit onto one sheet of 12″ x 12″ window cling vinyl, select everything and click “Weld” in Cricut Design Space. If you want extra of something, or to change the sizes of things, just click Ungroup and Duplicate, Resize, or do whatever you want before cutting.
Reminder: Do not just select all and click “Attach” in Cricut Design Space to get it all to fit on a 12″ x 12″, as this will result in cuts where you don’t want them. Use Weld instead.
I found that the best way to cut these was to put my Cricut’s dial on “Custom” and then choose “Window Cling Vinyl” in the Custom Materials list.
Wash your window glass well before applying for the best results.
The window clings come off the backing easily and go up on the windows without a hitch.
Tip: If you need to make your hanging strings longer, just print out extra strings and add them on, cutting where needed.
Here’s a closer look at the finished window (this is in my bathroom next to my craft room):
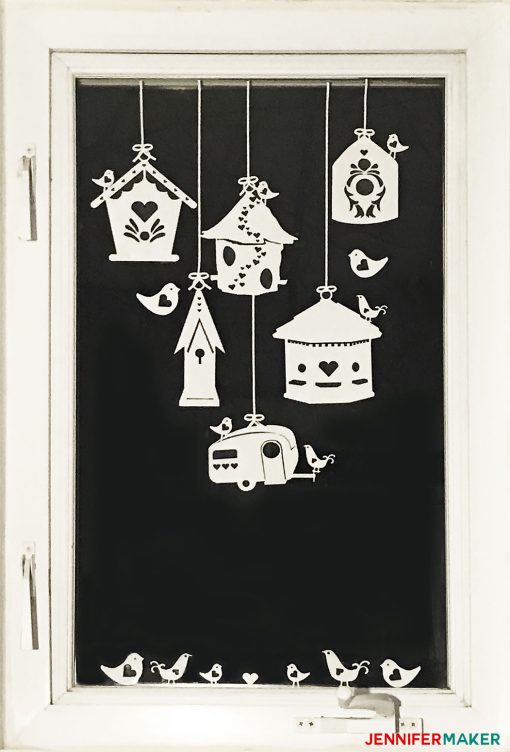
Here’s how the window clings look several months later as spring is beginning!

I LOVE these cute birds and birdhouses, and they really cheer up my little window.
Get my free cut files for the Birdhouse Window Clings
If you make these window clings, do send a photo to me at [email protected] or tag me on social media with #jennifermaker.
See all of the tutorials and free designs in my MAKE IT MERRY: 25 Days of Maker Projects Christmas!
Love,

Want to remember this? Save the Birdhouse Window Clings to your favorite Pinterest board!


I just got the cricut night pad and I am making the birdhouses window clings this weekend. Can’t wait.
your Window Cling Vinyl is really awesome. i will try it.
I love your birdhouses. Very talented, young lady!
These are so cute! Thank you Jennifer. I’m just learning and getting your Cricket Coach Playbook was the first thing I did. You’ve been so helpful. I’m going to put these in my window:) I just hope they don’t drive my cat crazy…lol
Are these on the outside of your window?
They are on the inside, Angie. 😉