
Yes, last night I made a DIY leather wrapped stone. I have named him Leatherroc the Lumpy. Seem weird? Read on.
It all started when I came across a mention in my Facebook feed of an $85 leather wrapped stone from Nordstroms. Disbelieving this could be a real thing, I Googled it. Sure enough — Nordstrom’s is selling a “Medium Leather Wrapped Stone,” or they were because it is sold out. Let that sink in for a minute. Sold out. CRAZY.
I told Greg about this $85 leather wrapped stone at lunch yesterday. We had a good laugh about it. I jokingly told him I should make one and show everyone how I did it on my blog. After I dropped him off at work, I spied the perfect rock just sitting in the parking lot. How could I resist? The rest is history.
Seriously, folks. I am going to show you how you, too, can have your own amazing DIY Leather Wrapped Stone Knockoff for a fraction of what you’d pay Nordstrom’s. Maybe it’ll be a paperweight. Maybe it’ll be a conversation piece. Maybe it’ll be the most awesome gag gift you can give this year. But what it won’t be is expensive!
And, since I am serious about my crafts, I will use this as an opportunity to delve into a little leatherworking and show you how to do the very simple saddle stitch.
DIY Leather Wrapped Stone Materials
- A good sized stone (mine is 5″ long and 3″ wide) — little smaller is fine, but I wouldn’t go any bigger
- Leather *
- Sinew
- Leather needle
- Leather punch (or an awl and hammer)
- Paper and pencil (to make your pattern)
- Scissors / knife
- Scrap wood (for underneath your project)
Alternate Pleather Version: If leather is not an option for you, pleather (faux leather) will work in a pinch. You can find it in most craft stores in the fabric section. If you use pleather, I recommend a thick off-white crochet thread or embroidery floss in place of the sinew. You’ll still want the awl.
* I had leather at my house already. If you’re not like me, you can either by it at a place like Tandy or you can just re-use something made out of leather. Like an old purse.
DIY Leather Wrapped Stone Step-by-Step Materials
Step 1: Wash your rock. Give it a long, luxurious bubble bath with lavender while you play classical music for it and scour away the stress of just being a rock. Gently pat it dry. I’m sure it’d like a little massage while you’re at it. I kid—just clean your rock already.
Step 2: Lay out your rock on a sheet of white paper, folded in half, and trace around it with a pencil. Now add an extra 1/2″ all around the traced shape and cut out. Now cut off the top 1/3 of the pattern (I recommend you cut off the narrowest end). These two pieces are your front and back patterns.
Step 3: Using your pattern, cut out the pieces from your leather or pleather. Note. It’s important you cut out a front and back, which will be mirror images of each other.
Step 4: If you’re using real leather, soak your front and back pieces in water for about five minutes. This really makes a difference in being able to stretch the leather tightly over the rock.
Step 5: Place your two leather pieces together, right sides, out just the way you want it to appear when completed. Using your punch or awl, make two holes in each of the two top corners, about 1/2 inch in and 1/4 down from the top edge, and through both pieces. Now using some sinew/thread and a needle, sew through each set of holes and tie the ends together. This stabilizes the two corners of your leather so they don’t slip around later when you’re punching.
Tip: When punching holes, place a scrap piece of board underneath your project — you will go through both pieces of the leather and into whatever is underneath! This applies to both punches and awls.
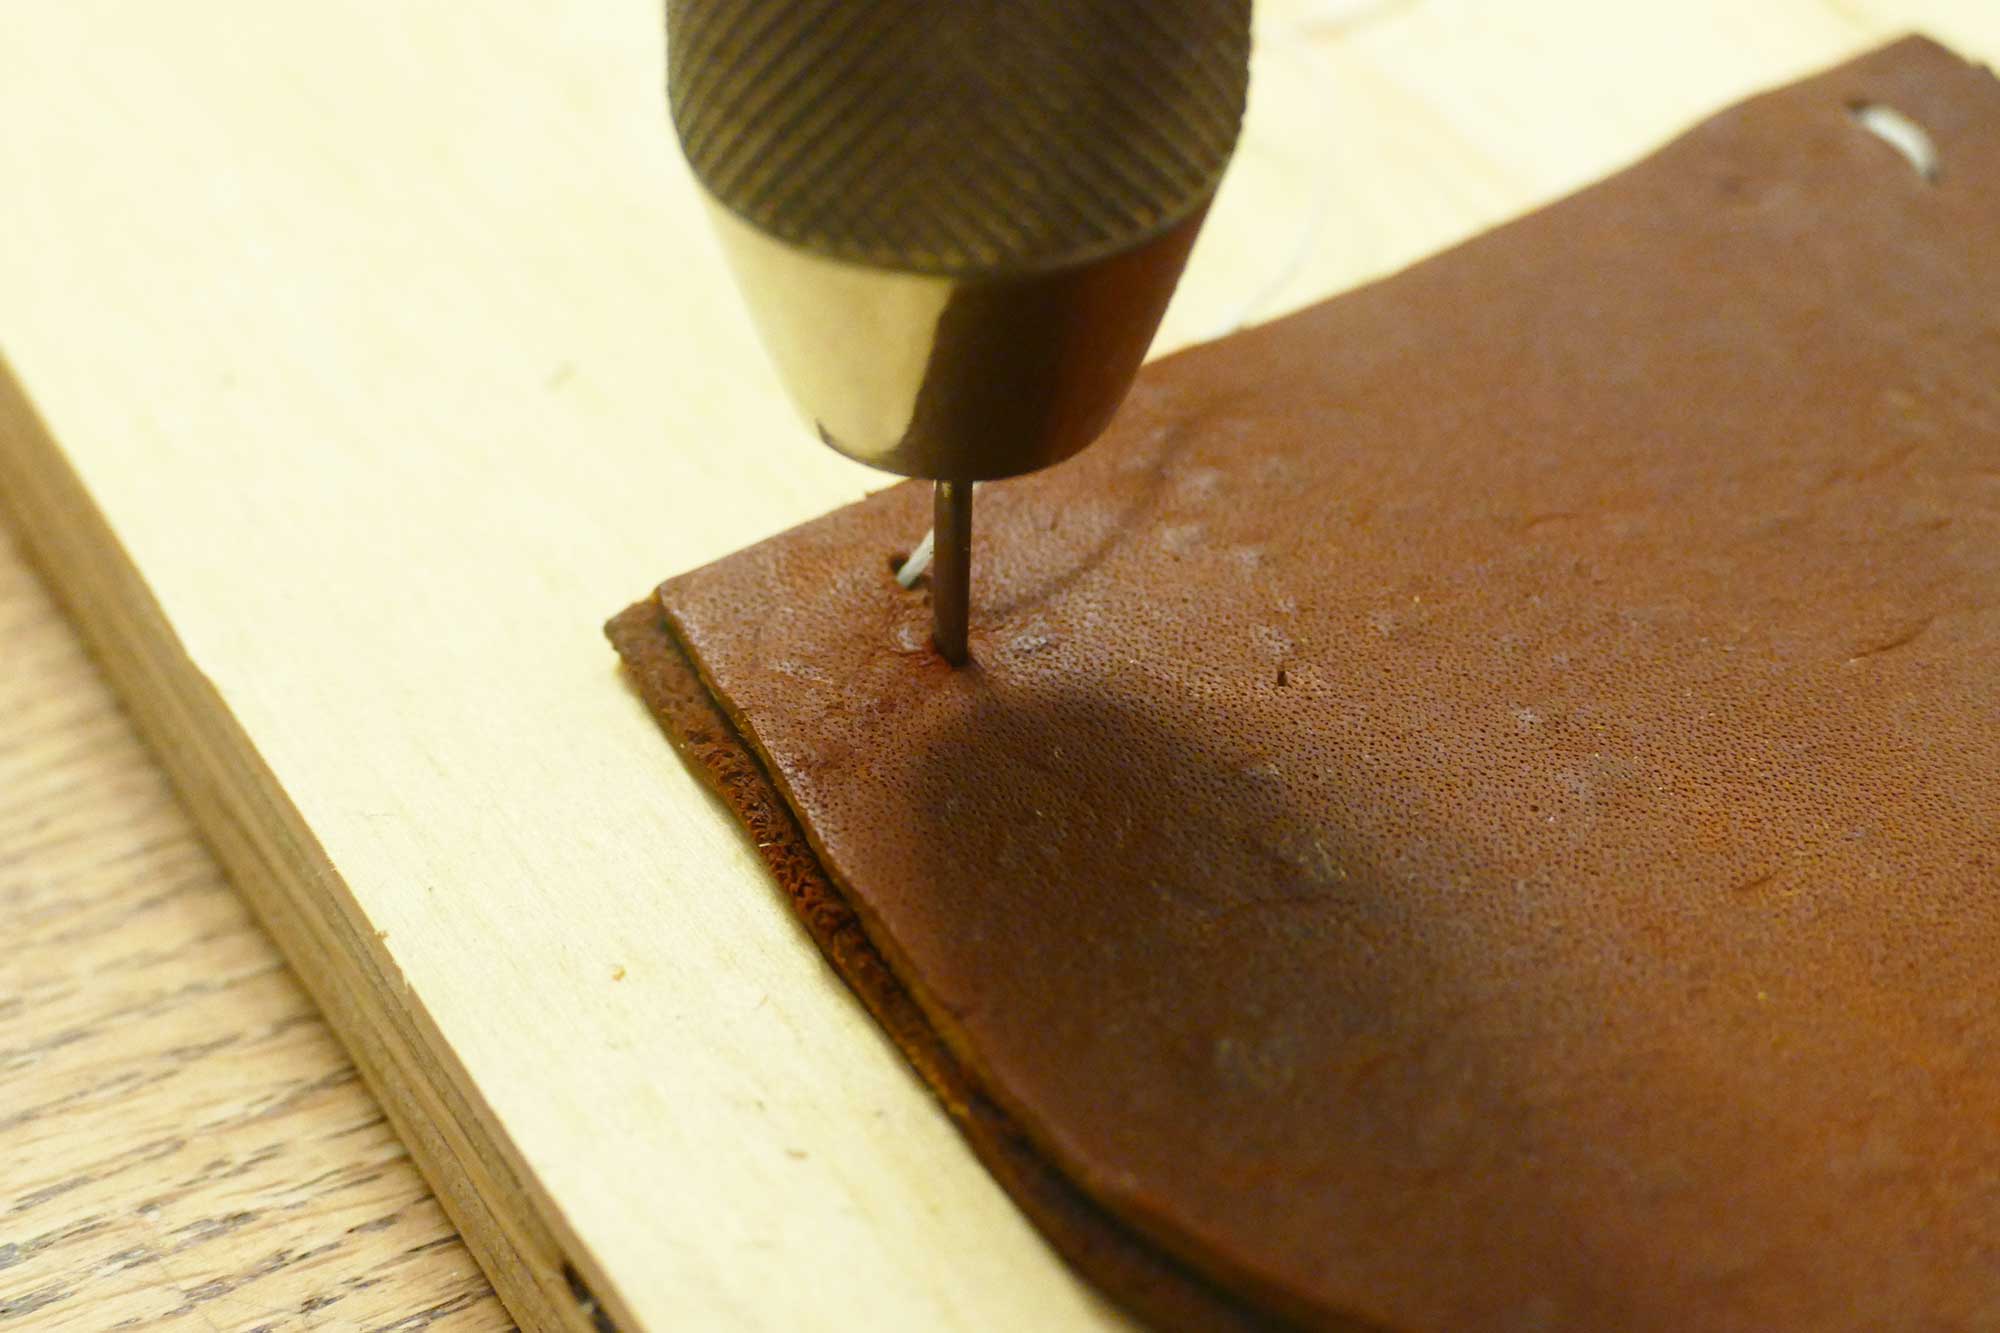
Step 6: Continue punching around the edge of your pieces, making sure you are 1/2 inch from the edge of your piece. Space your holes 1/4 inch apart. Stop when you get halfway around your piece.
Note: Normally I’d punch my holes 1/8 inch apart, but based on the photo of the Nordstrom rock, they look further apart.
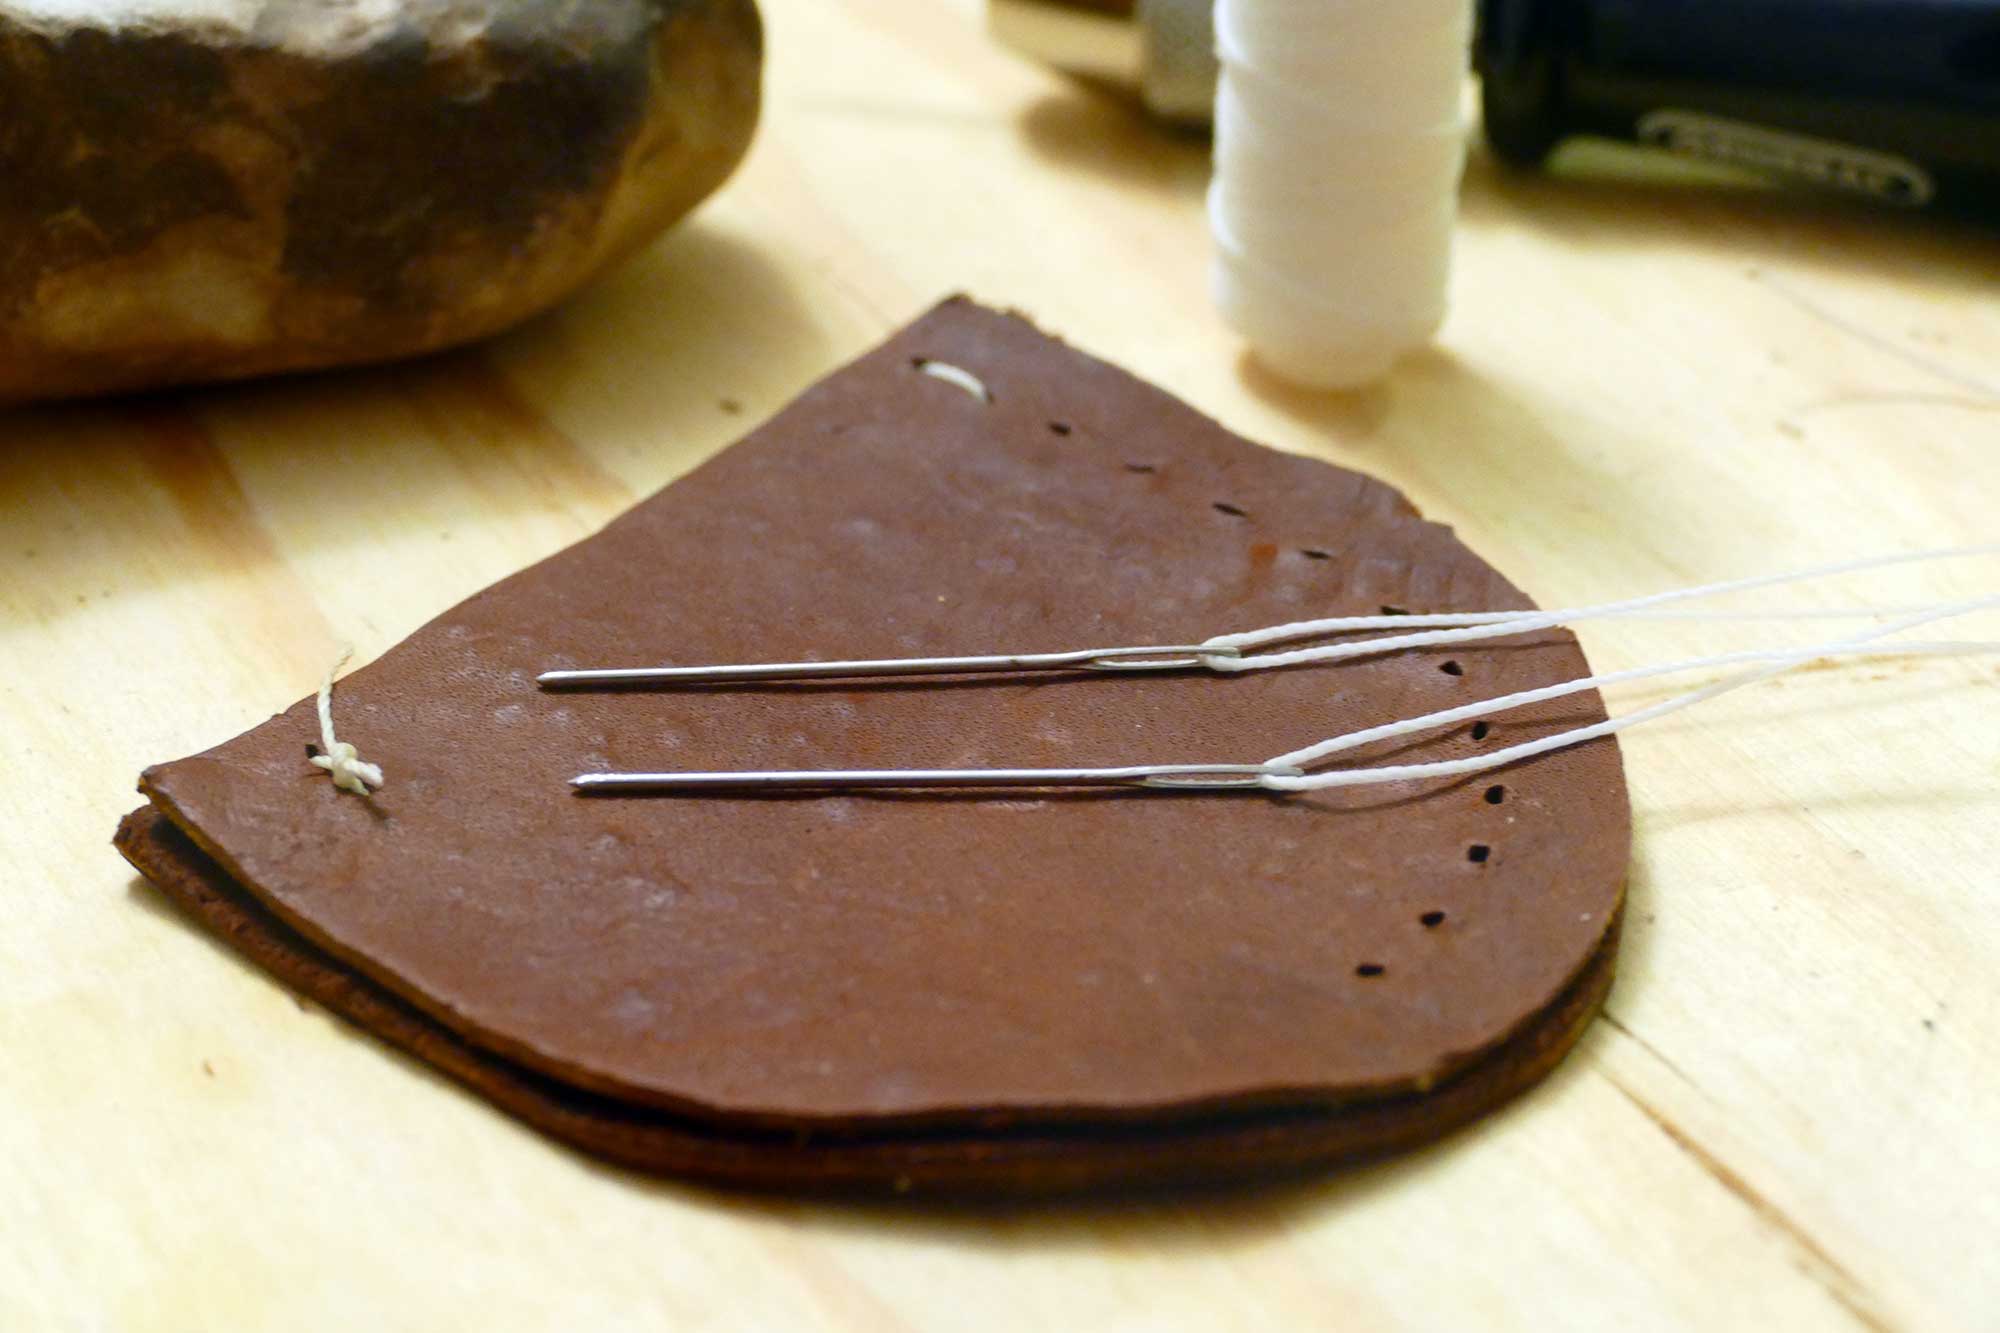
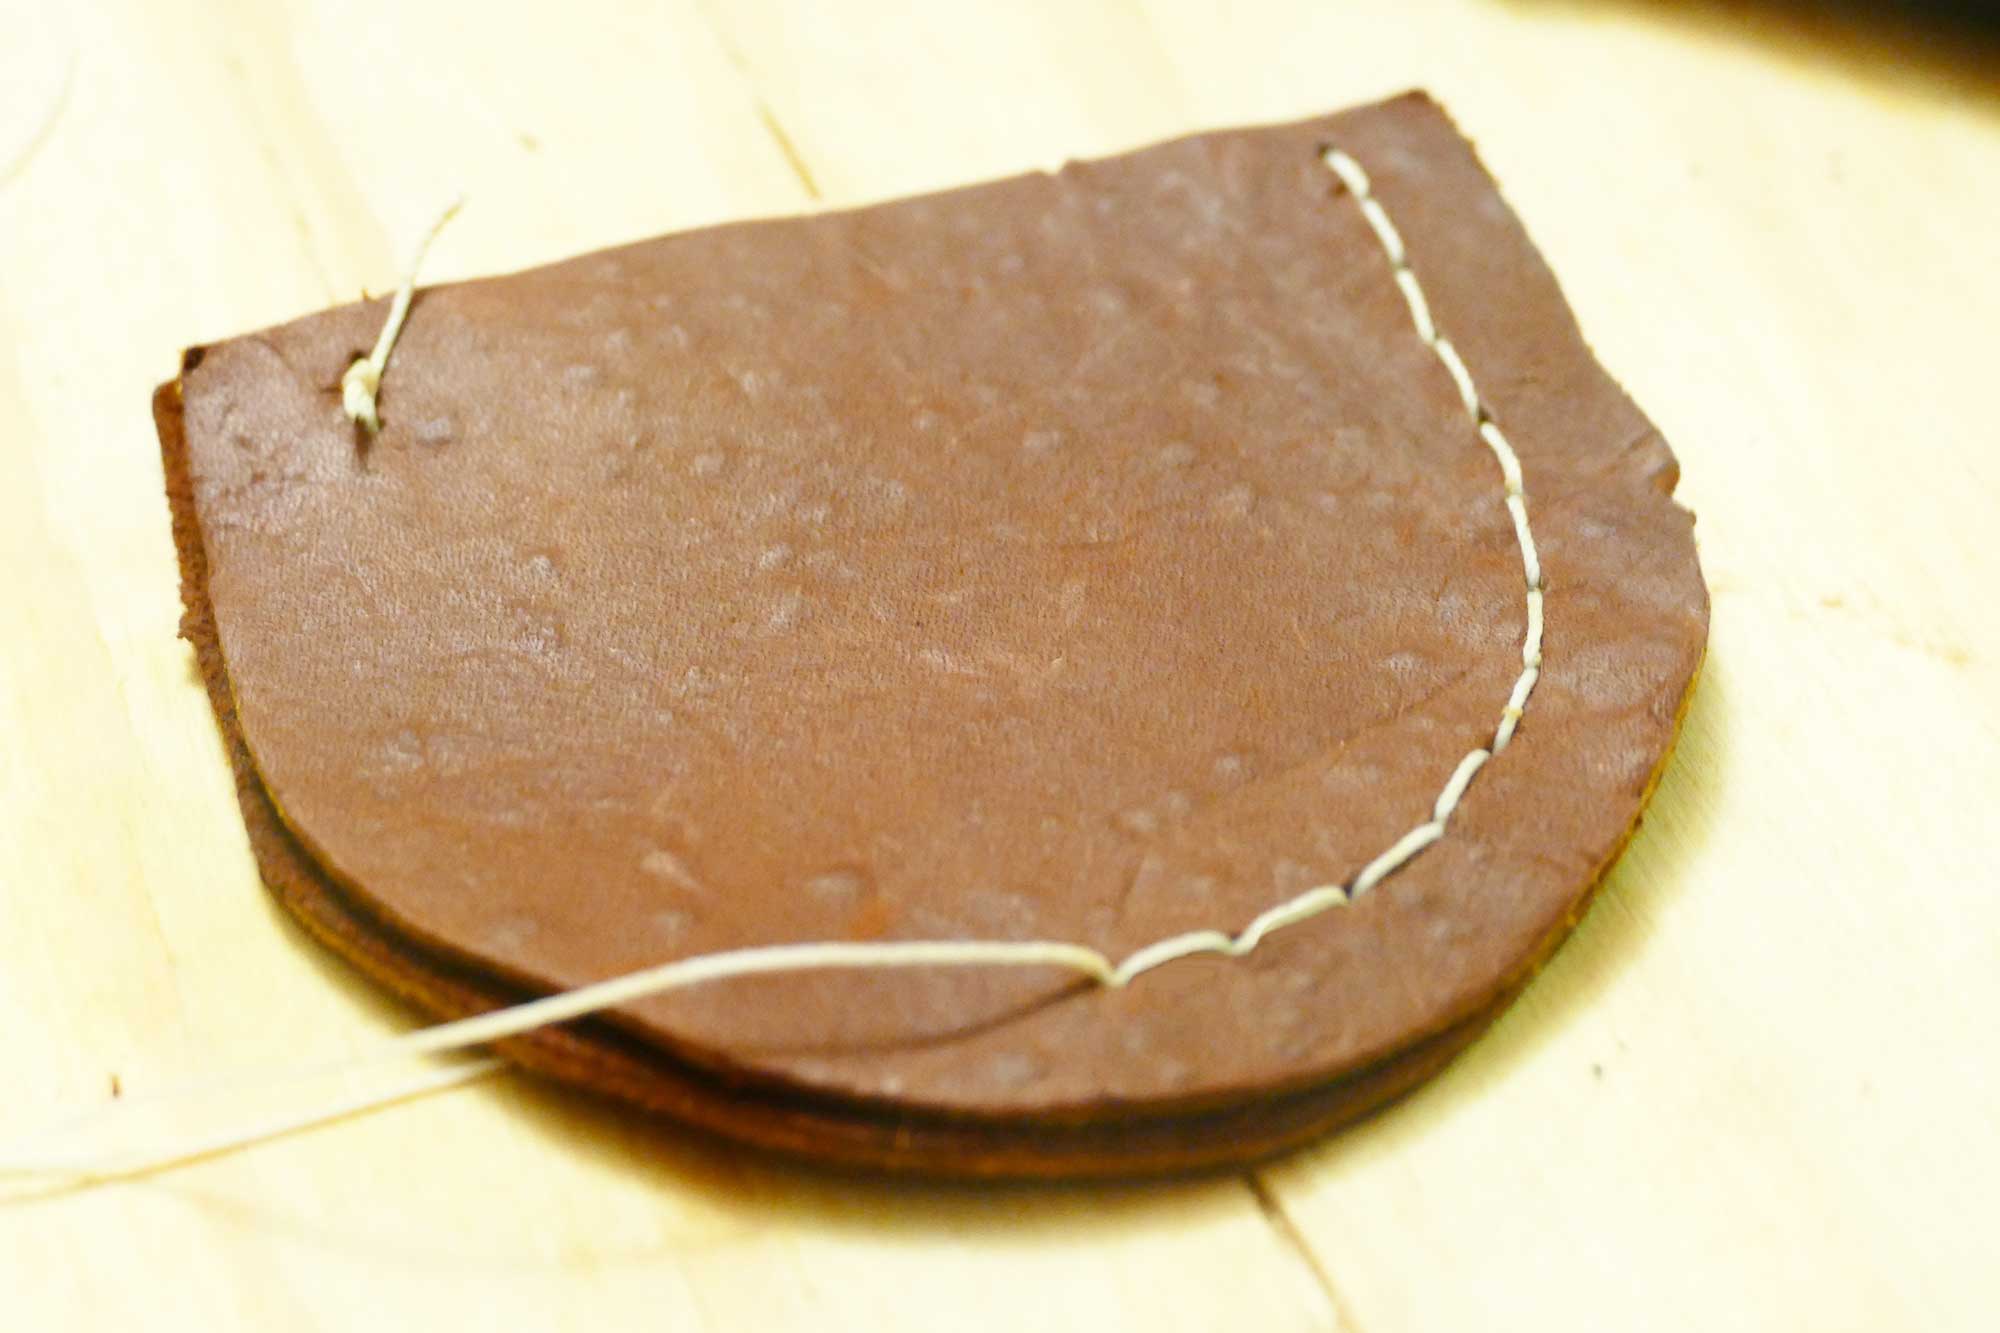
Step 7: Cut a piece of your sinew/thread three times as long as the outside circumference of your piece (so about 36″). Thread both ends through needles, as shown in the photo above (single threaded).
Step 8: Remove the stabilizing thread from one corner. Using your needle, sew through that top corner once so that your thread is piercing both pieces.
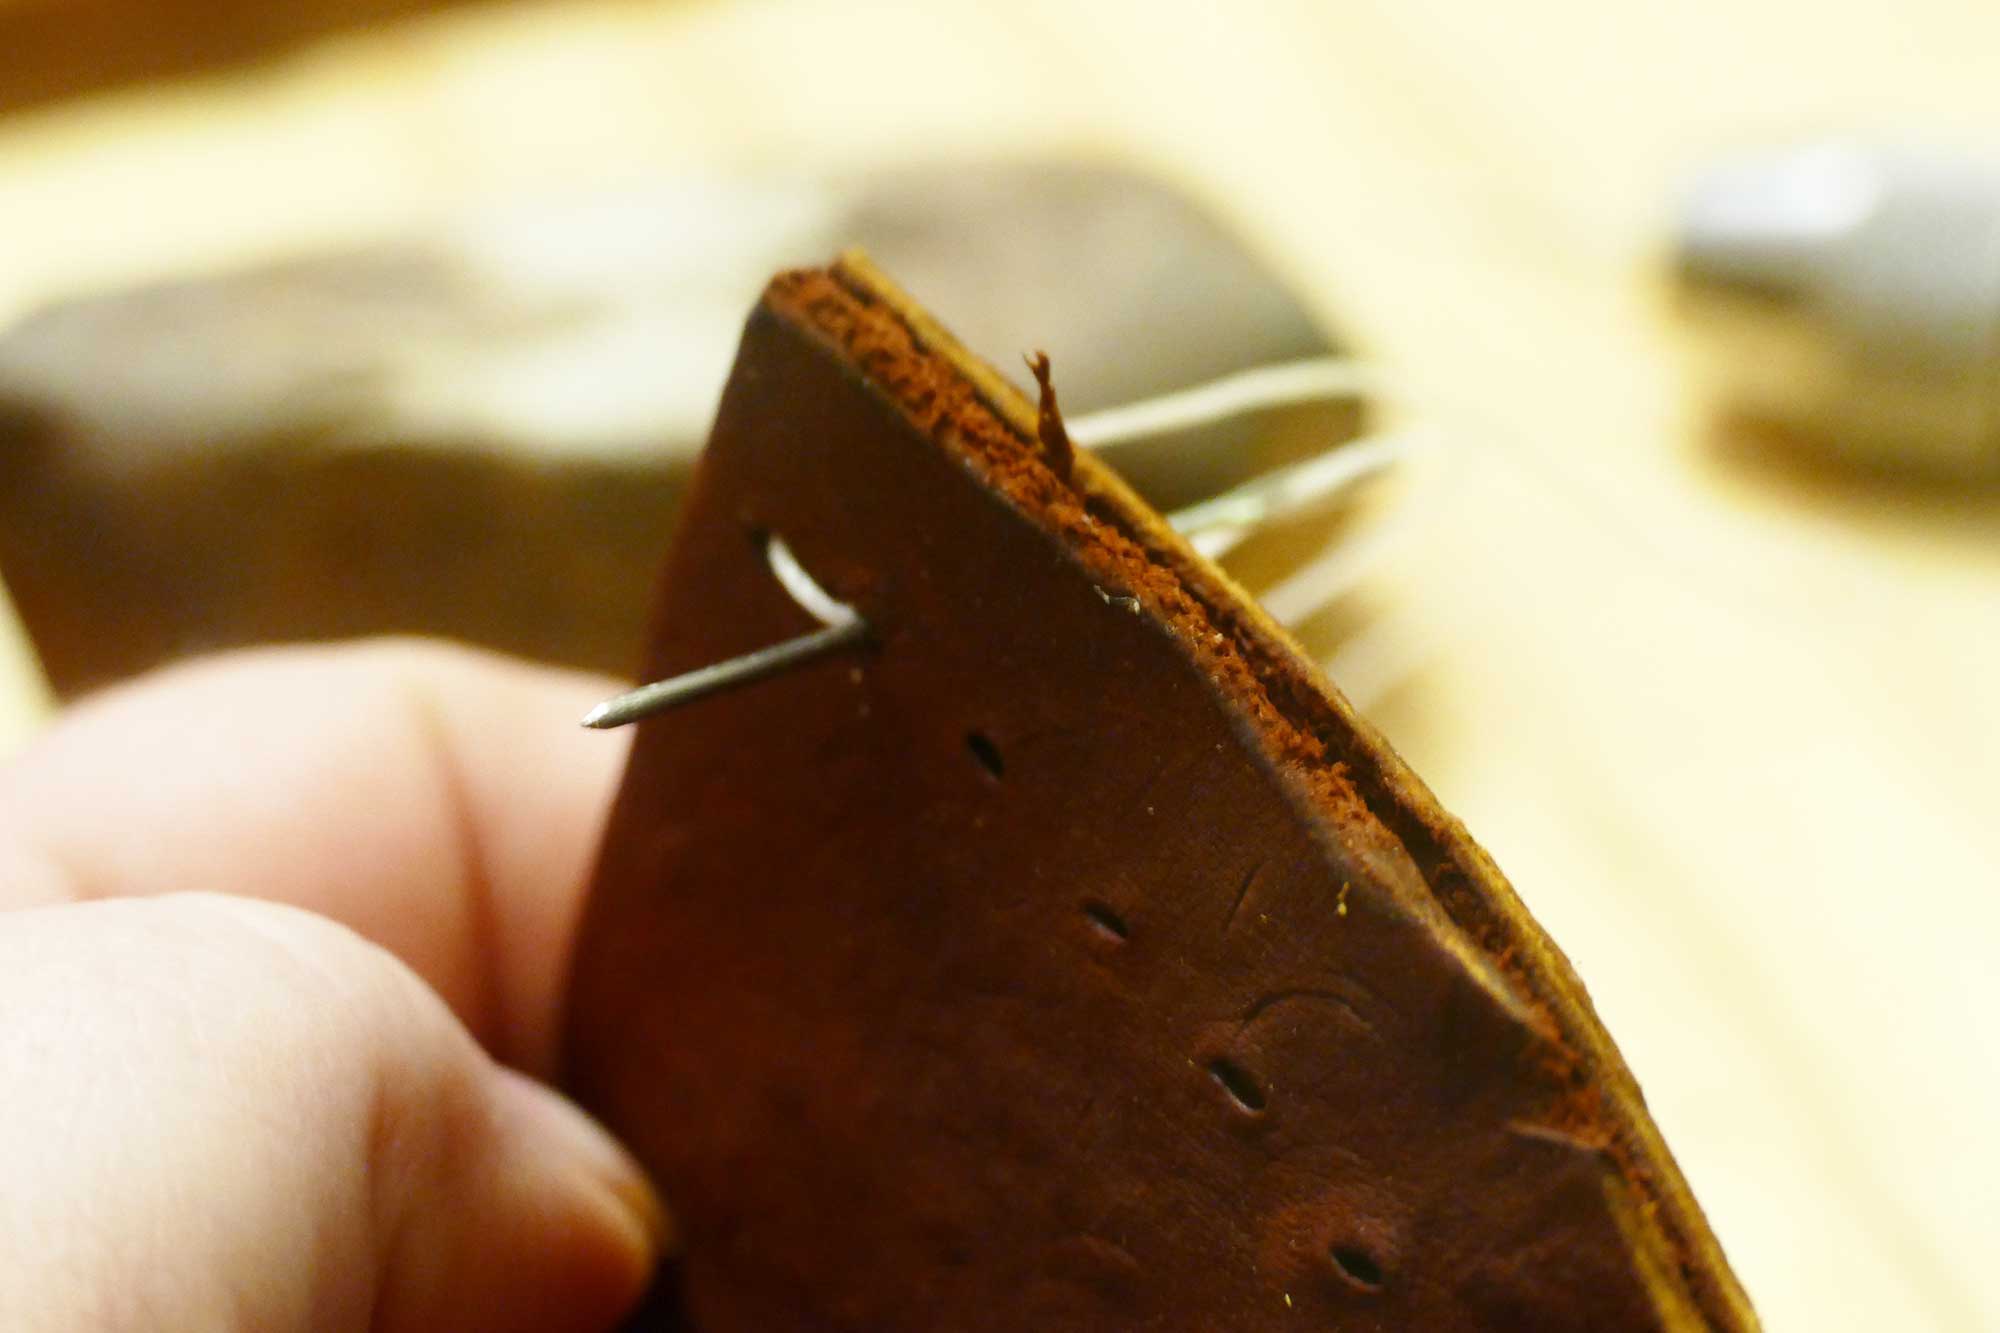
Step 9: With one threaded needle, sew through the next hole down (staying on the same side of your leather).

Step 10: With your other threaded needle, go back through the same hole you used in Step 9, but coming from the other direction. It can get a little tight and you may need to wiggle your needle around to get it to fit inside. When done, pull both threads tight.
Step 11: Continue this saddle stitch all around the edge of your piece until you reach the halfway mark (where there are no more holes). Be sure your pull your thread tight with each stitch.
Step 12: Place your rock inside the two pieces, as snugly as you can.
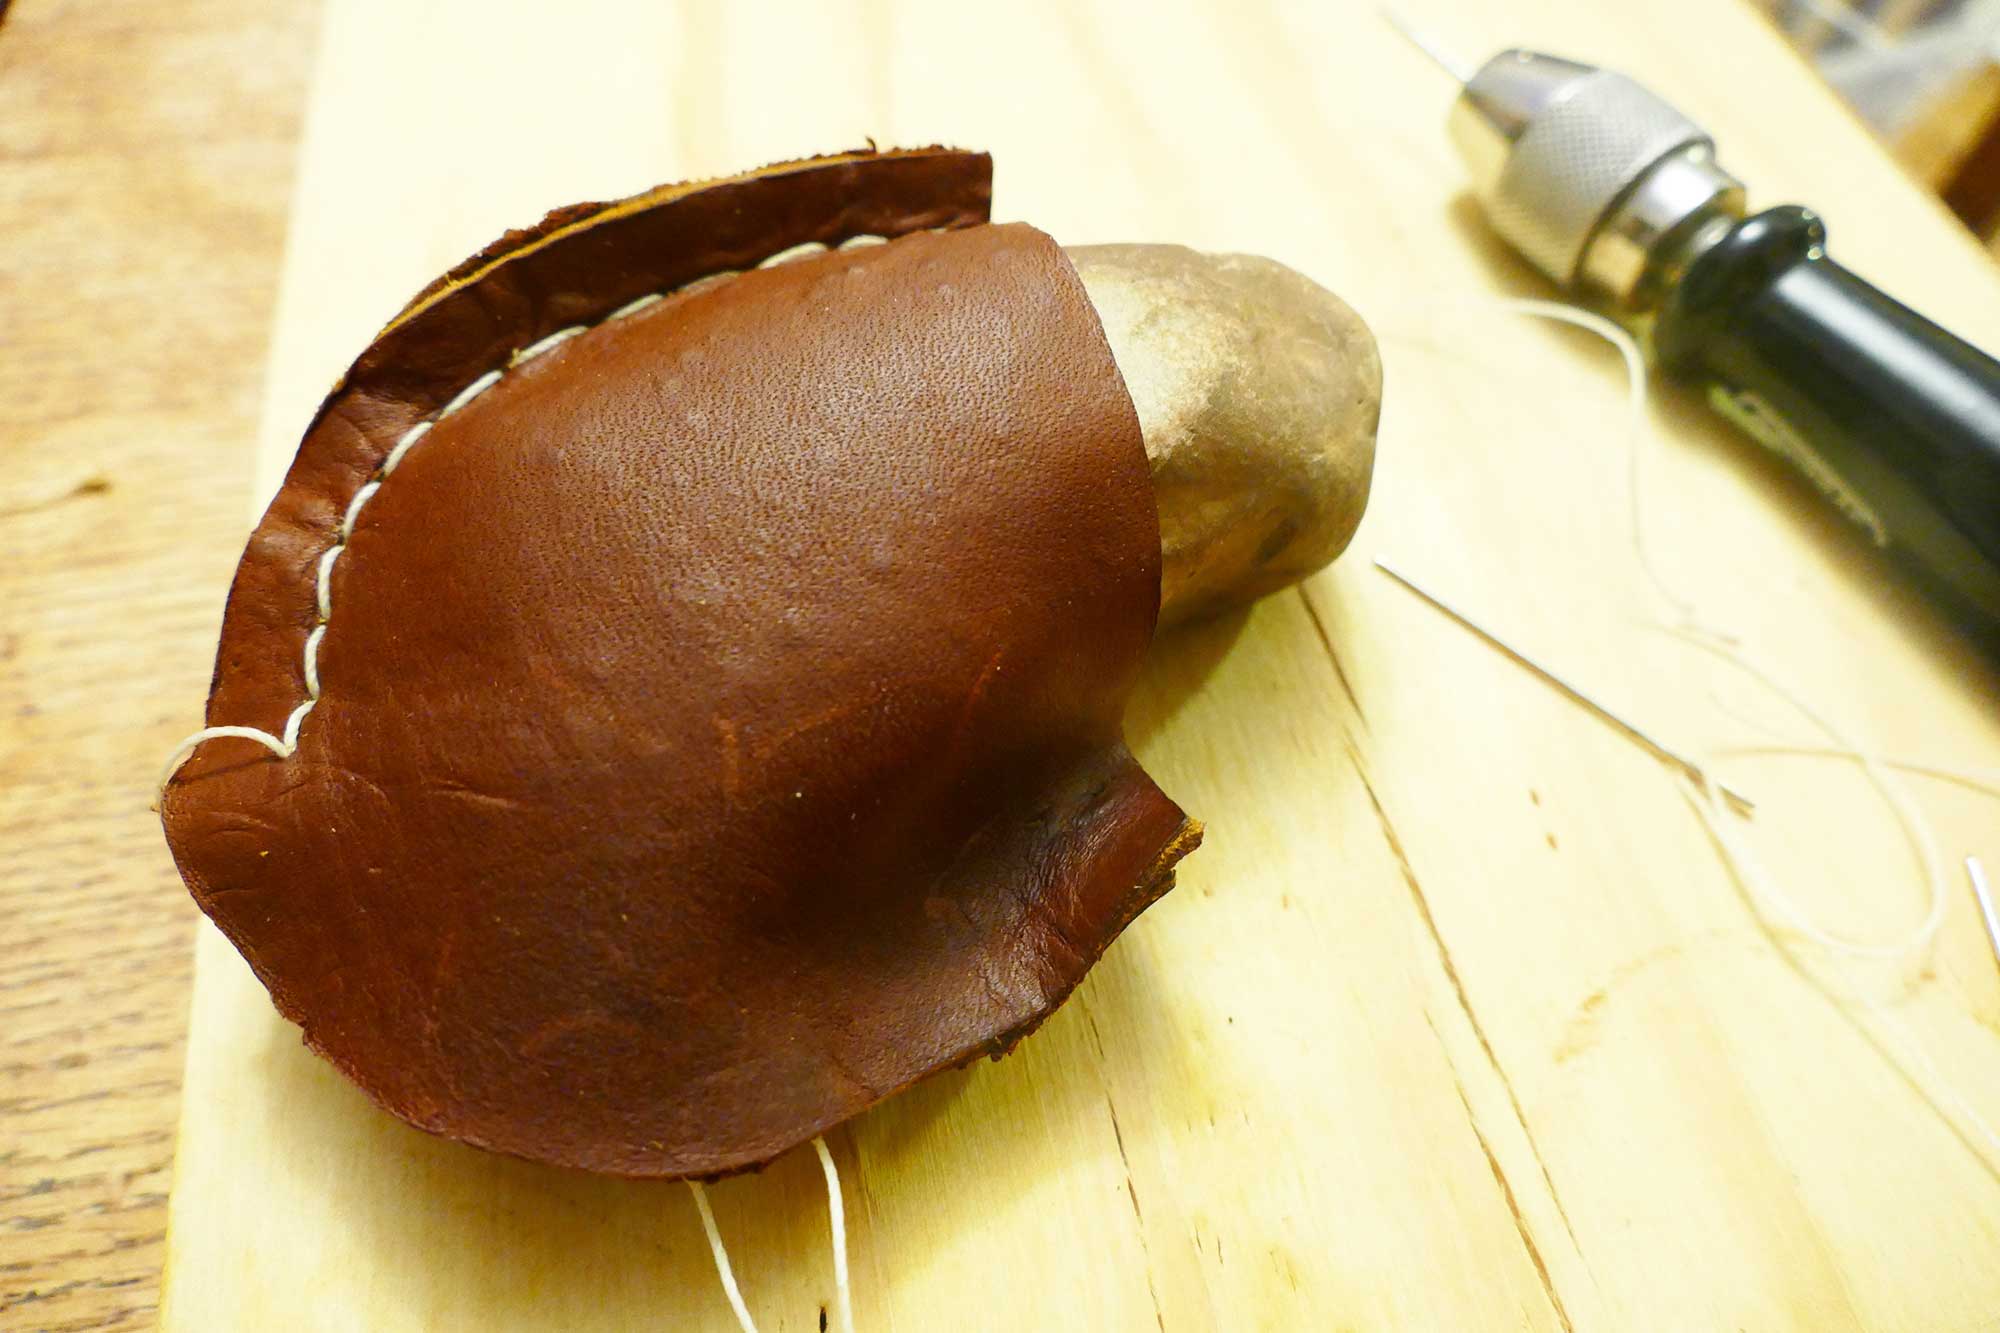
Step 13: With your rock snuggled up inside the leather, pinch the other side closed and note how far in you can get it. It will likely be further in than you expect, as the leather will stretch a bit. This is good. Measure however far in you could get (in my case it was 3/4 inch).

Step 14: Take the rock out and finish punching the other side, but this time instead of 1/2″ from the edge, you want to use the new measurement you got in Step 13 (if it is different).

Step 15: Once your other side is punched, put your rock back in, tighten up your stitching (it’ll probably have come loose with all the fittings), and begin stitching again. Keep the rock in as you stitch.
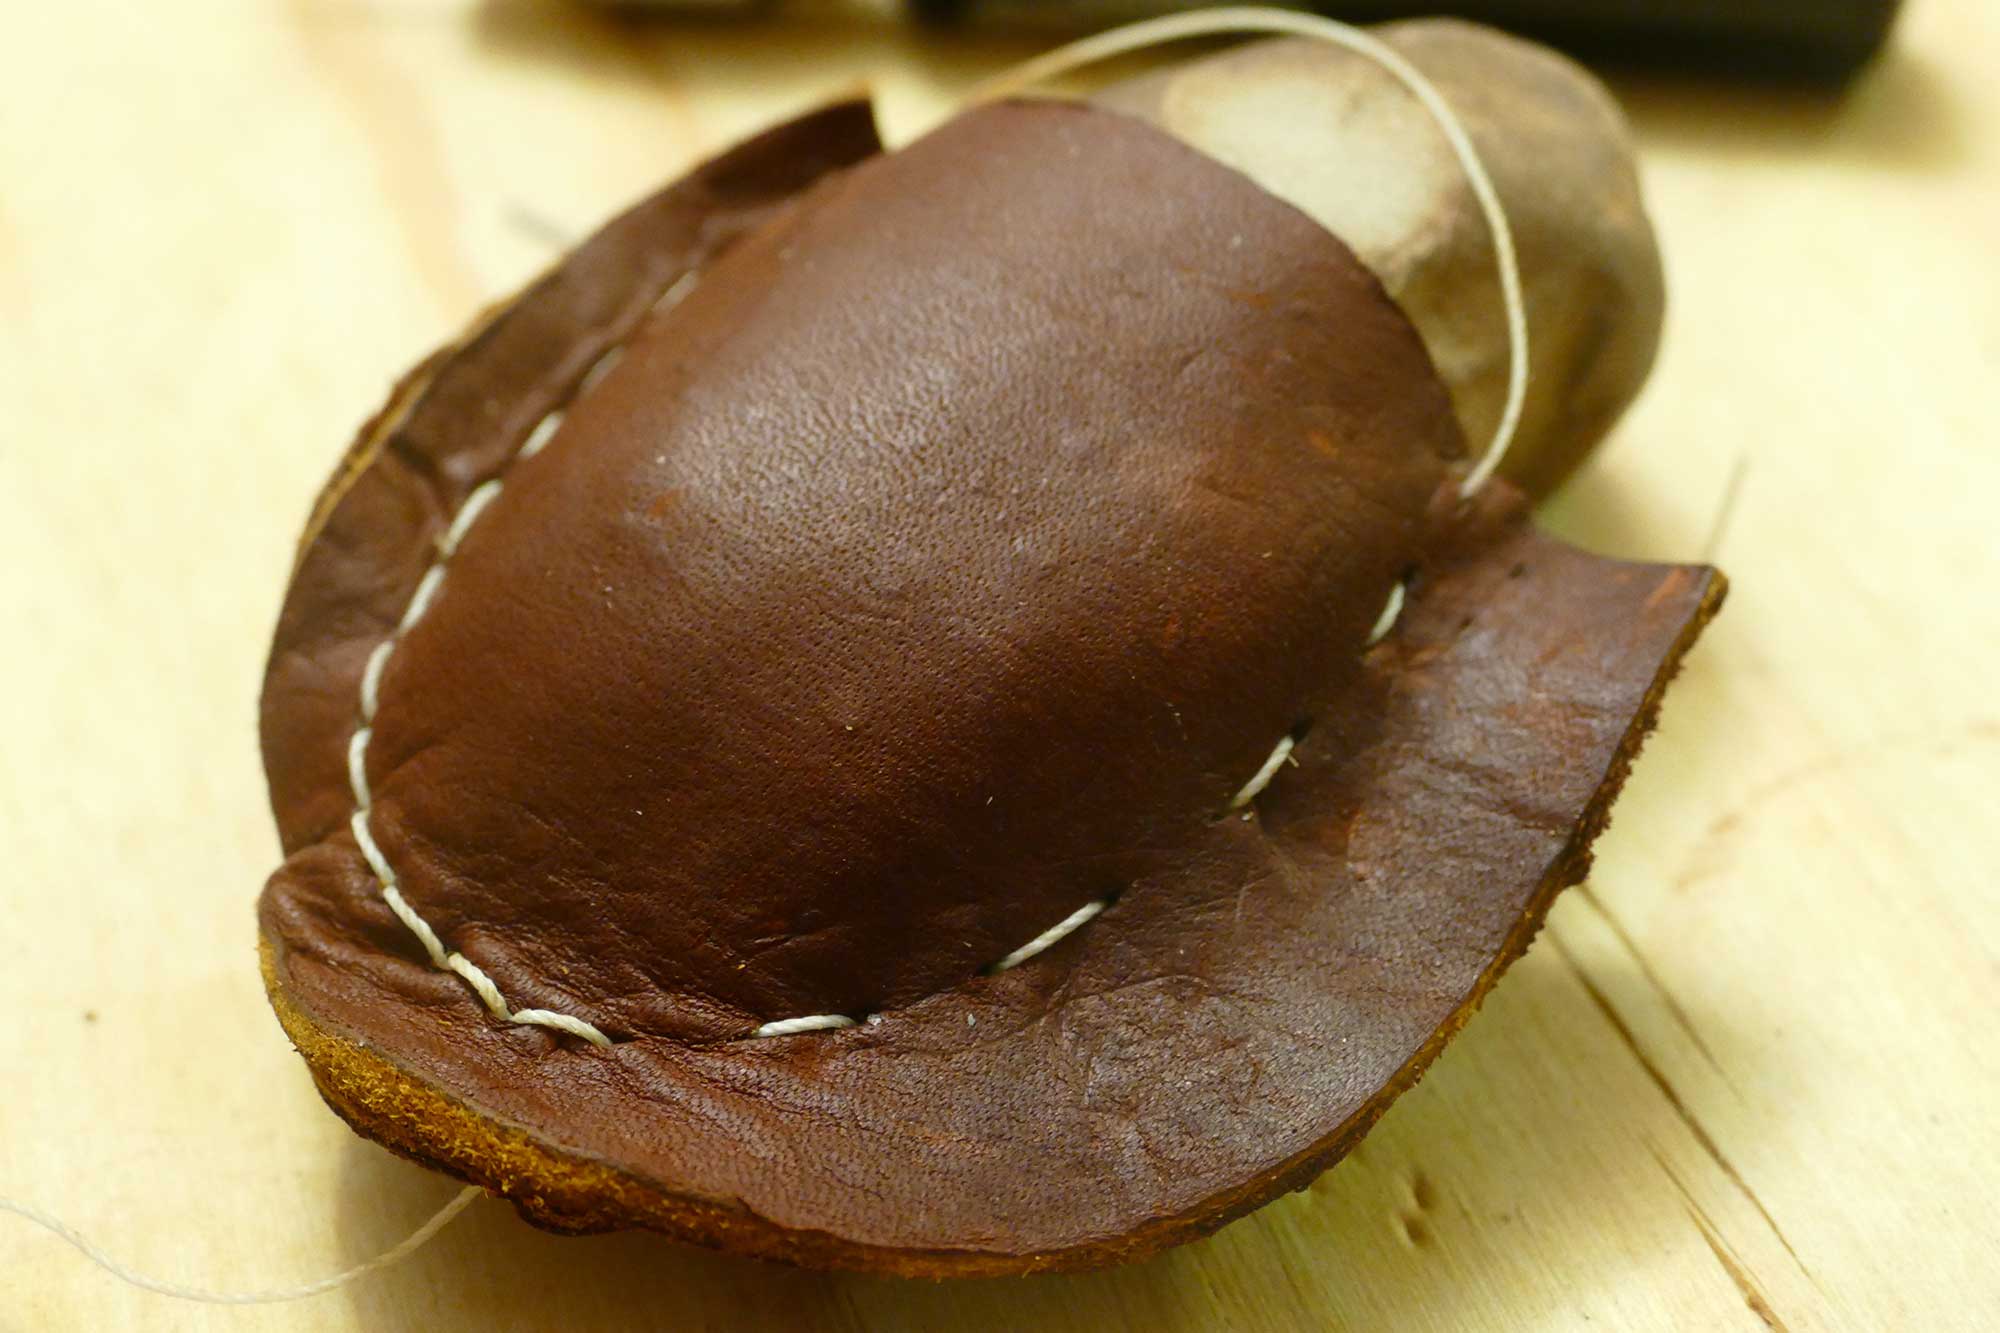
Step 16: When you’ve stitched all the way up both sides, you want to stitch back down again two holes on each side. This will be a little difficult, as the holes are already full of thread. Just be patient and you’ll get the needle and thread in there.

Step 17: Cut off the thread with a knife.

Step 18: Cut off the extra leather around the edges, being careful not to cut your thread. Stay about 1/8″ from the thread to avoid accidentally cutting it.
DIY Leather Wrapped Stone Tips and Notes
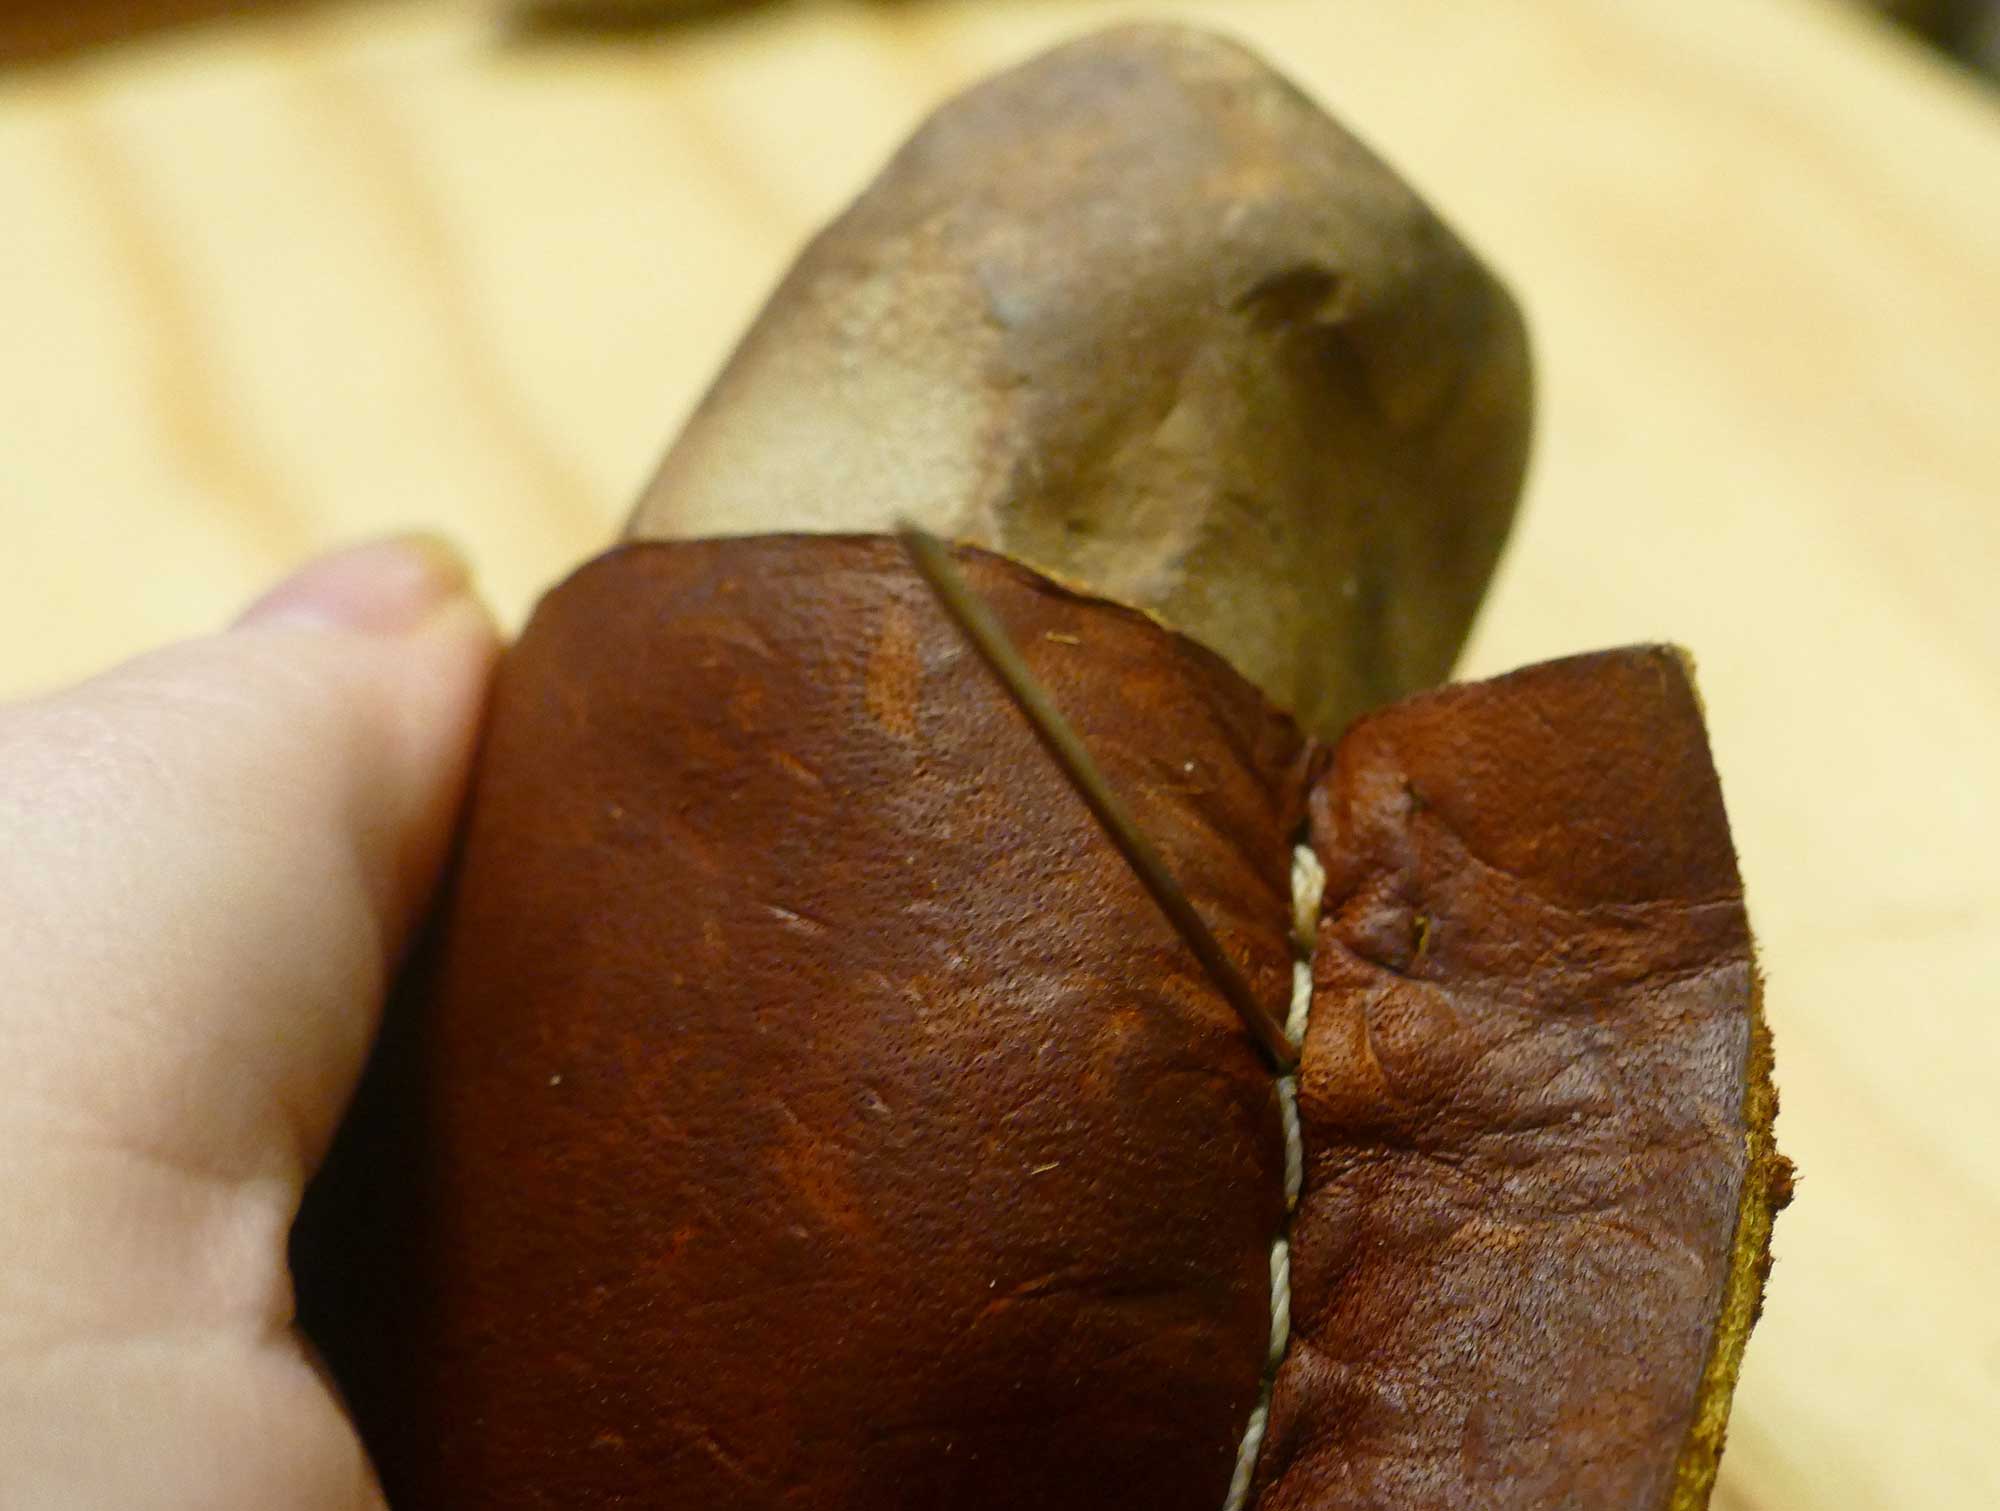
Your leather is still wet — give it 24–48 hours to dry and lighten in color. As it dries, it will form fit to your rock even more and harden a bit. This, I’m pretty sure, is the traditional hardening process mentioned in the original item’s description. Leather hardens after it gets wet. You could even boil this if you wanted it harder, but just wetting it gets it pretty hard.
Once you’ve sewn up your rock into the leather, it isn’t coming out. These two are like one now, bonded in holy matrimony. You can see how tight these two are in the photo below. It’s true love.
This DIY leather wrapped stone-rock-thing project took me about two hours to make, but keep in mind I was stopping to take photos all along the way. I think it could be done in an hour, maybe even less.
The stitching technique I used is the saddle stitch, a traditional leatherworking stitch. It’s accurate and authentic. You can use this to make all sorts of wonderful leather goods. Go on, do it.
Leatherroc cost nothing for me to make. It’s true, I had everything I already needed already. But if you wanted to make your own Lumpy from pleather, it would cost just a few bucks.
Now that I’ve made my DIY leather wrapped stone-rock thing, I can see some appeal. It feels solid in your hand. It’s like holding a rock, but the leather gives it a different feel. Ok, it’s still weird. But it is a wonderful conversation piece. Would I recommend anyone pay $65–$85 for this? No, because there is no great artistry or skill to this. I am a basic leatherworker and I had no issues making it. This was my first try and it turned out great. Had I used a proper vegetable tanned leather and not scrap leather, it would likely be even prettier. But I am happy with Leatherroc the Lumpy.
Now the question is … do I keep him or gift him?
Please share this tutorial with your friends and family, and pin it on Pinterest:


I have embroidered and cross-stiched. Your saddle stitching resembles a backstitch except you use one strand of thread. Do you think floss that you use to clean your teeth would be strong enough? I could see this item as a necklace, a latch for a purse, something to hang from a belt lop, or a closure for a buckle on a belt or to as a “button” for a pocket. What a novel and unique object you crafted with a possiblity of many uses!
Saddle stitching is more like a running stitch that you do from BOTH sides. I have not used floss in place of sinew, but I checked around and folks seem to think it would work okay. Fishing line is also acceptable. Thank you for stopping by, Beverly! 🙂
I’m just a bit late to this party but nevertheless, You ROCK Jennifer!!! Pun, SEW Intended!
Thanks, Chelle!