
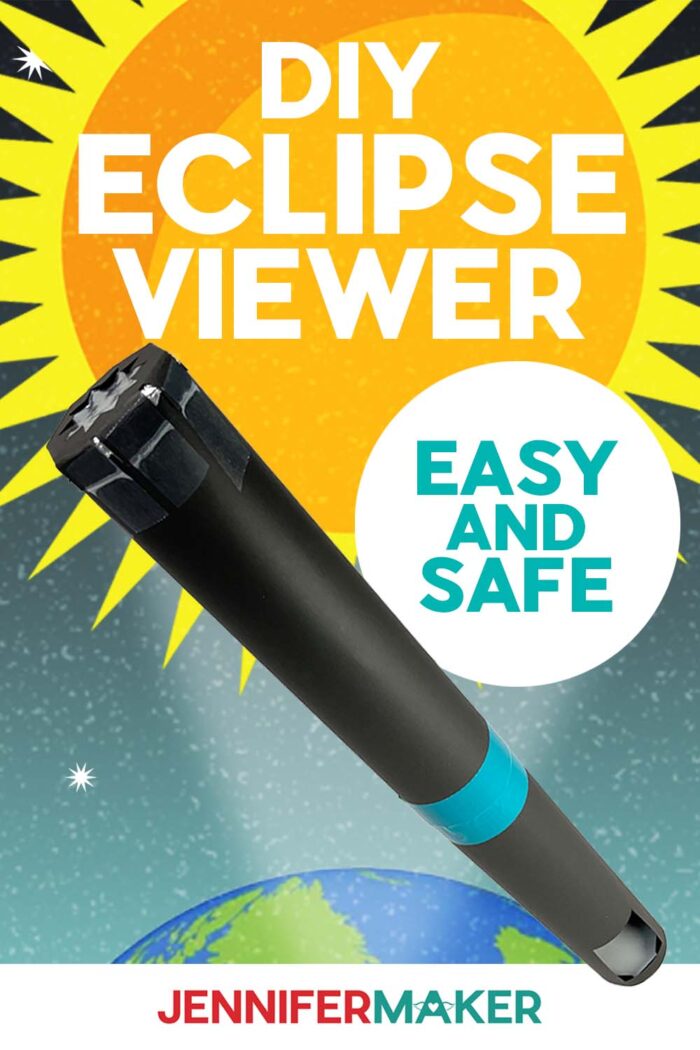
Learn how to make a safe DIY eclipse viewer for the 2024 solar eclipse!
On Monday, August 21, 2017, the Great American Eclipse occurred. This was a total solar eclipse (within the path of totality) and a partial eclipse for the rest of North America (including me). This wasn’t the first total eclipse in my lifetime; I remember a partial eclipse as a Michigan grade schooler in 1979. My class made special pinpoint eclipse viewers out of old boxes and tin foil. But I’m much older now, and I can make something snazzier. So I designed a DIY Eclipse Viewer Tube pattern that can be lengthened for a larger image of the eclipse! At the time, I mentioned that the next total solar eclipse in North America would be in 2024, and that felt so far away in the future! Time flies when we’re having fun, because it’s time for that eclipse! I’m so excited, I made an updated DIY eclipse viewer tutorial so you can watch science in action safely!

Where Can I See the 2024 Solar Eclipse?
Find out how much of the eclipse you’ll see from your location with this calculator. I will see a 98% eclipse here in Ann Arbor, which is amazing! Whether you’re in the path of the total eclipse or will see a partial solar eclipse, it’s a historic event. The next one like this in the United States won’t be until Aug. 23, 2044!
Why Do I Need A Viewer To Watch The Solar Eclipse?
You MUST NOT look at a solar eclipse with the naked eye or through a camera without proper eye protection, and that doesn’t mean regular sunglasses. If you’ve ever looked at the Sun on a normal day, (which I also don’t recommend) your eyes will get uncomfortable and force you to look away. You might have some short-term vision issues, but they should resolve in a few minutes. But during a solar eclipse, the part of sun’s rays that causes your eyes discomfort isn’t present, so it’s possible to look at the very strong light for too long. Unfortunately, it’s possible to cause permanent vision impairment by looking at an eclipse unprotected, even blindness.
This viewer is SAFE because it is an indirect view of the solar eclipse, and this is the safest way to view it (other than watching a video inside, of course). If you make this for children, I recommend you keep its length short — it’ll be easier for little hands to hold and aim, and their young eyes can see the smaller image of a short tube easier anyway. I have details below on how to make the DIY eclipse viewer shorter or longer, depending on your needs.
How Long Should A DIY Eclipse Viewer Be?
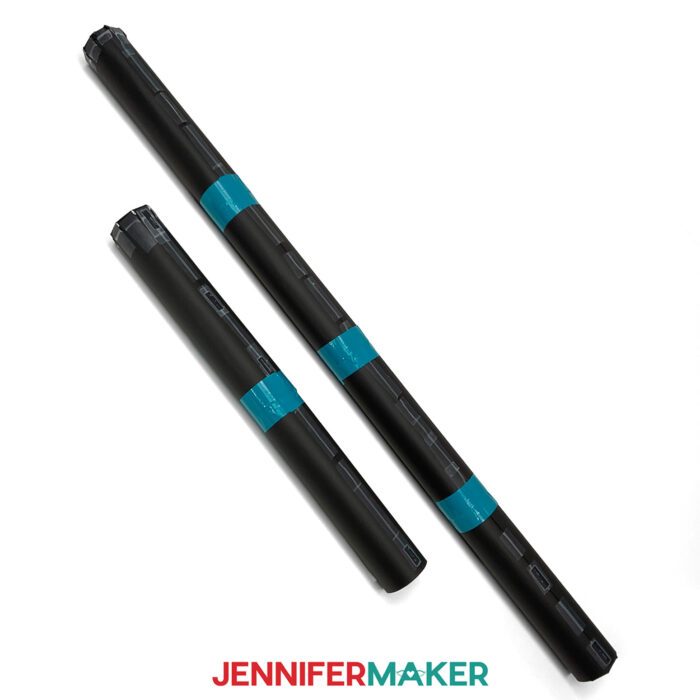
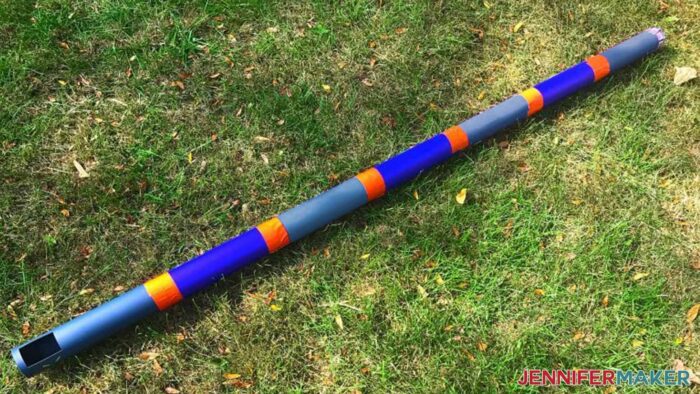
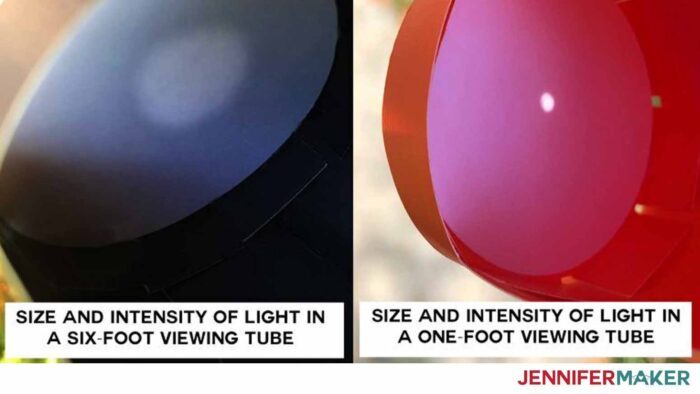
A longer tube will give you a bigger image. But keep in mind that it will also dim the light a bit more. The shorter the tube, the brighter the image. I made the tube in this tutorial about 60″ long. But I also made another one just one-foot-long so I could compare the images. Pick the size that works for you, or make several!
What Do I Need To Make A DIY Eclipse Viewer?
My pattern uses dark, non-reflective 12″ x 12″ cardstock for most of the tube, plus some aluminum foil for the upper end and white cardstock for the projection viewing area.
You can cut your DIY eclipse viewer by hand using the PDF in the download file, but it’s a lot faster when you cut the SVG file with a cutting machine like a Cricut. I used the Cricut Maker 3 but you can also use the Cricut Maker, a Cricut Explore Series machine, or the Cricut Venture (or another machine that uses cut files). The cardstock cuts perfectly on a green StandardGrip Machine Mat, but use a blue LightGrip Machine Mat for the aluminum foil. You can also cut the foil with scissors if you prefer and use a pin to add the tiny hole in the center of the foil.
The DIY eclipse viewer takes a good amount of space to assemble depending on the length you pick, but it’s a fast project! You’ll just need clear tape, duct tape, and a cylinder to shape the tubes around. The foil tube, a vinyl roll, or a tennis ball tube works well! I have the full list of tools and supplies below, including links for where to get everything.
Eclipse Viewing Tips
Before the day of the eclipse, hold your viewer up to a light and look inside — do you see any holes? If so, cover them with extra bits of cardstock and tape.
Also, hold your viewing tube up to a VERY STRONG light (sunlight on a sunny day is best), with the aluminum foil window aimed at the light, and angle it so you can see a pinpoint of light projected onto the white circle. If it works, you’re all set to use your viewing tube for the eclipse!
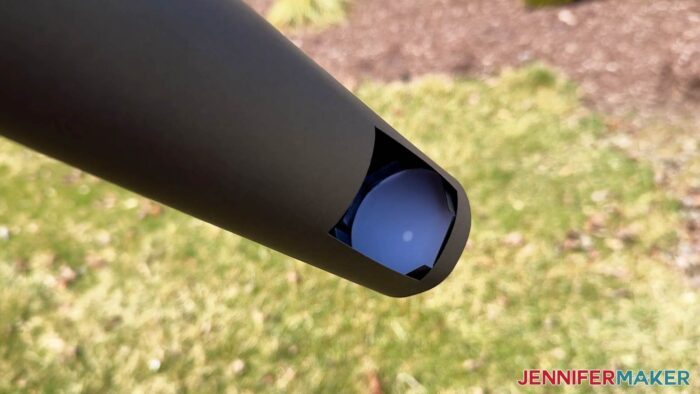
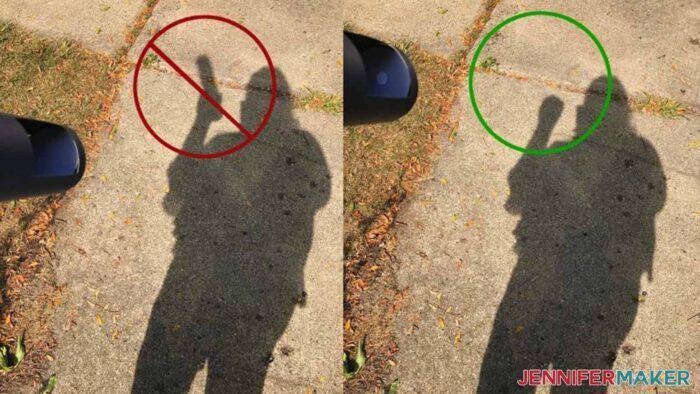
During the eclipse, point the pin hole end of the tube directly at the sun. To aim your tube, move it around until you see a round spot of light on the paper at the opposite end of your tube—that light is the projected image of the sun! Trouble aiming your viewer? Find your box’s shadow on the ground, then move it until the shadow is as small as possible (it should look like a perfect circle). Be sure you do not look through the pinhole at the sun! Look only at the projected image on the white sheet of paper. Once you have it in position, rest it on your shoulder (if the angle works for that).
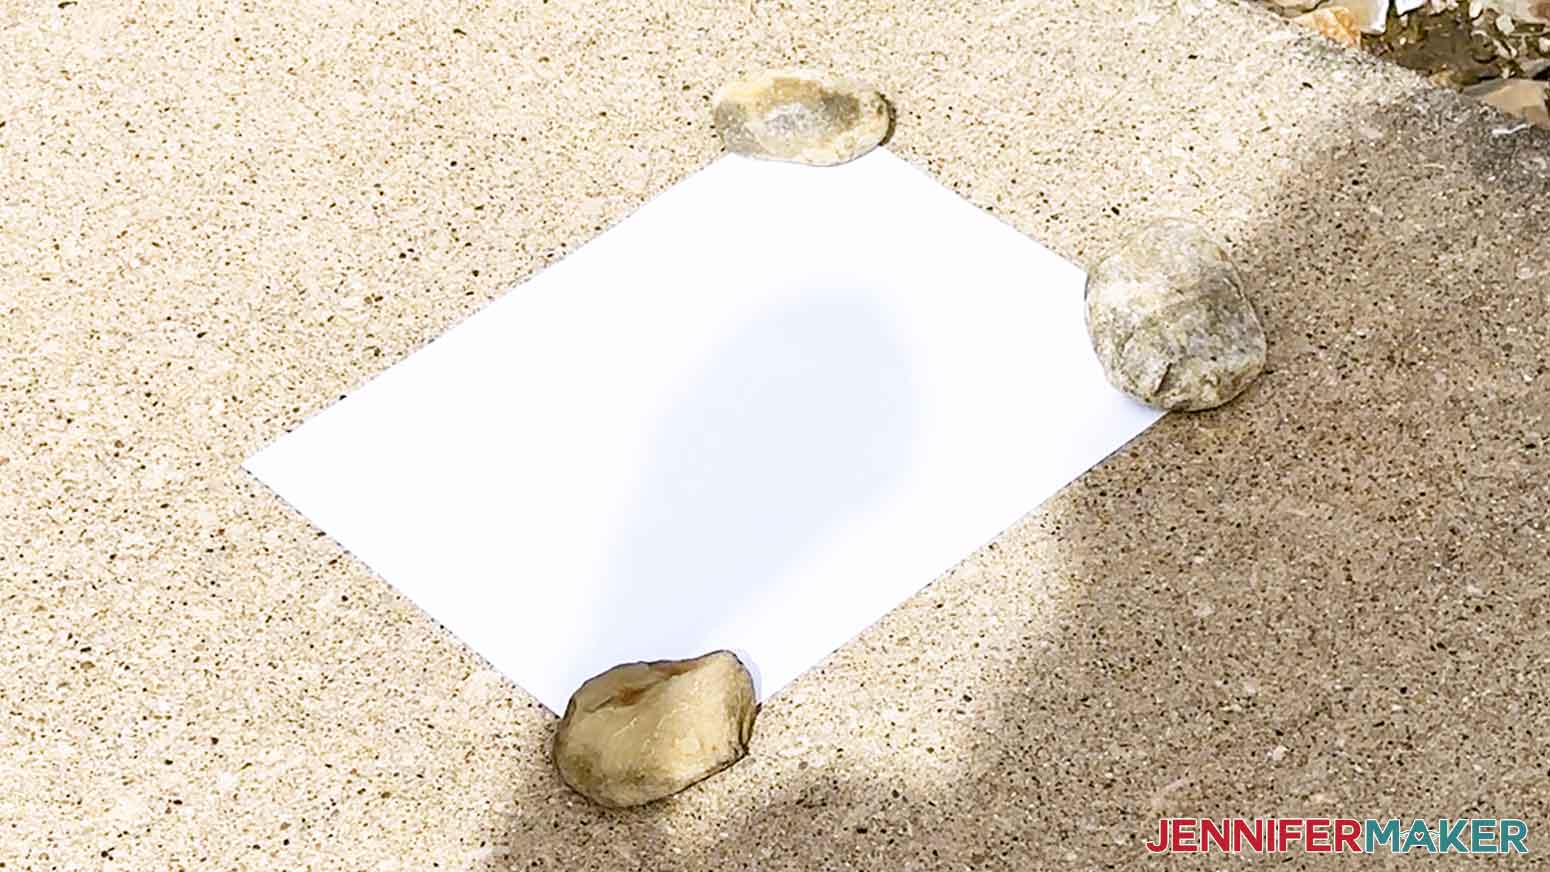
If you want a larger projection, remove the projection screen section you wedged into the bottom of your viewing tube and place a sheet of white paper on the ground. Hold your tube up, aimed at the sun and pointing down at the paper. You will see the eclipse projected onto the paper on the ground even larger than in your tube!
Remember, never view the sun with the naked eye or with optical devices such as binoculars or telescopes. Use only an indirect viewer like my pattern or certified eclipse viewing glasses with special solar filter plastic.
Let me show you how easy it is to make a safe DIY eclipse viewer! This post contains some affiliate links for your convenience (which means if you make a purchase after clicking a link I will earn a small commission but it won’t cost you a penny more)! Read my full disclosure policy.
Materials to Make A DIY Eclipse Viewer
View my Amazon shopping list with the exact items we used to make this project
- 12″ x 12″ 65 lb. Cardstock in a dark, non-reflective color – 1 sheet for every 11” of tube you wish to build
- 8.5″ x 11″ or 12” x 12” white 65 lb Cardstock or paper
- Clear tape
- Duct tape
- 4” Square of uncrumpled aluminum foil (you can also use a dark piece of thick paper instead)
- A way to cut your cardstock: I’m using the Cricut Maker 3 and Cricut Joy, but you can also use the Maker, Explore series, or Venture for this project!
- Green StandardGrip Machine Mat (for cardstock)
- Cricut Blue LightGrip Machine Mat 12″ x 12″ (for aluminum foil)
- Scoring Stylus -OR-
- Single Scoring Wheel
- Push pin or needle (optional, used only if you don’t cut your aluminum foil out with the Cricut)
- Spatula
- Aluminum foil tube or a vinyl tube to curve the pieces
- Brayer
- Scissors (if you don’t want to cut the foil with a cutting machine)
- Design #46 (My free SVG/PDF/DXF design files are available in my free resource library – get the password by filling out the form at the bottom of this page)
How to Make Your Own DIY Eclipse Viewer
Learn how to make a DIY eclipse viewer to watch the solar eclipse safely! CRICUT DESIGN SPACE CUTTING Assembled size: Full version about 40” long and short version about 20” long.
DIY Eclipse Viewer
Materials
Tools
Instructions
STEP 1: GET MY FREE DIY ECLIPSE VIEWER DESIGNS
First, download my DIY Eclipse Viewer designs from my free library – look for Design #46. Alternatively, you can use the Save This Project form near the top of this post and the design link will be emailed to you.
In the download folder, there is a PDF you can print and cut by hand, and DXF or SVG files you can use with cutting machines. I’ll show you how to prepare the SVG in Cricut Design Space and cut it using a Cricut Maker 3. You can also use an original Maker, an Explore series machine, or the Cricut Venture. I don’t recommend resizing the file to fit on a Joy or Joy Xtra.
TIP: If you’re not sure how to upload, go to jennifermaker.com/svgs to learn how to unzip and upload SVG files.
STEP 2: PREPARE AND CUT YOUR DIY ECLIPSE VIEWER DESIGN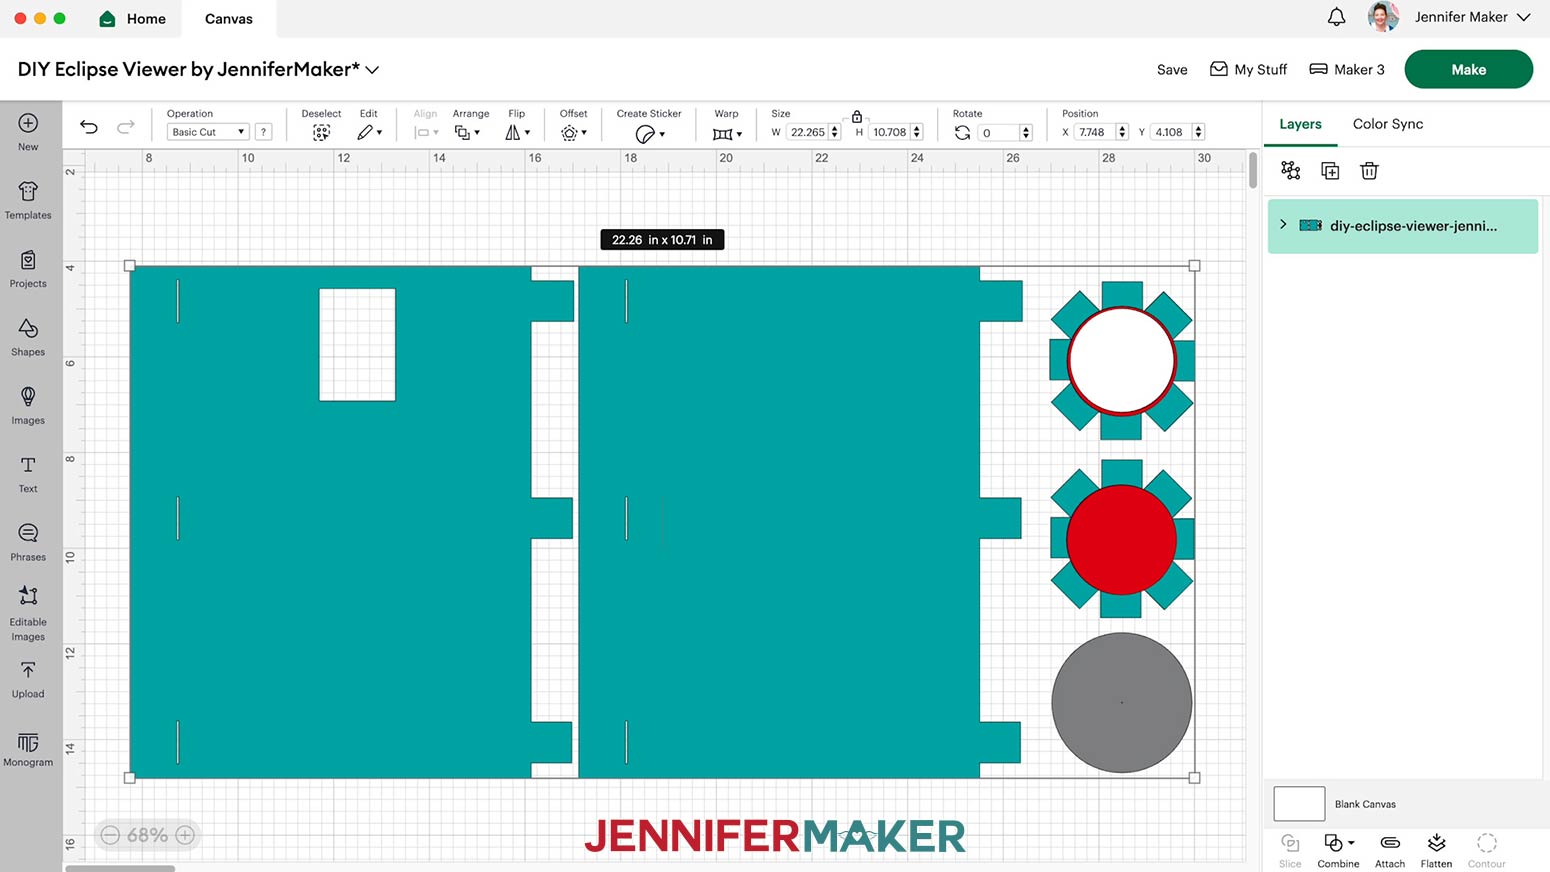
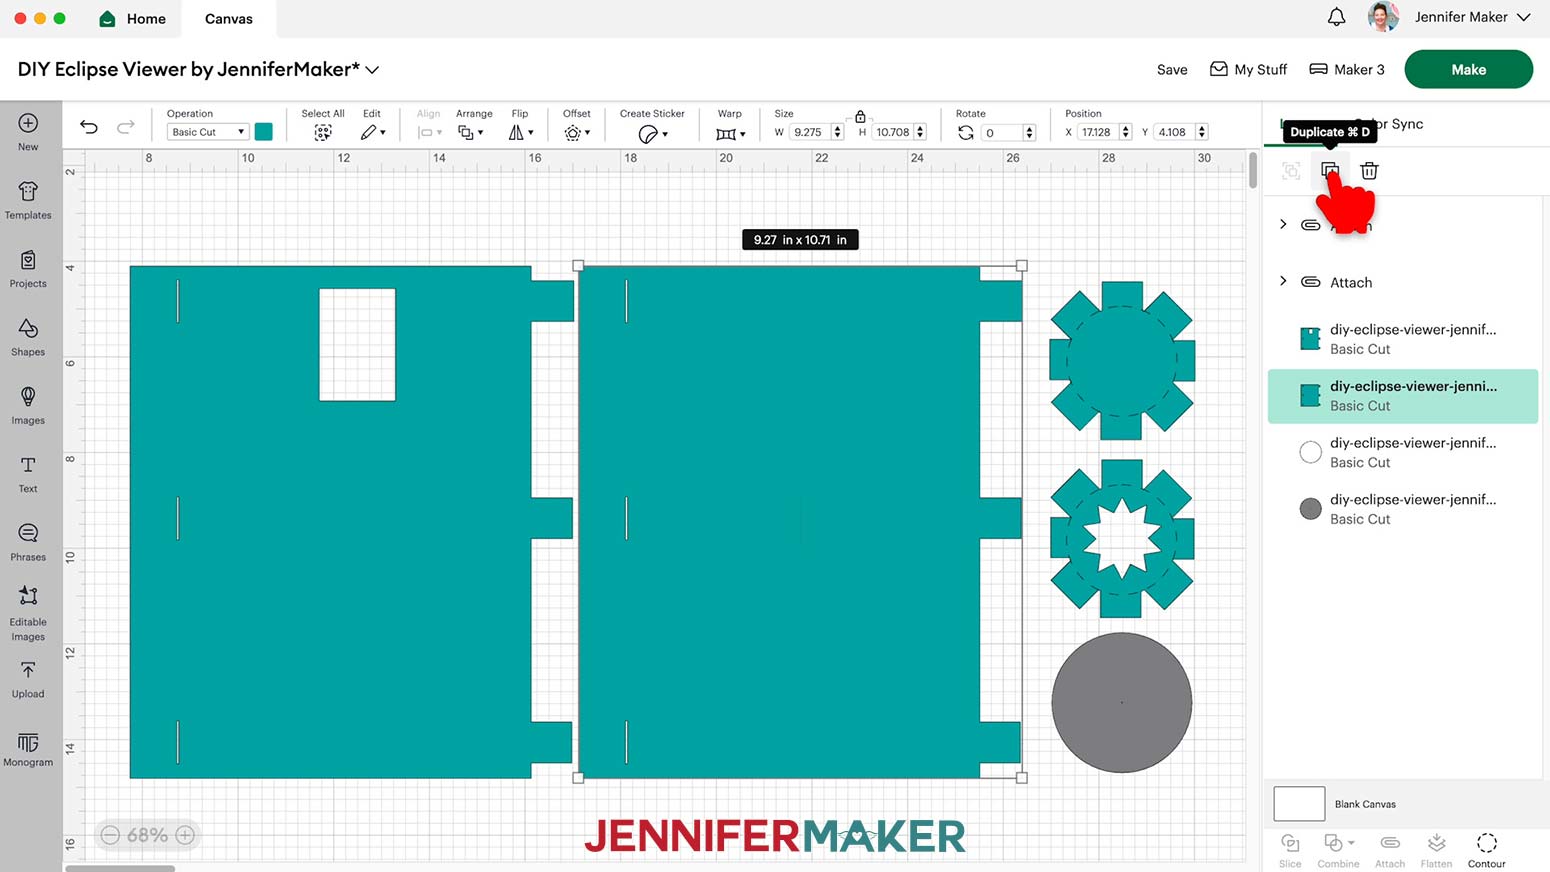
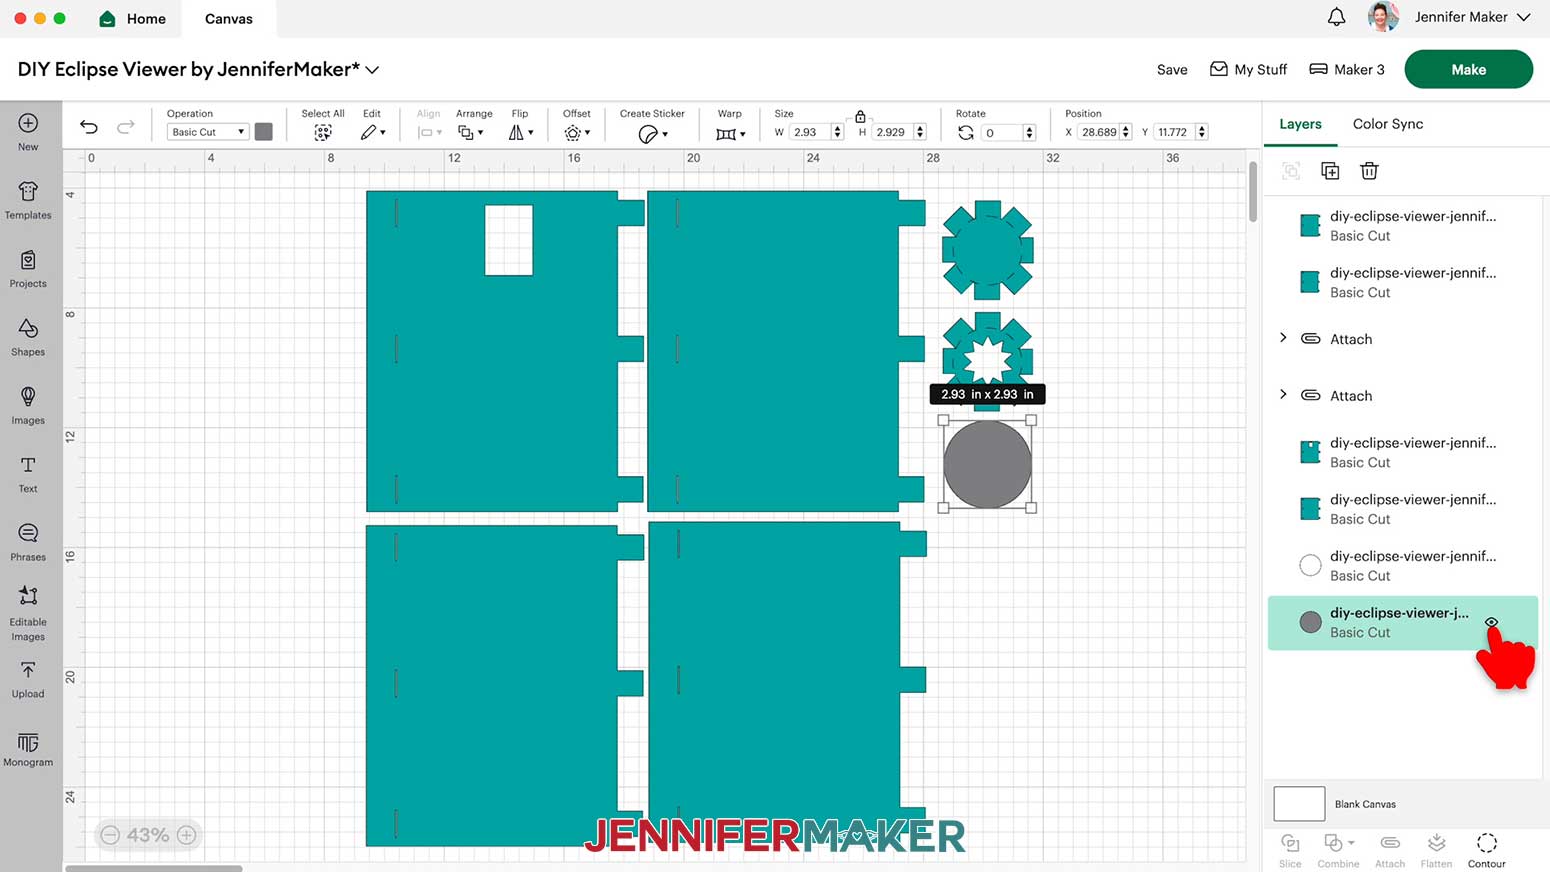
The rectangle with a cutout is the viewing tube.
The rectangle without a cutout is the extender tube and creates the length of the viewer.
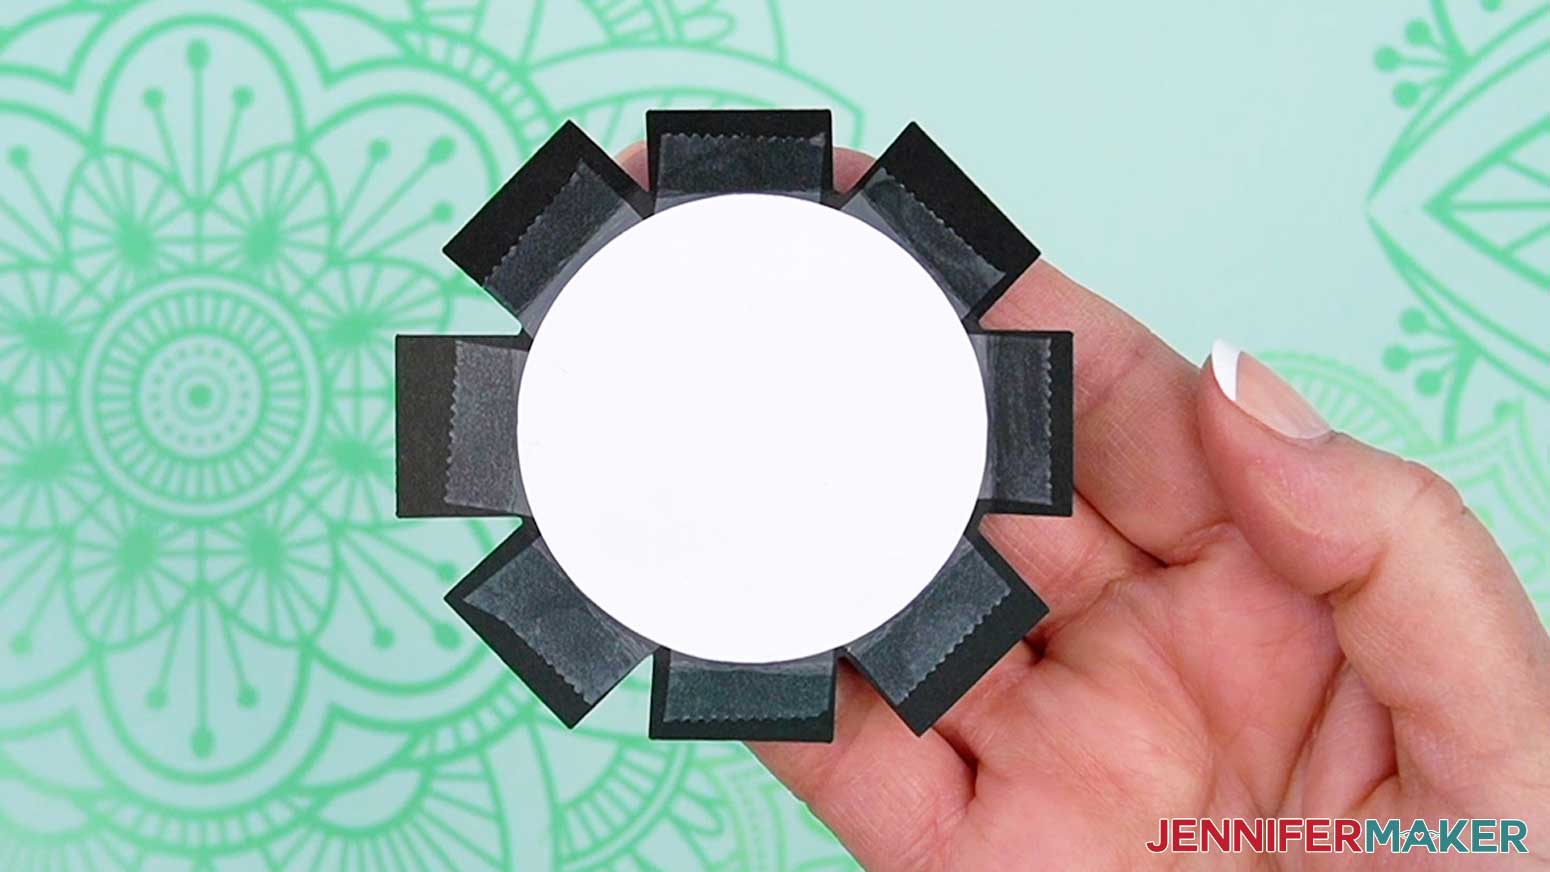
The tabbed circle without an opening is the projection screen cap.
The red piece it’s stacked with will be a crease line, and the white circle is the projection screen.
The tabbed circle with an opening is the sunburst window, which also has a red shape for the crease.
The gray circle will be cut from aluminum foil. It can also be cut by hand, you’ll just need a push pin to add the pinhole.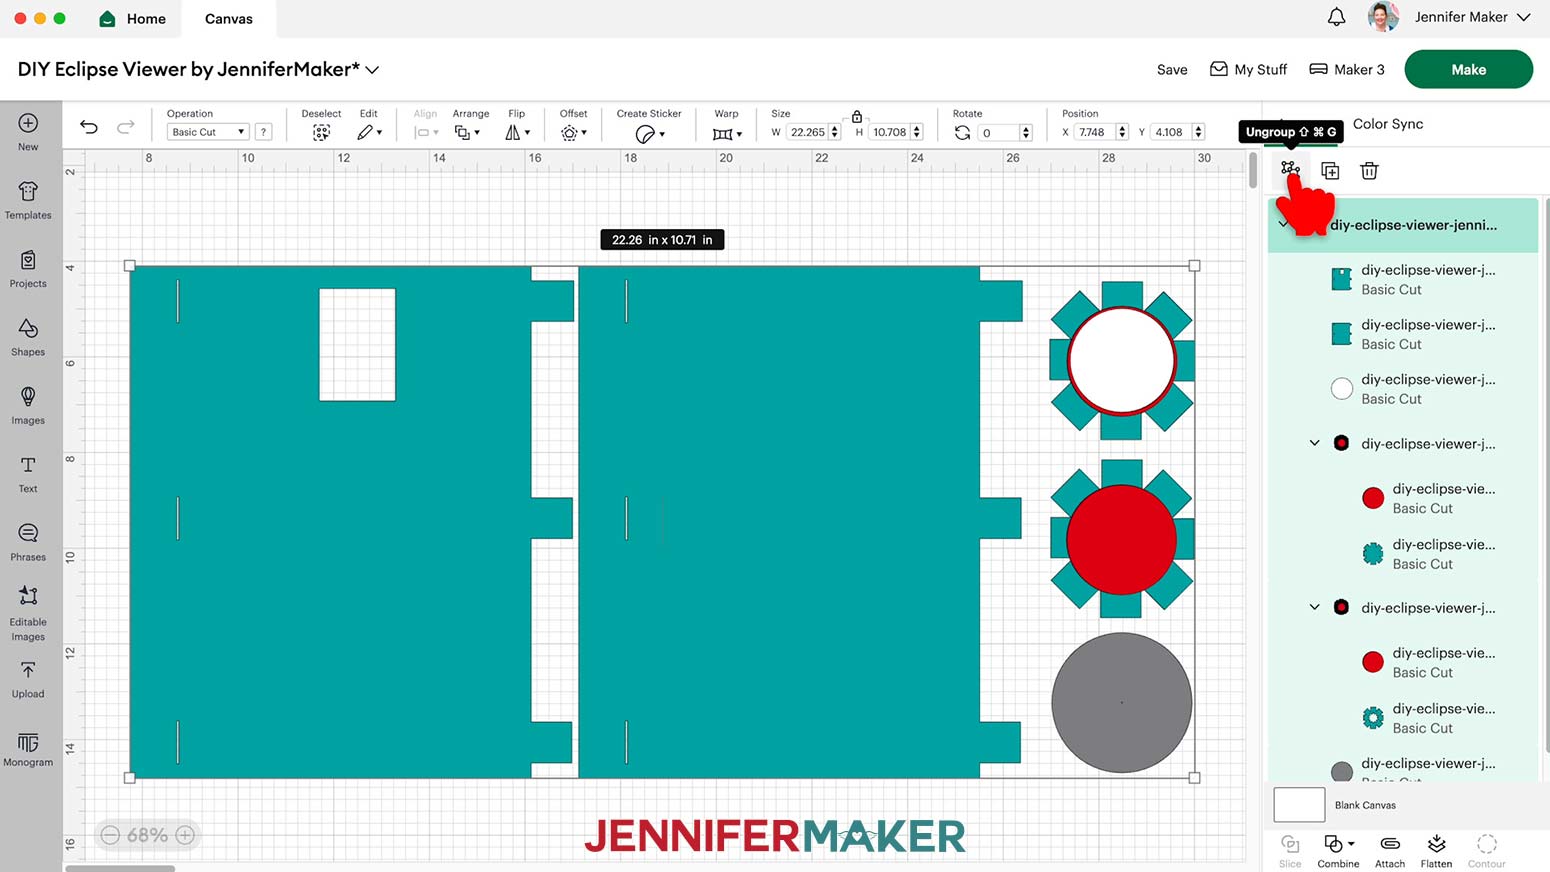
NOTE: If you don’t have a scoring tool, select and delete both red layers.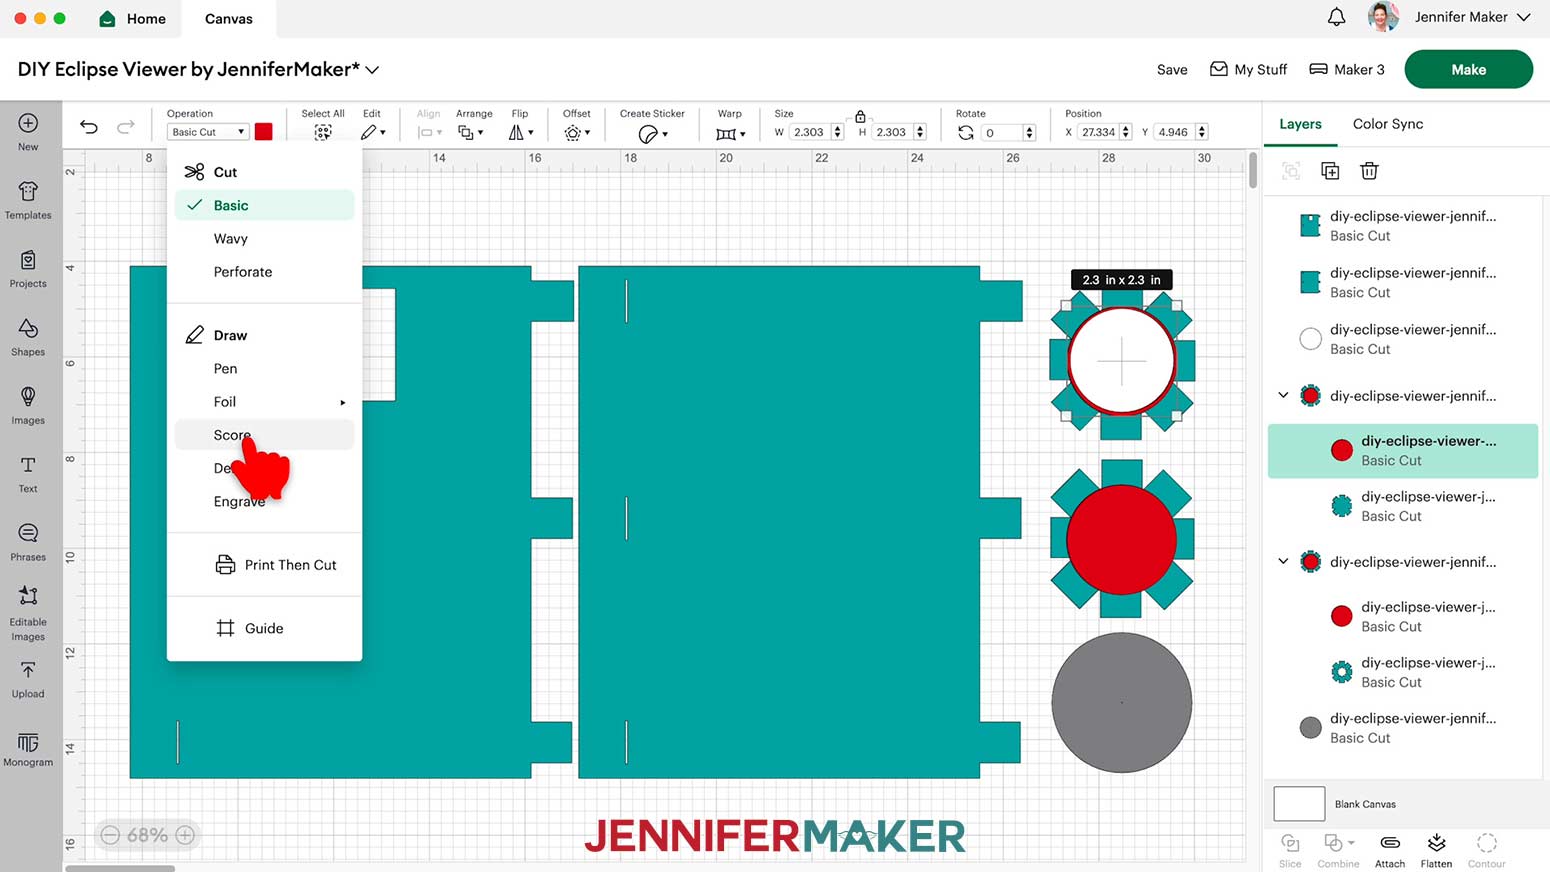
NOTE: If you’re cutting the aluminum foil with a machine, leave the Material Size at “12 in x 12 in.”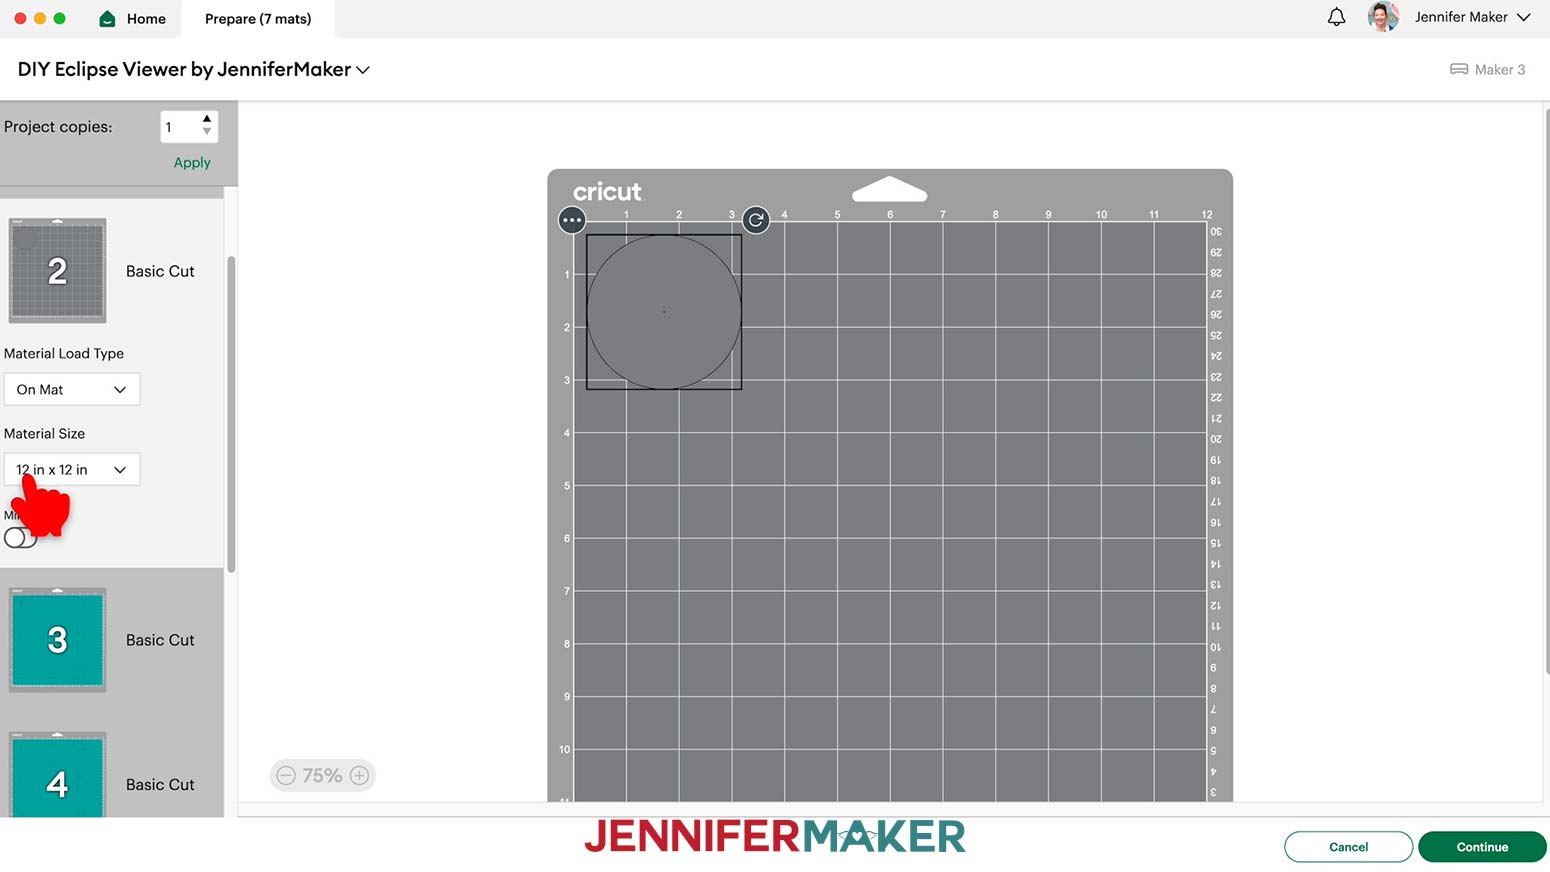

NOTE: The Cricut will make the cut right where the preview screen shows, so make sure your material is in the correct spot.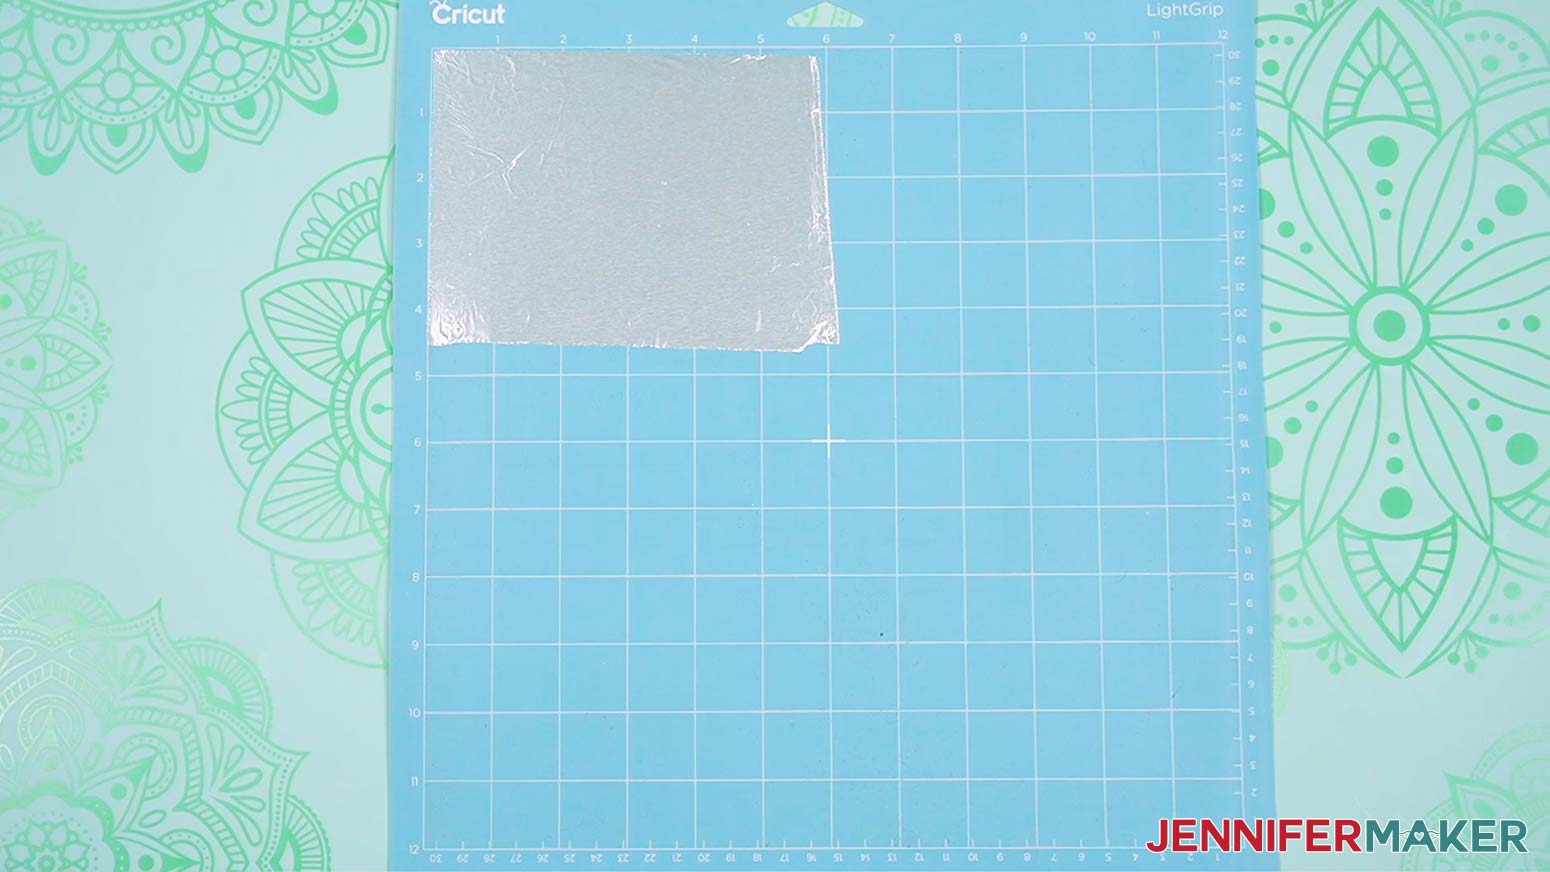
NOTE: Your screen may recommend using a deep-point blade, but mine worked well with the fine-point blade.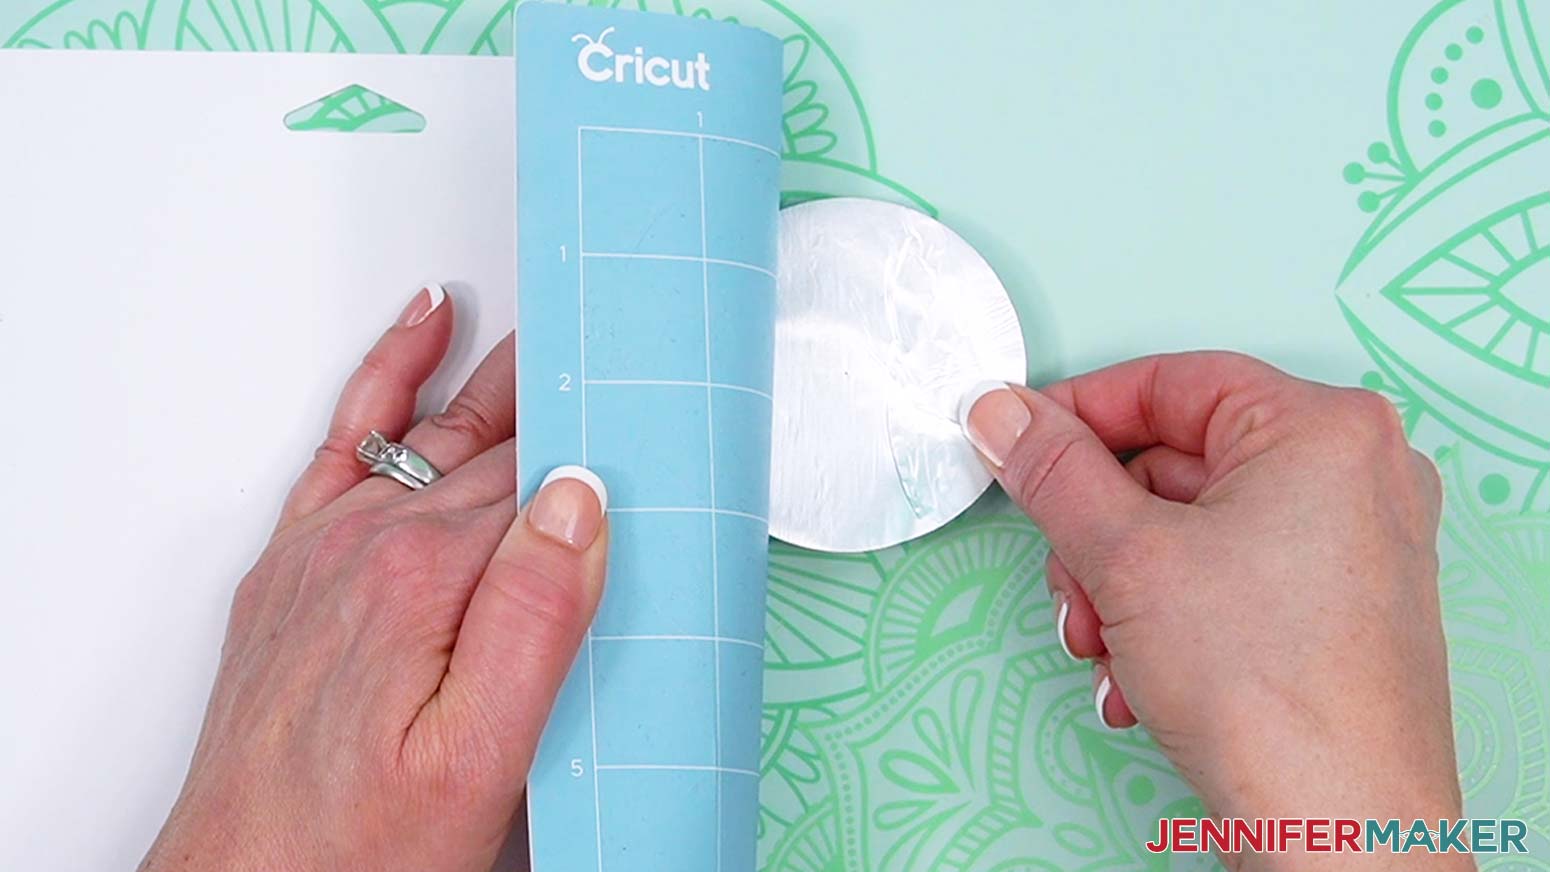
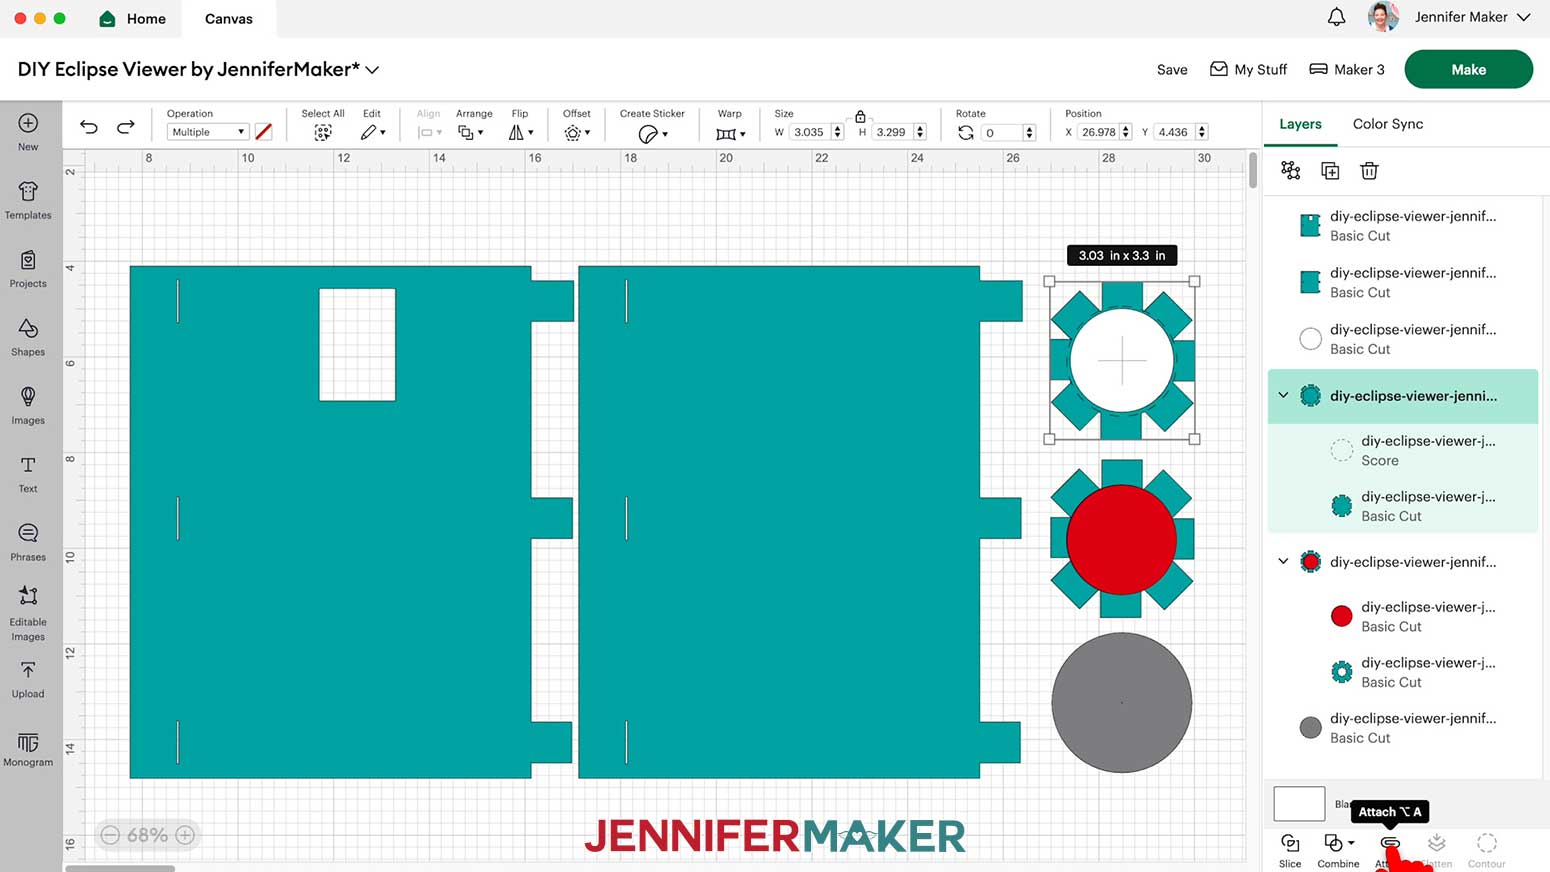
NOTE: When you get to the mat with the cap pieces, you can change the scoring tool if you want, then follow the prompts on the screen.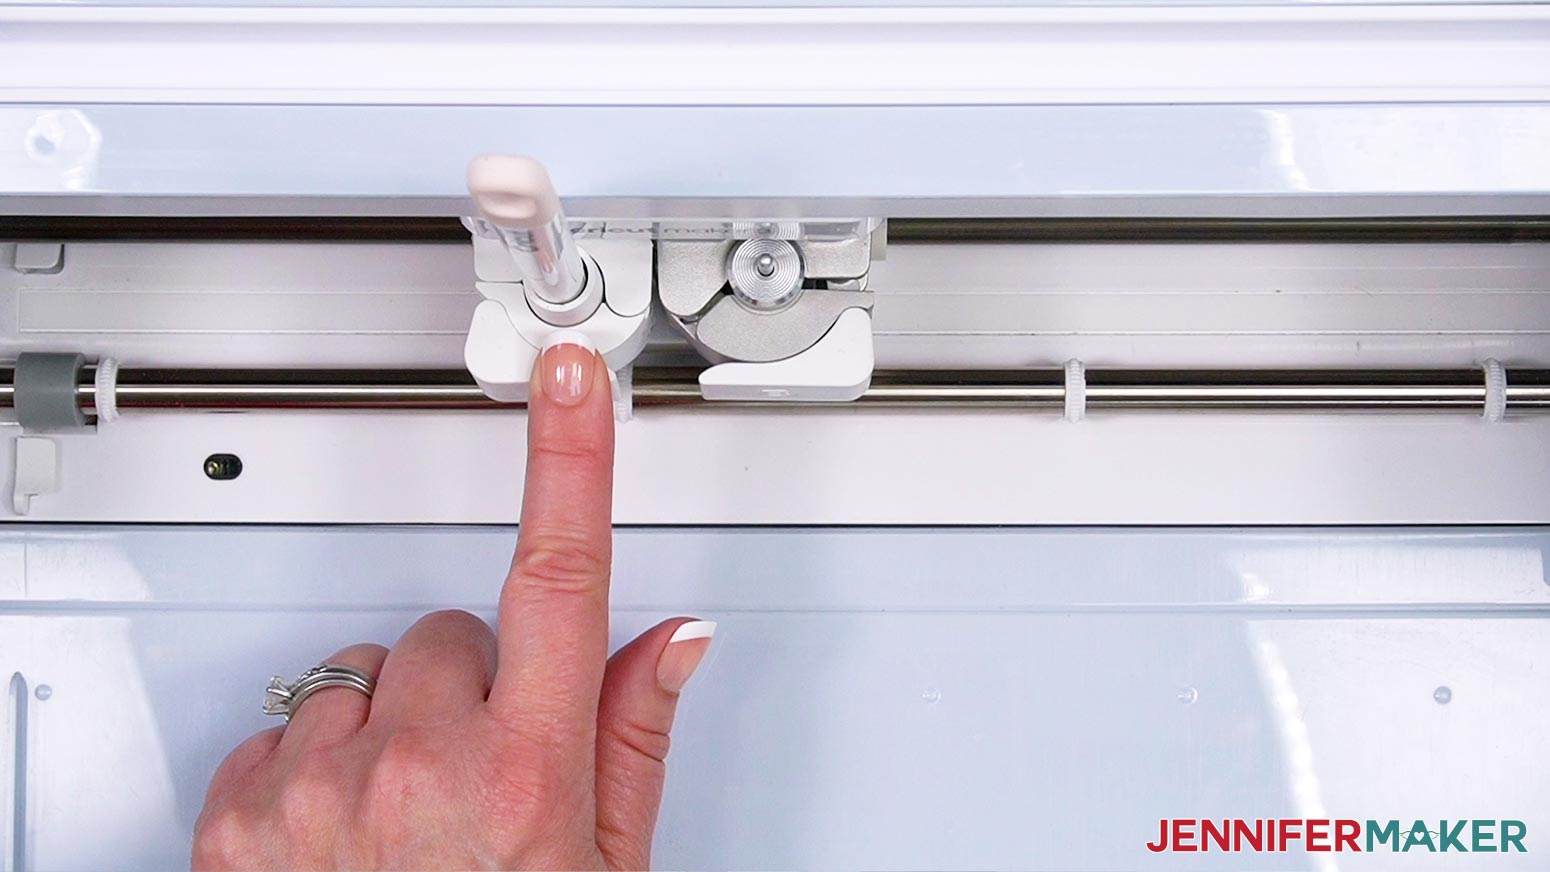
TIP: Use a spatula to carefully remove any intricate parts and a weeding tool to pop out any small pieces. If you have trouble with any of your cuts, check out my Cricut Tips & Tricks for Cleaner Cuts.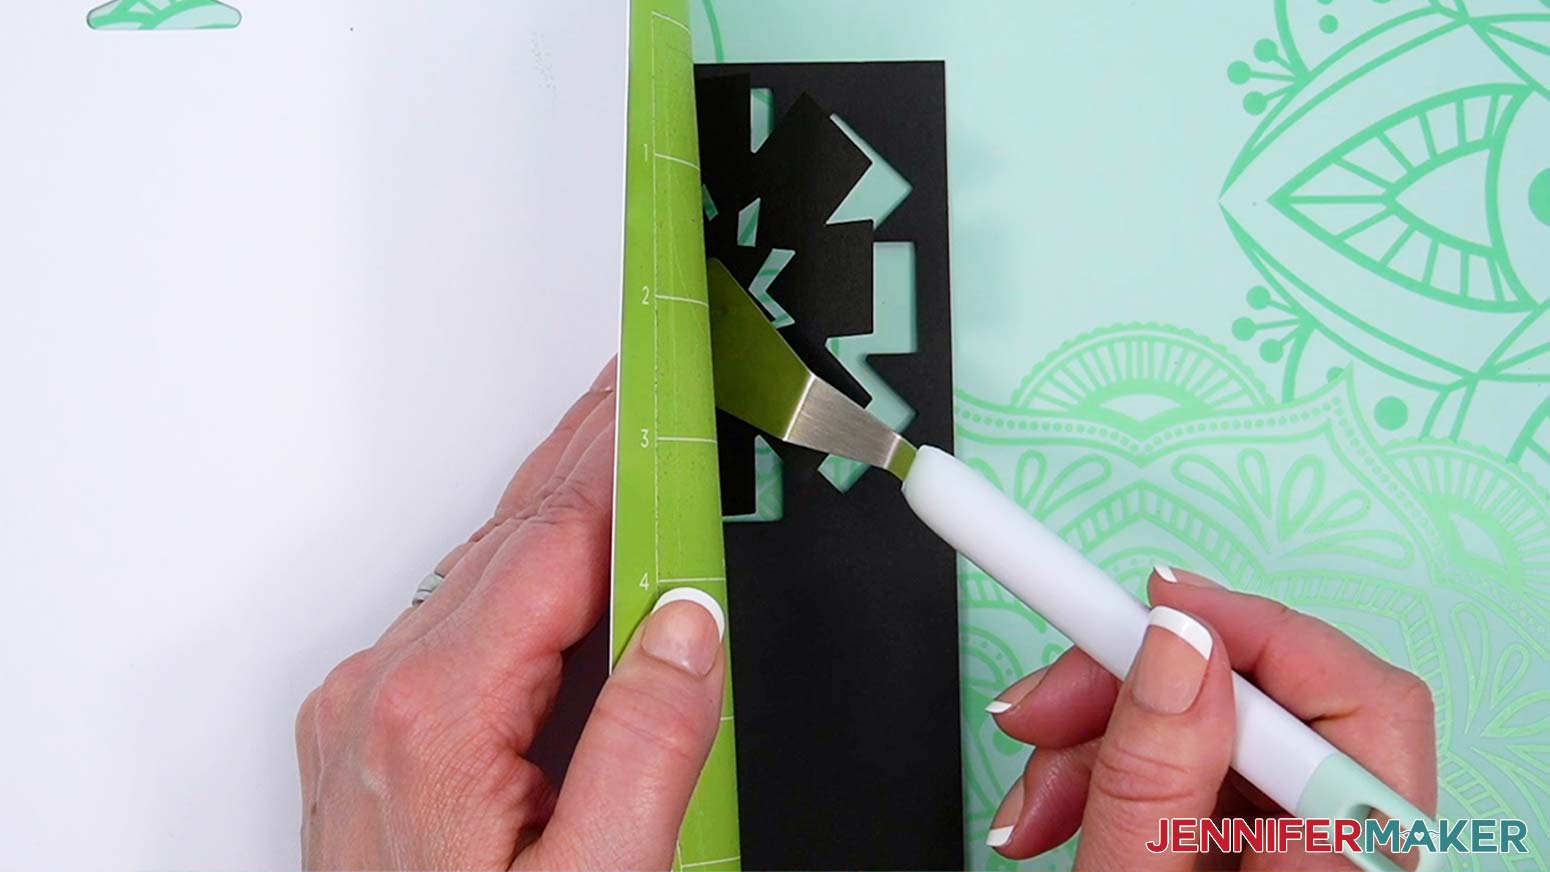
STEP 3: ASSEMBLE YOUR DIY ECLIPSE VIEWER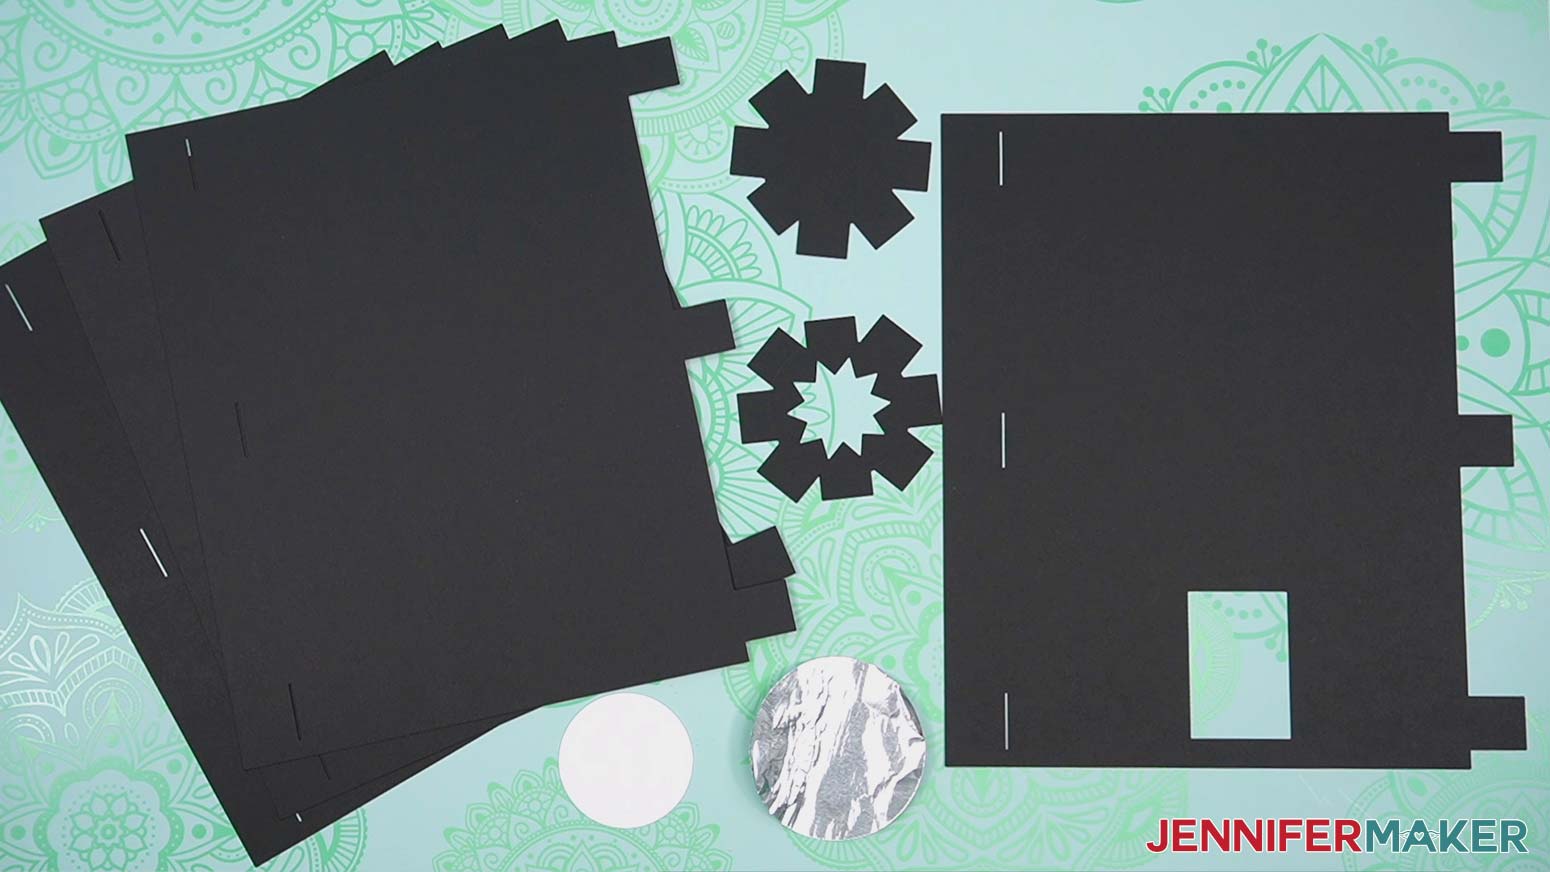
NOTE: If you didn’t use a cutting machine to cut your aluminum foil, cut a 3” circle using scissors. 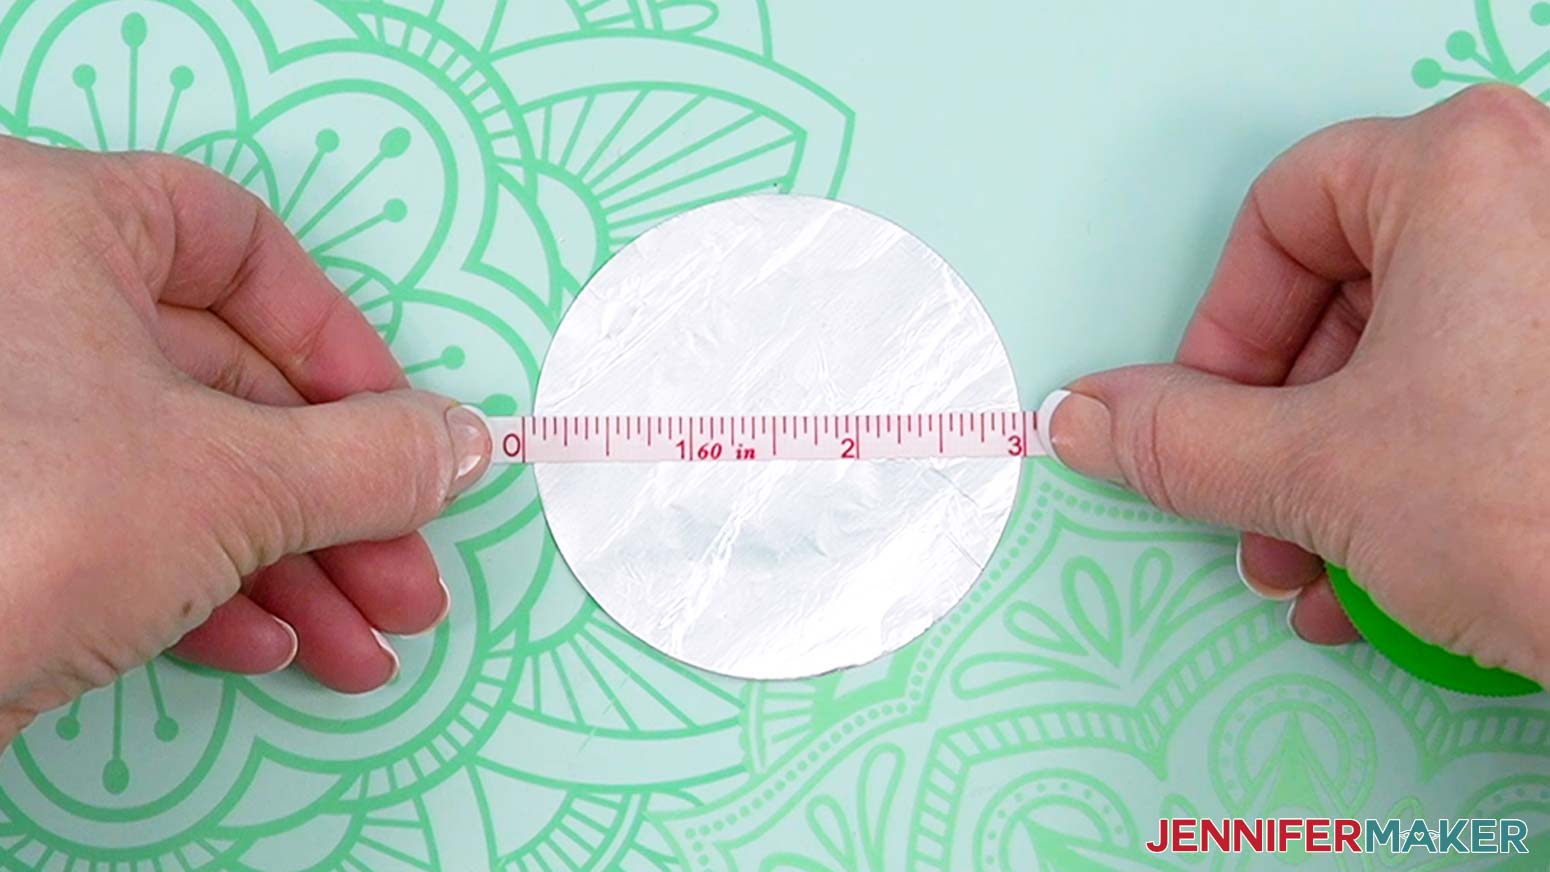
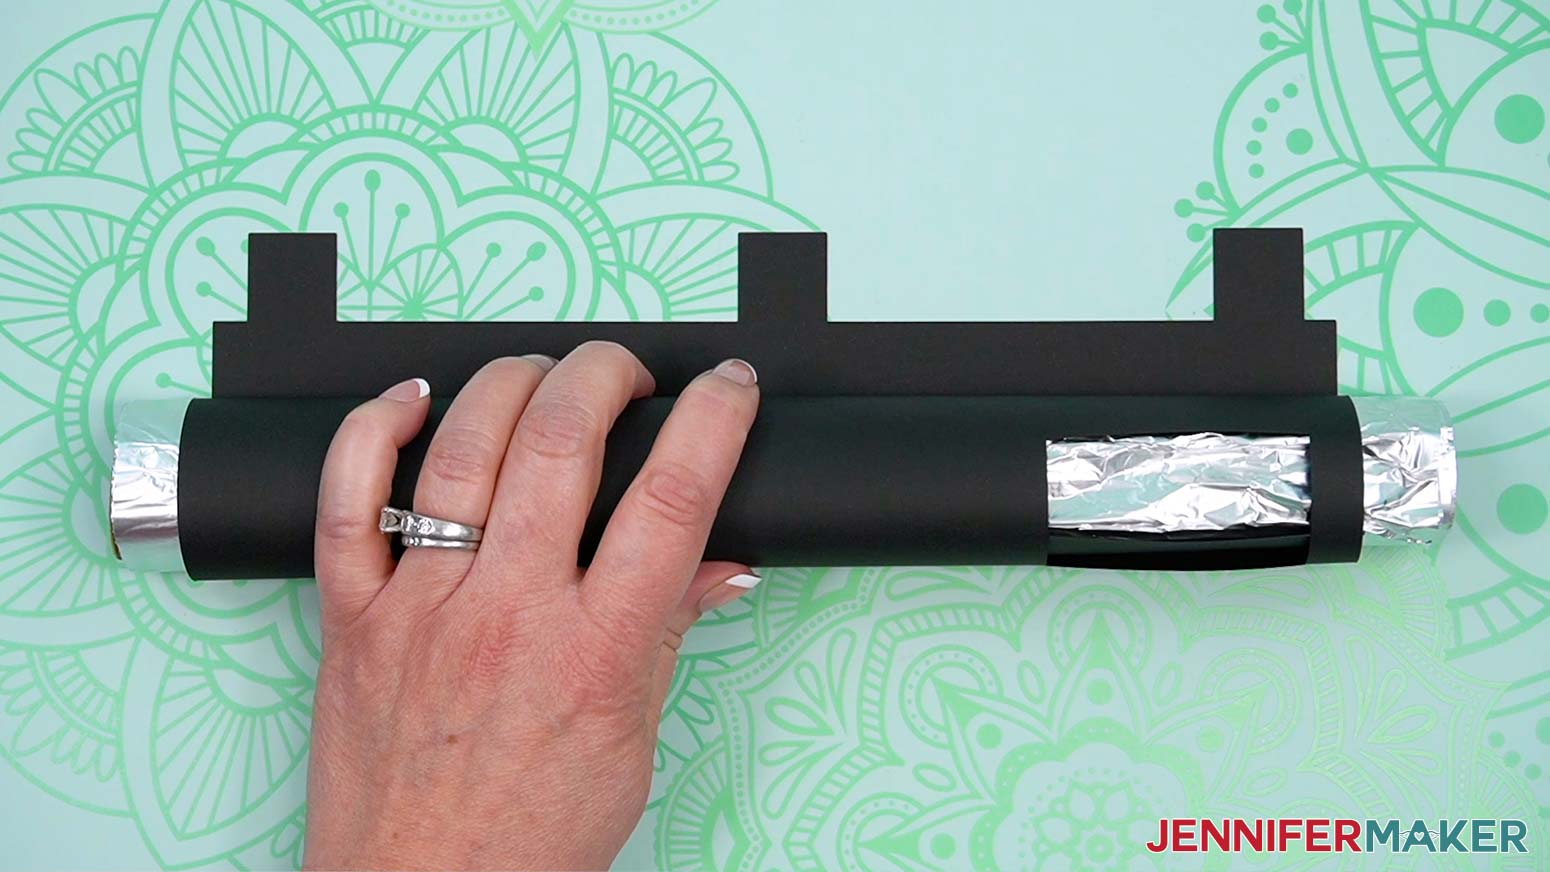
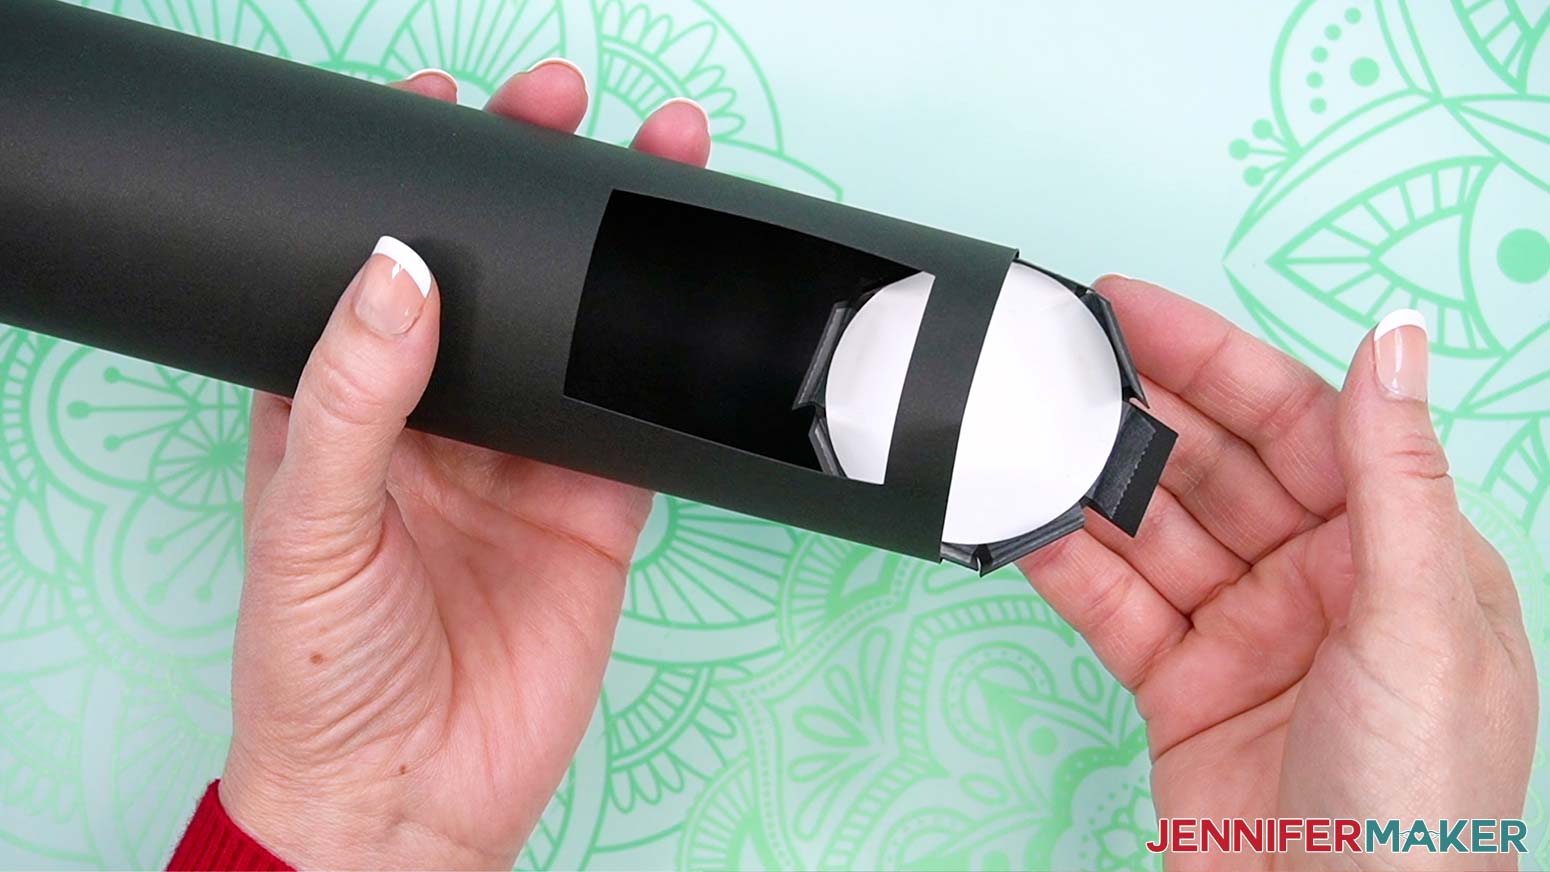
TIP: Starting near the cutout and moving from there might be easier than working on all three at once.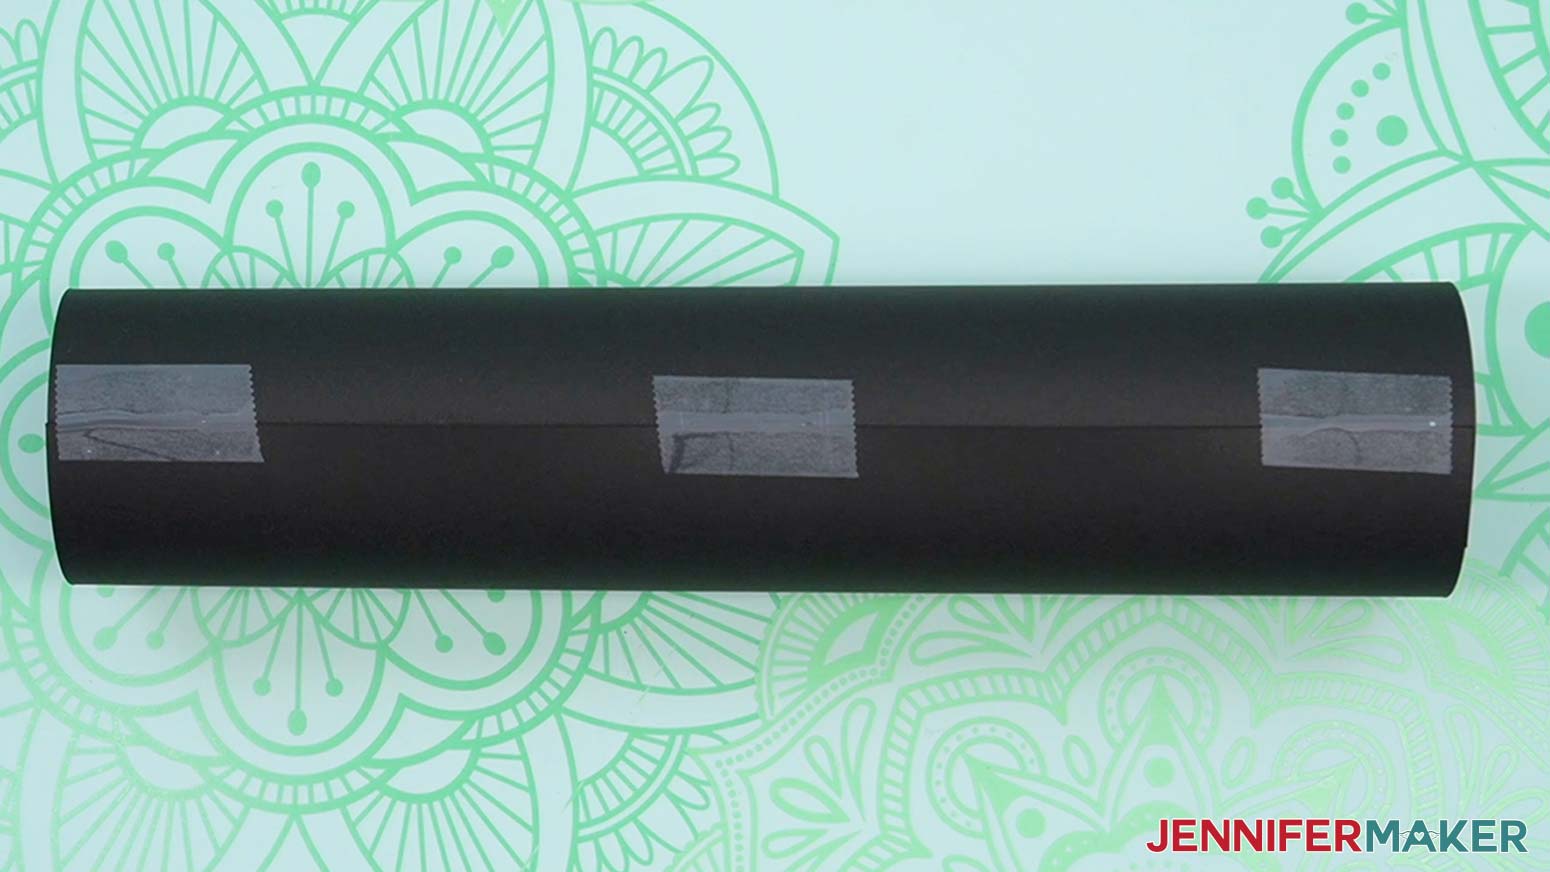
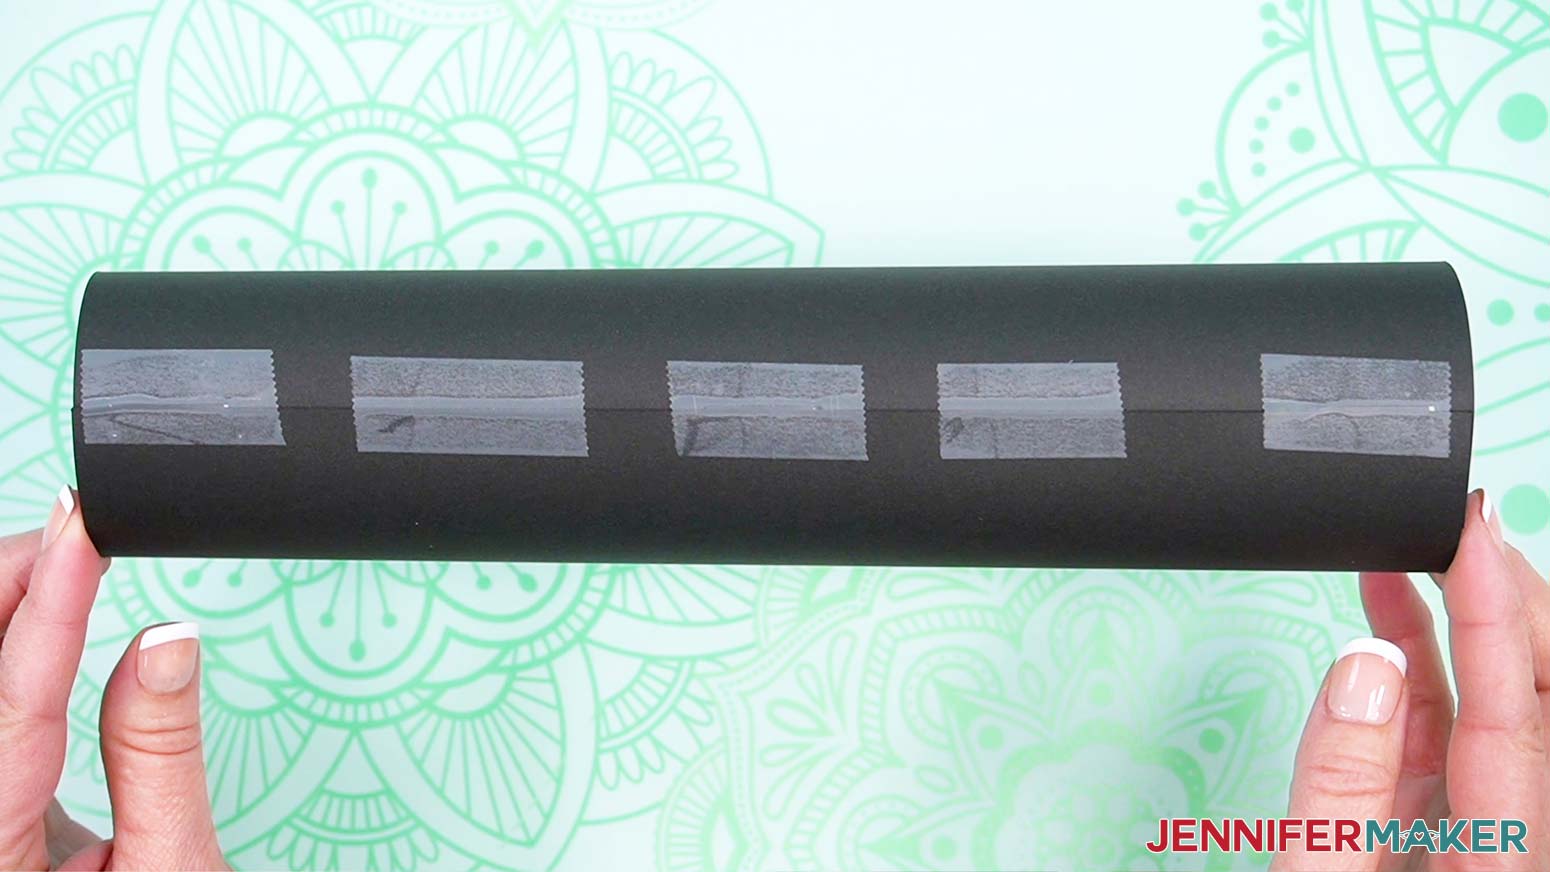
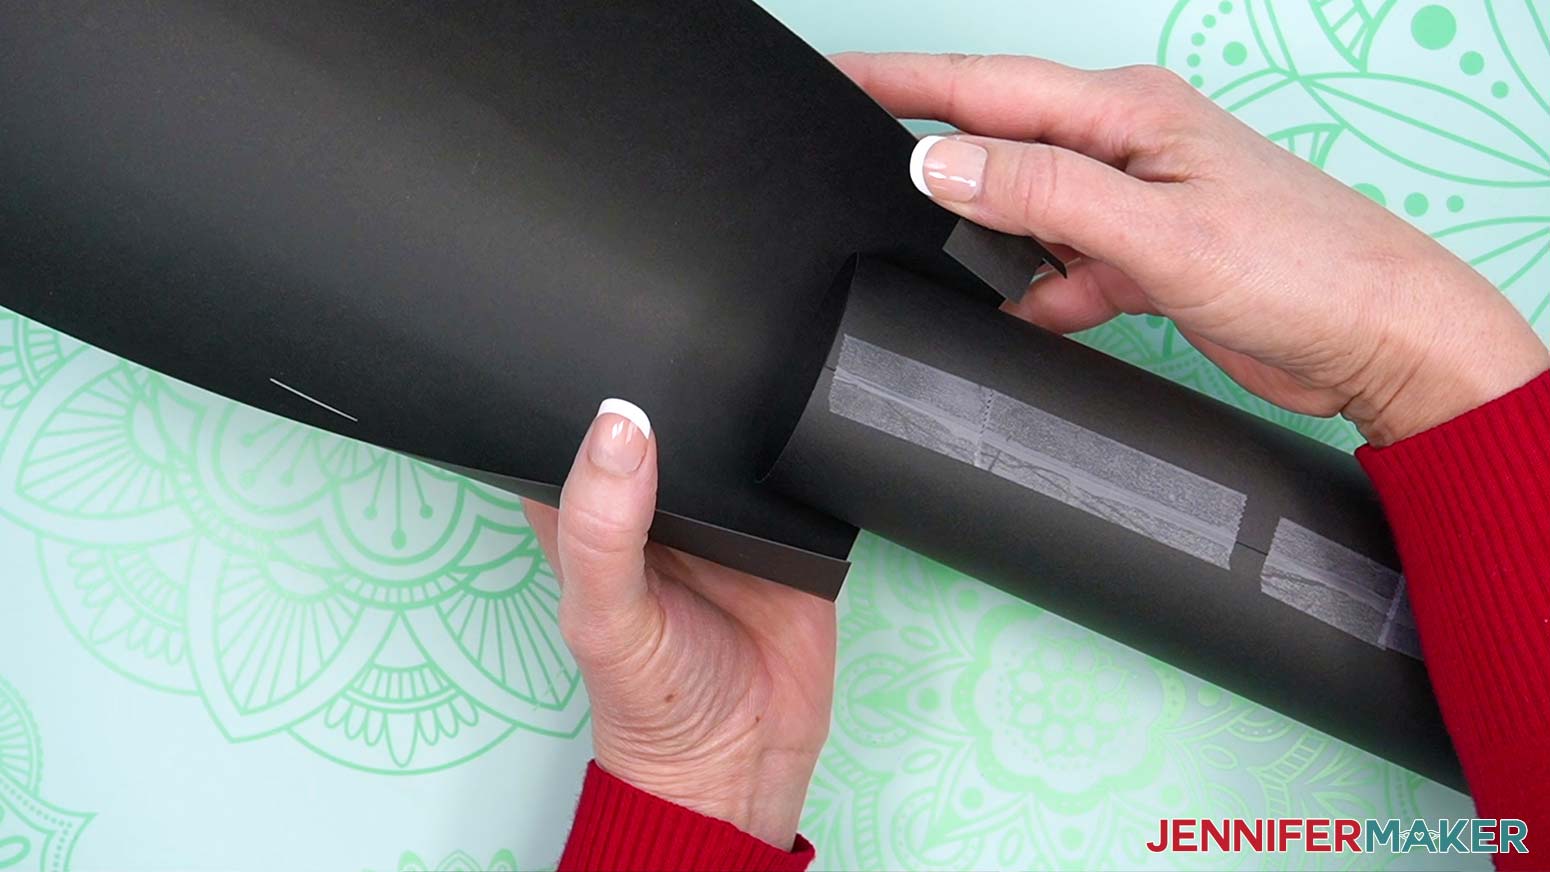
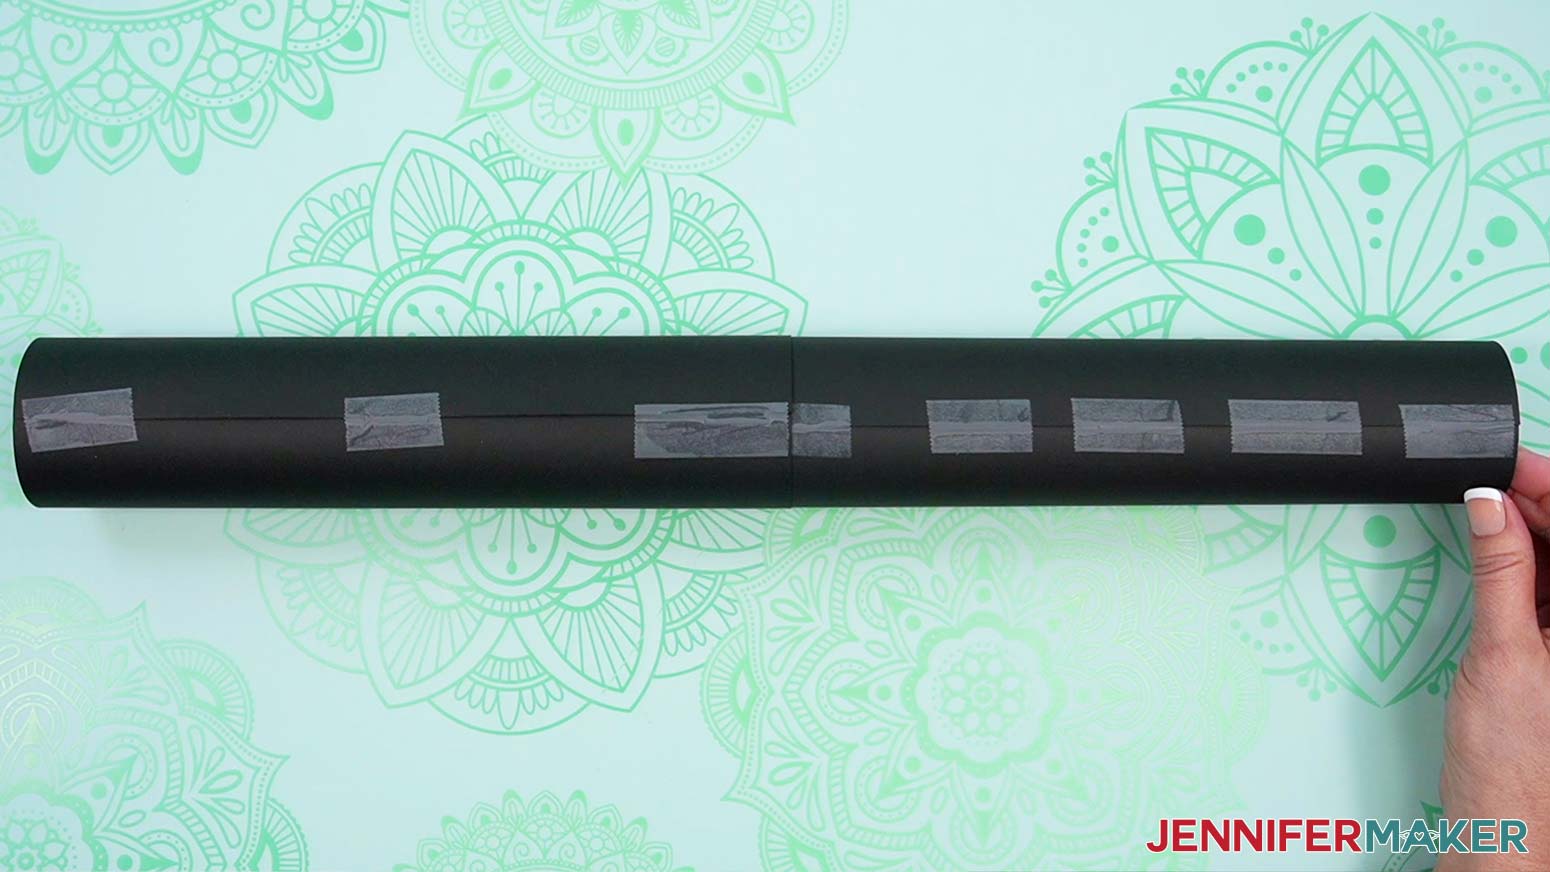
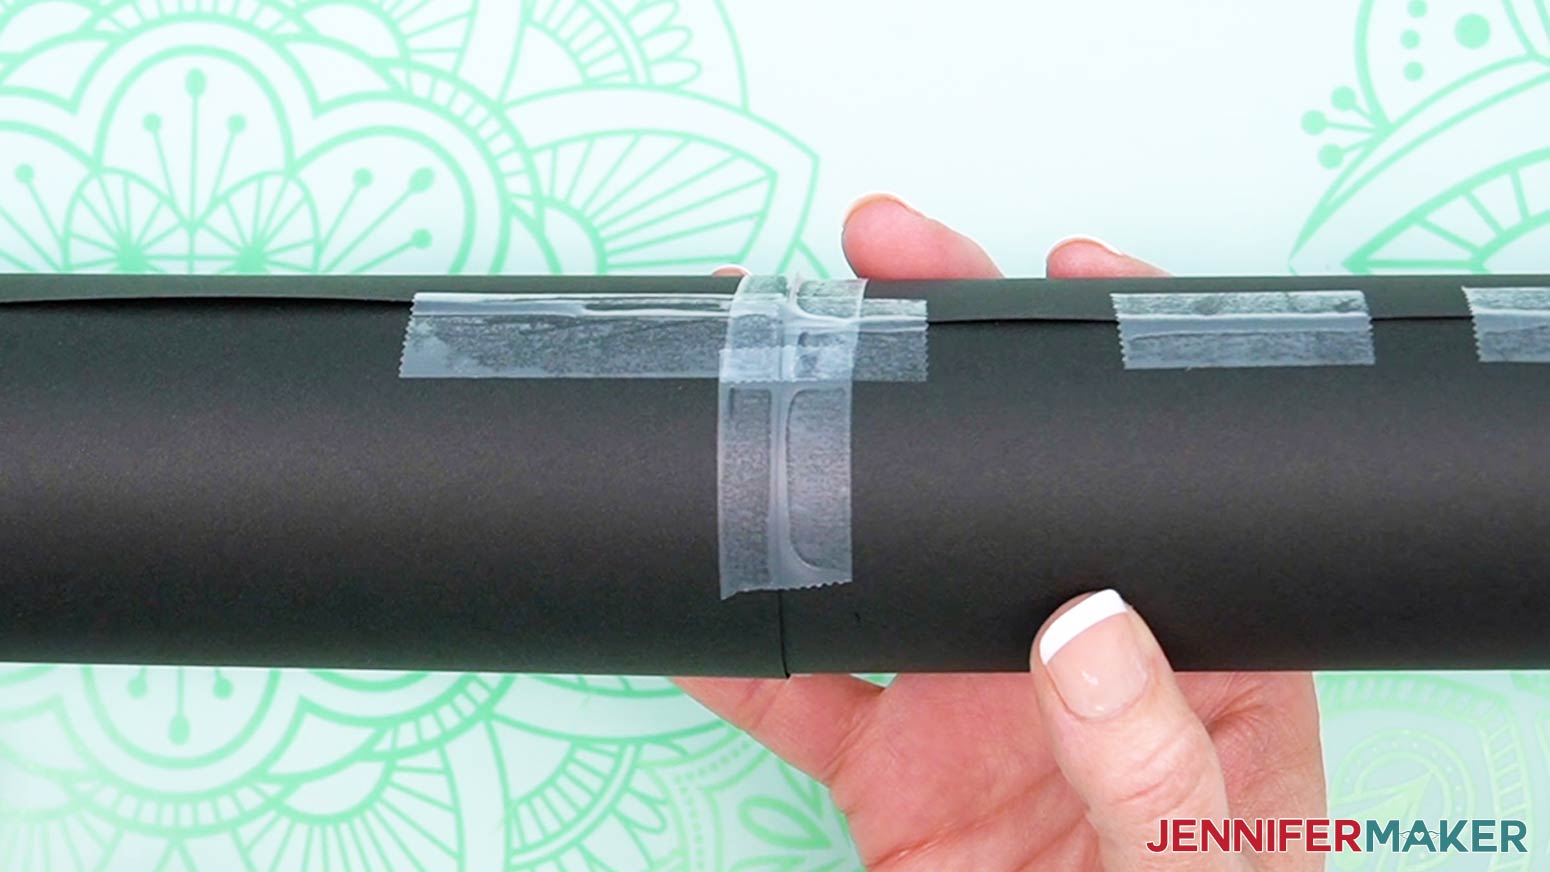
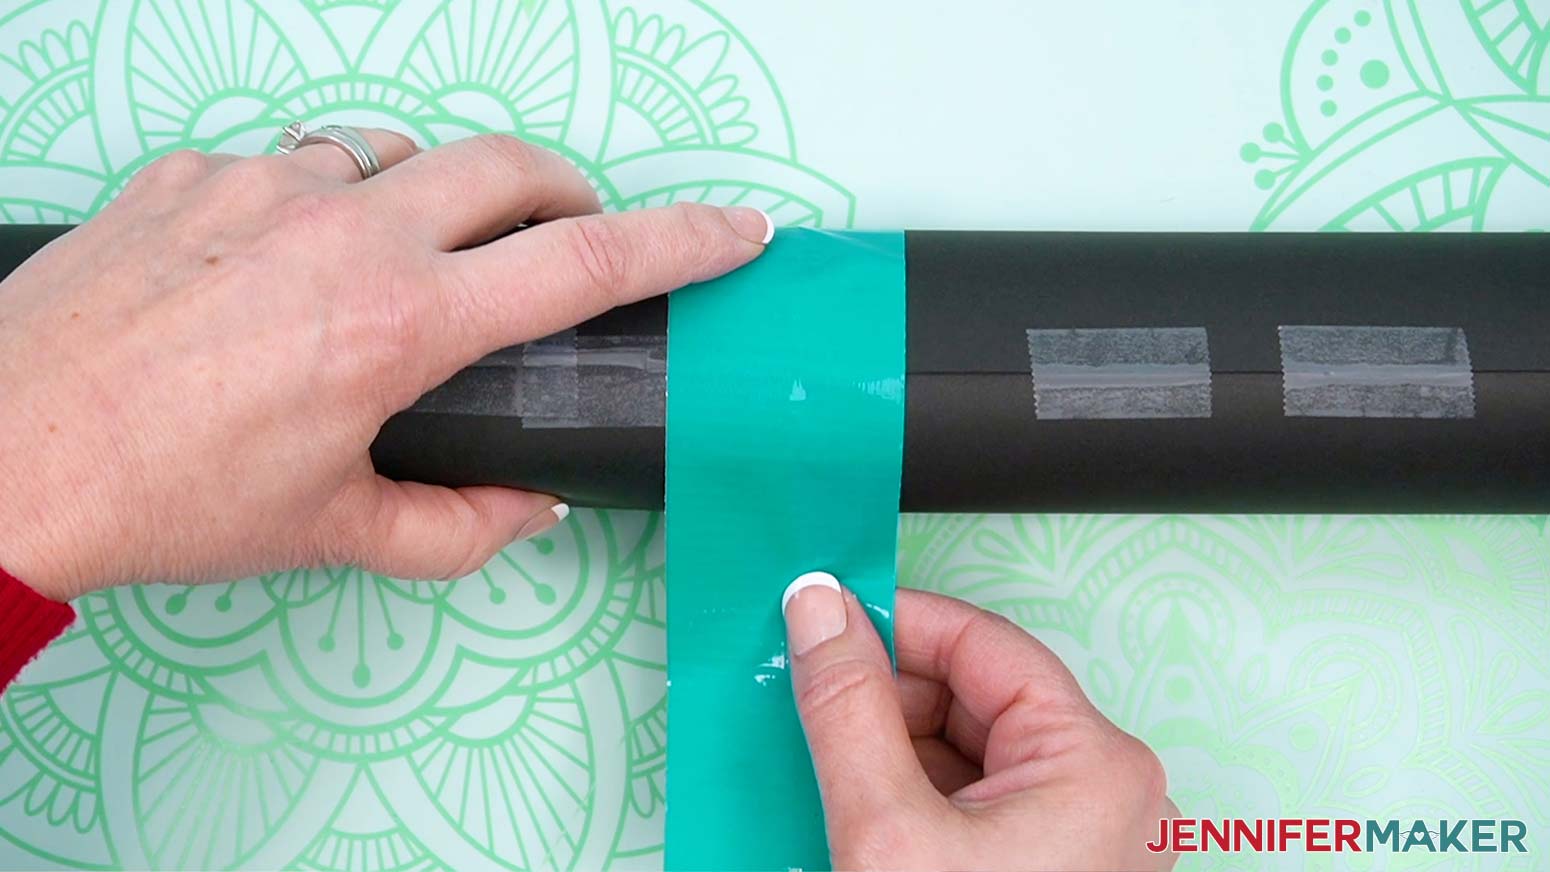
TIP: Make sure they overlap the previous one by an inch and are well secured,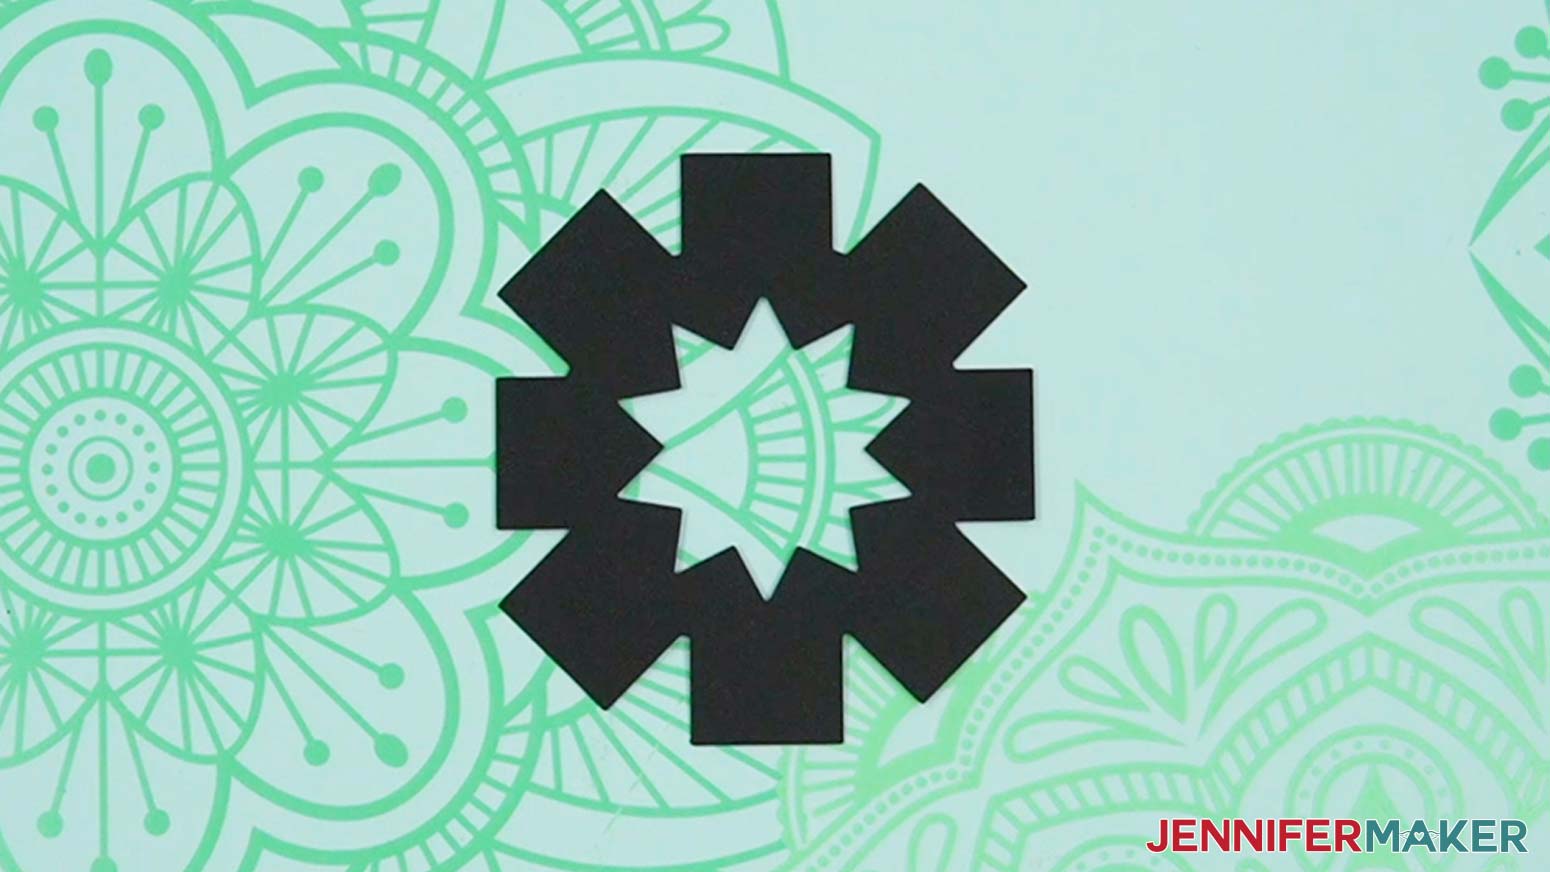
NOTE: If you didn’t add score lines, wait until you’ve put the cap on the tube to bend the tabs.
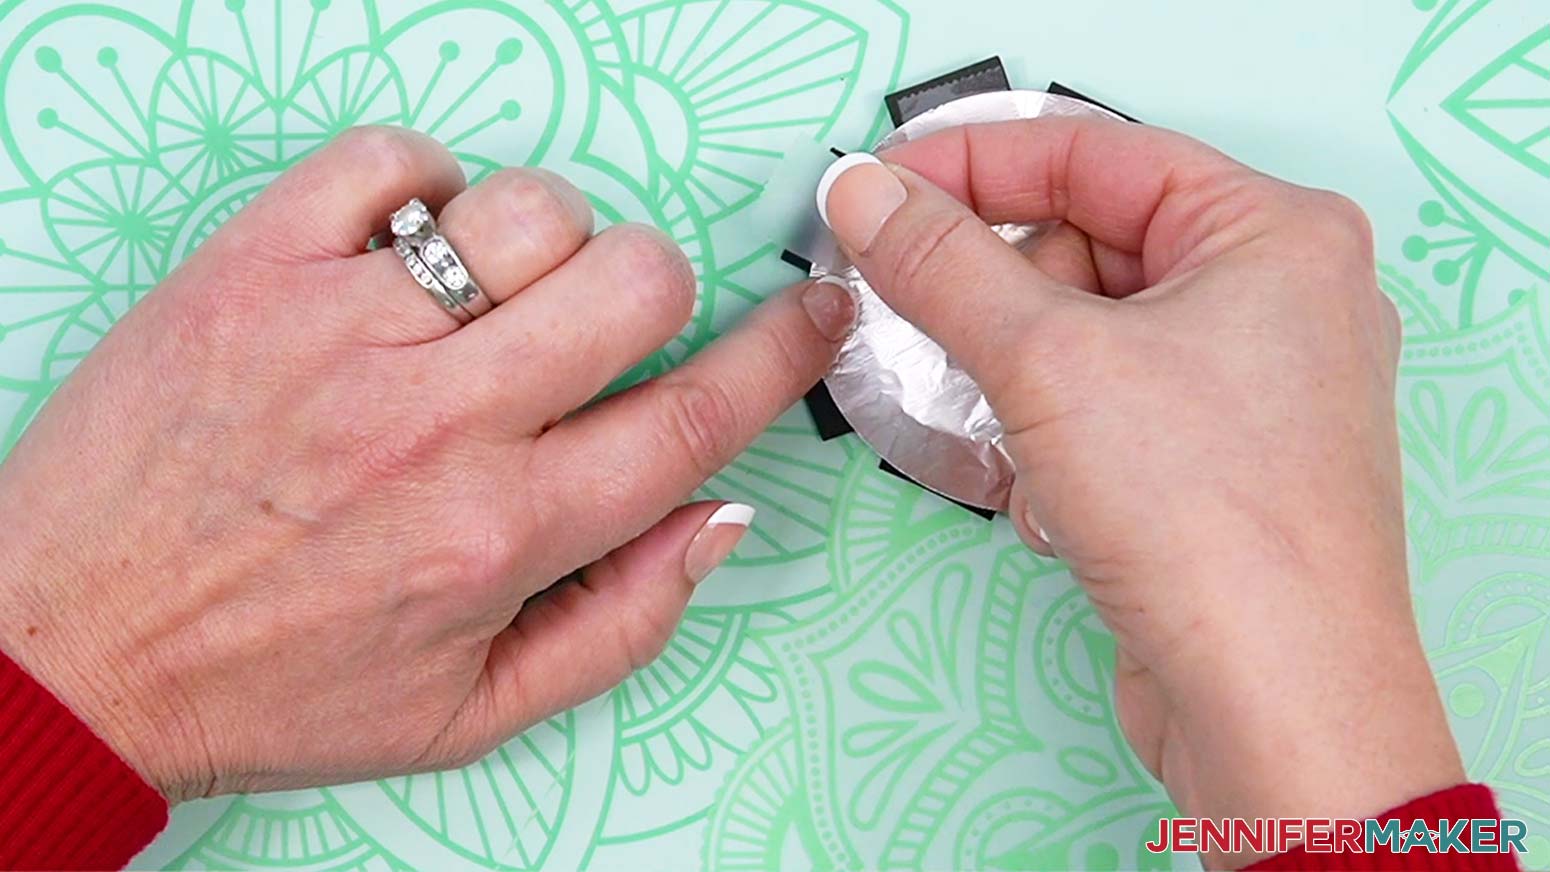
NOTE: If you didn’t use a Cricut to cut the foil circle, we will add the pinhole once the foil is attached.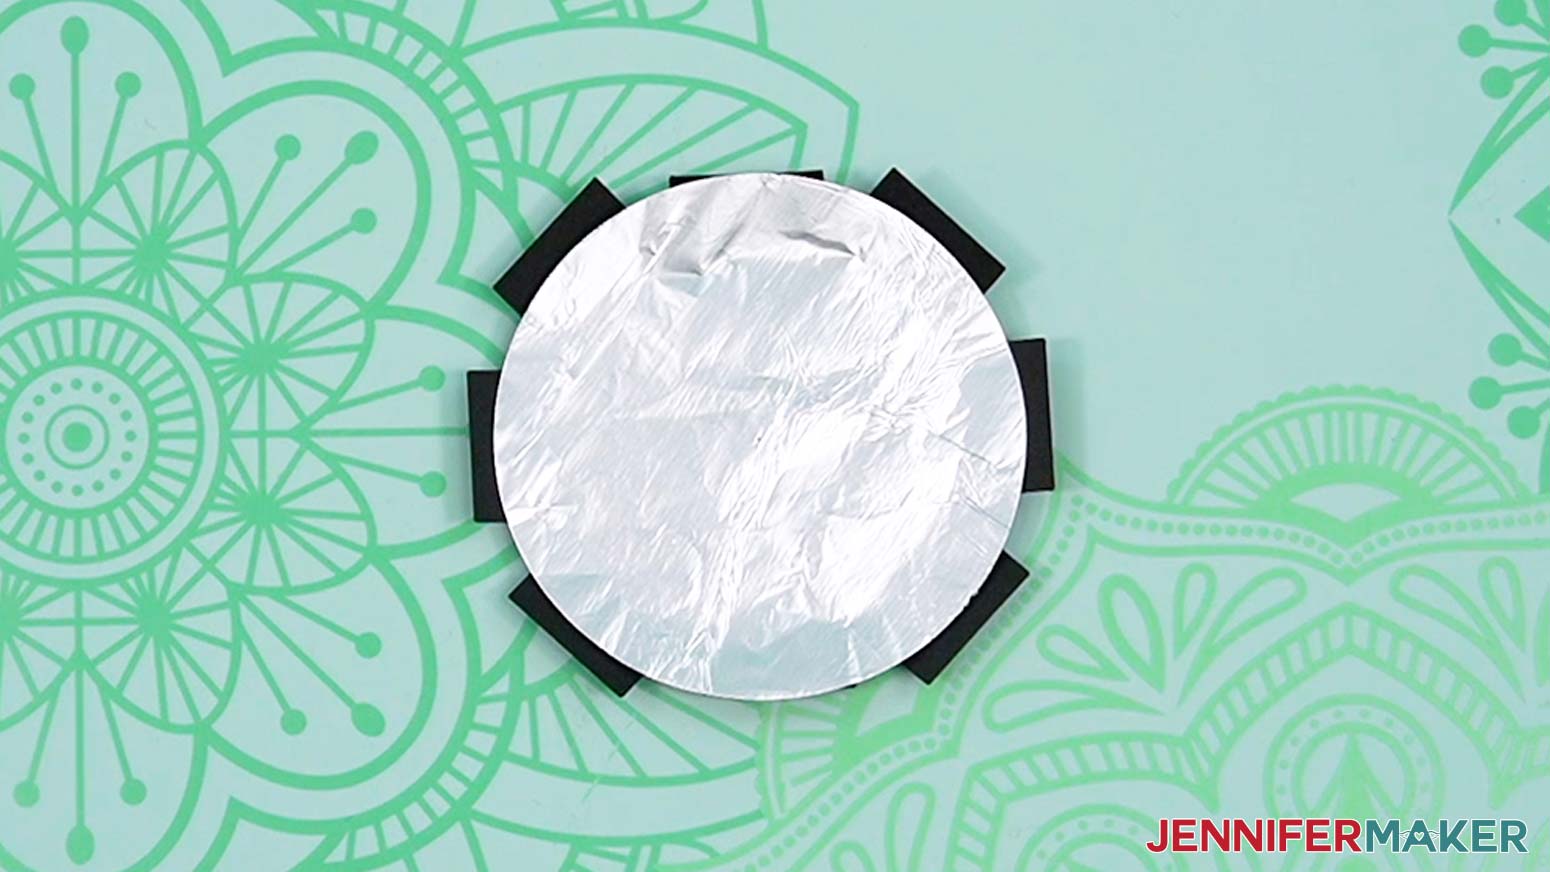
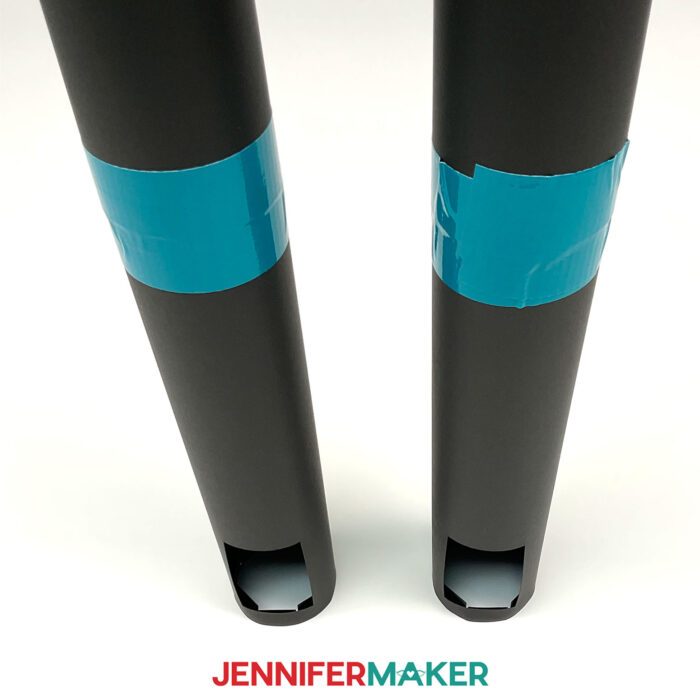
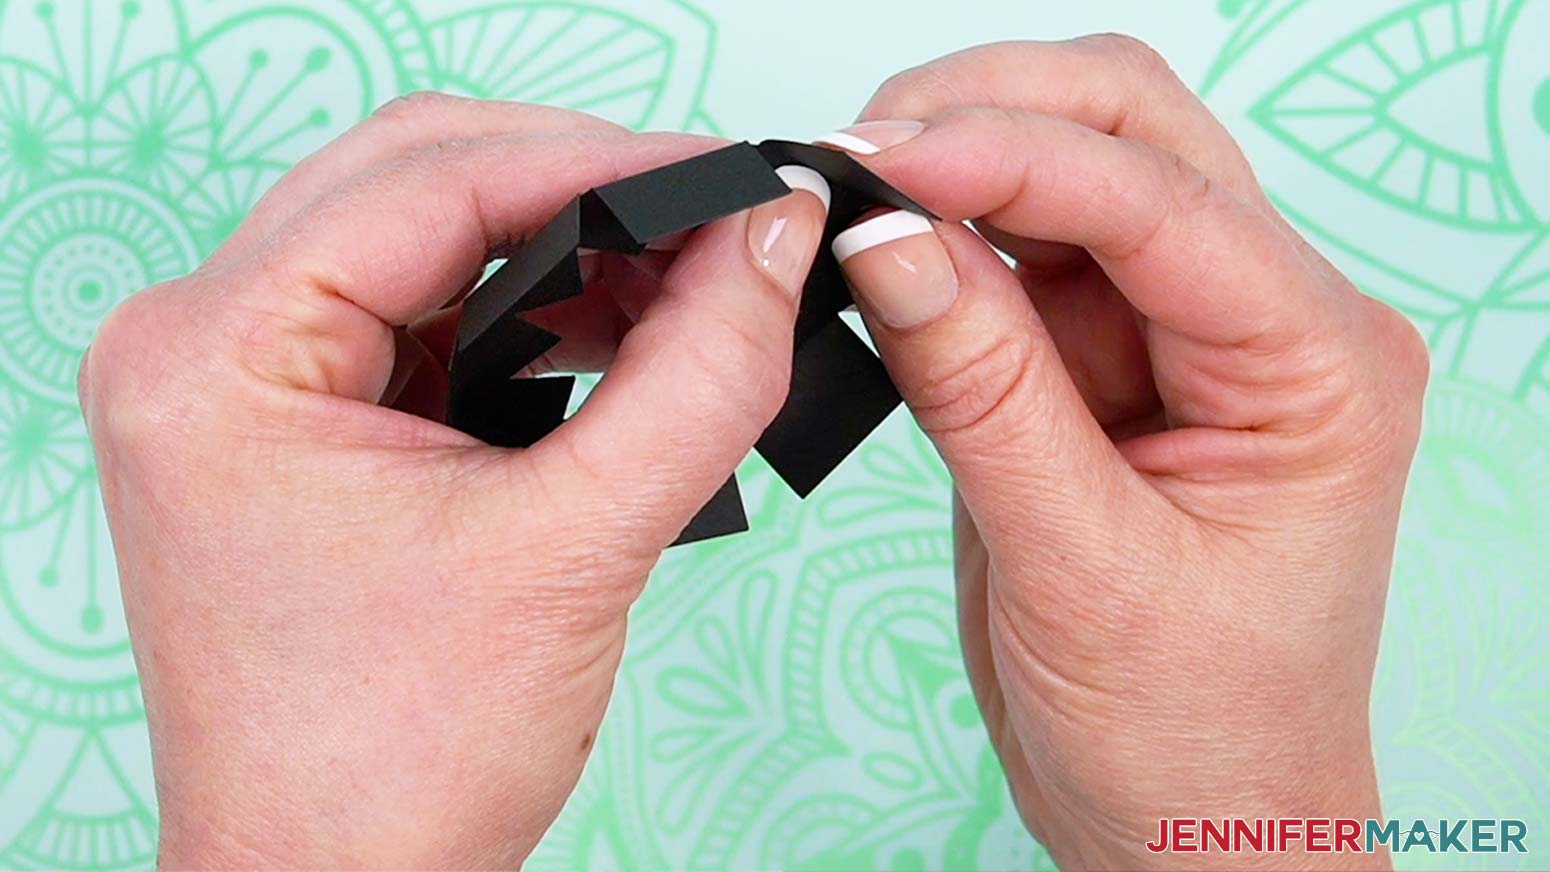
NOTE: If your sunburst window doesn’t have score lines, gently fold each tab down around the tube so the foil is centered.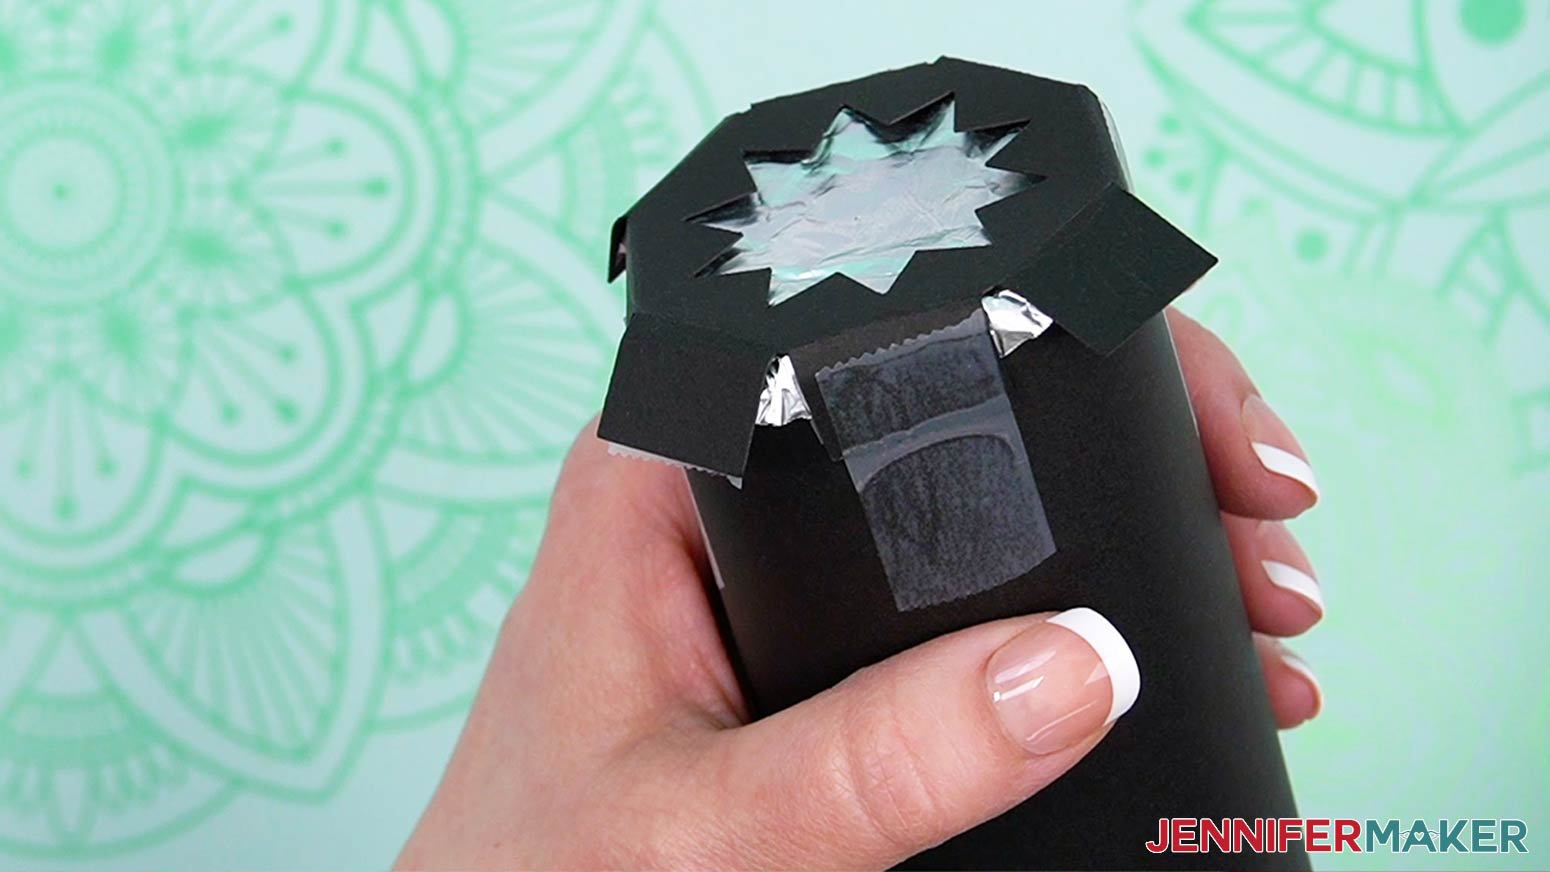

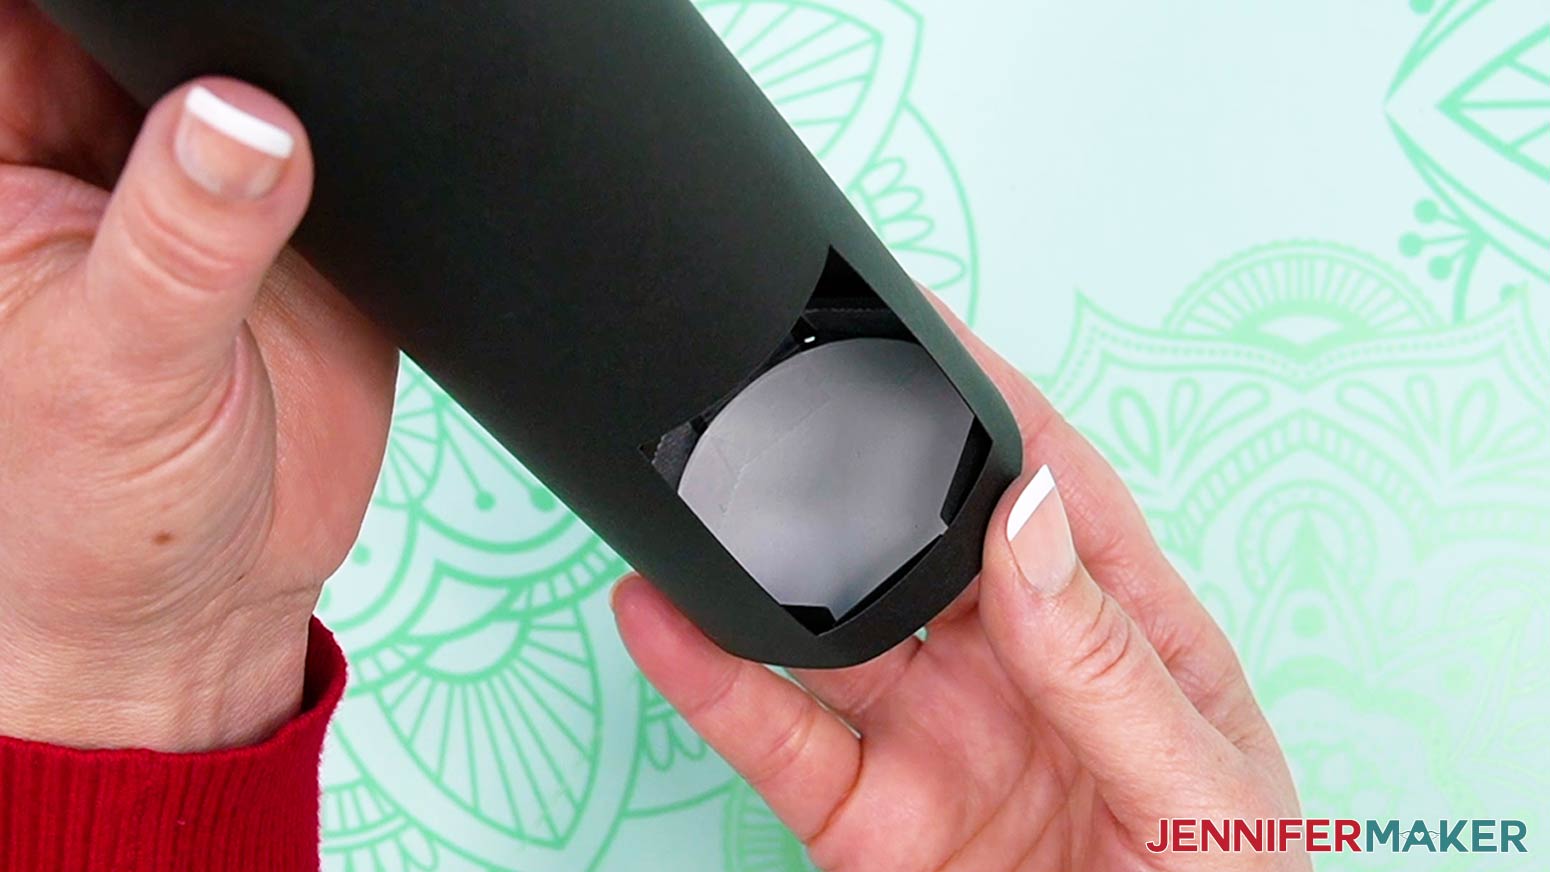
NOTE: Don’t use adhesive to keep the cap in place, because you might want to experiment with some of my viewing tips!
STEP 4: SAFETY CHECK YOUR DIY ECLIPSE VIEWER
NOTE: If it’s not working, use more tape to cover any gaps that might be letting light in.
STEP 5: SAFELY USE YOUR DIY ECLIPSE VIEWER
IMPORTANT: Do not look directly at the eclipse, even while you’re getting set up.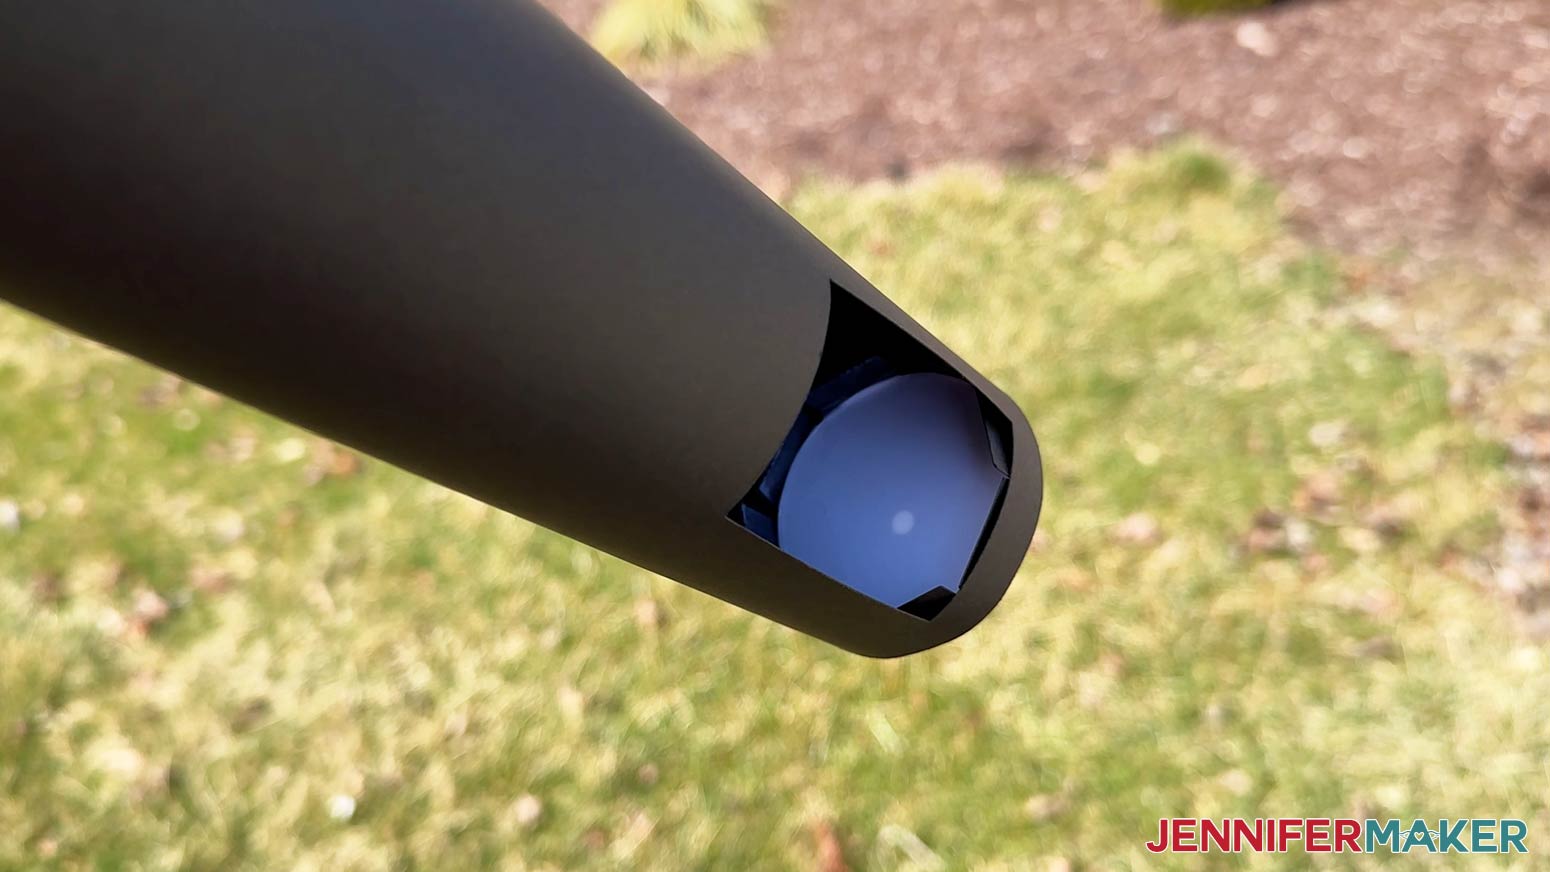

STEP 6: SHOW IT OFF
Remember to stay safe while enjoying the historic event!Notes
Answers to Your Questions About Making A DIY Eclipse Viewer
Q: How can you see a solar eclipse without a pair of eclipse glasses?
A: Do not look directly at the solar eclipse without protection if you can’t get solar viewing glasses. A safe way is to use an indirect viewer like my DIY tube in this tutorial!
Q: How do eclipse pinhole projector/viewers work?
A: The idea is that a small hole in the small piece of tinfoil at one end (which is aimed at the sun) allows in enough sunlight to project an inverted image of the eclipse on the other end of the tube. This is also known as a pinhole camera, or camera obscura. It works well, even if you’re using a tube like mine, a cardboard box, or a shoe box!
Q: What can you make a DIY eclipse viewer out of?
A: Most people make their pinhole projectors out of old cardboard boxes, or even cereal boxes, which limits how big the projected image of the eclipse can be. But with my design, you can make yours as long as you wish for a larger, better image. You can estimate how big your image of the eclipse will be by multiplying the length of the tube by .01 — for example, a six-foot-long tube will project an image .072 inches in diameter (roughly ¾ inch).
Get my free SVG files to create a DIY Eclipse Viewer
I love seeing what you make with my designs and how you use them! Please share a photo of your DIY eclipse viewer in our Facebook group or tag me on social media with #jennifermaker.
Enjoy the eclipse! And if you make a viewing tube, please share your photo. Email them to me at [email protected] and we’ll share them here.
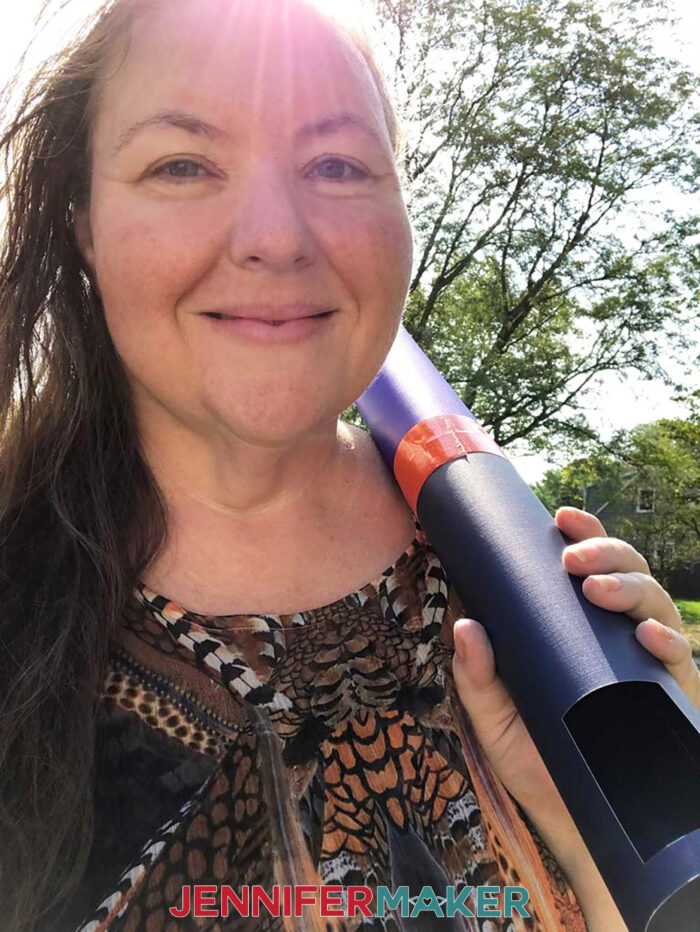
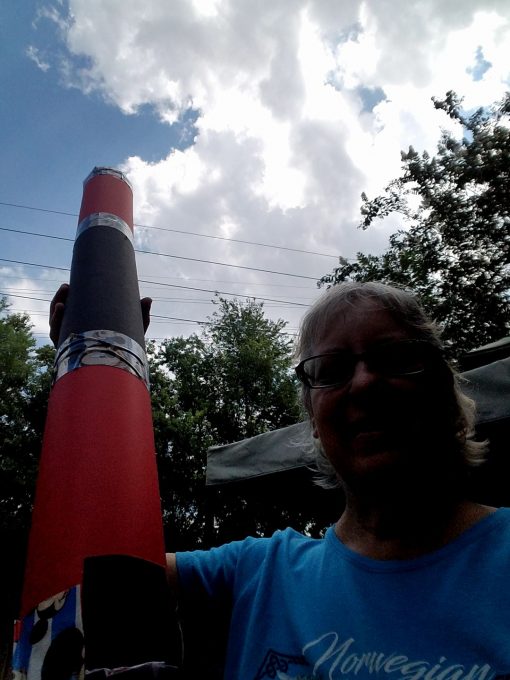
Here’s me with my DIY eclipse viewer tube in 2017!
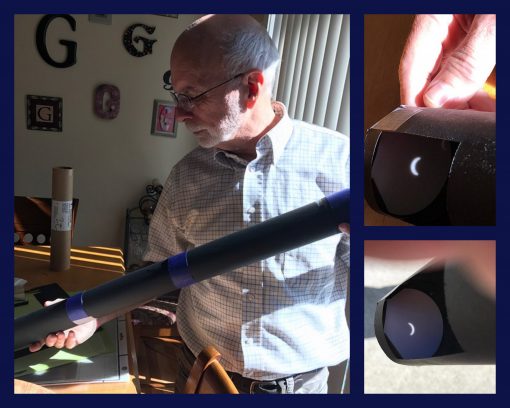
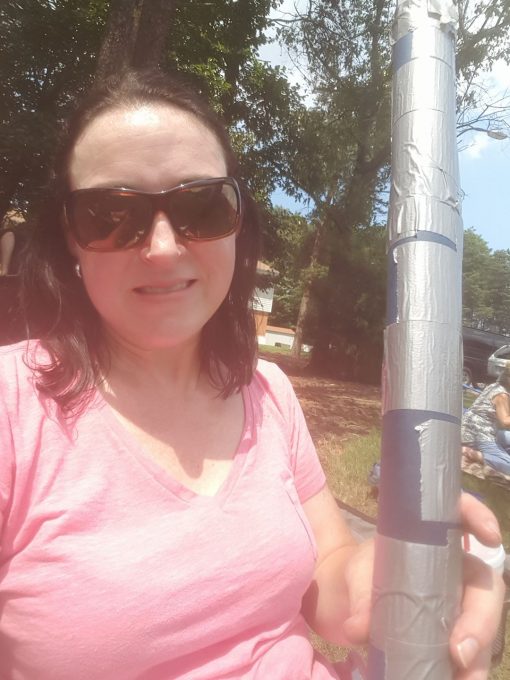
This is my favorite image from Miriam Giles — her husband was impressed with the viewer! He says, “Thank you! It worked really well.”
Here are more photos from readers who made and used my DIY eclipse viewer with great results!
Love,

Want to remember this? Save this DIY Eclipse Viewer Tutorial to your favorite Pinterest Board!


HI! so glad you came up with this. I was worried about my son using glasses(not that we could find any) and now he can safely view the eclipse! However, when I download the file and opened it in my silhouette I only have the one piece of the tube with a circle in it instead of the rectangle. do I use the circle as the viewing hole instead of the rectangle, thanks!
Nevermind! duh! When you ungroup, you have everything you need! 😉
Correct! Glad you figured it out. Do let me know if you have any questions. 🙂
Thank you, Jennifer! I am in Hastings, MI, so not too far from you. We will get 85% eclipse. I’m just hoping it’s not too cloudy. I am going to try making a tube.
Yay! Let me know if you have any questions!
I can’t find the pattern for the eclipse viewer using a cricut
Hi, Barbara! The pattern for the viewer is in my free resource library at https://jennifermaker.com/resource-library — it is password protected, but you can get the password emailed to you by filling out the form at https://app.convertkit.com/landing_pages/145985 — it is located at the very top of the library list
In the post it says for Cricut users to use the SVG download, but im not seeing it anywhere….am i blind lol
Hi, Bailey! The pattern for the viewer is in my free resource library at https://jennifermaker.com/resource-library — it is password protected, but you can get the password emailed to you by filling out the form at https://app.convertkit.com/landing_pages/145985
Can,t. Wait to get the pattern?
Just made my viewing tube, following your excellent directions. Was pleasantly surprised to find you’re in Ann Arbor, as I attended the U of M 1956-1961 and have returned on numerous occasions to be a member of the audience in Lydia Mendelssohn for the Gilbert & Sullivan Society’s various productions. The Society was my main focus all five years of my U of M experience. My name is Terrell (Terry) Elbel Rodefer. If you’ll look up the name of the composer of “The Victors,” you’ll find it credited to Louis Elbel…my grandfather’s brother, i.e., my great-uncle. Uncle Louie was my piano teacher growing up in South Bend, the home of the Elbel family. Though a Hoosier, my family insisted on my going to the U of M because of Uncle Louie’s affiliation with the school. :>)
Glad to hear you made your viewing tube! So good to hear you have strong ties to Ann Arbor and U of M — I love both. Ann Arbor is my home and I couldn’t be happier here. Go Blue!
Thank you so much for this file and tutorial. I just put mine together this morning and held it up to the window and sun, it worked perfectly!
Hooray! Happy Eclipse Day!
My husband was very impressed with the tube. He says thank you!
It worked really well. I wish I could attach a picture 🙂
Wonderful! Happy I could help. 🙂