
Learn how easy it is to make a Cricut Infusible Ink project using Cricut blanks and fun transfer Infusible Ink sheet colors and patterns!
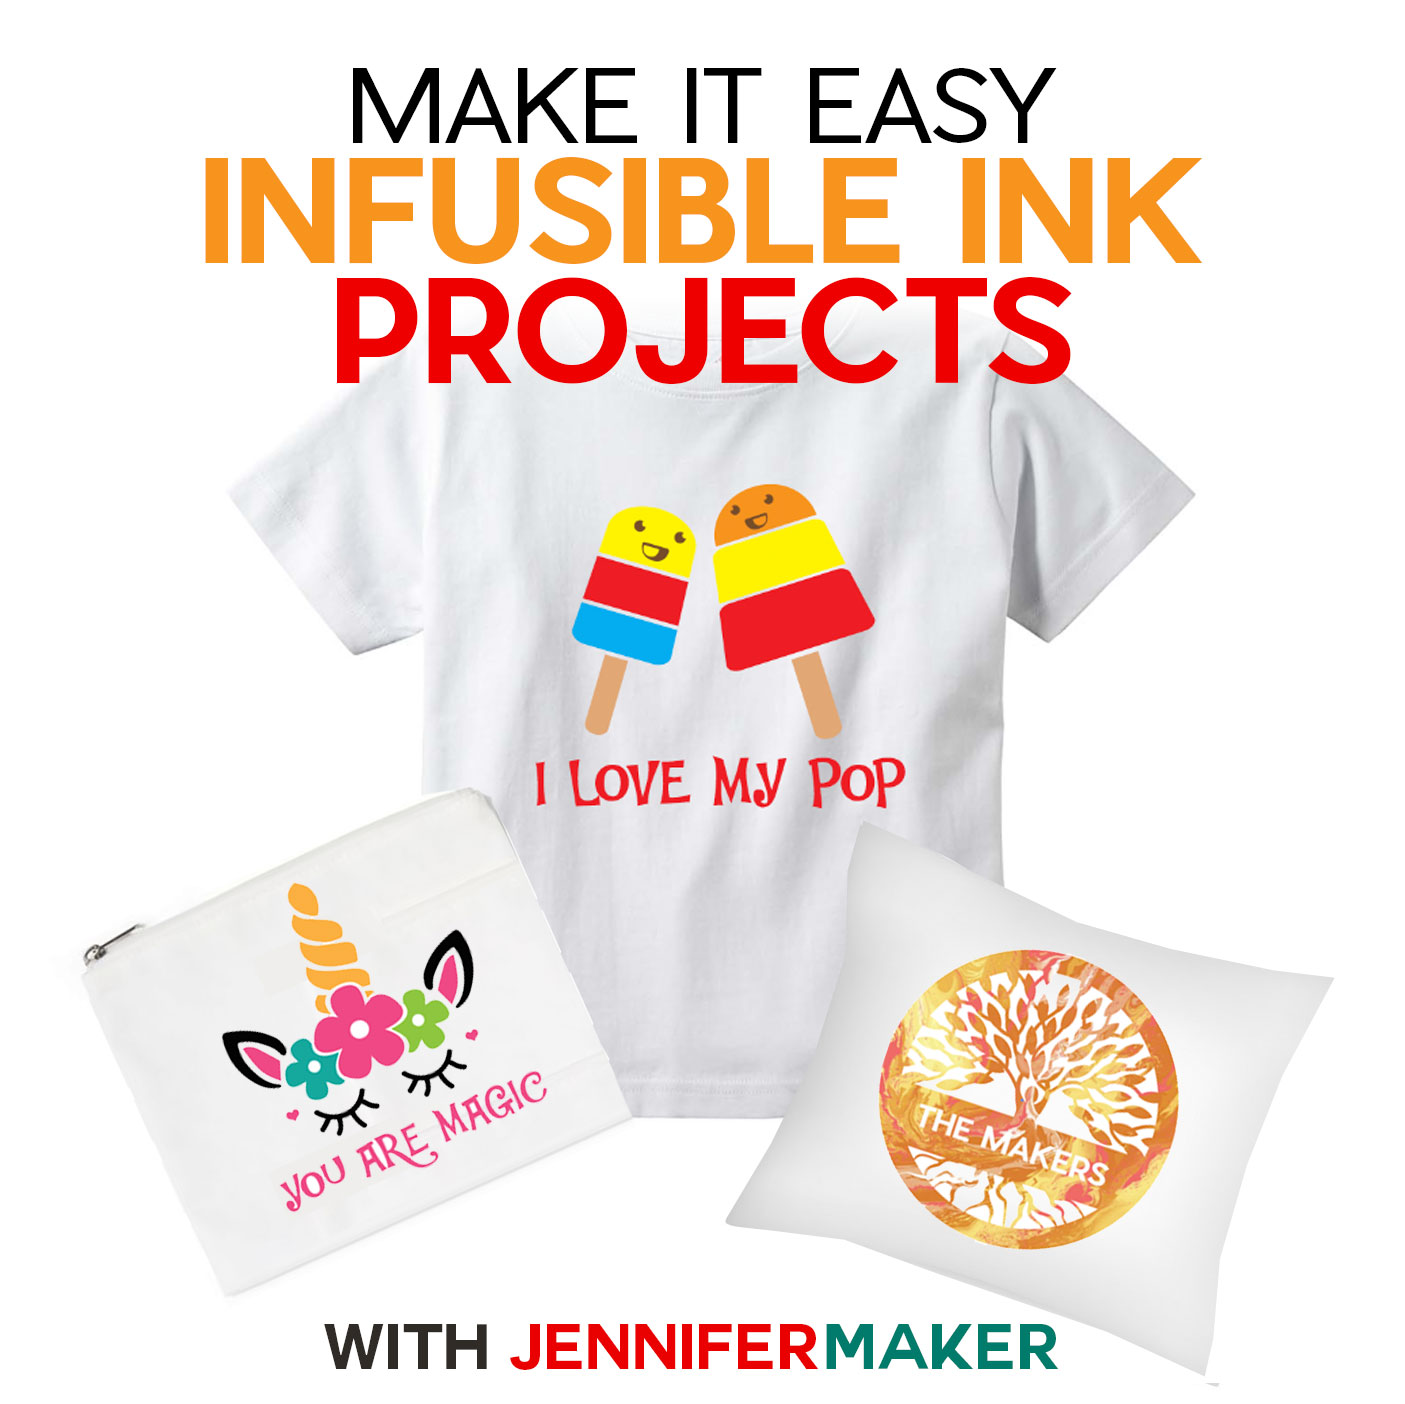
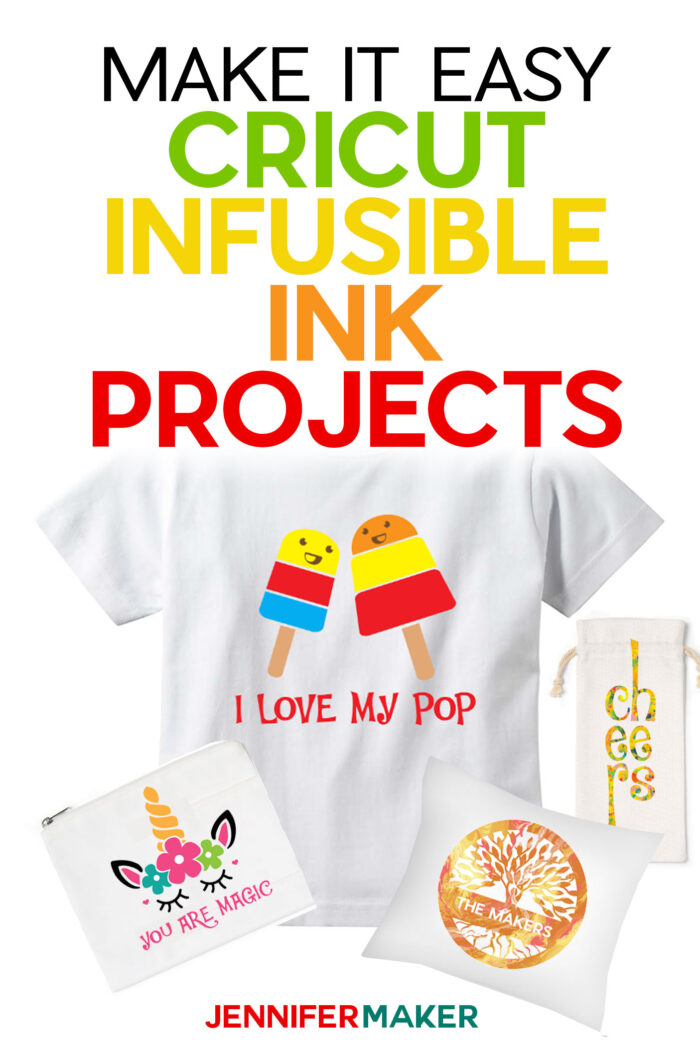
Cricut’s Infusible Ink transfer sheets are a fun and easy way to make professional-looking and colorful projects that won’t peel, crack, or flake. You can get really vibrant colors that are permanently infused into the material. AND you can create designs with multiple colors, which is what I want to show you how to do today! Today Cricut released four new blanks — pillow shams, wine bags, cosmetic bags, and toddler T-shirts in sizes 2T, 3T, and 4T! So I made four new designs for these Cricut Infusible Ink Projects, one for each blank, and they are FREE for you to use!
Watch me apply all four of these Infusible Ink designs in this video workshop:

For these Infusible Ink projects, you’ll want a Cricut Explore, Maker, or Joy (any one works fine) and an EasyPress (either an original EasyPress or an EasyPress 2 — and it needs to be big enough to cover your design in one pass). You can also use a heat press, but you can’t use a household iron — it won’t get consistently hot enough across its surface to properly infuse the ink, and it’s not typically big enough for a T-shirt design anyway.
Beyond the machines, you need the Cricut Infusible Ink transfer sheets in the colors or patterns you want to use.
And, you need DESIGNS! I made four fun colorful designs, all very easy to apply, using the newest Infusible Ink transfer sheets that came out in May!
So are you ready to make something colorful? Let’s make a Cricut Infusible Ink project together! This post contains some affiliate links for your convenience (which means if you make a purchase after clicking a link I will earn a small commission but it won’t cost you a penny more)! Read my full disclosure policy.
Materials Needed to Make a Cricut Infusible Ink Project
- Cricut Infusible Ink Transfer Sheets
- Cricut Infusible Ink Blanks (I’m using the toddler t-shirt, wine bag, cosmetic bag, and pillow sham)
- Cricut EasyPress or Heat Press (I used the original EasyPress)
- Cricut EasyPress pressing mat I used the large and medium sizes)
- StandardGrip machine mat
- White cardstock
- Butcher paper (provided inside your package of Infusible Ink transfer sheets)
- Scissors and tweezers
- Lint roller
- A way to cut your vinyl (such as a Cricut)
- My free SVG cut file designs (Designs #221, 220, 219 and 218) (available in my free resource library—get the password at the bottom of this post)
Designs Used in My Cricut Infusible Ink Tutorial
Design 221 – Popsicles
Design 220 – Tree of Life Nameplate
Design 219 – Unicorn Head
Design 218 – Cheers
How to Use Cricut Infusible Ink Transfer Sheets with Wine Bags, Cosmetic Bags, Pillow Shams, and Toddler Tees
- Set your EasyPress to 385°F and set the timer for 40 seconds
- Put a piece of white cardstock inside the blank. Do not fold it to fit; cut it to fit.
- Pre-heat the blank you’ll put your Infusible Ink on for 15 seconds
- Lint roll the surface of the blank to pick up any dust or debris
- Place Infusible Ink design on blank, with the carrier sheet (liner) side up
- Cover the blank and carrier sheet with butcher paper larger than heat plate
- Press with light pressure at 385°F for 40 seconds. Do not move the EasyPress around while pressing.
- Slowly lift the EasyPress.
- Slowly remove butcher paper
- Slowly remove liner while warm (Note: If transfer sheet remains on the surface, remove it with tweezers)
Watch my video to learn how I created each one of these Infusible Ink projects!
Get my free SVG cut files for your Cricut Infusible Ink projects
If you make an Infusible Ink project with your Cricut, please share a photo in my helpful Cricut Facebook group or tag me on social media with #jennifermaker.
Love,

Want to remember this? Save the Cricut Infusible Ink Project Tutorial to your favorite Pinterest board!


Jennifer, what is the paper you call “butcher paper”? Is there another name for it?