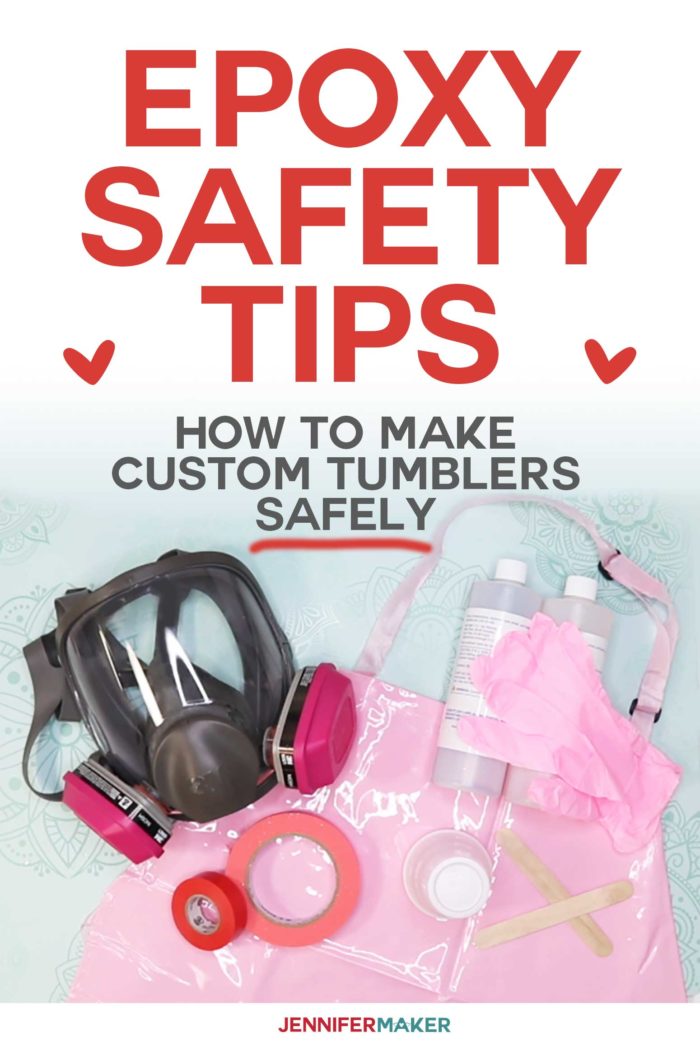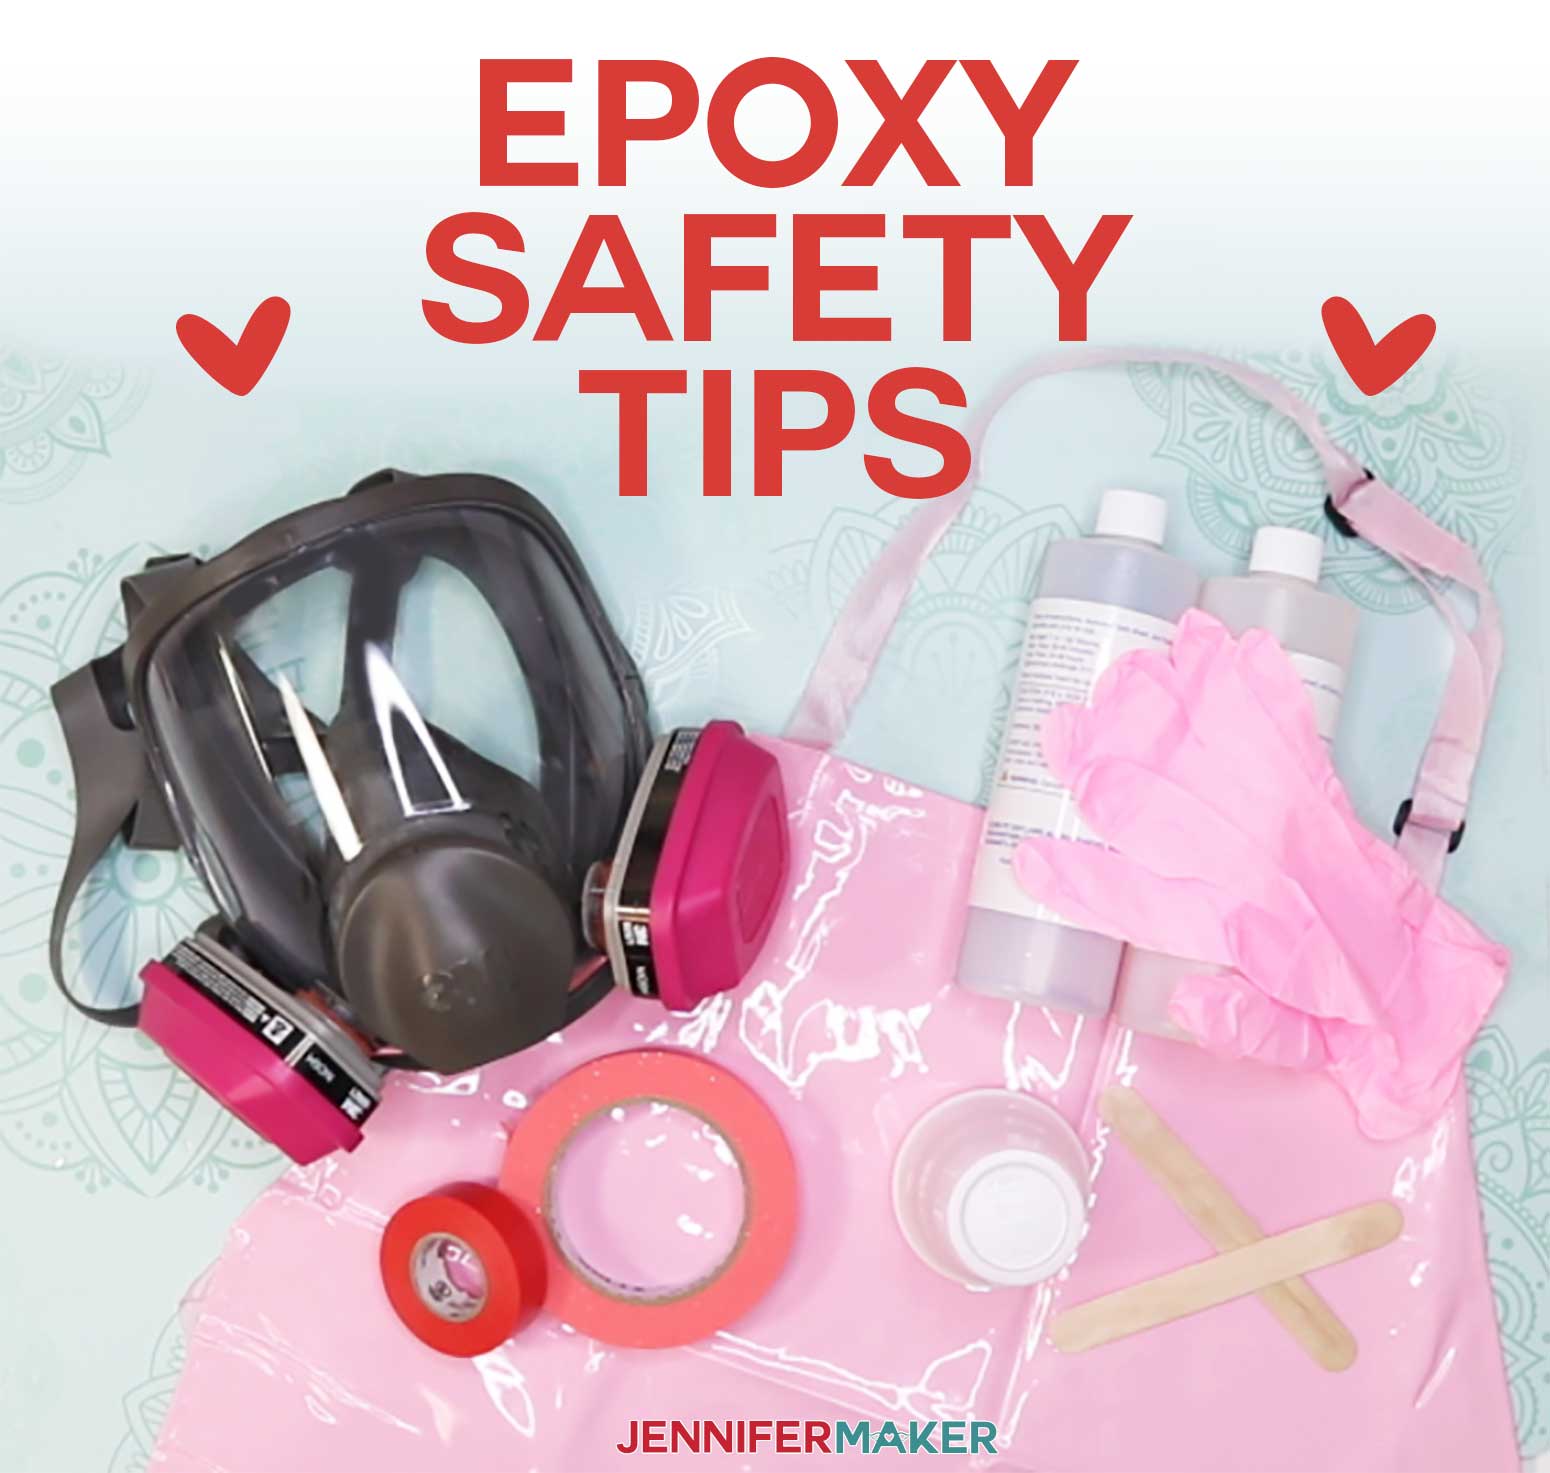
Learn how to safely use epoxy resin on your custom tumblers and minimize exposure! I explain epoxy safety and the exact steps you need to take to avoid toxic exposure and allergic reactions. Epoxy doesn’t have to be scary if you use it safely!
About a year ago I made some fun glitter tumblers, coated them with epoxy resin, and showed you how to do it with a detailed step-by-step tutorial and video. Epoxy resin is popular for tumblers because it creates a beautiful, glass-like coating that protects everything within it, like your paint, glitter, and decals. But it’s important to handle epoxy safely to avoid exposure and potential allergic reactions. So with epoxy resin’s rise in popularity, I want to go into more depth on epoxy safety, because you CAN use epoxy for your tumblers safely if you follow just a few important steps.
First, it’s really important to read and follow the safety data sheet (SDS) that comes with your epoxy resin. Always know what safety measures any manufacturer recommends for its products, whether it’s for epoxy, paint, glitter, sealer, or really anything else you craft with. You can find safety data sheets in the product box, but if they are missing, just go online and search for the product name + “safety data sheet.” Here is the safety data sheet for Alumilite Clear Cast, which is the epoxy resin I use and recommend. Their safety data sheet tells us that epoxy “causes severe skin irritation and eye damage. Harmful if swallowed. Avoid contact with the skin, eyes, and clothing. Wear appropriate protective gloves, protective spectacles. Wash hands well after handling. Avoid discharge into the environment.” Let’s really talk about what that means!
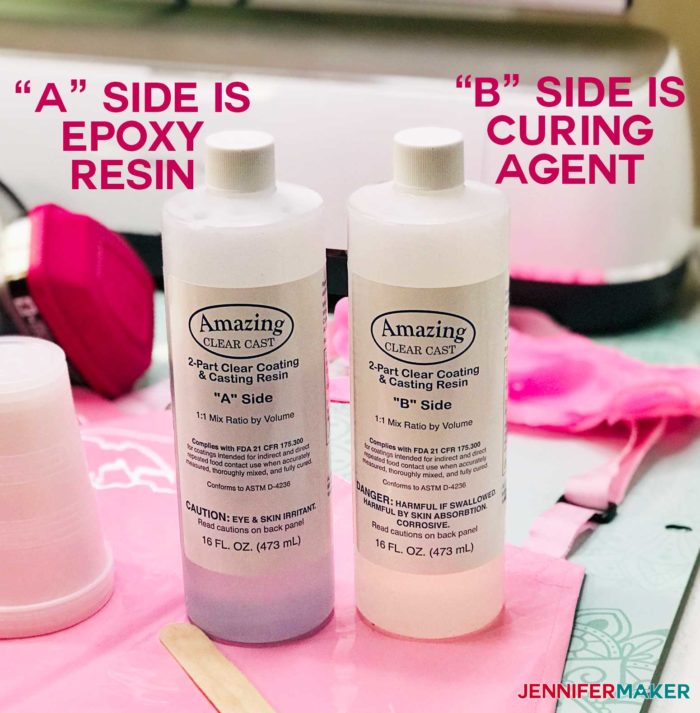
So epoxy resin comes in two bottles—an A side and a B side. The A side is the actual epoxy resin, and the B side is a curing agent. Epoxy in its liquid, uncured state is mostly classed as irritant to the eyes and skin, which is what you’ll see in the safety data sheets. It’s the mixing and curing process that we need to be most careful with, because that’s when they are most harmful to us. And to get that pretty glass-like coating on our tumblers, we have to measure out an equal portion of both A side and B side and mix them together carefully ourselves. But once fully cured, epoxy is considered safe and is classified as a non-hazardous material.
Okay, so how do you mix and cure epoxy on your tumblers safely? Here are the three important things to remember:
- Wear proper personal protective equipment
- Work in a ventilated area
- Keep your craft area clean
Let’s talk about each of these epoxy safety precautions in more detail. This post contains some affiliate links for your convenience (which means if you make a purchase after clicking a link I will earn a small commission but it won’t cost you a penny more)! Read my full disclosure policy.
Wear Proper Personal Protective Equipment for Epoxy Safety with Tumblers
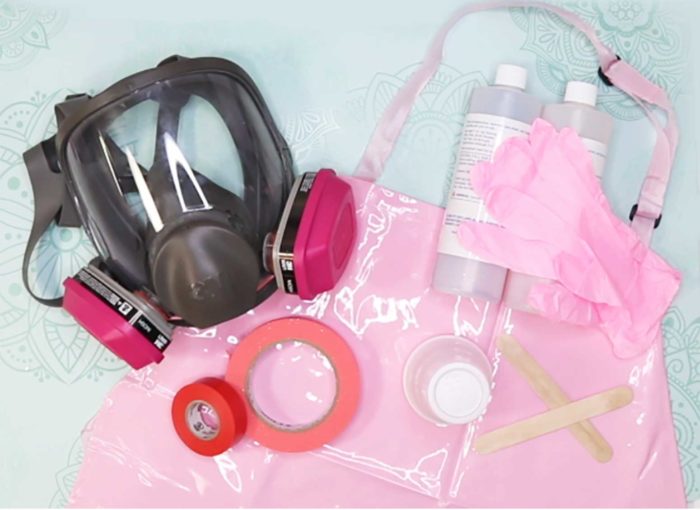
When I work with epoxy, I protect myself from touching or inhaling epoxy by wearing proper personal protective equipment, which some just call PPE. That means gloves, a respirator, and an apron over a long-sleeve shirt.
Gloves (Nitrile, PVC, Neoprene – Not Latex)
Wear gloves every time you mix, brush, pour, or clean epoxy—basically every time there’s a possibility your skin could come into contact with uncured epoxy. Repeated skin exposure to epoxy can lead some people to develop a permanent allergy to it. I recommend and wear nitrile gloves because they offer better resistance to epoxy and solvents. Nitrile gloves are inexpensive, easy to come by, come in different sizes for a good fit, and you can get them in cute colors. Do not use latex gloves, as they are too porous and can swell when in contact with solvents. If you are sensitive or allergic to nitrile, opt for PVC (vinyl) or neoprene gloves instead.

IMPORTANT: If you do get epoxy on your skin, wash it immediately with regular soap and water twice. Do not wipe it away with alcohol, acetone, or any solvent as this can cause your skin to absorb the epoxy easier, which we do not want.
Respirator (Full Face, or Half-Face with Goggles)
Wear a respirator with organic vapor filter cartridges every time you are near uncured epoxy. The fumes are hazardous to us, our children, and our pets. A respirator with organic vapor cartridges (the magenta ones) will protect you. I recommend a full-face respirator because of the dangers of irritating your eyes, too. If you don’t have a full-face respirator, you can use a half-face one with goggles. But if you are at all sensitive or allergic to epoxy, you’ll want a good-fitting full-face respirator that forms a tight seal. Also note that the organic vapor cartridges begin working as soon as you expose them to air. To keep your cartridges working as long as possible, store your respirator in an airtight container between uses. The organic vapor cartridges must be replaced every six months at a minimum. If you can ever smell the epoxy with the respirator on, it’s time to change those cartridges!
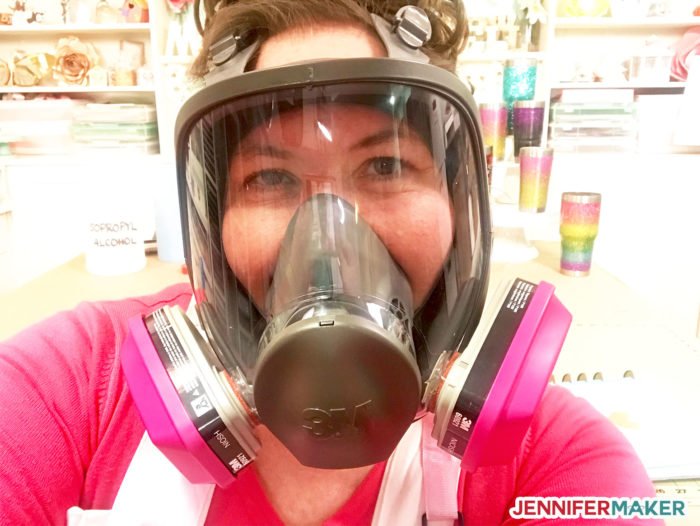
Here’s a selfie of me in my respirator — would love to see YOU in your respirator, too!
Apron/Suit (PVC or Tyvek)
Spills and drips happen, and if you get epoxy on your clothing, it’s easy for it to come in contact with your skin. It’s also pretty much impossible to get epoxy out of clothing. So I wear a PVC apron when I’m working with epoxy. I also wear long sleeves to avoid skin contact with the epoxy. And if you already know that you’re sensitive or allergic to epoxy, or want maximum exposure protection, consider wearing a Tyvek suit.
Here are links to the same proper protective equipment I use when I work with epoxy resin:
- Disposable nitrile gloves
- Respirator with organic vapor cartridges (the pink magenta ones)
- PVC apron and long sleeves (if you already know that you’re sensitive or allergic to epoxy, or want maximum exposure protection, consider wearing a Tyvek suit)
Don’t forget an airtight box or respirator storage bag to keep your respirator in when you’re not using it.
Work in a Ventilated Area to Avoid Exposure to Fumes
Epoxy fumes generated while mixing and curing are toxic, and you must work in a well ventilated area for your safety. Fumes are produced for the entire time the tumblers are curing (so like 72 hours). If possible, work outside in the fresh air. If that’s not possible, you need to take some extra steps. The worst thing you can do is work in a closed room with poor ventilation, which describes most people’s craft rooms. At minimum, you’ll want to open a window and turn on a strong fan to vent the fumes outside. If necessary, buy a fan and position it so it draws air away from you.
Note: If you’re working outside, be aware that the temperature must be at least 70°F for for mixing and pouring epoxy, and ideally 75-85° F for curing. Any colder and your epoxy will not cure.
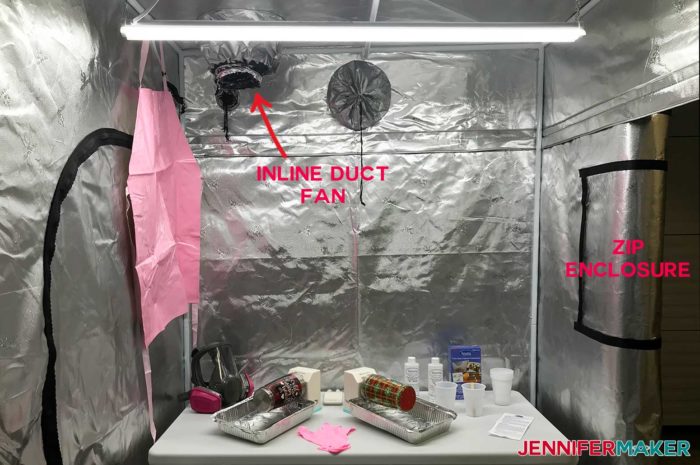
If you already know that you’re sensitive or allergic to epoxy, or want maximum exposure protection, consider buying or making an epoxy fume booth. You can make one inexpensively using an indoor grow tent large enough to stand in (so at least 4’x 4′ x 72″), an inline duct fan strong enough to properly exchange the air in your grow tent at least once every minute (so use a fan at least 110 CFM in a 4’x4′ tent), and enough aluminum dry vent hose to carry the fumes outside. The exhaust vent needs a dryer-type vent hose to reach a window—you can use a window unit mounting kit to seal the window around the vent, or simply cut a piece of insulation foam to fit the window opening and run the fan/vent out of it. It’s important that the fumes are actively removed from your tent — you cannot just use the tent or all you’re doing is trapping the fumes in there. Be sure to wear your proper personal protective equipment whenever you enter your epoxy tent, as the fumes will be much more concentrated in such a small space.
Tip: You can use this Fan CFM Calculator to determine the strength of your inline duct fan (your “frequency of desired air” should be 1).
Because we work with things like epoxy and spray paint often, we created our own inexpensive fume booth (which we use both for epoxy and spray paint fumes) with the following equipment:
- 4′ x 8′ x 78″ Grow Tent
- Inline Duct Fan (390 CFM)
- Aluminum dryer vent hose (25 feet)
- Insulation Foam
Note: I like to use wet/dry sandpaper to wet sand my epoxy tumblers because I feel it’s safer (it doesn’t put a lot of epoxy dust in the air that can then be inhaled). If you also do this, make sure you keep the area you work in well ventilated, wear your gloves and respirator, and wash any exposed skin carefully after sanding.
Keep Your Area Clean for Epoxy Safety
It’s important that you protect your work surface from epoxy spills and drips. It’s a good idea to use a disposable plastic sheet over any surface you need to protect. Tape like electrical tape can be used to keep the plastic in place—it’s also great for protective your tumbler rims and bottoms, or any other thing you don’t want epoxy to get on. I also recommend disposable cups and popsicle sticks for mixing, and paper towels for wiping up things, as this will mean you can dispose of them right away. It also helps a lot of keep your work area clean and uncluttered, as this will avoid accidents.
You’ll also want to have 91% isopropyl alcohol on hand for wiping up the rims of tumblers and any spills you have. Some people also use acetone, but I don’t often use it because it’s so strong and it’s typically not necessary. Just don’t use either alcohol or acetone on your skin if you get epoxy on it.
And it’s equally important to pay attention to your epoxy clean-up process. Keep a trash can or bag near you as you work so you can put these items in there immediately, then remove it right away from your work area when you are done. It’s important to note that containers of uncured epoxy resin should not be thrown away—they can create heat which could lead to a fire hazard in a small enclosed place like a trash bag. If you have a bit of epoxy leftover, allow it to cure next to your tumblers as they cure and then dispose of it.
Is Epoxy Resin Food Safe?
I think it’s also important to talk about epoxy and food safety. If you’re making tumblers, you need to be sure that the epoxy resin you’re using is food safe after it’s cured and becomes an inert plastic. There’s a lot of different epoxies out there and not all are food safe. Even “food safe” is a bit misleading, because in the case of epoxy, “food safe” only means that you can put it on the outside of food and drink containers — never inside. Always check the information that comes from the manufacturer to ensure it is safe to use on something like tumblers.
I used Alumilite Amazing Clear Coating & Casting Resin, which is considered “food safe” after curing when applied to the OUTSIDE of a food or drink container. However, it’s important to note that food safe does not mean it’s okay to ever eat or drink directly from an epoxied surface. That’s one of the reasons why when I make tumblers, I usually stop my resin about 3/4″ from the rim—this means the resin never touches the drinker’s lips. I just feel this is better. If your tumbler comes with a straw and your lip isn’t touching the rim, feel free to bring that up to the top—just don’t go over the top and into the tumbler.
Are There Any Alternatives to Epoxy if You Want to Make Tumblers?
Yes, I currently know of these alternatives to epoxy resin if you are sensitive, allergic, or cautious but still want to make custom tumblers.
- Crystalac (a water-based polyeurethane)
- Clear Diamond Finish (a clear urethane)
- 2K Clear Glamour Clear Coat (a spray urethane)
Get my free epoxy safety sheets to print out and keep handy!
To help you stay safe, I’ve created some epoxy safety sheets (File #164) that you can print out and keep for future reference. Keep a copy with your tumbler supplies so you remember to stay safe!
If you make something with epoxy, please share a photo in our Amazing Cricut Facebook group, email it to me at [email protected], or tag me on social media with #makershowandtell. I’d also love to see photos of you wearing your proper personal protective equipment!!
Love,

Want to remember this? Save the Epoxy Safety for Tumbler Making Guide to Your Favorite DIY Pinterest Board!