
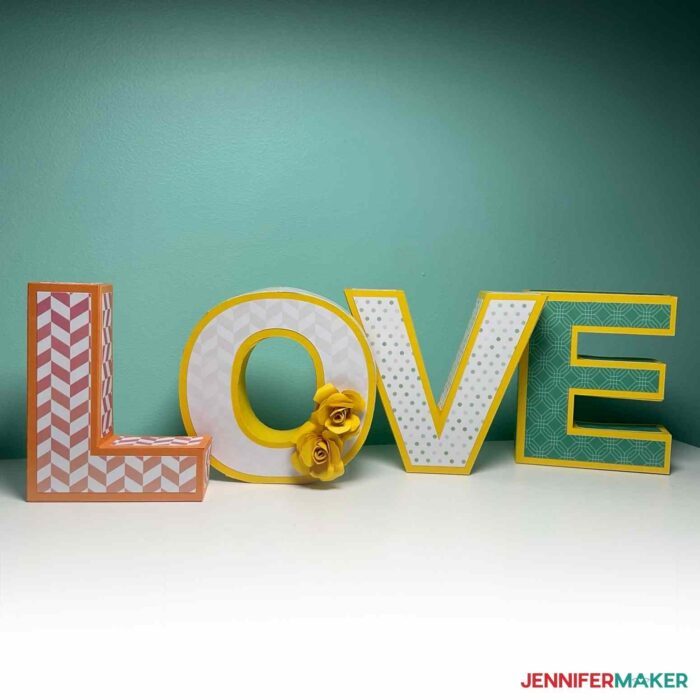
Learn tips and tricks to create lovely 3D Paper Letters!
I love seeing what you’re all making with my 3D Paper Letters collection! I’ve come up with a few tips for cutting, assembling, and decorating your letters to make the projects even more fun.
Learning to Cut My 3D Paper Letters
These are some of the more advanced projects available in my Design Library, and they do take some practice! I recommend making a project from my 3D Paper Letters or DIY Floral Letters tutorials before trying your own. Follow my directions exactly to get the techniques down, and then you can apply what you learn to your own letter, number, or special character.
The download folder includes files for the letters A-Z, numbers 0-9, and special characters. One set uses a scoring tool while the other does not.
Each file includes four sets of pieces. Some are very similar, since the boxes fit snugly. I suggest that you make a test version using papers that you can easily tell apart for each part. It’s also important to always know which surface of your paper is meant to be visible so that you bend and glue your tabs correctly. If possible, learn the process using papers that have different colors or textures on each side to help you tell everything apart. Writing yourself notes can help, too!
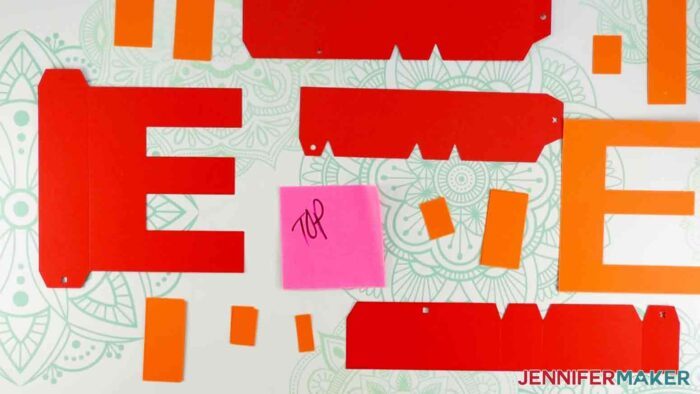
Each 3D Paper Letter is made up of the following four things:
1. The box top, made of a cutout of the letter and strips of paper with tabs that will become the 3D letter’s depth. The box top tabs are sharp. These pieces are yellow in the design file.
2. Accent pieces for the box top, including a slightly smaller cutout of the letter and a collection of rectangles you will glue to the outer sides. These pieces are green in the design file.
3. The box bottom, including a cutout of the letter that is slightly smaller than the one for the box top and tabbed side pieces that are slightly thinner than those for the top. The box bottom tabs are rounded. These pieces are orange in the design file.
4. Accent pieces for the box bottom, including the smallest cutout of the letter and a similar set of rectangles you will glue to the assembled bottom’s outer sides. These will not be visible when the box is closed. These pieces are teal in the design file.
Cutting the 3D Paper Letters
As always, I recommend making a test cut, especially if you’re using a new blade or material. While my Cricut Maker 3 cut the 65 lb cardstock well using the Medium Cardstock setting, all machines are slightly different!
If you’re having trouble, first check my Cricut Tips & Tricks for Cleaner Cuts post and see if any of my suggestions help. Some crafters have reported that switching to the Cardstock for Intricate Cuts setting improved their letters, too.
The pieces can look pretty similar, so placing them in labeled bags will help you keep track of them! I recommend you have four bags for each letter (top, bottom, top accents, and bottom accents) and focus on one letter at a time. Then, lay out all the pieces for the top and visualize how the pieces will go together.
Assembling the 3D Paper Letters
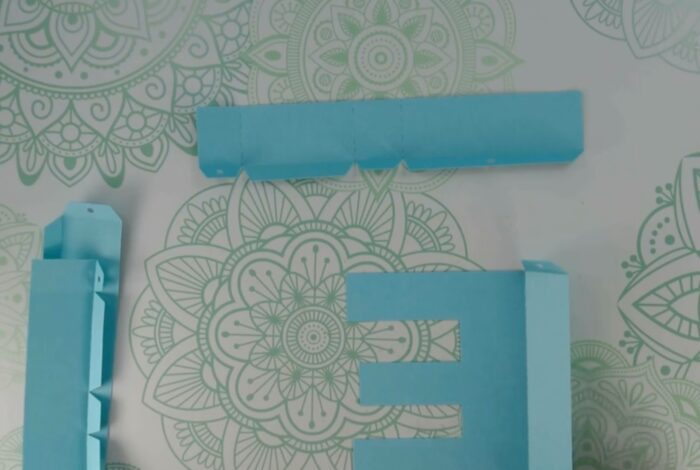
After you’ve checked that you have all the pieces for a layer, make sure the letter faces the correct way. For the tops, you’ll attach the tabbed sections to the back of the letter, so start with it facing the wrong direction. The E below is a box top ready to assemble. For the bottoms, the letter should face the correct way during assembly.
When you’re laying out your pieces, I recommend lightly tacking them in place using painter’s tape on the tabs. This will help you see where the sections’ symbols will meet and start shaping the paper to go along curves.
If a letter has a counter (a hole in the middle like A, B, D, O, P, Q, or R) attach that first. The counter pieces are small but might be hard to position correctly once the larger pieces are in place. Also, the counter starts to give the letter some structure.
Accent Pieces
While most accents are either in the shape of the letter or rectangles, letters with a long curve (O, S) require gluing two accents together. I’ve added a tab to an accent piece for these letters, so don’t be surprised when it looks a bit different!
Tips by Letter, Number, or Special Character
Letter A
- Watch me assemble the letter A in this video.
- Assemble the counter first.
Letter B
- Assemble the counters first.
Letter D
- Assemble the counter first.
Letter E
- Watch me assemble the letter E in this video.
- Start with either the top or bottom tabbed sections.
Letter K
- Watch me assemble the letter K in this video.
Letter M
- Watch me assemble the letter M in this video.
Letter O
- Watch me assemble the letter O in this video.
- Assemble the counter first.
- The slightly flat pat of the letter is the bottom edge.
- The small accent piece goes on the bottom flat part.
- Glue the tabbed accent pieces together to create an accent long enough to cover the exterior curve. The seam where the accents connect lines up with the seam for the box sides.
Letter P
- Assemble the counter first.
Letter Q
- Assemble the counter first.
Letter R
- Watch me assemble the letter R in this video.
- Assemble the counter first.
Letter S
- Watch me assemble the letter S in this video.
- The slightly flat pat of the letter is the bottom edge.
- The small accent piece goes on the bottom flat part.
- Glue the tabbed accent pieces together to create an accent long enough to cover the exterior curve.
Letter 0
- Assemble the counter first.
Number 4
- Assemble the counter first.
Number 6
- Assemble the counter first.
Number 8
- Assemble the counters first.
Number 9
- Assemble the counter first.
Ampersand &
- Assemble the counters first.