
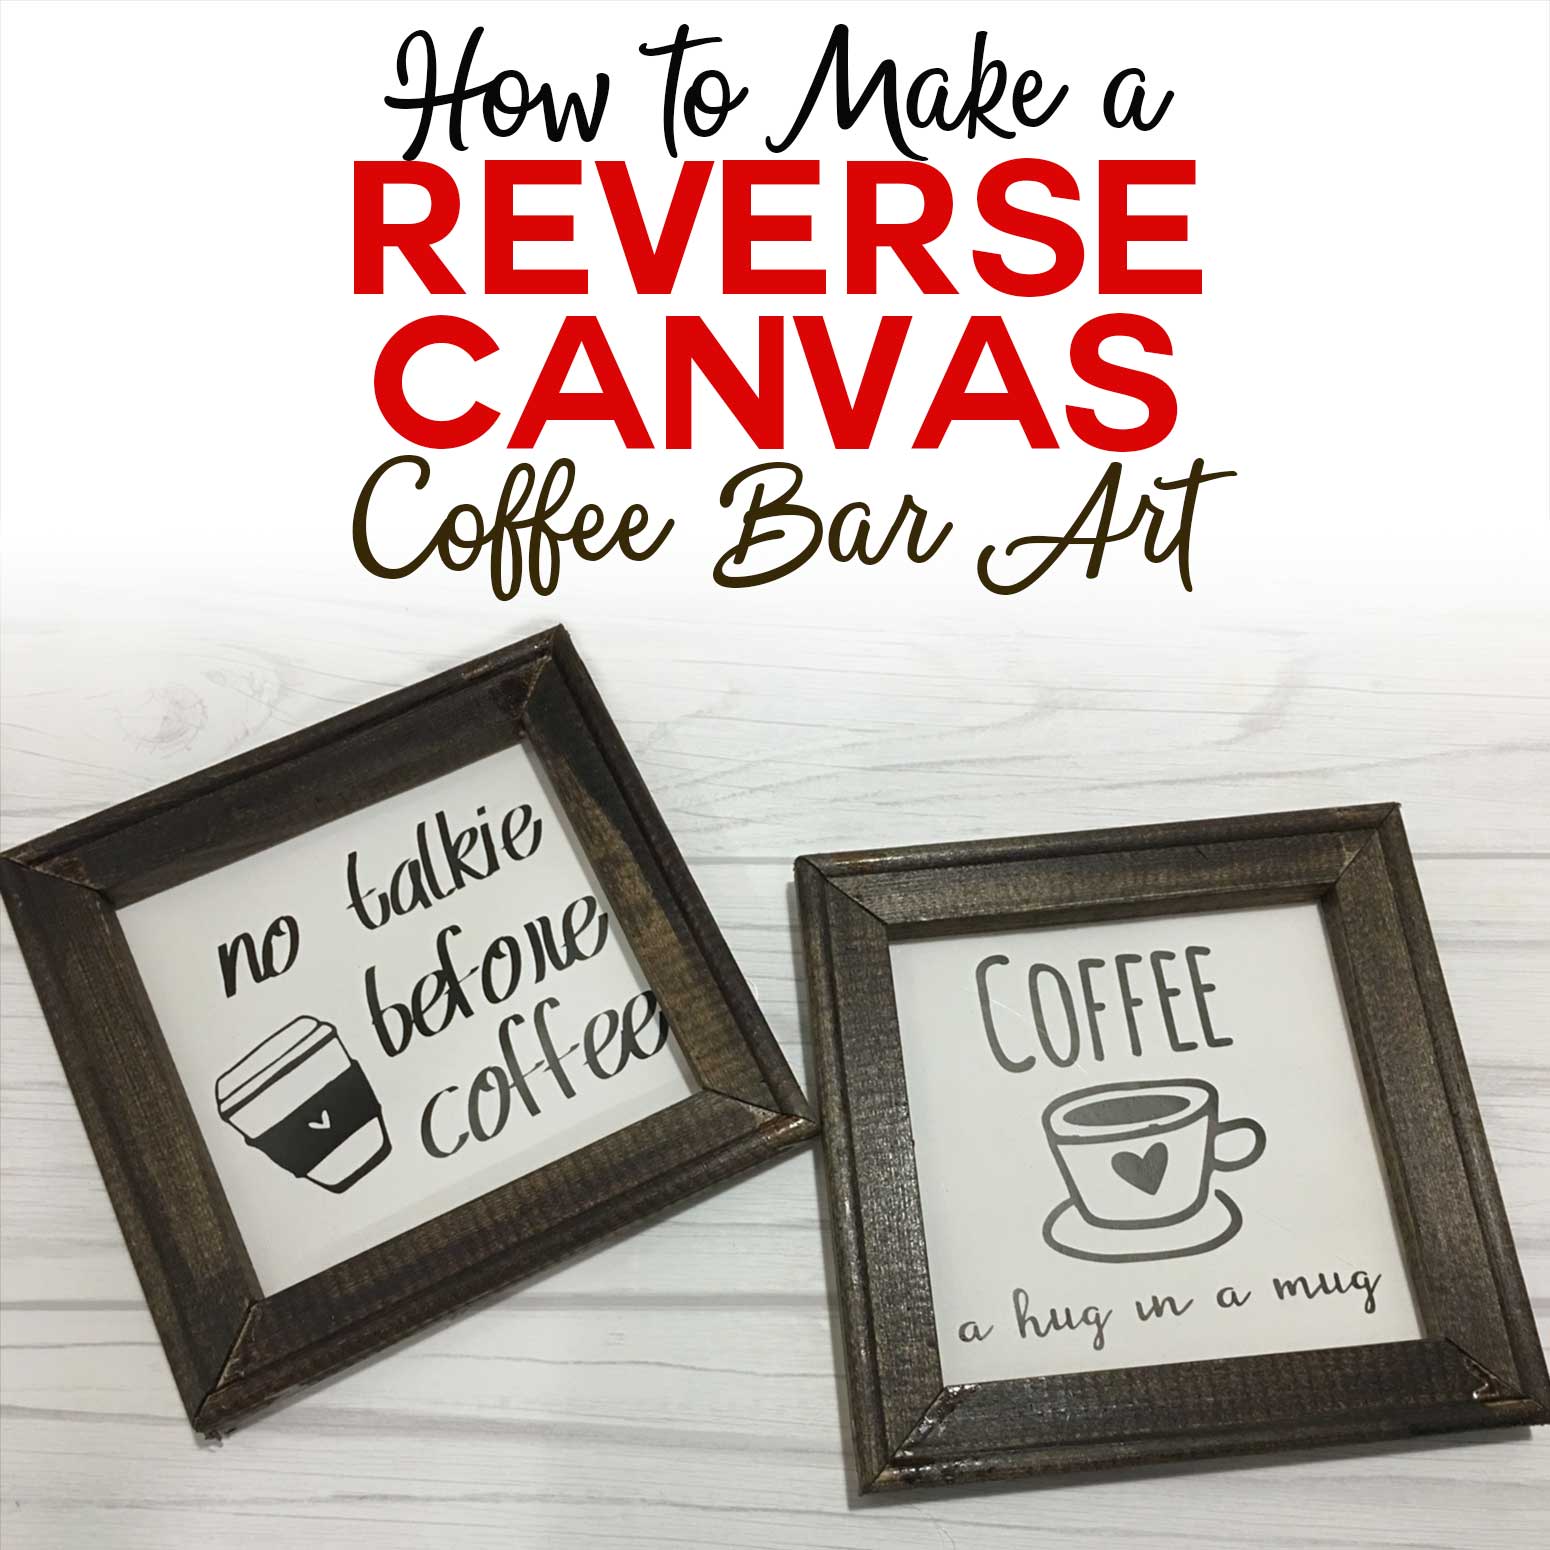
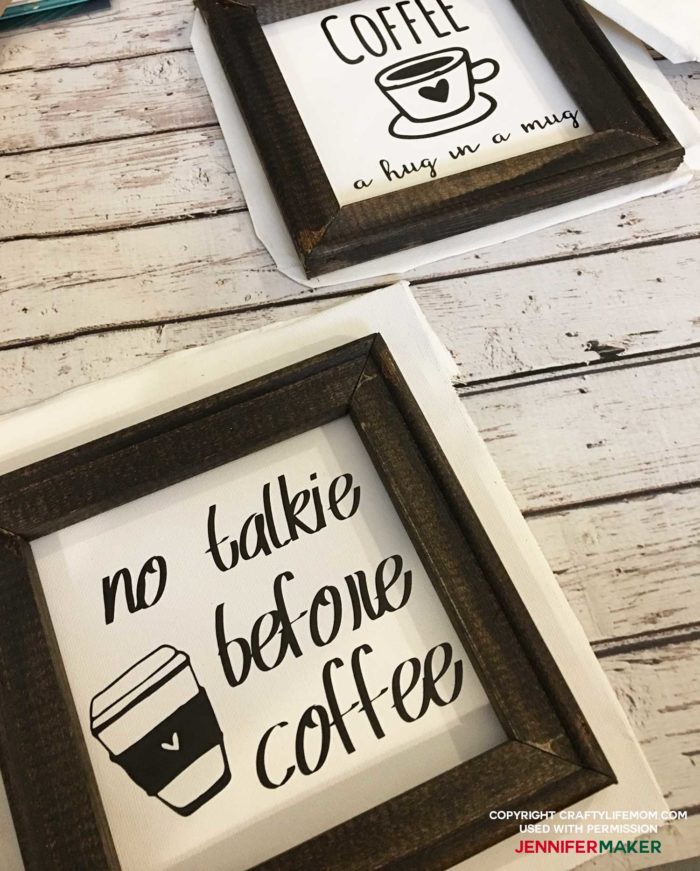
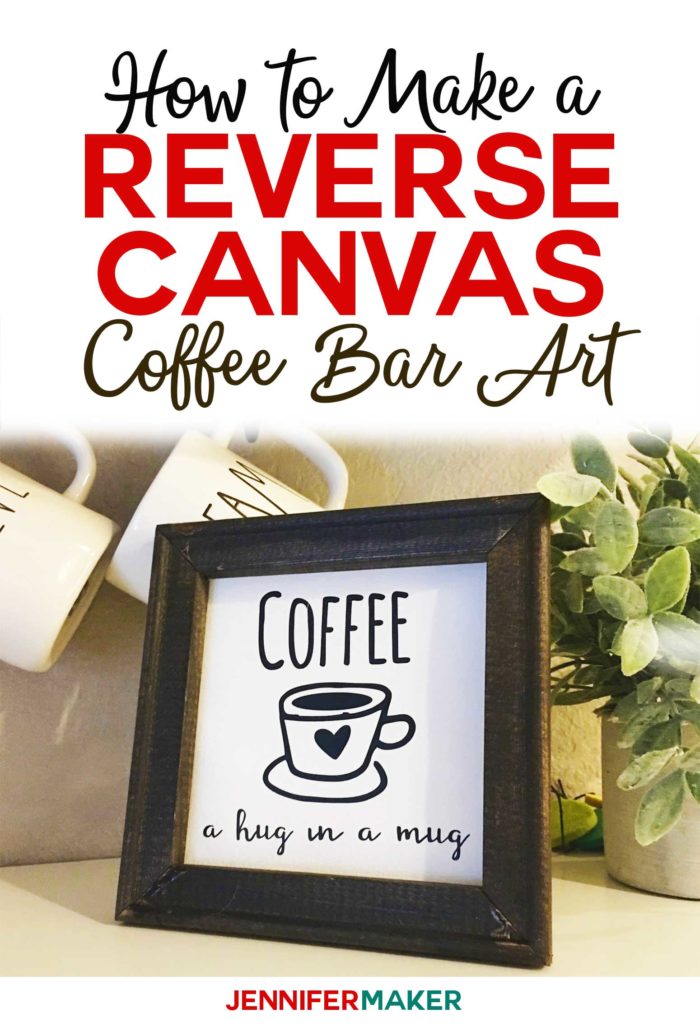
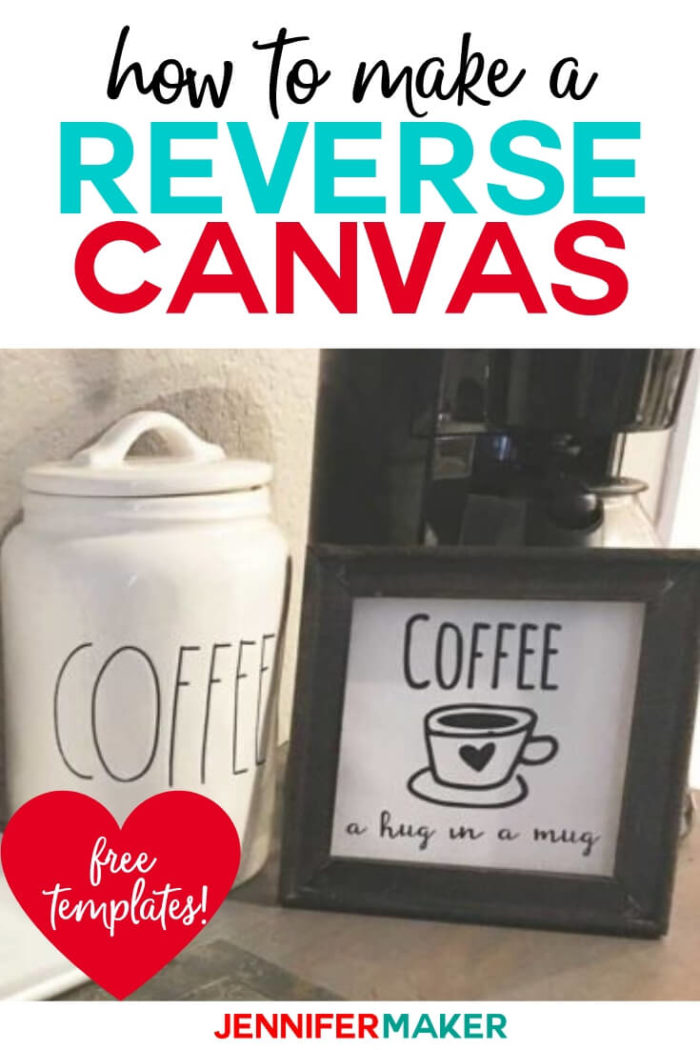
Make reverse canvas miniature artwork for your coffee bar or coffee station with these free SVG cut files to use with your Cricut or Silhouette cutting machine. Coffee Bar decor is very popular and you can make your own framed artwork easily with this tutorial.
Today’s reverse canvas project post post is from Layne Dasher, a friend and fellow craft blogger over at craftylifemom.com. Enjoy! — Jennifer
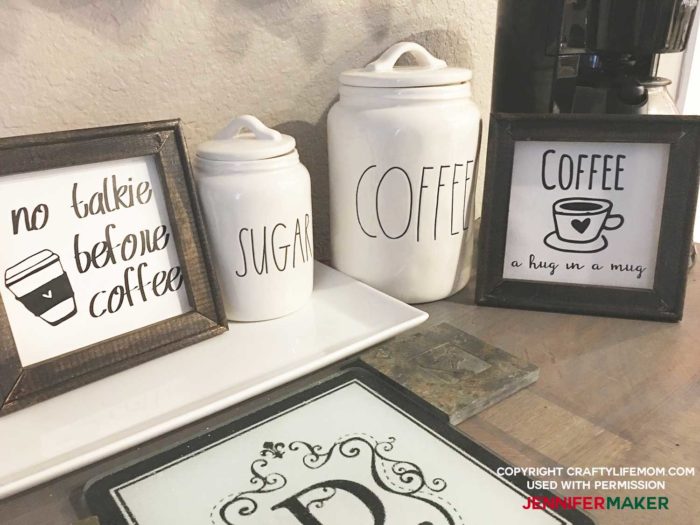
I love decorating my coffee bar with unique signs and collectible mugs. In fact, my coffee bar is one of my most favorite places in my home. I start my day there. Being a coffee lover there is nothing better than filling up a mug with pure joy. I take my coffee with Splenda, cream and sugar-free vanilla syrup on most days. However, on occasion, I will try a new coffee mixture. Today, I am excited to share with you a reverse canvas project tutorial creating artwork for your coffee bar or station.
Reverse canvas projects are so great because you’re essentially turning the canvas inside out and re-using the wood of a framed canvas. It’s a great way to get a perfectly-sized frame for your project at a very low cost!
For this project, you will need a Cricut, Silhouette or similar craft cutting machine that uses SVG cut files to make this project. And you’ll find the free SVG cut files over on my friend Layne’s blog, CraftyLifeMom.com.
So let me show you how to create this reverse canvas project! This post contains some affiliate links for your convenience (which means if you make a purchase after clicking a link I will earn a small commission but it won’t cost you a penny more)! Read my full disclosure policy.
Materials for the Reverse Canvas Coffee Bar Art
- 2 or 3 small square blank canvas 6X6 size (find at a local craft store)
- Wood stain – the color stain of your choice
- Scissors
- Pencil or Pen
- Glue gun
- Small knife or X-acto bade
- Iron, heat press or Cricut EasyPress
- Heat Transfer (iron on) Vinyl
- A way to cut your vinyl (such as the amazing Cricut)
- The free SVG/DXF/PDF cut file/pattern (available in Layne’s free resource library — get the password to it by signing up here)
How to Make a Reverse Canvas Project
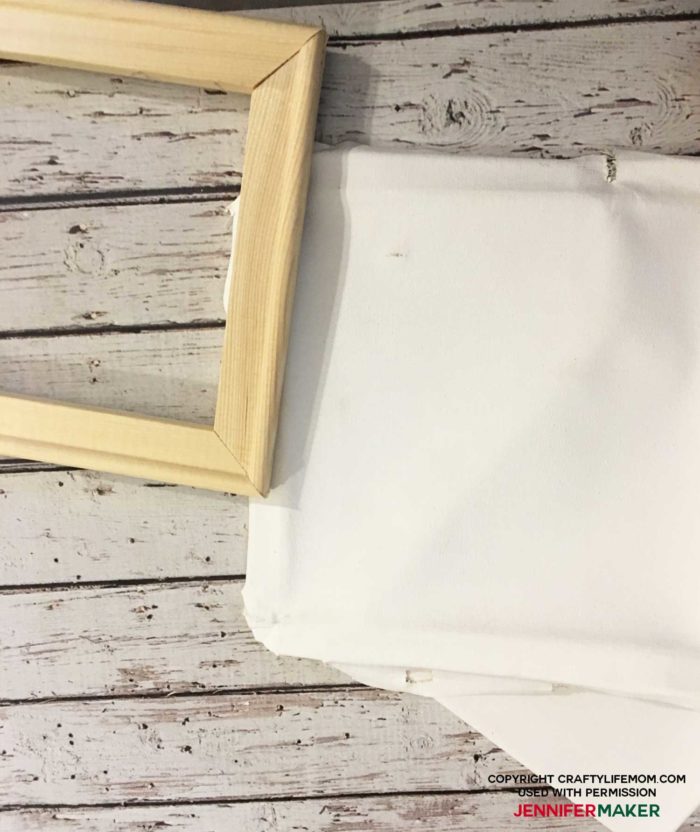
Step 1: Reverse the Canvas
The first thing you will need to in order to create your reverse canvas project is to remove it entirely from the wooden frame it is stapled to. Simply just flip the canvas over to the back, and using an X-acto knife slice the canvas just past the staples.
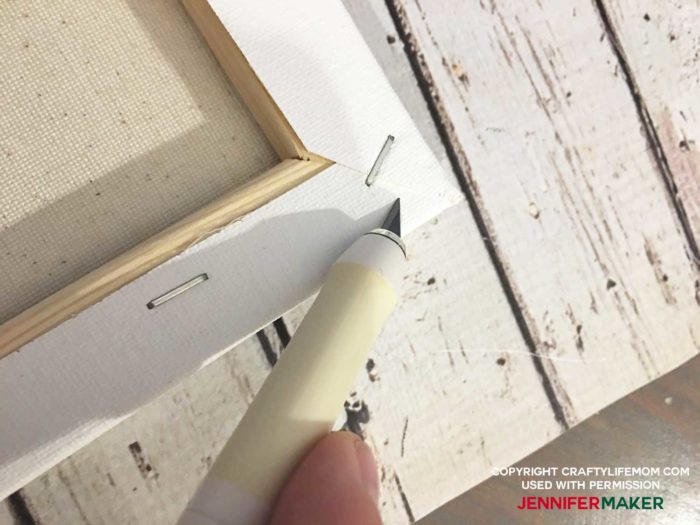
Once you have cut the canvas on the back on all four sides, remove the canvas from the frame and set it aside.
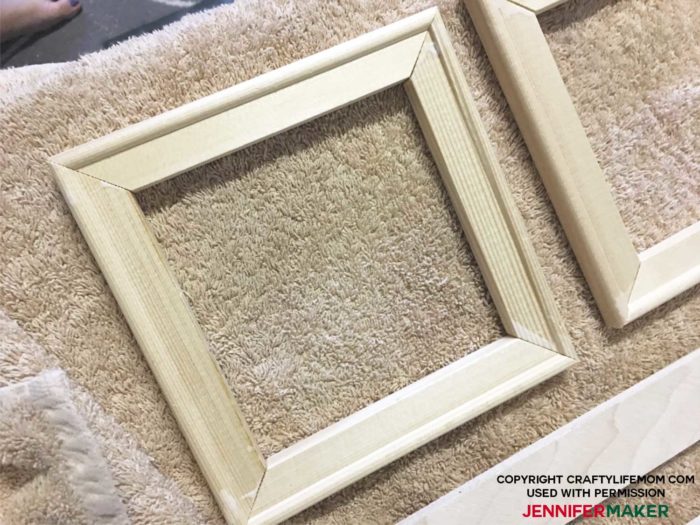
Step 2: Stain Your Wood Frame
You will want to stain your wooden frame to the color of a stain of your choice. You can also paint the frames as well as using acrylic paints. This part is entirely up to you and how you want it to look. I love the farmhouse look throughout my home. And so, I chose to use a walnut color wood stain to stand the frames.
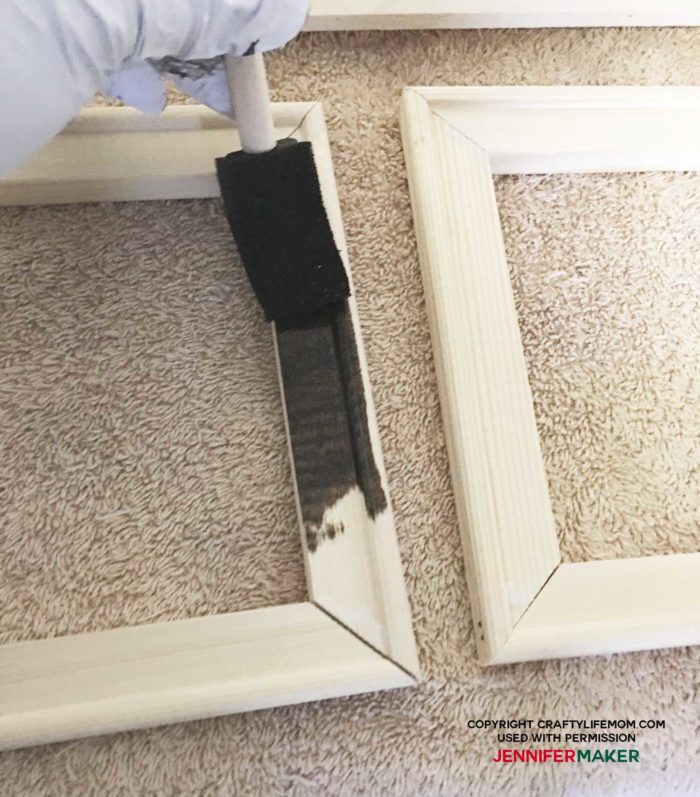
Once you have painted the frames, set aside to dry. If you chose to use a wood stain, the drying time could take longer versus using acrylic paint.
Step 3: Cut Your Artwork
Using the artwork provided with the Free SVG cut file, choose the file you want to cut. I provided three different designs for this tutorial and in the end, chose to only display two of them. However, you can do all three or one. It is up to you. All three designs are included.
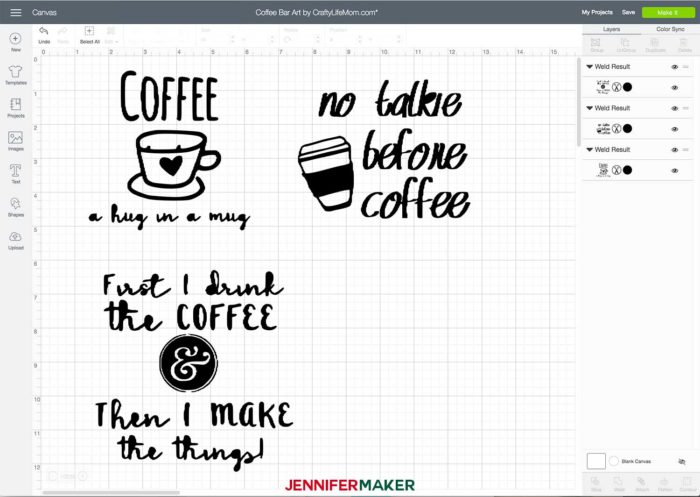
Open the SVG cut file in your cutting machine software. Load your heat transfer vinyl onto your cutting mat. I chose to use black heat transfer vinyl for all three of my designs to stick with my farmhouse theme.
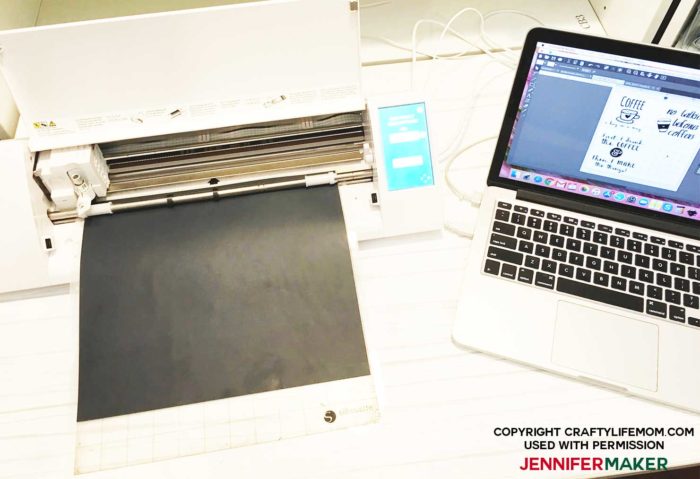
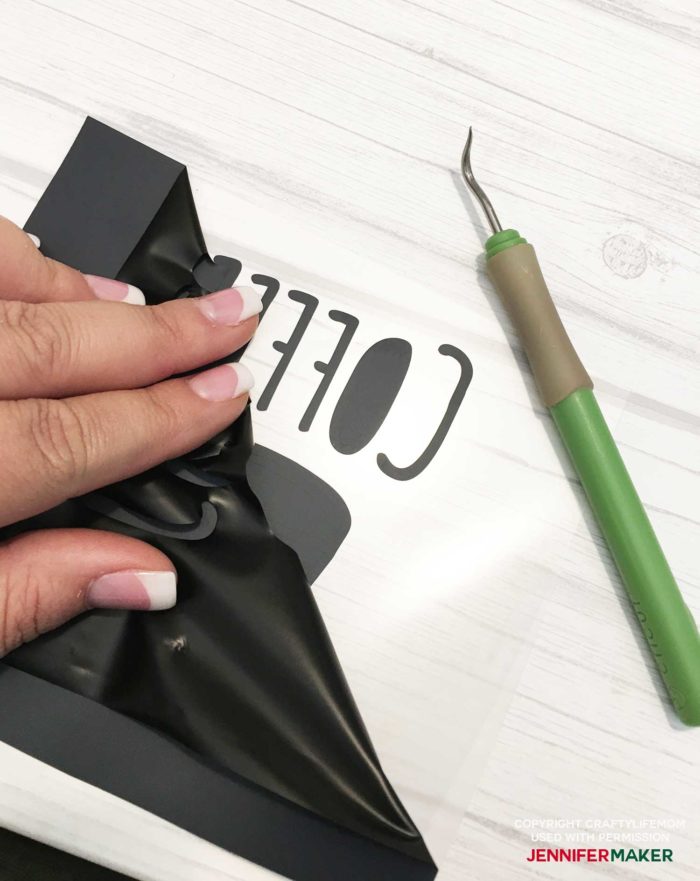
Cut the vinyl and weed away the negative part of the design.
Cutting Machine Software Note: My canvas frames with 6X6 inch frames. Therefore, I sized the design to fit within that size frame. I cut the design 5 inches by 5 inches. You will want to size the designs larger or smaller depending on the size canvas frames you choose.
Step 4: Align and Press Your Artwork
Once you have completed weeded out all of the negative heat transfer vinyl you will want to line it up on the canvas. Using the canvas, you previously cut off from the frames, line up the vinyl onto the canvas. The edges of your canvas will not be perfect. Don’t worry we will clean that up.

For this step, center the artwork onto the canvas. Once you are happy with the location, press the artwork into place. You can use any household iron, a heat press, or the Circut EasyPress. I like to lay down a Teflon sheet over the plastic of the heat transfer for extra protection.
After 30 seconds to about 1 minute of heat being applied to the canvas, remove the Teflon sheet. Allow the design to cool for a few seconds and then remove the plastic transfer from the design.
Step 5: Line Up Your Frames
For this step, you will want to line up the frames over the artwork. Make sure your frames are nice and dry before moving onto this step. Line up the frame center to the artwork.
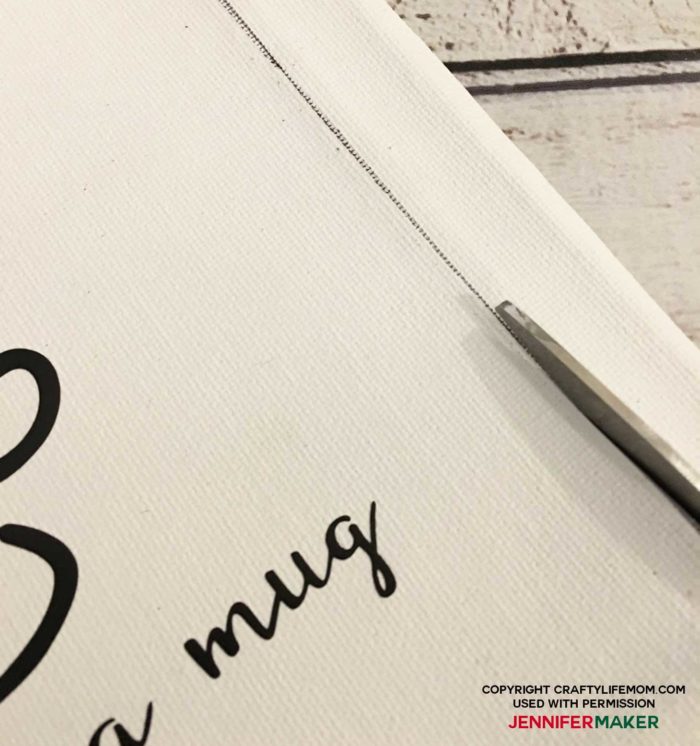
Using a pen or pencil, trace the outer edge of the frame on the canvas. Once traced, you can cut the excess canvas away with scissors.
Step 6: Add the Canvas To The Frame
Lastly, you will attach and secure your canvas artwork to the back of your frames.
Before you started, the canvas was attached on the front of the wood and wrapped and secured to the back with staples.
We are going to attach the canvas to the reverse side, or the back.
Lay your frame face down, and using your hot glue gun, make a line of glue on the top edge of the wood. Lay the canvas on the glue, also face down. Glue all edges of the canvas to the wood. Once dry, you should be able to see your design through the front of the frame.
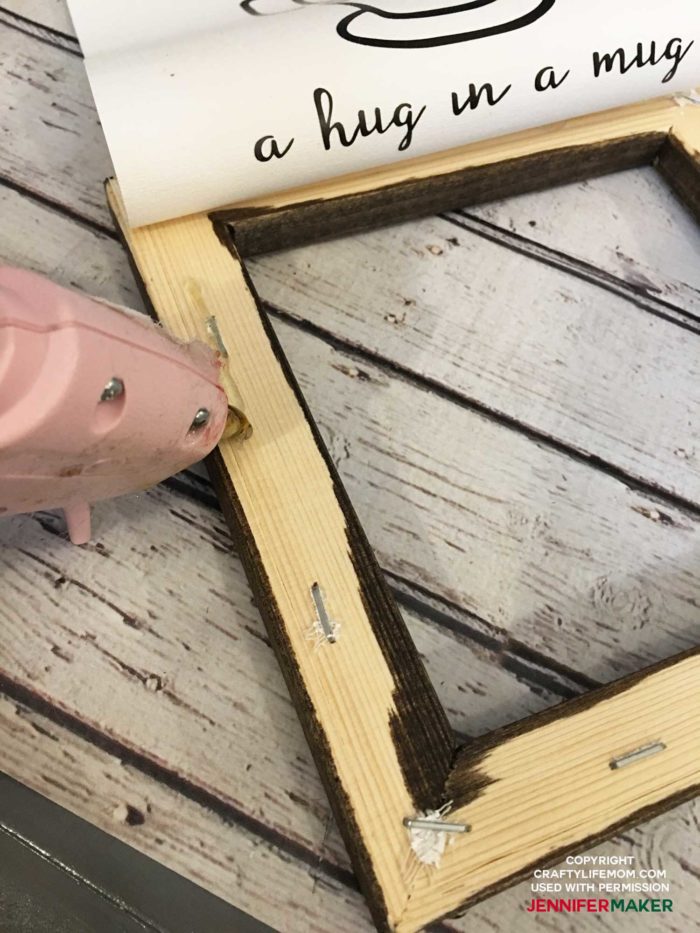
You can also use a staple gun to attach the canvas to the back side of the wood frame. However, I found a glue gun works just as good to secure it in place.
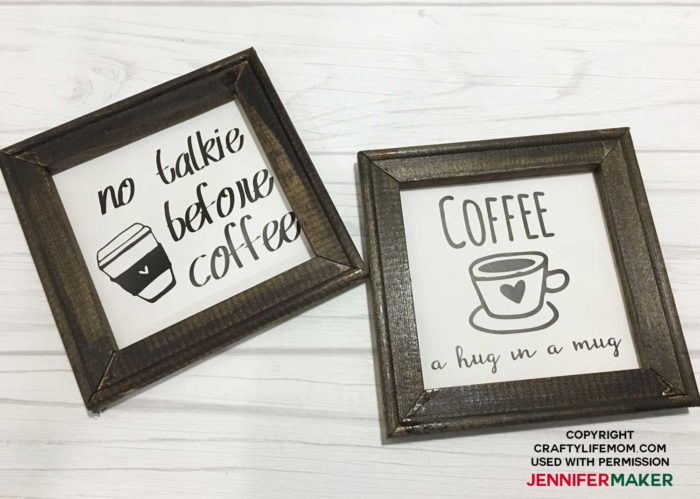
You now have reverse canvas project that you can proudly display on your coffee bar at home or in your office.
Get the free cut files for the Reverse Canvas Coffee Bar Art
To get the free SVG cut files shown in this tutorial, head on over to CraftyLifeMom.com and sign up for her free resource library!
Want to remember this? Save this Reverse Canvas Artwork Tutorial to your favorite Pinterest board!


Jennifer, is it possible to paint the canvas another color before putting the htv on? I want to paint my canvas red and then put on santa and his seligh in a white glitter htv.
Not sure what the heat press would do to the painted canvas.
Silly question, I know, but do you put the glass back in the frame first? If so, how do you keep it from falling backwards (where the canvas would have held it in originally)?
In this design, I didn’t use any glass! I just took apart a canvas frame and then re-glued the canvas back to the frame after!