
Thanksgiving is in just one day and I’m already anticipating it! When I picked up my daughter from the bus stop today, all I could talk about was Thanksgiving and she was not having it. I suggested we make a cute Thanksgiving craft together tonight, maybe a pumpkin pie card… no, WAIT, a PUMPKIN PIE PLUSHIE!! My daughter is obsessed with sewing plushies and is constantly designing and making them, so this was the perfect mother-child activity. And she agreed! It’s not easy finding something a 13-year-old and a 40-something-mom have in common, but tonight we found it, designed it, and made it.
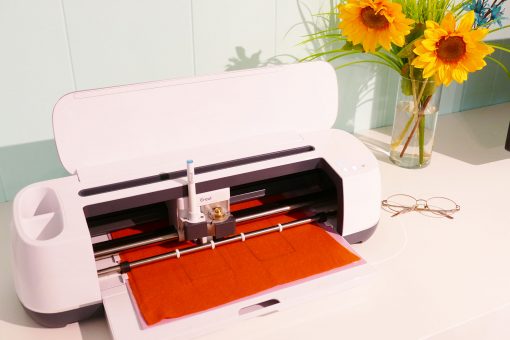
This plushie would be a fun gift, but we also thought it would make an awesome name “card” at the Thanksgiving table. So this evening we are making a bunch of these on the Cricut Maker. They cut out easily and go together fast with hot glue. And the Cricut Maker does an amazing job of cutting letters out of felt, so we can personalize each one. I think we may put some cute faces on them, too.
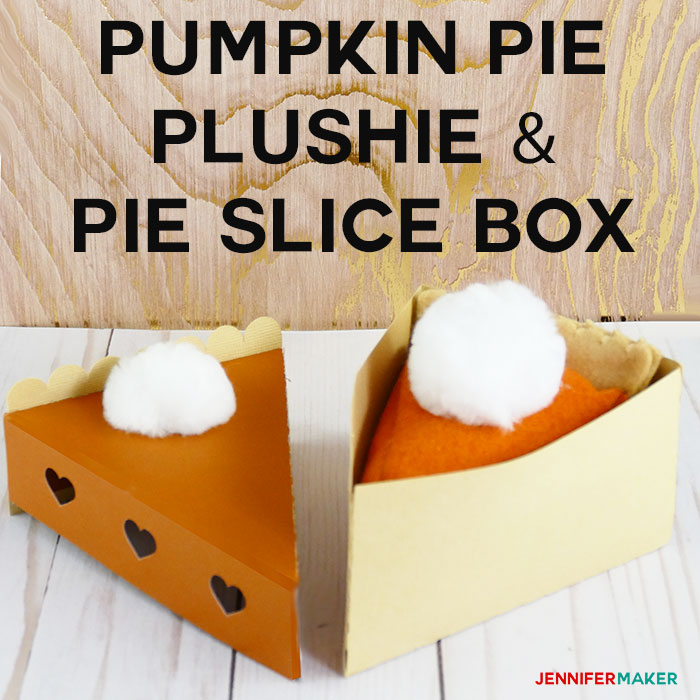
We thought you might like these (wouldn’t they be awesome at the kids’ table this year?) and would love to share our design with you!
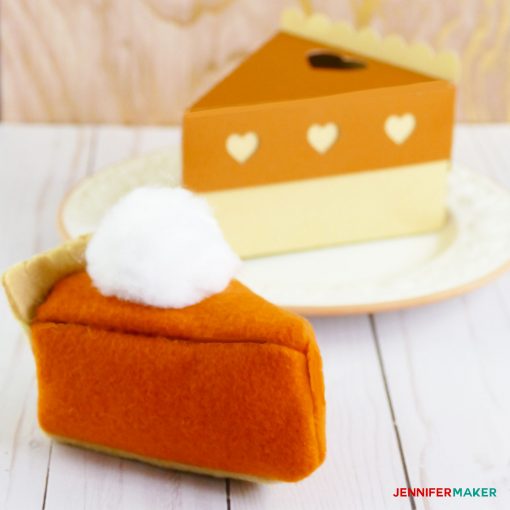
Also, we made a box for the little pie plushie. Oh, and you can just use that box for sending pie slices home with your guests, too—it’s perfectly sized for a generous slice of pie!
This post contains some affiliate links for your convenience (which means if you make a purchase after clicking a link I will earn a small commission but it won’t cost you a penny more)! Read my full disclosure policy.
DIY Pumpkin Pie Plushie + Box Materials
- Felt (orange and beige, 12″x12″ of each for one plushie)
- White felt (optional, to personalize it with a name or put eyes on it)
- Polyester stuffing
- A “whip cream” white pom pom
- Washable fabric pen (optional)
- Hot glue gun and glue sticks
- 1 sheet of 12″ x 12″ cardstock (for the box) — tip: mix and match paper to create different color lids and bottoms
- A way to cut out your plushie and cardstock (I used the amazing Cricut)
- Design #62 – My free SVG/DXF/PDF cut files/patterns (available in my free resource library—get the password at the bottom of this post)
How to Put the Pumpkin Pie Plushie Together
First, download Design #62 which is our pattern from my free resource library (you can get a password for it by signing up at the bottom of this page). If you’re cutting this out by hand, you want the PDF version. If you’ll be cutting it out on the Cricut Maker, get the SVG version.
Tip: If you’re not sure how to upload an SVG cut file to Cricut Design Space, watch this helpful video training series I made. If you’re on an iPhone or iPad, here’s how to download and upload SVG files to the Cricut Design Space app.
After you upload the file to Cricut Design Space, you’ll want to change all of the blue layers from Cut to Write (choose the Washable Fabric Pen). Then you need to attach each blue pen layer to the appropriate pie layer—just select and click Attach. (If you have any issues attaching, make sure everything is ungrouped first.)
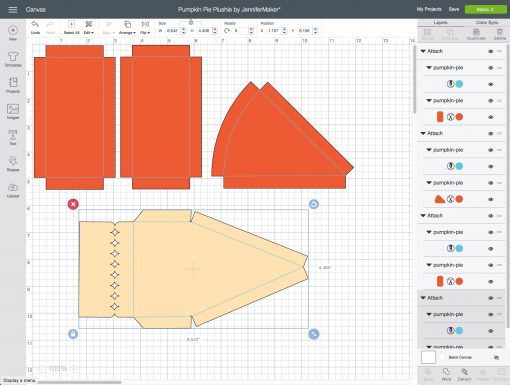
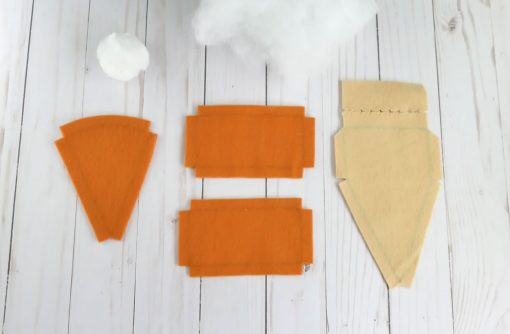
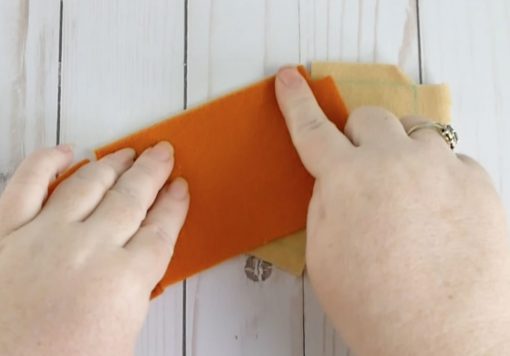
Cut out your felt according to the pattern. You’ll end up with four pieces — a pie top (orange), two pie sides (both orange), and a pie crust (beige).
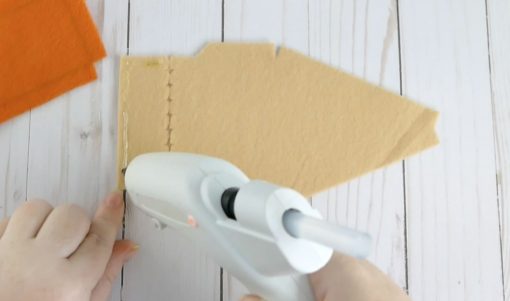
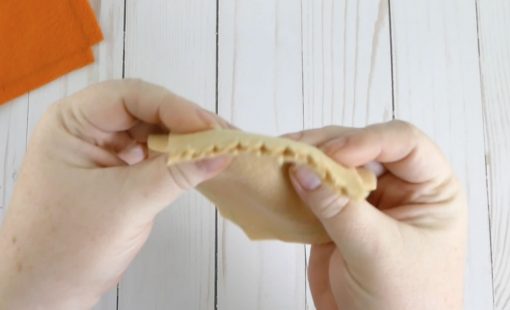
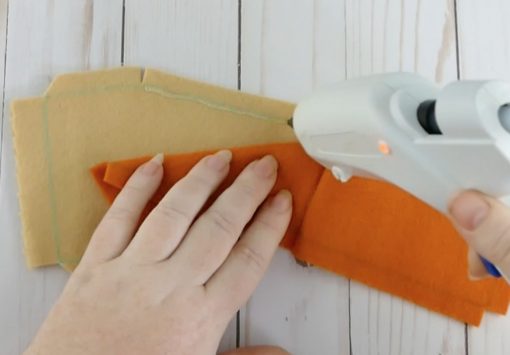
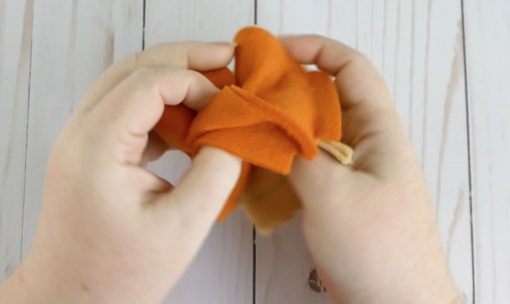
Fold the end of your crust over at the detail line—when folded, it should look like the edge of a pie crust! Glue the folded edge down into place with hot glue. (Note: Of course you can sew this instead if you prefer.)
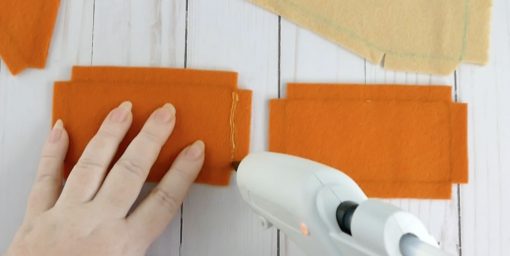
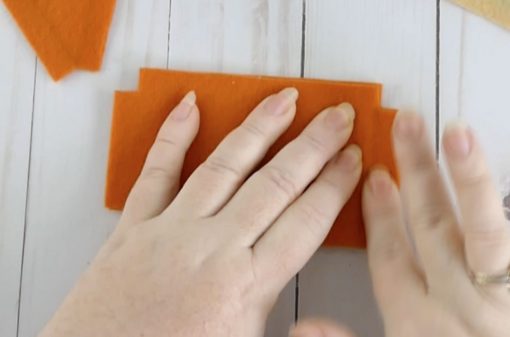
Glue the two pie sides together using hot glue—they go end to end, right sides together.
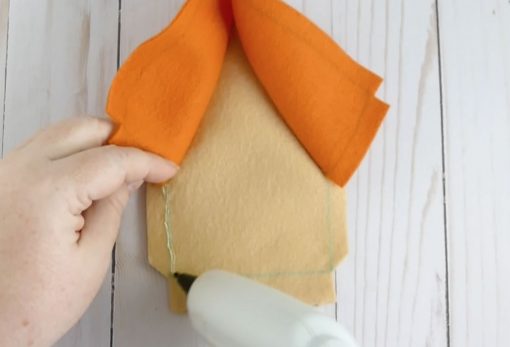
Now, glue the bottom edge of one pie side to one side of the the pie crust bottom—make sure you put right sides together. If you used the fabric marking pen to draw the seam lines, use those as a guide for where your line of glue goes. Be sure to line up each side exactly.
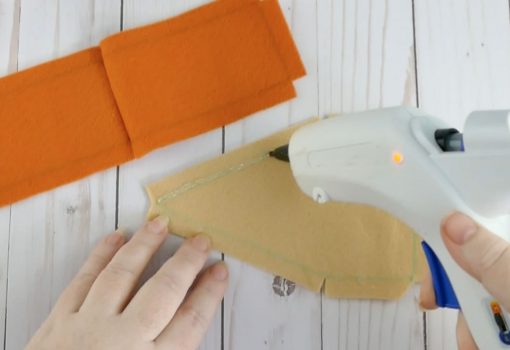
Carefully glue the other bottom of the pie side to the other side of the crust, being careful again to line up everything.
Glue the back edge of the pie sides to the back edge of the crust, again using the seam lines as a guide for where your hot glue goes.
Turn your pie right side out and check all seams. If you have any seams that didn’t quite close, turn it inside out again, fix it, and then turn it right side out.
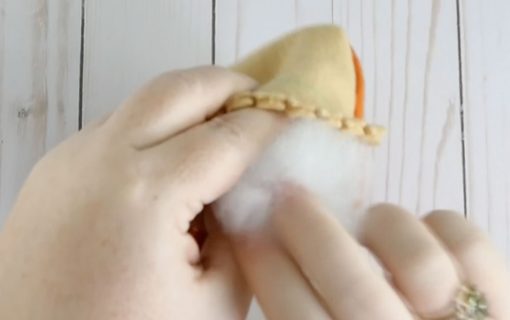
Stuff your pie with the polyester filling.
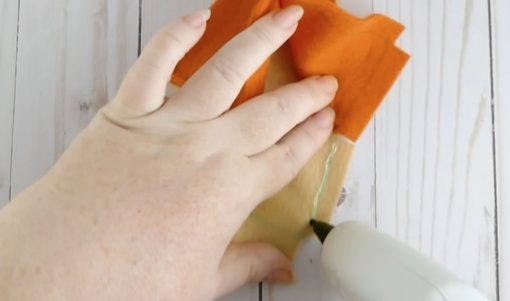
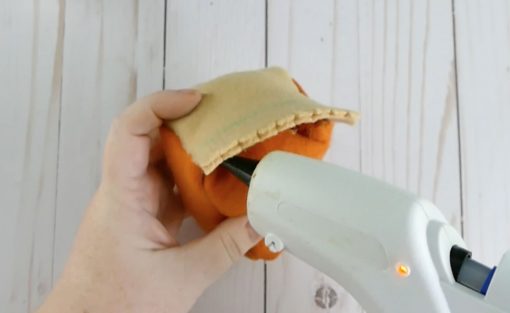
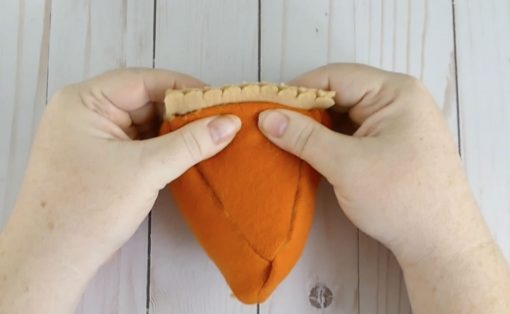
Fold the top edge of the pie in toward the crust. Place a line of glue along the folded edge, and then press the pie crust against it to set into place.

Glue a white pom pom on top to simulate whip cream.

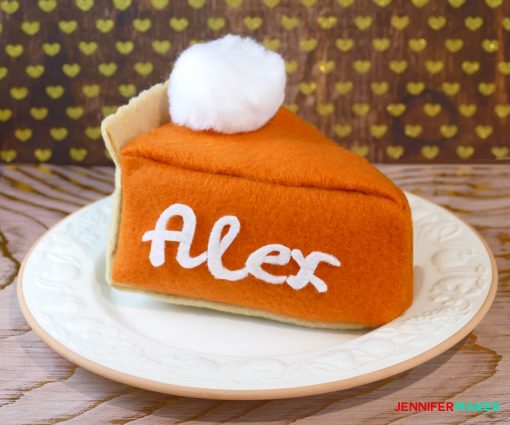
You can also optionally cut out a name in felt and glue it to the top or sides of your pie.
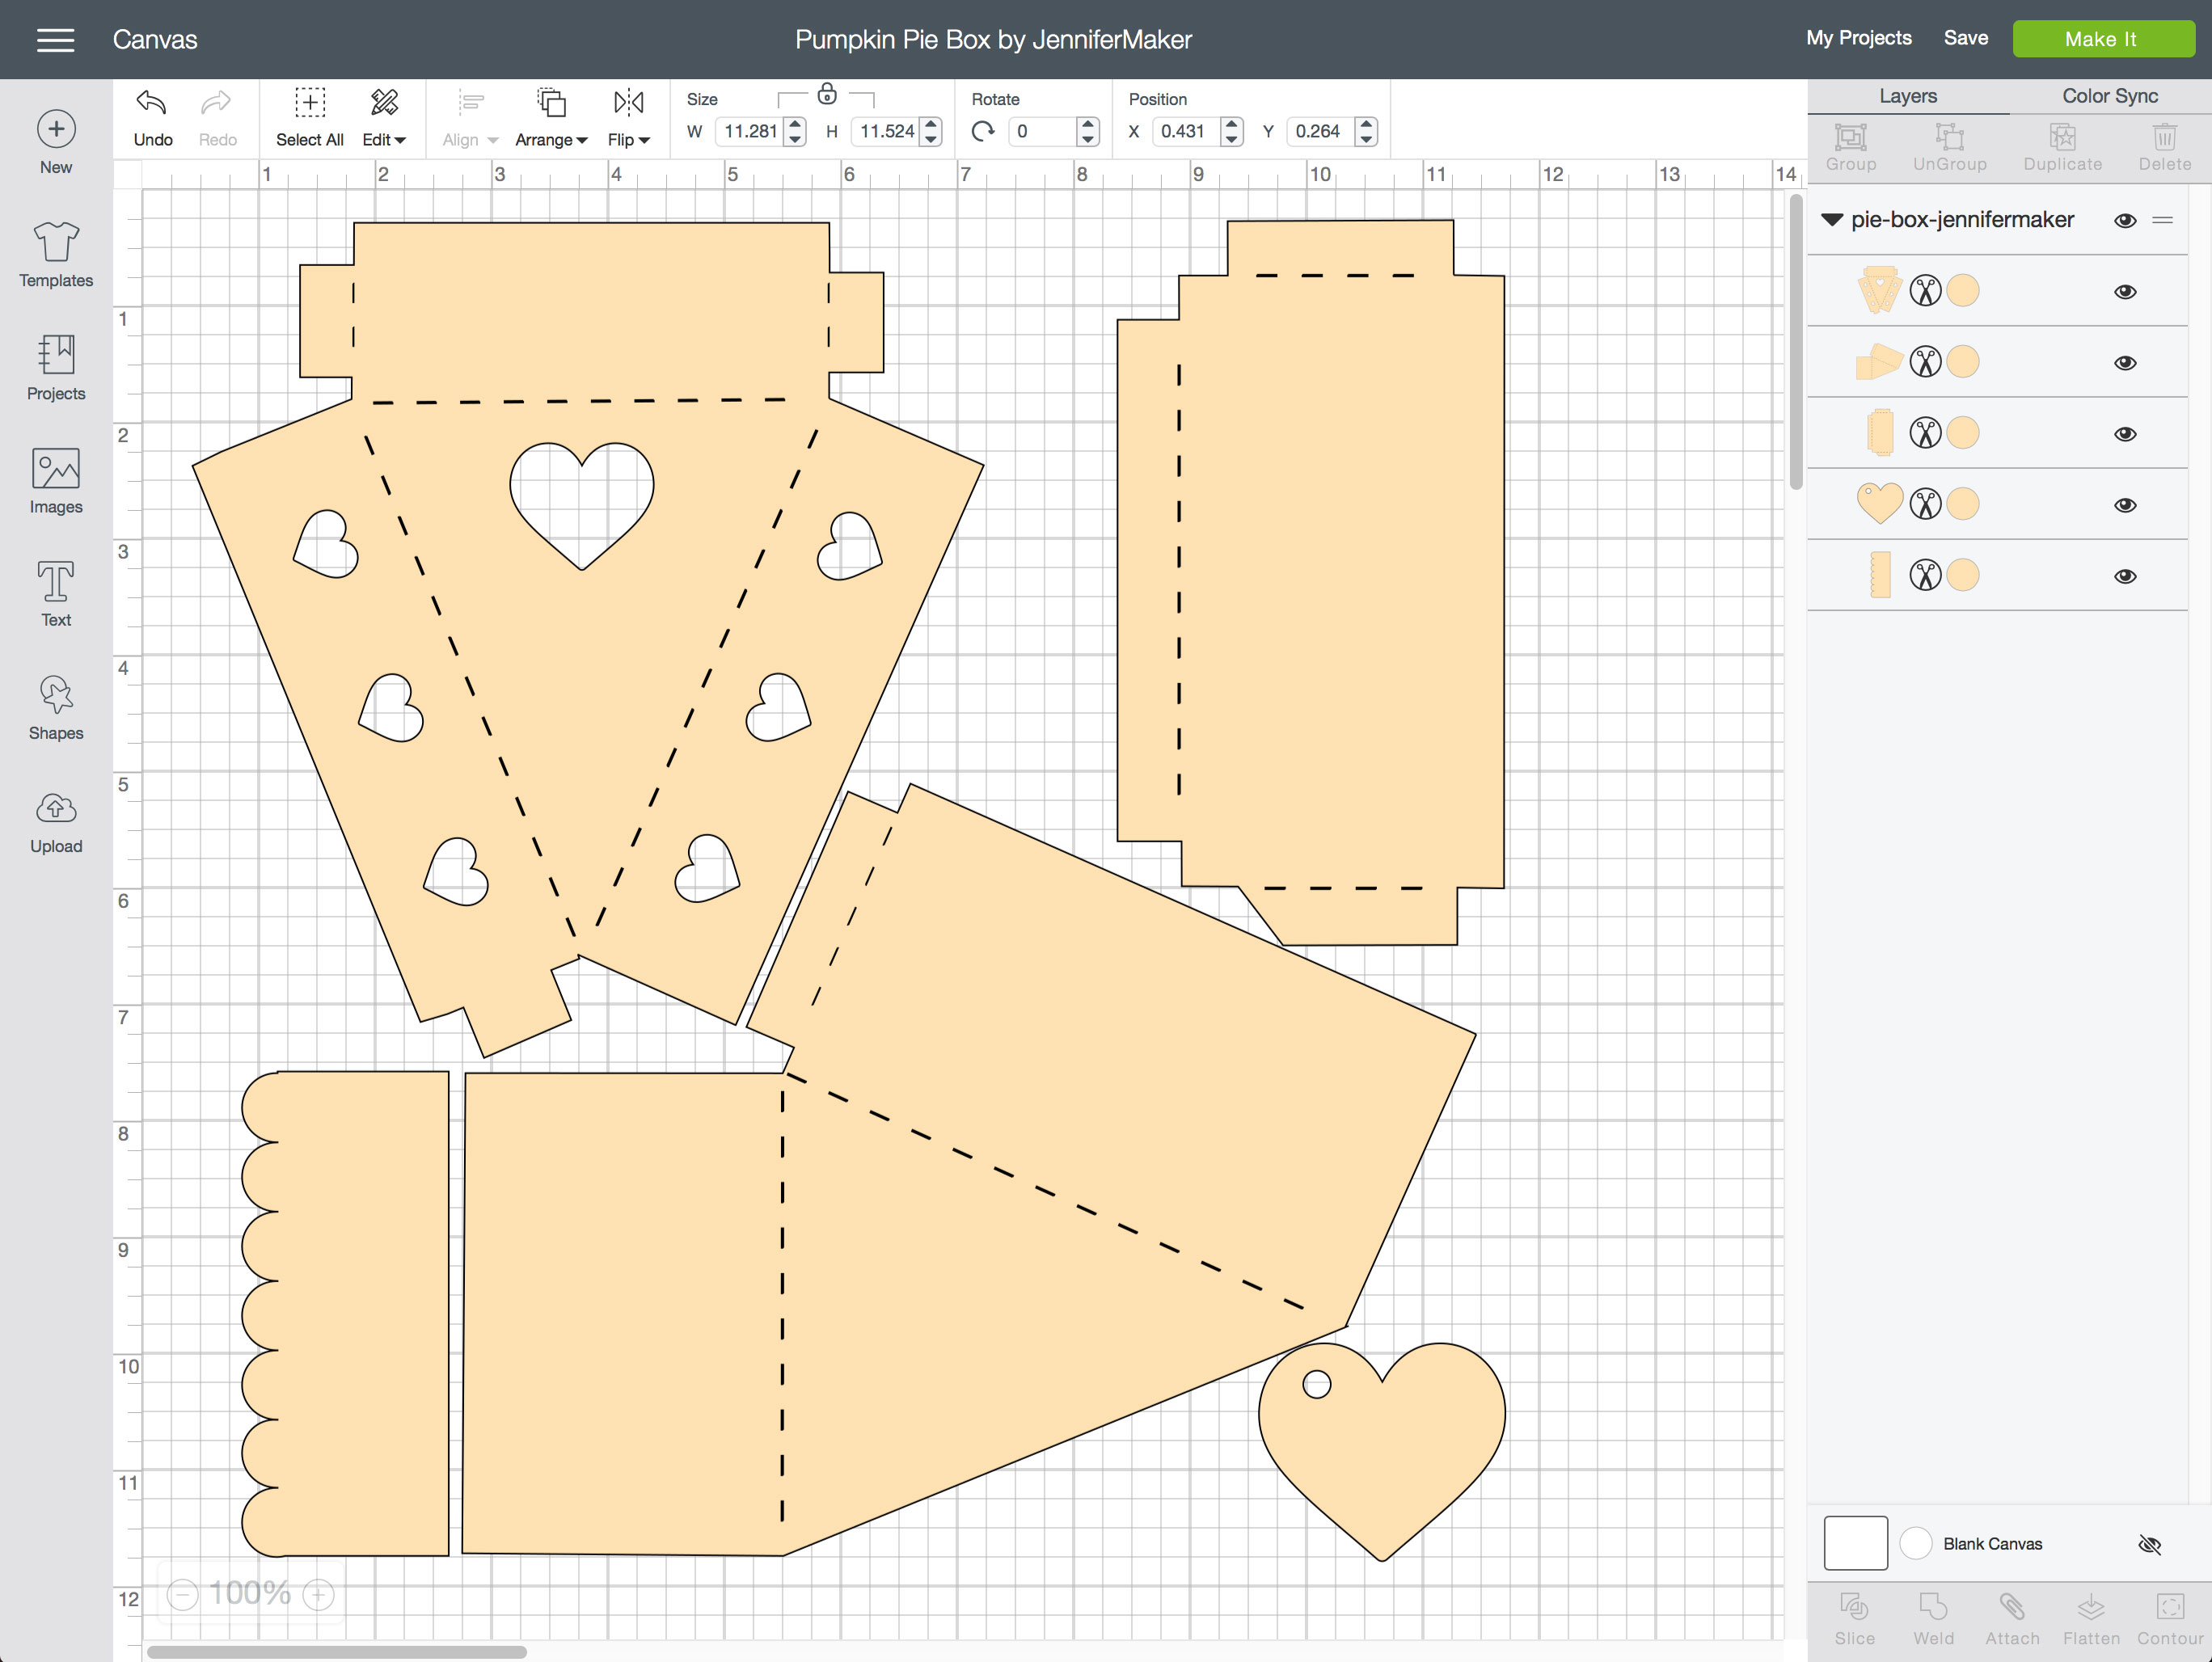
How to Put the Pumpkin Pie Slice Box Together
First, download our files from the free resource library. If you’re cutting this out by hand, you want the PDF version. If you’ll be cutting it out on the Cricut, get the SVG version. After you upload it to Cricut Design Space, just click Make It and you’re set. There are NO score lines in this file—I am using dashed cut lines to help you fold it instead of score lines.
Glue the side of the box to the bottom of the box.
Fold up the box and glue all sides together.
Now, fold up the box top and glue those sides together.
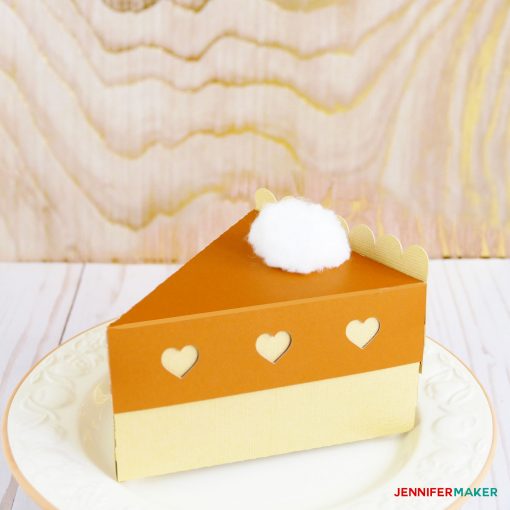
Voila! You have a pie slice box! I recommend you line your box with wax paper to help prevent any leaking.
Get Our Free Pumpkin Pie Plushie and Box Templates
Get the password for the library with the free pumpkin pie plushie and slice box files here by filling out this form:
I’d love to see your project! If you make one, please share a photo in our Facebook group, email it to me at [email protected], or tag me on social media with #jennifermaker.
Love,

Such a cute pumkin pie
Thank you!
What an awesome idea for name markers at the Thanksgiving table!
That would be so FUN!