
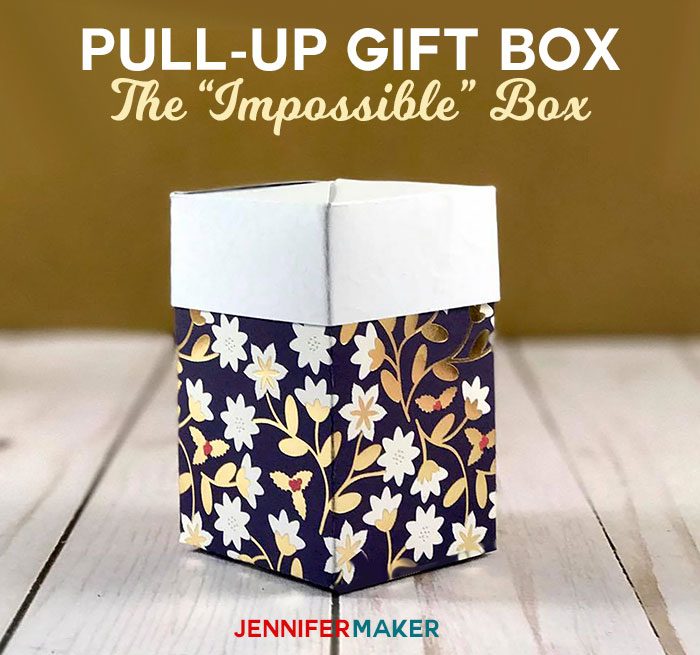
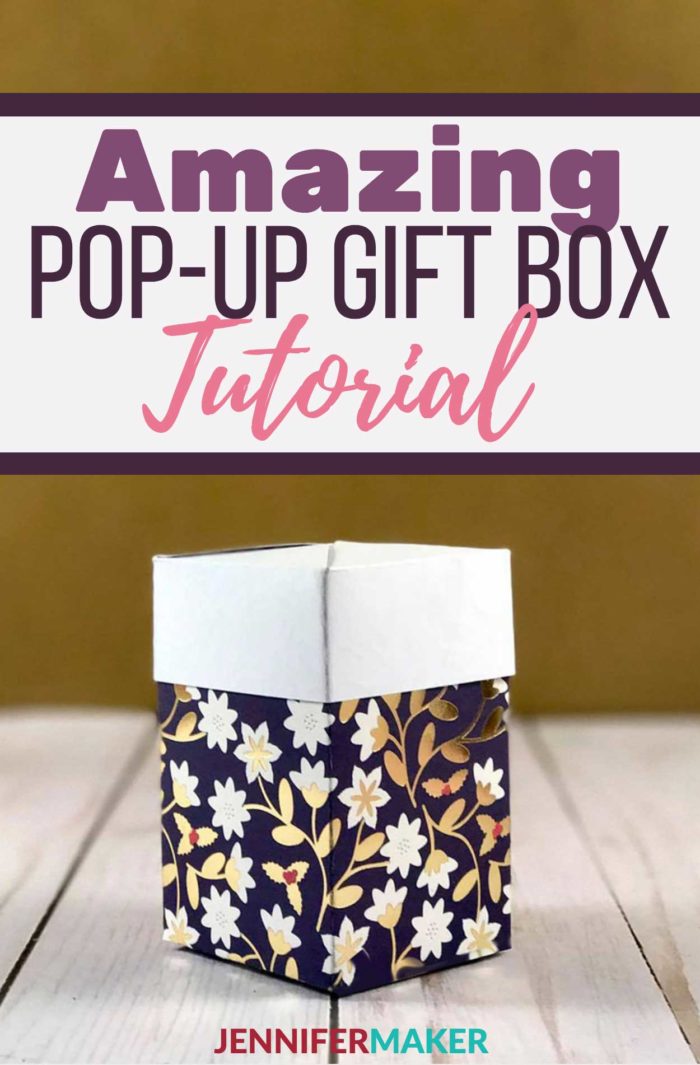
 We’re at the point where all the gifts are being wrapped and going under the Christmas tree. Sometimes we have little trinkets without good boxes, and it can be tough to go out and find something so late in the game. So for Day 22 of the MAKE IT MERRY: 25 Days of Maker Projects Christmas, I offer this cute little pull-up gift box. It is commonly known about the interwebs as the “impossible box,” but I’m not sure why — it’s actually very easy to make. It’s just one sheet of cardstock!
This pull-up gift box is not my original idea, but I was hard pressed to figure out where it originated. The inspiration came from a reader (Vicki) who sent me this lovely YouTube video, but the crafter in the video itself refers to it being known about online before she created it. I suspect it’s an origami box, but I was unable to confirm it. If anyone knows there this originated, do let me know!
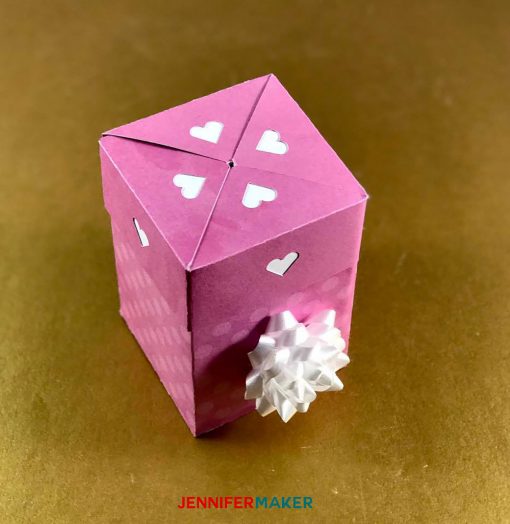
I’ve created two different versions—a standard box and one with heart cut-outs on the top and side (because Valentine’s Day is coming soon!). Both are really easy to make! I sized them to fit a standard 8 1/2″ x 11″ sheet of cardstock, but you can enlarge or reduce them as necessary.
Let me show you how to make this pull-up gift box! This post contains some affiliate links for your convenience (which means if you make a purchase after clicking a link I will earn a small commission but it won’t cost you a penny more)! Read my full disclosure policy.
Materials for the Pull-Up Gift Box (The “Impossible Box”)
- 65lb. letter-size or larger cardstock
- Tape and tacky glue
- A way to cut your cardstock (I used the amazing Cricut cutting machine!)
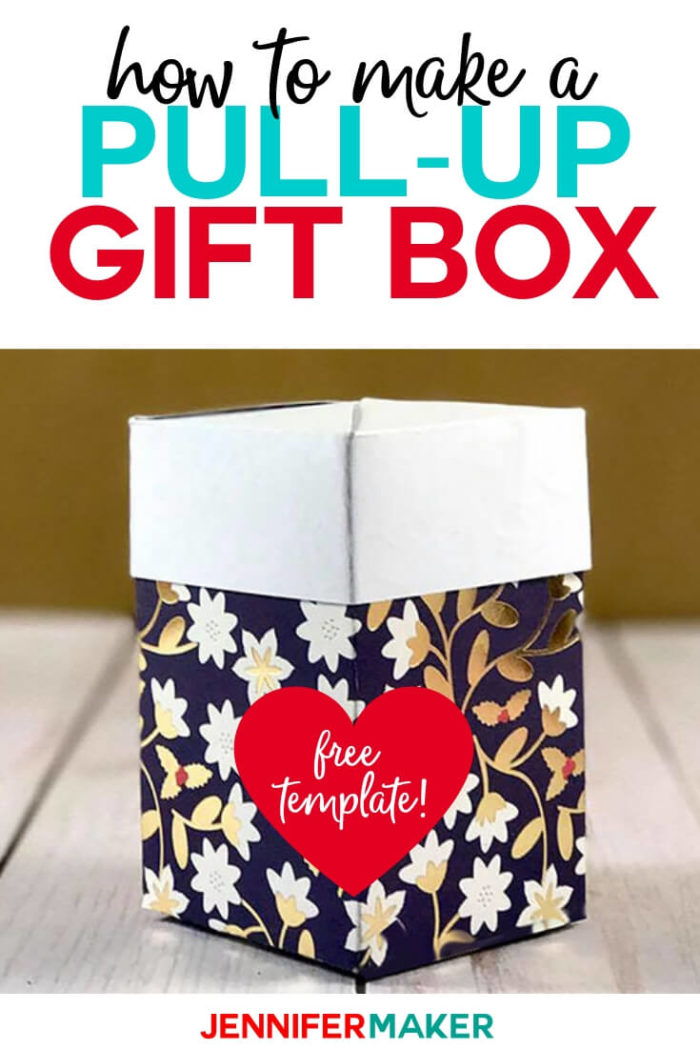
- Design #85 – My free SVG design files (available in my free resource library—get the password by filling out the form at the bottom of this page)
How to Make Your Pull-Up Gift Box
First, download Design #85 which is the pattern for this gift box from my free resource library.
Cut out your cardstock from the pattern/file. If you are cutting on a cutting machine, I recommend you put your cardstock right down on your mat so your score lines are on the back of your paper—this will help with folding!
Tip: If you’re not sure how to upload an SVG cut file to Cricut Design Space, watch this helpful video training series I made. If you’re on an iPhone or iPad, here’s how to download and upload SVG files to the Cricut Design Space app.
If you’re using Cricut Design Space, change BOTH score layers from the default “cut” to “score” and then attach those two layers to the base layer. I put in two score layers to make sure it scored really well, which helps in this project.
Need help with the scoring lines? Check out my tutorial on Cricut Scoring, Grouping, and Attaching!
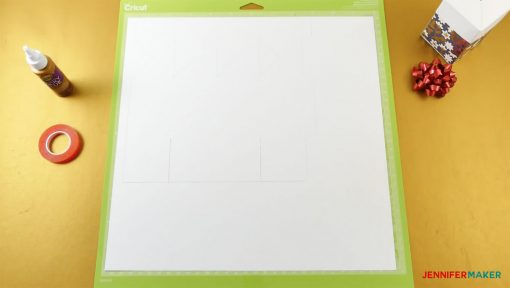
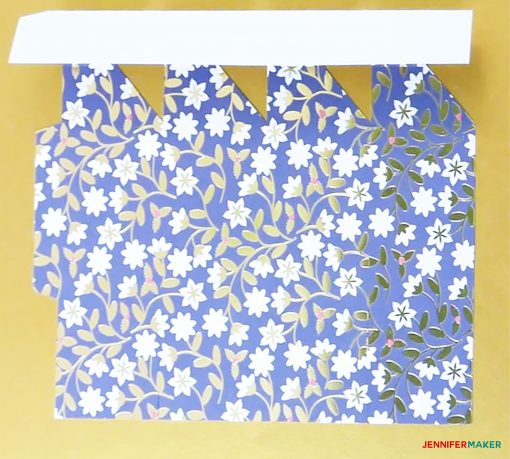
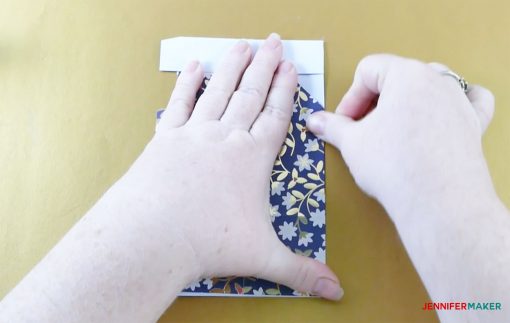
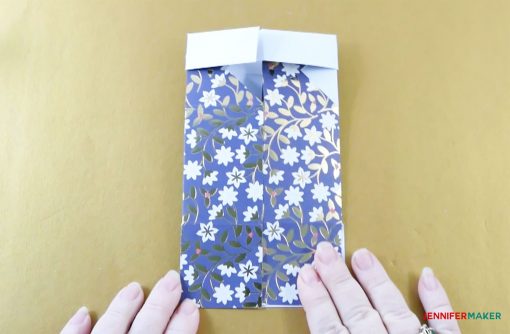
Place your cut cardstock on your work surface as shown below and fold the first score line on the right.
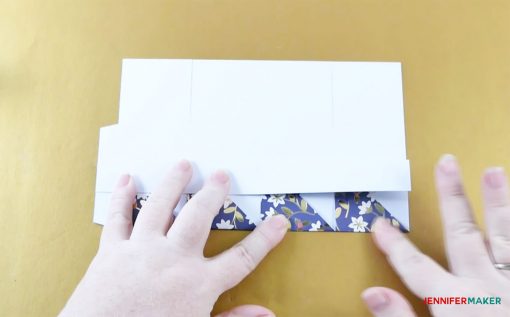
Flip the cardstock over (so it is face down) and fold at the next score line down, as shown here:
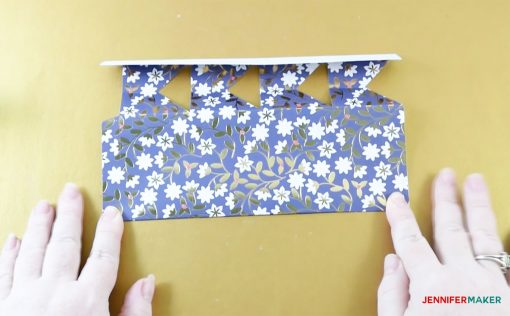
Fold at the third score line.
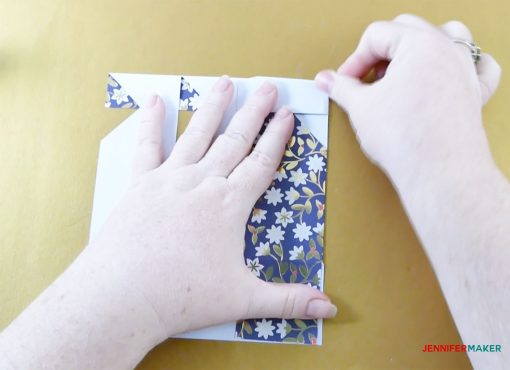
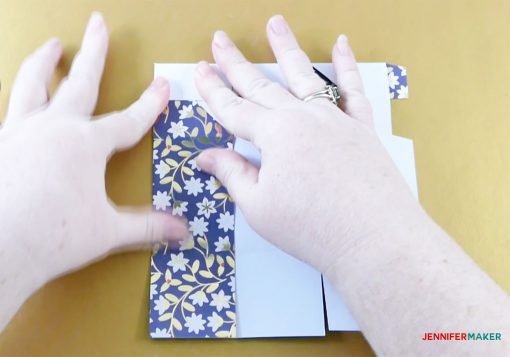
Turn the cardstock face down on your work surface, keep the top section folded down, and fold at the first vertical score line on the right.
Nowm fold again at the middle vertical score line.
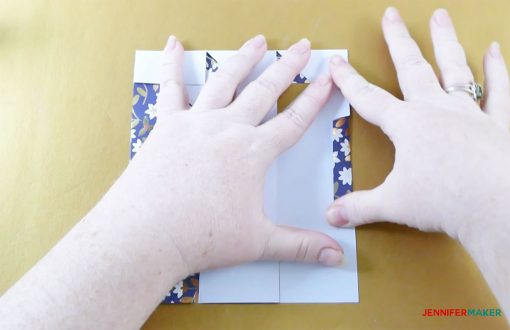
And, finally, fold at the left vertical score line.
Be sure to fold in the tabs on the right side, too.
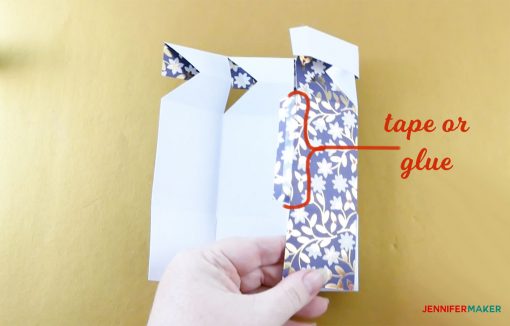
Tape or glue the box together as shown below.
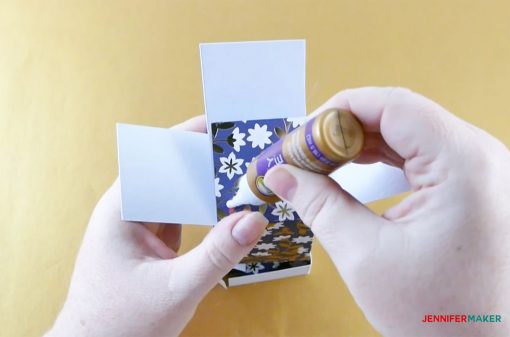
Fold up the bottom flaps and glue each one to create the bottom of the box. (Tip: Save the flap attached to the front of the box —whichever side you want to be the front — and glue it last.)
Turn the gift box over and put glue on the unattached flap, but don’t attach it yet.

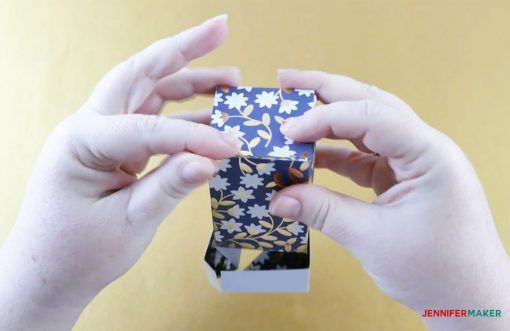
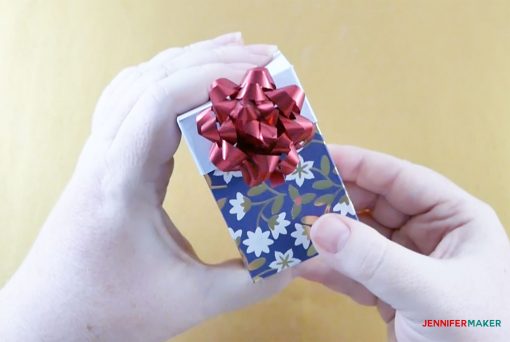
Push the top down so the box closes, then position the glued tab under the other side and press firmly in place. Don’t make the join too tight or you will have issues opening and closing the box.
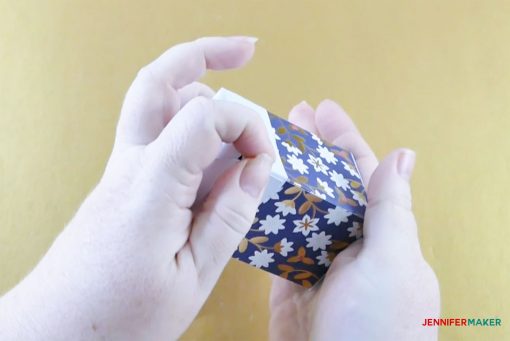
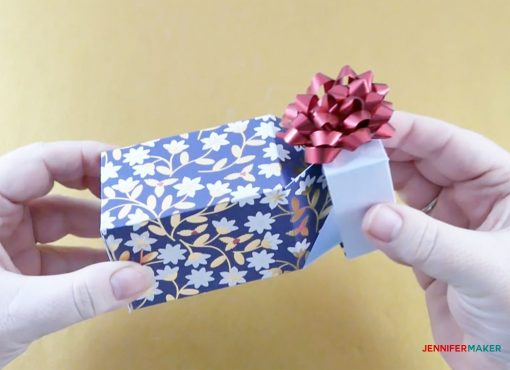
Now, open and close your box several times to make sure it will open easily. To open it, just gently pull up on the top.
Get my free cut files for the Pull-Up Gift Box
I’d love to see your project! If you make one, please share a photo in our Facebook group or tag me on social media with #jennifermaker.
See all of the tutorials and free designs in my MAKE IT MERRY: 25 Days of Maker Projects Christmas!
Love,

Want to remember this? Save this pull-up gift box to your favorite Pinterest board!


Thank you so much for the gifts! I hope you and your family have a wonderful, magical Christmas and an incredible New Year!
Hey Jennifer,
I created this gift and my brother loved it. Thanks for sharing
What are the finished dimmensions of this box? (Will it fit a gift card?)
Great question, Jenny! The box is roughly 2″x3″.