

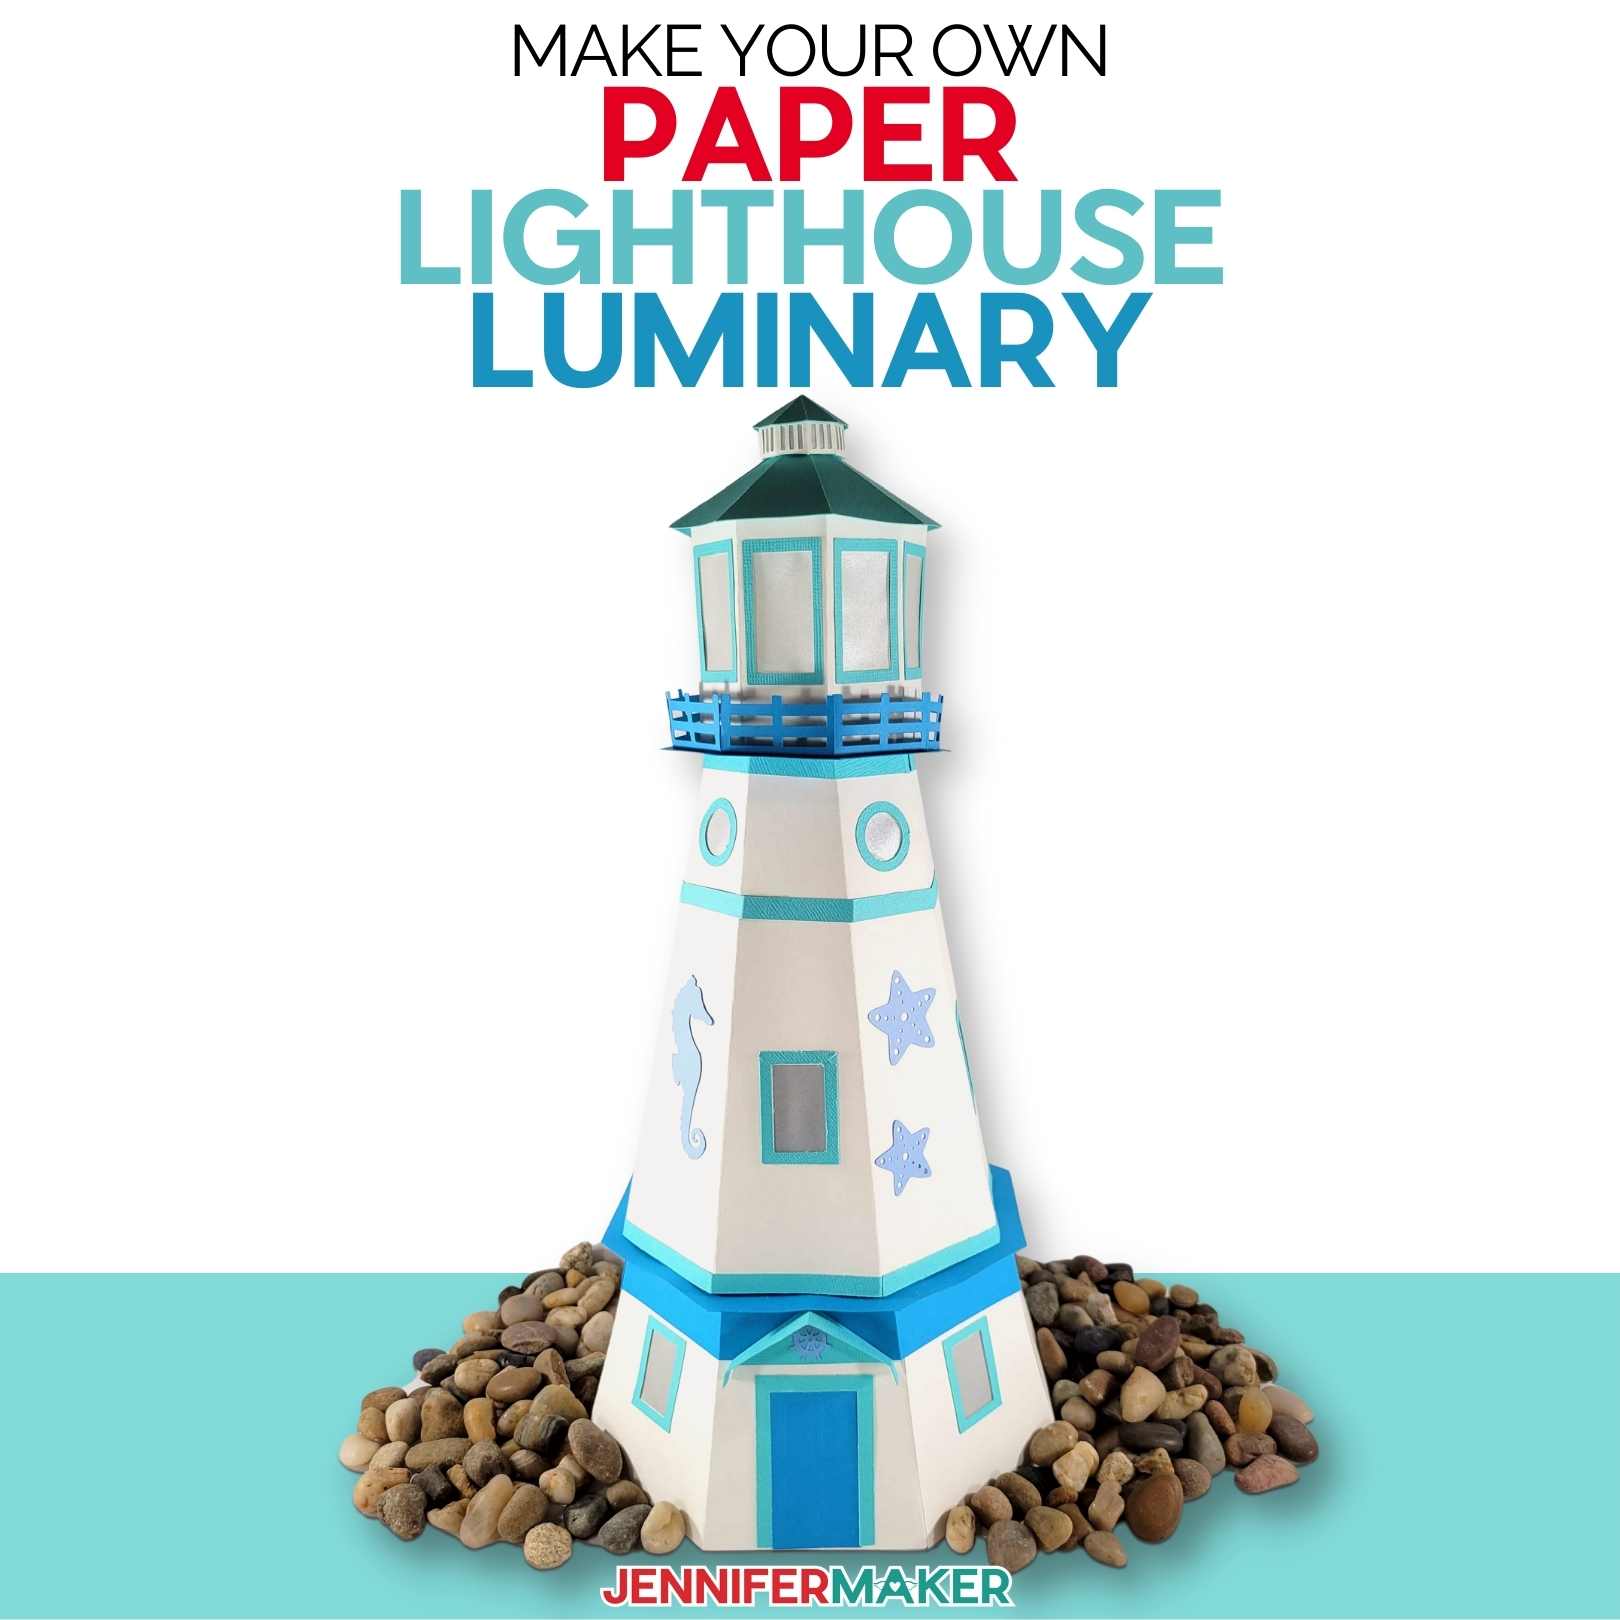
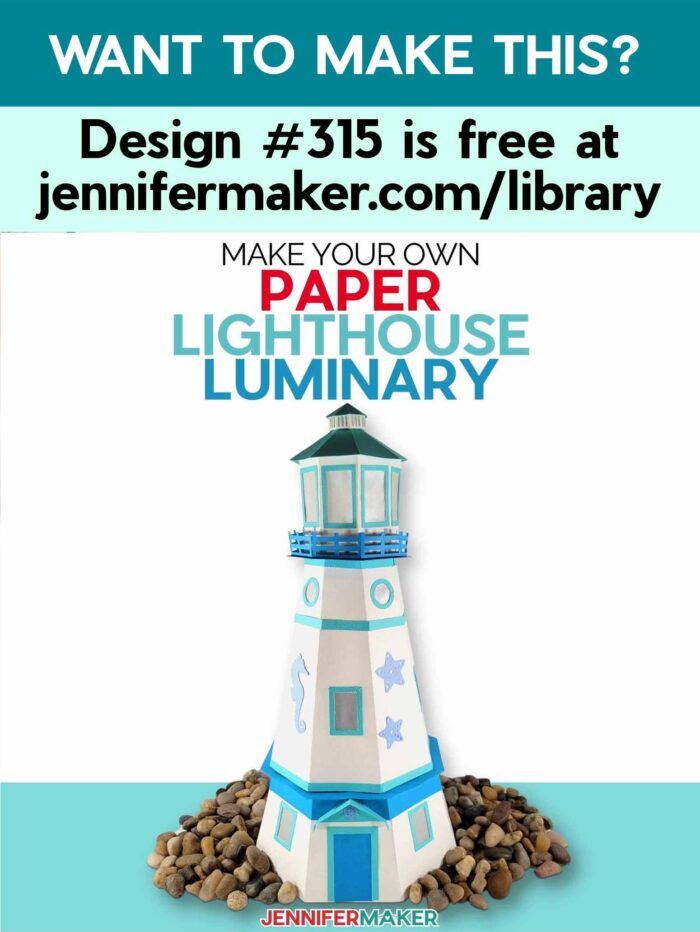
Learn to make this amazing three-tiered lighthouse completely out of cardstock!
3D papercrafts and luminaries are two of my favorite crafts, and with this paper lighthouse, we get two in one! And this paper lighthouse is a real masterpiece — everyone is amazed when they realize this lighthouse is made entirely from paper! This lighthouse would look fantastic next to my 3D paper gazebo (also a luminary) and my 3D garden arbor with the miniature roses. This beautiful 3D papercraft adds a magical touch to your home decor or party table centerpiece! So let’s dive right into how to create this masterpiece of a 3D papercraft luminary using cardstock, vellum, and glue.
Want to save this project? Enter your email below and we’ll send the project straight to your inbox.
Watch me assemble the paper lighthouse luminary in this step-by-step video:
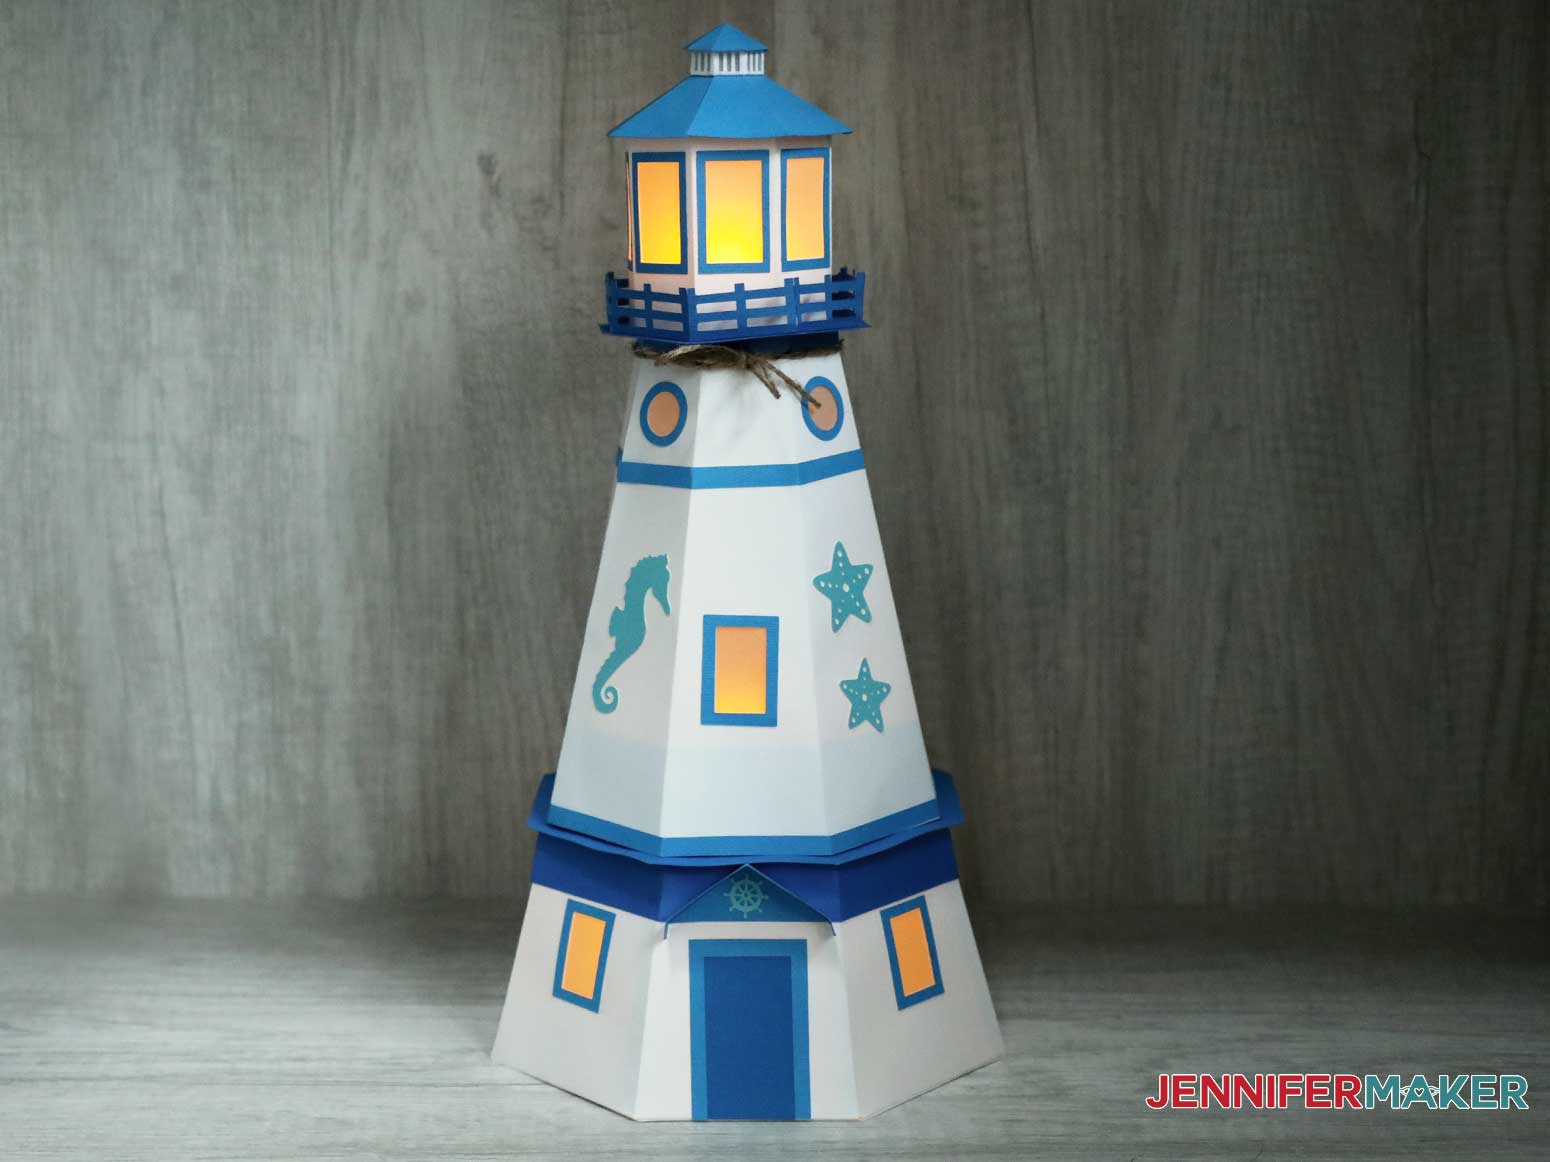
This paper lighthouse is a very fun project, especially if you love detail work! With 84 pieces this is a real project, but the end result is worth it! The finished lighthouse will measure 16” tall and 8” wide across the base.
To make your paper lighthouse, you need (5) five sheets of 12″ x 12″ textured cardstock in complimentary colors! I highly suggest 80 lb. cardstock to help keep the integrity of the structure. The thicker cardstock, once assembled will help keep your paper lighthouse together.
You will also need (5) five sheets of 12″ x 12″ 60 lb. white textured cardstock for the actual lighthouse and I chose a lighter weight cardstock to fold it a littler easier.
I used (1) one sheet of 12″ x 12″ shimmer cardstock and (1) one piece of 8 1/2″ x 11″ of vellum to add some depth and dimension to my lighthouse! The shimmer cardstock is great for the decorations, and the vellum works well for the windows because it lets the light shine through. If you don’t have vellum, you can use another thin paper like wax paper.
For adhesive, I just used tacky glue but you can use a spray adhesive of small pieces of double sided tape as well but they might not hold together as well as the tacky glue.
Of course you can’t have a lighthouse without light! But remember, this is just paper, so only use LED tealights inside your paper lighthouse.
Once you have your paper lighthouse pieces all cut out, I recommend stack them like I do in my step-by-step directions below so that it is easier to follow along during the assembly process. I have laid out the assembly in an easy to follow, step by step process below with images to help you see how to assemble each piece!
To cut out the designs, I used my Cricut cutting machine, along with the Fine-Point Blade, and both a Green StandardGrip Machine Mat and a Blue LightGrip Machine Mat. If you don’t have a cutting machine, there is also a printable PDF pattern included that you could use instead.
Let me show you how easy it is to make this wonderful Paper Lighthouse! This post contains some affiliate links for your convenience (which means if you make a purchase after clicking a link I will earn a small commission but it won’t cost you a penny more)! Read my full disclosure policy.
Materials to Make a Paper Lighthouse Luminary
View my Amazon shopping list with the exact items we used to make this project!
- Five sheets of textured 80lb 12” x 12” cardstock in complimentary light and dark colors (I used this exact brand)
- Five sheets of 65lb textured 12” x 12” cardstock in white (I used this exact brand)
- One sheet of 12” x 12” shimmer cardstock (I used this exact brand)
- One sheet of 8.5″ x 11″ vellum (if you don’t have vellum, you could use wax paper instead)
- Tacky glue (I used Aleene’s Tacky Glue)
- LED tealights to put inside your lantern
- Cricut Blue LightGrip Cutting Mat, 12×12
- Cricut Green StandardGrip Cutting Mat, 12×12
- Cricut Scoring Stylus (Explore or Maker) or Scoring Tool (Maker only)
- Cricut XL Scraper
- Cricut Weeding Tool
- A method to cut your cardstock and vellum – I used the amazing Cricut Maker but you can also use the Cricut Explore
- Design #315 – My free SVG/PDF/DXF design files are available in my free resource library – get the password by filling out the form at the bottom of this page
How to Make Your Own Beautiful Paper Lighthouse
Paper Lighthouse Tealight Luminary
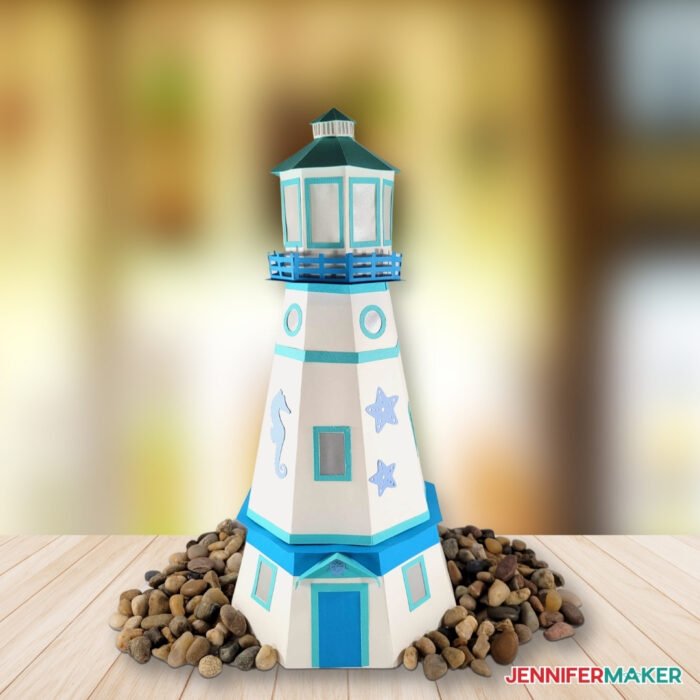
This 3-tiered lighthouse will add a magical touch to your decor.
Materials
- Five sheets of textured 80lb 12” x 12” cardstock in complimentary light and dark colors (I used American Crafts Textured Summer Variety Cardstock)
- Five sheets of 65lb textured 12” x 12” cardstock in white (I used Darice Premium Cardstock)
- One sheet of 12” x 12” shimmer cardstock (I used DCWV Shimmer Cardstock)
- One sheet of 8.5″ x 11″ vellum
- Tacky glue (I used Aleene’s Tacky Glue)
- LED tealights to put inside your lantern
- My free SVG design files (available in my free resource library—get the password by filling out the form at the bottom of this page)
Tools
Instructions
STEP 1: GET FREE MY PAPER LIGHTHOUSE DESIGN FILES
Get my free paper lighthouse tealight luminary pattern from my library — look for design #315. You can cut this lighthouse by hand using the printable PDF template, or you can use the SVG cut file to cut it with a cutting machine.
Let me show you how to cut this paper lighthouse luminary with a Cricut cutting machine. If you're not sure how to upload an SVG cut file to Cricut Design Space, watch this helpful video training series I made. If you're on an iPhone or iPad, here's how to download and upload SVG files to the Cricut Design Space app.
Here’s what the SVG file looks like when it is imported into Design Space (Tip: Right-click on this image to see it at a larger size).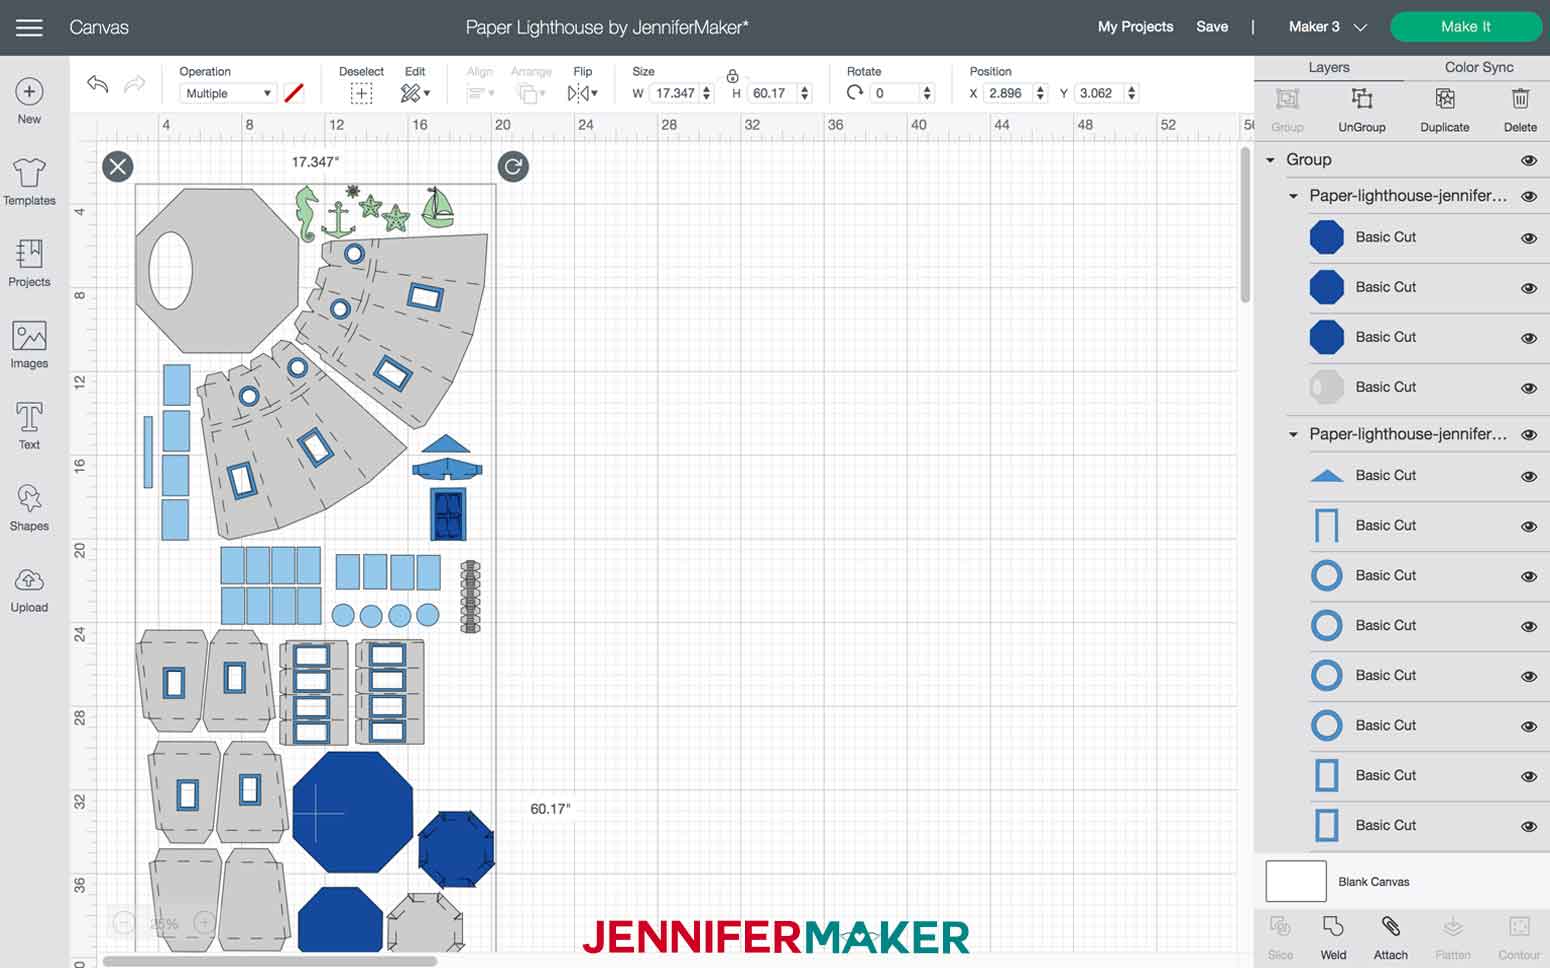
Adjust the size if needed. The SVG cut file is set up to make one lighthouse measuring approximately 16” tall and 8” wide across the base. If you want to use different paper and color combinations, you may want to designate different colors for the cut layers to keep track of all the pieces. Now they are ready to be cut!
Once you are happy with how everything looks click “Make It.” If prompted, choose to cut it on a mat, then click “Continue.”
Now you will be prompted to select your material settings. Choose “Medium Cardstock” for the cardstock pieces and I always choose “More” pressure.
I am going to use textured cardstock, which is textured on one side but the other side is smooth. We want to place the cardstock with the textured side facing upward on the mat (so adhering the smooth side to the sticky mat).
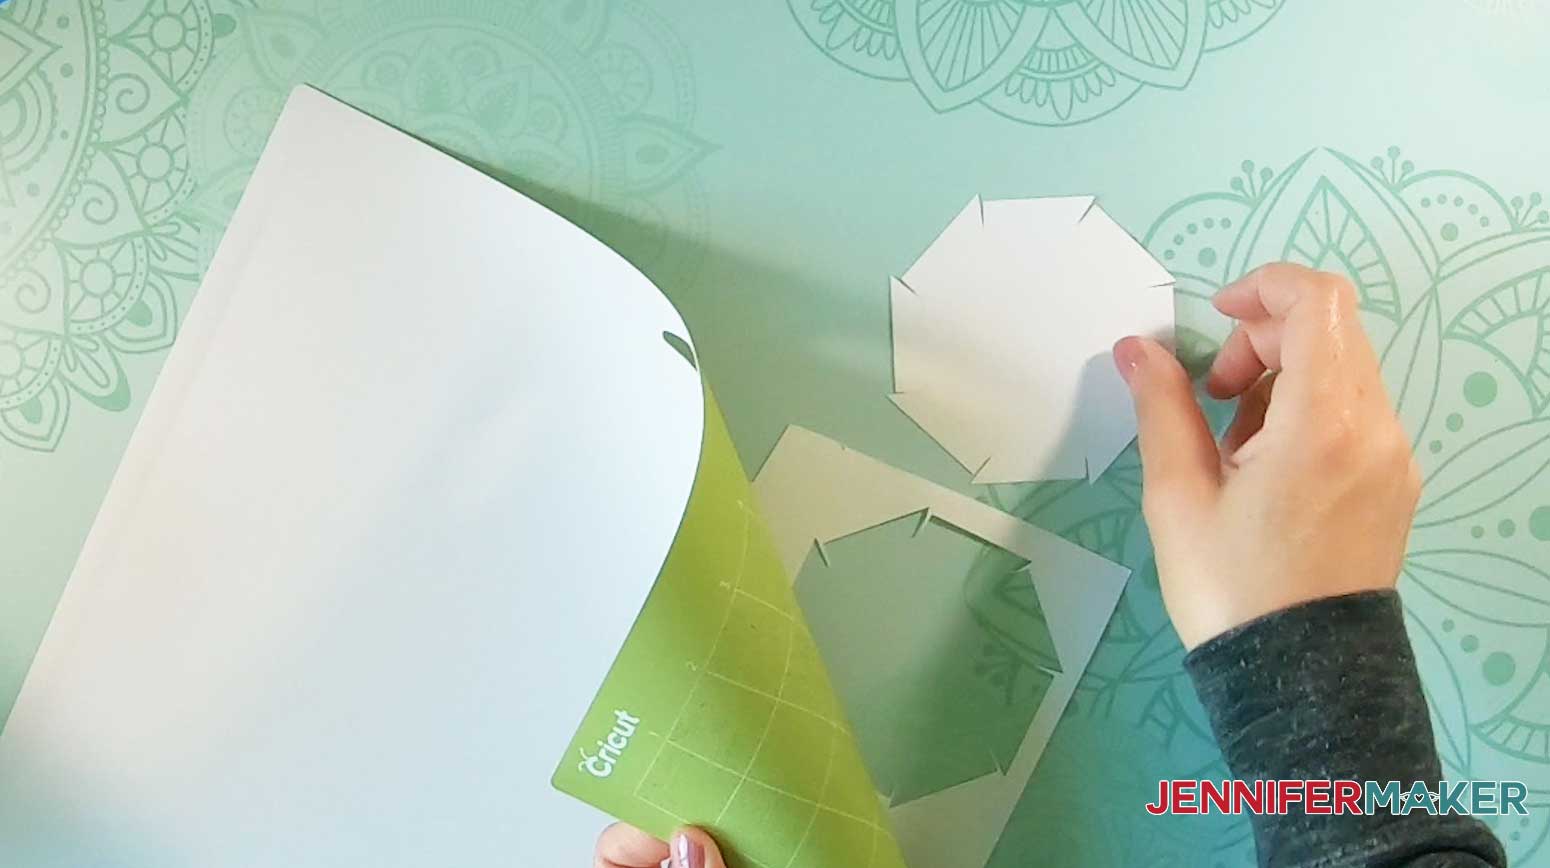
Place your cardstock on a Green StandardGrip machine mat or a Blue LightGrip machine mat, load your scoring stylus or scoring tool, and press "Go." Once the cut is done, unload your mat, flip it over and roll the mat back to release the cardstock. I used a weeding tool to pop out all the little bits for the decorative pieces.
Once those cuts are done, you will “Browse all Materials” and select “Vellum” for the window pieces. Once that cut is done flip your mat back again and gently peel off those pieces.
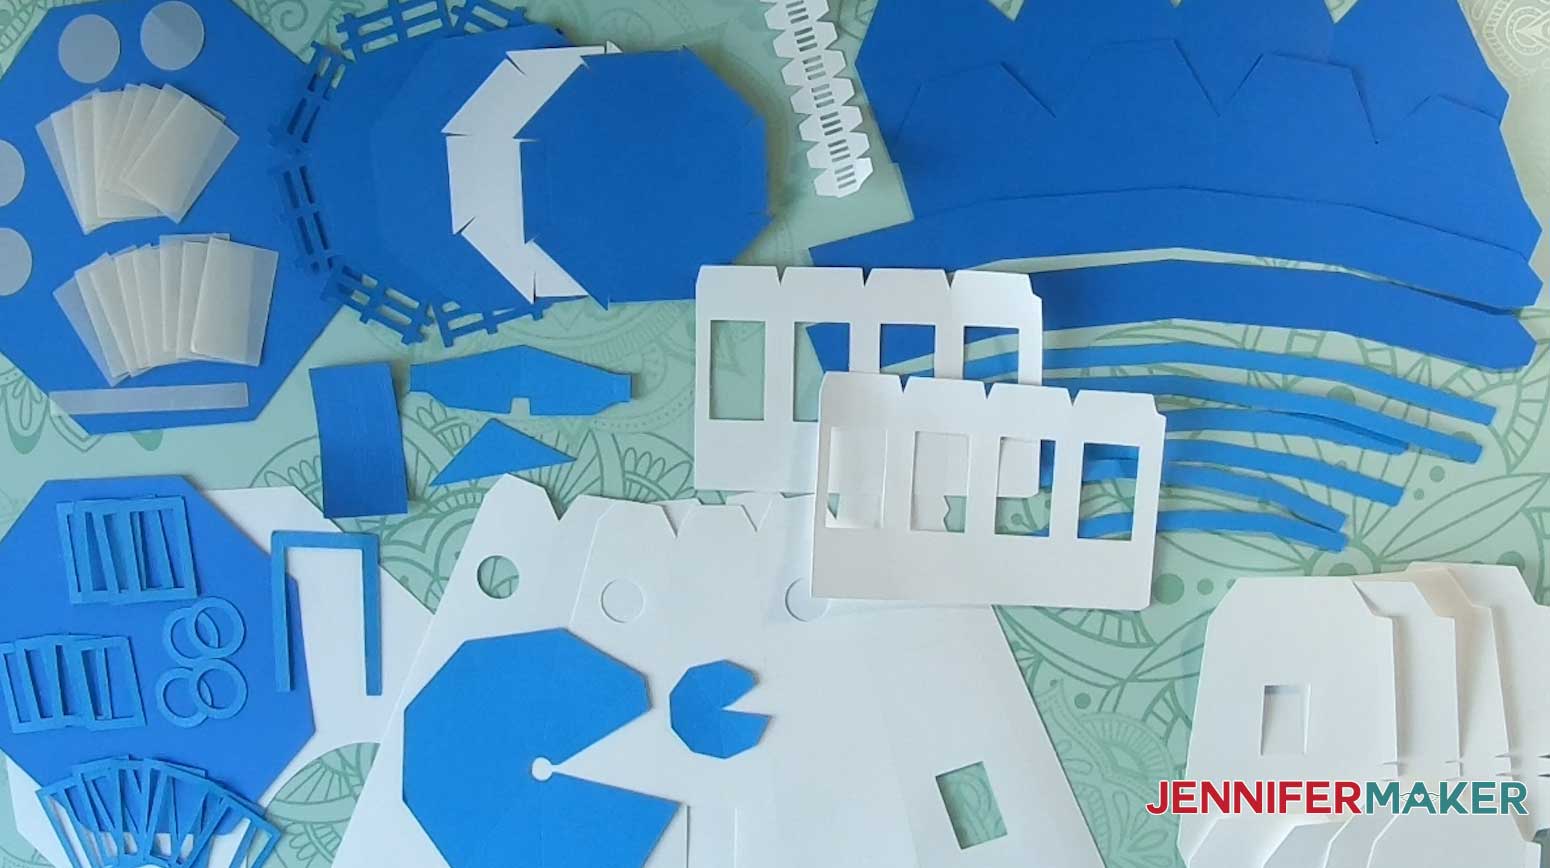
Here are the pieces you’ll need to make a paper lighthouse — 20 window frames, 20 vellum panels, vellum strip, roof, roof cap, roof cap side, 2 cupola side pieces, 3 tealight trays, railing, railing base, 2 tower sides, 8 belly band strips, 6 nautical embellishments, 2 collar strips, 2 tower bases, 8 base sides, 1 base, 1 door, 1 door frame, 1 door roof, 1 door triangle piece.
STEP 2: Assemble the windows
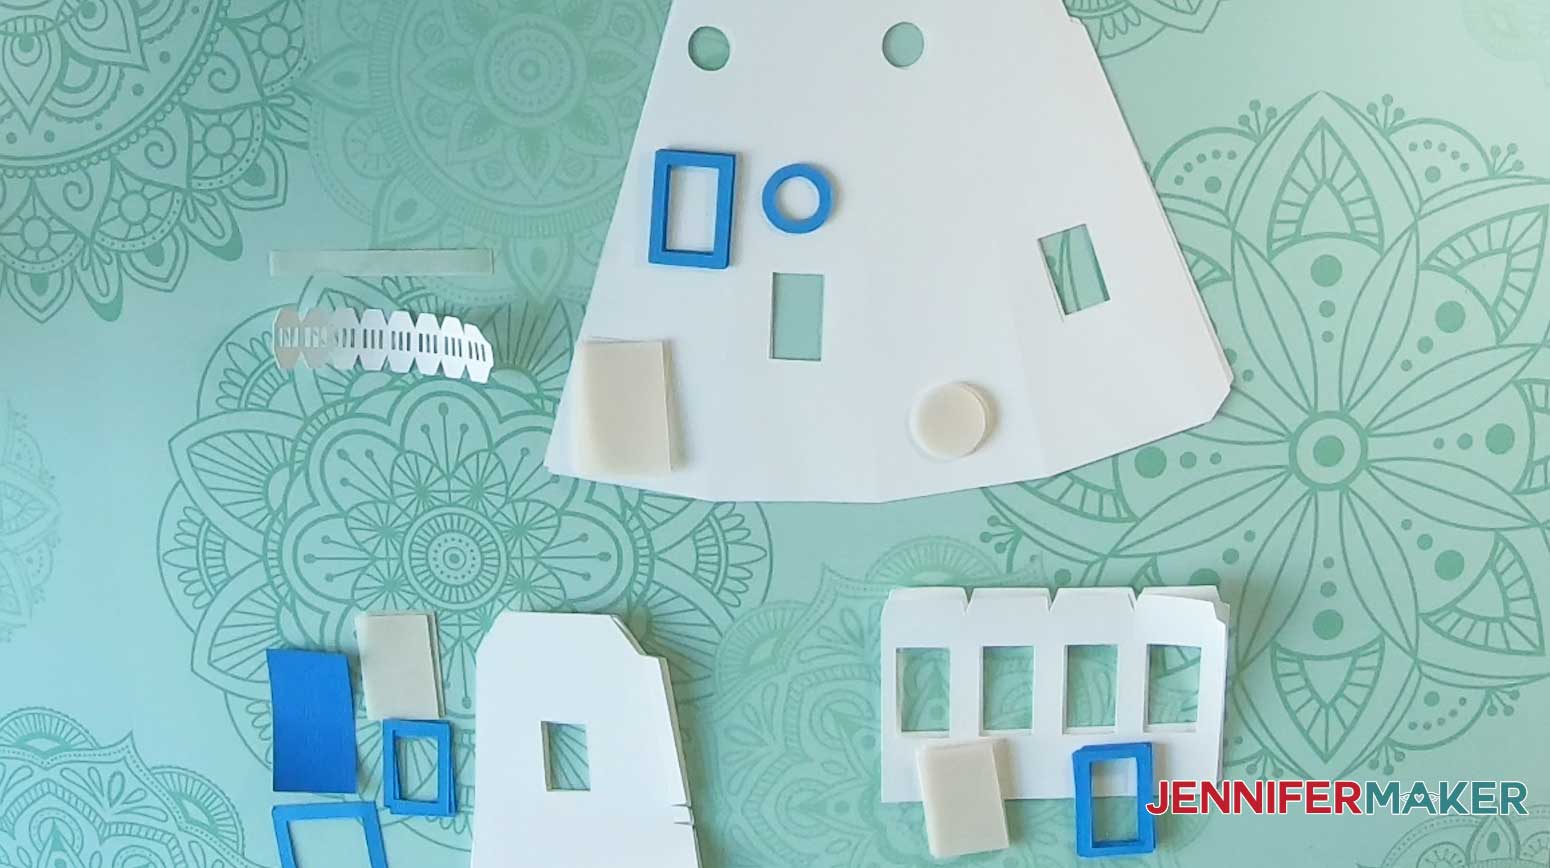
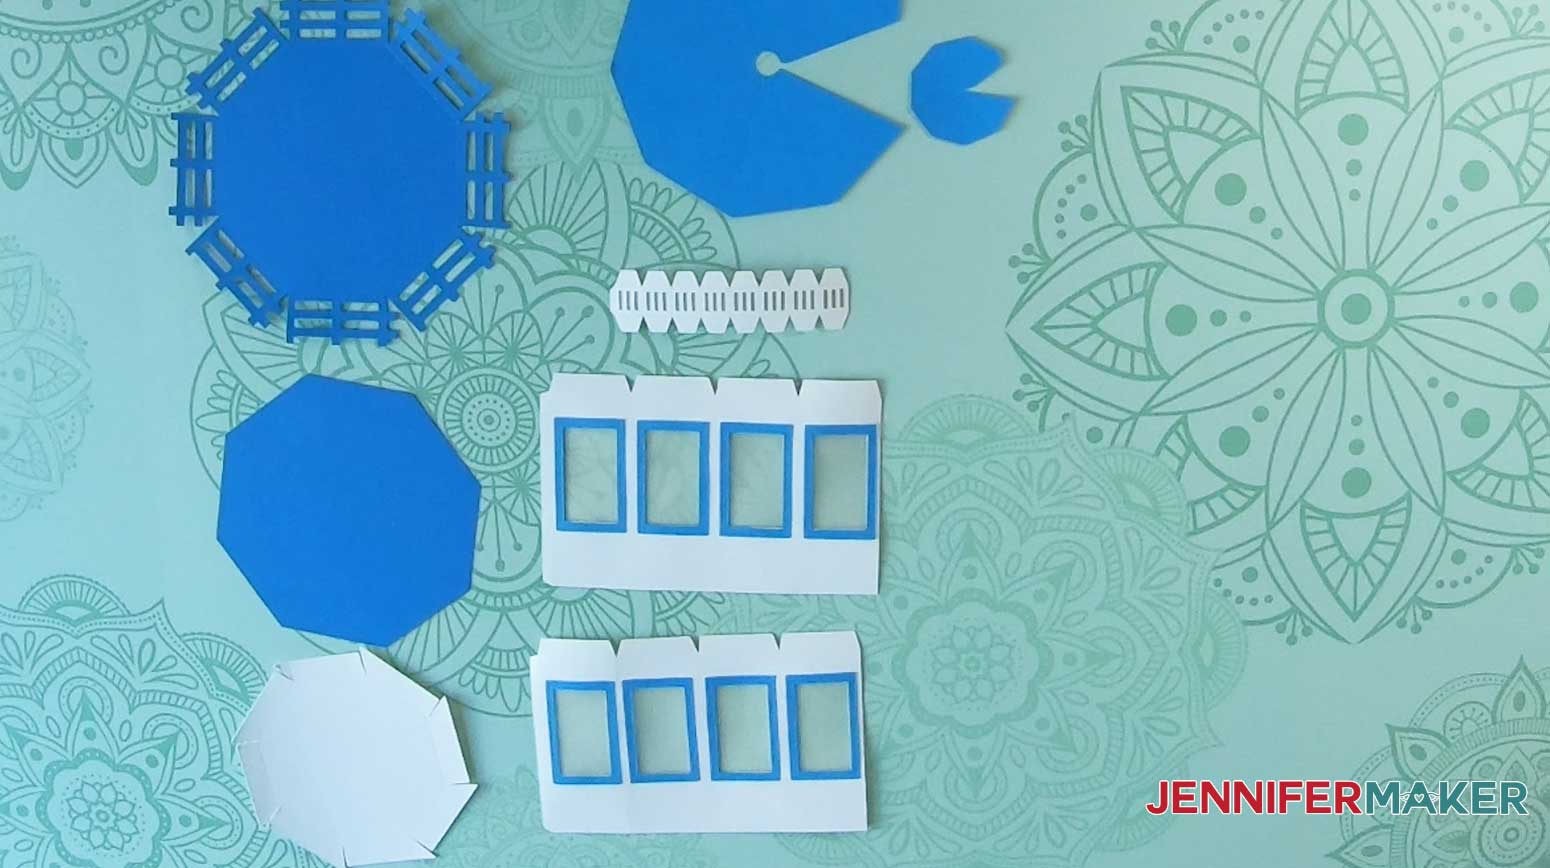
To begin, lay out all window pieces which should include the vellum panes, window frames and the sections with window cutouts, which include the base pieces, tower pieces, cupola pieces and the cap windows. Be sure to match up each group of rectangle-shaped vellum and frames to the correct window cutouts as each section is a slightly different size. These are all the window pieces:
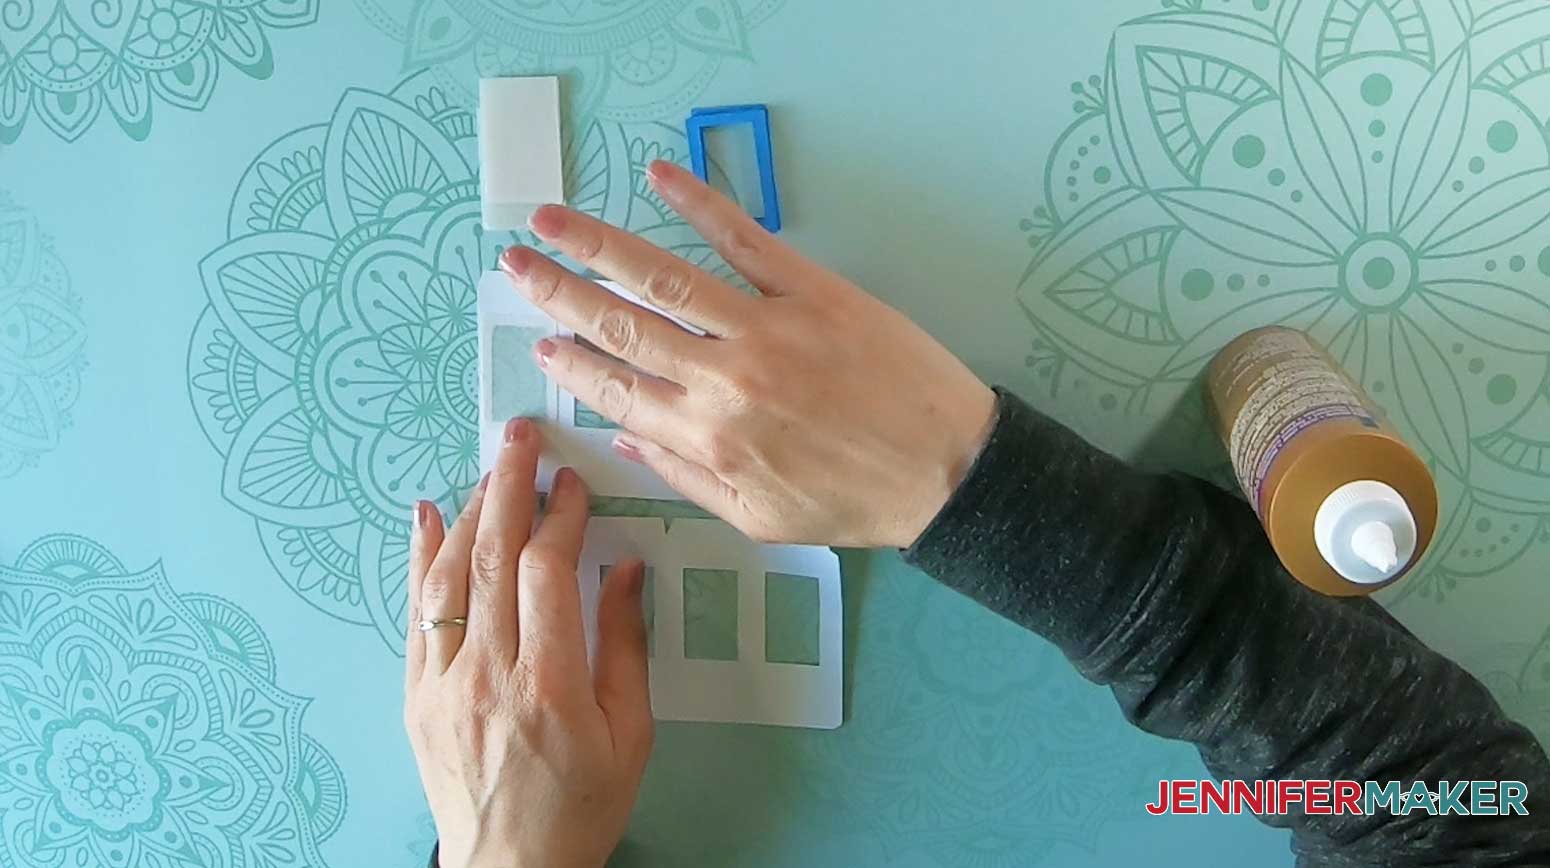
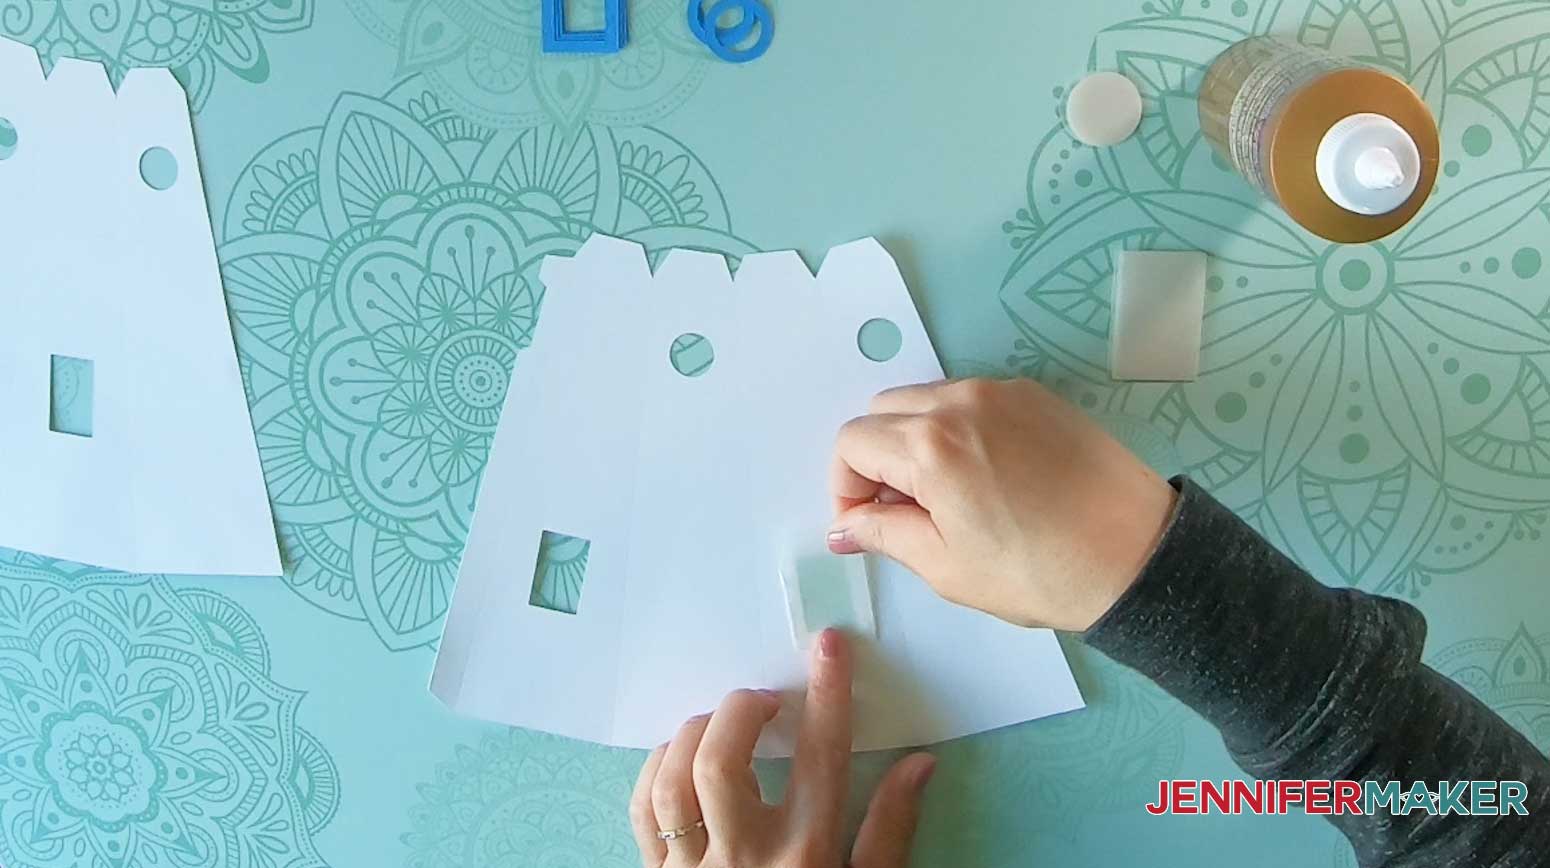
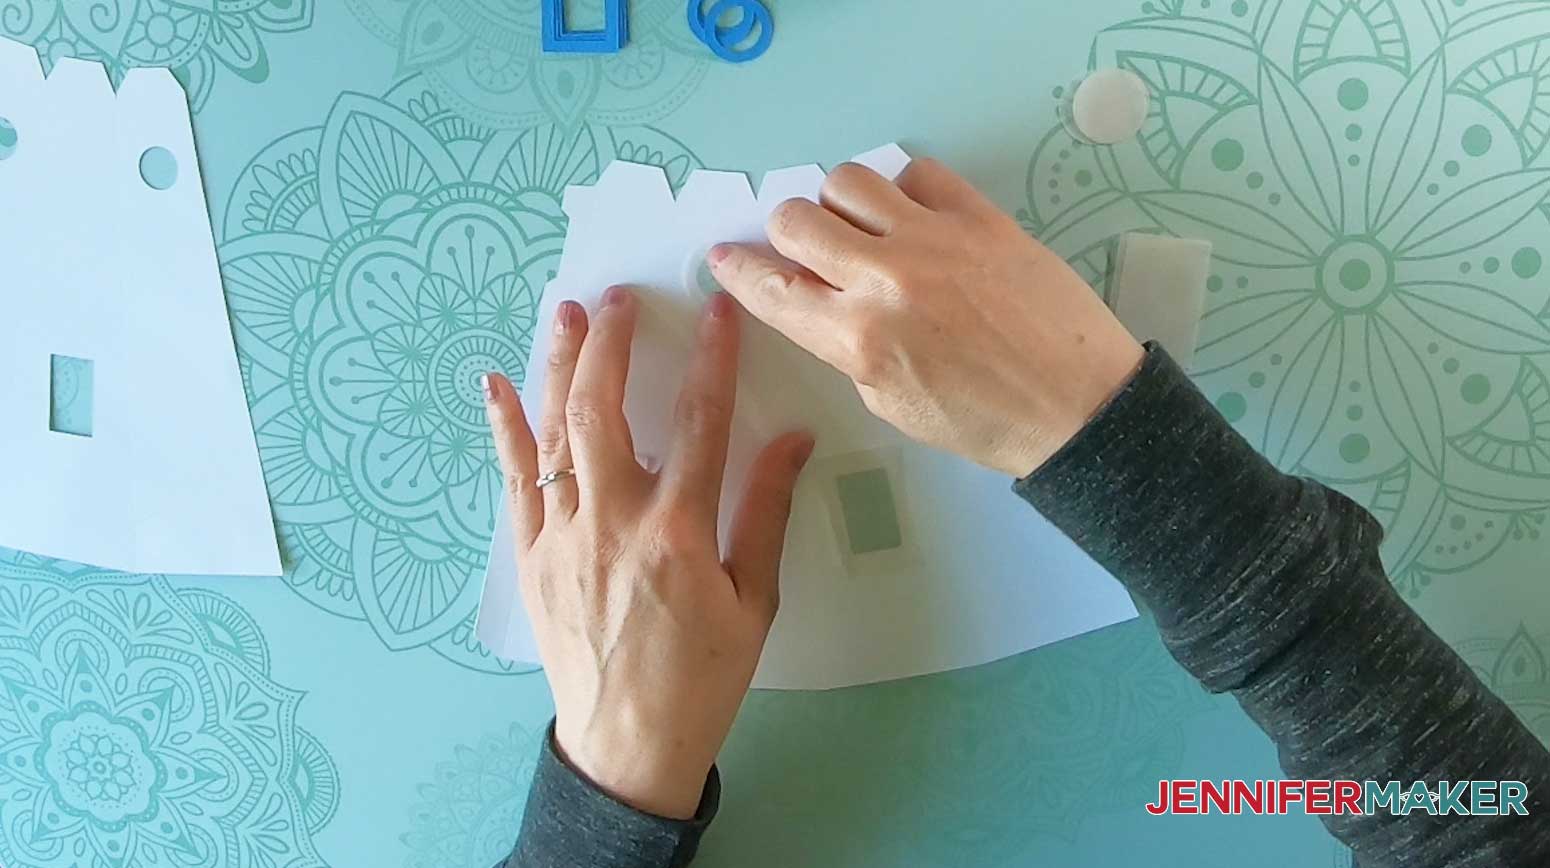
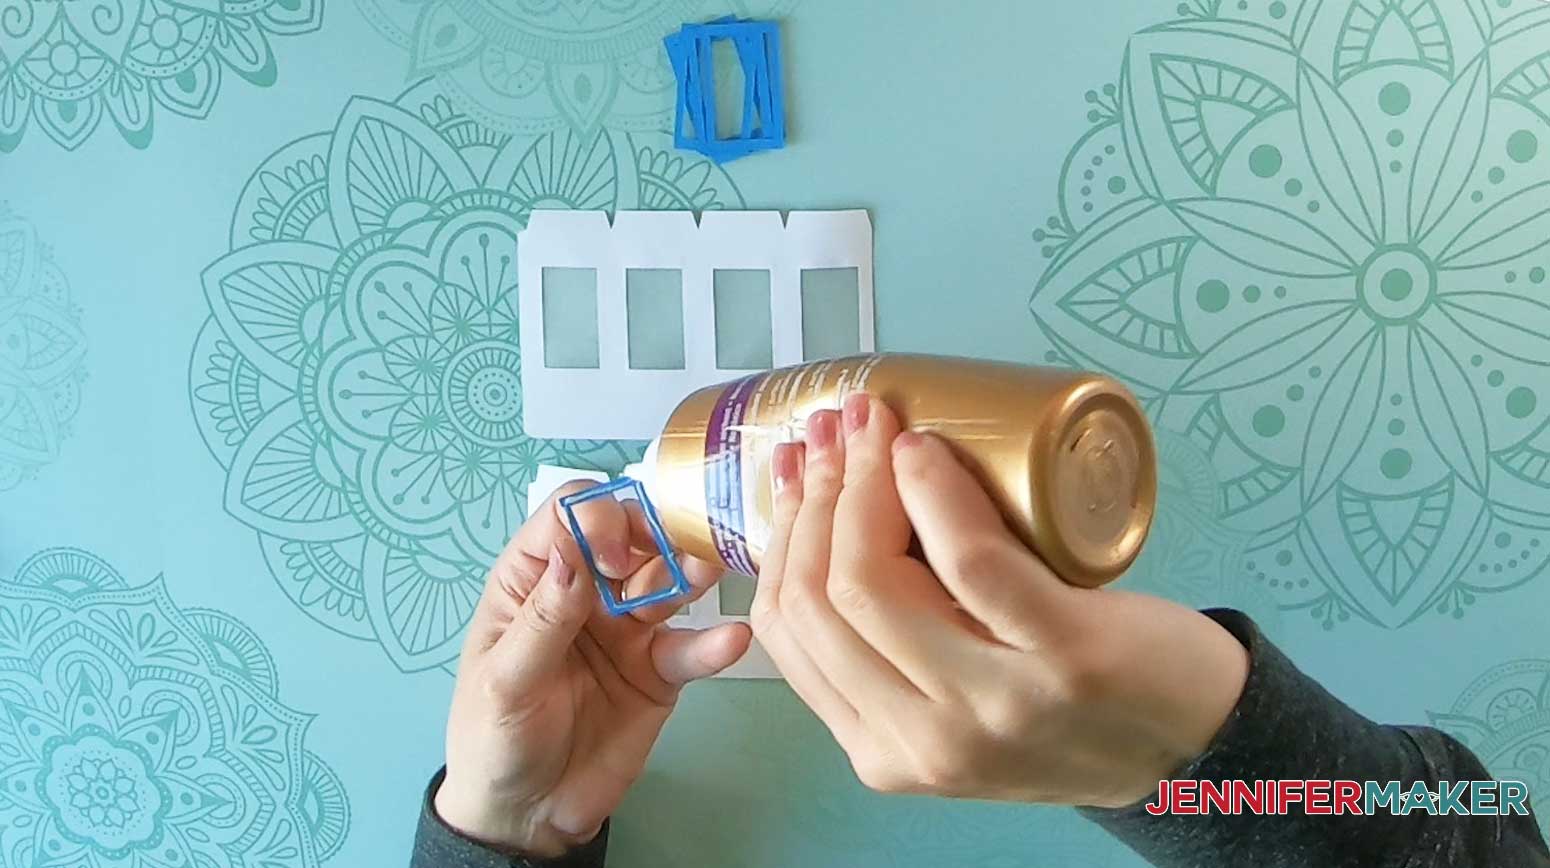
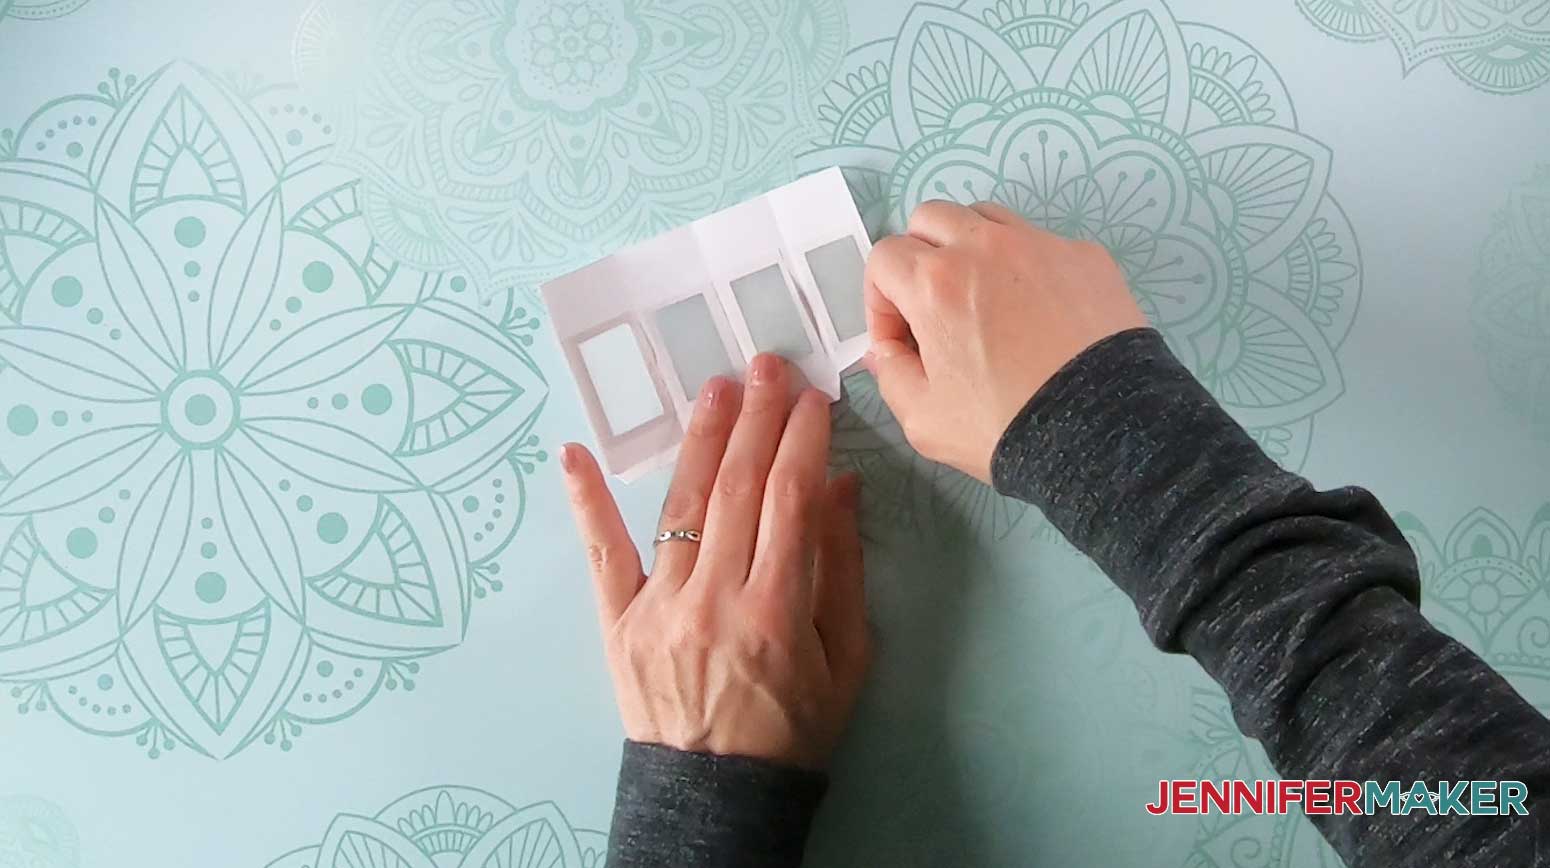
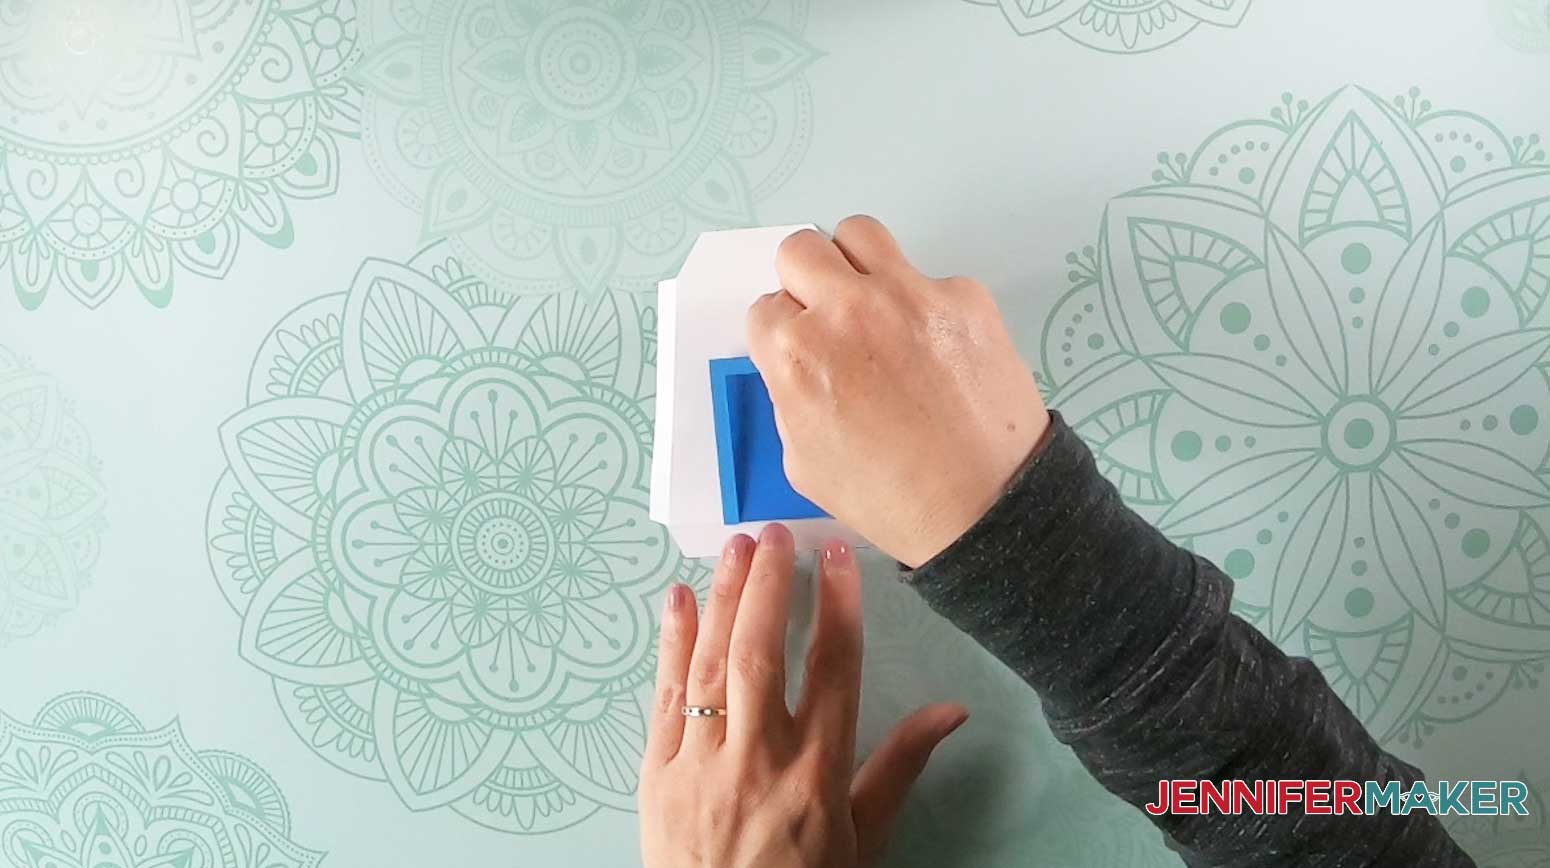
First we glue the vellum panels into place on the inside of each window (the non-textured side of the paper) by running a line of tacky glue along the window edges.
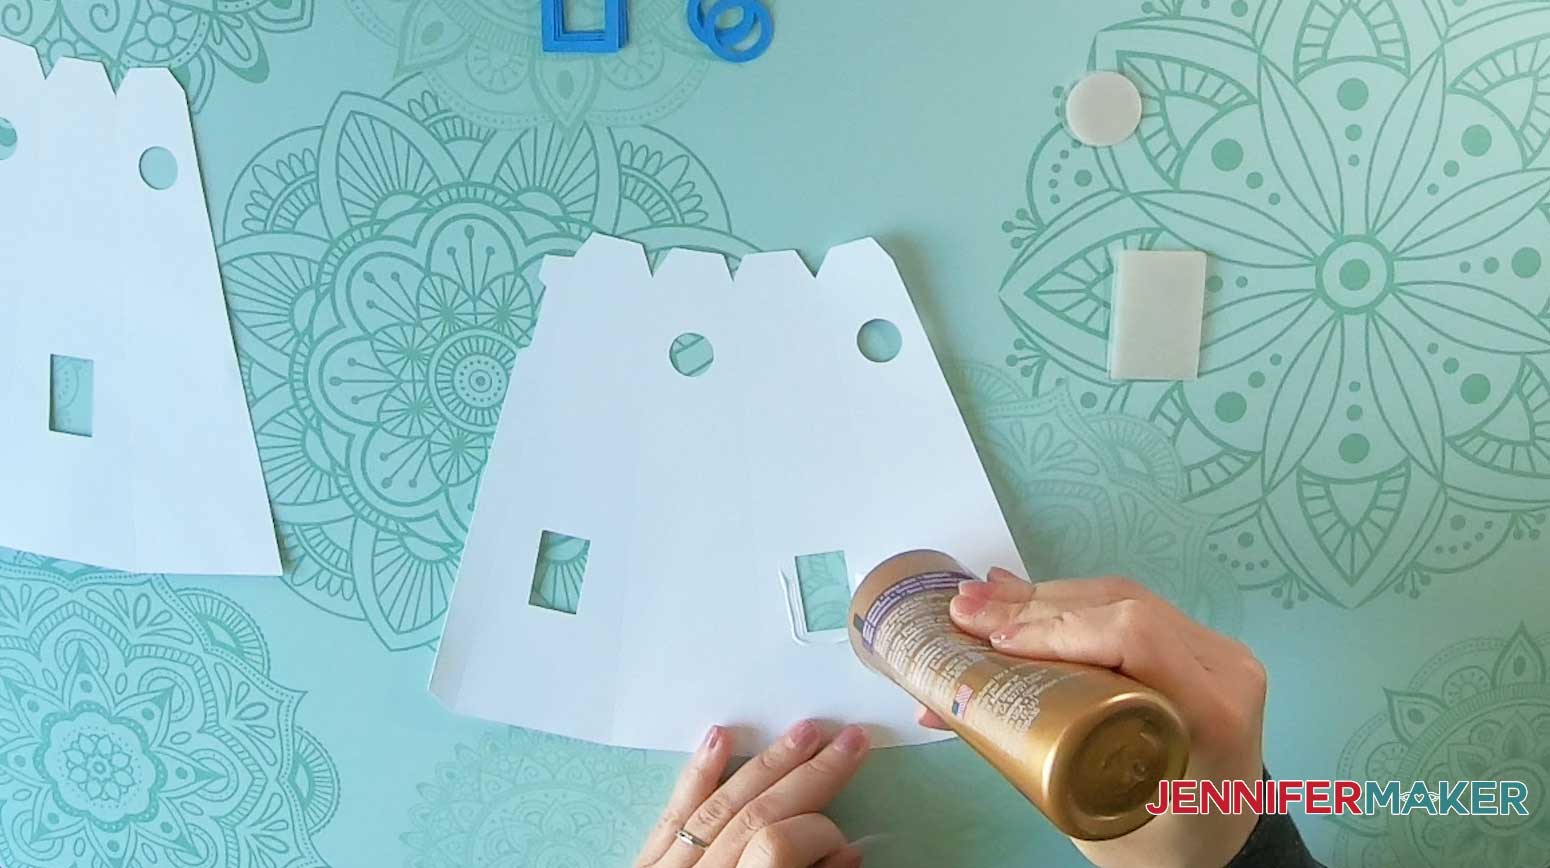
There are four sections with windows that we attach the vellum to.
Roof cap windows:
Cupola windows:
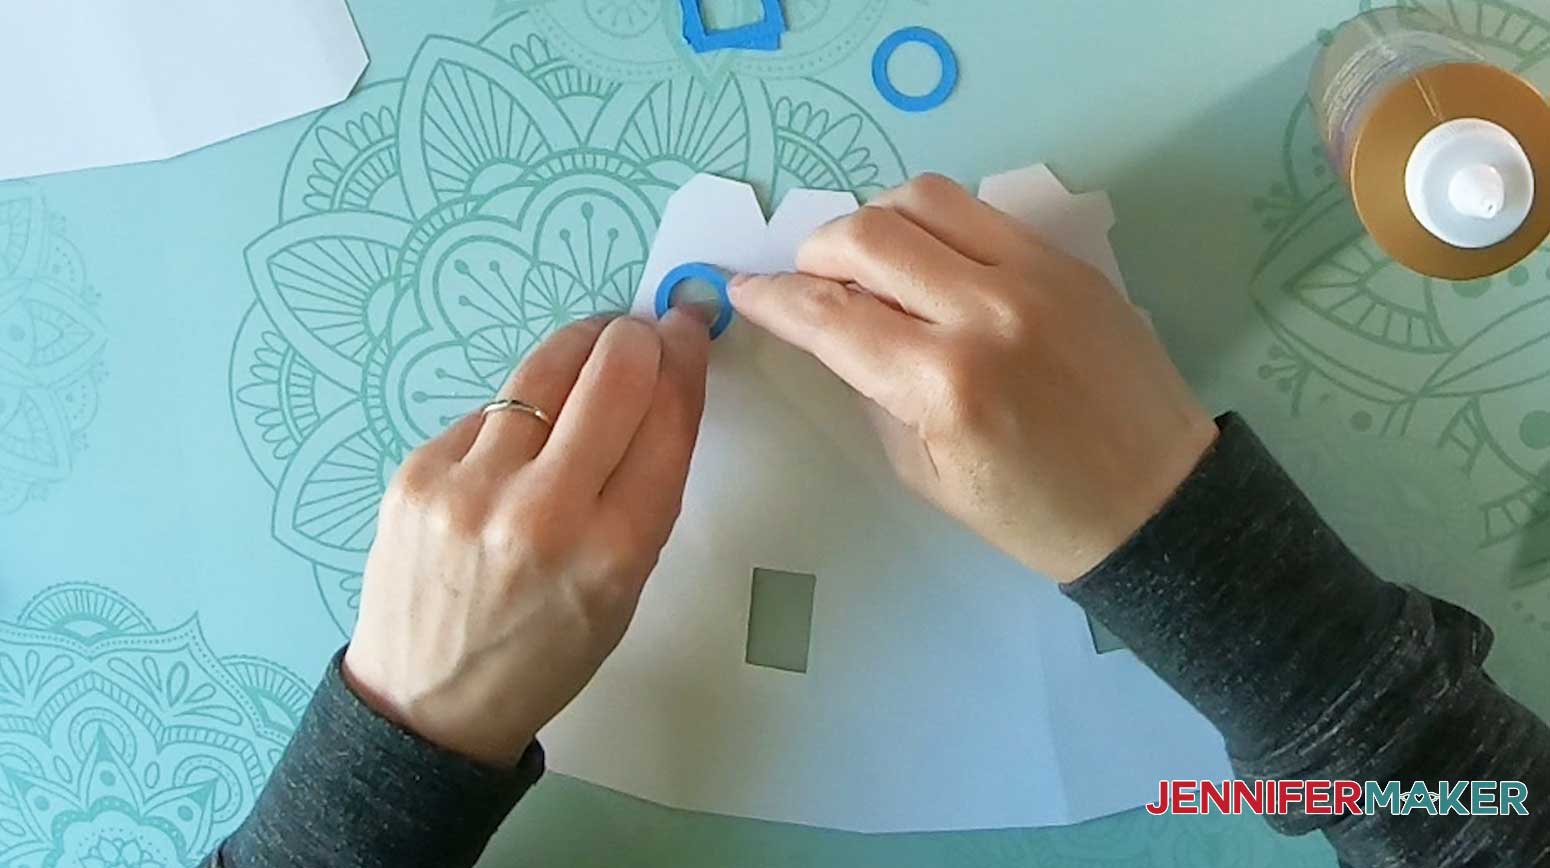
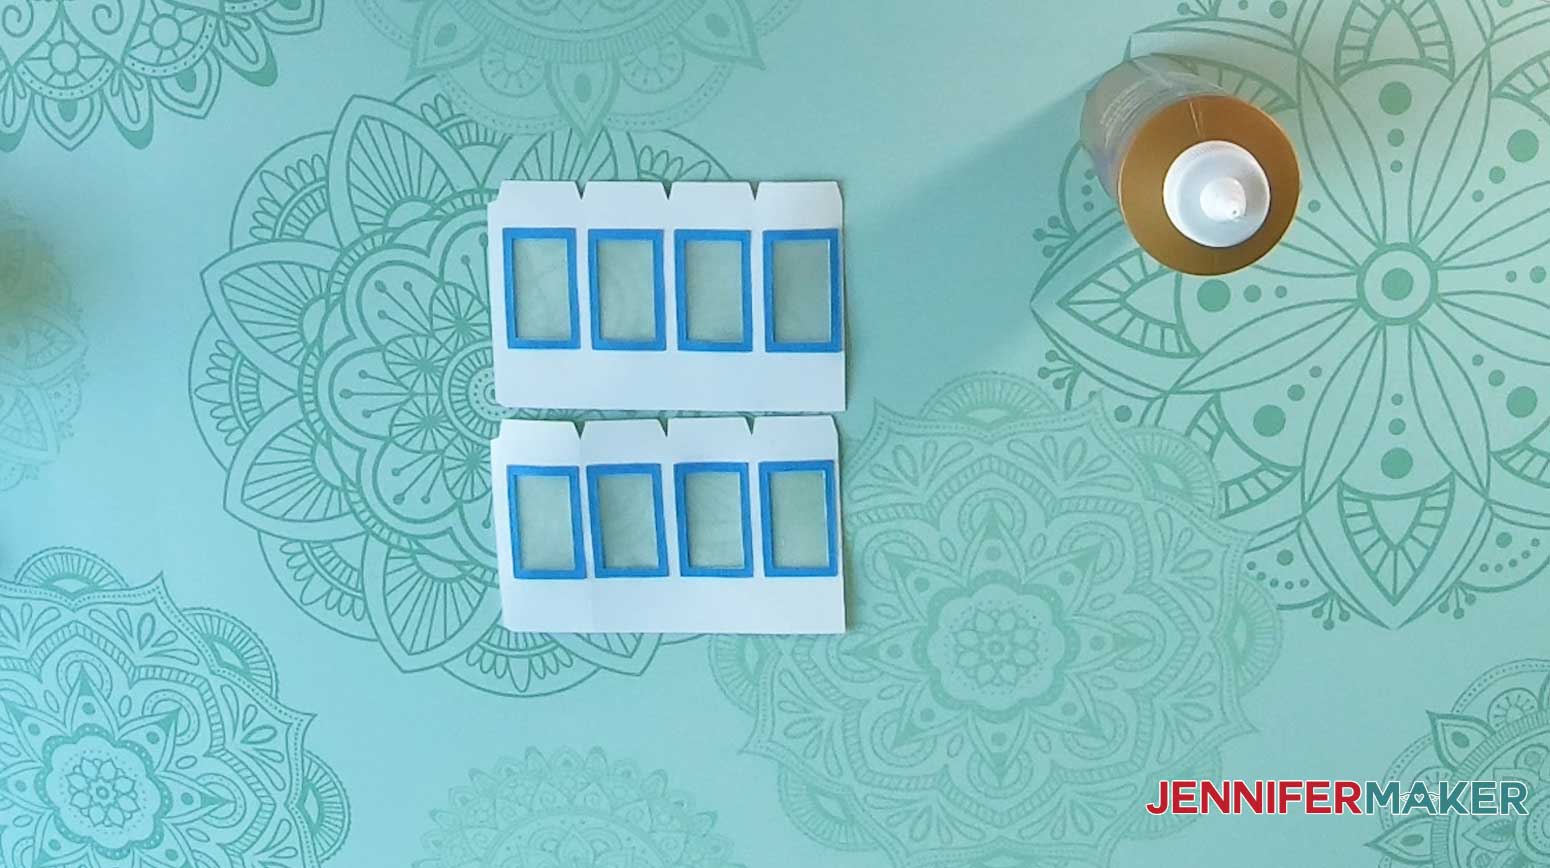
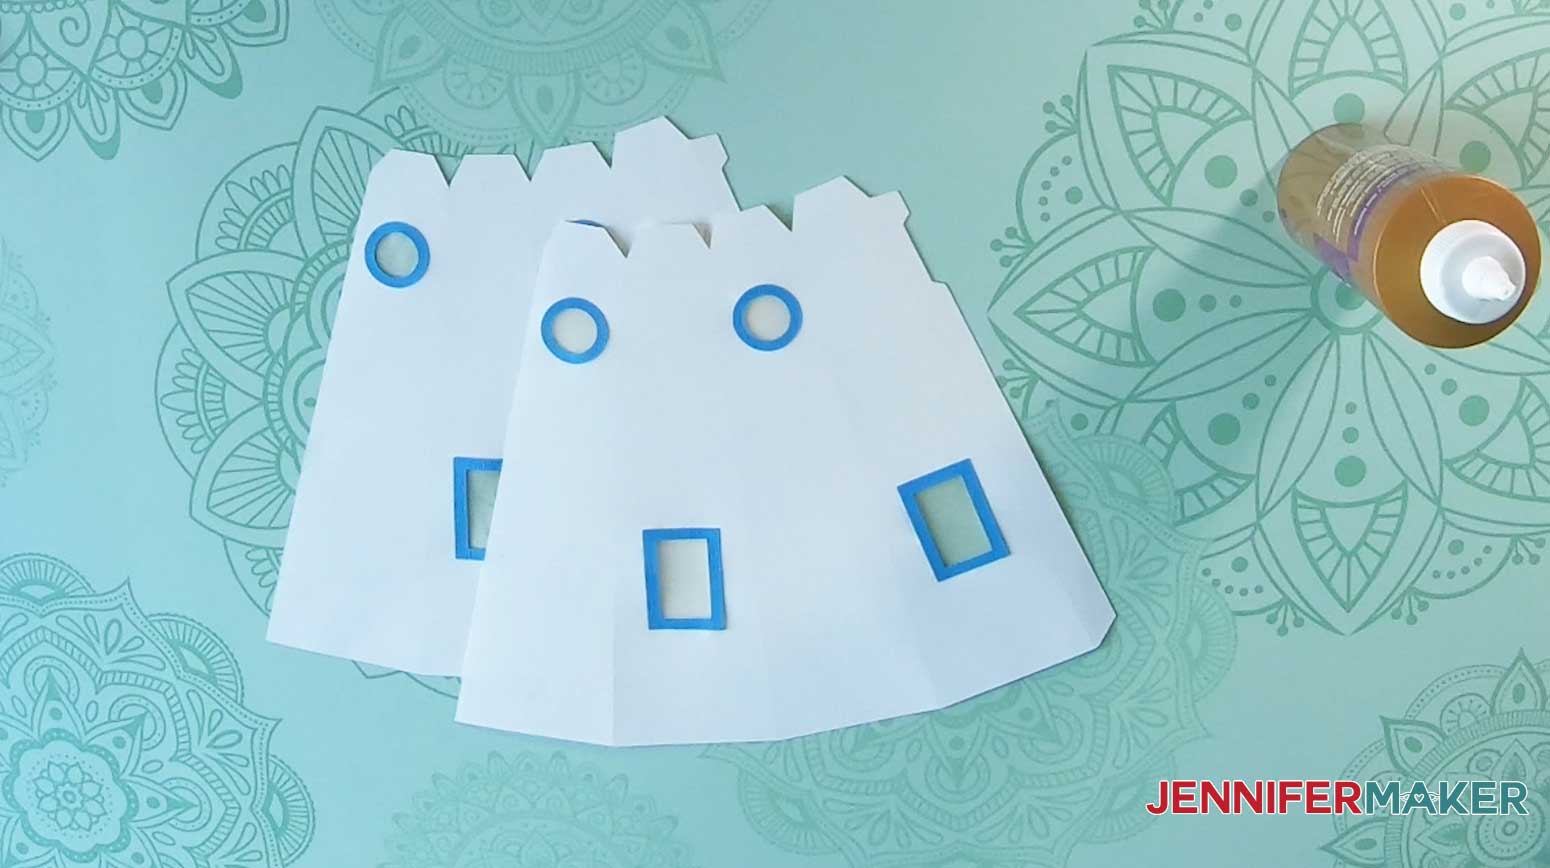
Tower windows and portholes:
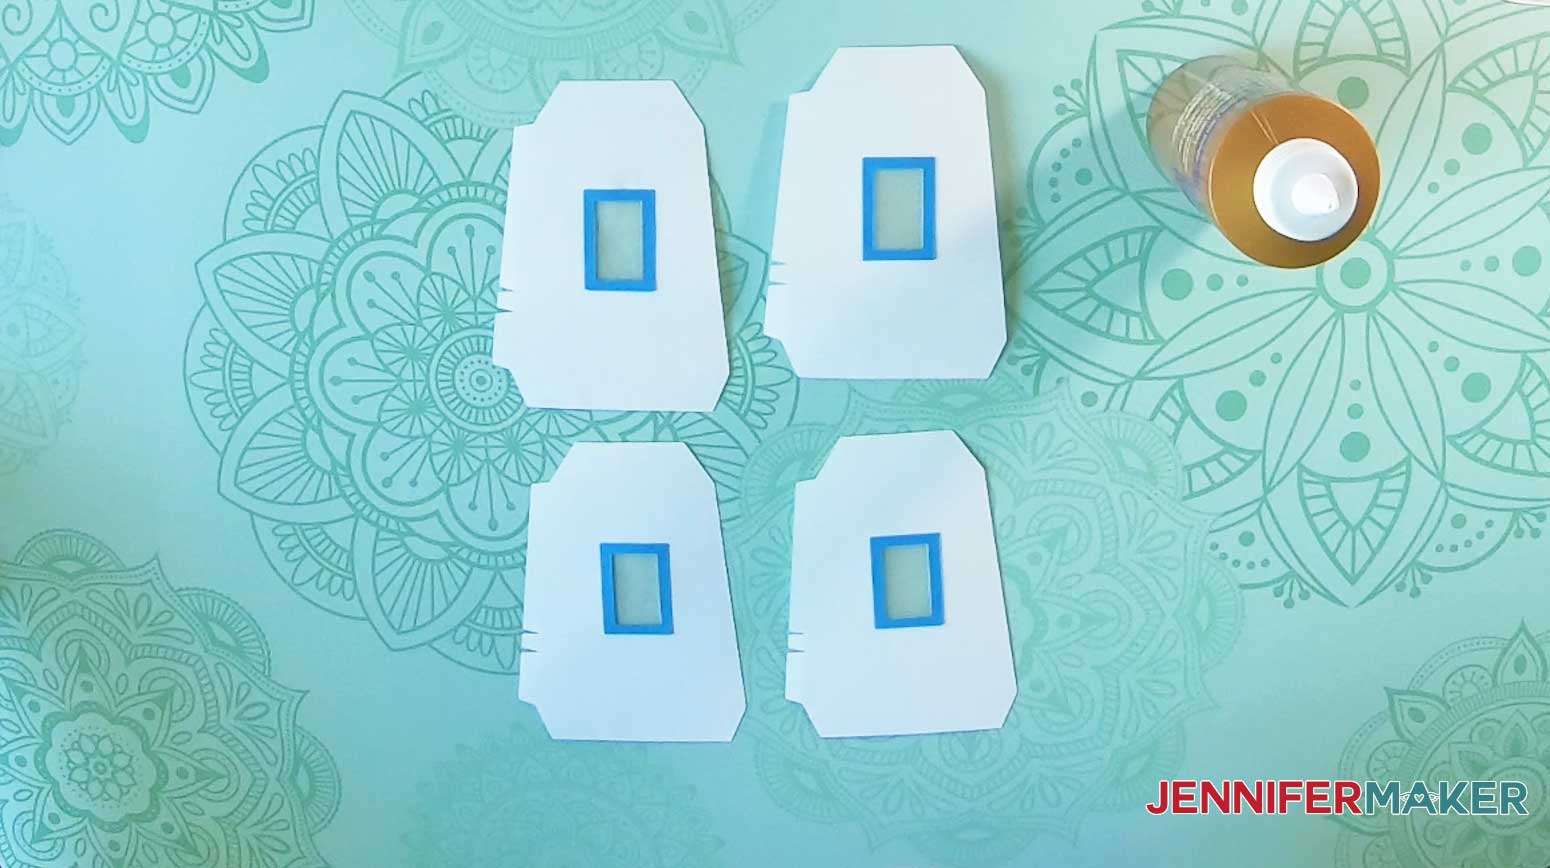
Base section windows:
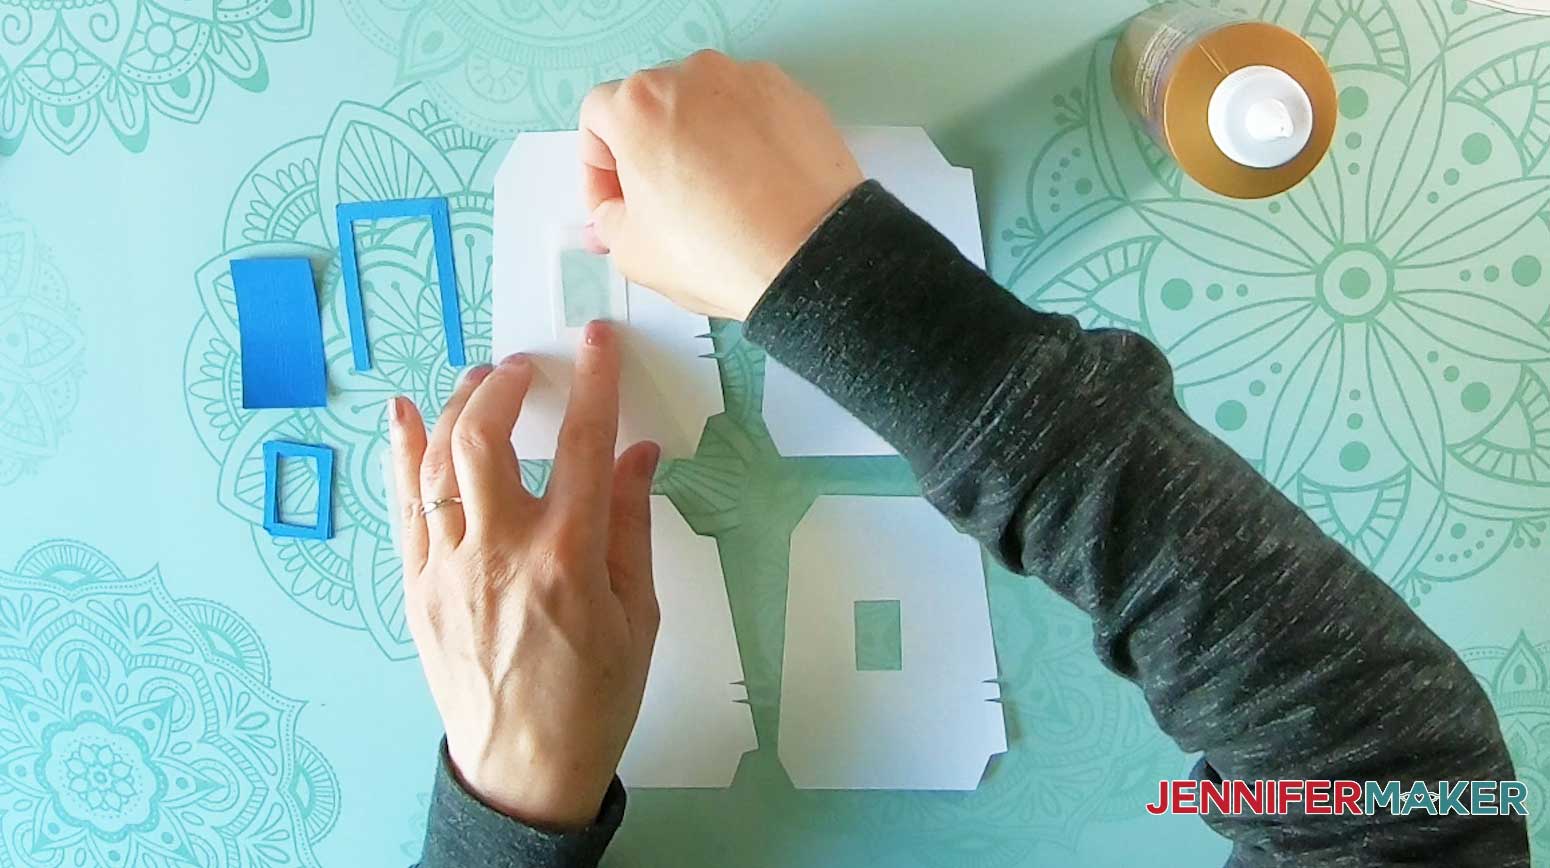
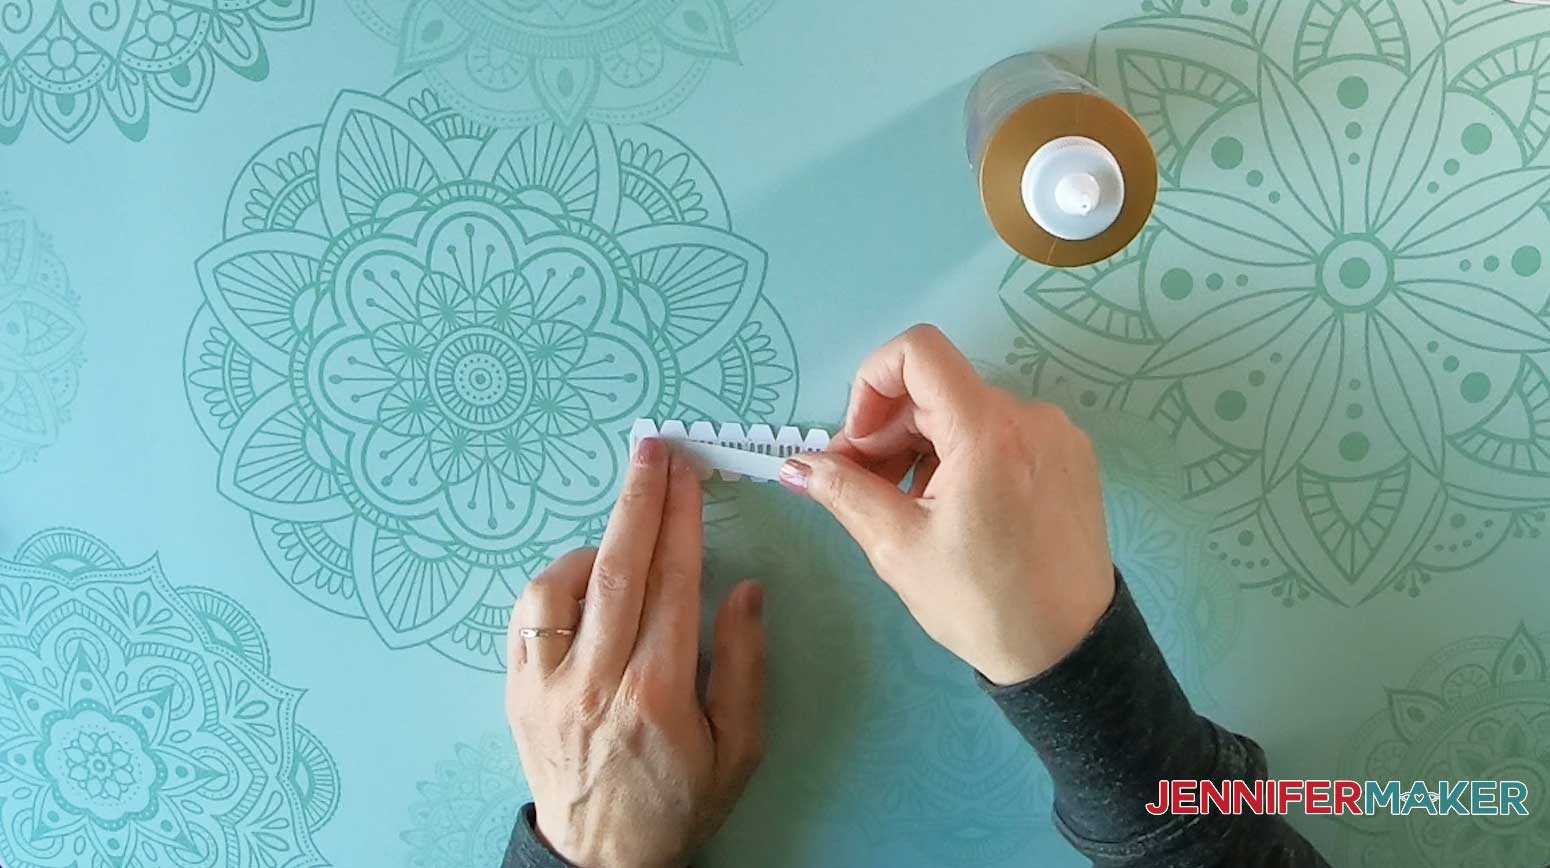
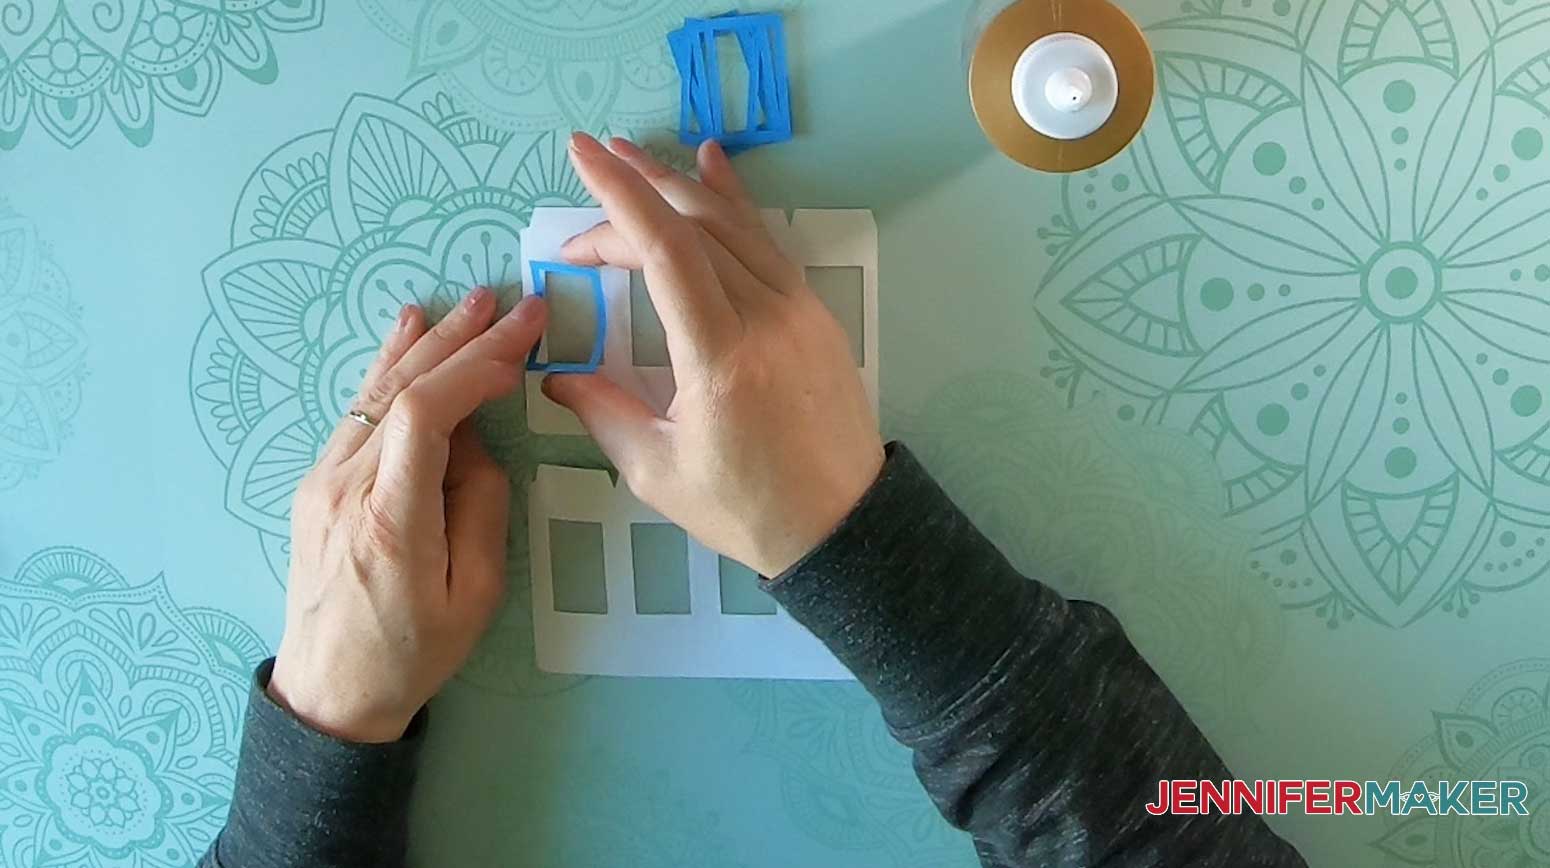
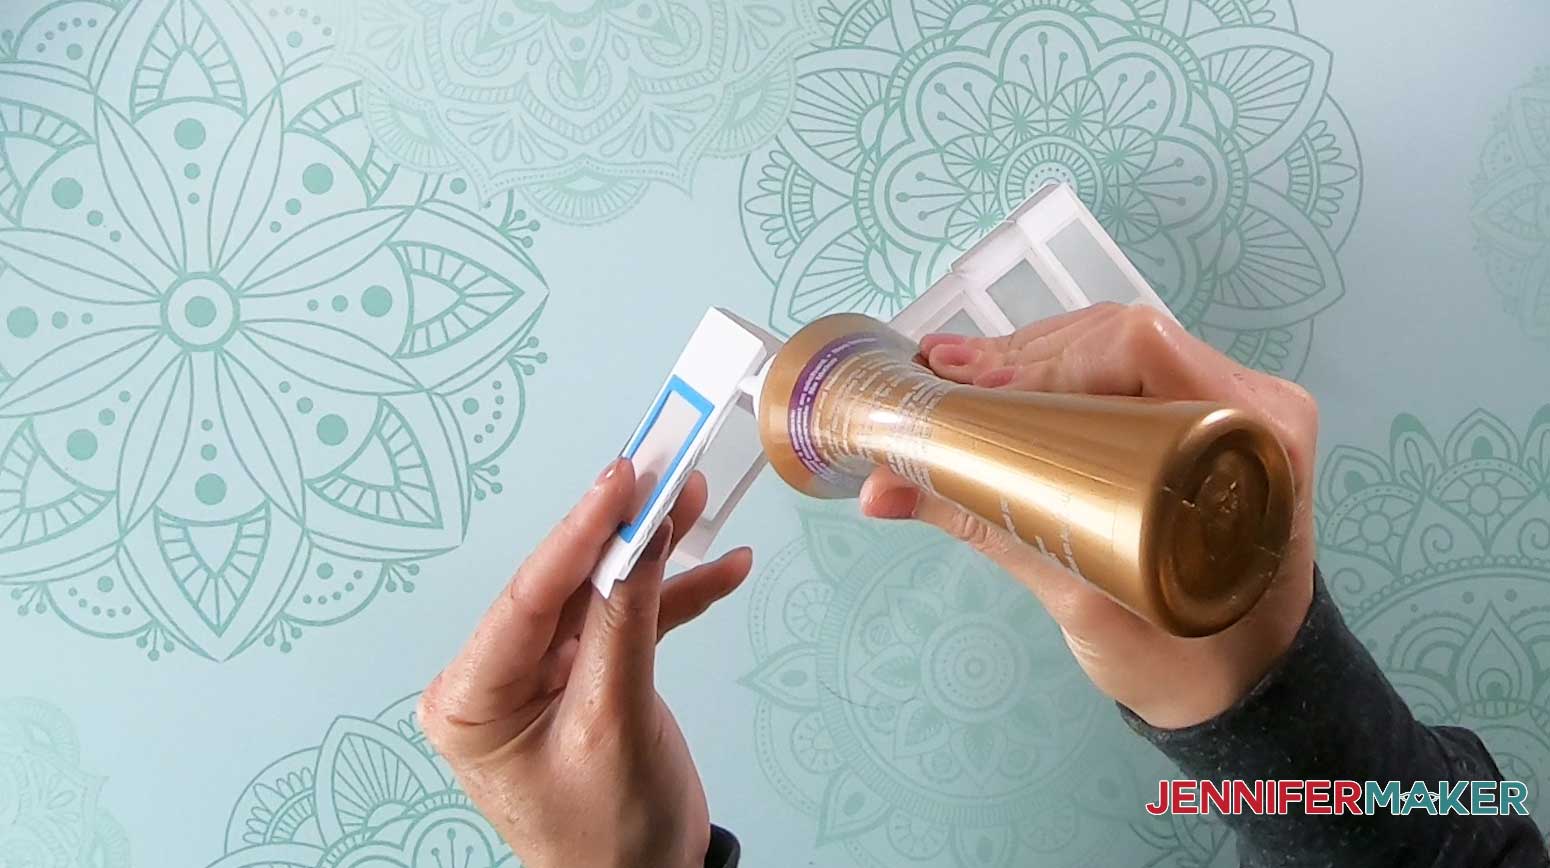
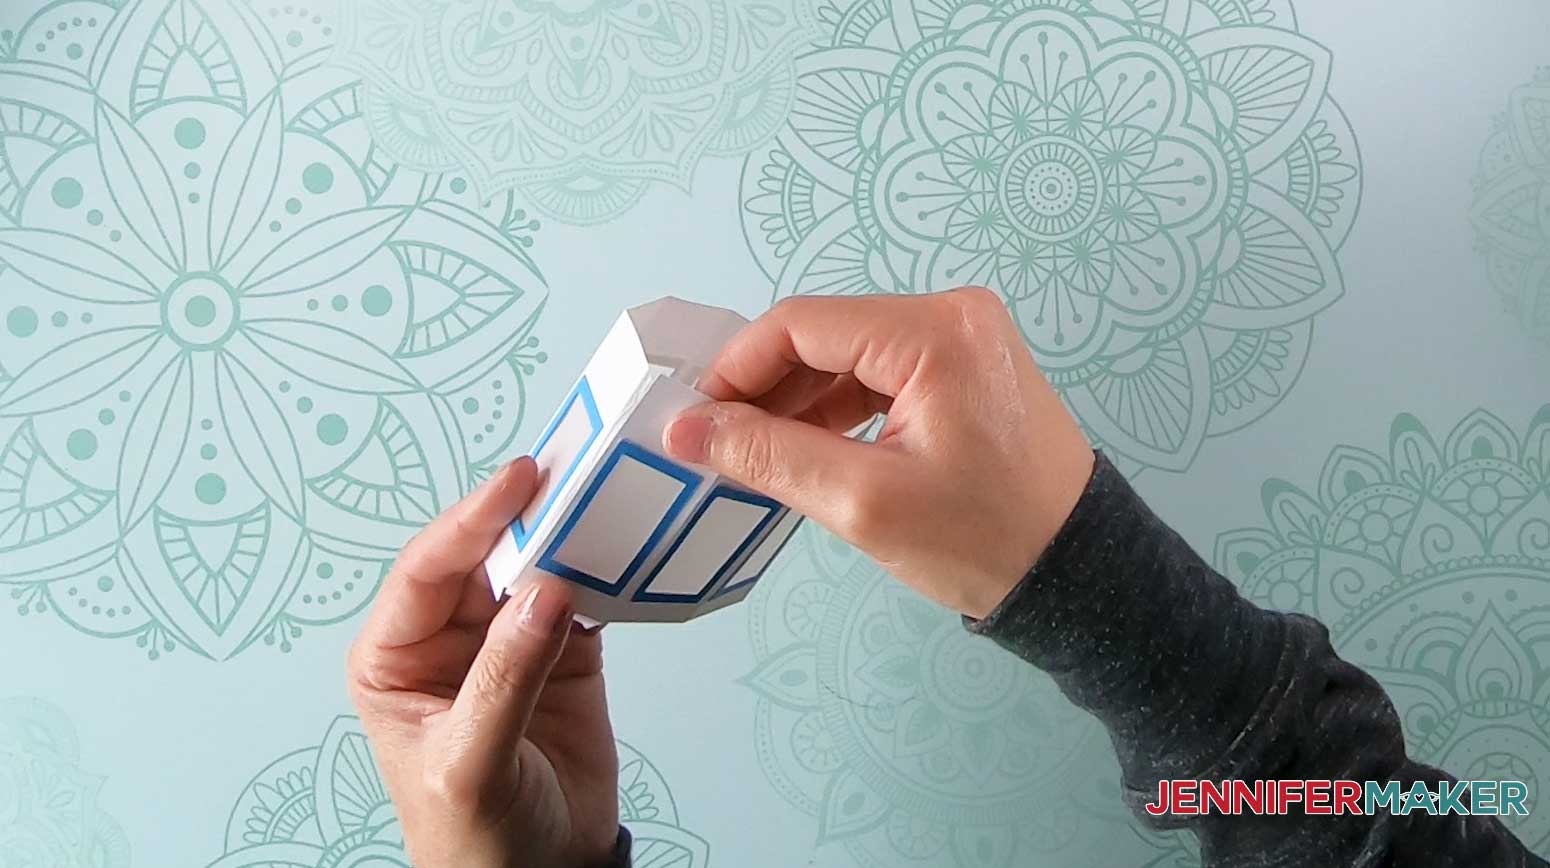
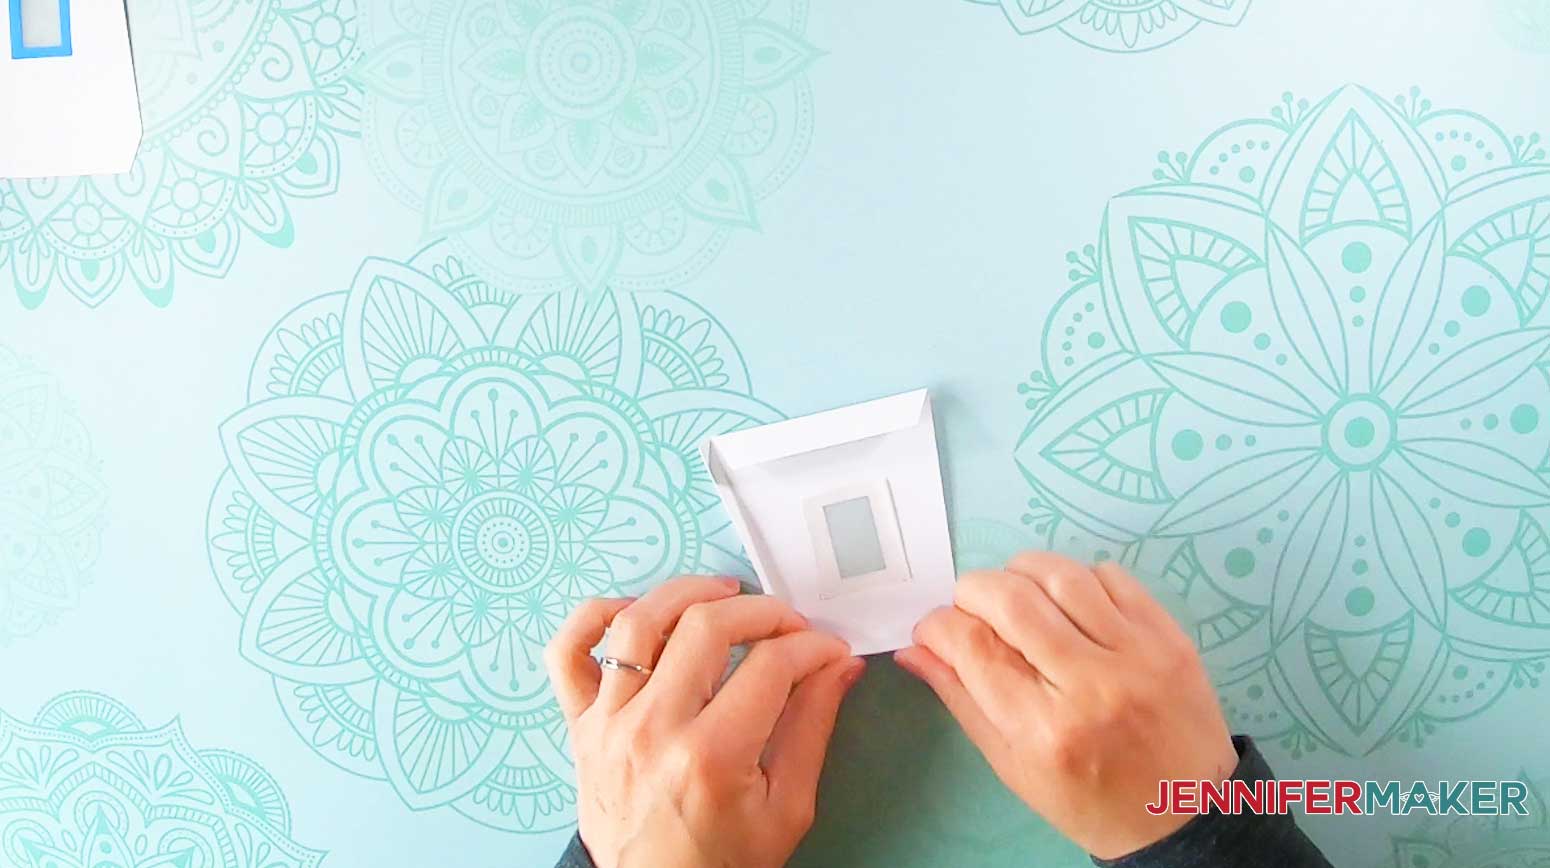
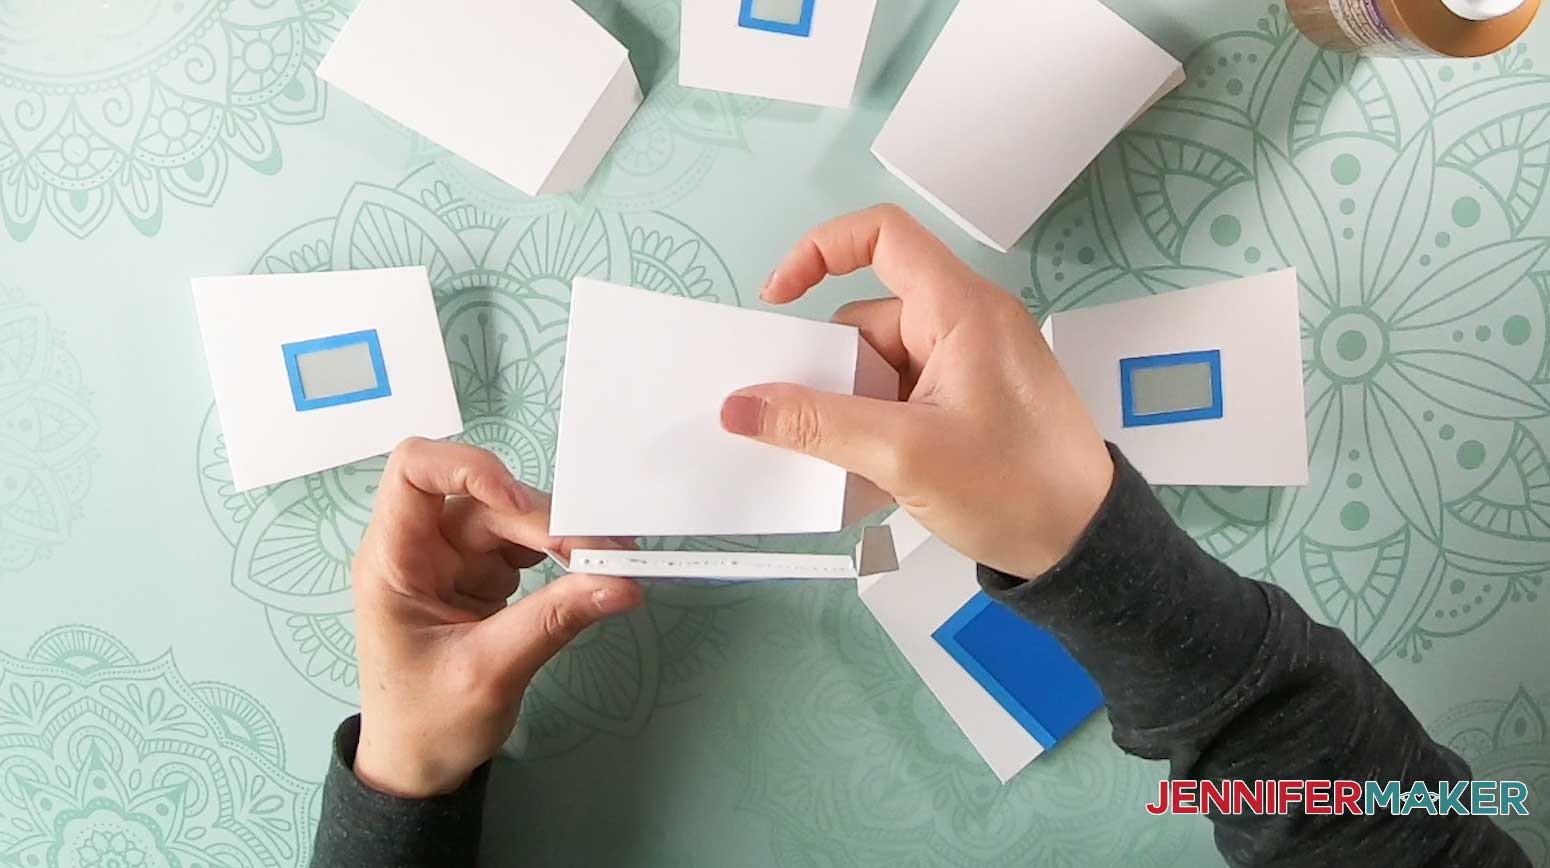
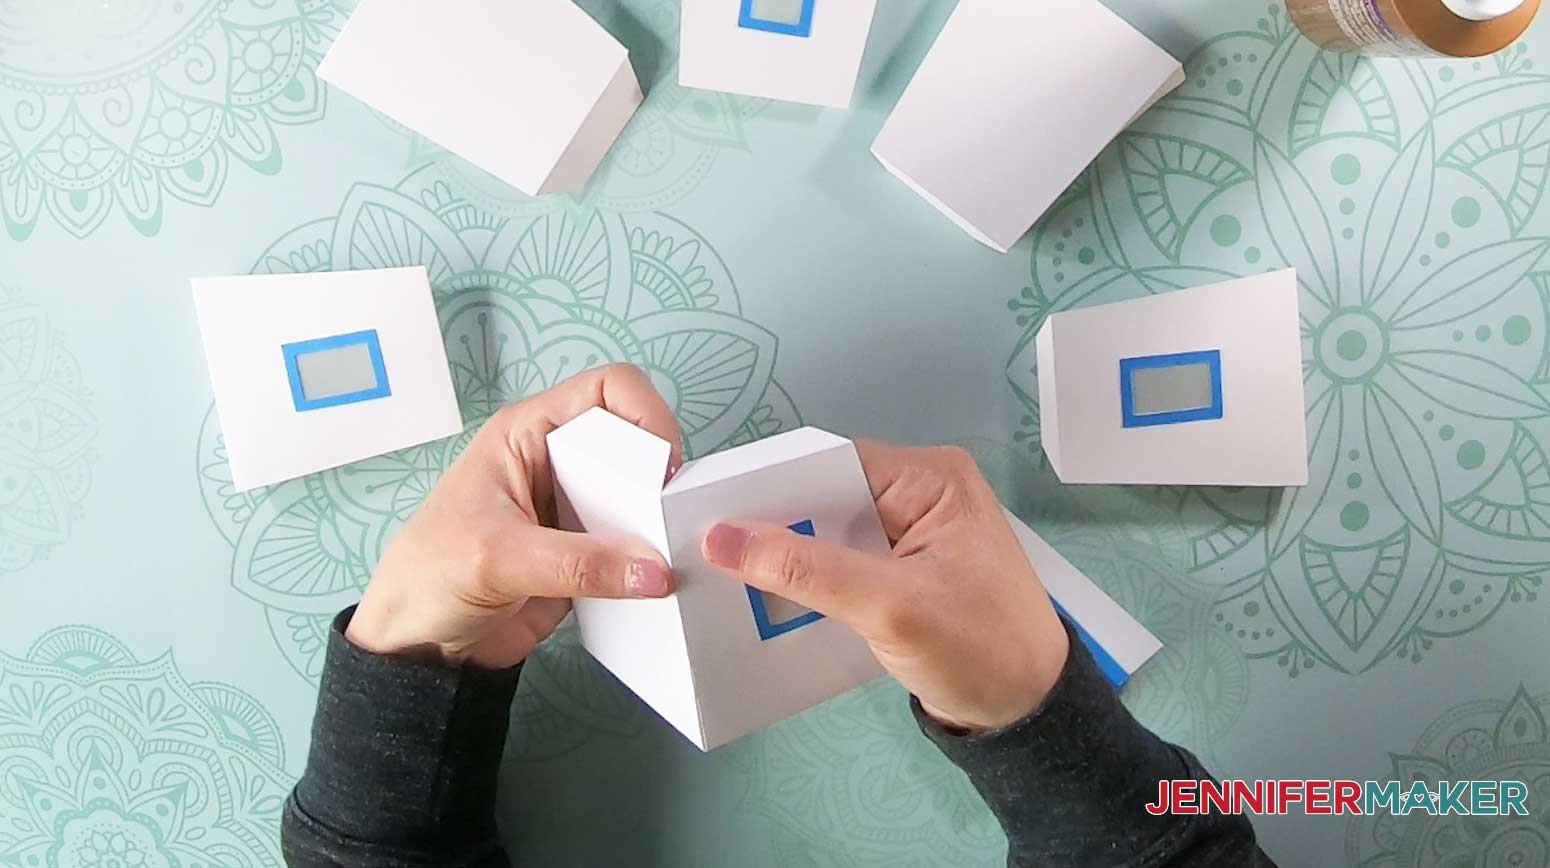
Next, flip the pieces over. Apply glue to the underside (non-textured side) of each window frame.
Glue the window frames to the outside of each window (the textured side of the paper).
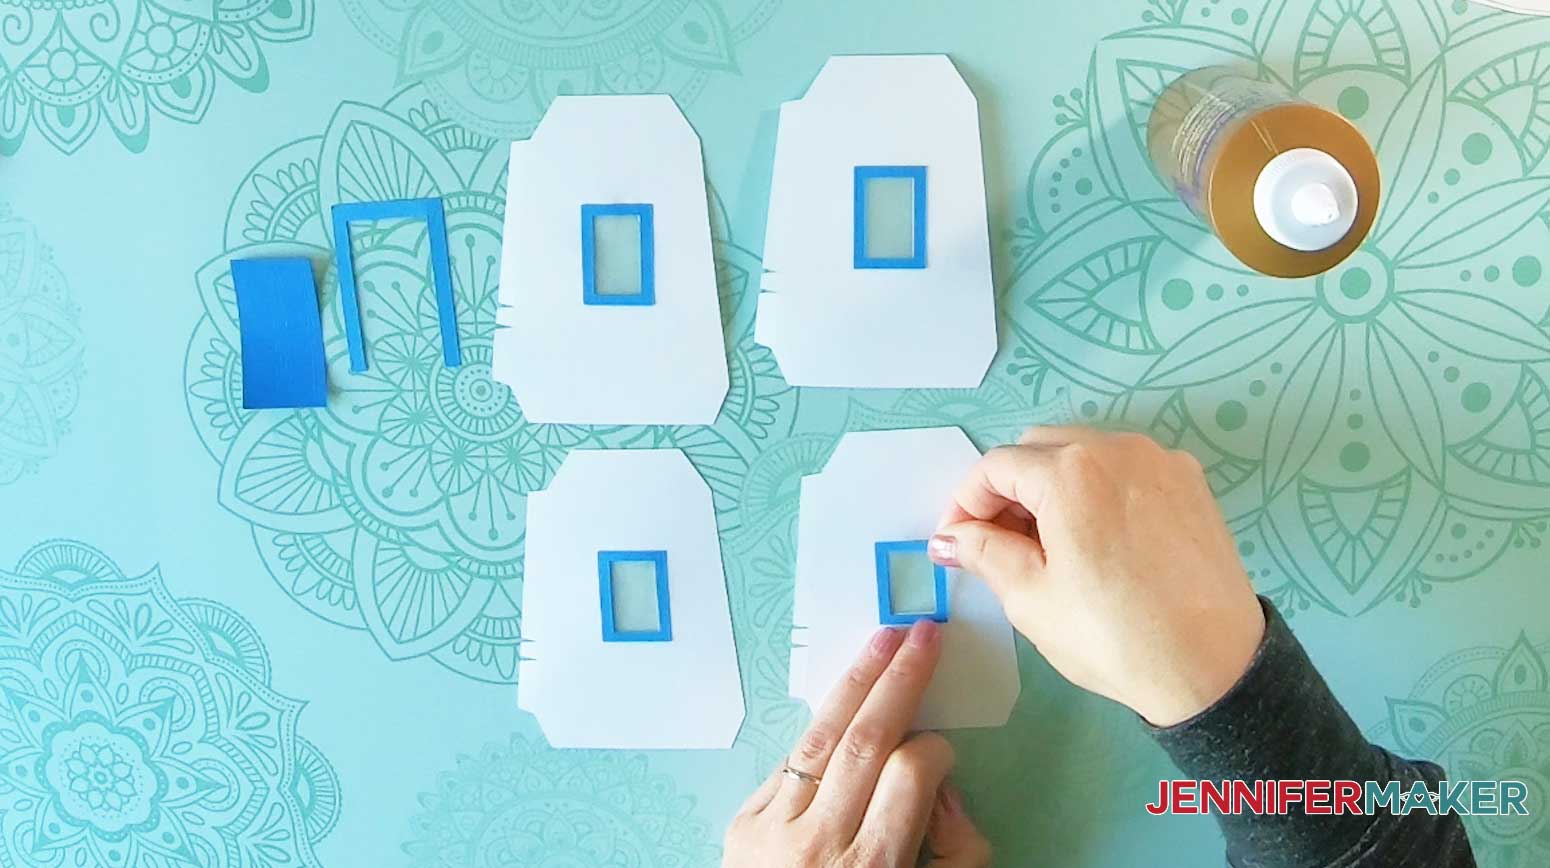
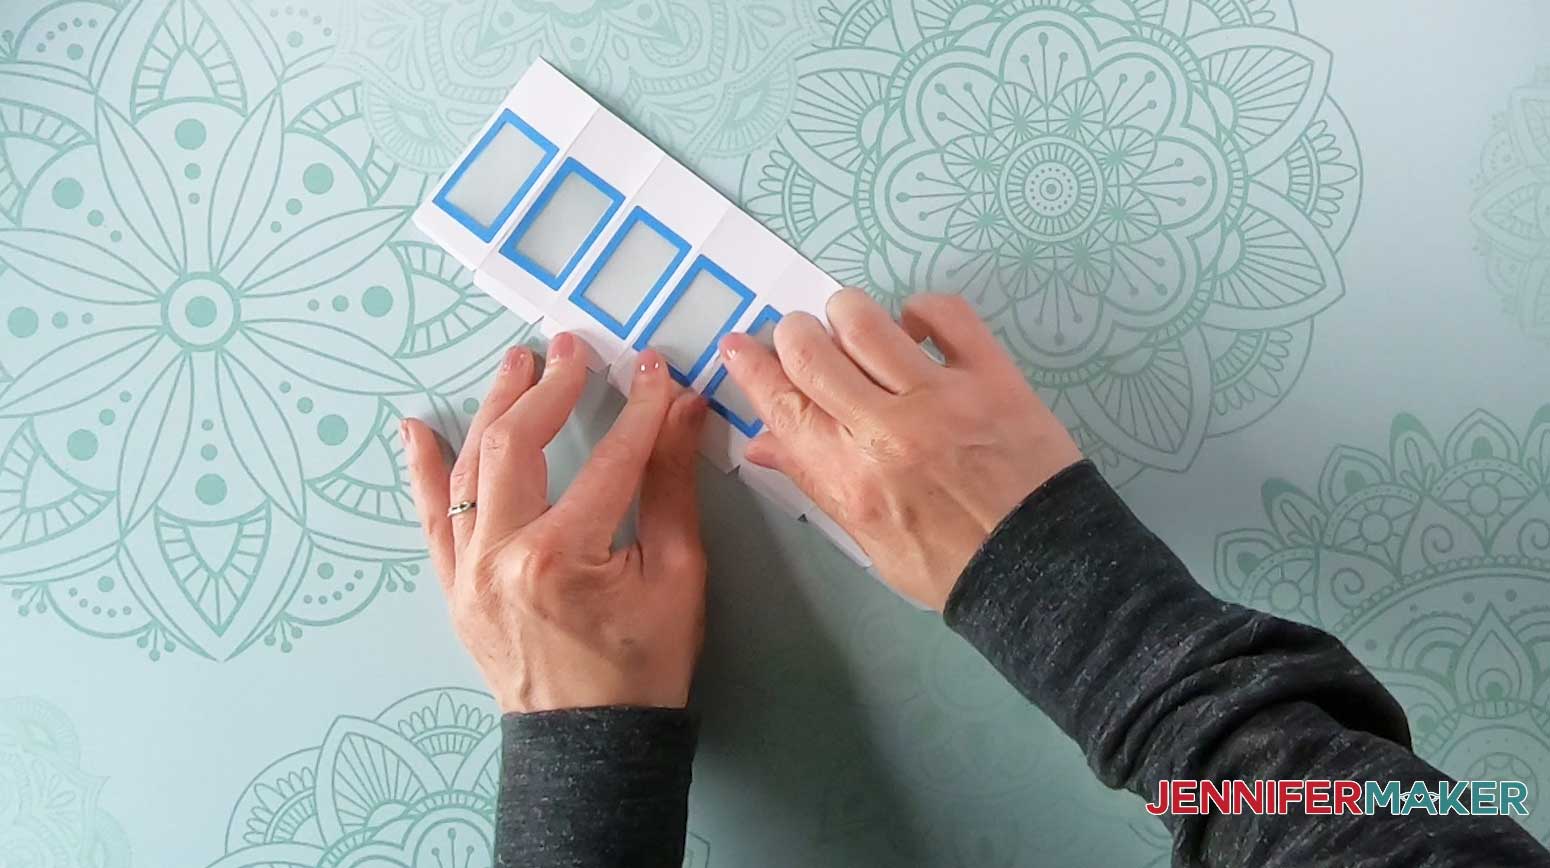
This is what the window sections will look like after they are assembled:
Step 3: Fold and glue the cupola (top tier)
These are the parts we need to assemble the cupola:
First, let’s assemble the roof and cap. Fold the small cap roof inward on the score lines so the textured side is facing outward.
Apply glue to the tab and glue the roof closed to make the cone shape.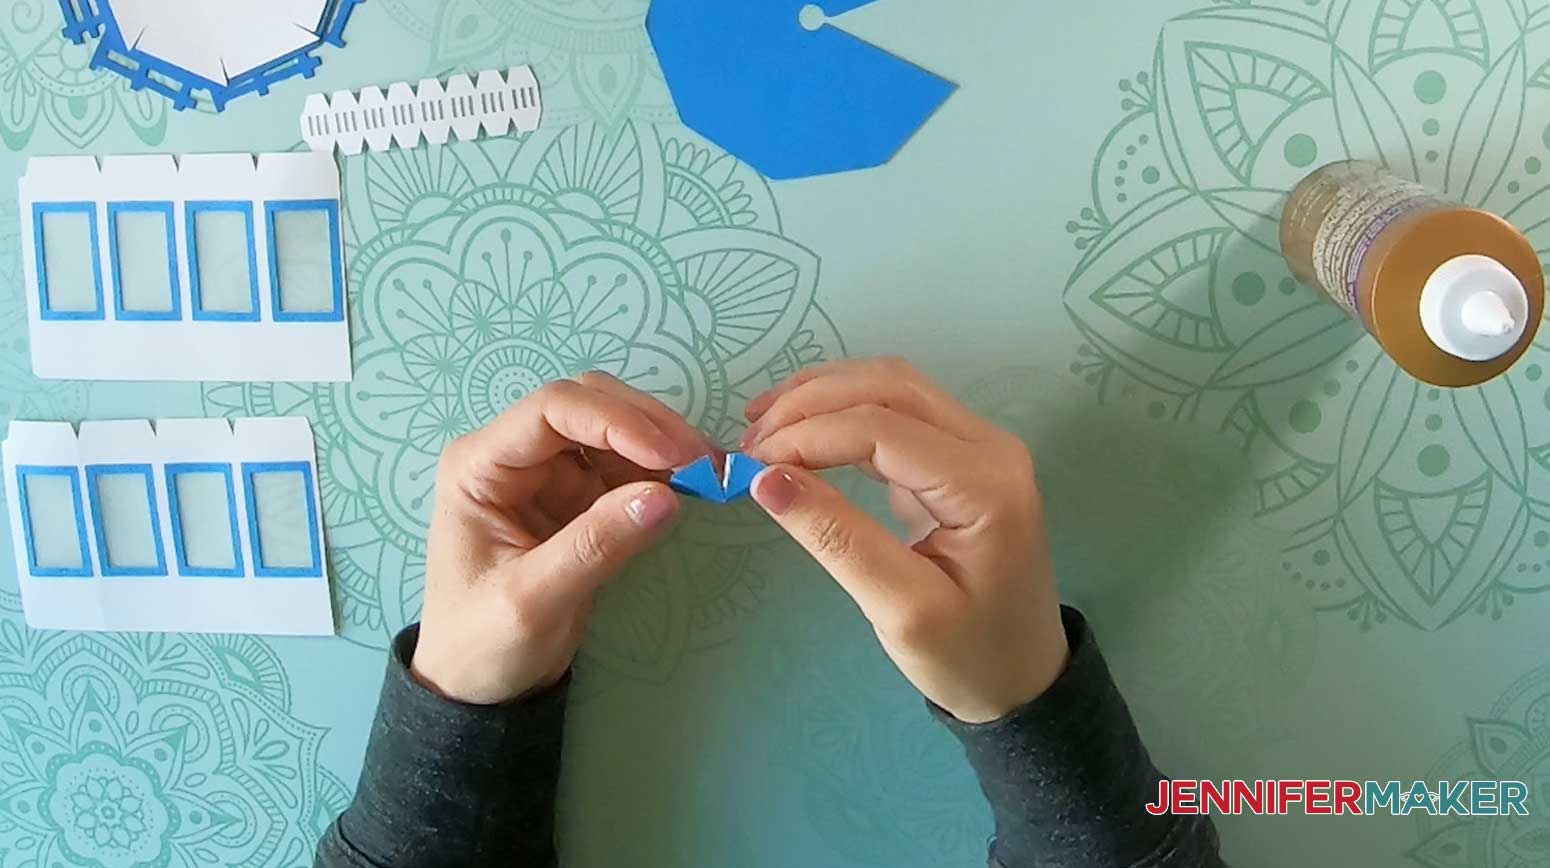
Also fold the larger roof in the same way.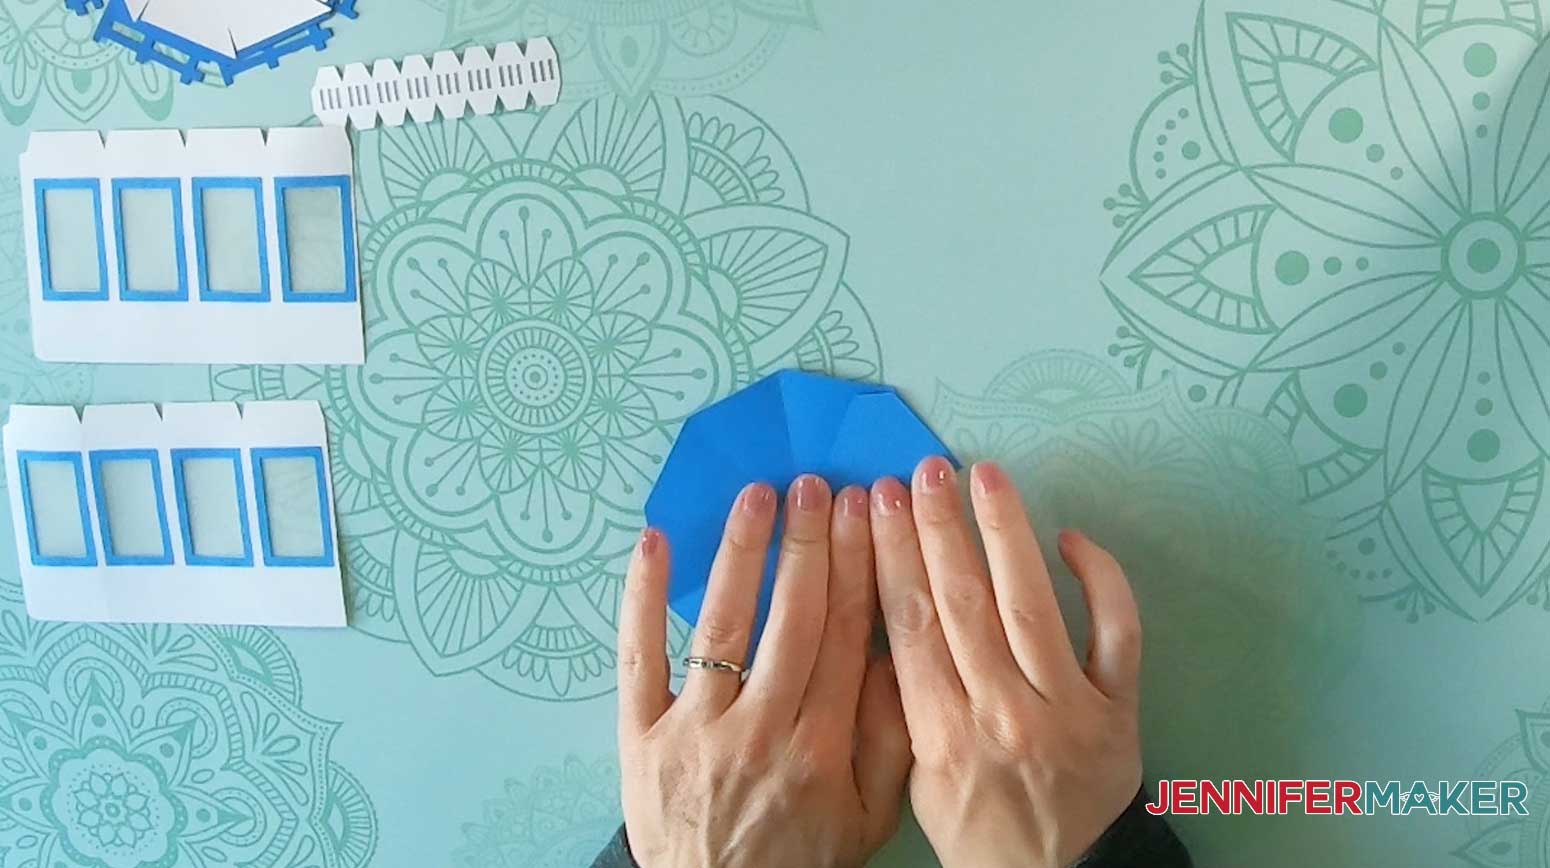
Glue the two ends of the roof together to make a cone.
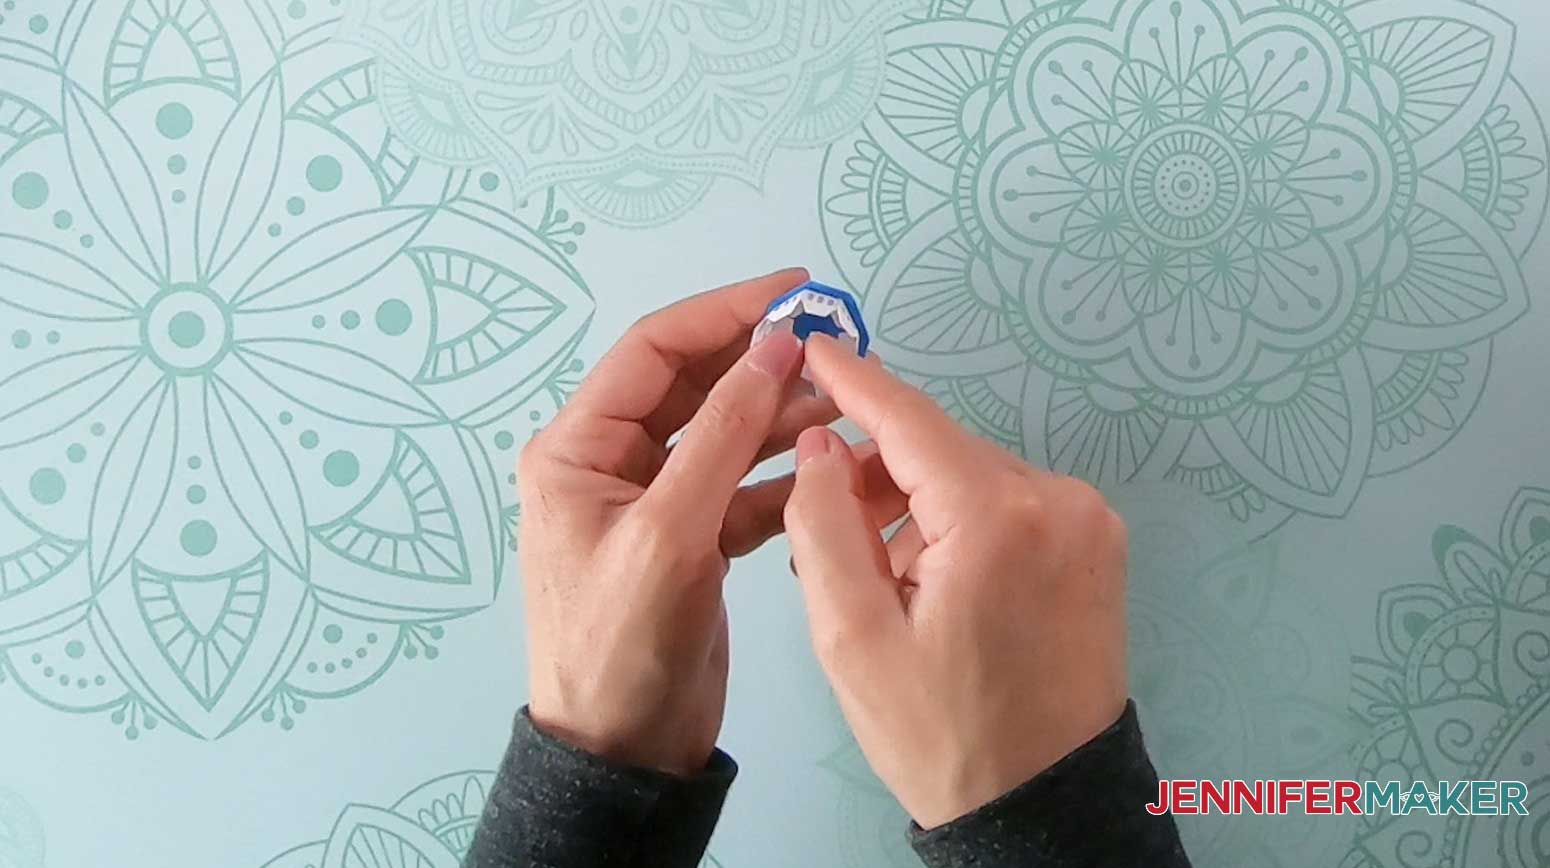
Next, fold the cap windows as shown below.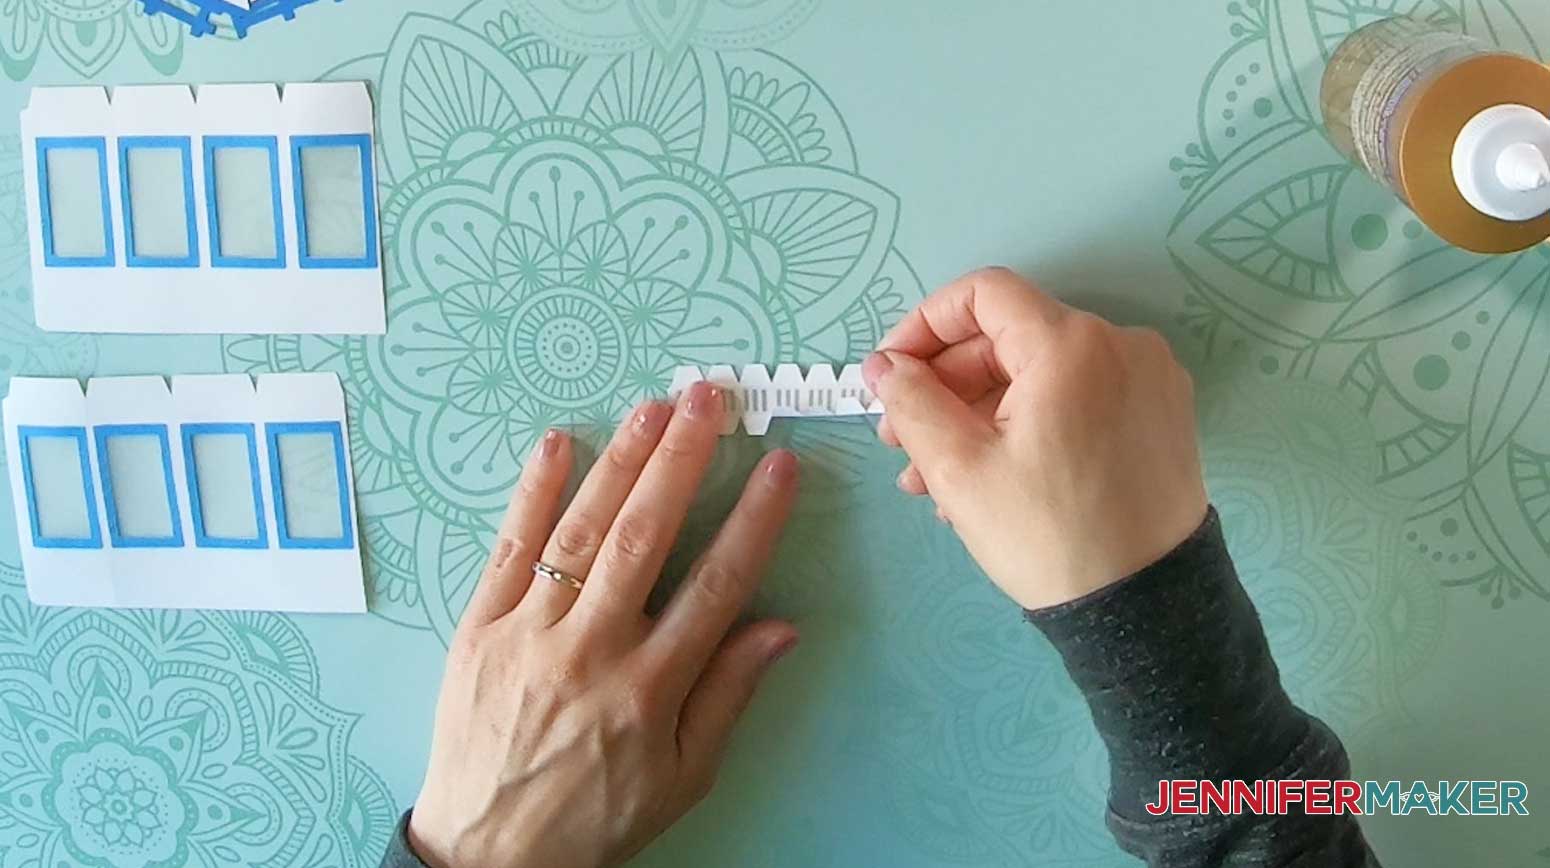
Fold in and put glue on the side tab on the short end of the cap window section.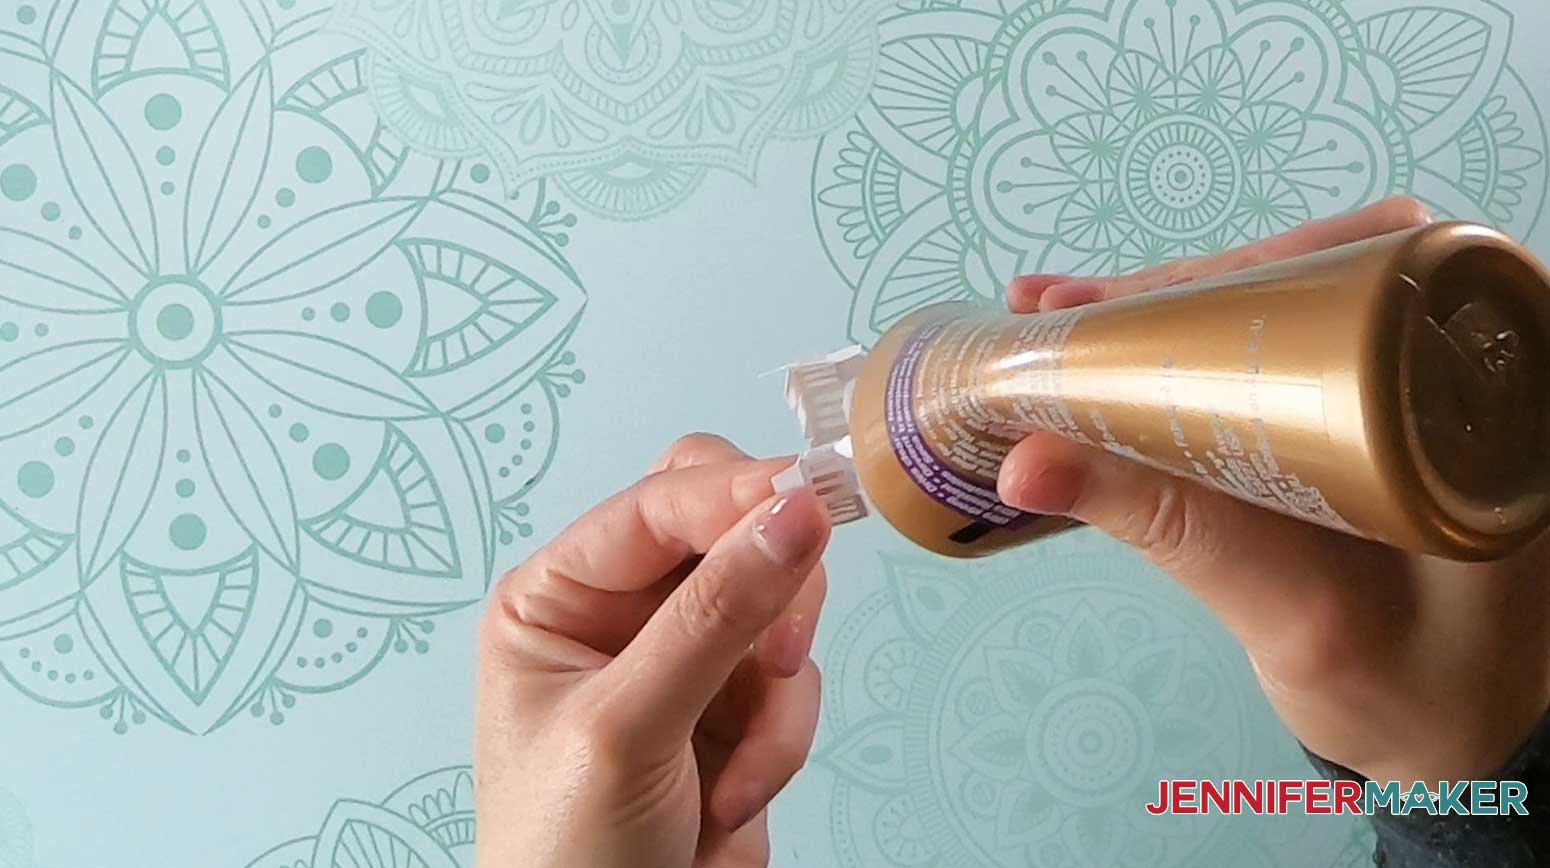
Press the two ends of the cap window section together until the glue holds.
Apply glue to the tabs along one of the long sides of the cap window section.
Press the tabs into the underside of the smaller cap roof, taking care to center it and align the octagonal sides.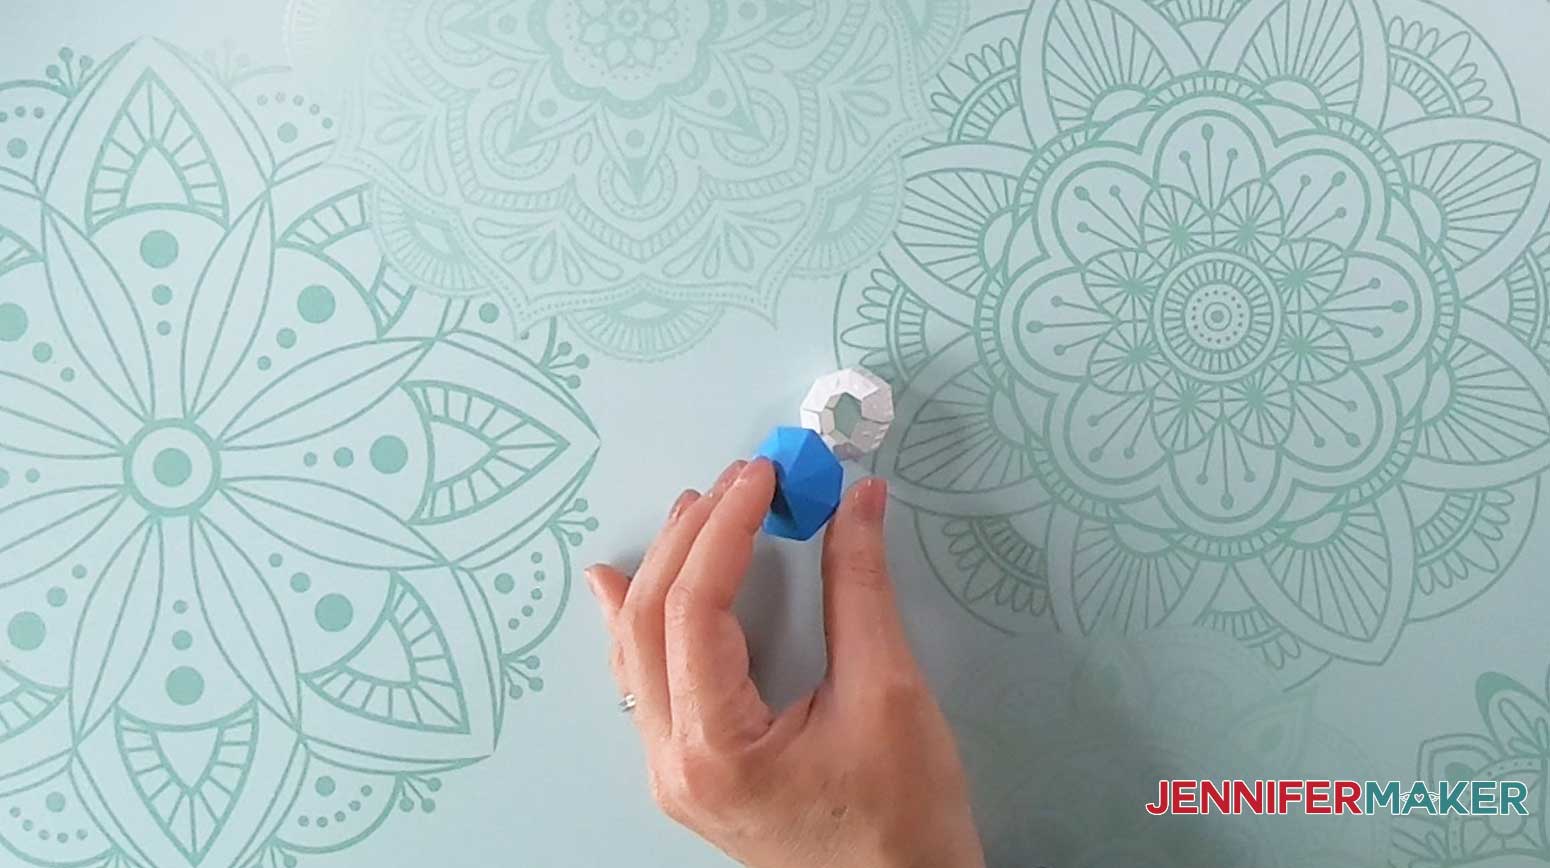
Now, apply glue the bottom tabs of the cap window section.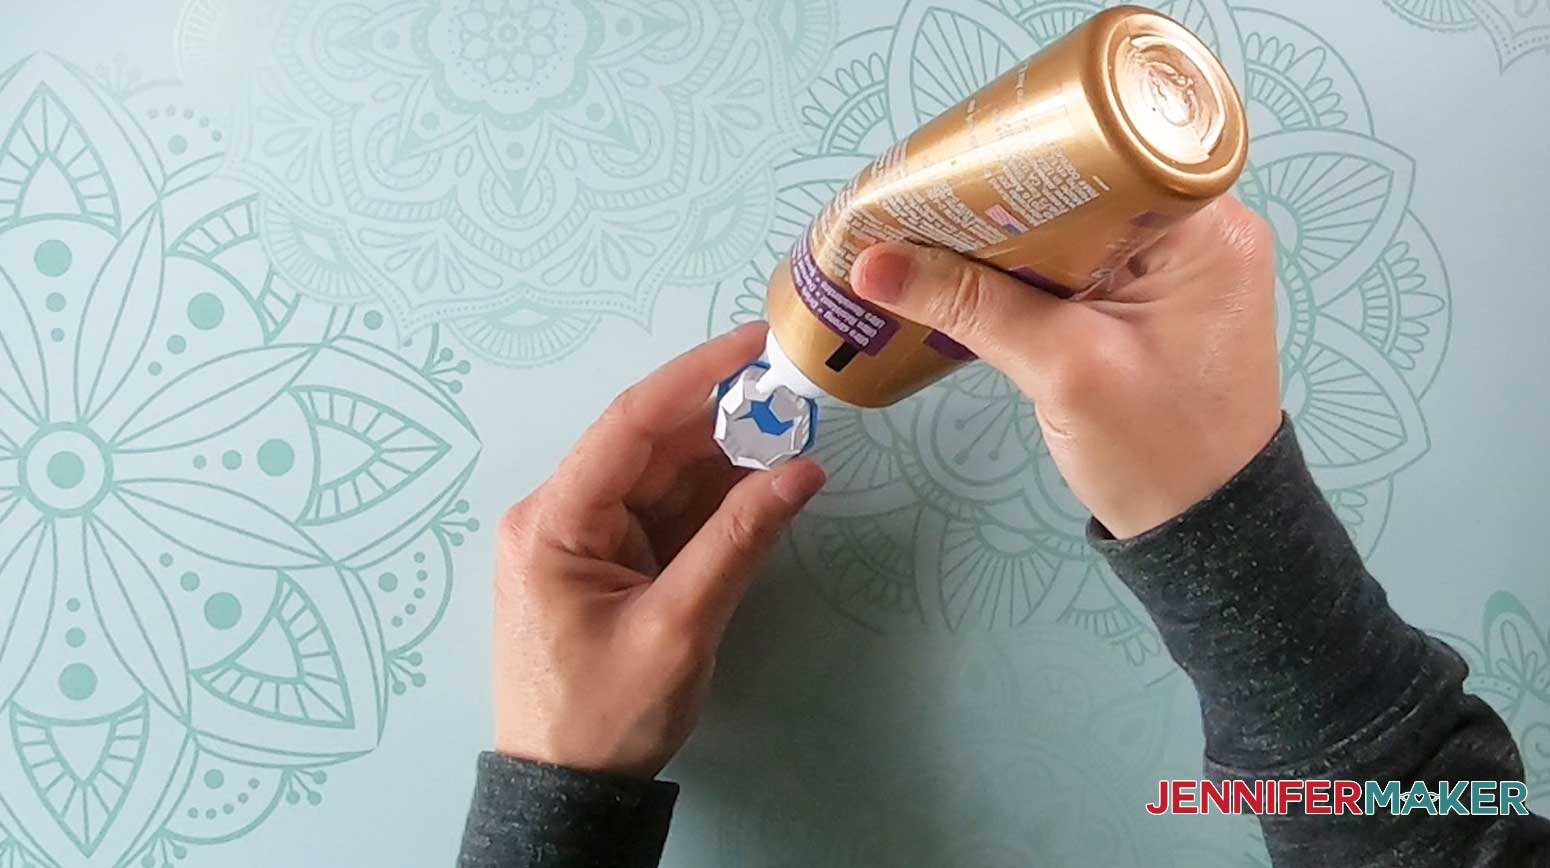
Press the tabs onto the topside of the larger cupola roof, taking care to center the cap on the roof and lining up the folds.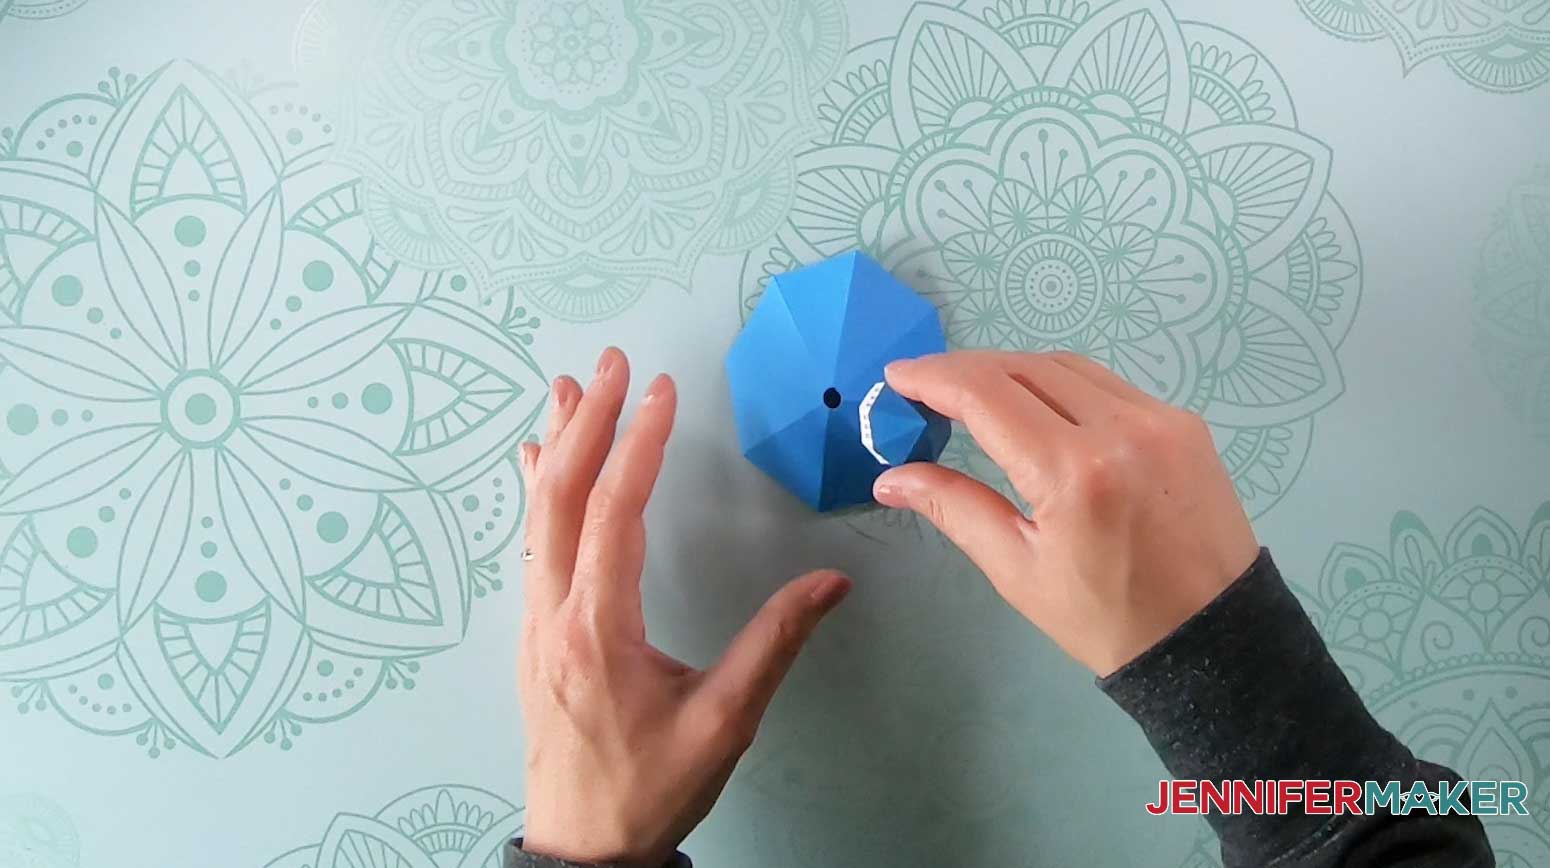
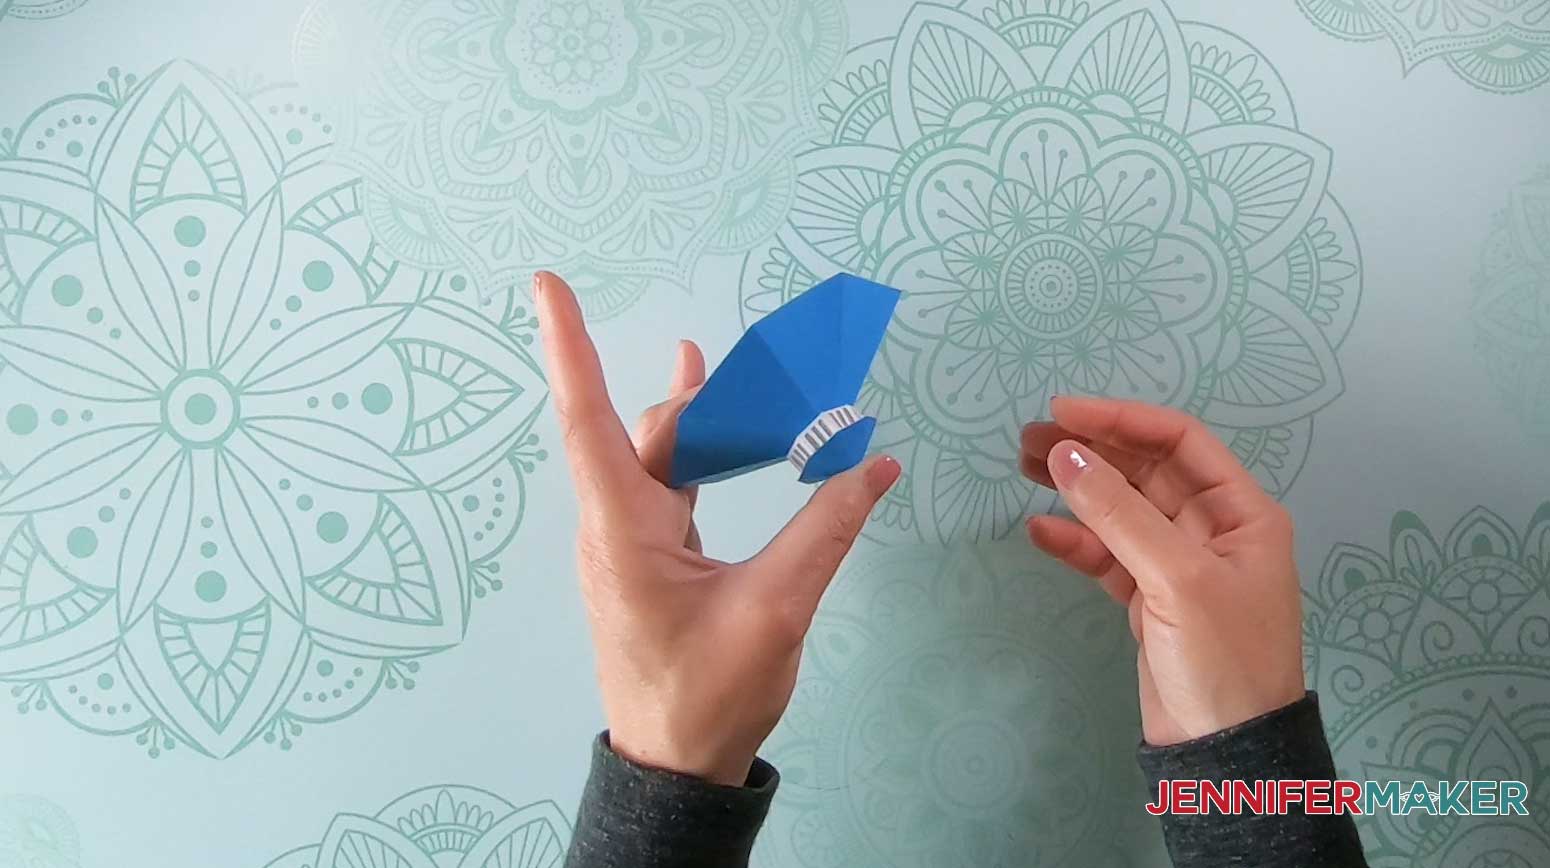
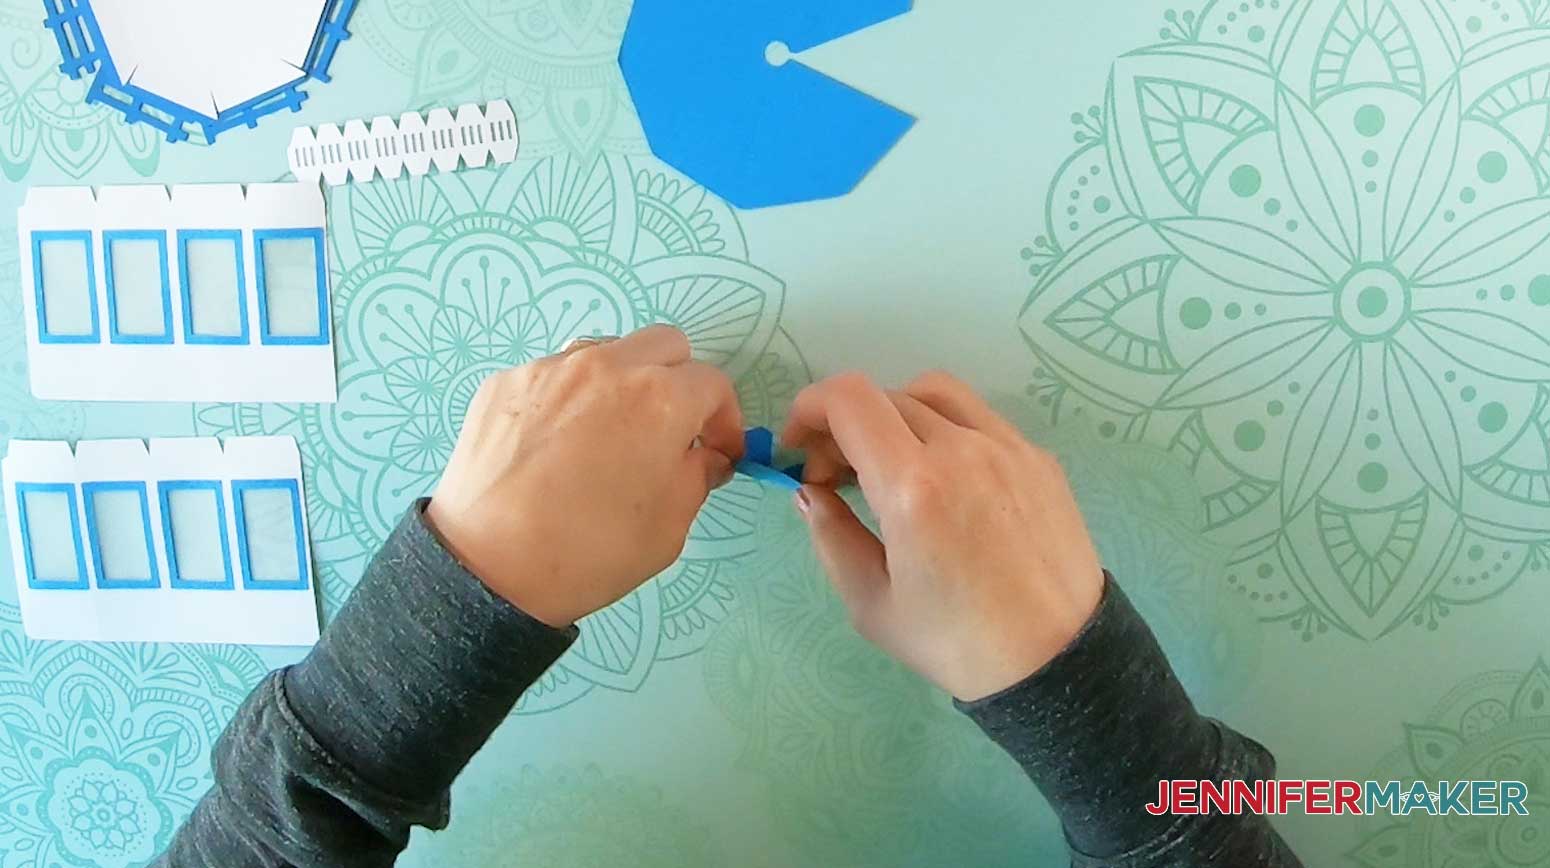
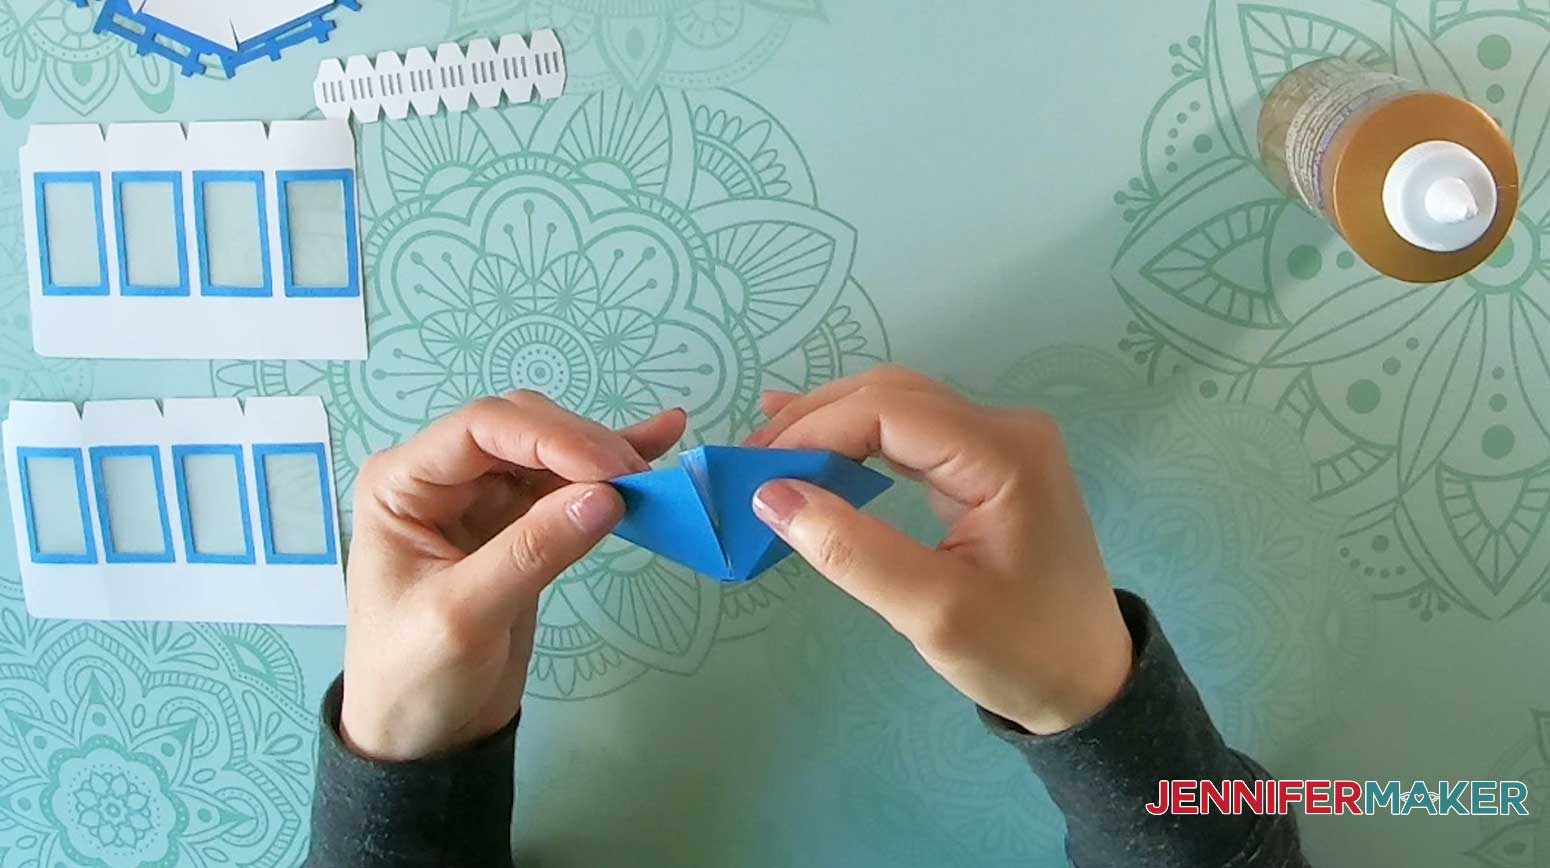
Next, fold the the cupola window sections inward on the score lines as shown below.
Glue the cupola window sections together. First you put the two sections together at the tab, then you glue them end to end.
Gluing cupola window sections together at the tab:
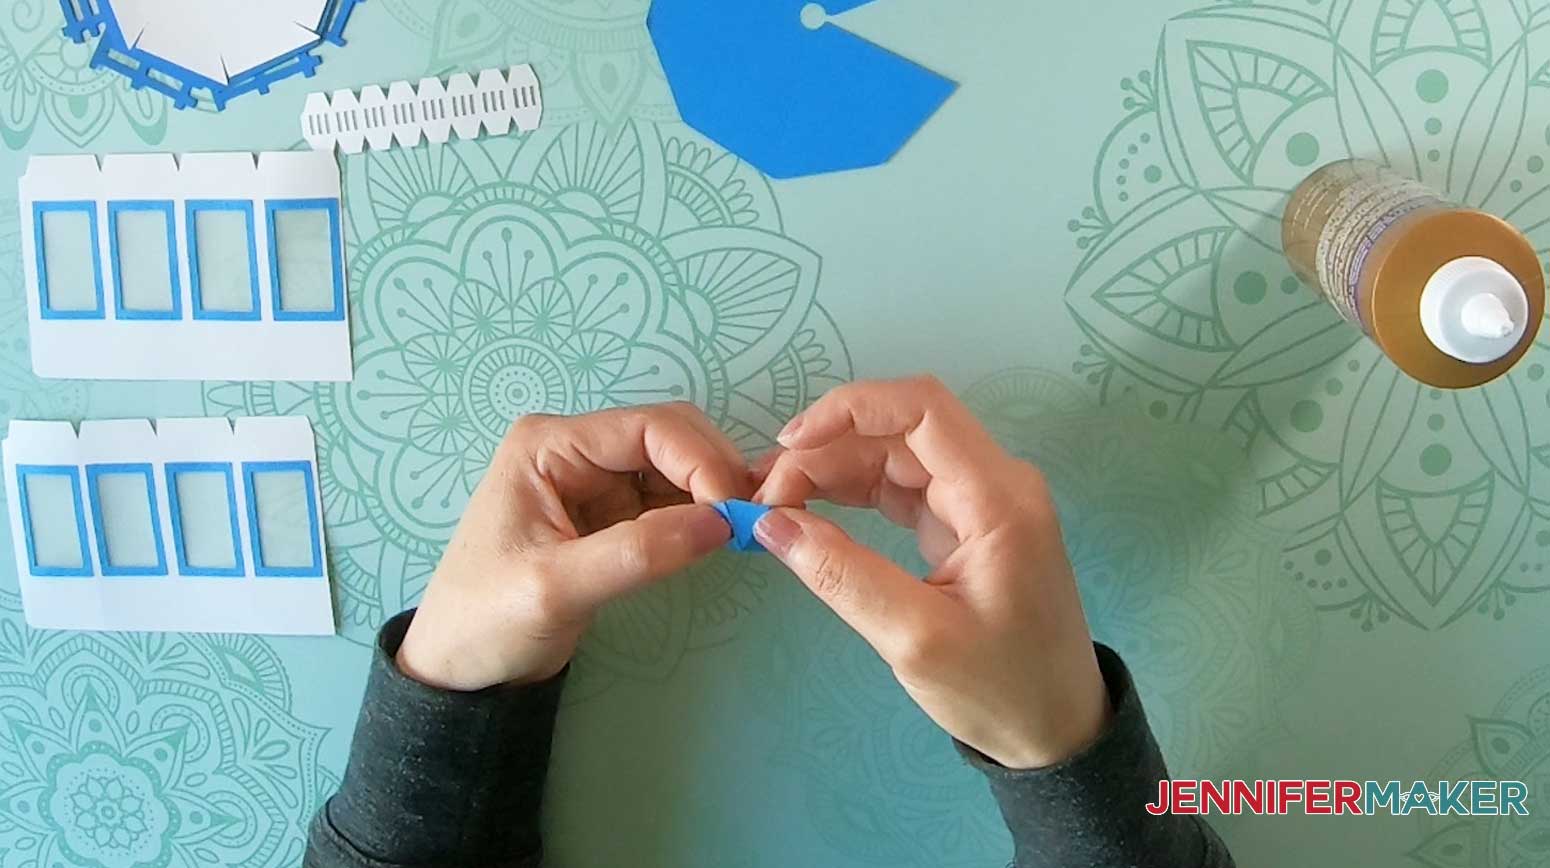
Pressing together the cupola window sections:
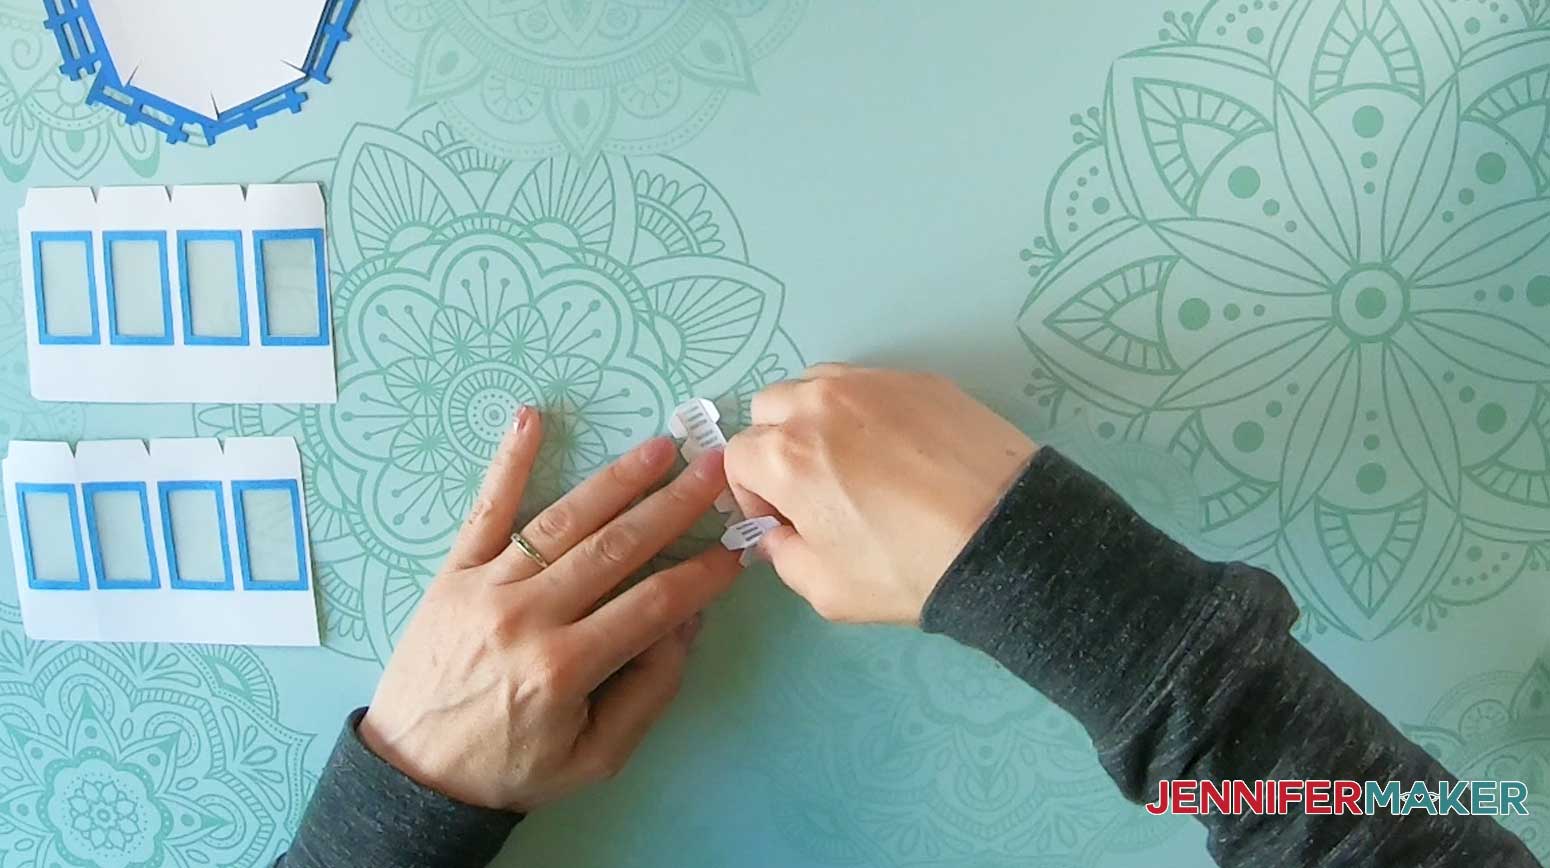
Applying glue to the end tab of the cupola window section:
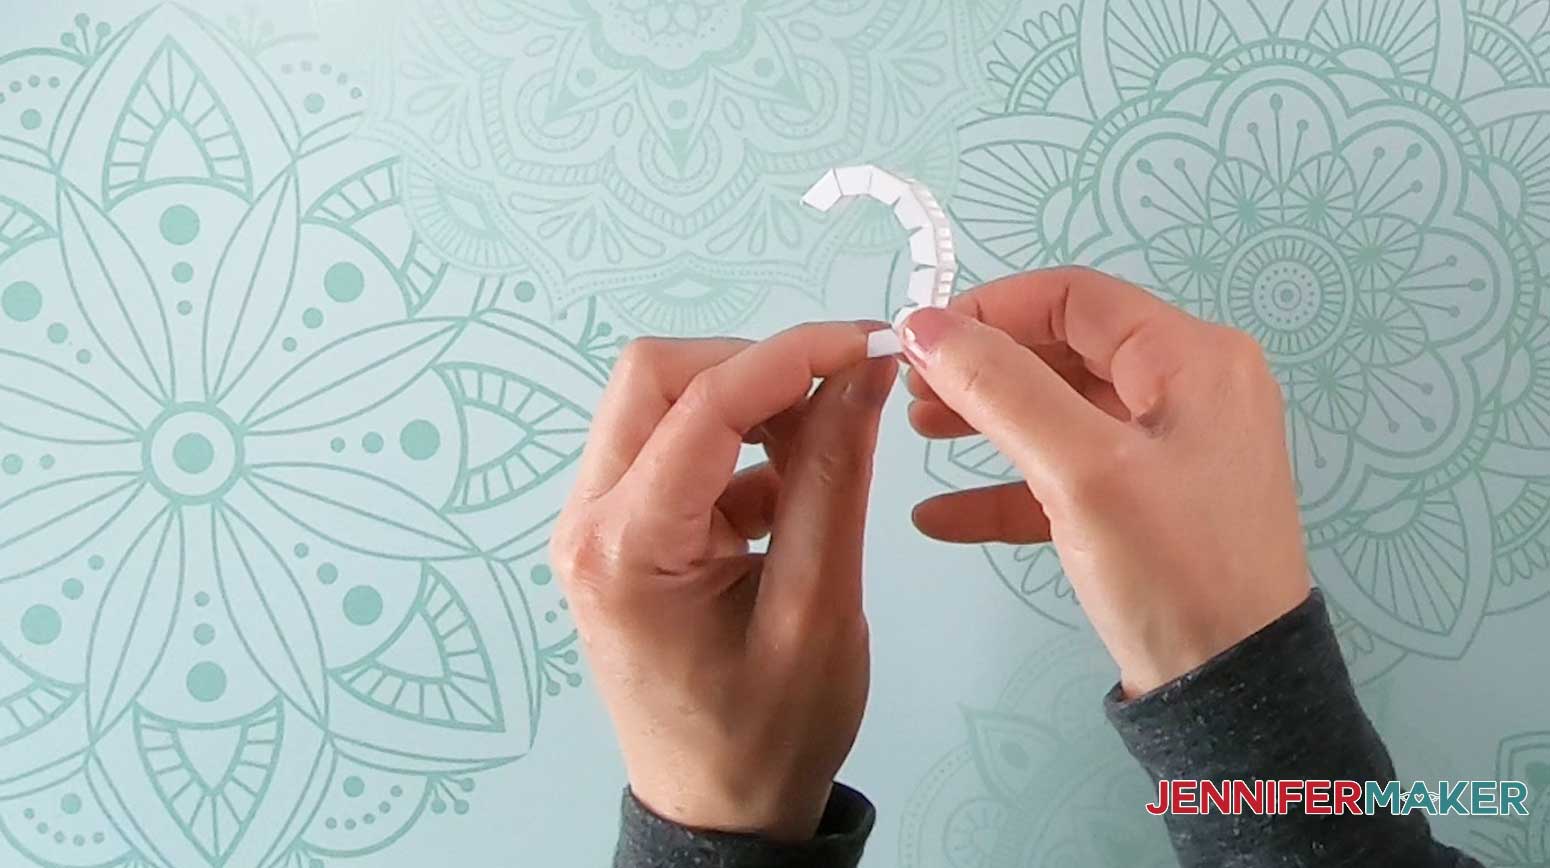
This is what the cupola windows look like when all glued together:
Now, it’s time to attach the cupola windows to the roof and cap. Apply glue to the tabs on the top of the cupola windows. 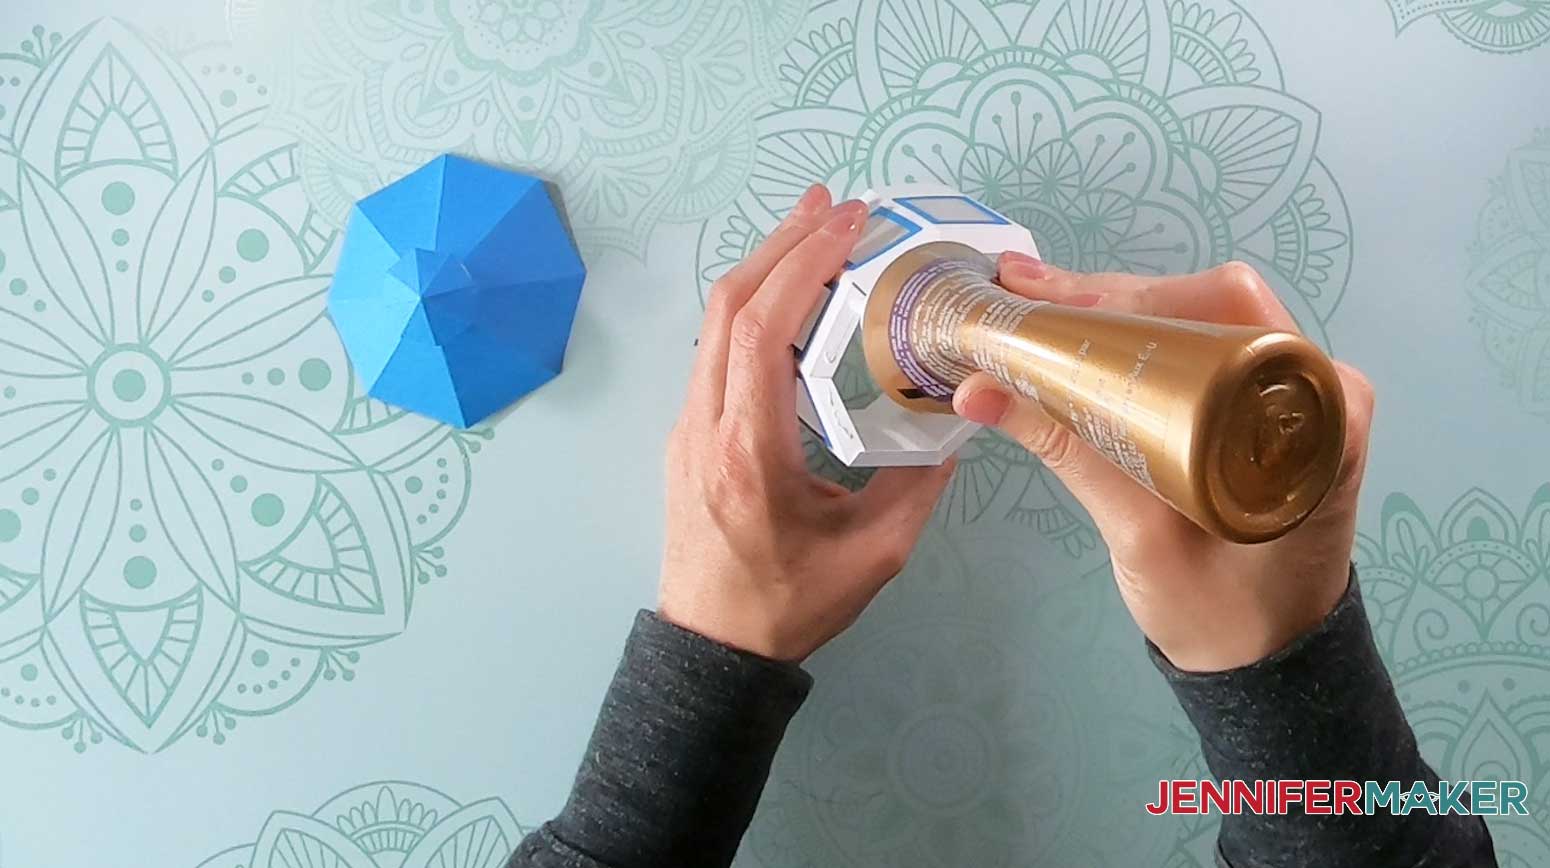
Press the tabs onto the underside of the roof, taking care to center it and line up the folds.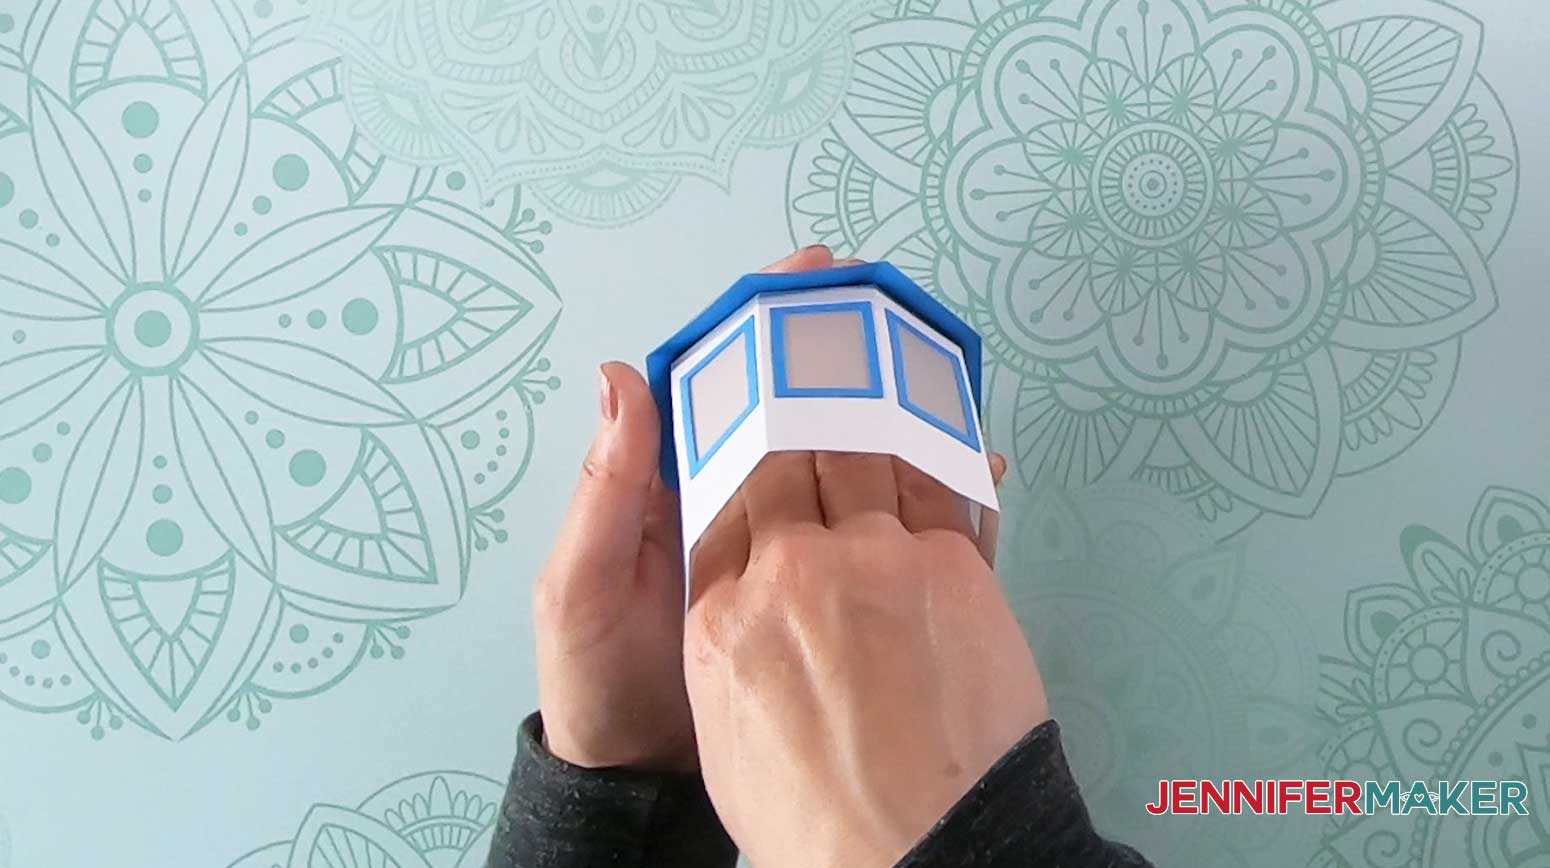
This is what the cupola (top tier) looks like when it’s assembled: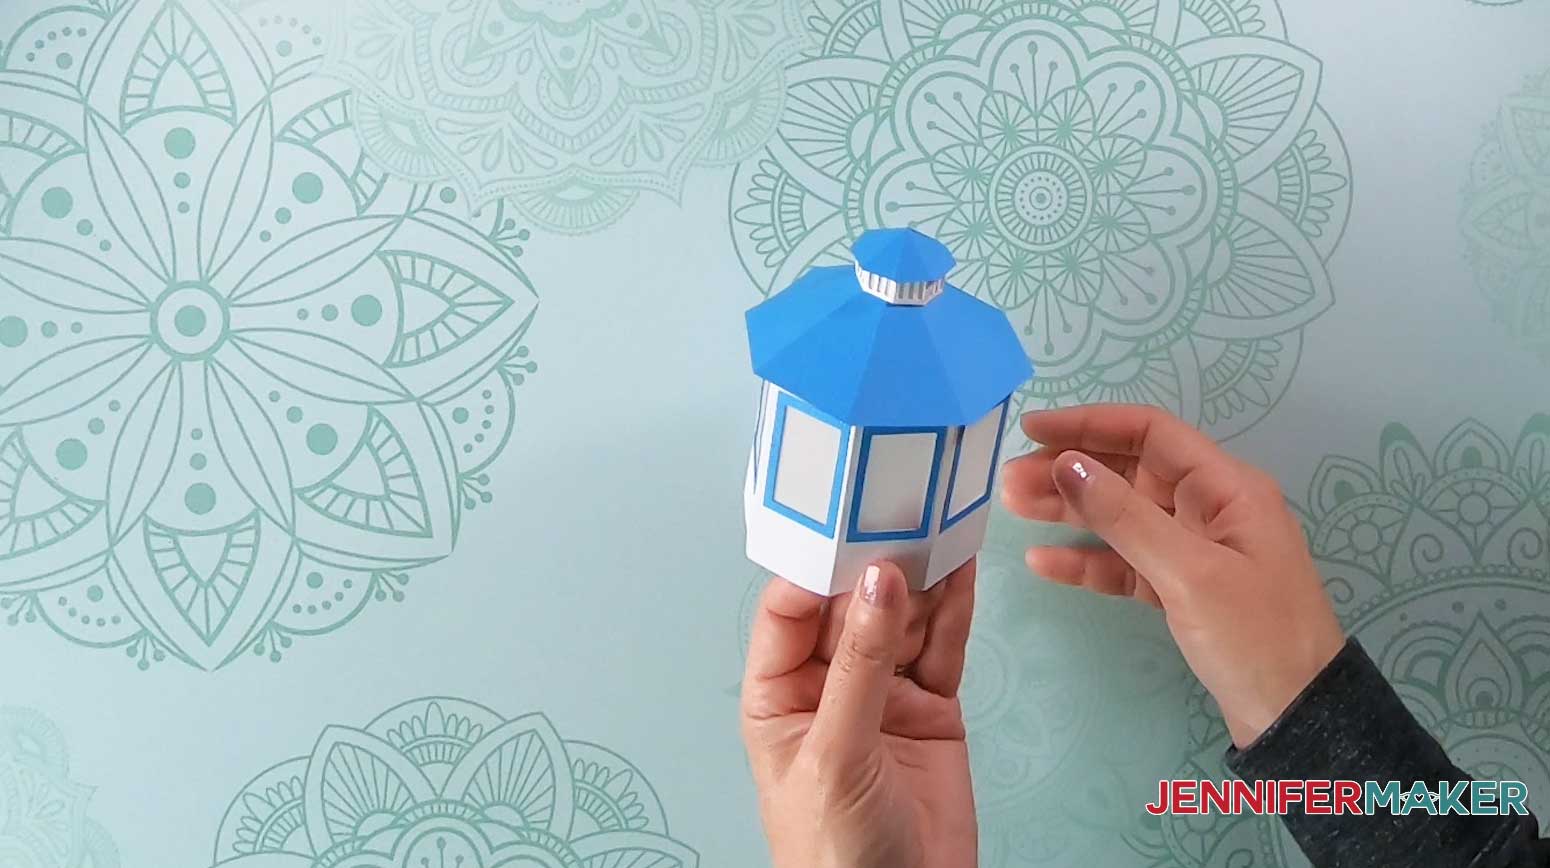
Step 4: Fold and glue the paper lighthouse tower (middle tier)
Now, it’s time to make the base of the cupola of the paper lighthouse, which is actually the top of the tower (middle tier). Start by folding the railings and railing tabs inward along the score lines as shown in the image below.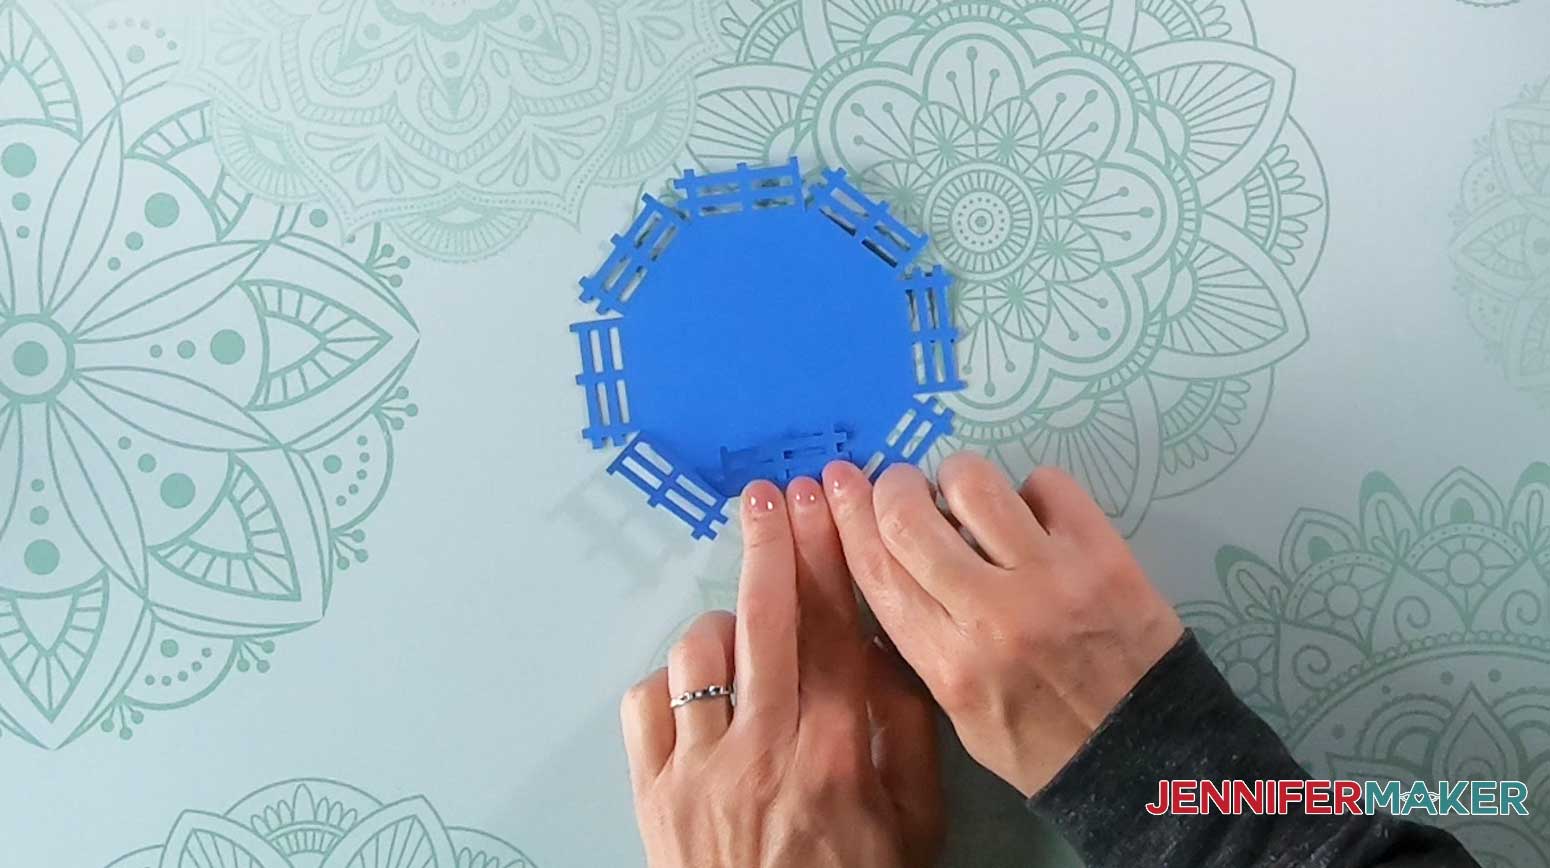
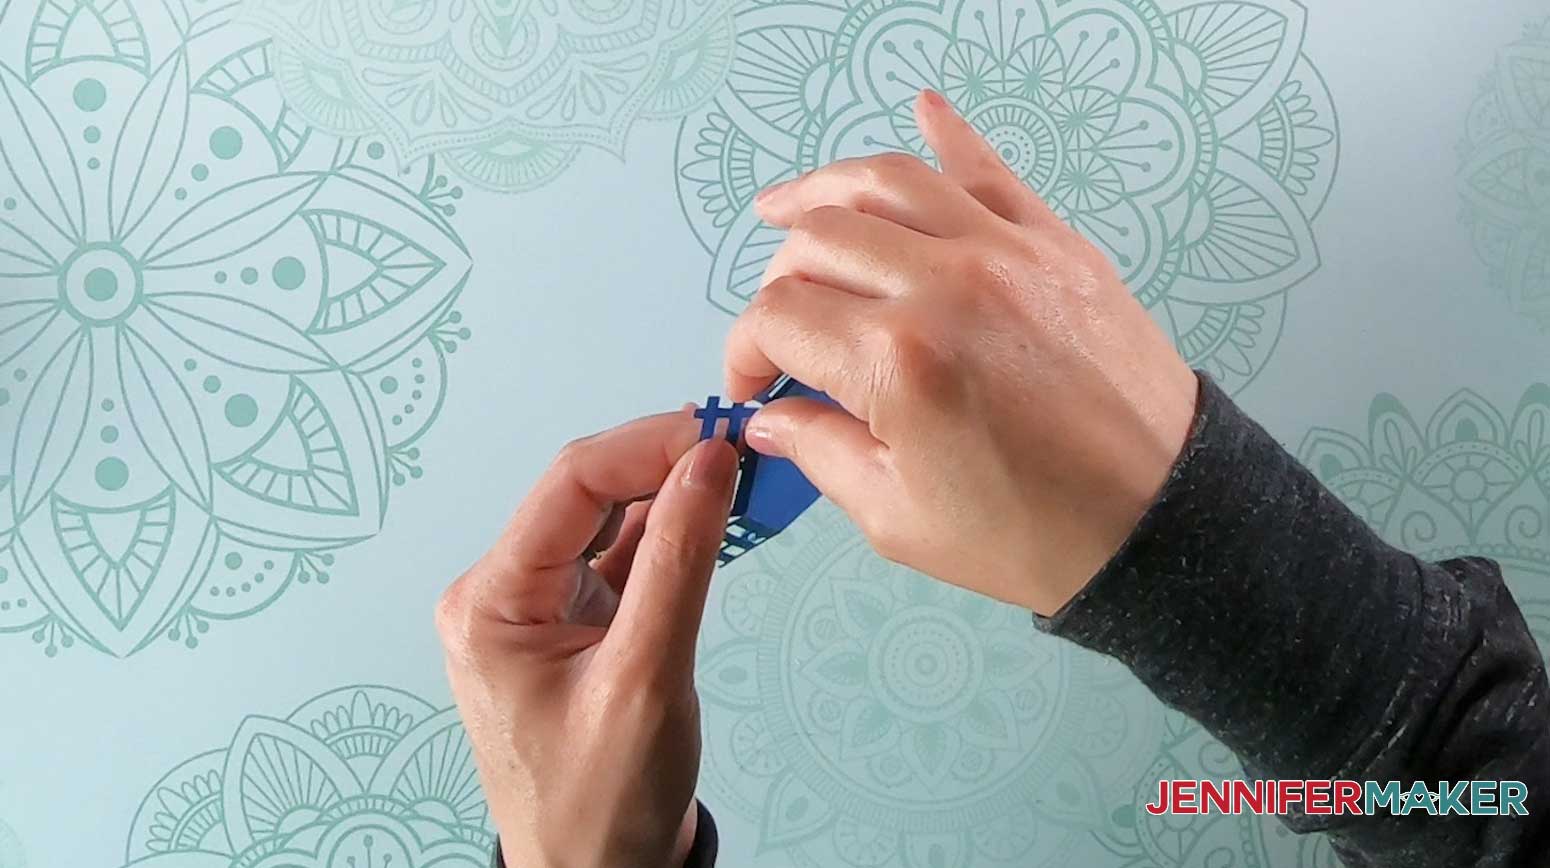
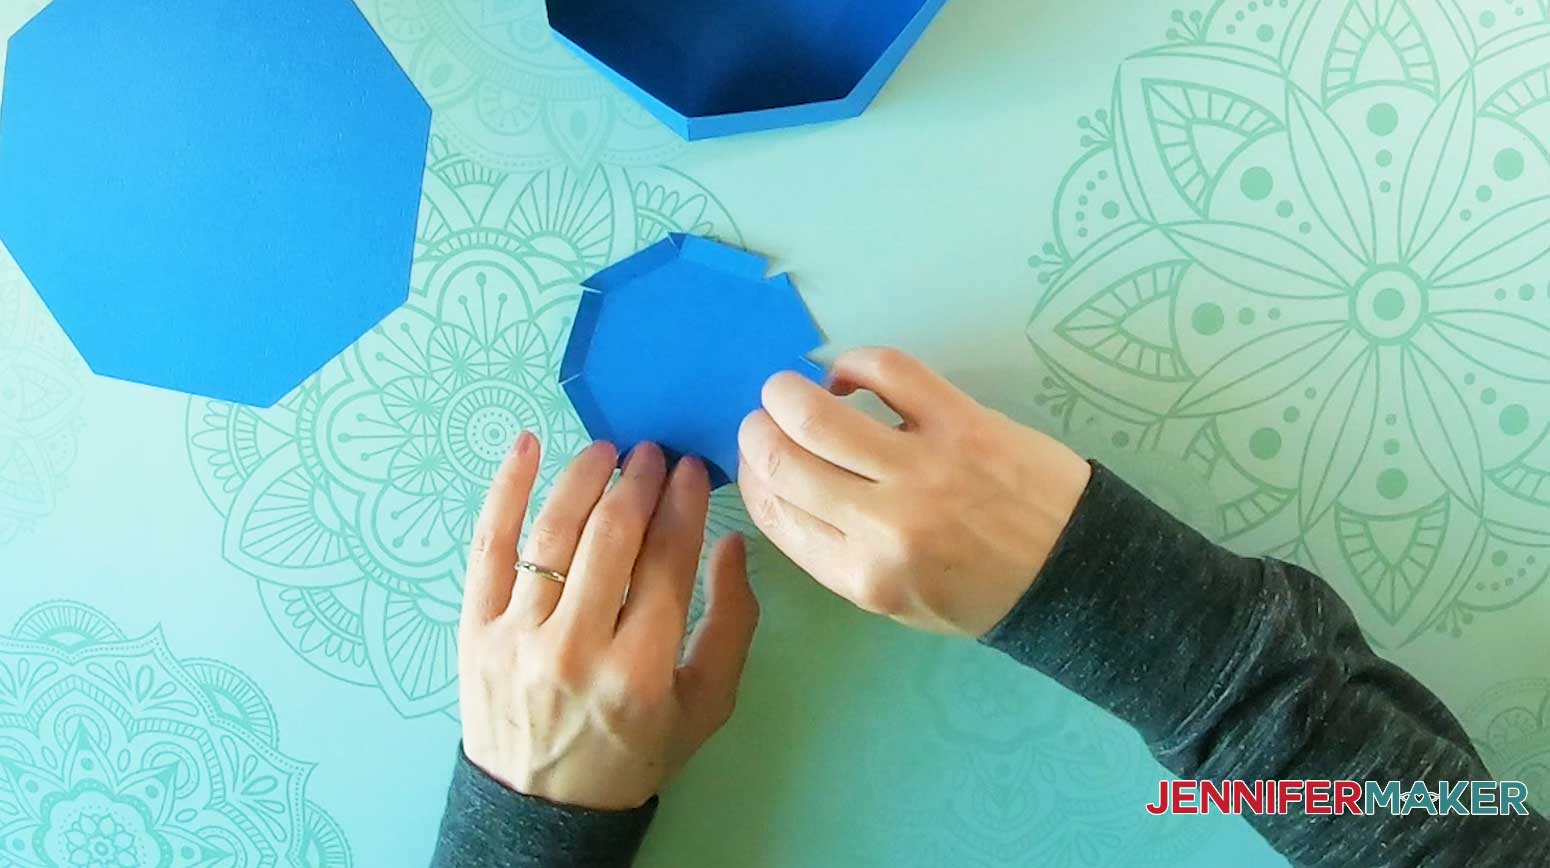
Now, glue each railing section together by attaching the tabs to the inside of each neighboring rail.
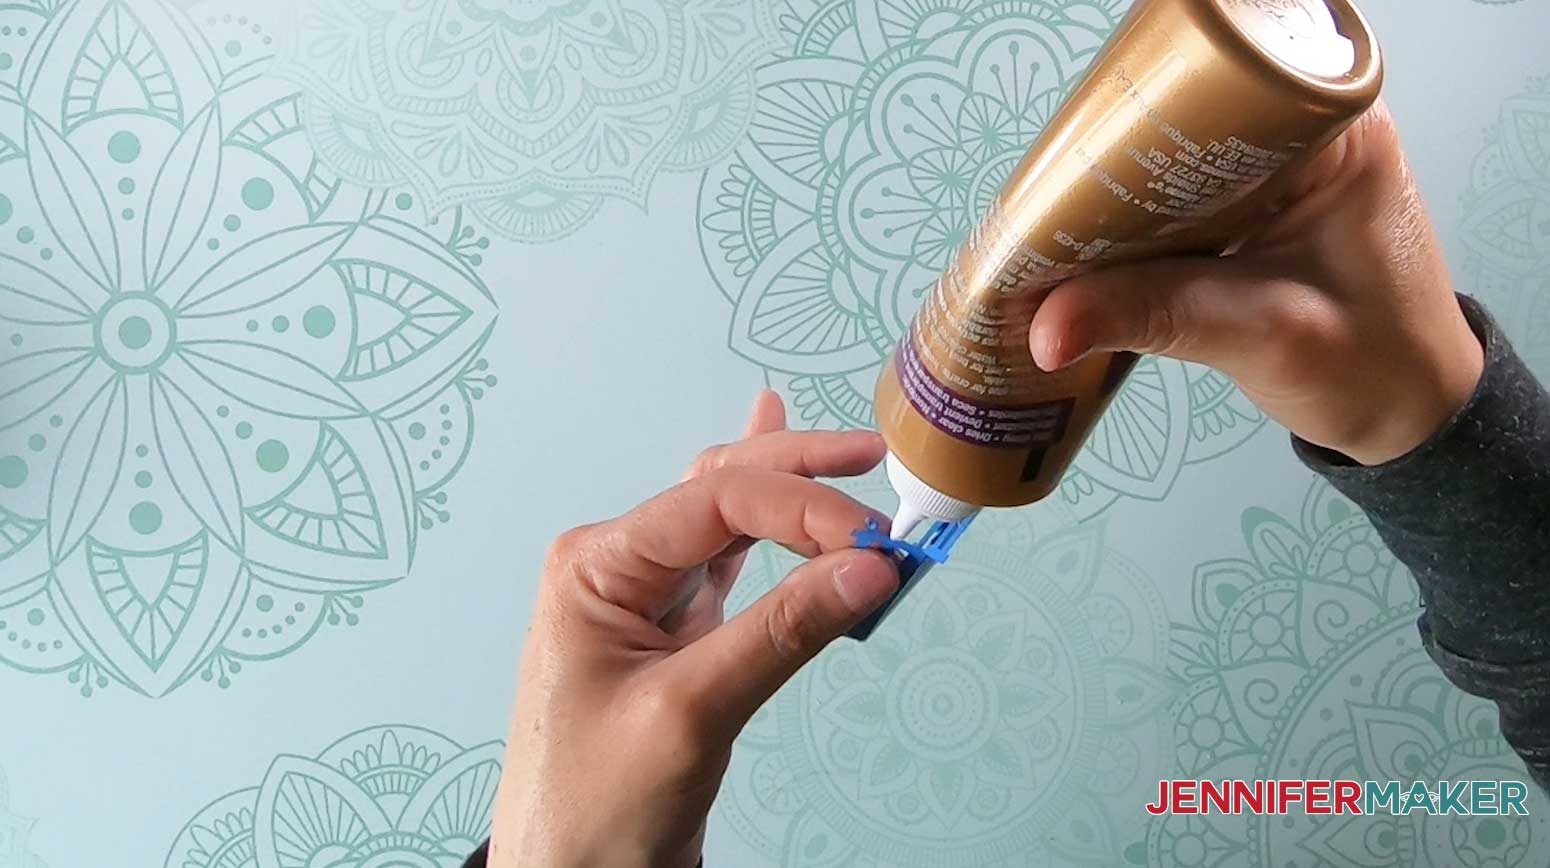
After attaching all the rails, center the railing piece on the cupola base piece, making sure all octagon sides line up. Apply glue to the bottom of the rail piece and glue onto the base like this:
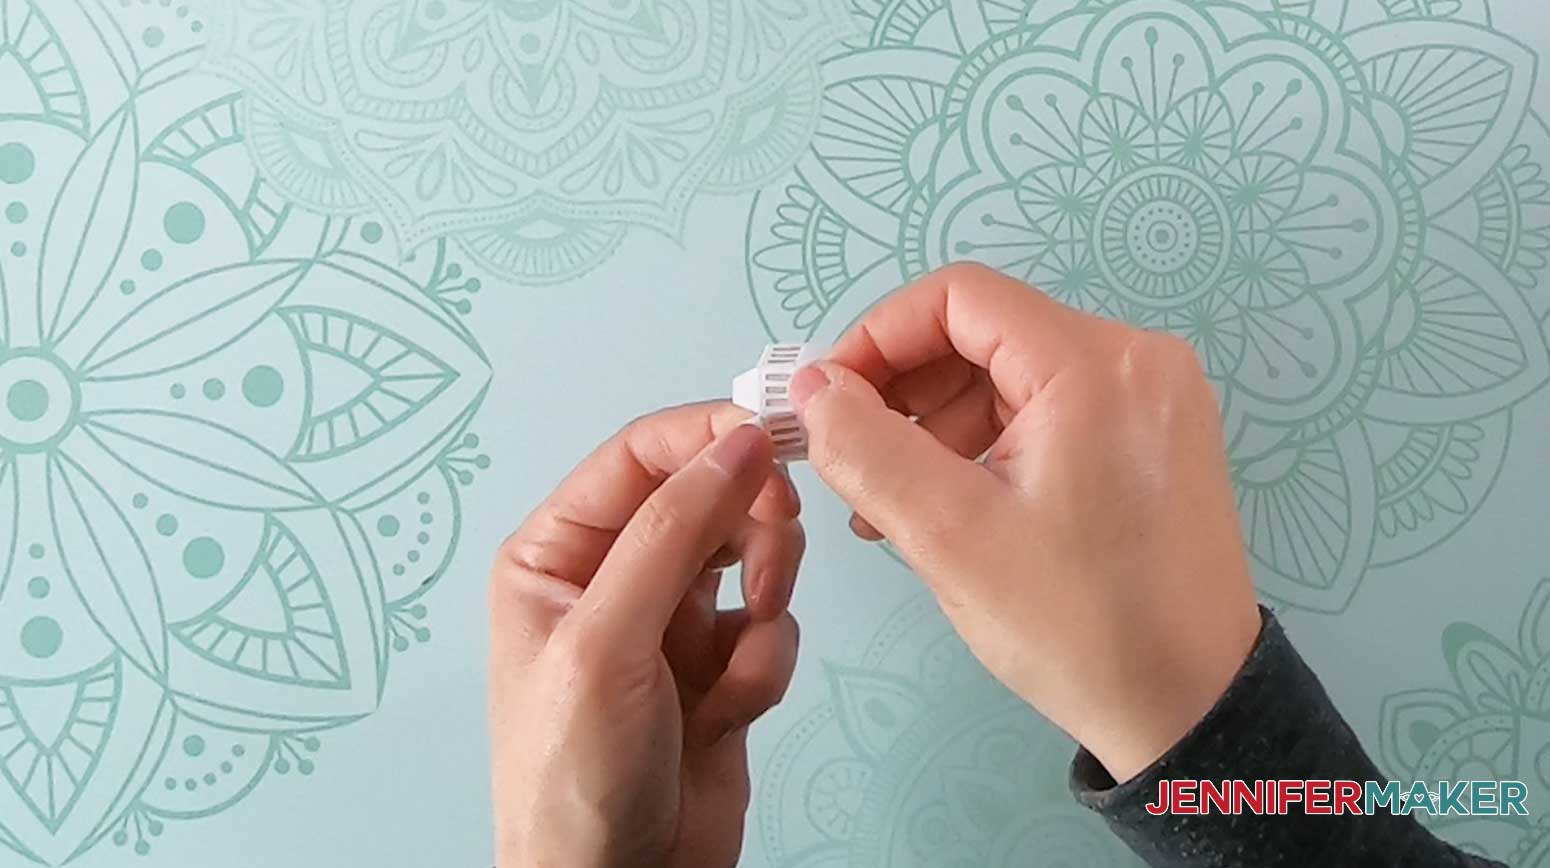
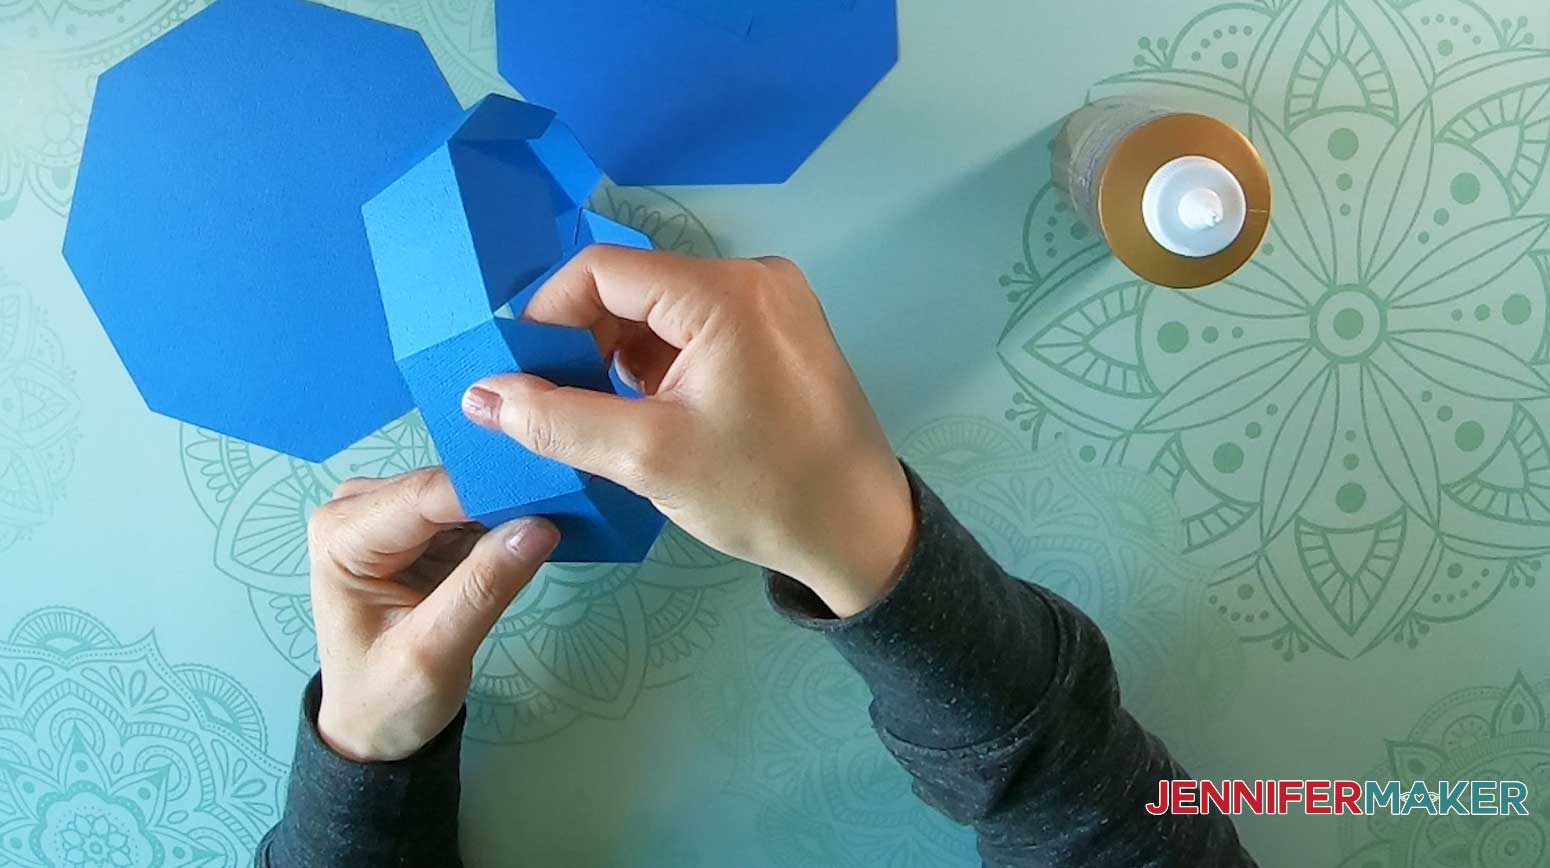
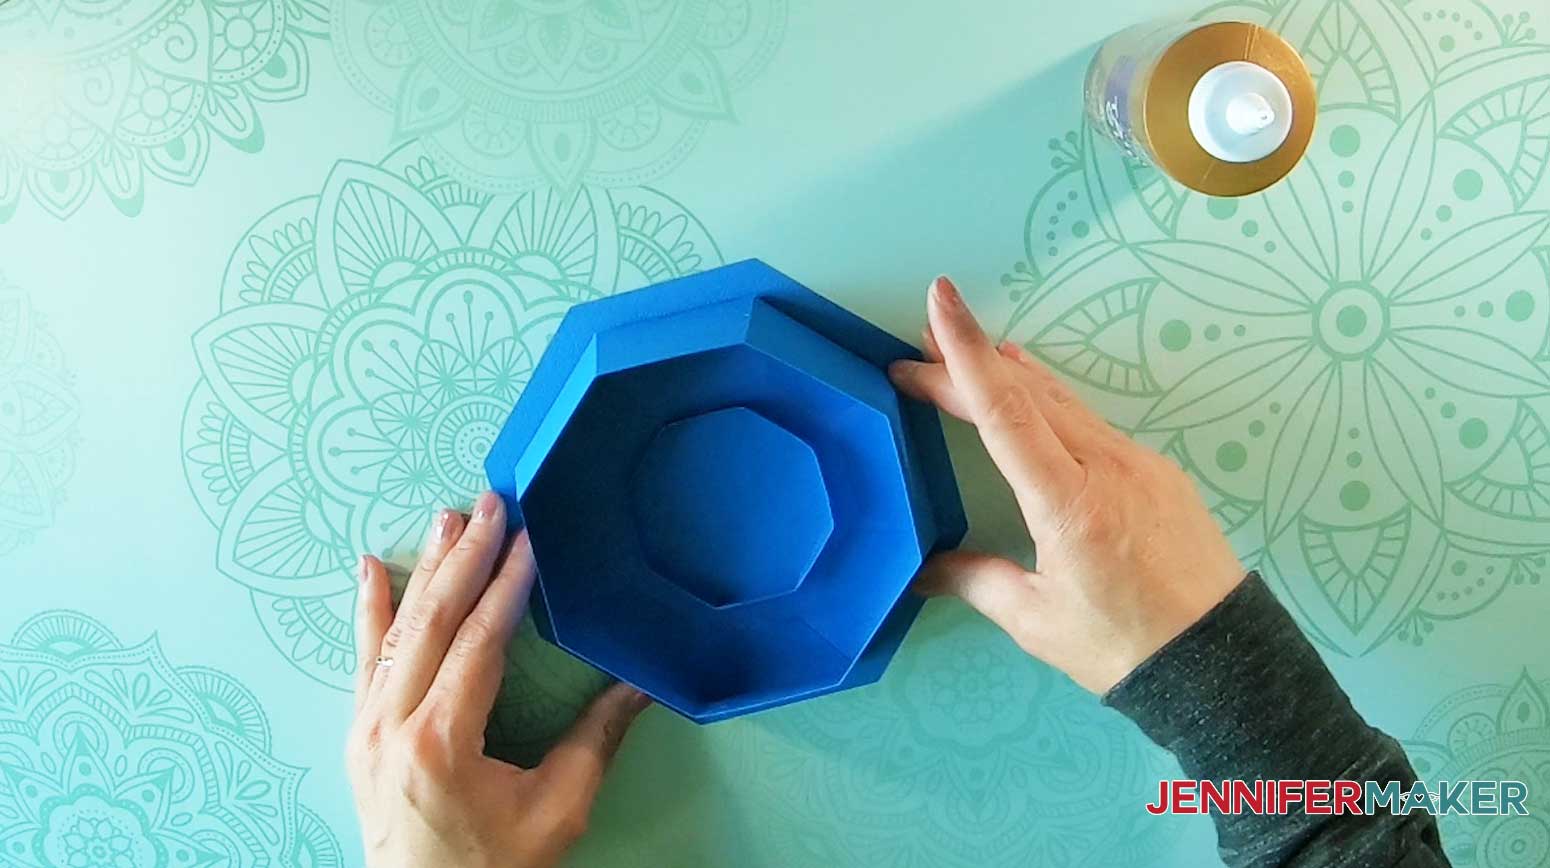
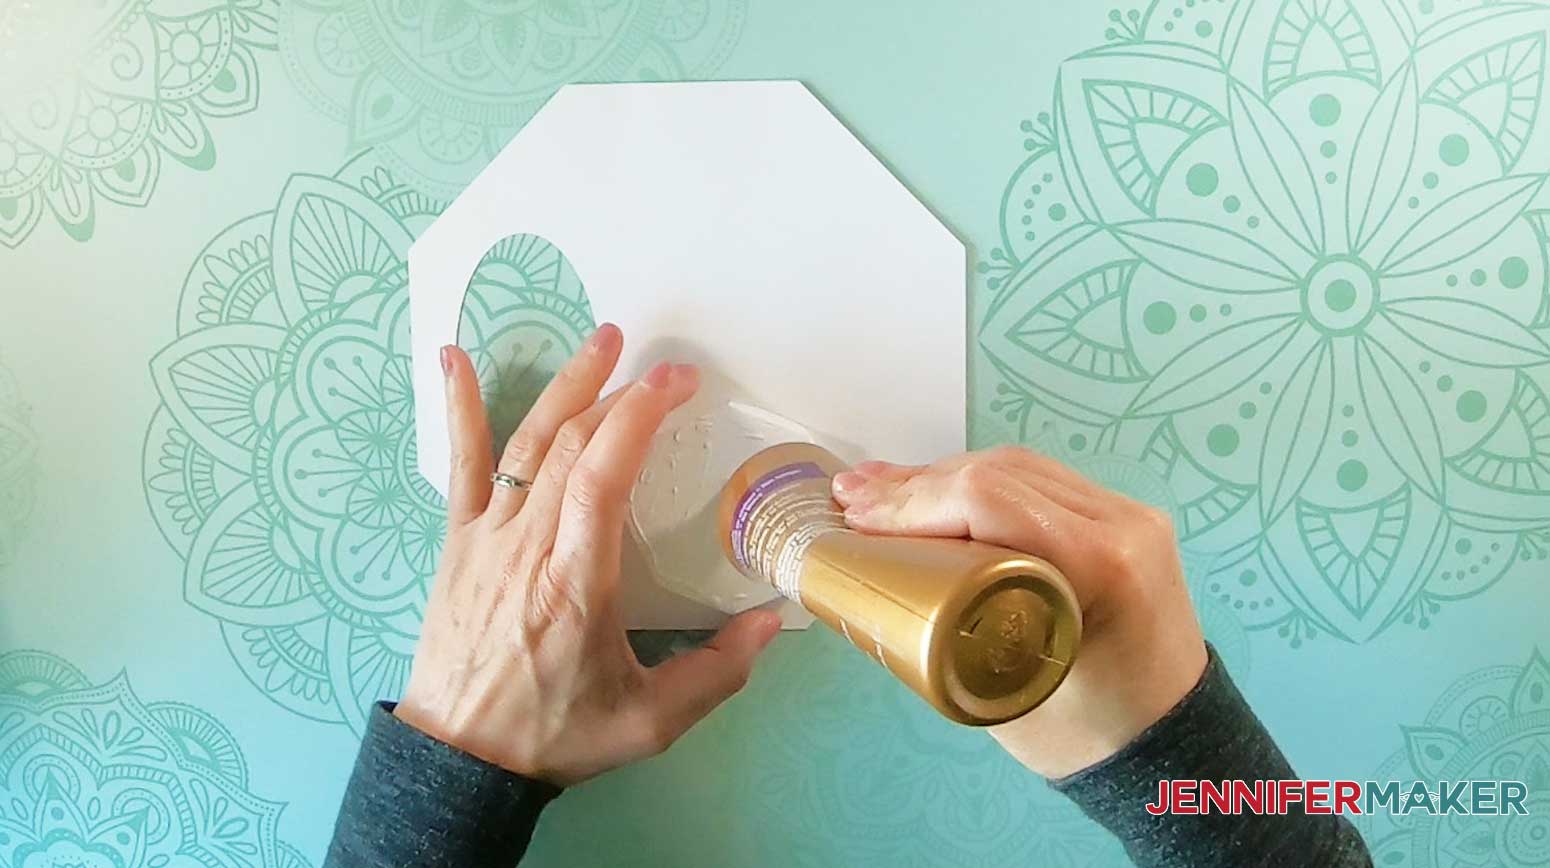
Next, assemble the tealight holder by folding inward along the score lines and gluing the tabs on the outside of each section like this:

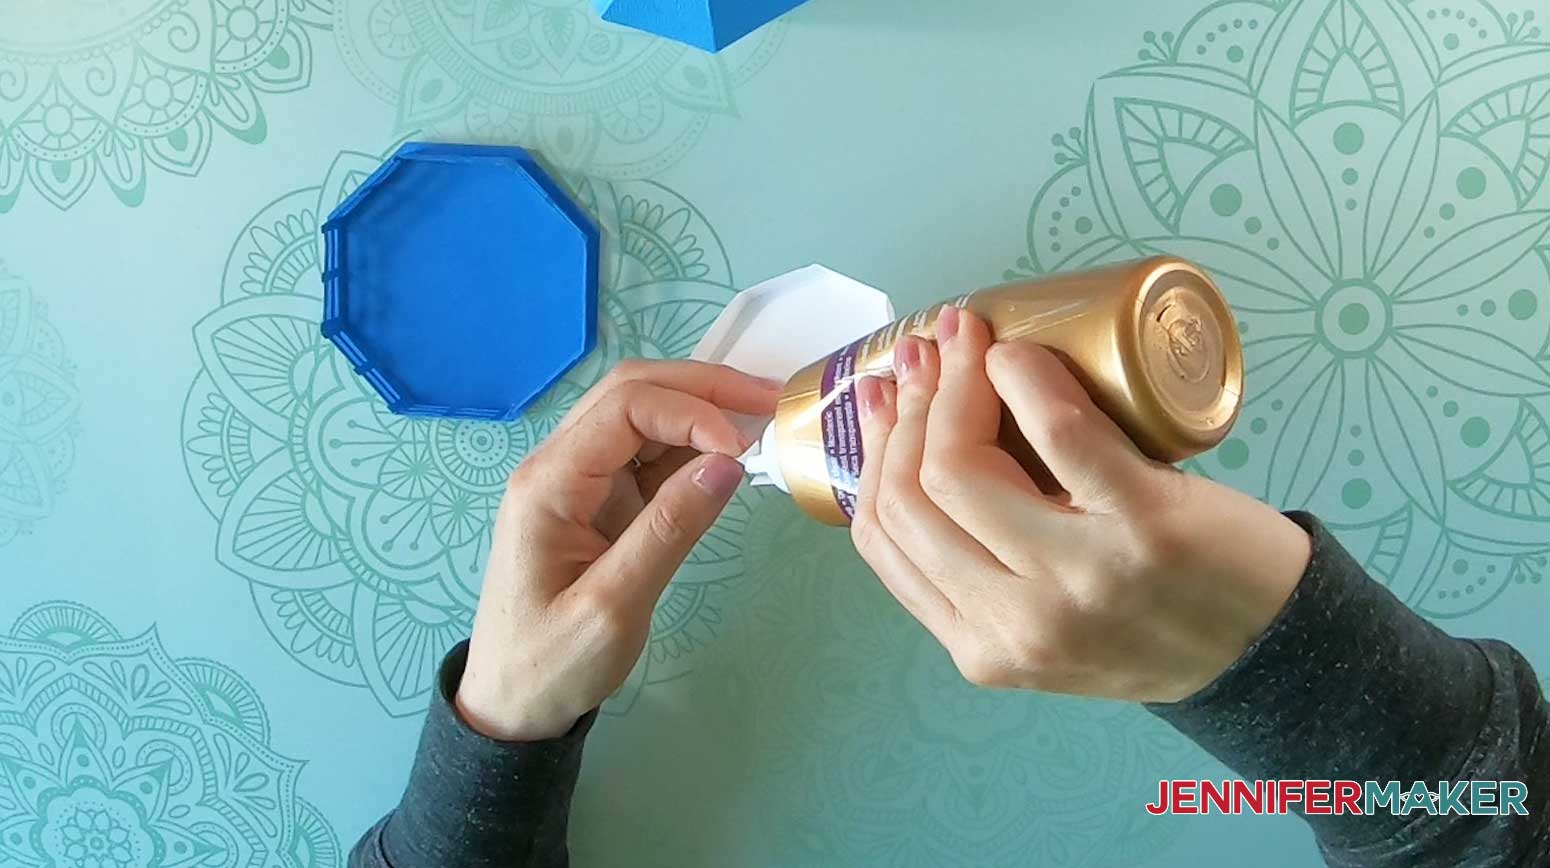
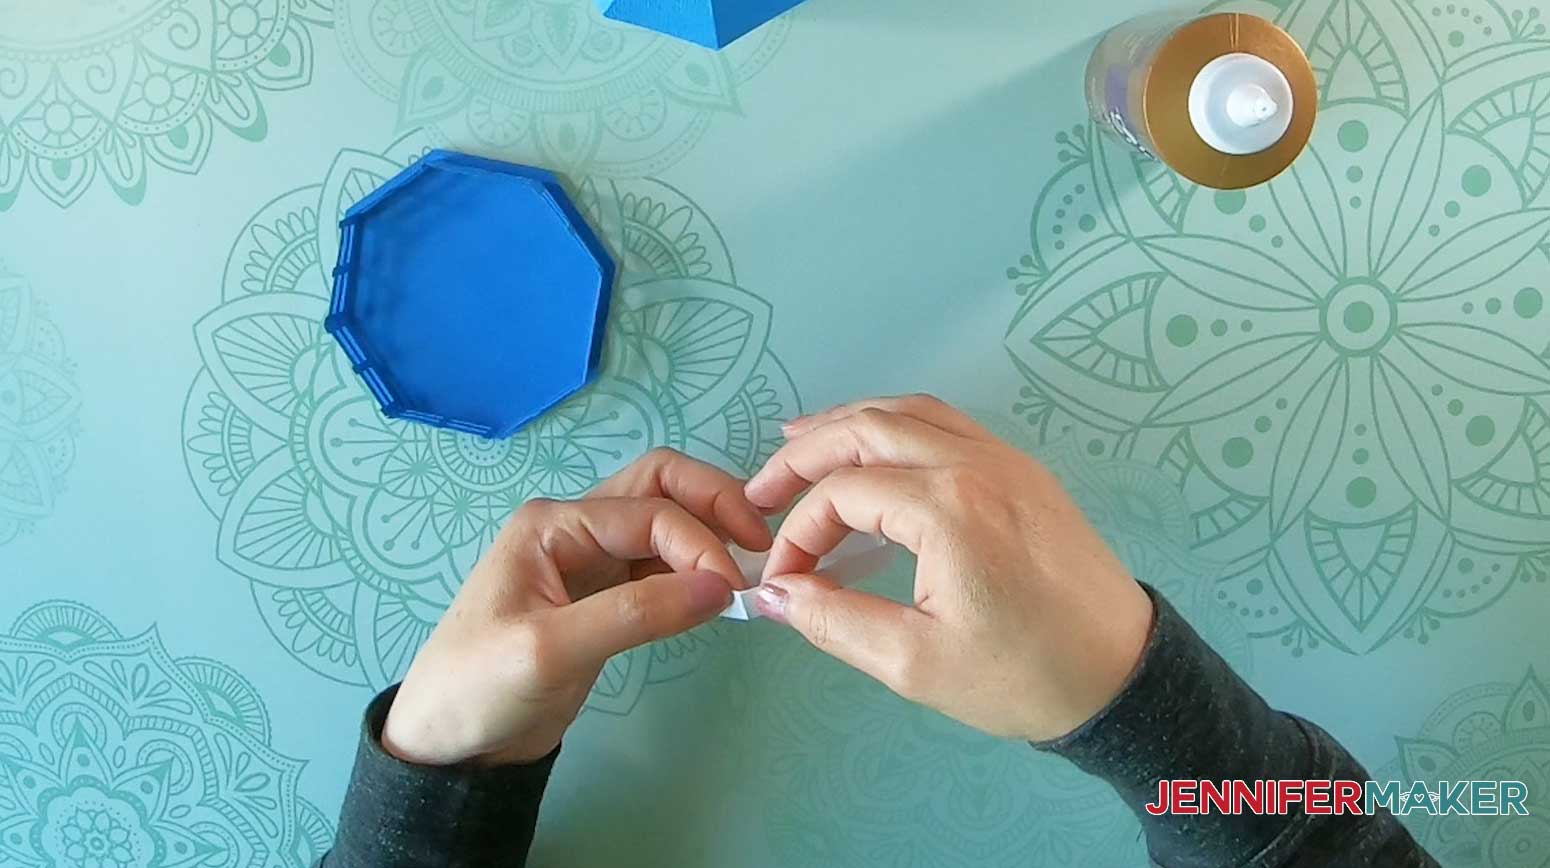
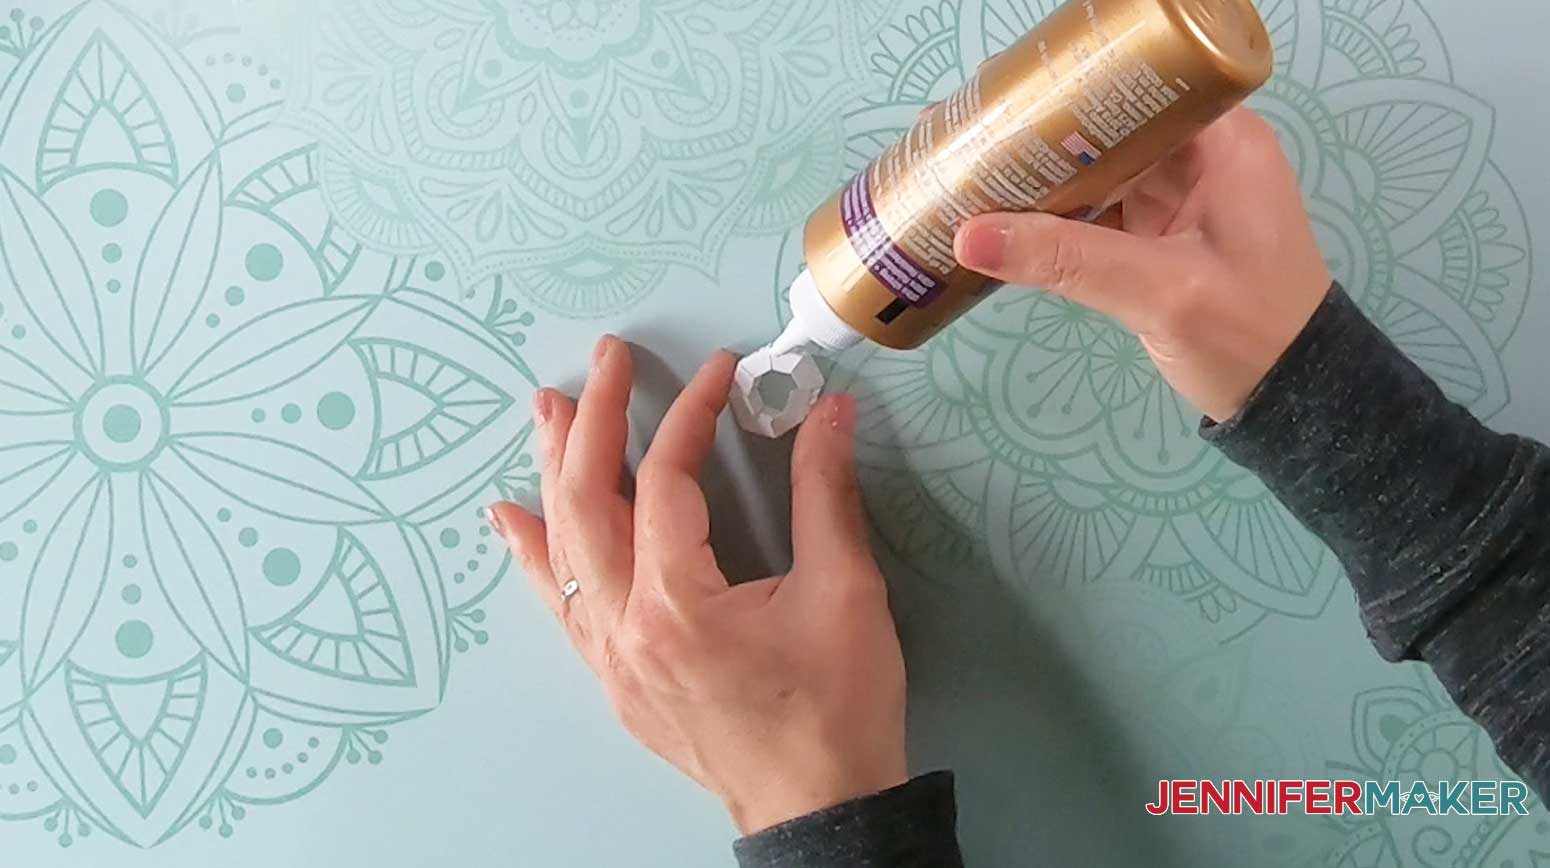
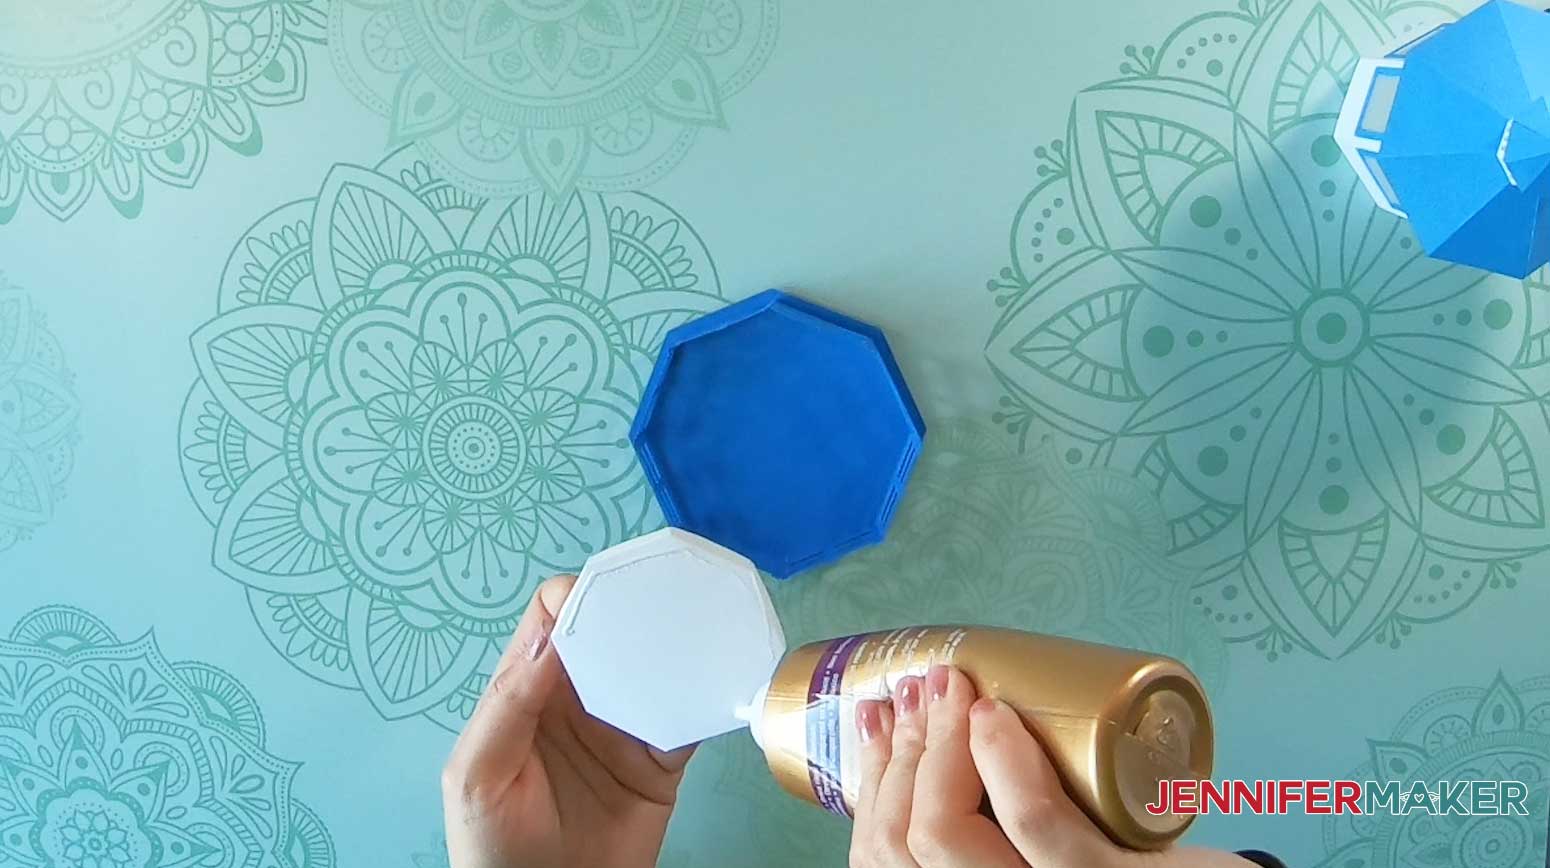
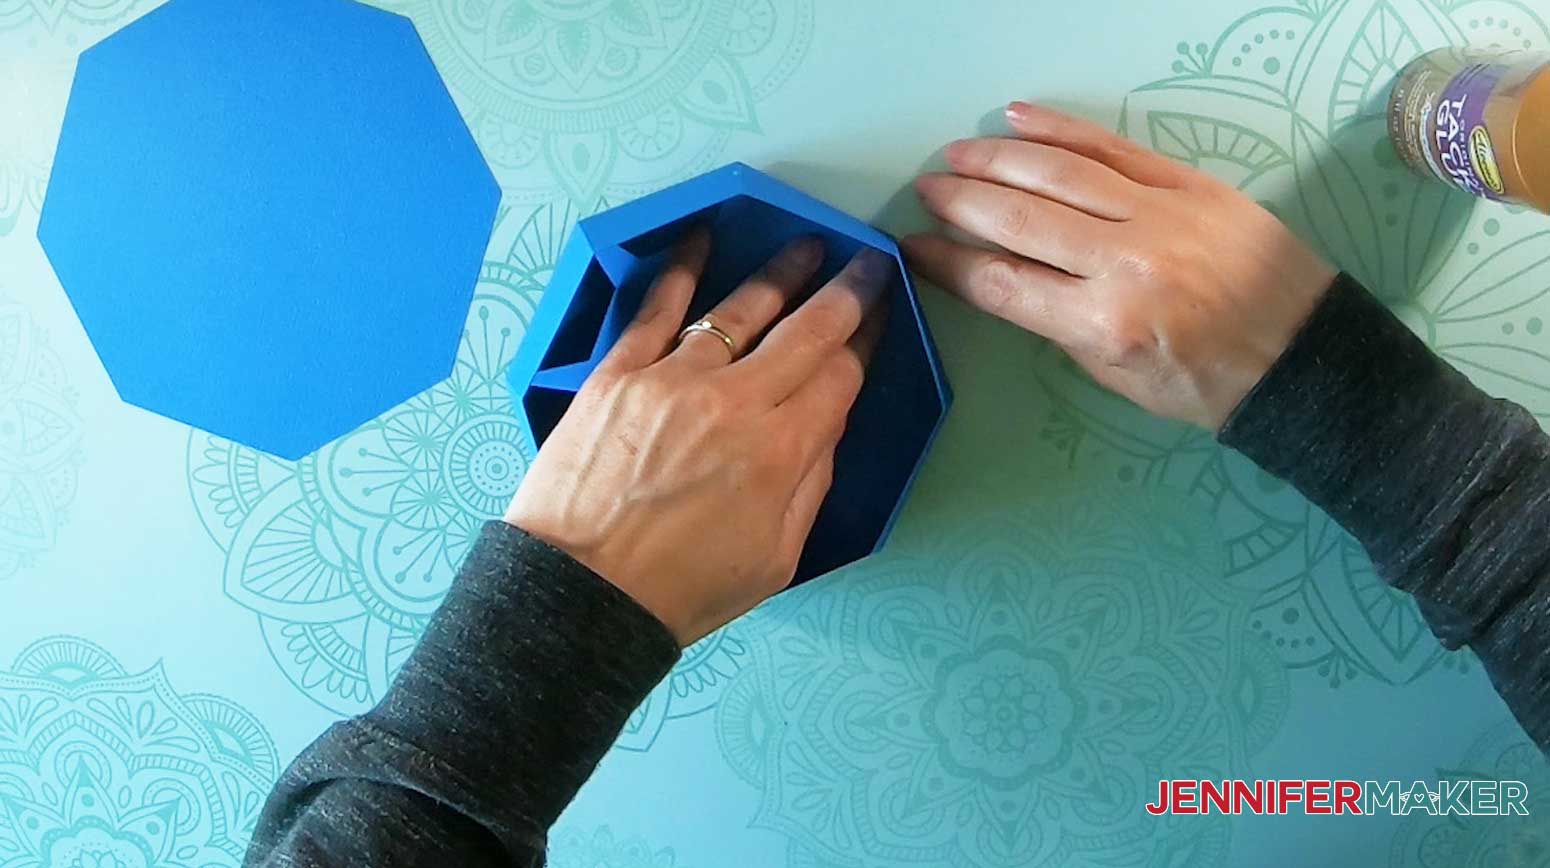
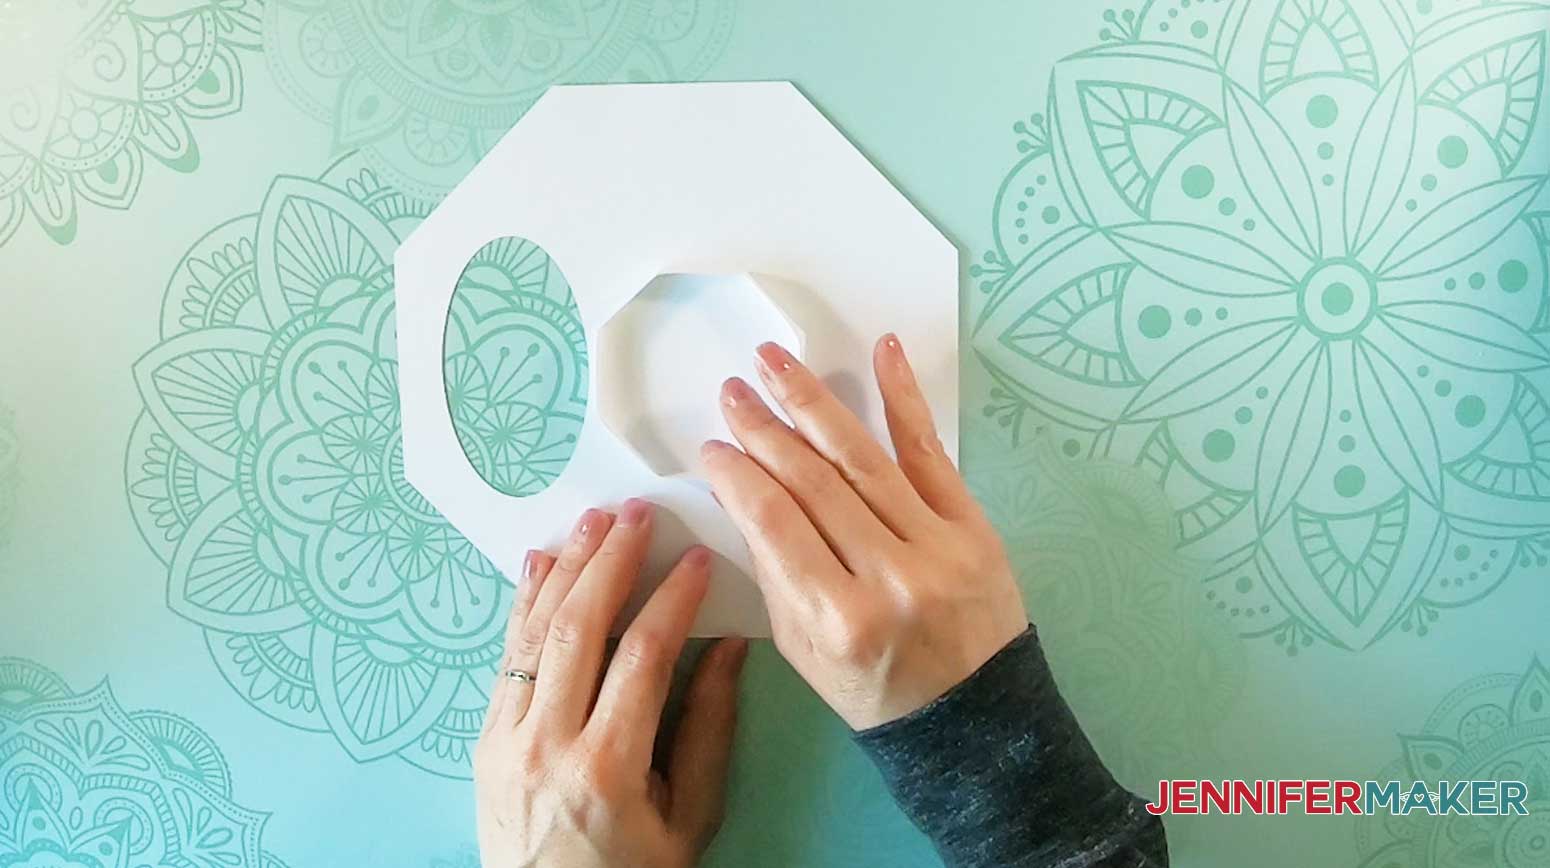
Center and align the tealight holder inside the railing base and glue into place.
This is what it looks like when it’s all glued together: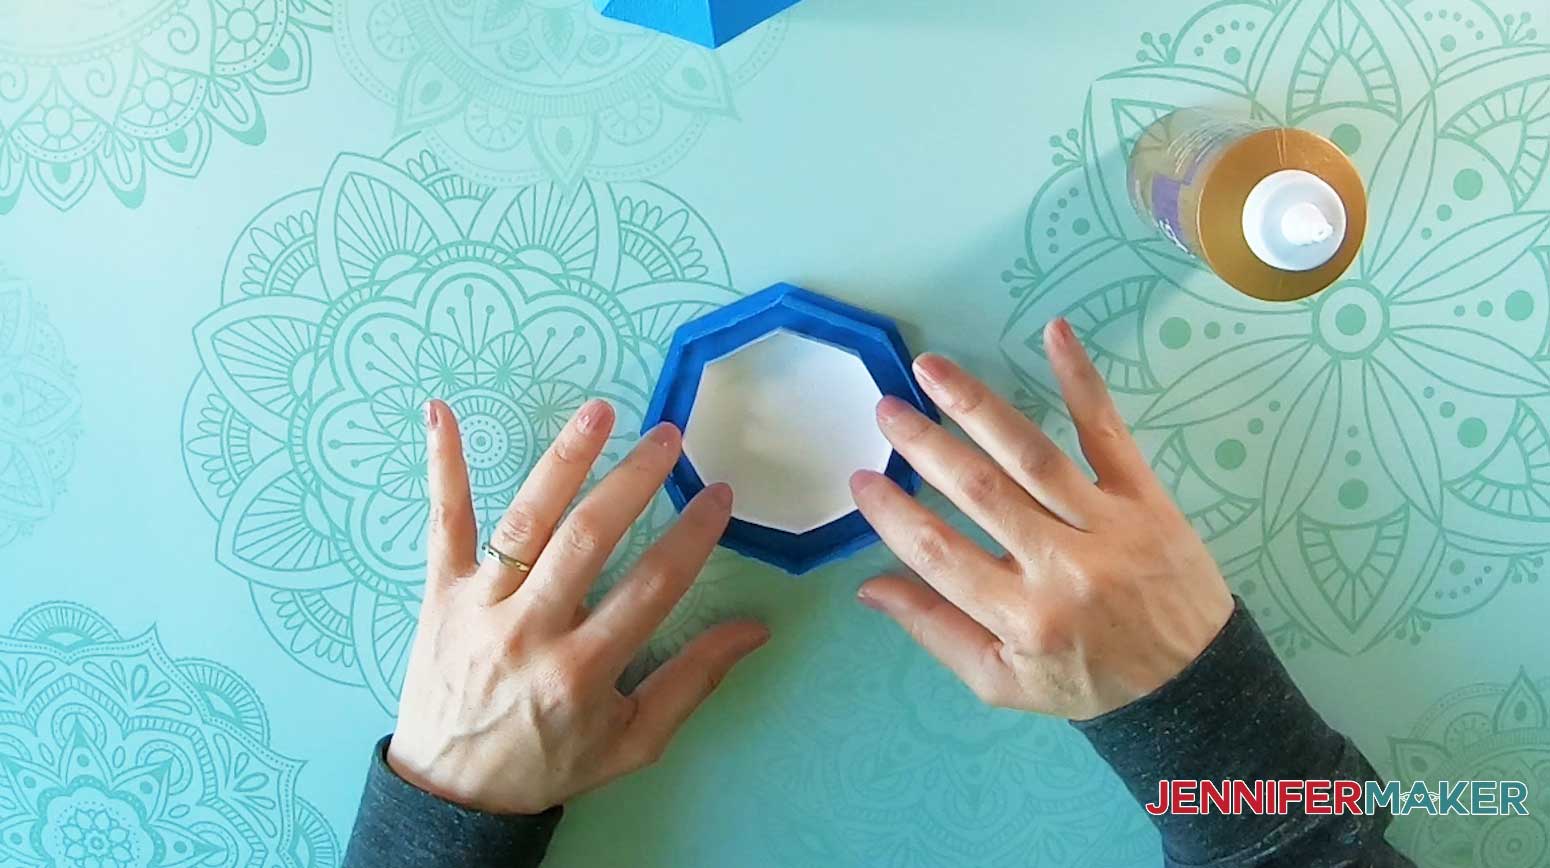
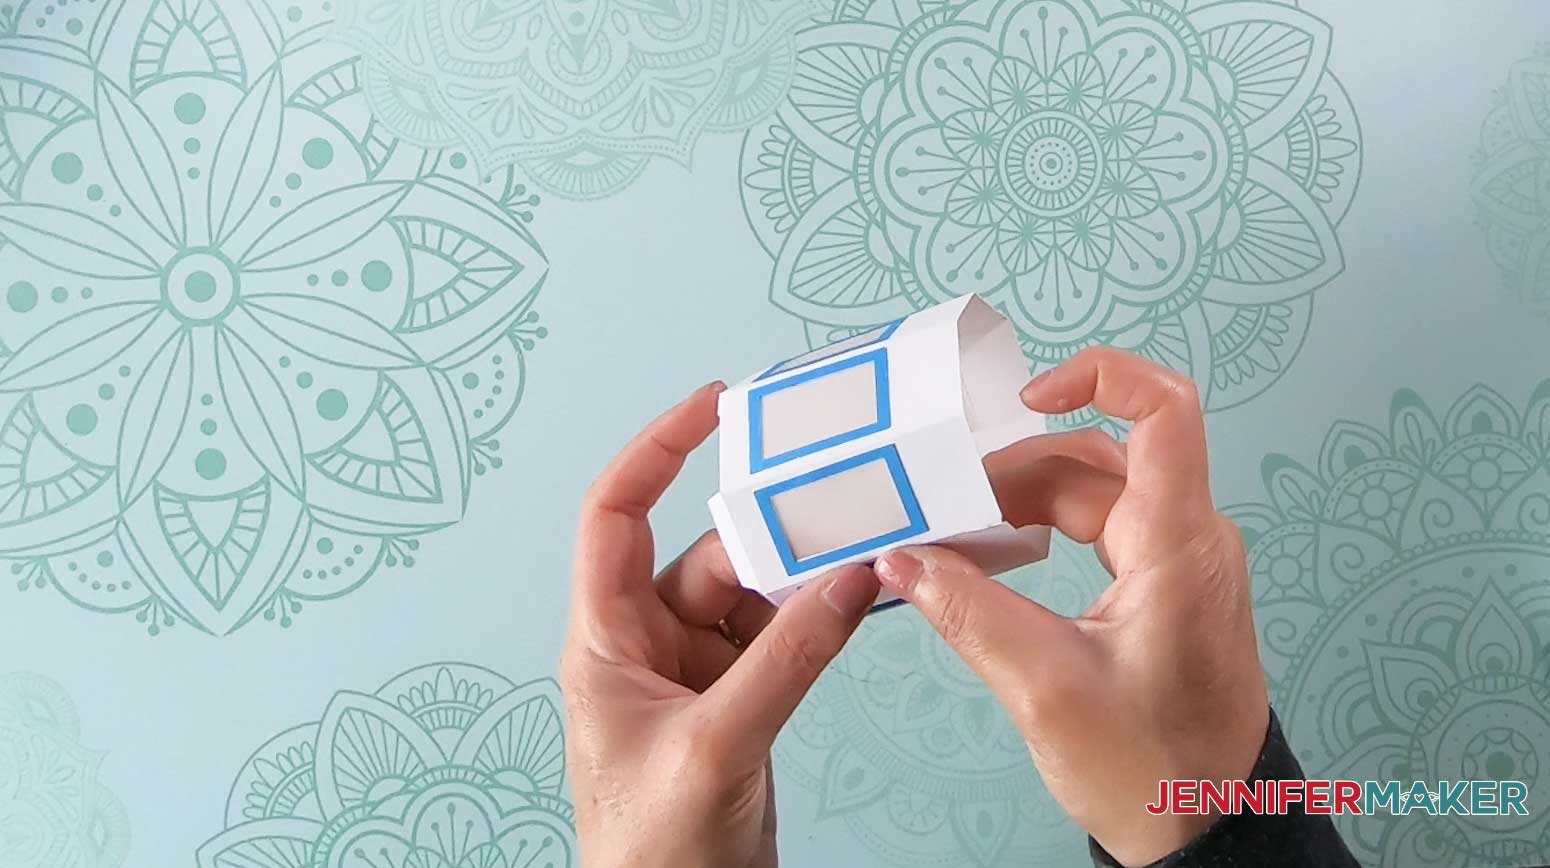
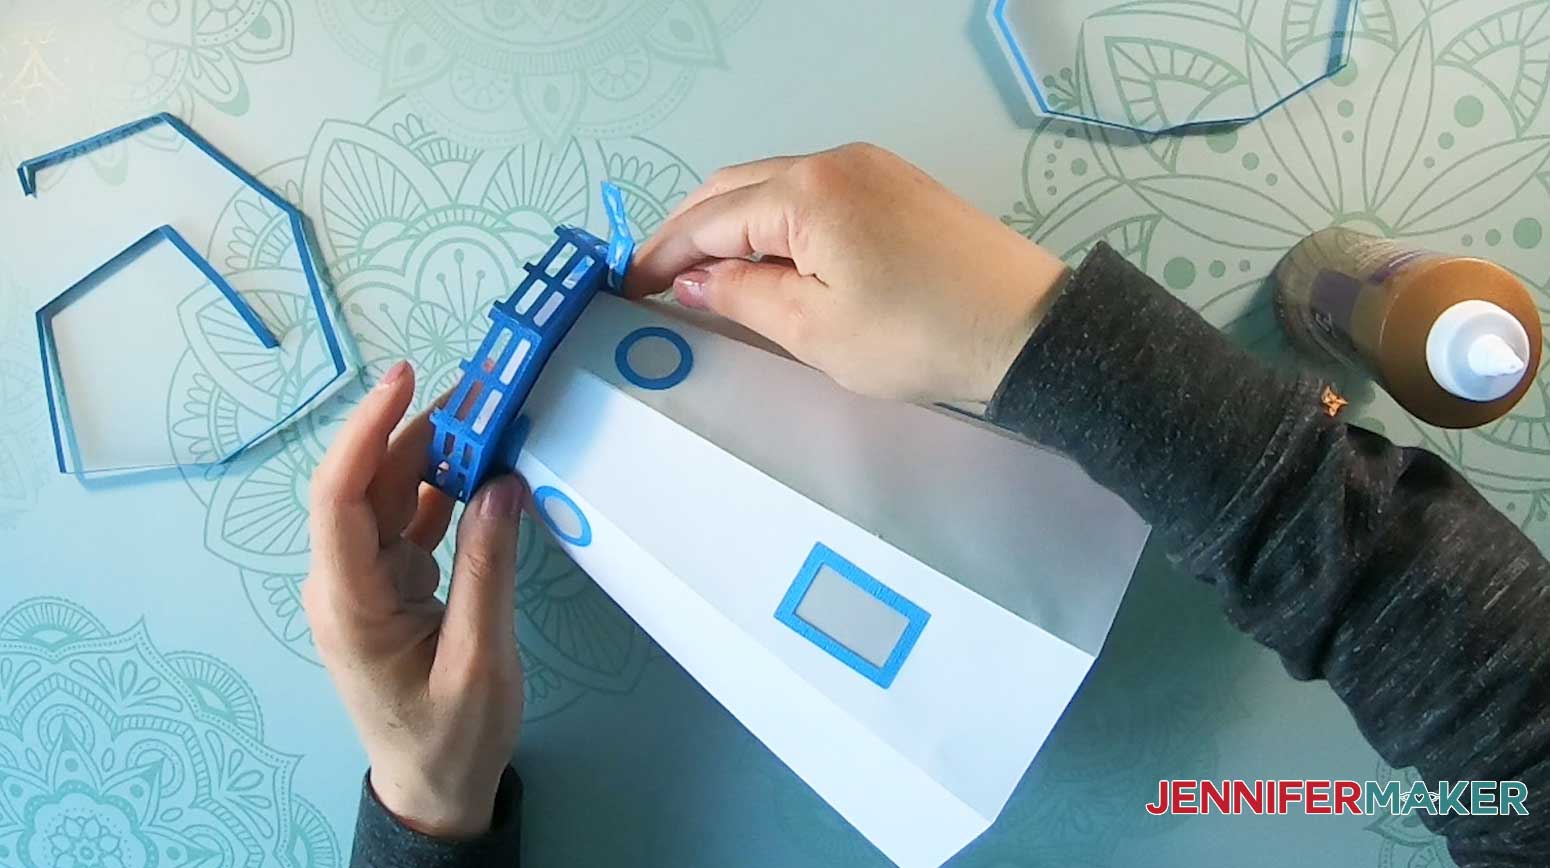
Now, fold the the tower sides inward on the score lines as shown below so the textured side of the paper and window frames are facing outward.
Note: There is an extra set of score lines midway down the tower. These lines do not get folded. They are guidelines which will help us align and attach the decorative band later.
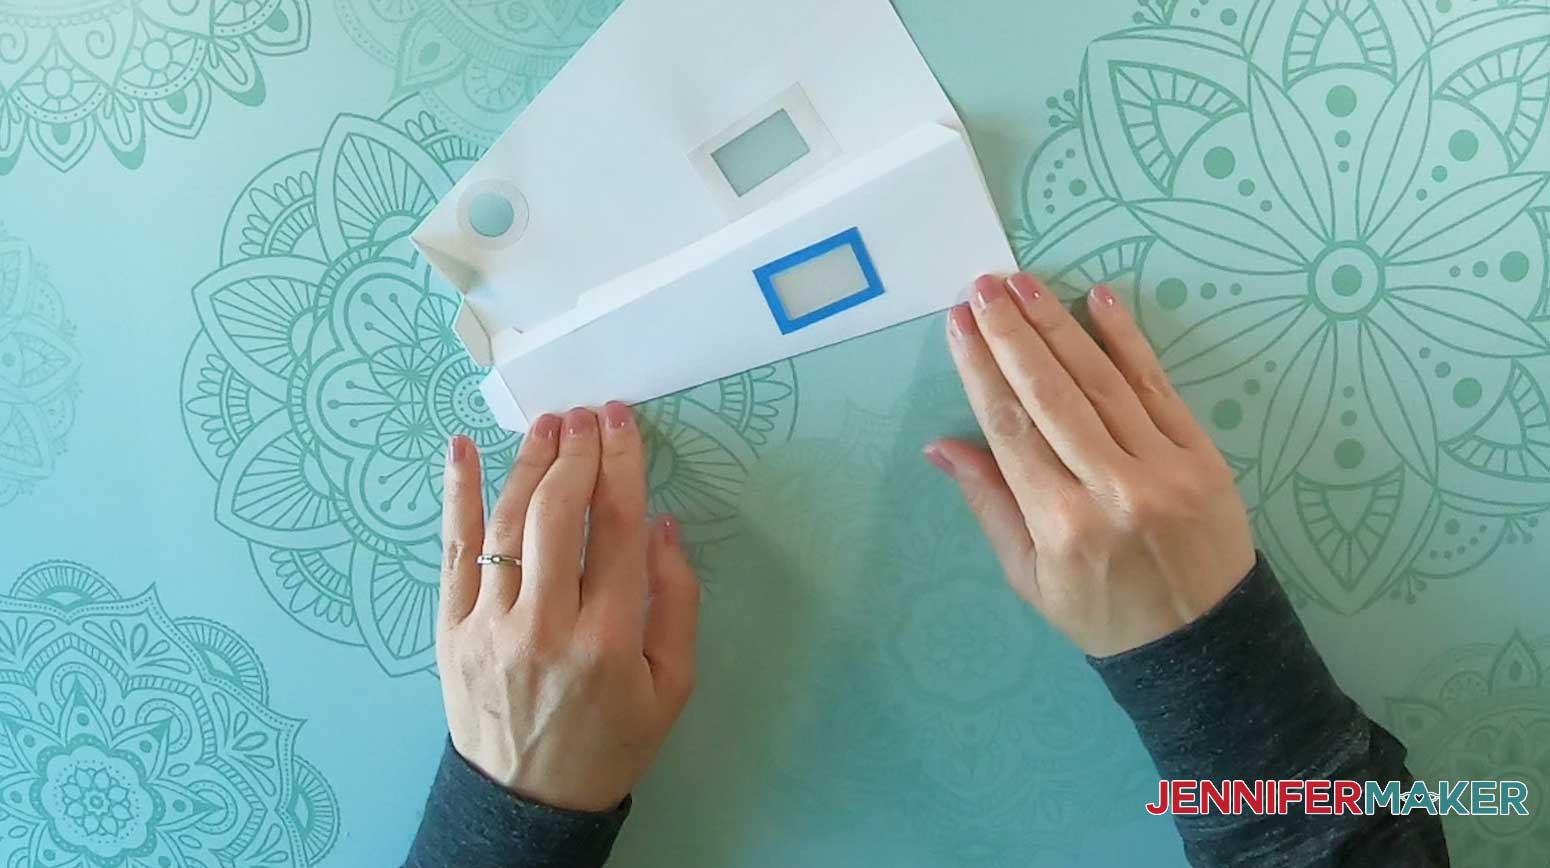
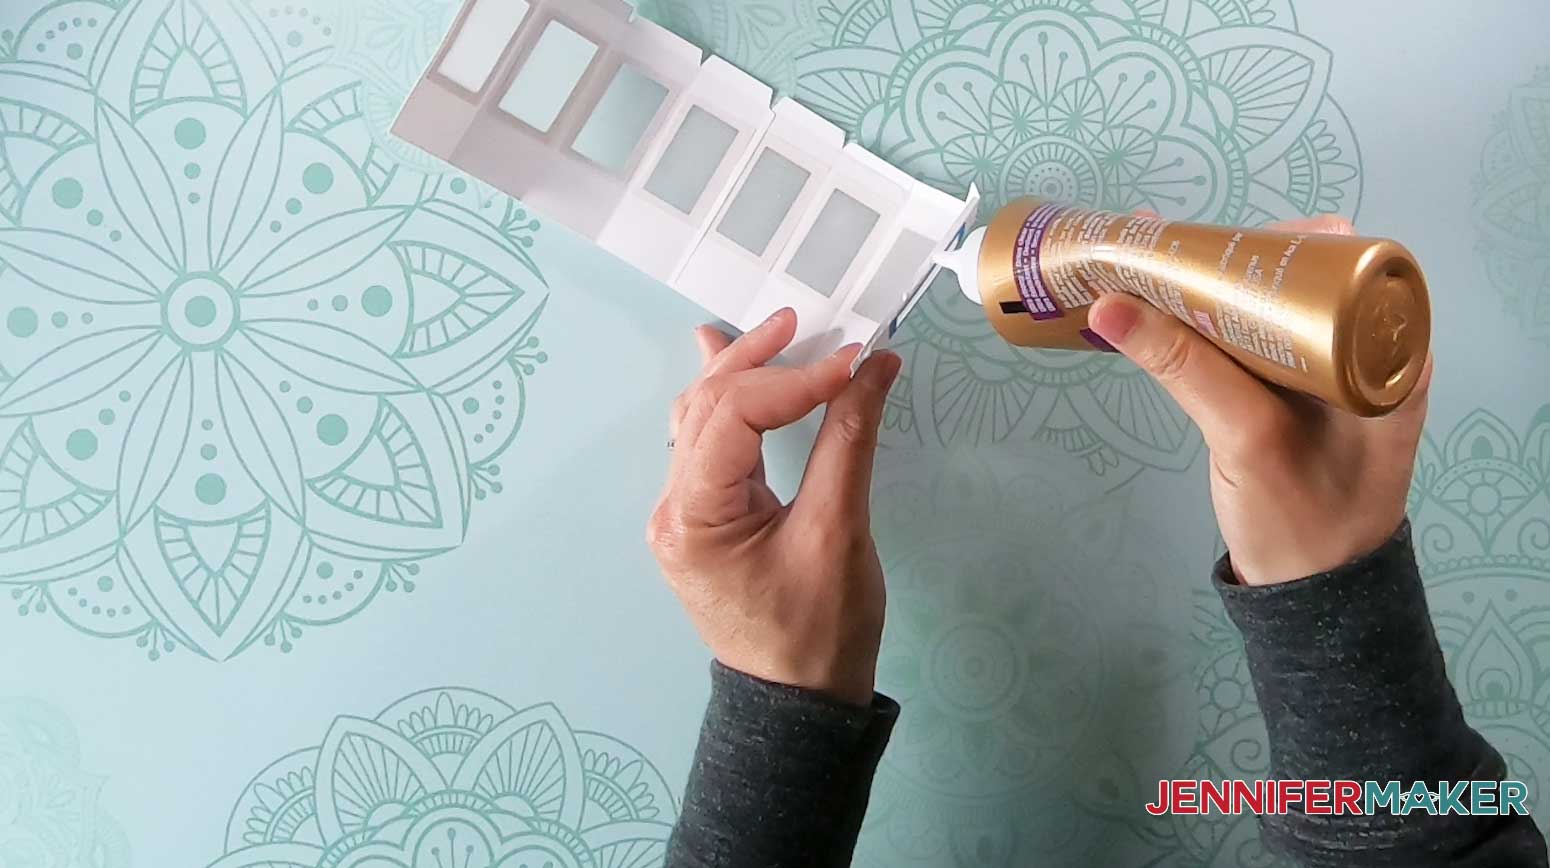
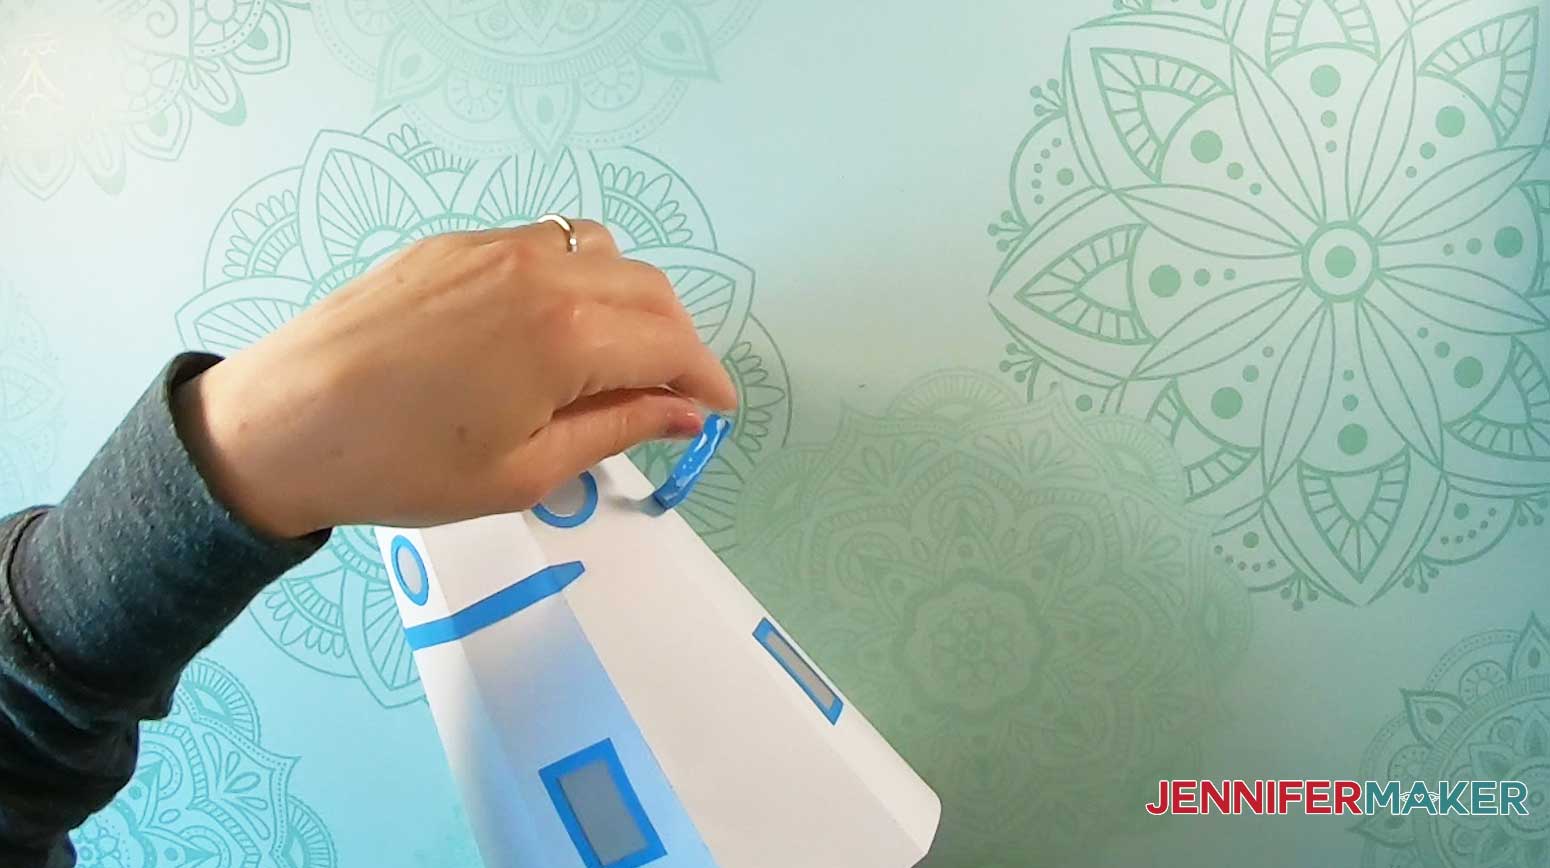
Glue the tower sides together. First you glue the two sides together at the tab, then you glue them end to end.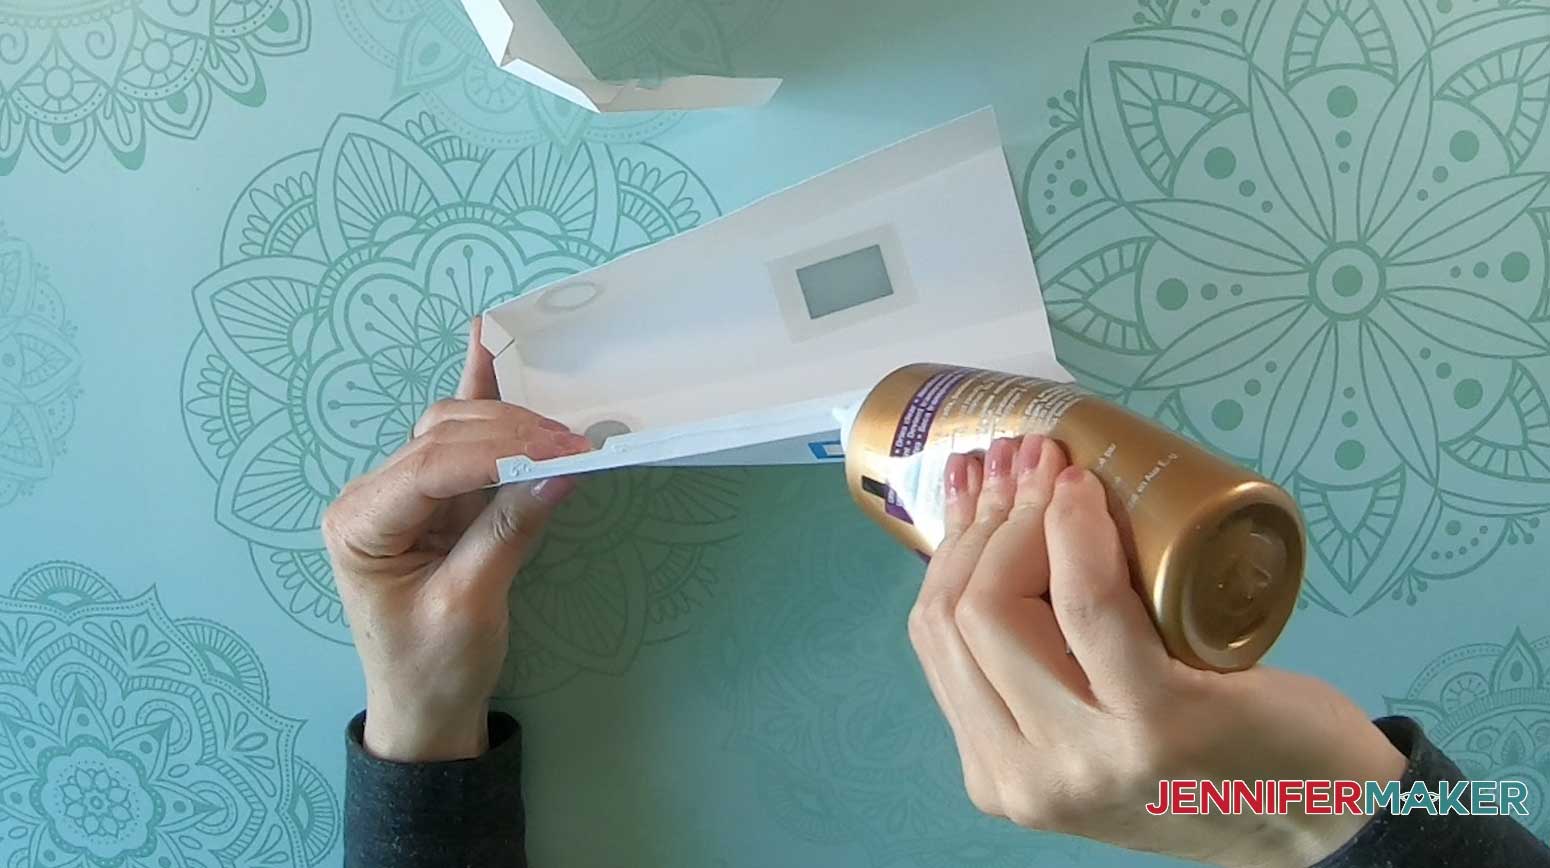
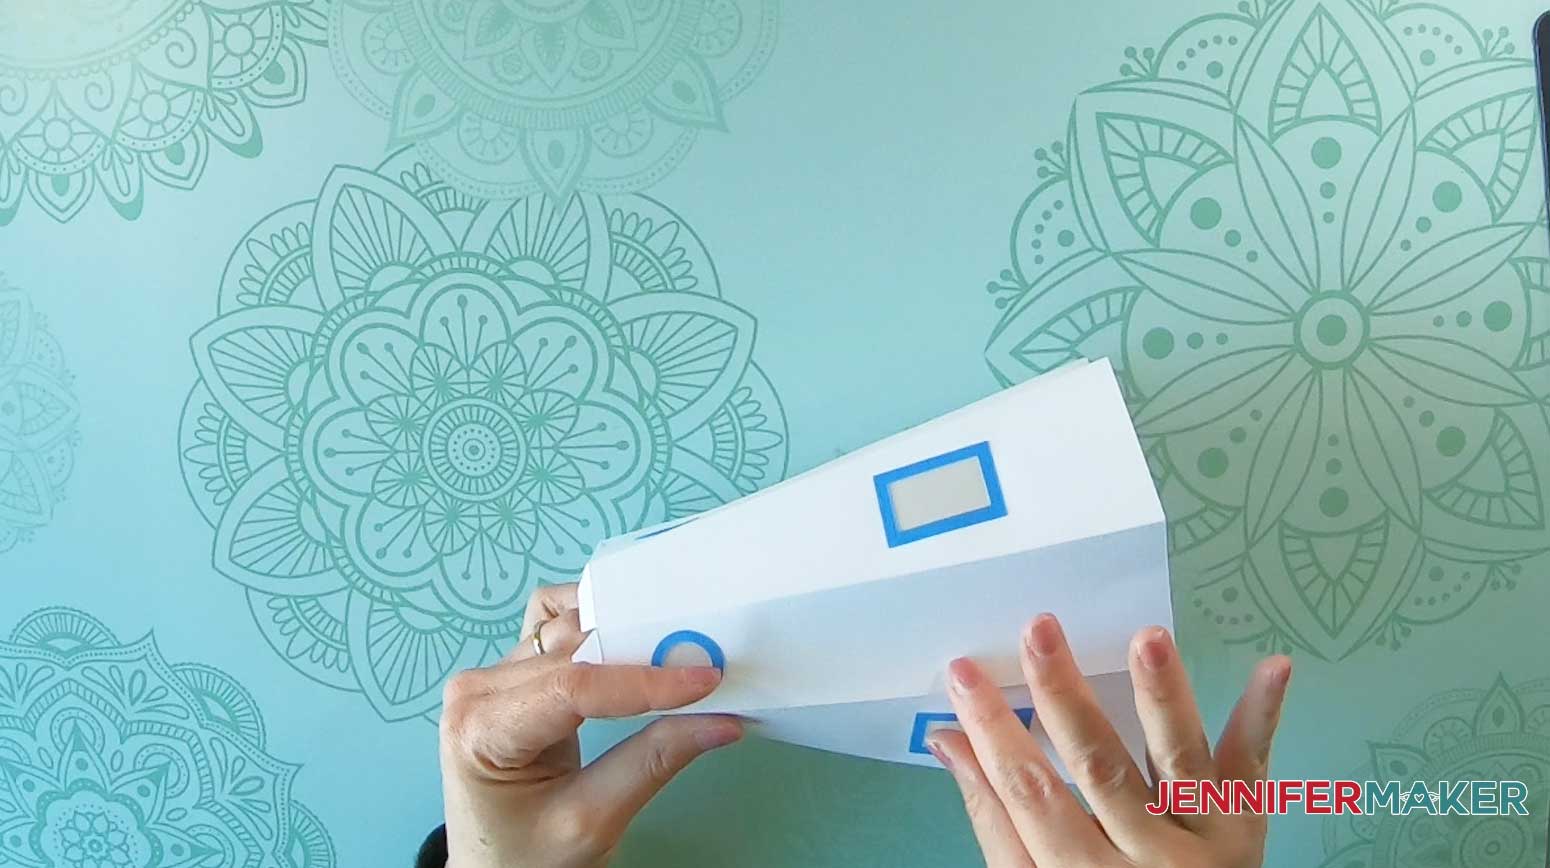
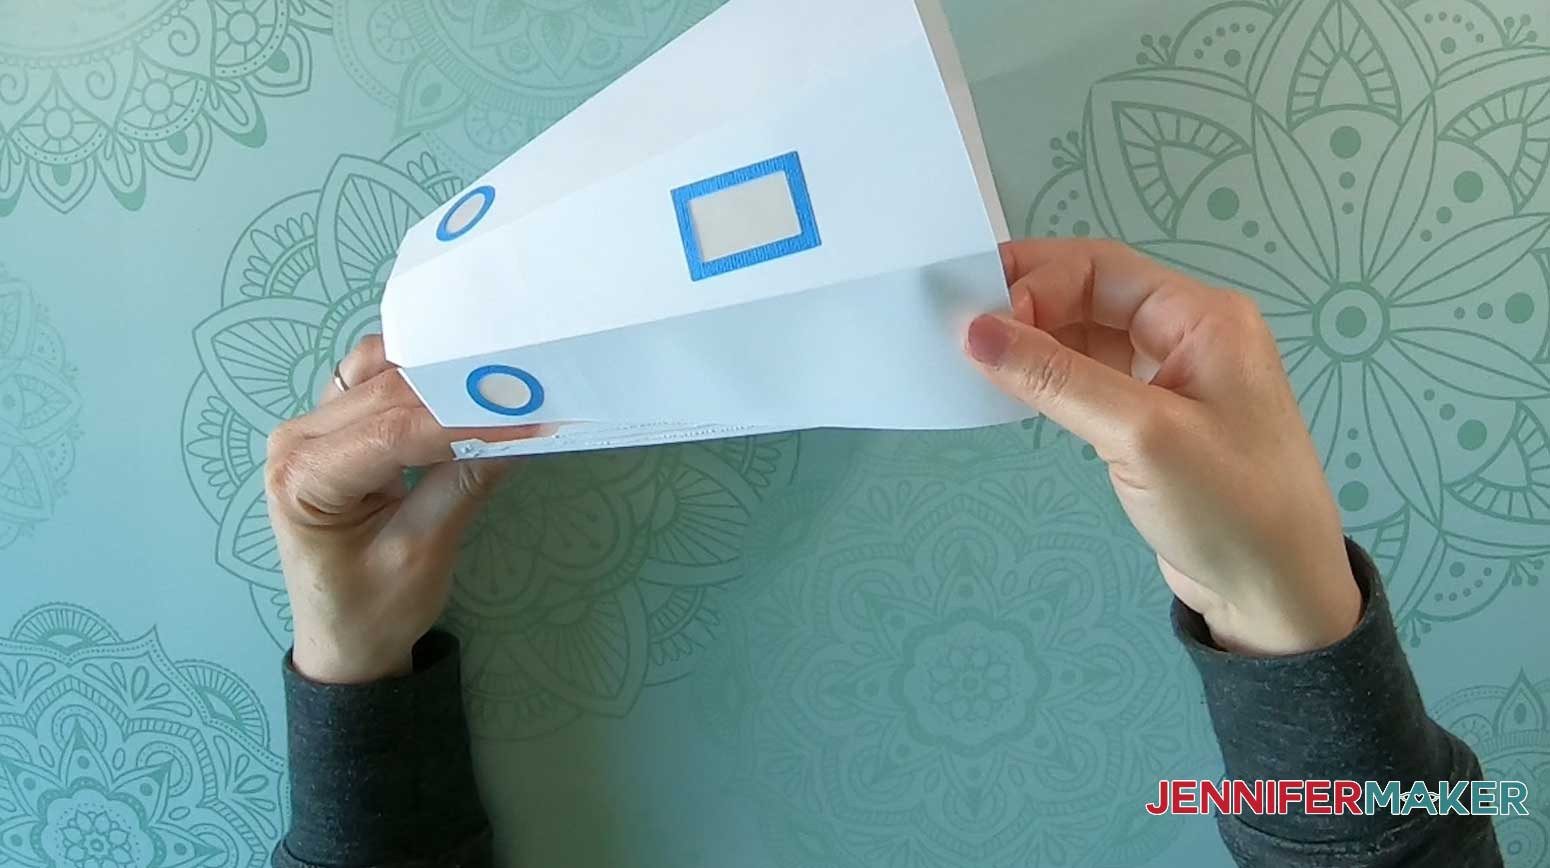
This is what the tower sides look like when all glued together.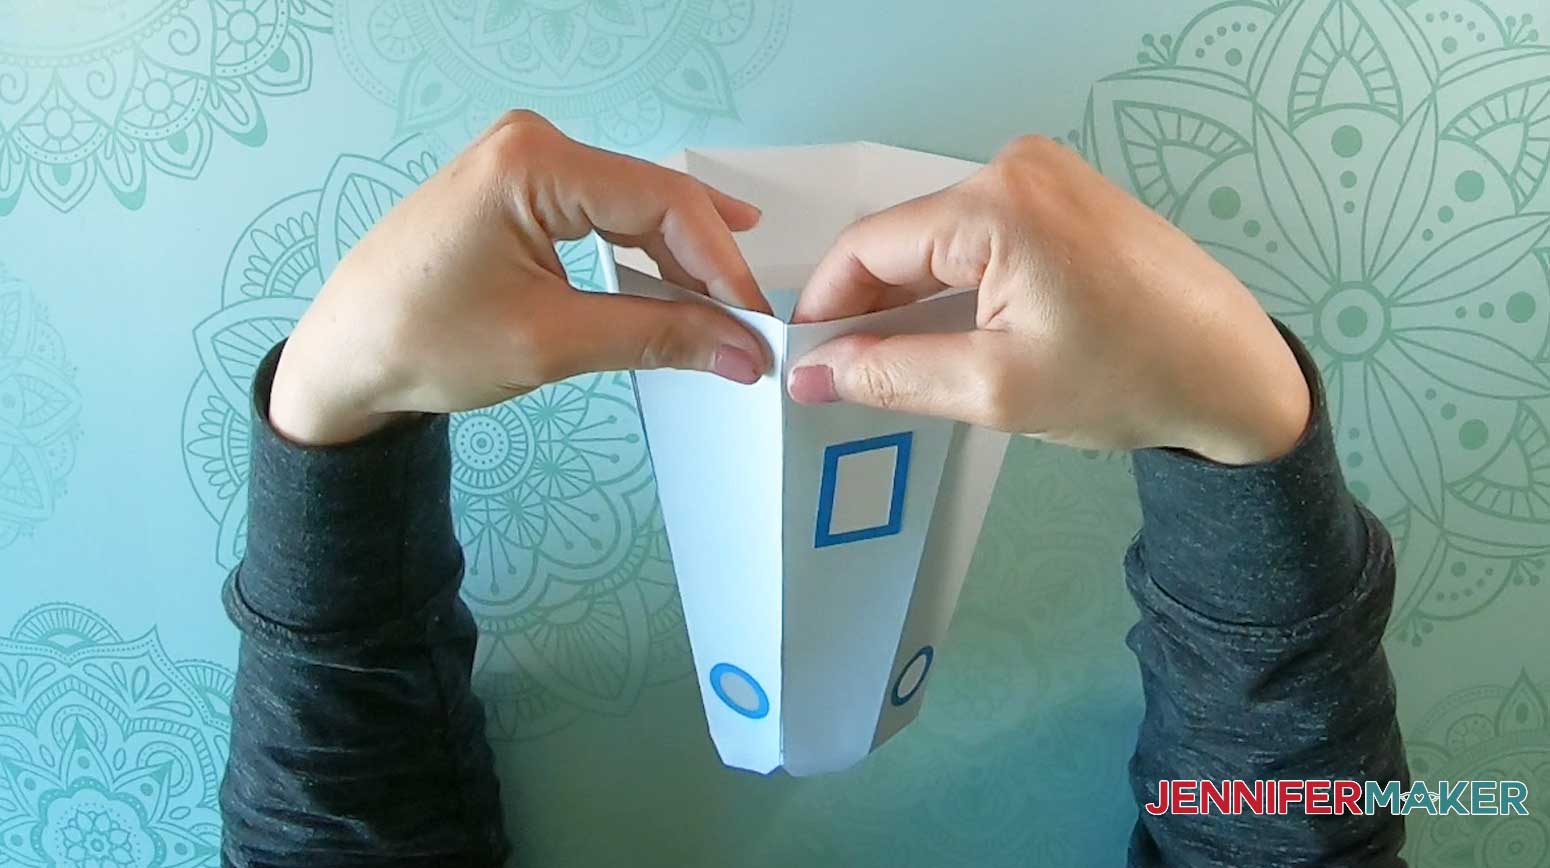
Next, attach the railing and tealight holder to the top of the tower. Do this by applying glue to the tabs at the top of the tower. 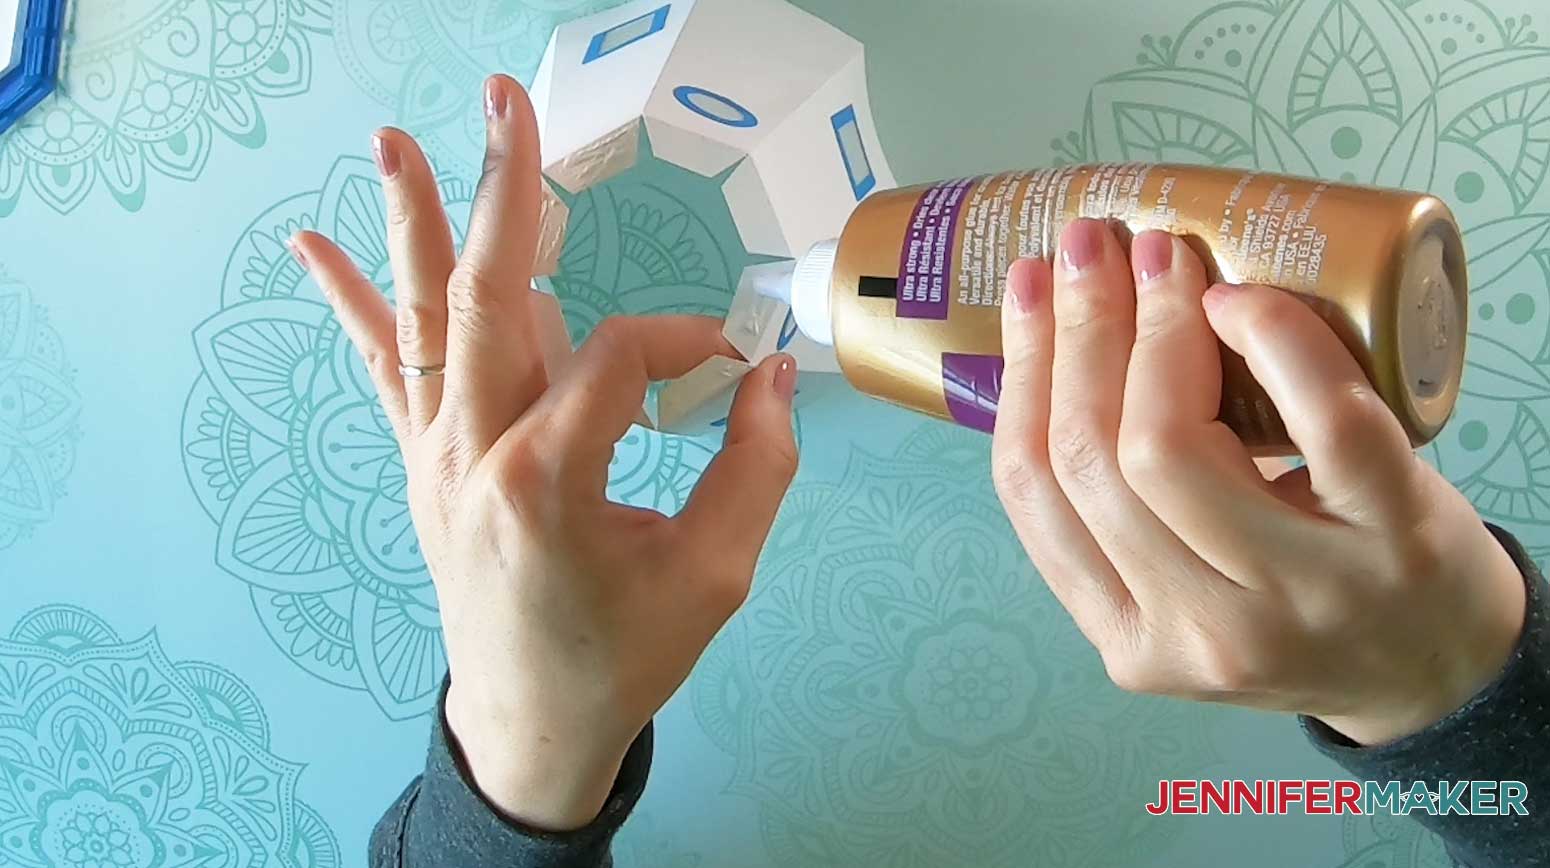
Carefully align and attach the tabs to the base of the railing, taking care to line up the octagon edges. 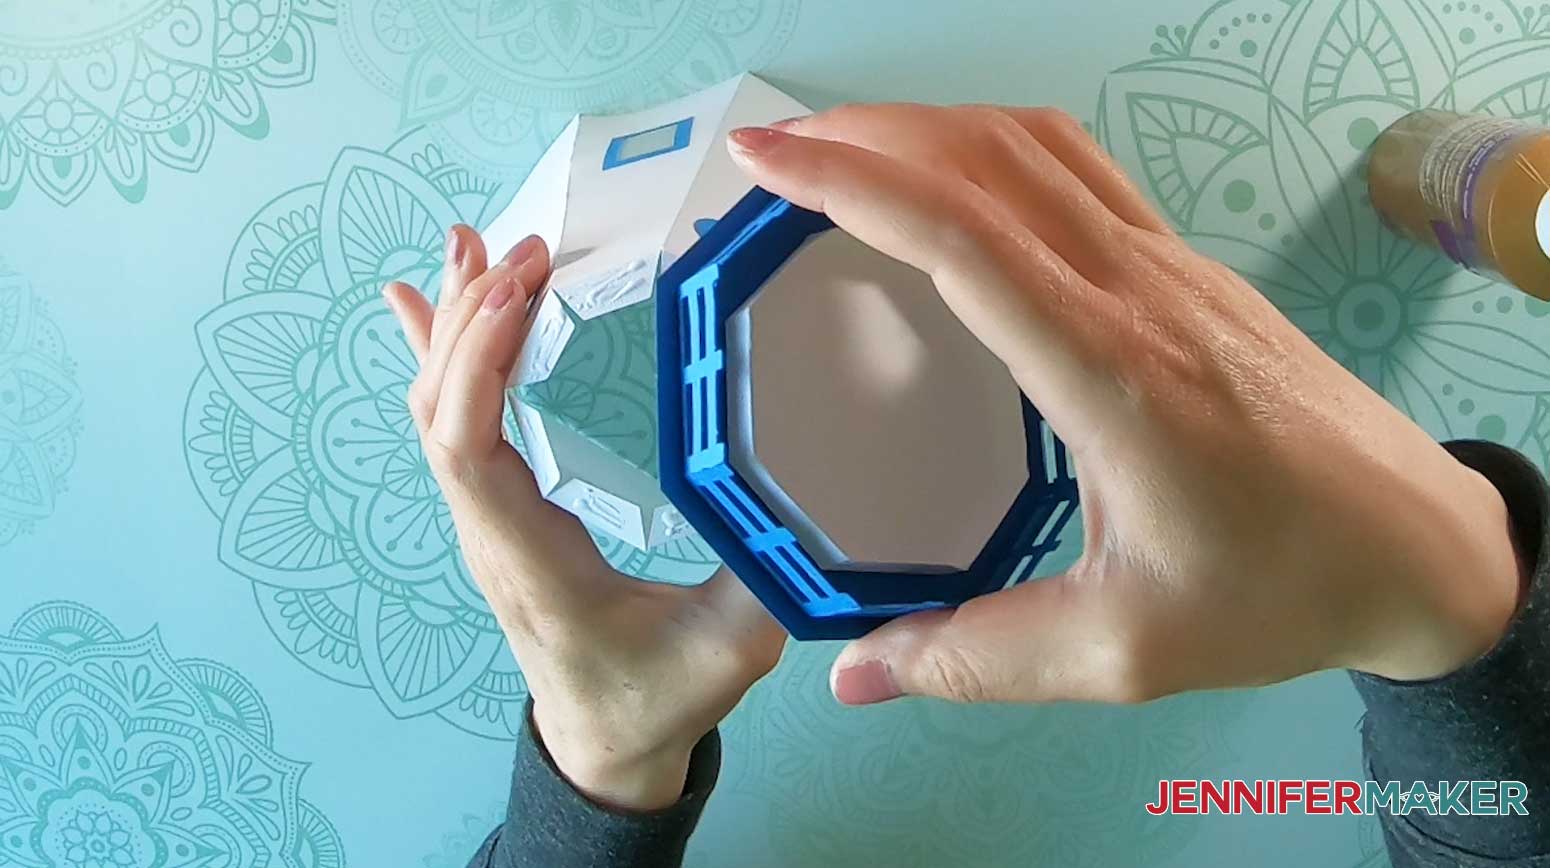
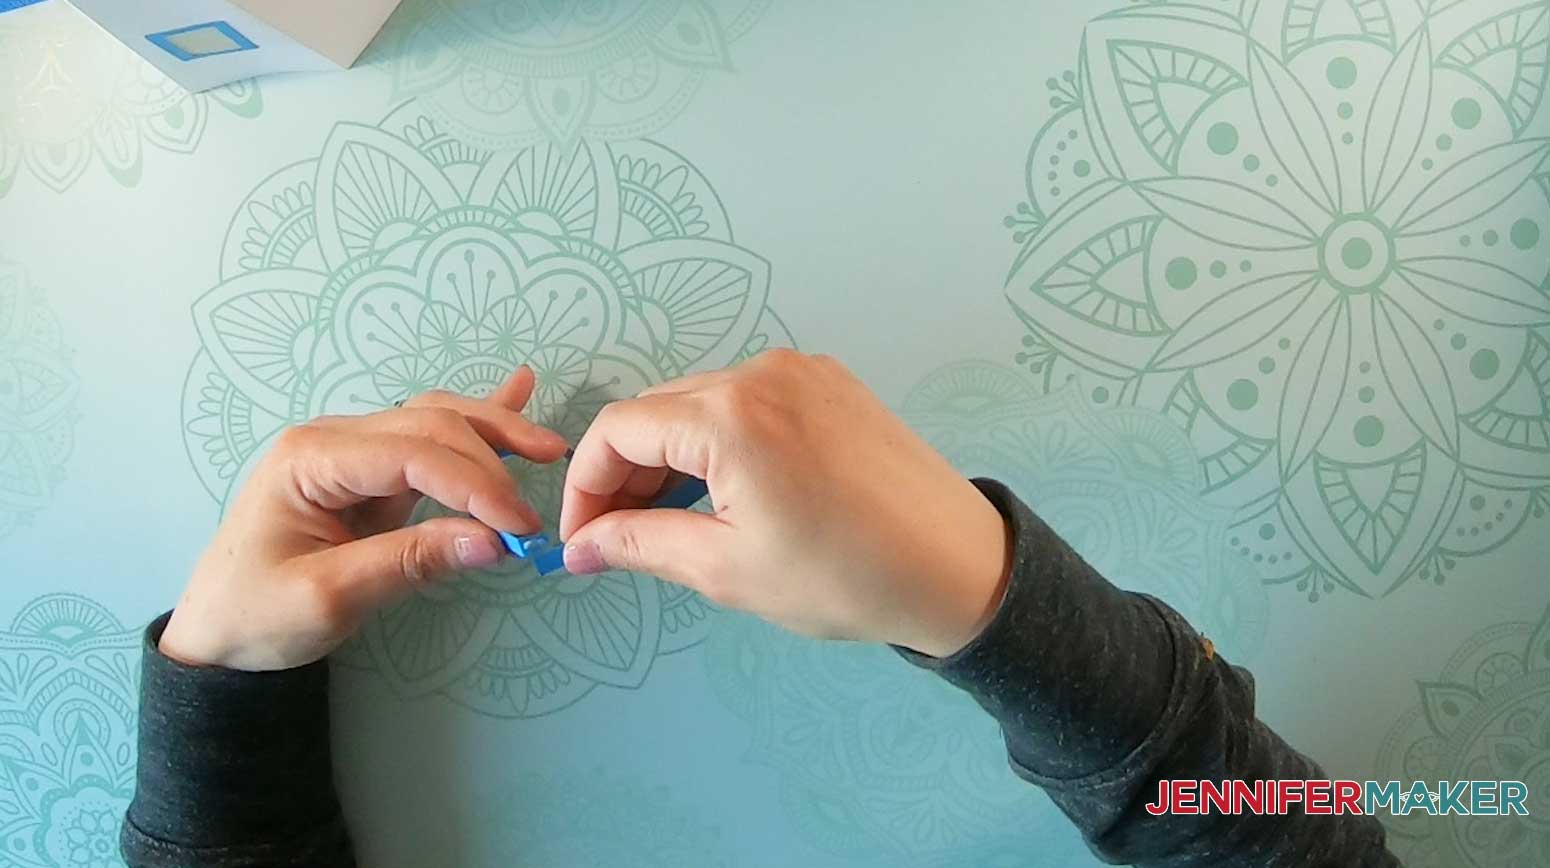
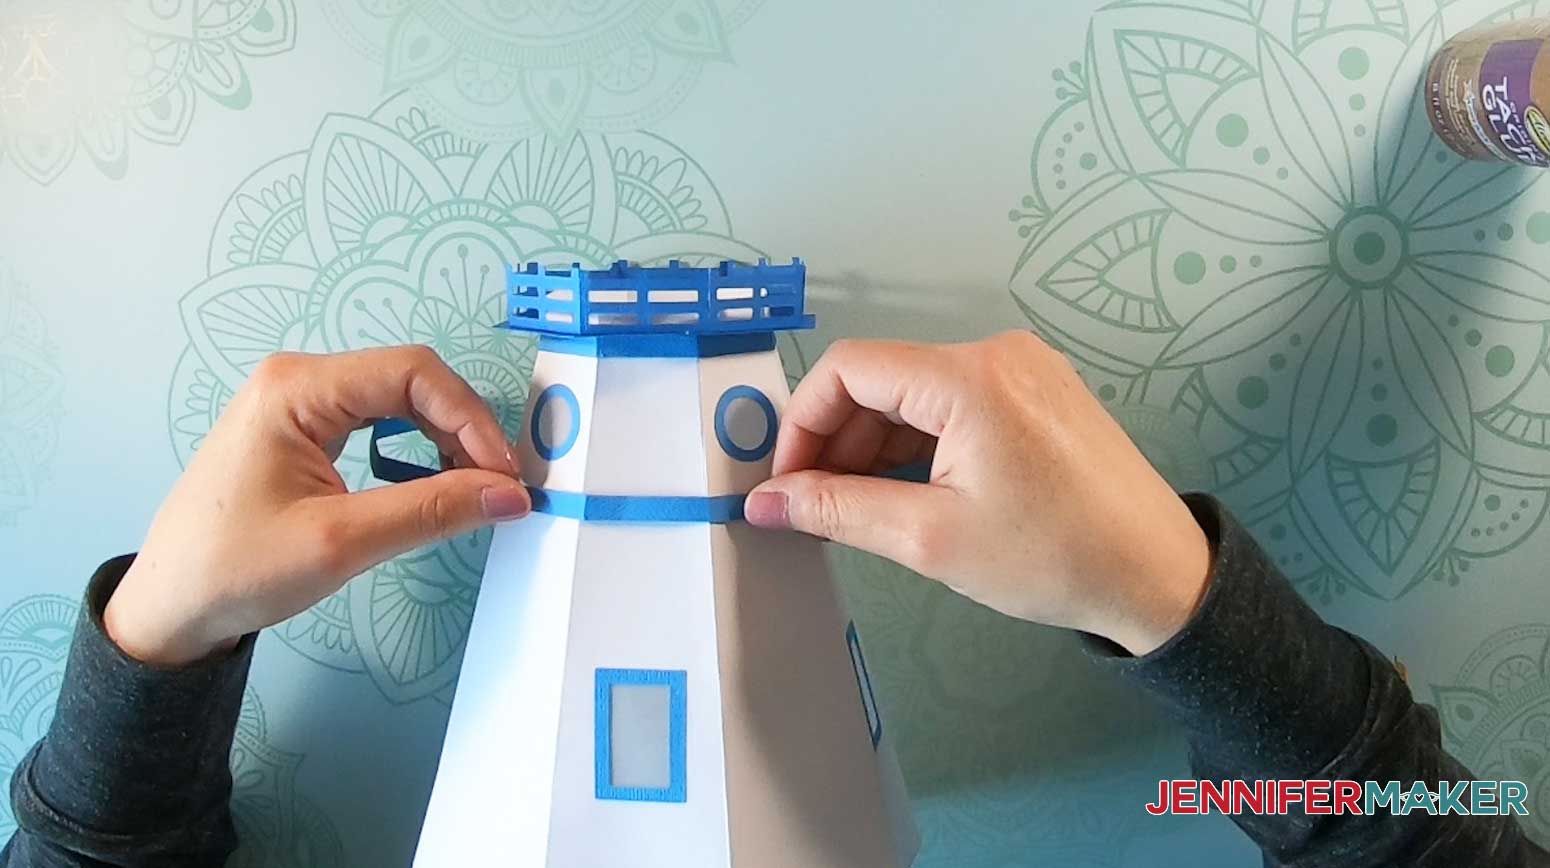
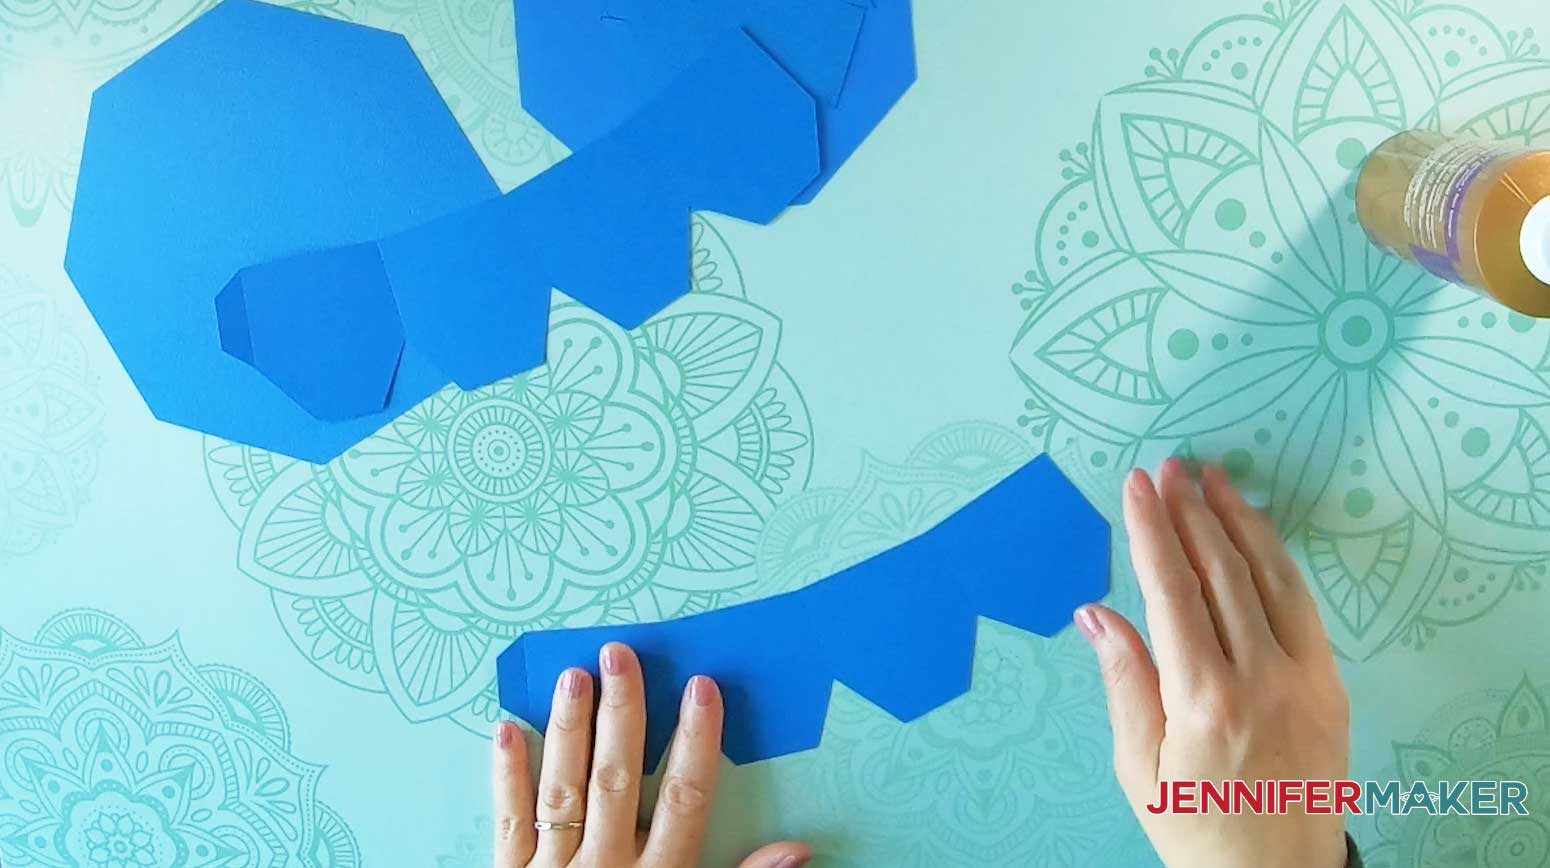
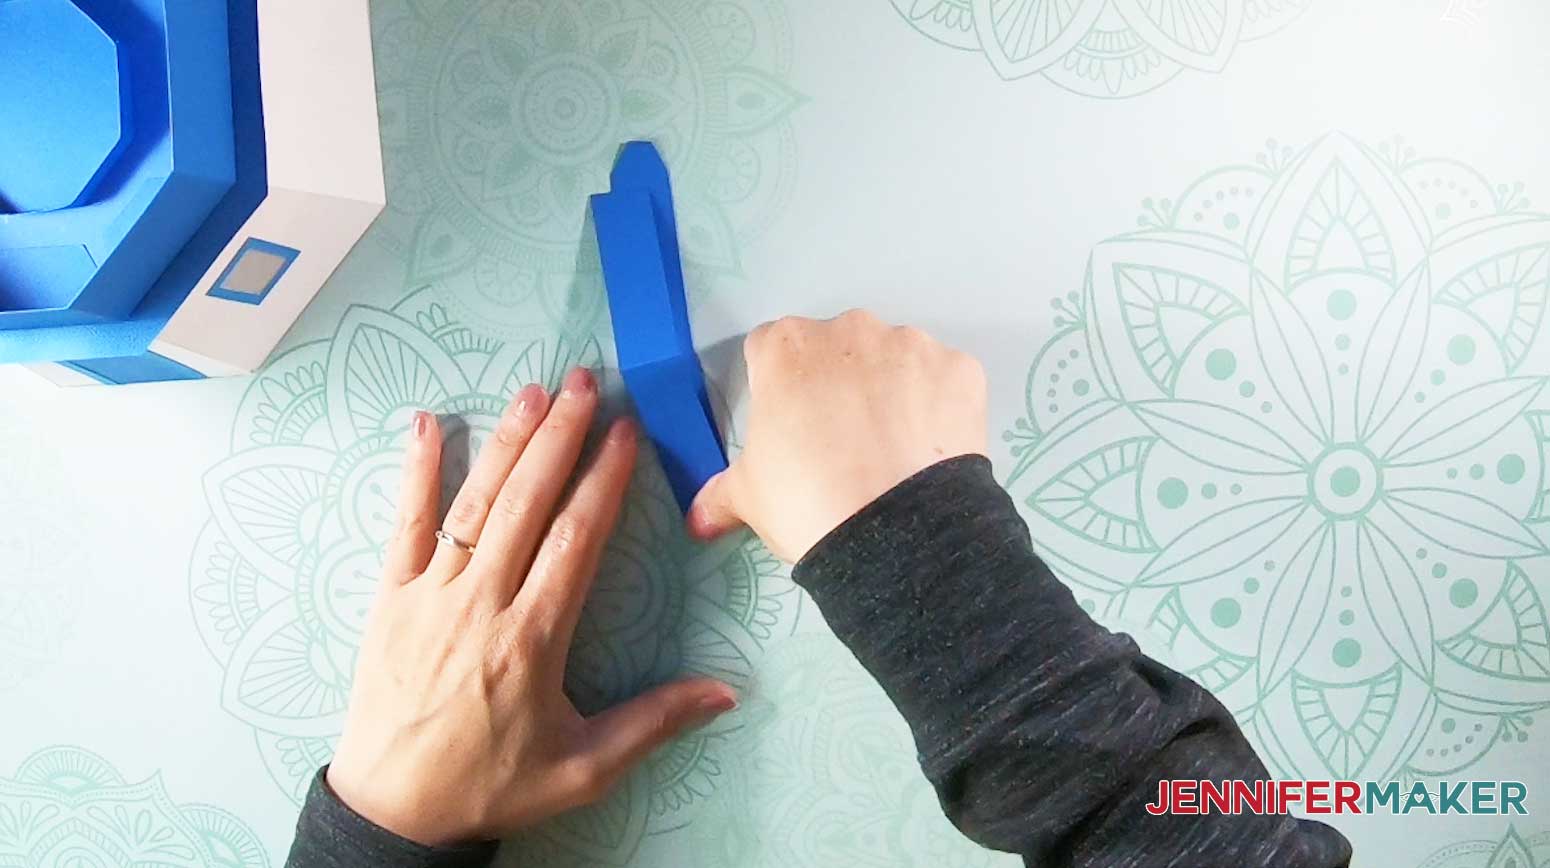
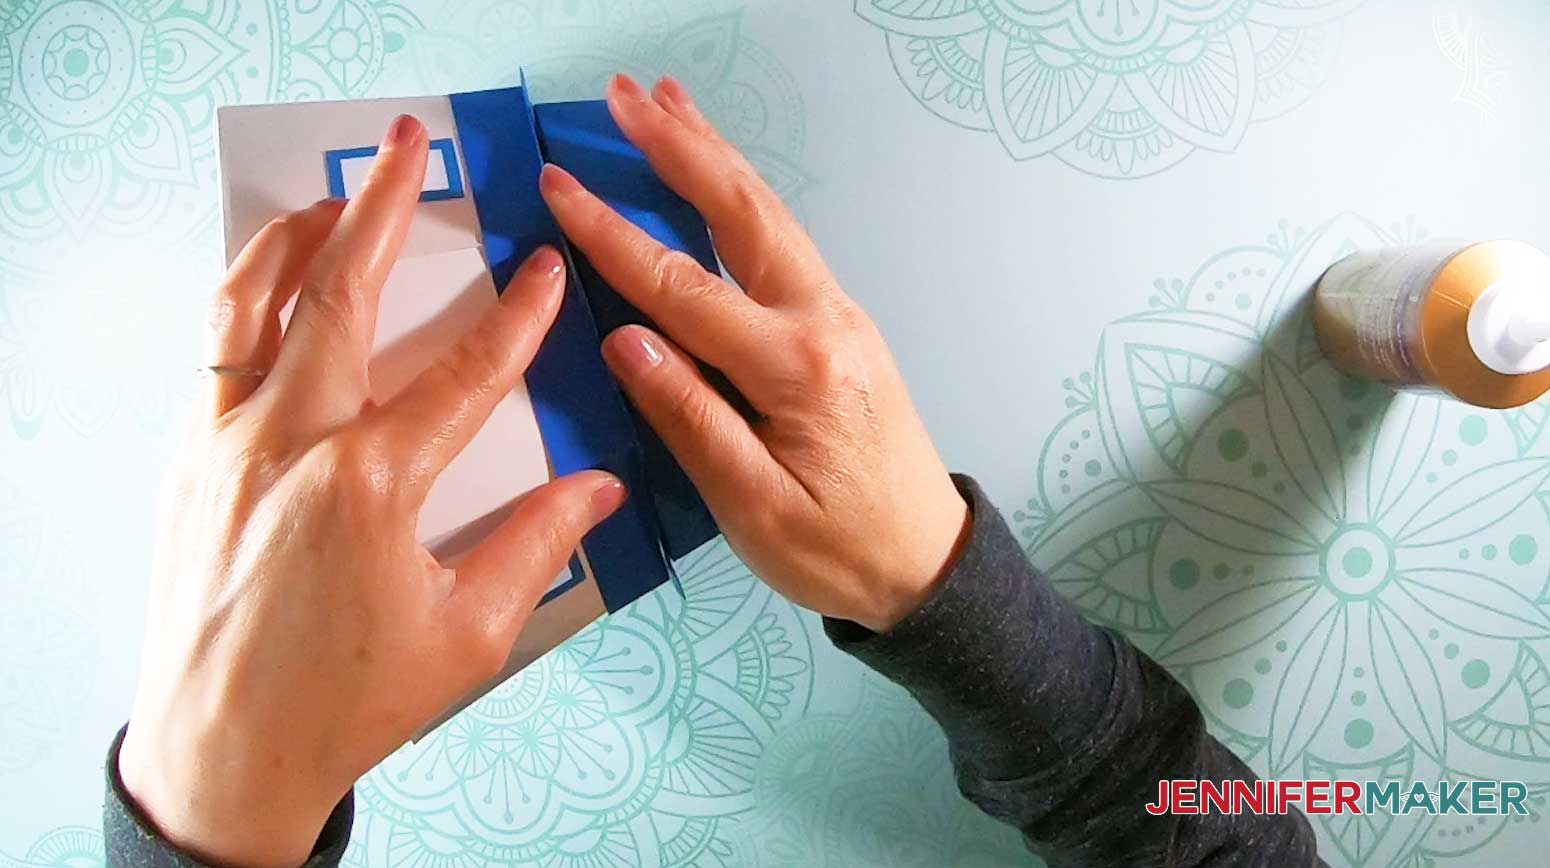
Next, add the tower embellishments. First, fold each of the band sections inward along the score lines so the texture will face outward. 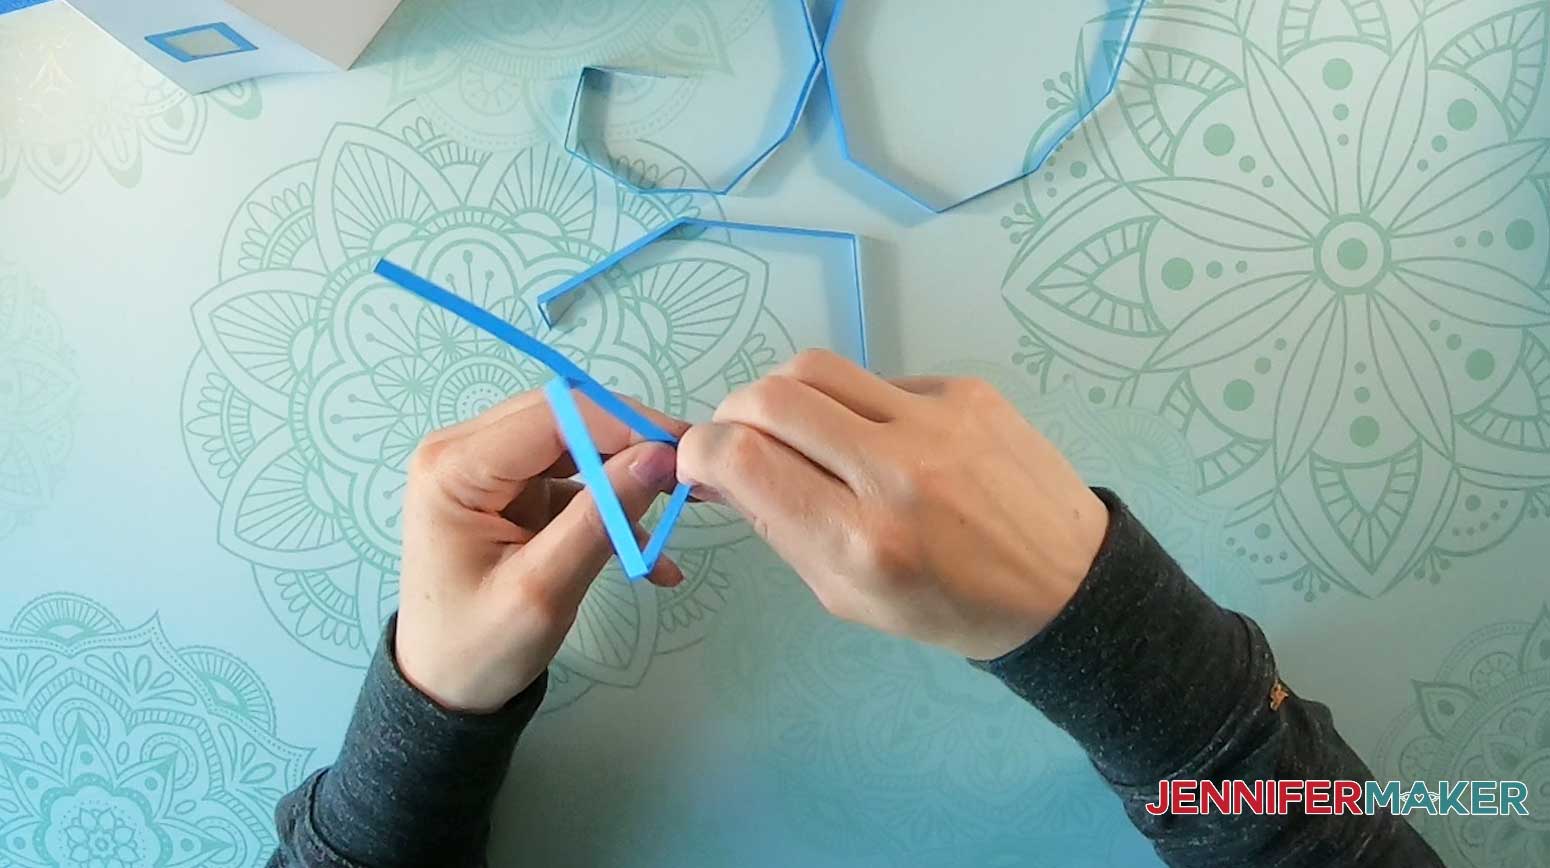
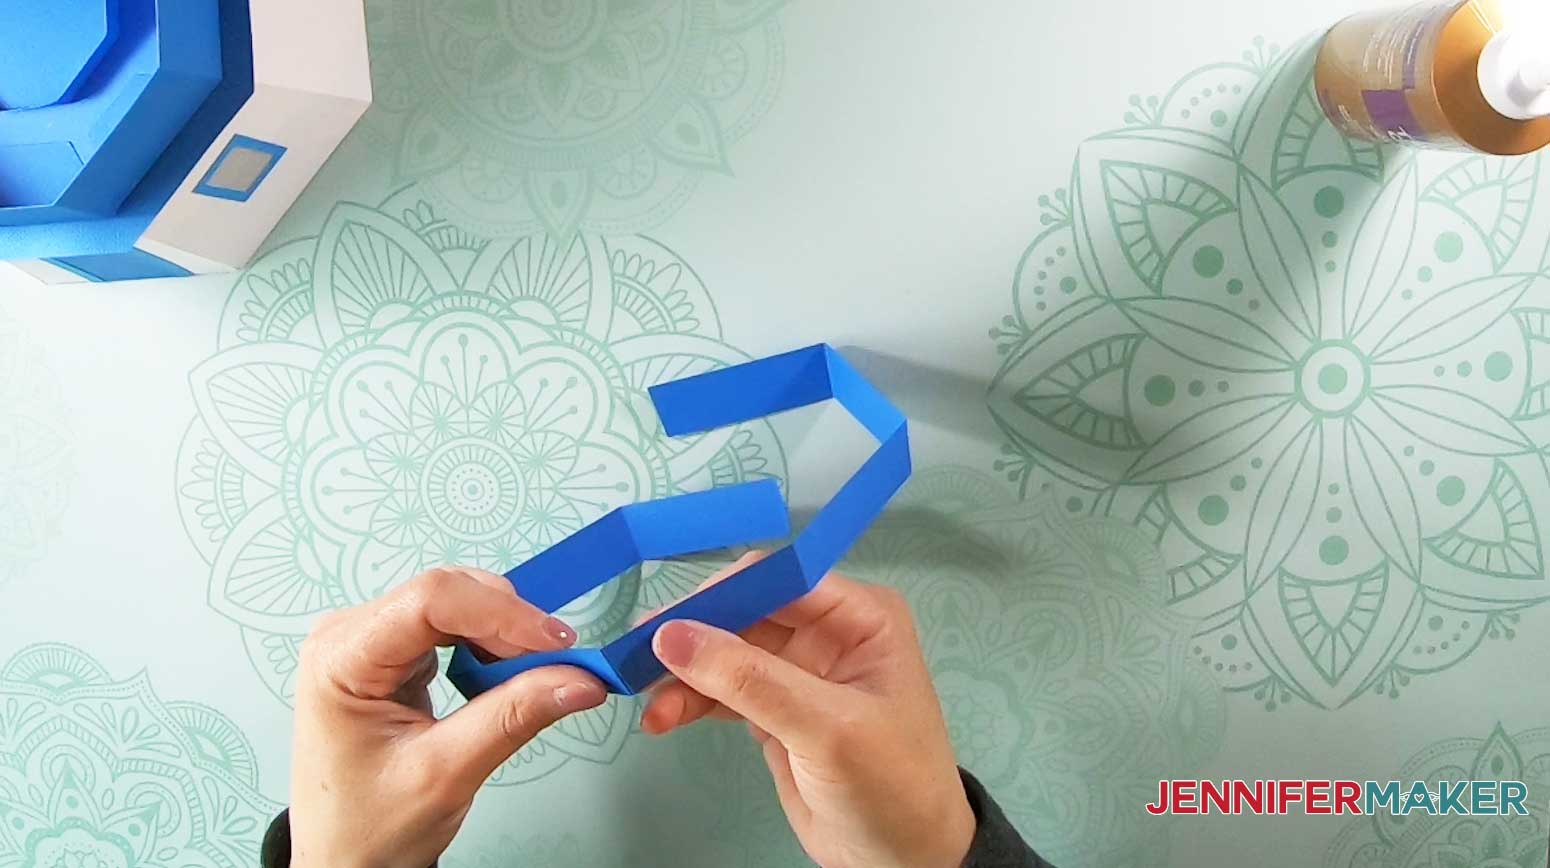
Line up the two sections of each band size (there are three total band sizes for the tower) and glue them together at the tab.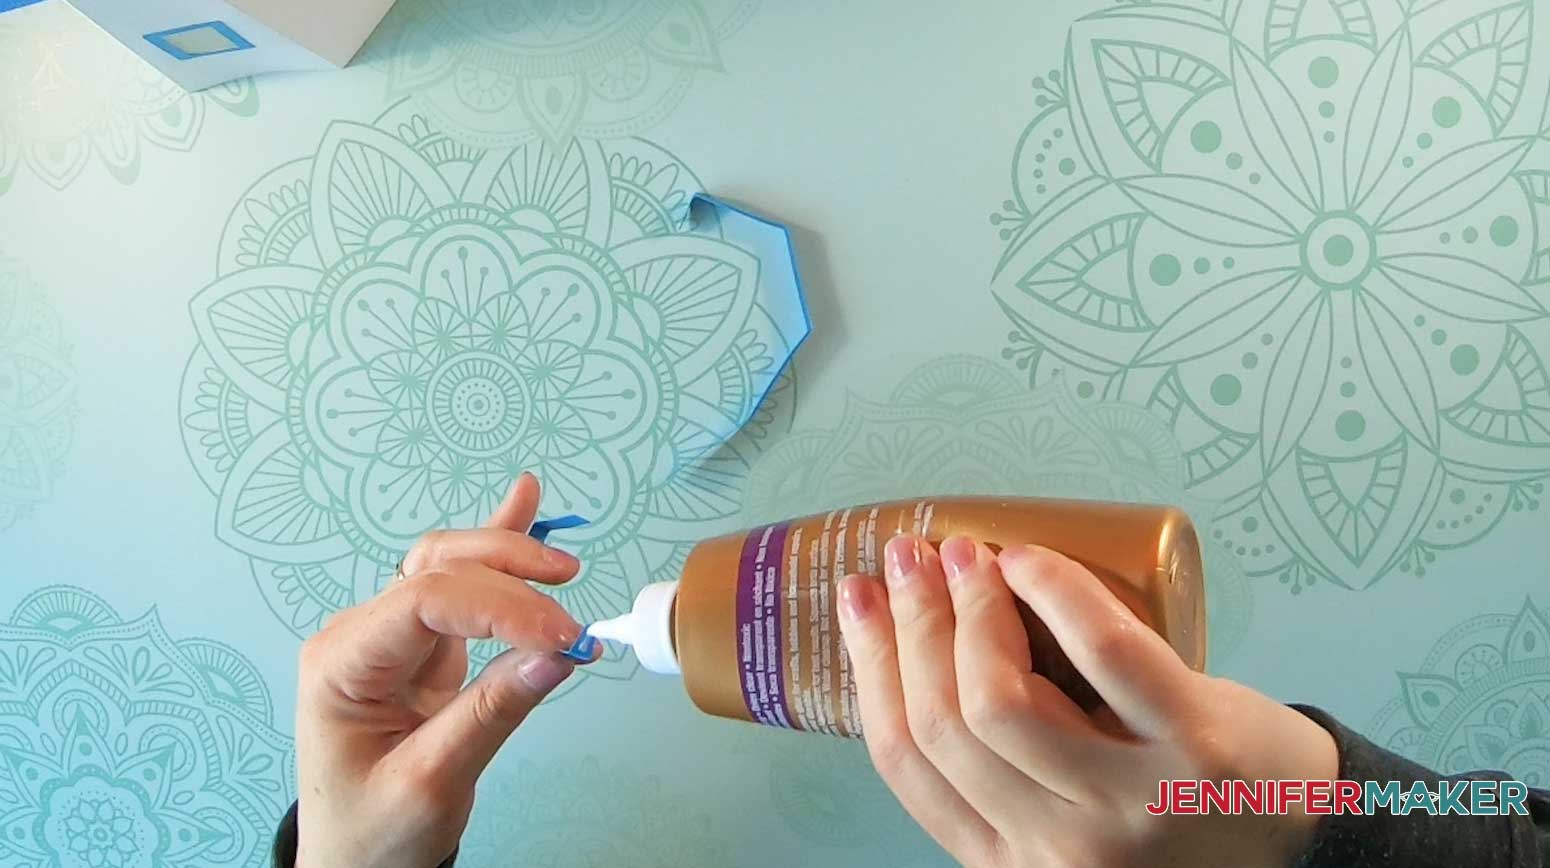
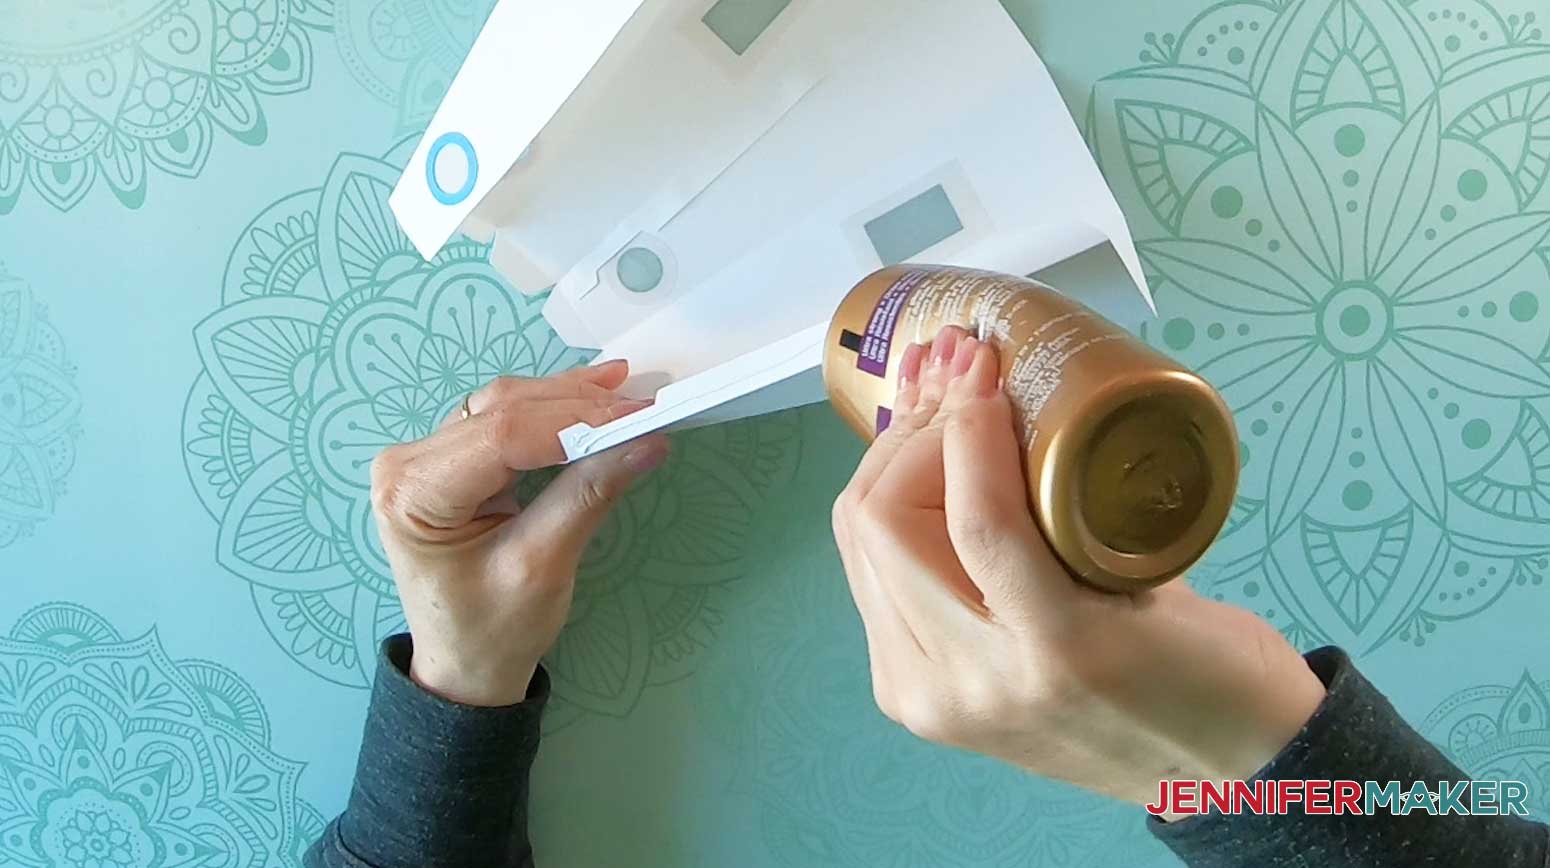
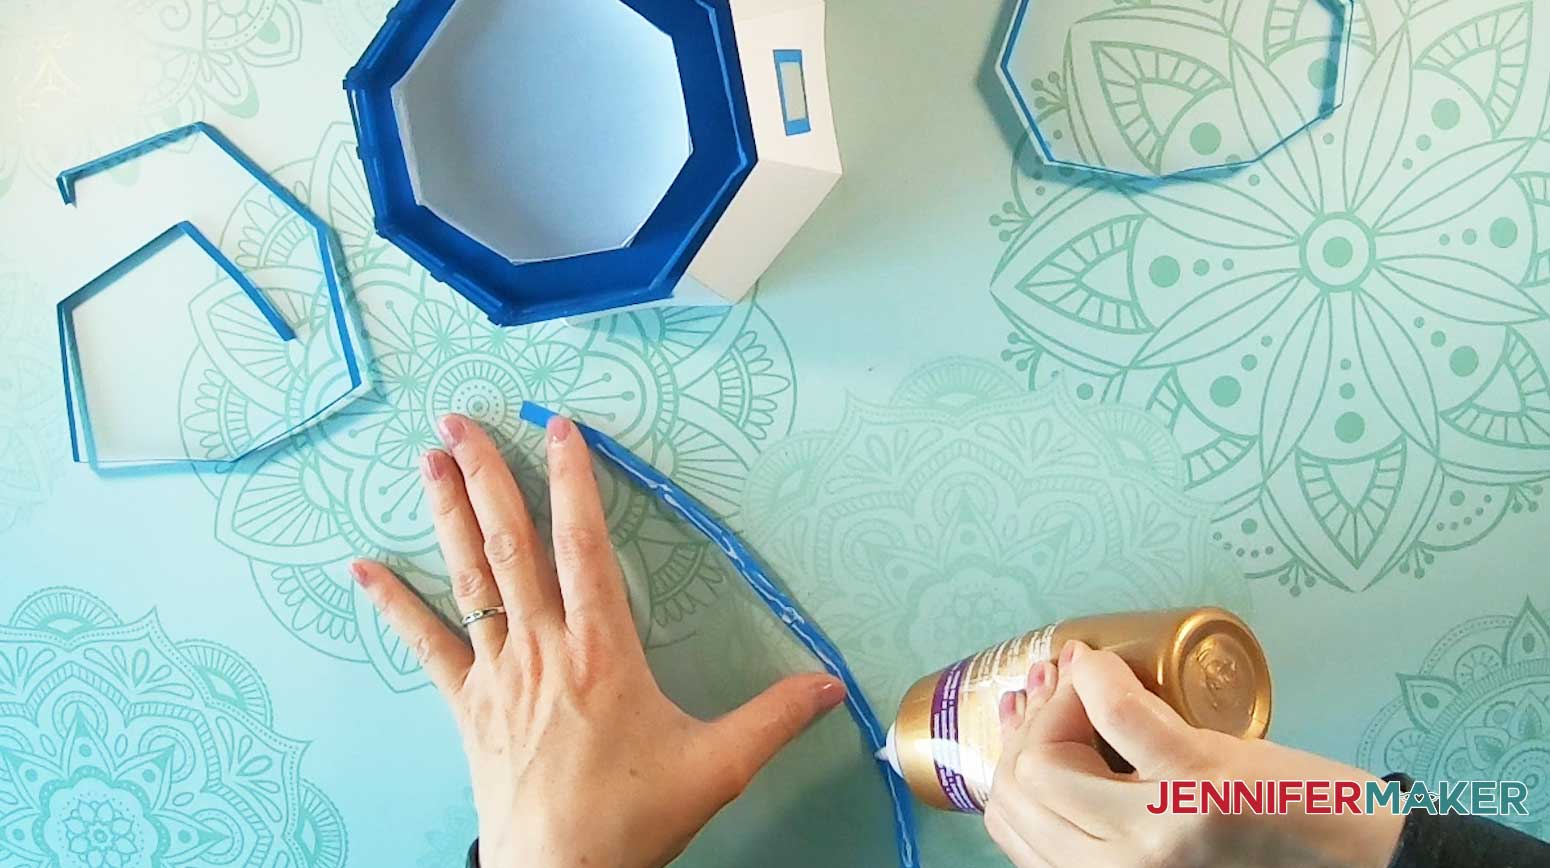
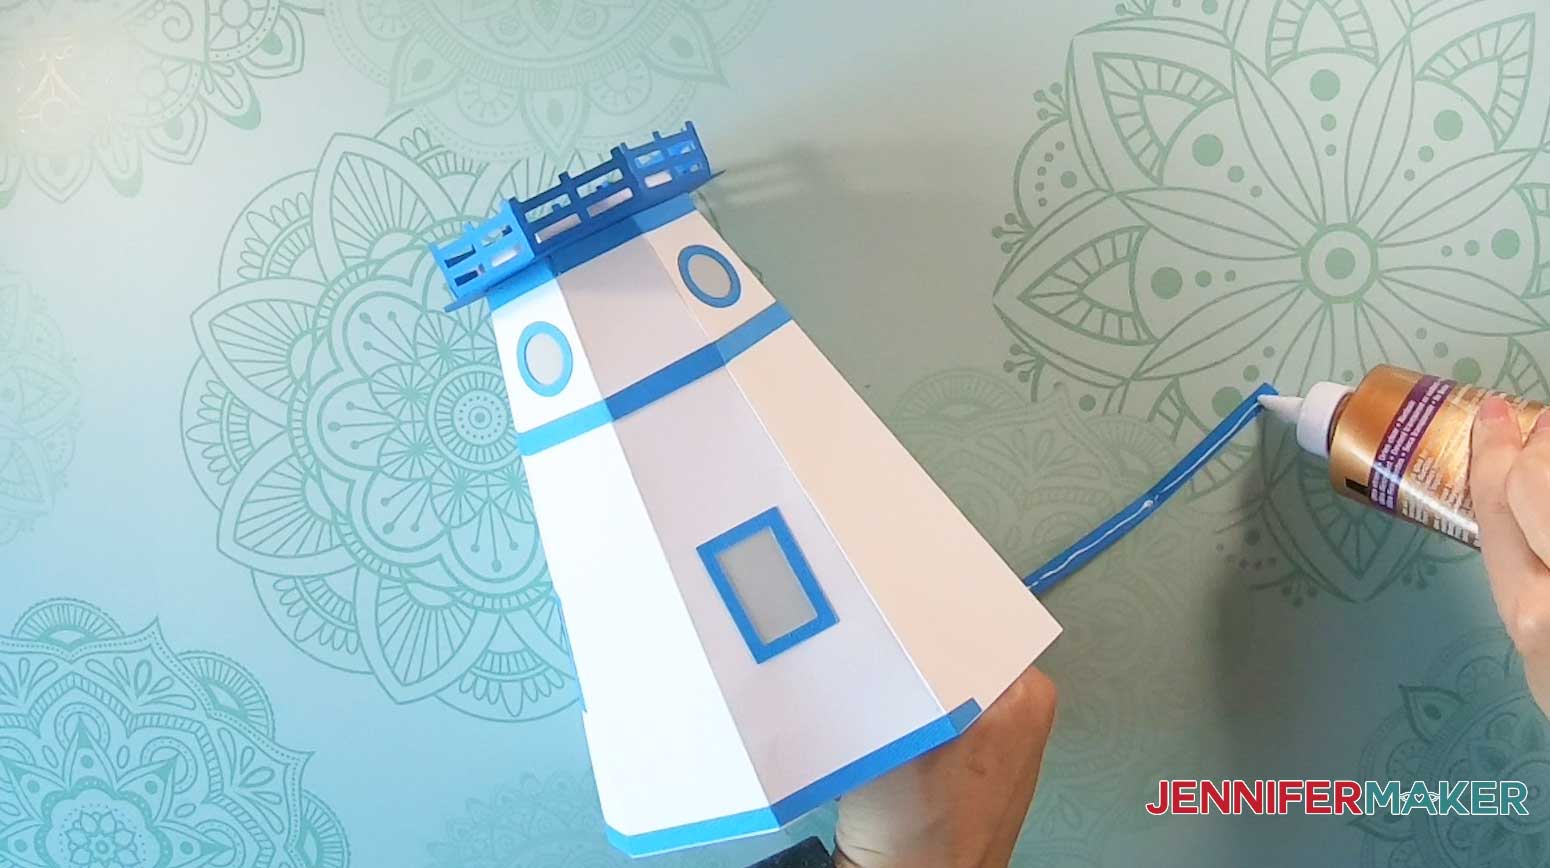
Apply glue to the underside of each band and attach them to the tower in their respective locations (they are sized to fit in specific areas).
Tip: There are three sets of bands. The smallest is placed at the top flush under the railing, the medium-sized one is lined up where the scored guidelines are midway down the tower, and the largest band is glued along the base of the tower.
Glue the nautical icons onto the plain sides of the tower.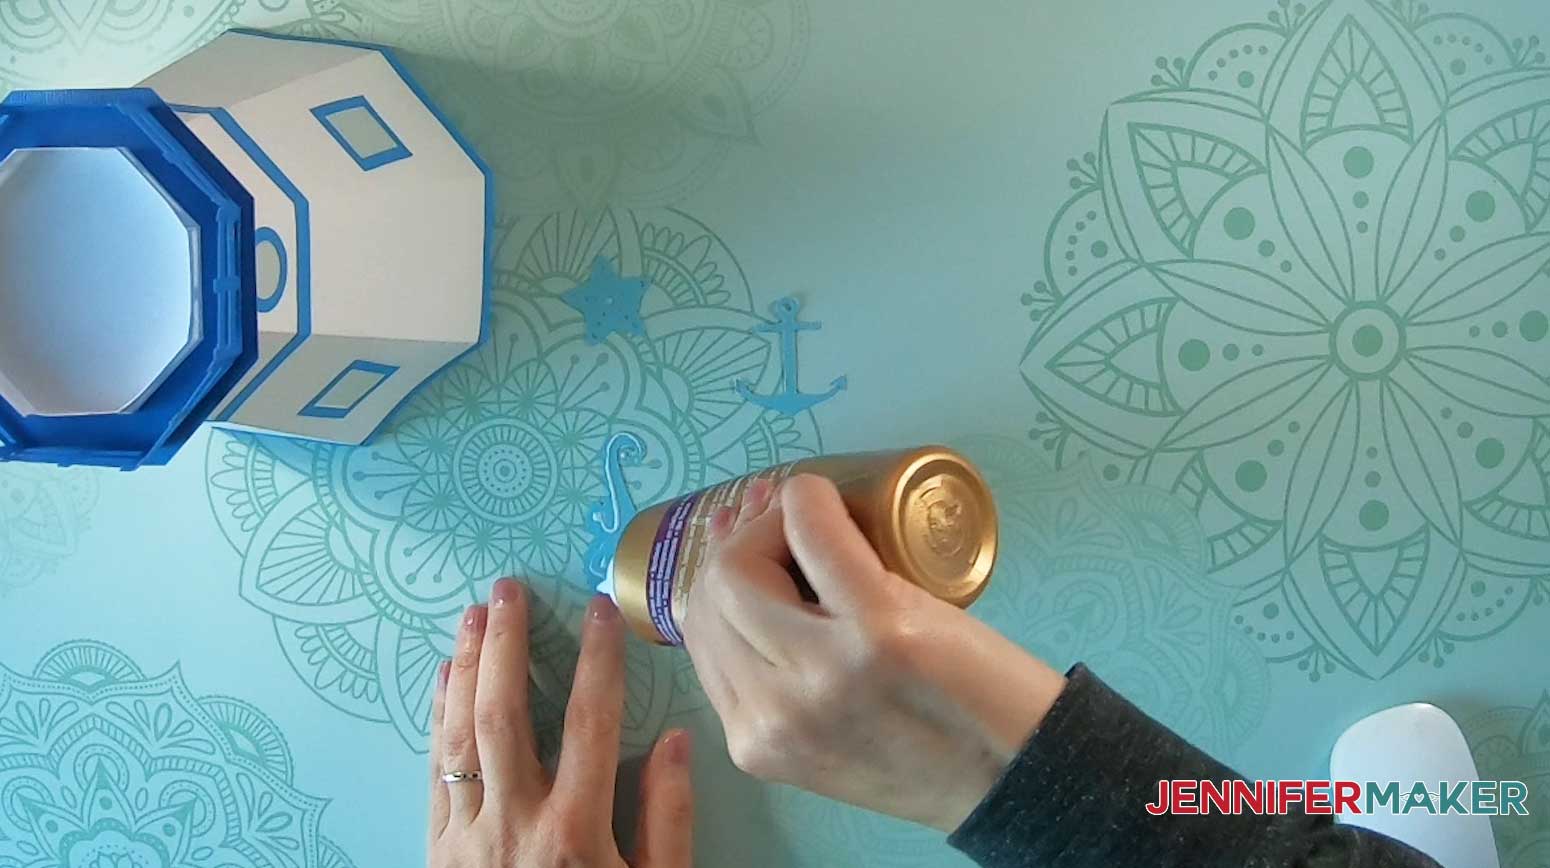
This is what the tower (middle tier) looks like when it’s assembled: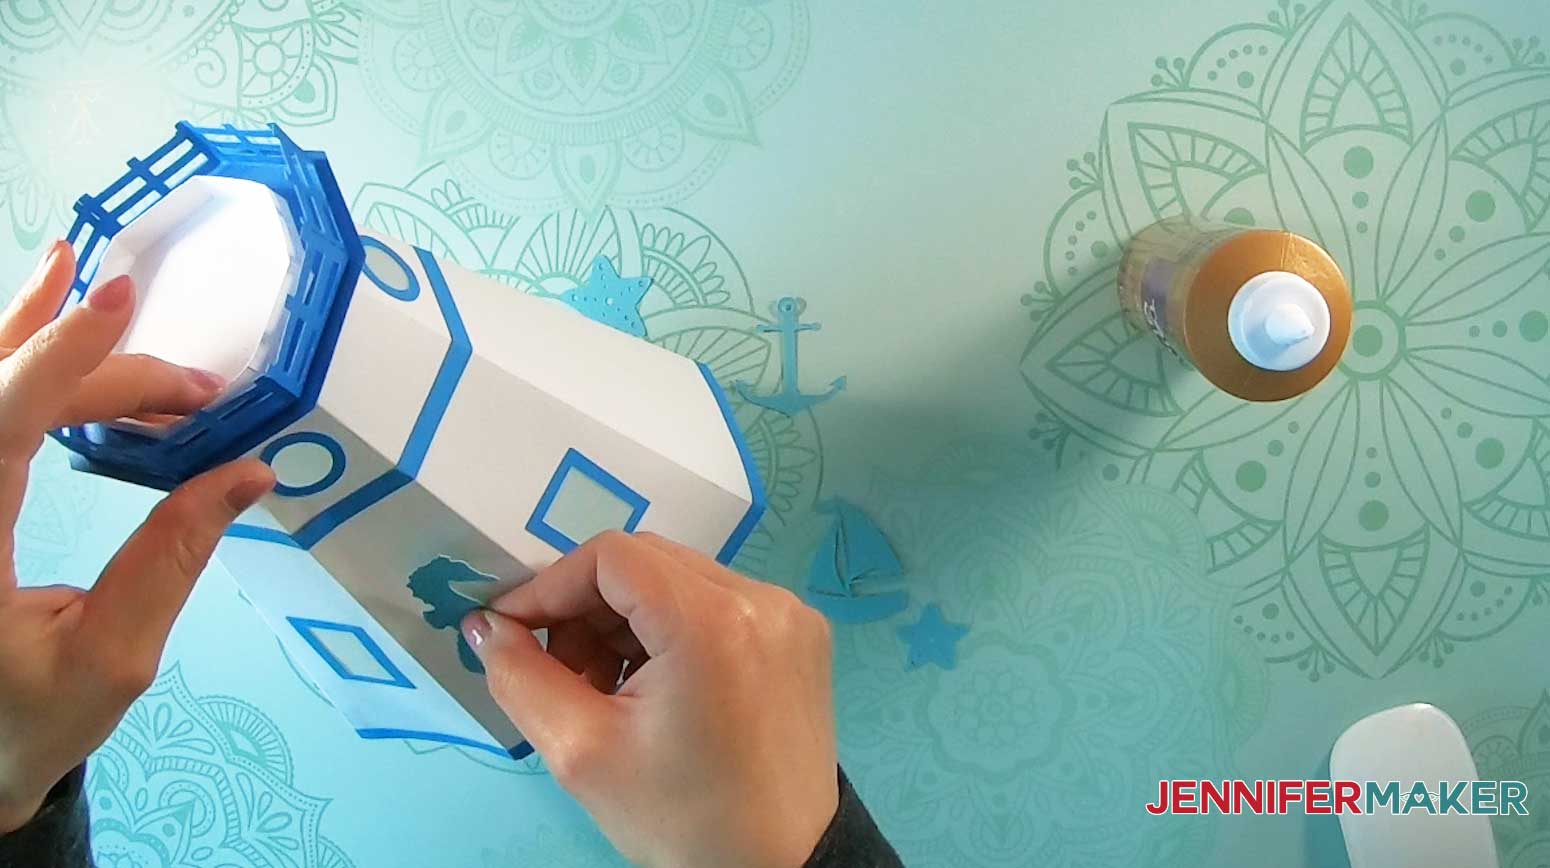
STEP 5: Fold and glue the paper lighthouse base (bottom tier)
Now, it’s time to make the base of the paper lighthouse tower, which is actually the top of the base (bottom tier). These are the pieces we will use:
Start by folding the collar sections inward along the score lines as shown in the image below.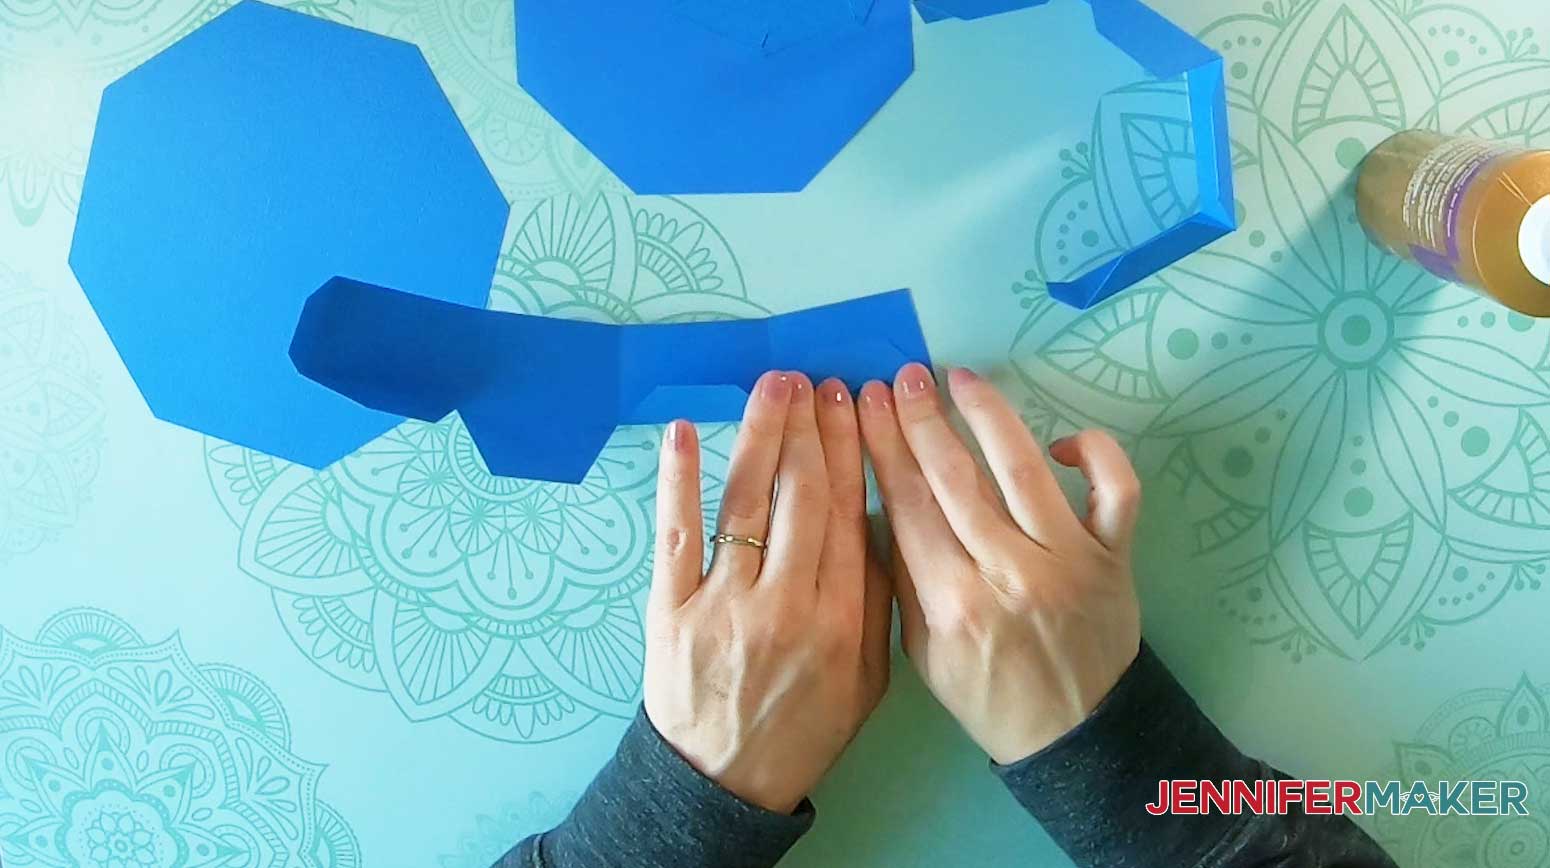
Now, glue each collar section together. First you glue the two sections together at the tab, then you glue them end to end.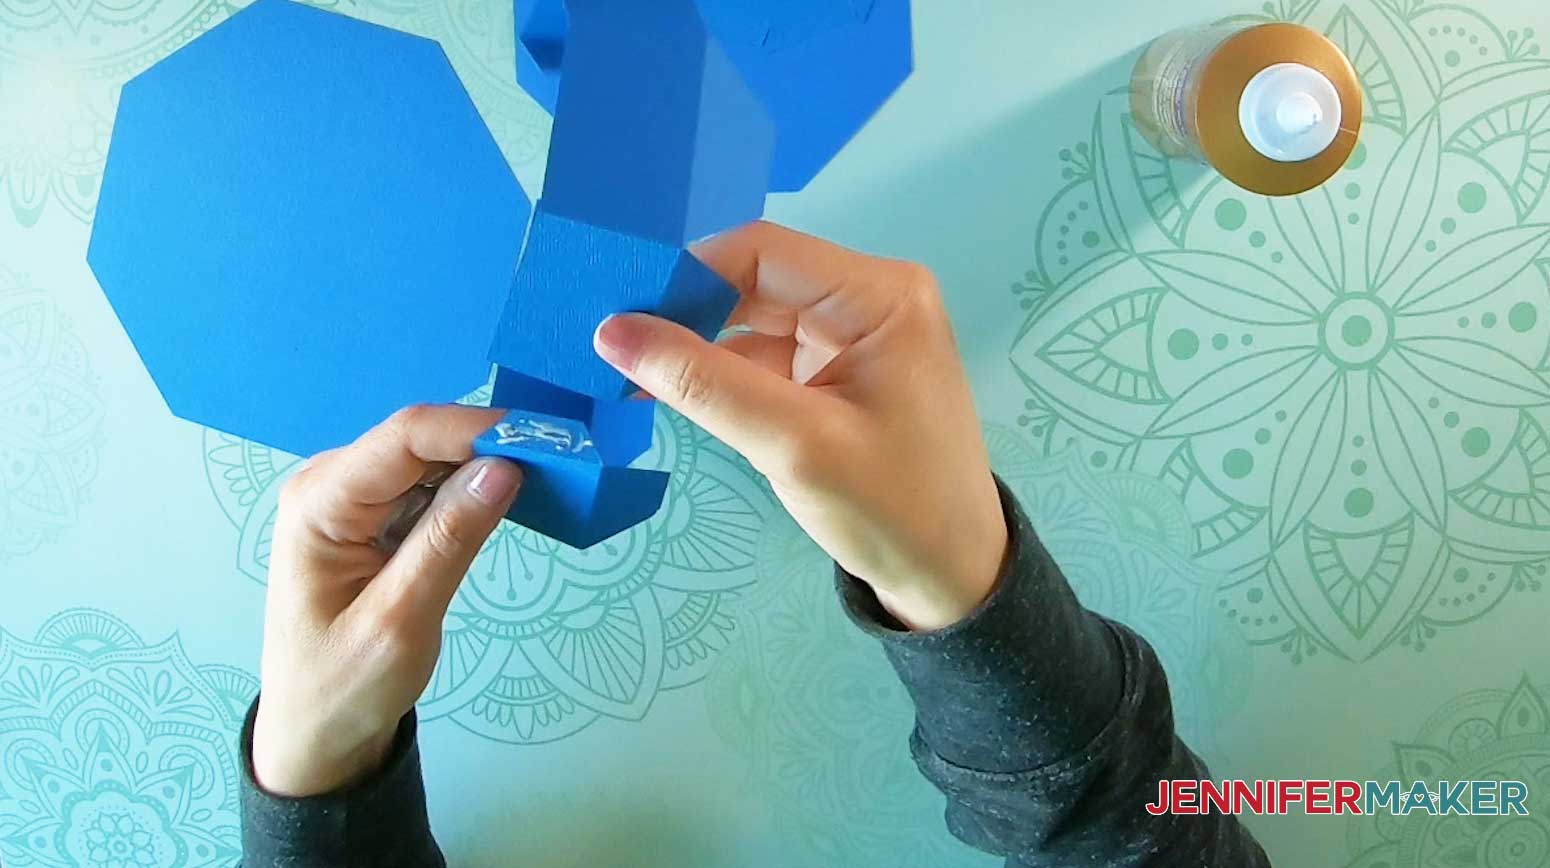
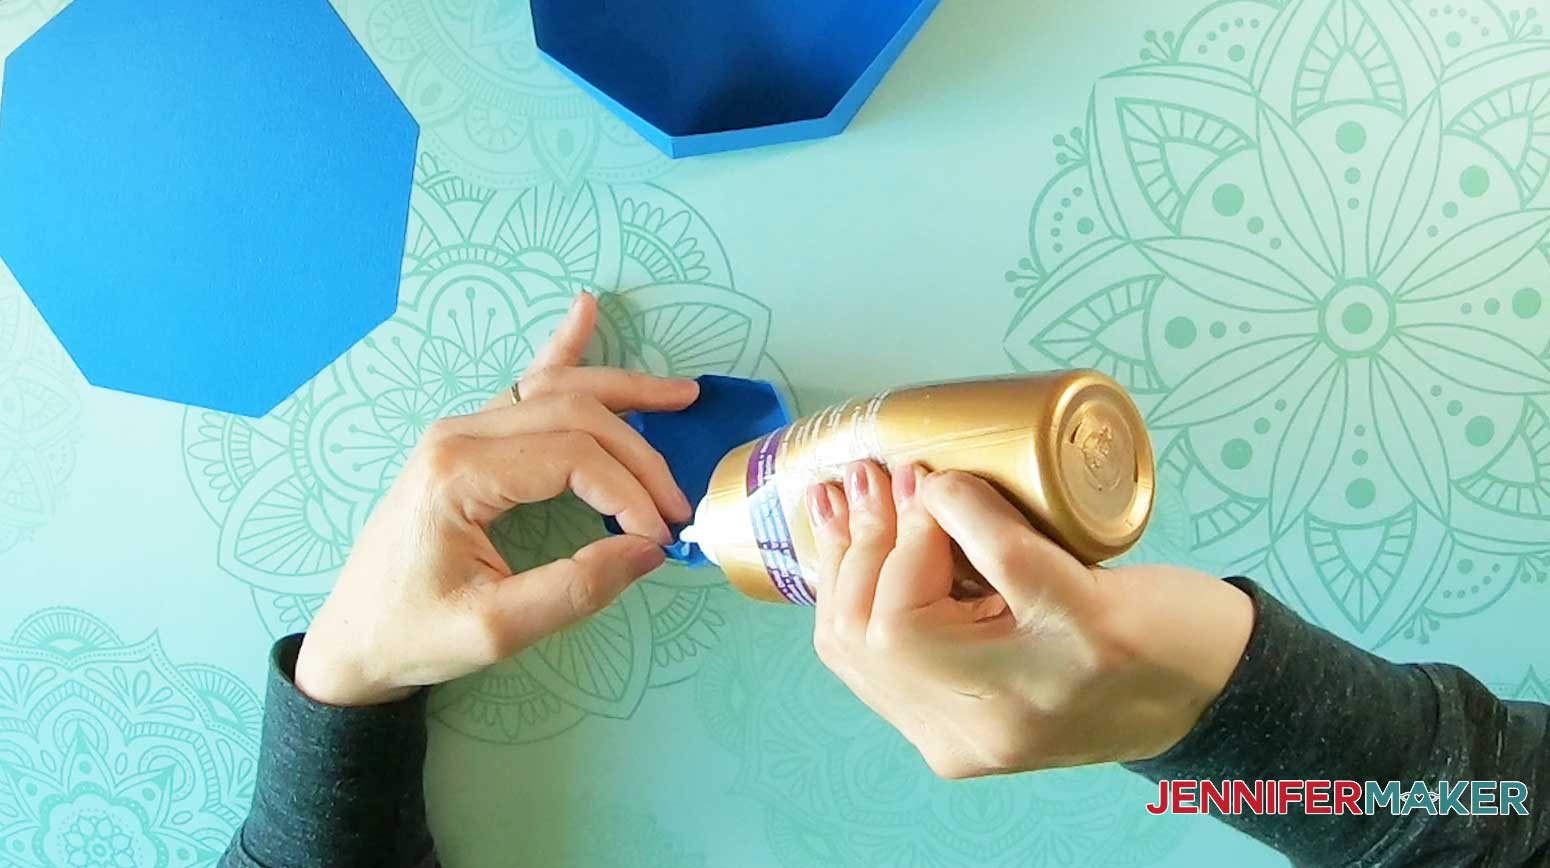
Apply glue to the bottom of the collar tabs and glue onto the base. Make sure to center the collar on the tower base piece and that all octagon sides line up.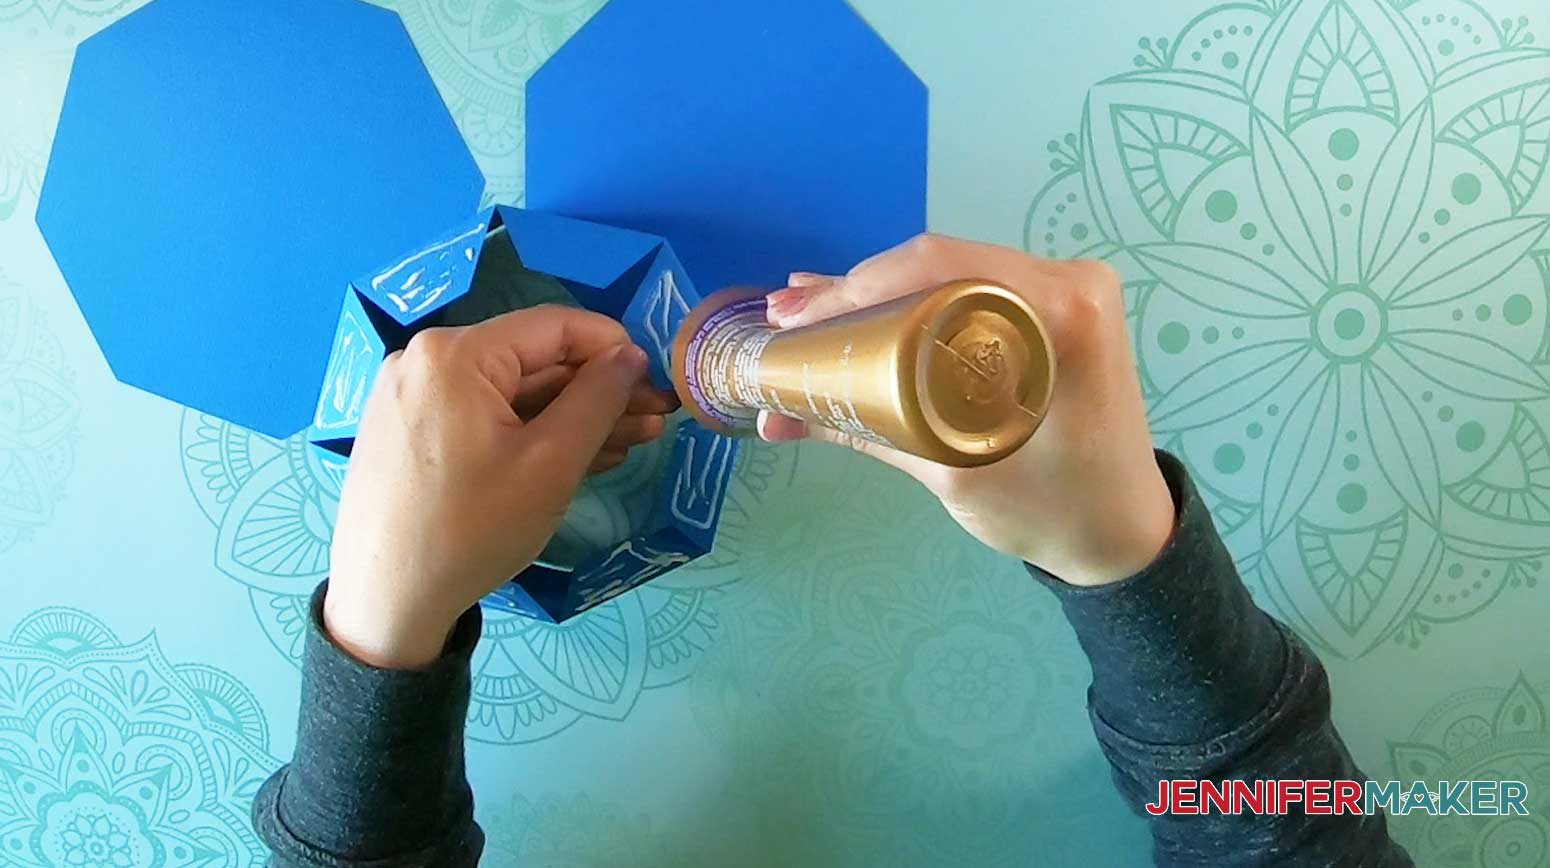
Next, assemble the tealight holder just like we did in step 4.
Fold the tealight holder along the score lines: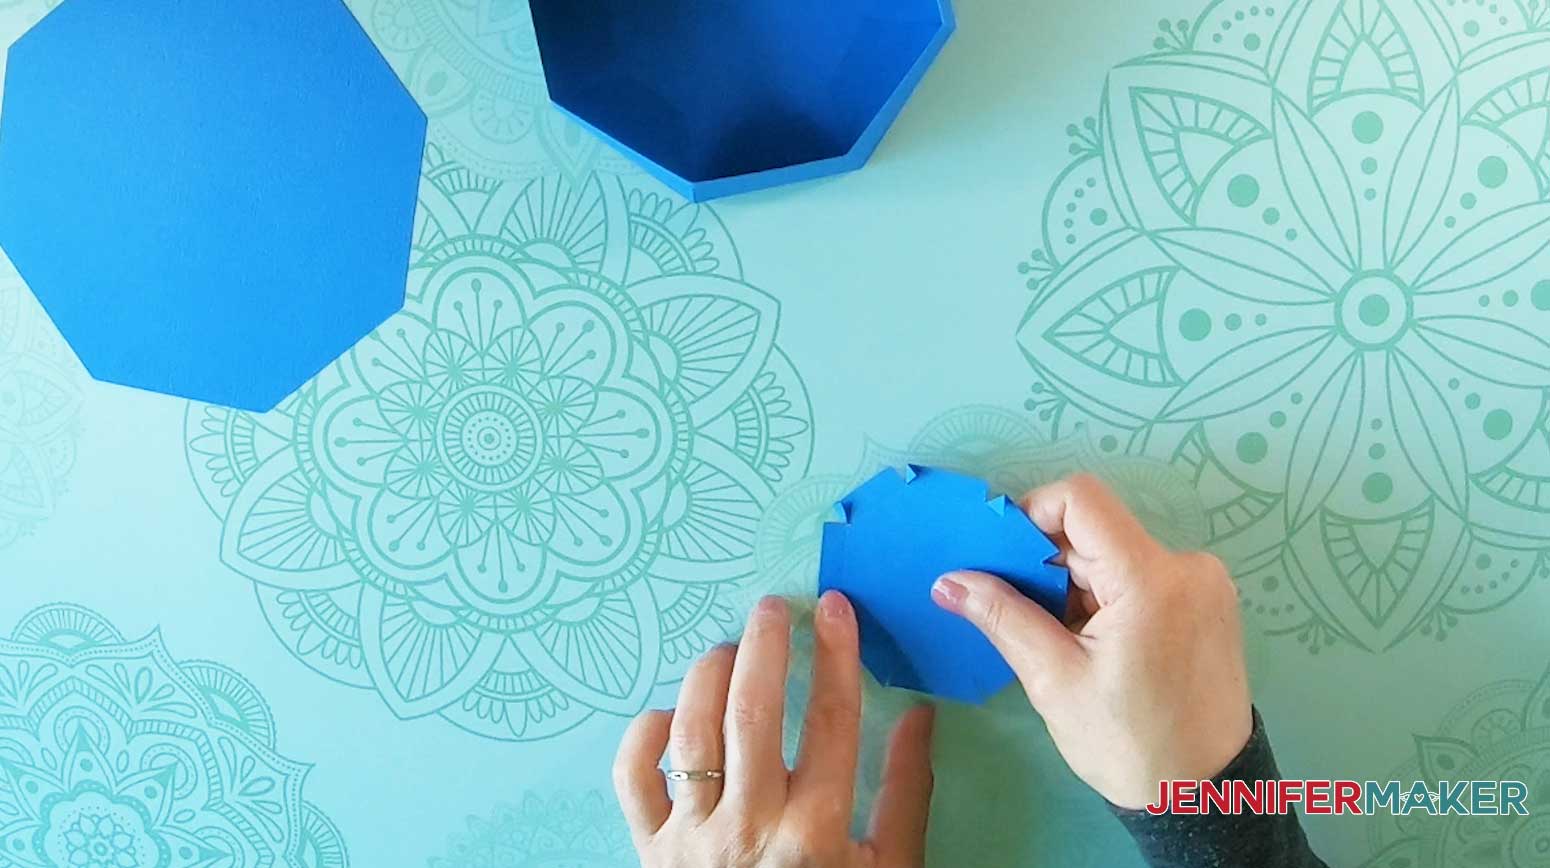
Glue the tealight holder together at the tabs:

Center and align the tea light holder inside the collar and glue into place.
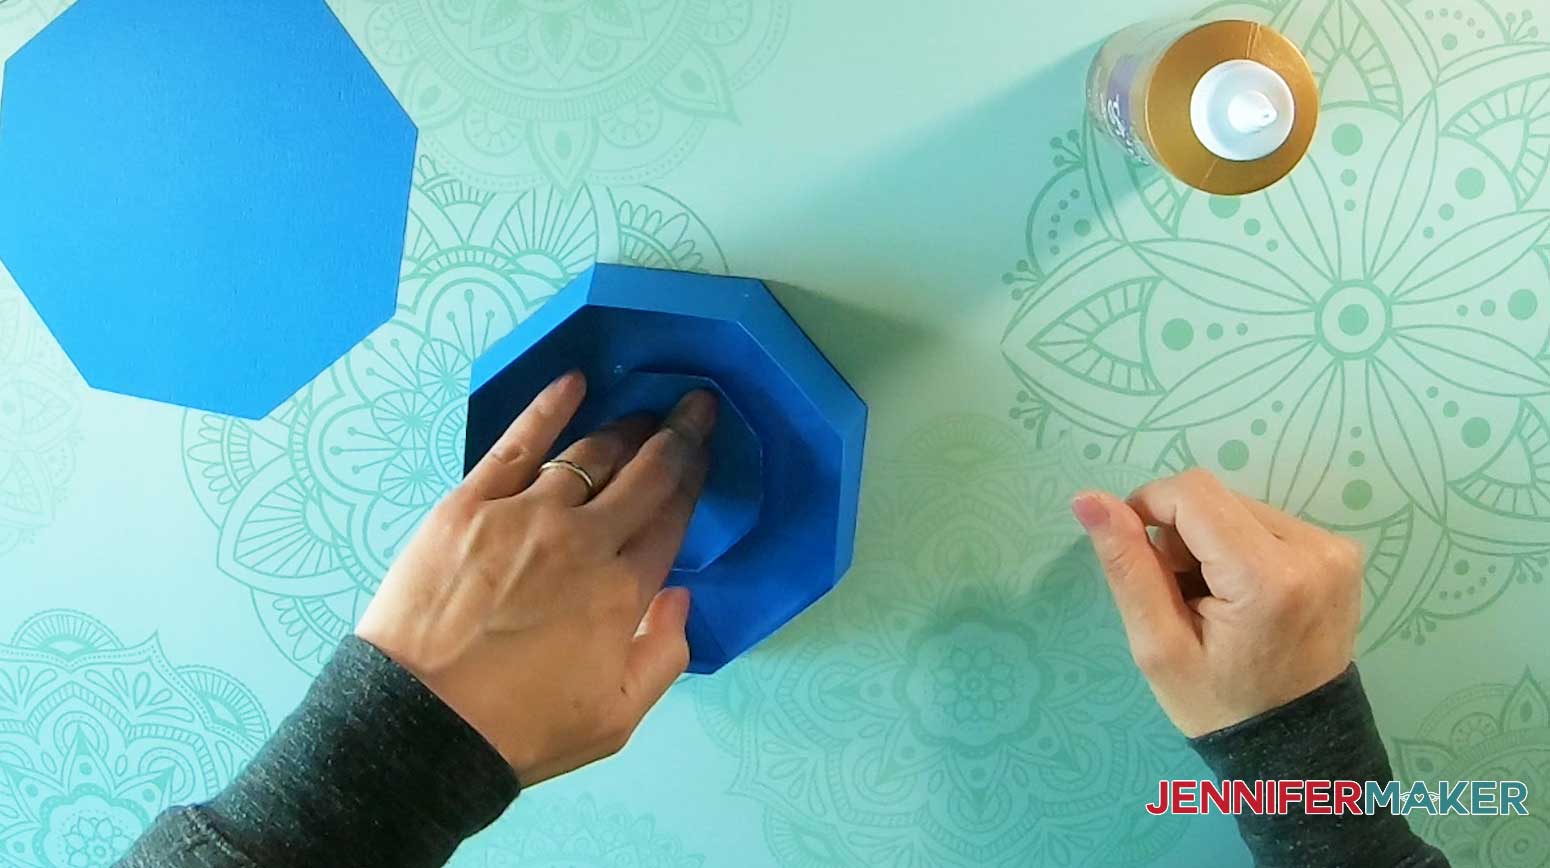
This is what your base looks like so far:
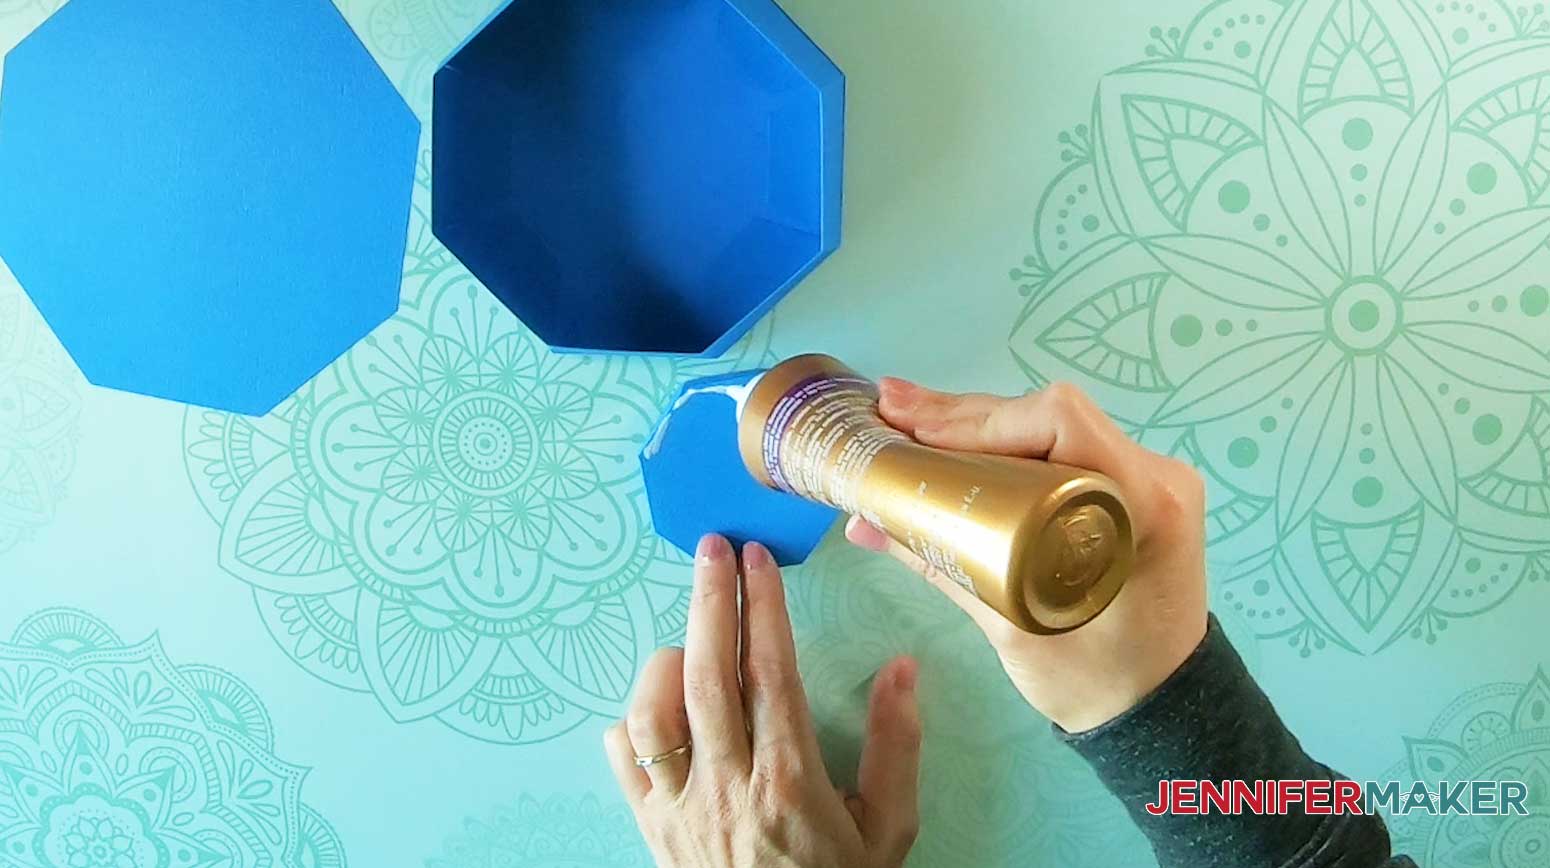
Now, apply glue to the bottom of the collar and tealight section like this:
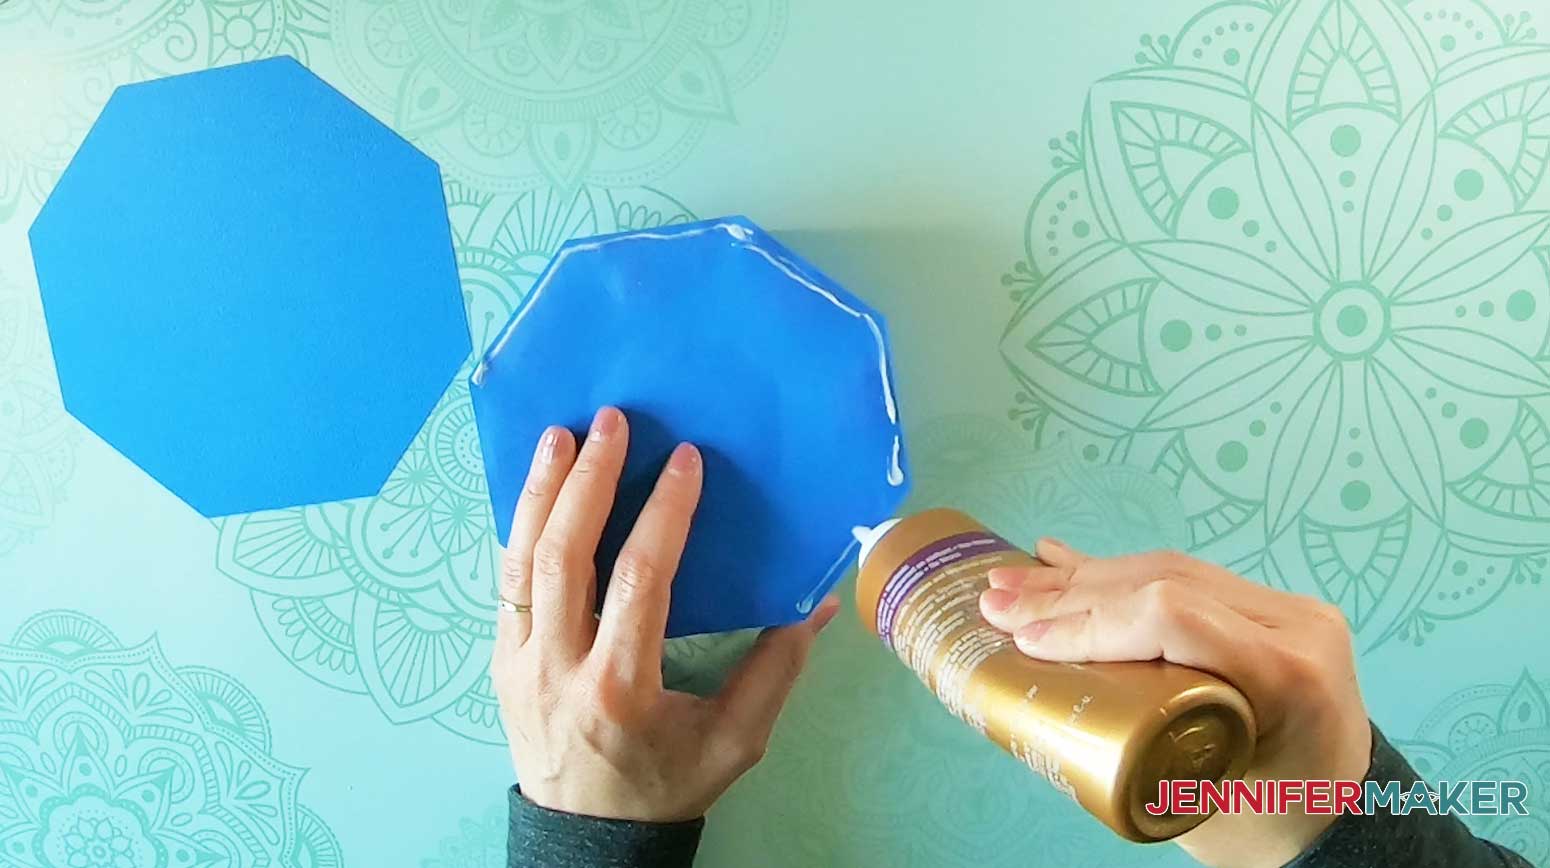
Align it to the base piece and glue into place. This is the base of the tower, which will become the top of the bottom tier.
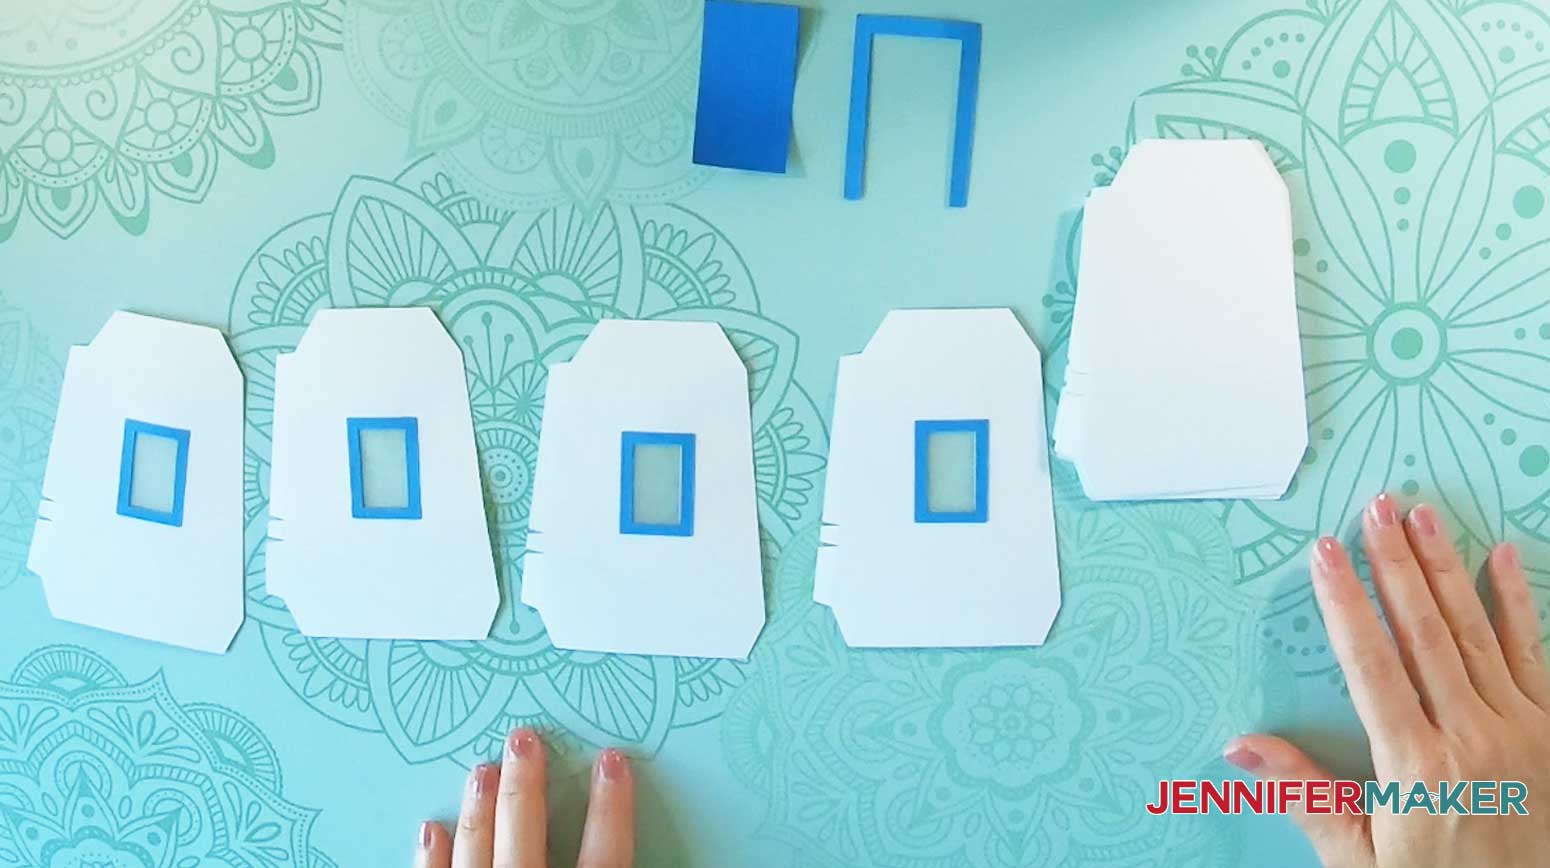
Now, we will assemble the bottom tier windows. These are the parts we will use:
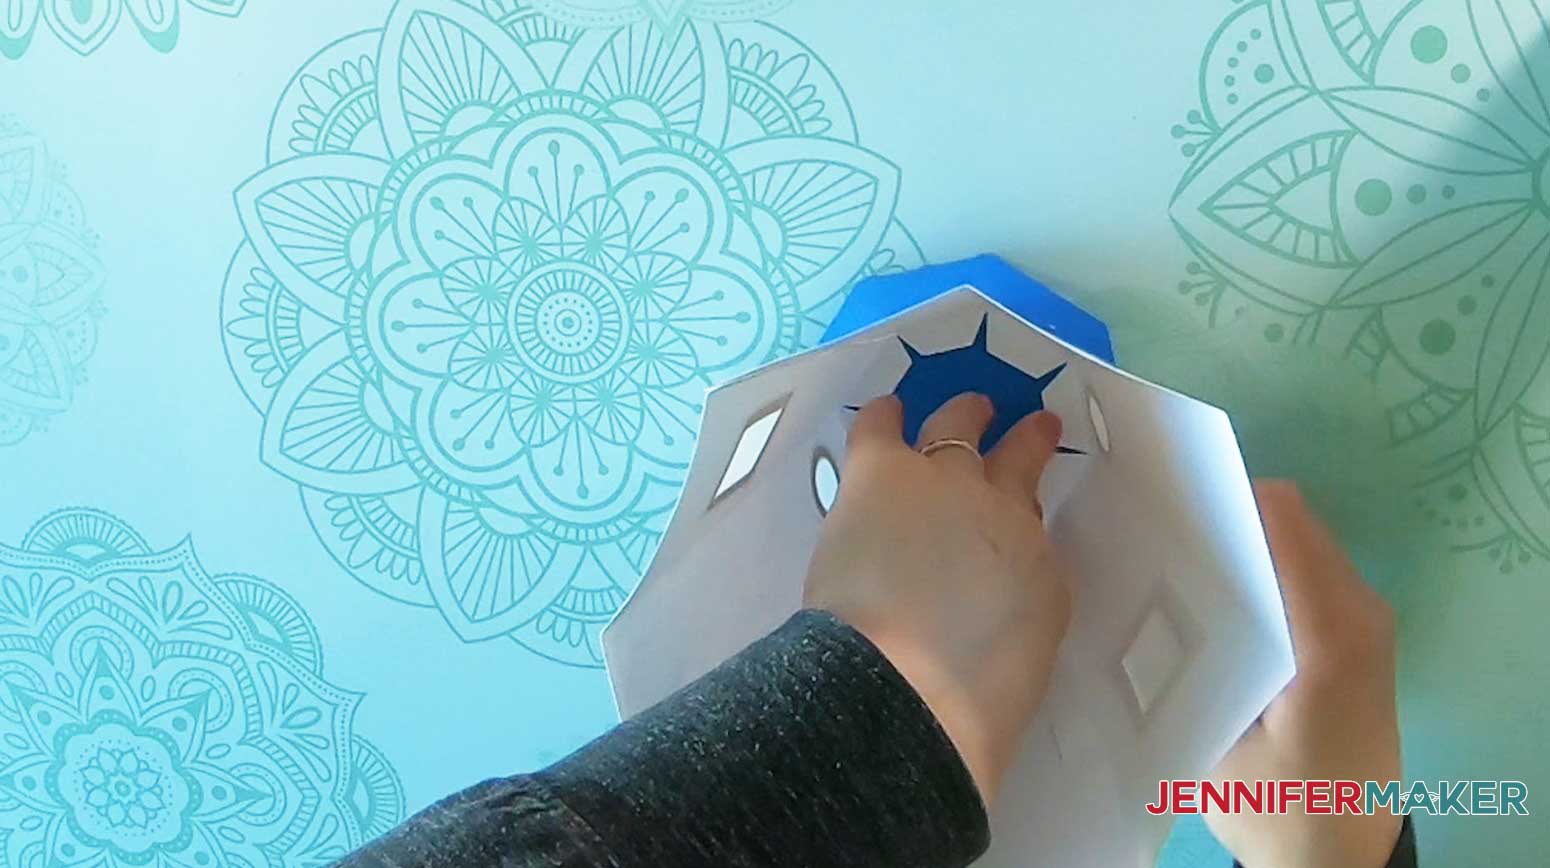
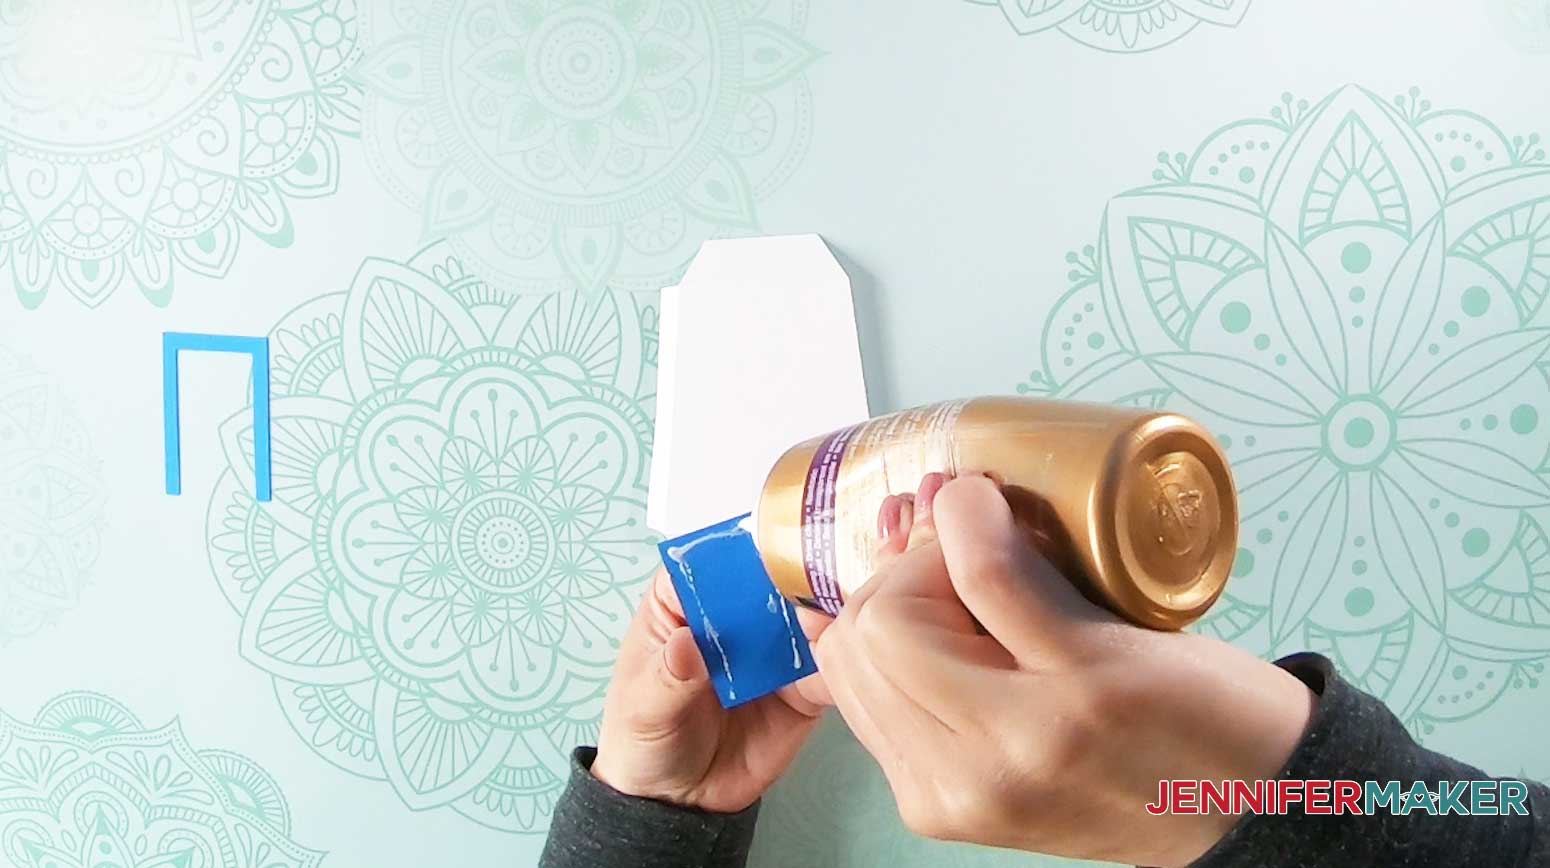
Choose one of the plain sections without a window and glue the door just above the score line like this:
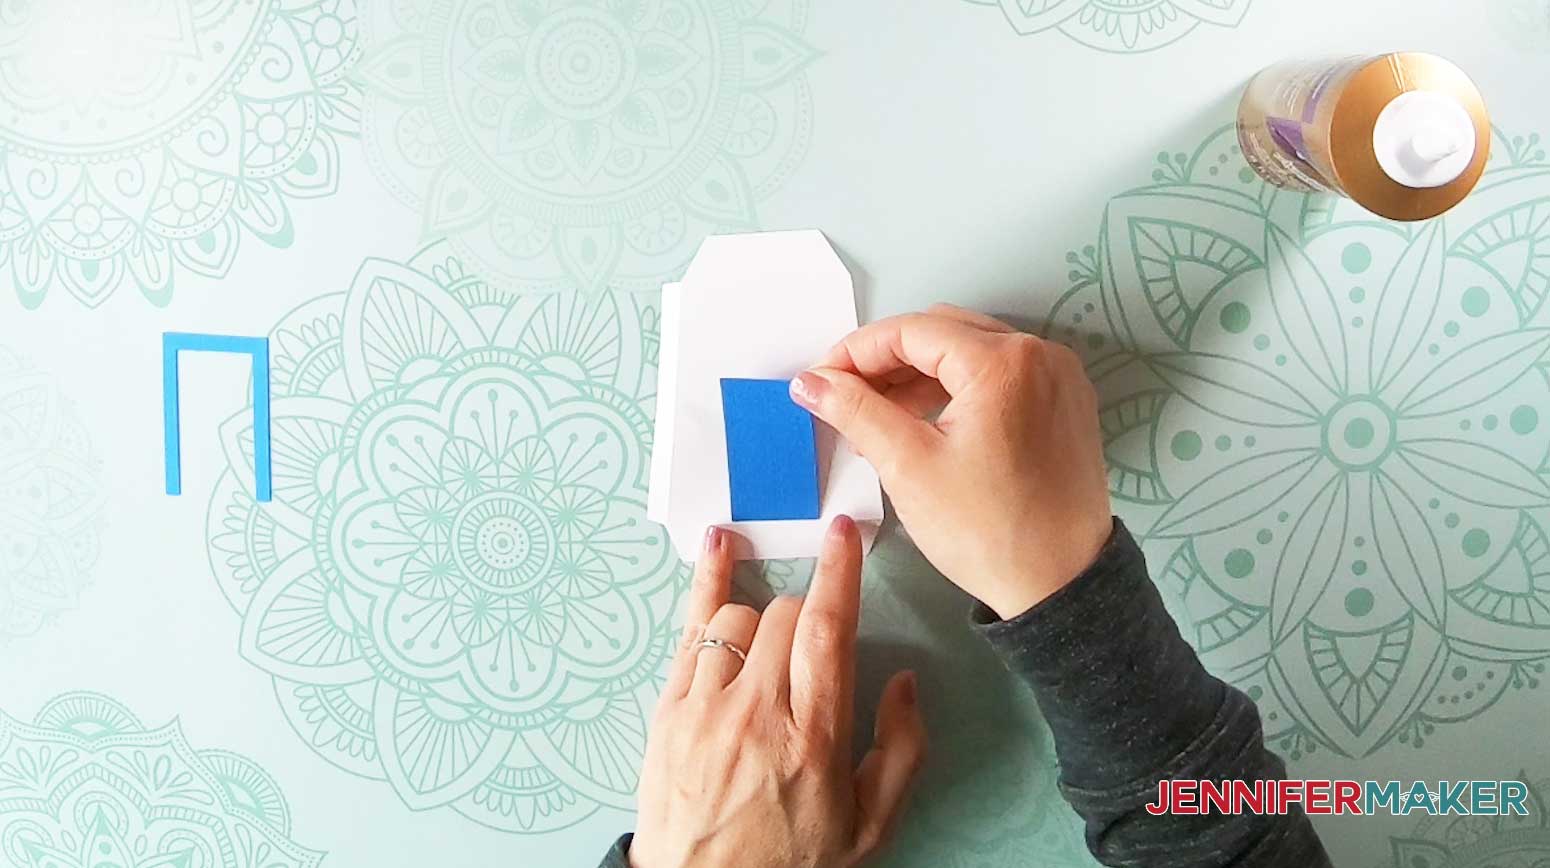
Glue the door frame into place.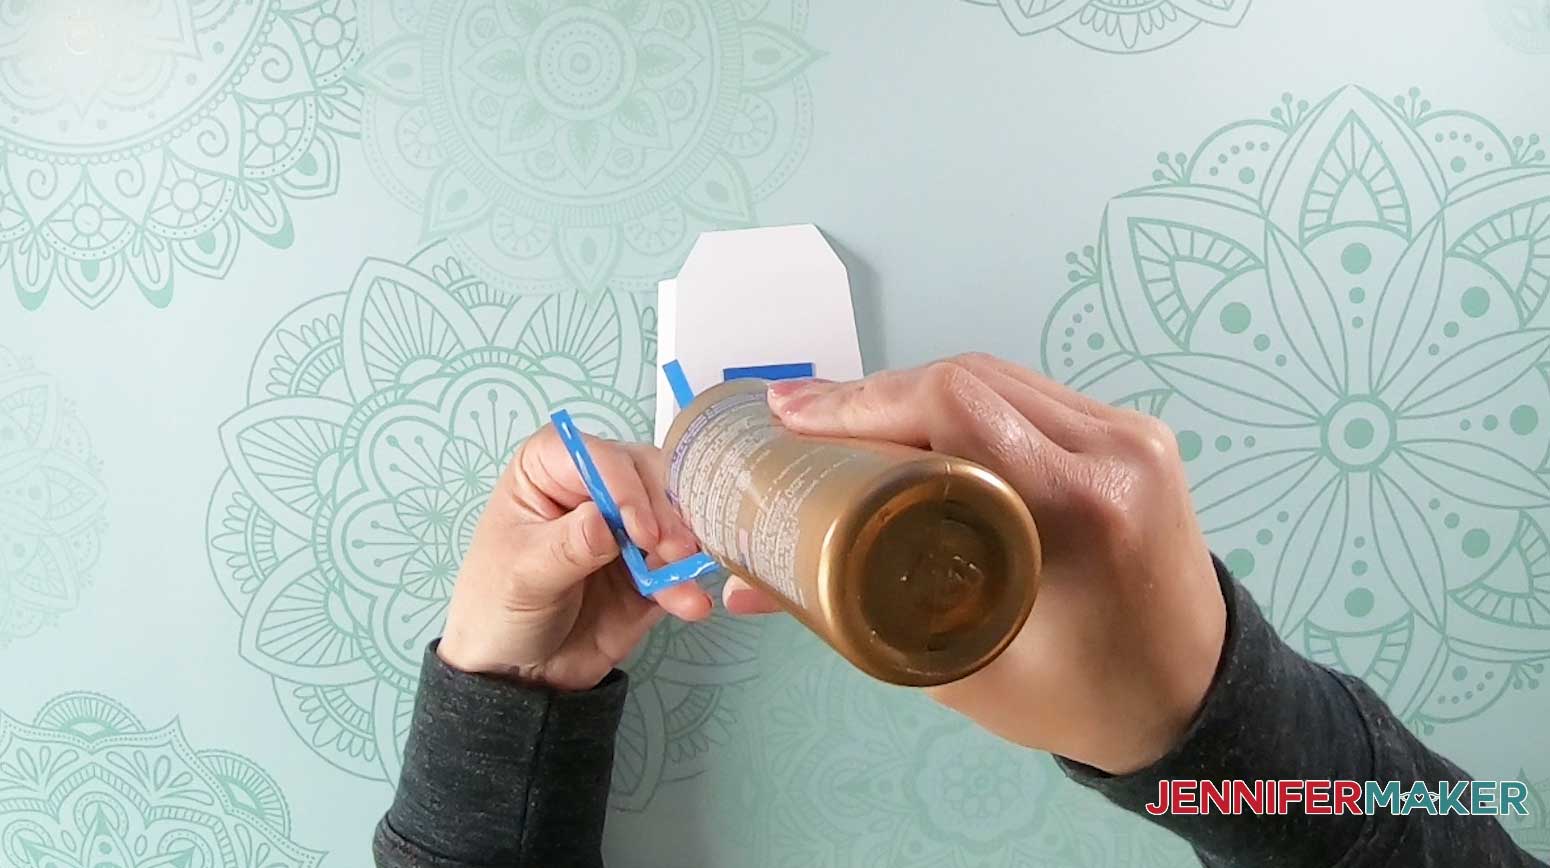
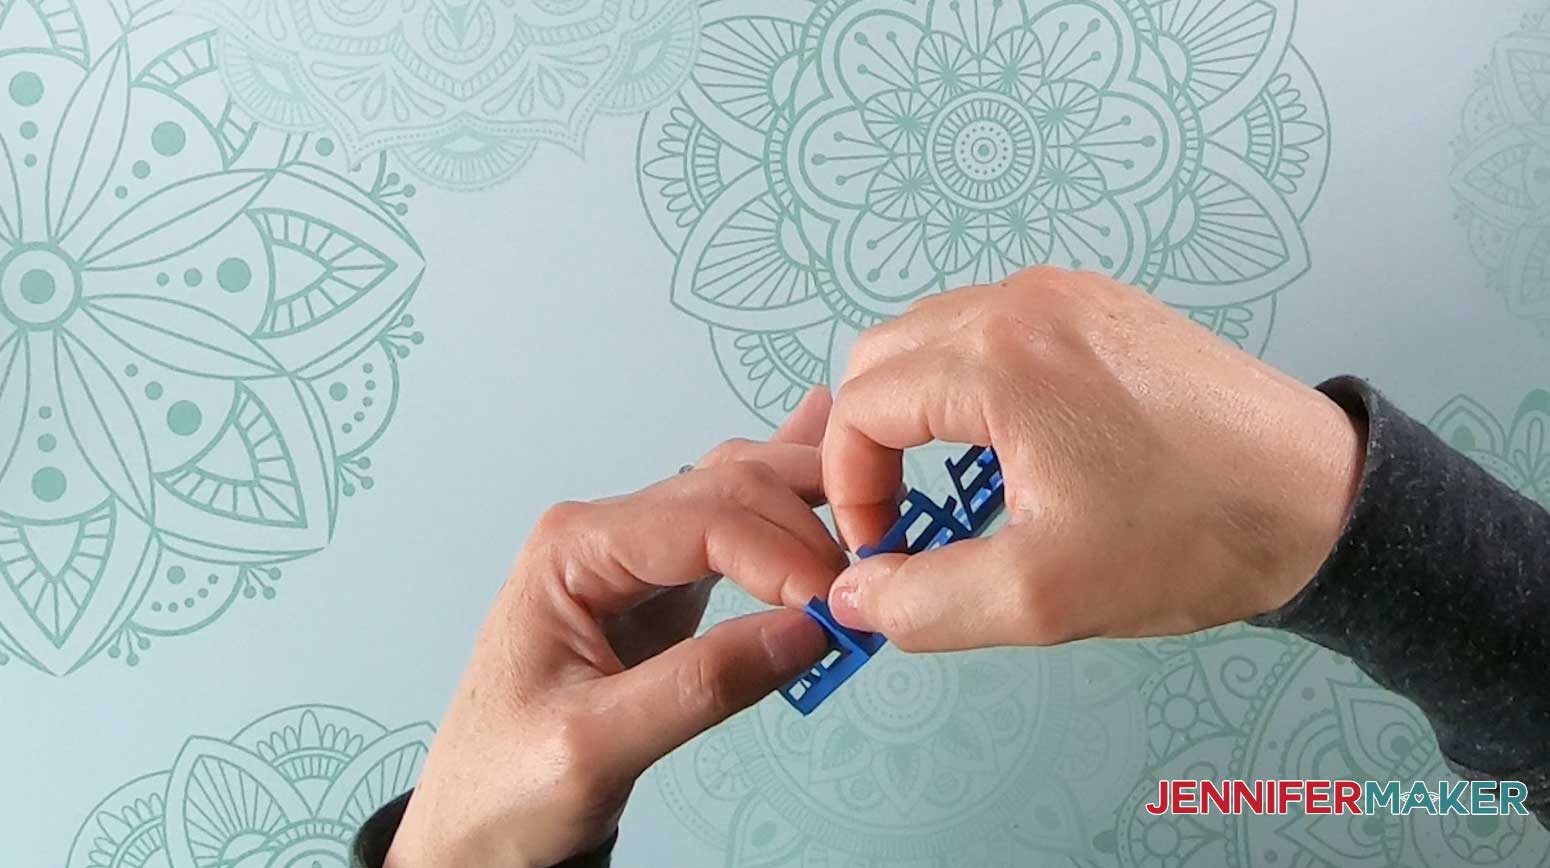
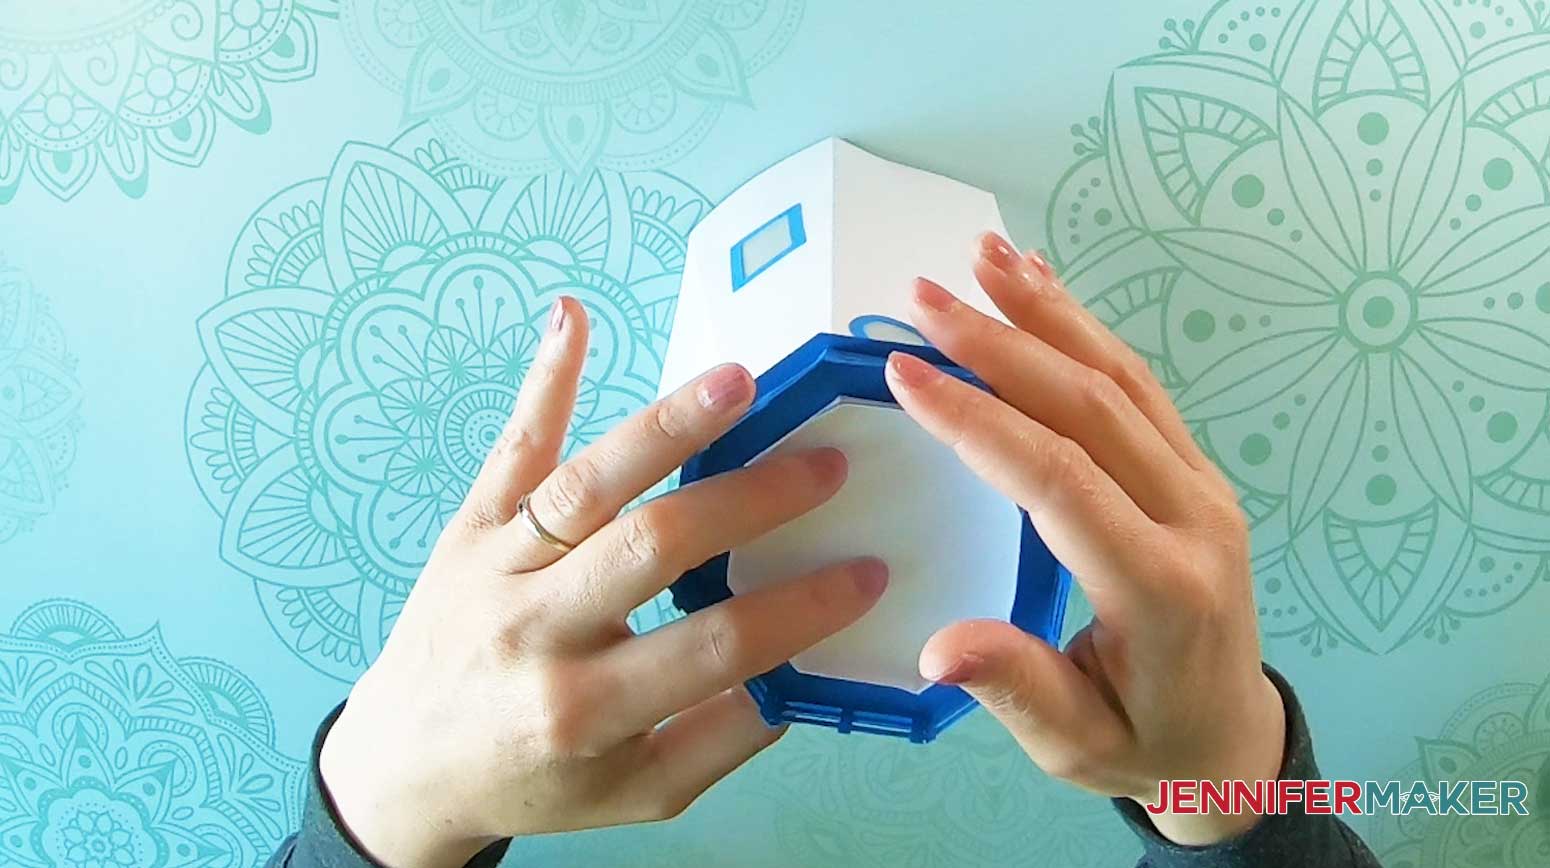
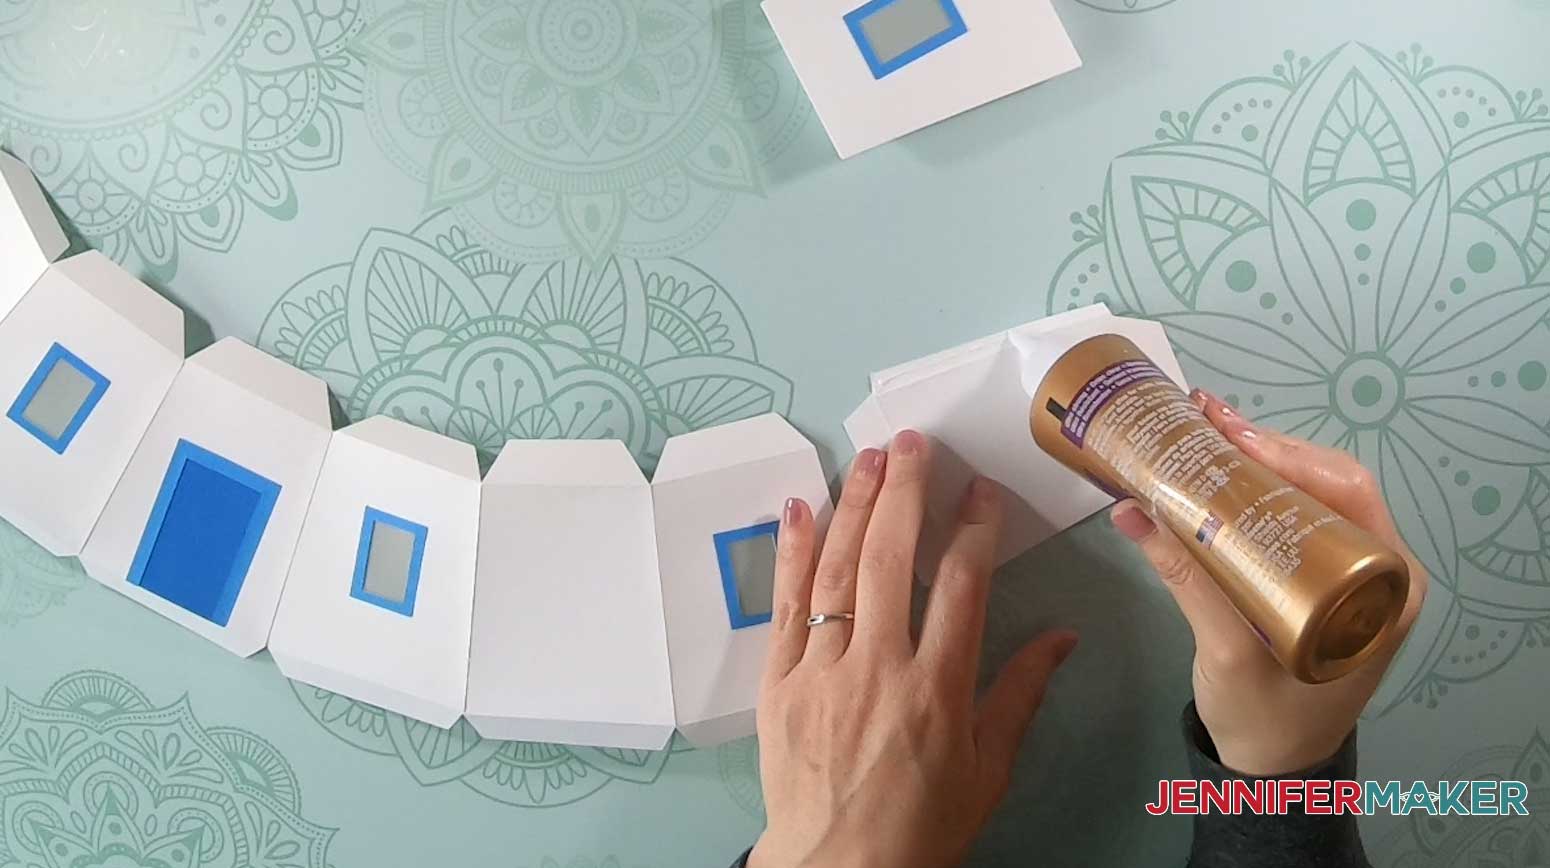
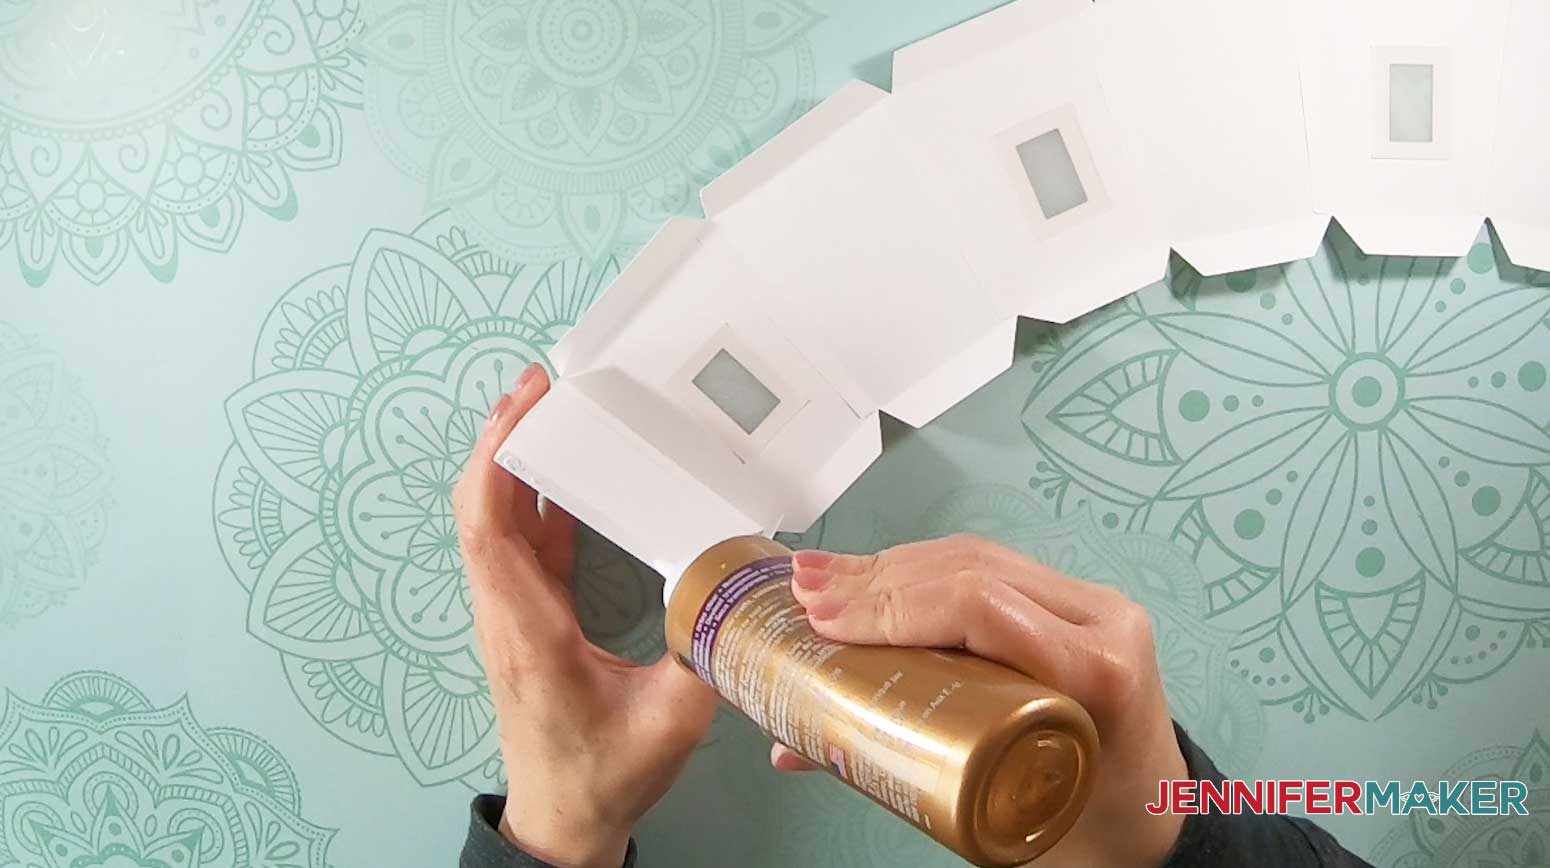
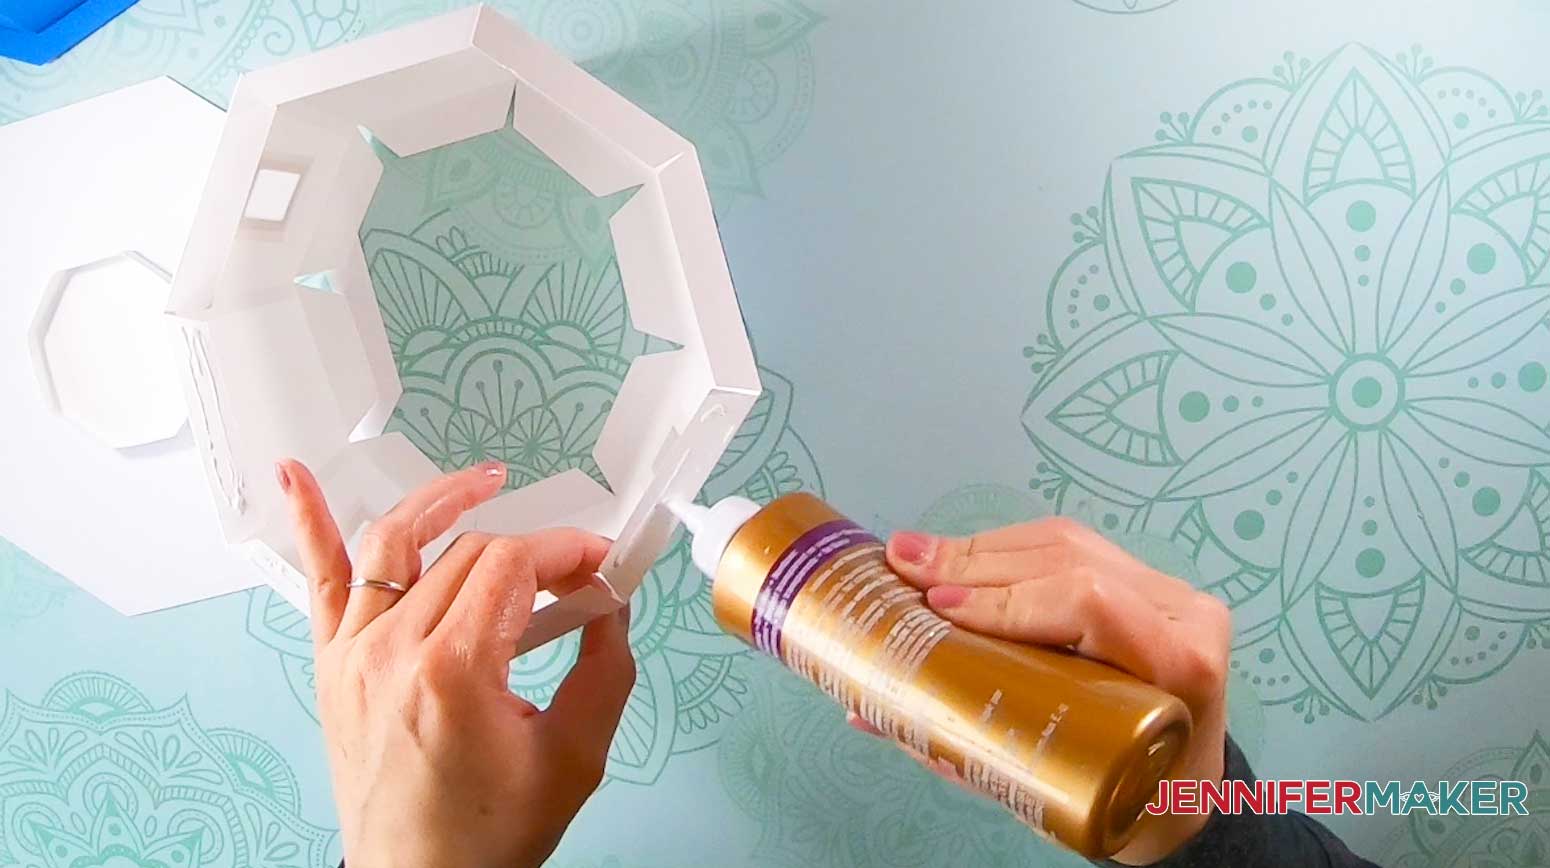
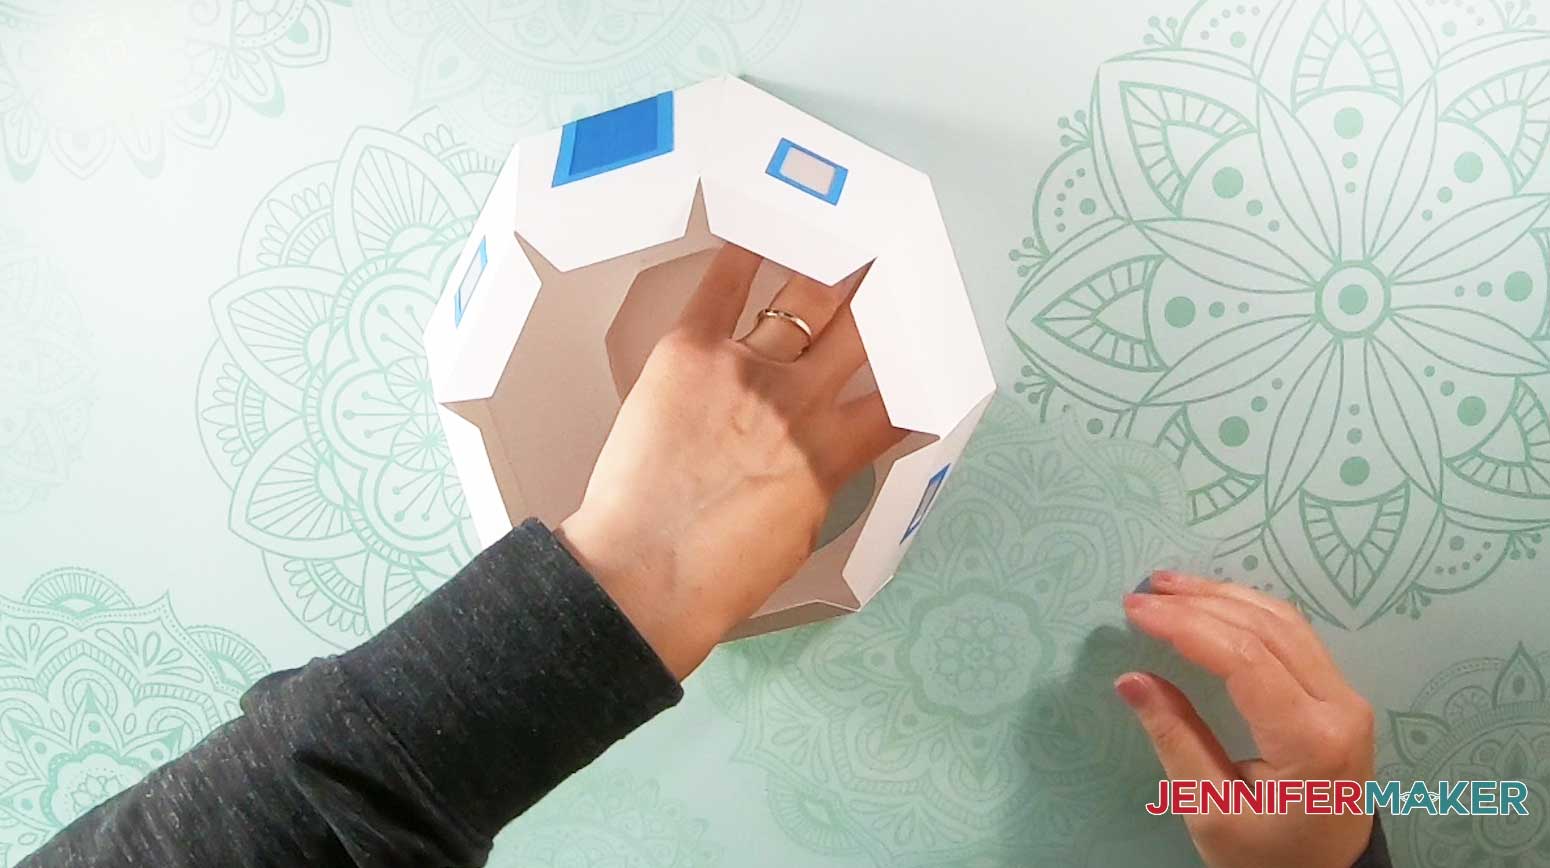
Now, fold all the base sides inward on the score lines as shown below. 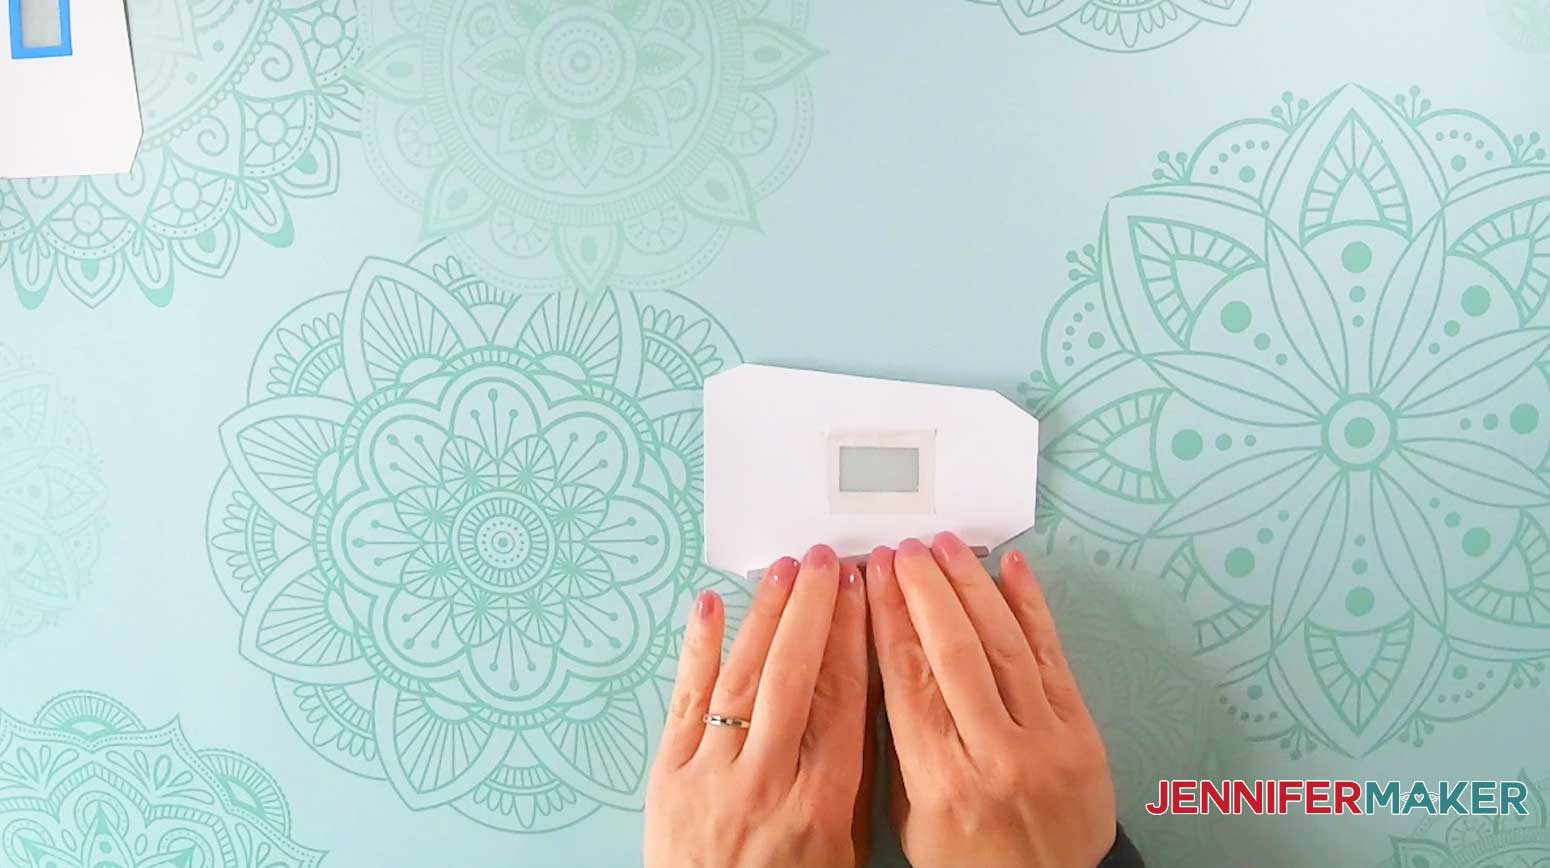
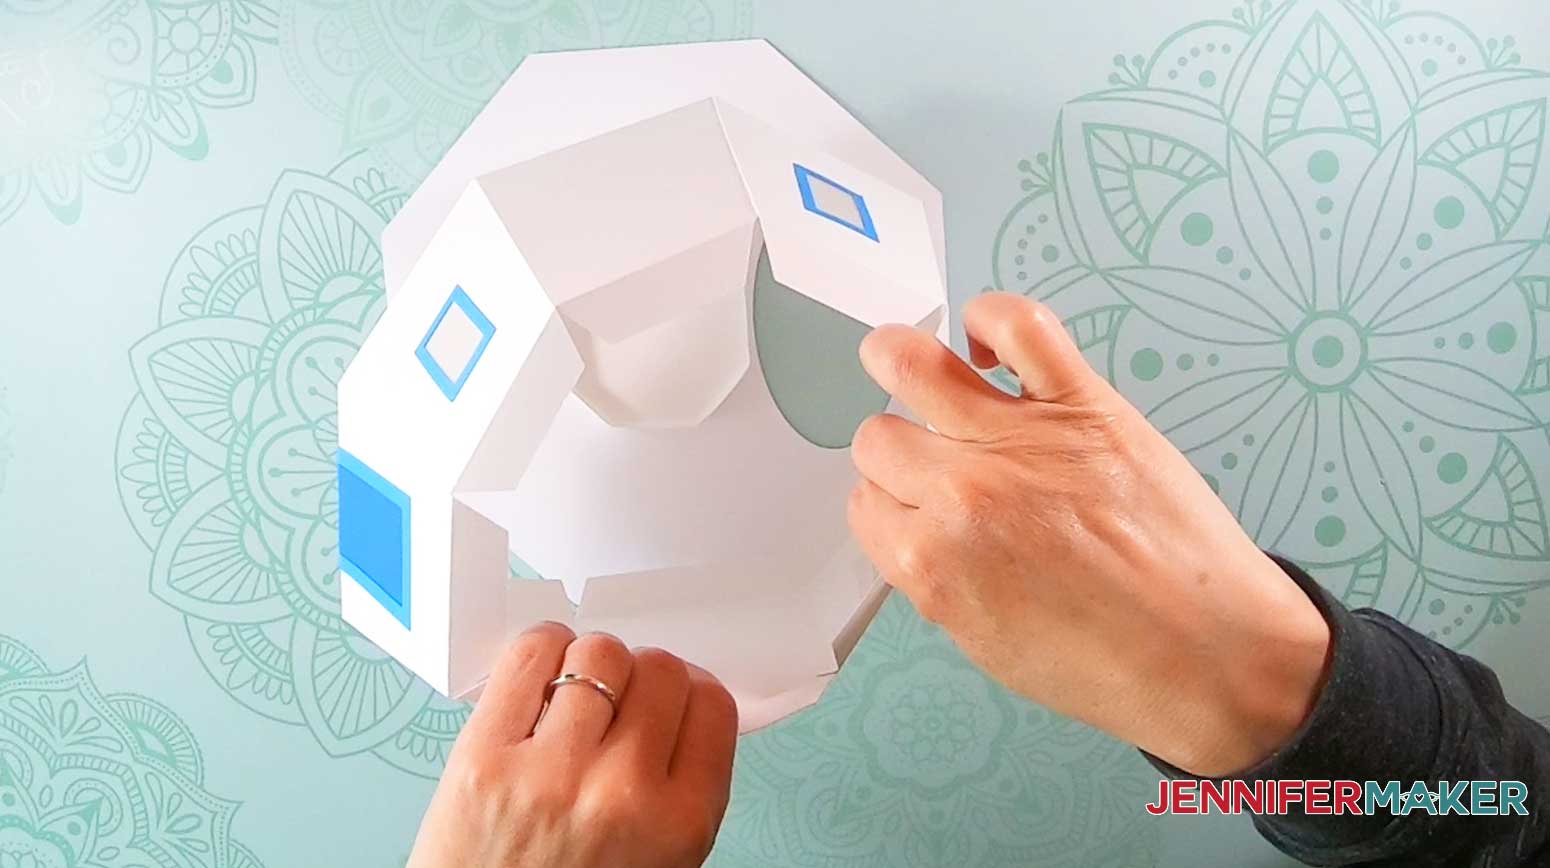
Arrange the paper lighthouse base sections like this, so each plain side is separated by a window.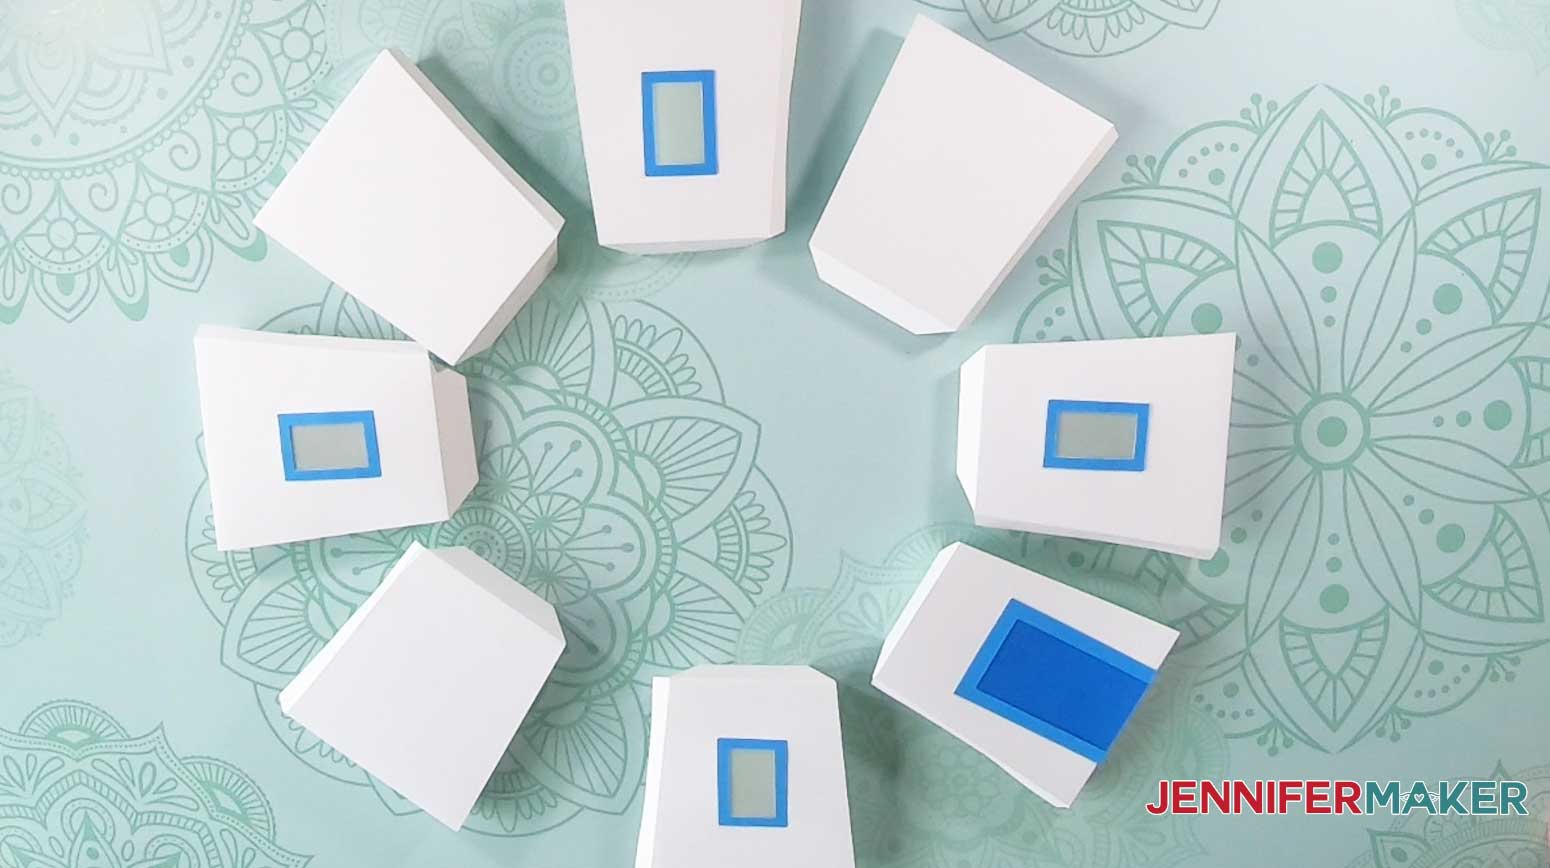
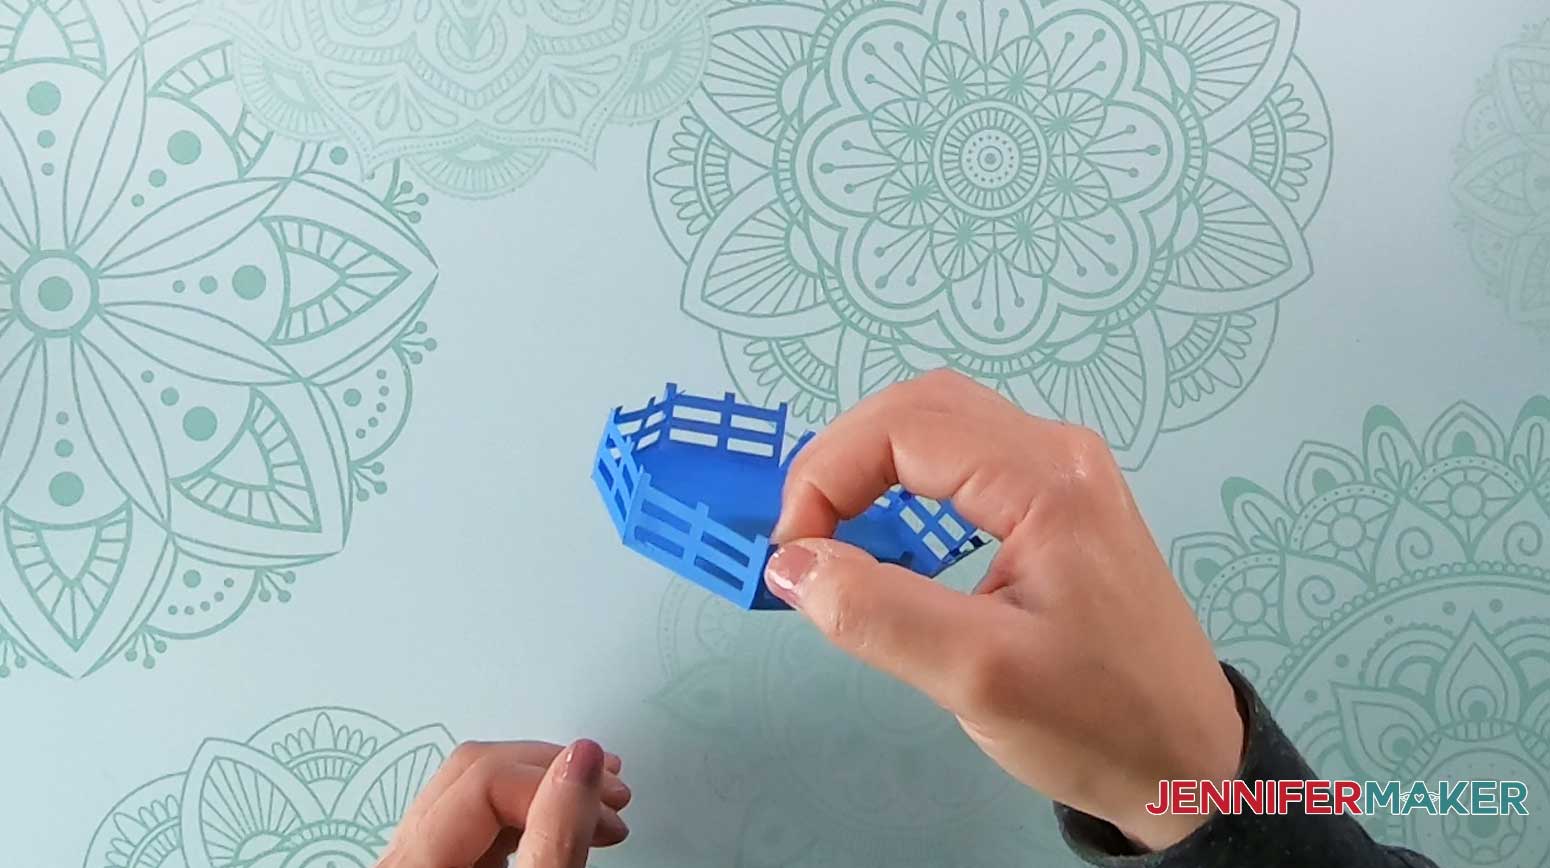
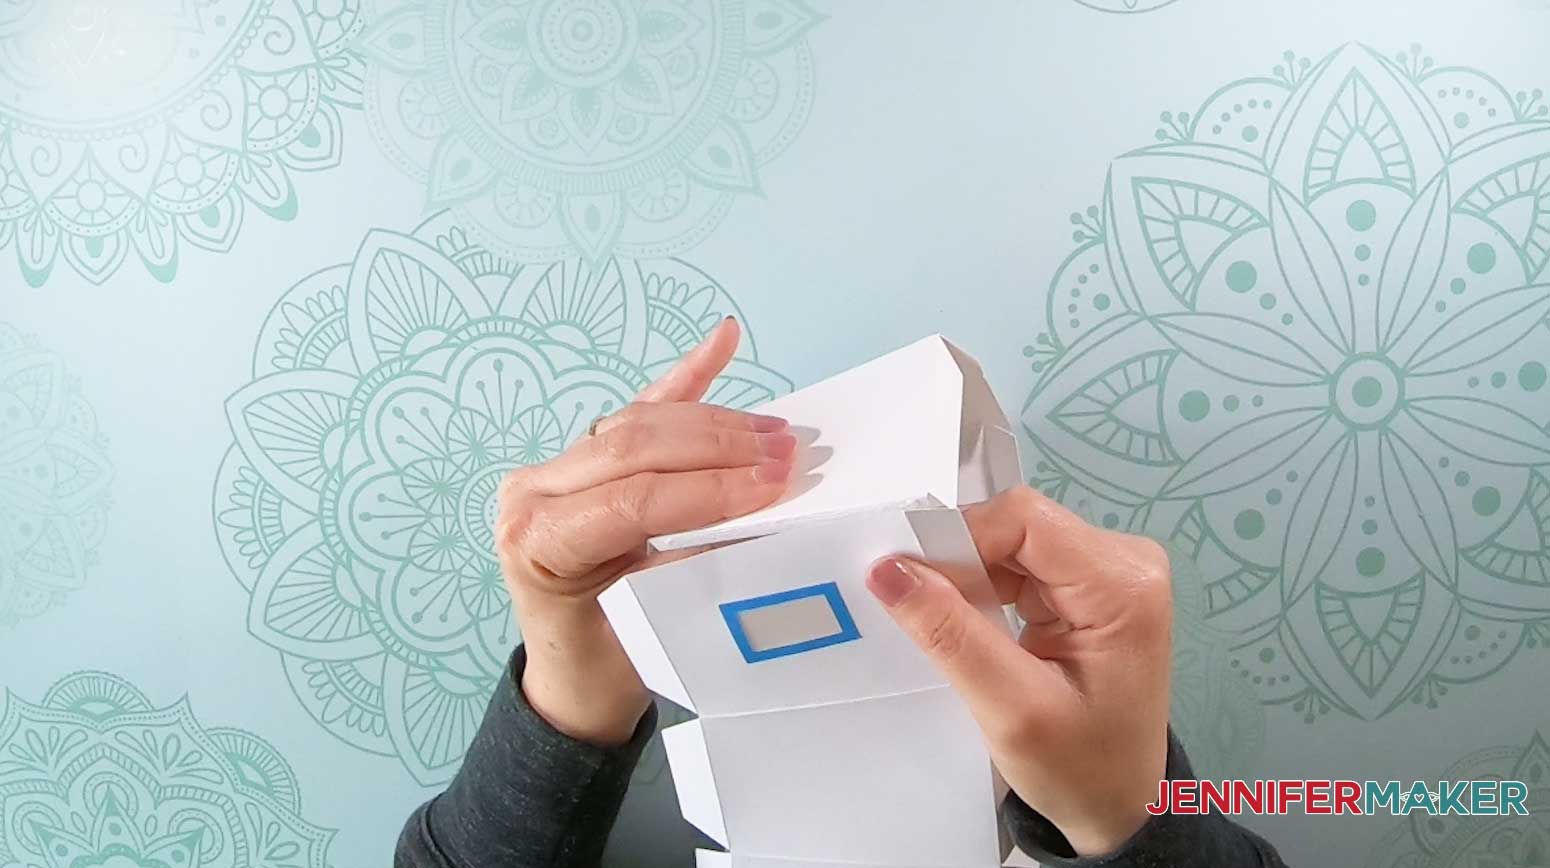
Glue each of the sides together. First, apply glue to a tab and press two sections together, and go around the circle until each side is glued to the one next to it. 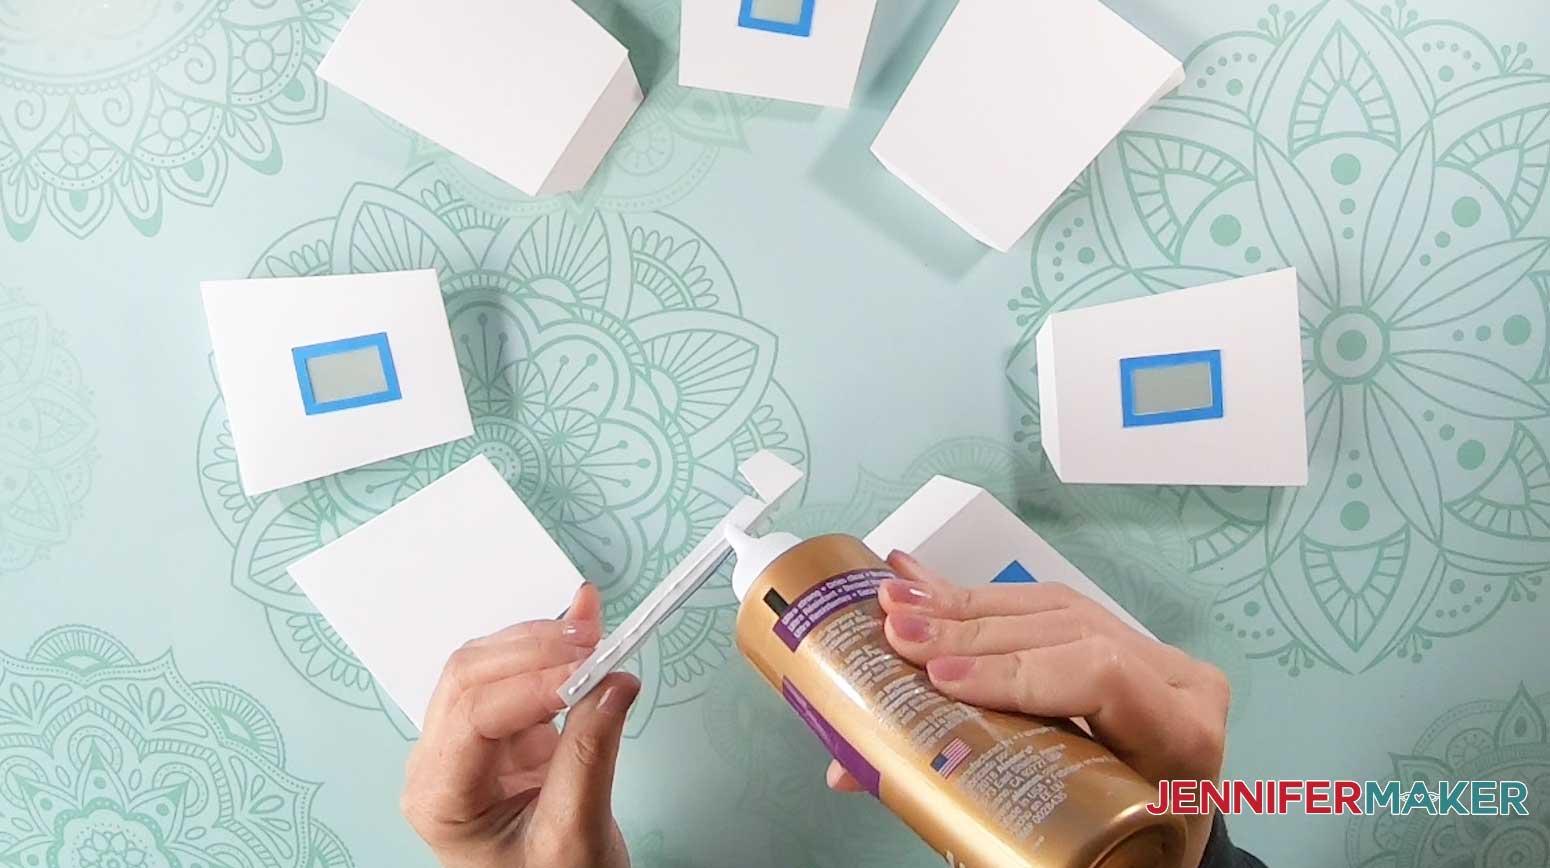
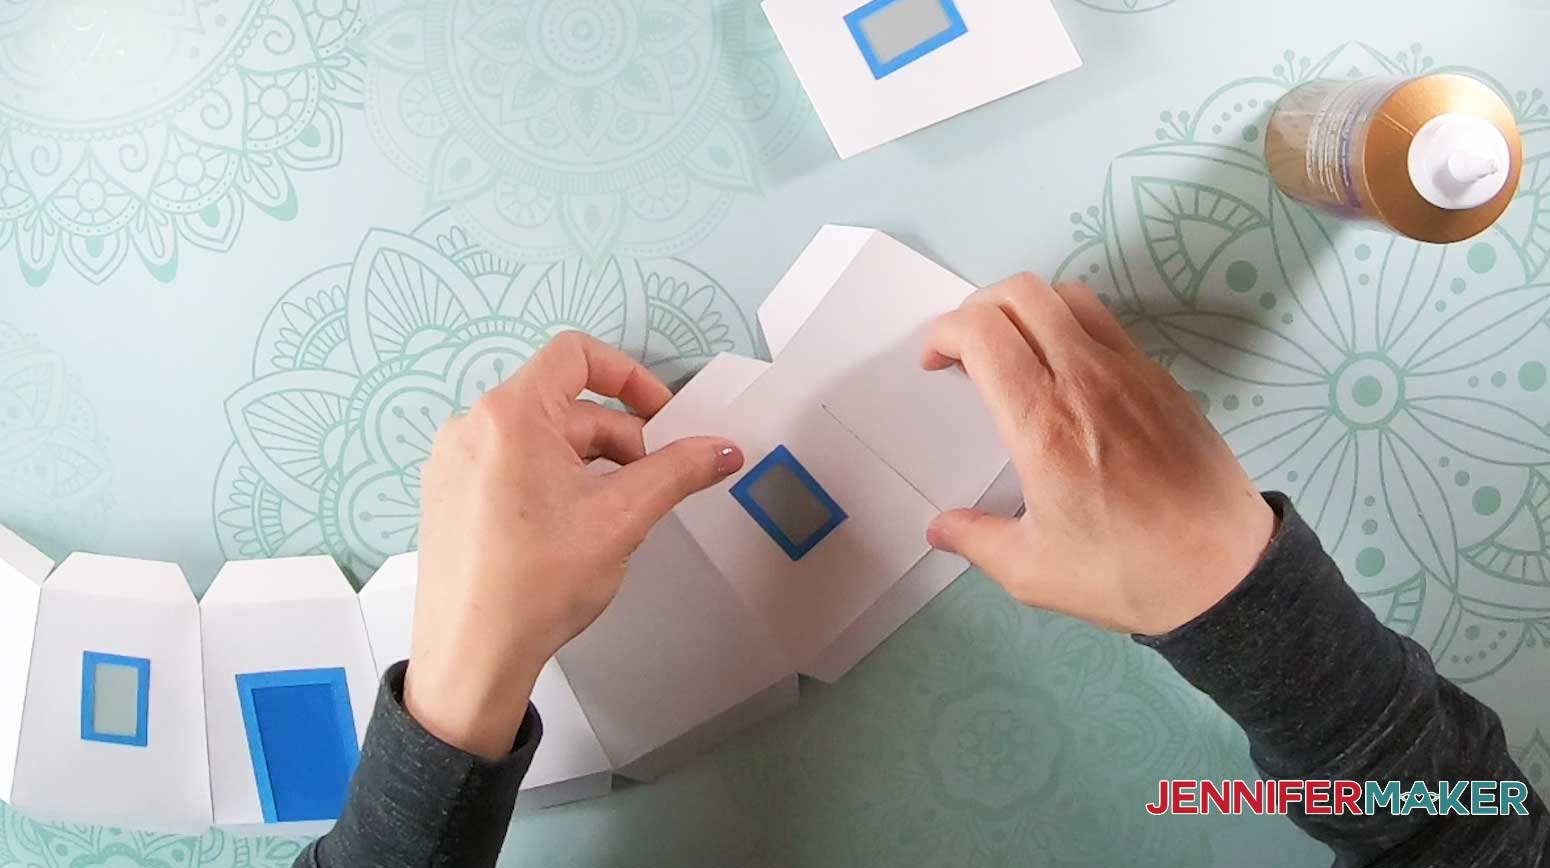
Then complete the bottom window section by gluing them end to end.
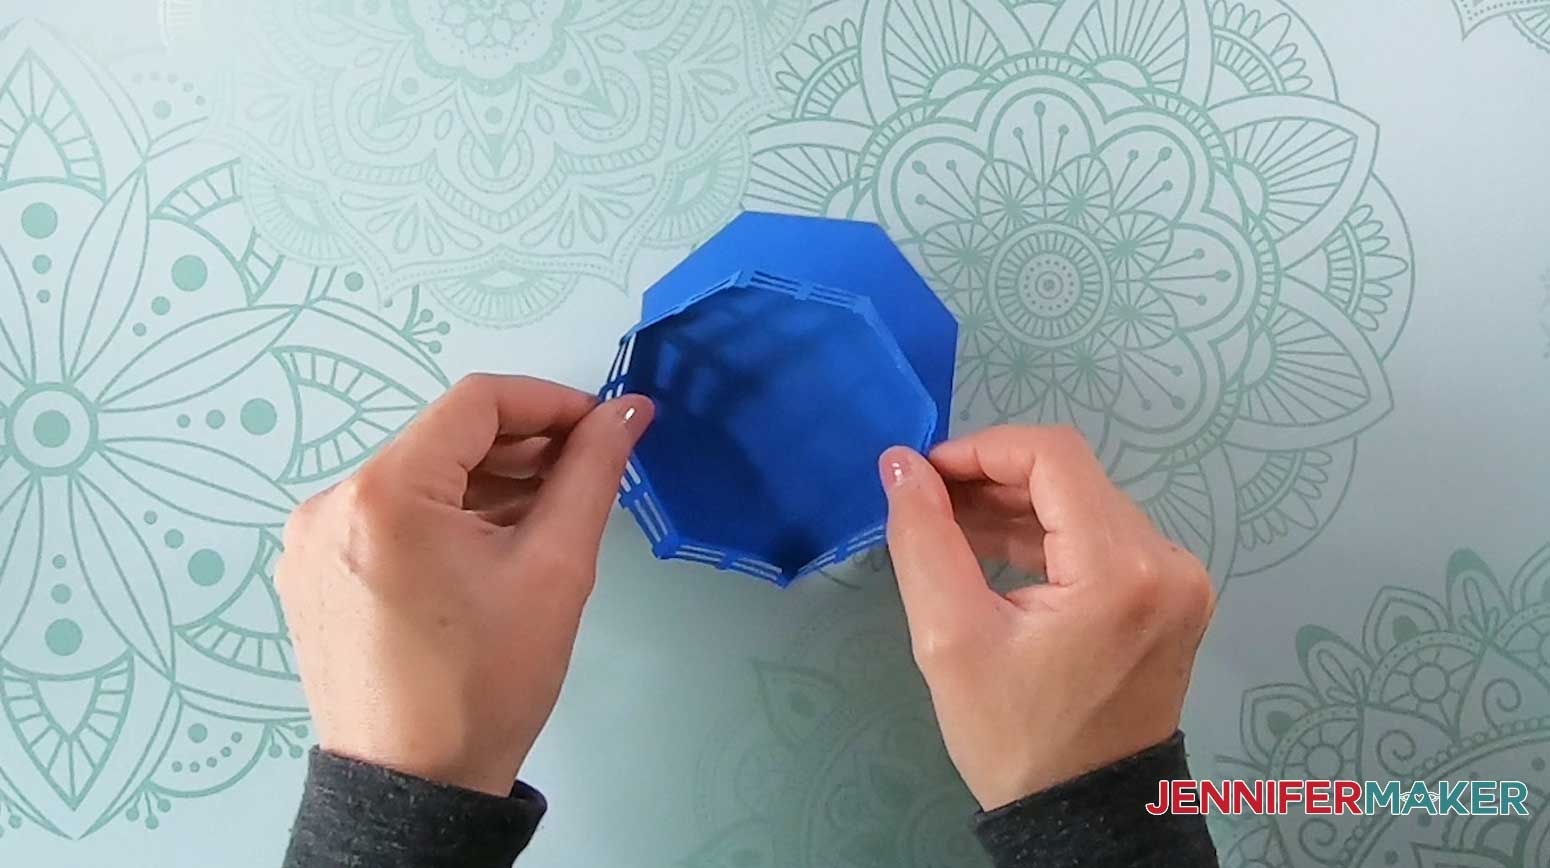
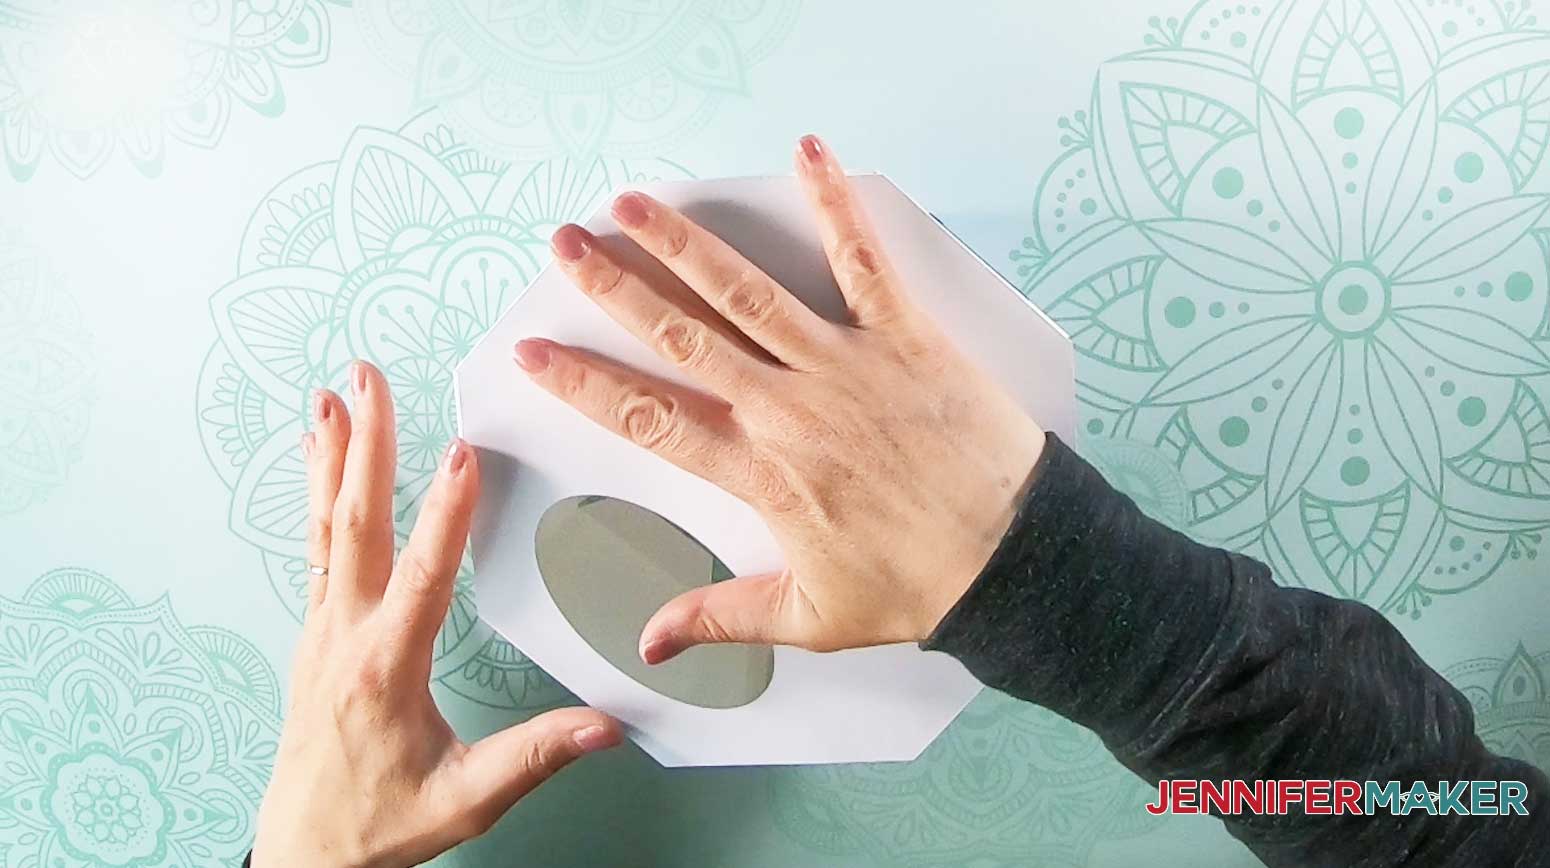
Next, assemble the final tealight holder like you did in step 4. Align it in the center of the paper lighthouse base like this and glue it in place.
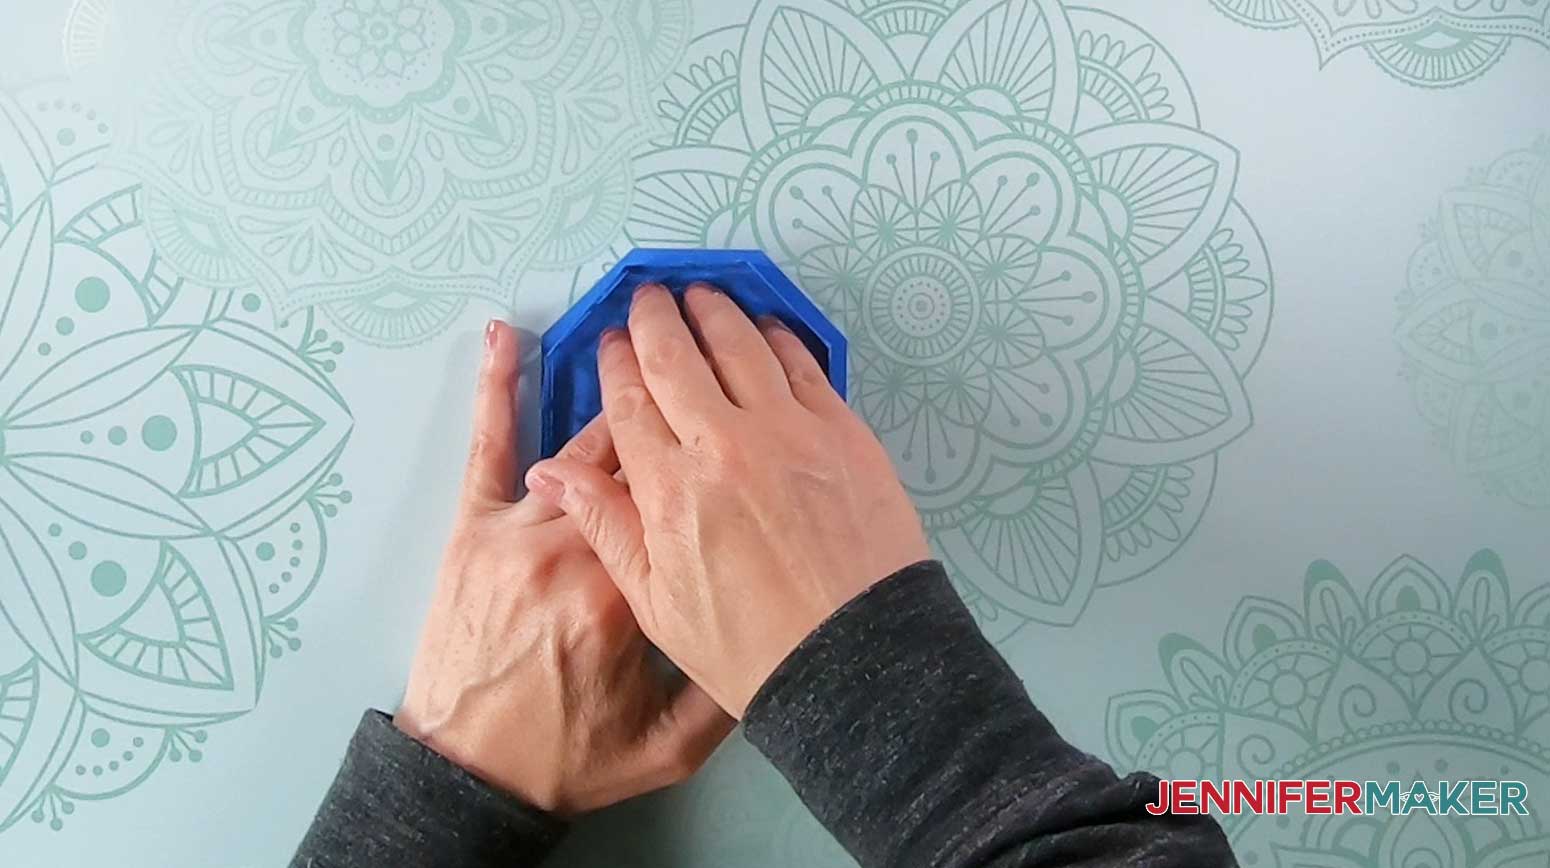
Add glue to the window base tabs. Align them to the base and attach, taking care to line up the octagon edges.
Next, apply glue to the top tabs of the base section. Align them to the bottom of the collar and tealight section and glue into place, taking care to line up the edges perfectly.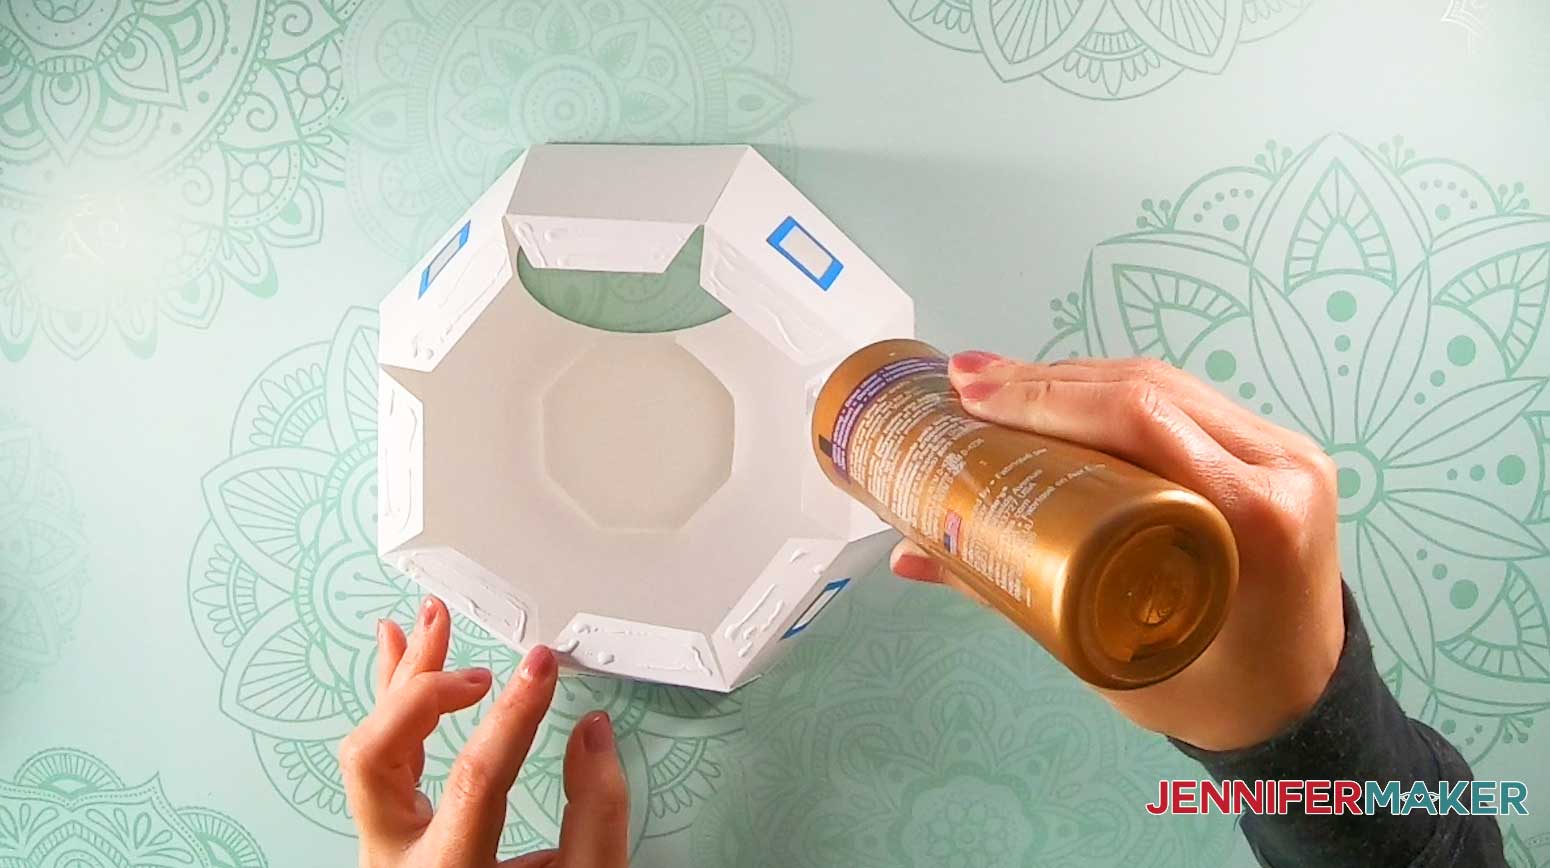
Now, add the base embellishments for your paper lighthouse. First, fold each of the band sections inward along the score lines so the texture will face outward.
Line up the two sections and glue them together at the tab.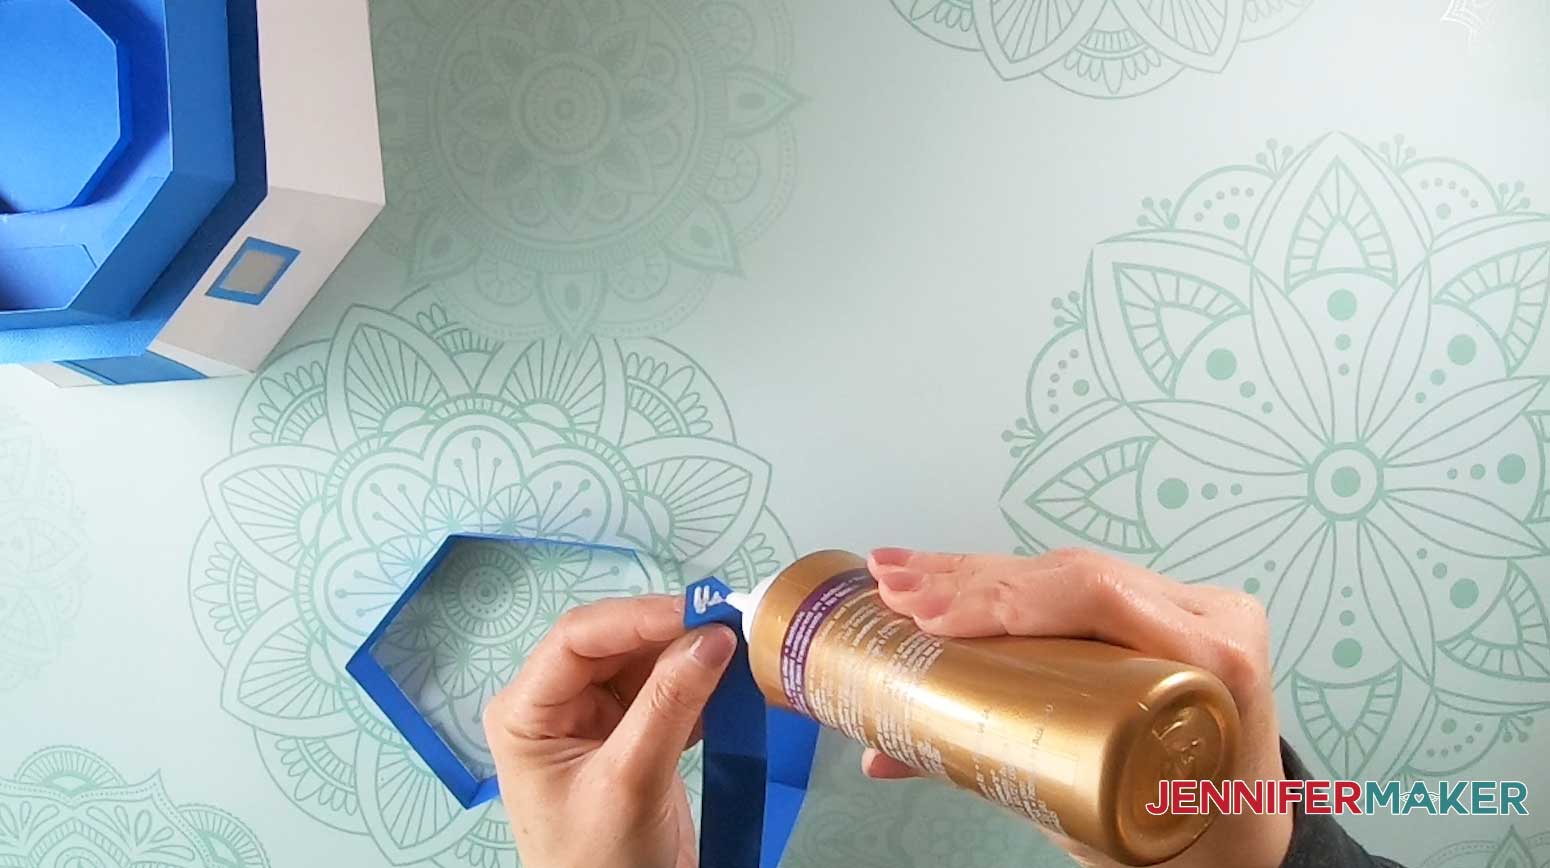
Apply glue to the underside of the band and attach it to the base just flush under the collar section.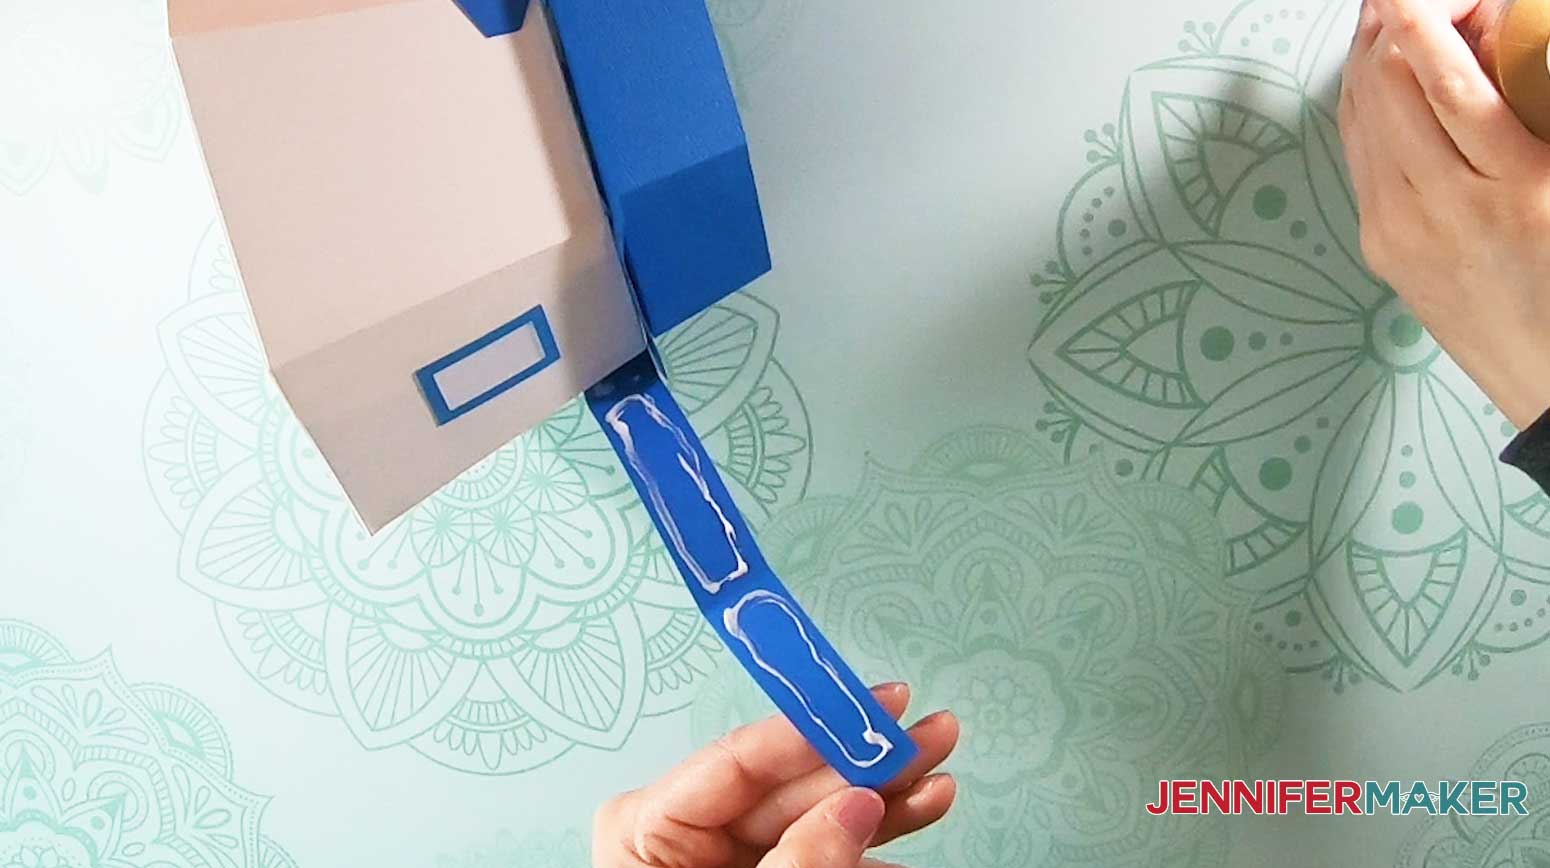
Next, fold the door roof inward along the score lines like this.
Add glue to the inside of the roof tabs and press the triangle piece into place.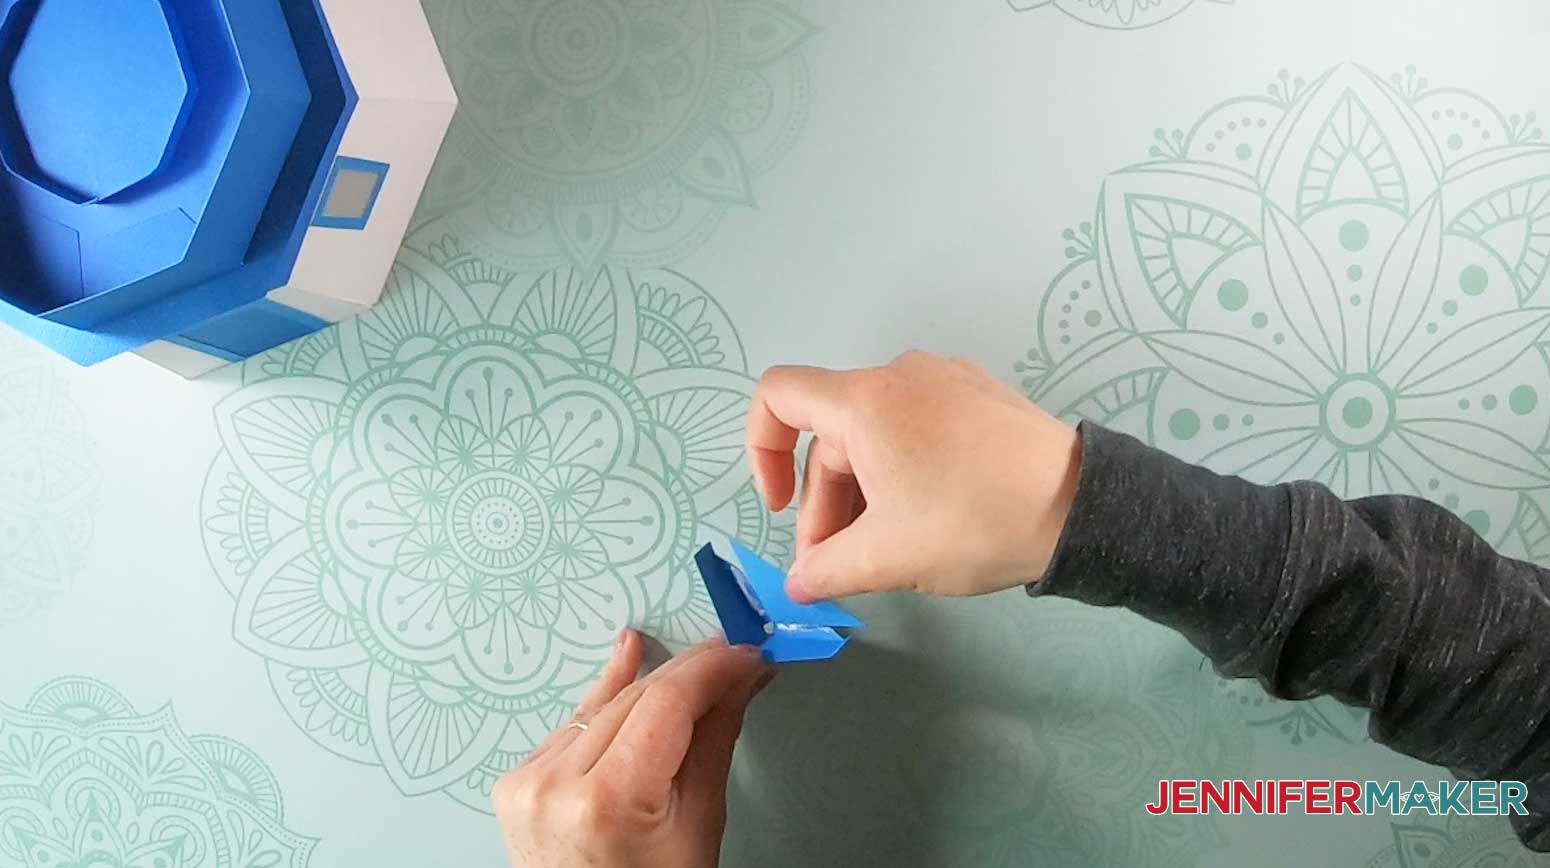
Center and glue the ships wheel icon on the triangle.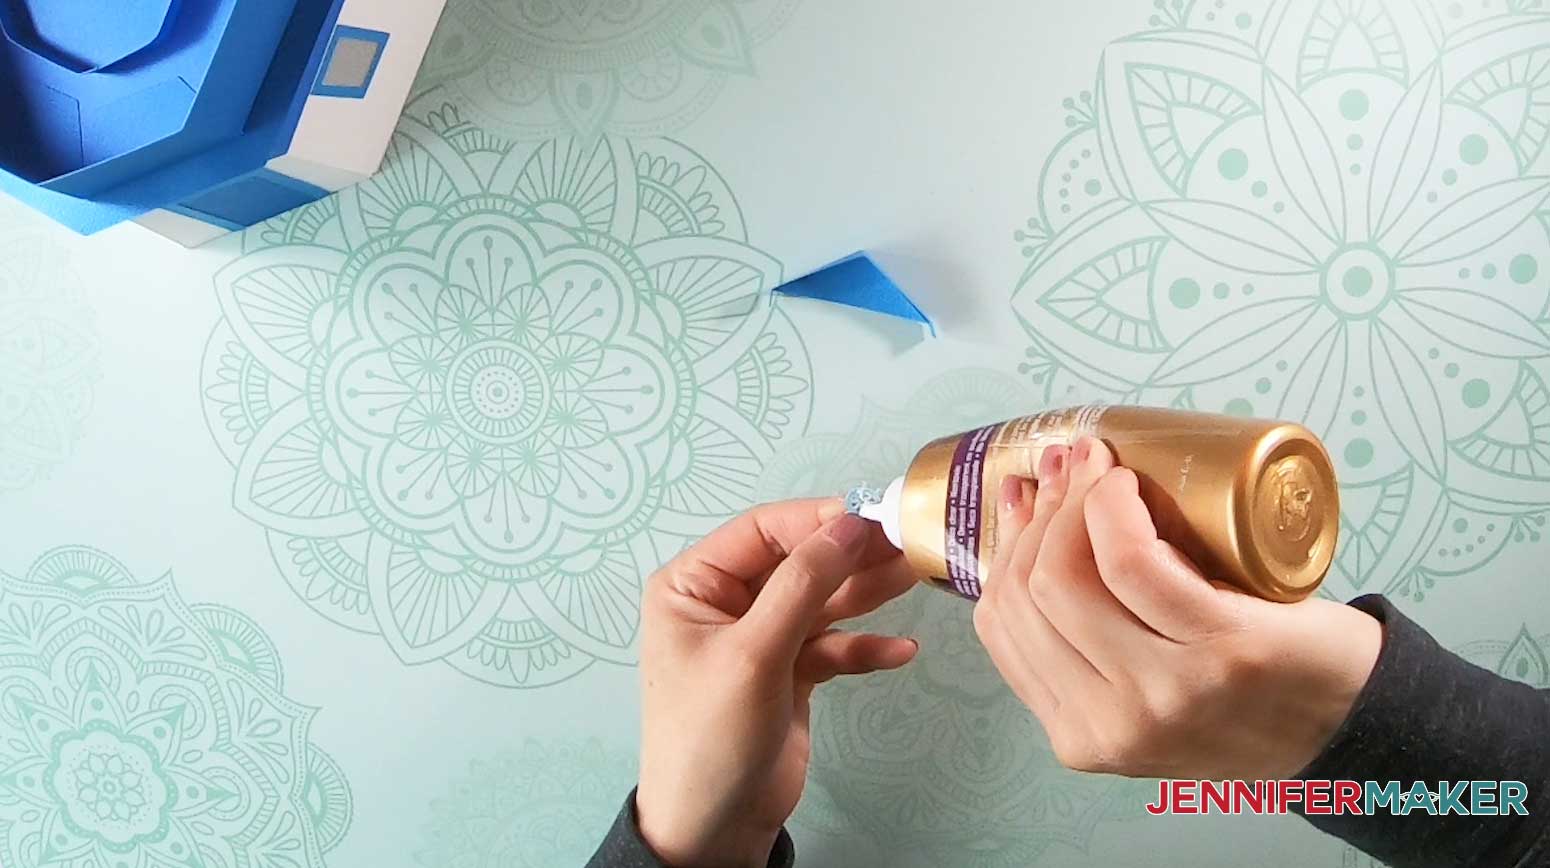
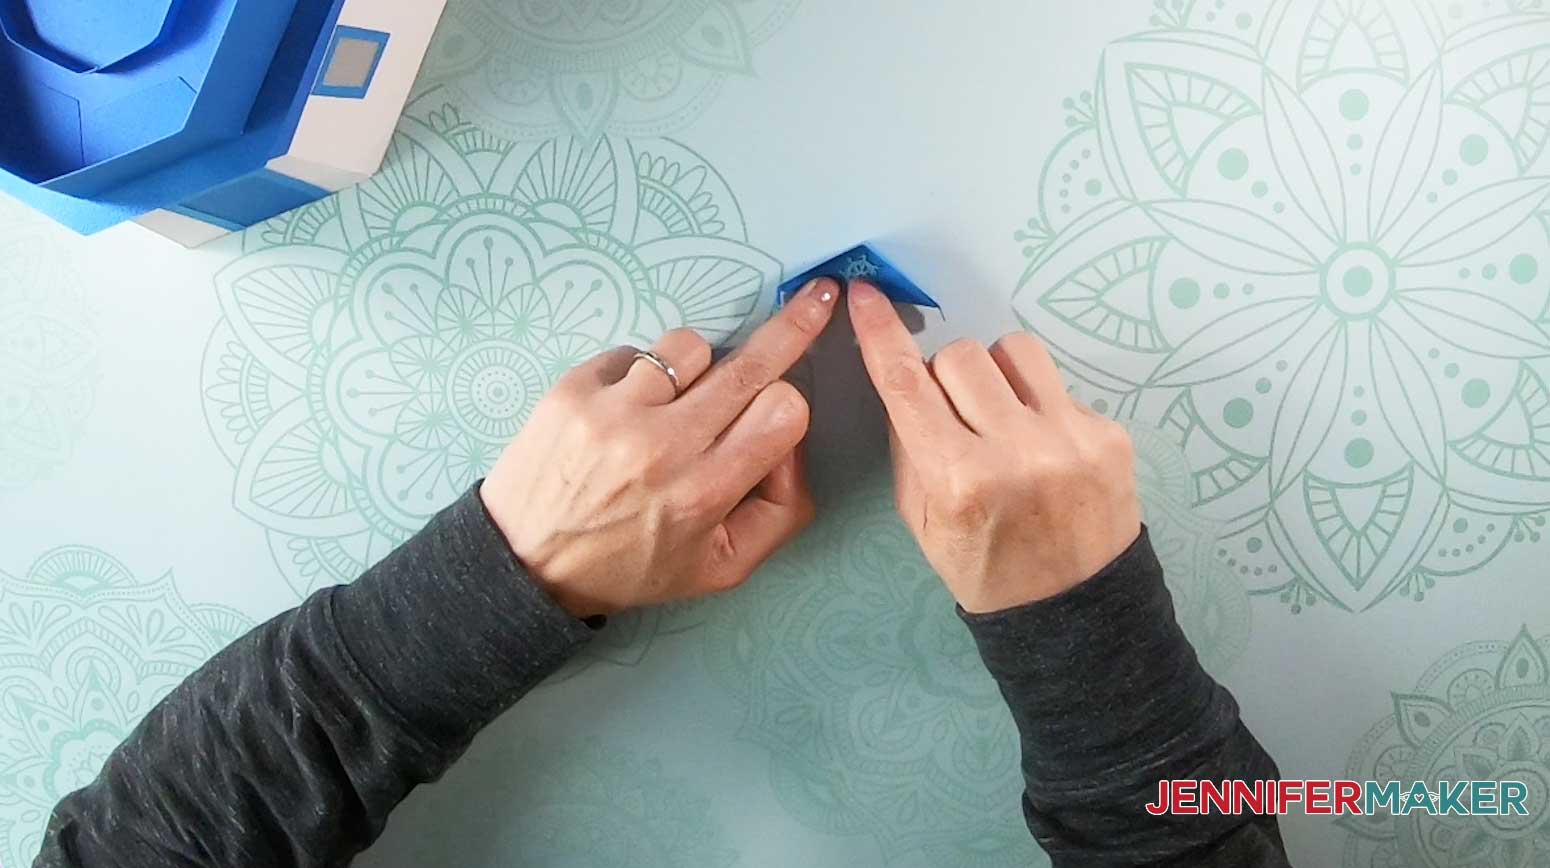
Apply glue to the back of the triangle and align it to the band above the door. Press it into place. 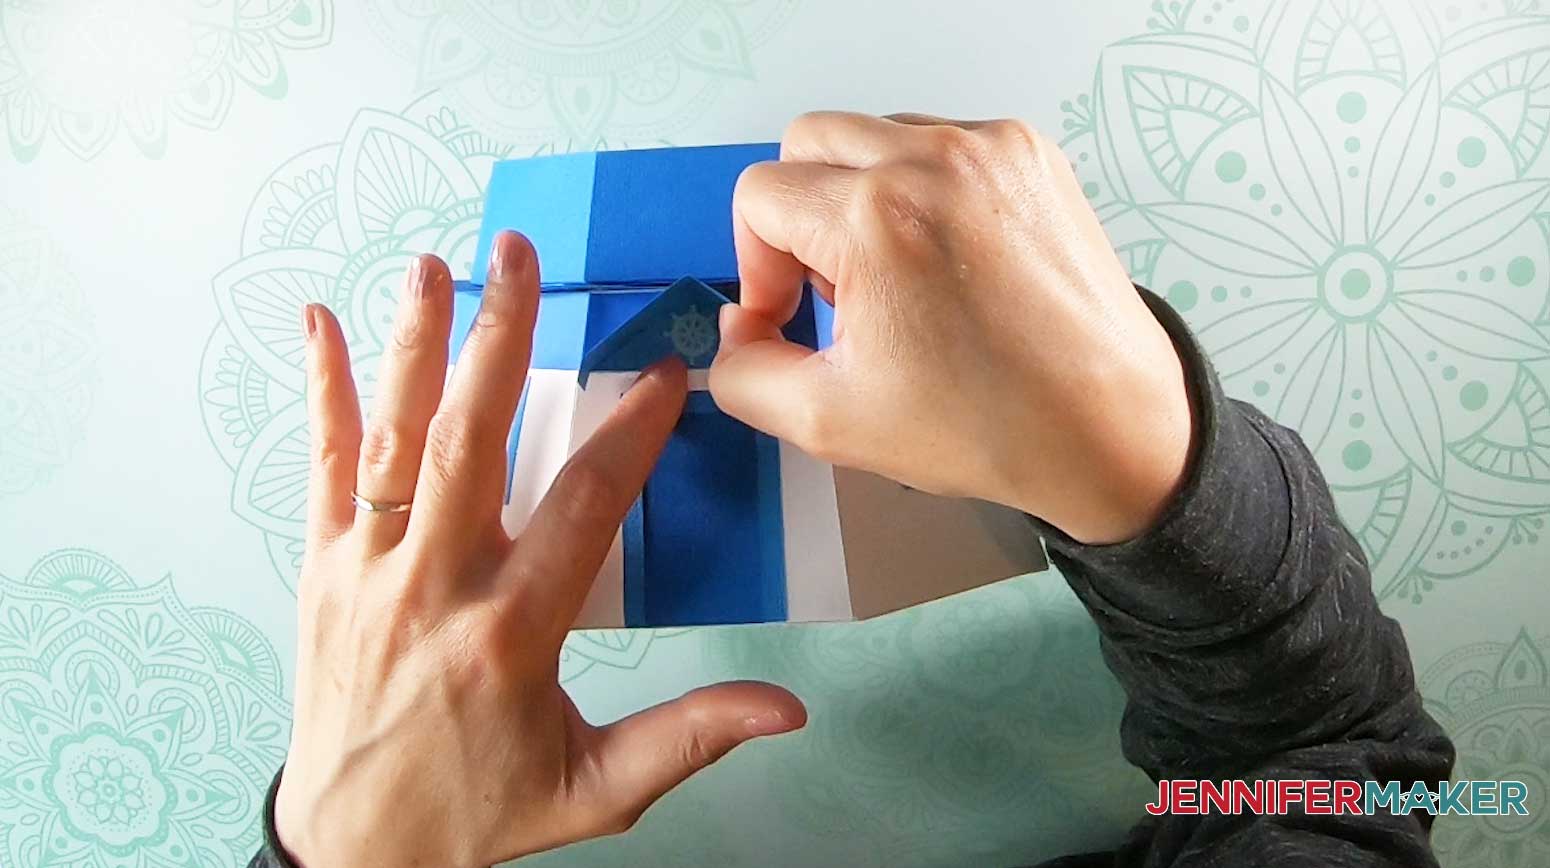
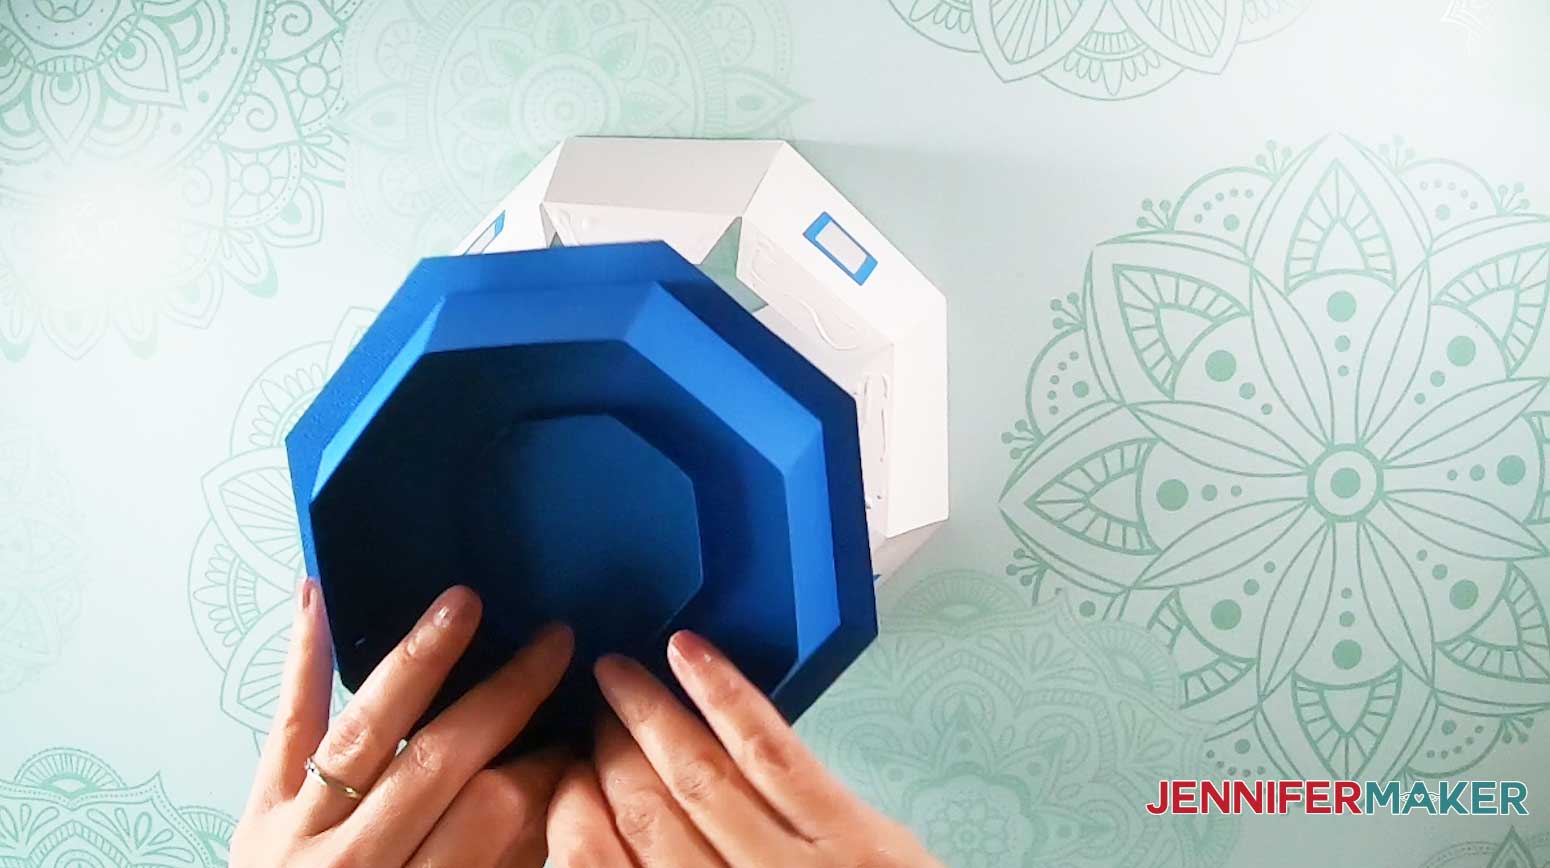
This is what the paper lighthouse base (bottom tier) looks like when it’s assembled: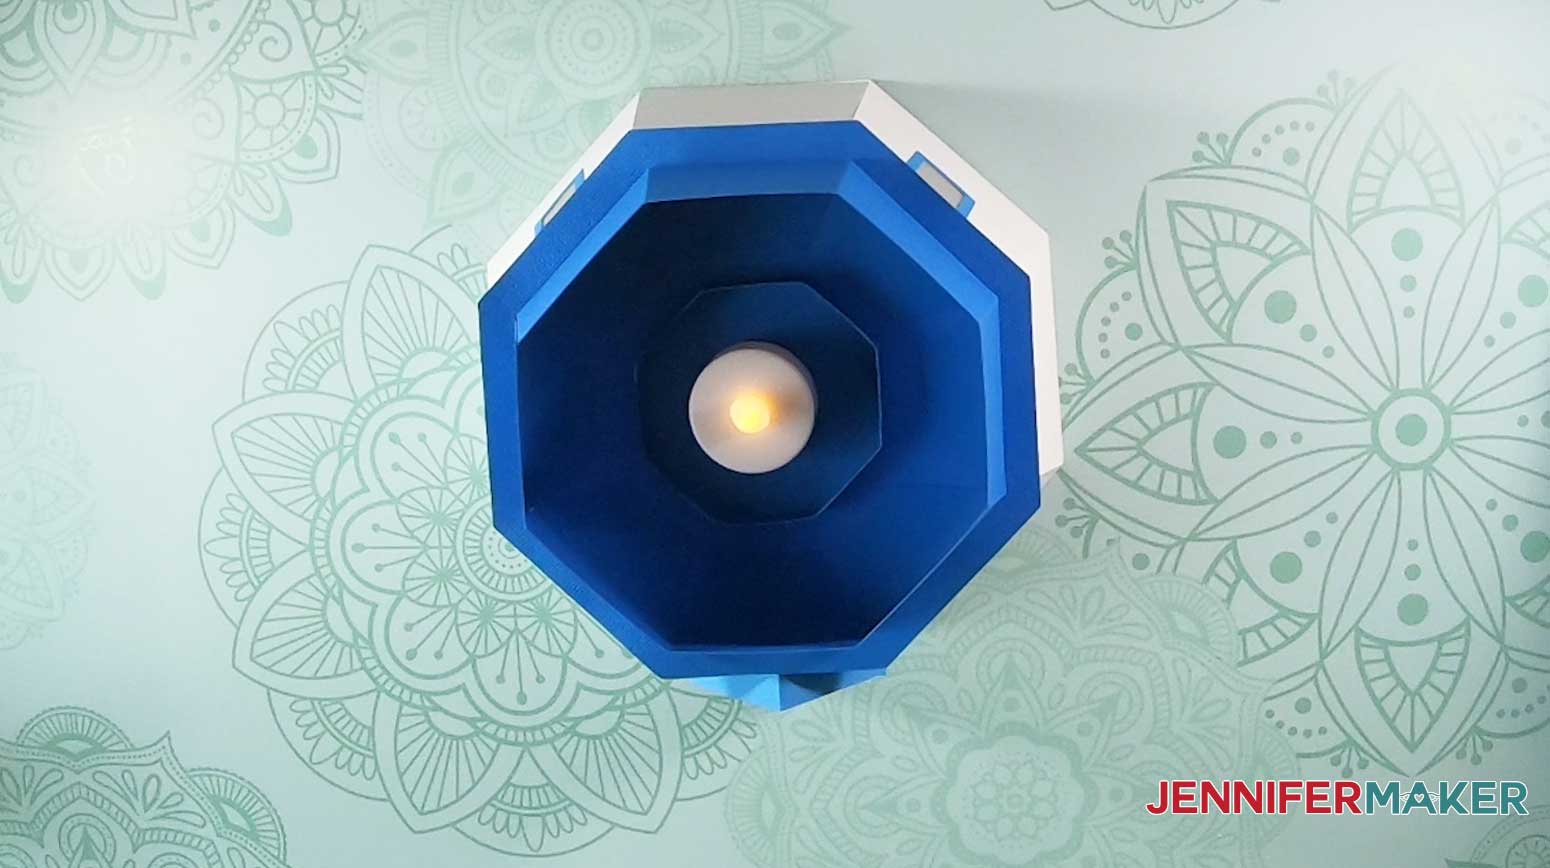
STEP 6: Assemble the paper lighthouse tealight luminary
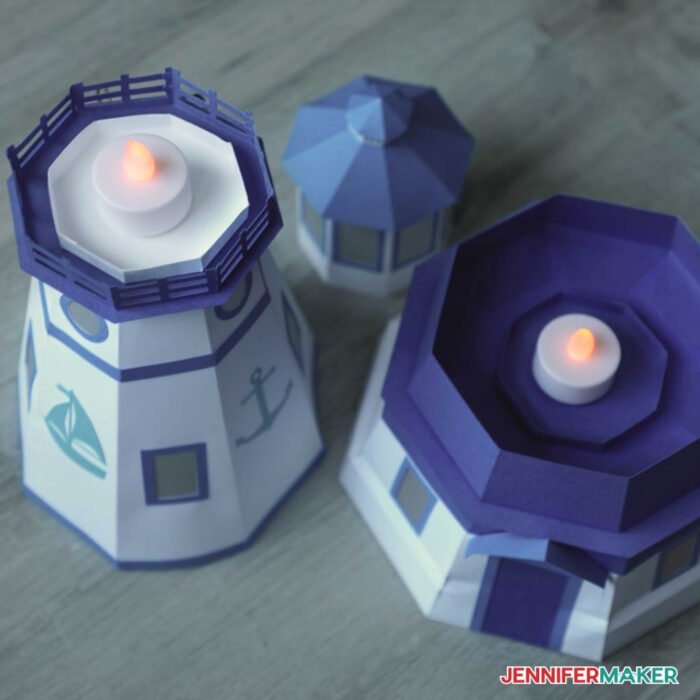
Tuck a battery operated LED tealight into the holder inside the paper lighthouse base, and add one to each of the other two holders. 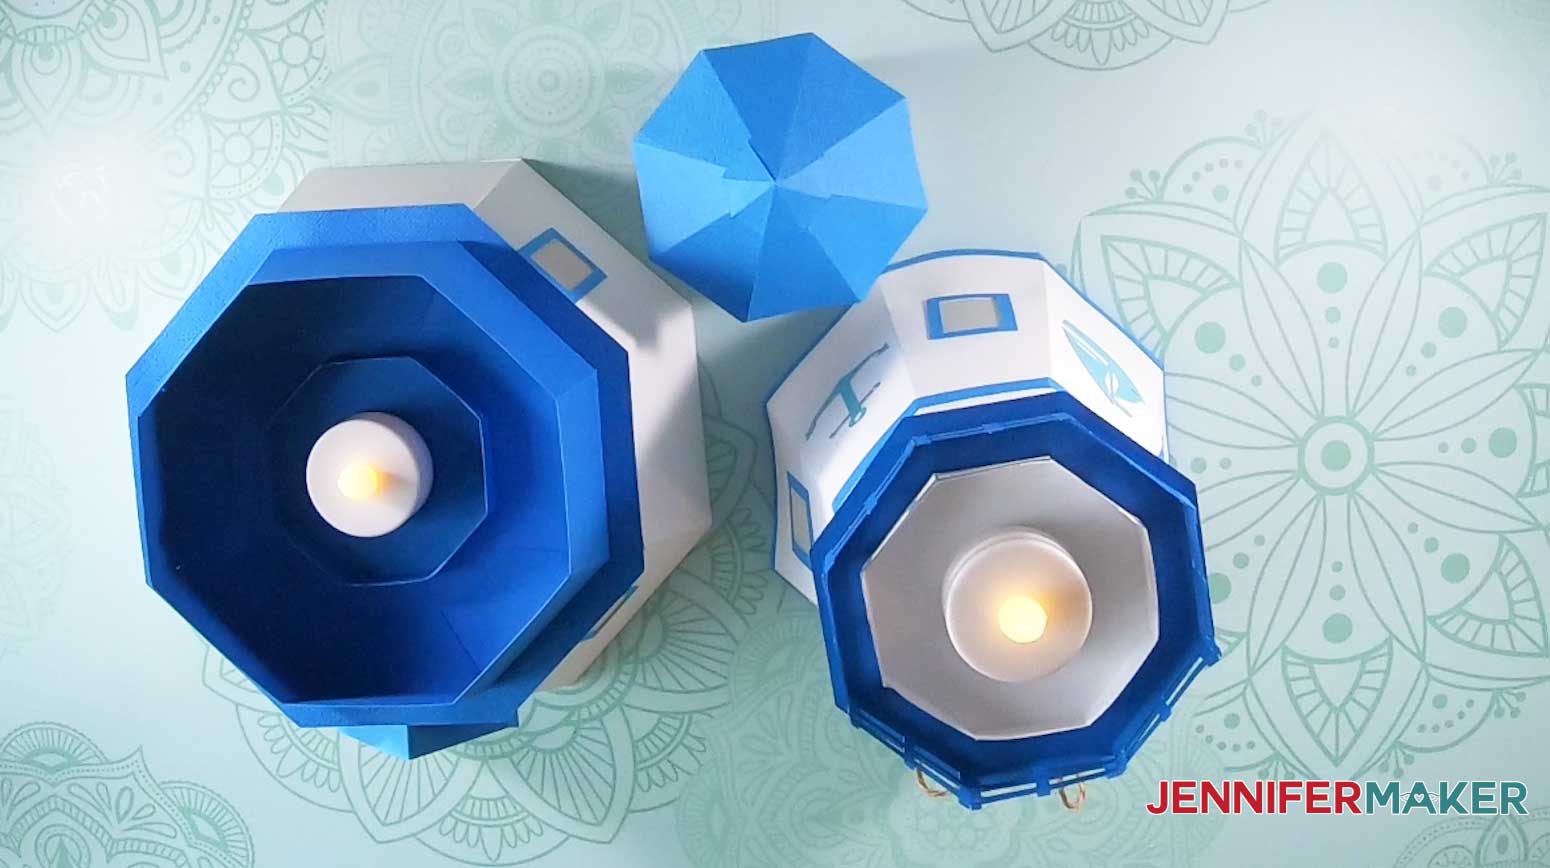
Align and place the cupola on the tower section.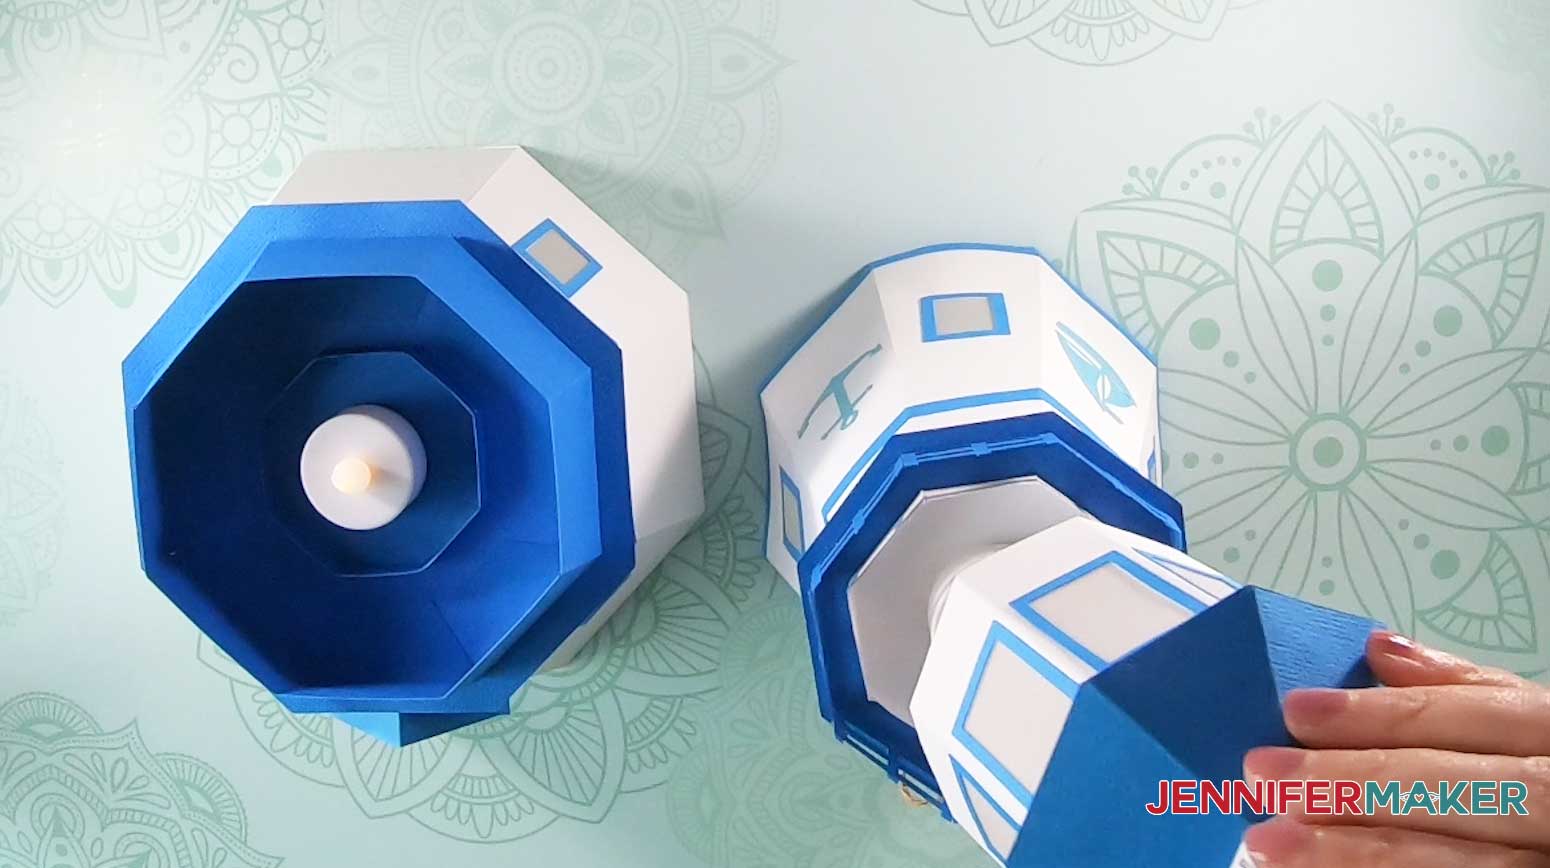
Align and place the cupola and tower on the paper lighthouse base section.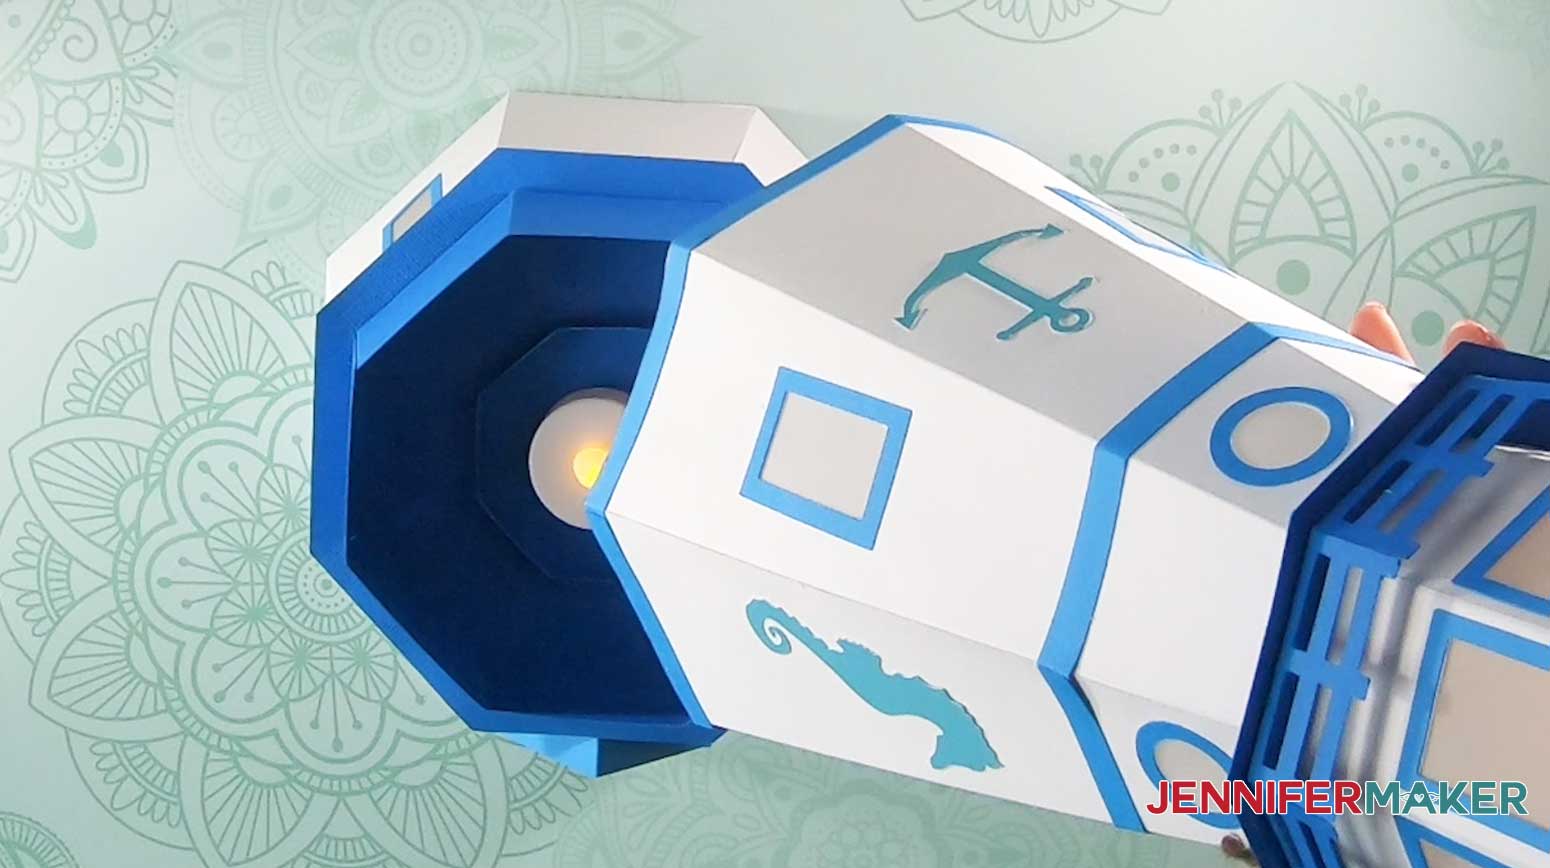
STEP 7: Show It Off
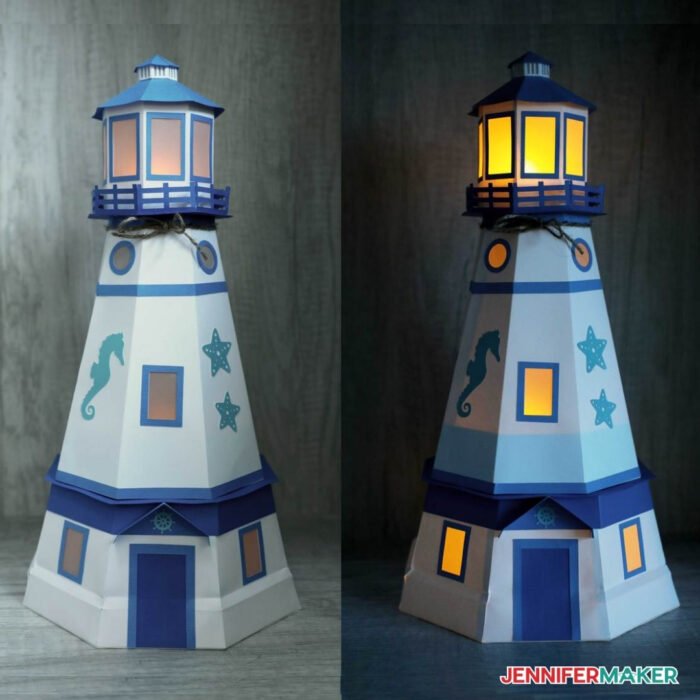
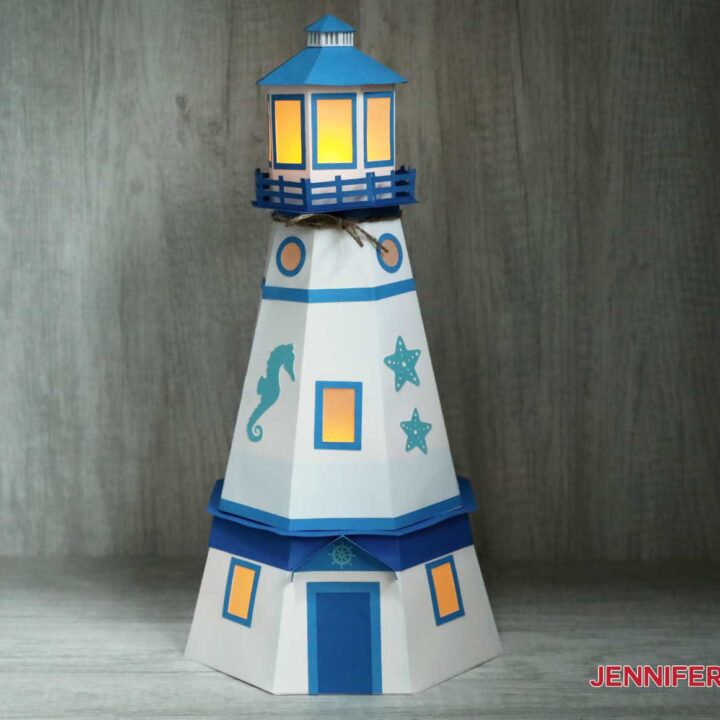
We’re done! This is what the paper lighthouse luminary looks like assembled and lit up!

Notes
ACKNOWLEDGMENTS
Special thanks to the JenniferMaker Design Fairy Team, specifically Design Fairy Kelly, for helping me design this magical lighthouse luminary.
Recommended Products
As an Amazon Associate and member of other affiliate programs, I earn from qualifying purchases.

Answers to Your Questions About How to Make a Fun Paper Lighthouse
Q: Can I use copy paper or construction paper instead?
No, copy paper won’t be strong enough, and construction paper is not a high enough quality to withstand the intricate cuts. I recommend an 80 lb. cardstock for the best results.
Q: Can I make this paper lighthouse smaller?
Yes, but be aware that if it is significantly smaller, it will be harder to cut and assemble. View my Resizing Tutorial to learn how to resize an SVG cut file.
Q: I don’t have vellum. Is there something else I can use?
Yes, you can use another paper that is slightly opaque but allows some light to pass, such as wax paper or a very thin copy paper.
Q: What do I use shimmer cardstock for?
You can use it for your decorations or any place you want to give your lighthouse a little extra pizzazz. It’s entirely optional. If you don’t have shimmer cardstock, you can use regular cardstock.
Q: My score lines are not pre-set like you mention in your assembly video. What do I do?
You will need to select each layer that should be a score line, change it to score in the Operation menu, then attach the score line to the base layer. See my scoring tutorial for more details.
Get my free SVG files to create a Stunning Paper Lighthouse Luminary
I’d love to see your paper lighthouse projects and how you choose to decorate them! Please share a photo in our Facebook group or tag me on social media with #jennifermaker.
Love,

Want to remember this? Save this Paper Lighthouse Tutorial to your favorite Pinterest Board!


Your light house is so fun and creative. Living close to the shore makes this not only a symbol of summer but an icon of our area. Thank you so much for sharing your imagination and talent! 🙂