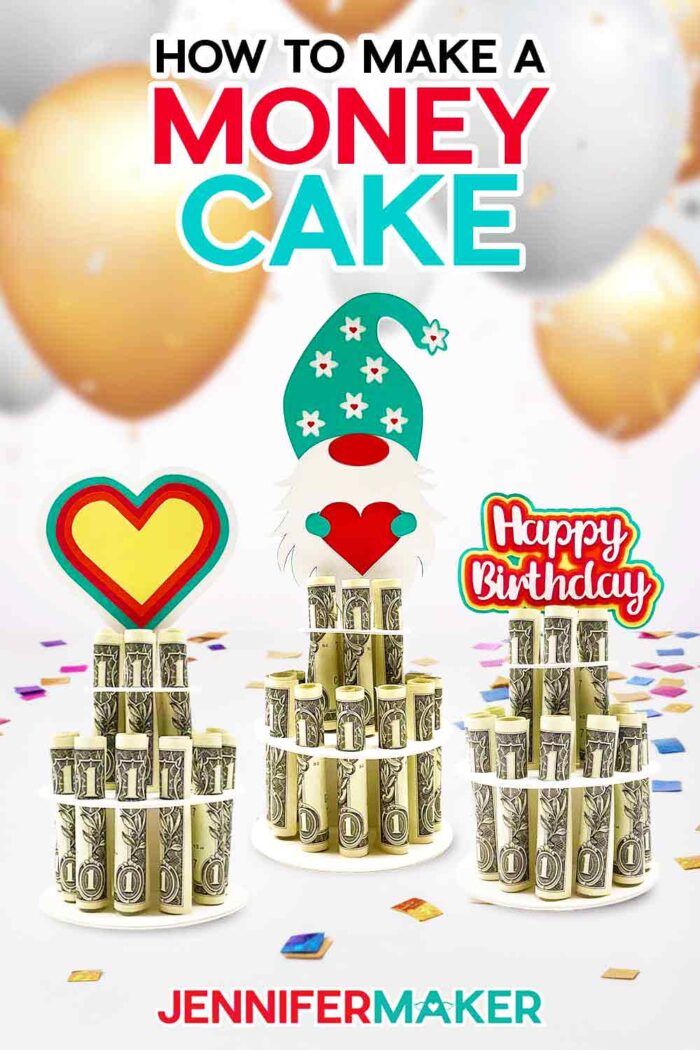
Gift cash in a fun way using a money cake!
Money is a popular gift, but a handmade presentation can really sweeten the deal. Now, you can wow your loved ones with a homemade money cake! My free SVG collection has six cute designs you can make with a cutting machine or cut by hand. And since they’re pretty small, you can use my money cake SVG with a Cricut Joy, too. I’ll even show you how to make them with one or two tiers!
Want to save this project? Enter your email below and we’ll send the project straight to your inbox.
Watch my complete step-by-step tutorial on how to make a money cake:

You might be asking, “What is a money cake?” There are a few different types, including one where you hide money in a real cake! But, since I’m more of a crafter than a baker, I made the cardstock kind that holds rolled bills in the shape of a cake!
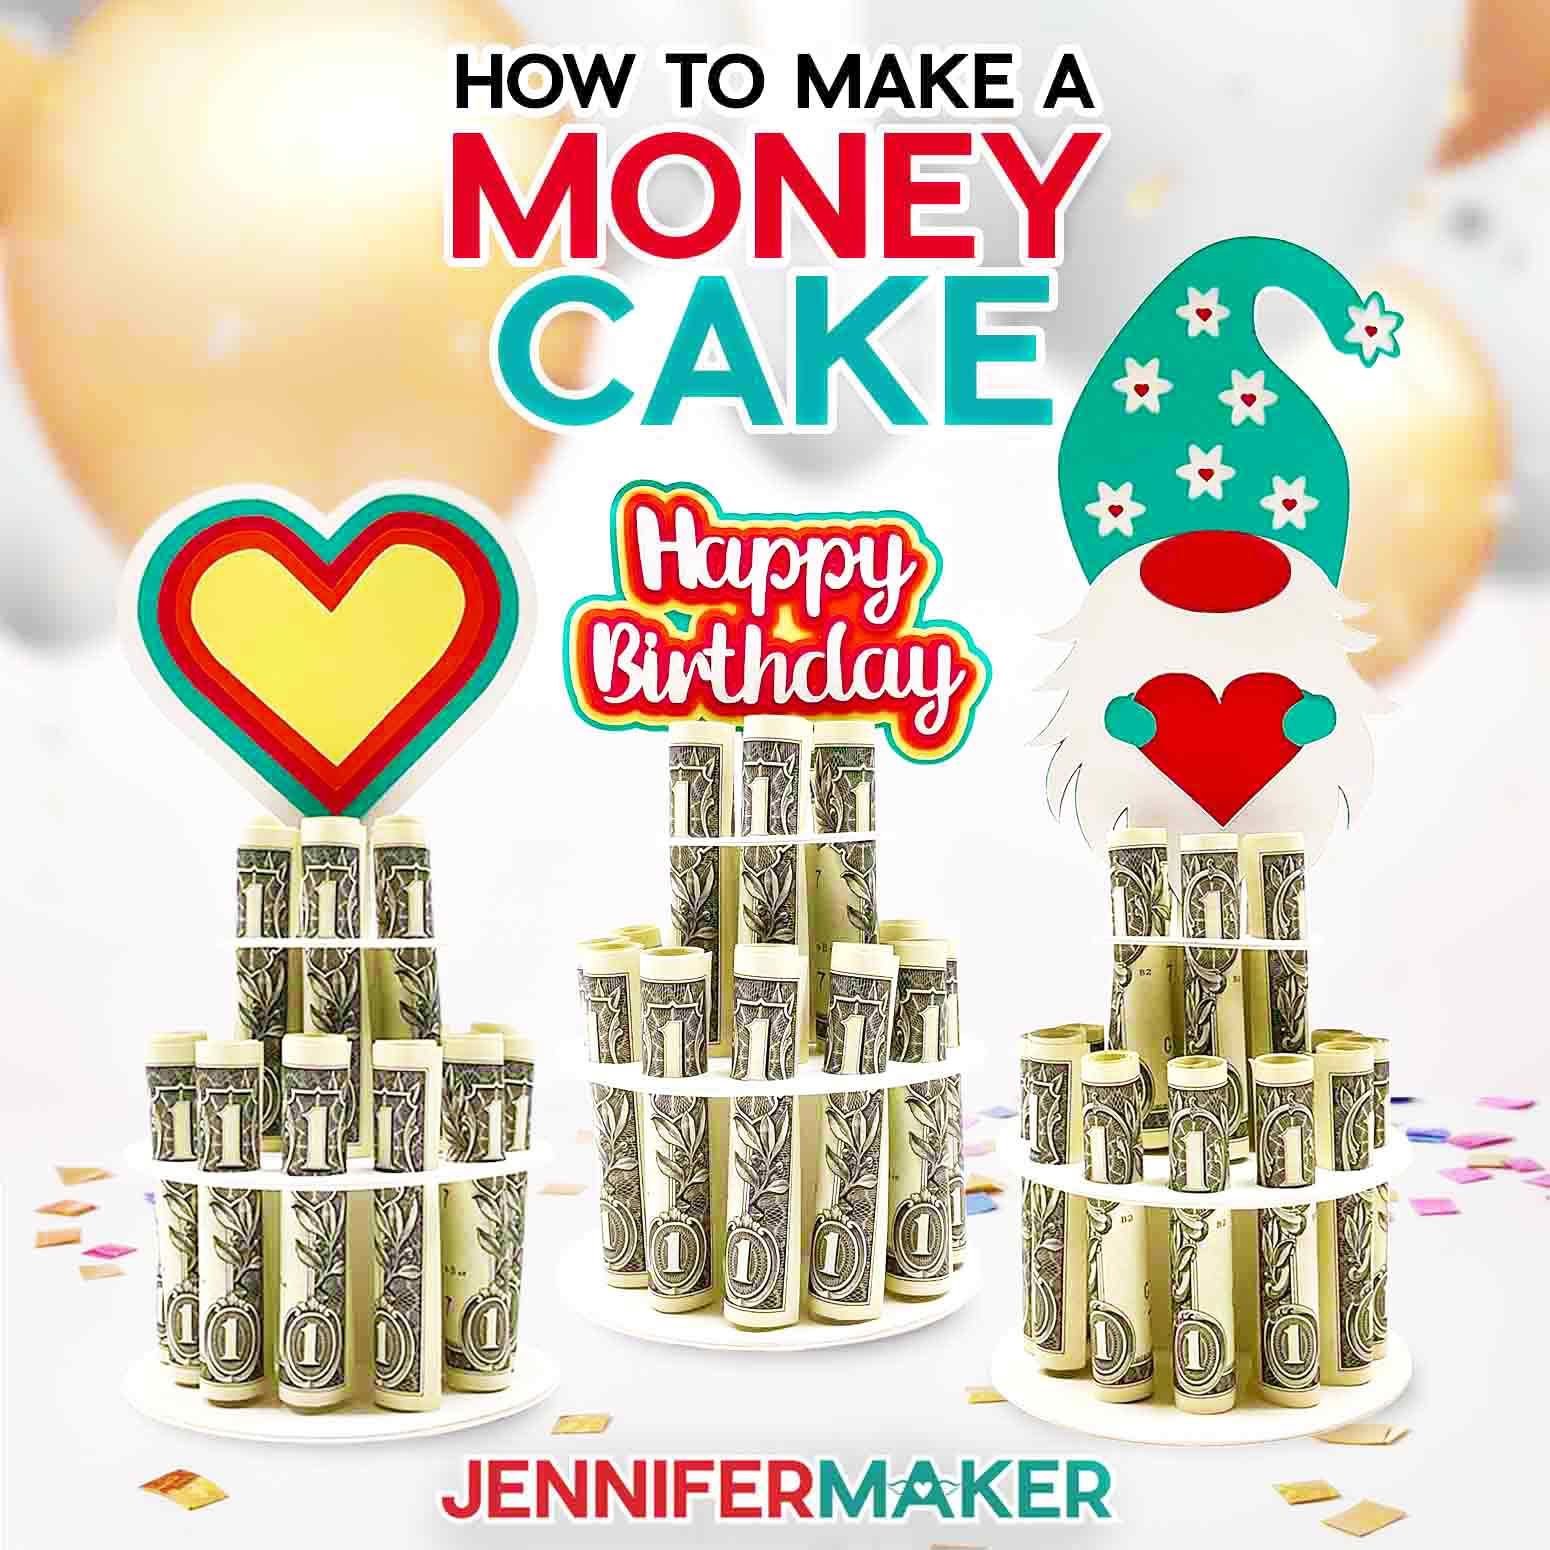
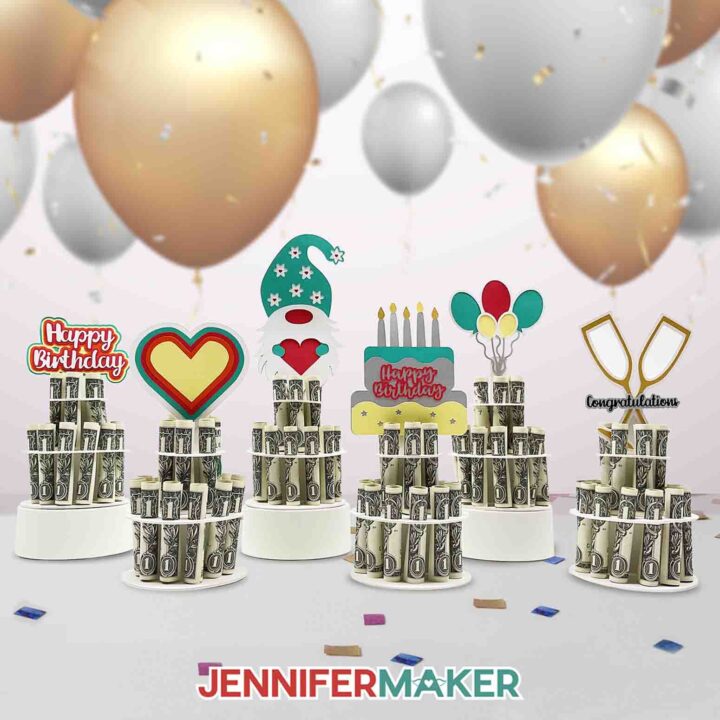
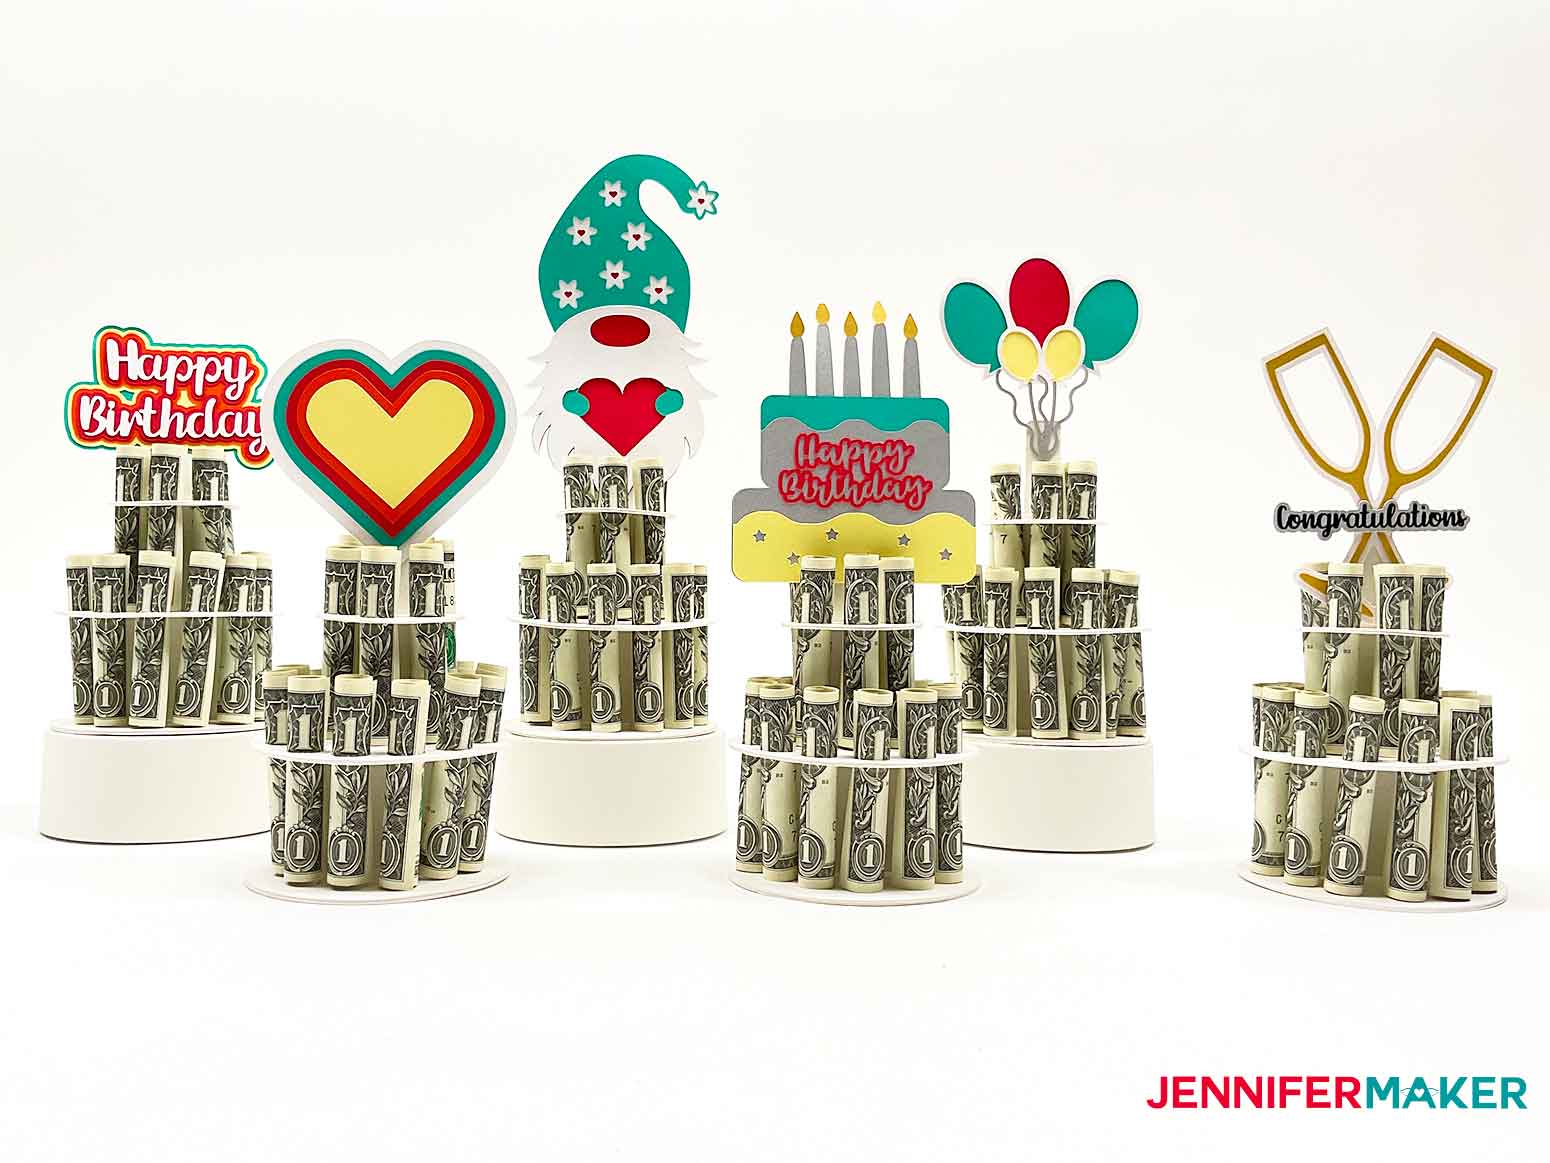
My money cake SVG includes the sturdy base, options to create one or two tiers of bills, and six cute decoration versions for the cake topper!
I’ll show you how to prepare your project in Cricut Design Space. Most of the designs can be made two-sided, and you can change colors to fit your style!
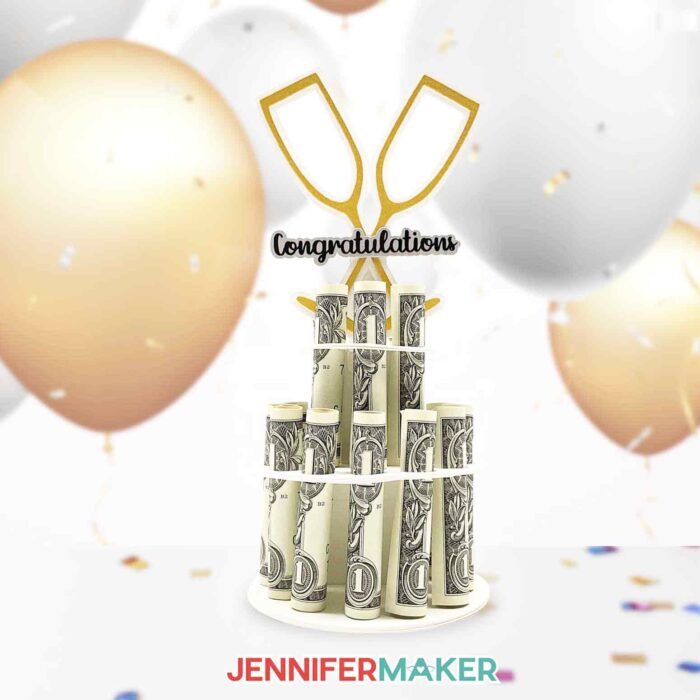
I used 100 lb cardstock for the base pieces and lighter 65 lb paper for the decorative pieces. For a fancy touch, you can try pearlescent paper and even vinyl details like I did on the Congratulations money cake! Remember, if you use adhesive vinyl, you’ll also need a weeding tool and some StandardGrip Transfer Tape.
I cut my money cake pieces with a Cricut Maker 3, but you can use any modern Cricut, including the Joy! All the papers in the material list cut well on a green StandardGrip machine mat with a fine-point blade. A brayer and scraper will help you get clean cuts.
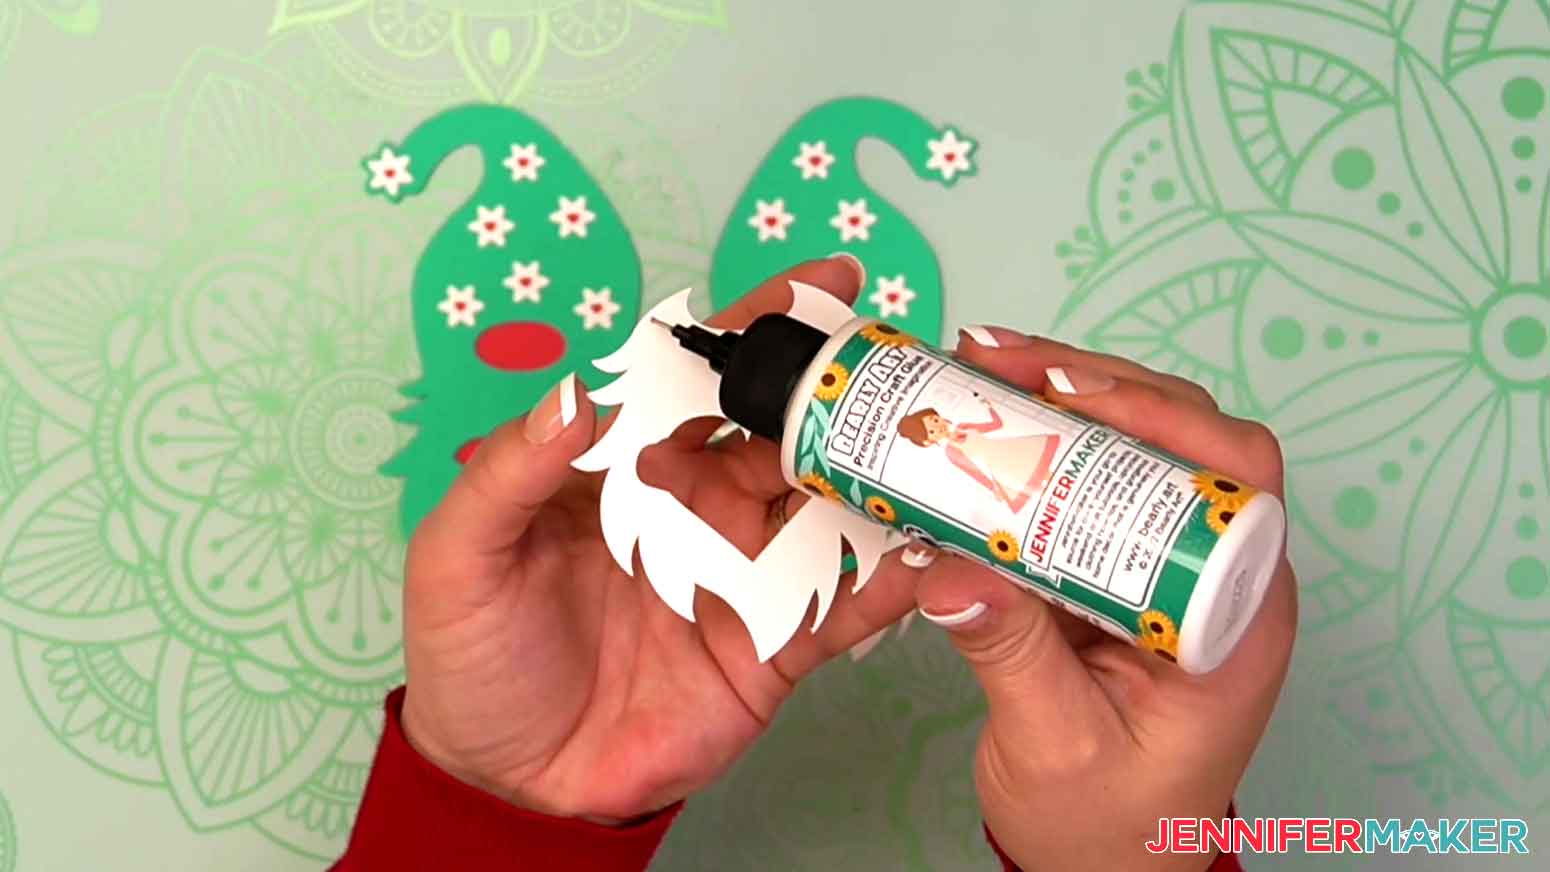
Putting them together is simple, but my video has some helpful assembly tips. The most important tool is high-quality craft glue. I used my favorite, Bearly Art Precision Craft Glue. The different tips really helped me get the glue in the right spots.

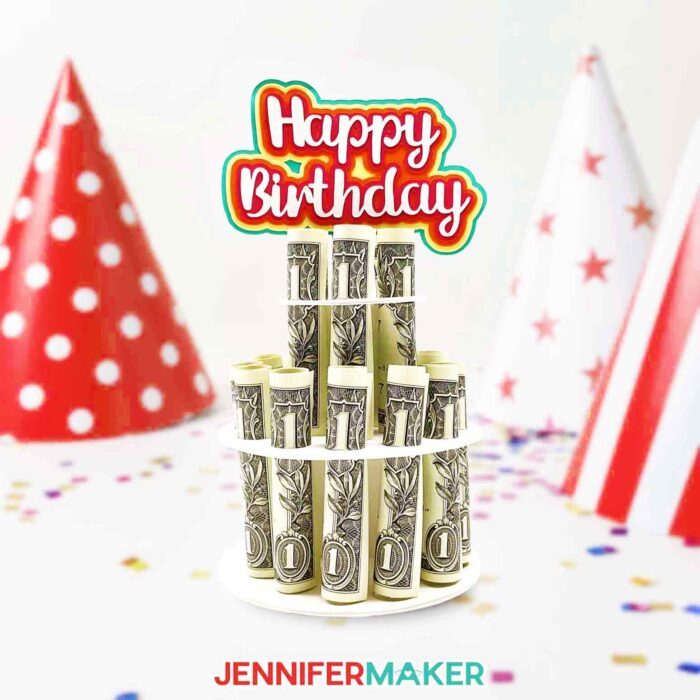
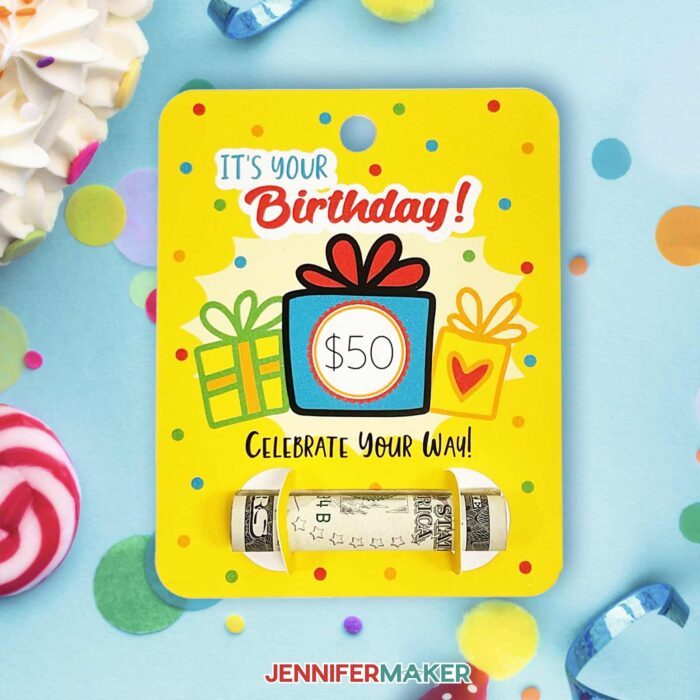
A money cake makes an excellent birthday gift, so the free SVG includes two birthday designs for you. Pair it with a handmade birthday card for the perfect present.
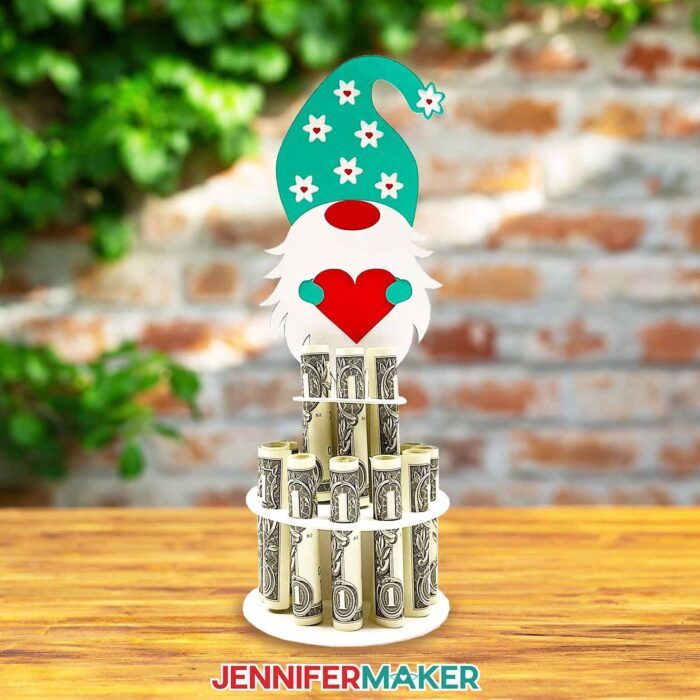
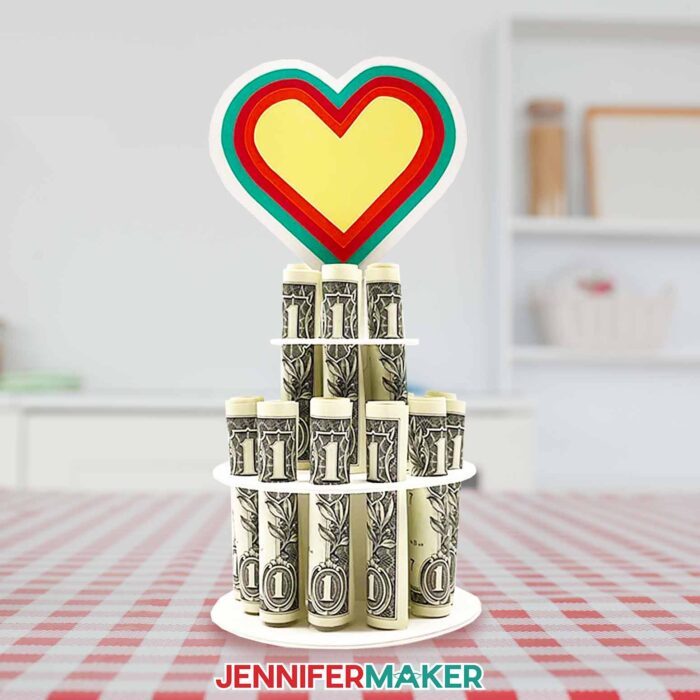
Or, the designs like the gnome or heart money cake will brighten anyone’s day, no celebration necessary!
Ready to use my money cake SVG designs to create your own? I’m super excited to show you how! This post contains some affiliate links for your convenience (which means if you make a purchase after clicking a link I will earn a small commission but it won’t cost you a penny more)! Read my full disclosure policy.
Materials to Make a Money Cake
View my Amazon shopping list with the exact items we used to make this project!
- 100 lb 12″ x 12″ Cardstock for the cake base and tiers
- Cardstock for the decorations – I used a variety including 65 lb Recollections Essentials 12″ x 12″ Cardstock, 65 lb Recollections Mint Hues 8.5″ x 11″ Cardstock
- To make the Congratulations design, I also used 100 lb Pearlescent Gold 12″ x 12″ Cardstock, 100 lb Pearlescent Silver 12″ x 12″ Cardstock, Cricut Black Permanent Vinyl, and StandardGrip Transfer Tape
- A method to cut your materials, I used the amazing Cricut Maker 3 but you can also use the Cricut Maker, Cricut Explore 3, the Cricut Explore, or the Cricut Joy
- Cricut StandardGrip 12″ x 12″ Green Machine Mat
- Weeding Tool
- Scraper
- Brayer
- Good Craft Glue
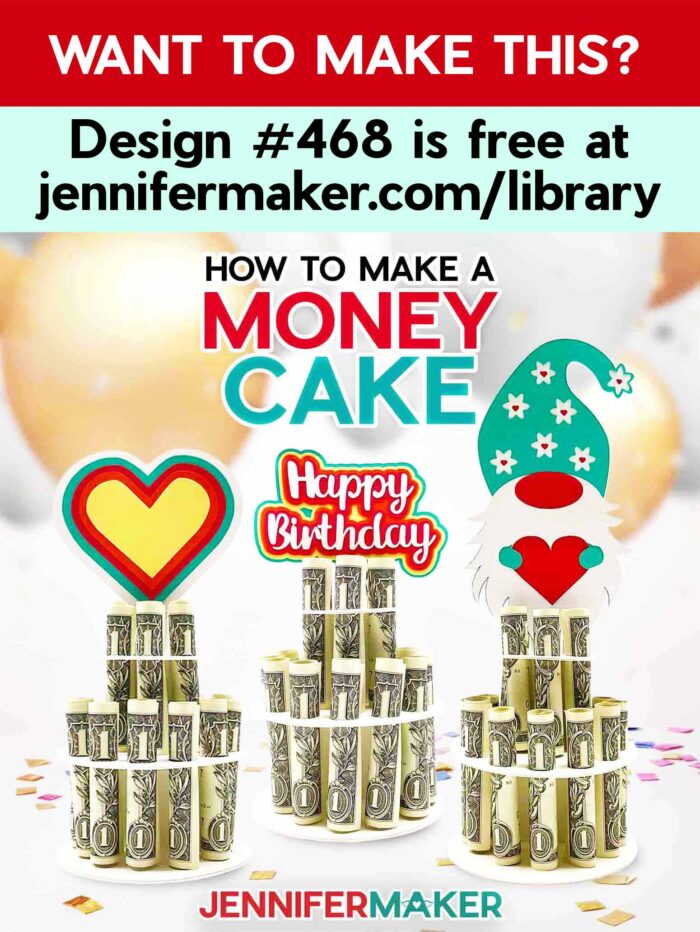
- Design #468 (My free SVG/PDF/DXF design and cut files available in my free resource library (get the password by filling out the form at the bottom of this page)
How to Make a Money Cake
Money Cake
Learn how to make a fun and easy money cake for any occasion!
Materials
- 65 lb Recollections Essentials 12" x 12" Cardstock
- 100 lb White 12" x 12" Cardstock
- 65 lb Recollections Mint Hues 8.5" x 11" Cardstock
- 100 lb Pearlescent Gold 12" x 12" Cardstock
- 100 lb Pearlescent Silver 12" x 12" Cardstock
- Cricut Black Permanent Vinyl (for Congratulations design)
- Cricut StandardGrip Transfer Tape (for Congratulations design)
- Design #468 (My free SVG/PDF/DXF design files available in my free resource library - get the password by filling out the form at the bottom of this page)
Tools
Instructions
STEP 1: GET MY FREE MONEY CAKE DESIGNS
The first step is to download my Money Cake designs from my free resource library -- it's design #468. The cake base is in the same SVG as the interchangeable topper decorations, so upload the file to Cricut Design Space and add it to your Canvas.
TIP: If you are not sure how to upload an SVG cut file to Cricut Design Space, watch this helpful video training series I made.
If you are on an iPad or iPhone, here is how to download and upload SVG files to the Cricut Design Space app.
STEP 2: PREPARE YOUR MONEY CAKE DESIGNS
This is what my Money Cake SVG file looks like on the Cricut Design Space Canvas. Click on the minus in the lower left of the Canvas to zoom out and see the whole design.
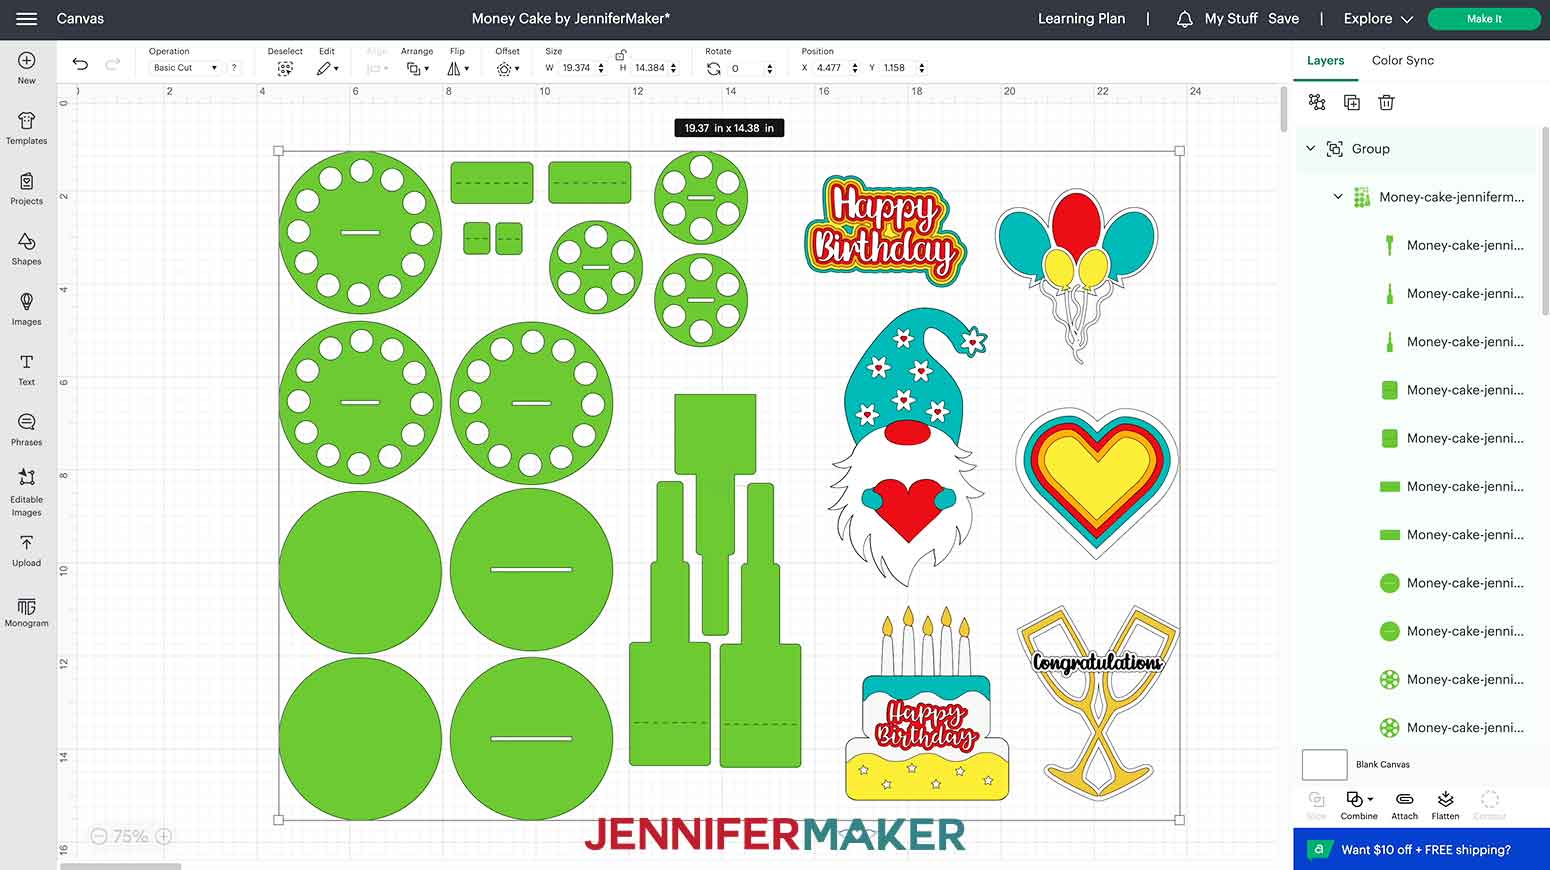
There are six fun money cake toppers to choose from! You can make a birthday cake, happy birthday sentiment, balloons, layered heart, congratulatory glasses, or a cute gnome! Today I'll show you how to make the gnome on a double-layered money cake but you can use these steps to assemble any of the designs.
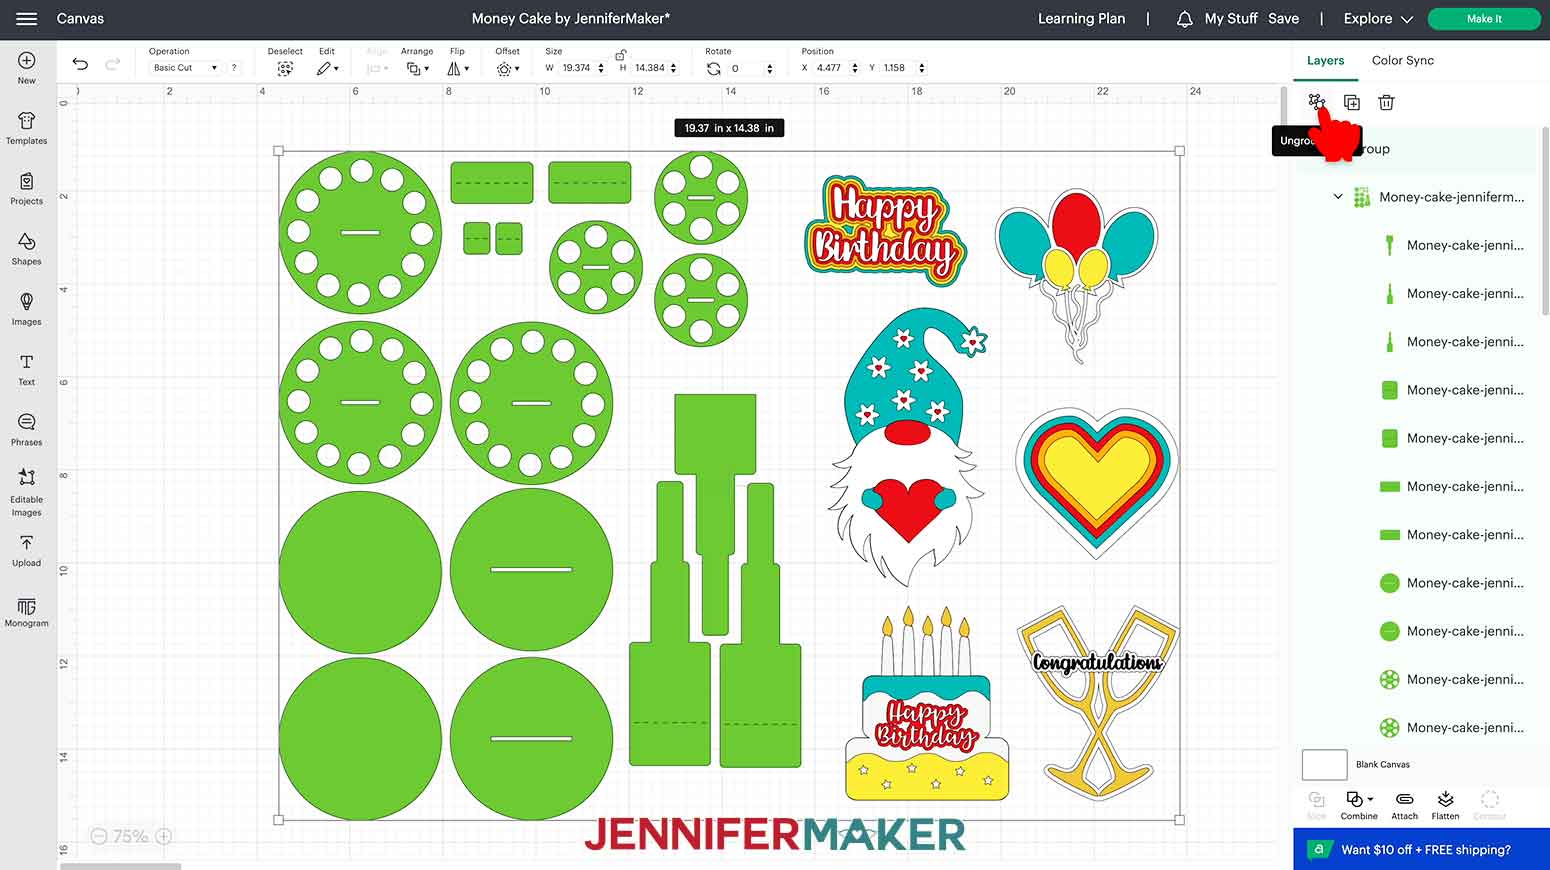
Let's begin by clicking the Ungroup icon above the Layers panel to separate the designs.
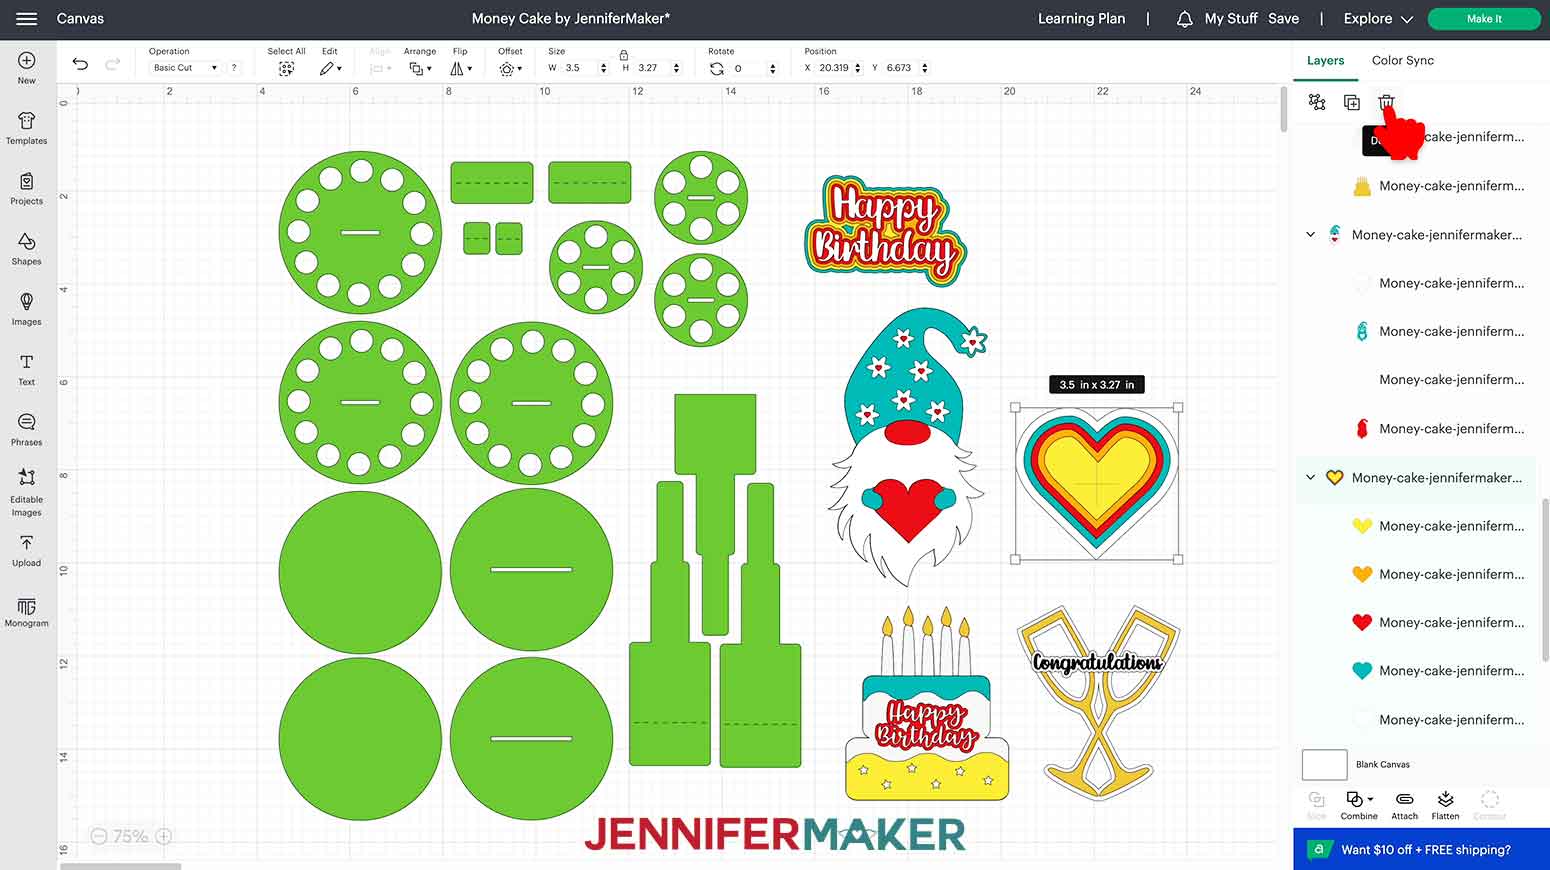
Aside from the base of the money cake, you can hide or delete any of the topper designs that you do not want to make. Hide by selecting a topper and clicking the eye icon to the right of the design group in the Layers Panel or delete by clicking the Delete icon just above the panel. I'll go ahead and delete the extra ones
The design is ready to go, unless you are only planning to make a single-layer cake. If you do not plan to assemble the top tier, Ungroup the cake design and delete the three smallest circles. They are the ones with 6 holes and a line in the middle. Also, delete the two smallest rectangular tabs. You won't need those for the single layer.
If you are going to make a double-layer cake like me, leave the cake pieces as they are.
NOTE: The cake pieces are colored green so that they cut separately from all of the topper designs. You can put any color cardstock on your mat, and I'll use white. Keeping them green will allow you to place heavy cardstock on the cutting mat for the cake pieces.
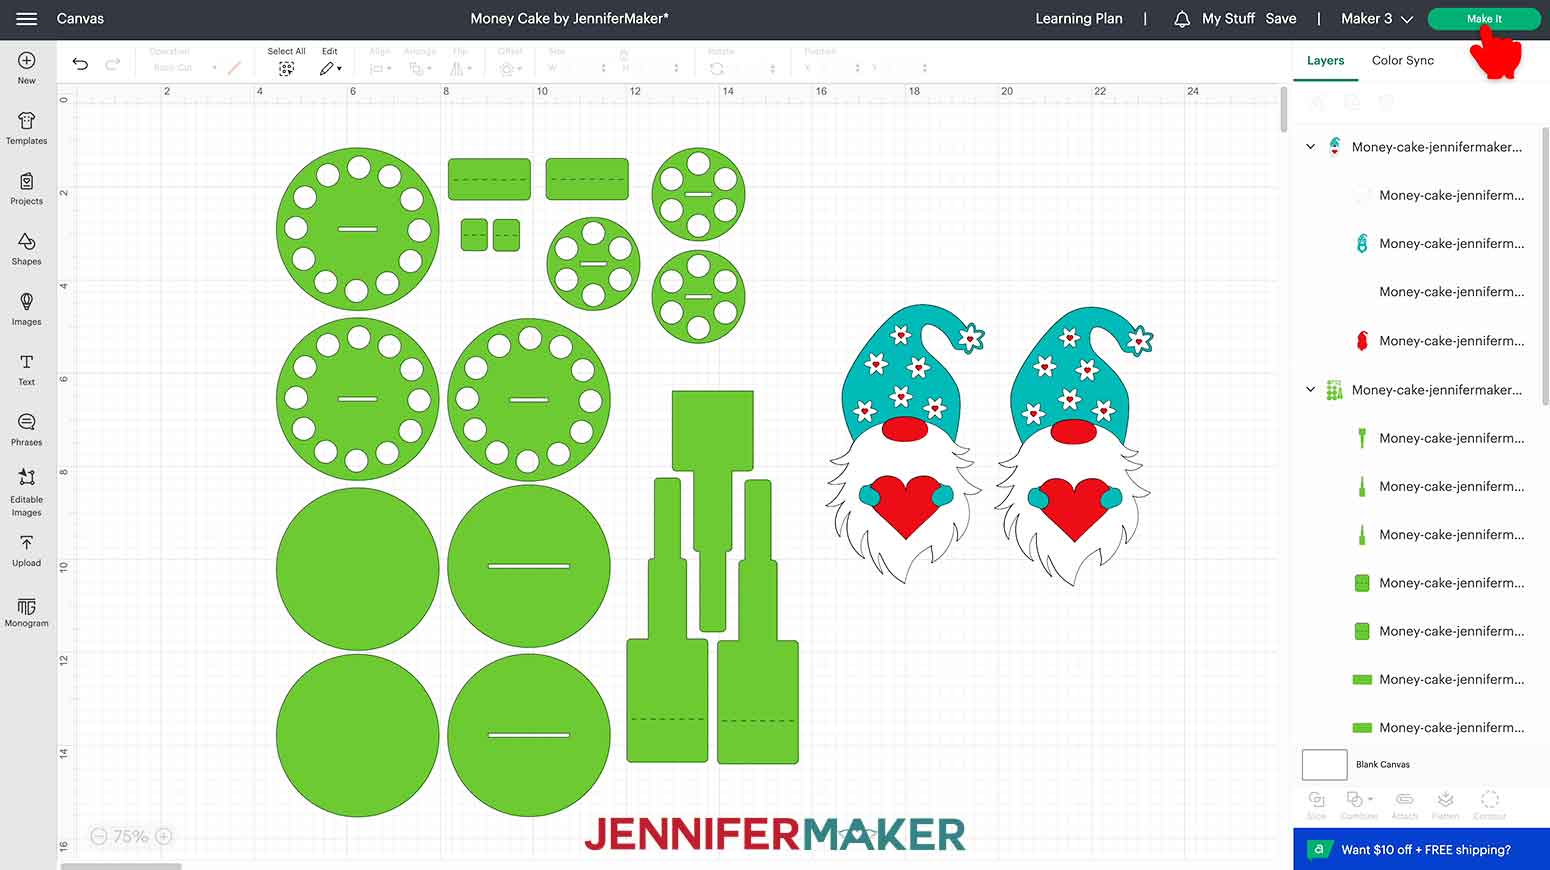
The topper designs are one-sided, but if you want to have them look the same from all angles, that's possible for all but the "Happy Birthday" or "Congratulations" toppers. Just Duplicate the topper design group and assemble matching sides when we get to them, I'll show you how!
NOTE: If making a double-sided design, make sure your cardstock is double-sided. The pieces will flip over for the back layers of the design.
I don't recommend resizing the designs since they are perfectly-designed to hold rolled up paper currency.
STEP 3: CUT YOUR MONEY CAKE DESIGNS
Make sure the appropriate Cricut machine is selected in the upper right corner and click Make It!
If you are prompted about how you will load your materials, select "On Mat" and 12" x 12". Then click the green Confirm button.
I am using both 12" x 12" and 8.5" x 11" cardstock for my project. If you are also using different sized cardstock, you'll need to change the material size under the mat(s). Select the color mat you need to change and click the arrow to dropdown the Material Size options. Select "8.5in x 11in (Letter)".
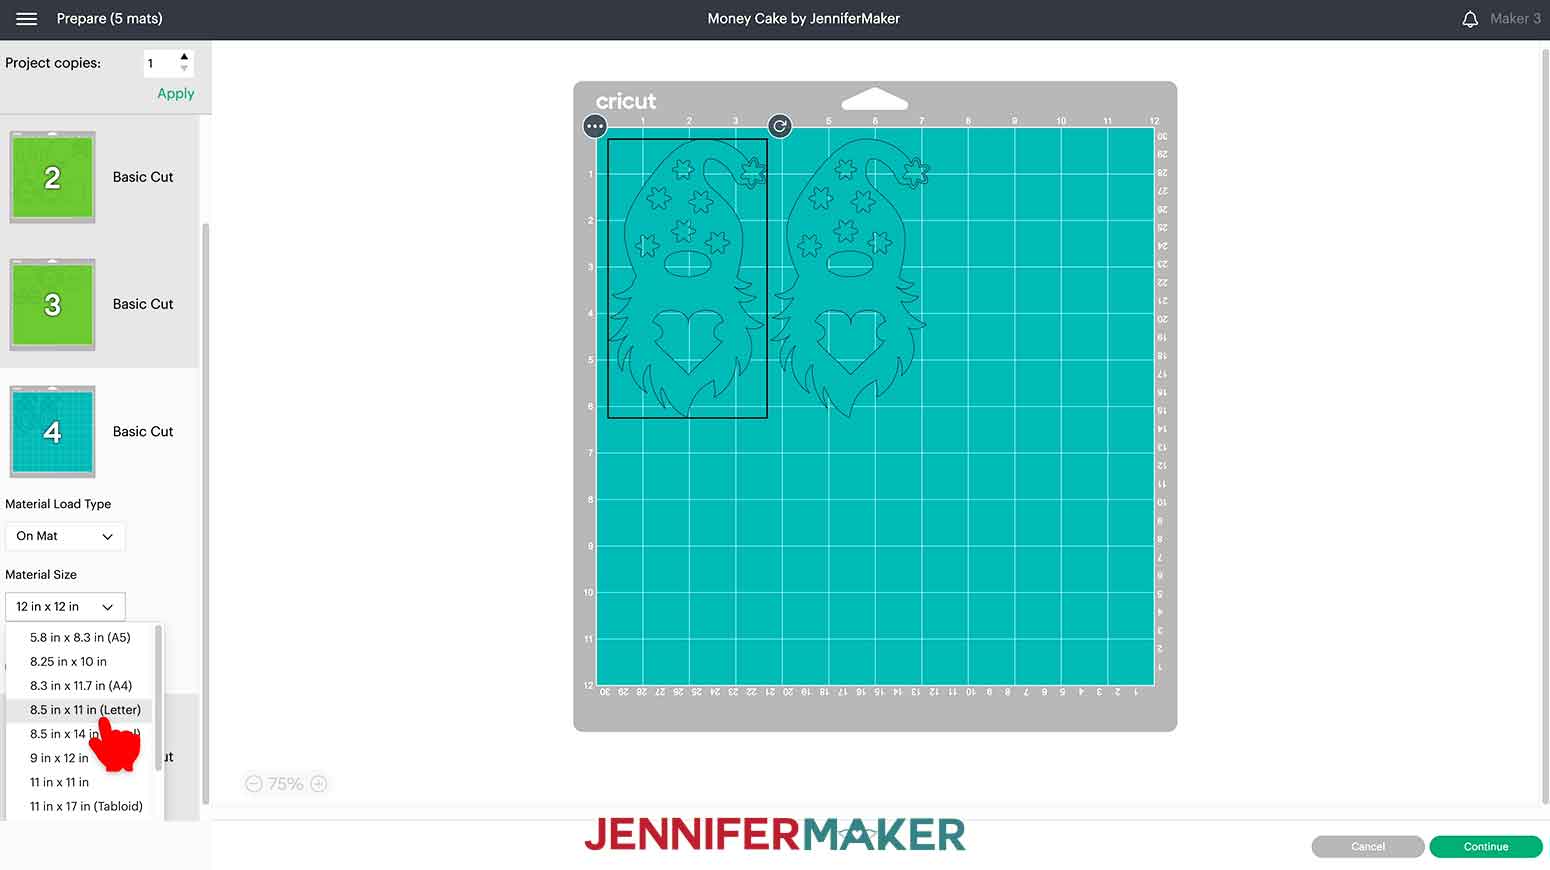
When all the adjustments are in place, click back on the first mat and click "Continue".
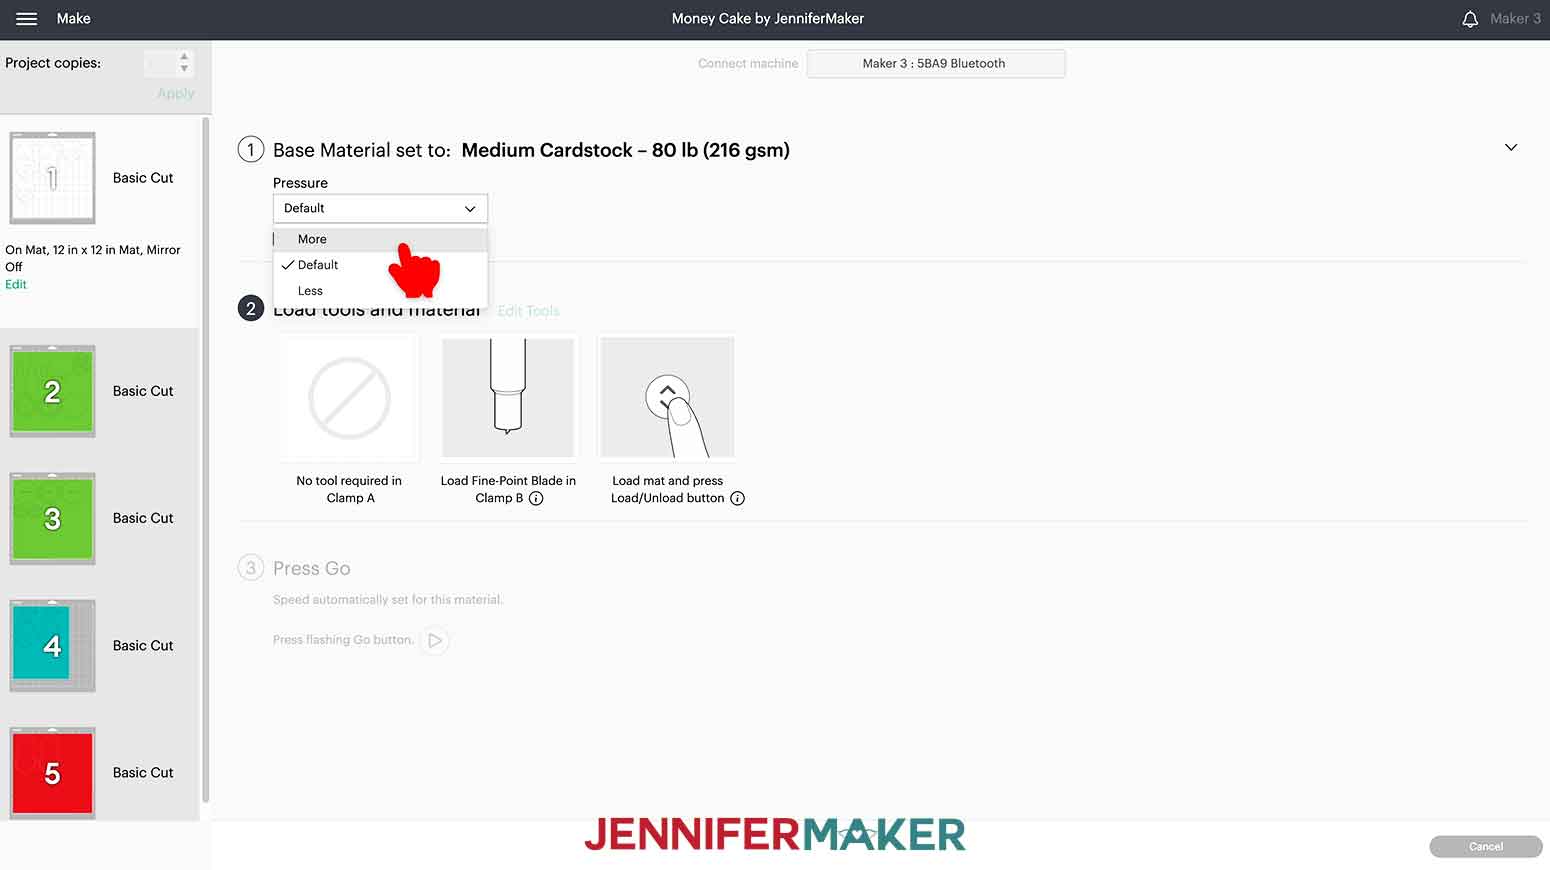
You'll now choose your materials. I'm going to cut the gnome designs on the Medium Cardstock setting and the money cake base will cut on Heavy Cardstock. If you do not see these options, click "Browse All Materials" and search for the material type.
I recommend changing the pressure setting to "More" for a cleaner cut.
If you run into any issues cutting your cardstock check out my Cricut Tips & Tricks for Cleaner Cuts.
NOTE: If you are making the "Congratulation" glasses, the black layer is best cut on black permanent vinyl. The intricacy of the words will be challenging to cut on cardstock. I used "Premium Vinyl - Permanent Glossy" with "More" pressure for a successful cut!
Place your first piece of cardstock on your green StandardGrip machine mat. Use a brayer to best adhere the cardstock to the mat.
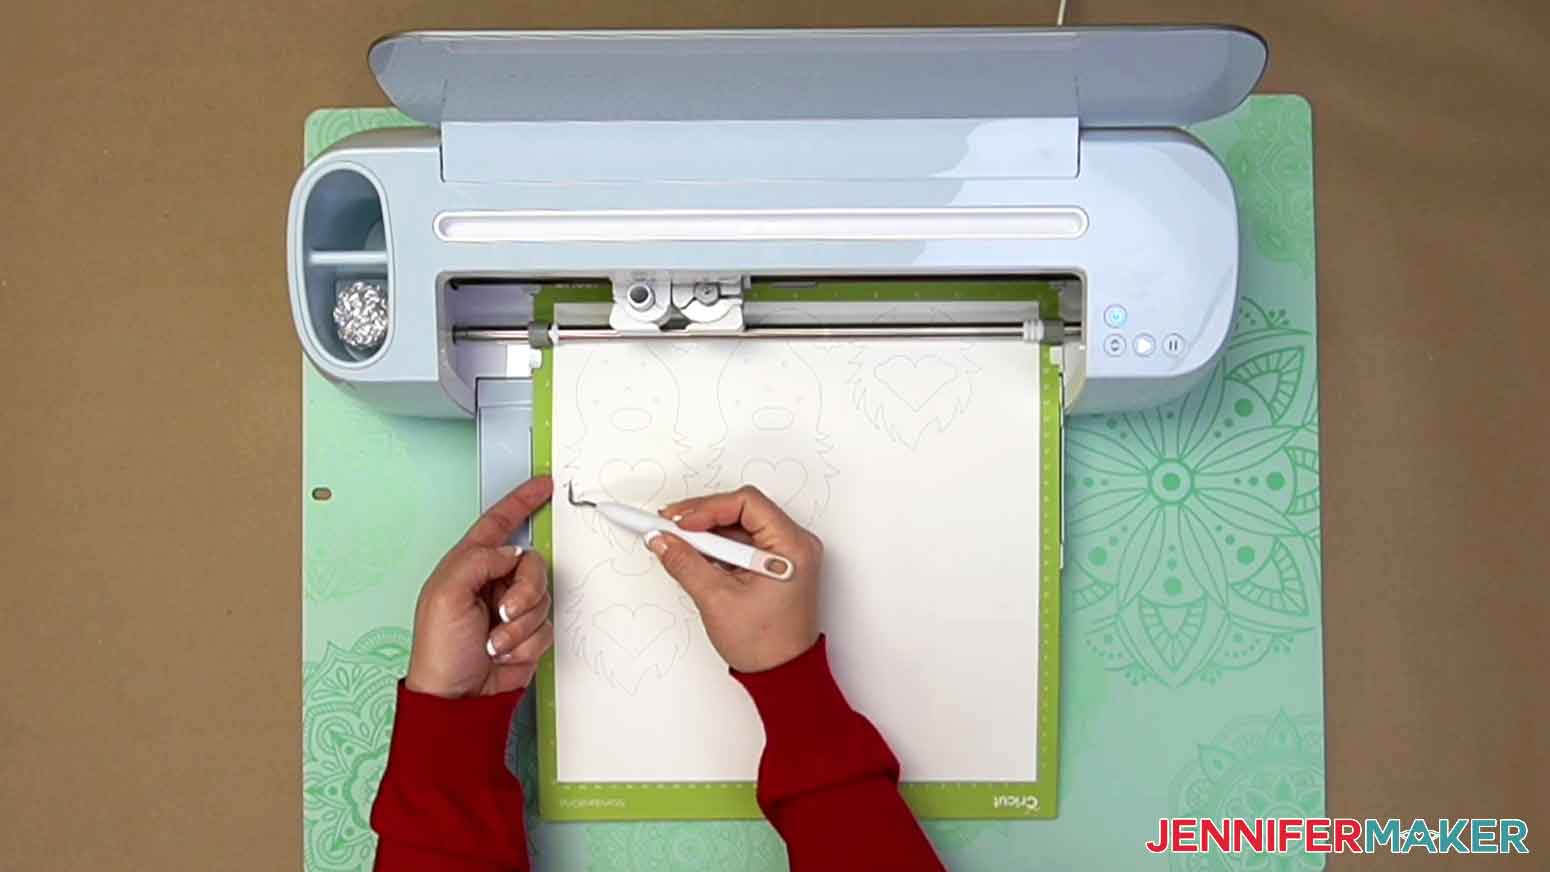
Insert the mat into your Cricut. Press the flashing arrows to load the mat. Once the middle button begins flashing, press it to begin the cut.
When the cut is complete, check that the cardstock cut all the way through BEFORE unloading the mat. Gently lift a corner and make sure the cut lines easily separate. If they do not, press the middle button again to repeat the cut.
NOTE: This step is especially important on the cuts with heavy cardstock. You may need to cut it twice, even with "More" pressure.
When the cut is successful, press the flashing arrows to unload the mat. Flip the mat over and peel it away from the cardstock to prevent curling the cardstock.
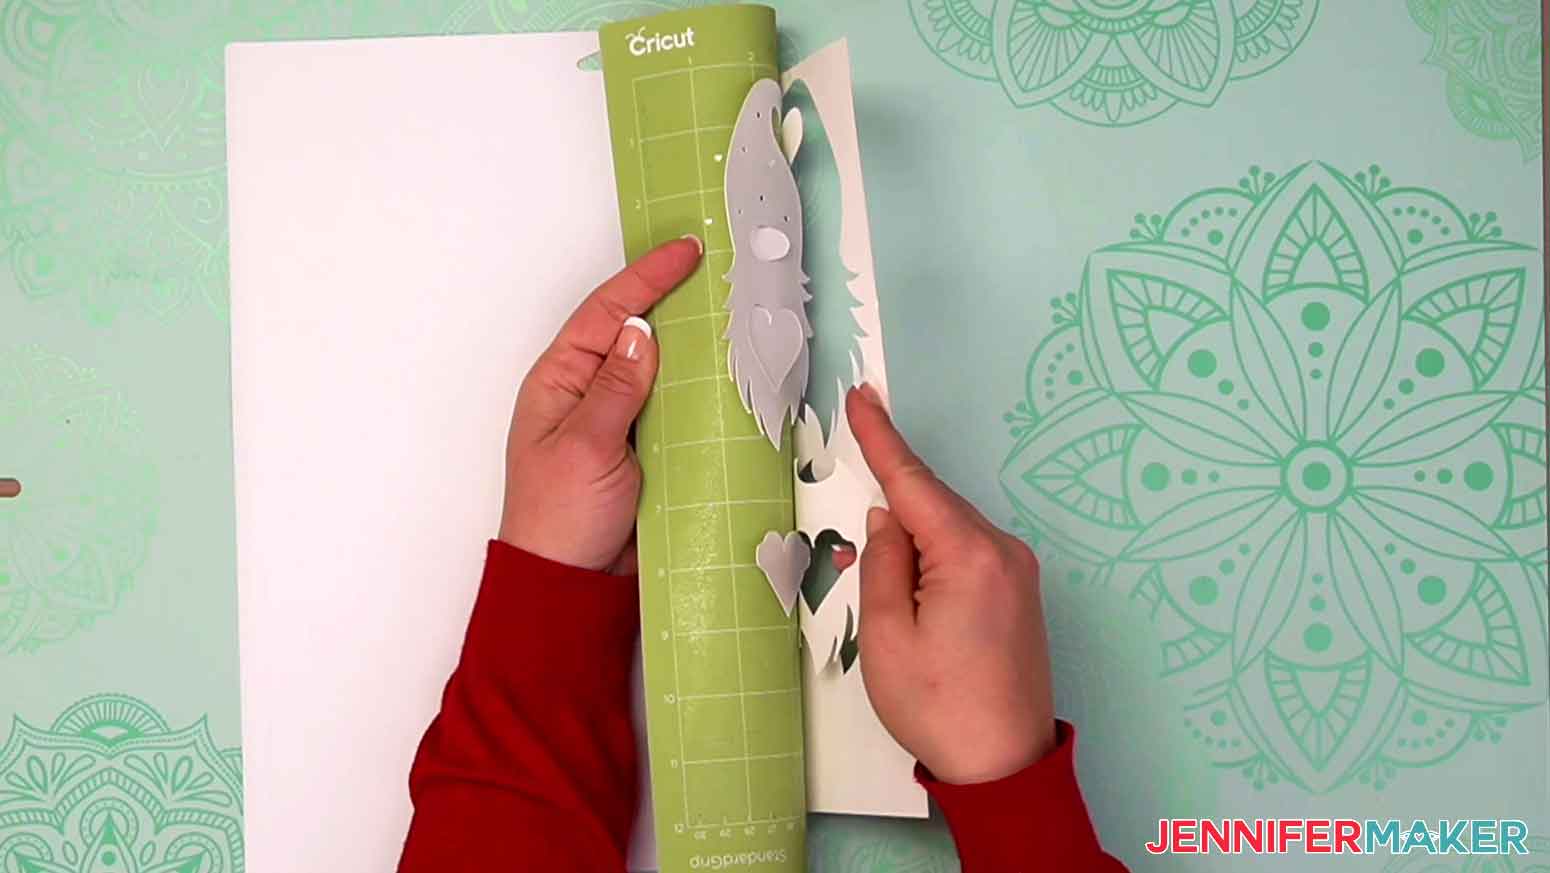
Set the cut pieces face up so their orientation stays the same.
TIP: Use a scraper to help remove small bits left on the mat.
Place the next piece of cardstock on the mat and repeat the steps. Remember to check the cut before unloading each mat!
STEP 4: ASSEMBLE YOUR MONEY CAKE
NOTE: If you're making a one-sided topper, just use this technique to assemble your layers to create one item instead of two.
Once all of your pieces are cut, organize the like pieces together. We'll first start with making the gnome. Separate the gnome pieces into two piles. We'll align and glue each stack's layers but not glue them together until we're ready to put it on the money cake. The center support needs to be glued between the gnome designs.
The bottom layer is the red layer. Place each one on your work area. They are going to be glued back-to-back so you'll want them mirrored.
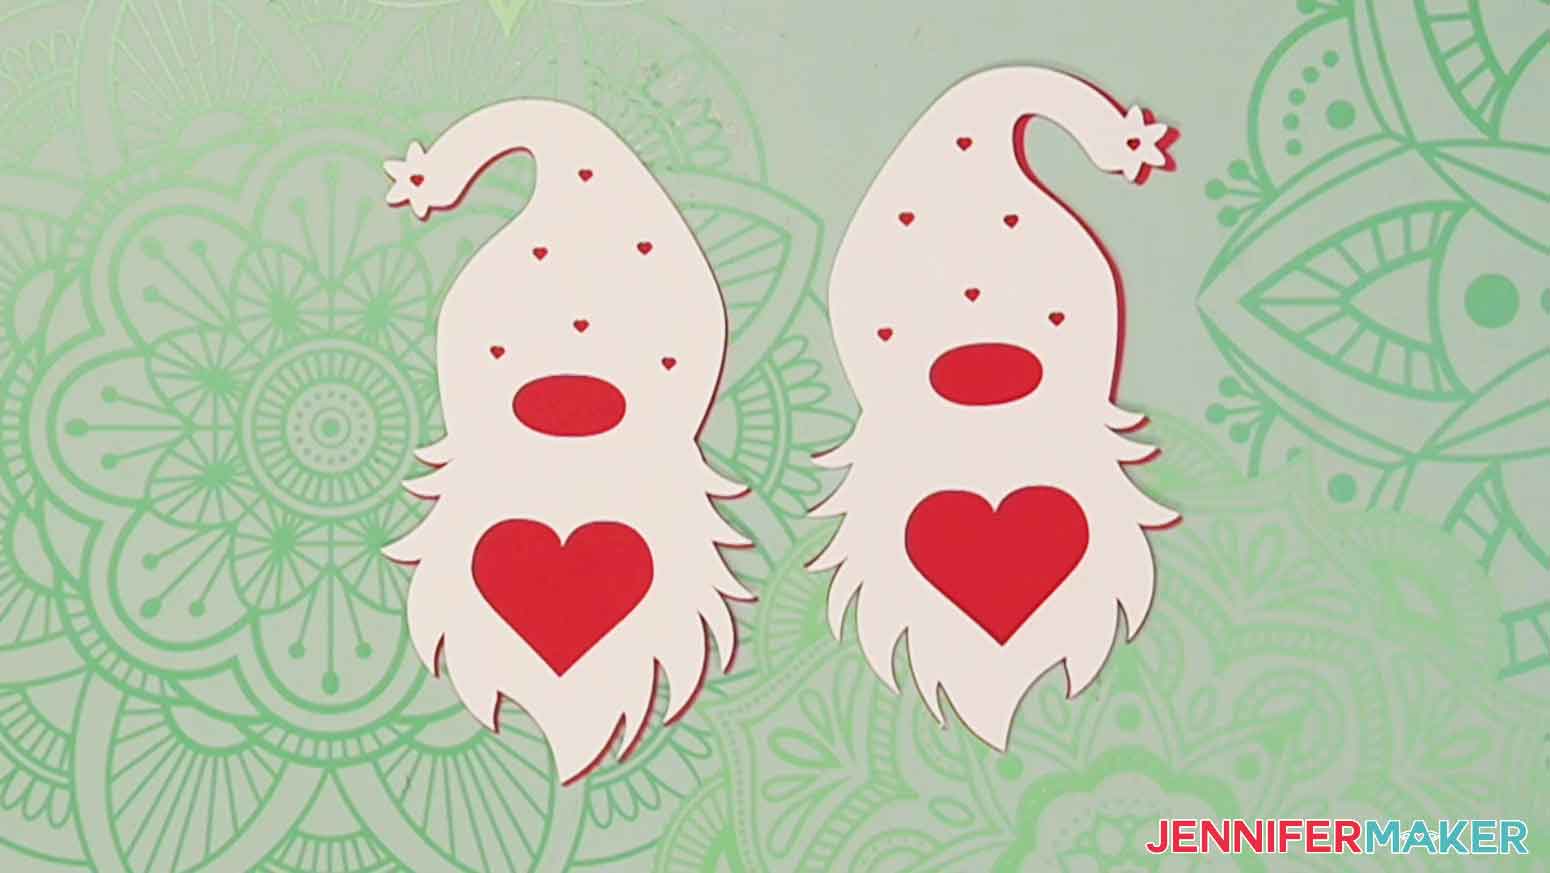
Next, add the larger white layer over each red piece to check alignment. Use small dots of glue on the back of the white cardstock and align it to the matching red layer. The beard makes for a helpful alignment guide.
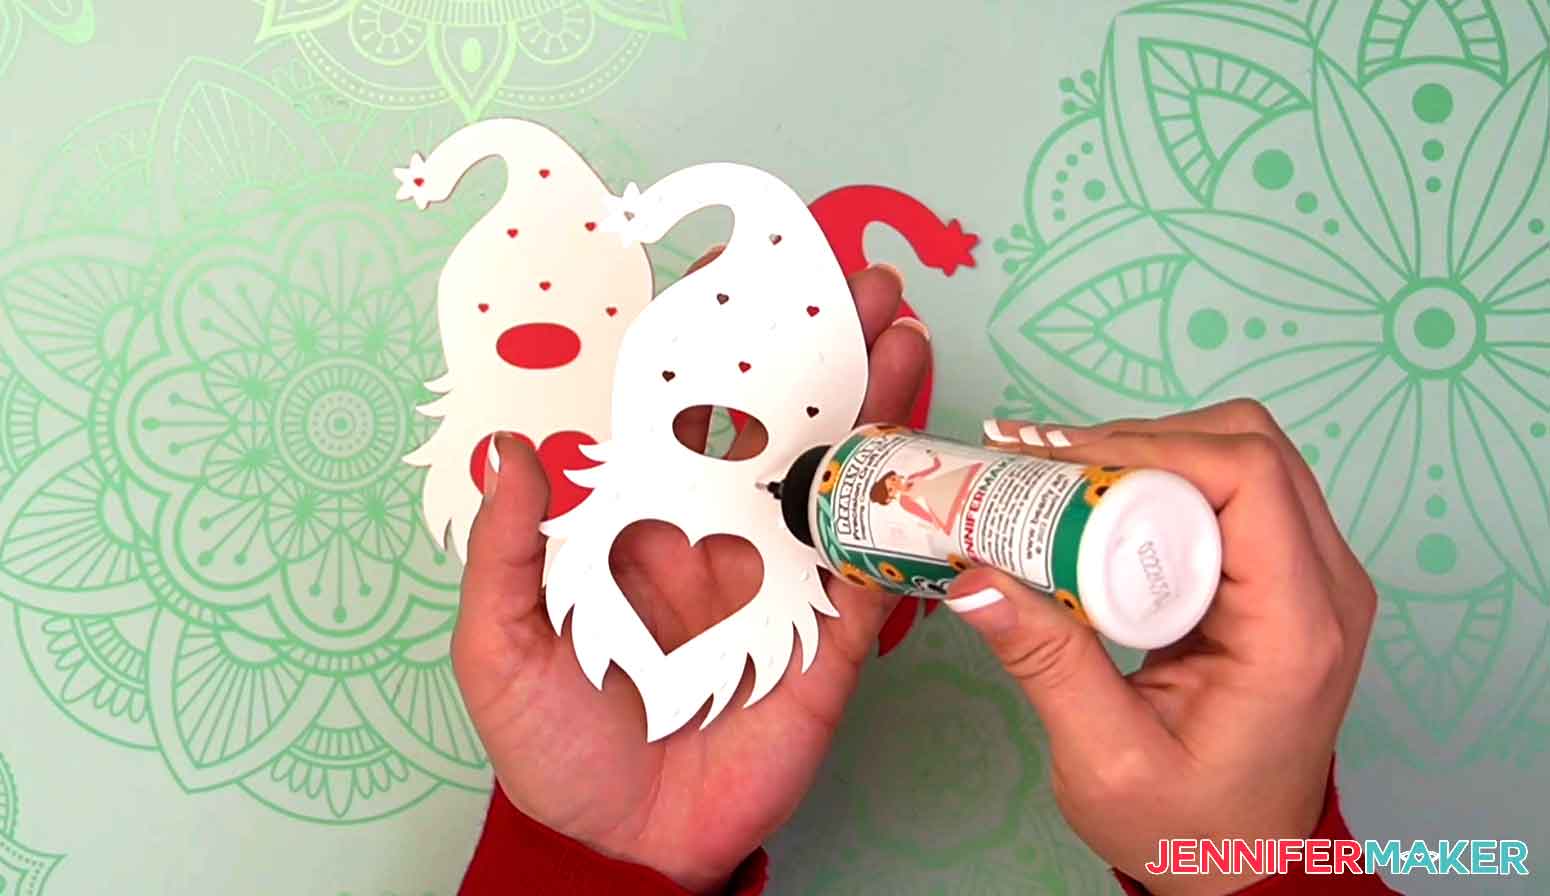
Time to add the teal layer. Add small dots of glue to the back of each teal layer and align it to the white. Again, the beard and nose cutout make for helpful alignment guides.
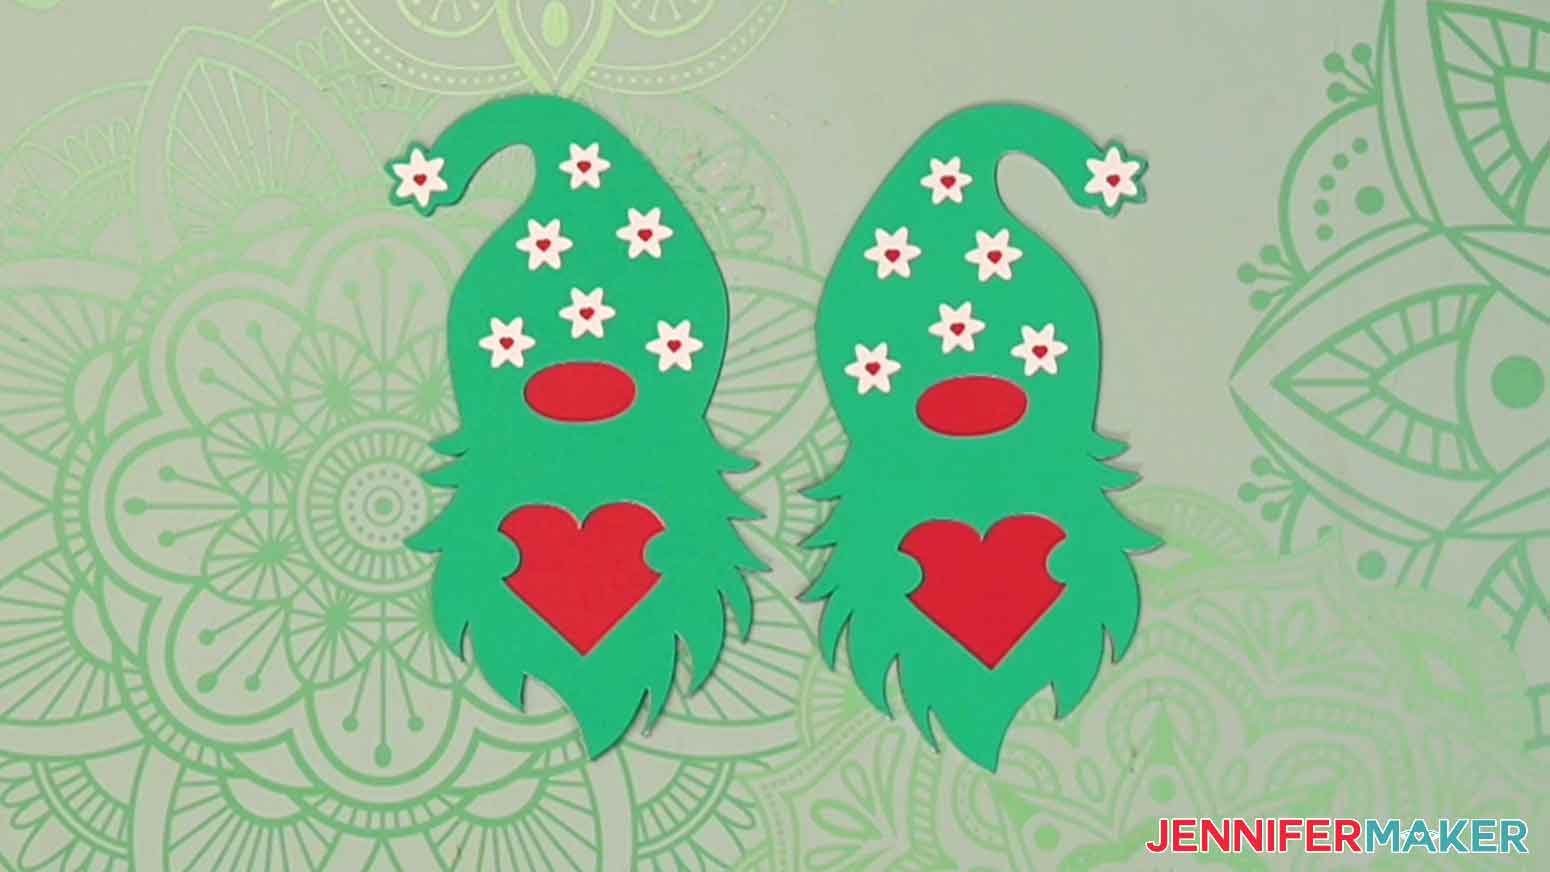
Lastly, glue the smaller white piece to the top of each gnome and he's done. Isn't he so cute?
Set the gnomes aside and let's make the base!
NOTE: If you're making a single-layer cake, use this technique to assemble your layers, just without the second layer pieces.
We are going to glue all of the matching round pieces together. The glued layers will make the design stronger in the end. The fine tip on the Bearly Art Precision Craft Glue works great for assembling the money cake.
Start with the solid round pieces (A). These are going to be the bottom of your money cake. Apply glue around one side of an A circle and align the other to it. Press the two solid circles together. Set them aside.
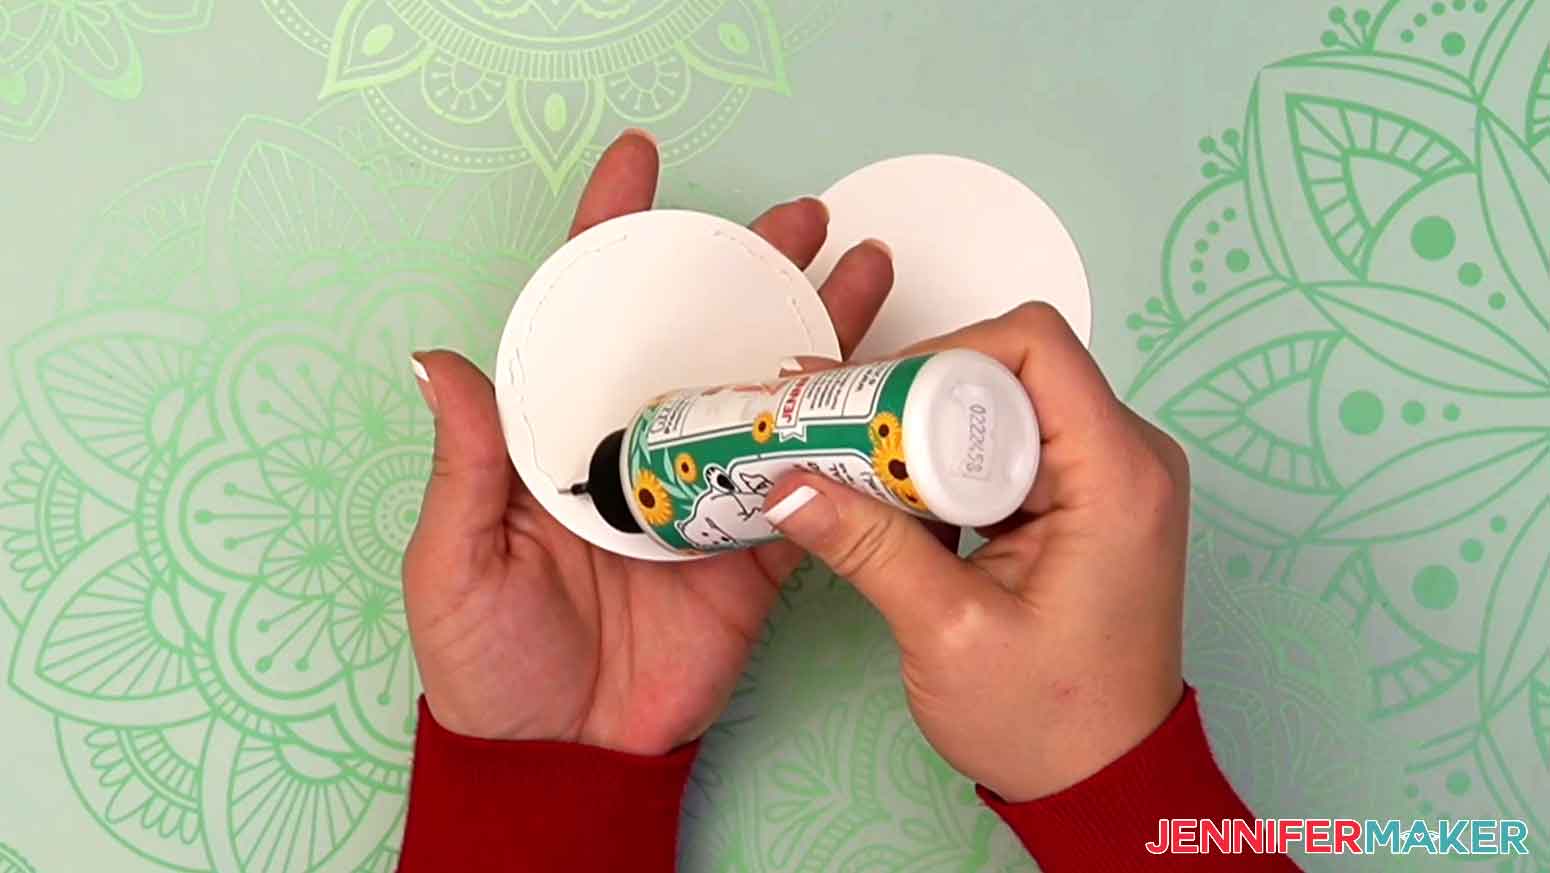
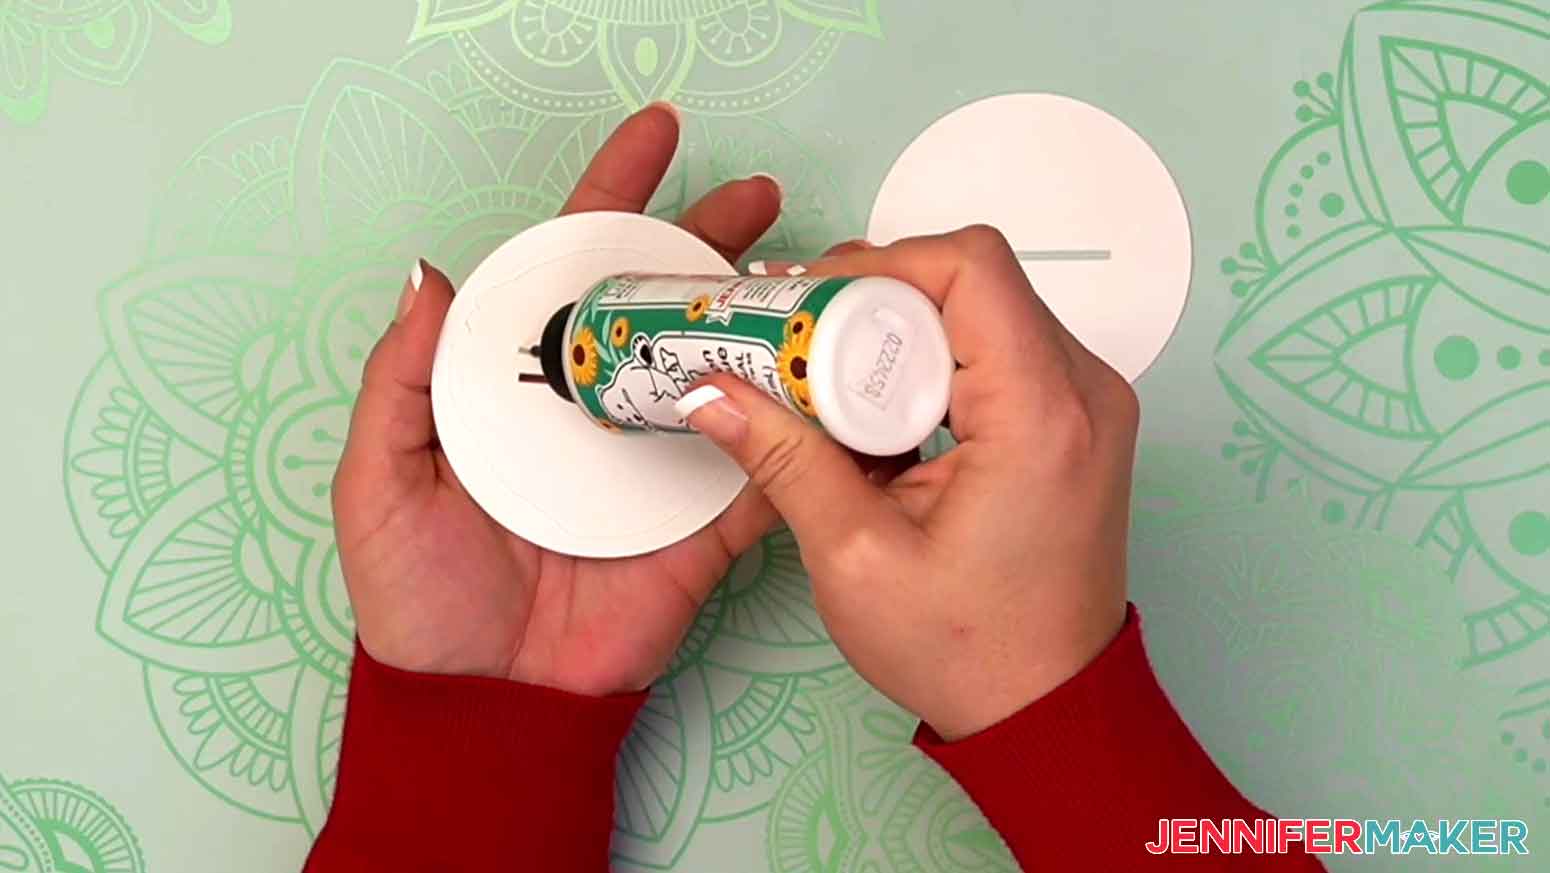
Next, we'll glue the slotted bottom base pieces (B). They are the circles that only have a thin rectangle in the middle. Apply glue to one of the circles' sides. Align the other circle using the rectangle center to guide accurate placement. Once aligned, press the two pieces together. Set this piece aside.
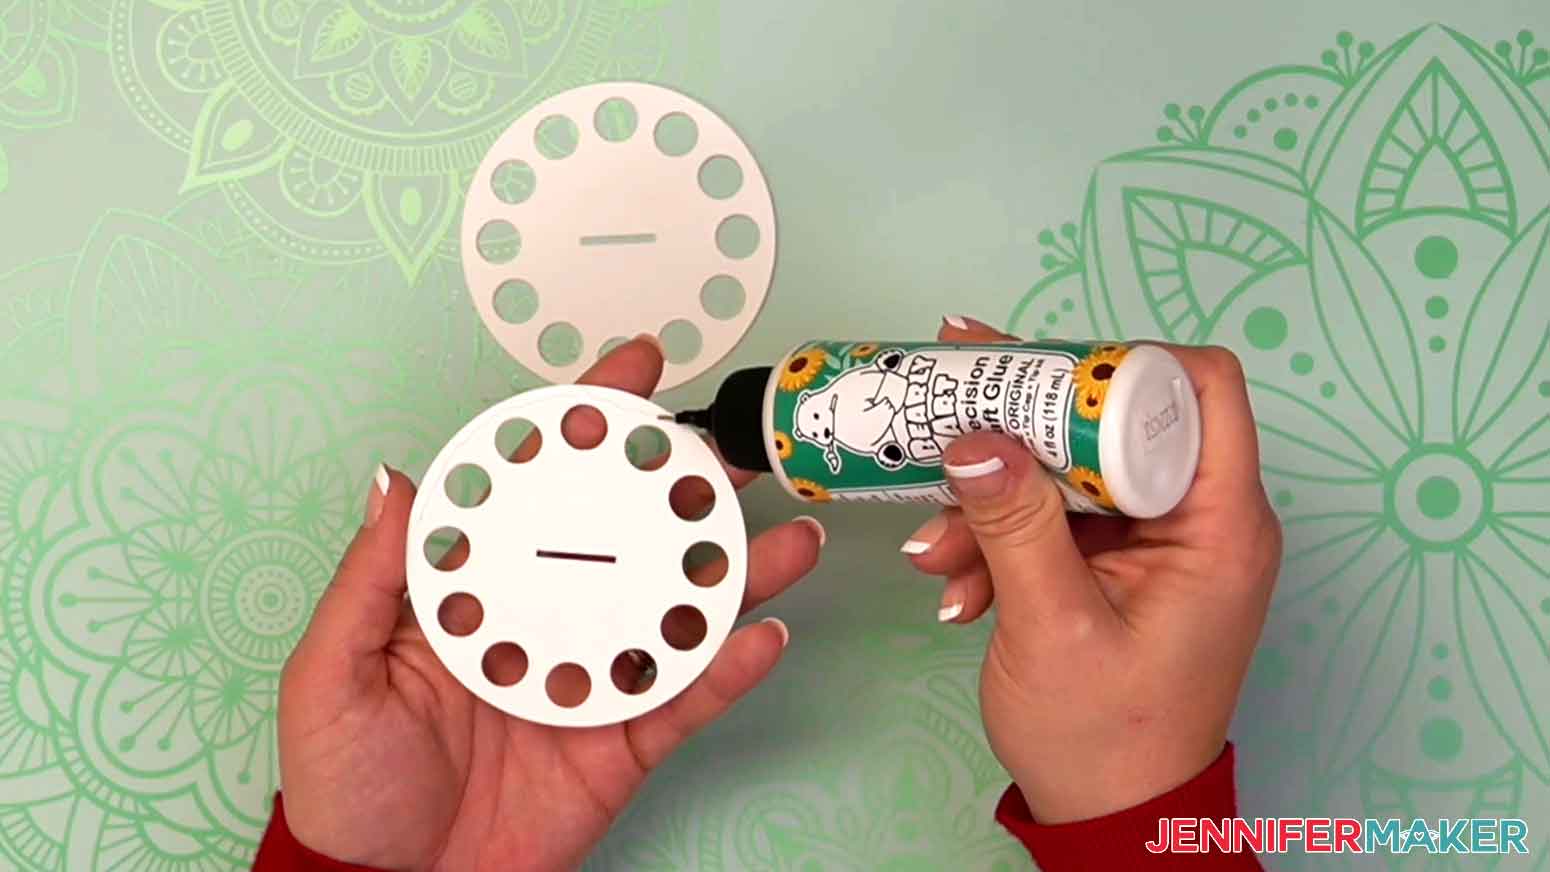
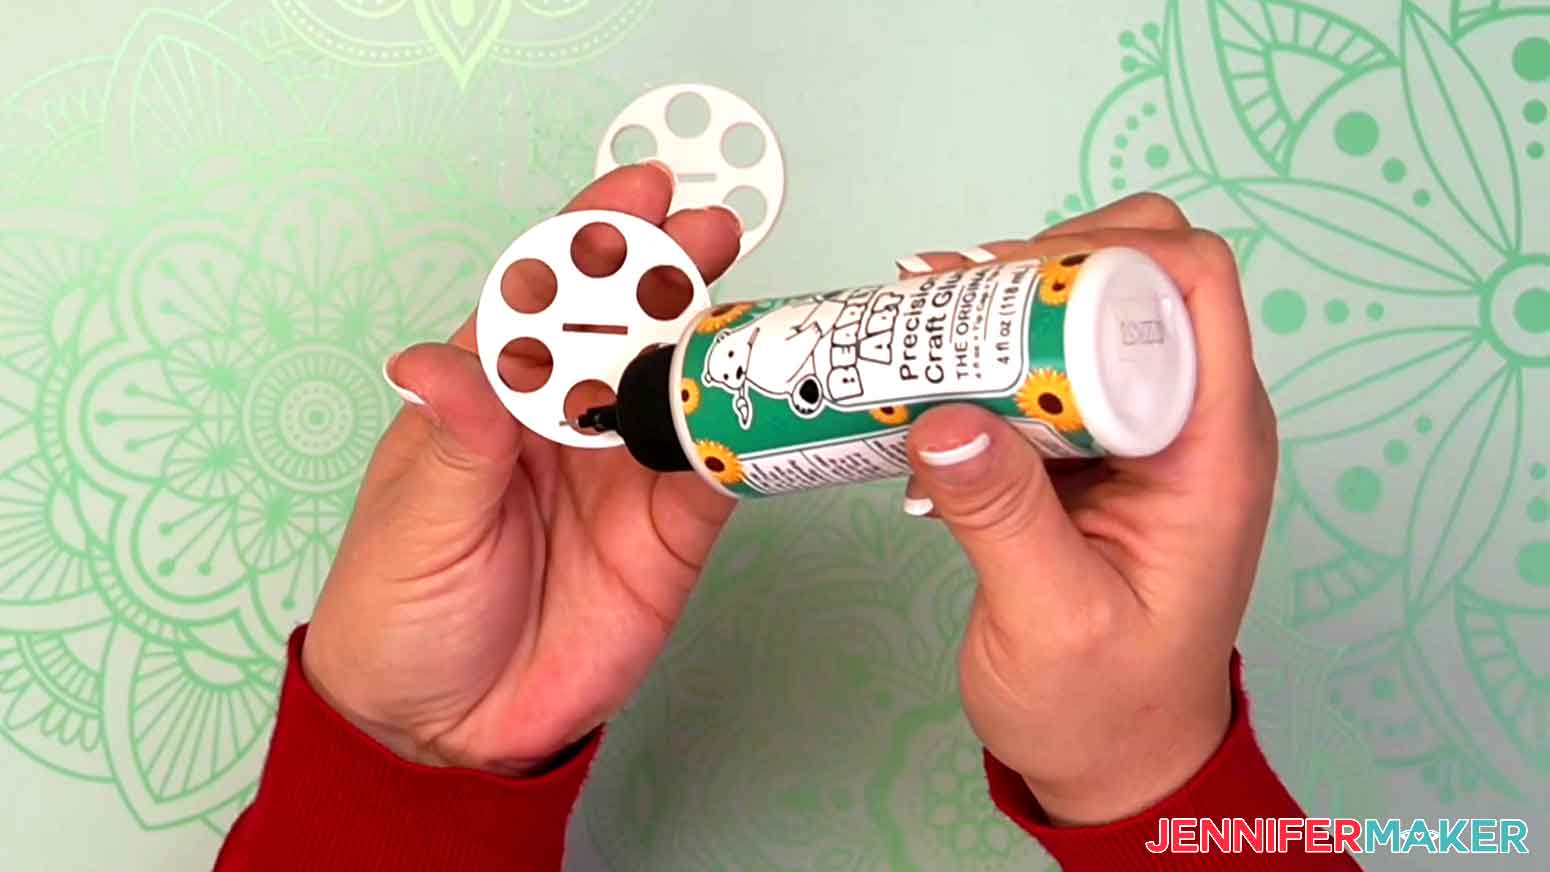
Now let's glue together the first tier. Those are the three round pieces with 12 circle cutouts (C). Take one C and place a small dot of glue between each circle around the edge and around the center rectangle on one side. Align the second C using the circle openings as a guide. Make sure the center rectangle is also aligned and press the two pieces together. Repeat these steps and glue the third circle to the first two. It doesn't matter which side, just make sure they're aligned. Set this aside too.
Next, glue together the second tier, which are the smaller circles with circular cutouts (D). There are three of these as well. Place small dots of glue around one side of the first piece. Align the second D over it using the circles and center rectangle as a guide. Repeat to add the third D to it and set it aside.
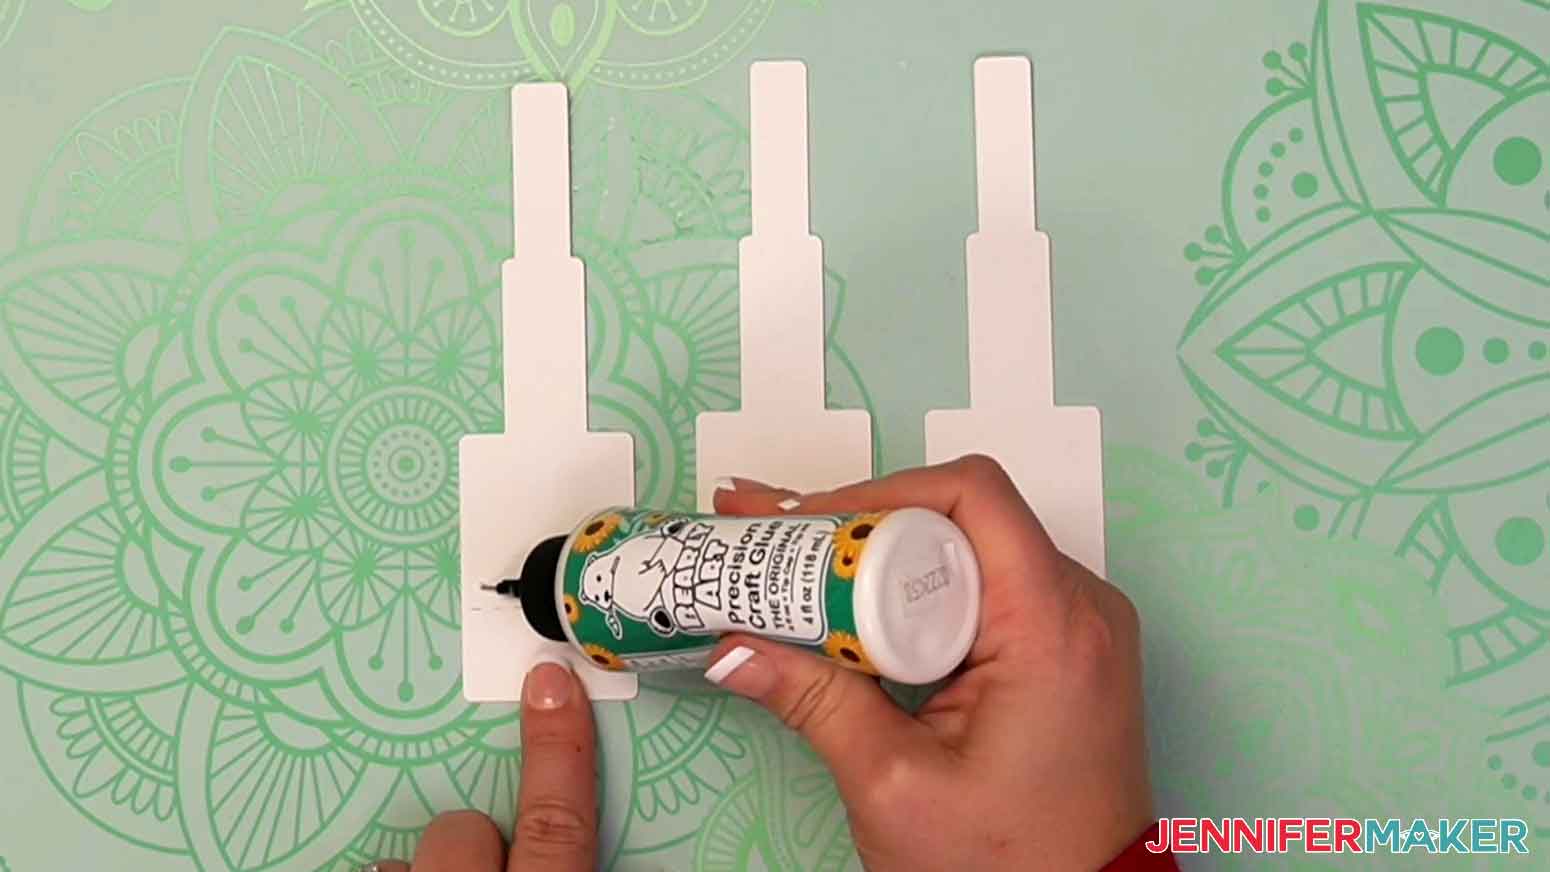
Now for the center support pieces. The two outer pieces (E) are slightly longer with foldable tabs on the bottom. These will go on the outside and the piece without a foldable tab (F) will be the center.
Apply glue to the E pieces above the dashed fold line and attach them to either side of F. Use the top shape for alignment so the bottom tabs will be able to fold out and the bottem edge of F won't stick out. Be sure to NOT glue below the dashed fold line at the bottom.
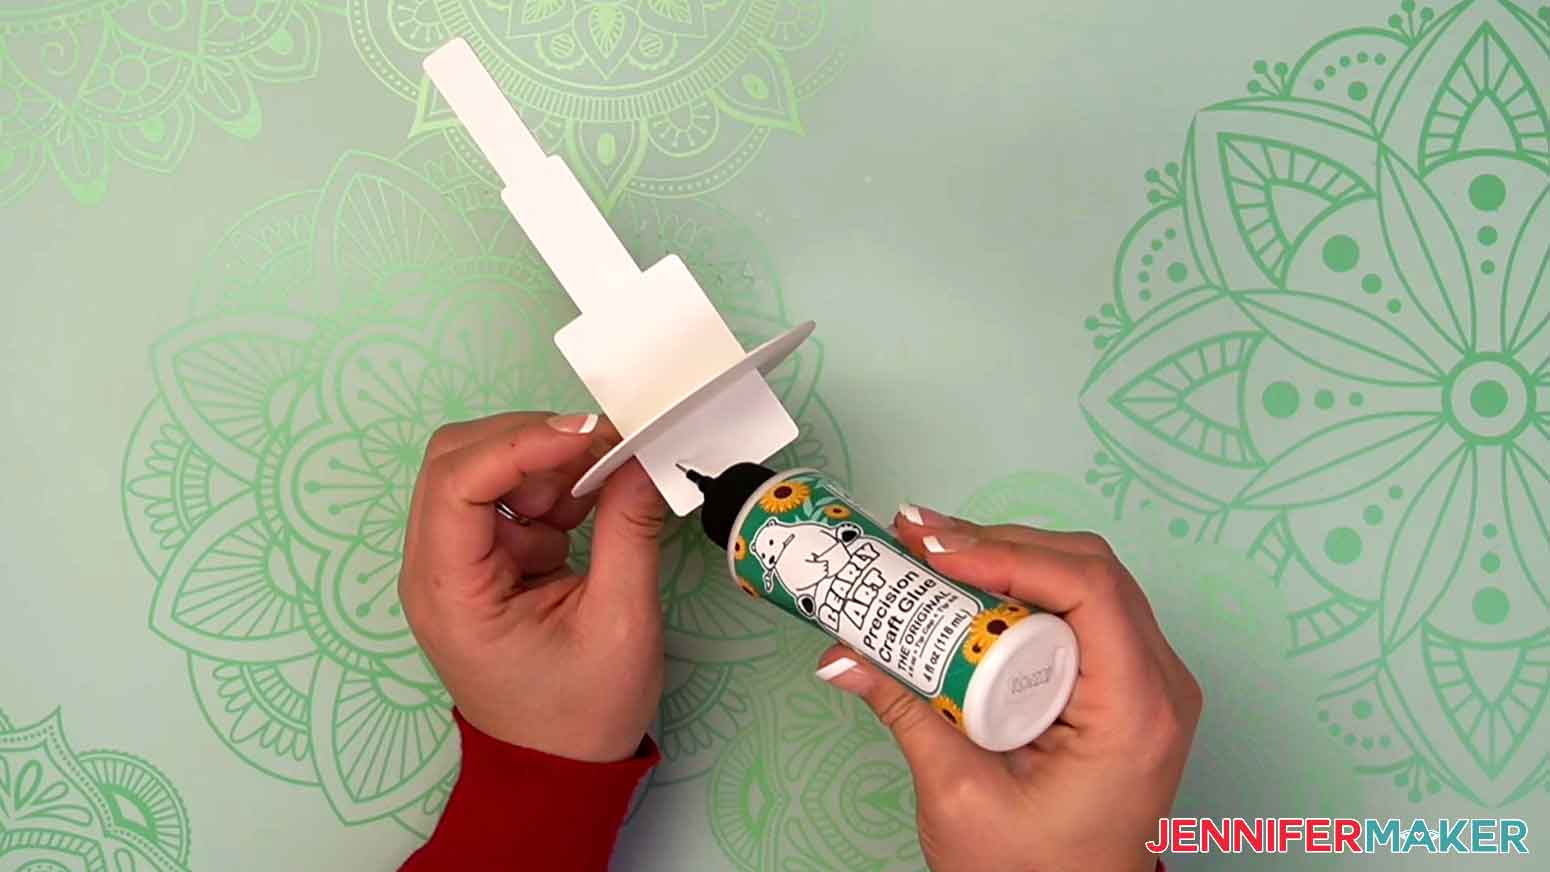
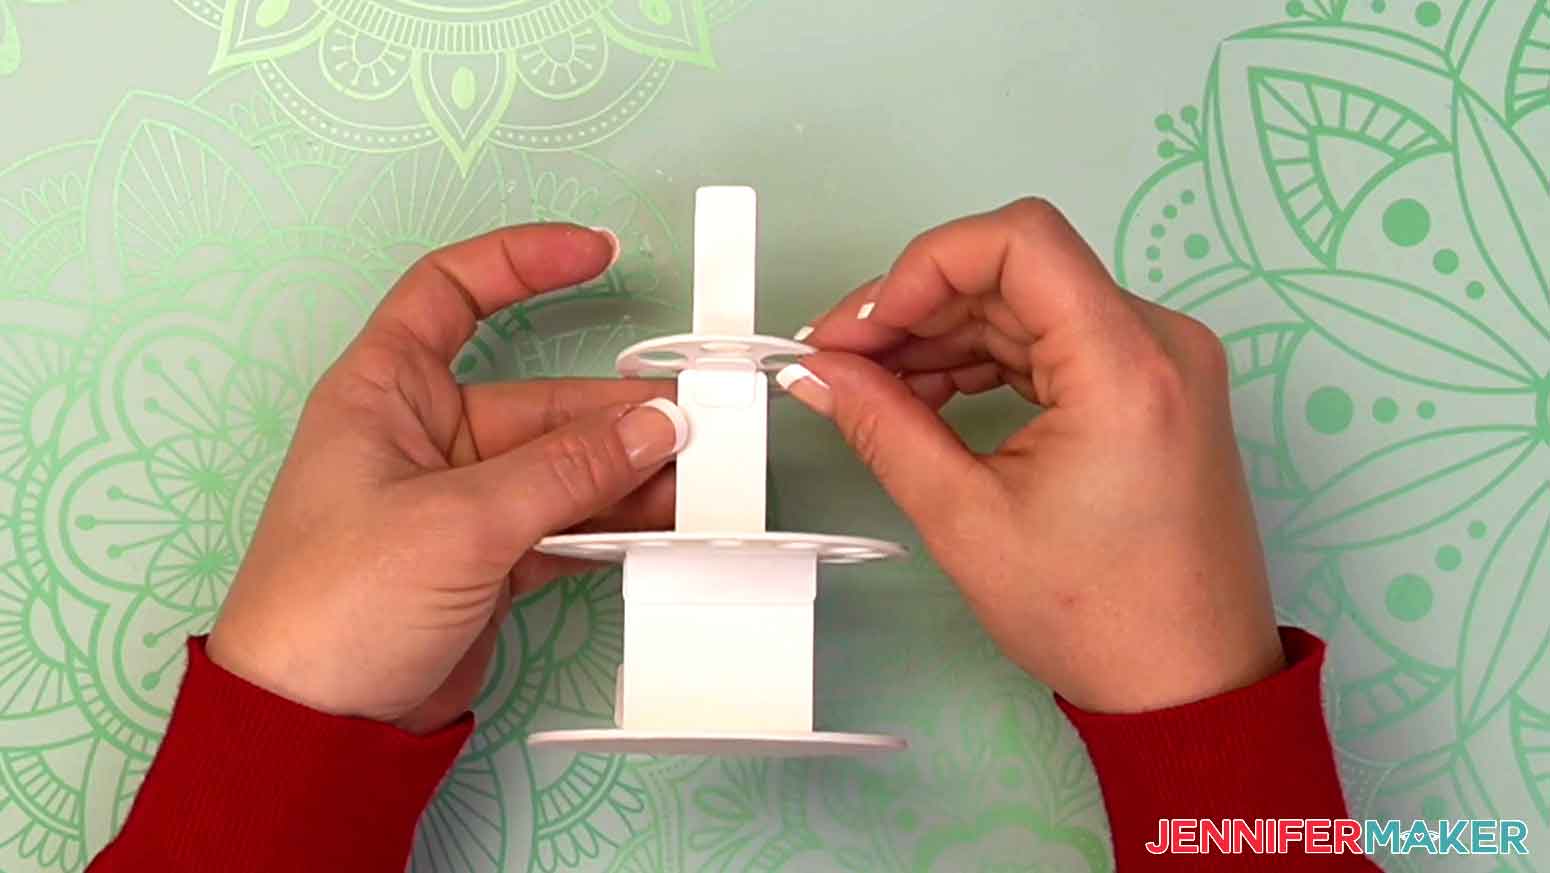
Once the supports are dry, it's time to put the money cake together. Gently work the center support's skinny top through the rectangle in the stacked B pieces. Slide the circle down to make sure it will glide all the way to where the tabs will fold. Lift B up a bit to fold the tabs out so the mirror each other. Add glue where they will touch the bottom of B, then hold everything in place to set.
Then, apply glue generously to the bottom of B and over the secured tabs. Align and press A to the bottom of B, covering the tabs and making a smooth surface. Hold it in place and press around the edges to make the adhesion seamless.
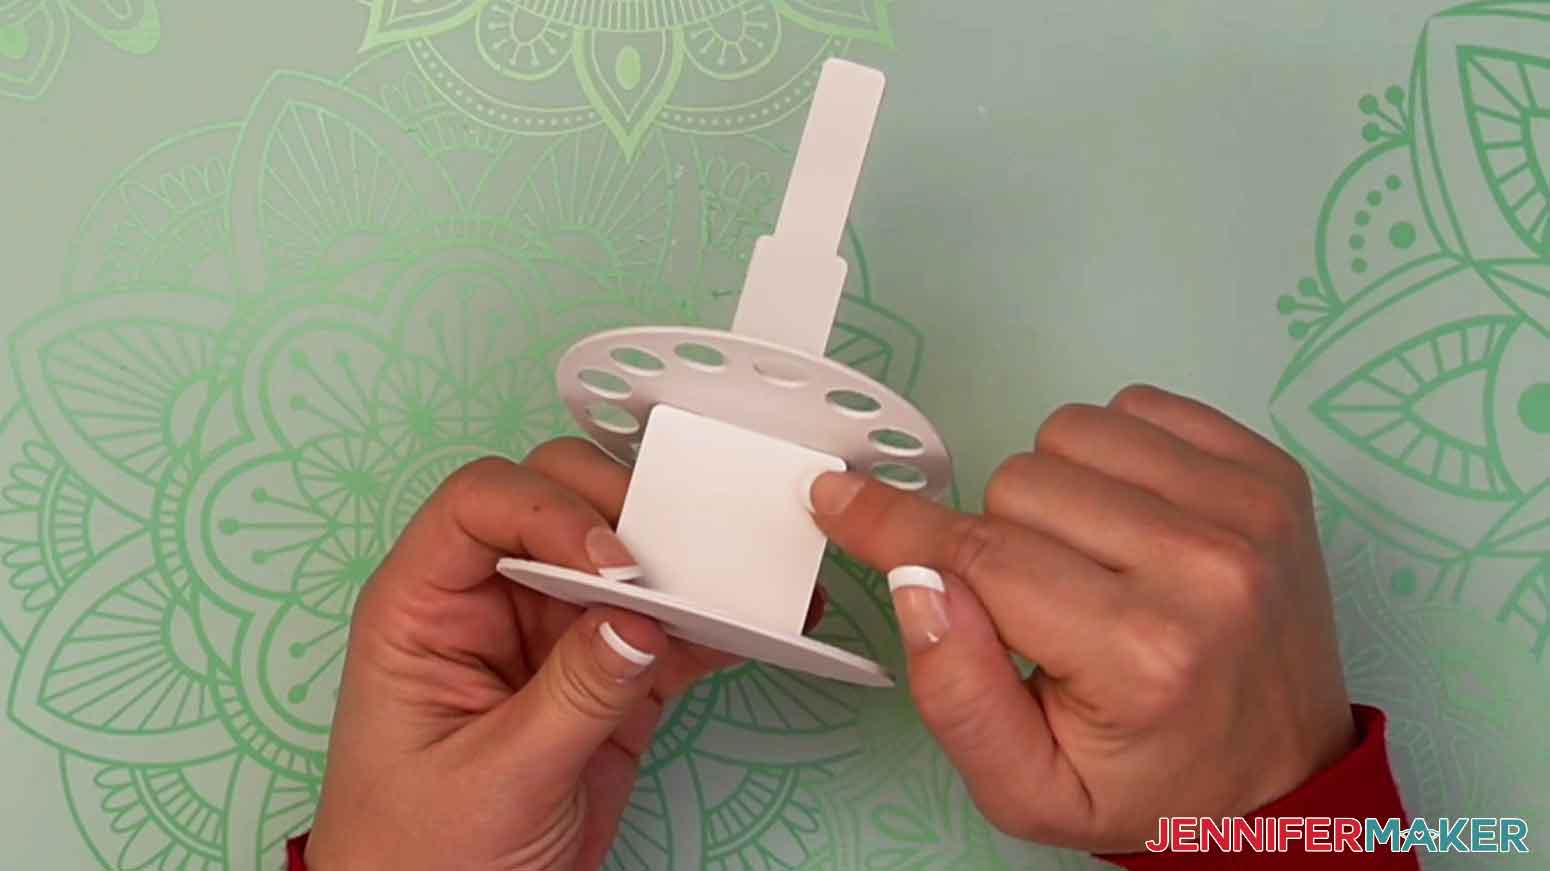
Stand up the assembled support structure once it's secure. Gently slide the larger C circle with holes on to the center support through the rectangle. Make sure it will move down to touch the wider support area.
The lower tier can be a bit wobbly so it helps to add tabs (G) to reinforce and stabilize the design. Fold the Gs along their dashed lines to make upside down L shapes. Apply a small bit of glue to the outsides of one G and press it to the center support and bottom of of the lower tier.
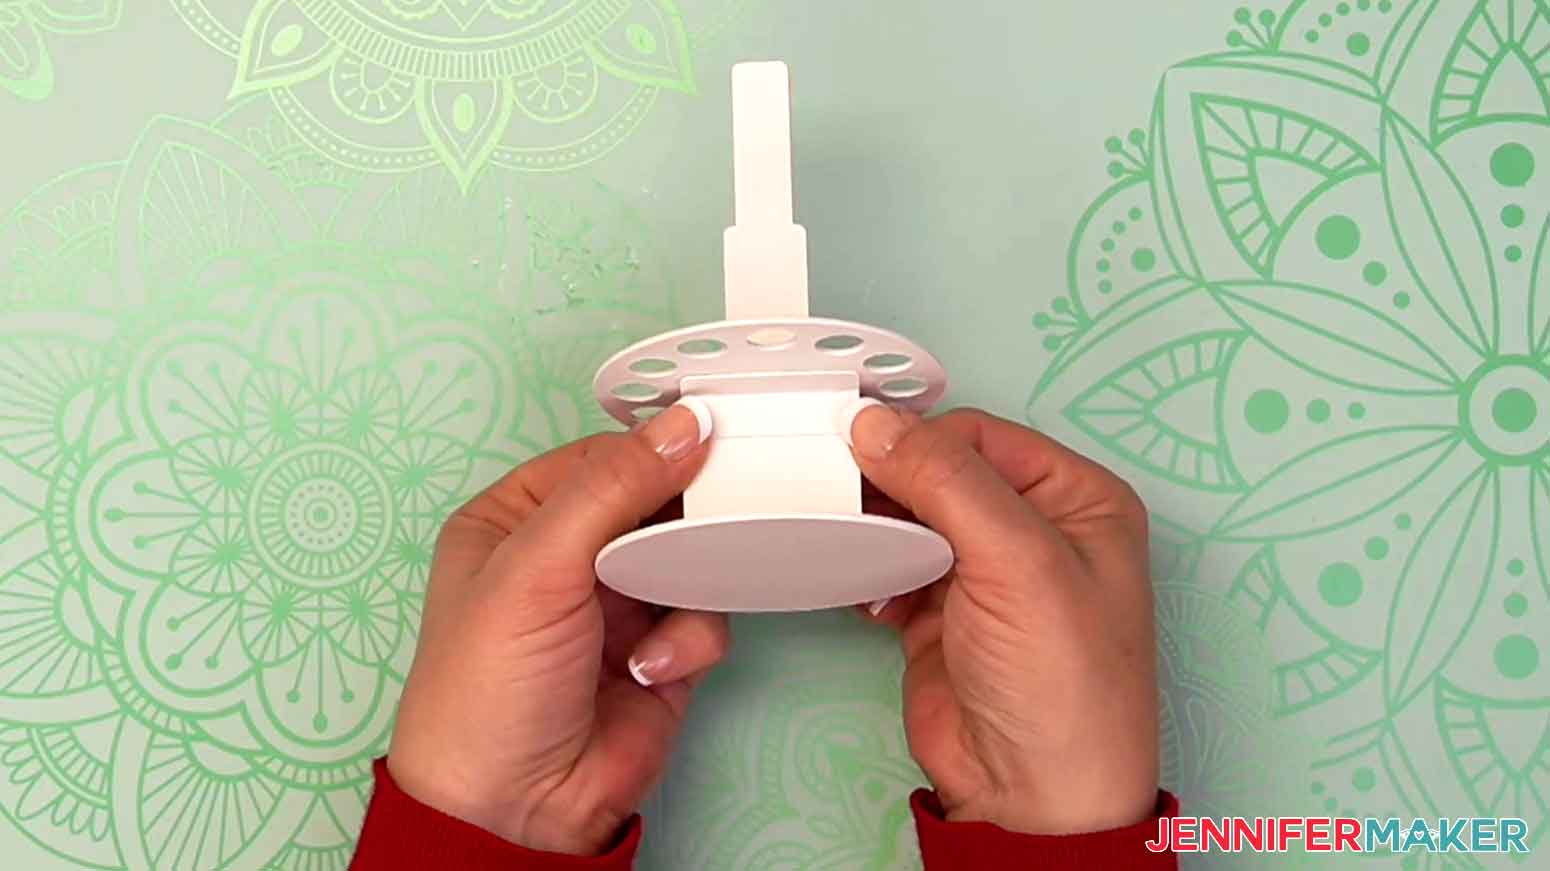
Repeat for the G tab and apply it to the other side of the center support.
If you made a second tier, gently add the other circular piece with cutouts, D, to touch the upper support area. Again, fold and glue the smaller dashed rectangles (H) to add support below D, touching either side of the center piece.
You're almost done! Grab your gnomes and apply glue to the back of one of the red layers. Center align it the best you can on the center support and hold it to set a bit.
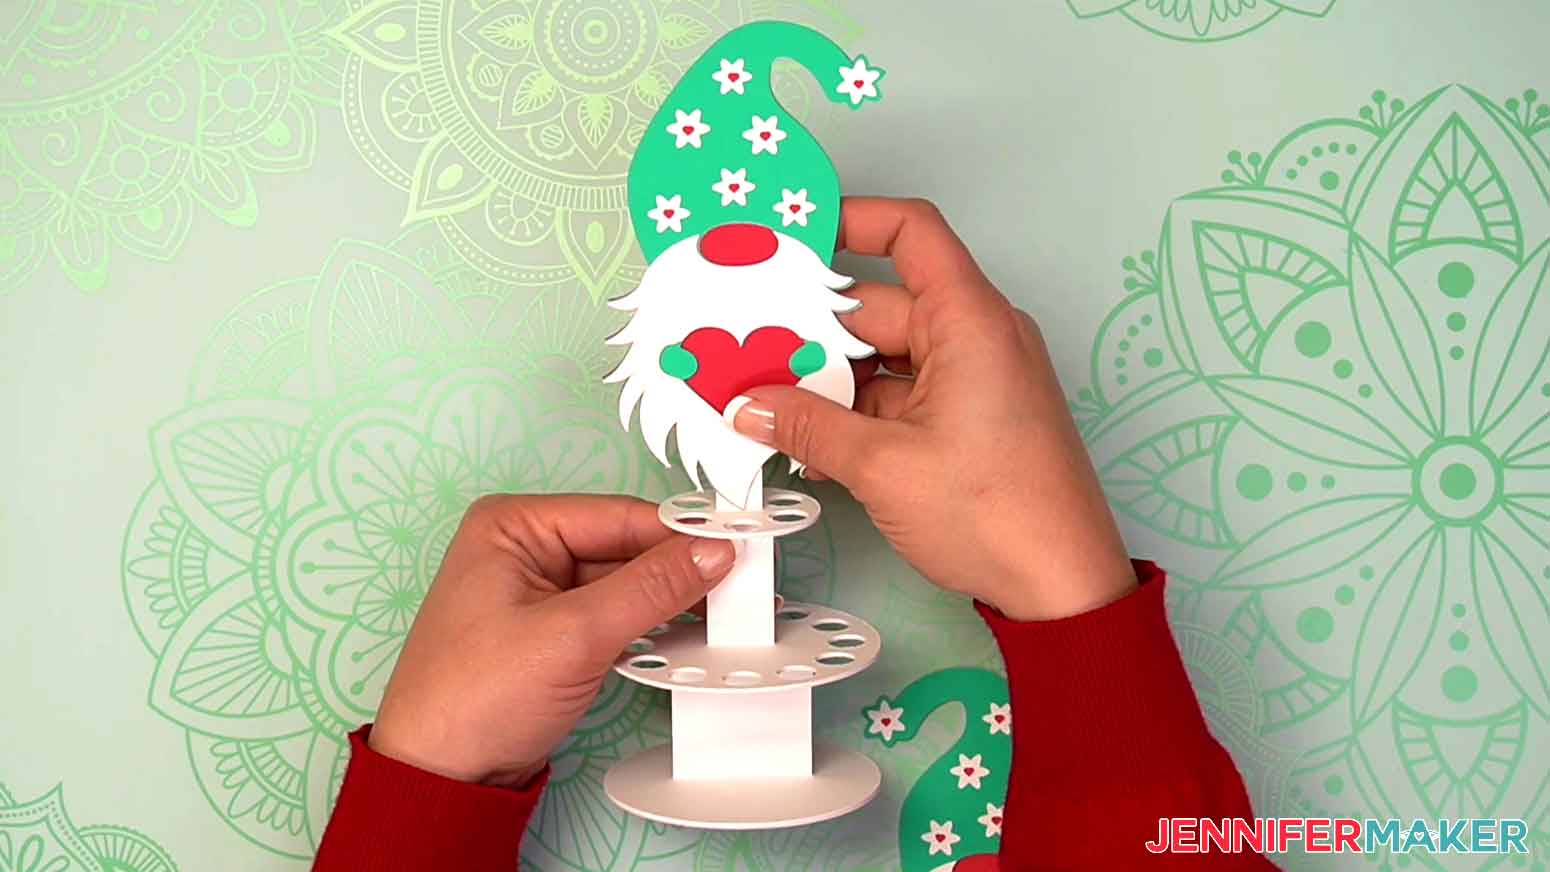
Add some glue to the still exposed side of the center support, only in the area surrounded by the gnome. Press the second gnome back-to-back with the first, sandwiching the support inside. Hold for a minute to make sure the designs are well adhered.
Lastly, choose your money and roll it in to tight rolls. The one layer cake holds up to 12 rolls, while adding the second layer brings it to 18. Insert the bills one at a time around the money cake!
STEP 5: SHOW IT OFF
How fun and simple was this adorable gift? I can't wait to see all of the money cakes you make!
Answers to Your Questions About Using My Money Cake SVG Designs
Q: How do you attach money to a money cake?
A: Since each rolled dollar bill is held in place by a hole in the tiers, you don’t need to attach them to the money cake. If you’re nervous about any falling out, you could tie a ribbon around each tier.
Q: How many dollar bills do you need to make a money cake?
A: For a one-tier money cake, the bottom tier holds up to twelve bills. The second tier has slots for six more rolled bills. If you don’t want to put a bill in each slot, you could also write notes of the same size to add.
Q: What kind of tape do you use for a money cake?
A: This cardstock money cake doesn’t need tape! The bottom keeps everything in place, but if you feel better using an adhesive, Scotch tape will work.
Q: How do I display money as a gift?
A: In addition to my money cake designs, you can also make a money gift with a DIY money card! Or, if you want to give a gift card, I have lots of card designs that fit them well.
Q: Can you use glue dots on money?
A: If you need to use an adhesive on money, you can use clear Scotch tape.
Q: Can I make this with a Cricut Joy or a Cricut Explore?
A: Yes, the money cake SVG elements are small enough to cut on any Cricut machine that uses Cricut Design Space.
Q. Do I have to use a Cricut machine?
A: No! We always include file types in the ZIP file to work with other cutting machines. If you have a Silhouette Cameo, which uses Silhouette Studio, you can use the DXF file in Silhouette Basic Edition. If you have upgraded to Silhouette Designer Edition, Designer Edition Plus, or Business, you can use the SVG format with your Silhouette machine. If you don’t have a cutting machine, you can print the PDF file in the ZIP folder to cut by hand, too!
Q: Can I sell what I make using your free downloads or are they only for personal use?
A: First thing, I’m honored that you’d ask! Yes, you can sell completed projects using these designs (with limitations) along with other designs in my free library — please read about licenses here so you know what you can and cannot do. If you use them, please share photos with us! We love to see them.
Get my free download of the Money Cake SVG cut file collection here:
If you make a money cake using these free SVG files, I’d love to see them! Please share your results in my Cricut Crafters & Makers Facebook group where you’ll find hundreds of thousands of crafters like you, sharing their tips, projects, and inspiration.
Love,

Want to remember this? Save this Money Cake Tutorial to your favorite Pinterest Board!