

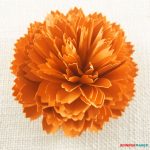
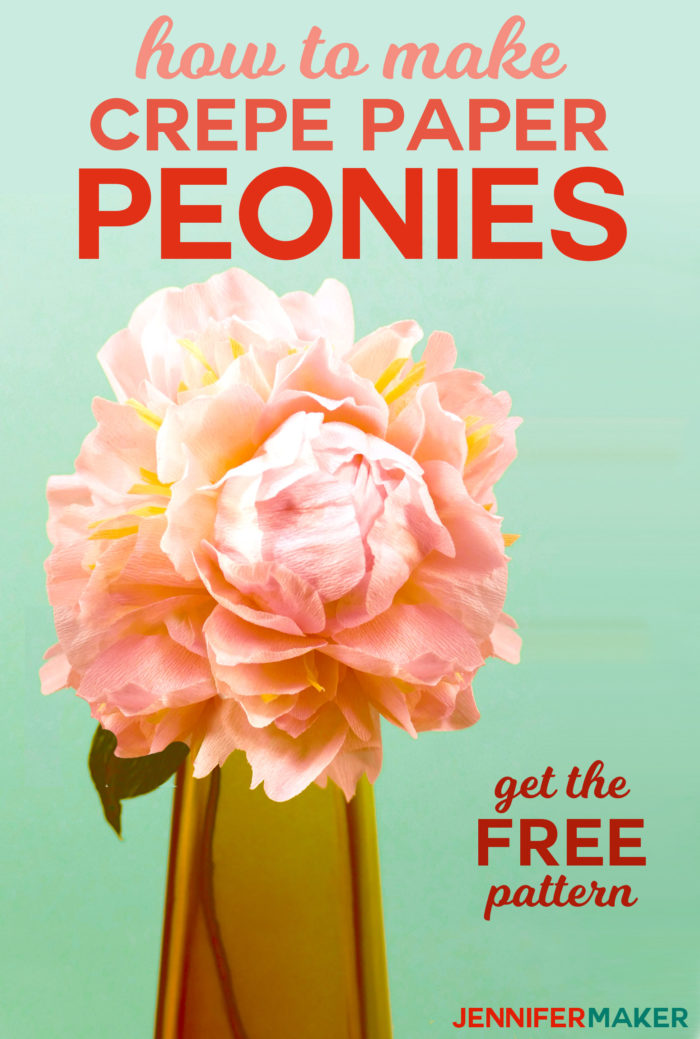
Make crepe paper peony flowers that look so realistic you’ll forget they’re not real. Crepe peonies make gorgeous home decor, party decorations, and gift toppers.
Every year I look forward to one special day. The day that my peony bushes bloom. It’s usually the first week of June — this year it was a few days early thanks to the plentiful sunshine in May. I love peonies so much I’ve already made rolled paper peonies and giant peonies, but I still wasn’t satisfied. I wanted to make a peony that looked nearly identical to the real thing. And I did it! Let me show you how to make a crepe paper peony that will fool everyone into thinking it’s real!

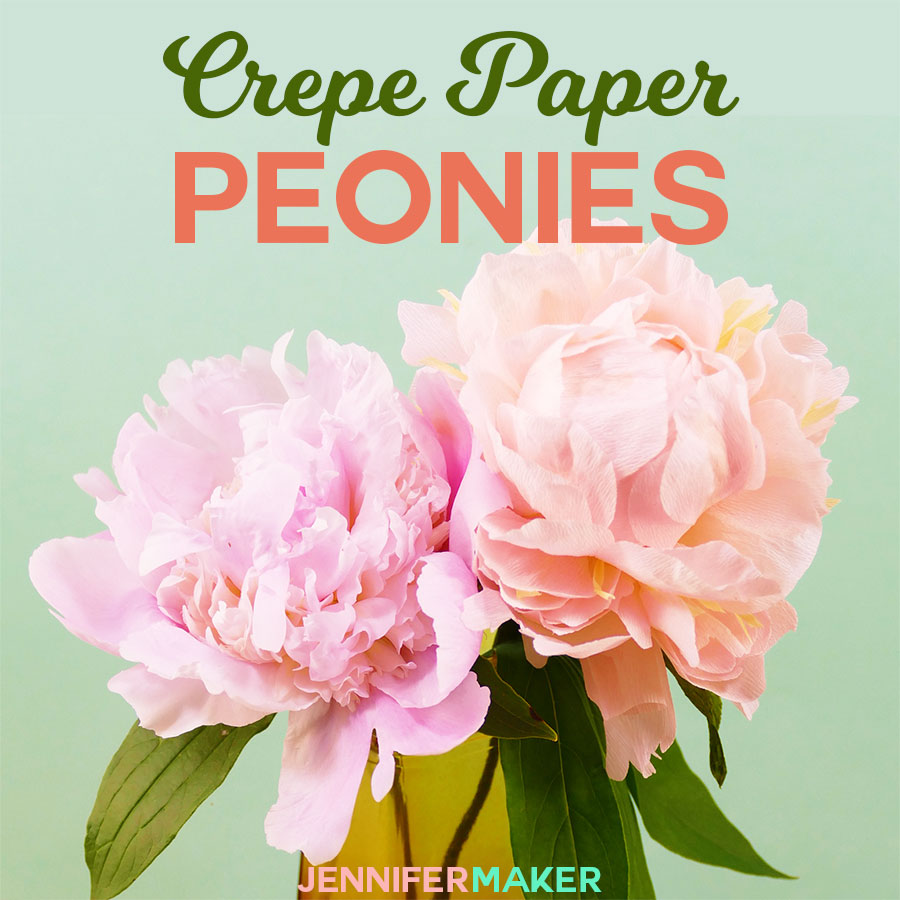
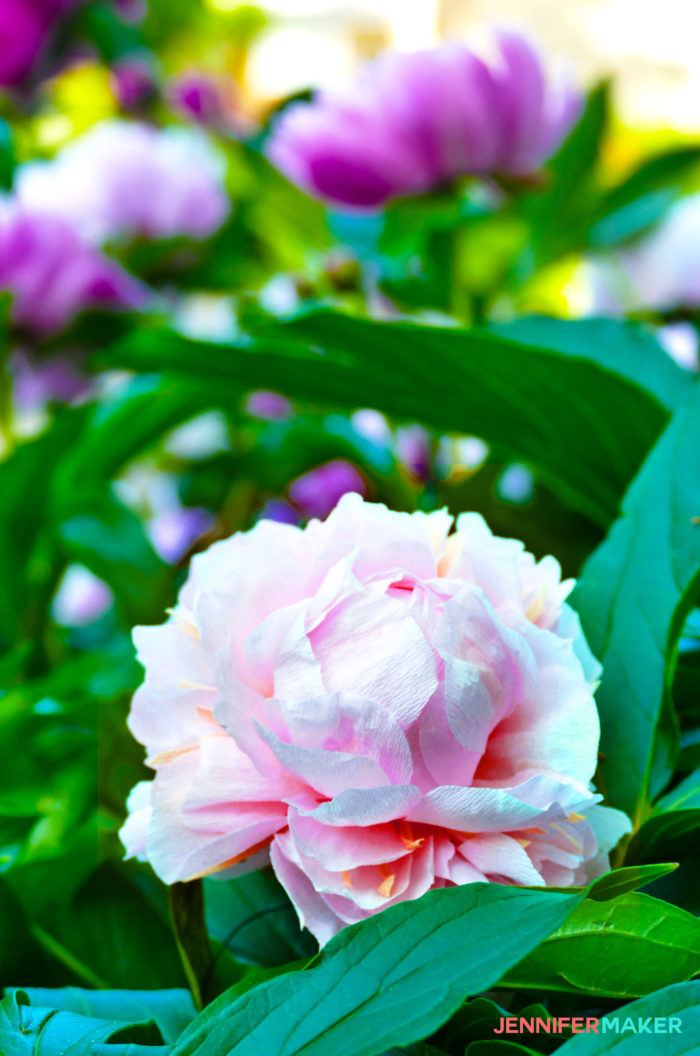
In the image above, one peony is real and one is made from crepe paper. Can you tell which is which? (Think about it, and I’ll reveal the answer later in this post.)
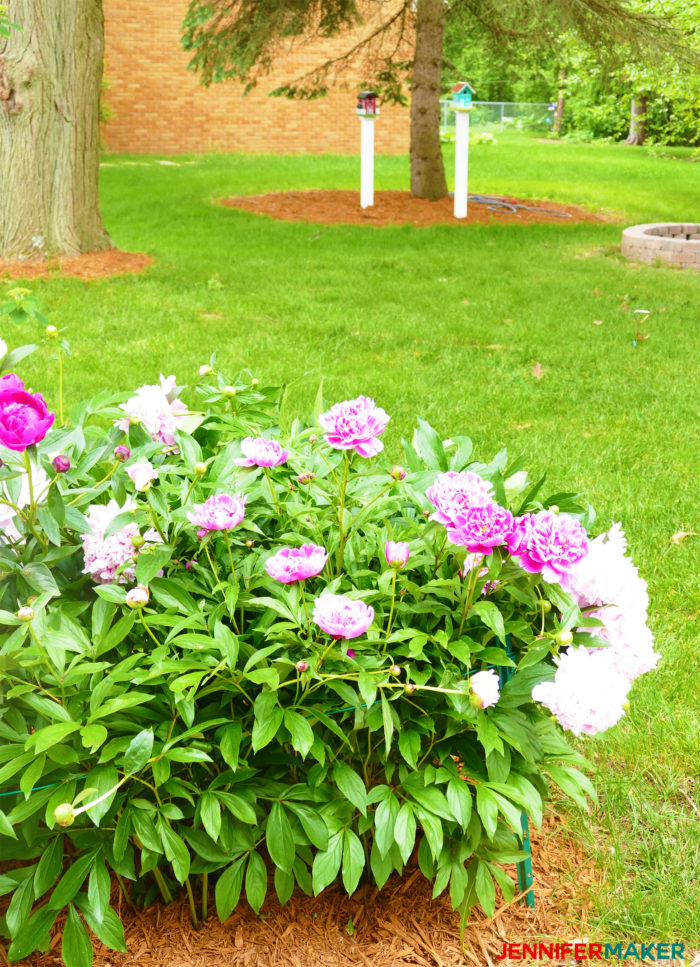
To make my peony look as real as possible, I picked one of my Sarah Bernhardt double peonies and studied it carefully. The delicate pink Sarah Bernhardt peony is one of the most popular varieties. I have several bushes with this peony and it’s a classic. Here are some of the peony bushes in my front yard. (You can see our DIY birdhouses in the background there.)
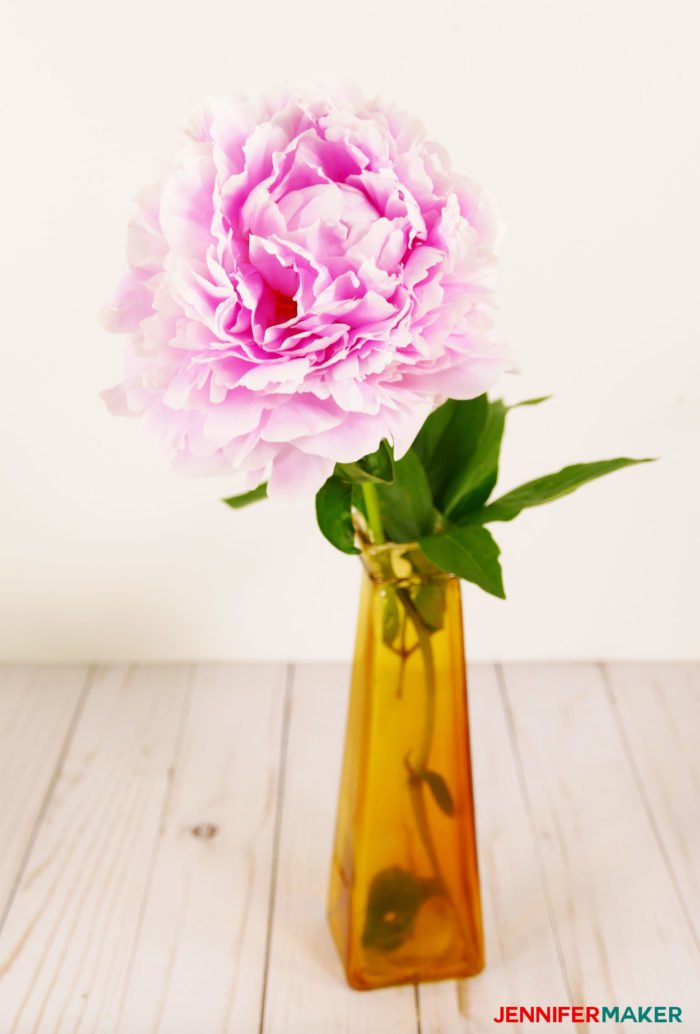
Here’s one of my Sarah Bernhardt peonies:
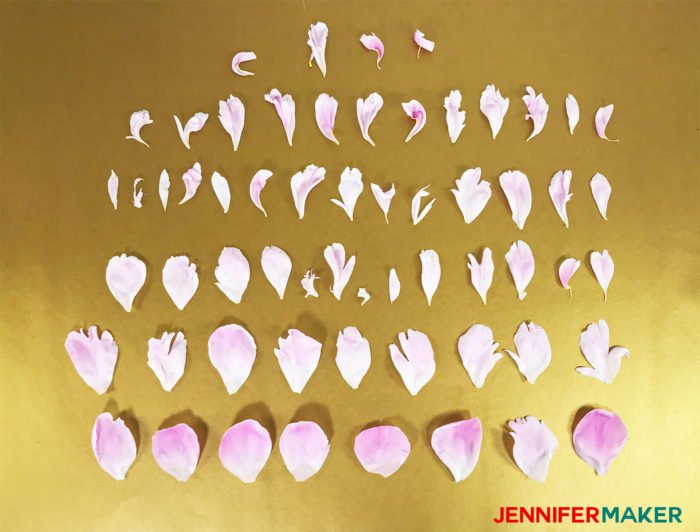
I carefully removed every single petal on the peony. I pulled the petals off gently and placed them on a table in the order I removed them. Then I took a photo, brought it into my illustration software, and traced every single individual petal.
Did I need to trace every petal? Likely not. But the result is amazing and very realistic. And I now know its petals are identical to what actually grew in nature. Here’s my finished crepe paper peony flower:

And here’s what the crepe paper peony looks like out in my peony garden:
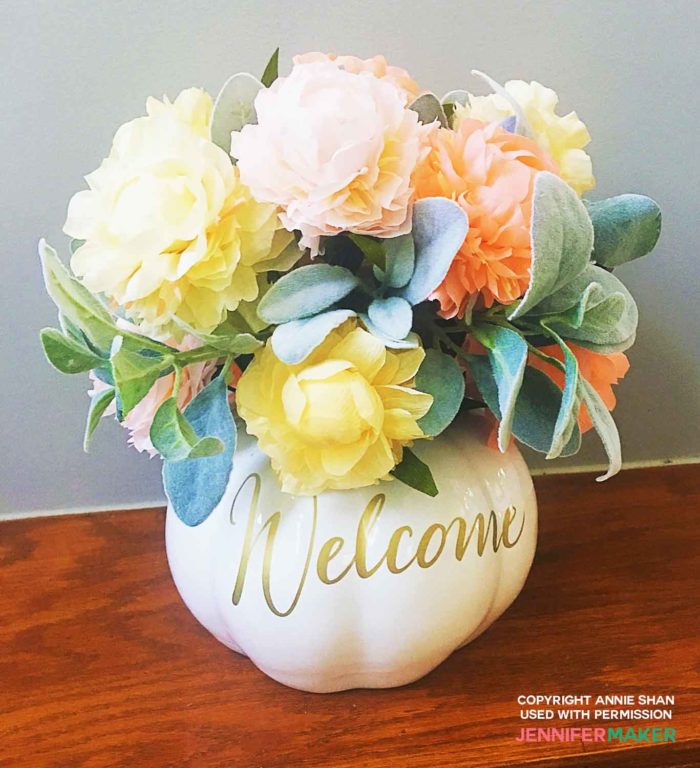
Not sure you could make one? You absolutely could! Reader Annie Shan made this gorgeous bouquet using my pattern and tutorial!
So let me show you how to make crepe paper peony flowers that last and last! This post contains some affiliate links for your convenience (which means if you make a purchase after clicking a link I will earn a small commission but it won’t cost you a penny more)! Read my full disclosure policy.
Materials to Make Crepe Paper Peony Flowers
- Fine crepe paper in colors like blush, pink, green, and light yellow (I used this exact brand of crepe paper and it worked GREAT, but you can buy the colors separately if the set is not available!)
- Green floral wire, 18 or 20 gauge
- Green floral tape
- Glue (tacky glue or a hot glue gun)
- A way to cut out your paper (I used a Cricut Maker with the rotary blade installed which can cut crepe paper like a champ)
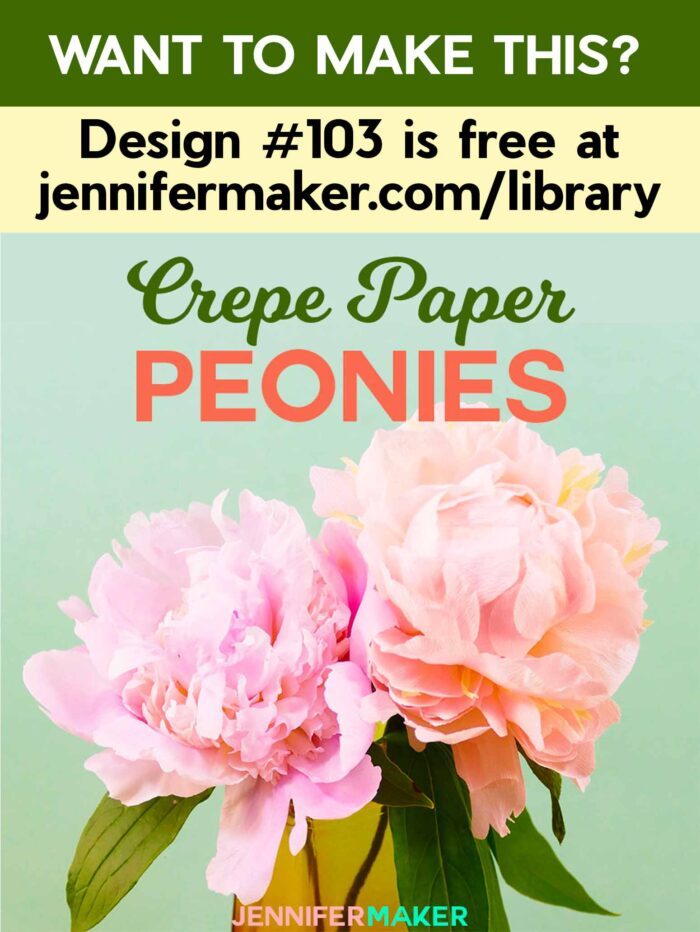
- Design #103 – The free cut files/patterns (they are in my resource library — to get the password to it, fill out the form at the bottom of this post)
How to Make Paper Crepe Peony Flowers
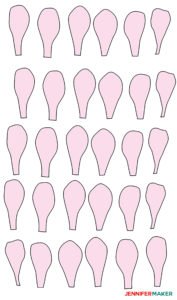
First, cut out your crepe paper using my free SVG, DXF, or PDF files (Design #103) found in my resource library. You’ll be cutting petals from peony-color crepe paper (two sheets), leaves from one piece of green crepe paper, and the stamen from one piece of yellow crepe paper. No scoring or layer grouping/ungrouping is needed.
IMPORTANT CUTTING MACHINE NOTE: Crepe paper can only be cut on the Cricut Maker with the rotary blade, not on any other cutting machine (including the Cricut Explore). If you’re not sure how to upload an SVG file to Cricut Design Space, or you’re having issues (such as getting a message that says “unsupported file”), please watch my free training series, SVGs Made Simple. It will help you SO much! If you’re on an iPhone or iPad, check out my post on How to Upload SVG Files to Cricut Design Space on iPhone & iPad!
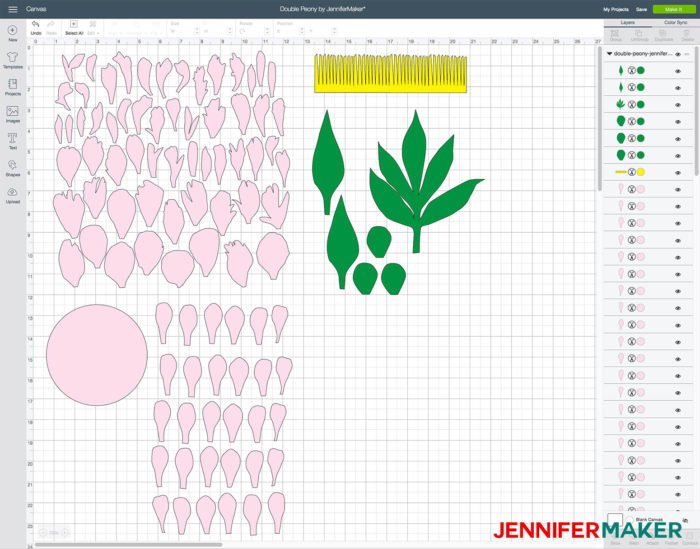
IMPORTANT NOTE: Cricut Design Space changed the way SVG cut files are uploaded in summer 2019 and is auto-resizing everything to 11.5″. That means if you upload the crepe paper peony design, it resizes it way down to a super small size. Thus, I created and uploaded a new ZIP file for the double peony and put it in my resource library. The updated zip file has two new folders inside it — separated and stacked. Use the files in one of those two folders instead of the regular SVG to avoid the design resize issue.
Tip: Just make sure that when you cut your crepe paper, the grain of the paper is vertical, not horizontal.
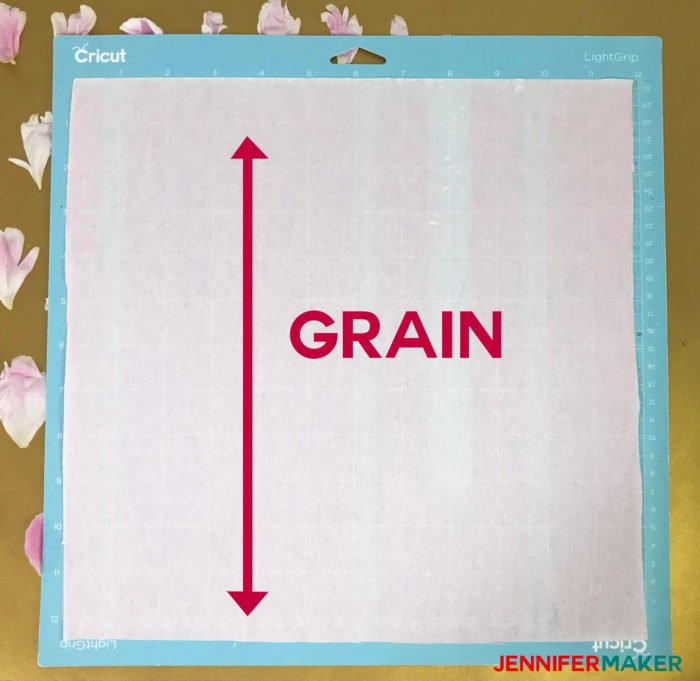
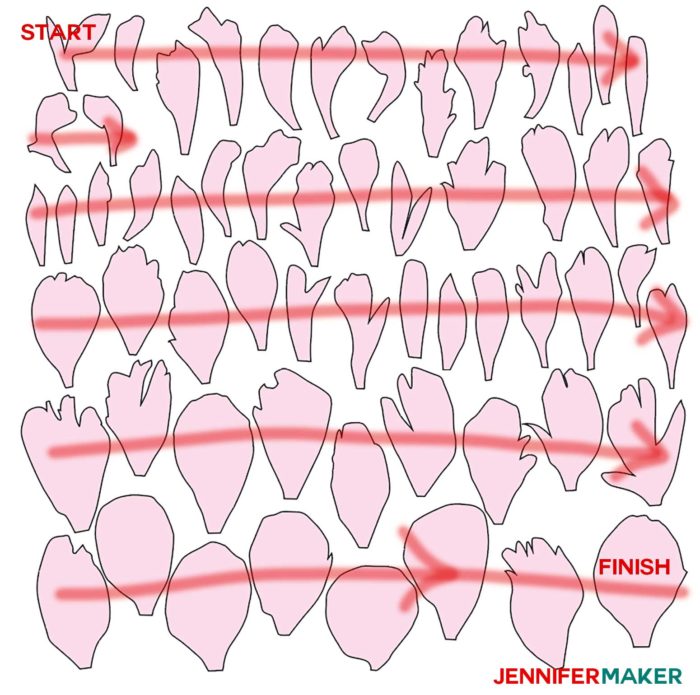
When you take your cut crepe paper pieces off your mat, try to keep the petals in the same order shown in the file.
Note: If you decide to cut your crepe paper by hand, use the PDF pattern provided, which has simpler pattern shapes in the order you’ll want to use them.
Watch my assembly video, which goes through the entire assembly process.
Crumple up one sheet of your scrap crepe paper (I used the sheet that I printed the first set of petals on) into a ball.
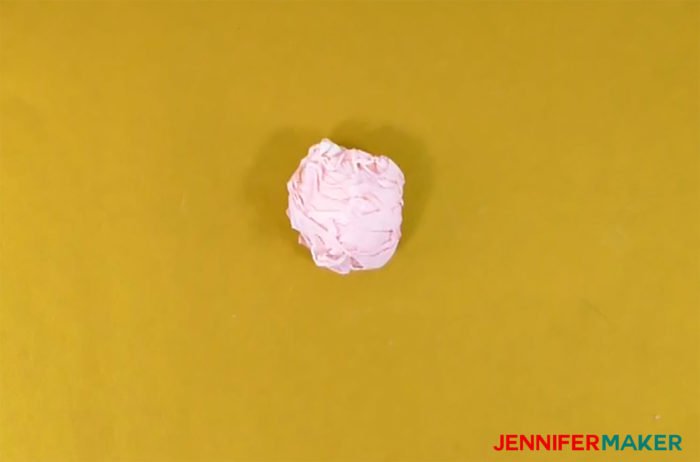
Then cut a 12″ long piece of floral wire and glue it into the center of this crepe paper ball.
Place the ball and wire in the center of the crepe paper circle you cut out. Place a line of glue around the perimeter of the circle.
Now wrap the circle around the crepe paper ball, pressing down along the edges you’ve glued. This creates your crepe paper peony bud that we’ll form the flower around.
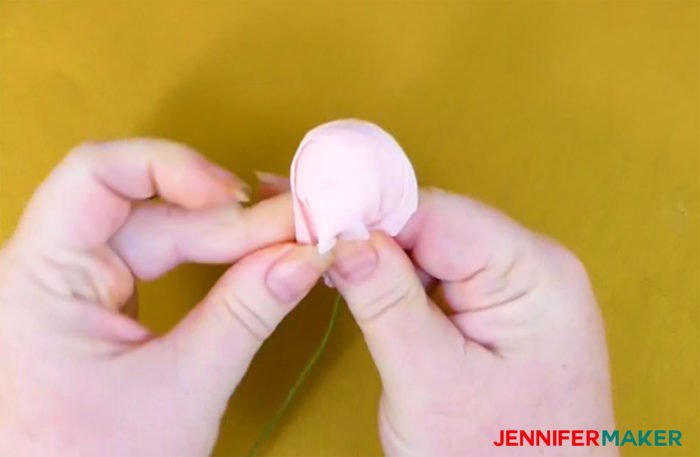
Tear off a piece of floral tape a few inches long and wrap it around the bottom edge of the crepe paper circle to tuck everything in neatly.
Here’s the finished crepe paper peony flower bud.
Now let’s turn our attention to the petals. There are two sets of petals, one for each of the two “blooms” of the double peony. The first set we want to attach to our peony bud are the simpler petals that look like the image below. (Note: If you are cutting your crepe paper by hand, you’ll be using the inner petal set, which is 30 petals of the same shape.)
Each petal needs to be “cupped” by gently pulling the edges of the petal. To do this, grasp the middle of the edge of each petal and pull carefully. The crepe paper will stretch and form a depression in the paper. It’s super cool!
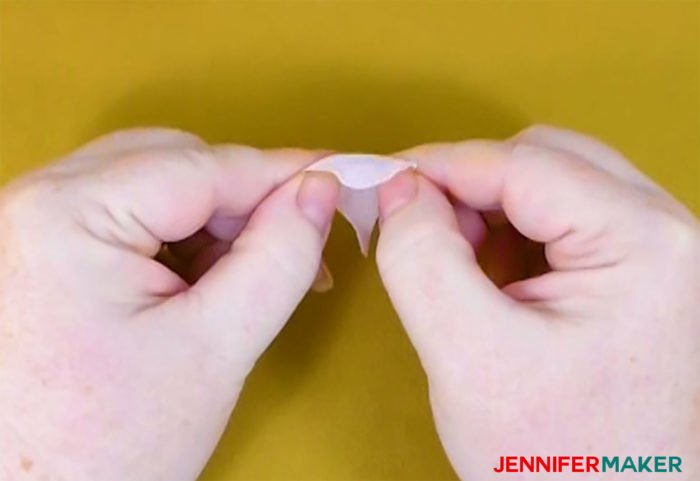
Here’s what the crepe paper petals look like after they are all cupped. They look like real petals, don’t you think?
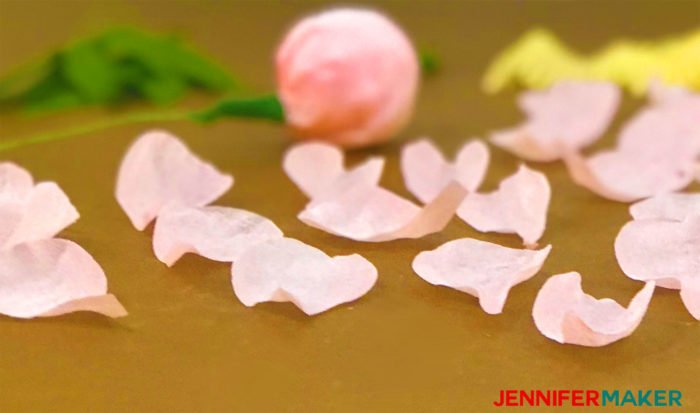
It’s also a good idea to ruffle the top sides of the petals, just like real peony petals. I do this with my fingers and fingernails.

Once you have all of your petals cupped and ruffled, it’s time to begin gluing them to the bud. You’ll glue ALL of the first set (shown above) to the bud. Be sure to glue them so the petal’s cup matches the curve of the bud (you want the petals curving inward toward the bud, not outward). I like to glue the first four or so to the side of the bud so the petals stick right to it, like a real bud.
Continue gluing the bottom of the first set of petals to the bud in a circular fashion around the base. Keep going around the flower until you run out of the first set of petals. Your crepe paper peony flower should look something like this.
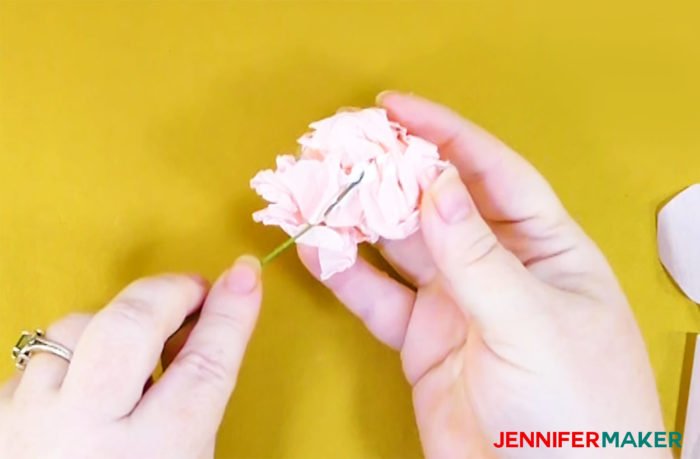
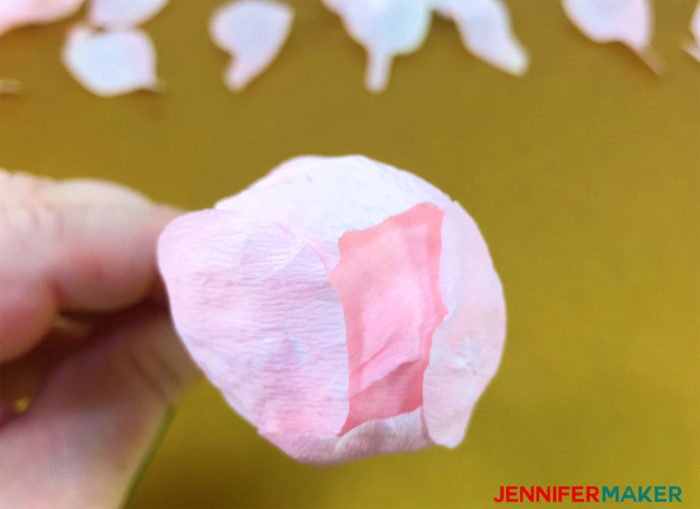
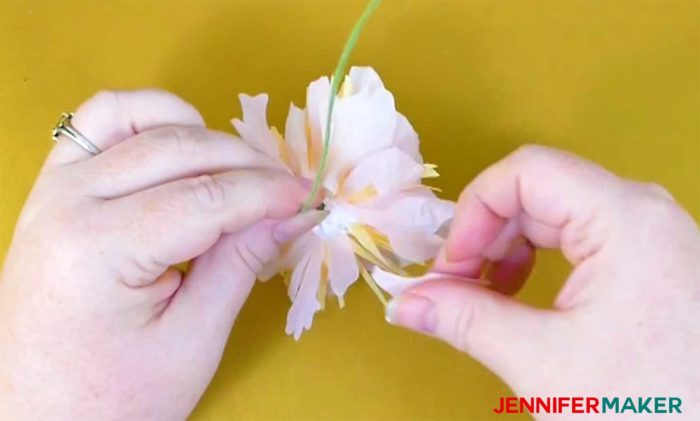
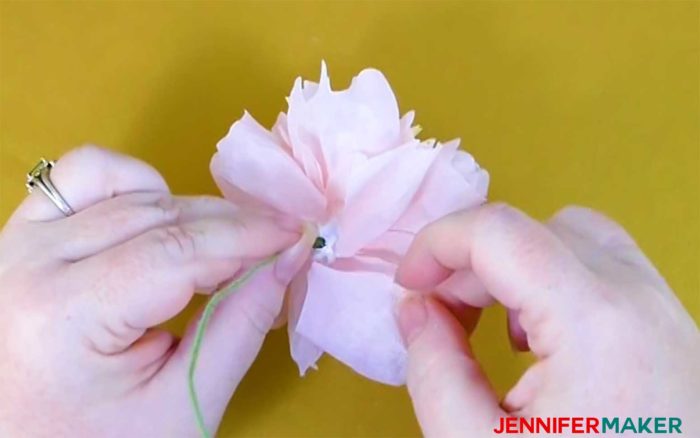
But wait… we have more petals to add! First we need to glue on the stamen. A double peony has two sets of stamen. One set is inside the bud, so you con’t see it in this flower. But the other one would be visible.
Prepare the stamen by twisting the long strands of your cut yellow stamen between your fingers to make them look more realistic.

Once the stamen are shaped and look less like strips of paper and more like something natural, glue the base around the base of your crepe paper peony.
Now it’s time to glue the rest of the petals onto the crepe paper peony. Start with the smaller petals in the second set. If possible, put them on in order from top left to bottom right, as this is the exact order I took the petals off the real peony. (Note: If you cut your crepe paper by hand from the PDF, you’ll be using the outer petal set — 60 petals of three different sizes. Work from the smallest to the largest.)
I attached each petal to the peony by dabbing glue at the base of the crepe paper peony flower than sticking the bottom of the petal to the glue. This simulates the way real peony petals are attached at the base.
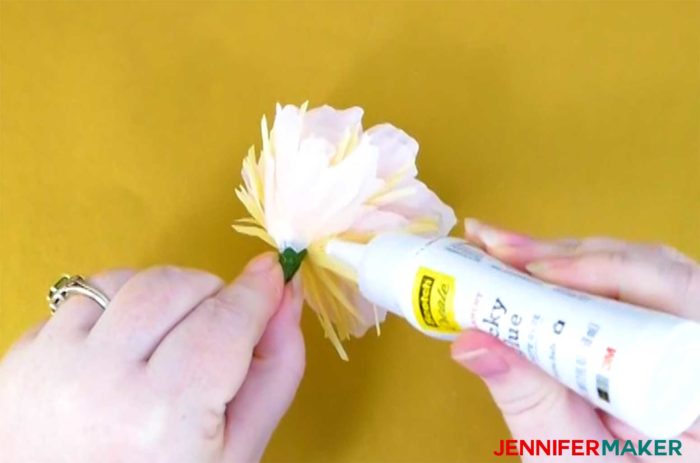
Now just continue gluing the petals on the base of your peony in a circular fashion. You want to build up the petals to create a big and beautiful flower.
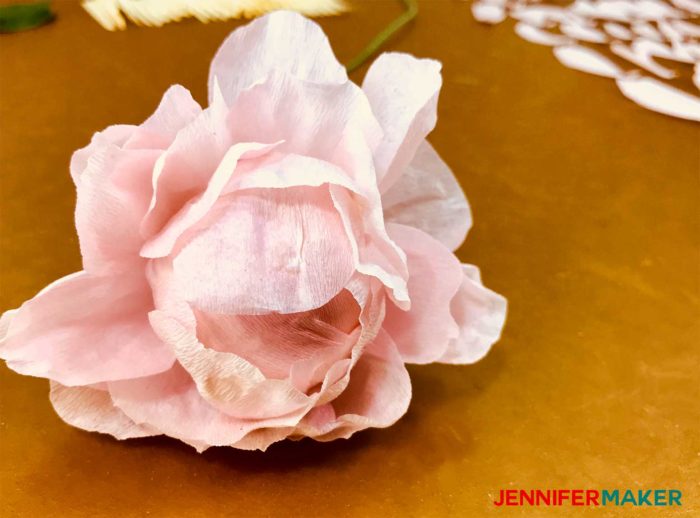
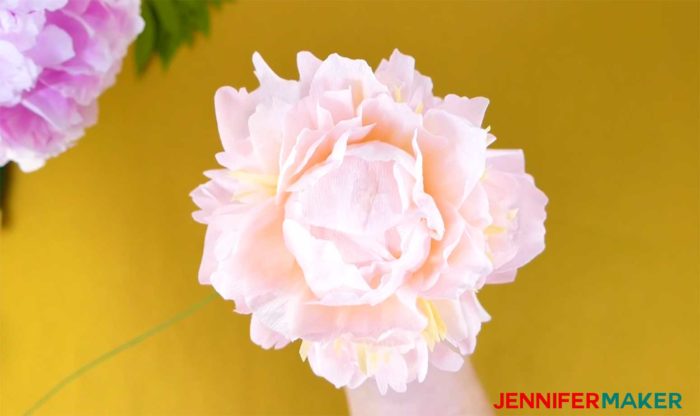
By the time you get to the end, you should be gluing on the largest petals. Here’s what your crepe paper peony should look like once all the petals are on.
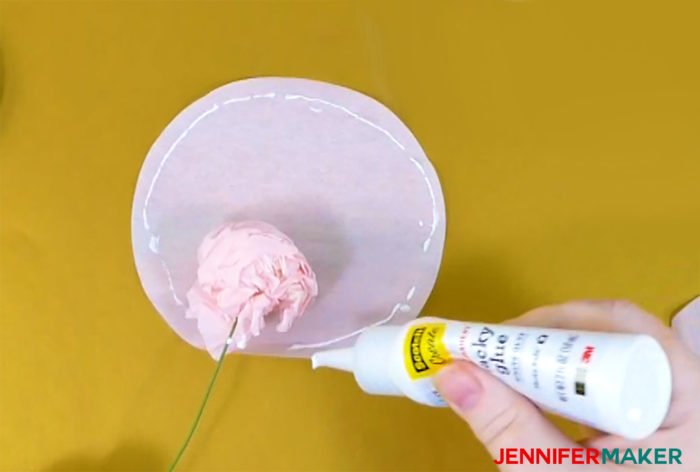
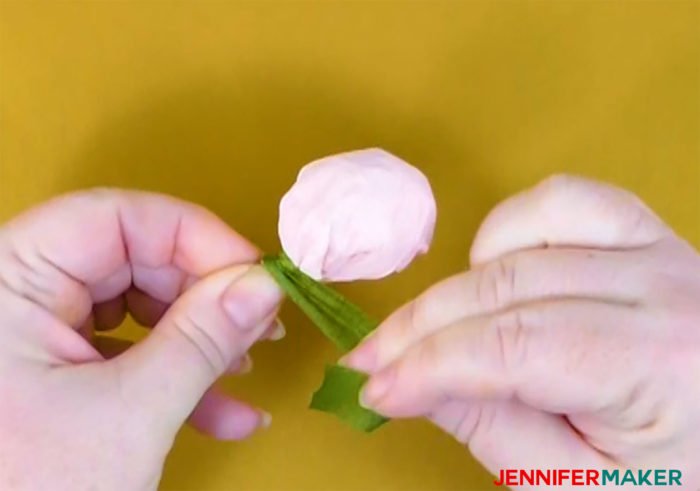
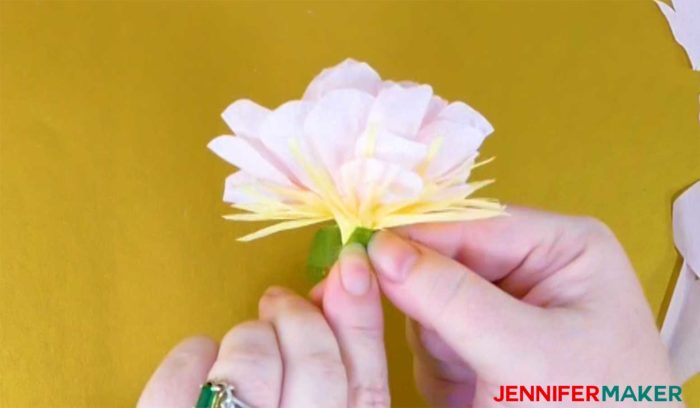
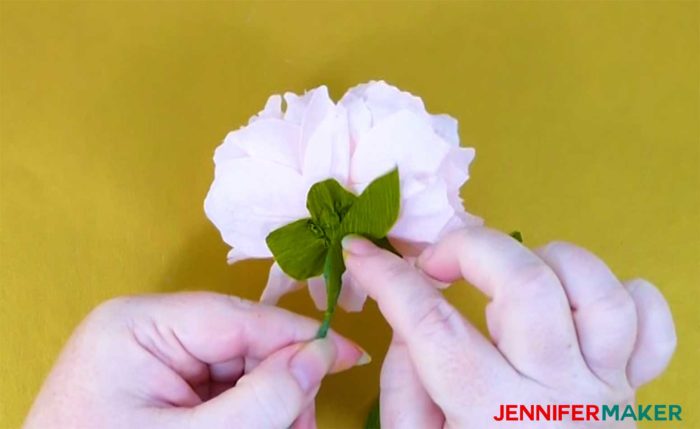
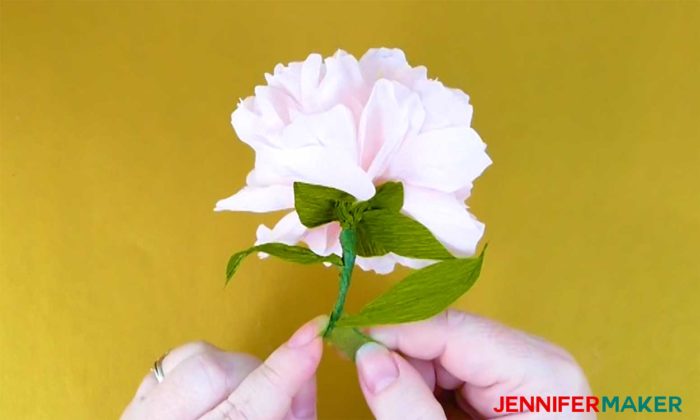
Turn the peony over and glue the three green sepal petals to the underside.
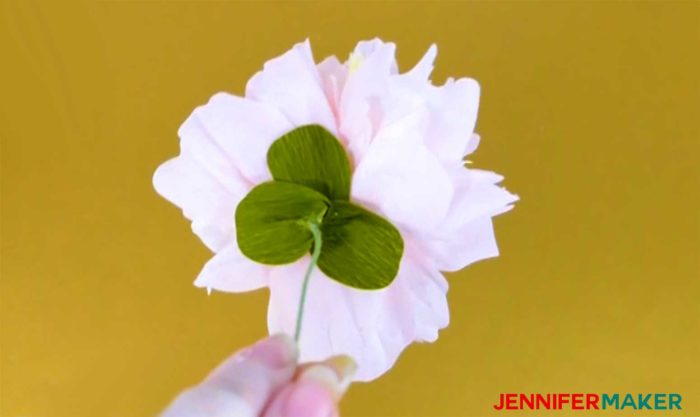
You can glue on any leaves you want now. It’s typical for a peony to have a leaf just underneath its blossom, then more further down the stalk.
If you want your leaves to look more realistic, glue a strip of floral wire to the underside to give them more structure

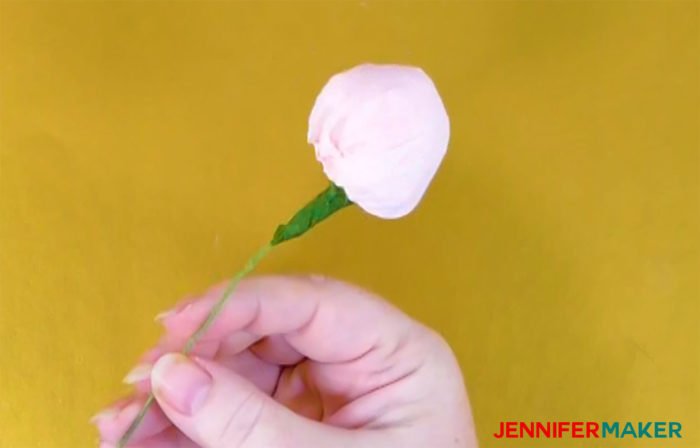
Finish your crepe paper peony by wrapping floral tape around the stem.
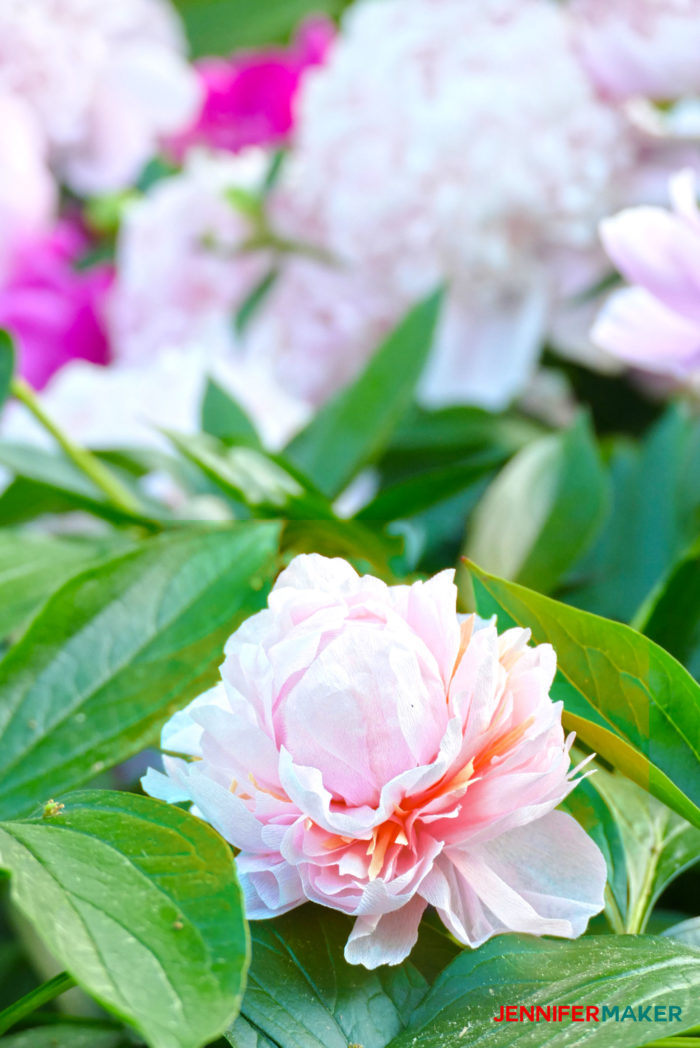
And that’s it! Here’s my crepe paper peony side by side with a real peony, freshly picked from my garden:

And the great thing about this is that your crepe paper flower is going to last and last. And yet it looks so genuine, as you can see in the photo below. The real peony flower I picked less than 24 hours ago is already wilting.
Free Cut Files to Make Crepe Paper Peony Flowers
You can get the password to my resource library that has ALL of my free cut files in it by filling out this form:
If you make paper peonies, I’d really LOVE to see them! If you make one, please share a photo in our Facebook group, email it to me at [email protected], or tag me on social media with #jennifermaker.
If you are interested in learning how to design your own paper flower, this is something I teach in the CUT ABOVE SVG Design Course. You learn how to design beautiful and cuttable files on a whim. Enrollment is currently closed, but click here to get on a waiting list to be notified when enrollment opens again.
By the way, in the very first image on this post, I told you one peony flower was real and one was made of crepe paper. Did you figure it out? The one on the left is real, the one on the right is crepe. Not bad, eh?
Love,

More Paper Flower Tutorials & SVG Cut Files


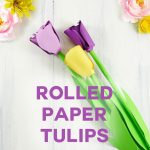

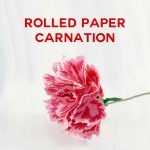


View all my paper flowers here.
Want to remember this? Save the Crepe Paper Peony Flowers to Your Favorite DIY Pinterest Board!


Wow! Even knowing one of the flowers in the photo wasn’t real it took me a white to work out which one! Amazing. And thanks for sharing!
This is amazing! Your crepe paper flower looks incredible. Great work and thank you for sharing.
Your attention to detail is incredible!!! I can’t wait to try one of these. My husband might not mind them in the house like the real ones (ants lol)
This is really cool! Thank you.
You’re welcome!!
wow they look absolutely amazing
Thank you!
Thank you for the video, you are a very talented lady. Can your giant rose be made out of crepe paper as well? Or any of your other flowers?
The giant rose requires some stiffness to it in order to maintain its shape, Sherry, so we’re not sure how well it would work in crepe paper! That being said, it sure would be worth trying, wouldn’t it?!? As well as any other flower in our library you think is pretty – just because we have made them first out of cardstock, that doesn’t mean you can’t try crepe paper and see how you like it! 😉