
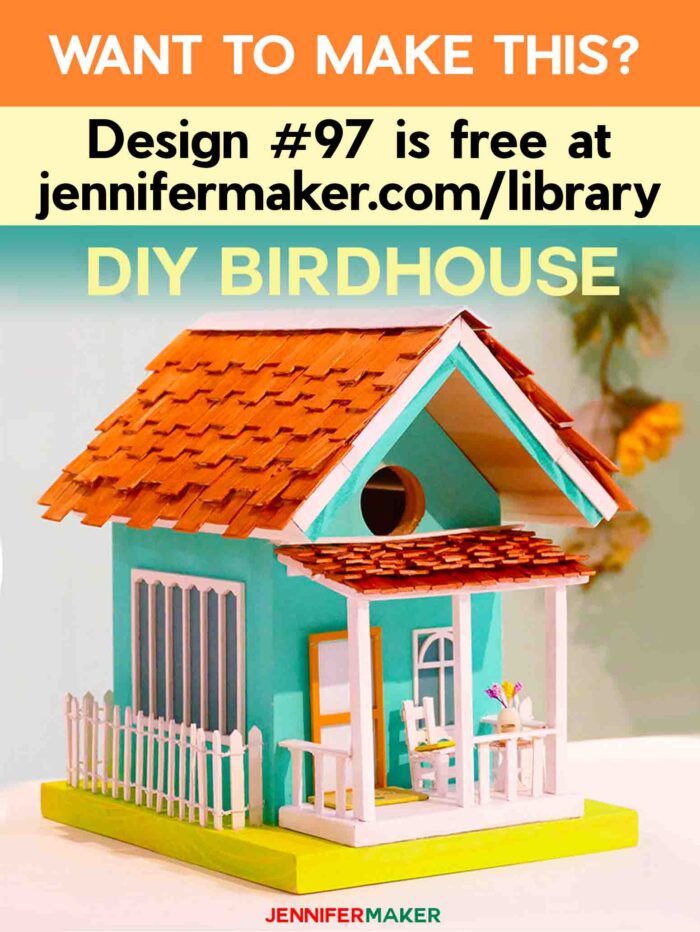
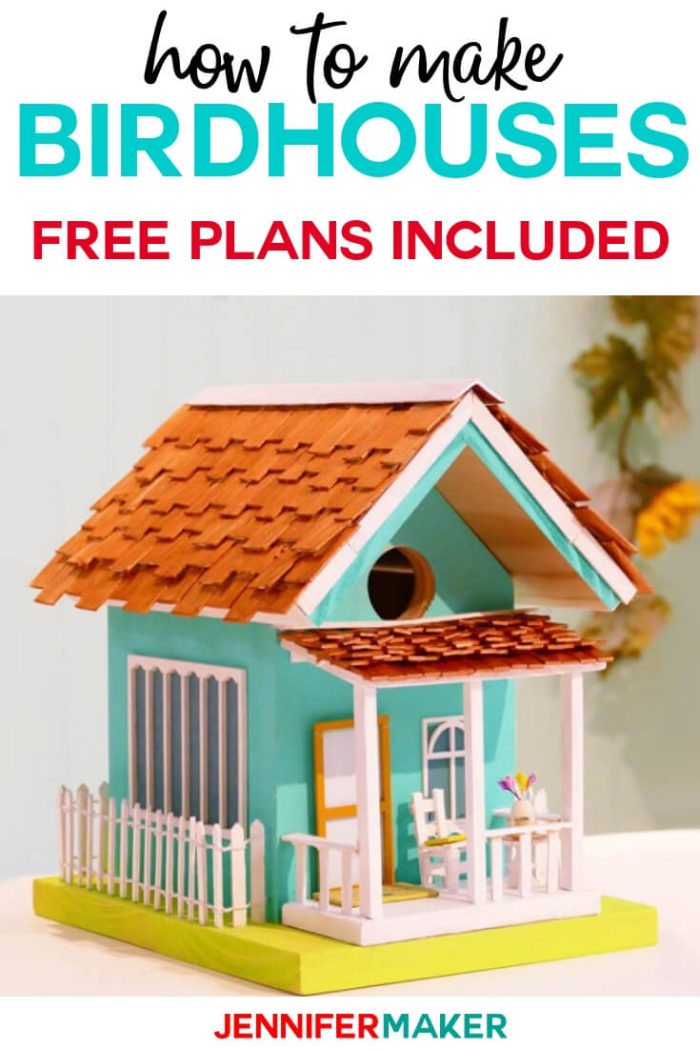
How to make birdhouses that birds will actually use from just one six-foot-long pine board!
It’s mid April and spring is officially here — the birds are singing non stop! There’s just one problem. We just had an ice storm! Would you believe I kept hearing those birds singing, even during the storm? Poor things! So this weekend we built some serious birdhouses and decorated them to put on our deck and DIY gutter garden. These are REAL birdhouses that are bird-friendly with the right size entrance and cavity sizes. I’m going to show you how to make birdhouses with our free plans and decoration ideas!

Spring 2019 Update: A sparrow family has moved into my birdhouse! And I believe the mama bird is sitting on her eggs inside, while the daddy bird brings in supplies and food. It worked!!
We love birds and love to provide shelter for them while they are nesting. But we also wanted CUTE birdhouses. So we came up with a plan that is both functional and decorative. We carefully researched the proper interior size, as most of those cheap birdhouses you get at craft stores are WAY too small.
We also made sure the entrance was the right size, as well as the right distance from the floor of the house. These are all super important for healthy baby birds!
Of course, we wanted our birdhouses to be easy to make. So we designed our birdhouse plans so that they take just one piece of 6-foot-long 3/4″ pine to make a proper birdhouse. That doesn’t count anything decorative, of course, but honestly — the birds will prefer a plain birdhouse. I just couldn’t resist decorating mine like a cottage. Greg made his look like an old barn.
Our free plans create birdhouses with an inside dimension of 4” x 5.5” and an interior height of 9”, which is suitable for chickadees, house sparrows, nuthatches, downy woodpeckers, and wrens.
Let’s show you how you can make your own bird-friendly birdhouse, too! This post contains some affiliate links for your convenience (which means if you make a purchase after clicking a link I will earn a small commission but it won’t cost you a penny more)! Read my full disclosure policy.
Materials and Tools for DIY Birdhouses
- One six-foot-long (72 in.) by 5.5″ wide 3/4″-thick pine board — avoid plywood (it won’t hold up as well outside)
- Wood glue
- Nails
- Sandpaper
- One metal bracket (repair plate)
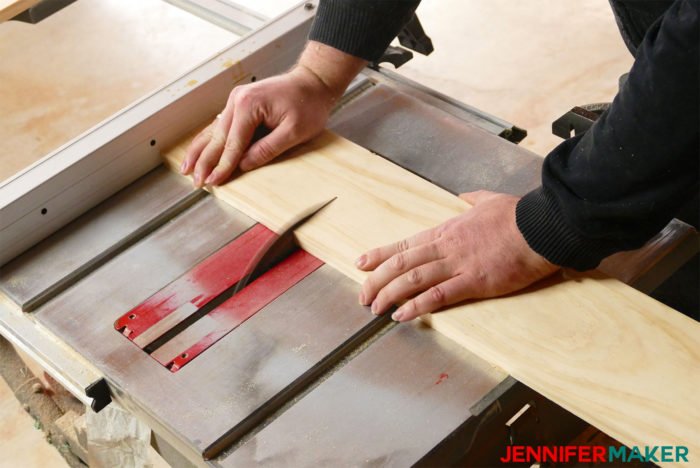
- A way to cut wood (we used a table saw, but you could use a jigsaw or handsaw)
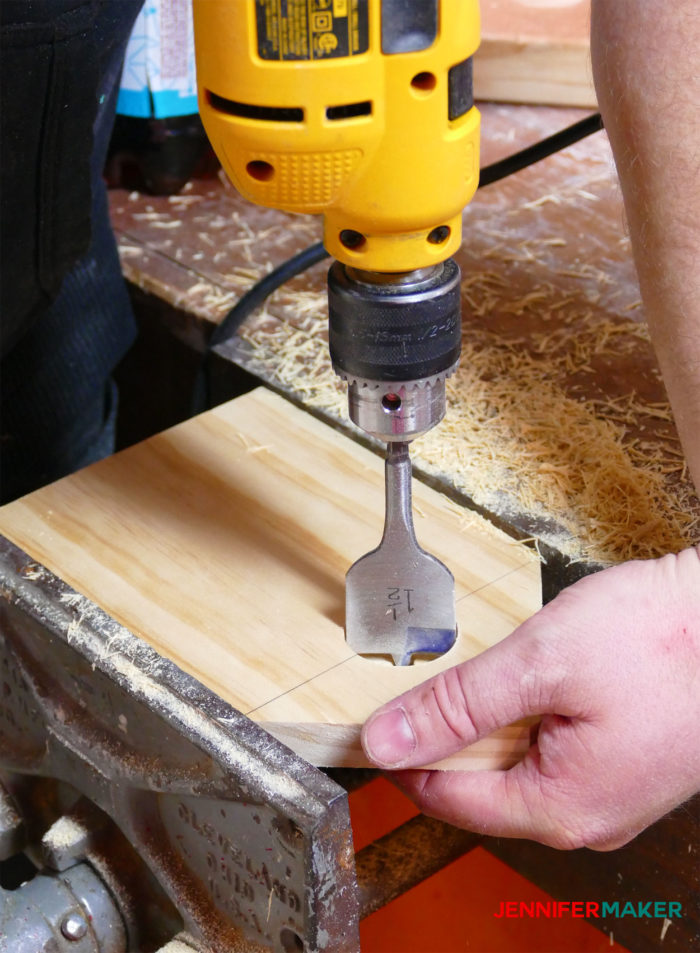
- A way to cut a 1 1/2″ circle (we used a handheld power drill and a 1 1/2″ circle bit)
- A way to hammer nails (we used a nail gun, but a plain ol’ hammer will do just fine)
- Miter box (or some other way to make 45 degree cuts)
- Ruler
- Pencil
- (Optional) Decorations, like popsicle sticks, craft sticks, felt, extra wood to make porches, miniature fences, etc. We actually bought a little miniature kit with accessories which we used for the windows, door, table, and table accessories in the cottage birdhouse).
- (Optional) Acrylic paint
- (Optional) Acrylic sealer
- Design #97 – Our free birdhouse plans (located in the resource library—get the password to it free by filling out the form at the bottom of this post)
How to Make Birdhouses with our Free Plans
First, download our free birdhouse plans (Design #97) from our resource library—get the password to the library for free by filling out the form at the bottom of the post.
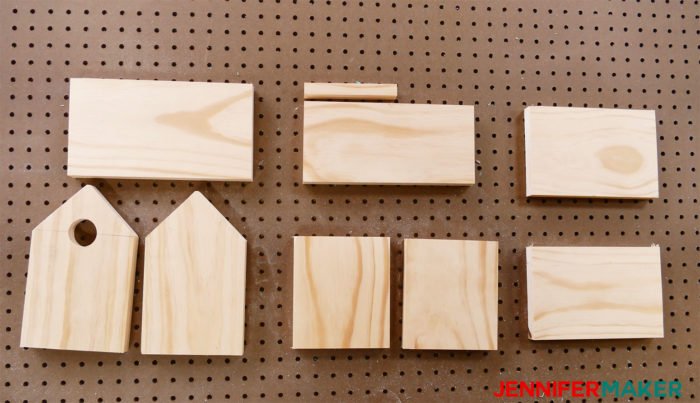
Next, mark your wood according to our plans. Then, cut out your pieces! Remember, measure twice and cut once.
How to make birdhouses with just one piece of pine board … it’s totally possible!!
Drill a 1 1/2″ (no smaller, no larger) hole in your front birdhouse piece as marked on our cutting diagram. You want this size hole specifically because it’s not too small for your birds to get into and not too big that predators can reach them.
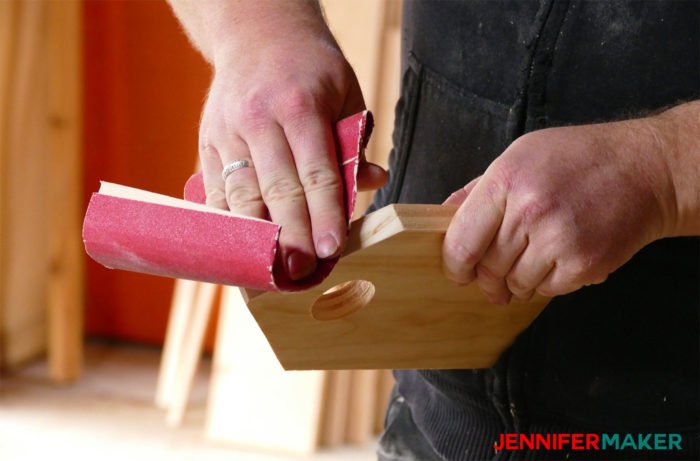
Sand your cut pieces. Feel free to keep it unsanded inside, as your birds will probably prefer that.
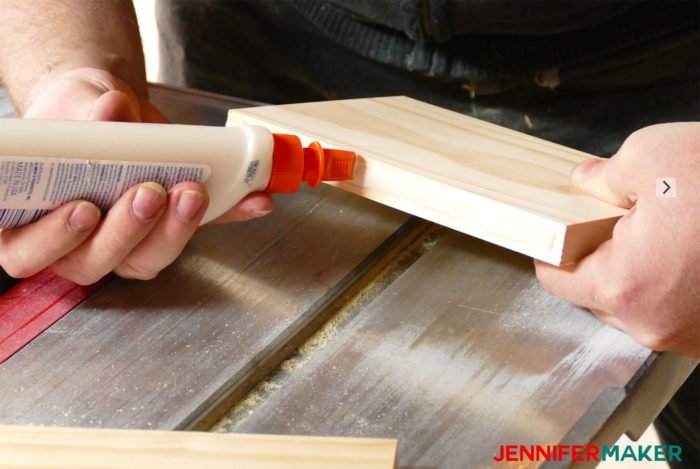
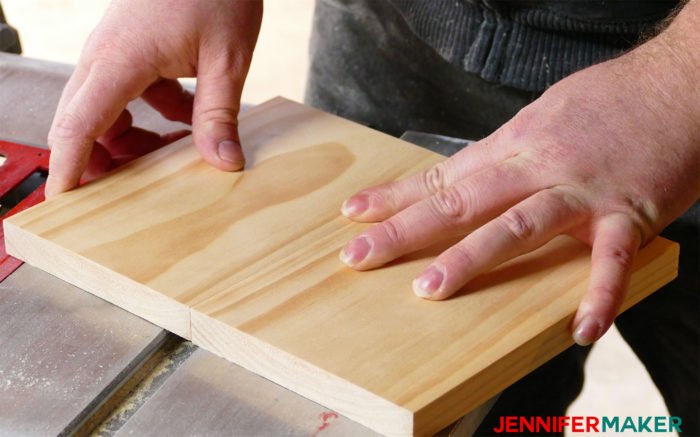
Next, you’ll put your two base pieces together. Put a line of wood glue on the edges, press the edges together, and permanently attach them with a bracket.

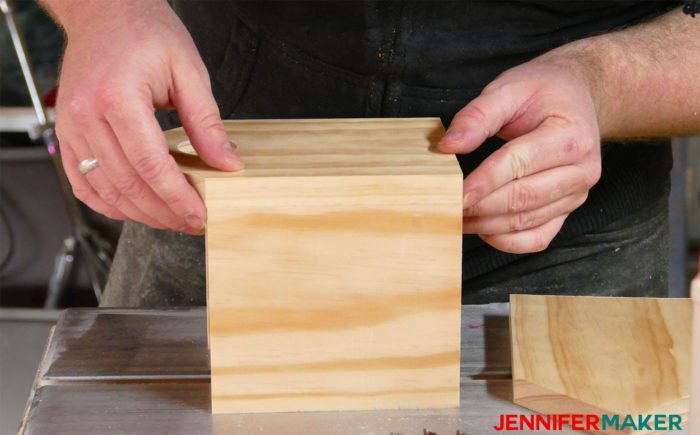
Glue and nail your DIY birdhouse front, back, and sides together. Note that the sides go between the front and back of the birdhouse.
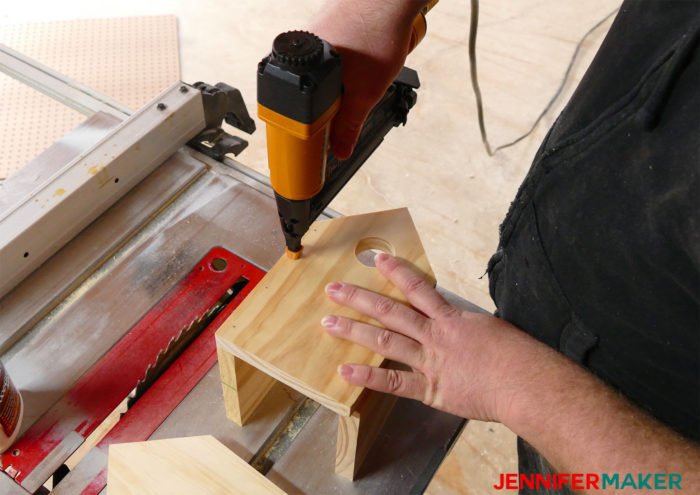
Now, nail your two roof pieces together with the shorter piece on the side of the longer piece.
Nail in the support piece on the inside peak of your roof—this will keep your roof in position with just gravity. You can center the support piece or move it a little closer to one end to create a greater overhang on the front of your birdhouse.
Next, nail your house to the base from the underside.
Drill 1/4″ holes in each corner of the base, just at the inside edges of the birdhouse’s interior. This will give your birdhouse good drainage.
Glue on small pieces of wood about 1″ apart inside the birdhouse just under the entrance hole. You can just use pieces of popsicle sticks. These bits of wood will act as a ladder for the young birds to climb out when they are ready.
Tip: If you want a really polished look, you can use wood filler to patch your nail holes
Decorate and enjoy! If you painted the exterior of your birdhouse, be sure to seal it with acrylic sealer if you plan to put it outside.
This birdhouse is intended to sit outside on a shelf or a post—for your birds’ benefit, get the birdhouse up about 5 to 6 feet off the ground. We’ll be putting ours out on a shelf next to our house.
DIY Birdhouse Tips
- You may be tempted to use thinner wood, but don’t. Your birdhouse wood should be 3/4″ thick, because anything thinner will allow heat to build up. And that’s dangerous for little birds.
- If you need to clean the birdhouse between seasons just take the roof off to access the interior.
- Do not paint the inside — your birds will prefer a natural interior.
- If you’d like to see what size birdhouses are enjoyed by other birds, check out this excellent article on building birdhouses for cavity nesters.
- Birds prefer natural wood birdhouses, but we’ve decorated birdhouses in the past and still had them used by our birds. So we say paint and decorate if you wish!
Birdhouse Decoration Ideas
We created five different birdhouses of varying styles to give you some ideas on how you can decorate your DIY birdhouse. Here are details on each, starting with the simplest:
Simple Painted Birdhouse
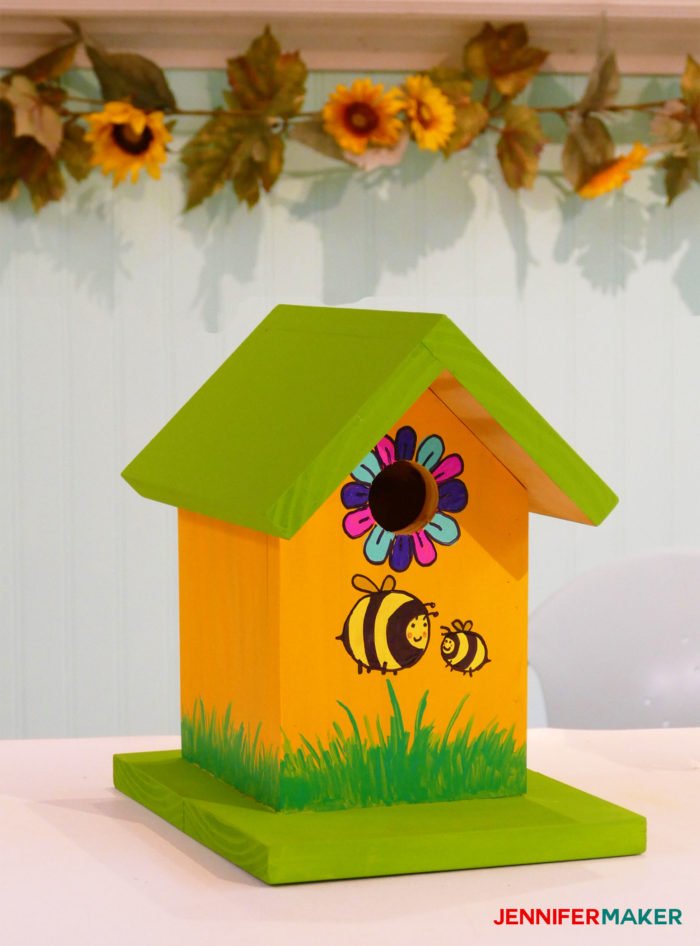
All we did here was paint the birdhouse and add some flowers, bees, and grass onto it for fun. Super sweet and easy.
Polka Dot Birdhouse
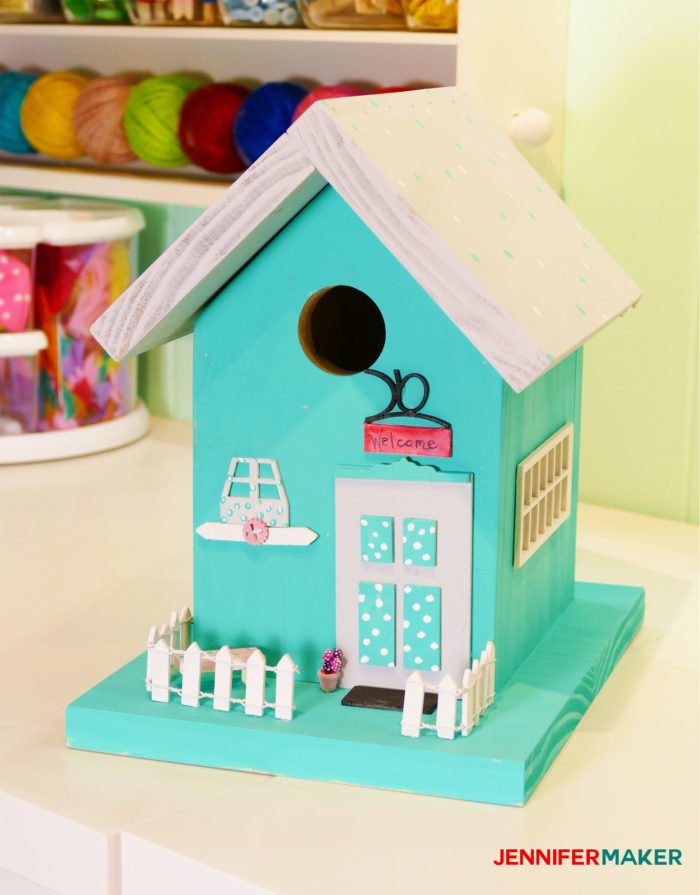
Here we painted the house with polka dots. We also added some decorative elements, like the little sign, door, flower pot, and fence. Most of those little decorations came from a miniature set we bought with this in mind. The miniature fence came from Amazon.
Butterfly Birdhouse
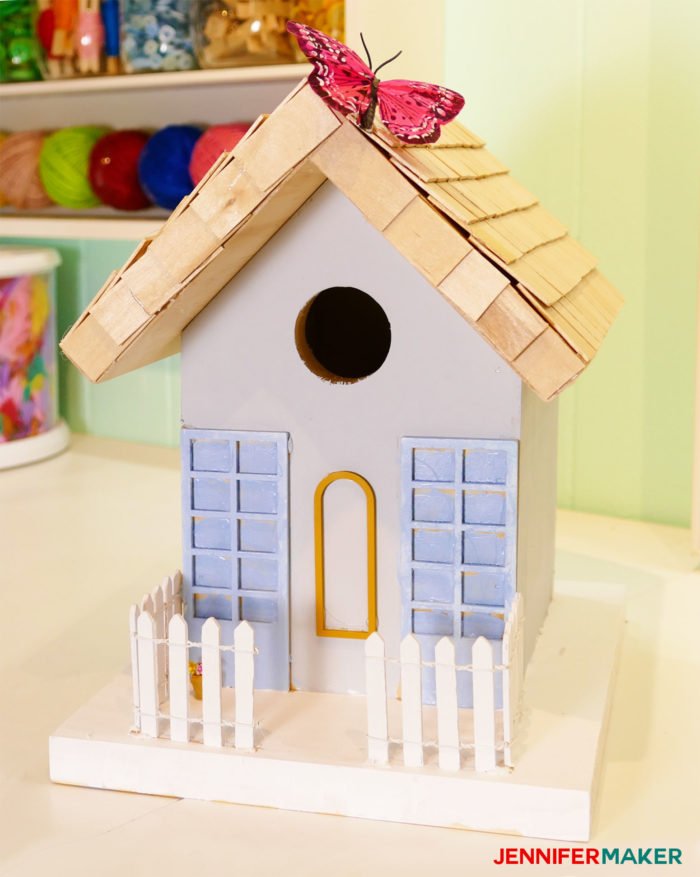
For this butterfly birdhouse, we cut up craft sticks to make a shingled roof. We also put big windows and a fence on it, as well as a faux butterfly we found at the craft store.
Old Red Barn Birdhouse
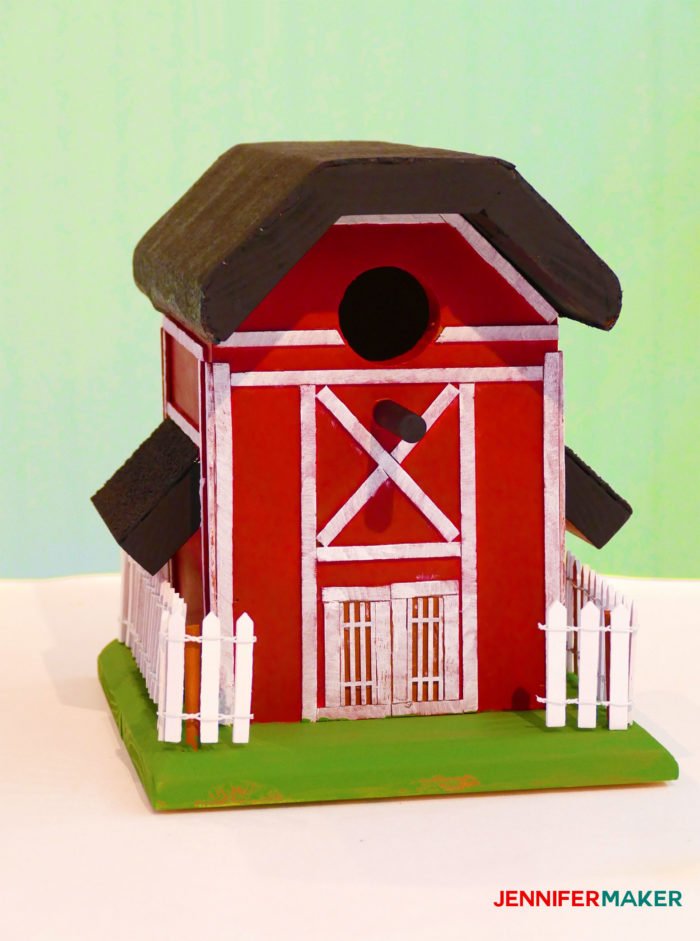
This one has a modified roof that is covered in felt for a more textured appearance. The braces on the exterior are just thin craft sticks that were glued on.
Shingled Cottage Birdhouse
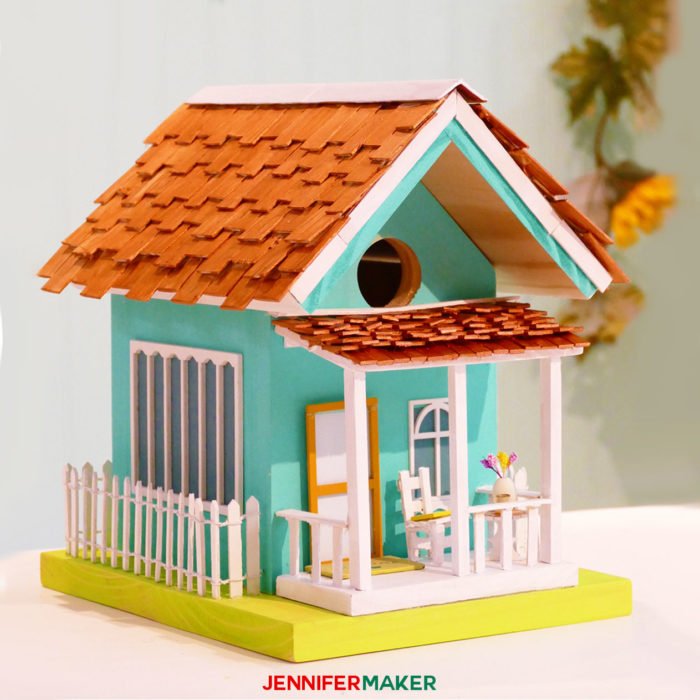
This one is my favorite! It has a shingled roof made from wide craft sticks, painted metallic copper for fun. I cut out two thin pieces of wood 5.5″ long by 3″ wide to make the porch top and bottom. The railing is made from thinner craft sticks, as is the little ladderback chair. The windows, door, table, and flower pot all came from the little miniature kit with accessories we bought.
Get the Free Birdhouse Plans
If you make a birdhouse using our plans, please share a photo in our Facebook group or tag me on social media with #jennifermaker.
Love,

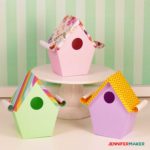
P.S. Like birdhouses but aren’t quite ready to work with wood yet? Check out my paper birdhouse luminary!
Want to remember this? Save this DIY Birdhouse Plans to your favorite Pinterest board!

Wow, it’s interesting that you have shared how to make birdhouses. I love birds and decorating our garden. I have just made a recent expansion of it that is why am looking for a better way of redesigning it. I will surely be following what you have instructed to achieve an awesome garden in our place.